Dodecahedron Calendar - 2 Page - Customizable
by unkerjay in Design > Digital Graphics
8183 Views, 95 Favorites, 0 Comments
Dodecahedron Calendar - 2 Page - Customizable

Of ALL I've looked at, there just didn't seem to be any one calendar
that included all the options I have in mind:
- Holidays (or the text, image(s), design(s) of your choice)
- a simple straightforward, easily update-able template
- Room for MORE
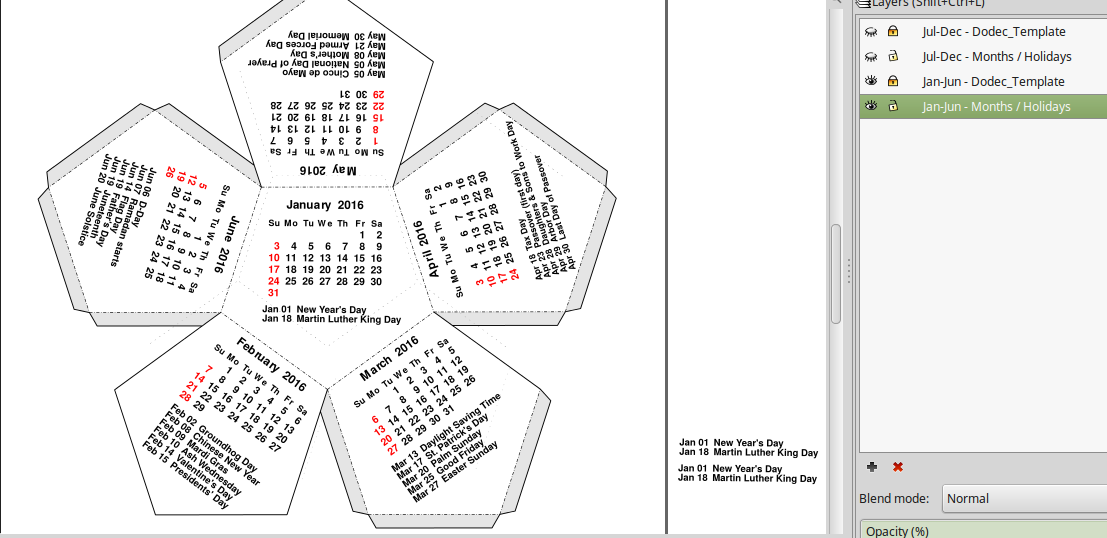
- Two page for maximum size
- Layers to keep it all separate (lock what I don't want to change /
unlock what I WILL want to change)
For your convenience I've included:
US Holiday spreadsheets from timeanddate (link below) for 2016 w/Autofilter
My calendar with Holidays
A blank calendar (undone) with Holidays (for easy updates / modification)
With a little help from here:
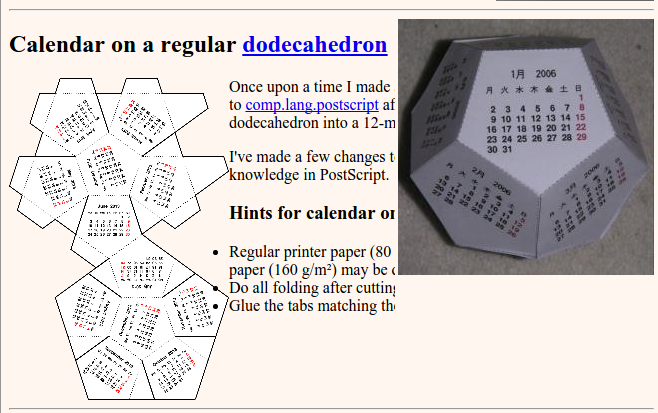
Download a 12 sided Calendar template (Postscript (ps) Format)
- more customizable:
http://folk.uib.no/nmioa/kalender/
and here:
Time and Date - Holidays (imported into LibreOffice (Calc) or Office (Excel):
http://www.timeanddate.com/holidays/us/
and a little tweaking in:
(I'm using Linux / Linux Mint)
(see attached image for Linux install using Terminal)
- LibreOffice (Calc) (or Excel - if you have it)
http://www.libreoffice.org
- a plain text editor (like Notepad (or Leafpad)
http://tarot.freeshell.org/leafpad/
sudo apt-get update && sudo apt-get install leafpad
will get you there in Ubuntu / Linux Mint / Debian
- Inkscape
http://www.inkscape.org
sudo apt-get update && sudo apt-get install inkscape
- Blender (for the Dodec Template) (Instructable to follow))
http://www.blender.org
(also available for Macs / Windows)
sudo apt-get update && sudo apt-get install blender
OR
sudo apt-get update && sudo apt-get install leafpad inkscape blender
will install all three.
It's possible to expand on the basic template and add a
little more possibility.
Let me show you how.
First - Create the Calendar
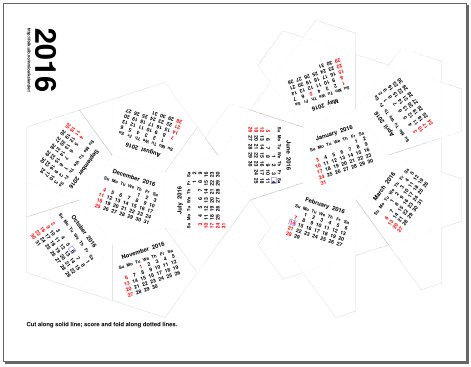
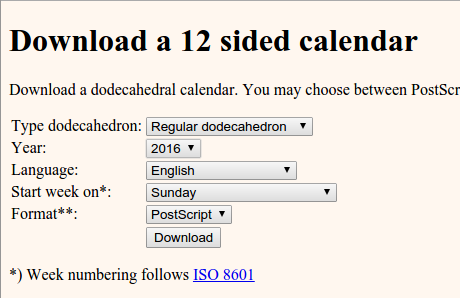
At this site:
http://folk.uib.no/nmioa/kalender/
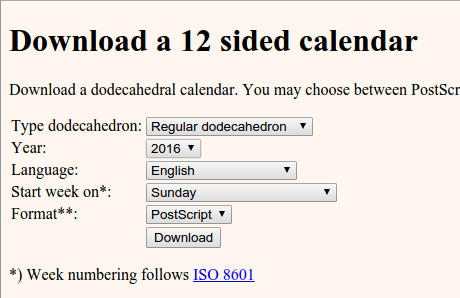
Use the settings above to customize your Calendar.
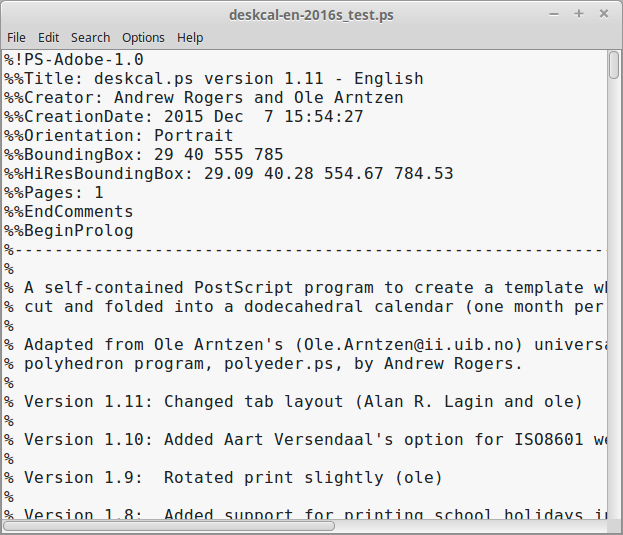
Save it as a postscript file to edit the settings in a plain
text editor (like Notepad) before loading it into Inkscape OR,
if you just want the default settings, printable, choose
PDF.
Note the postscript file is well commented with
instructions on what you can change and HOW.
Once you have that, you won't really need to download
the PDFs. You can customize the settings, save it, and
load it into Inkscape.
Either way, what you'll get will look like the image
above.
I'm going to show you how to tweak it in Inkscape.
Next.
Open Two Files in Inkscape
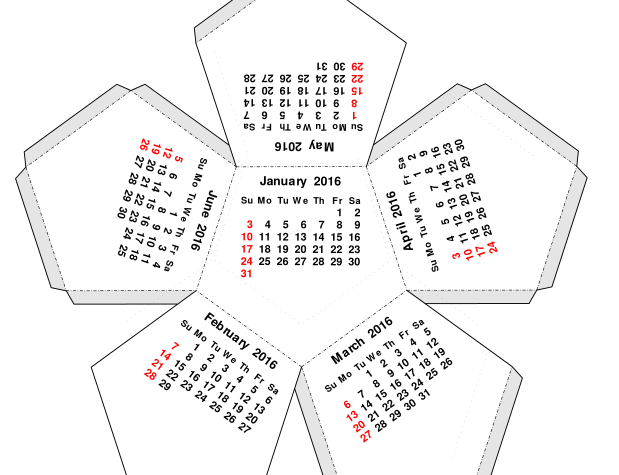
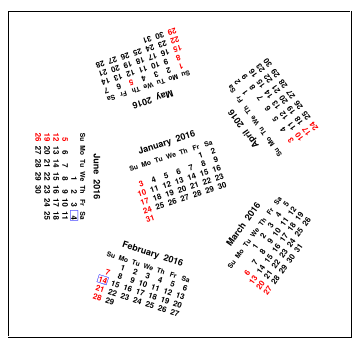
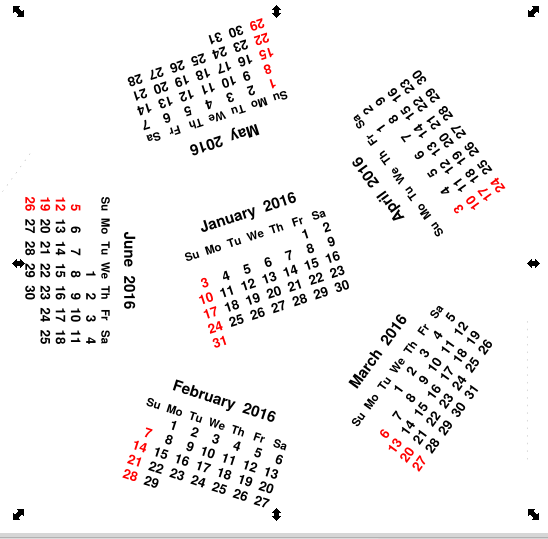
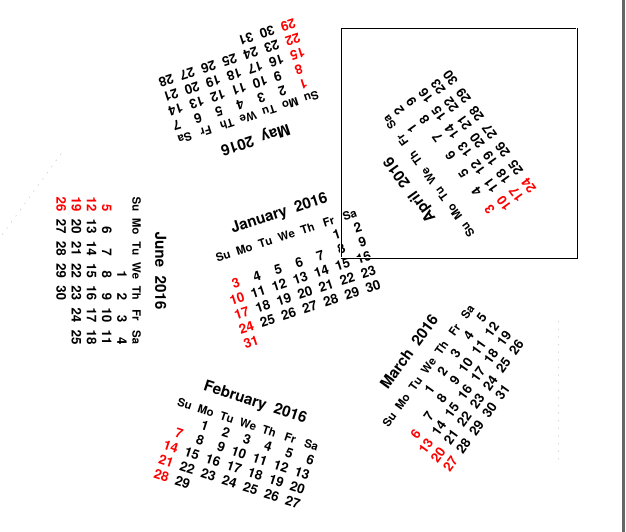
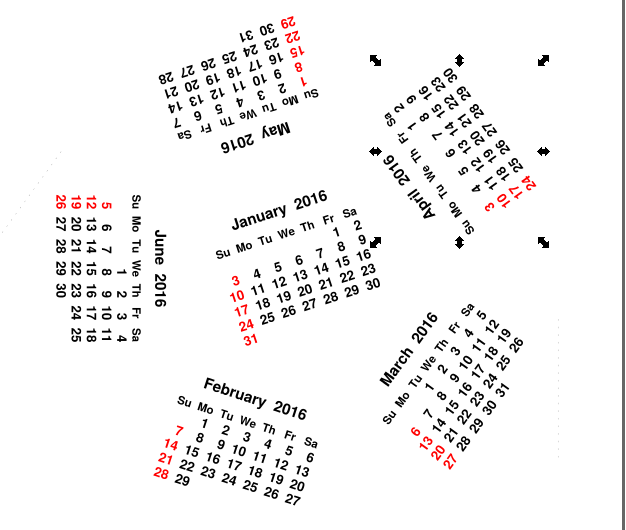
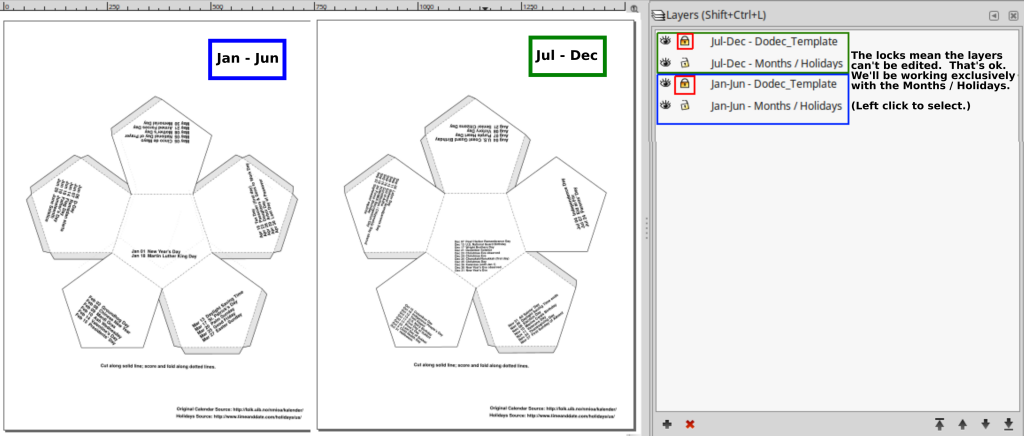
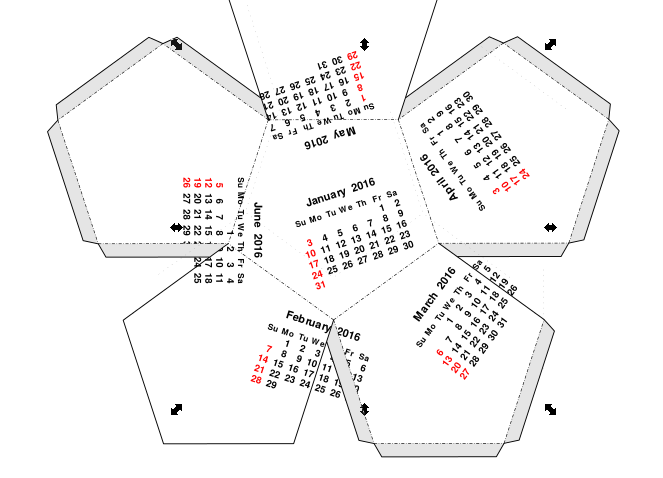
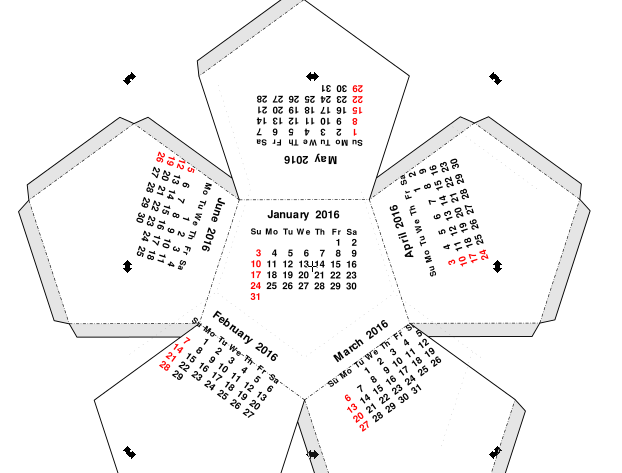
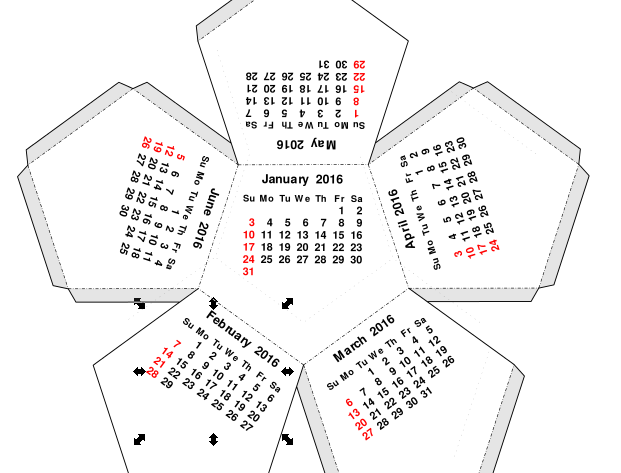
The first image is what we're shooting for. (Not including the holidays (to be added later)
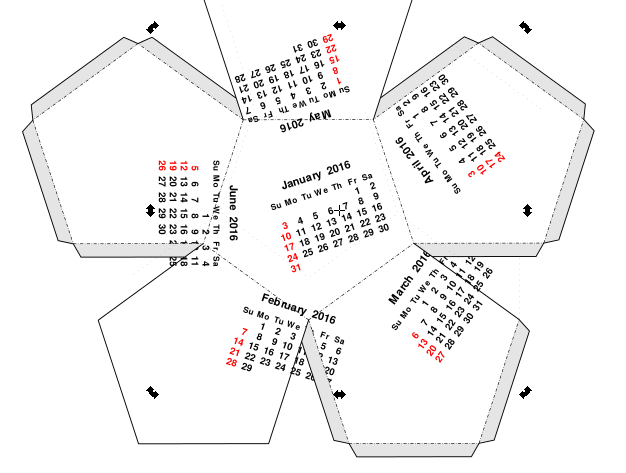
The next few images are (in sequence) how we get there.
You'll need both the calendar from the website as well as the "undone" SVG open in Inkscape. We'll be working back and forth between the two.
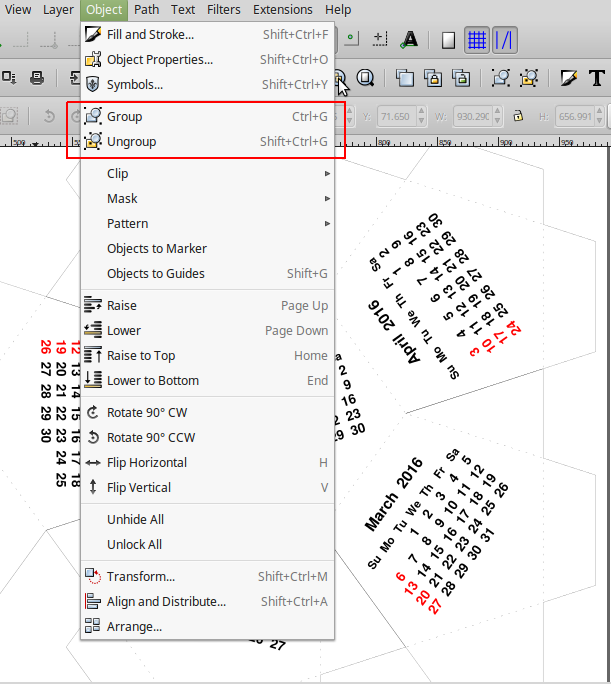
1) Ungroup the Calendar from the Postscript file (Left click to select, then, Ctrl-Shift-G to ungroup (you may need to ungroup more than once to undo ALL the grouping.)
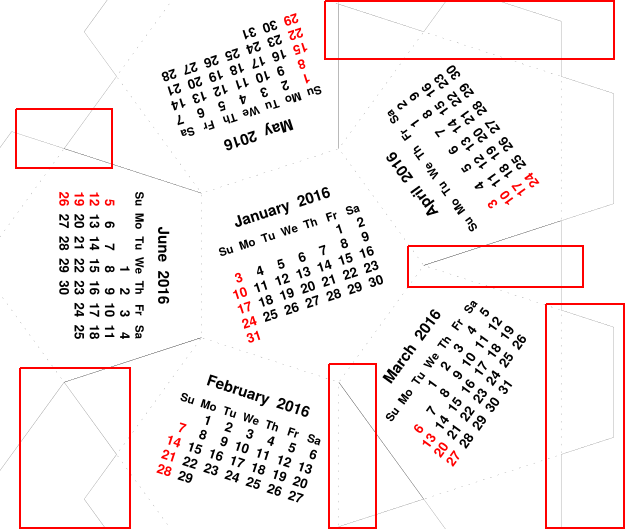
2) Highlighted in red is what we're trying to get rid of.
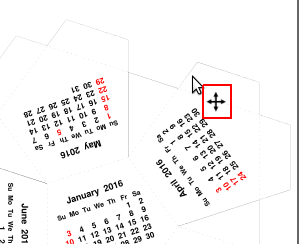
3) When you're over something "selectable", you'll see the four arrows as shown.
4) It won't always be obvious. Just move your cursor around, left click to select, and, if you get it wrong, remember, Ctrl-Z (Undo) is your friend.
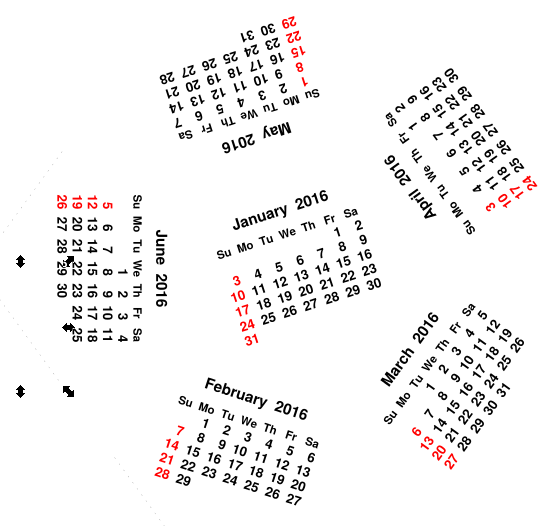
5) Once you think you've got it all, "Box" select by holding down the left mouse key and dragging the box from upper left to lower right.
6) If you're right, you'll see a nice tight group of arrows around your selection. If not, you probably missed something.
7) Next, "Box" select and group (Ctrl-G) each month, THEN, "Box" select the months Jan-Jun and group them all together (Ctrl-G).
8) Once they're all grouped, copy them (Ctrl-C), open the "undone" SVG and paste (Ctrl-V). As you will be able to see, the "undone" SVG consists of four layers. Two are template layers just to help ensure that everything is placed properly within the margins and sized appropriately. The "Month / Holiday" layers are unlocked. Left click on the appropriate "Month / Holiday" layer to select it, then paste the months in that layer.
9) Once the months are in the layer, they'll need to be rotated into position. This is done by clicking on them until you see the rotation handles and then dragging on one of the corner rotation handles to move the months into proper position (THIS is the reason it's a GOOD idea to group the months in the process. Makes it a LOT easier to move them.).
Do the same thing for the months Jul - Dec.
Next we'll work on the holidays.
Adding the Holidays
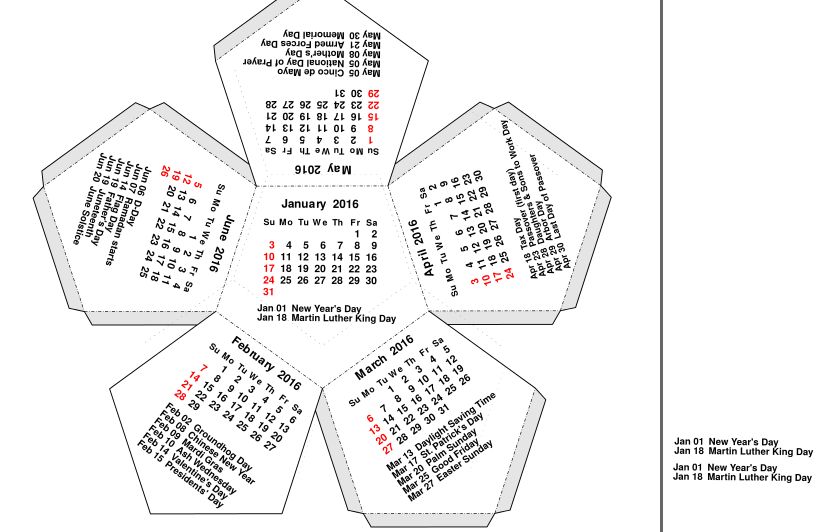
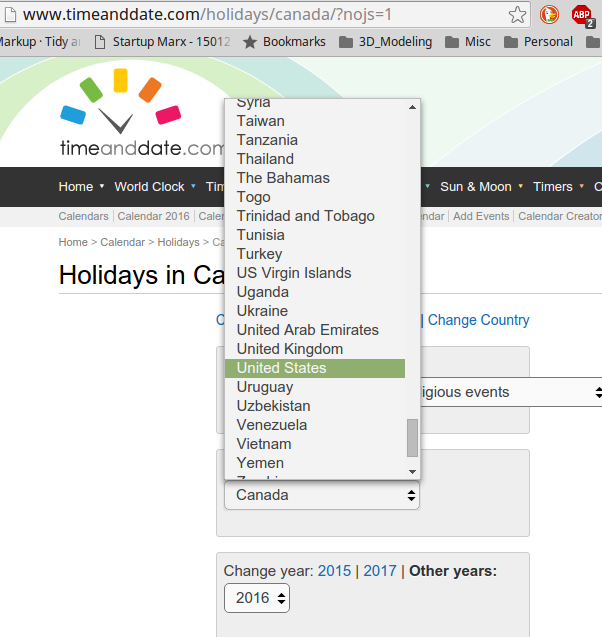
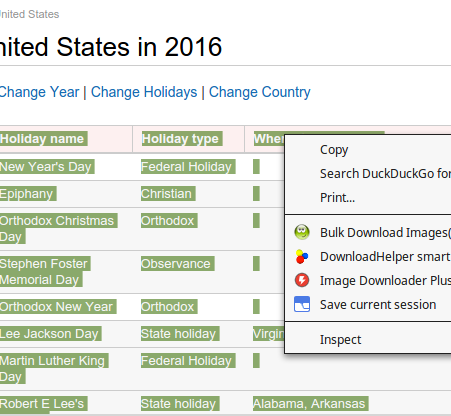
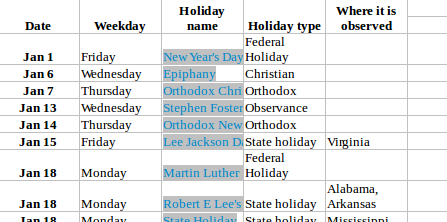
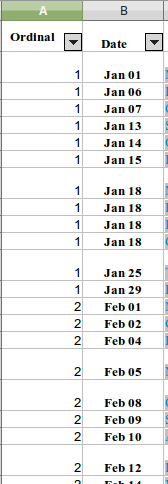
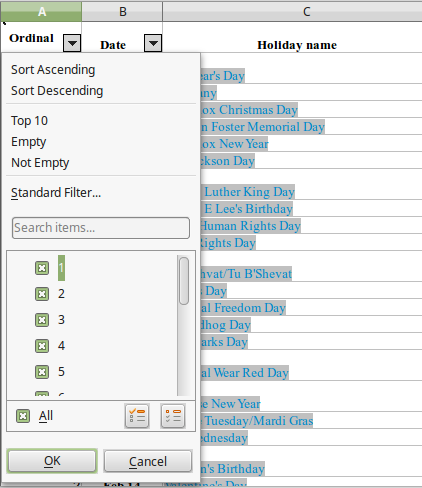
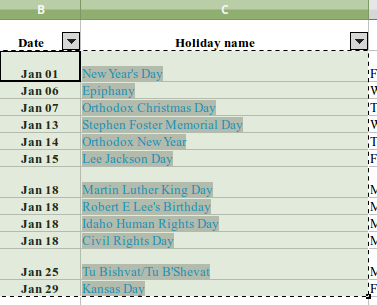
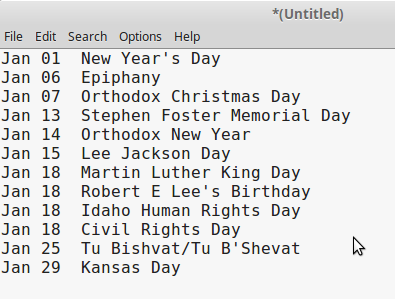
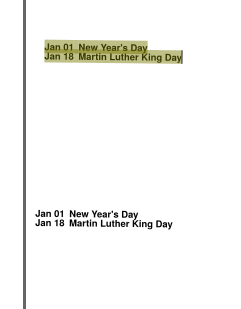
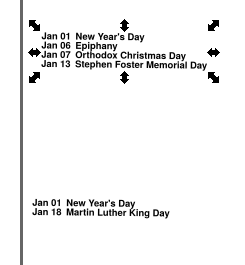
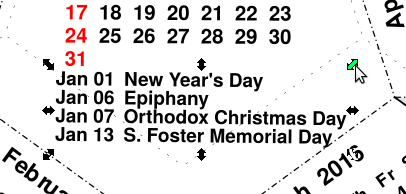
What we're shooting for and how to get there.
Go to the time and date website holidays page:
http://www.timeanddate.com/holidays/us/
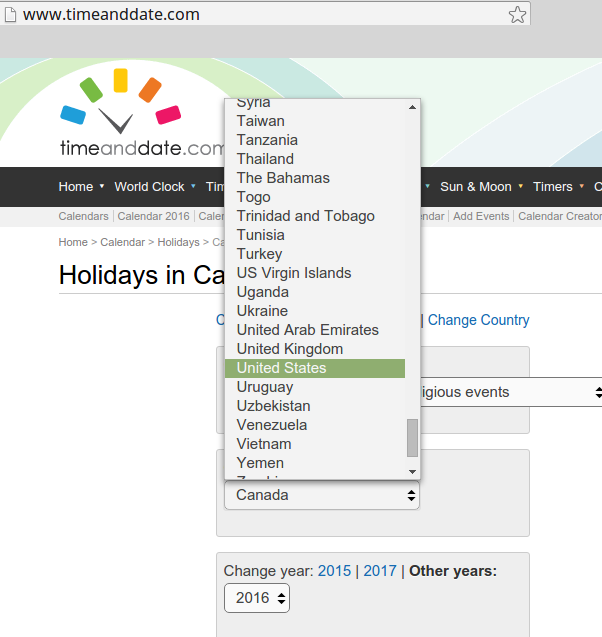
Pick the year, the country and the holidays you'd
like.
After that, hold down the left mouse button and
drag across and down to select all the holidays
as shown.
Once selected, right click, copy, open your
spreadsheet program, select the upper left
most cell and right click, paste.
I also selected all the columns and turned on
"AutoFilter"
I then filtered out the Duplicates. Here's a link
to how it's done for LibreOffice Calc:
http://www.genomicscode.org/2011/10/how-to-remove-...
Here's one for Excel:
https://support.office.com/en-us/article/Filter-fo...
Once that's done, I selected, copied the Day of the week,
the Holiday Names and pasted them into a text editor.
From there, I can further edit down to what I want and
add if it's not there. Then, I select it all and copy it to
the clipboard (Ctrl-C).
The extra text in the Calendar file is for quick, easy
formatting. Since it's already the right size and font,
I just select it, paste (Ctrl-V) in.
After that, move it into location, rotate it if I need to
and resize it to fit.
(Just a note here for your convenience. In the "undone"
file, the holidays are already rotated into place and "text"
editable. You can copy paste there (as above) and save
yourself the extra step of having to delete the old and
rotate in the new. Why work any harder than you have
to?)
Repeat the process for the other months of the year.
Depending on what you want to include, some holiday
blocks (after resizing) are smaller than others. Your
choice.
Now, instead of Holidays, you can include text, designs,
or images of your choice.
It's a lot more effort to explain it, than it is to do it.
Course once you're done, you're good for the year.
And, you have something that can be shared with
others.
Like the calendar below, for 2018.
Enjoy.
Bonus: 2018
As promised.
(attached)
2017 is up to you.
As always, got something right, got something wrong.
Room for improvement. Let me know in the comments.