Document Scanning Box - Simple, Easy, Free!
by TerraH9 in Living > Education
7101 Views, 52 Favorites, 0 Comments
Document Scanning Box - Simple, Easy, Free!
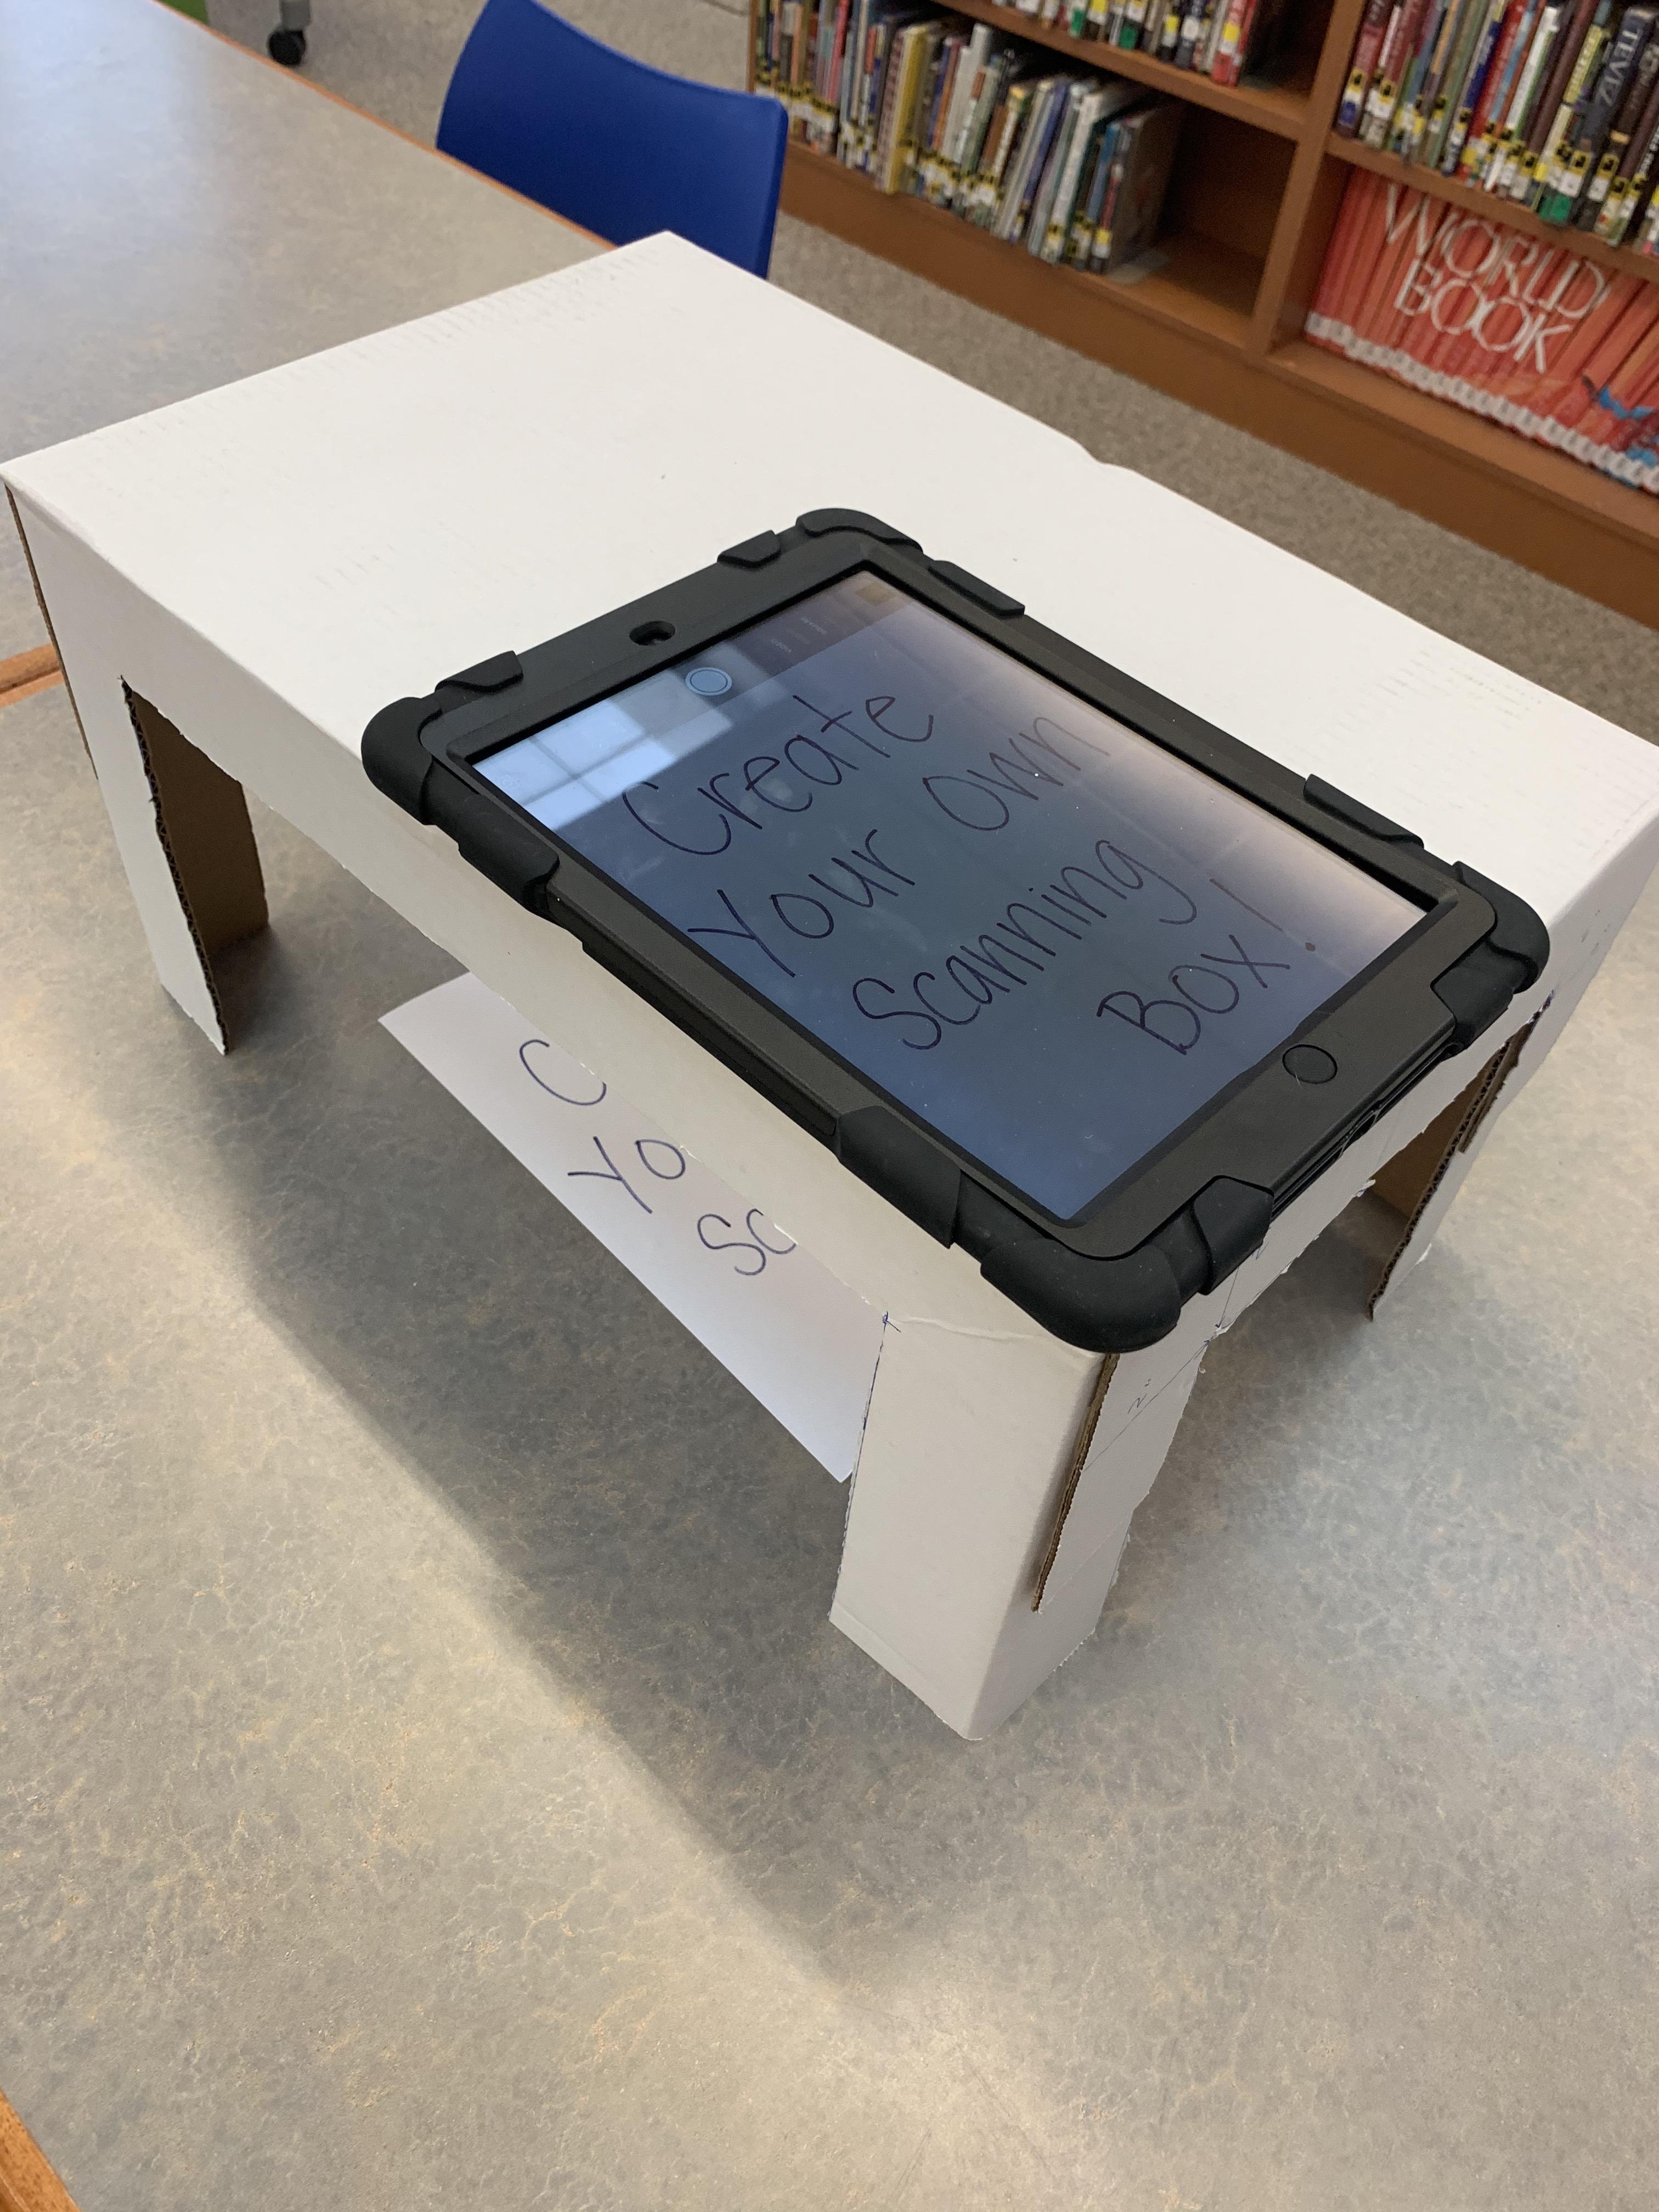
With distance learning in full swing, do you need an easy and reliable way to take quality pictures of assignments or handouts from home? This stand is quick to make and will hold your device steady while you take pictures of your documents (or even 3D objects!!) using the camera on your device or a scanning app! If you don't care about perfect measurements, all you really need is a cardboard box and something to cut it with!
Supplies
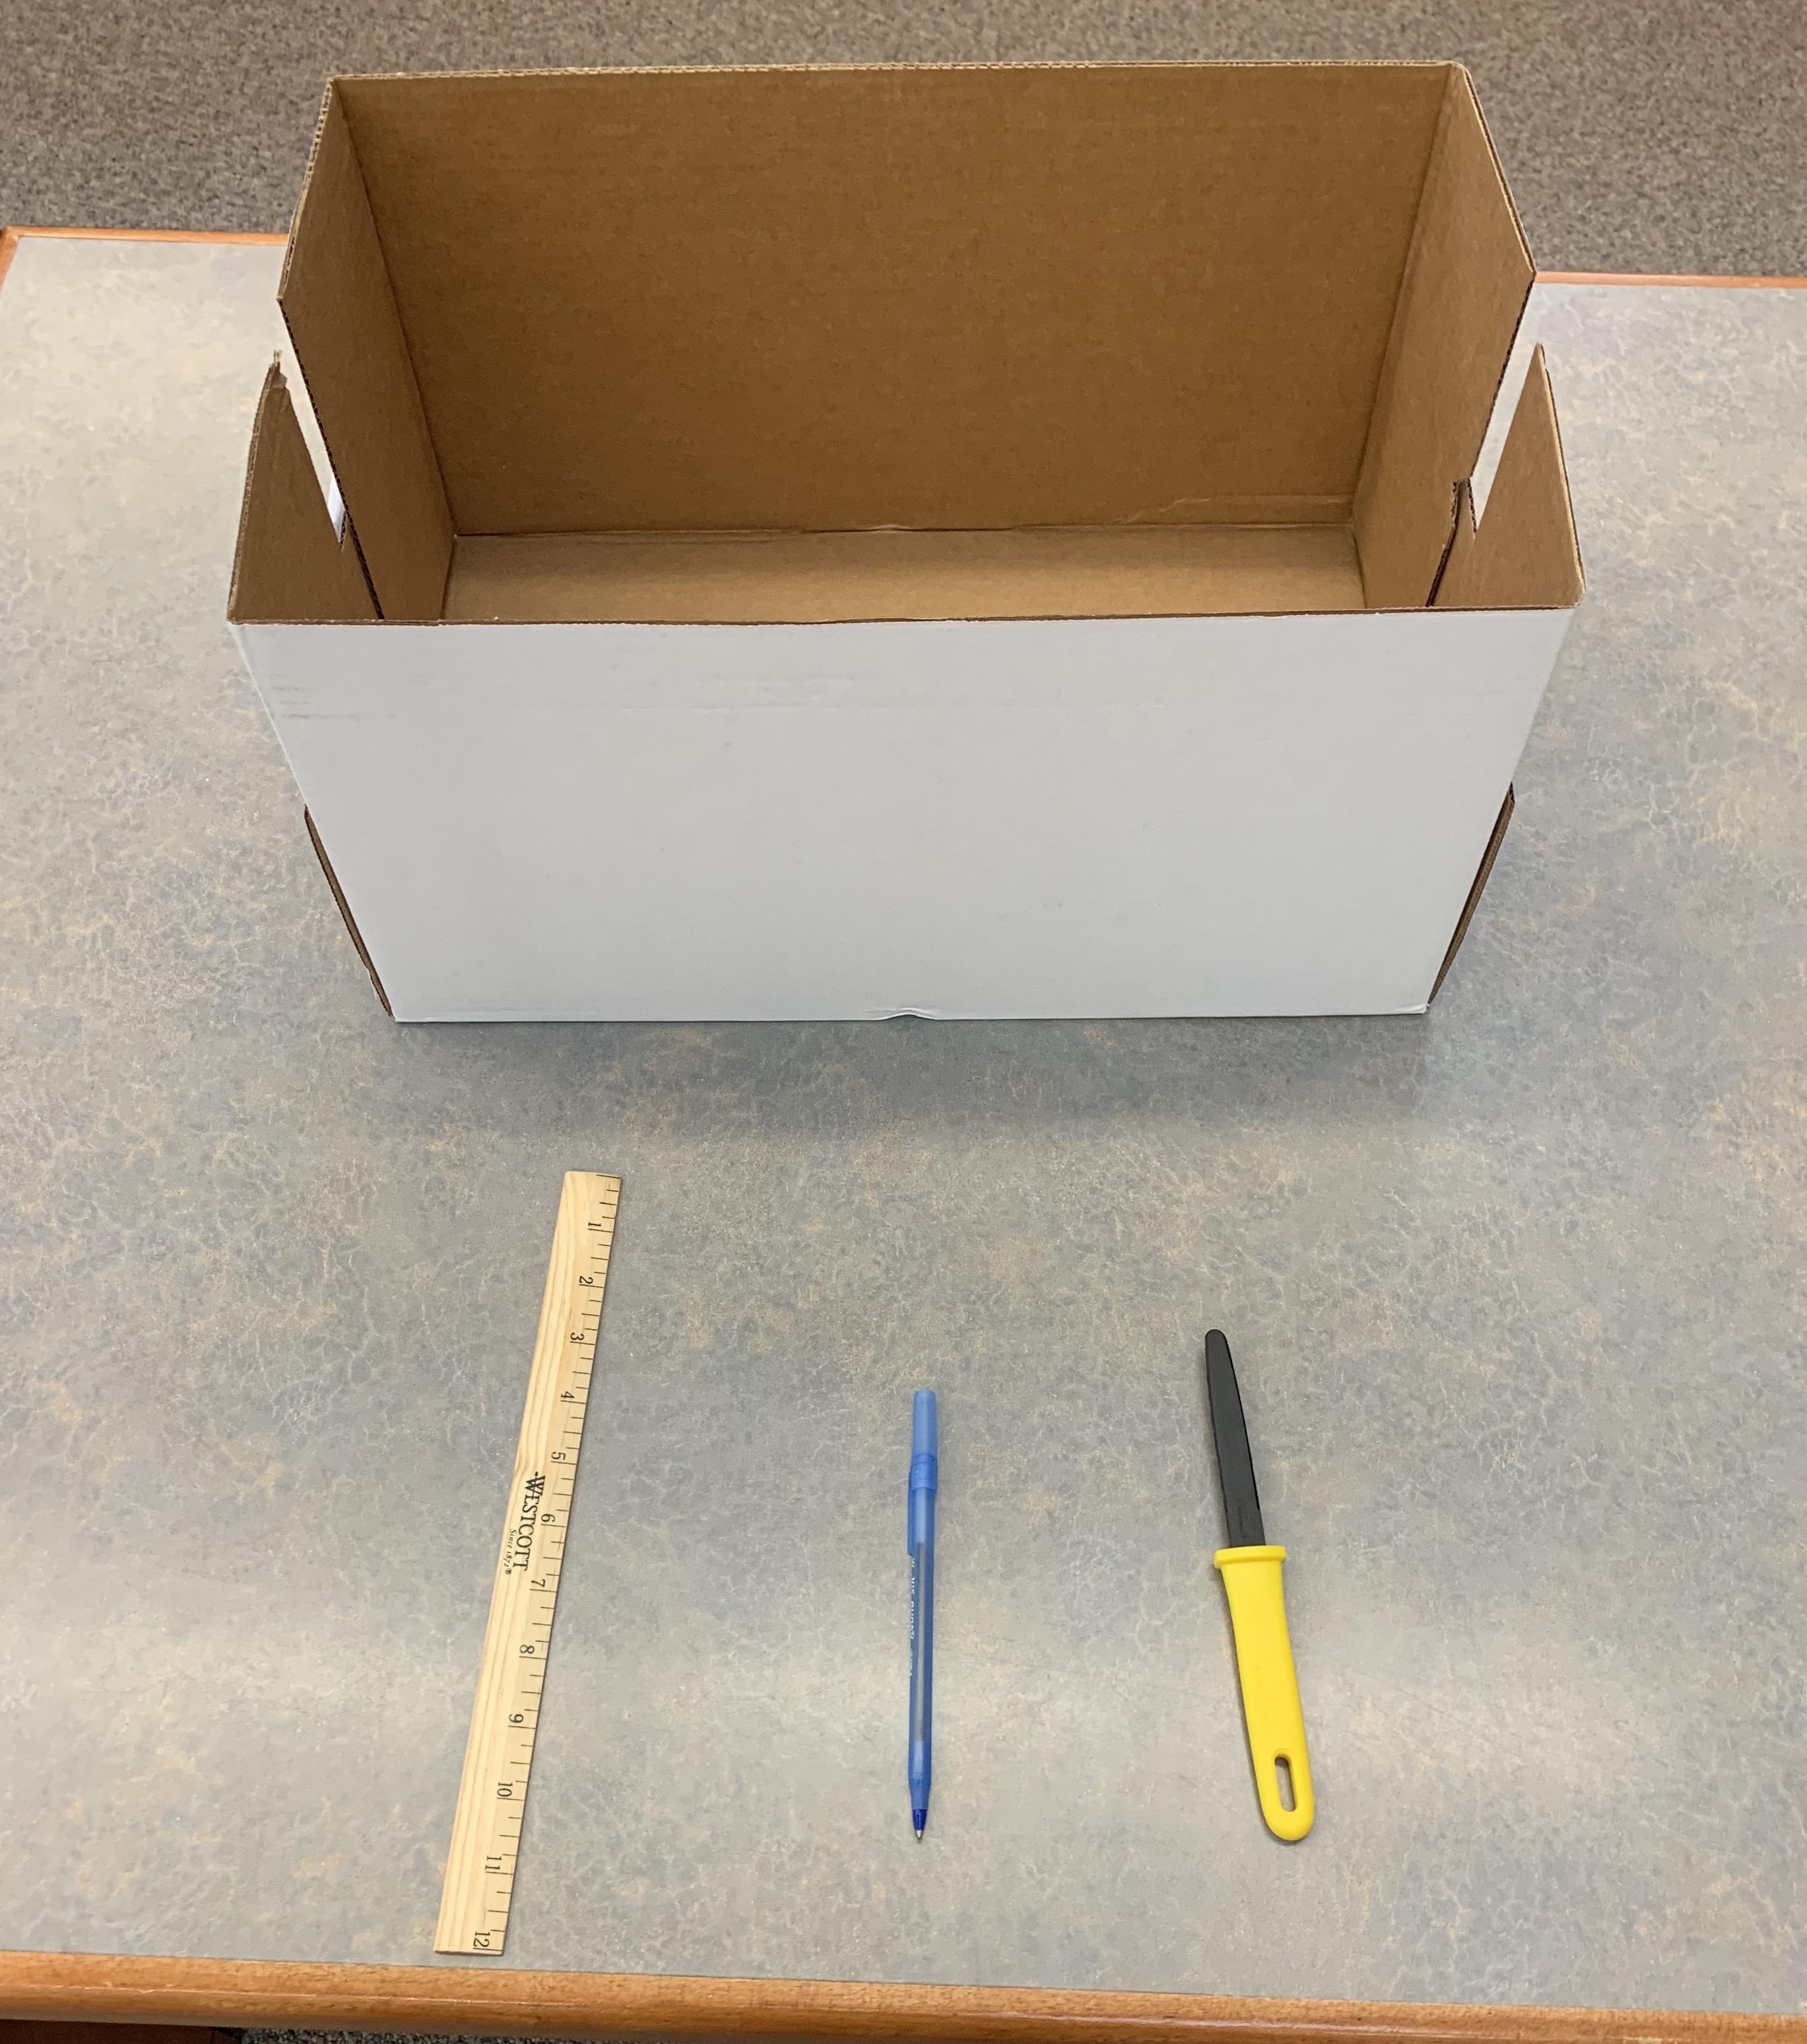
- A sturdy cardboard box. (The boxes that reams of paper are delivered in work great!! Usually schools and office supply stores have empty ones they are willing to give you, but any sturdy box about that size will work!)
- A cutting tool (I'm using a ceramic cardboard cutting knife because they are the safest, but you can use a box cutter or razor blade. If you are a student please make sure you get help from an adult so you don't accidentally cut yourself!)
-A pen
-A ruler
Measure and Mark
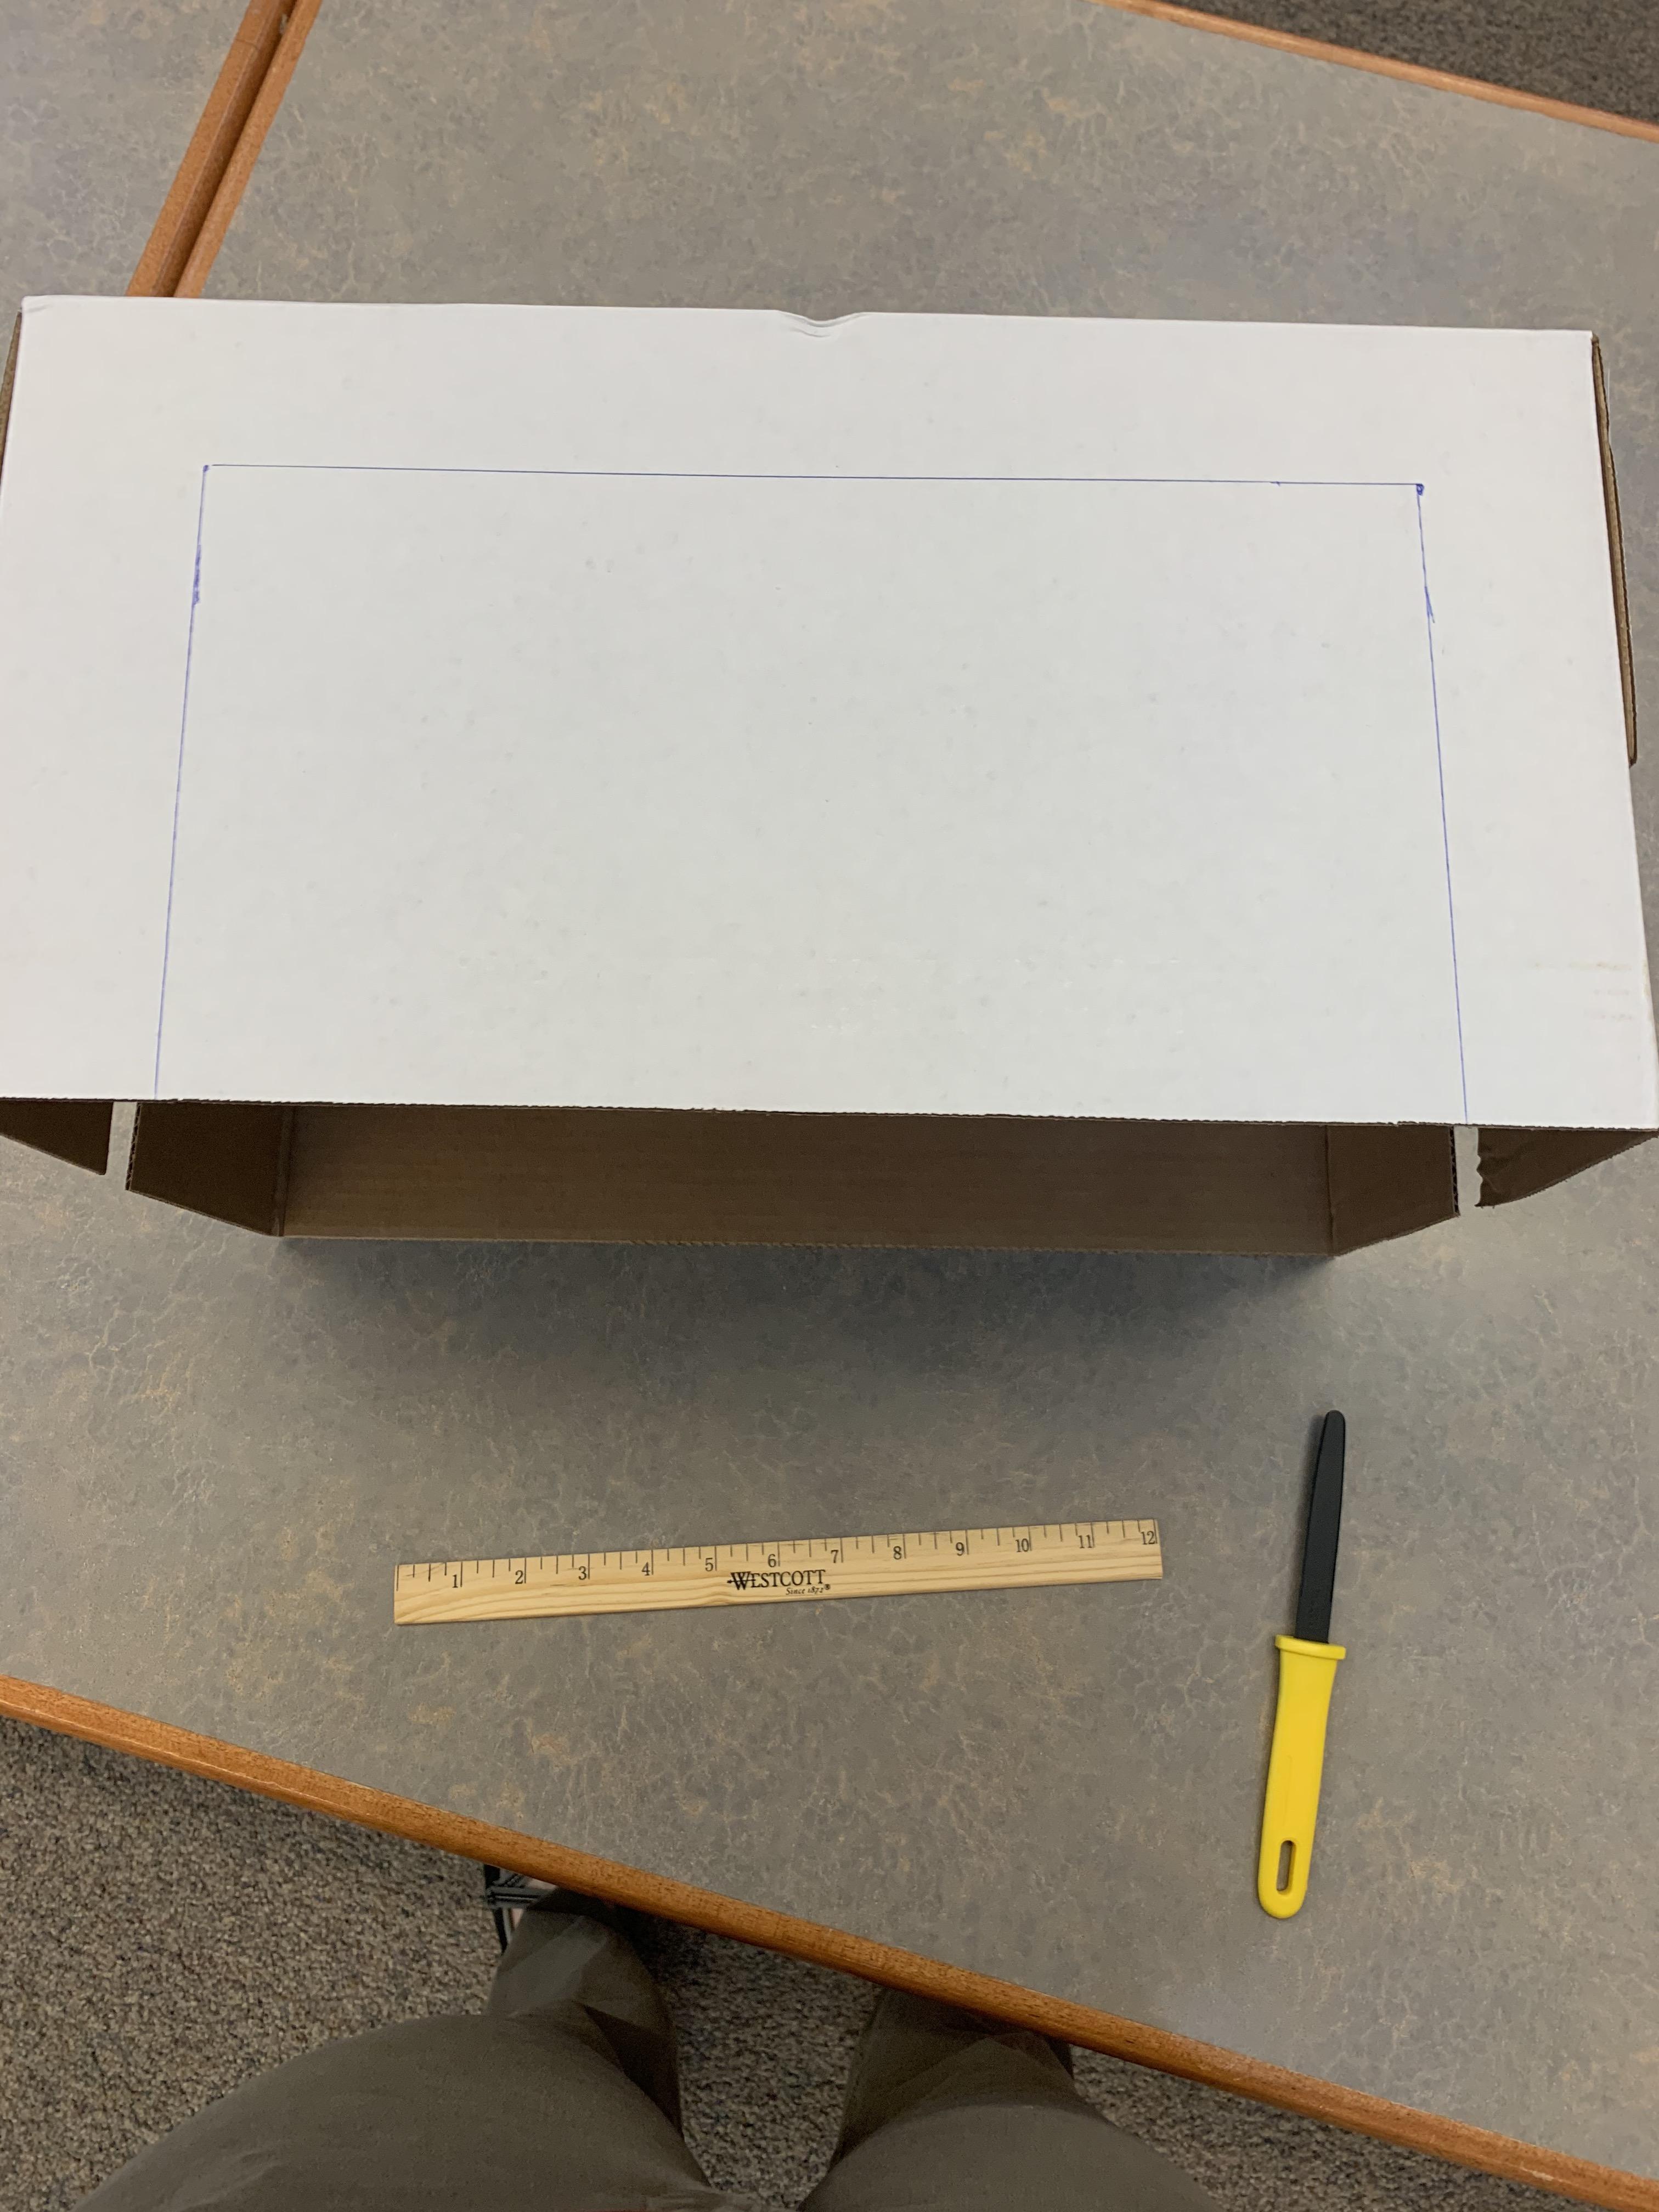
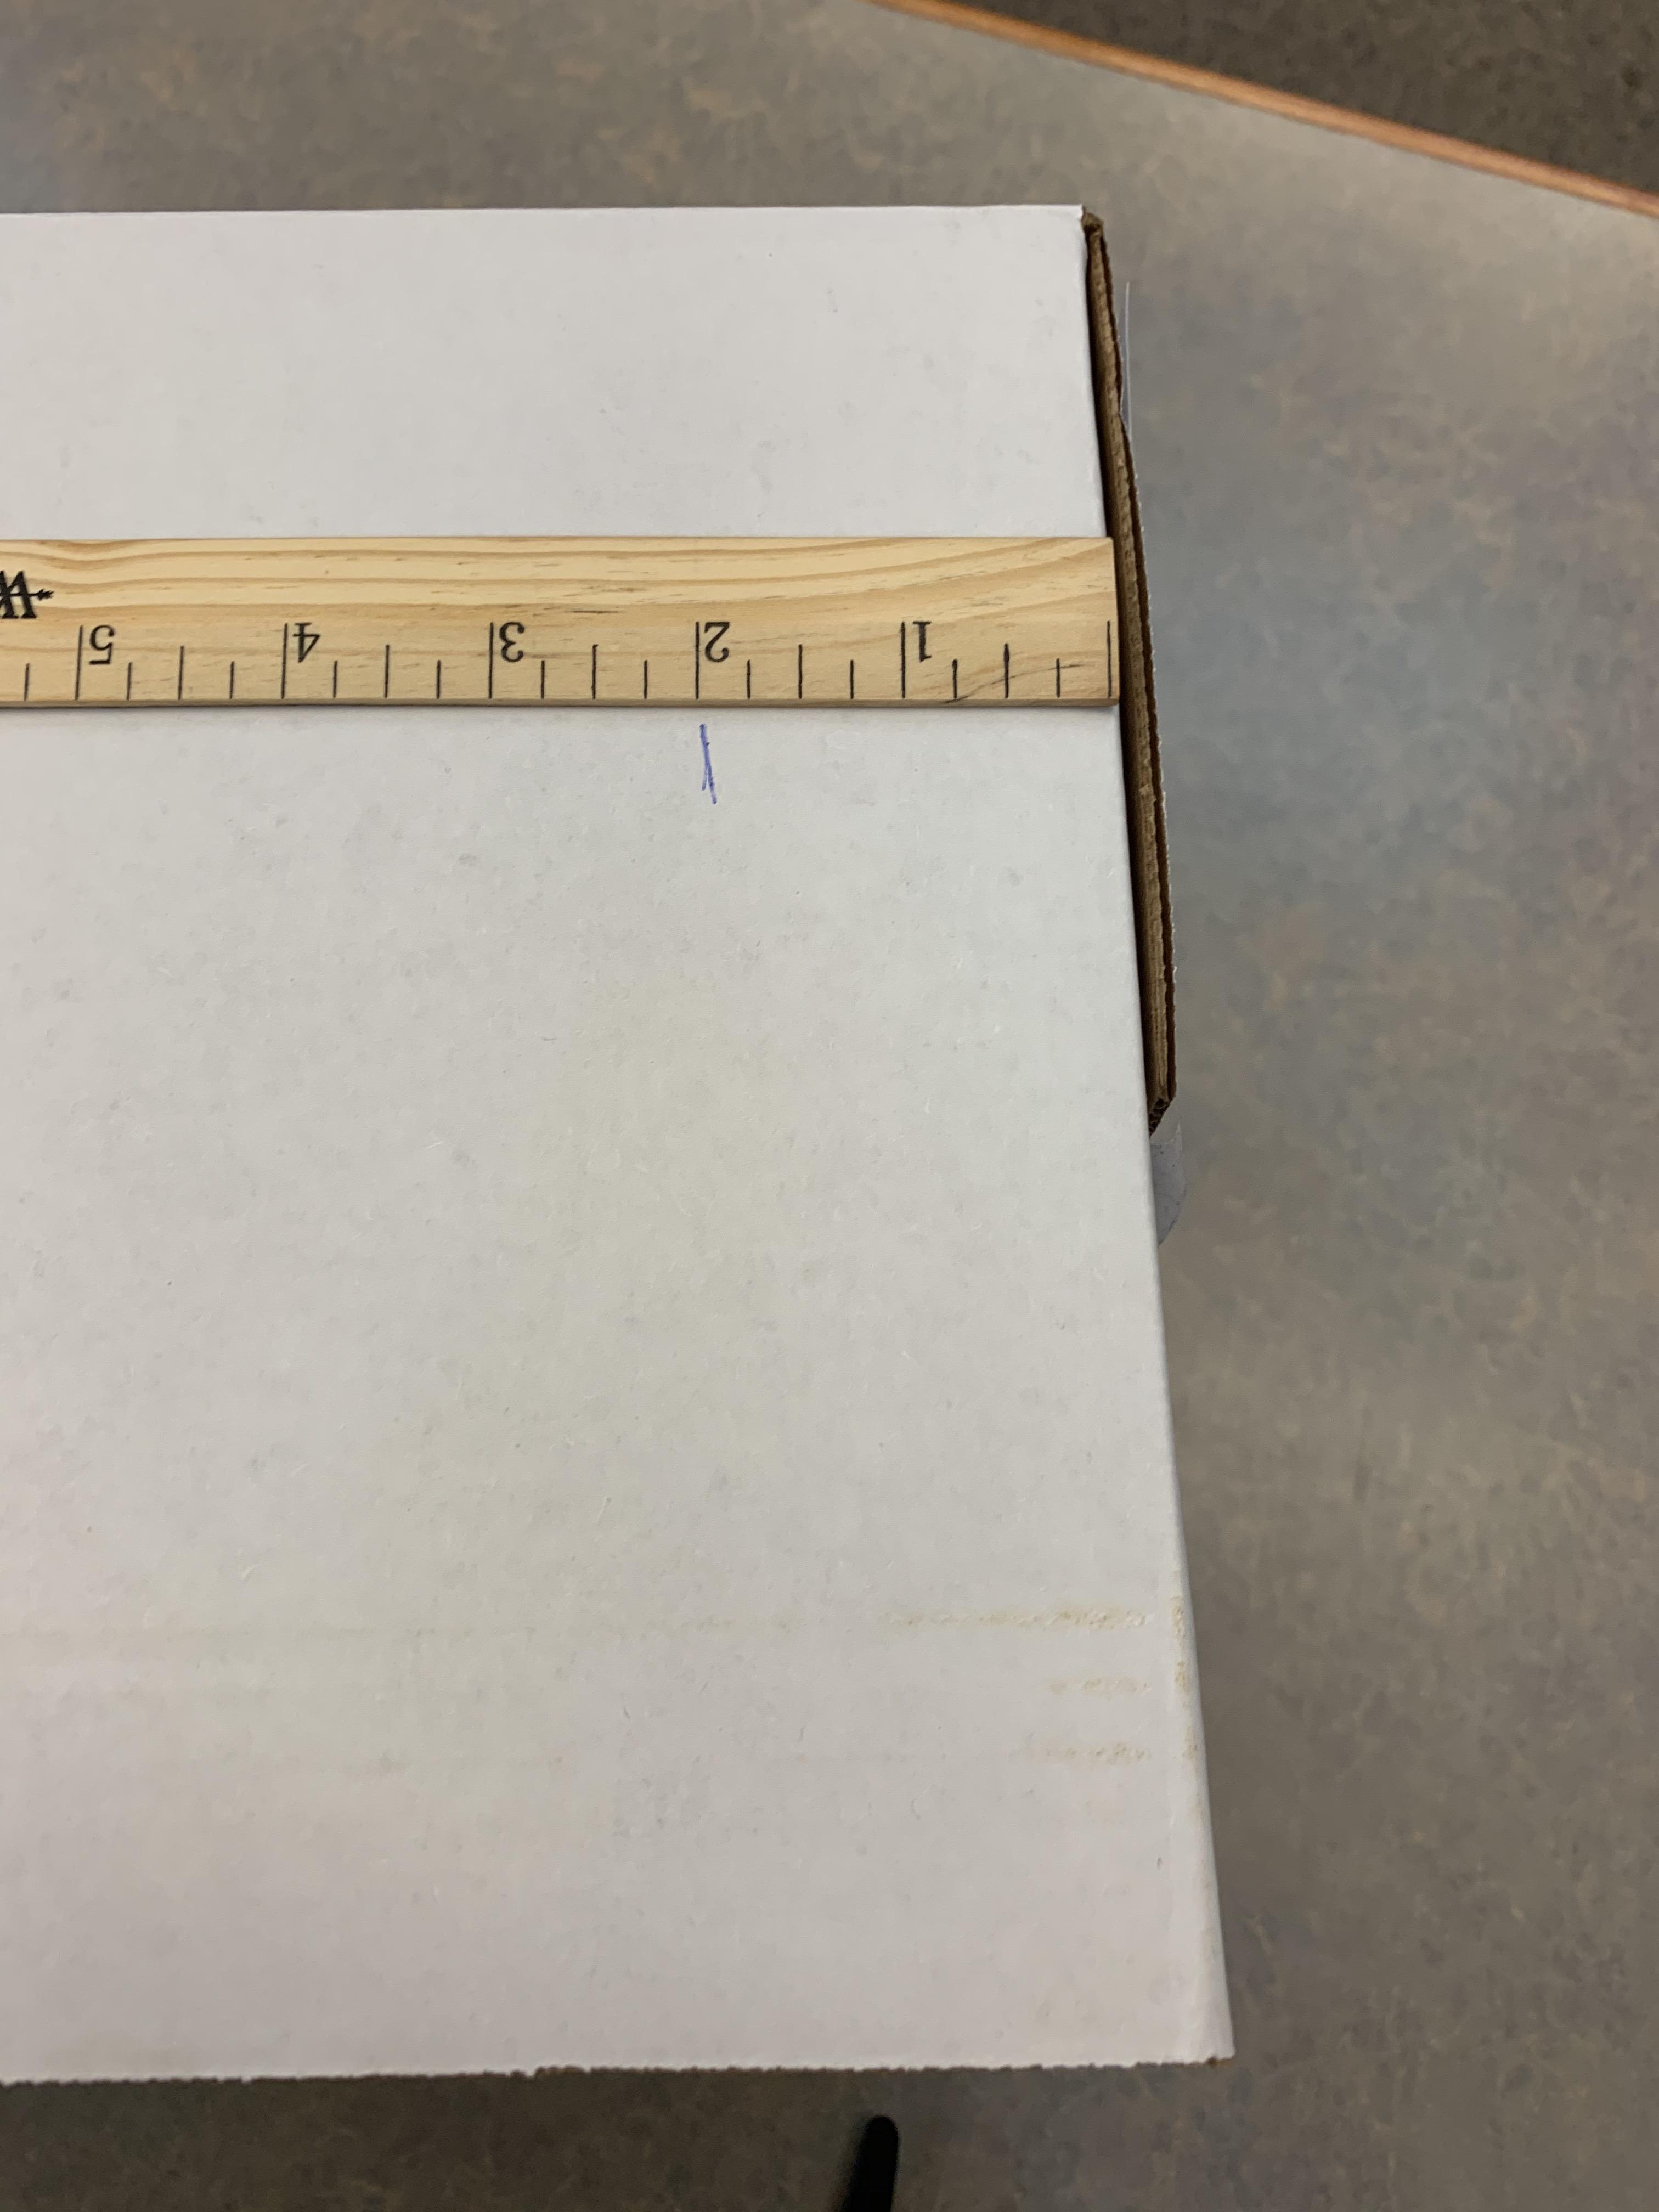
- Turn the box on it's side with the open part of the box facing you. (The bottom of the box will become the TOP of your stand!)
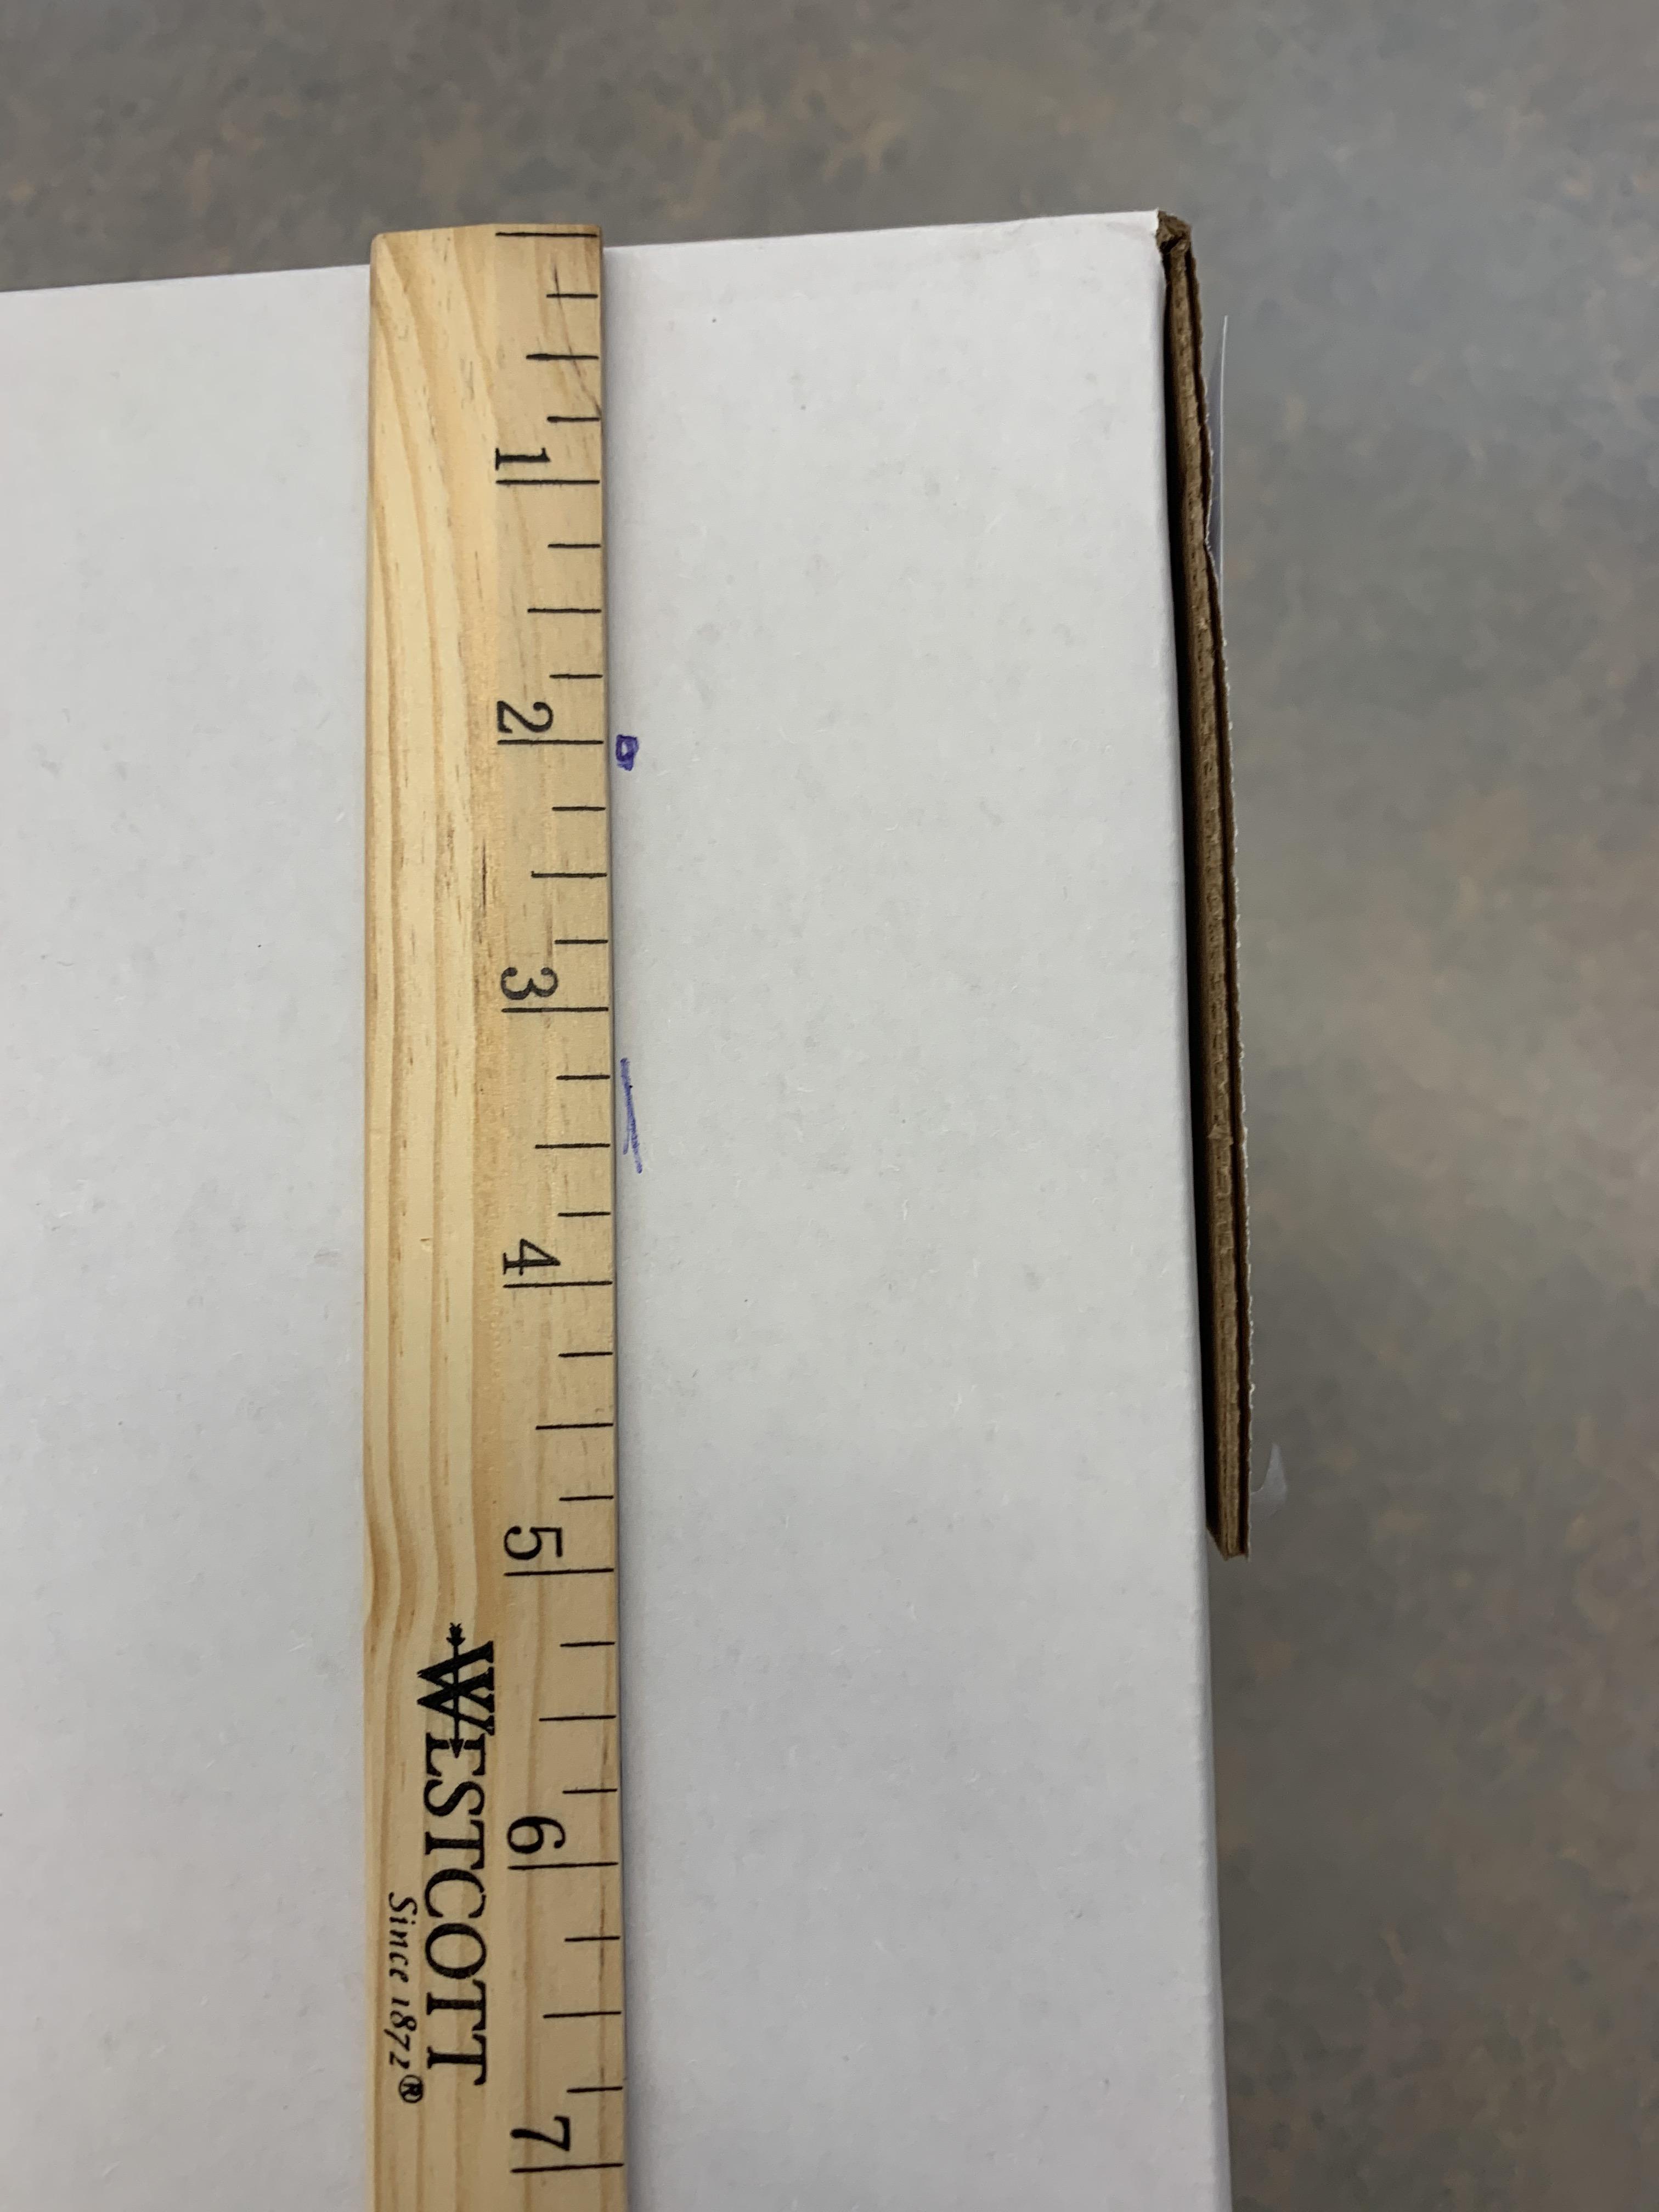
- Measure 2 inches from the edge of your new TOP and 2 inches from the sides and make marks with your pen.
- Connect the dots to create a rectangle (see picture).
- Flip the box over and repeat on the other side.
Cut
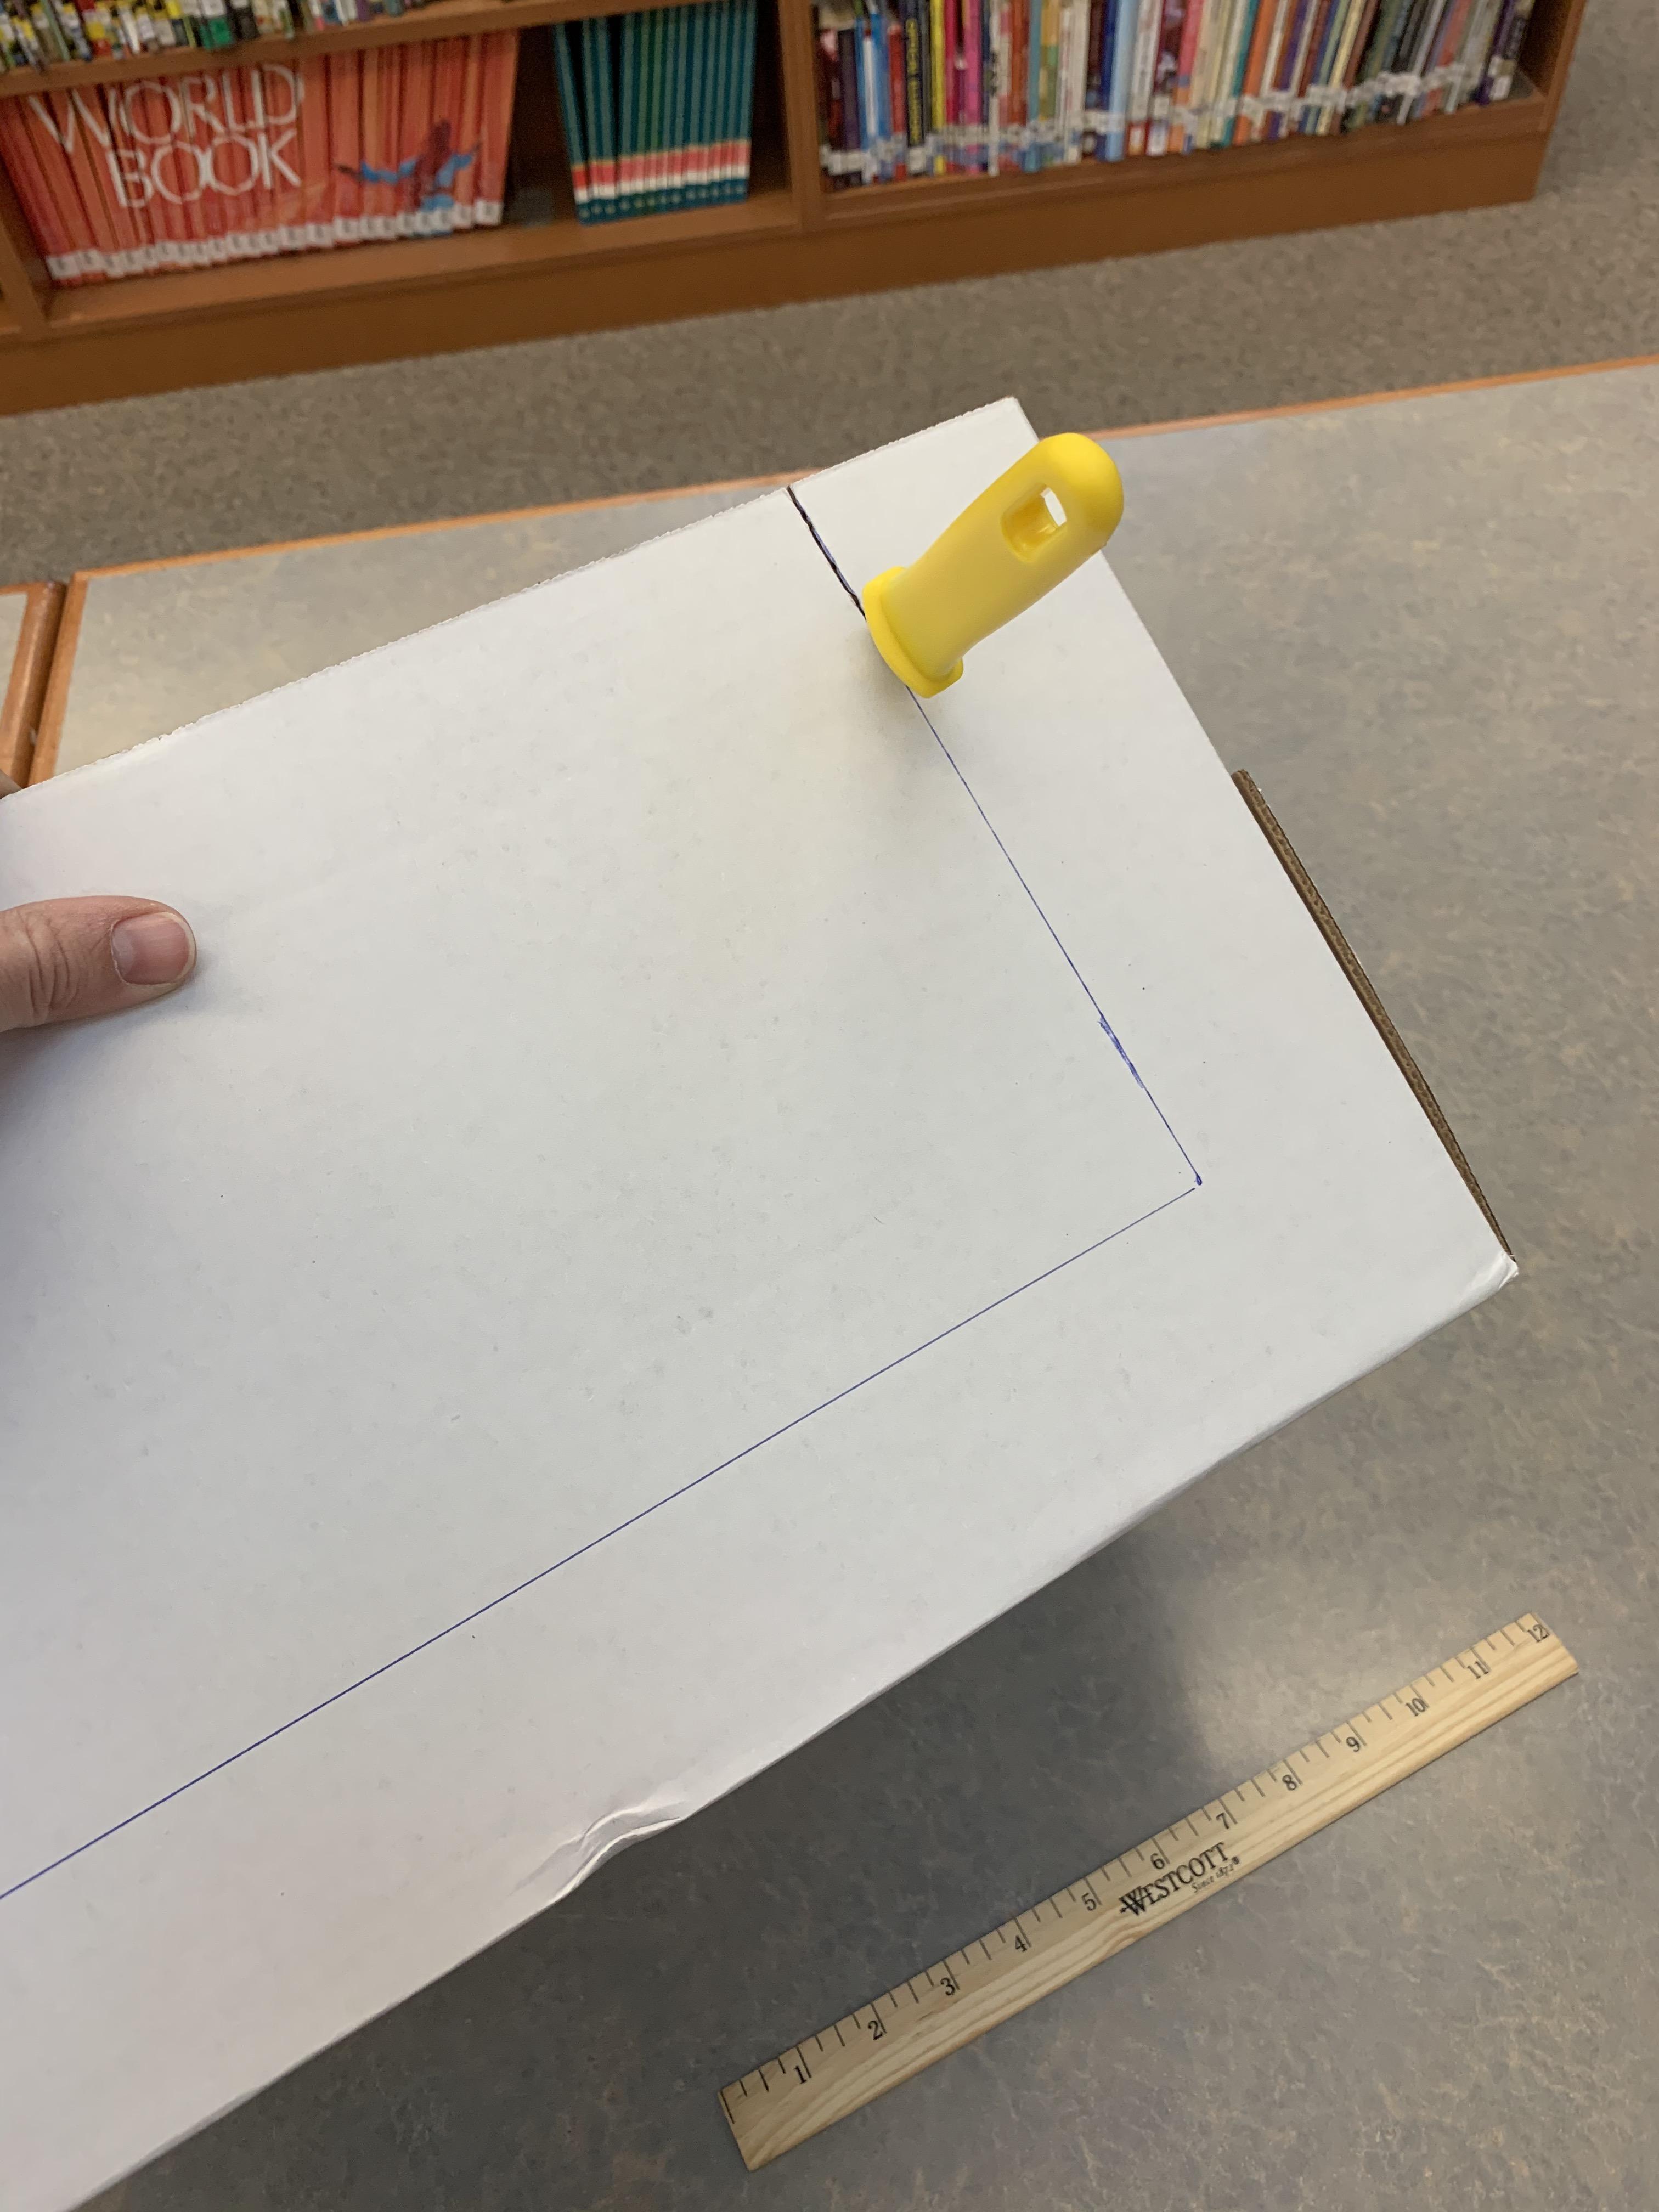
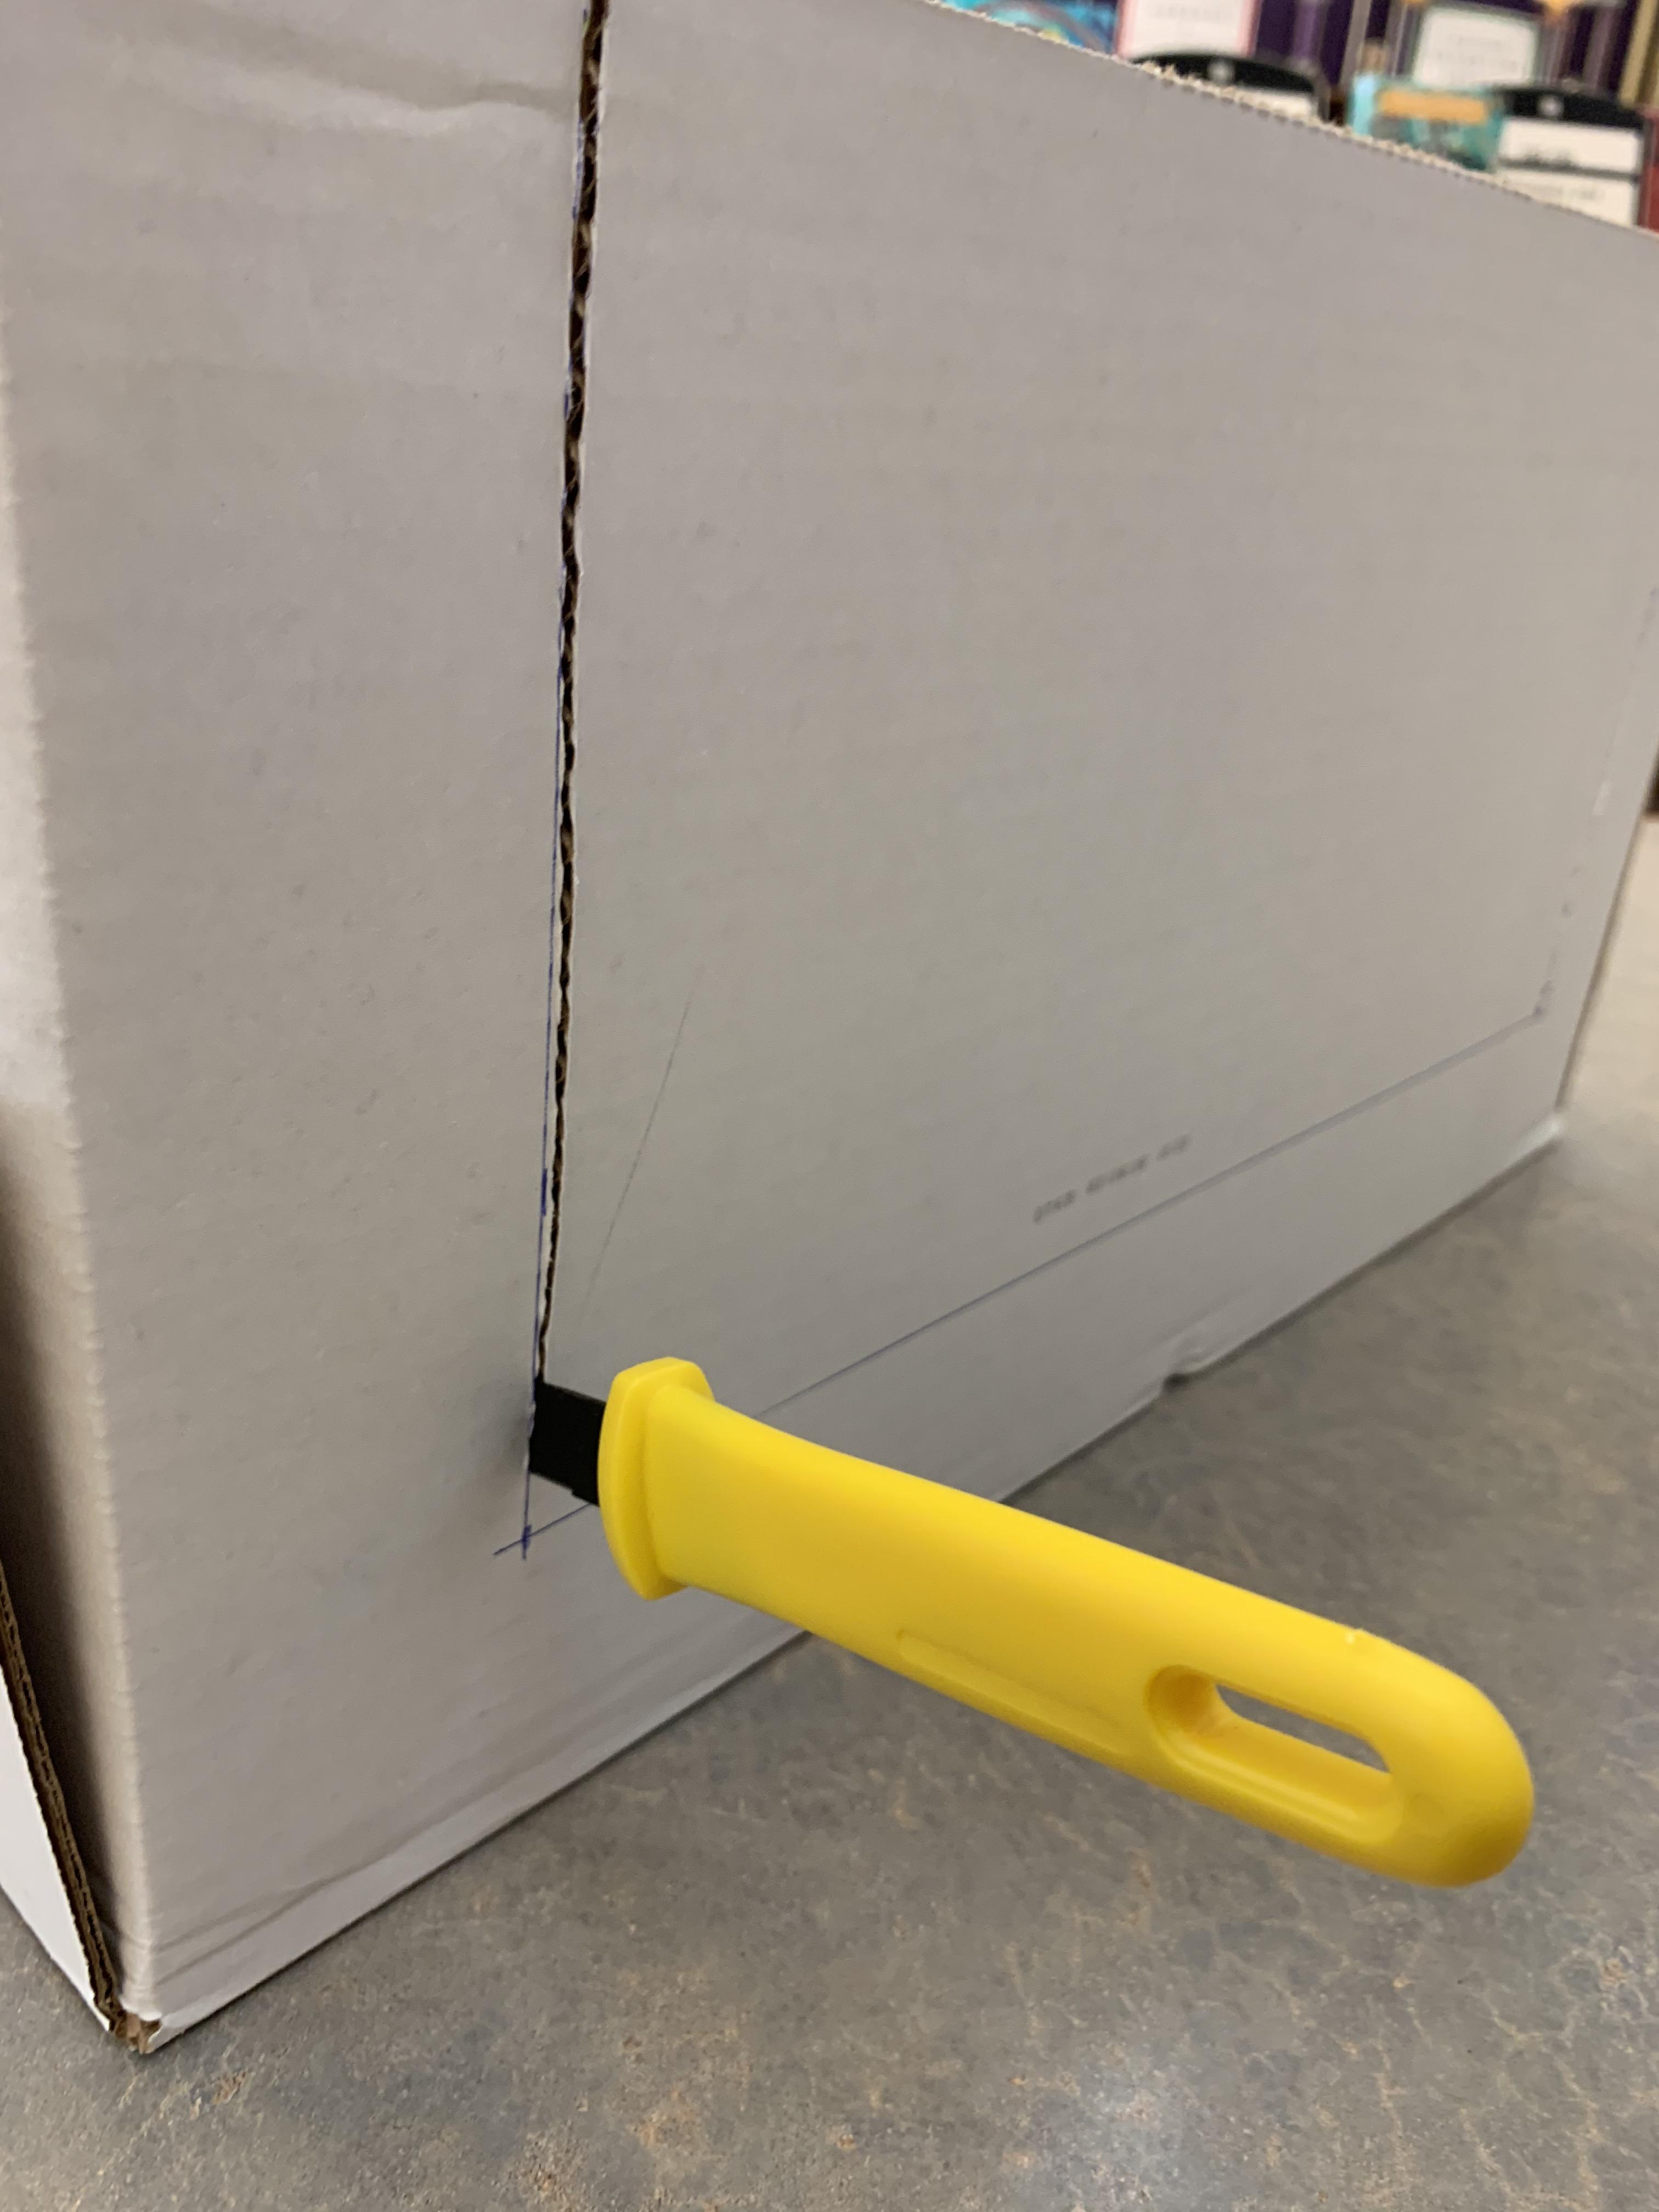
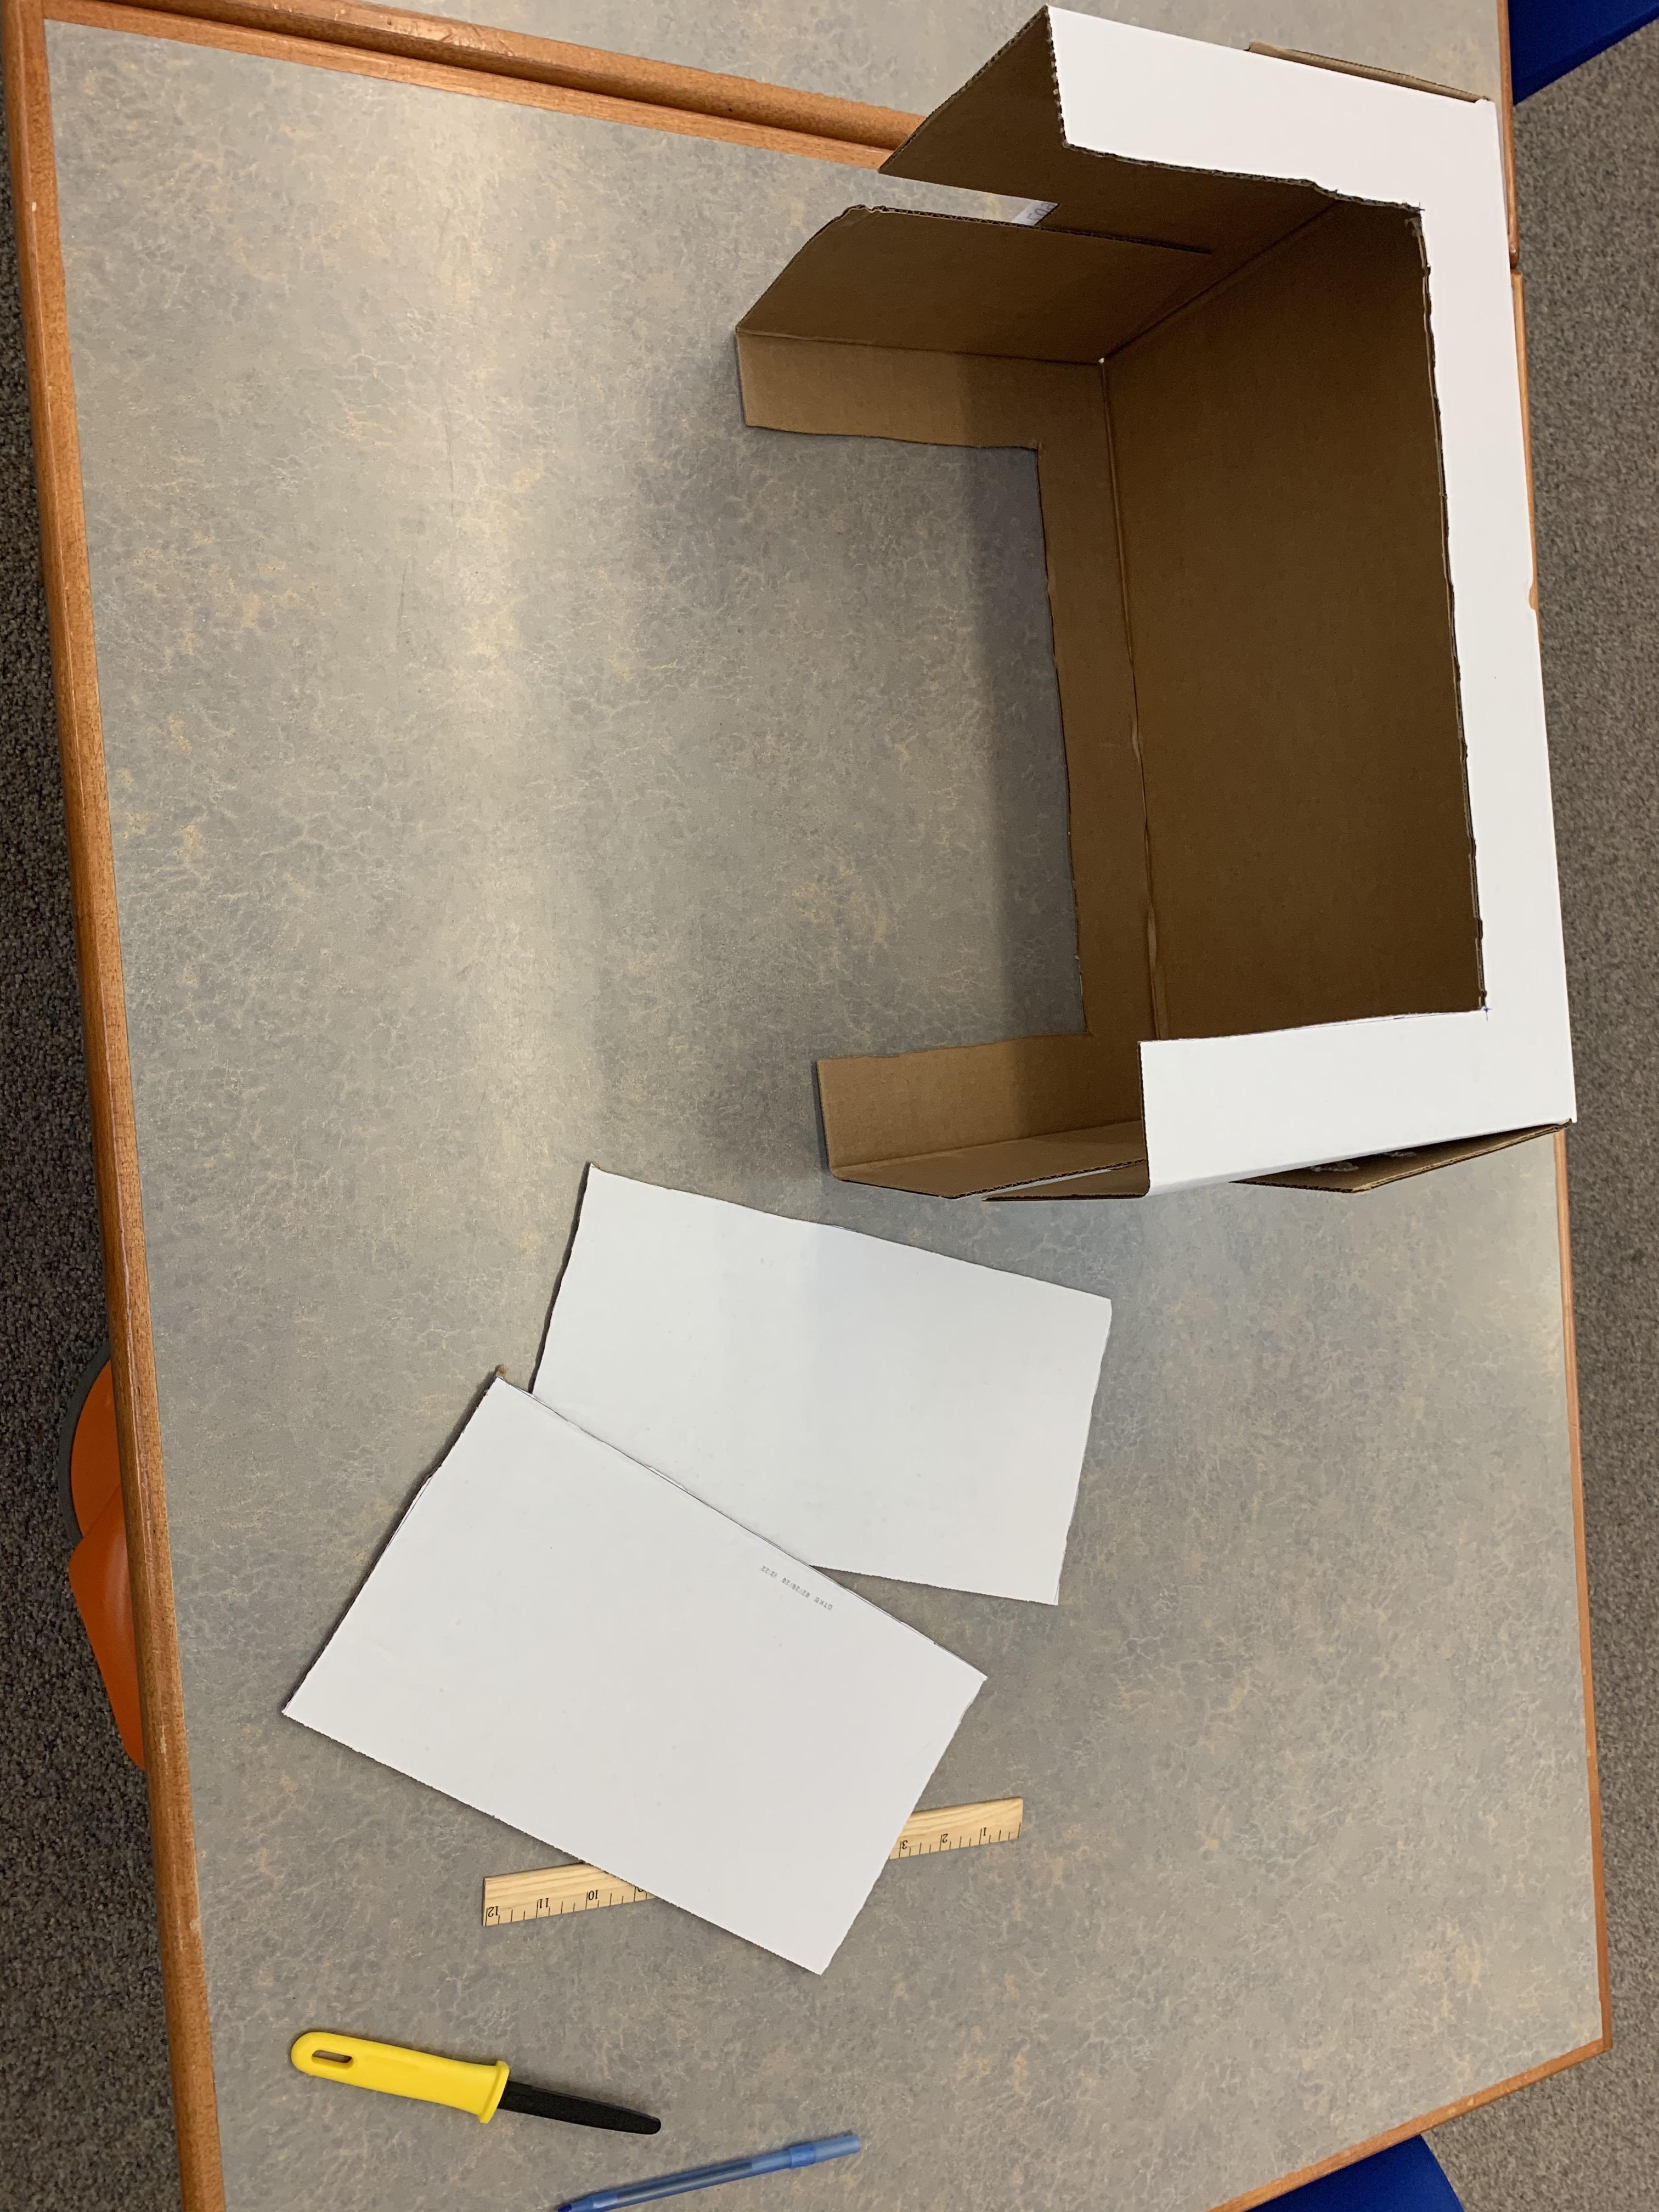
- Use your cutting tool to carefully cut along the lines.
**Note** It's not important that it's cut perfectly (in fact I've made so many of these that I've stopped measuring and marking at all) but it IS important that you don't cut yourself!!
Repeat on the Ends of the Box
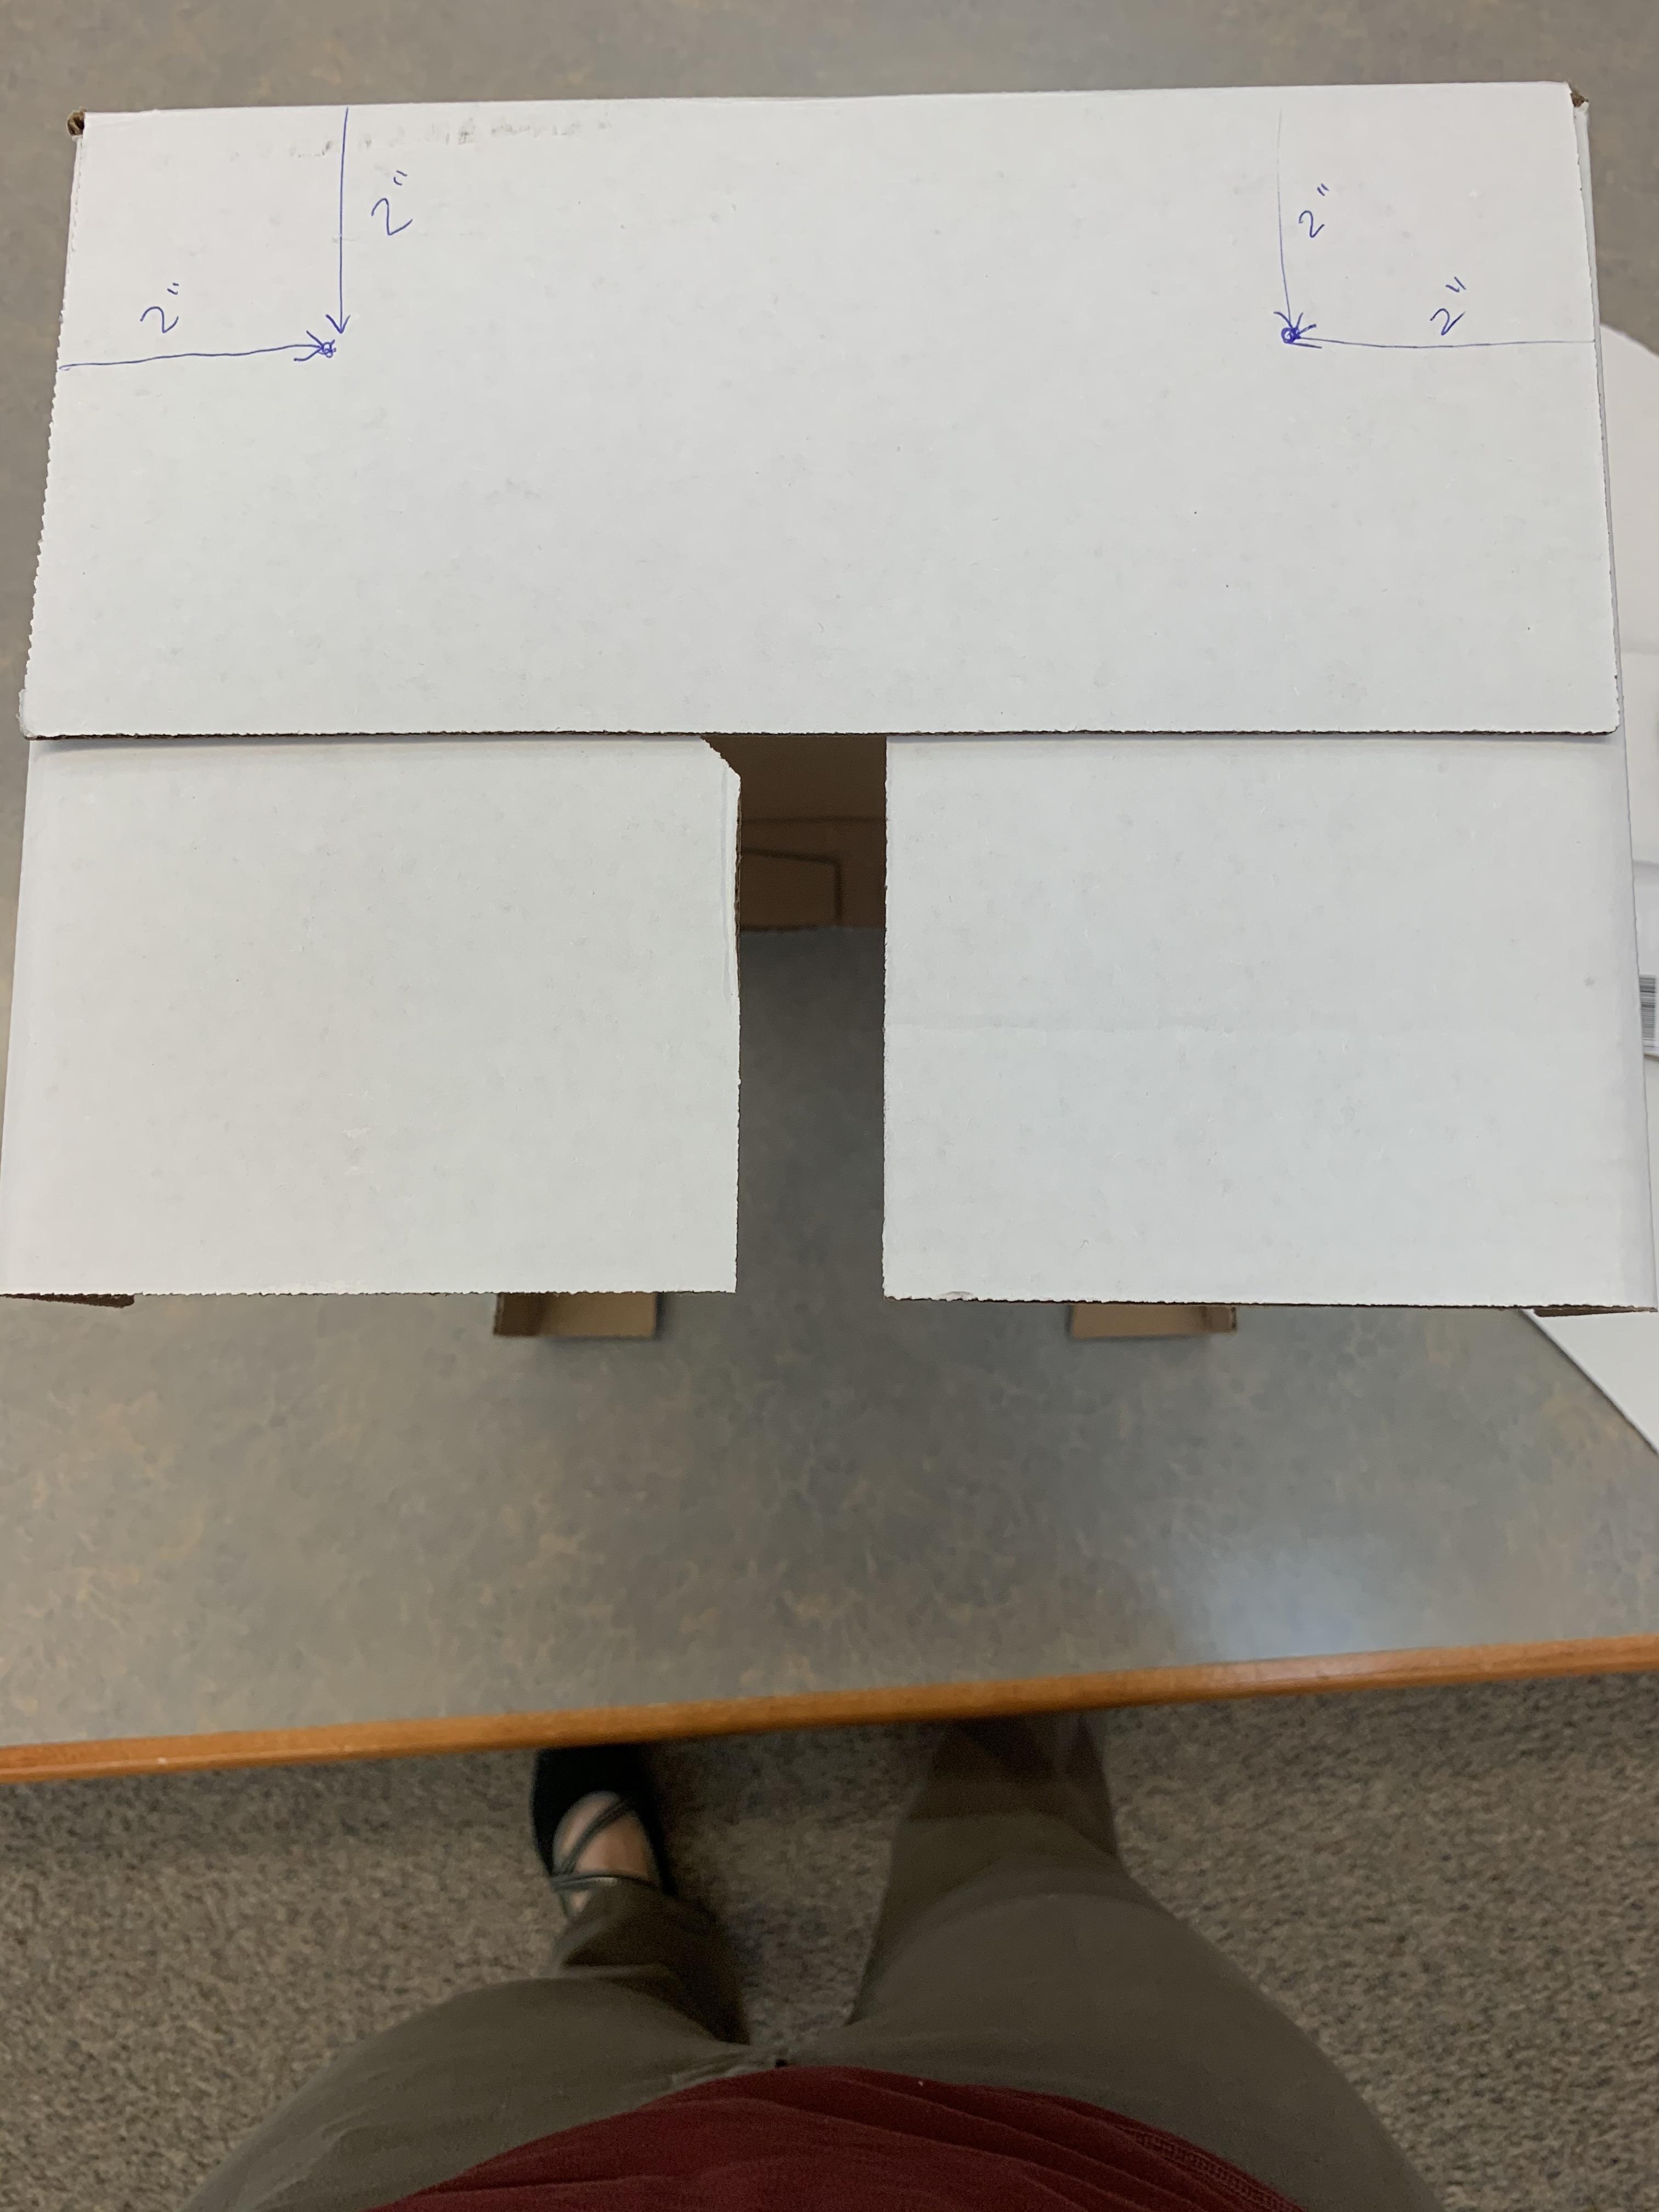
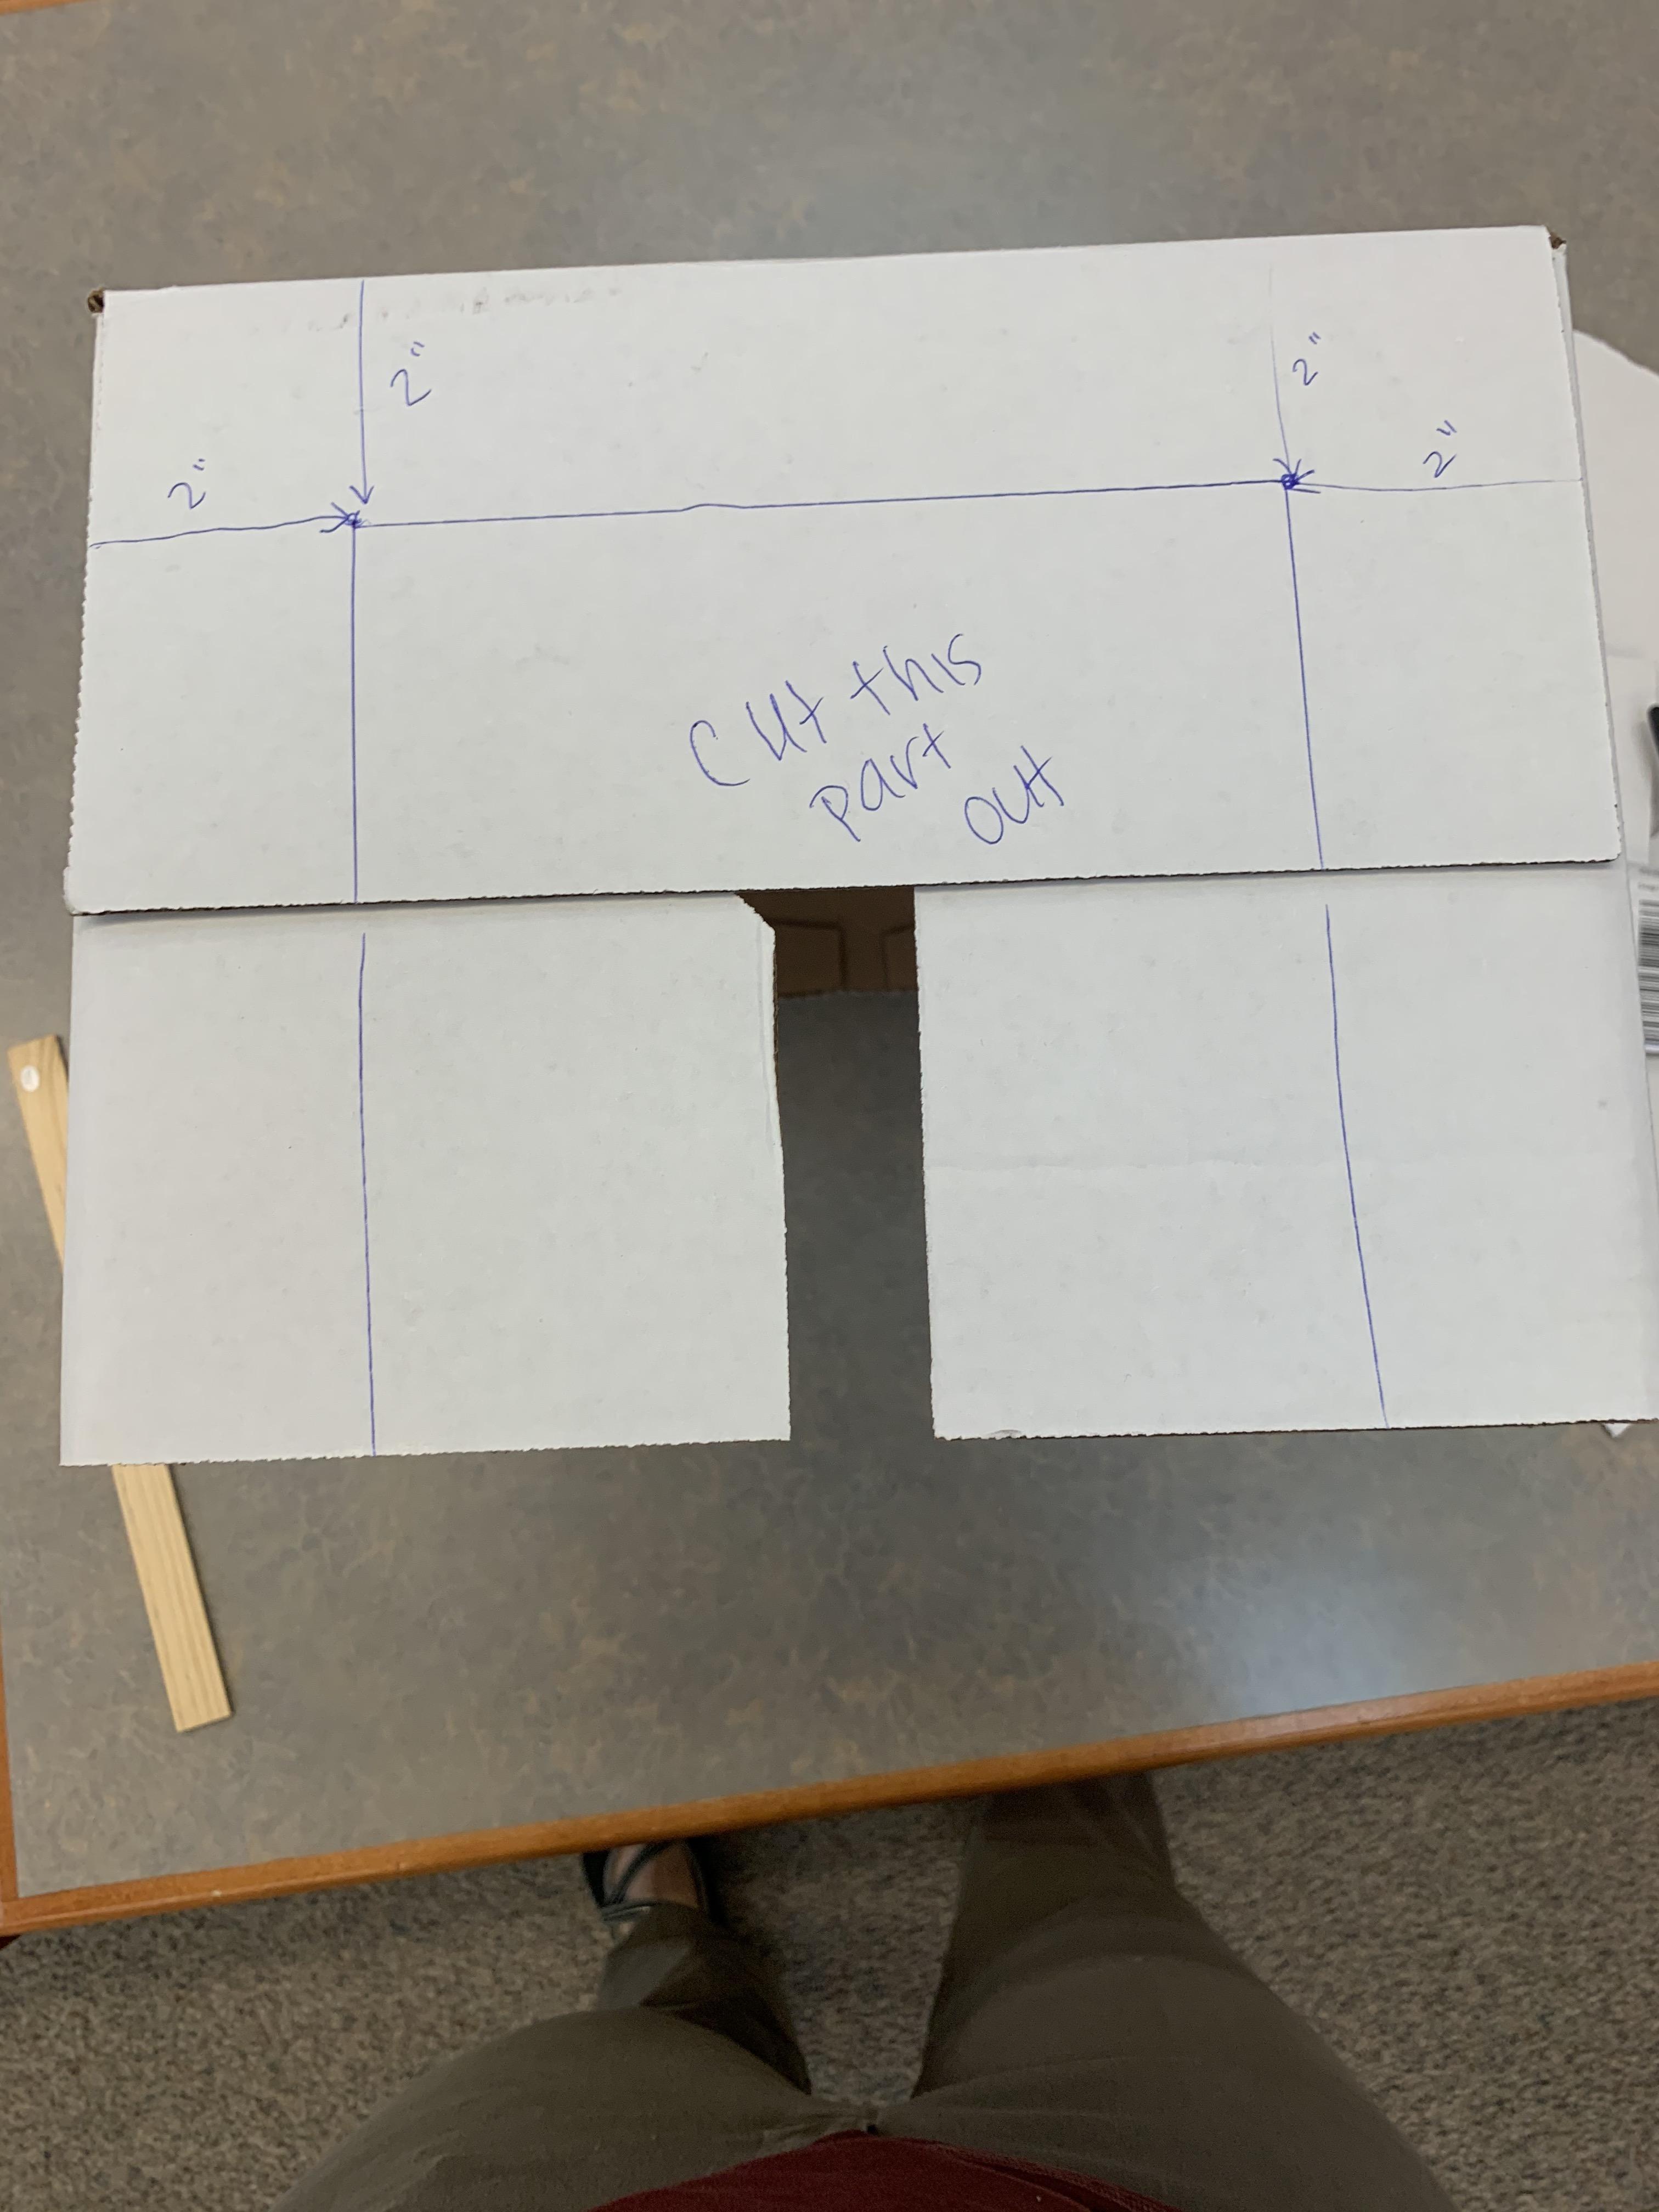
- Flip the box so it stands on it's end.
- Repeat the steps of measuring 2 inches and marking, connecting the lines and carefully cutting.
You Have Your Scanning 'table' Now!!
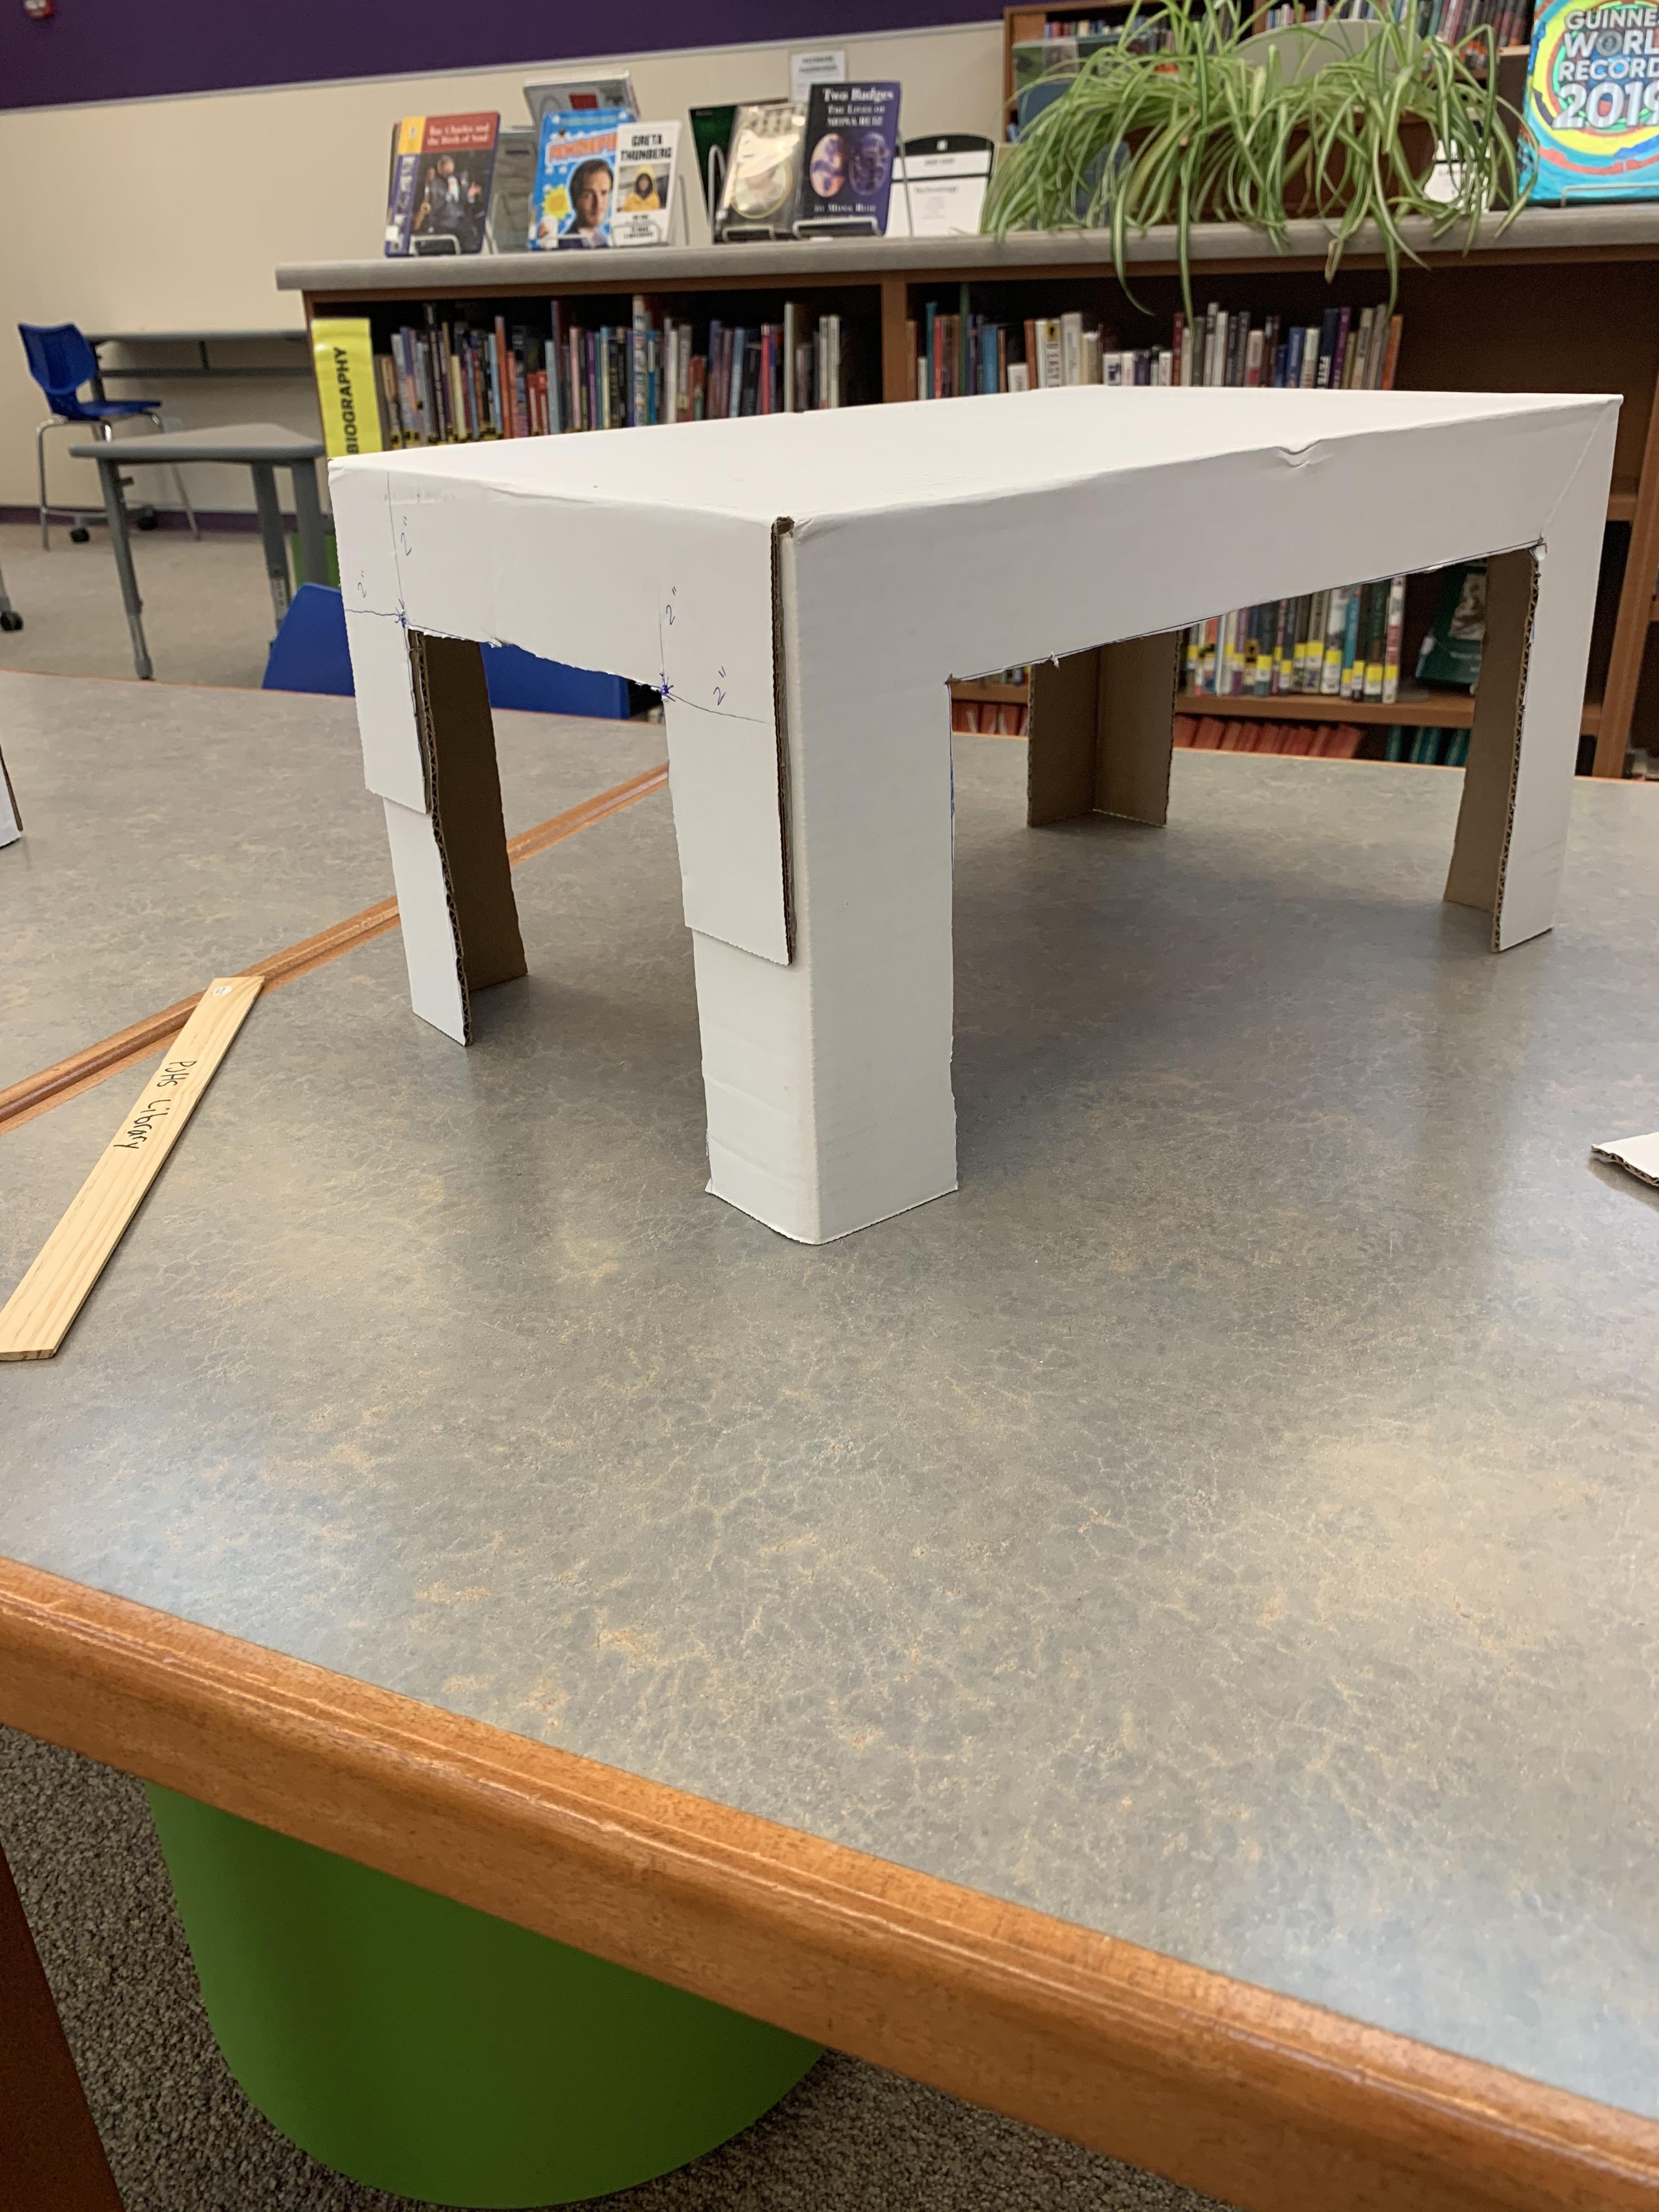
Cut a Hole for Your Camera.
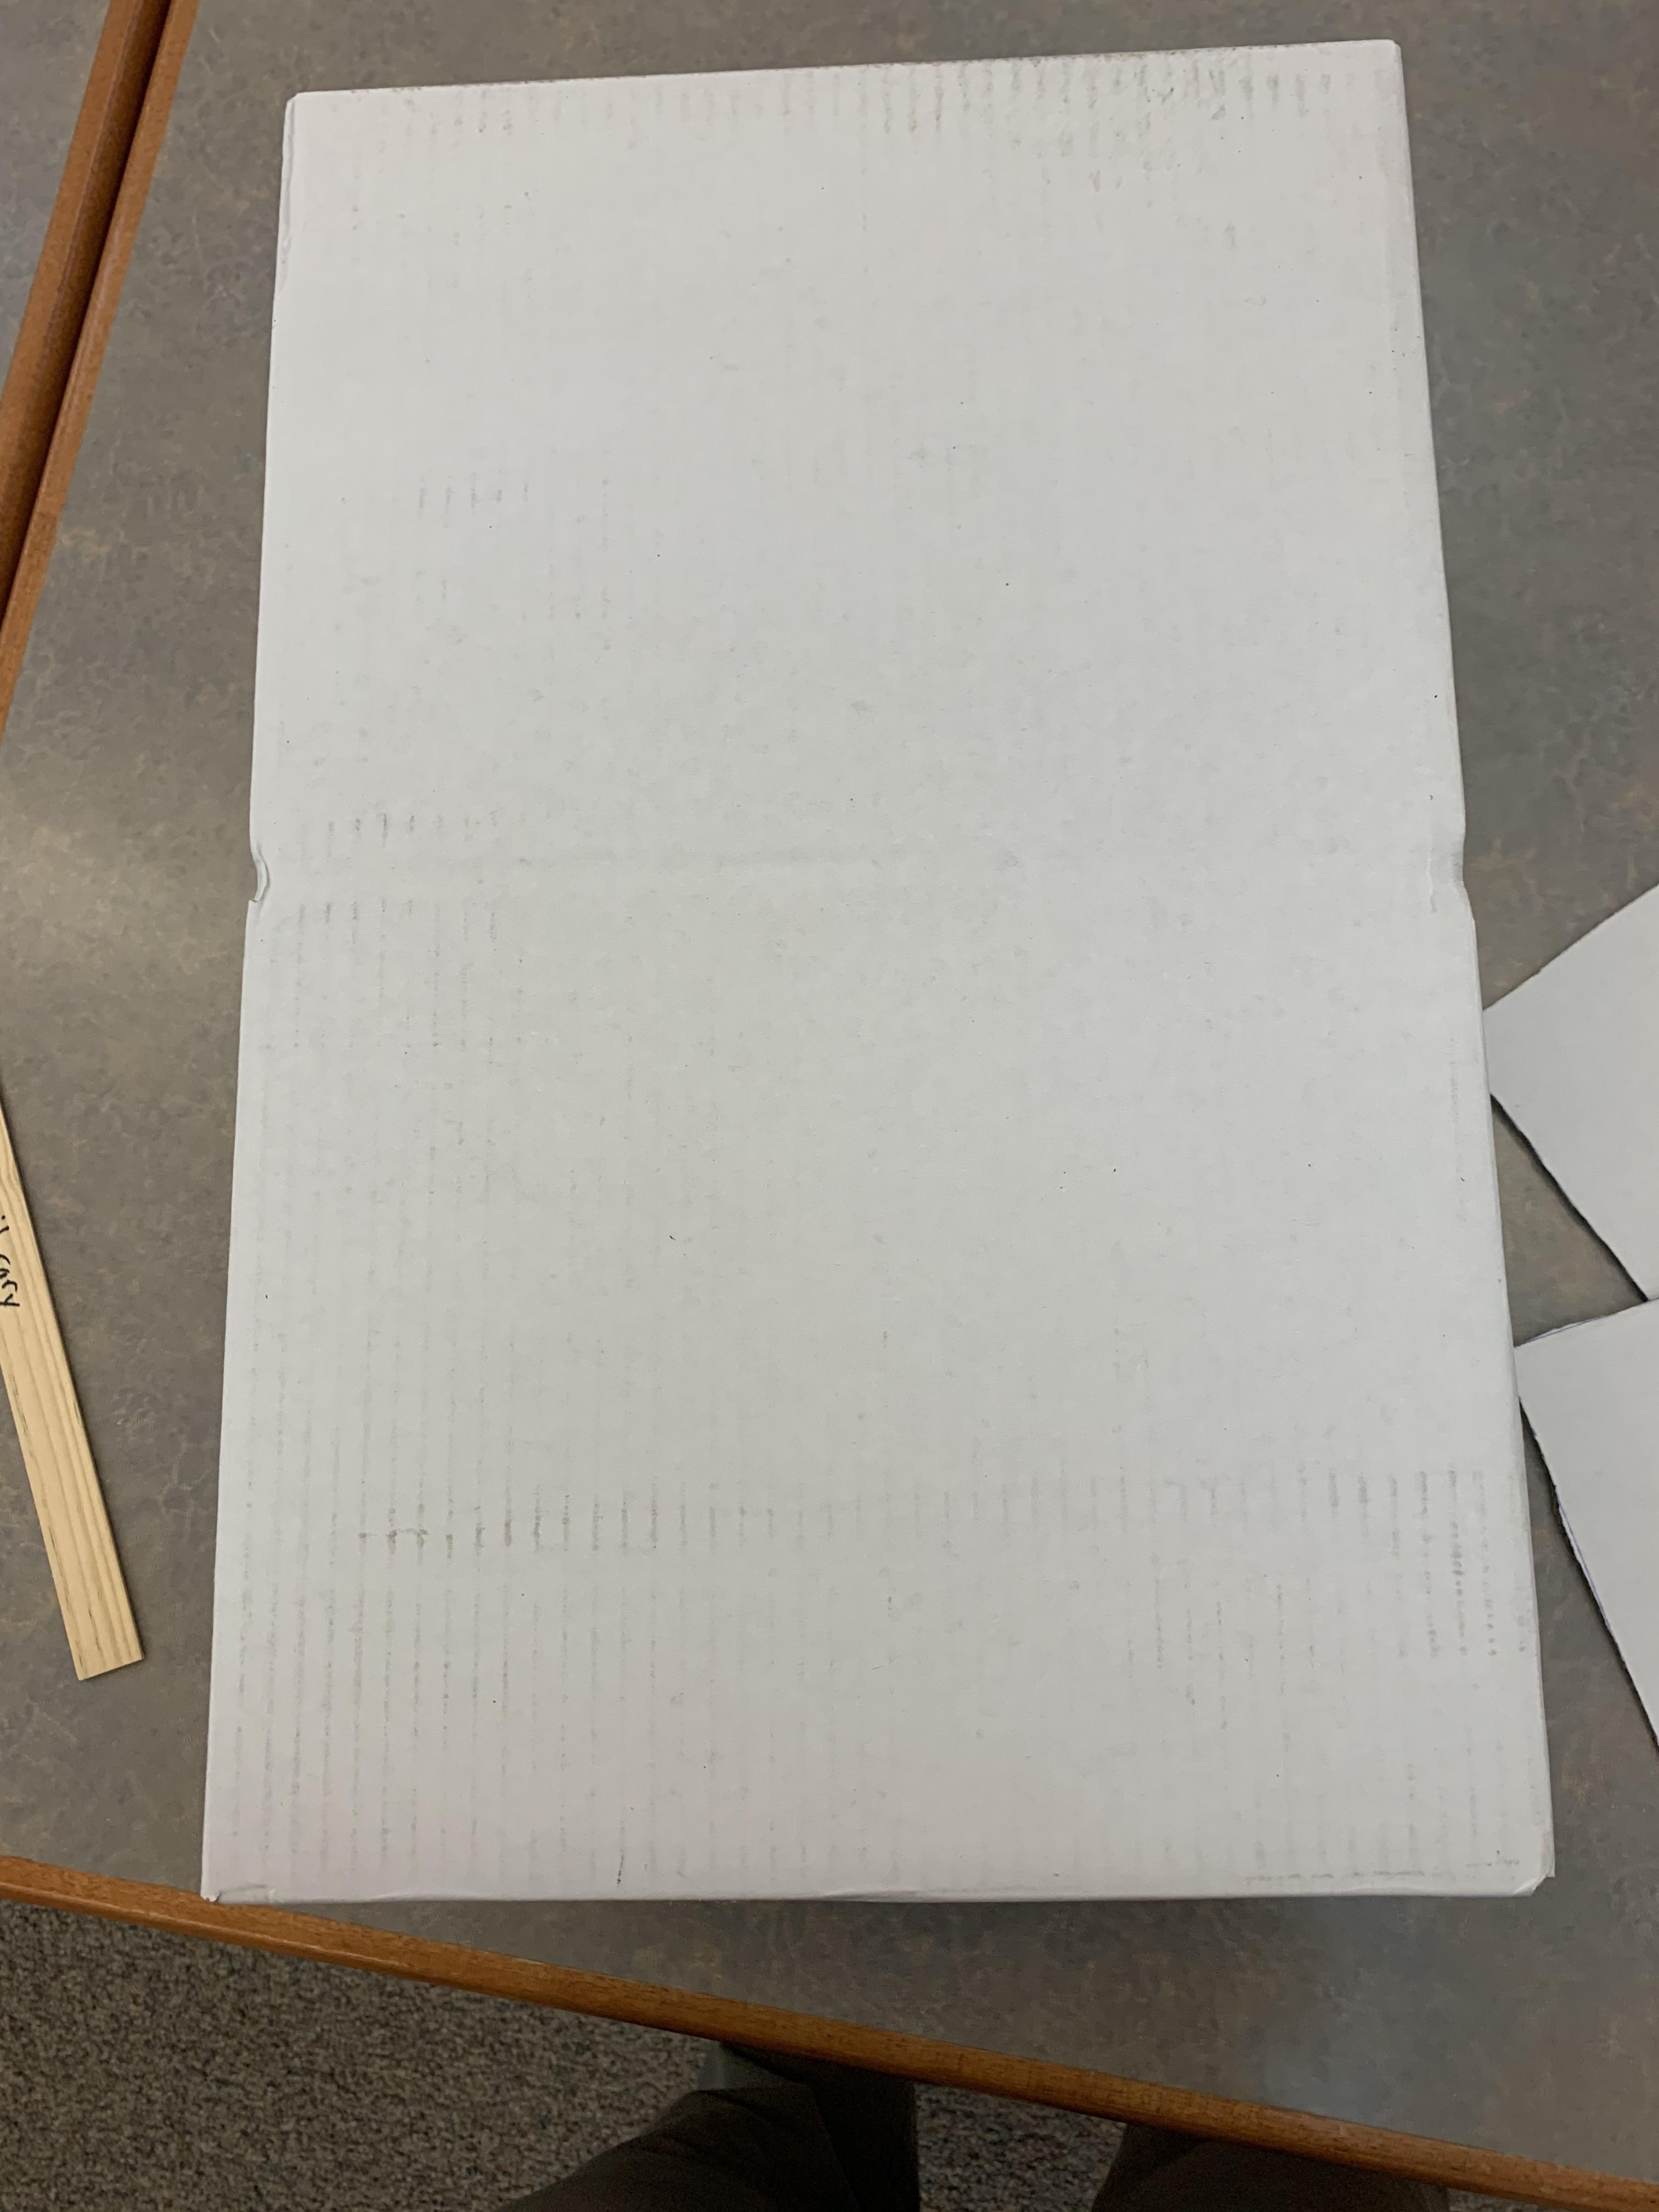
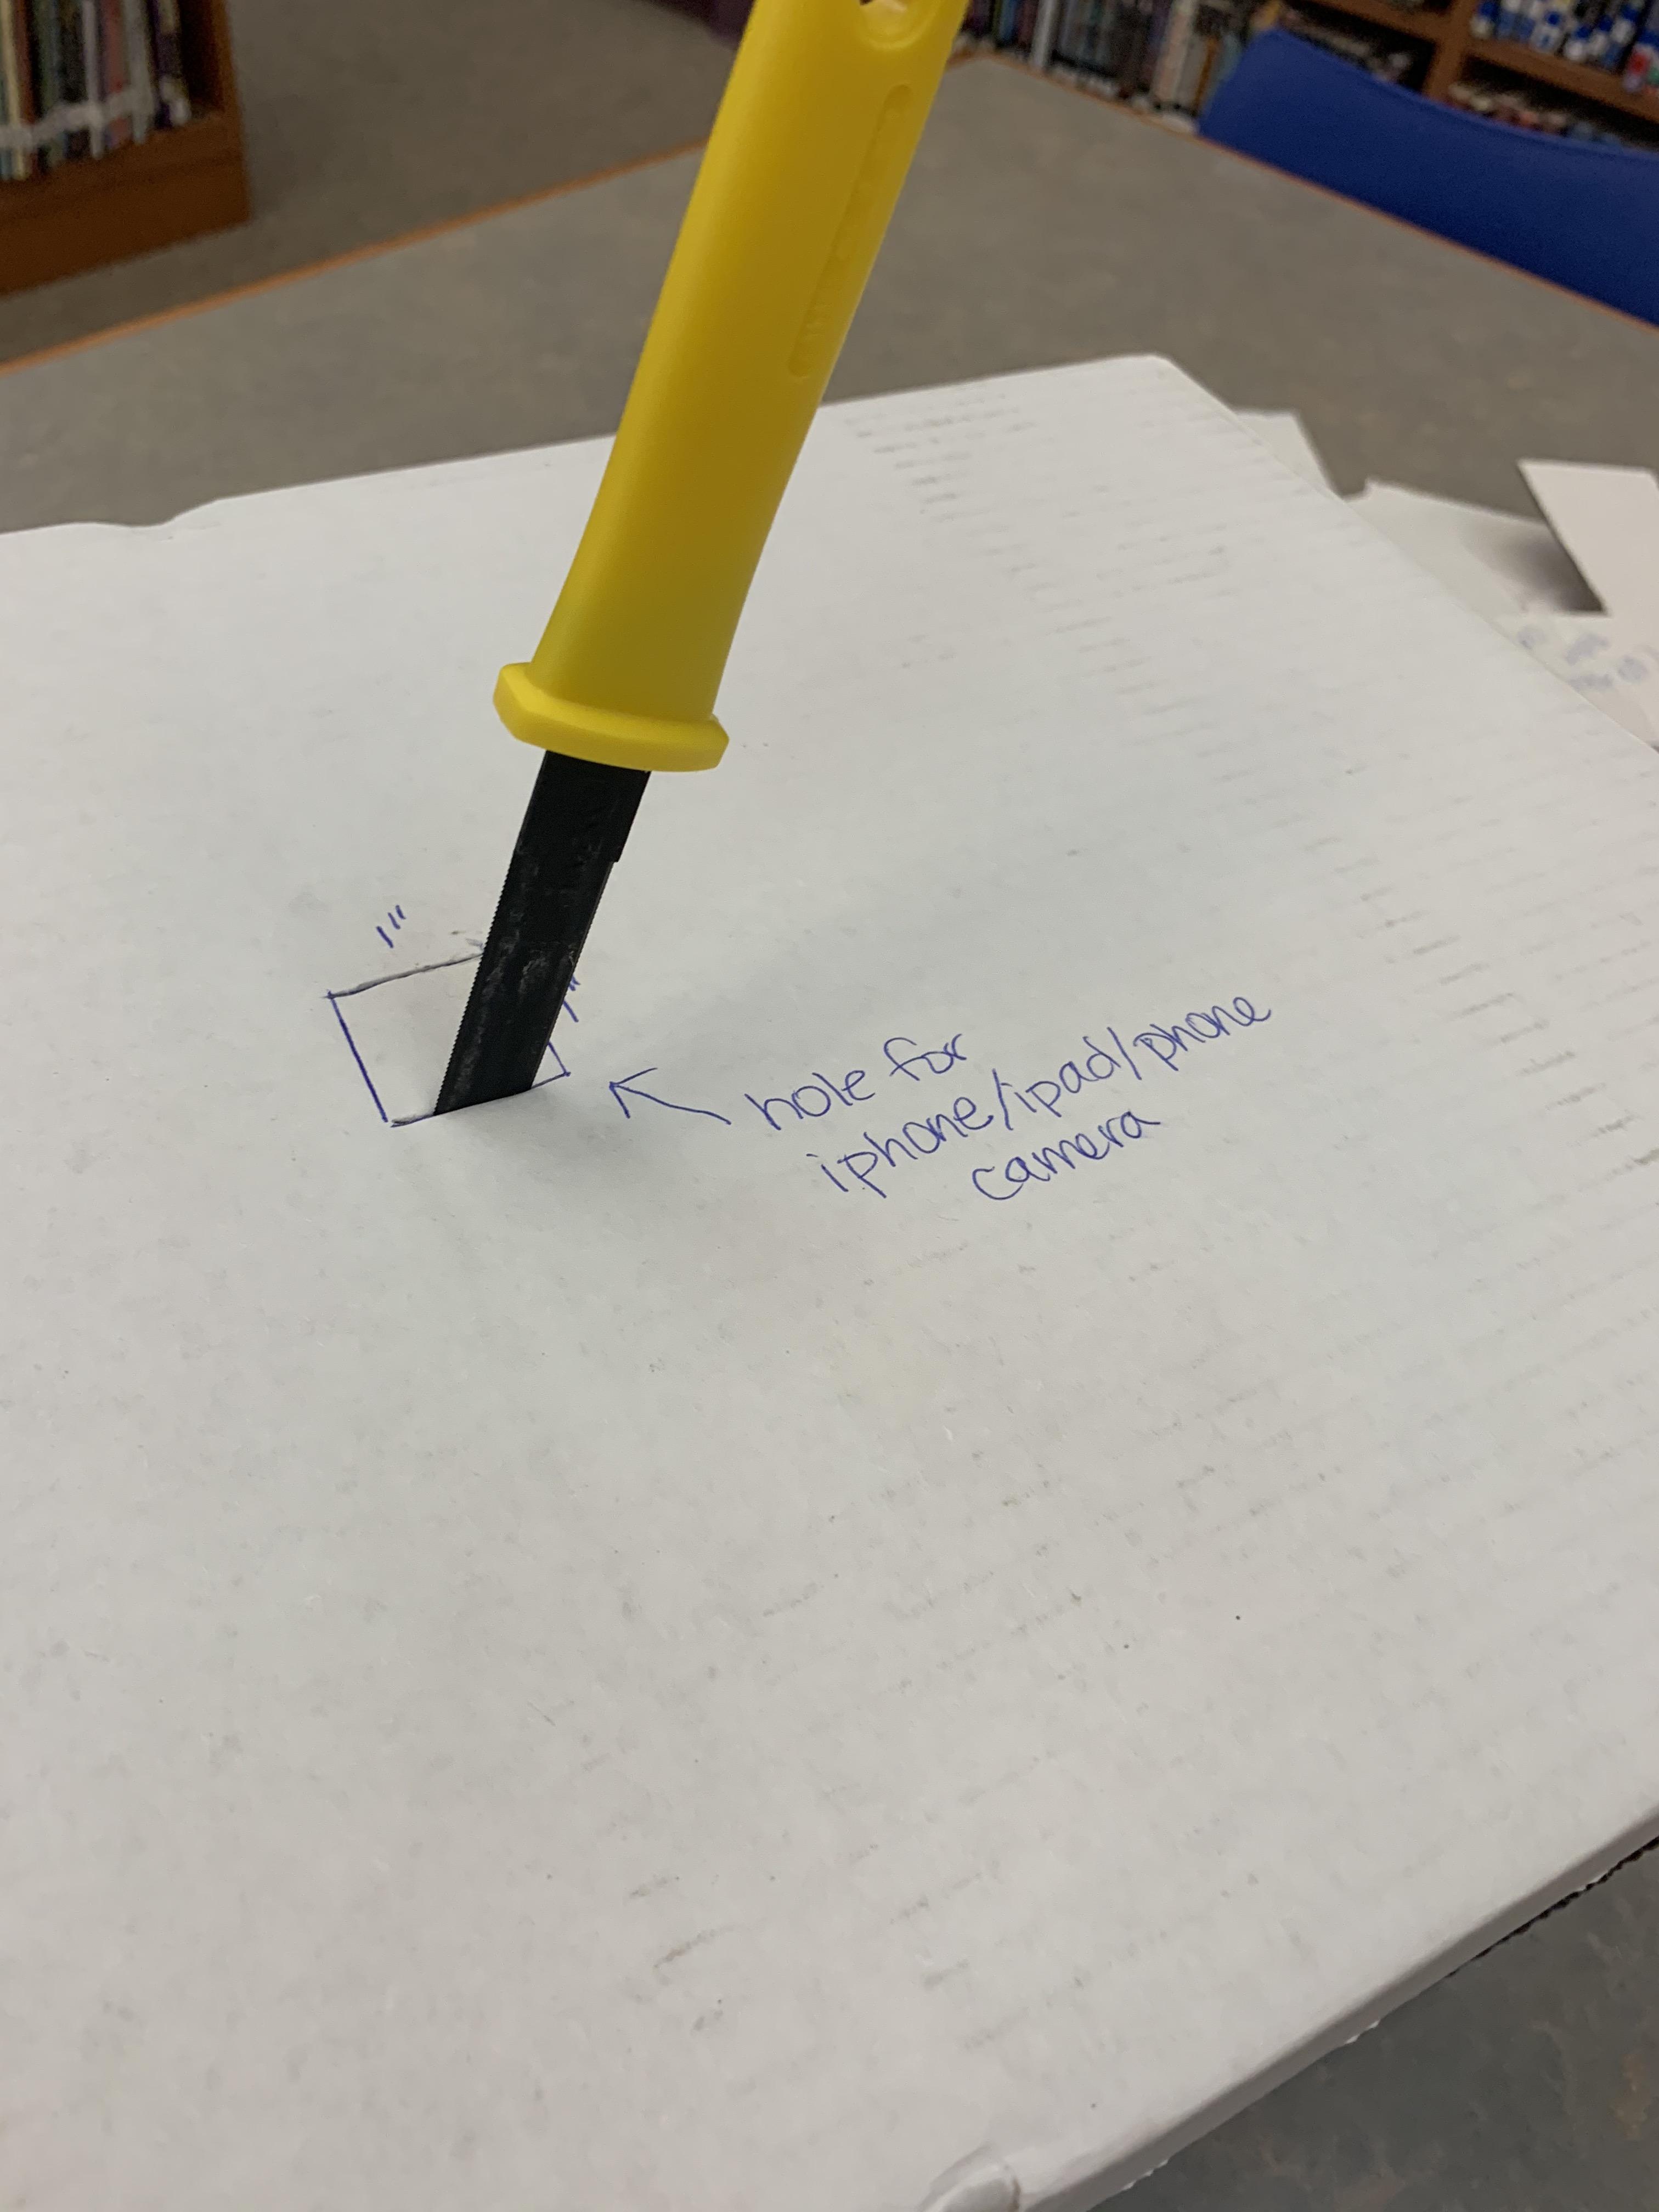
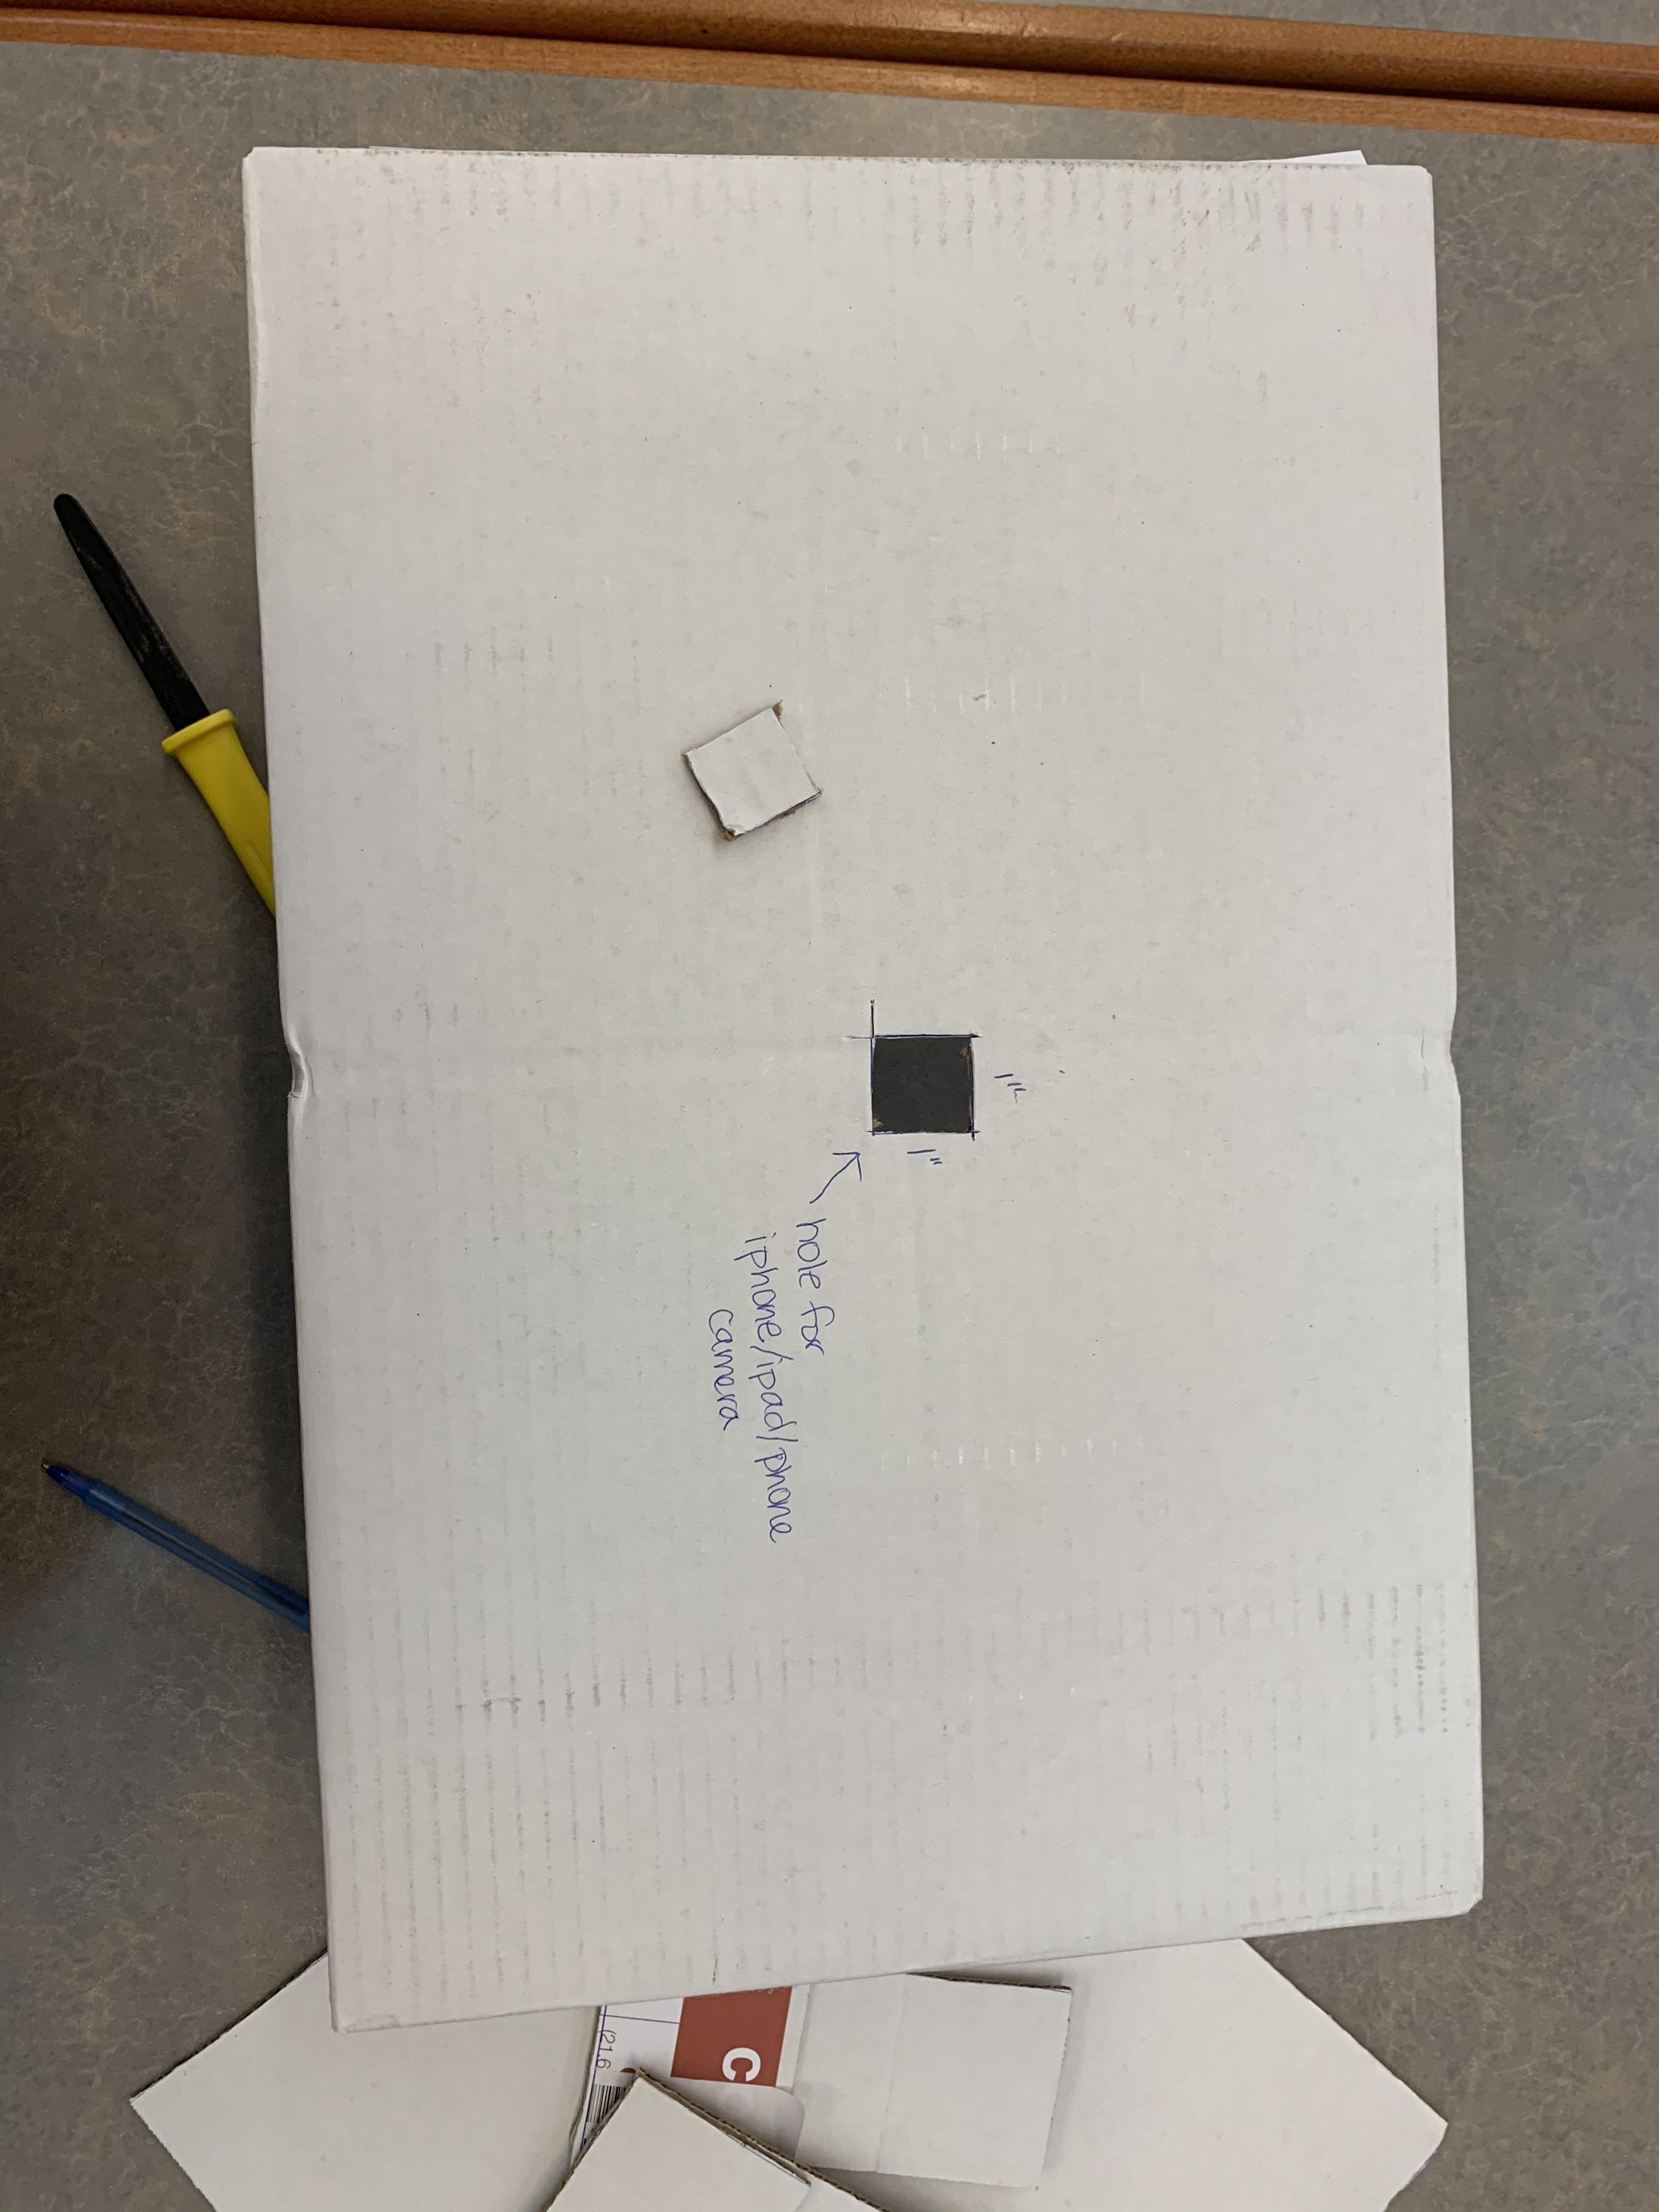
- Find the center on the top of your "table box" (It does not have to be the exact center! I just make my best guess, but you could measure if you want to.)
- Measure and mark a 1 x 1 inch square.
- Use your cutting tool to carefully cut it out
Place Your Camera Lens Over the Hole.
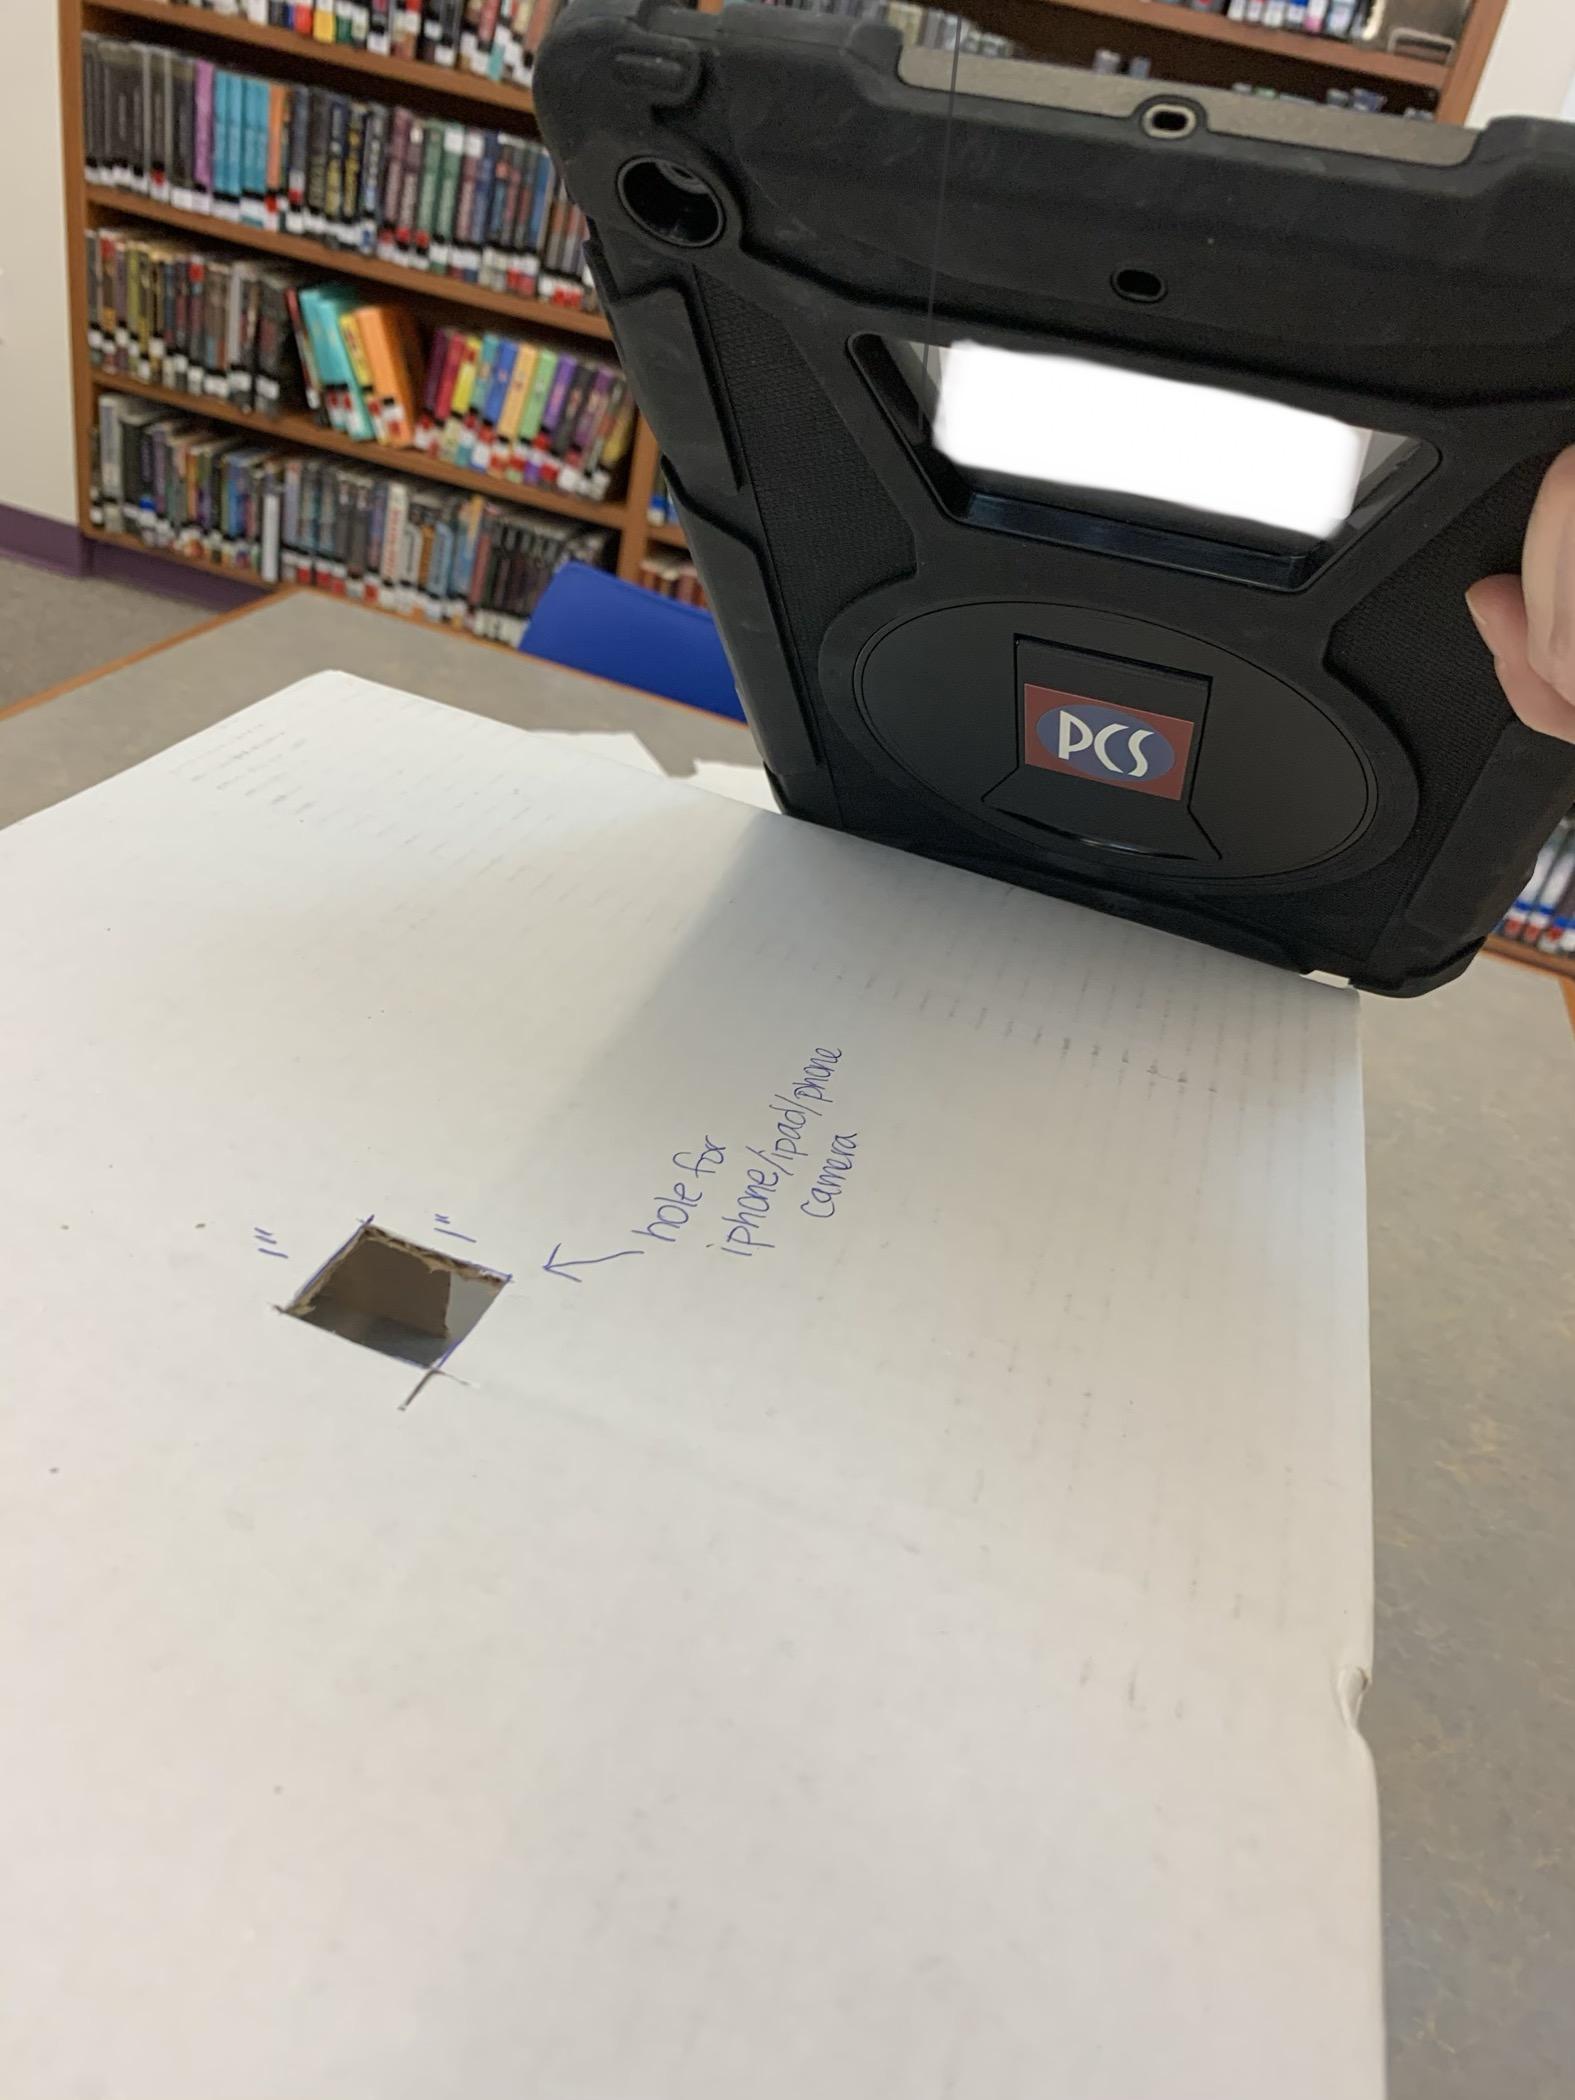
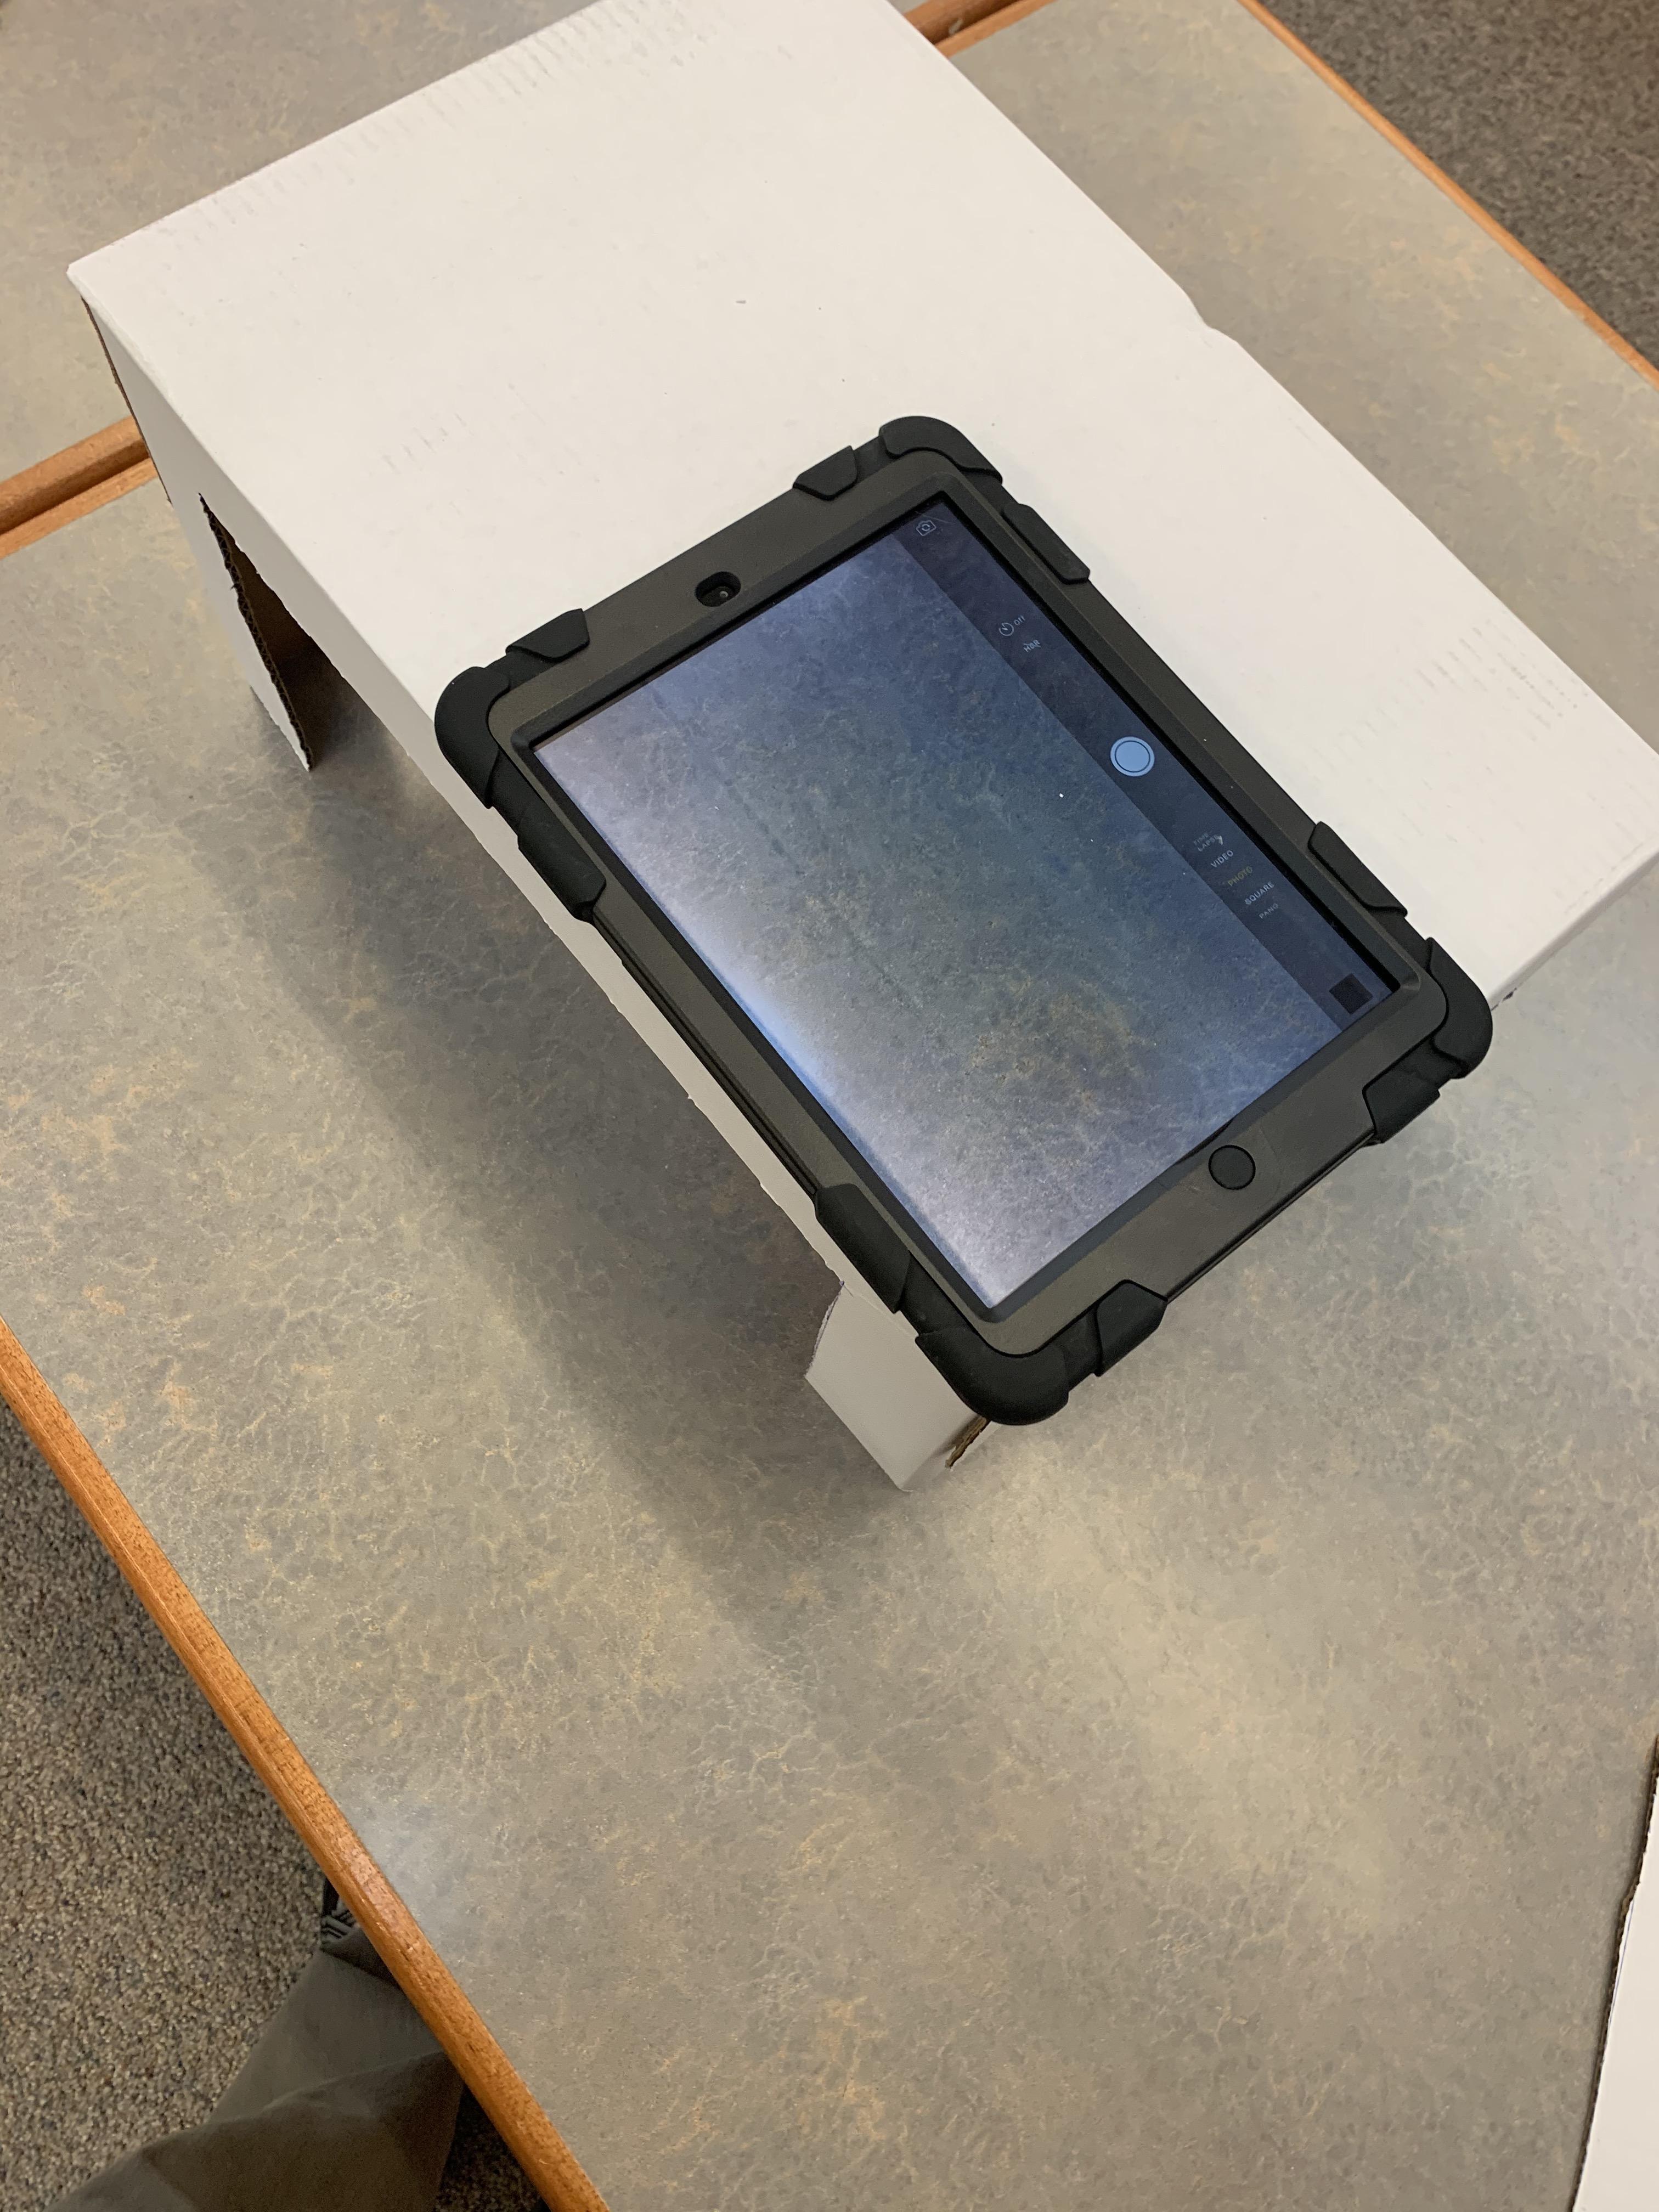
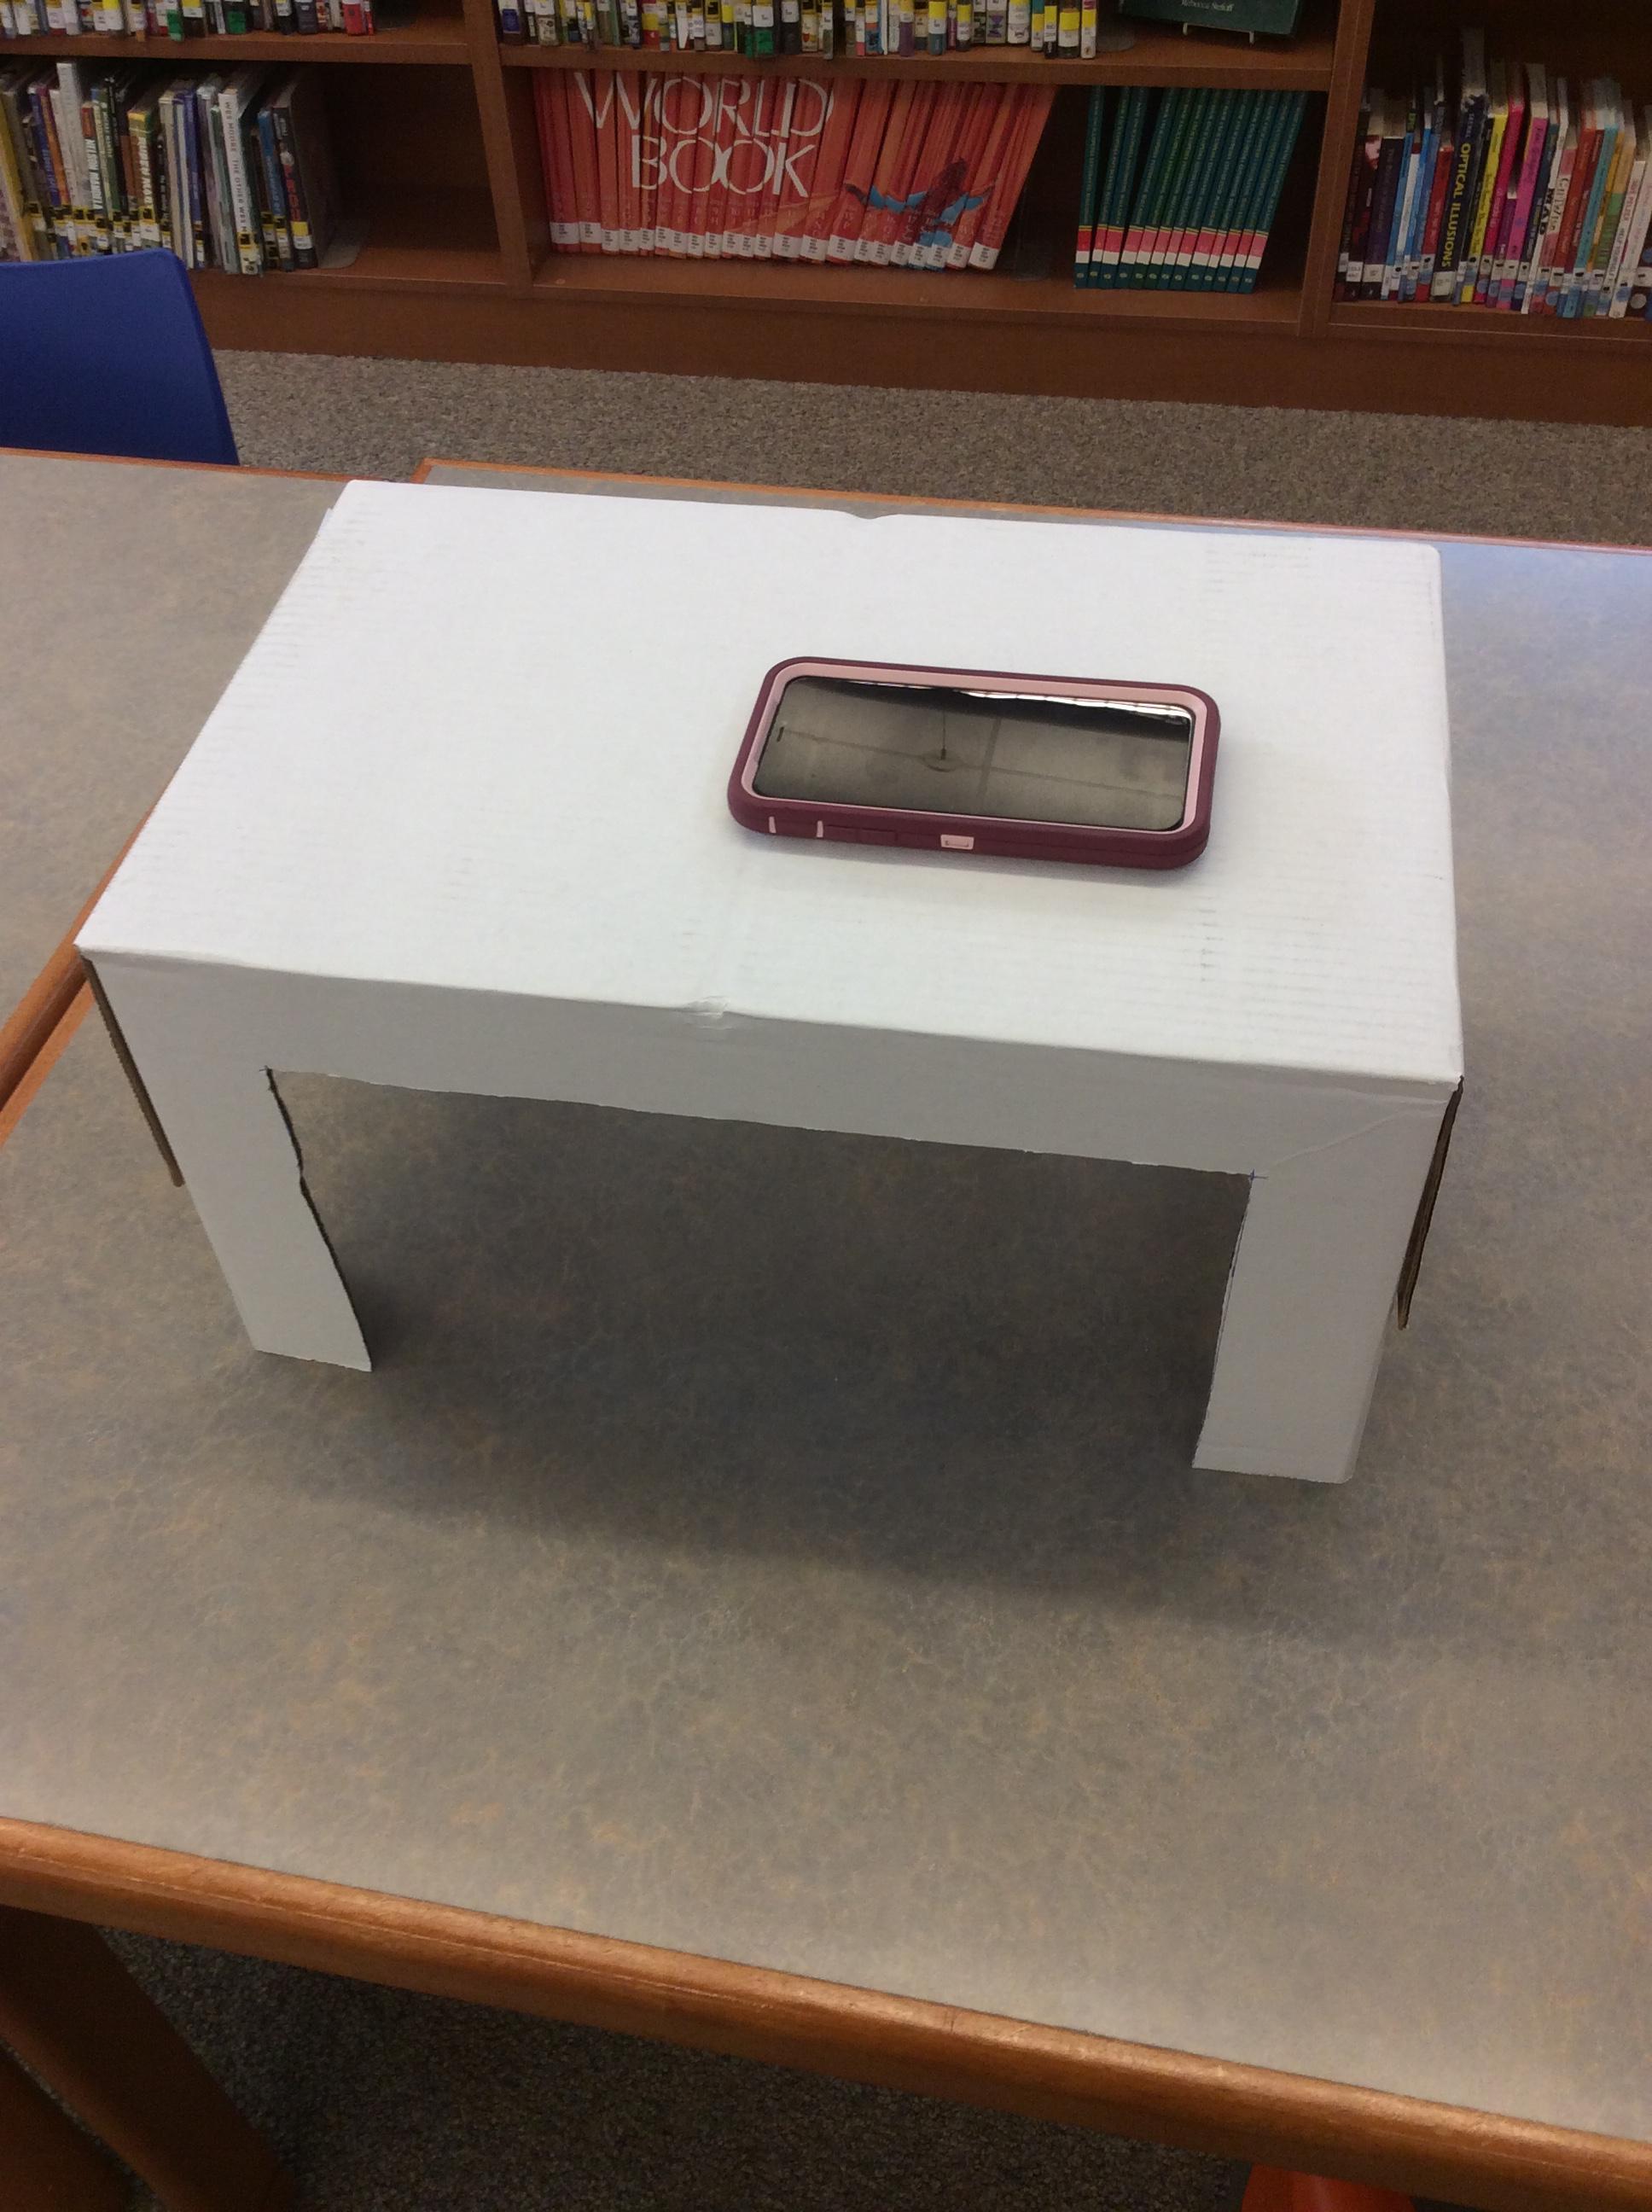
- Line up the lens from your smart phone, ipad or other device with the hole.
- Open the camera on the device (or a scanning app).
- Check the placement of the camera. If you are seeing a dark side or blurry portion move your device a little to get the camera centered.
Place Your Assignment Under the Camera
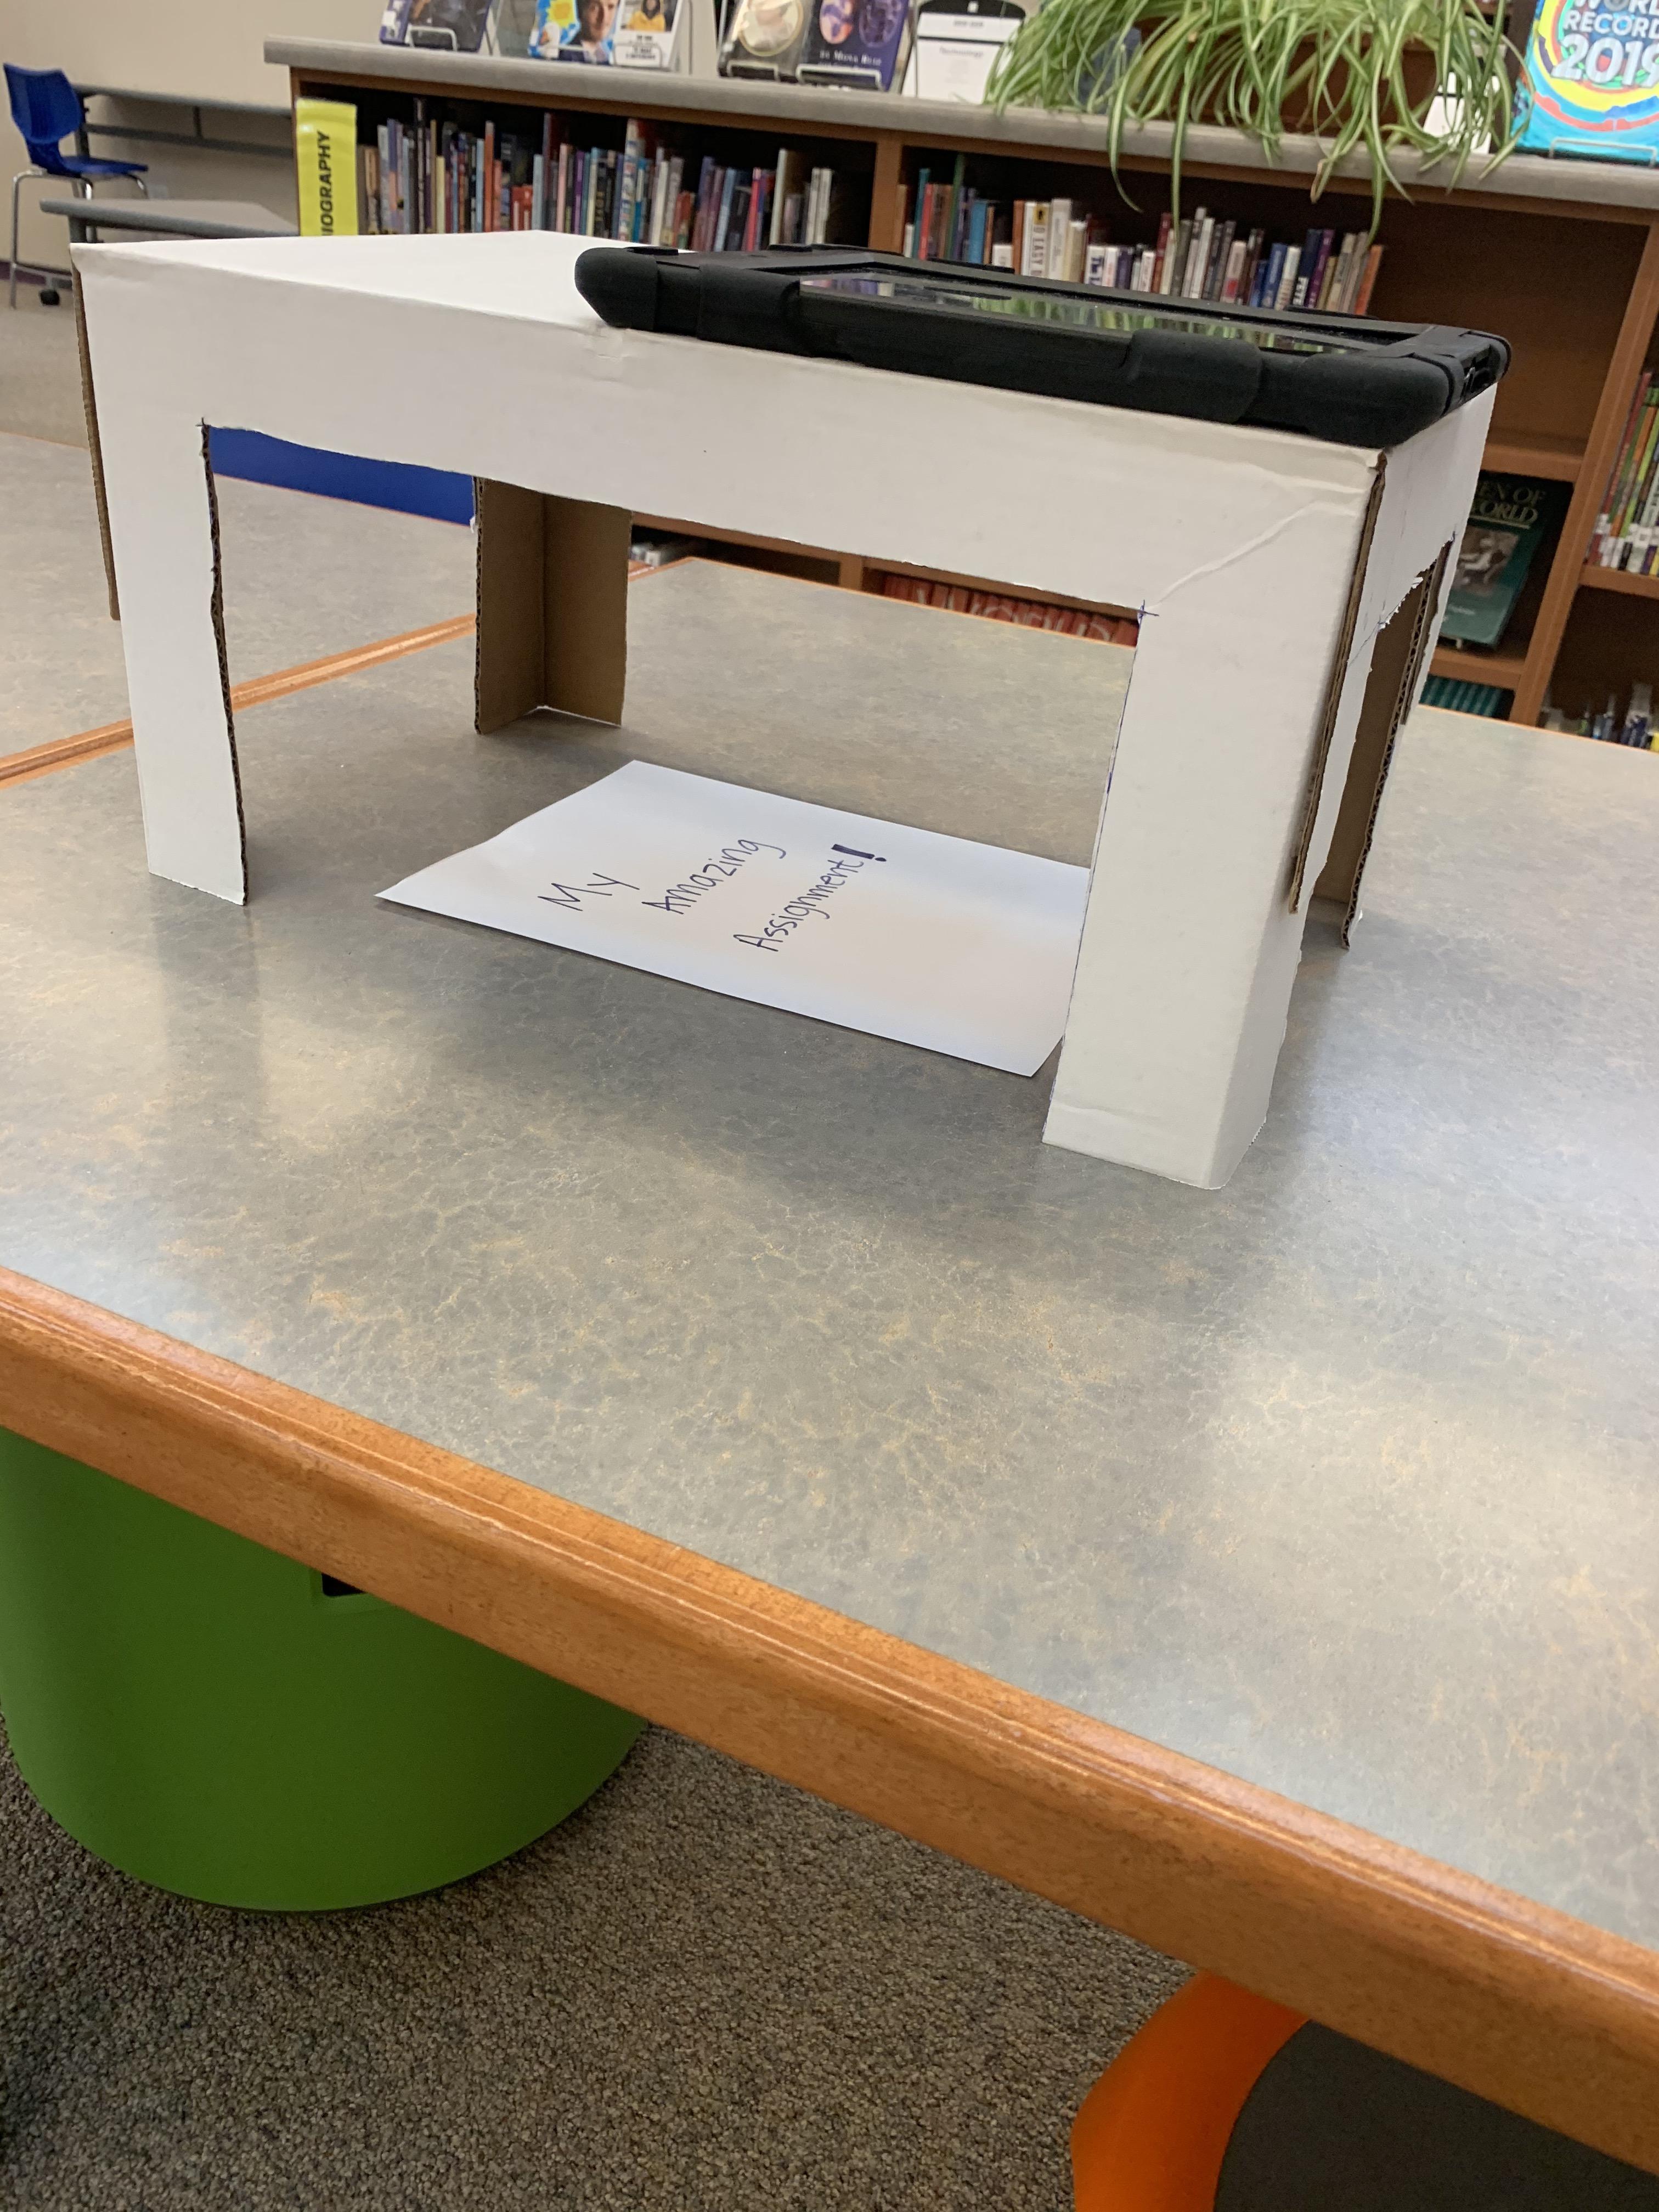
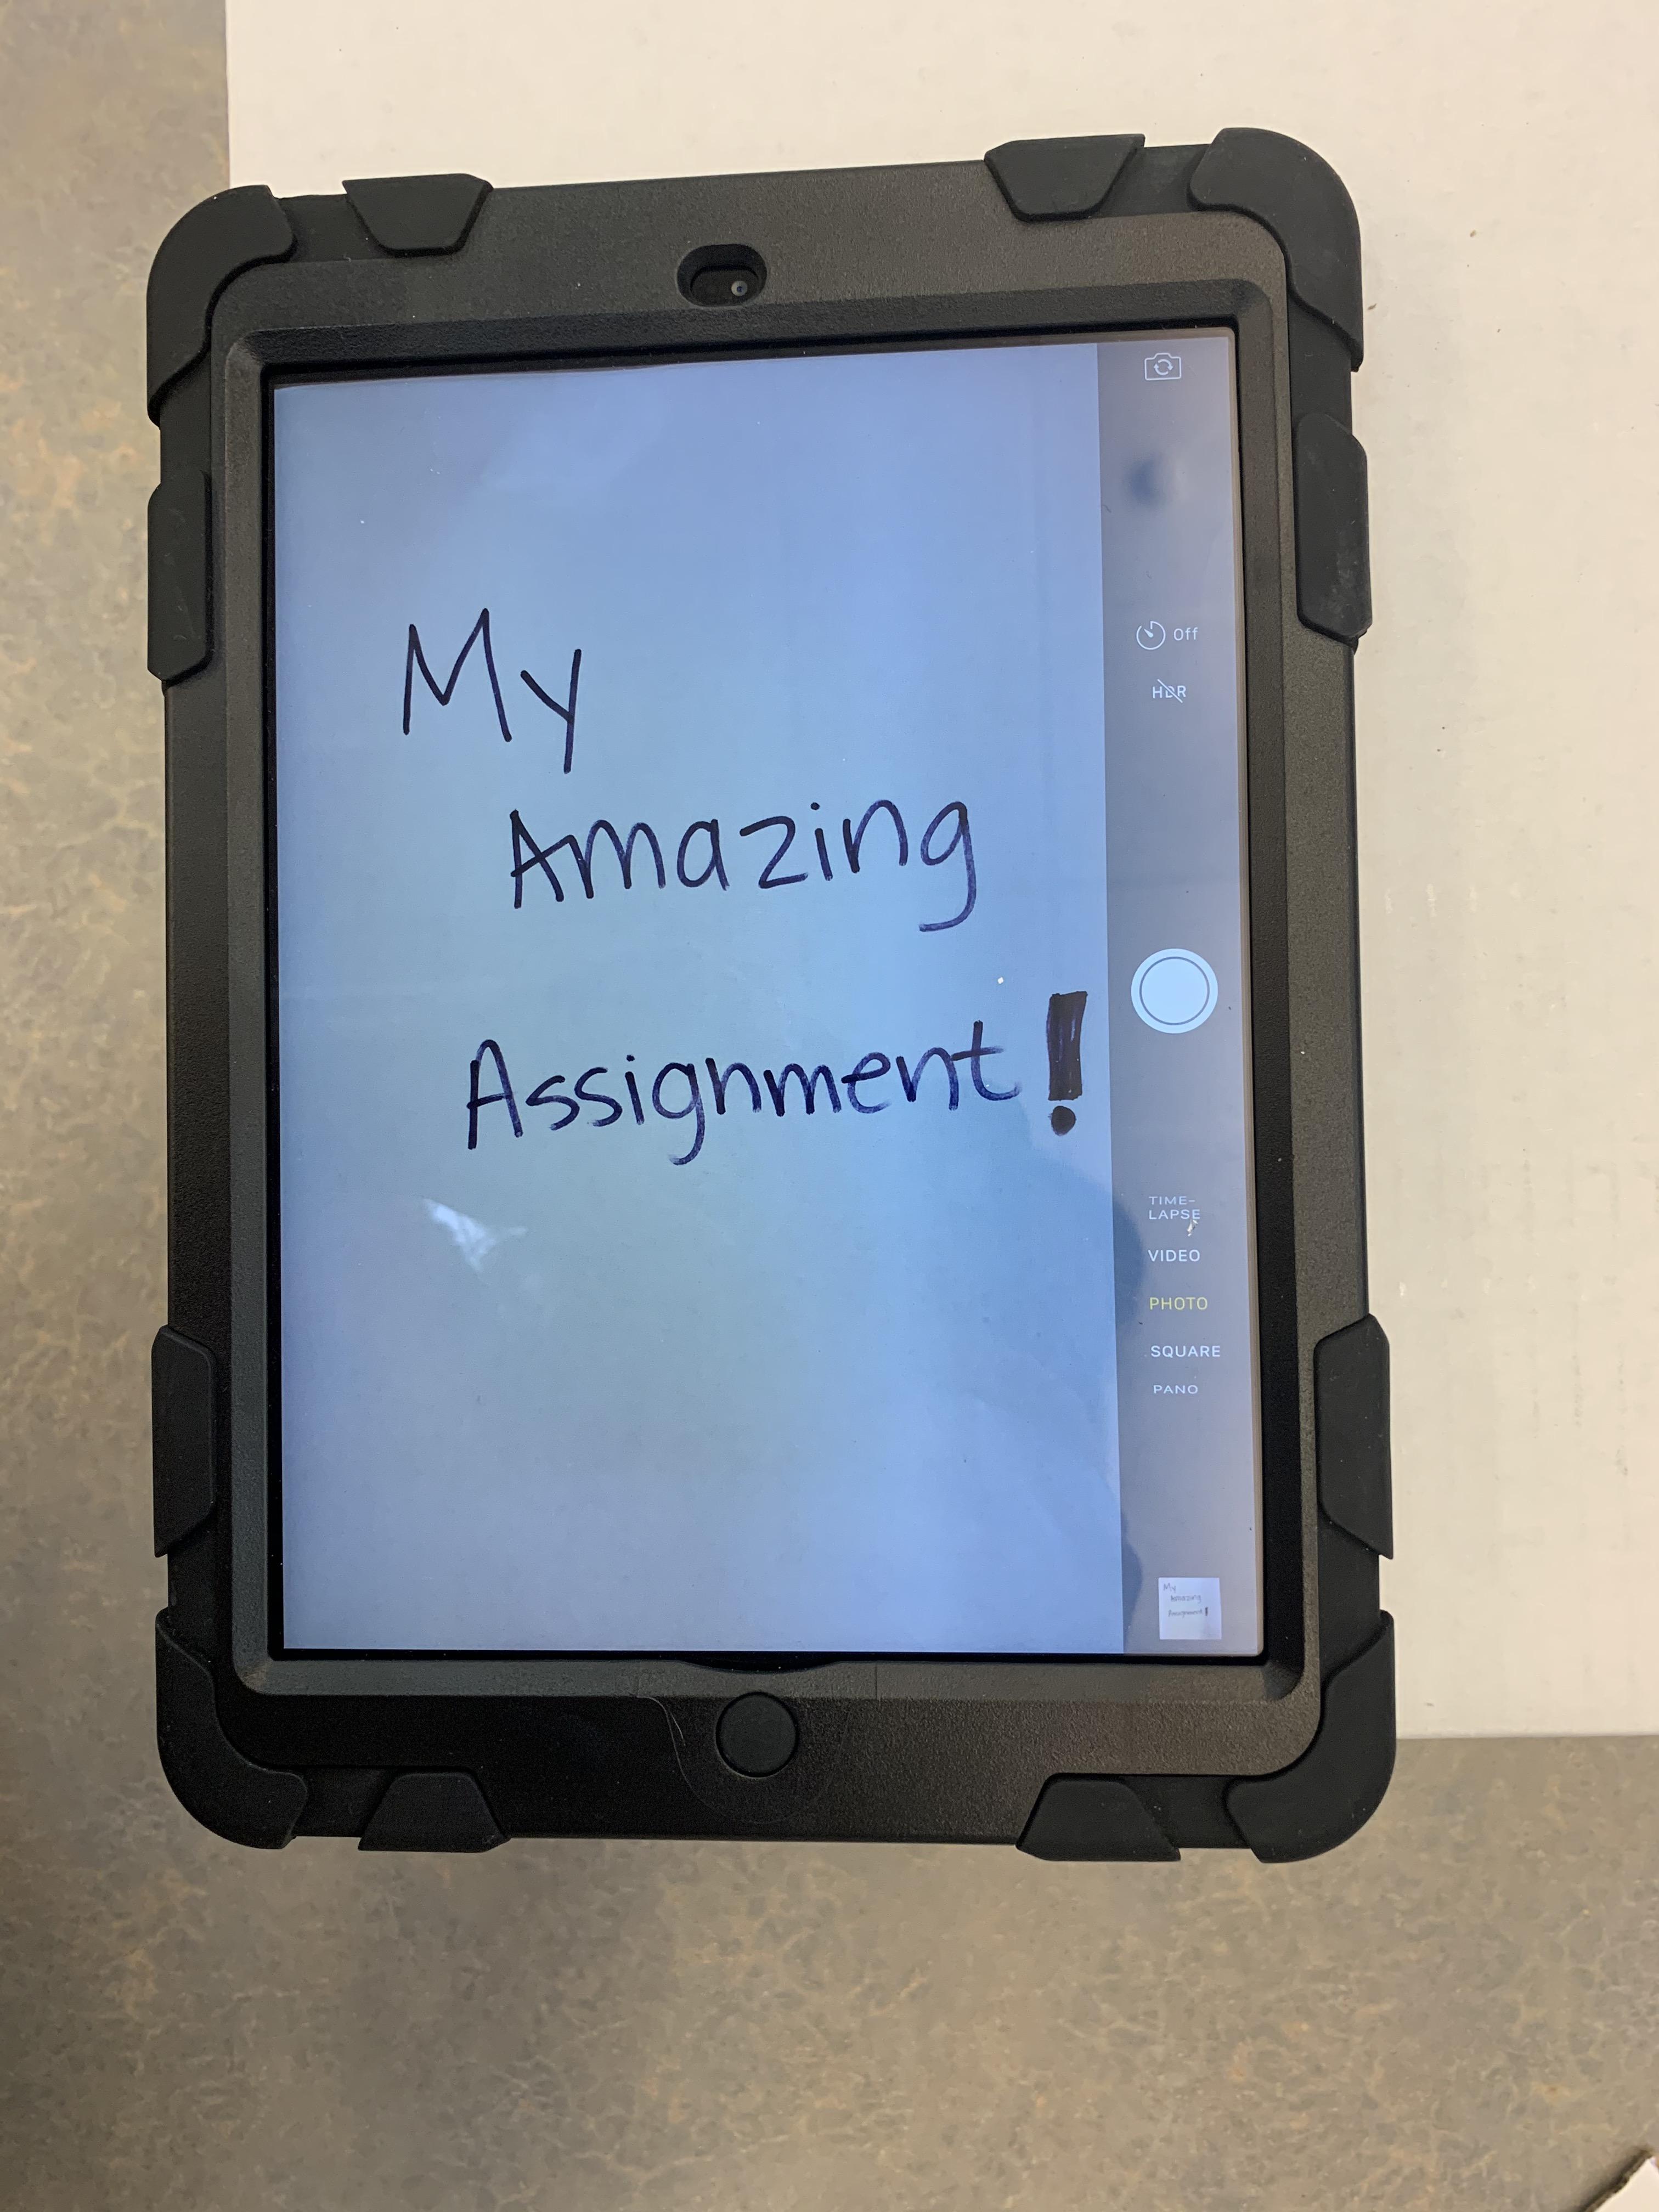
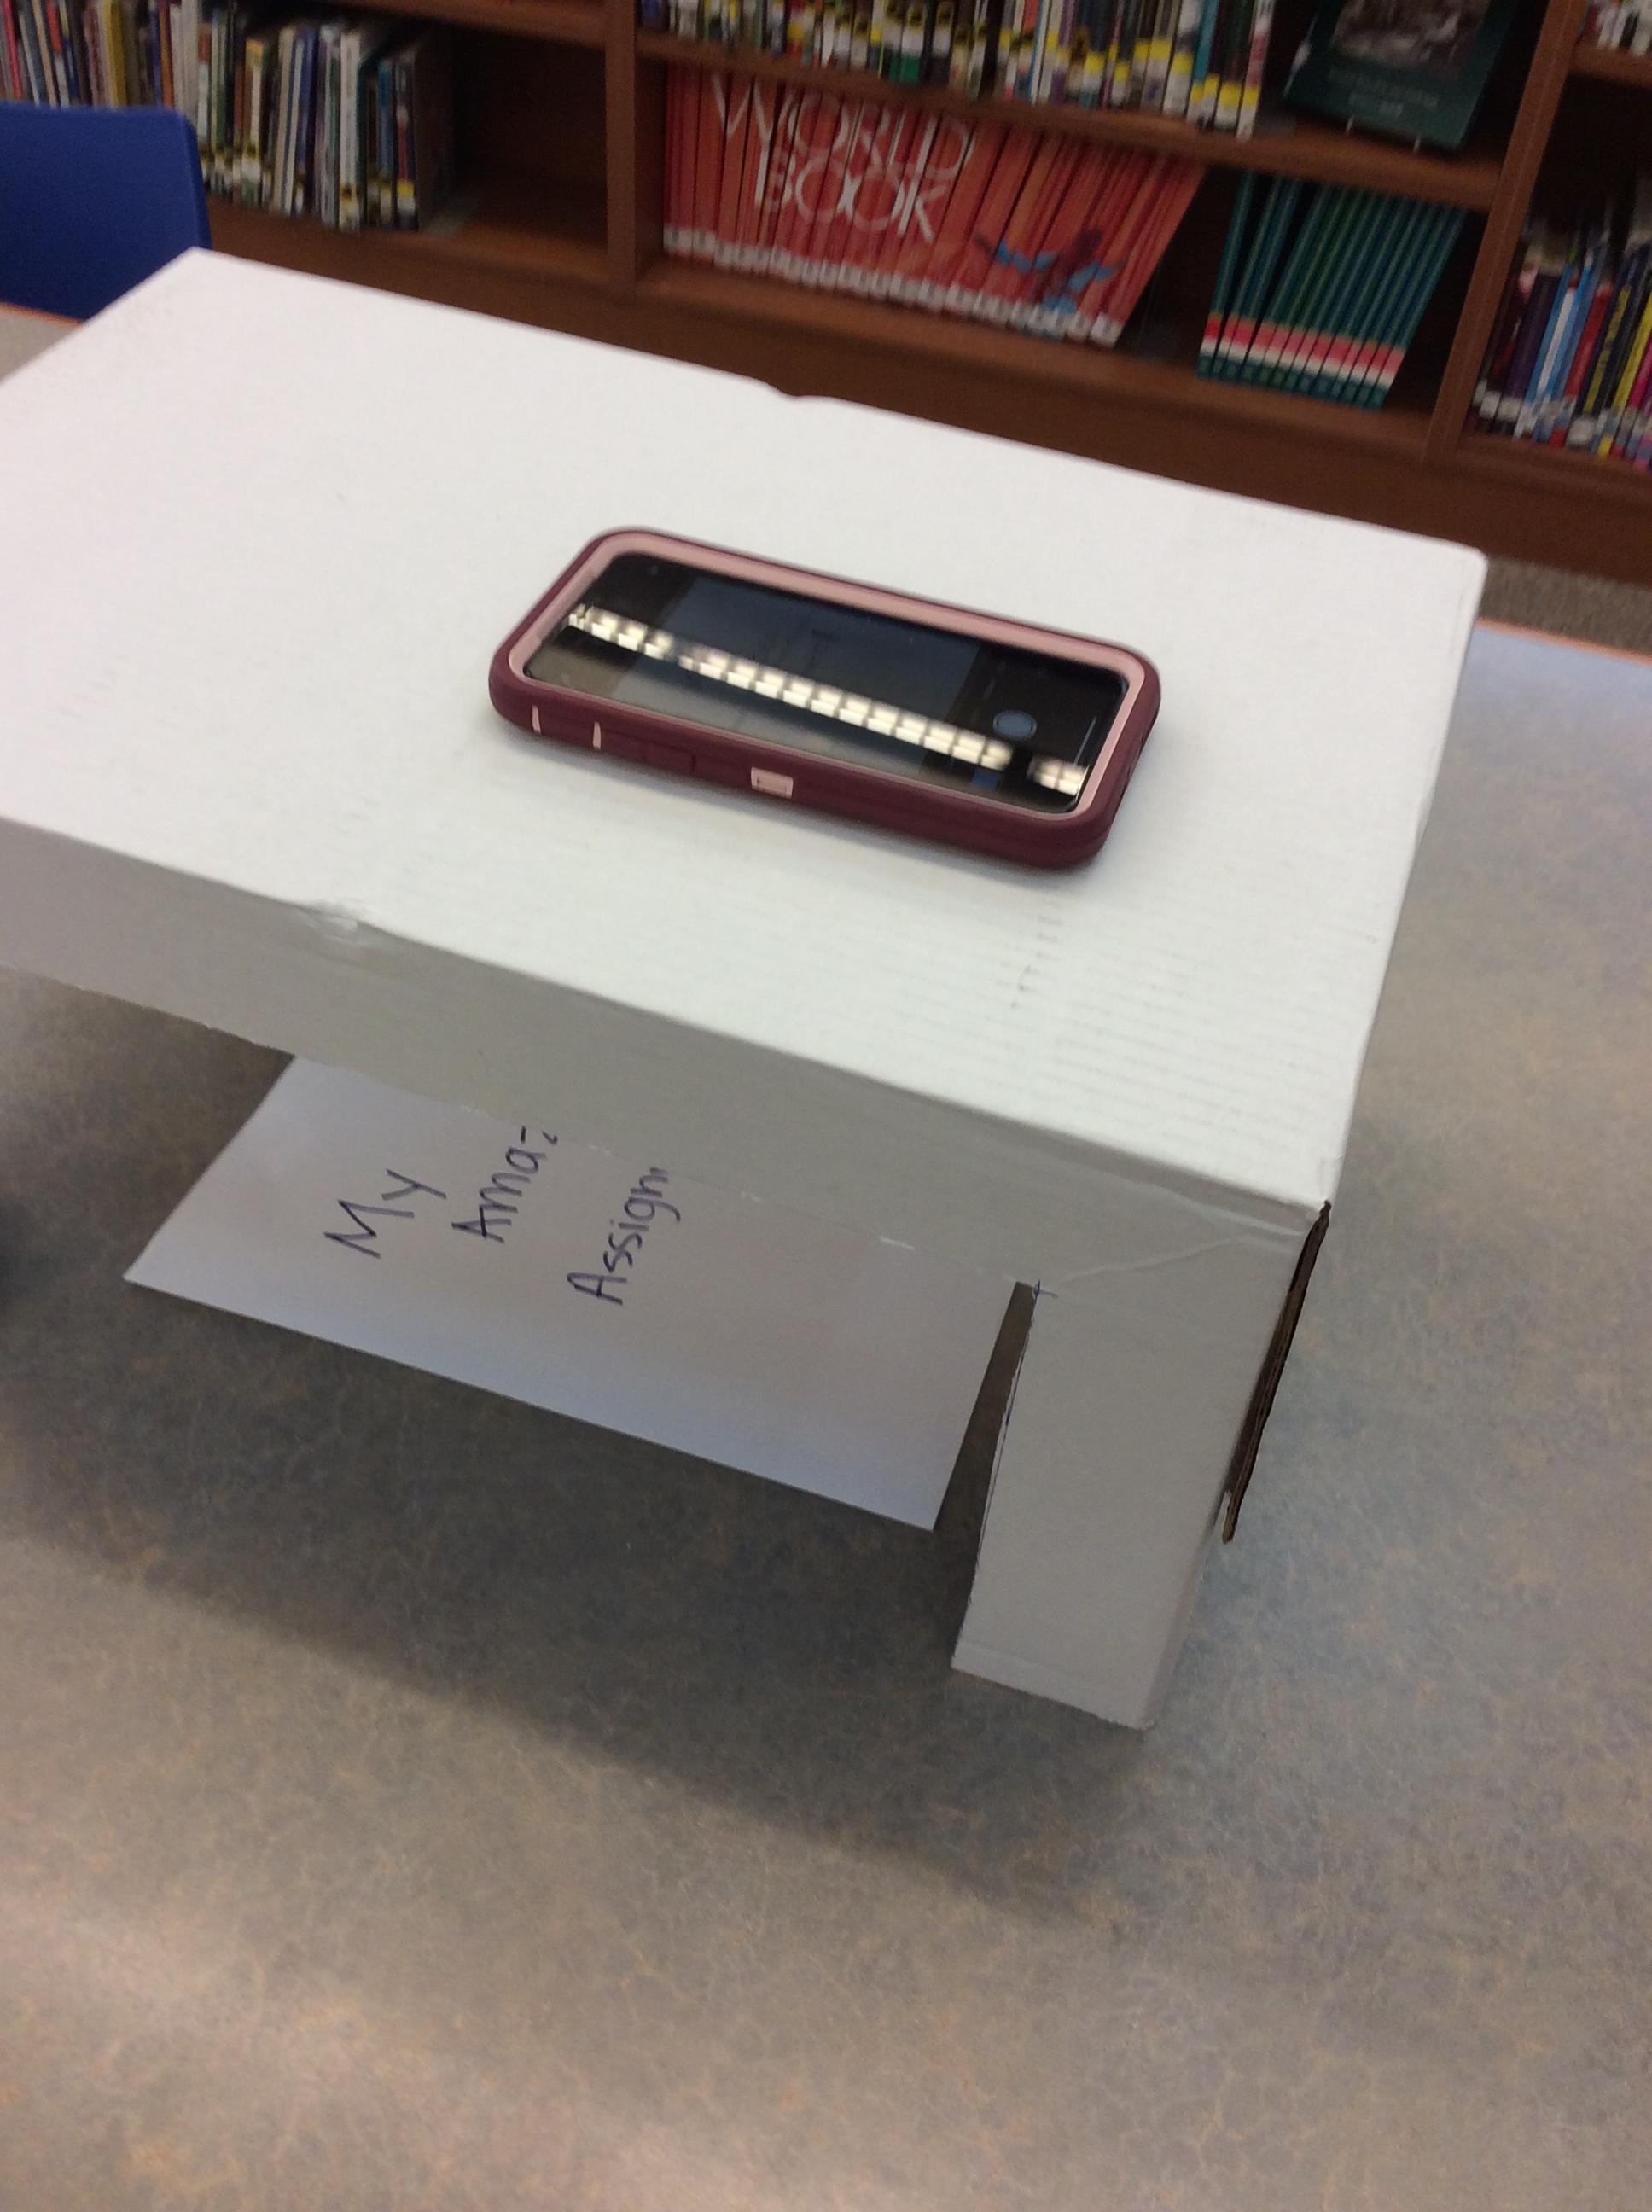
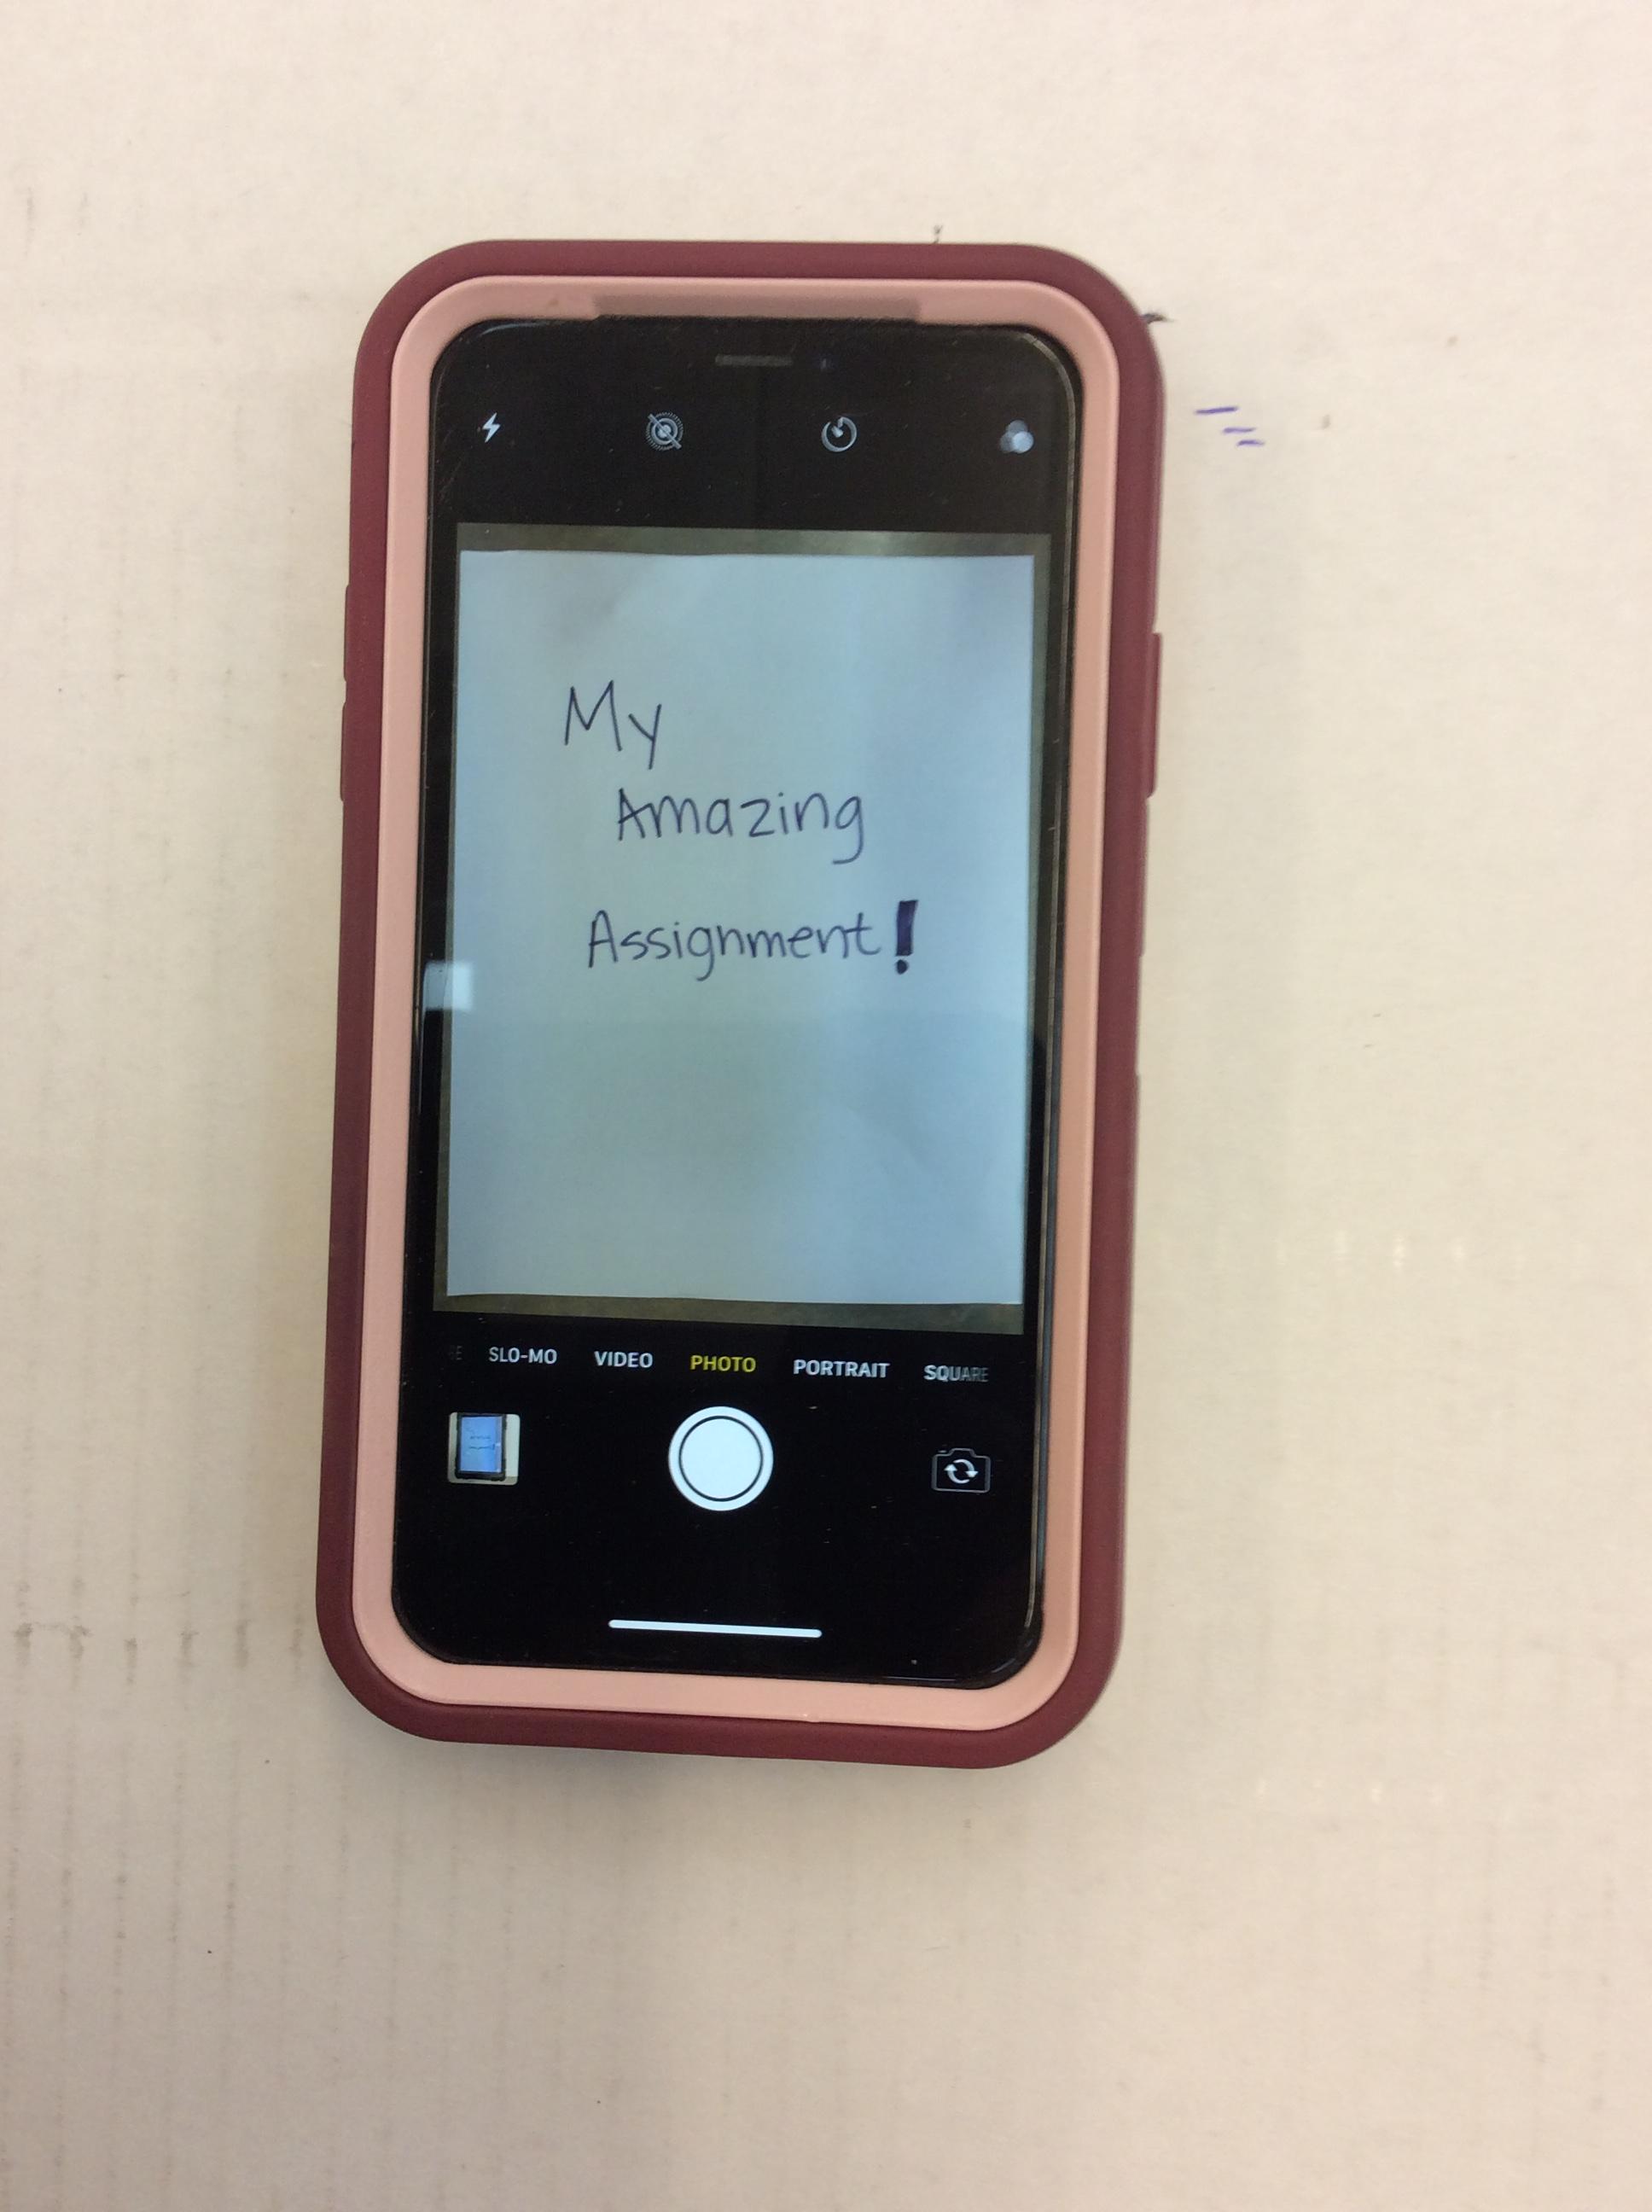
- Place your assignment under the camera.
- Check it's placement.
- If it's blurry, try tapping on your screen to get your camera to refocus.
Take Your Picture!!
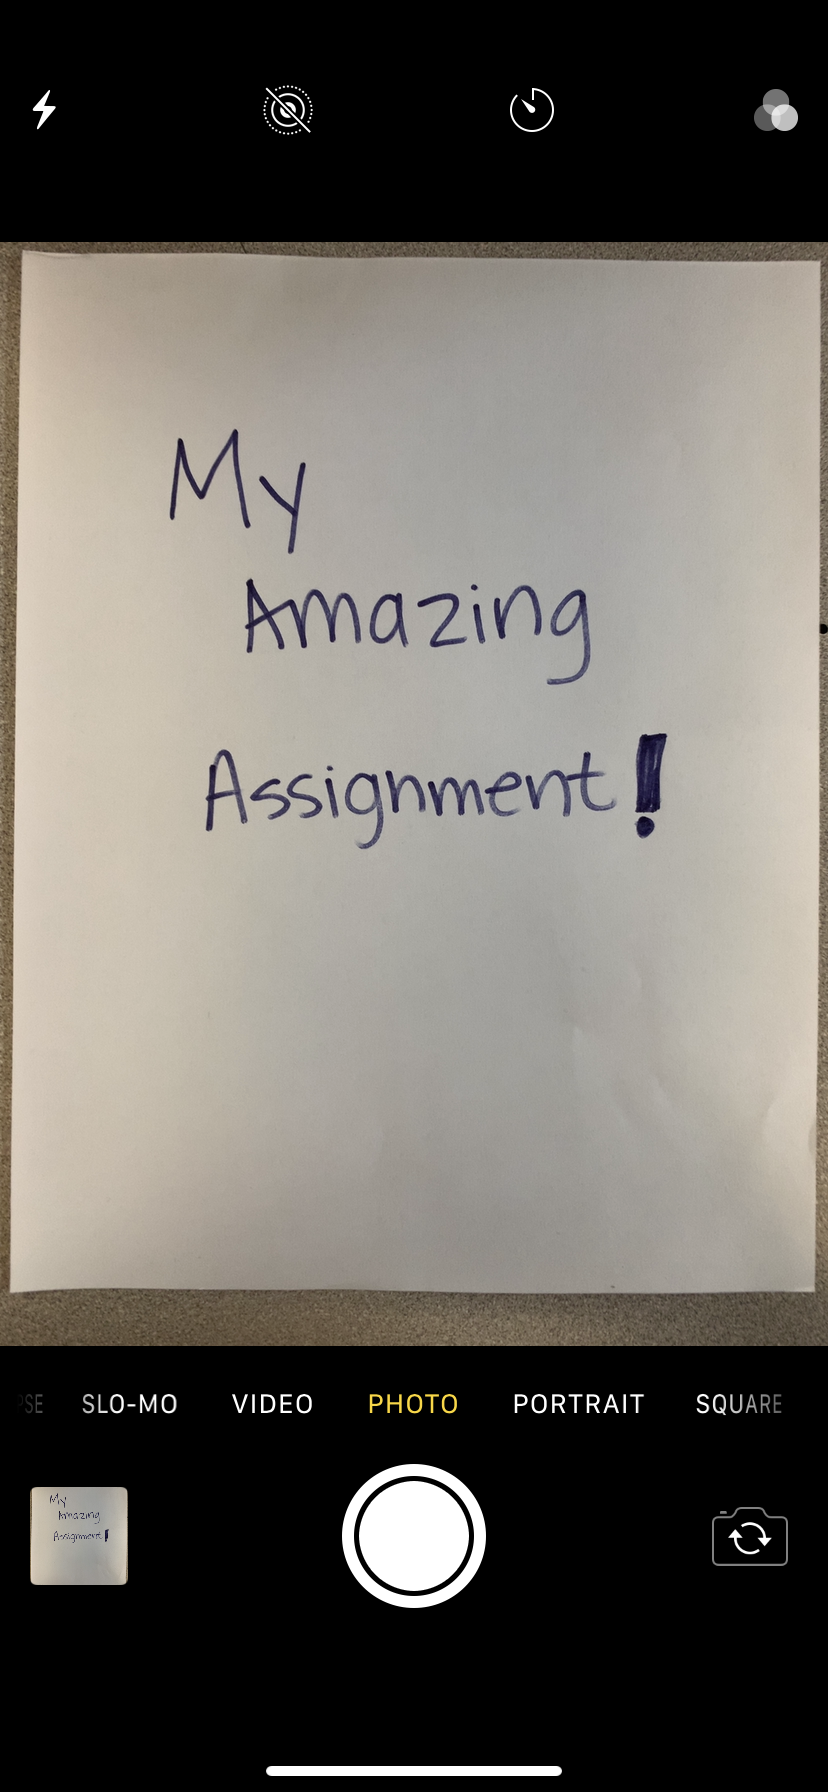
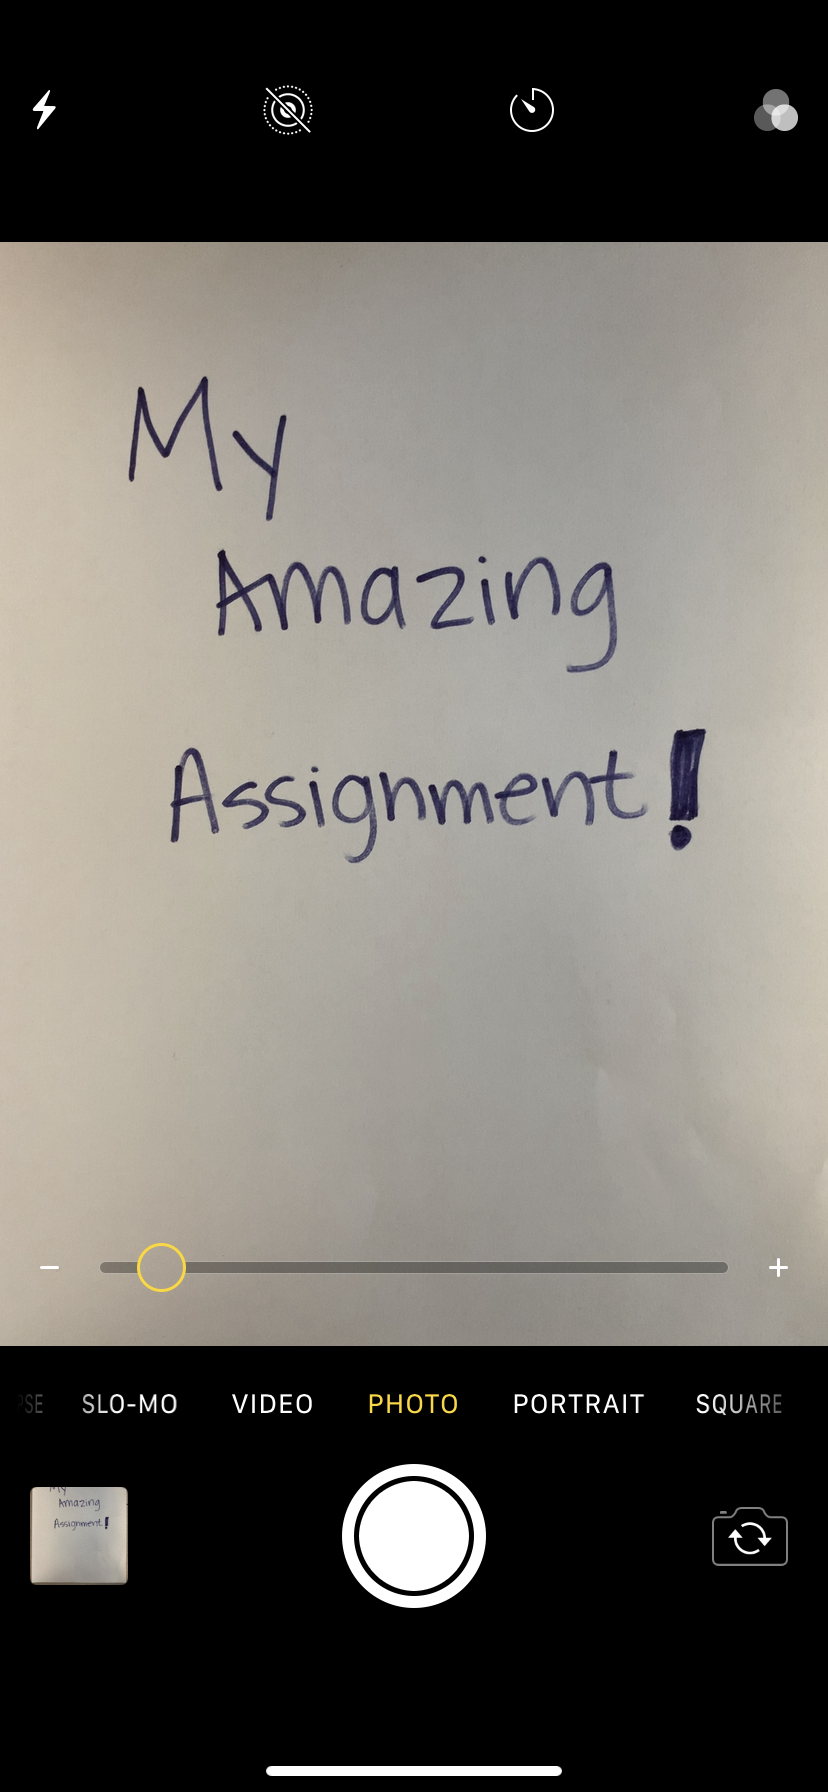
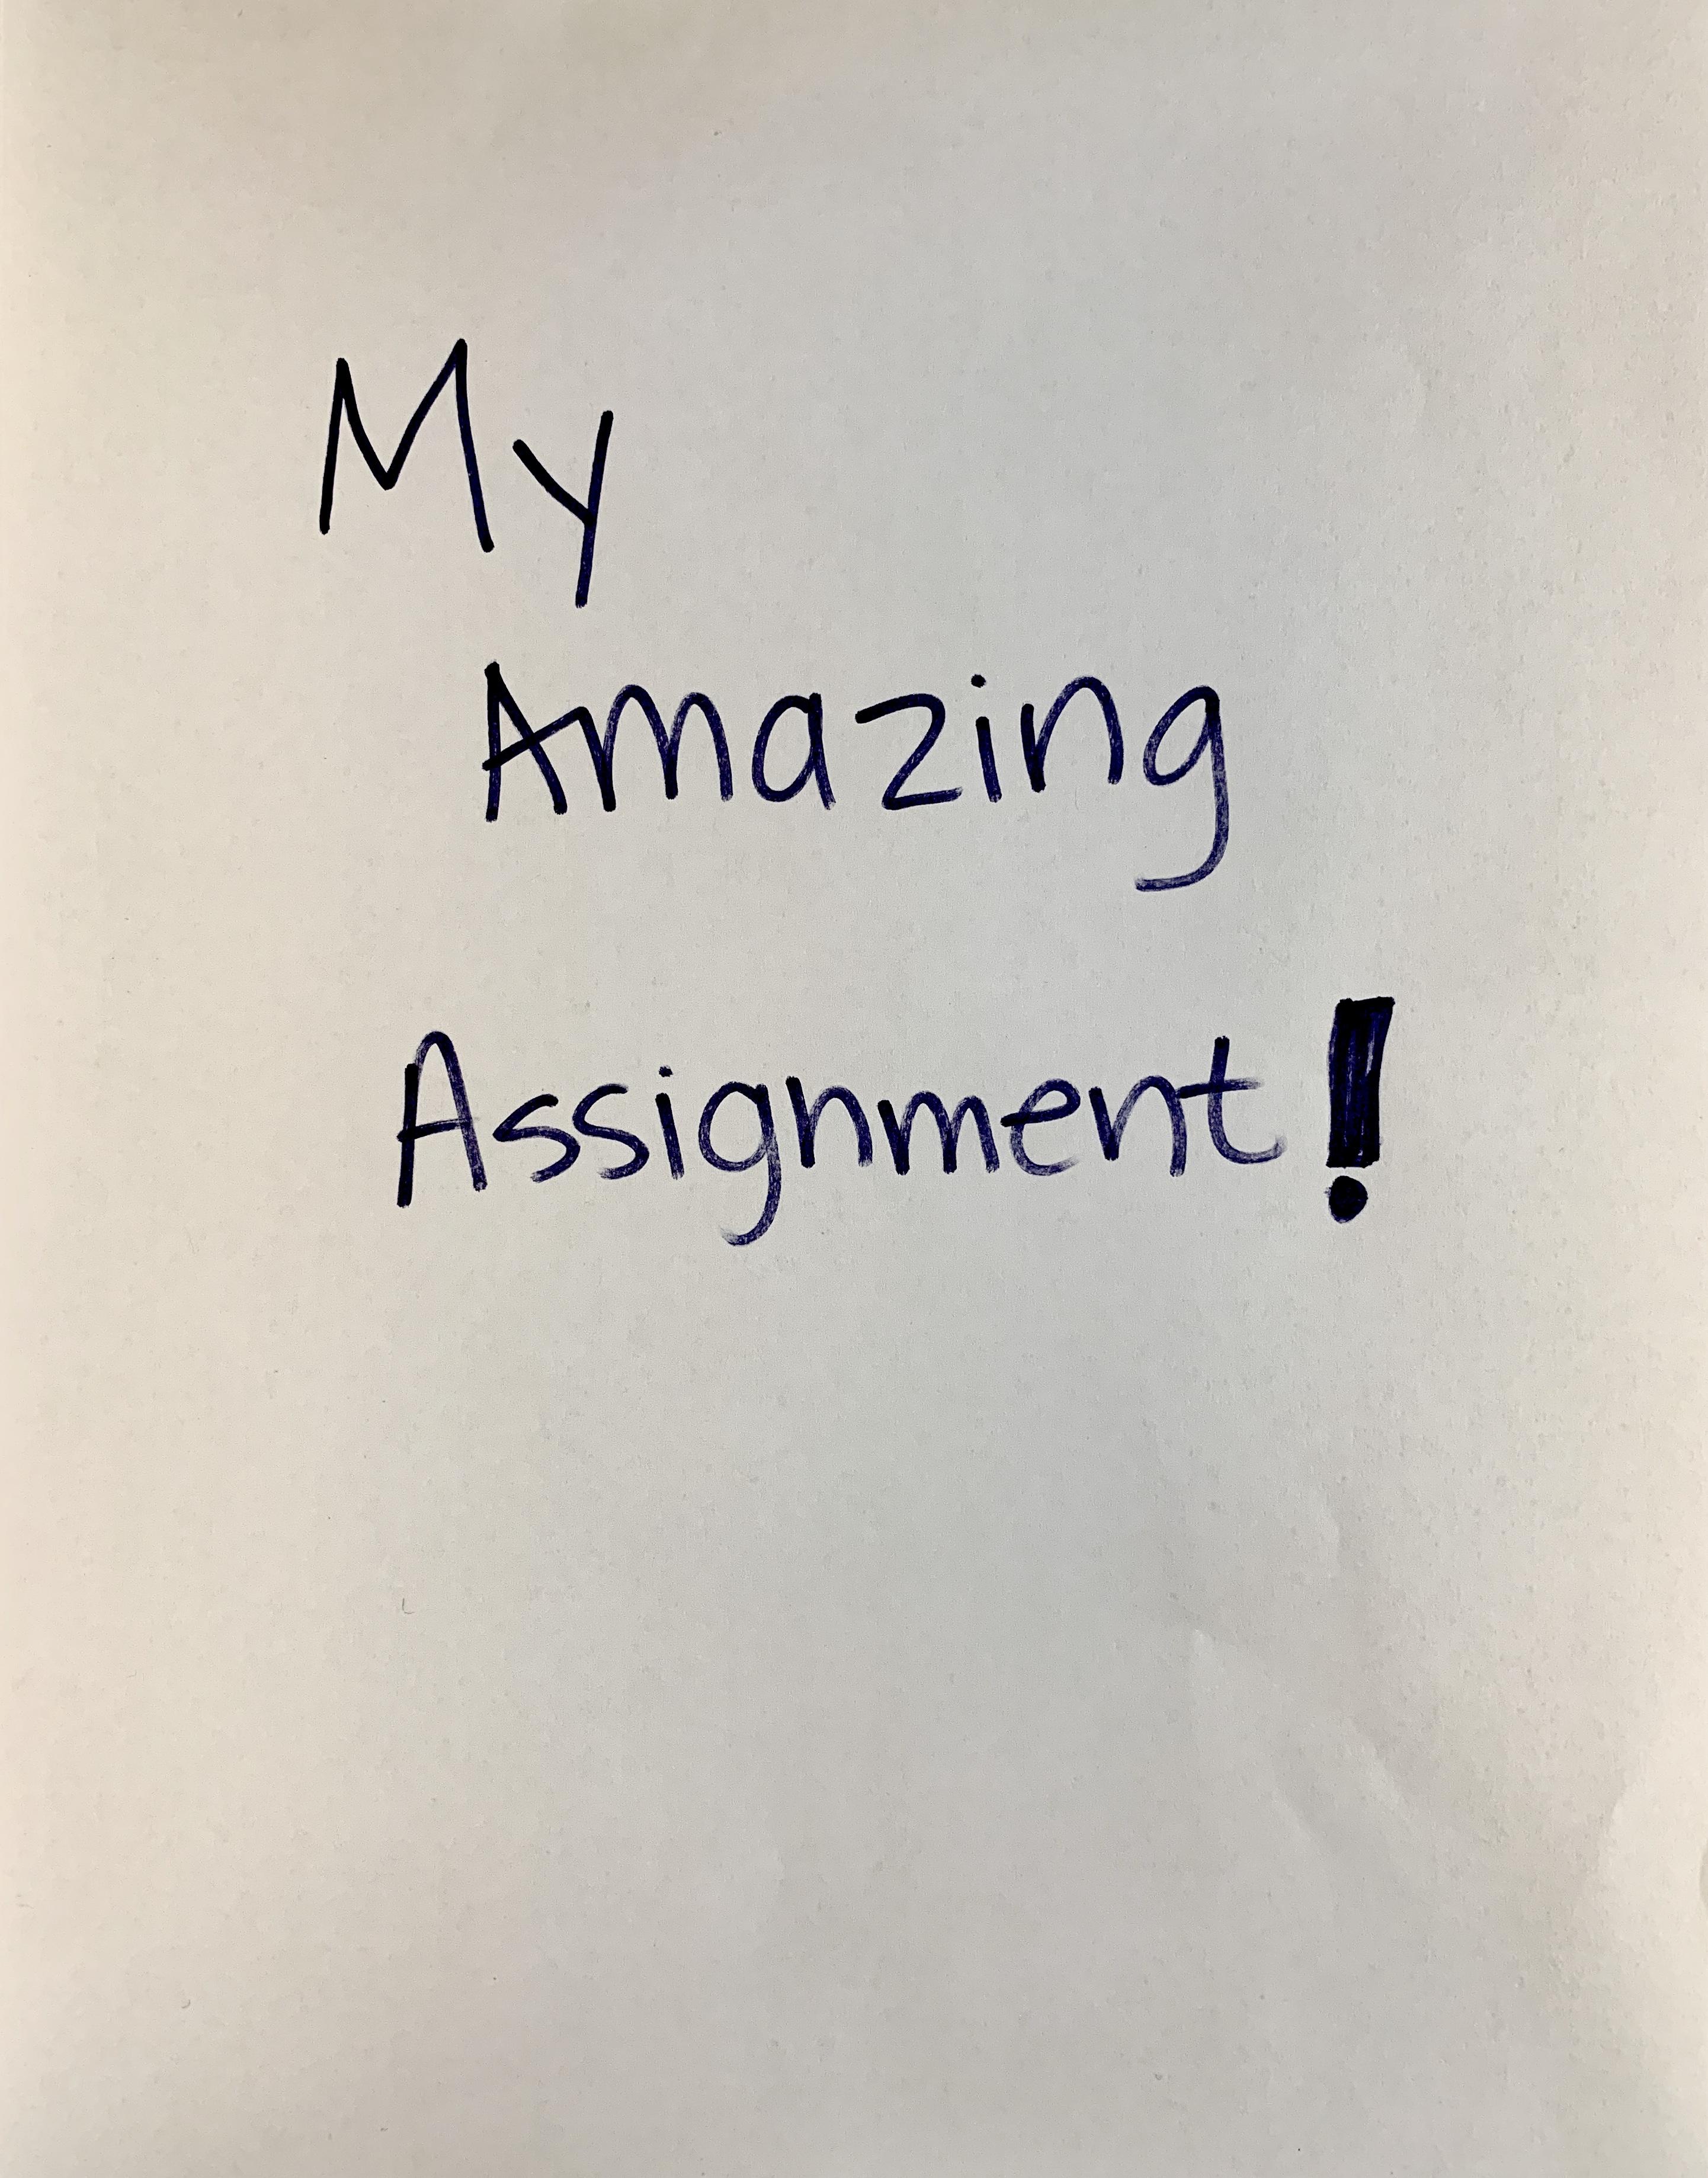
**Note** You can zoom in on your camera (if needed) to get the page exactly the right size OR you can crop the picture after you take it.
Trouble Shooting Shadows
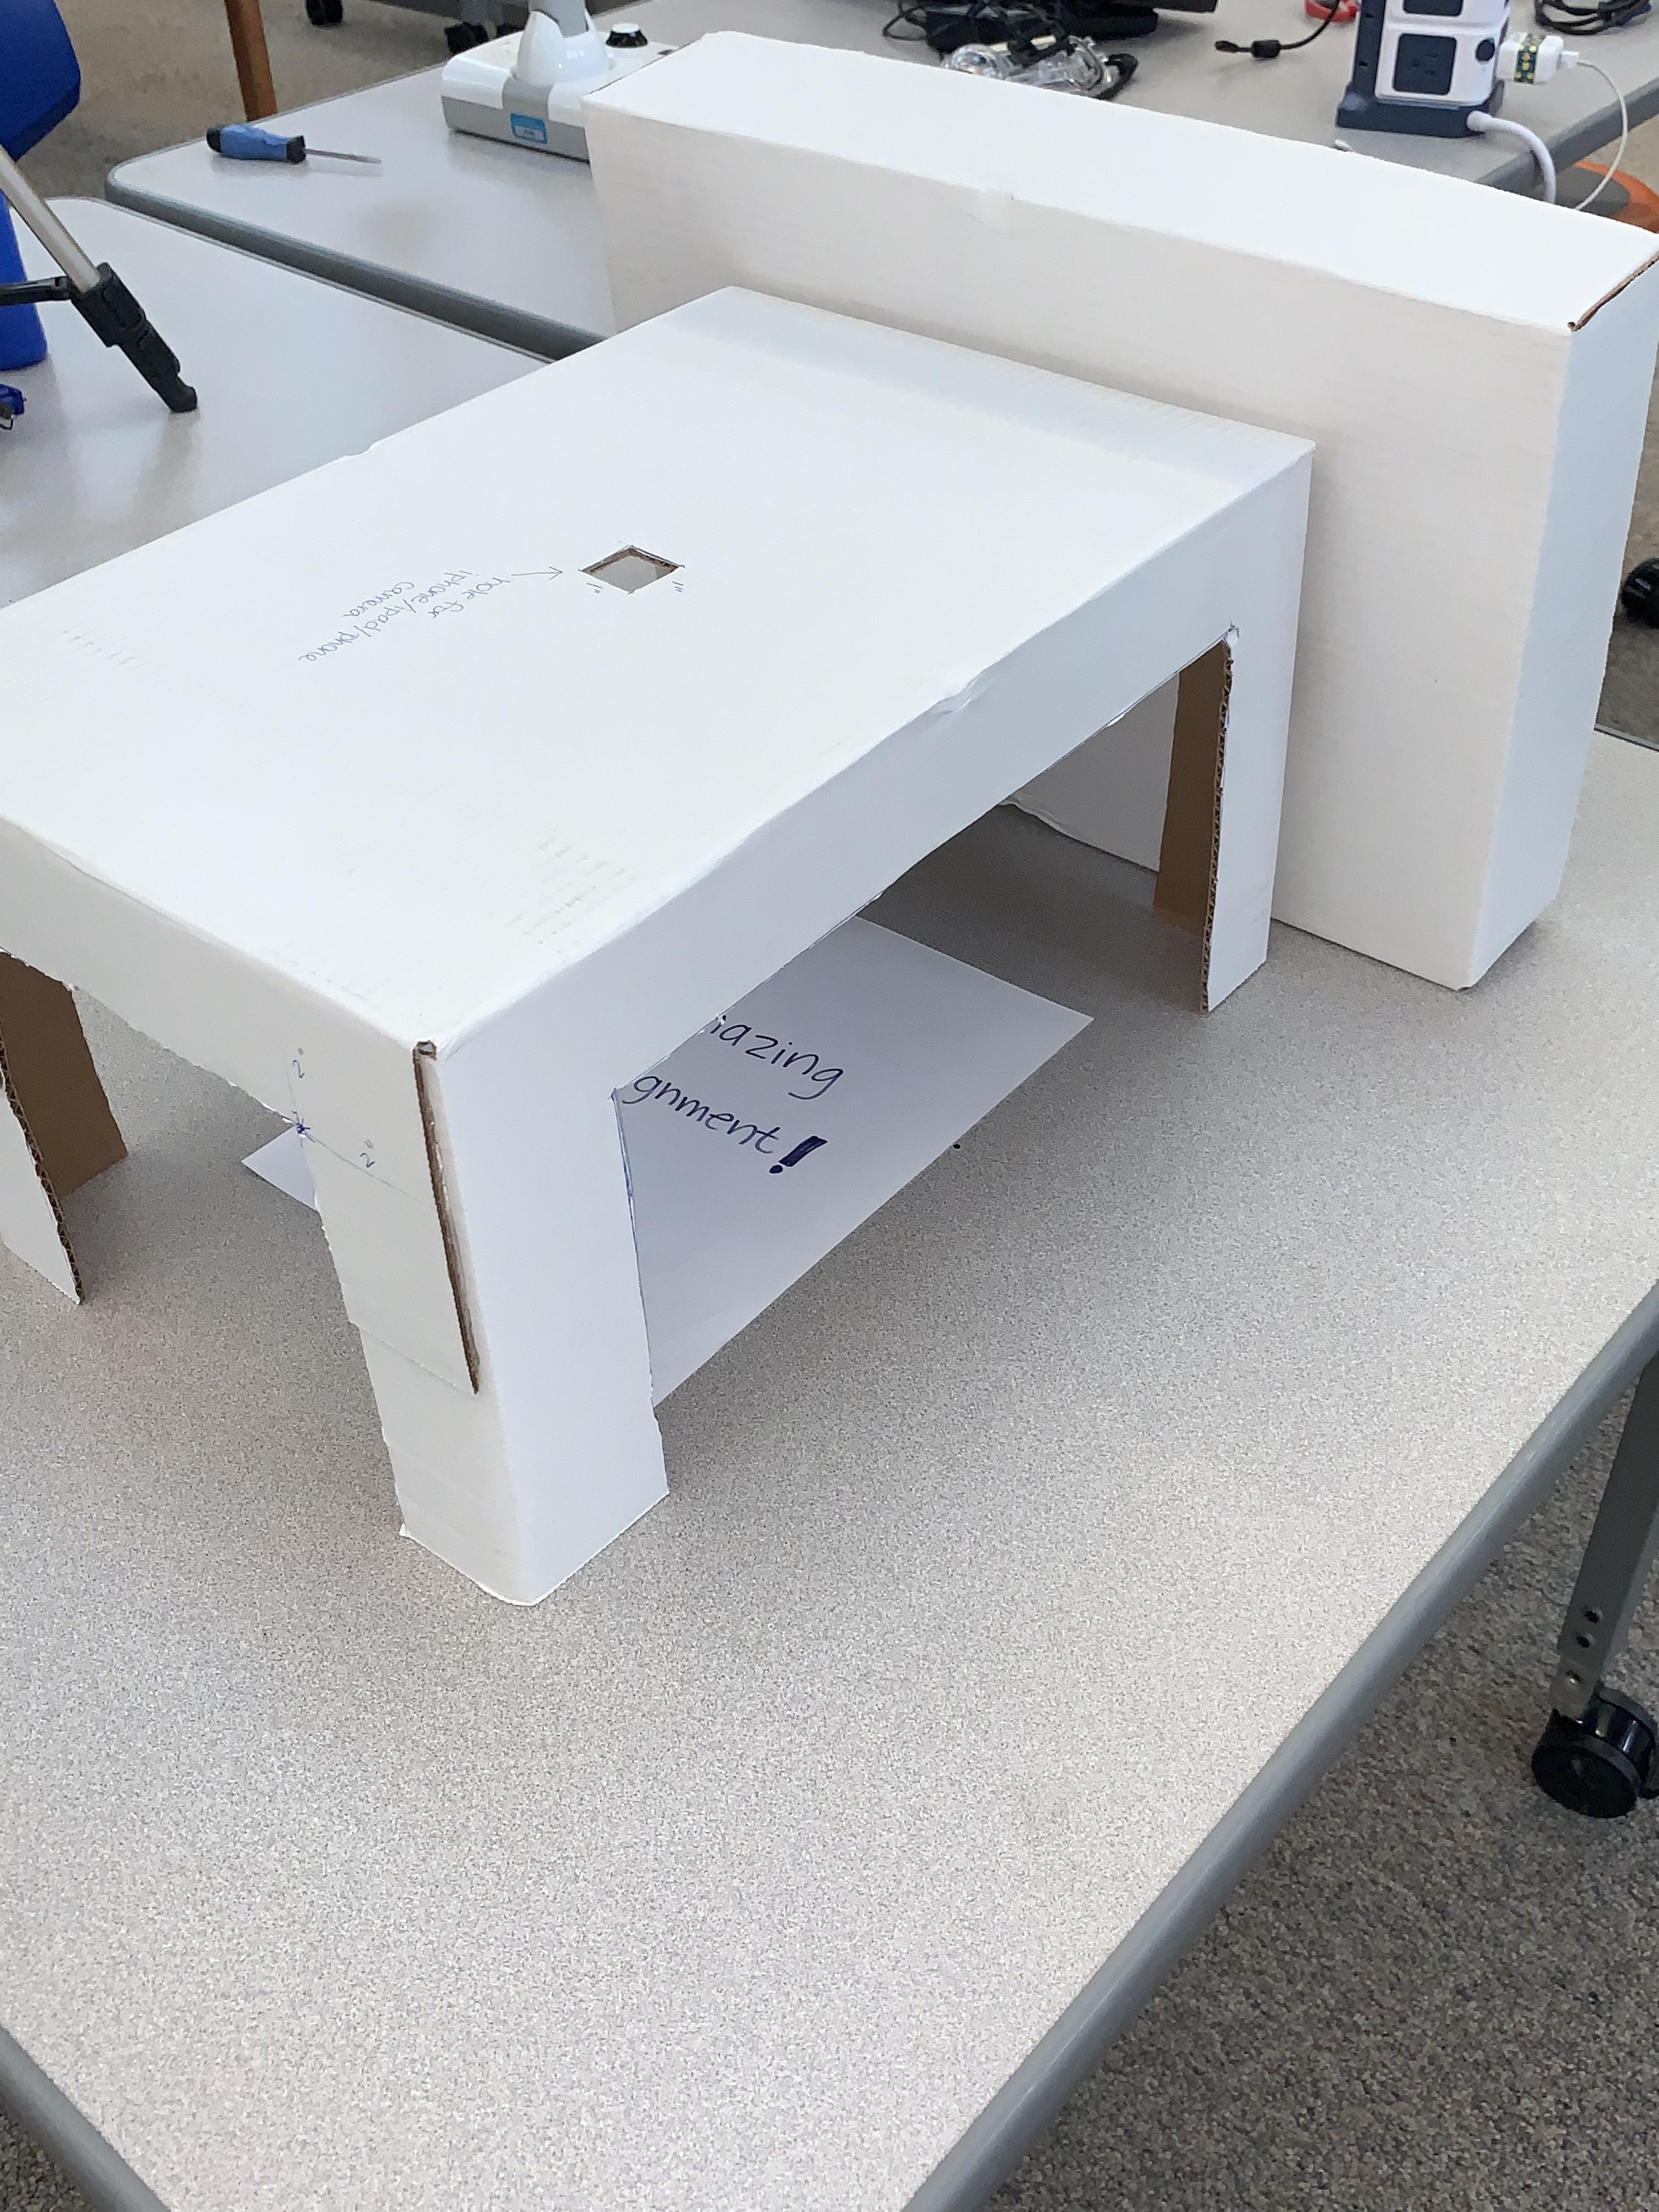
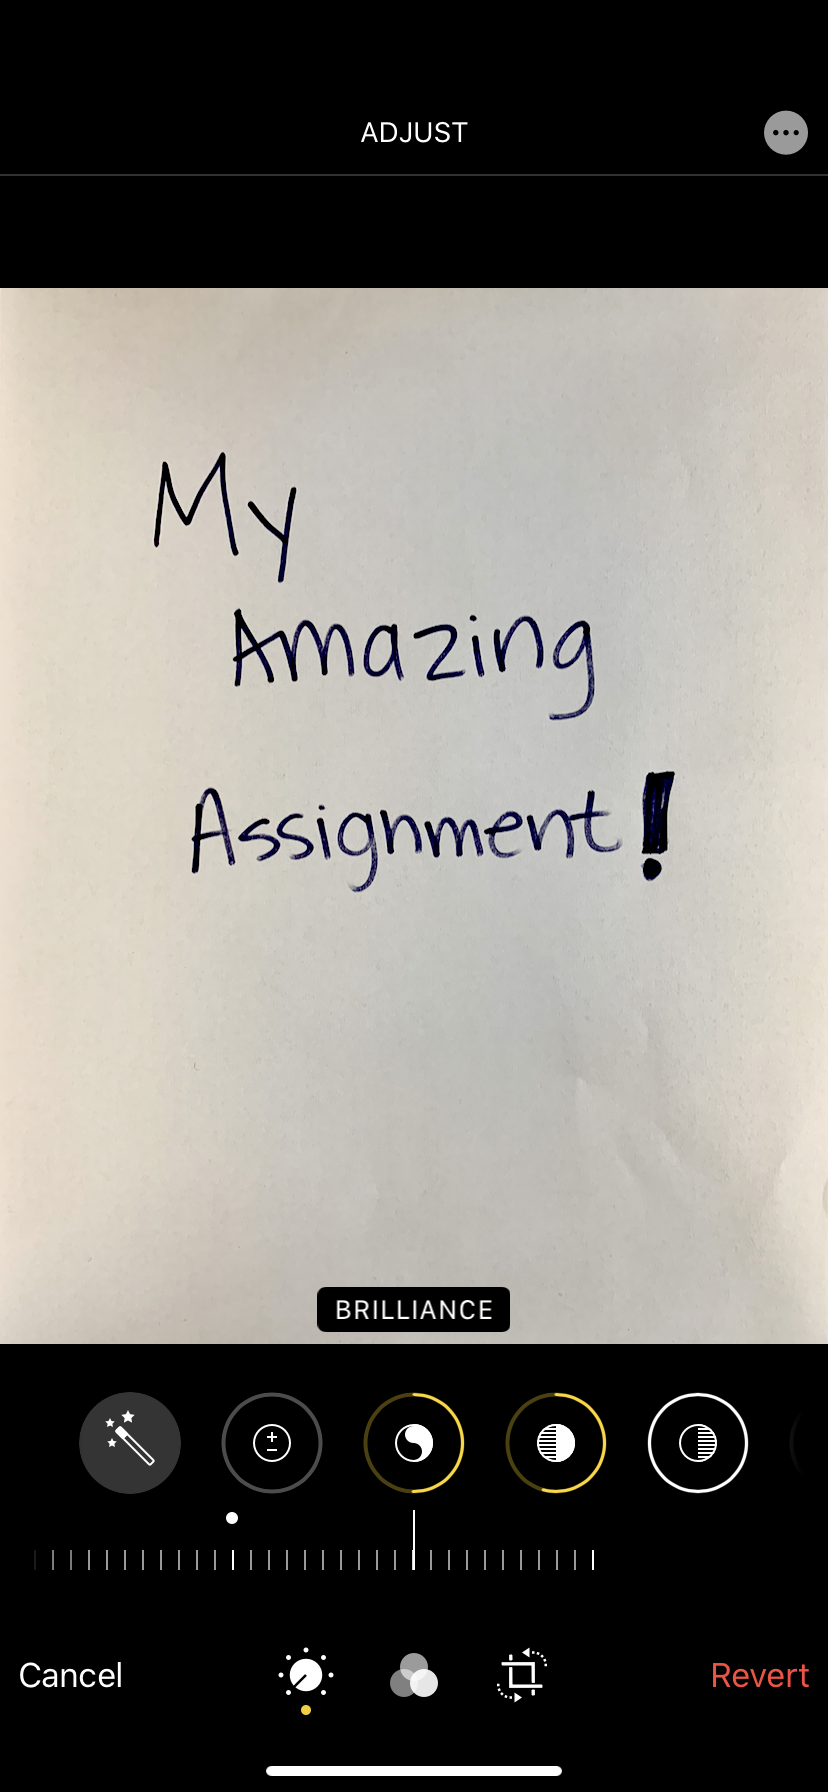
Shadows can be an issue. If you use a scanning app (instead of your camera) the app will often automatically correct for shadows, but with the camera app these things help:
- Take pictures in a room that has even, indirect lighting.
- Use the box lid or another piece of cardboard to block one side of the box. (A piece of fabric also works well.)
- Use the editing functions on your phone to decrease shadows and increase brilliance.
- Use a desk lamp (but this can result in more, not less shadows so you will have to play around a bit)
Bonus! Use Your Frame to Create Stop Motion Videos!
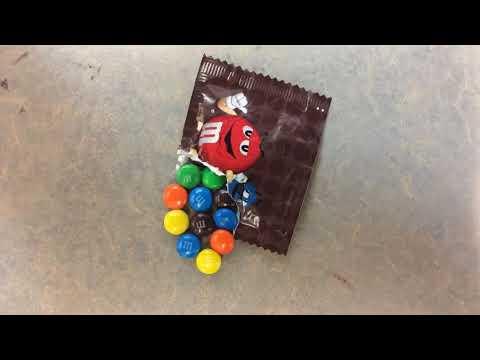
This "Scanning Box" also works great for creating stop motion animation movies! (In fact, that's what I originally used them for with students!) The frame keeps the camera in the same position so you can take the multiple pictures needed to piece together a video. There are a lot of free apps for making stop motion films, but we use the Stop Motion Studio App.
Video Credit: Giselle