Document Camera & Scanner
Every teacher needs one of these! An indispensable tool that has at least four distinct uses and costs only about $15 (plus the cost of an older iPhone). Cutting and assembly time is around two hours. The iPhone is locked in the stand by the top plywood layer and bolts (which can be tamper-proof, if desired). The iPhone needs to be on the same network as the teacher's computer for most of these functions to work. Also, the stand has a slot for the iPhone charge cord so the iPhone itself never needs to be removed.
Here is how I use mine -
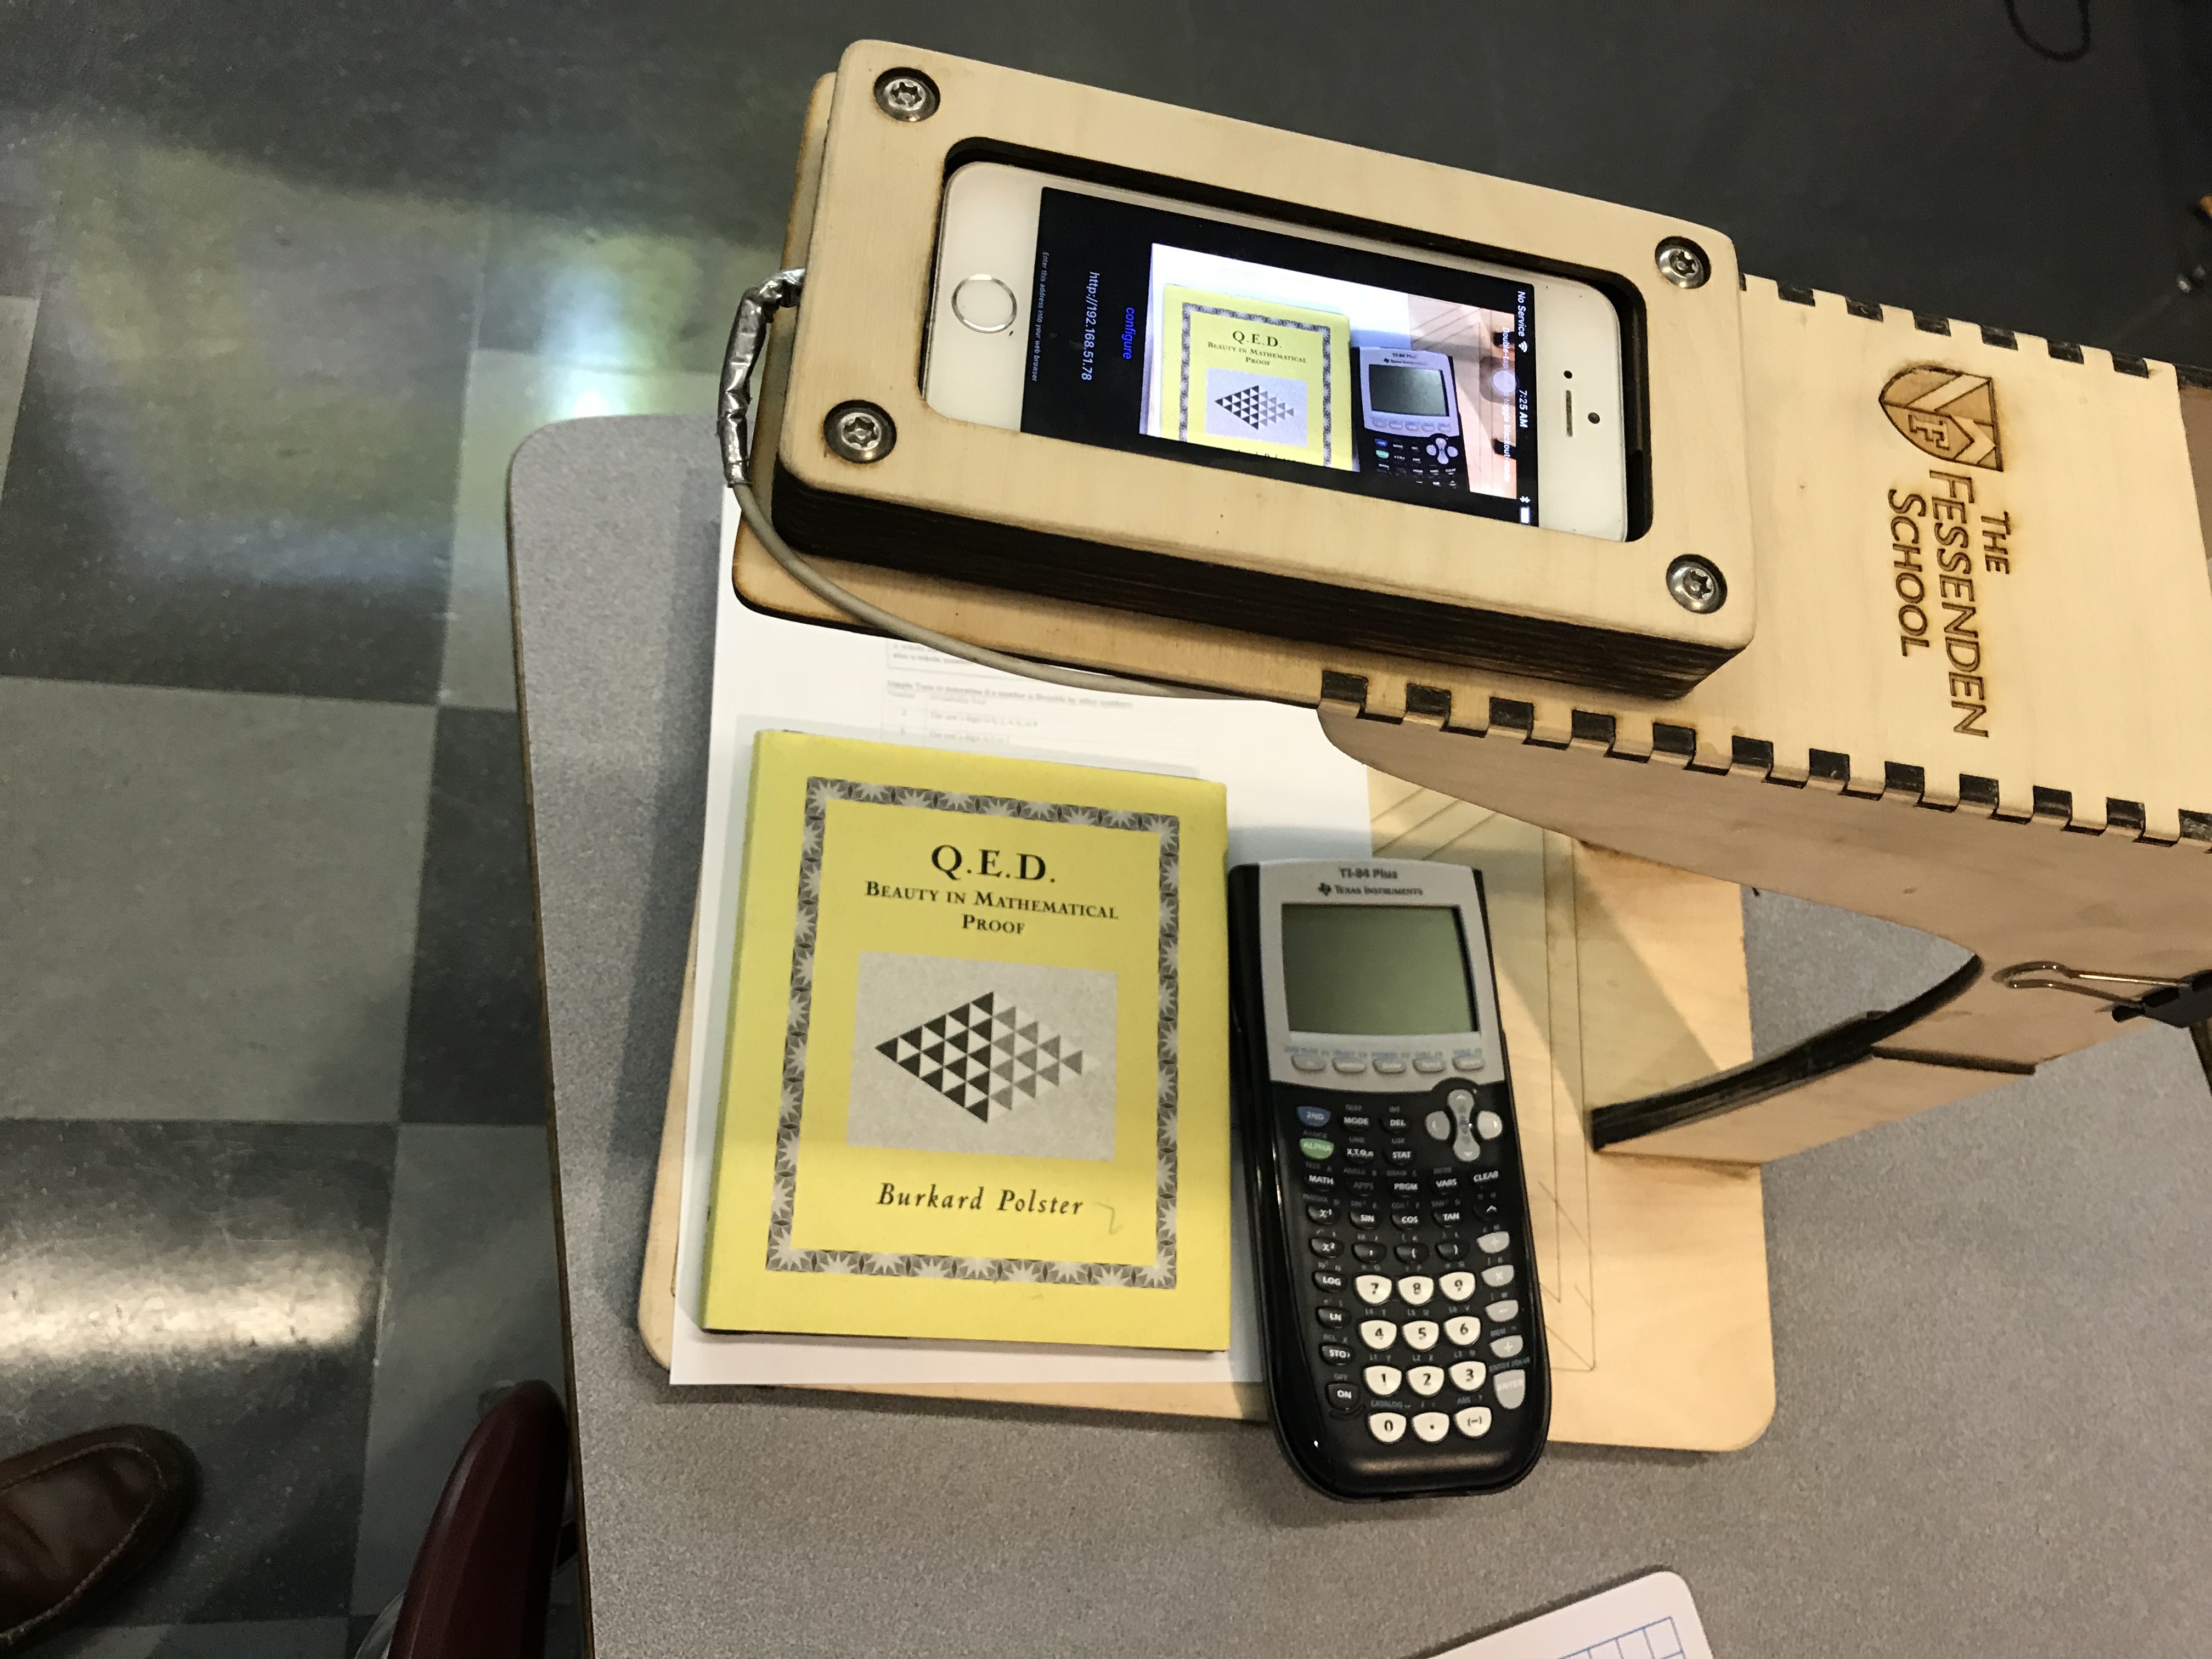
1. Document Camera - I use it every day as a wireless document camera. Either in the front of class or I bring it directly to my students seat. We review student work, answer keys, calculators and other manipulatives as they are projected on the Smartboard. I use the app IPCamera as it requires no software on my computer and has a good quality picture. It also includes some useful options and an automatic switch to "landscape" by just tilting the stand. The stand also works well with an AppleTV by using Airplay. The best app for this is from IPEVO called iDocCam which makes an iPhone into a document camera and has many useful features (such as pinch to zoom).
2. Scanner - My students scan their most important written work. After scanned, they email it to themselves and save it in a Googledocs folder titled "Mathematics". This folder is also shared with me so I can review their work and track submission dates. Free scanner applications (like ScannerPro or Camscanner) scan multiple pages quickly and with good quality. The applications also remember student email addresses after the first use so it is a quick process.
3. A Modern Scantron Machine - This stand works perfectly with the app ZipGrade. Super simple to grade multiple choice tests in seconds. Just put the paper under the scanner and it will instantly give you the results and also store them. I've created multiple trivia games for my classes and they love getting the quick results and then trying to find their mistakes. Since the grading is so fast, I have students resubmit their work multiple times until they get 100% score (sometimes I tell them which problems are wrong and sometimes I have them figure out which ones are wrong).
4. A Shared Jukebox - Connect a bluetooth speaker and the Scanstand becomes a well-protected music source that can stand up to student abuse. I added Spotify, Pandora and TuneIn Radio and allow my students to choose the music for class time and recess.
As to the iPhone, I recommend the iPhone 4S as it has a good camera and costs only $50. You can also ask your students and families for an old iphone as it seems that many people have one just sitting in a drawer somewhere collecting dust.
Materials Required
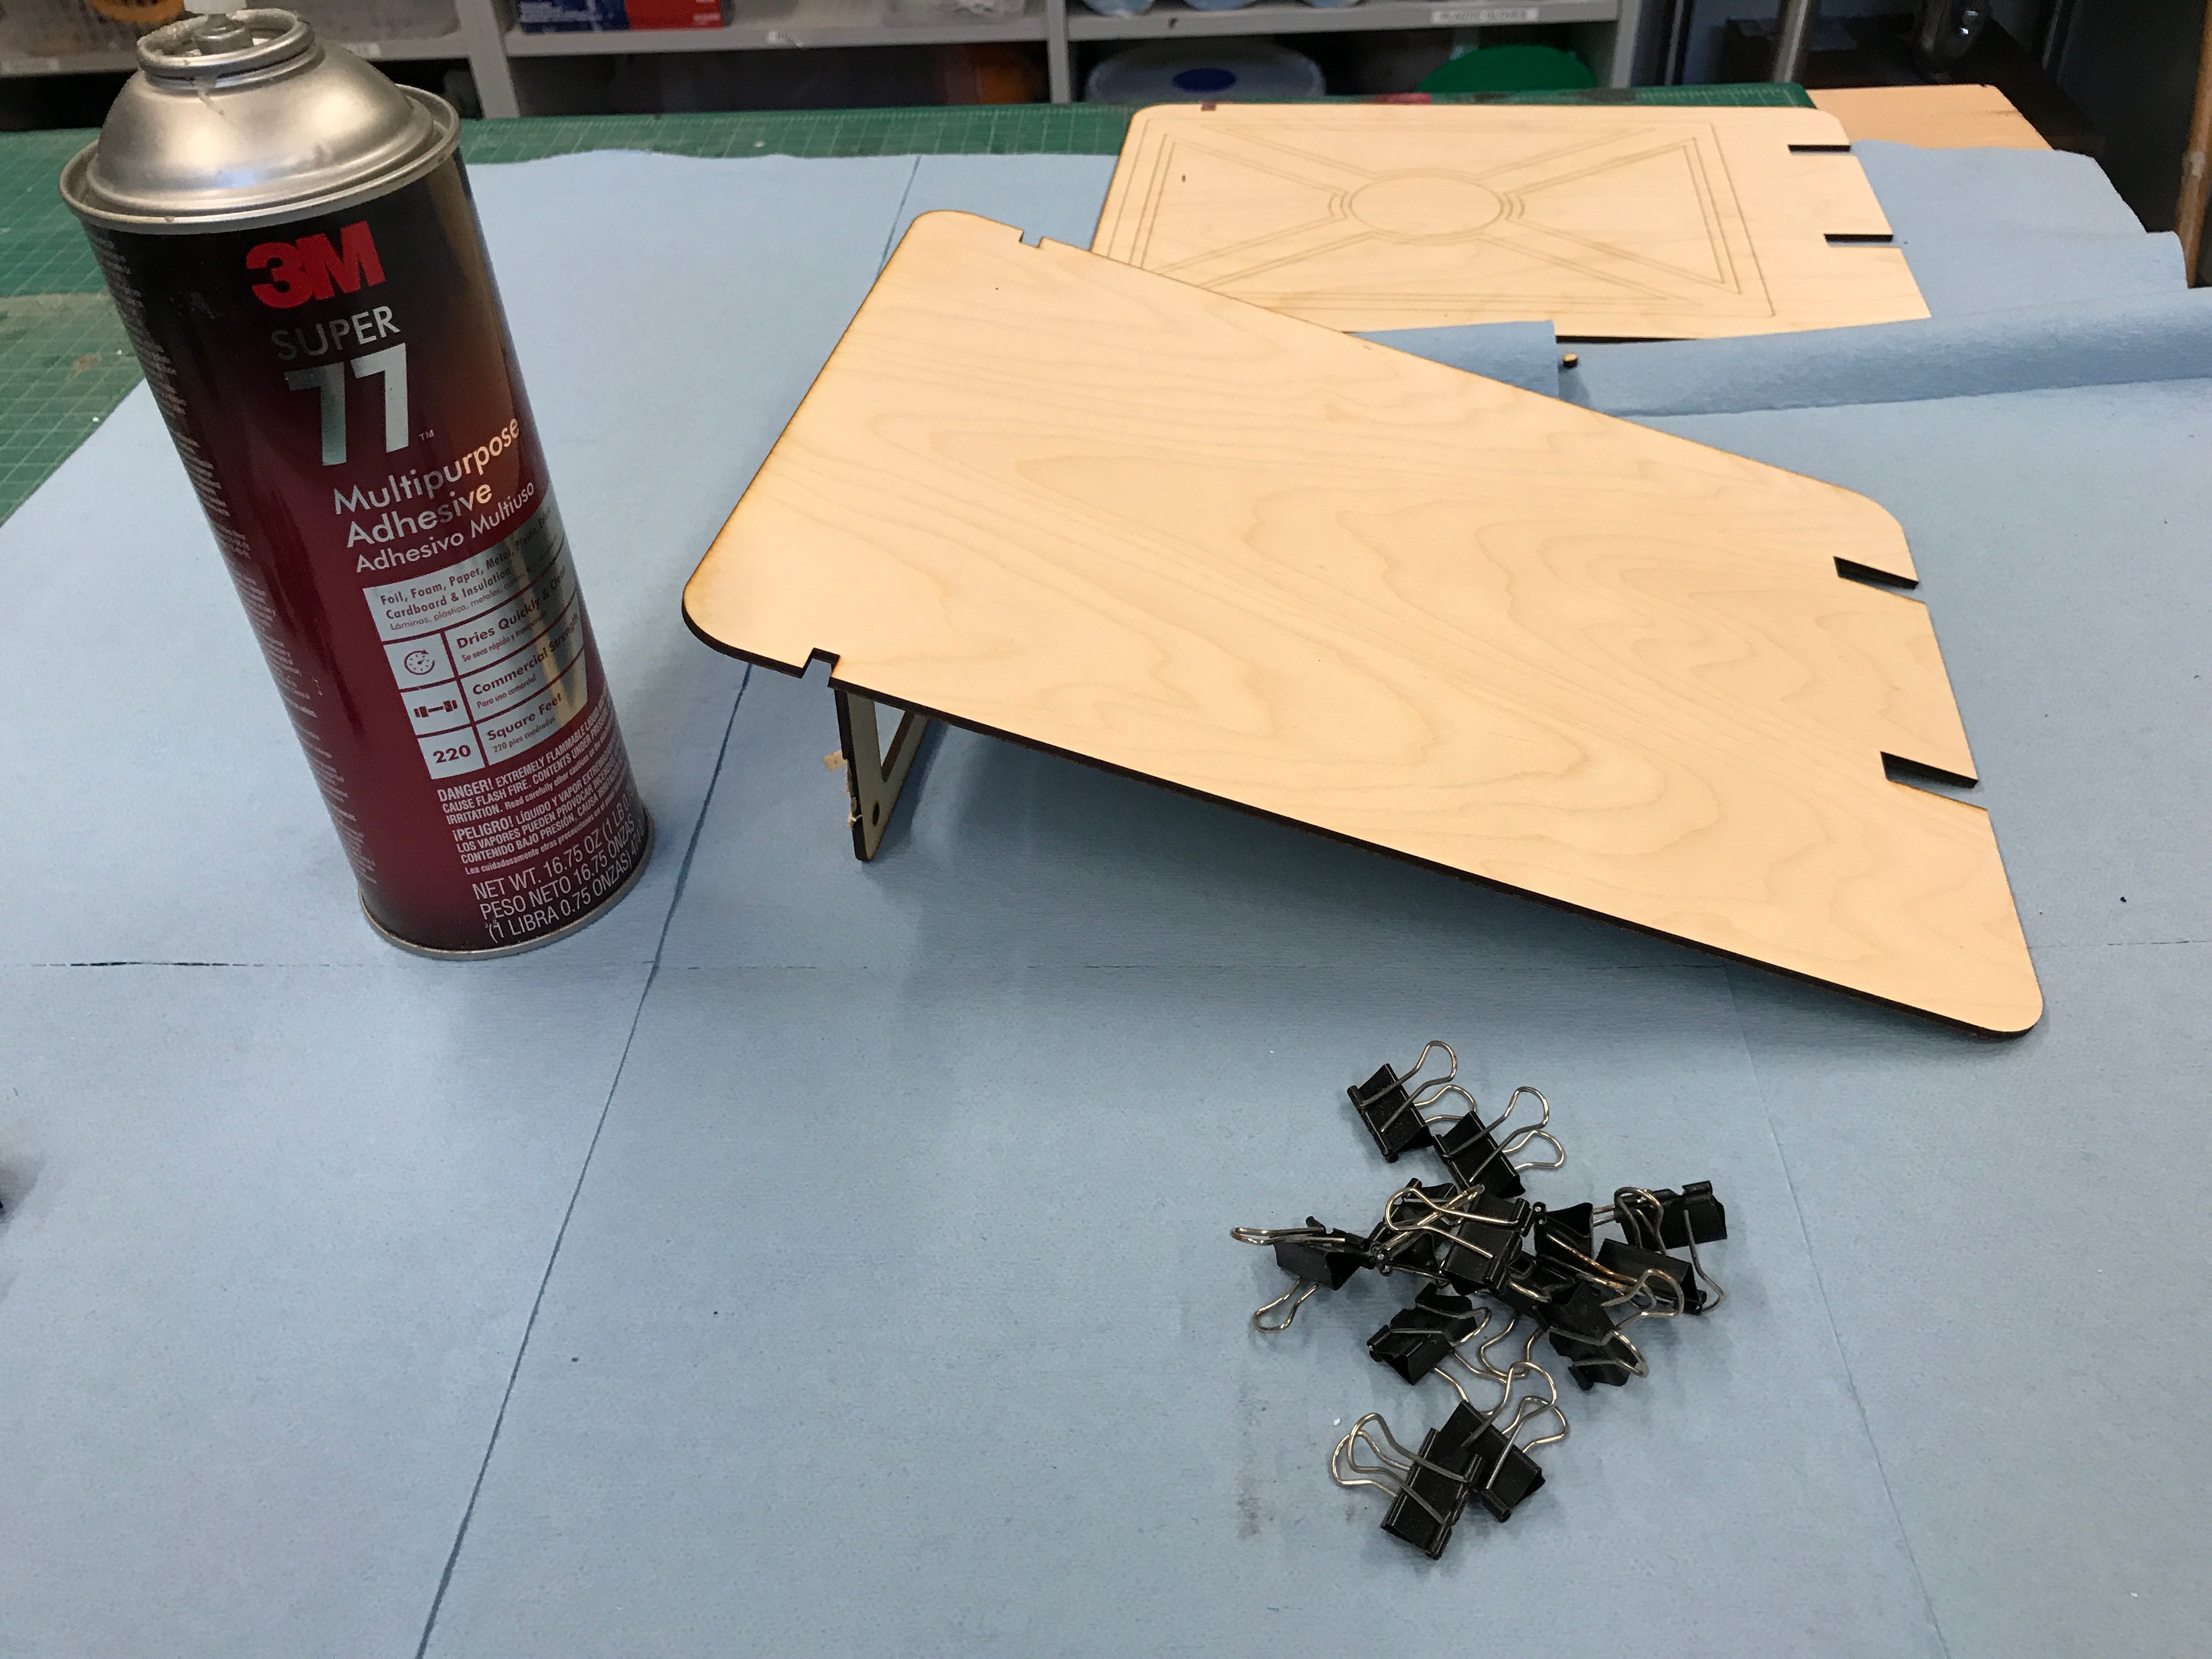
1. 12" x 24" sheet birch plywood (4)
2. Iphone 4 or 5. (1) Ebay?
3. 2" bolts and locking nuts (4)
4. Woodglue & 3M "77" Spray adhesive.
5. 120 and 220 grit sandpaper.
6. Binder clips to hold the wood while drying. Small clamps.
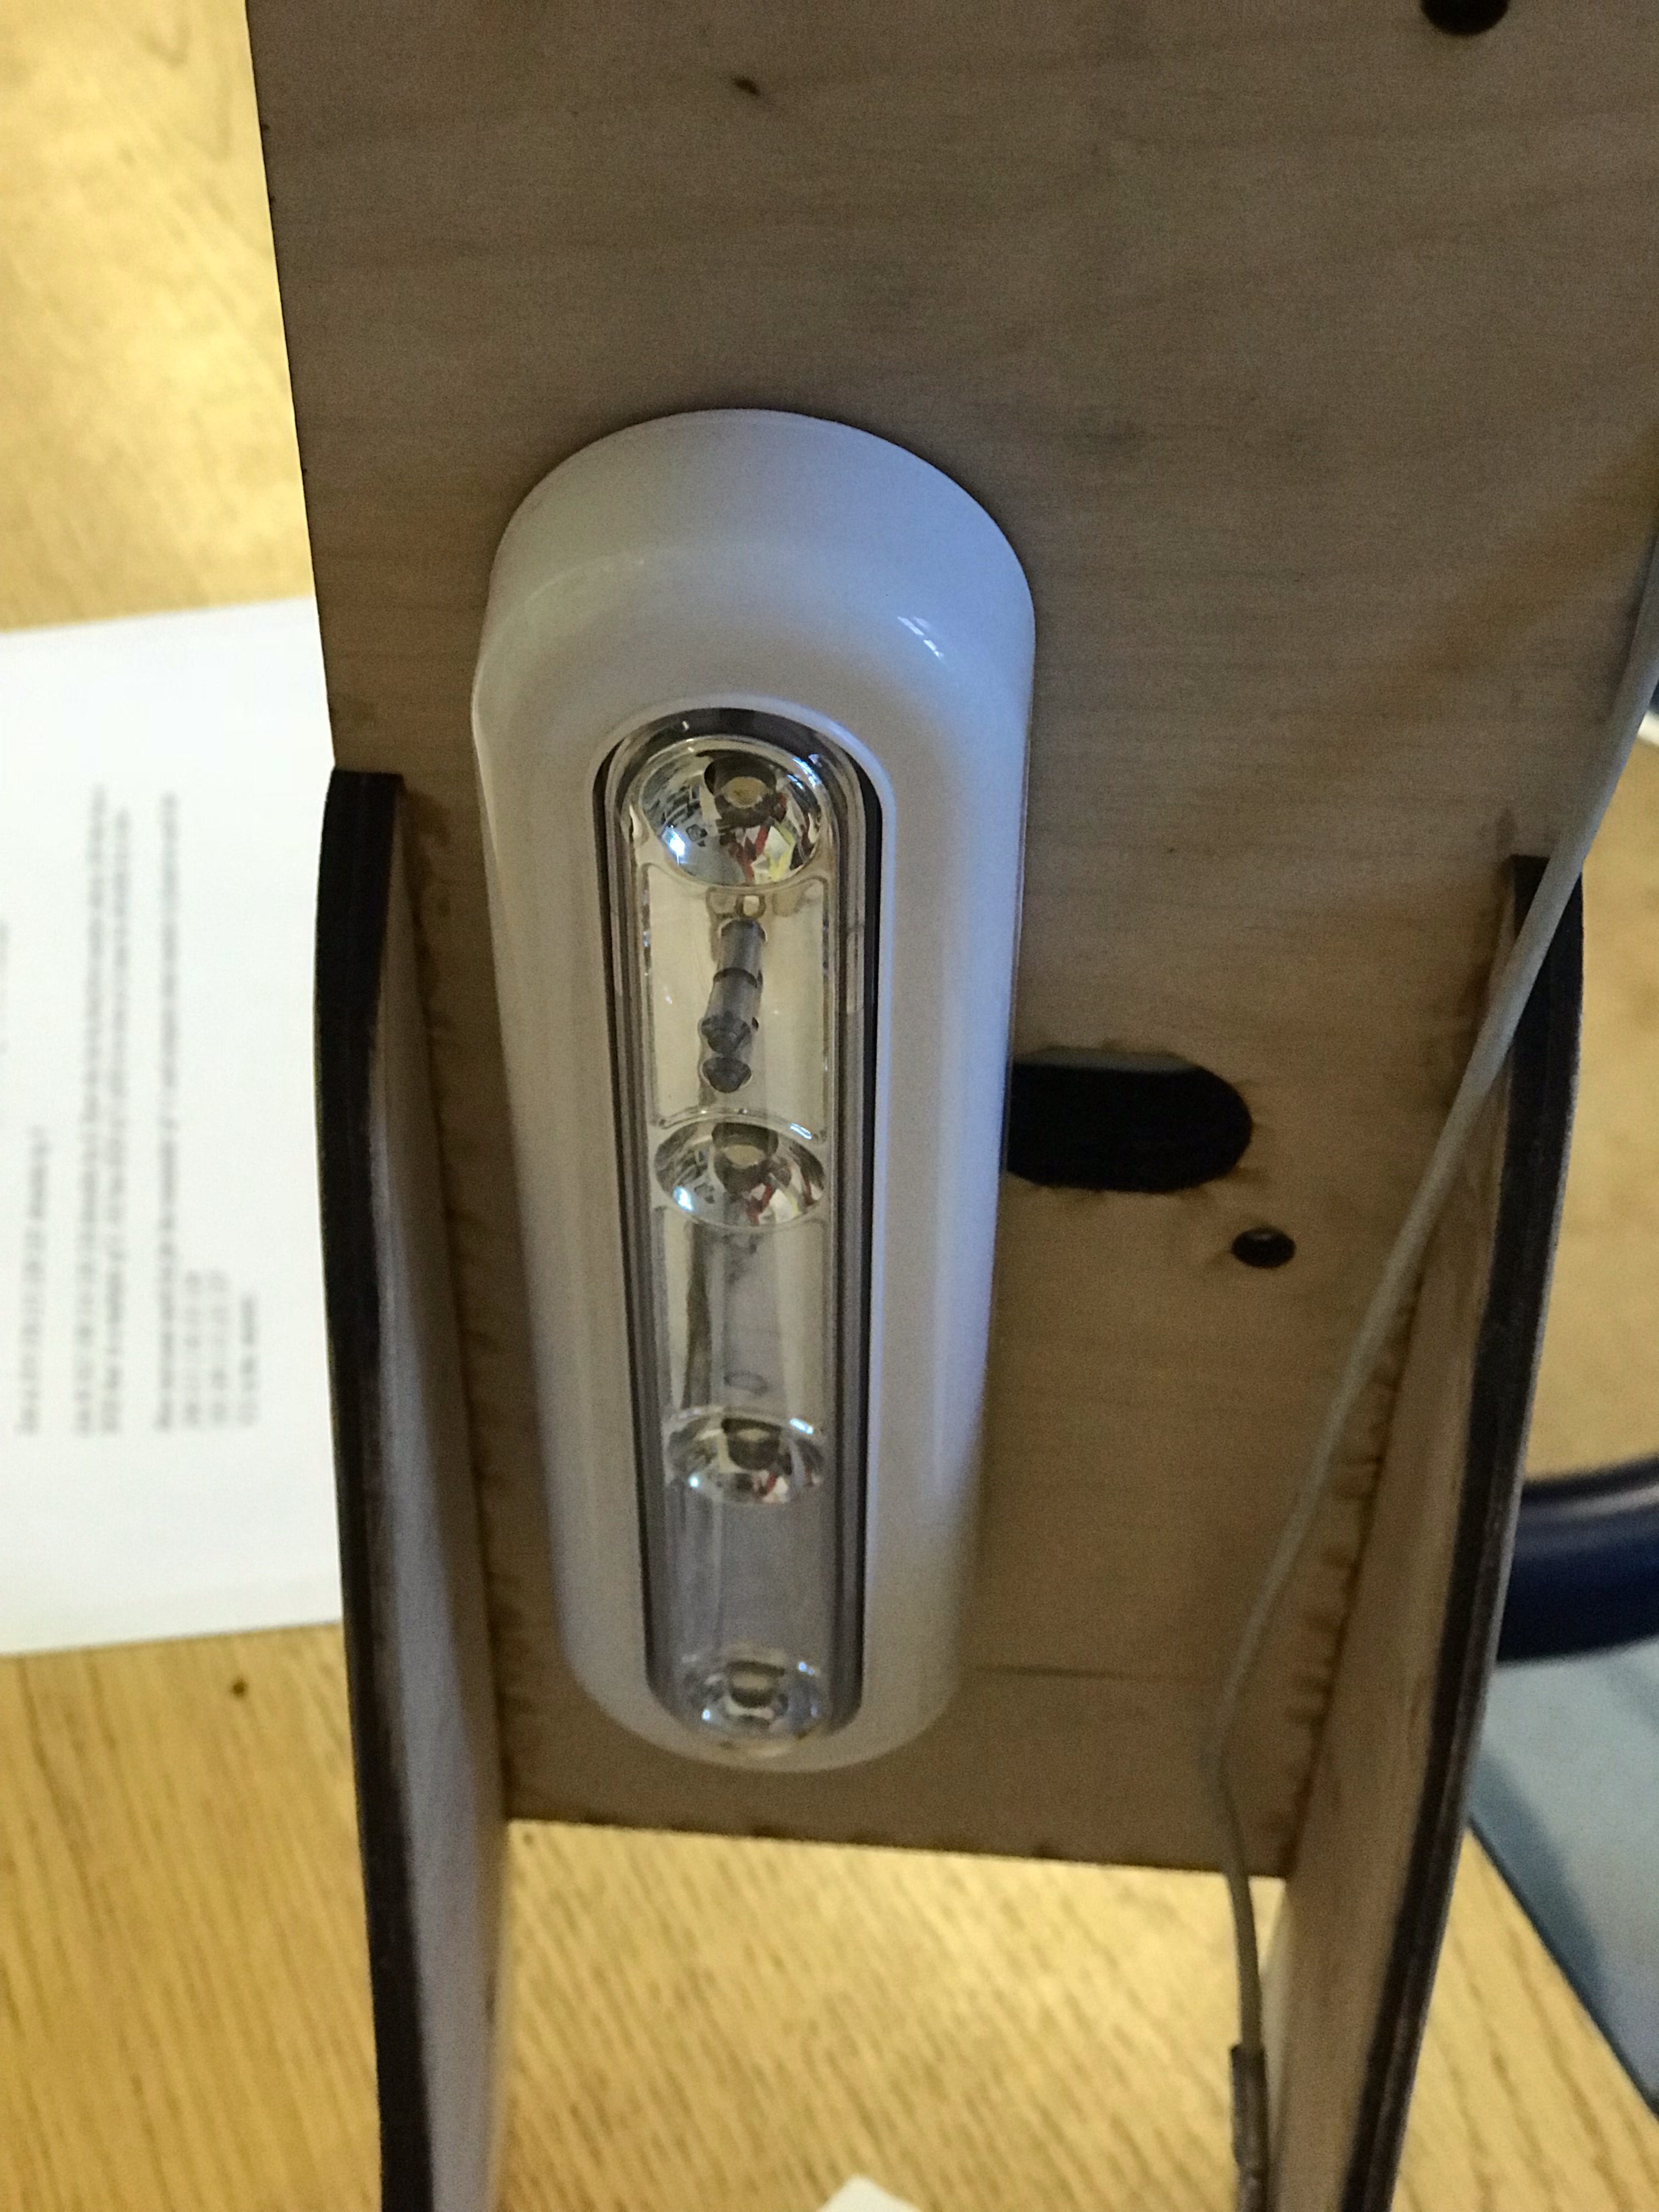
Optional: LED Light $7.50 (link)
Link to CorelDraw file. I also added the files to Ponoko for makers that need access to a laser cutter. Link.
Equipment - 40 watt Epilog Laser
Downloads
Lasercut Your Plywood
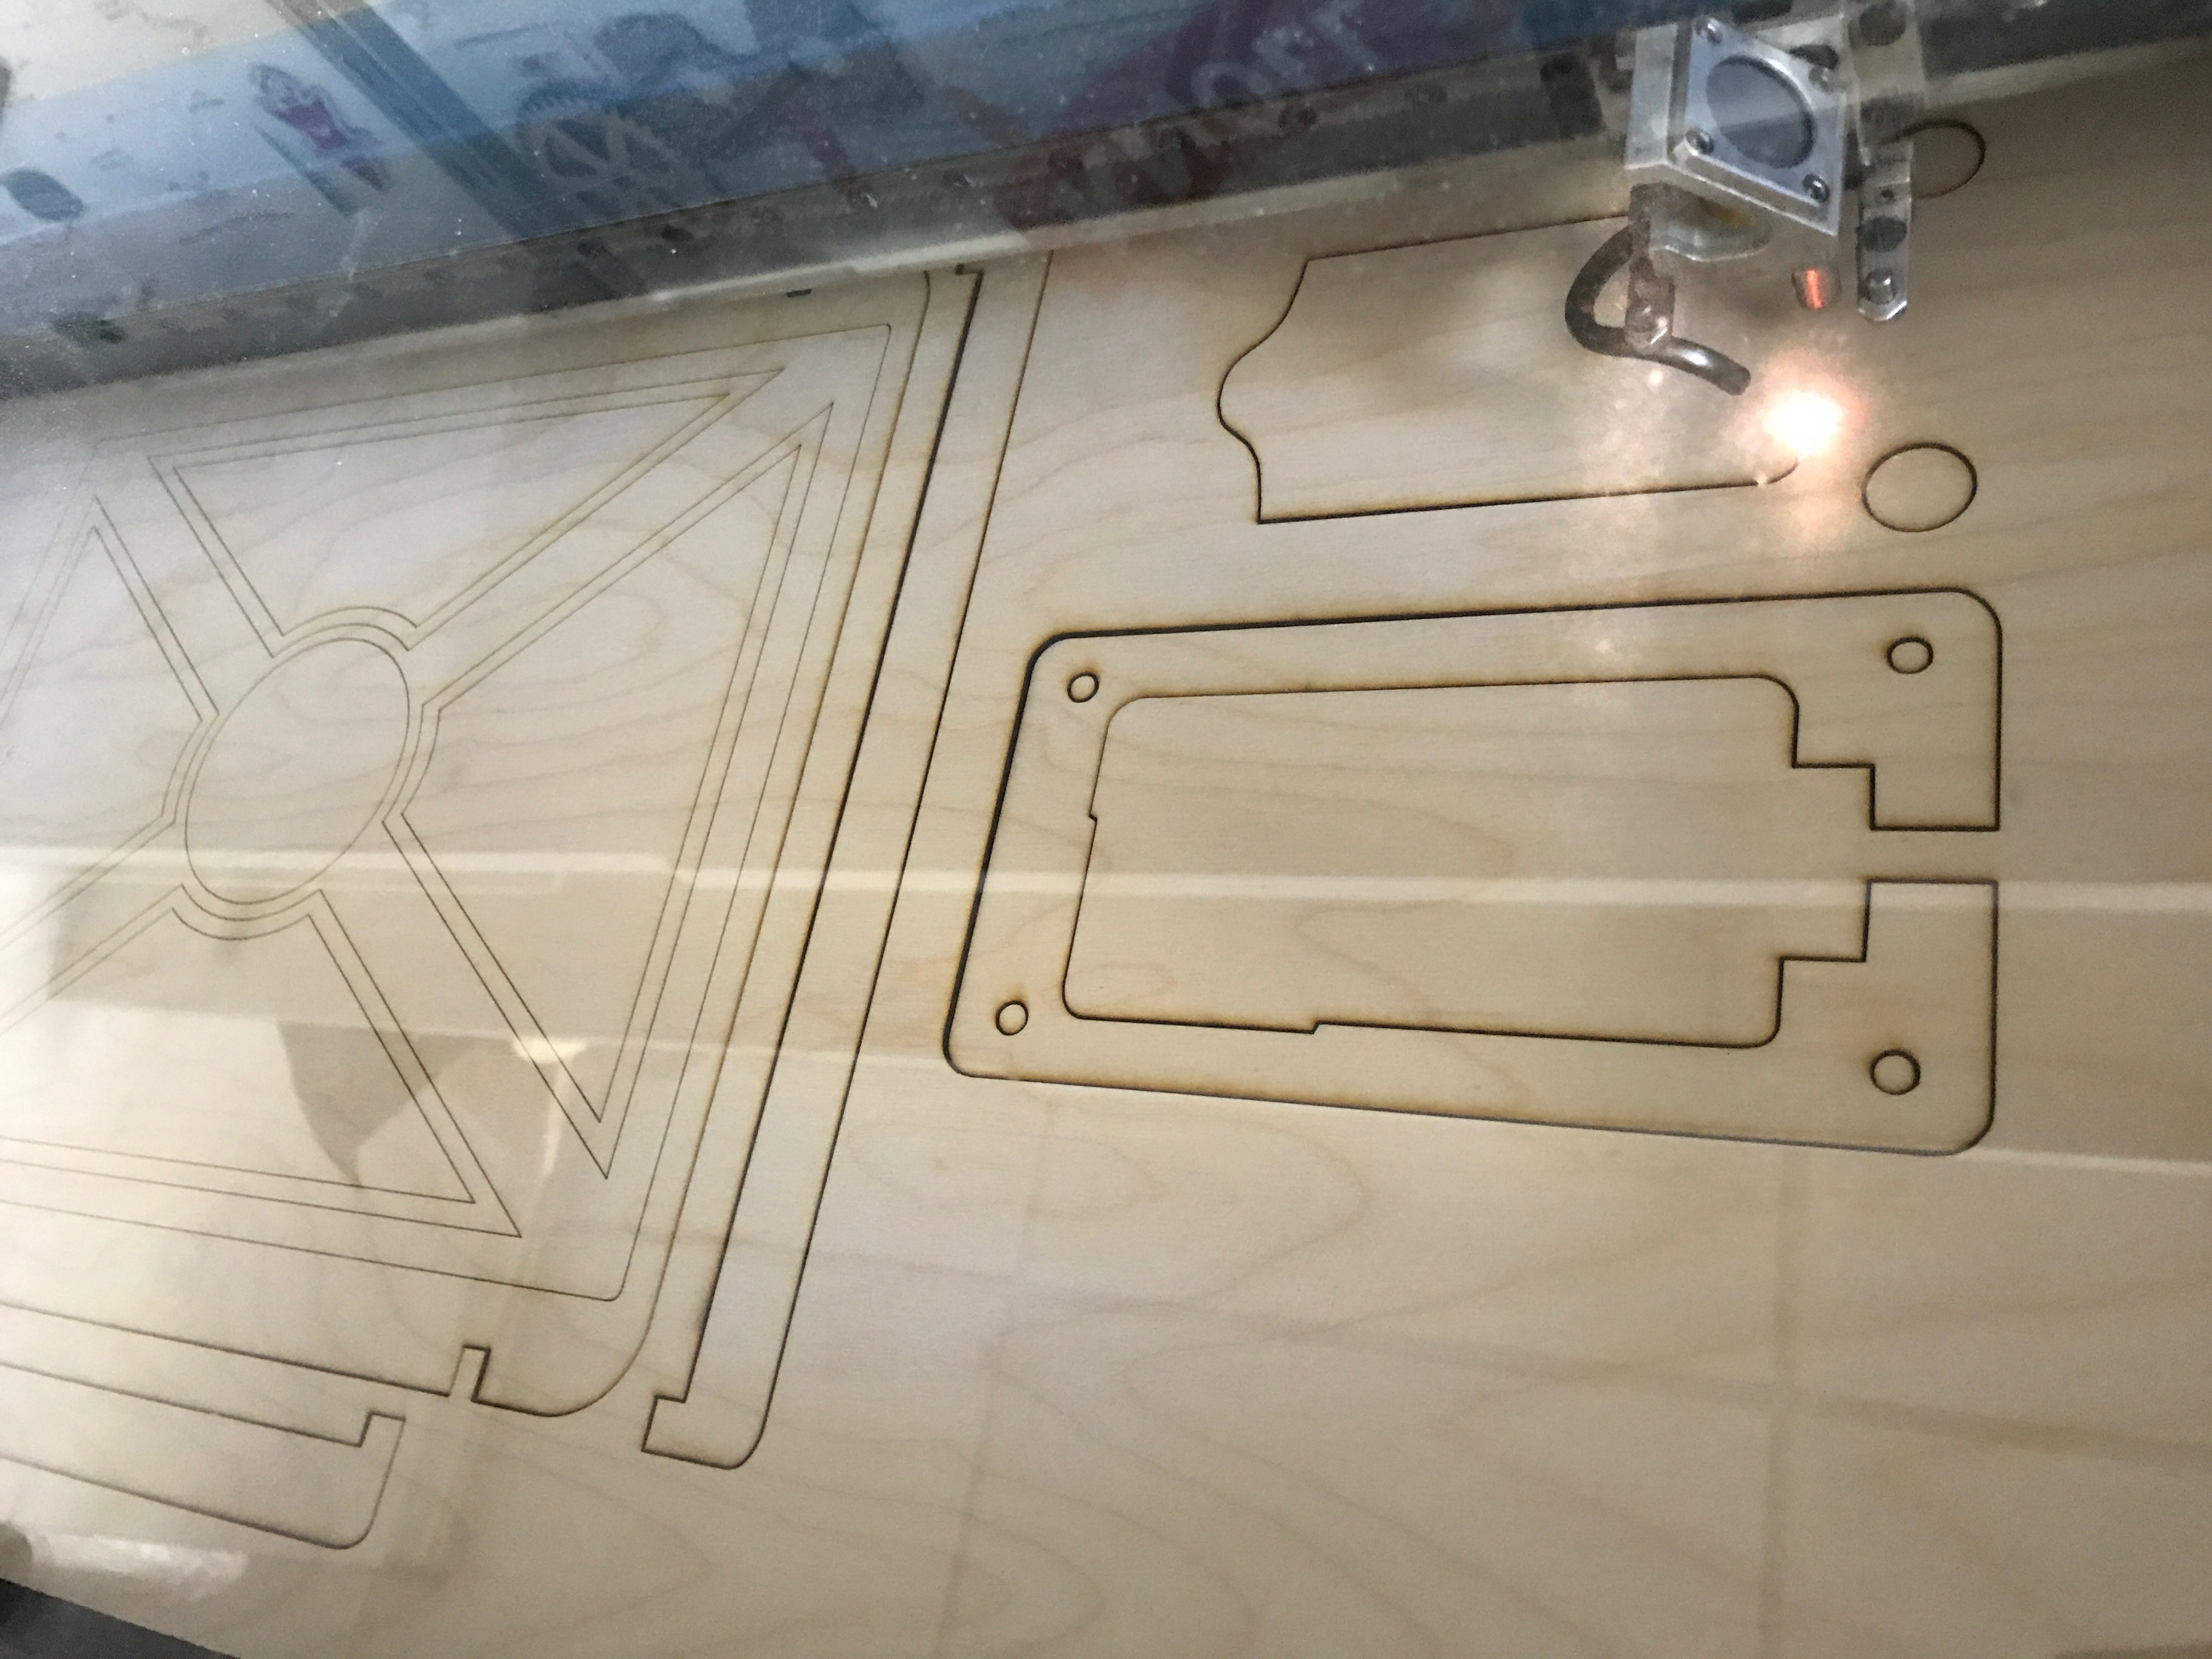
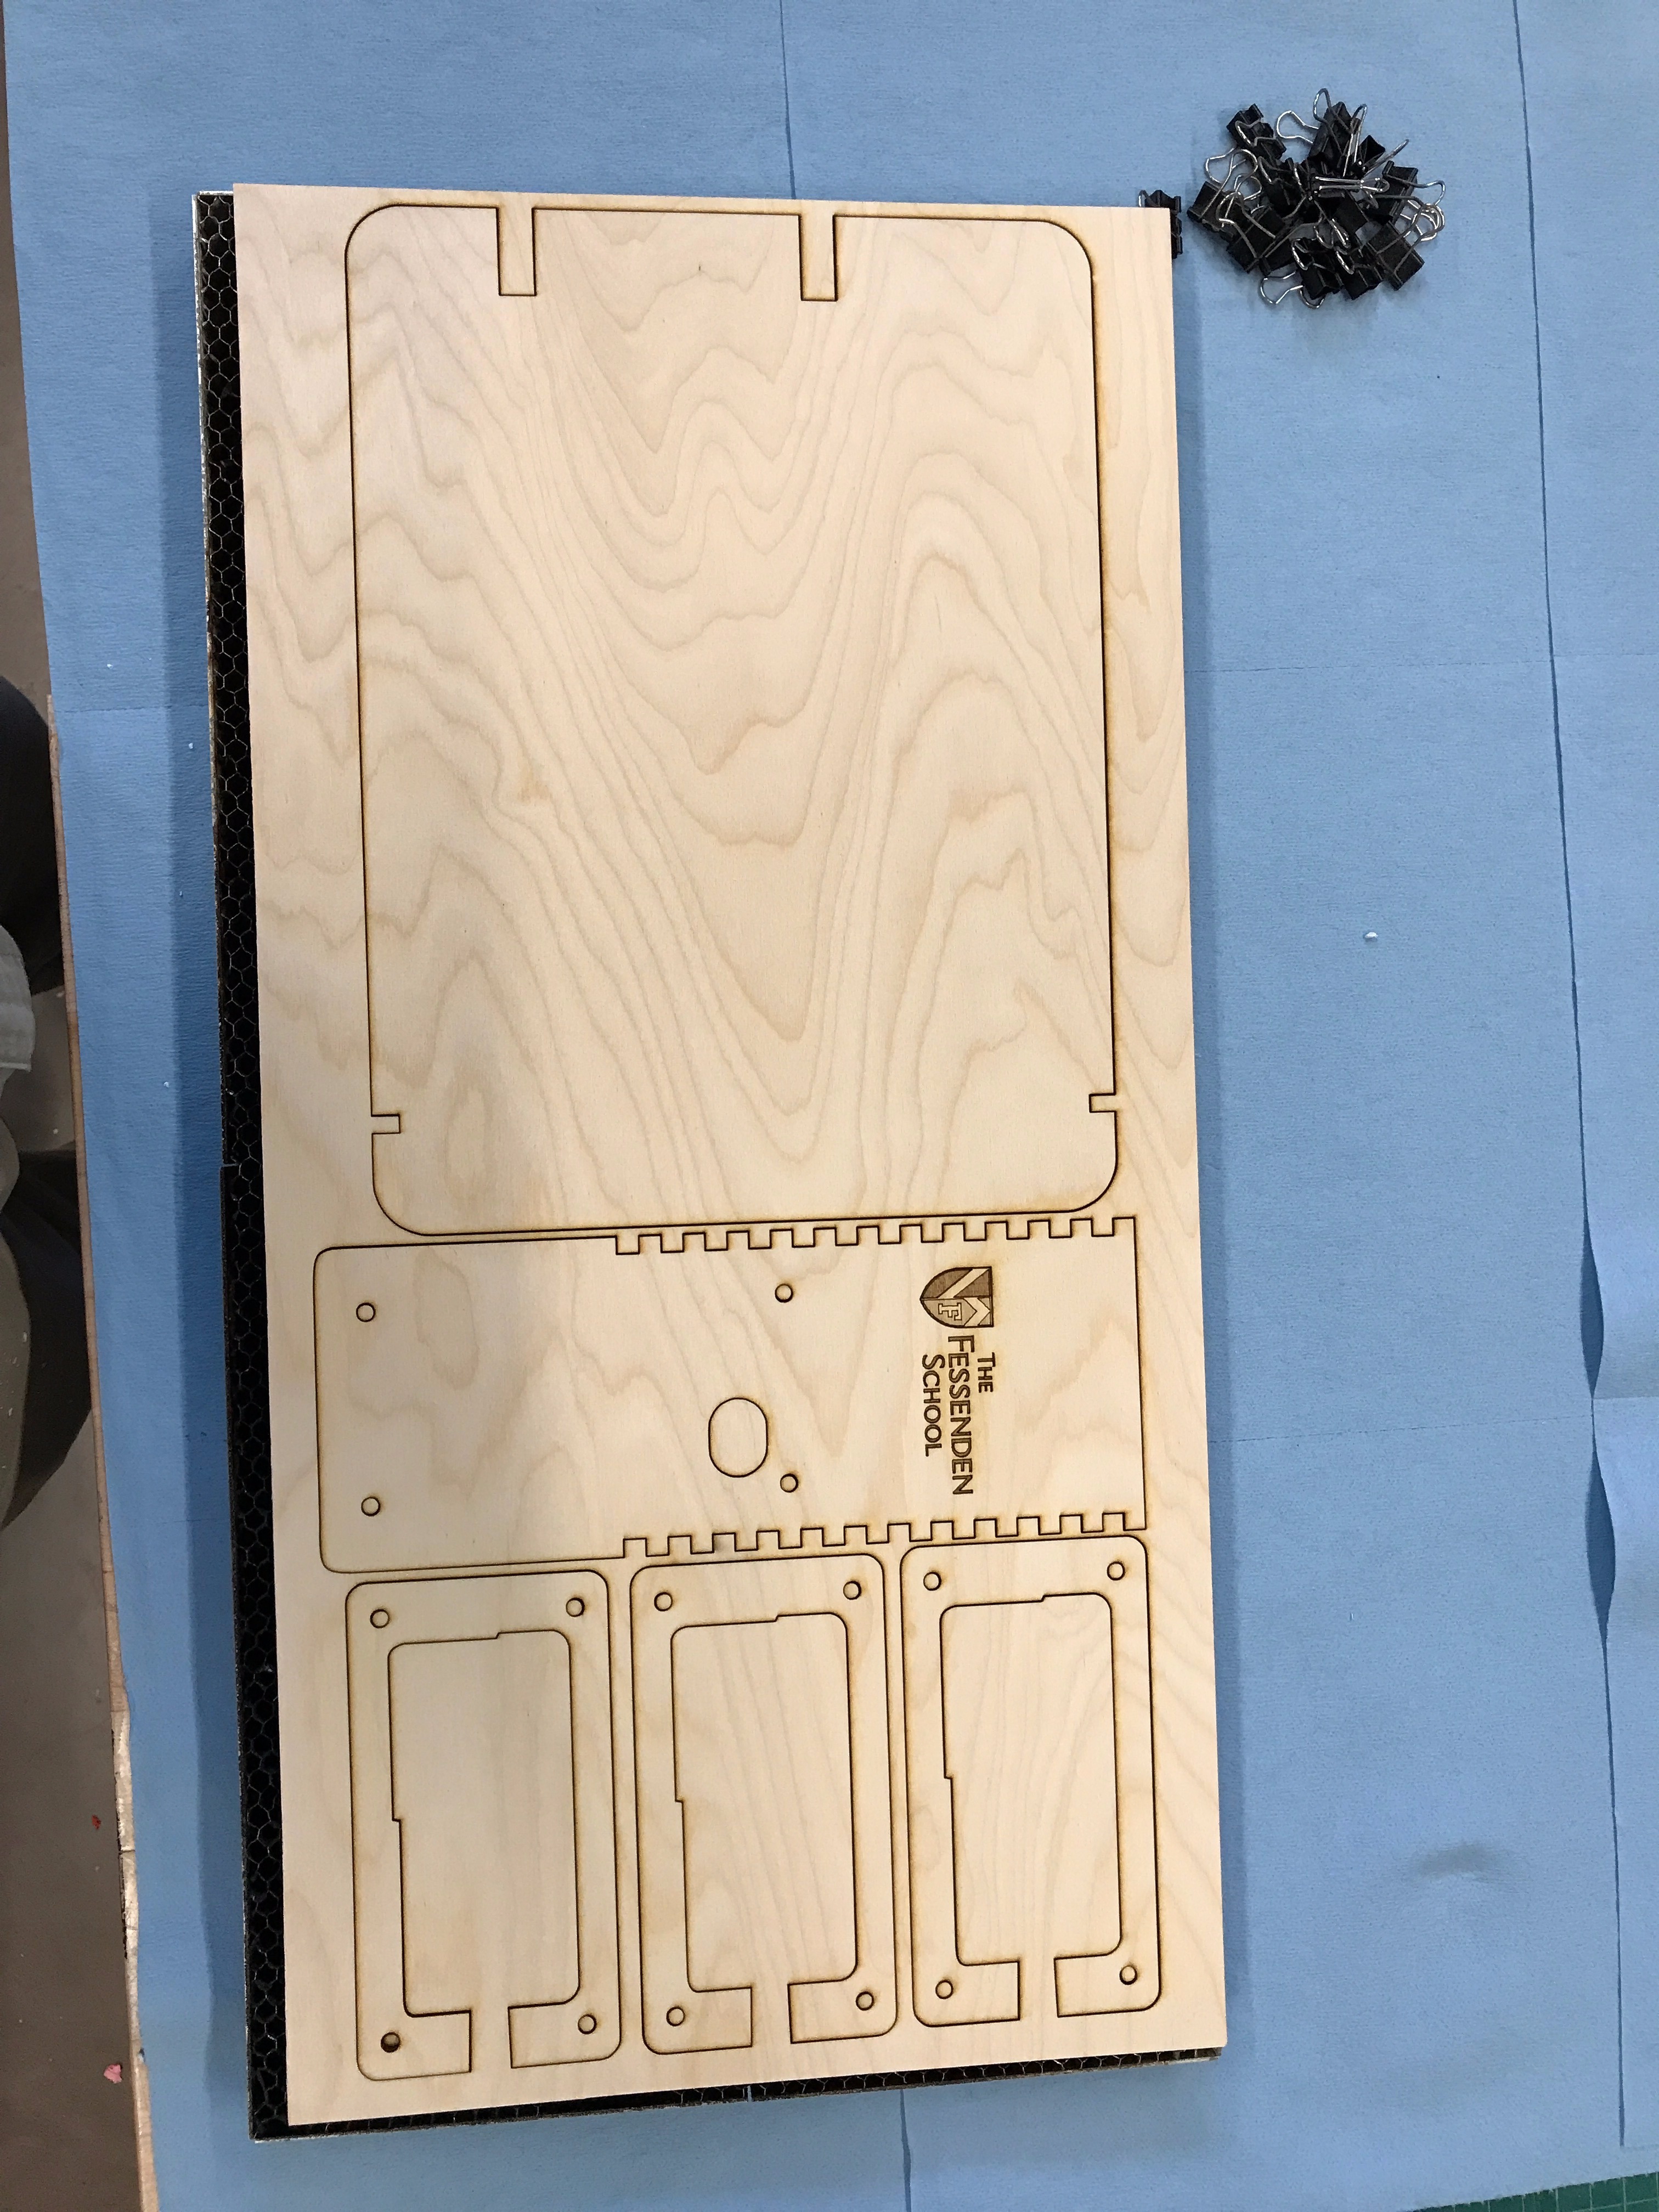
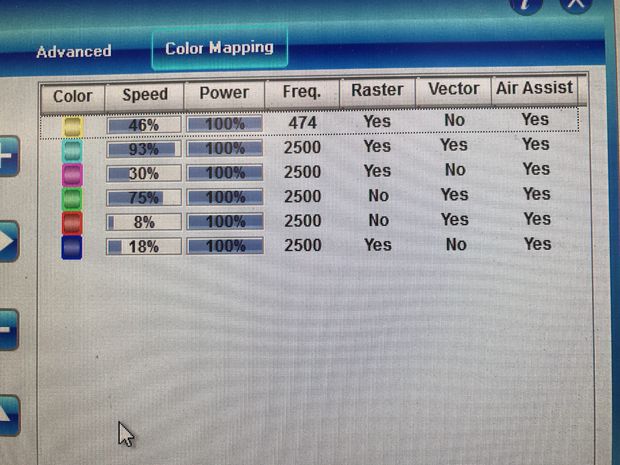
I use a 40 watt Epilog Laser with CorelDraw. Original files were designed in Inkscape (hey, it's free!) and saved as a PDF and then imported to Corel as that drives the laser cutter at my school. Four sheets of 12" x 24" birch plywood required. I also added the files to Ponoko for makers that need access to a laser cutter. Link.
Laminate the Two Bases.
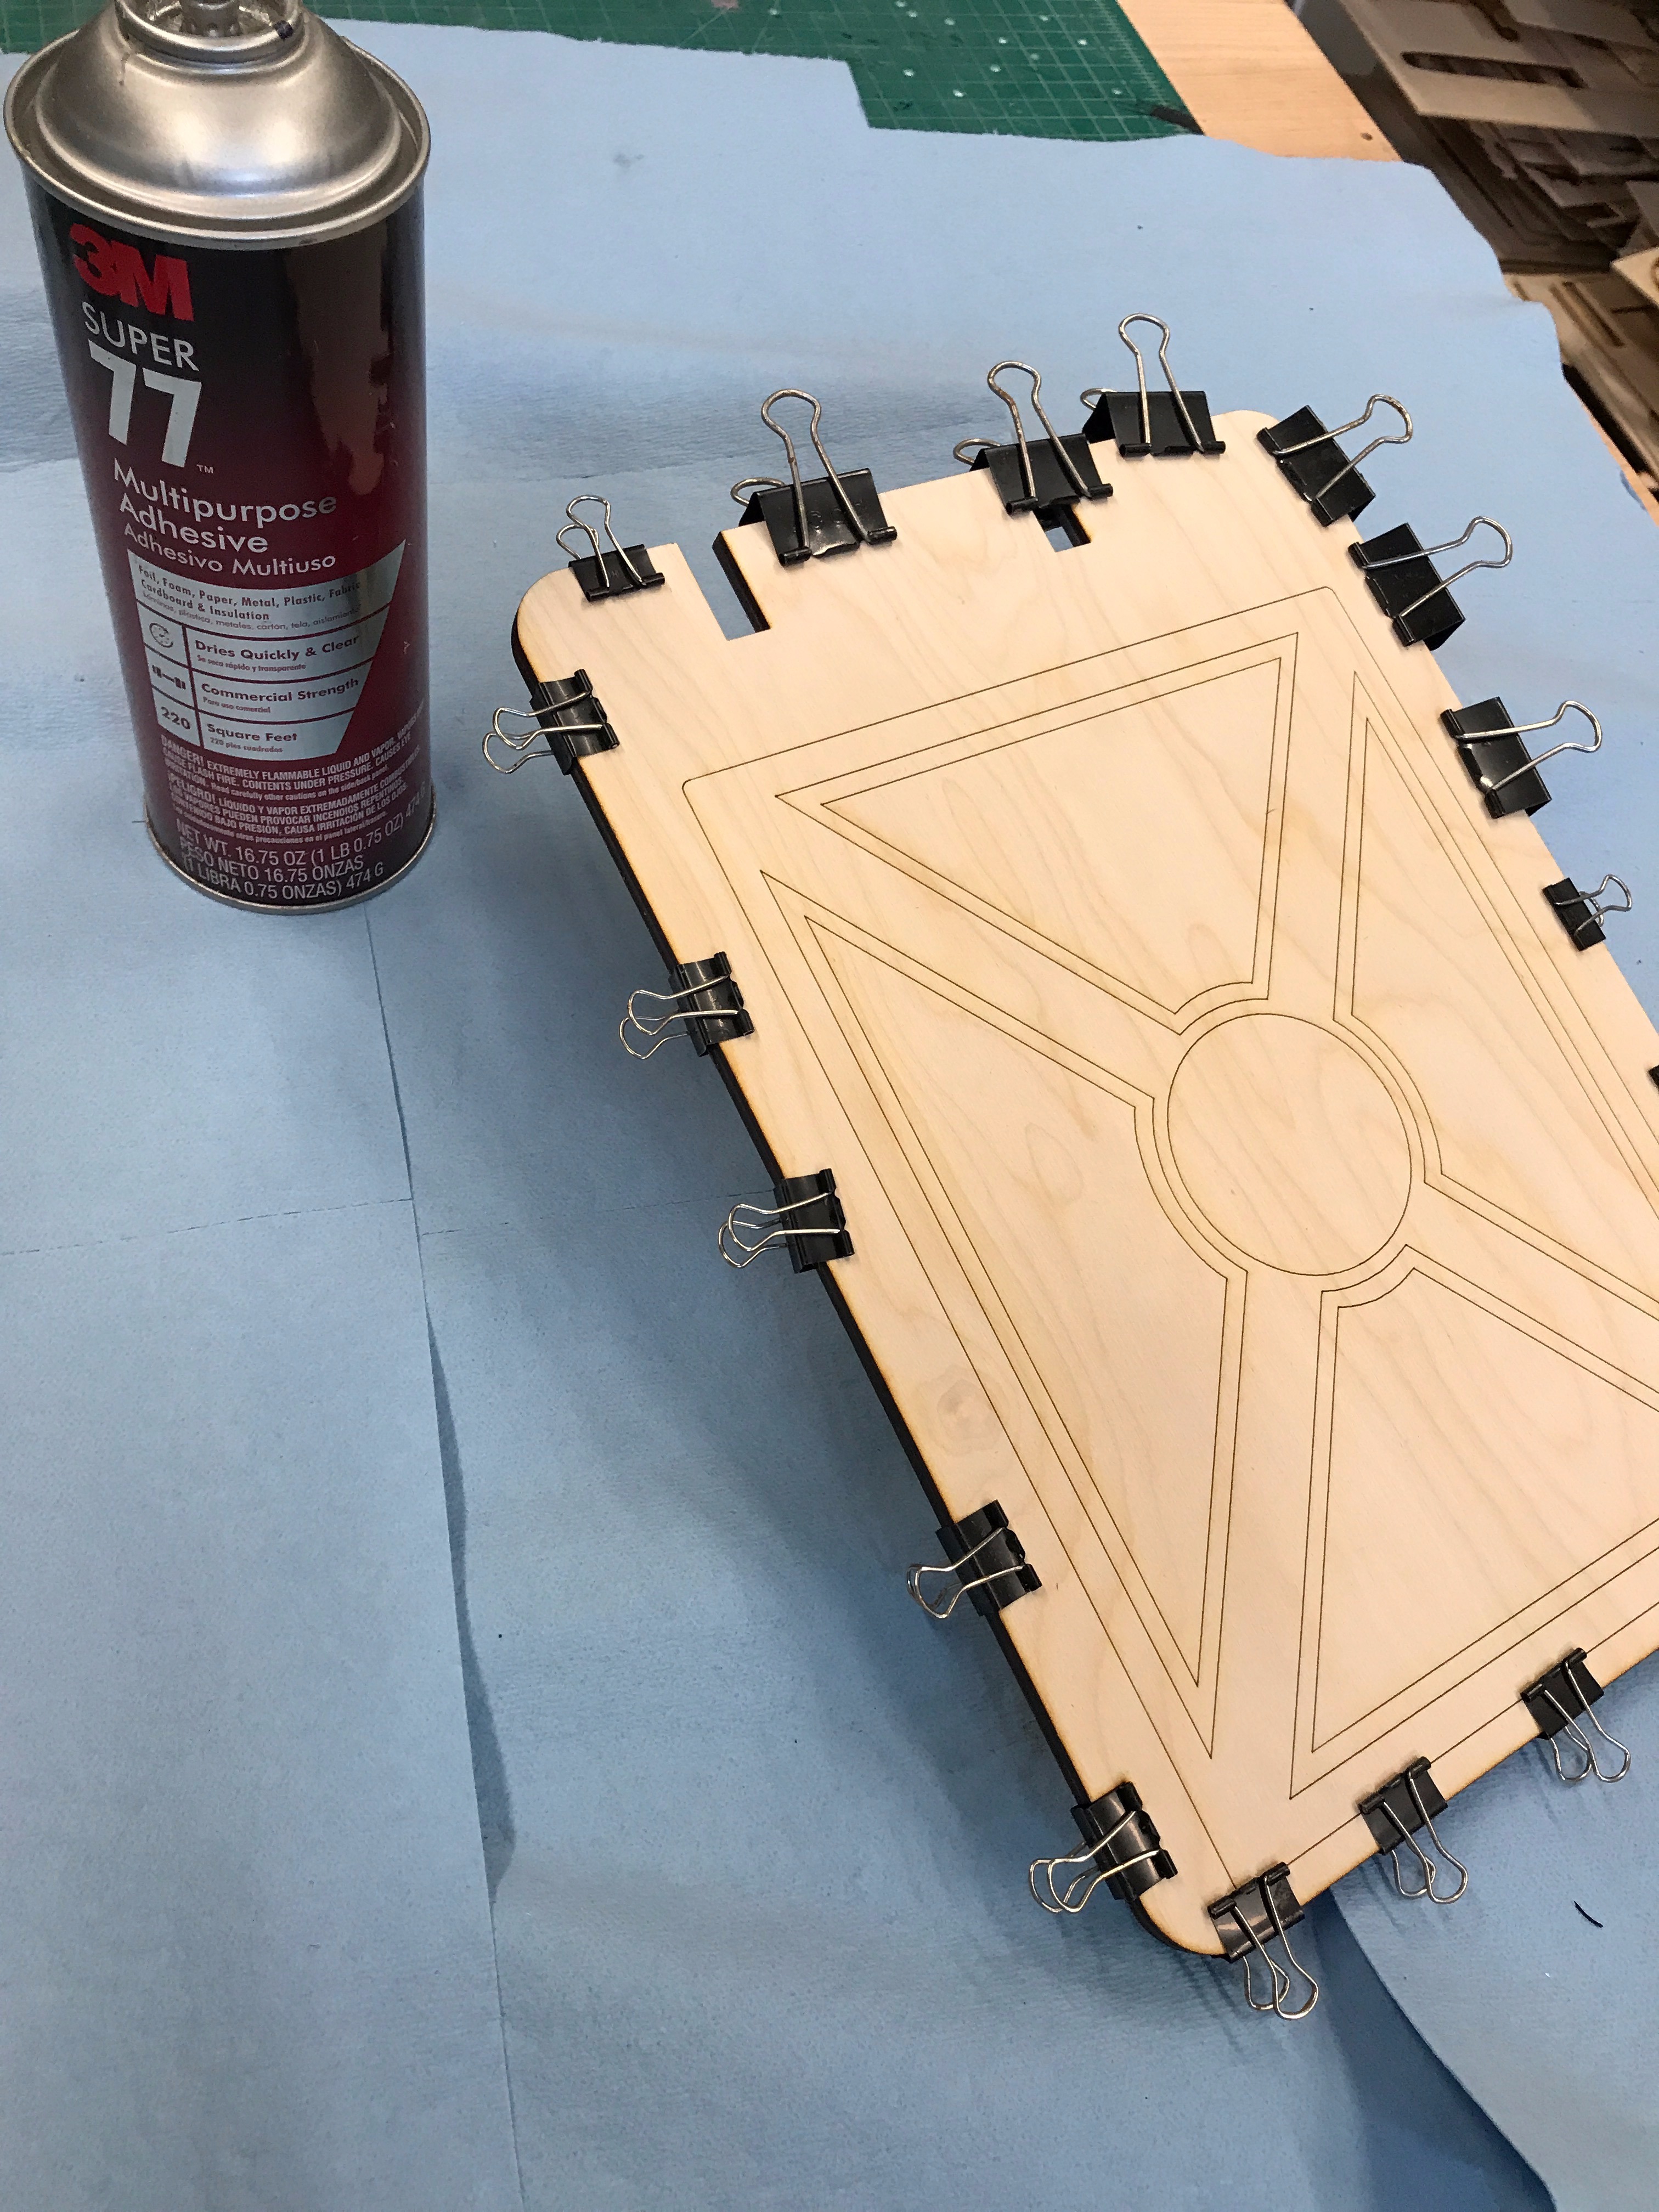
I prop the base up a scrap piece of wood before spraying a piece. Have plenty of binder clips available as the glue sets up quickly. I will let this dry for at least a few hours as it's really hard to laminate pieces back together later.
Laminate the Arms.
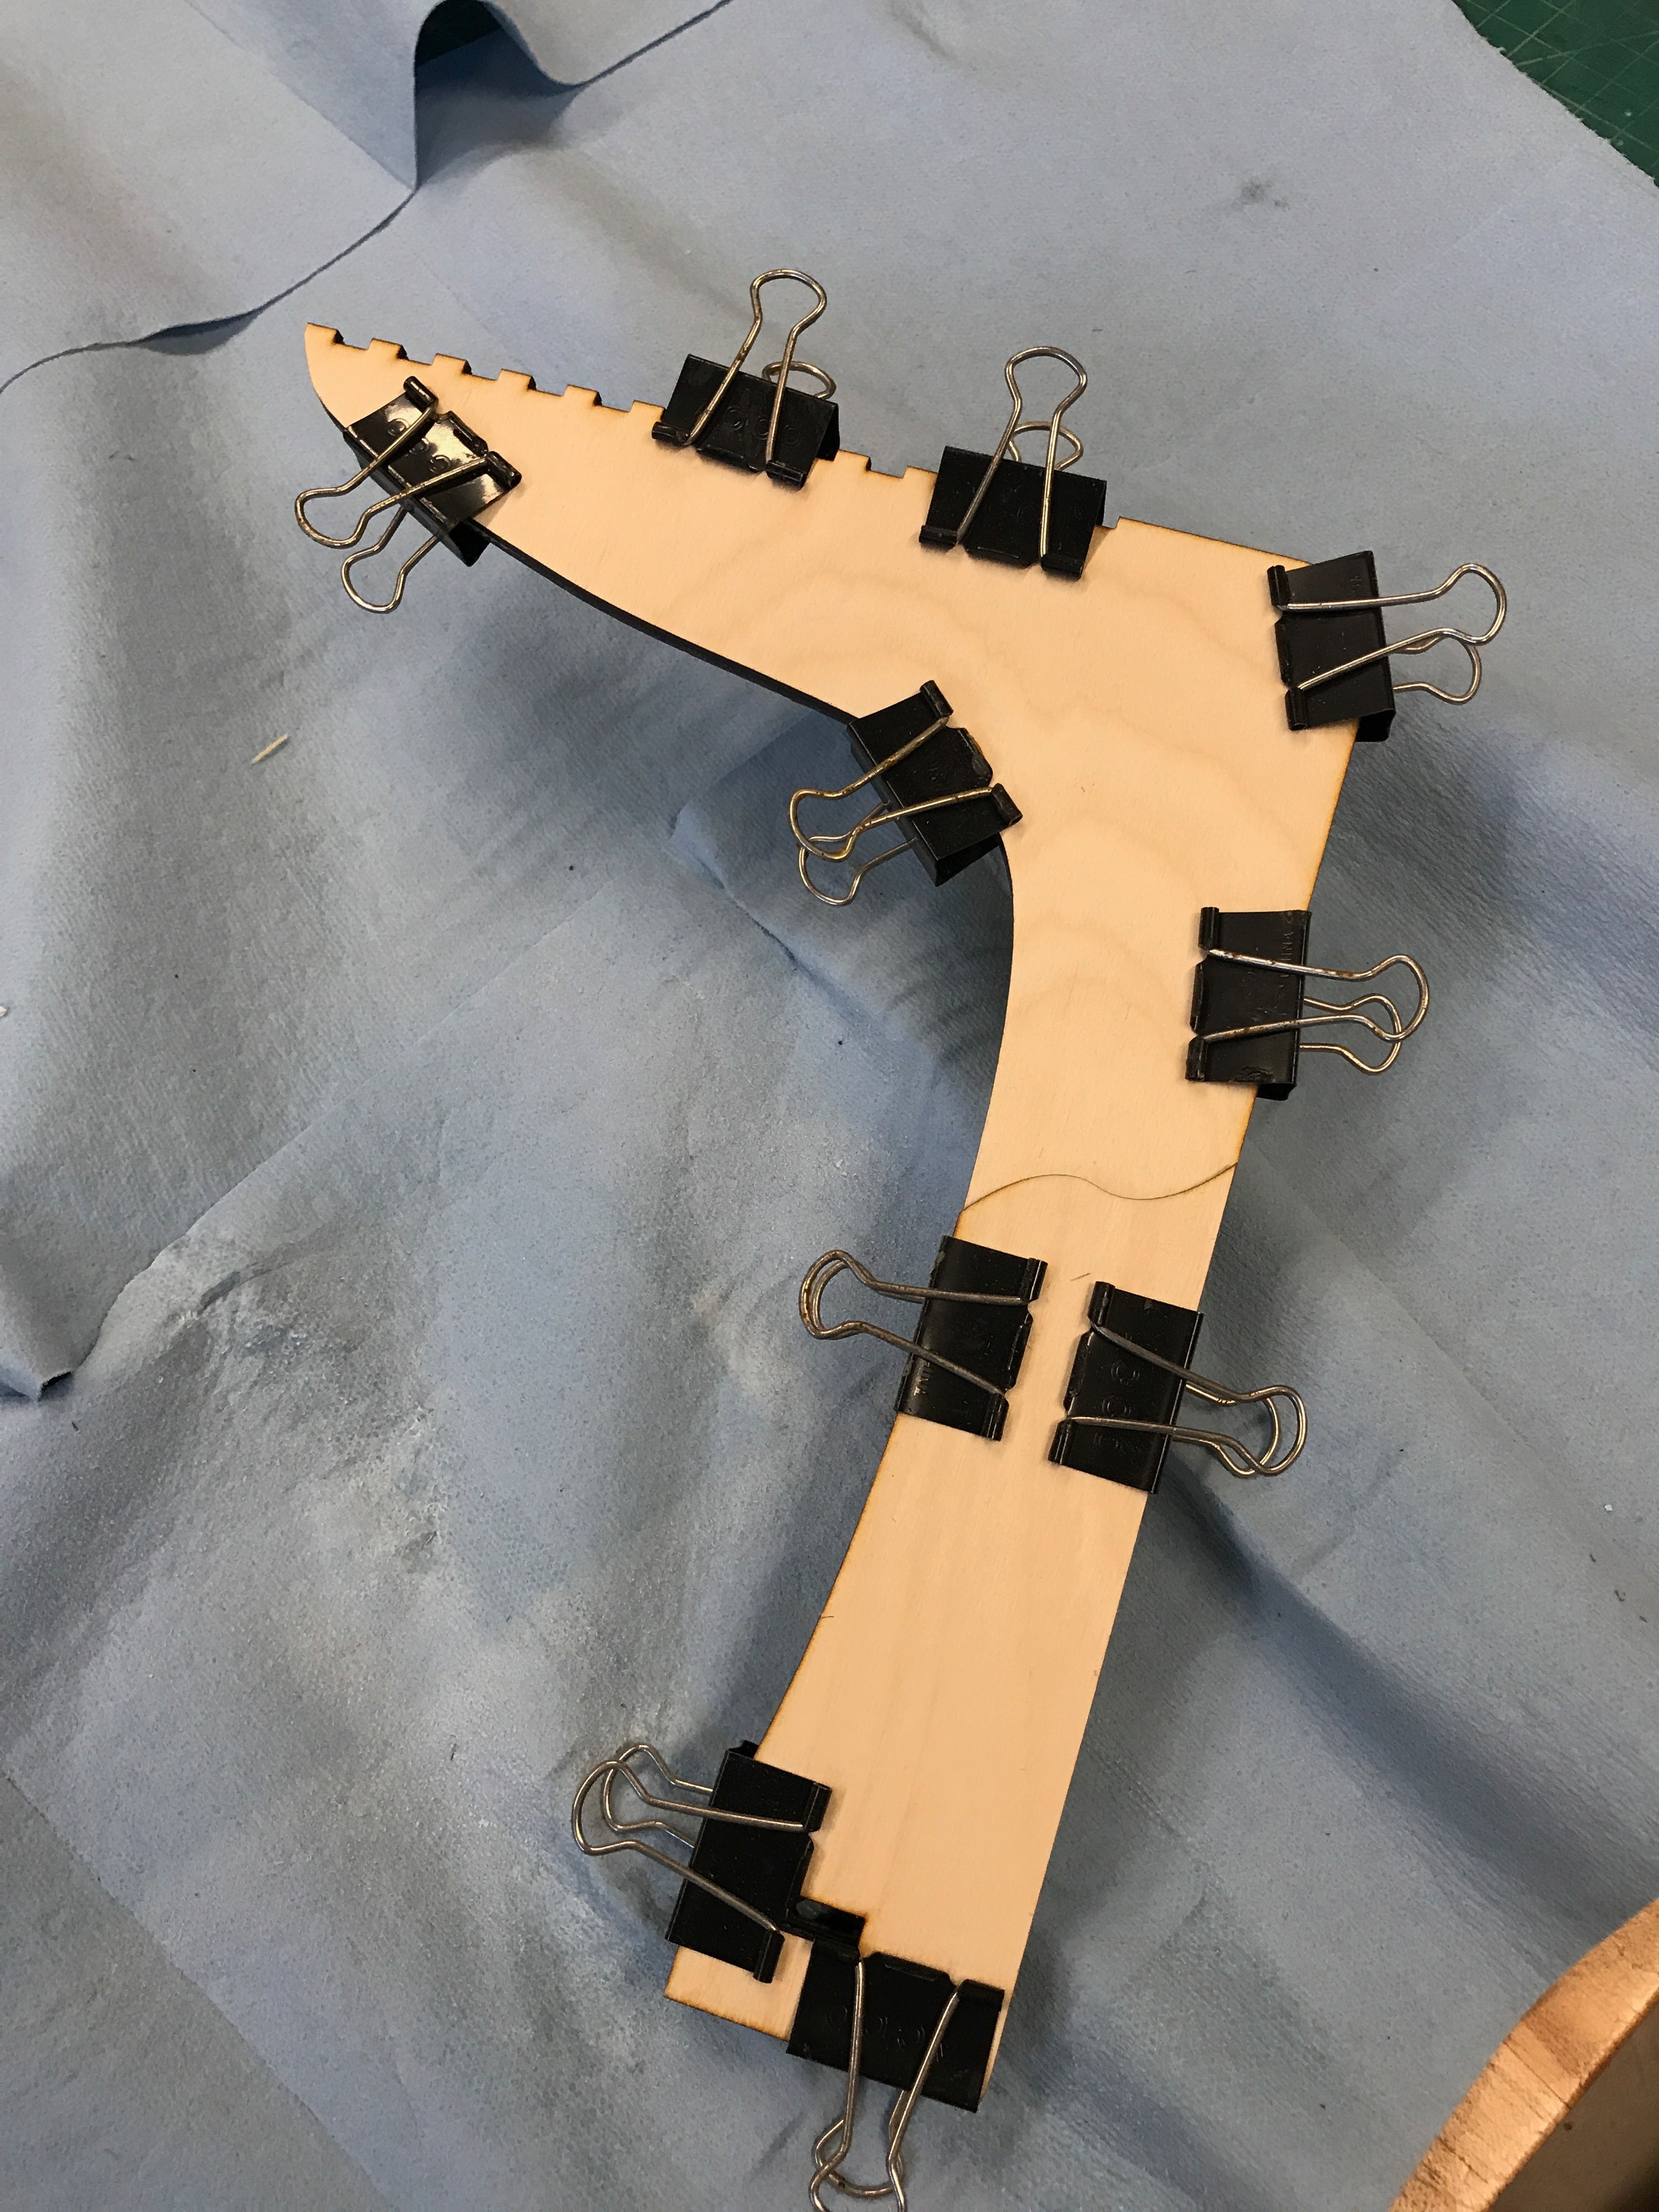
Similar to the bases. Binder clips to the rescue again, some small and some medium.
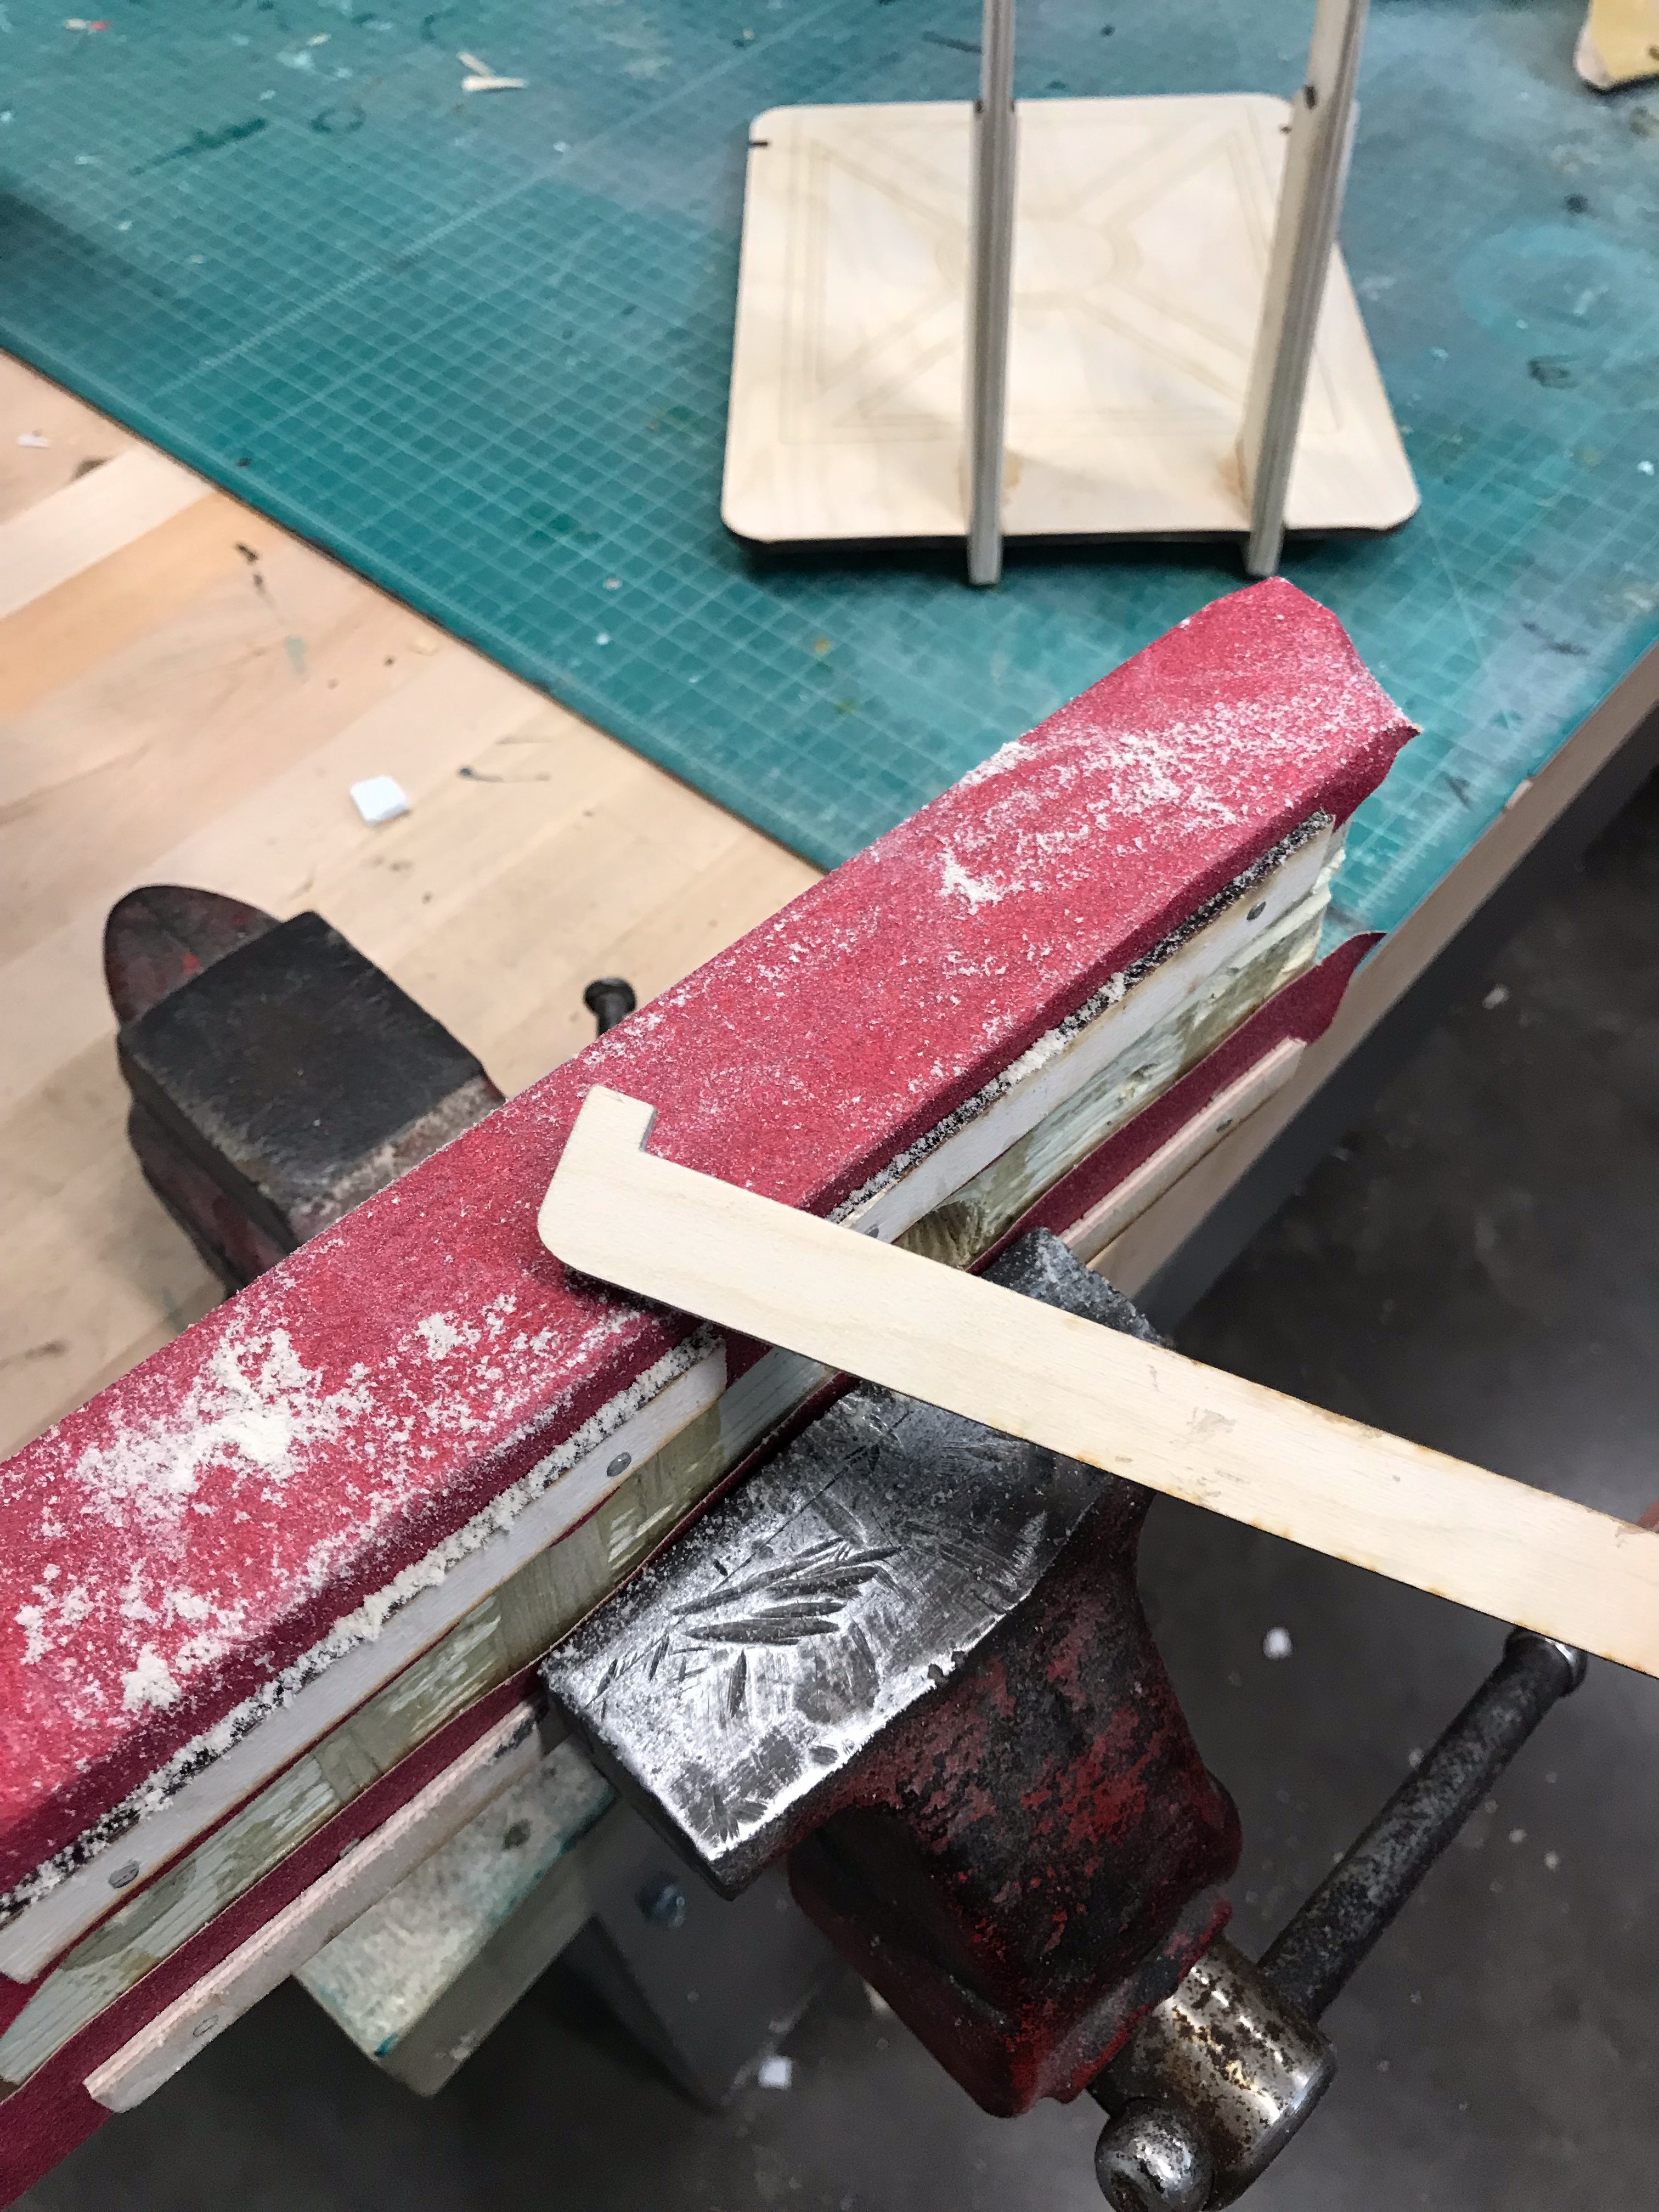
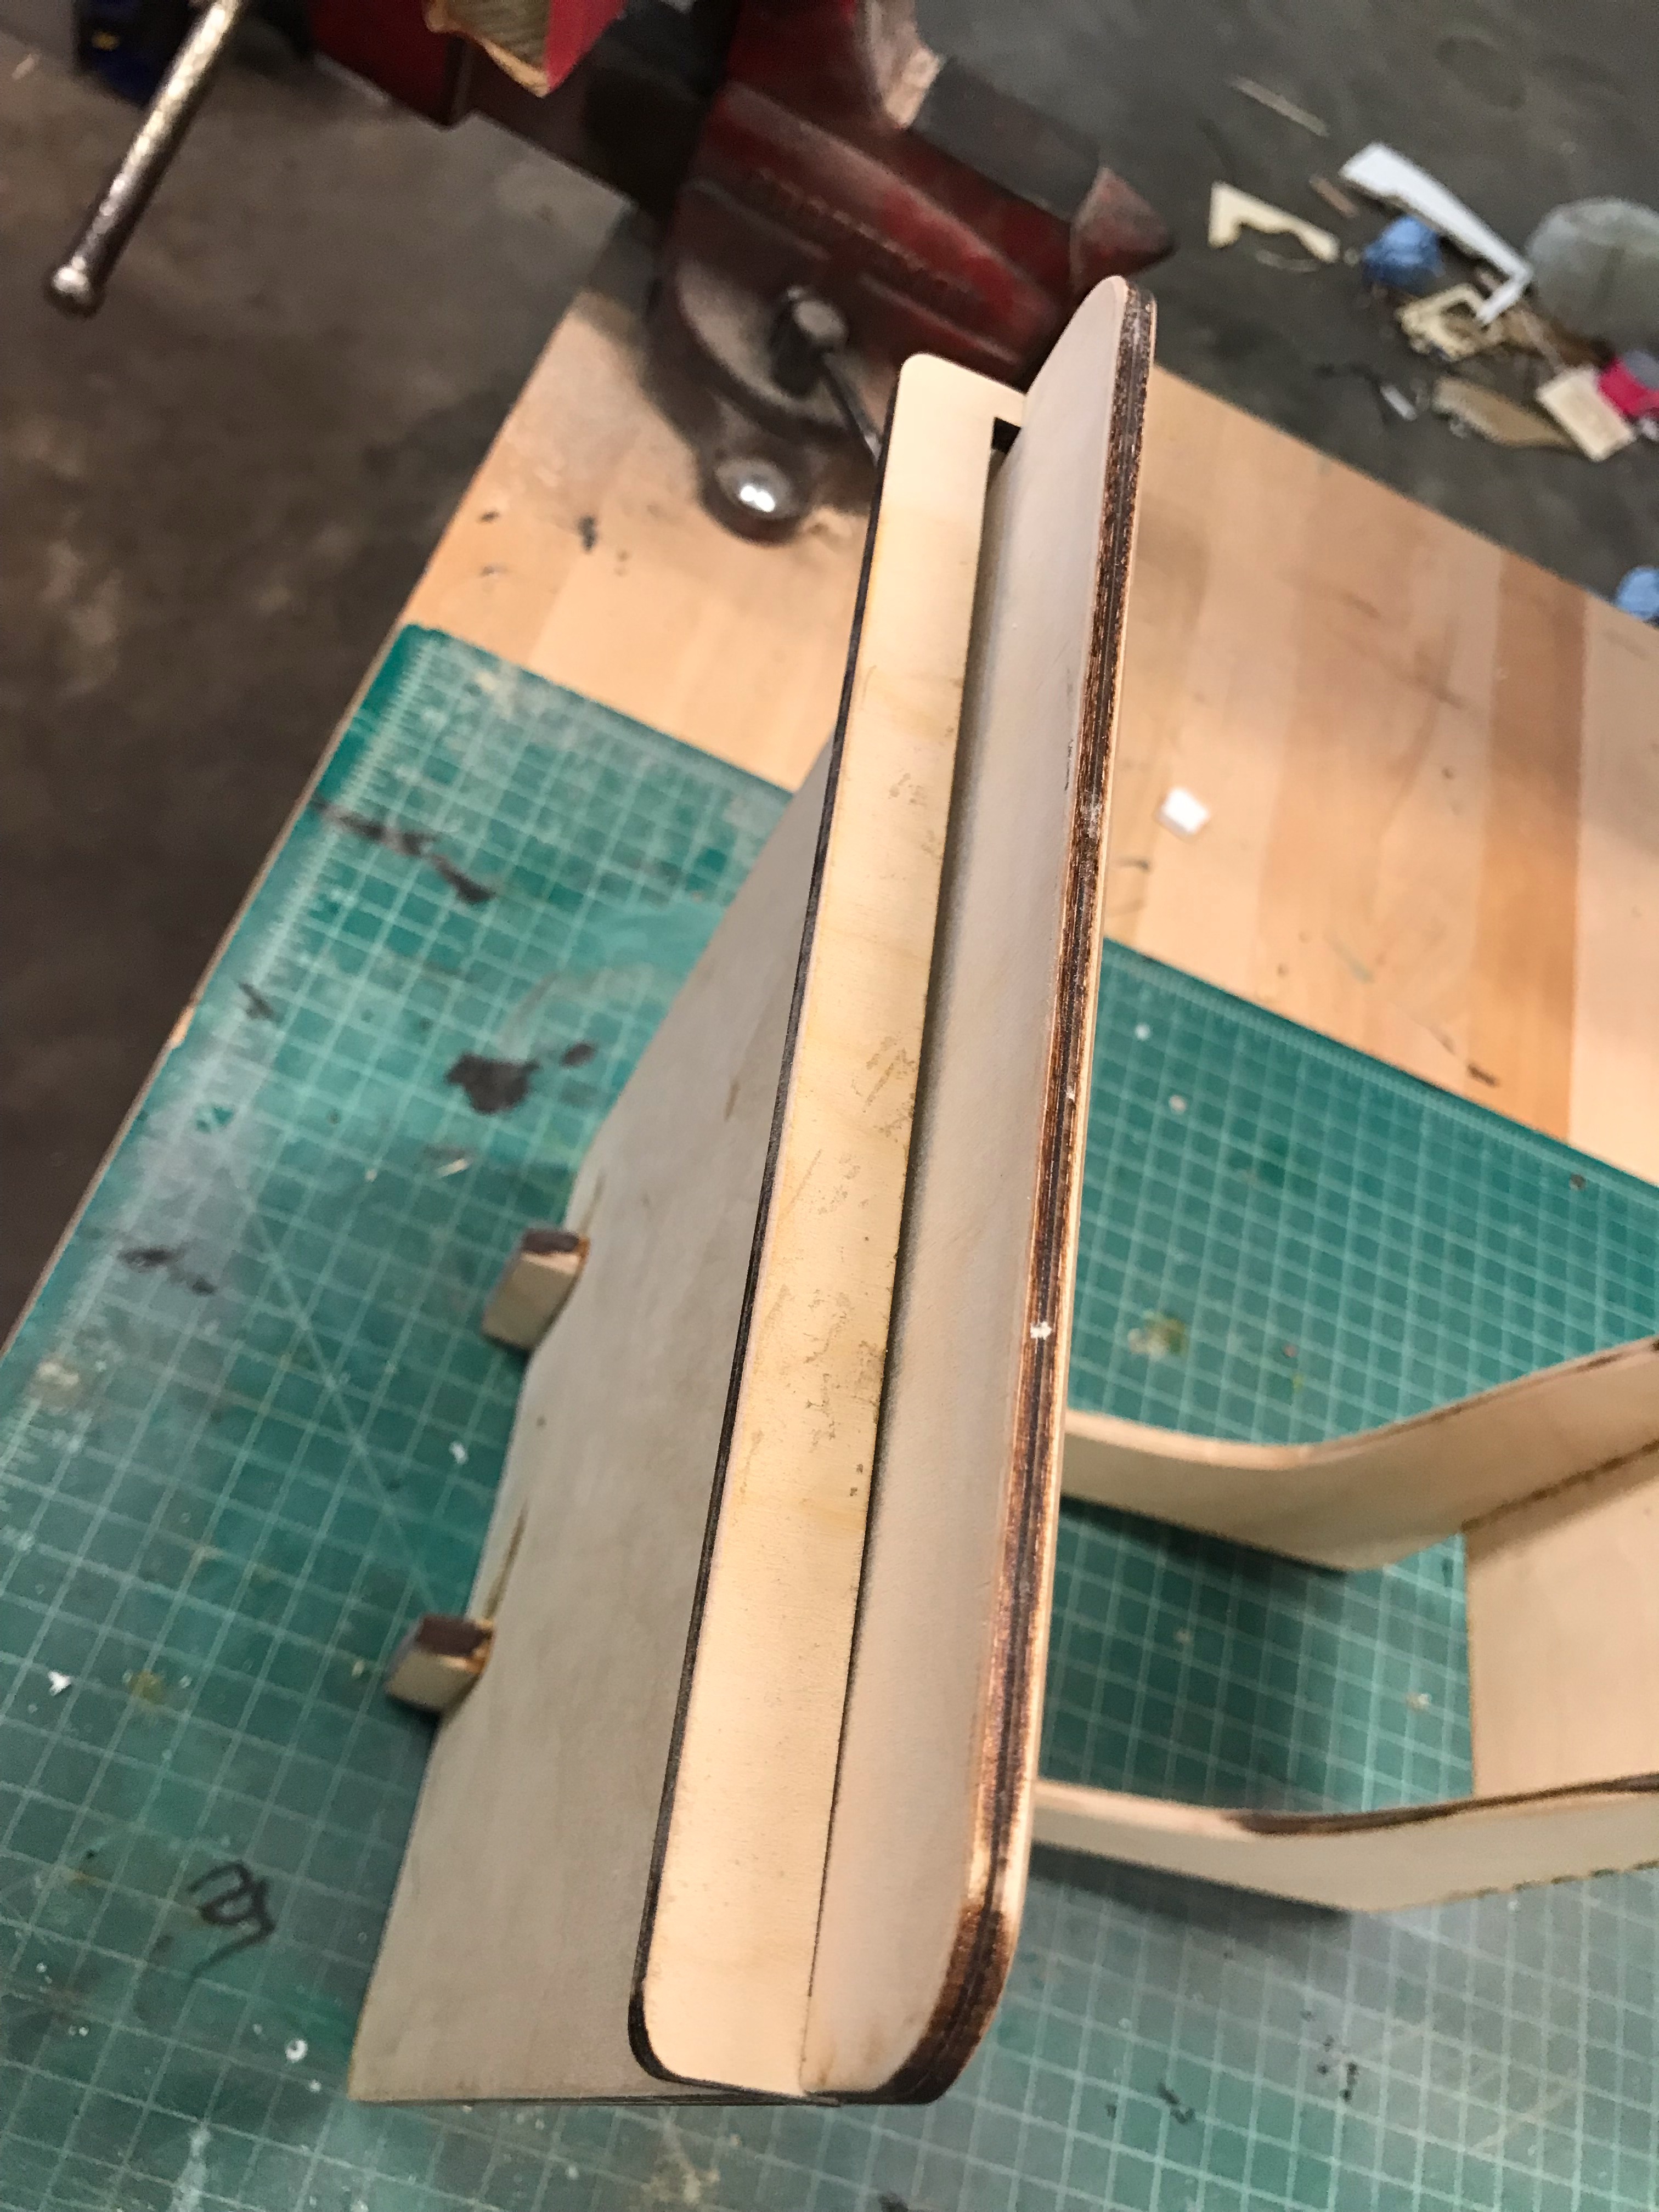
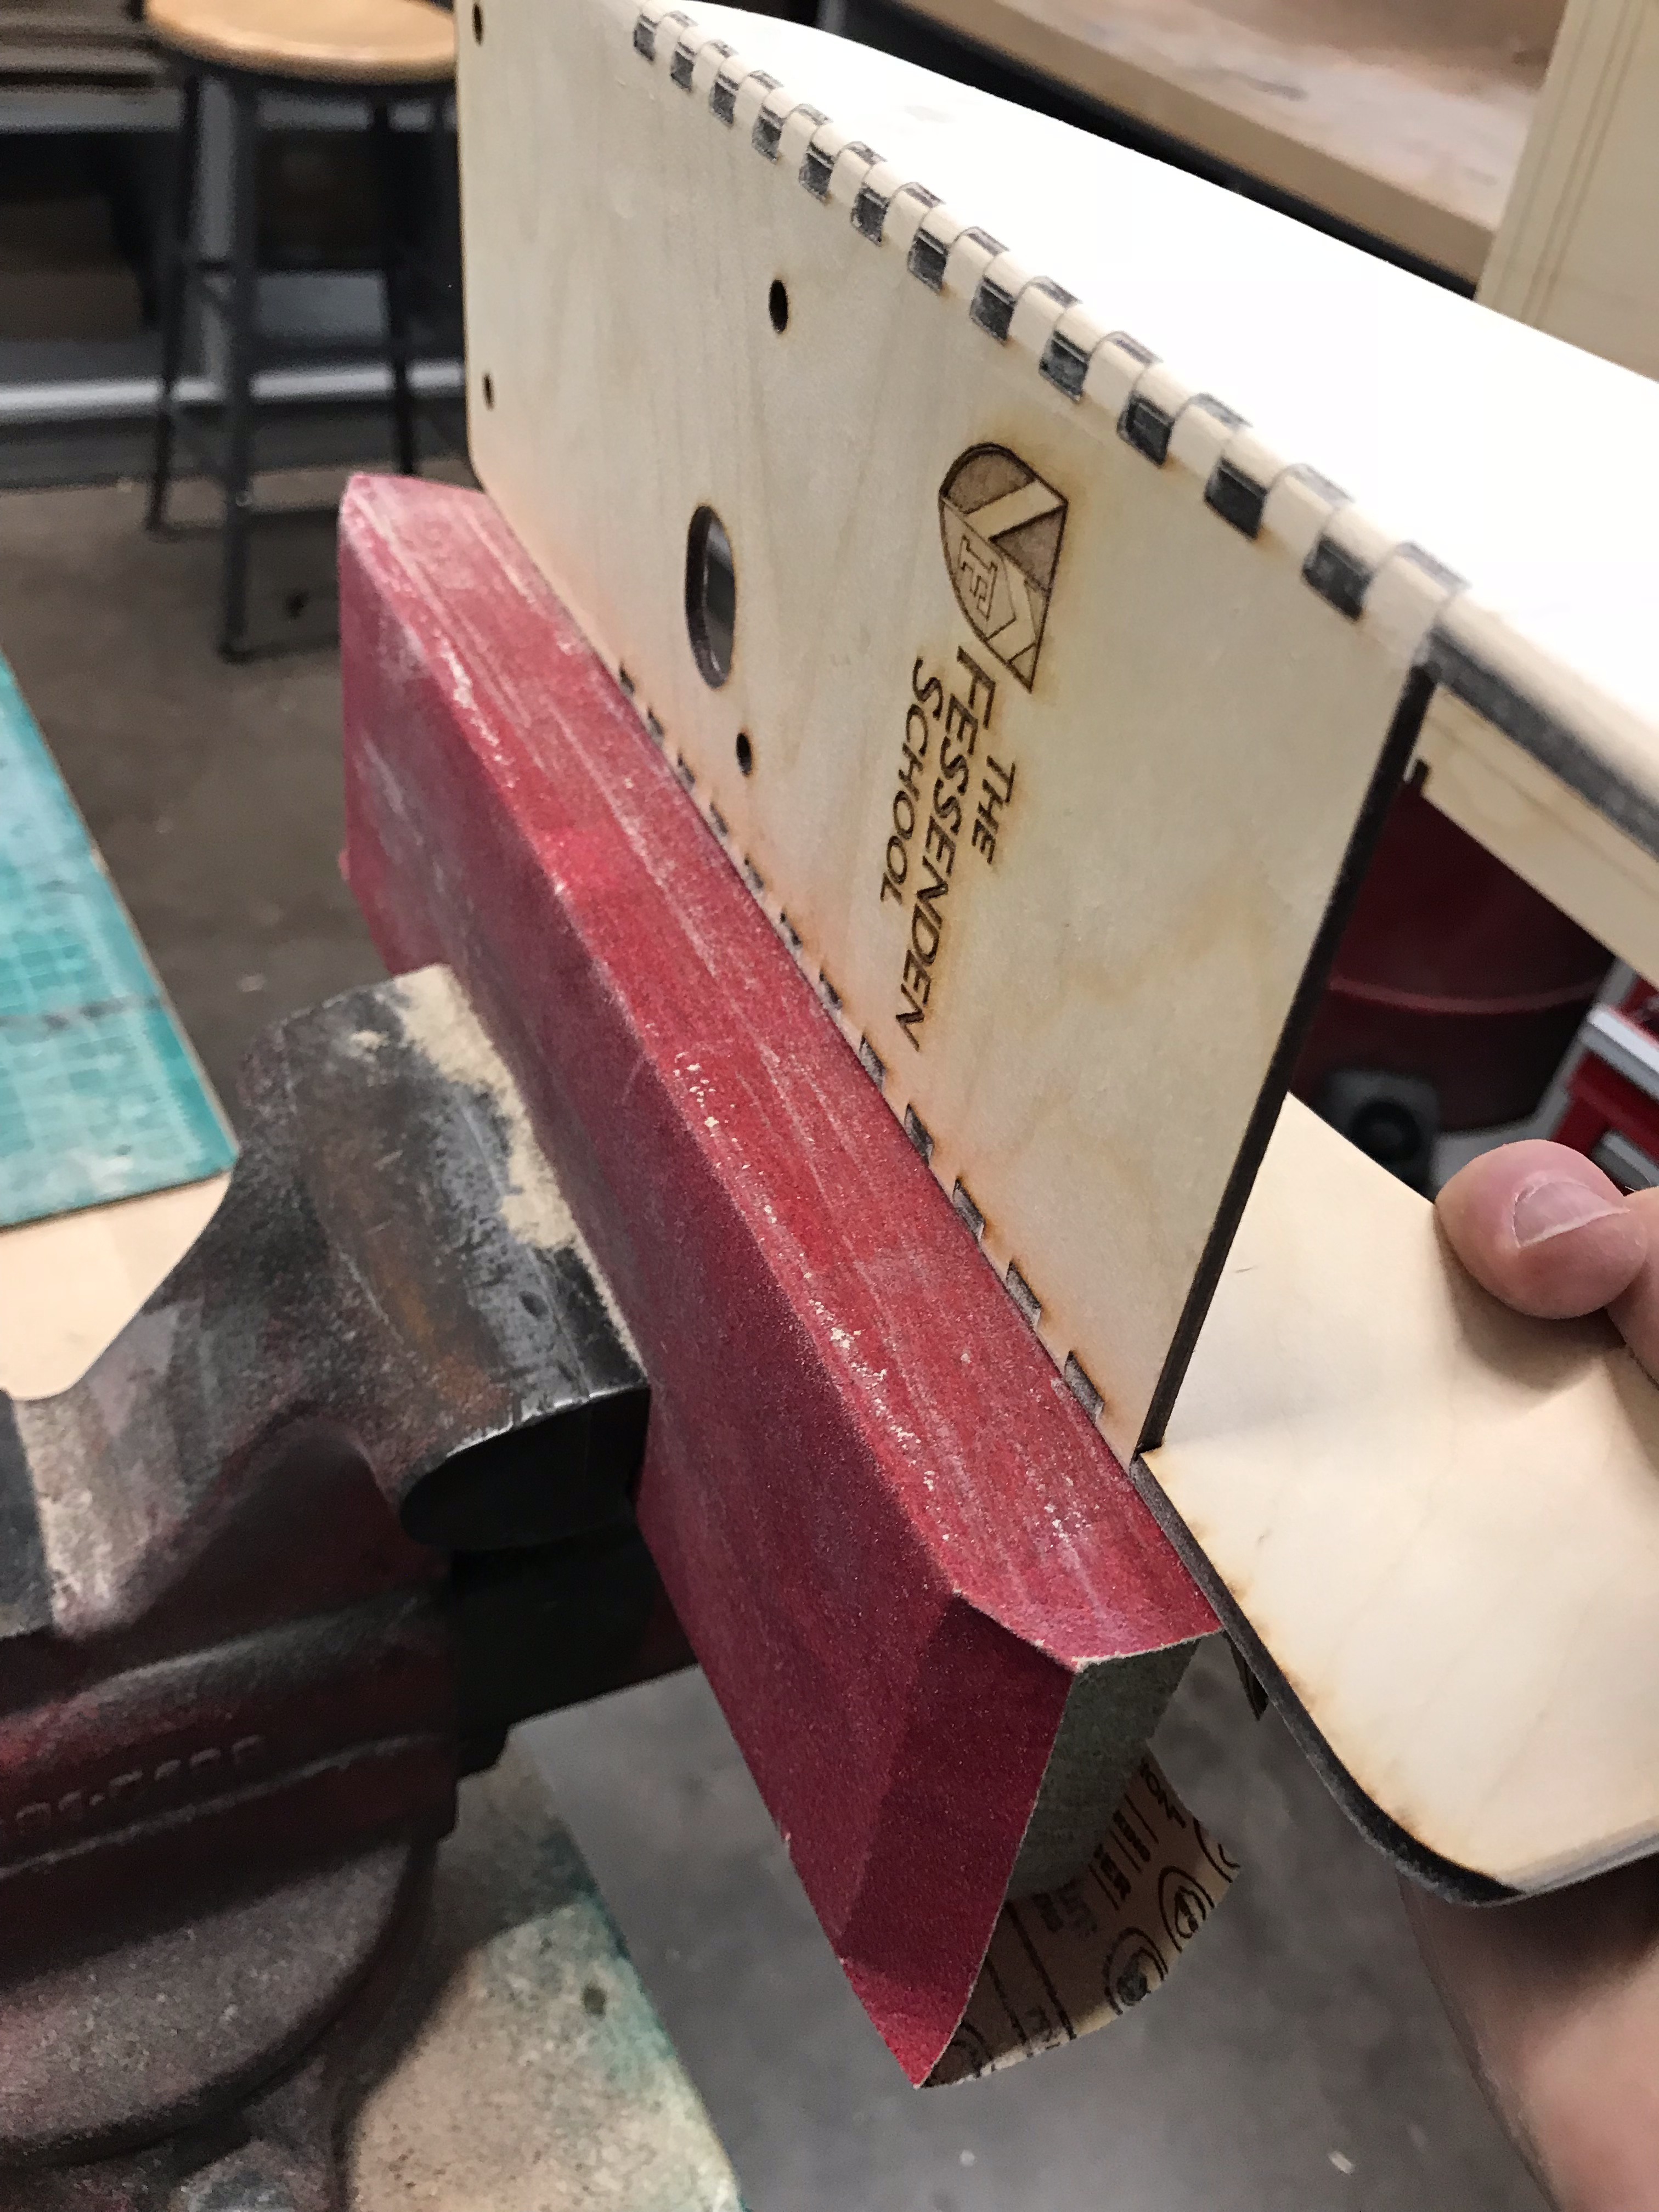
Prep the Arms and the Base.
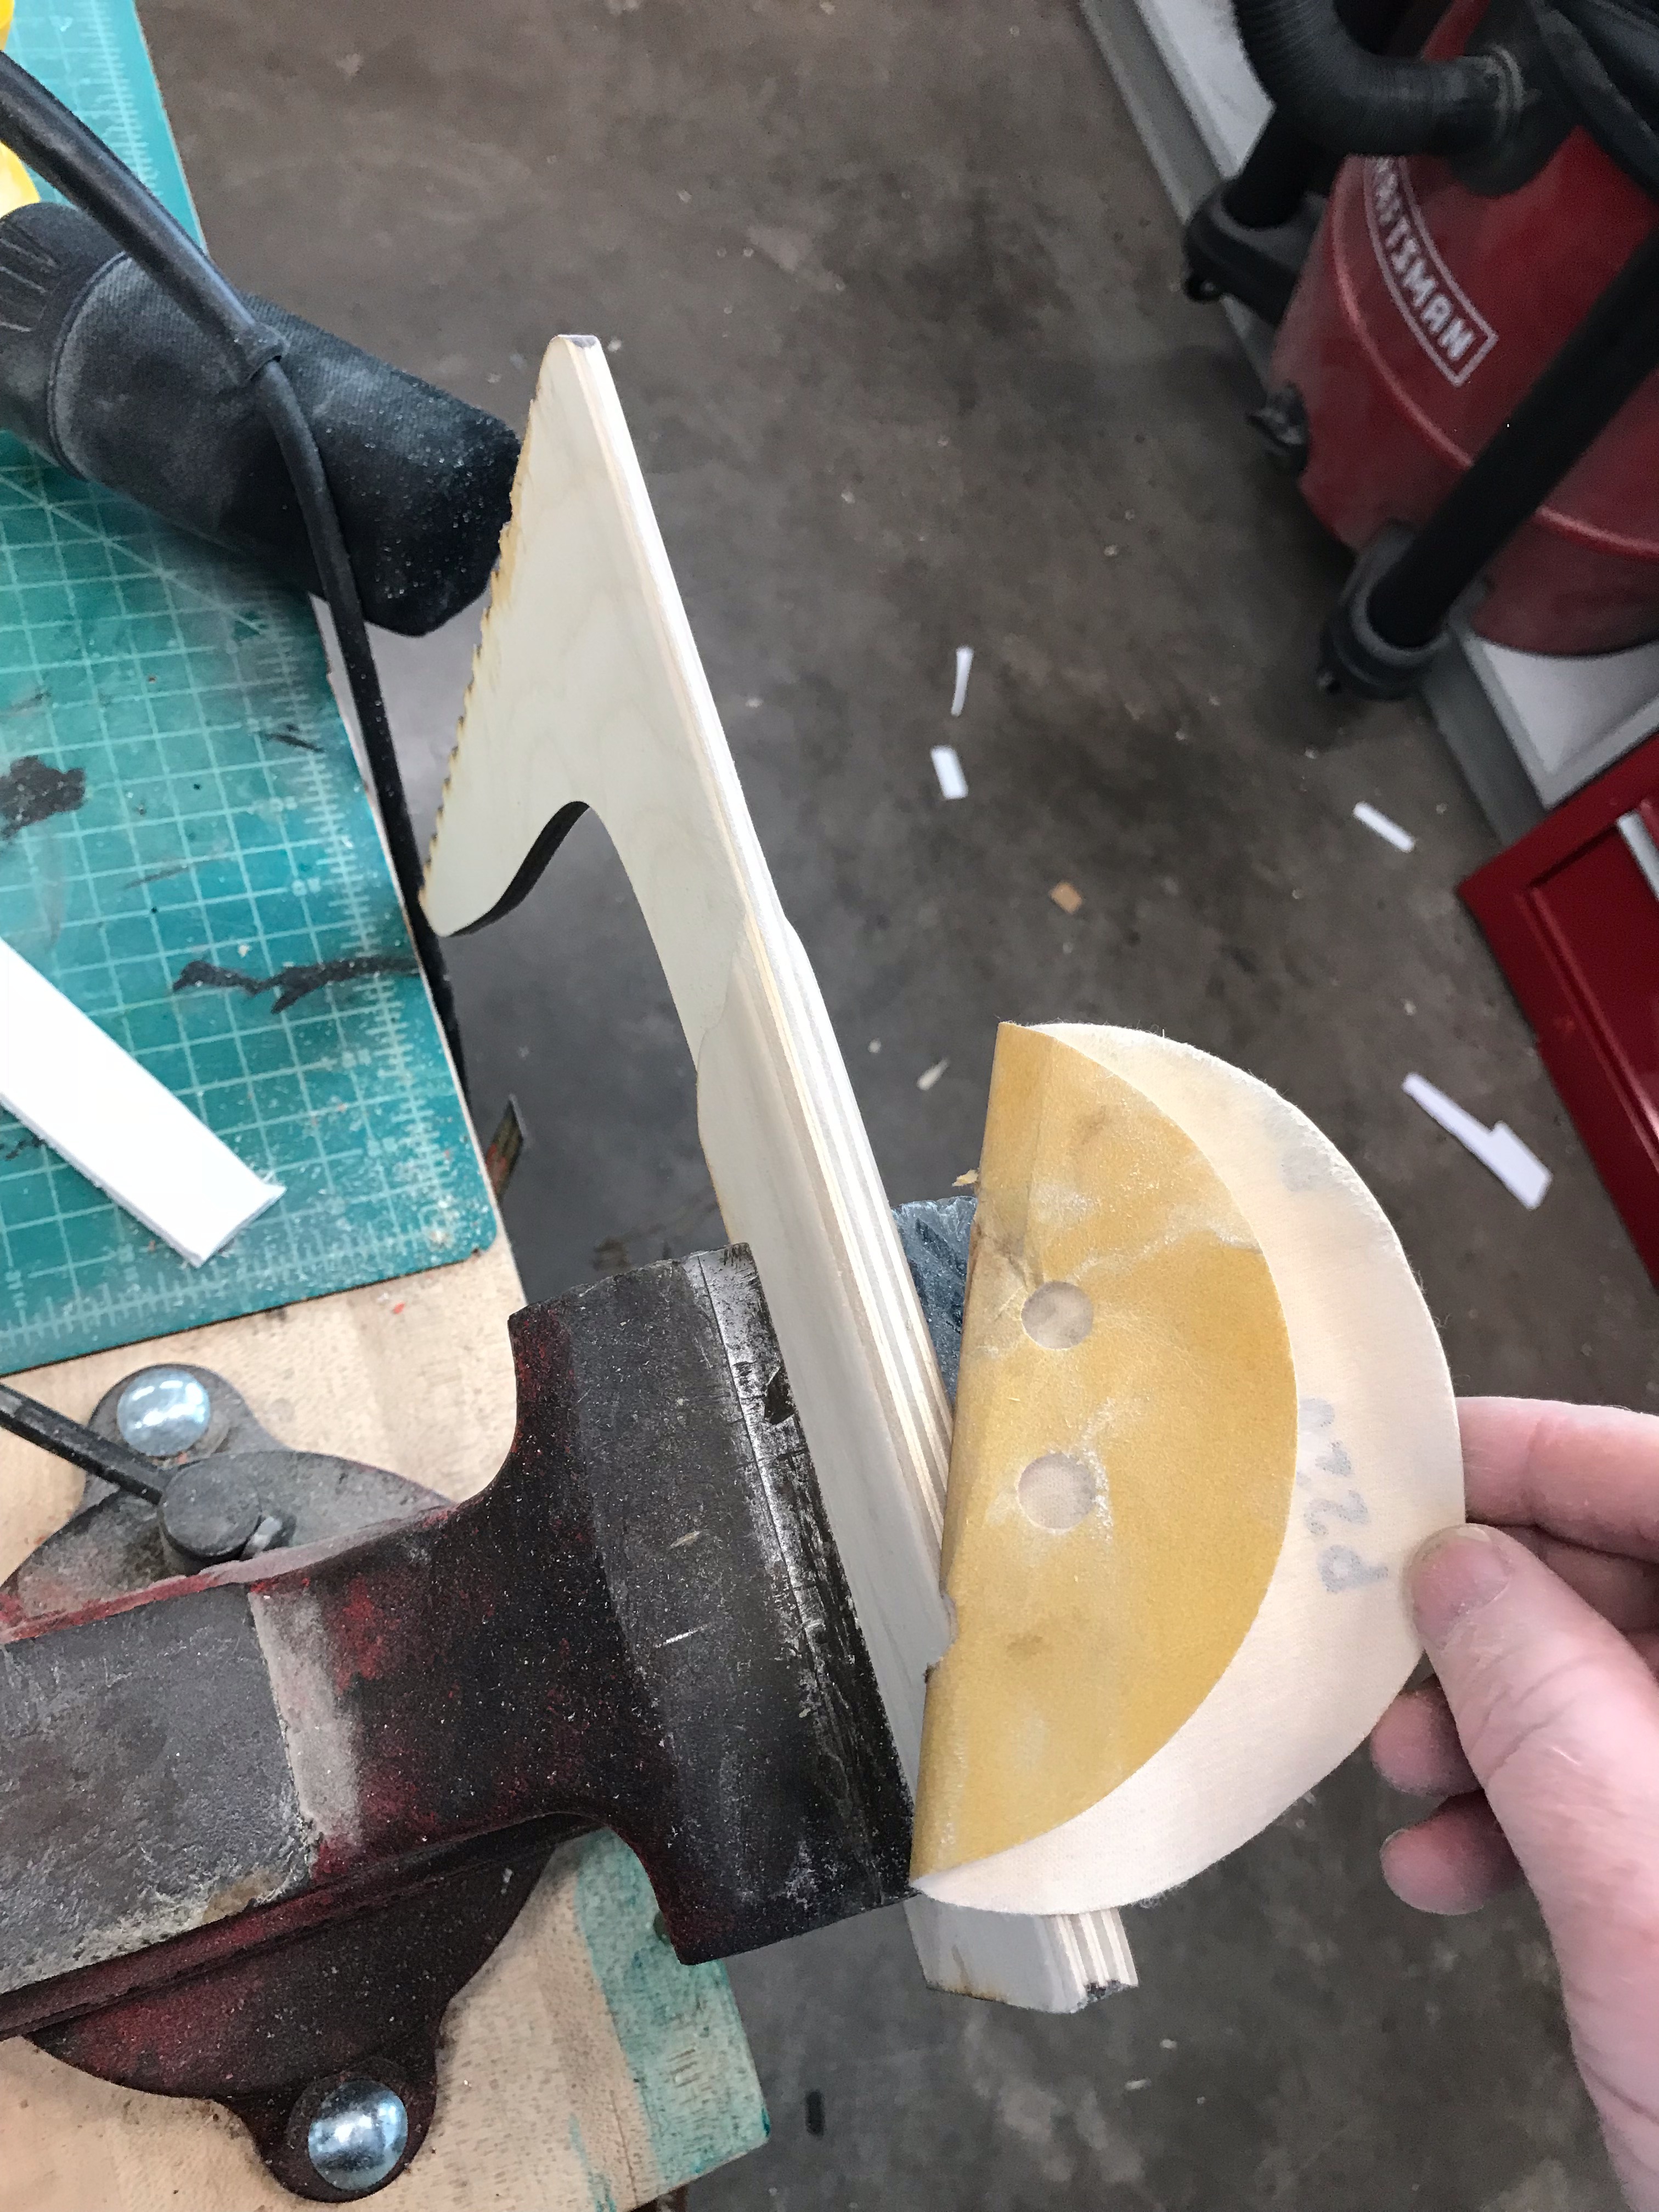
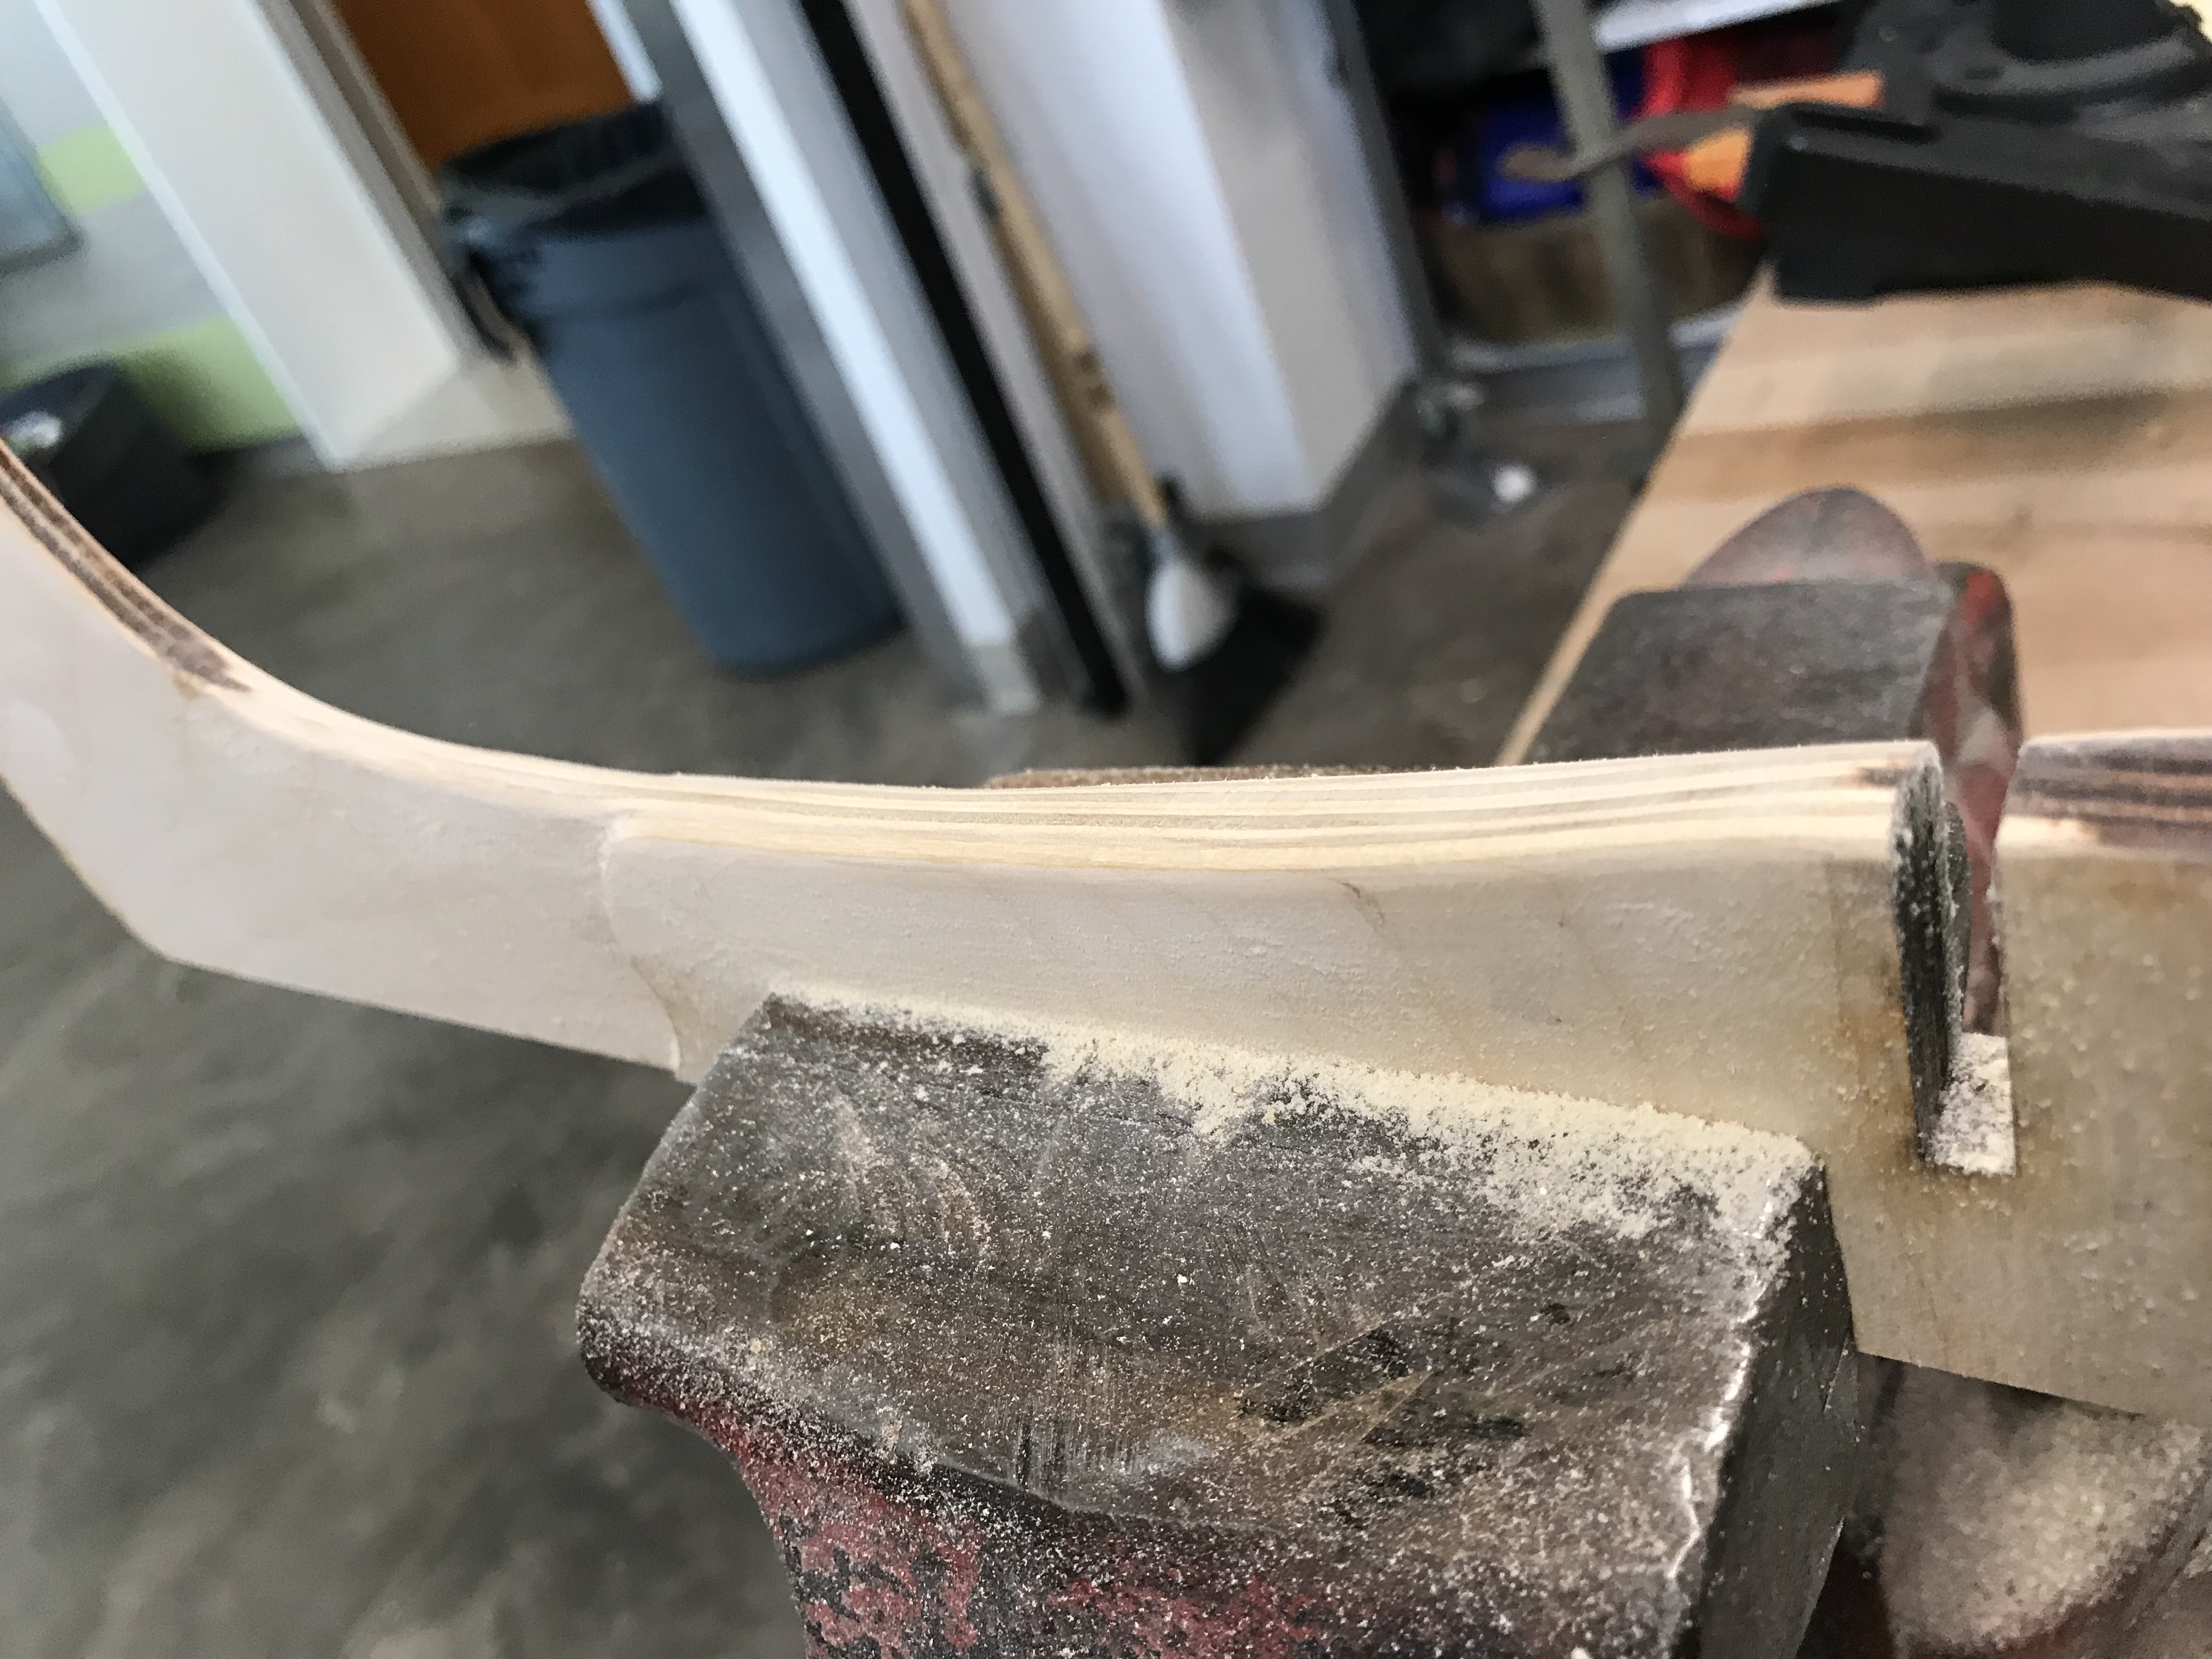
Now is the time to do some sanding. The "touch points" of the finish product are on the arms of the stand. I want the sharp edges to have smooth and sanded edges as this device is so portable.
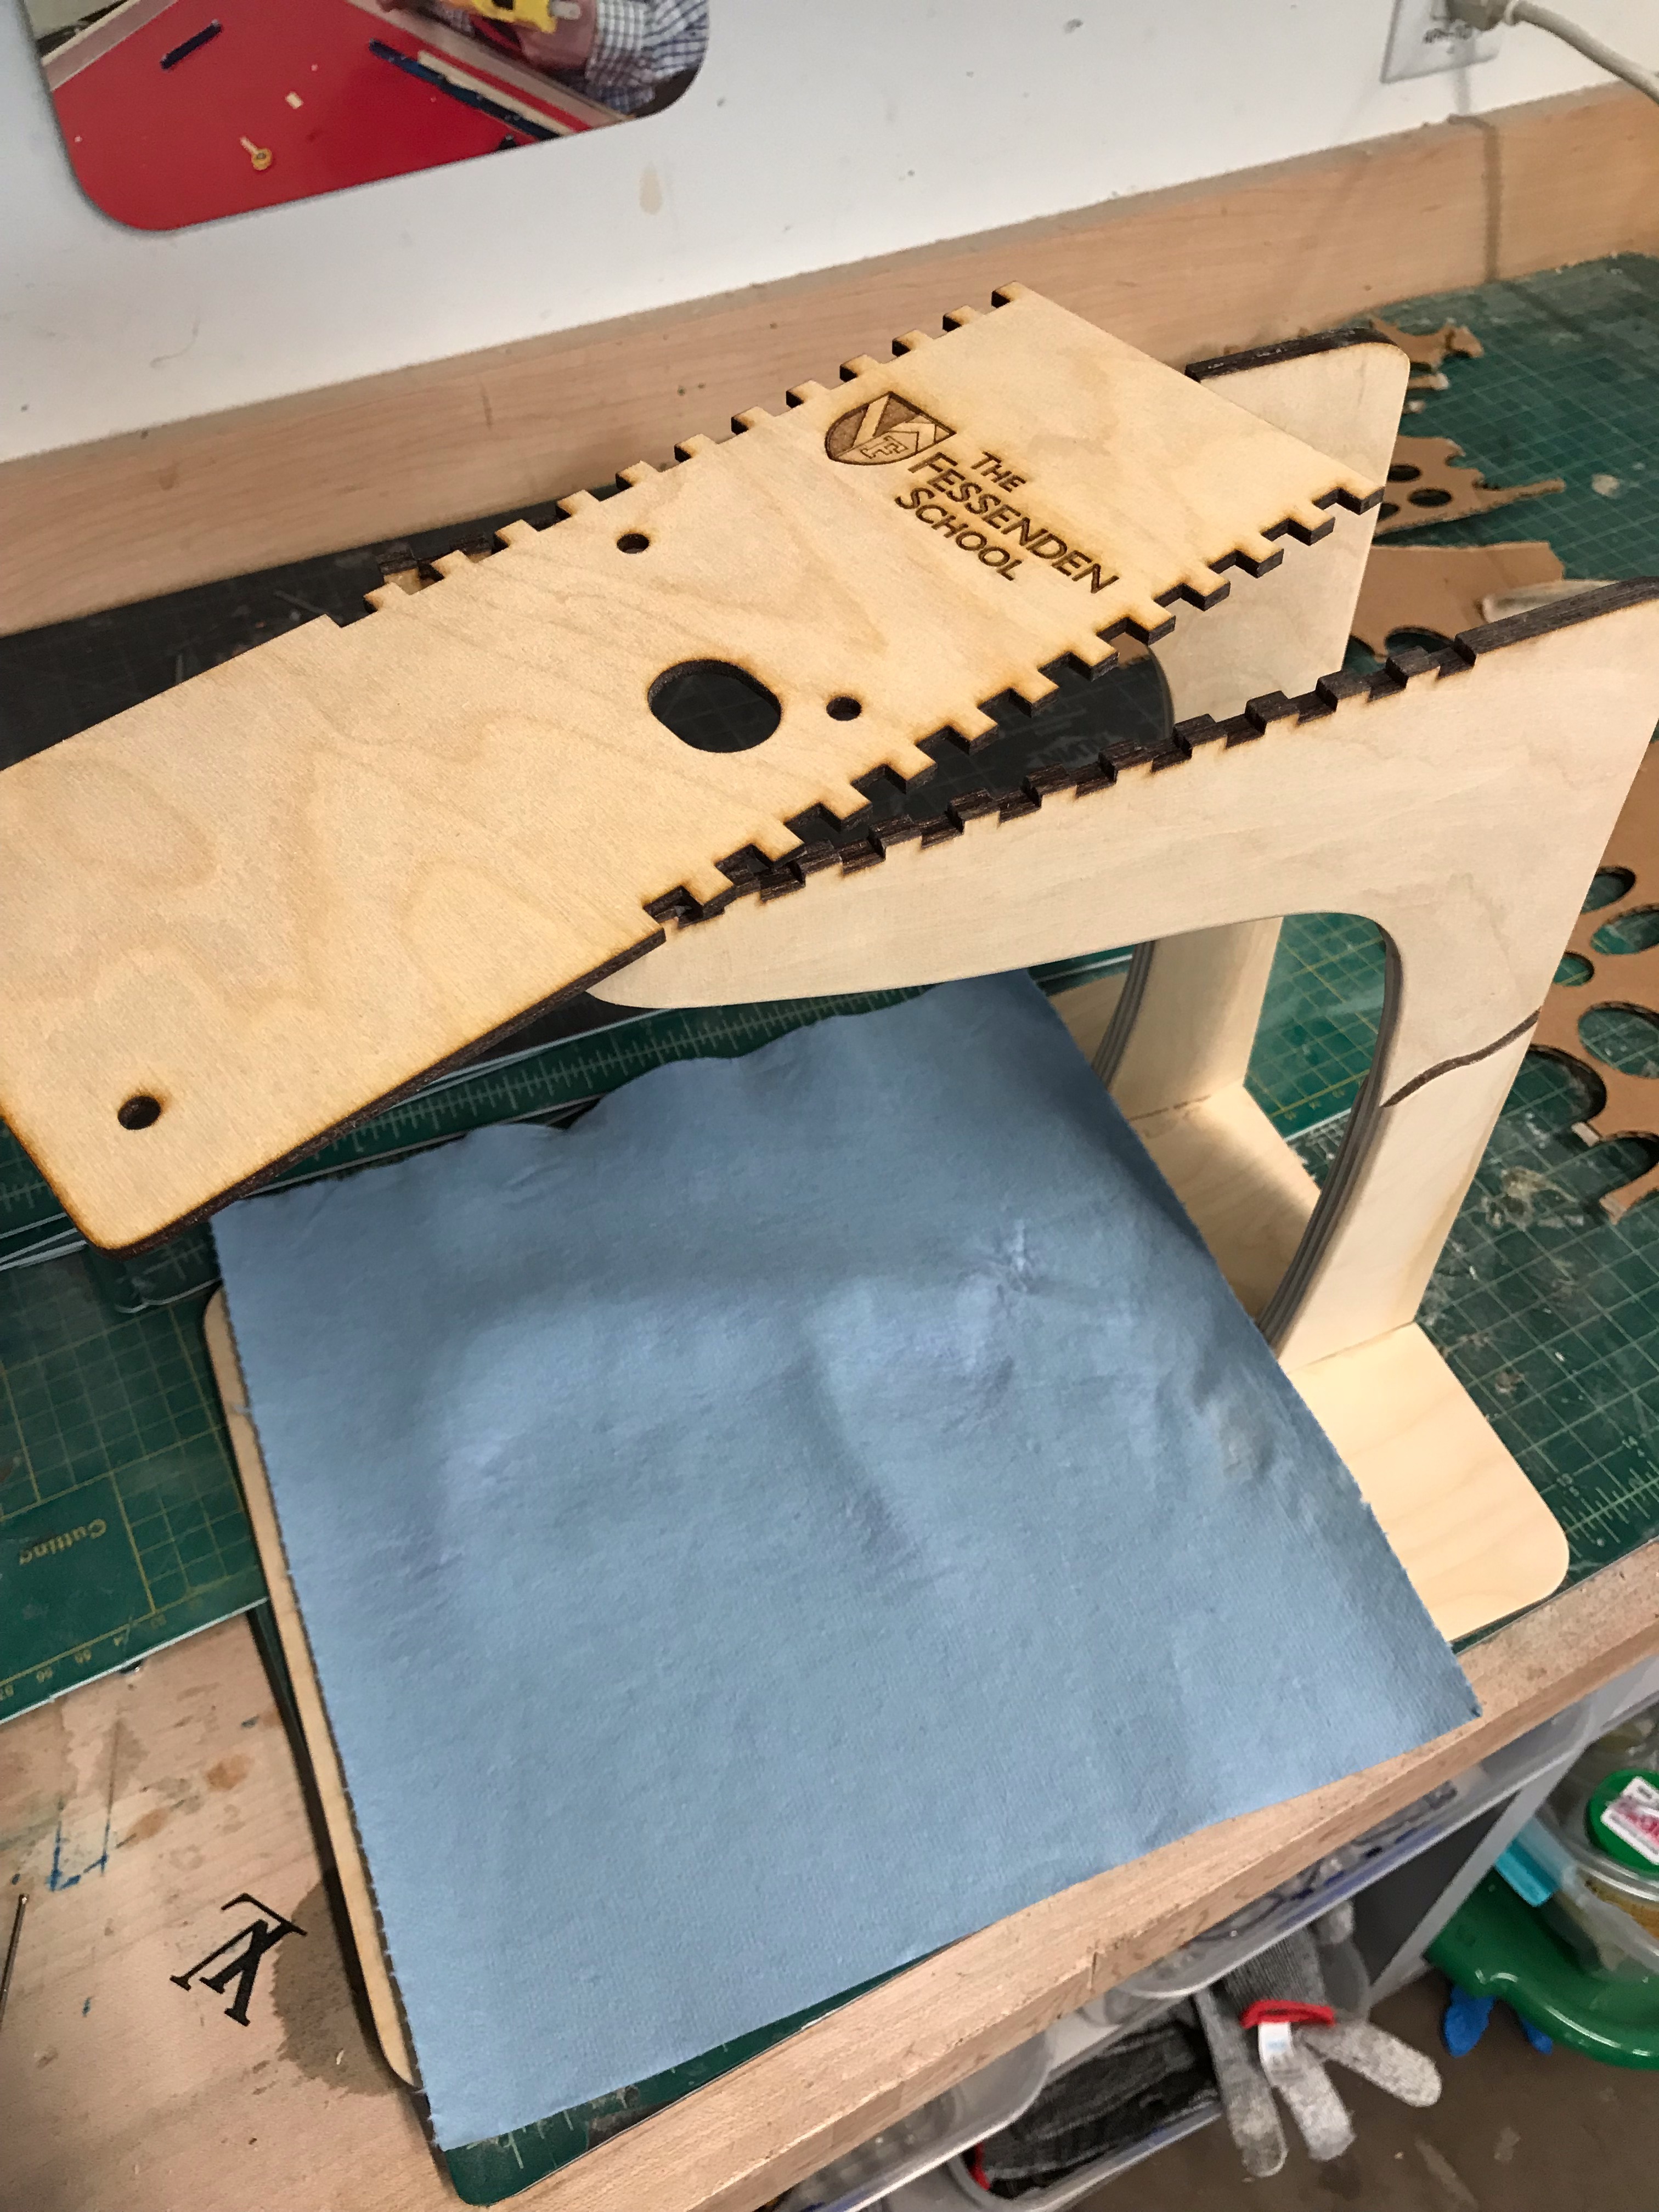
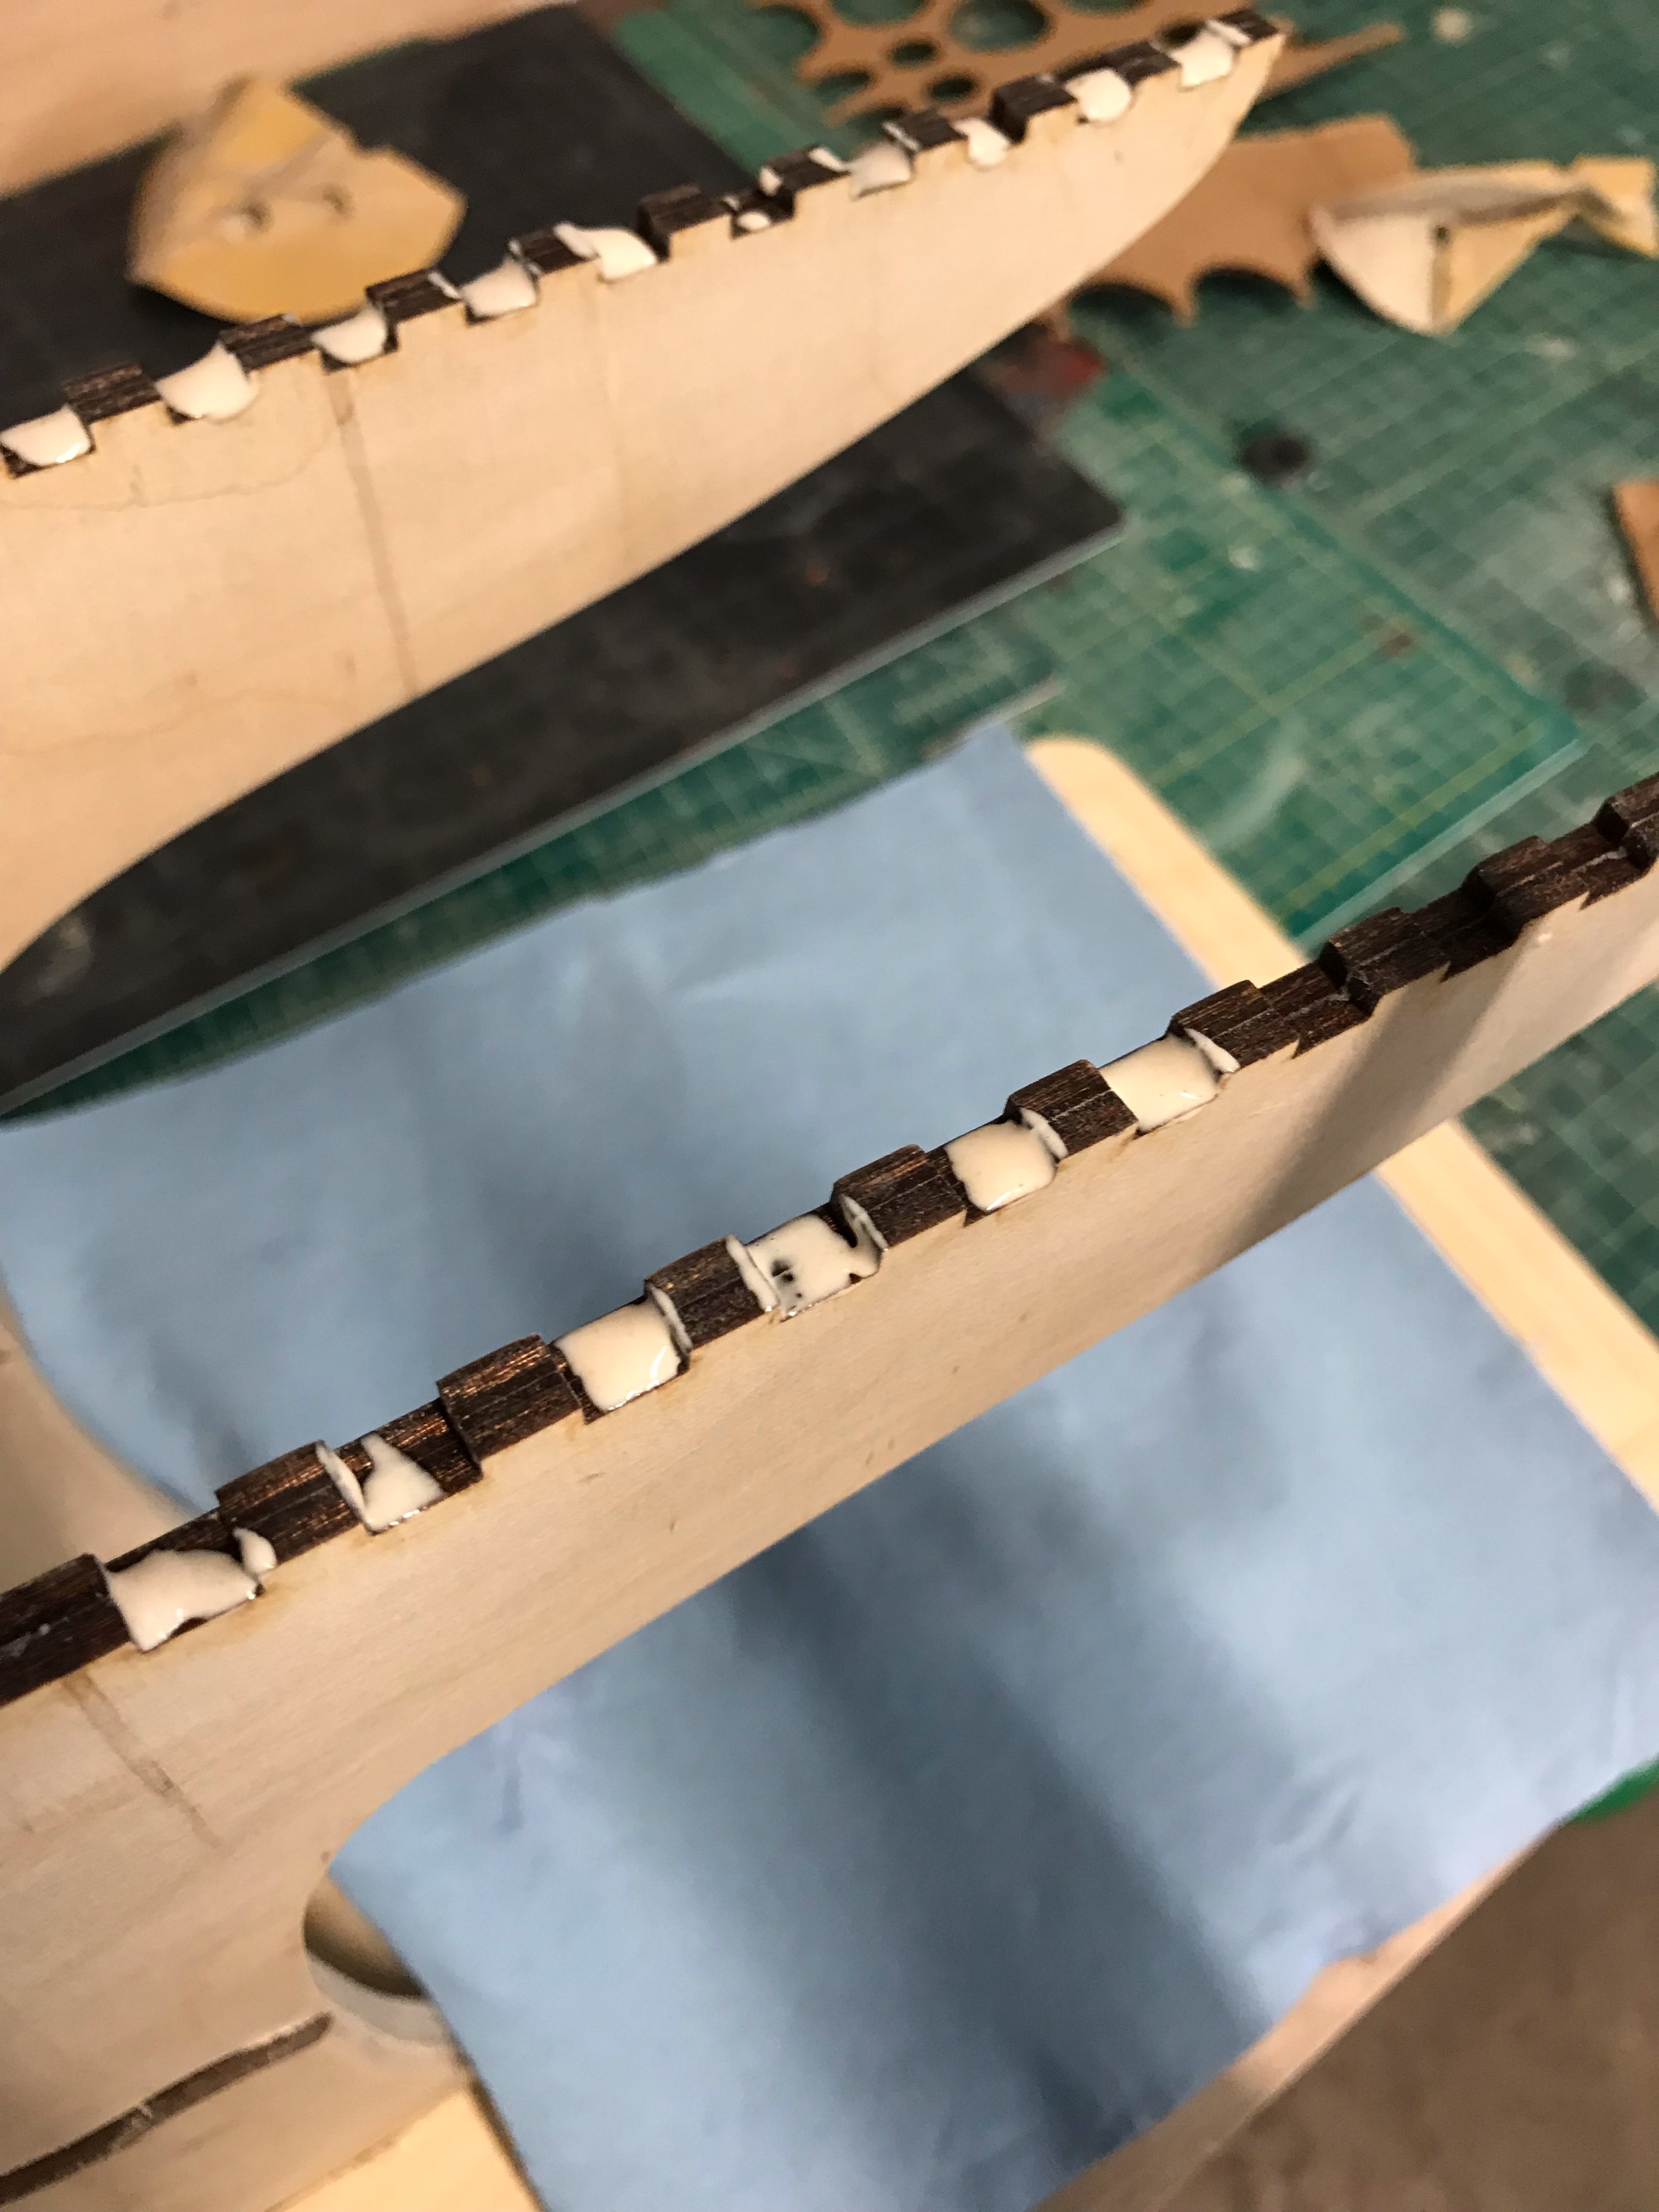
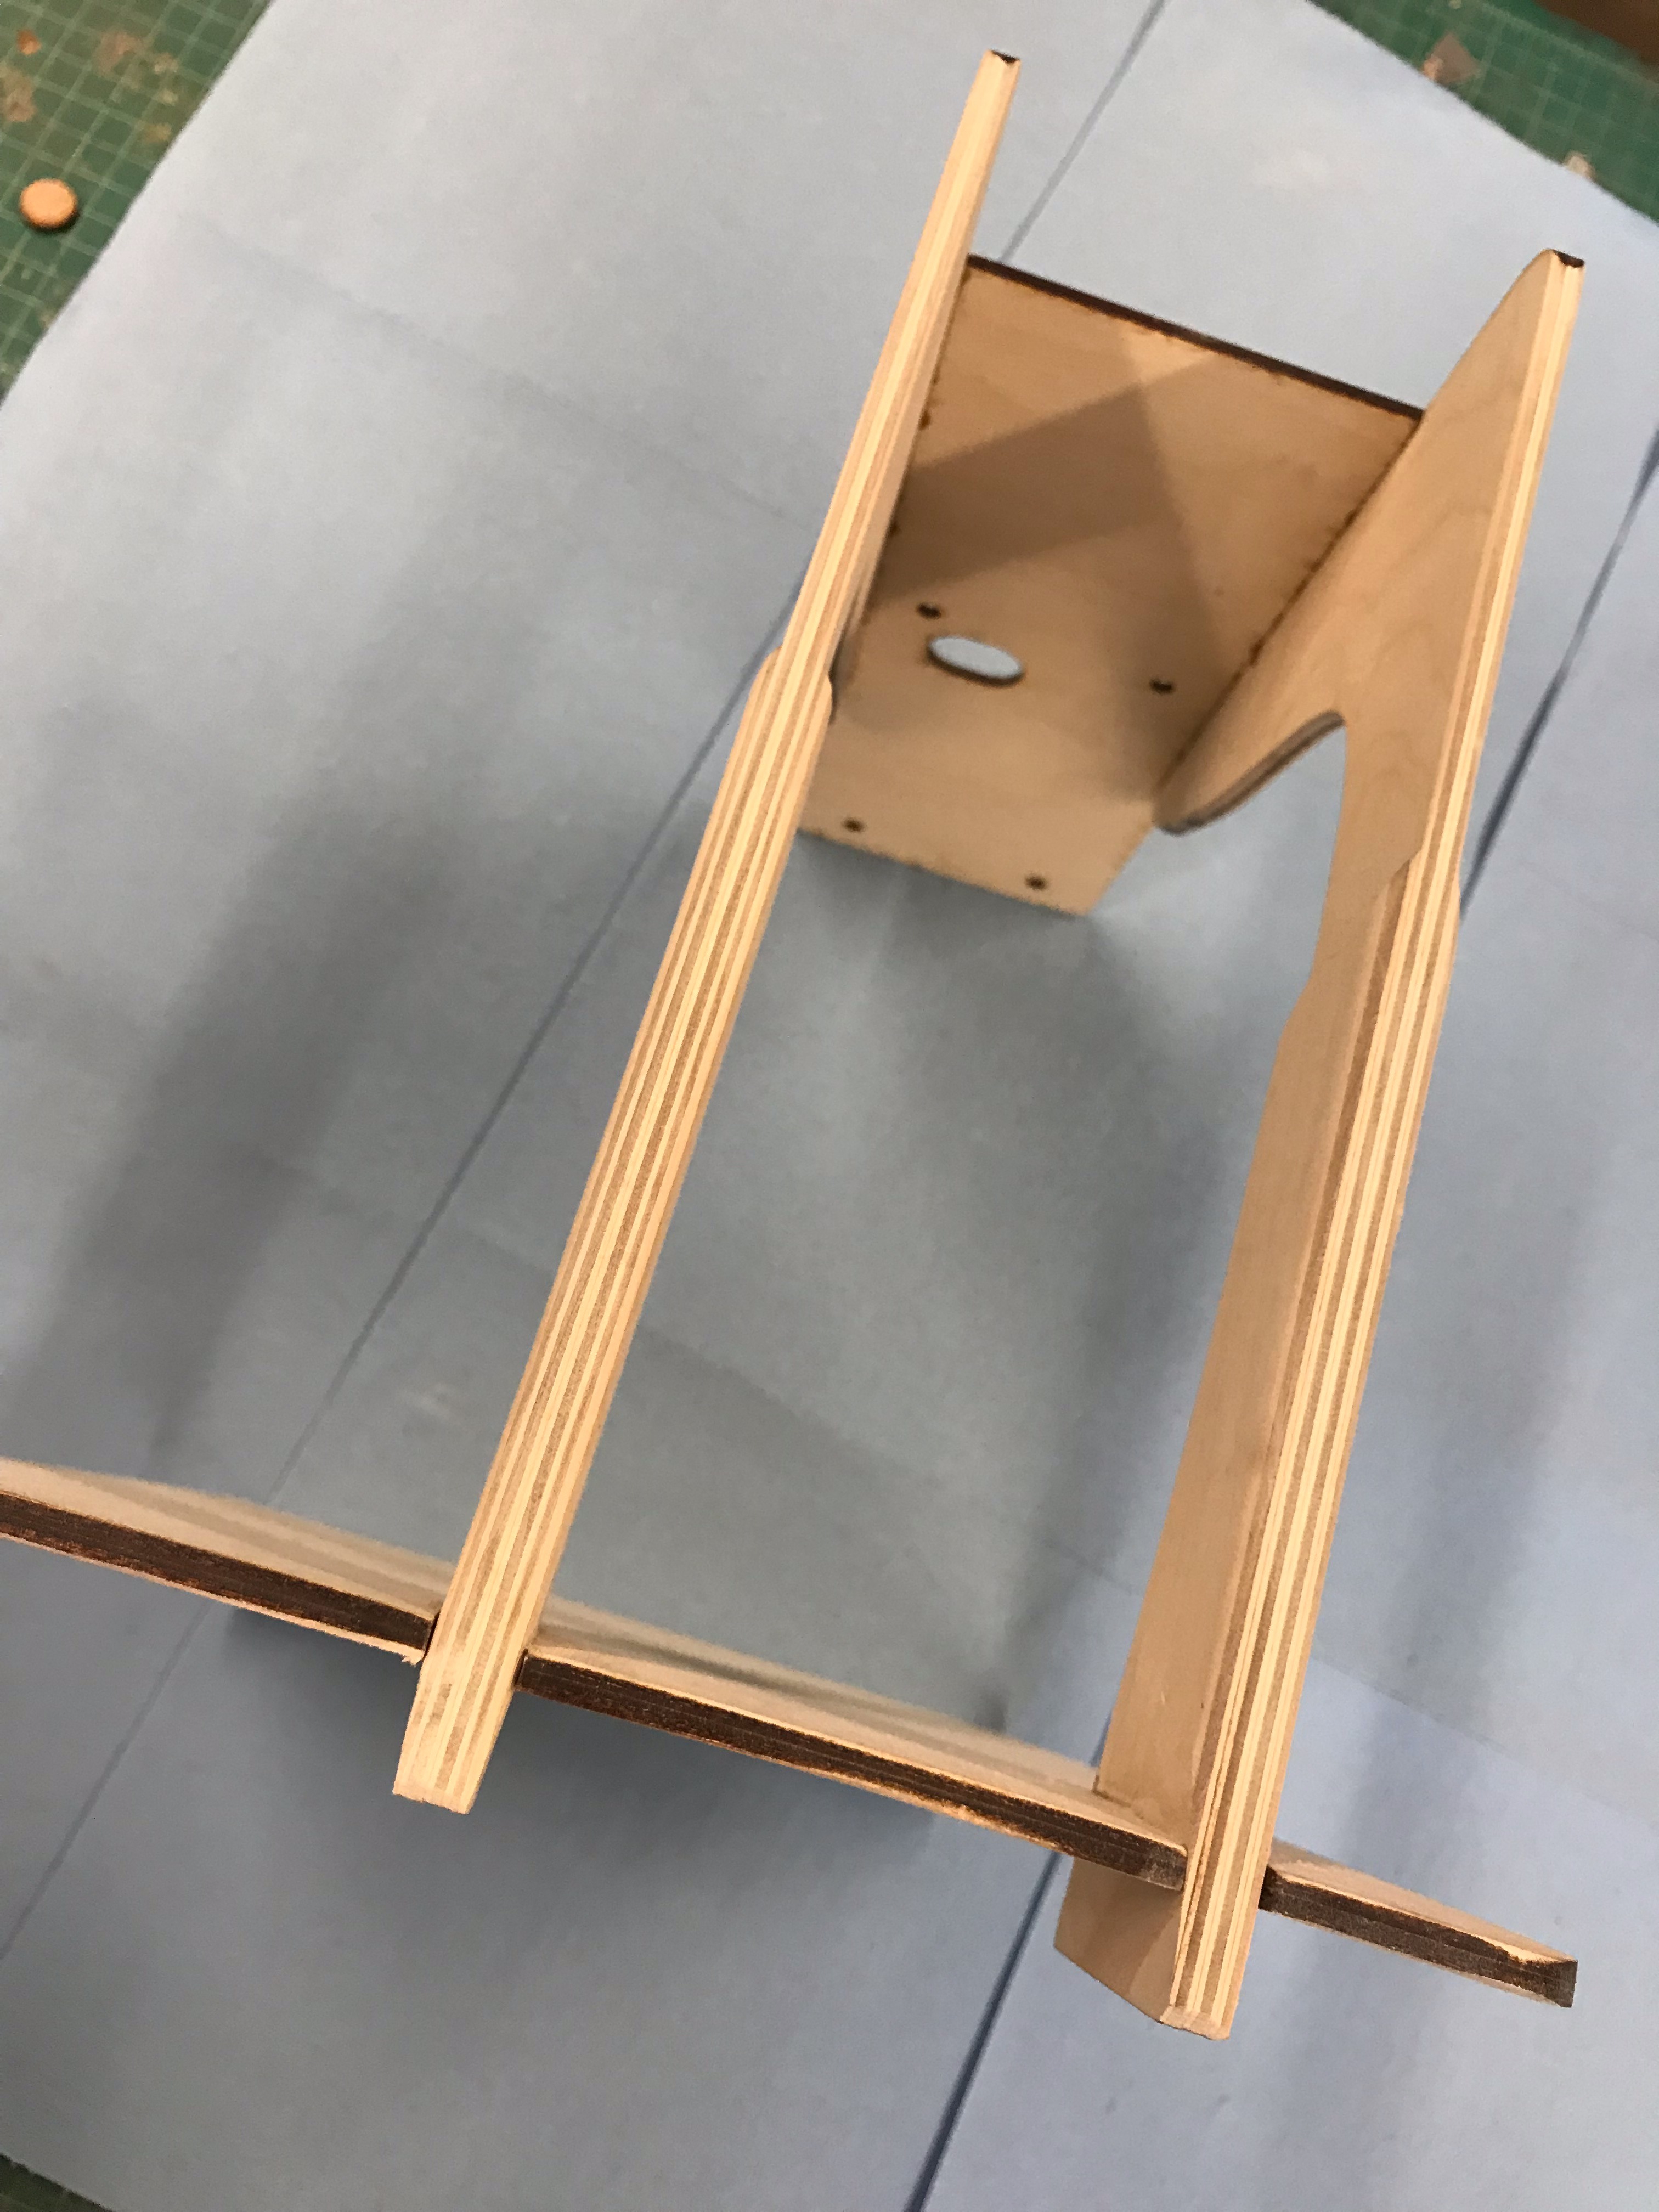
Attach the Arms to the Base.
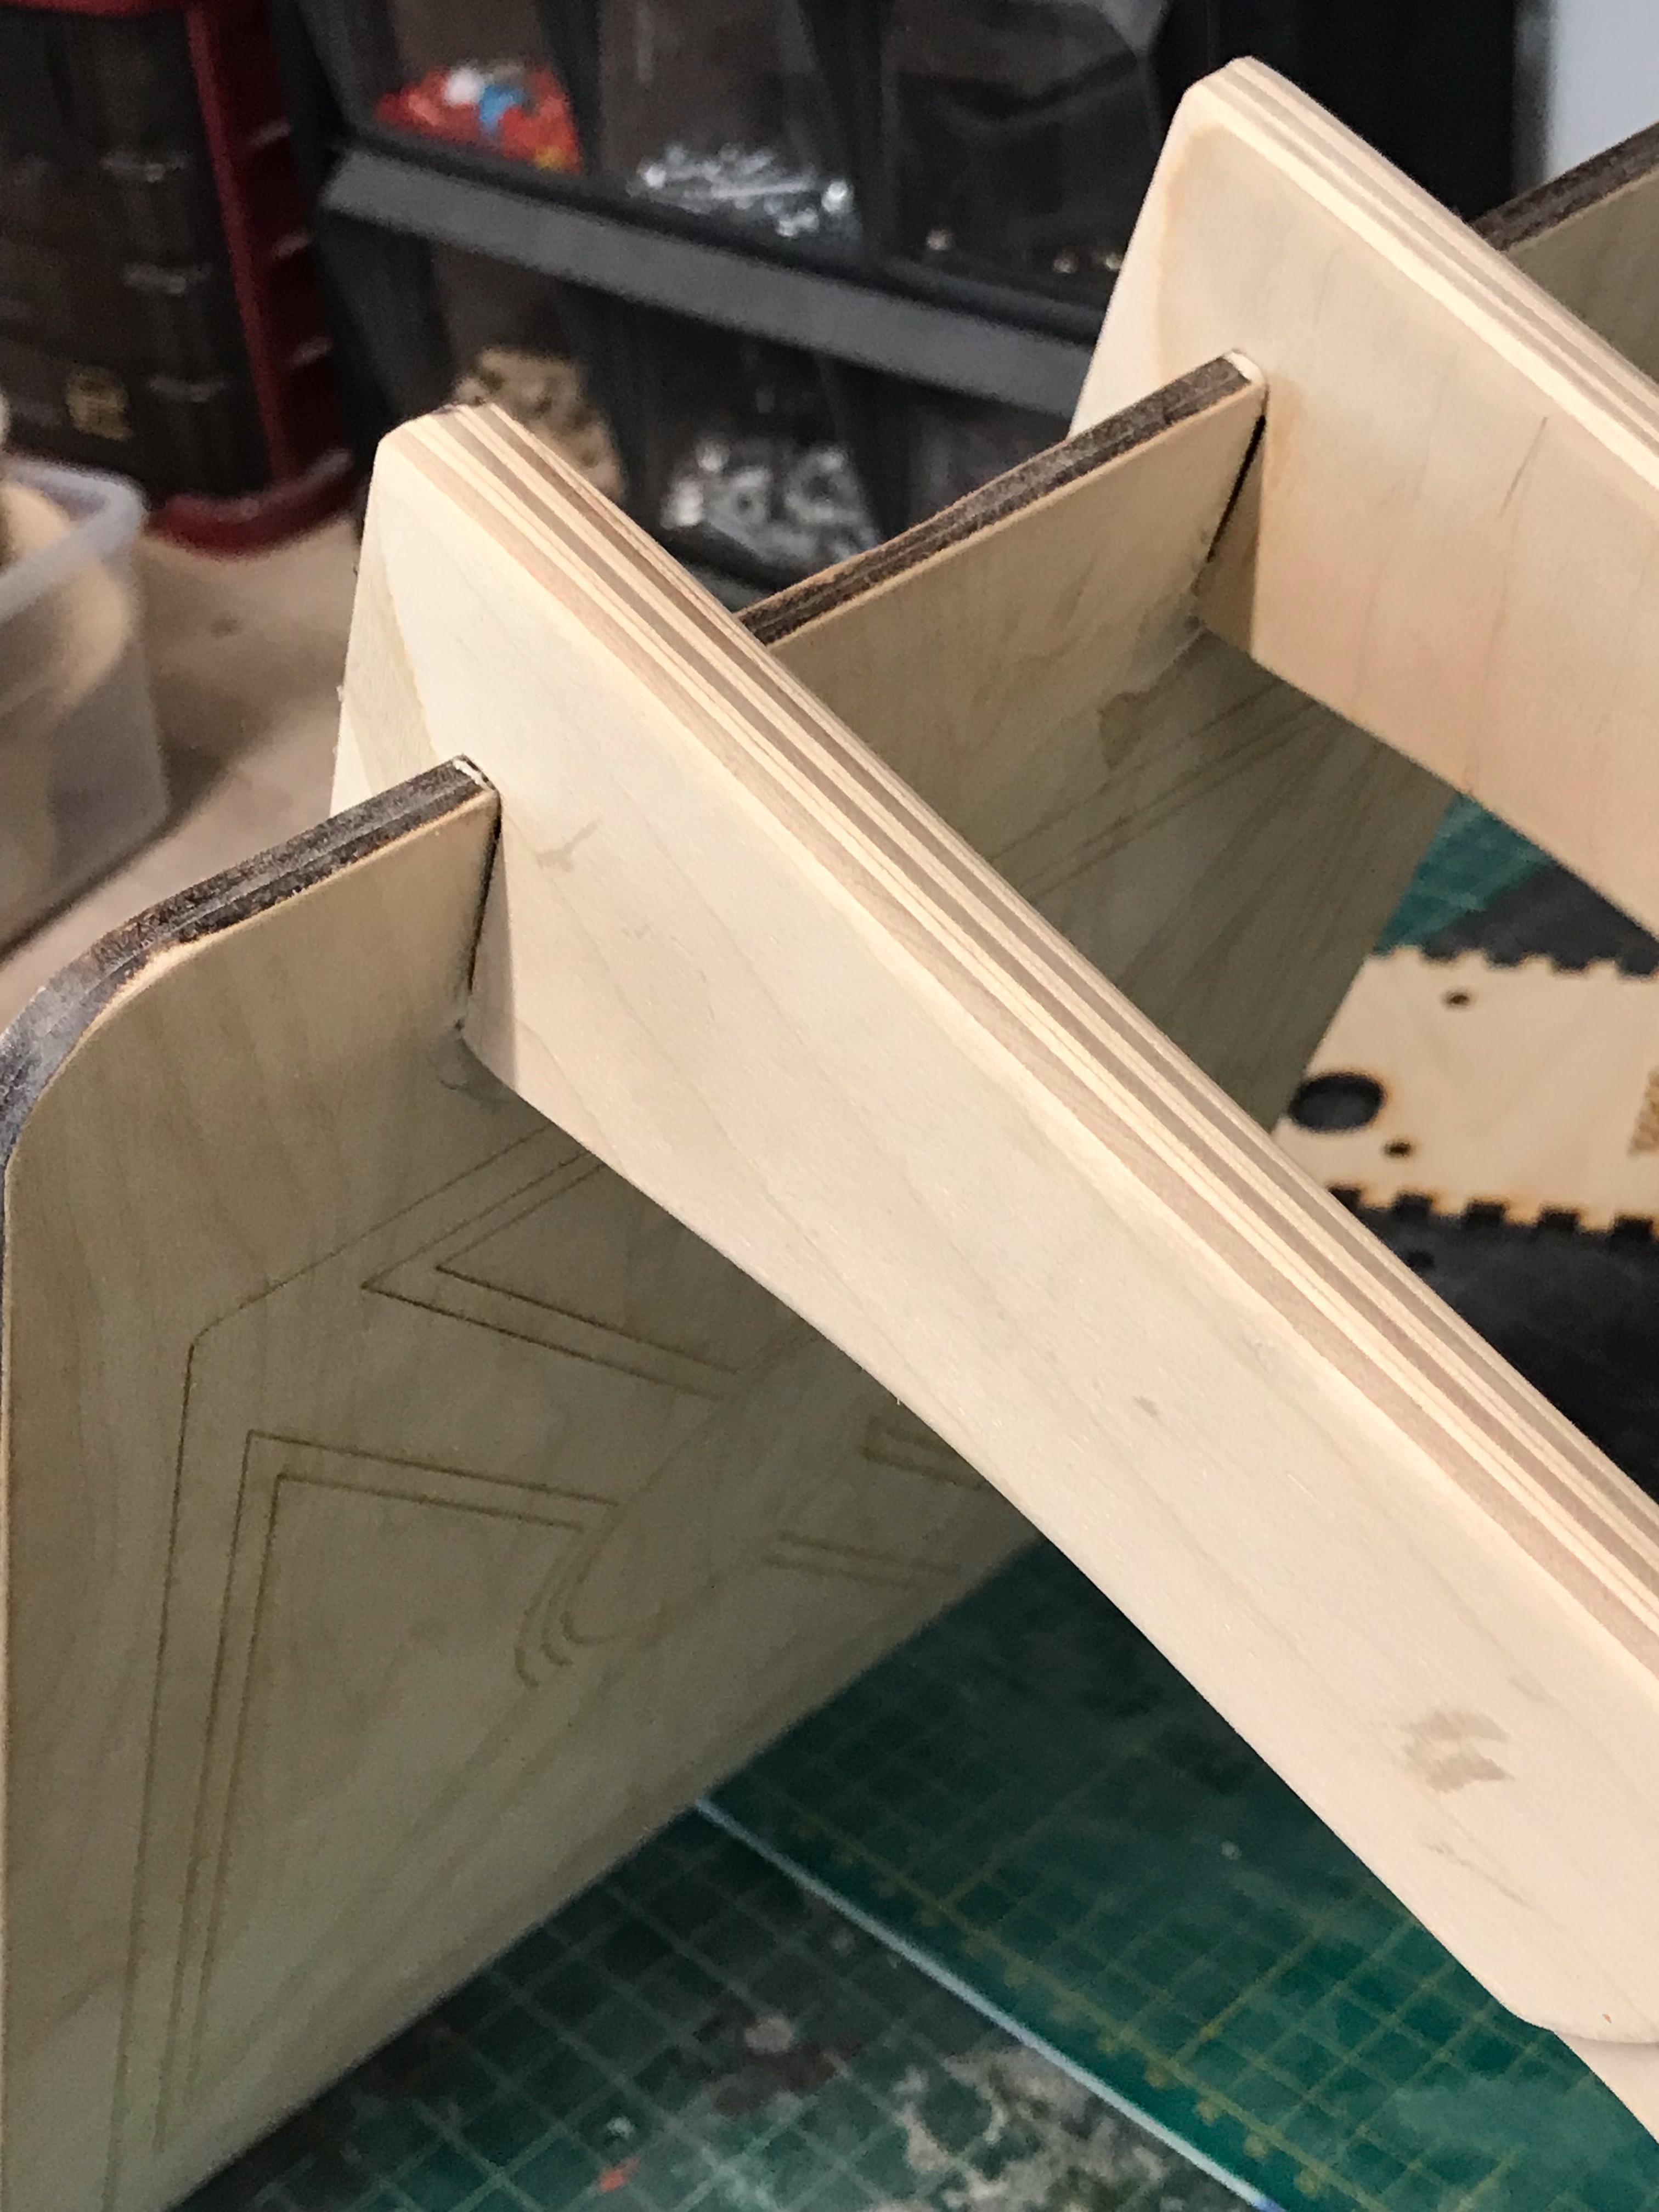


The joints between the two arms and the base are quite tight on purpose to add strength. I sand and file the openings on the arm and the base until they dry fit snugly. I also add the balancing front cross piece at this time. When everything fits well, I use wood glue to give added strength.
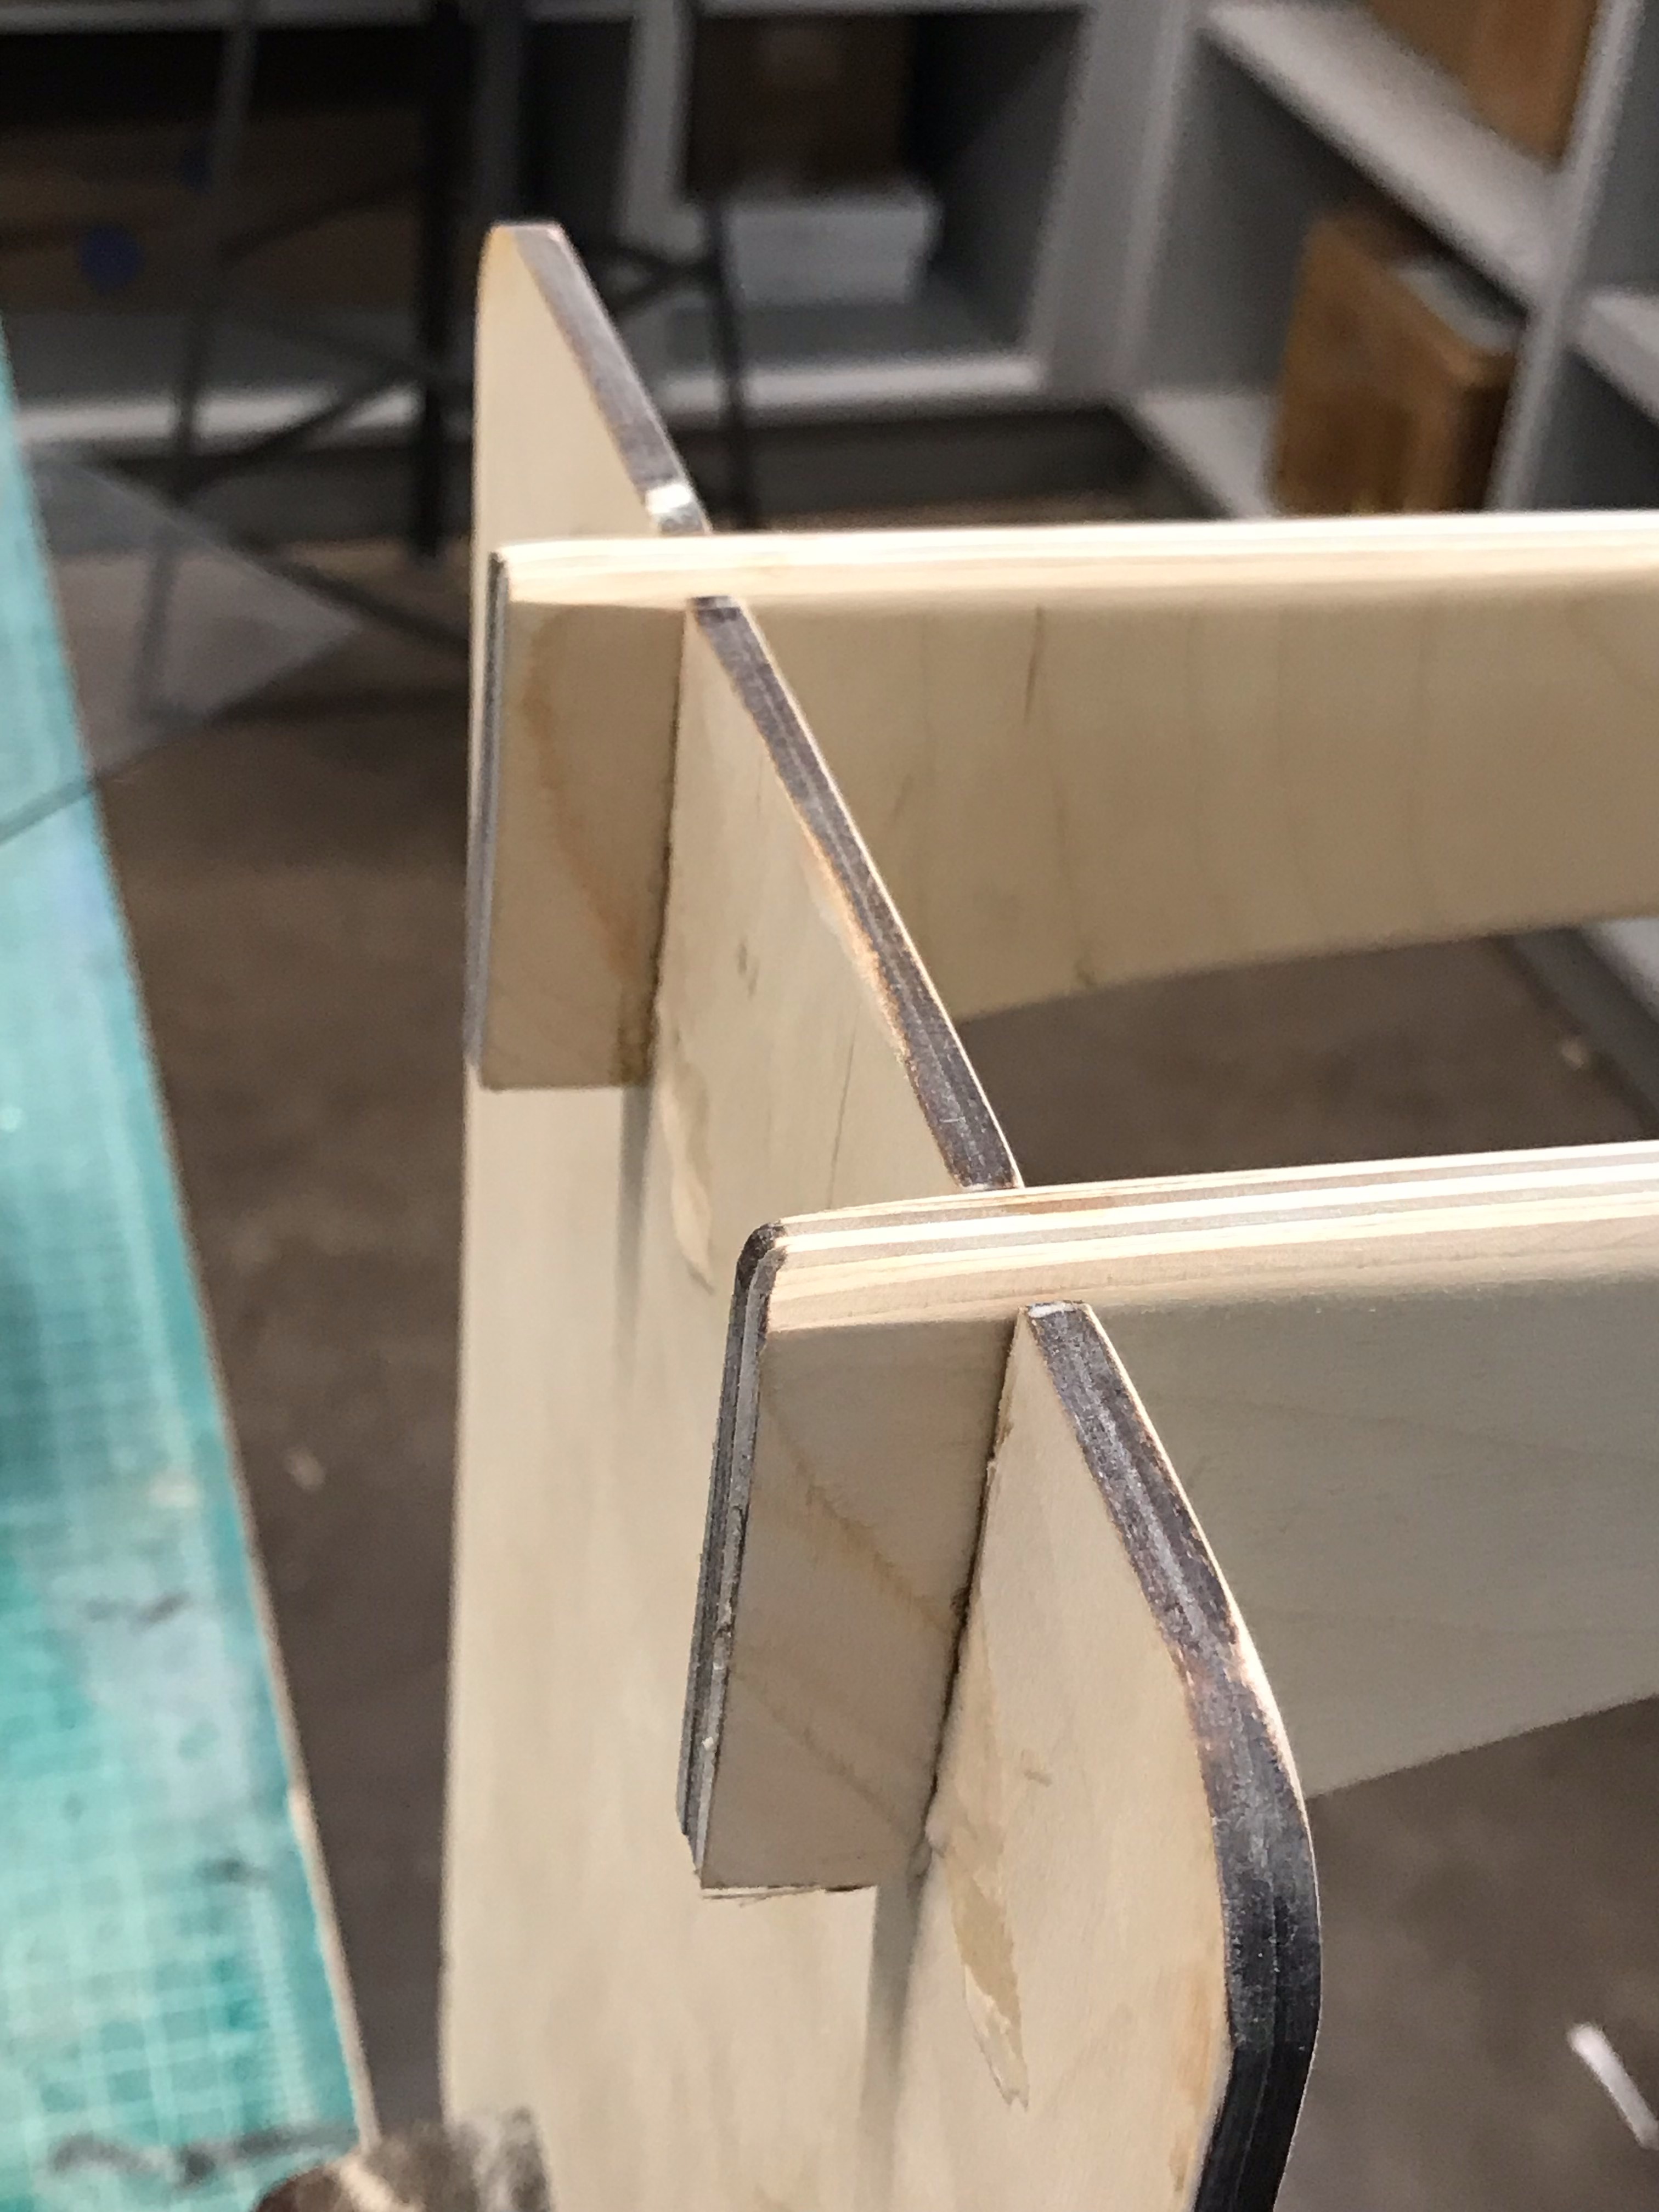
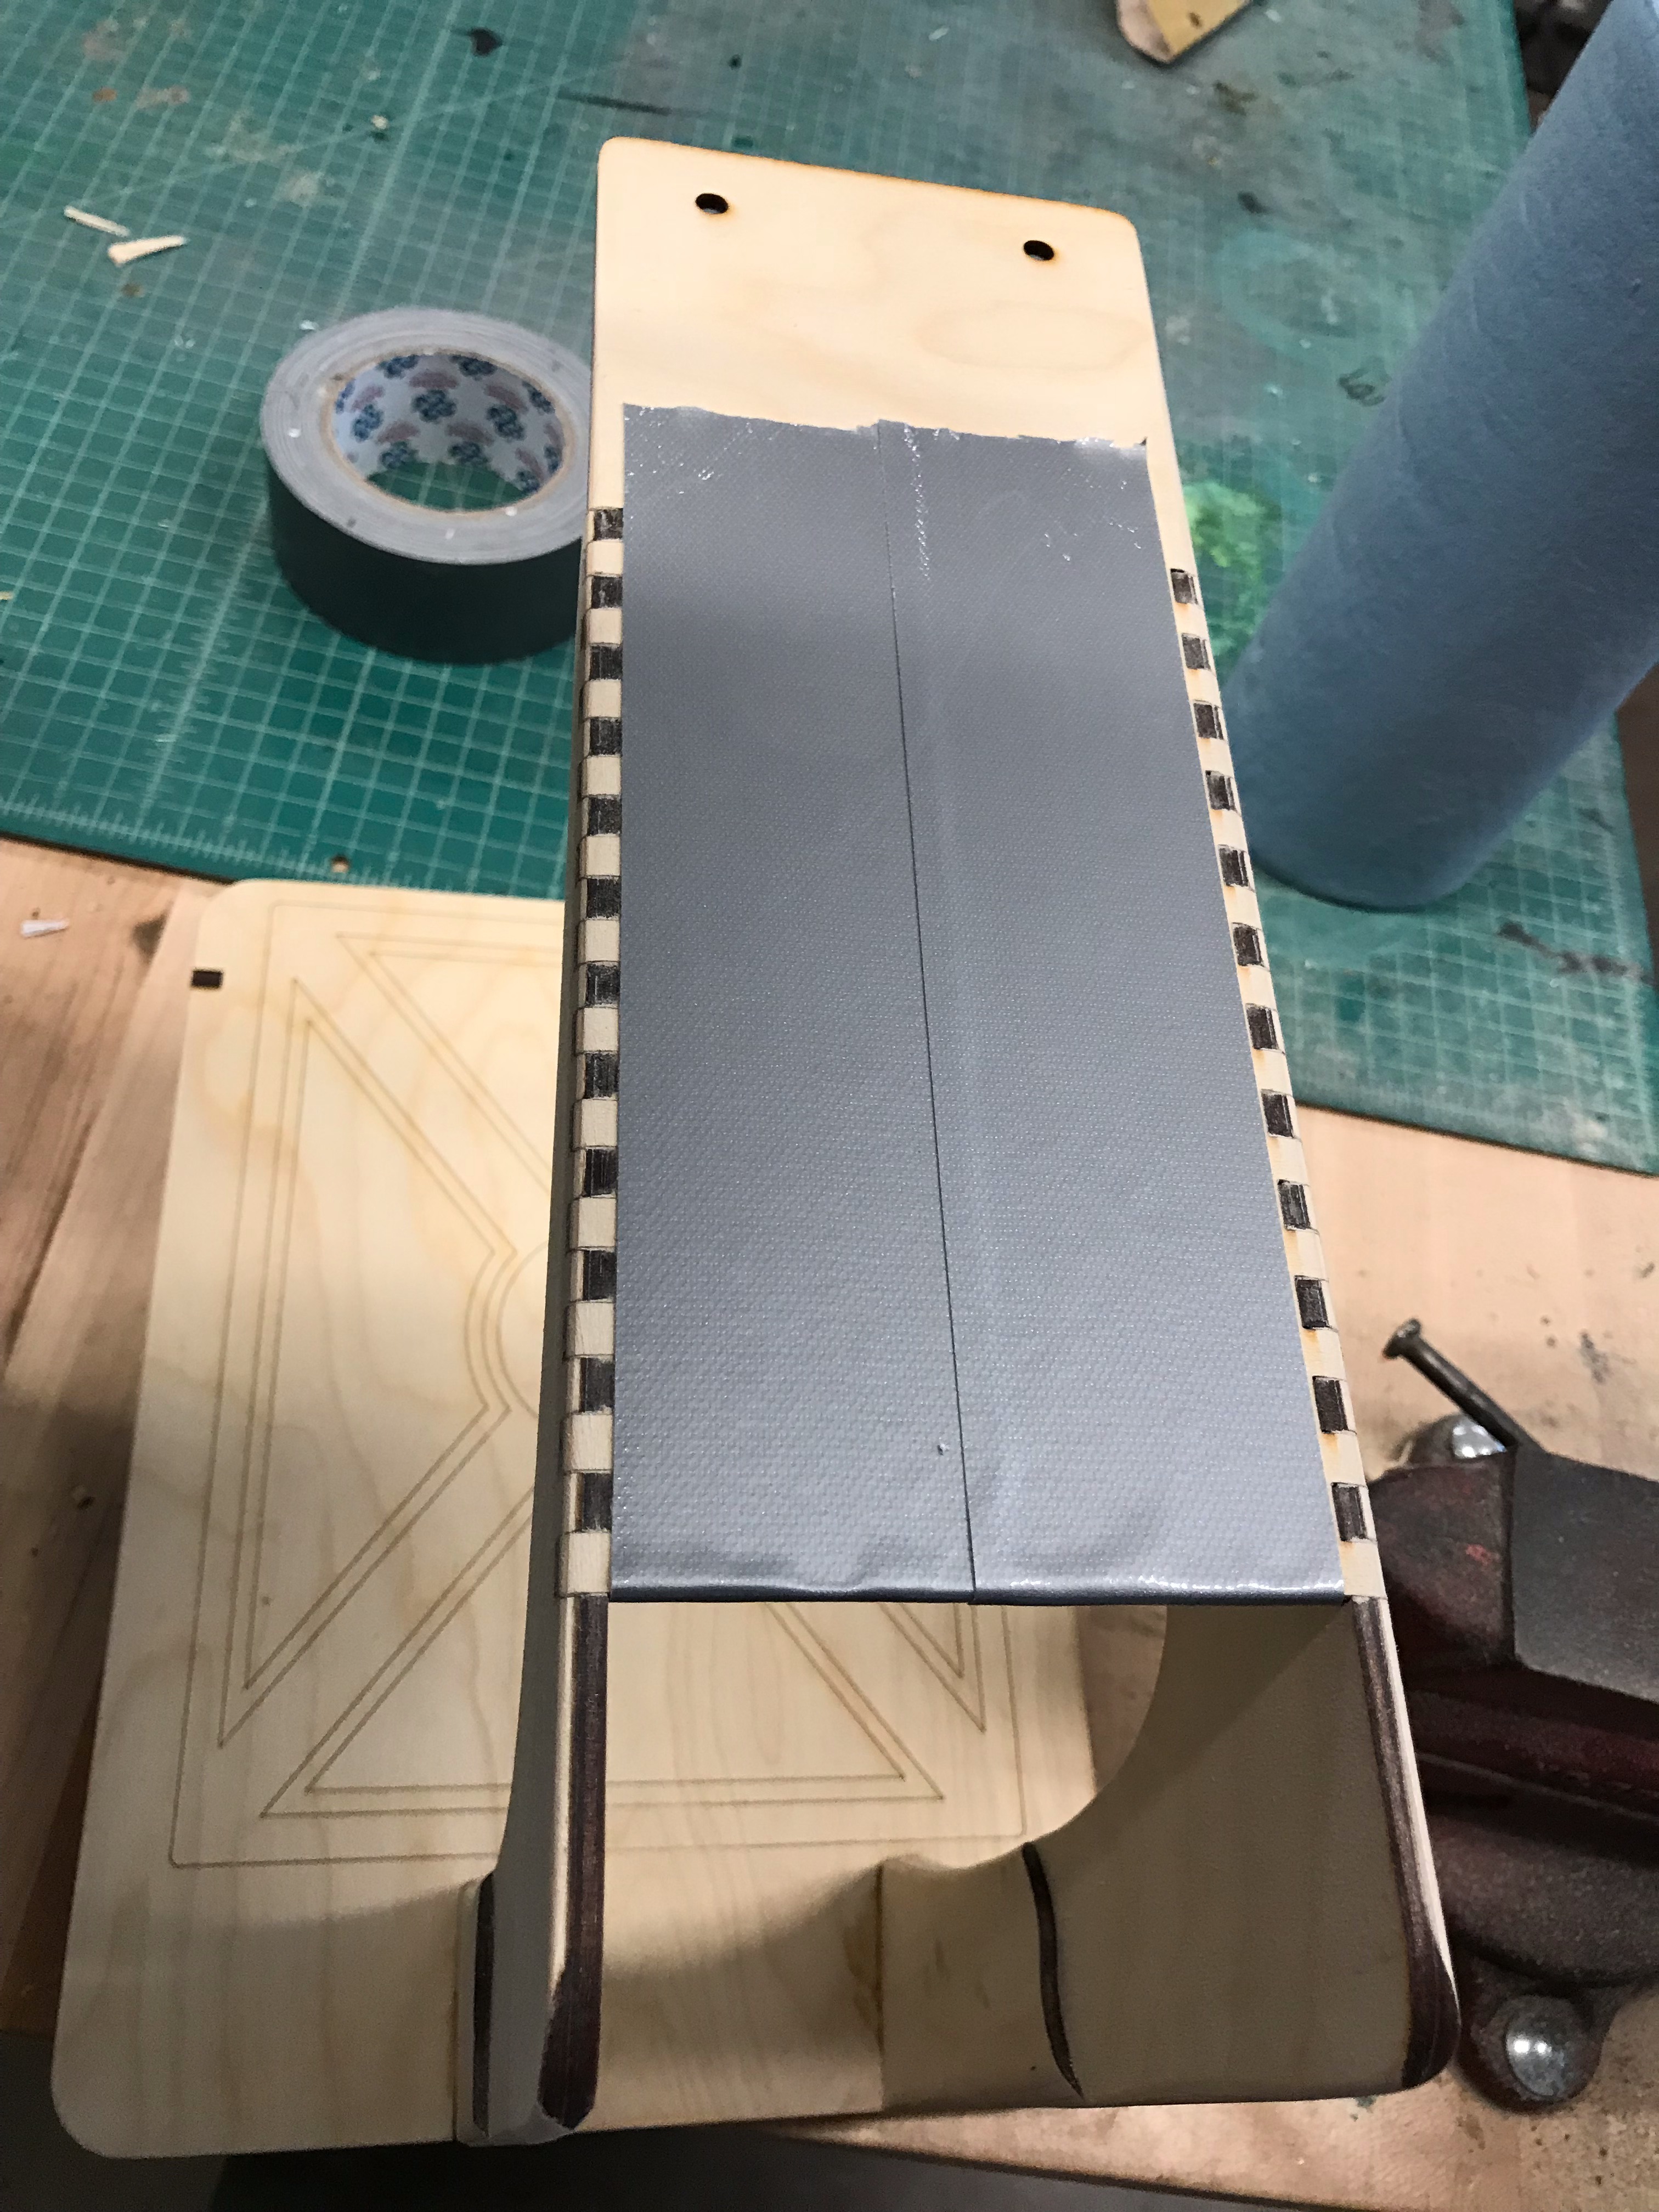
Add Balancing Cross Piece.
This offsets the arms to give a flat surface. Some sanding and wood glue.
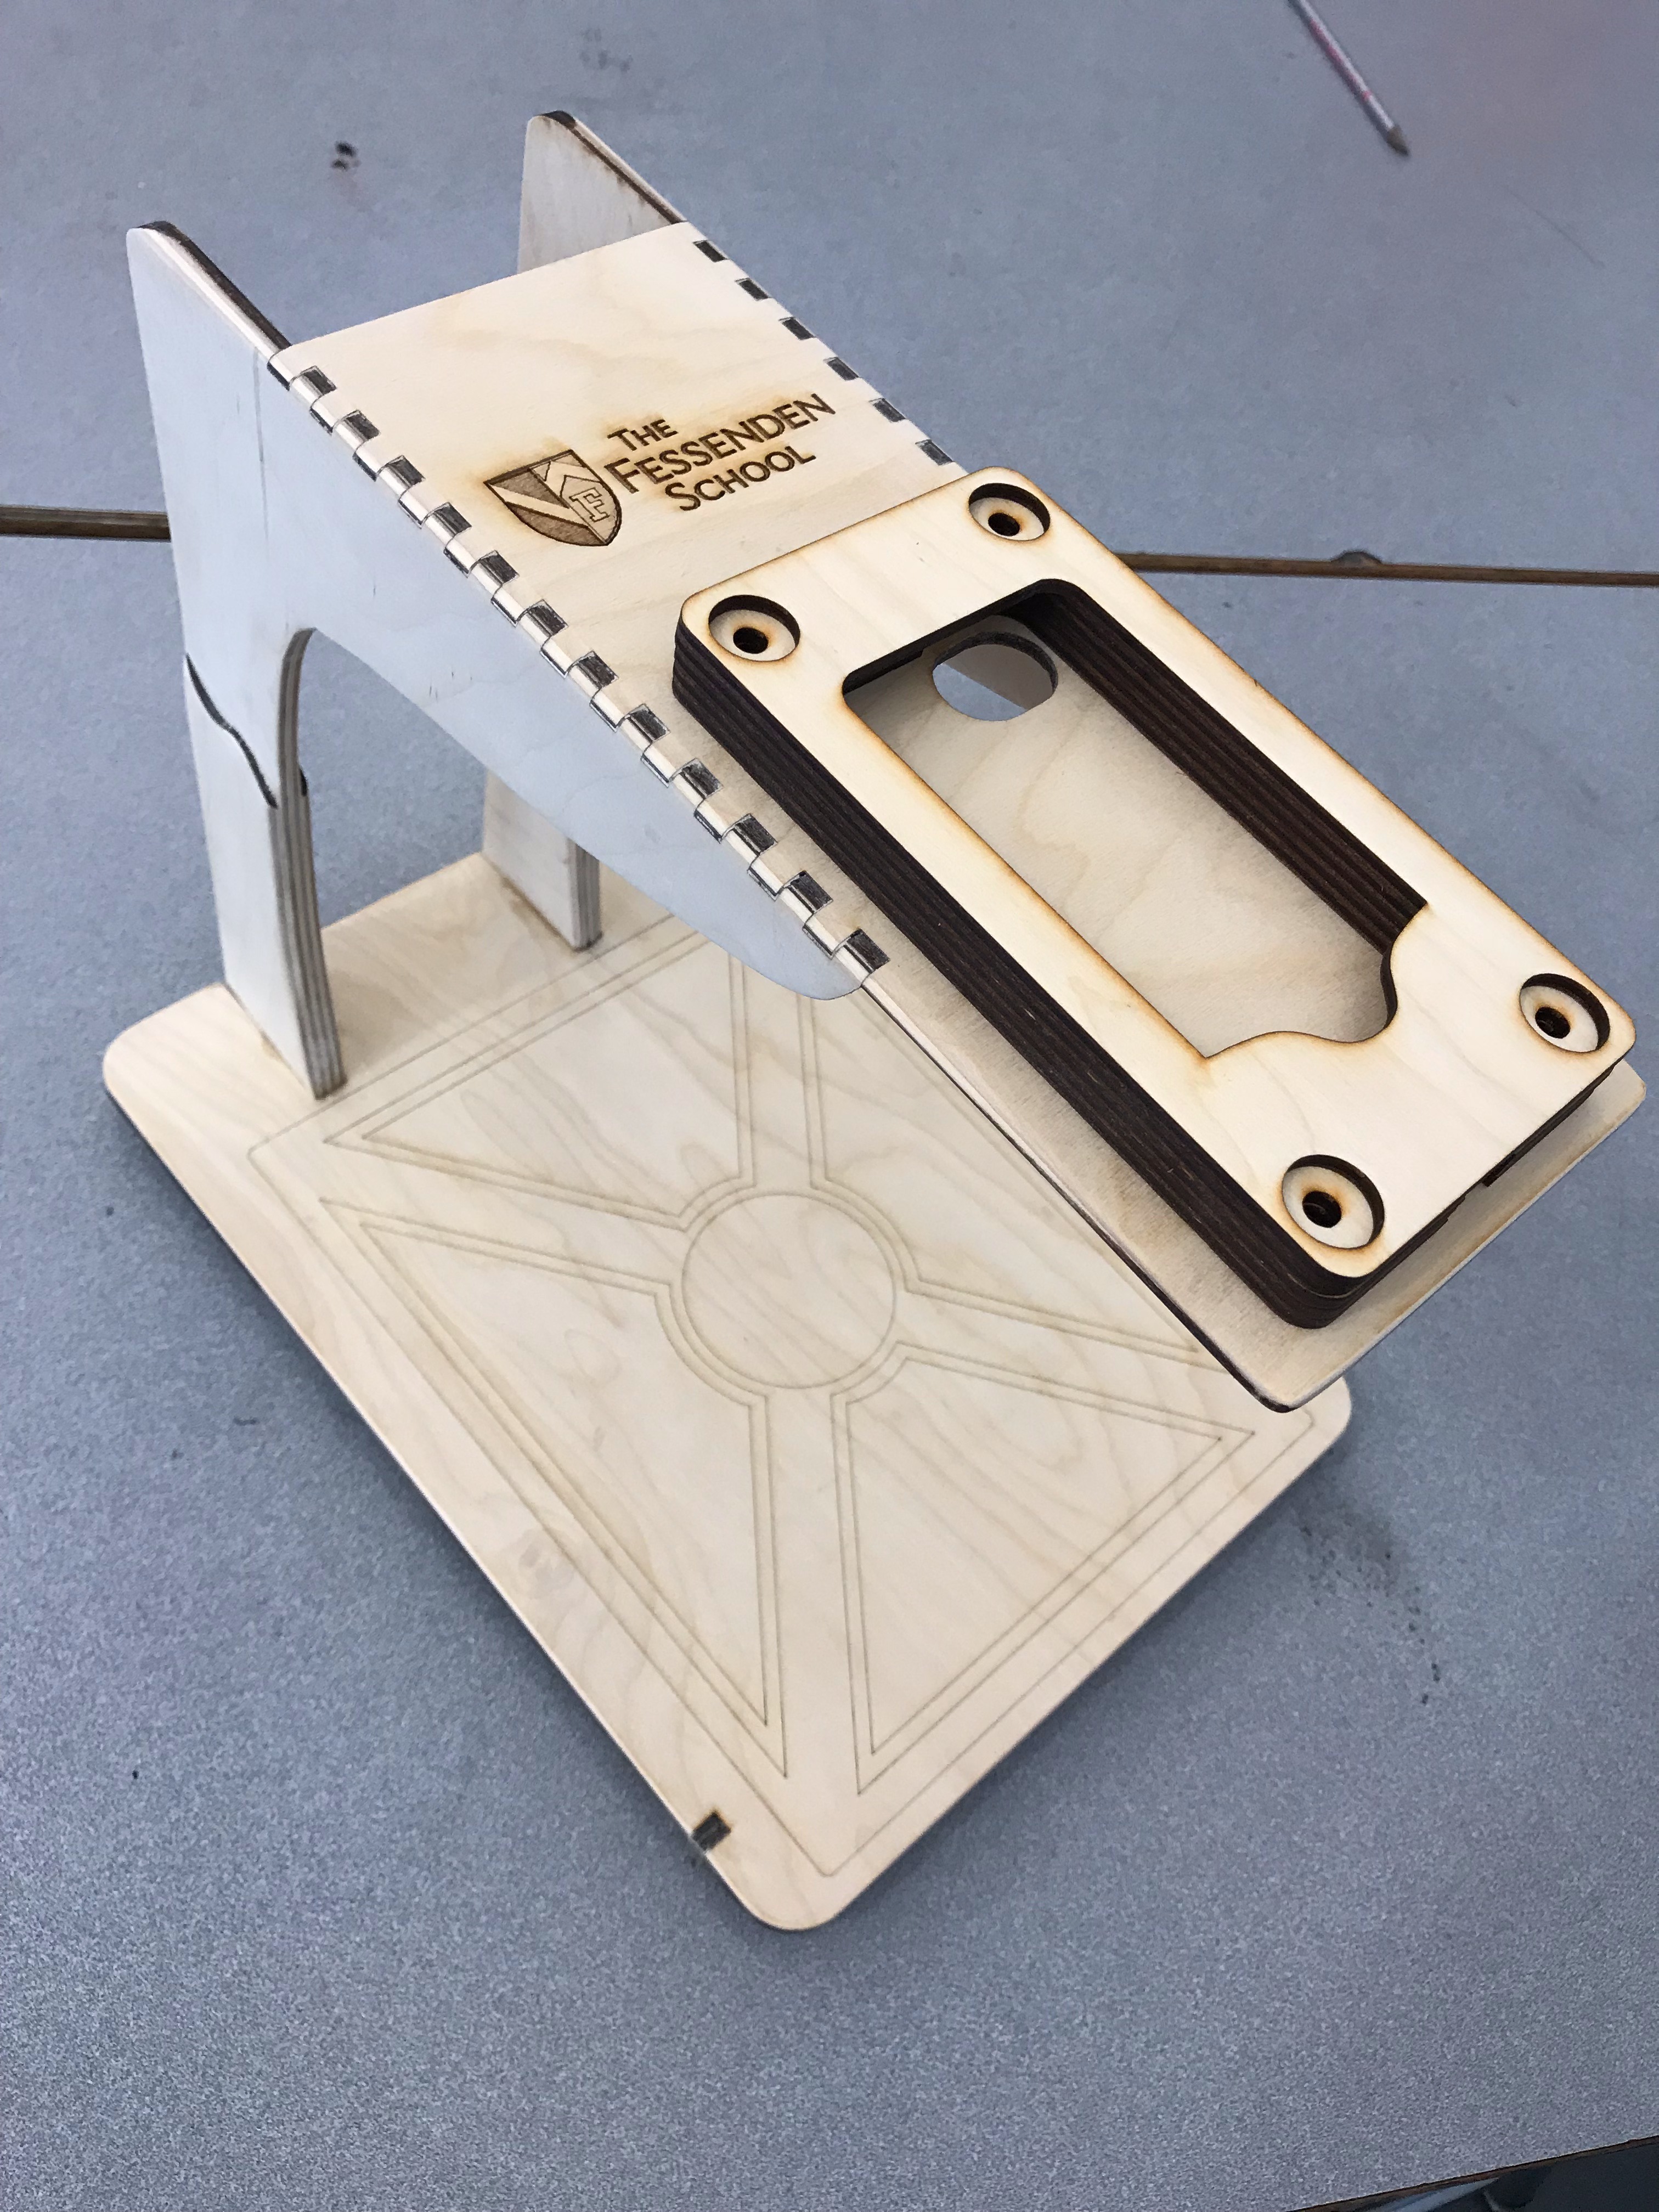
Add the Notched Top Plate.
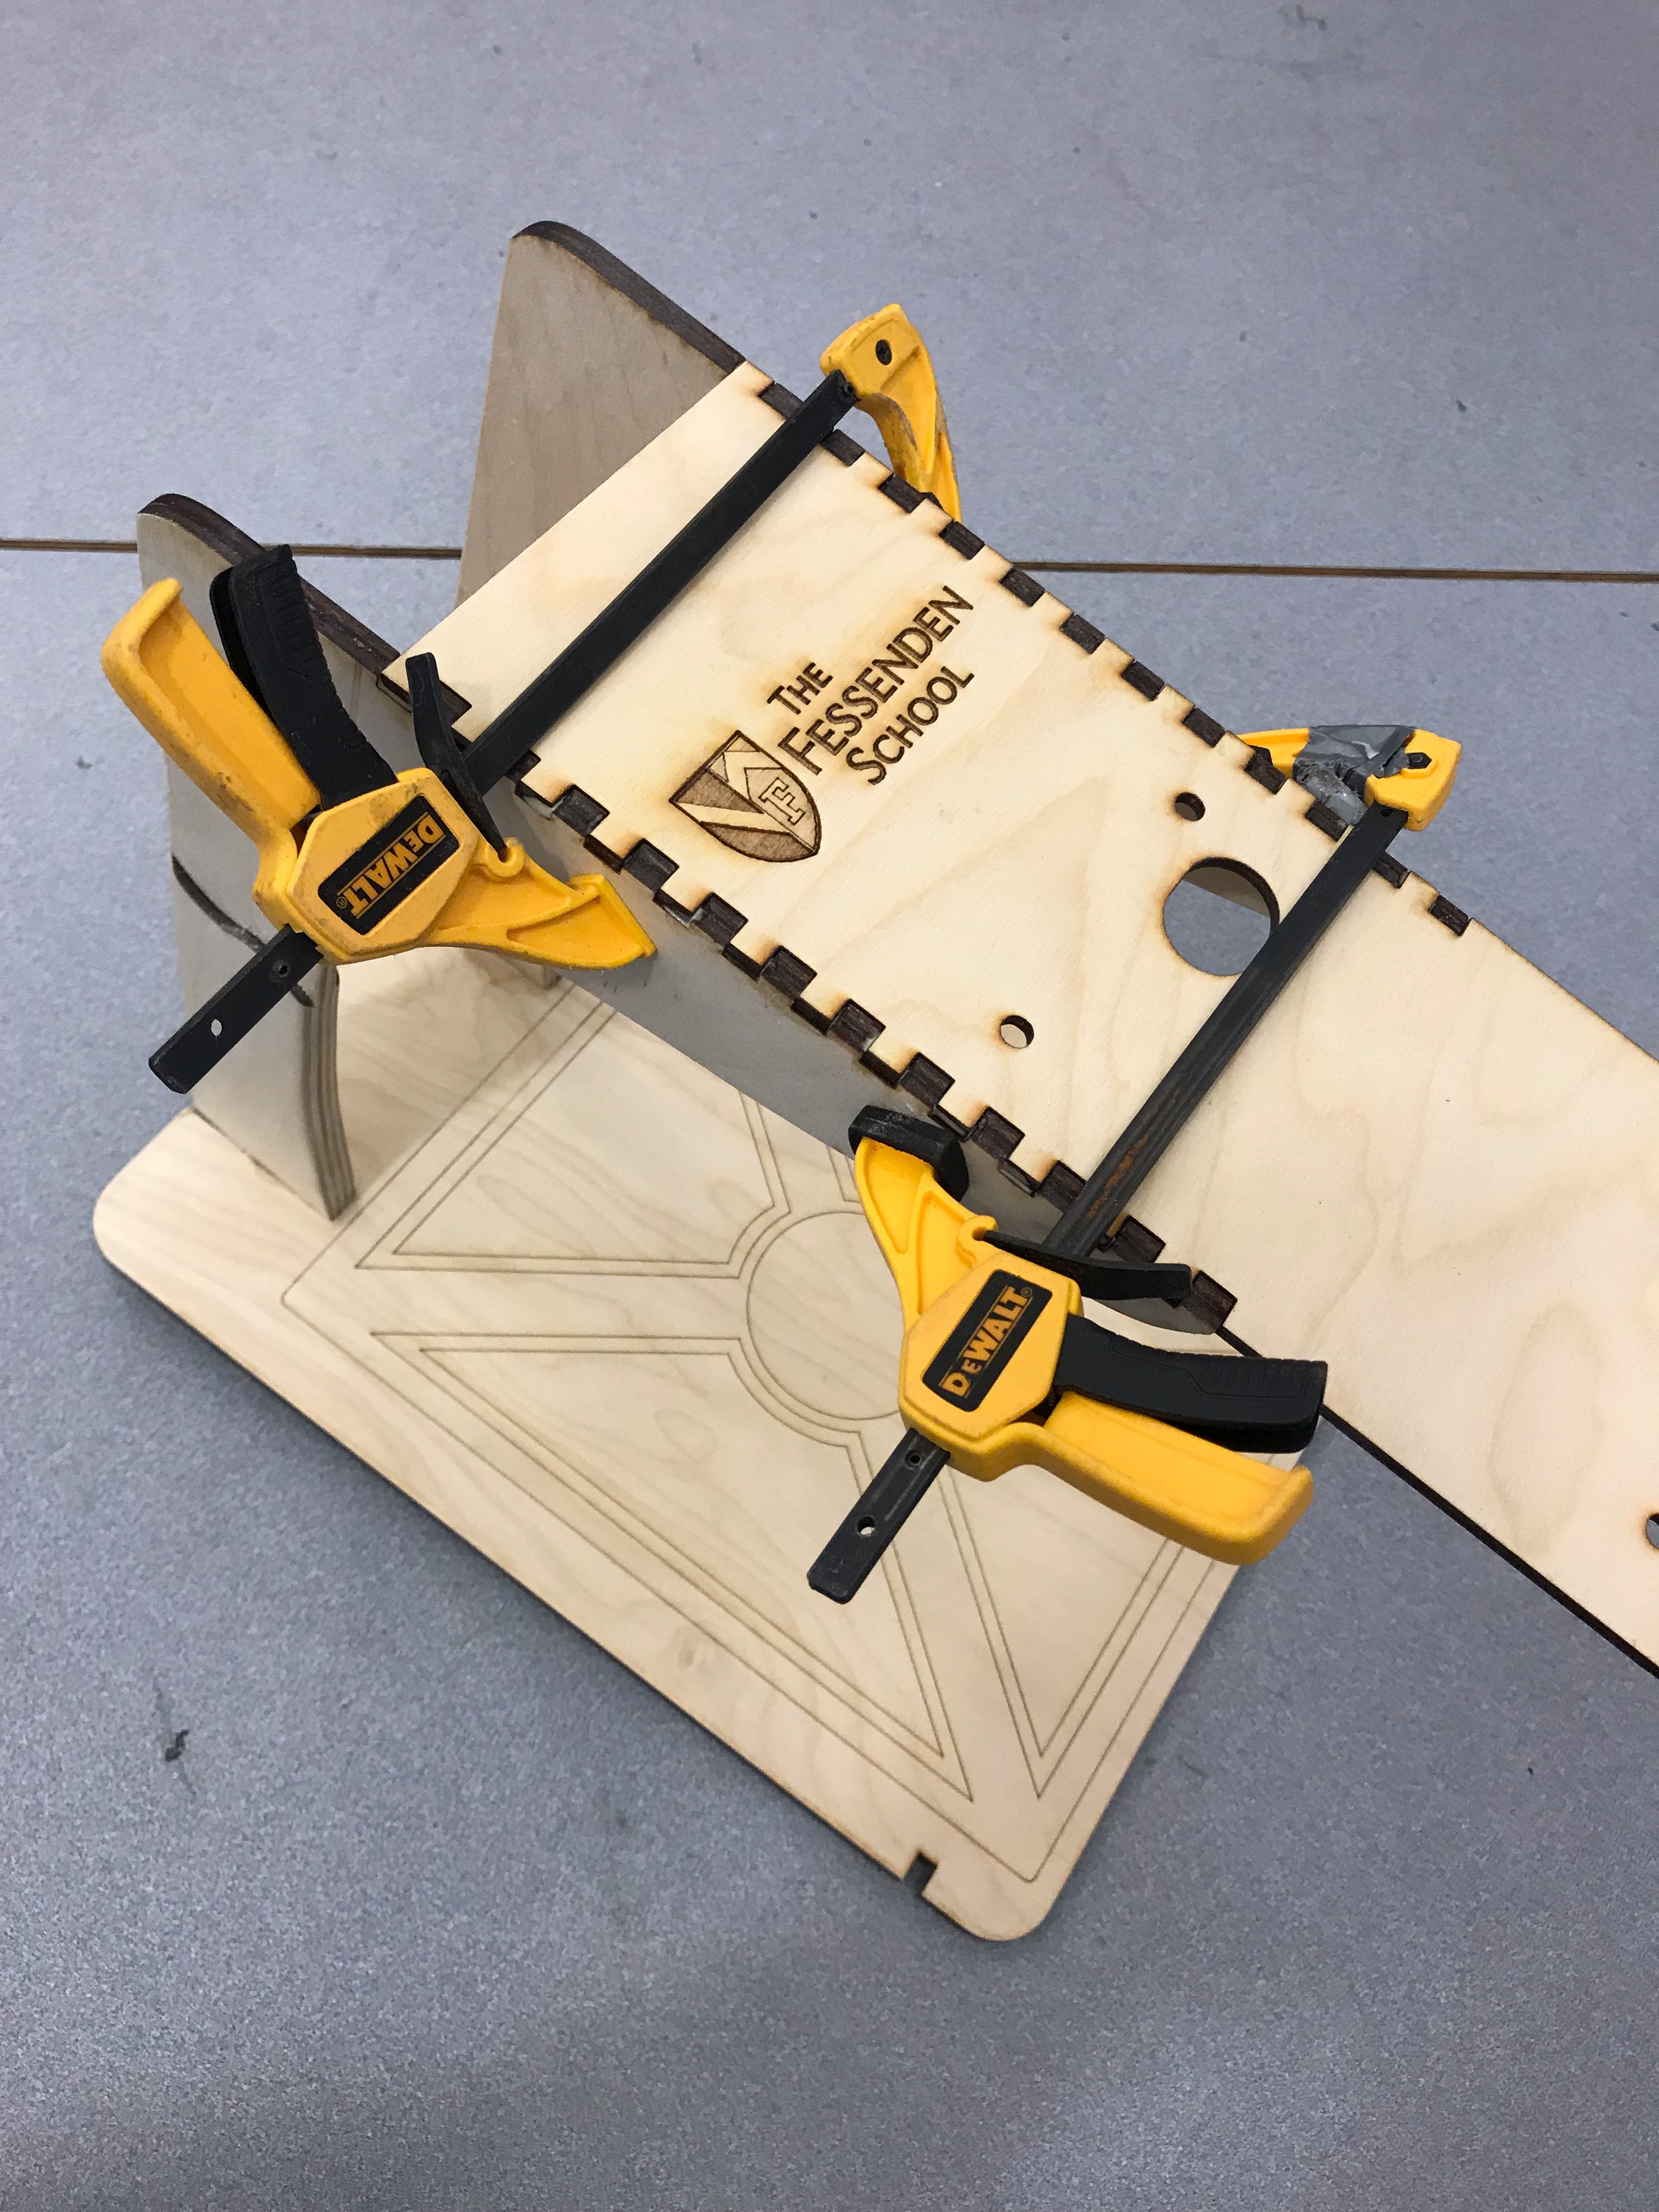
The top plate might also need some filing at each opening to fit well. Dry fit this until satisfied and then set it in place with wood glue. I make sure to cover the base with some paper towels so that any drops of glue won't mar the base. Then sand well. The notches will stand proud and need to sanded smooth (I cover the school logo to avoid messing it up).
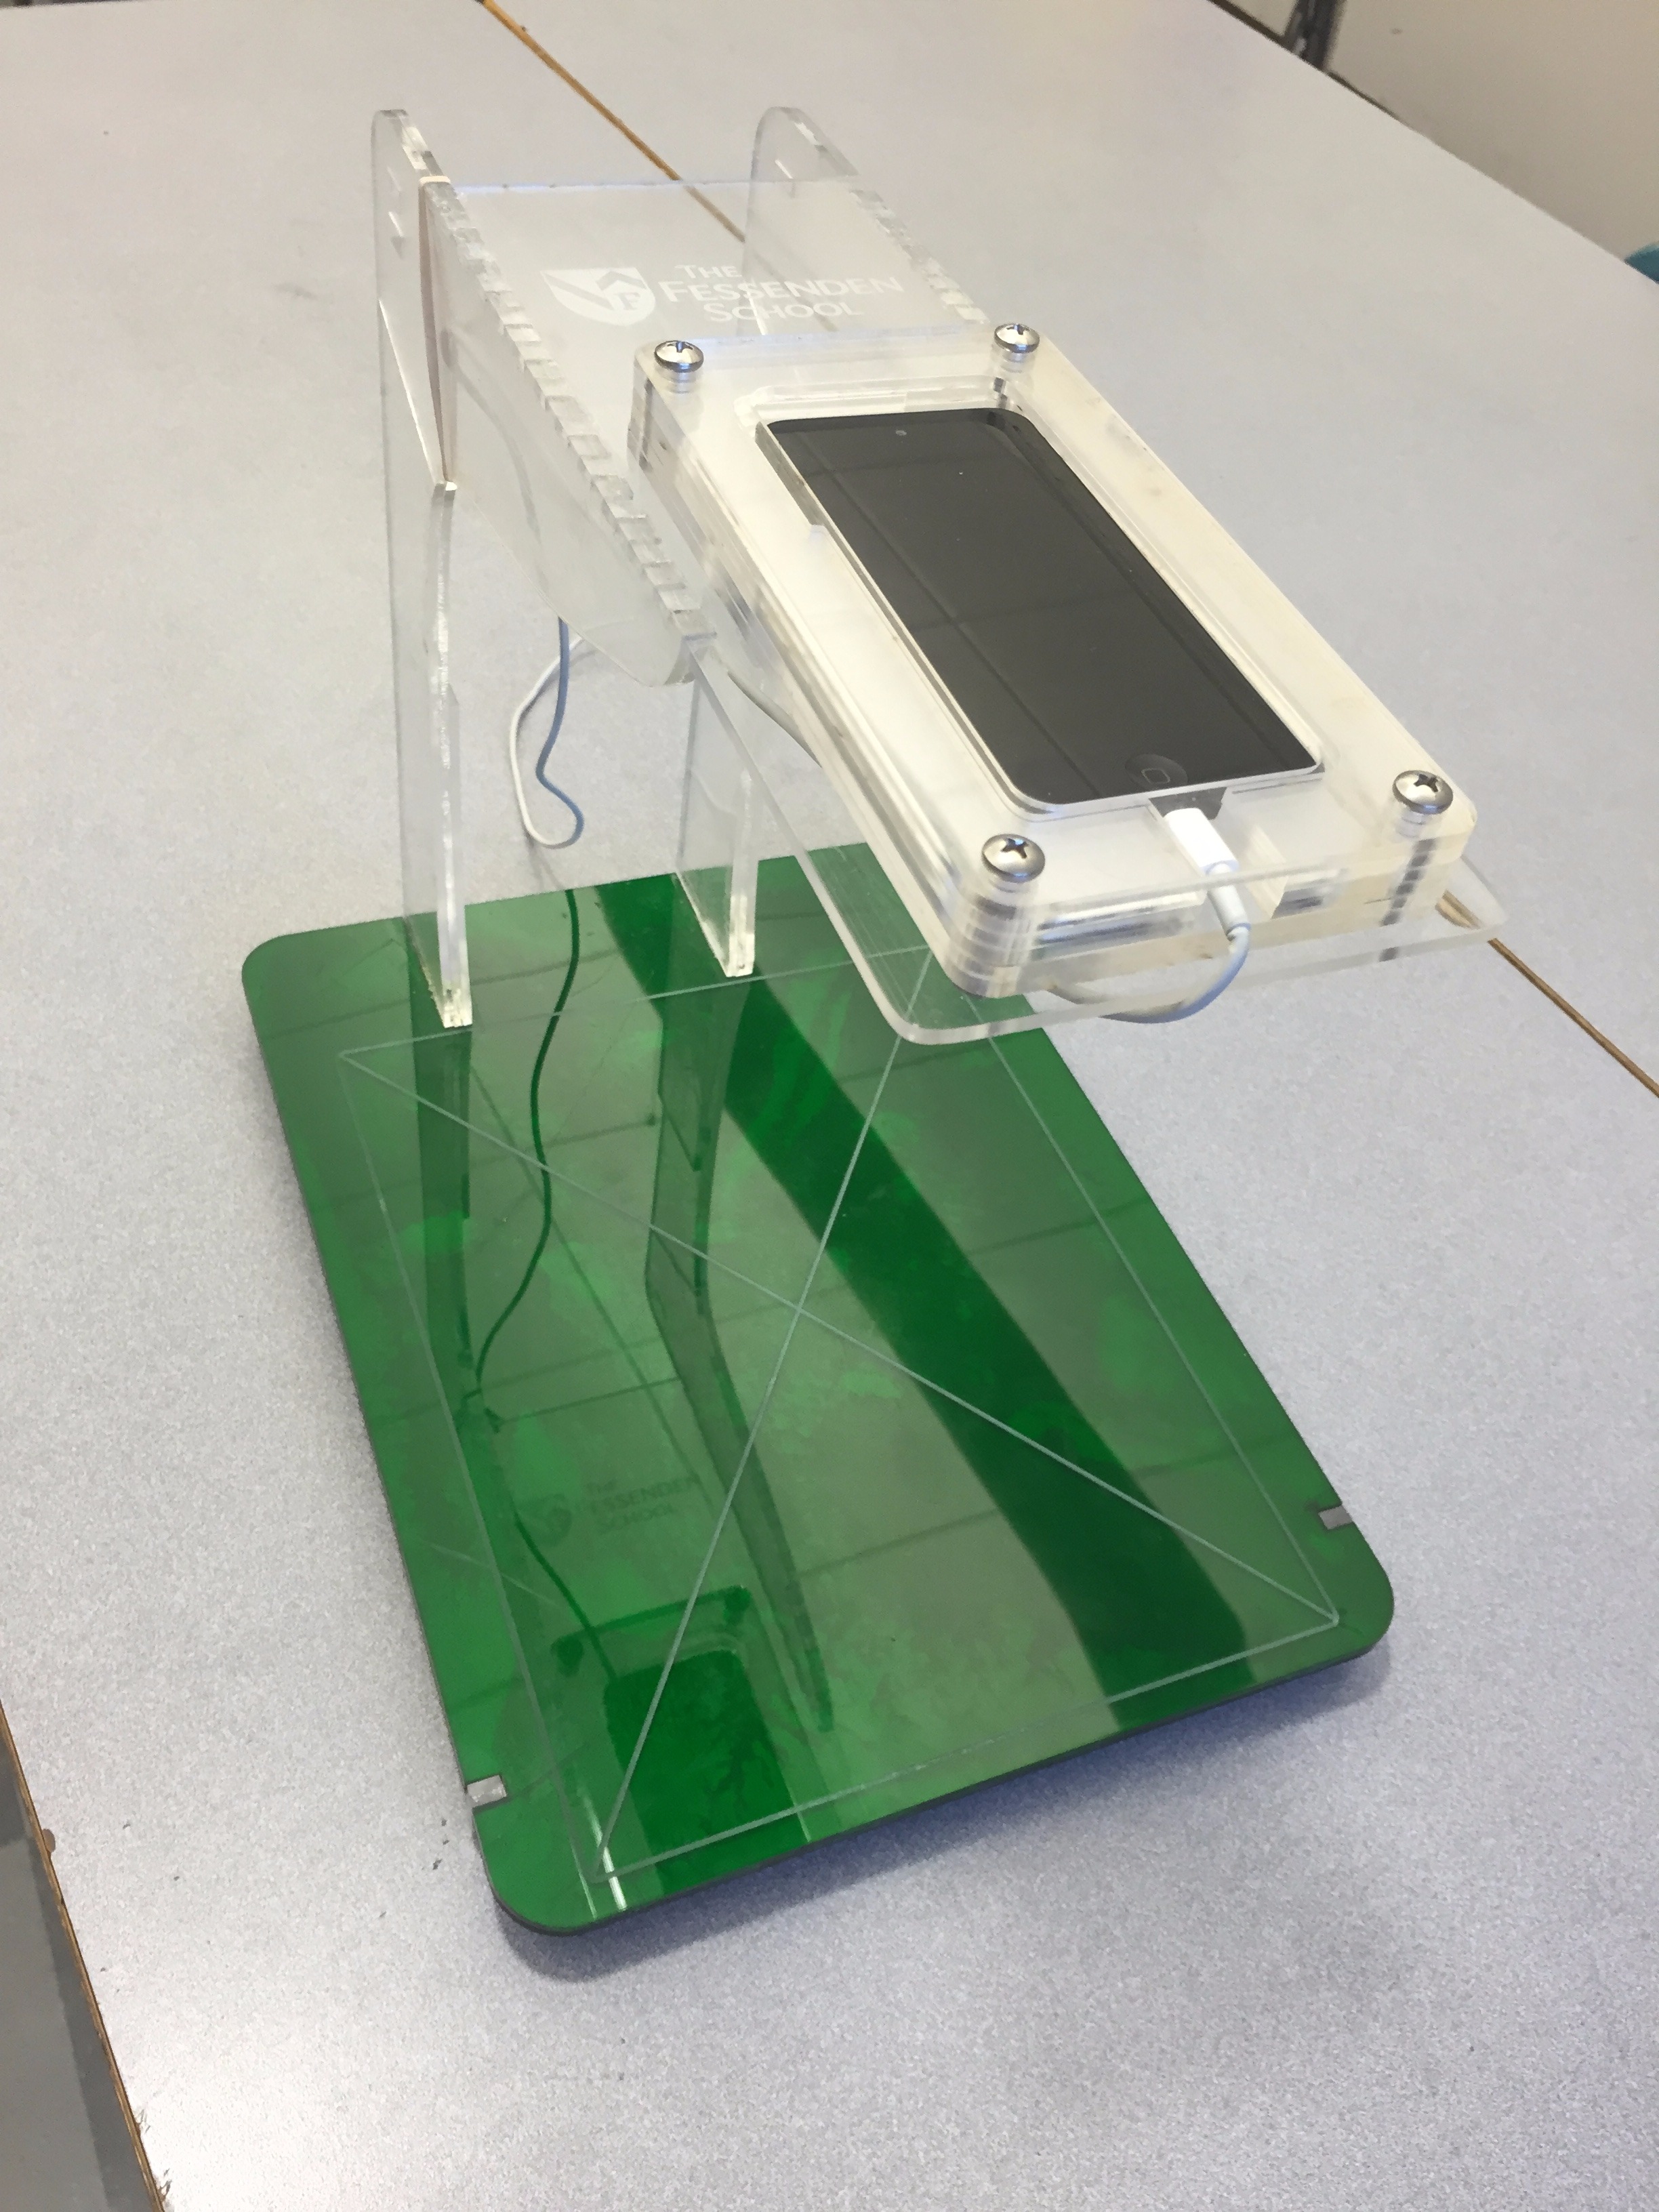
Assemble IPhone Layers, Insert IPhone and Bolt to Top Plate.
.png)
Laminate the iPhone holding layers with spray adhesive and insert phone in top plate. Bolt in place. The iPhone will charge in the stand and should not need to be removed. I recently added an LED light so the stand can be used in a dark classroom or auditorium.
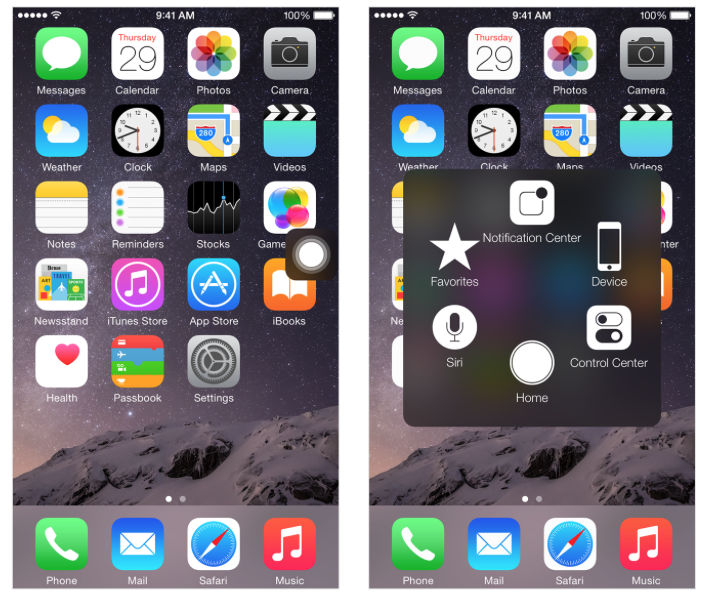
By turning on "Assistive Touch" in the Settings app (Settings App -> General -> Accessibility, scroll to the bottom of the menu,) you'll add a button to your iPhone screen that when tapped will present a menu of controls. This takes the place of all of the inaccessible controls on the iPhone.
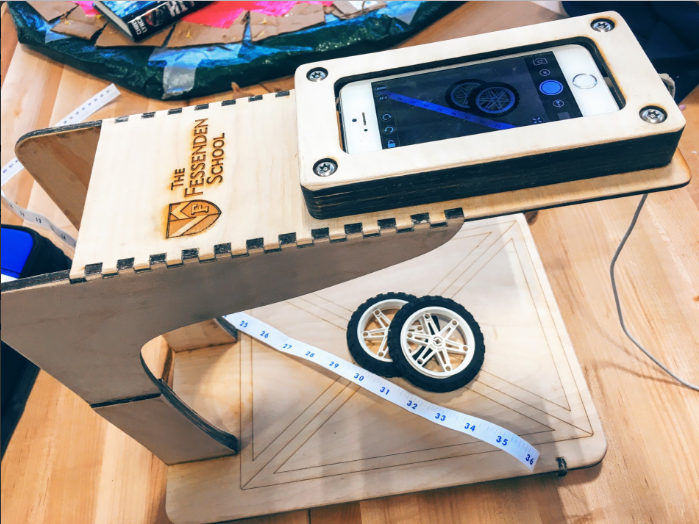
In Use....
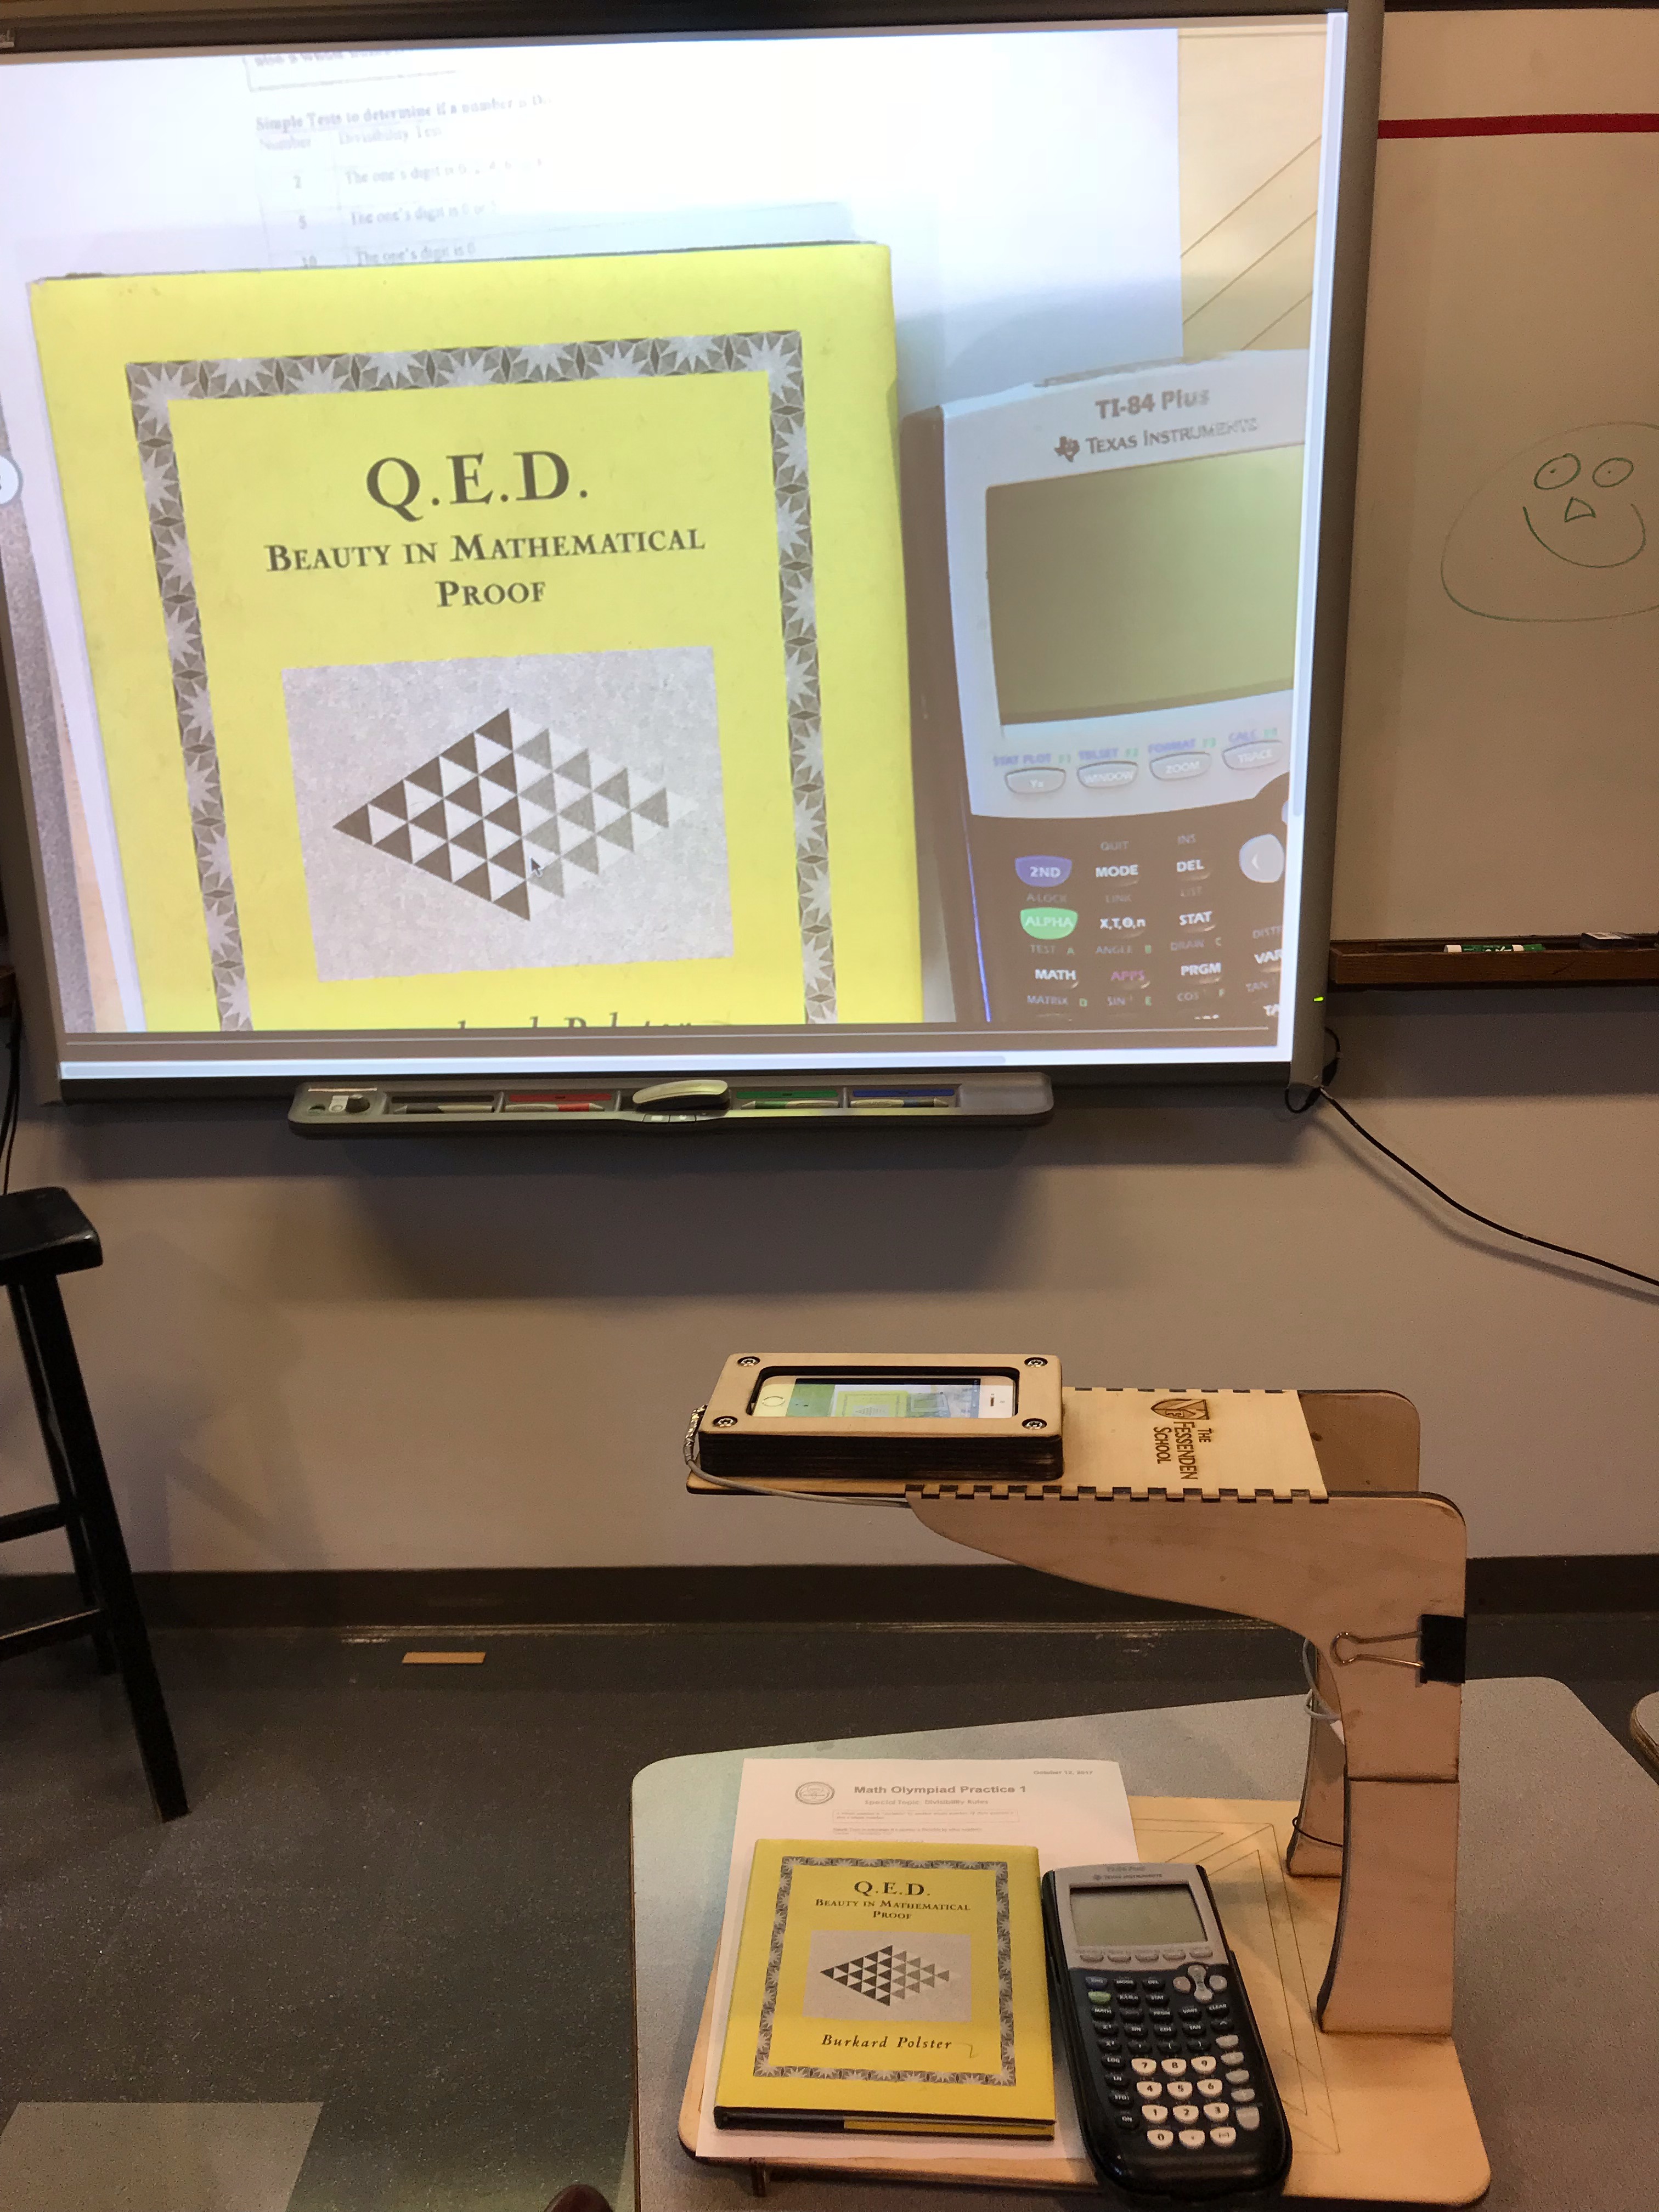
Wireless set up as a document camera.
Earlier Versions
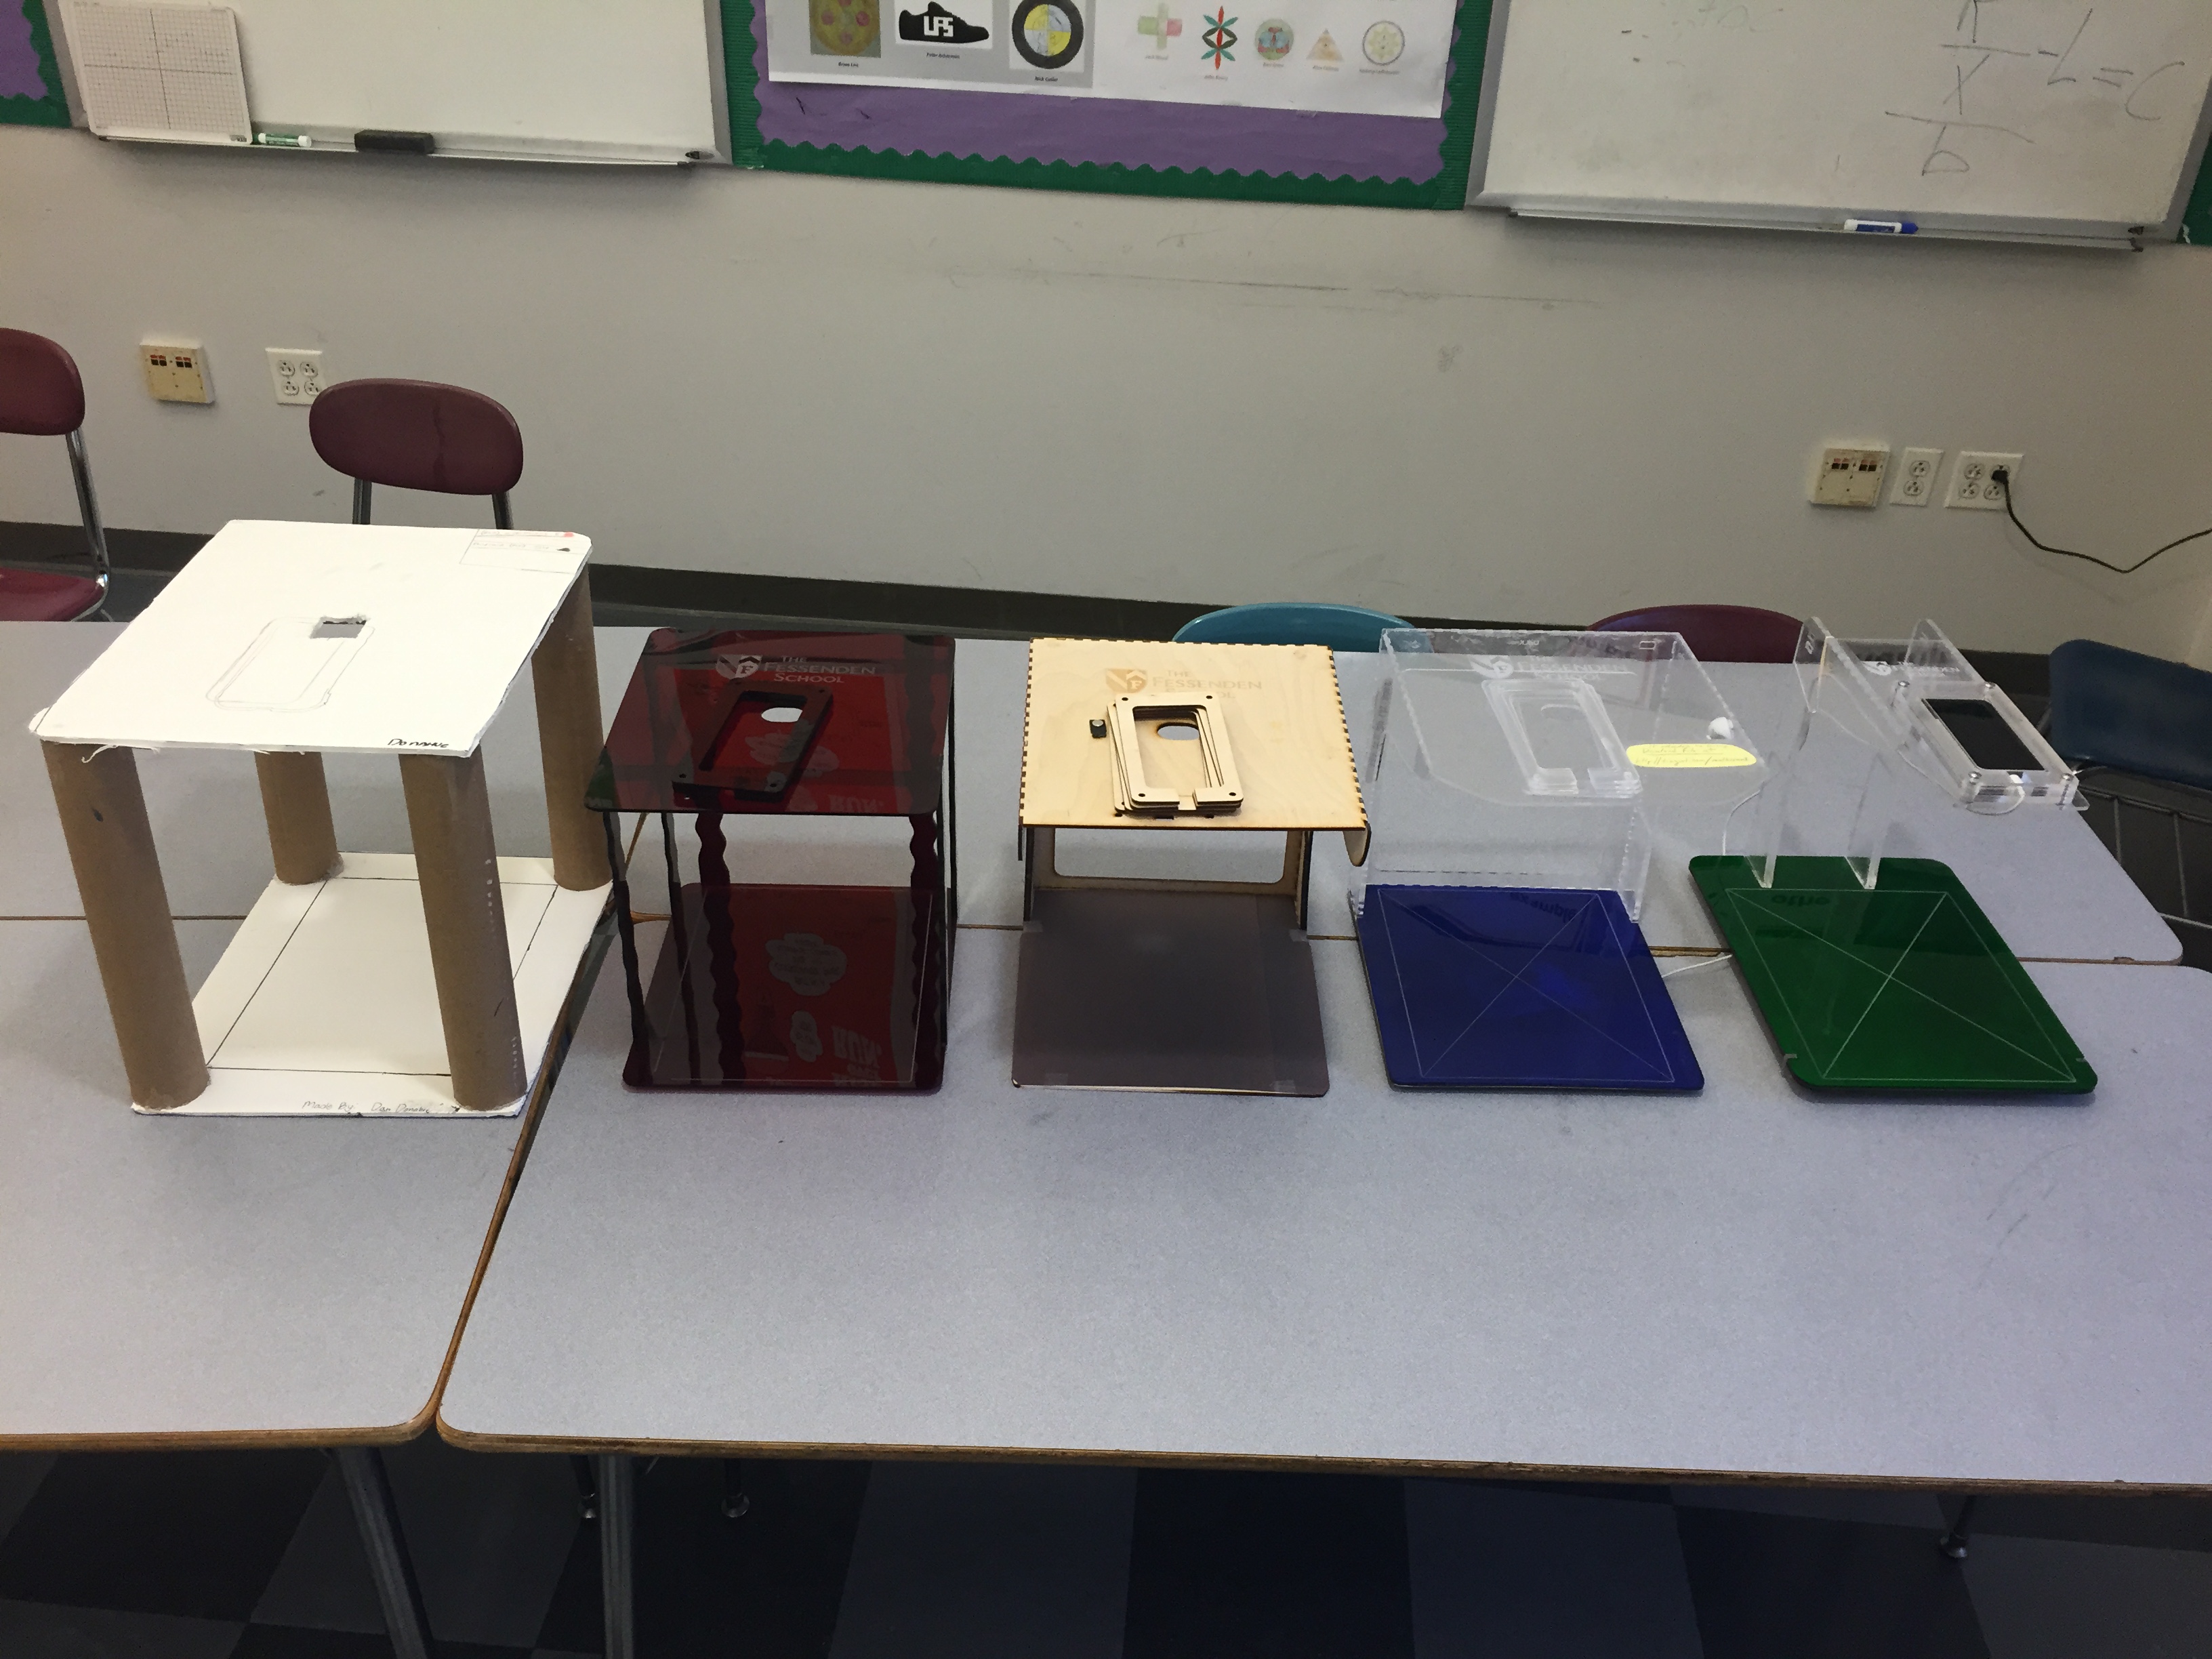
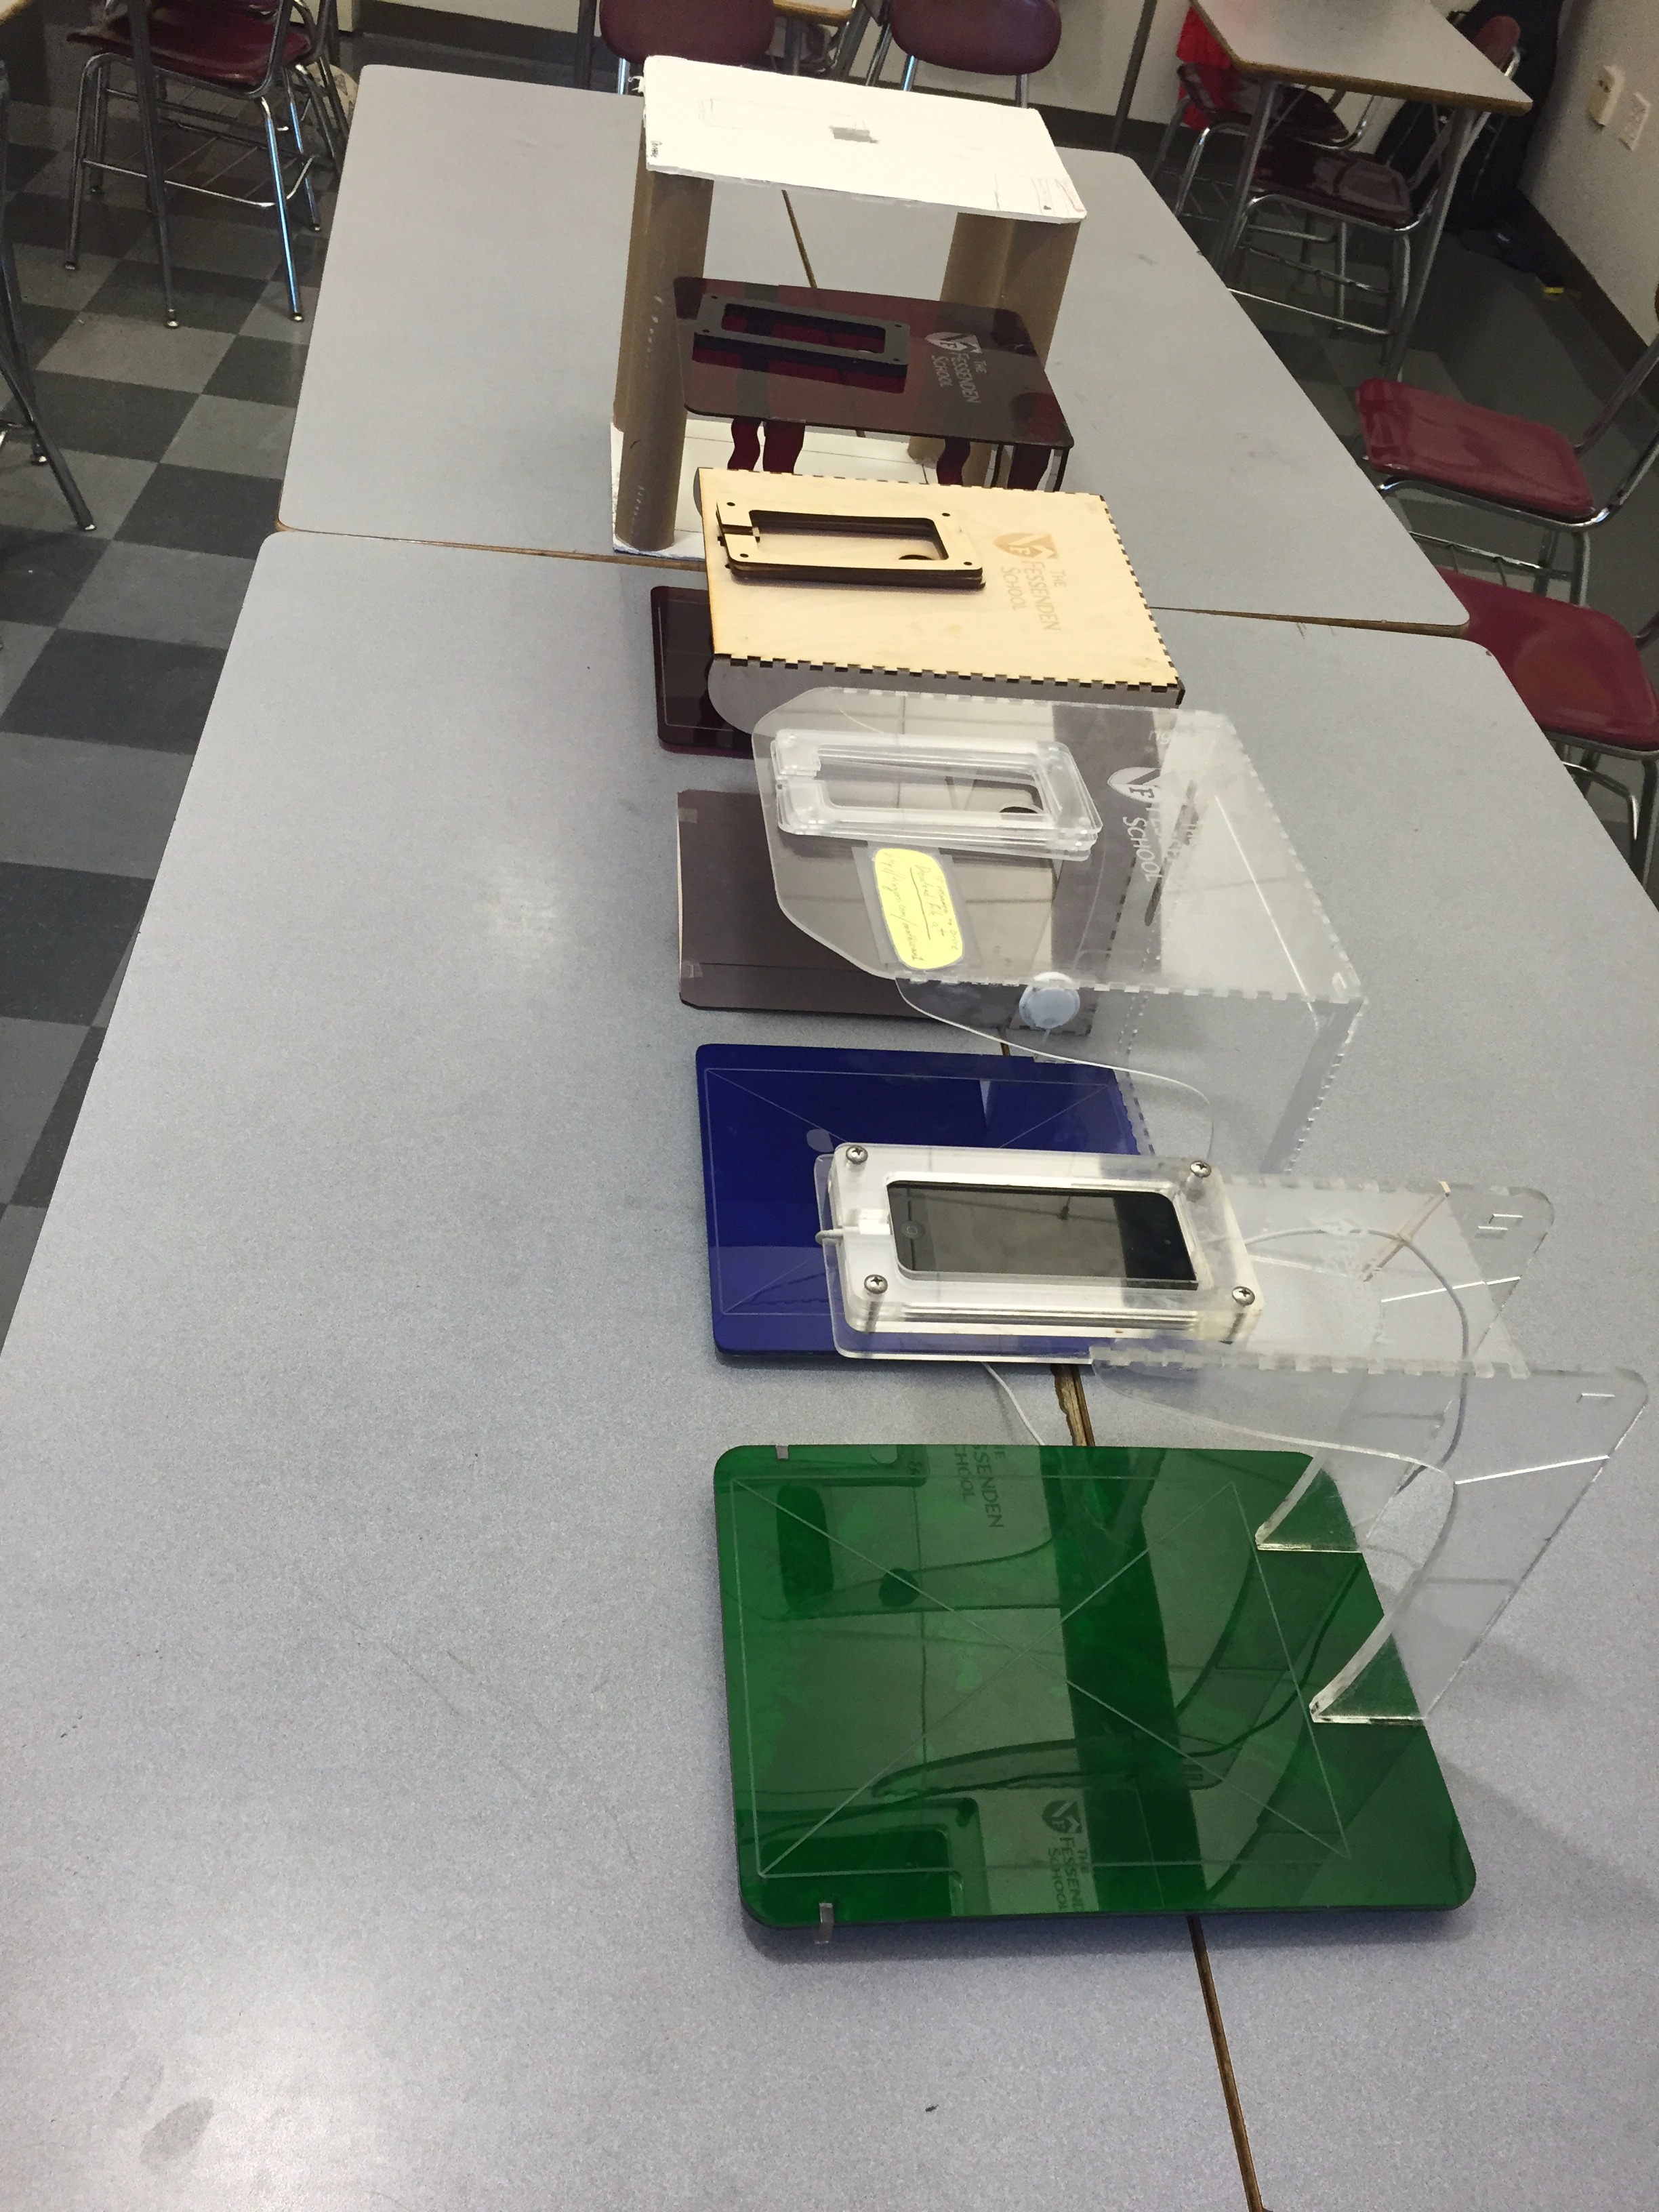
Early versions were in acrylic but I find the material harder to work with and more fragile. It is also more expensive. The plywood version has stood up to student (and teacher) use for about a year and seems pretty indestructible. I will make another plywood version in the next week and add more detailed instructions and photos upon completion.