Dnd TV Display Case

My Guide to building a D&D TV Display Case
Supplies
Equipment Needed:
- Chop Saw
- Drill bits
- Power Drill
- Power Screwdriver
- Pencil, square, tape measure
- Router (optional)
- Socket Wrenches
- 2" wood screws
Material Choices:
- ¾" Wood (No plywood, no treated lumber)
- Bolts (M6, 20mm), Washers
- Handles, Plexiglass, Footpads
- Vizio 40"
- Packing Tape
Choosing the Size of TV

Review the Table you plan to place the case on.
Decide on how much reach you wish for each player to have in order to determine the size of the TV.
In my personal build I choose 40" since it allowed the DM to full reach of the Screen with enough room for a laptop as well.
Measuring the TV

After reviewing the size of the TV, purchase a TV upon reviewing the display port locations, and outer rim size.
Measure the TV dimensions (Depth, Width, Height, Screen Depth, Screen Width, Screen drop) to get an idea of material needs.
Gather Supplies
(Copied)Materials:
- ¾" Wood (No plywood, no treated lumber)
- Bolts (M6, 20mm), Washers
- Handles, Plexiglass, Footpads
- Vizio 40"
- Packing Tape
The wood thickness can be changed by how much room you would like to provide the players. I decided to go with 3/4" wood since it reduced the foot print needed for the case to allow players more room for their items.
The choice of wood should complement the build, I decided to go away from Plywood due to the screwing in the sides I was worried it would crack. I avoided treated lumber since I wanted to avoid any long term chemical reactions.
I Ended up going with Premium Pine since it has a nice look and was the size I was looking for and removed the need for cutting boards to the design 3 1/2" height.
The other items on the list need less thought, The bolts should be determined base on the TV specific's. (Don't forget to add the thickness of the board you get to the depth of hole on TV)
Handles Just need to had the correct weight limit, and bracket not to exceed the size of the height of boards. I choose to have 3 1/2" high boards and thus my bracket was also 3 1/2" high. I wanted the handles to swing down to prevent any awkwardness of taking up player space.
Plexiglass just needs to have a thickness that suits the depth of the screen on the TV, and the size needs to be larger than the opening.
Foot pads, need to be large enough to allow the cord to slide between the case and the table. Measure you chord thickness and choose a footpad of a appropriate height.
The packing tape only needs secure the plexiglass, to the outer edge of TV. Measure the edge thickness how far you want the tape to be on the plexiglass and pick a tape to thickness to suite that.
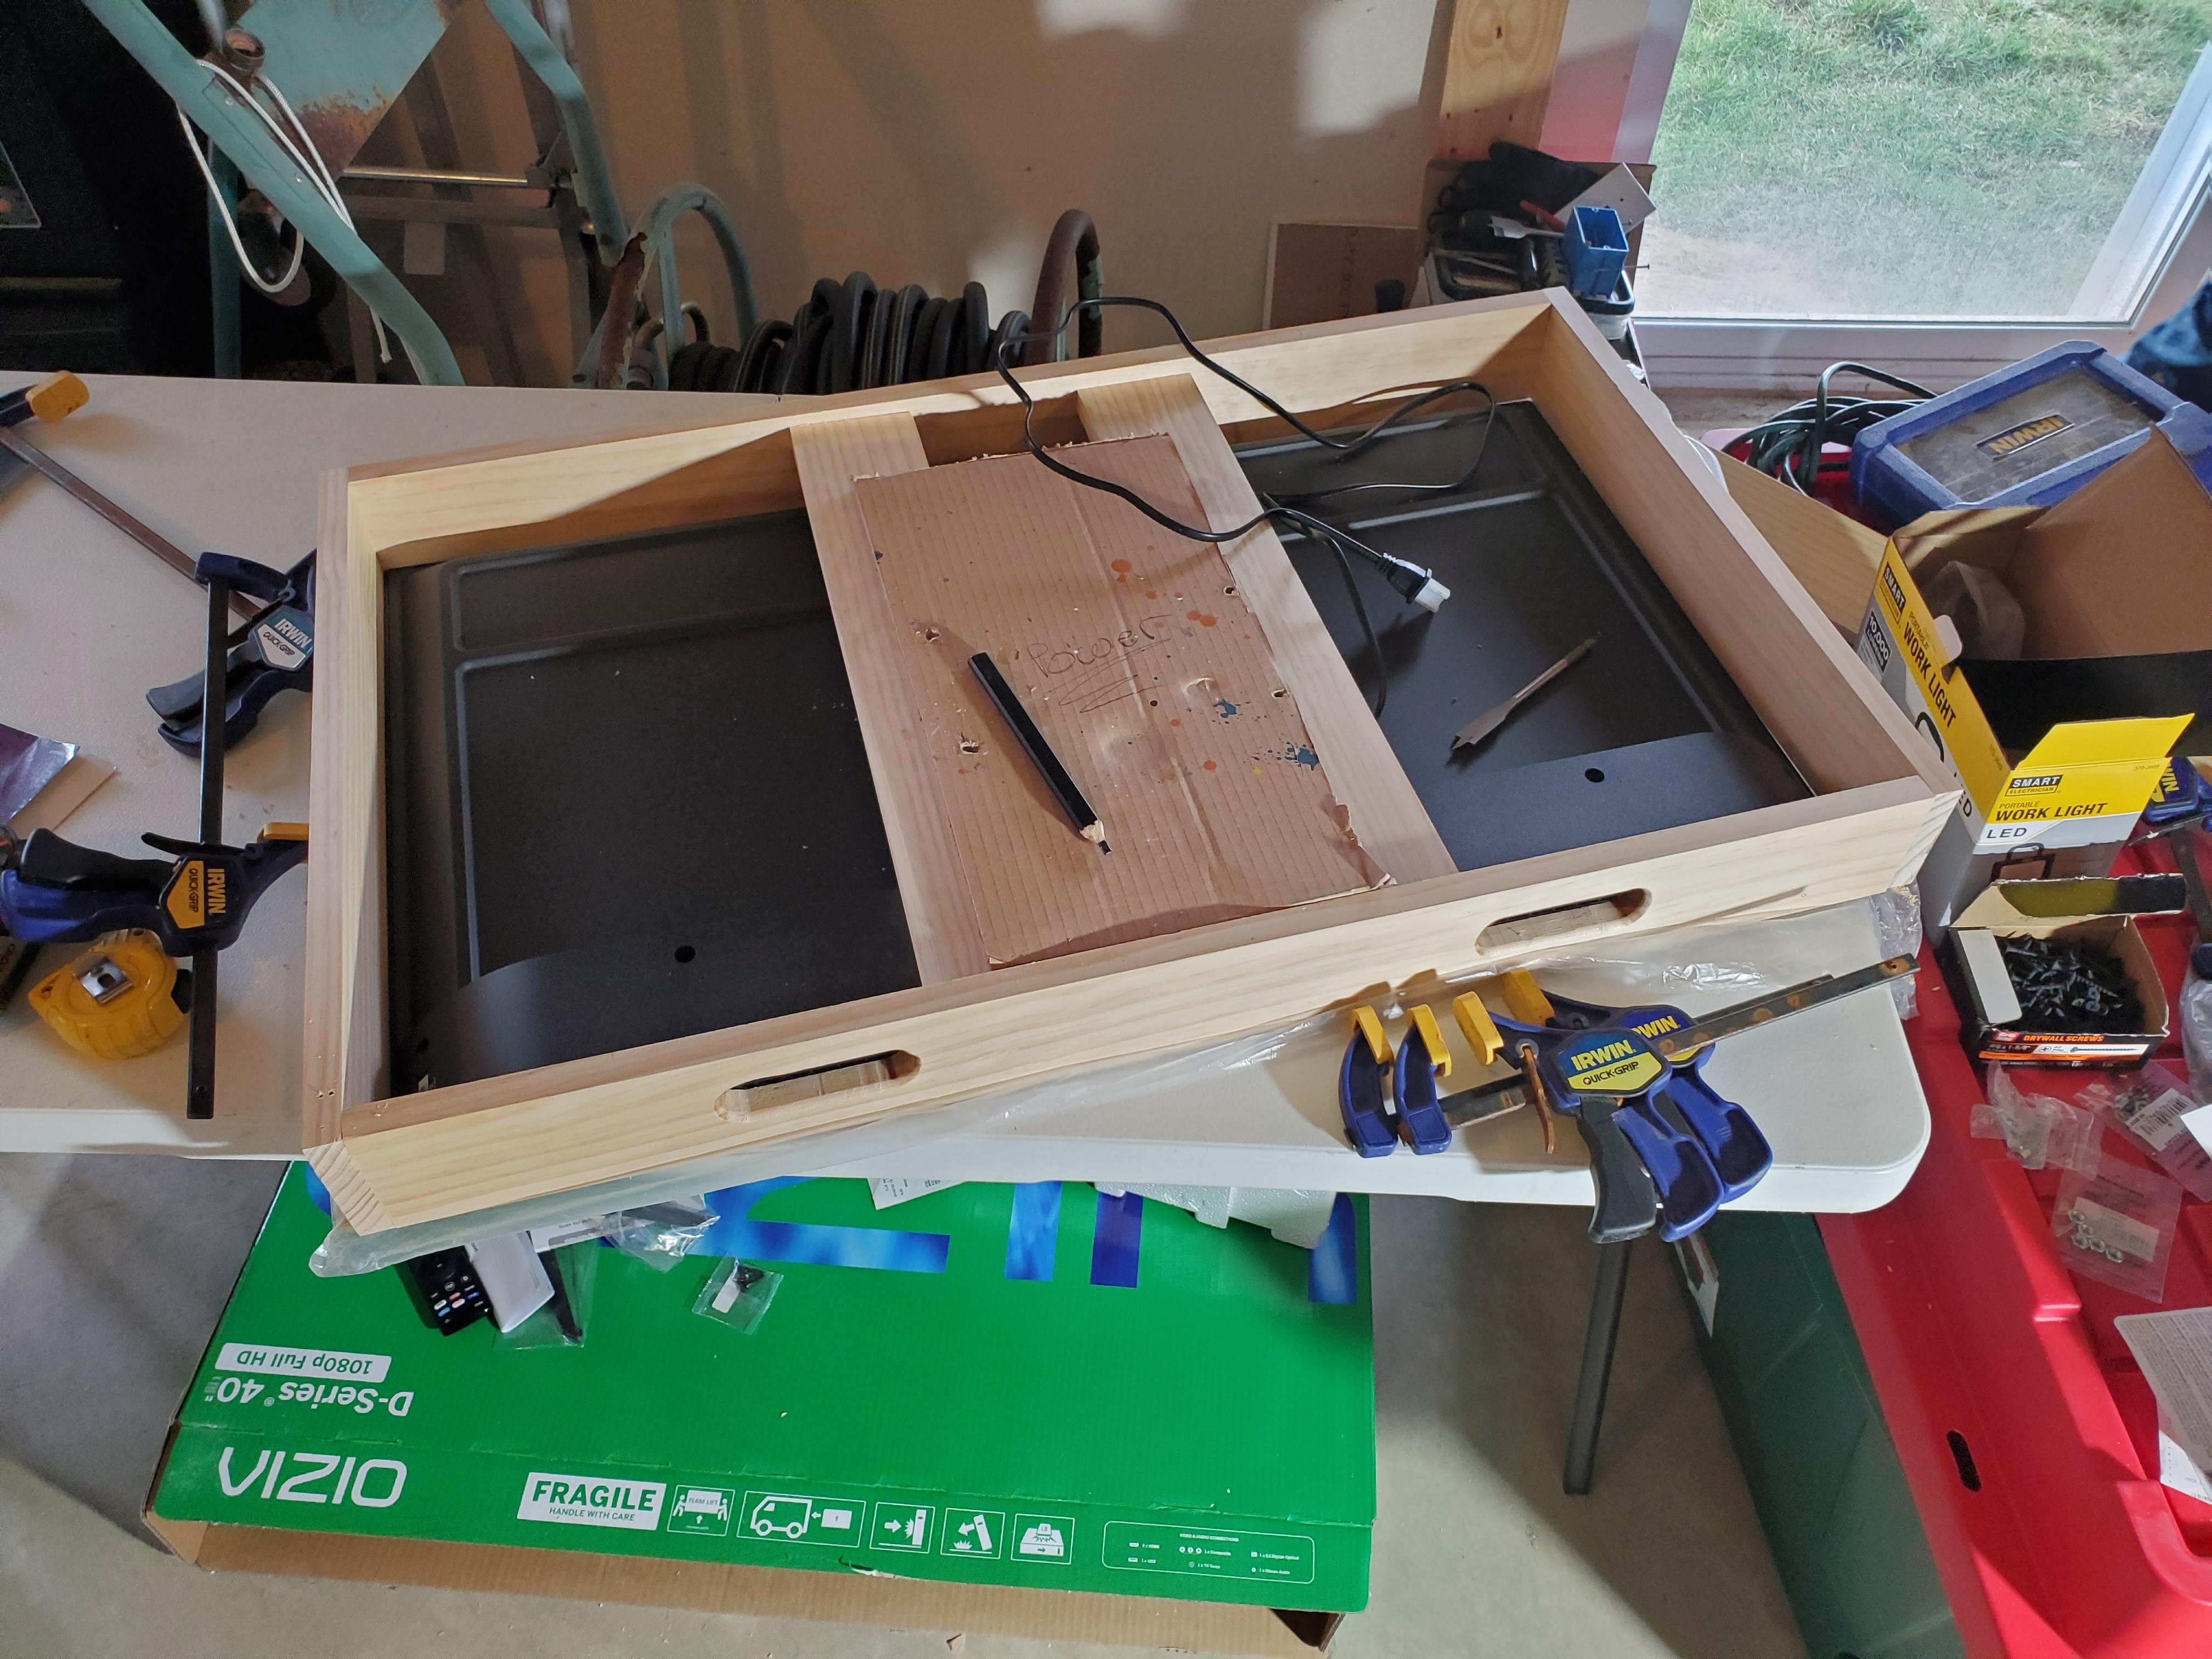
Create the Outer Frame

Keep any protective tape on the TV while creating forming the outer case.
The first step is to cut the boards to go around the case. I decided to make the boards long on the shorter edge of the TV. I learned it would have been better to choose to make the long edge of the TV the longer piece since you can use the screws to try and fix any twists in the boards.
After boards have been cut confirm if you need to make cuts for the speakers. At this point cut opening for speakers if need.
Drill each board to each other on a flat surface. I recommend using pilot holes and 2" wood screws.
Some TV's might require holes or cuts for access to chords, power buttons, or receiver. This will be depending on the TV of choice. I had to drill a hole to access the power button, however the remote could work as well.
Back Braces
.jpg)
Locate the holes for mounting and use a piece or paper or card board to use as a stencil to drill holes in board.
Place the boards in the location you wish them to be and use the stencil to mark the locations for drilling.
If your bolts are not long enough drill a counter bore to make up for the distance leaving enough room to not exceed the bolt TV depth.
Drill one one counterbore at a time with a through hole. Mount the board to confirm the location of the holes and if needed use a drill bit to create slight slotted holes to help with bolts going in correctly.
Repeat these process until all bolts have been secured.
Use a measuring tape to confirm the location. Use pilots holes to and wood screws to secure the back braces in place.
Put the Feet On

Putting the feet on requires locate the position of the feet and making sure the nails don't eat any screws.
Plot out the points, drill holes, and nail in feet.
Put on the Handles

I decided to go with Two handles due to the weight, after the build I realized the case was far lighter than expected to I would go with one in the future on a 40" TV. If you weight the TV and the current case you can decide to go with two handles or one.
While the TV is flat in its case with the foot pads on locate the handle location(s) and begin pilot holes for the handles.
After the pilot holes begin securing the handles with the provided screws. (make sure the screws don't hit the TV on the other side)

The last step is to place the plexiglass on the TV. I got the plexiglass pre-cut at the location of purchase. The plexiglass was cut to the size of the screen for easy installation. If you do not have the option for precutting you will need to score the plexiglass and then break it.
After removing any protective layers place, clean the glass and plexiglass with a Micro cloth.
Place the plexiglass on the TV and secure it one side at a time with the packing tape.