DIY Computer Stand

Hello! This instructable is about making a computer stand out of the wood that you have in your home or even your bunk bed like me! Follow these steps and you'll be successful in making a computer stand so you don't have to buy one! Let's begin.
Supplies
Materals: wood ( one of the sides and one of the legs ), wood glue, sand paper
Tools: Saw, sharpie, pencil, ruler
Gather Materials/ Tools

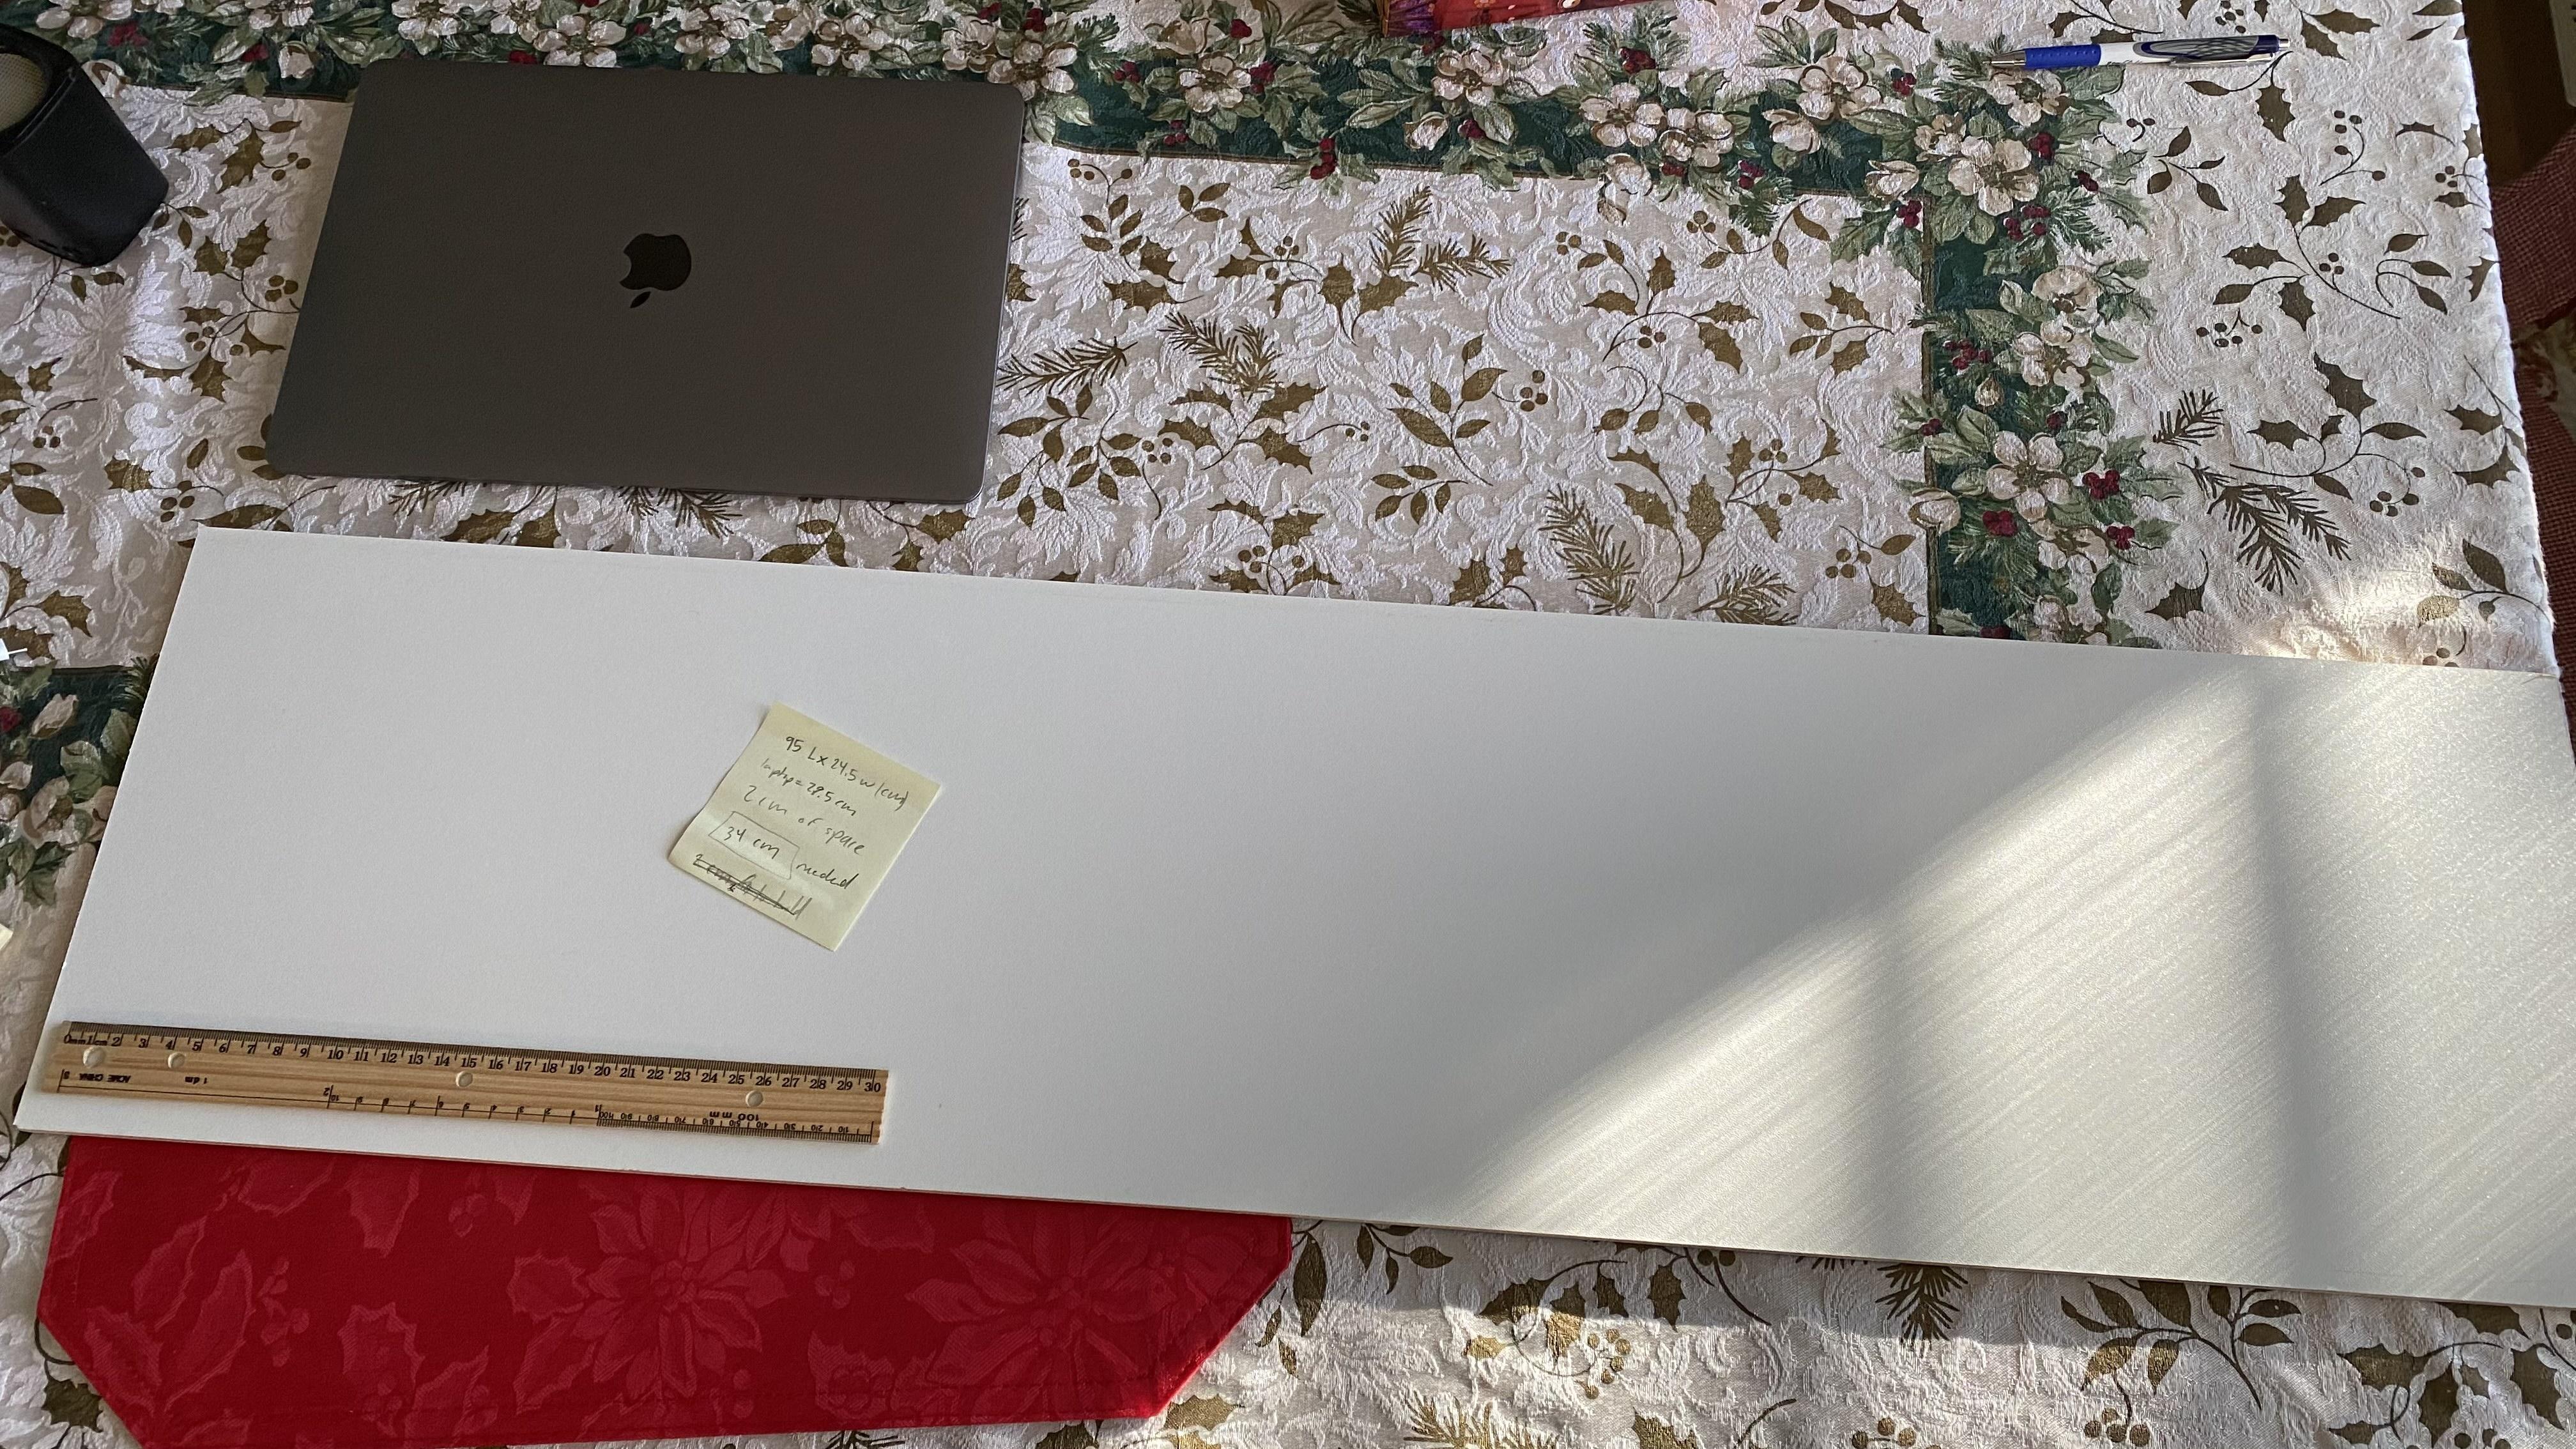
For the surface where you put your laptop on, make sure that the wood board is at least 25 cm wide. For the length of the broad make sure that it's longer than 36 cm as we'll need that much wood. As for the legs of the computer stand, make sure that the one leg you have is longer than 24.5 cm wide and at least 80 cm long. If you don't have wood glue handy, make sure to buy some ( I got my glue at dollar store ). Gather all the other important materials as we'll be using them in the other steps.
Measure the Little Board
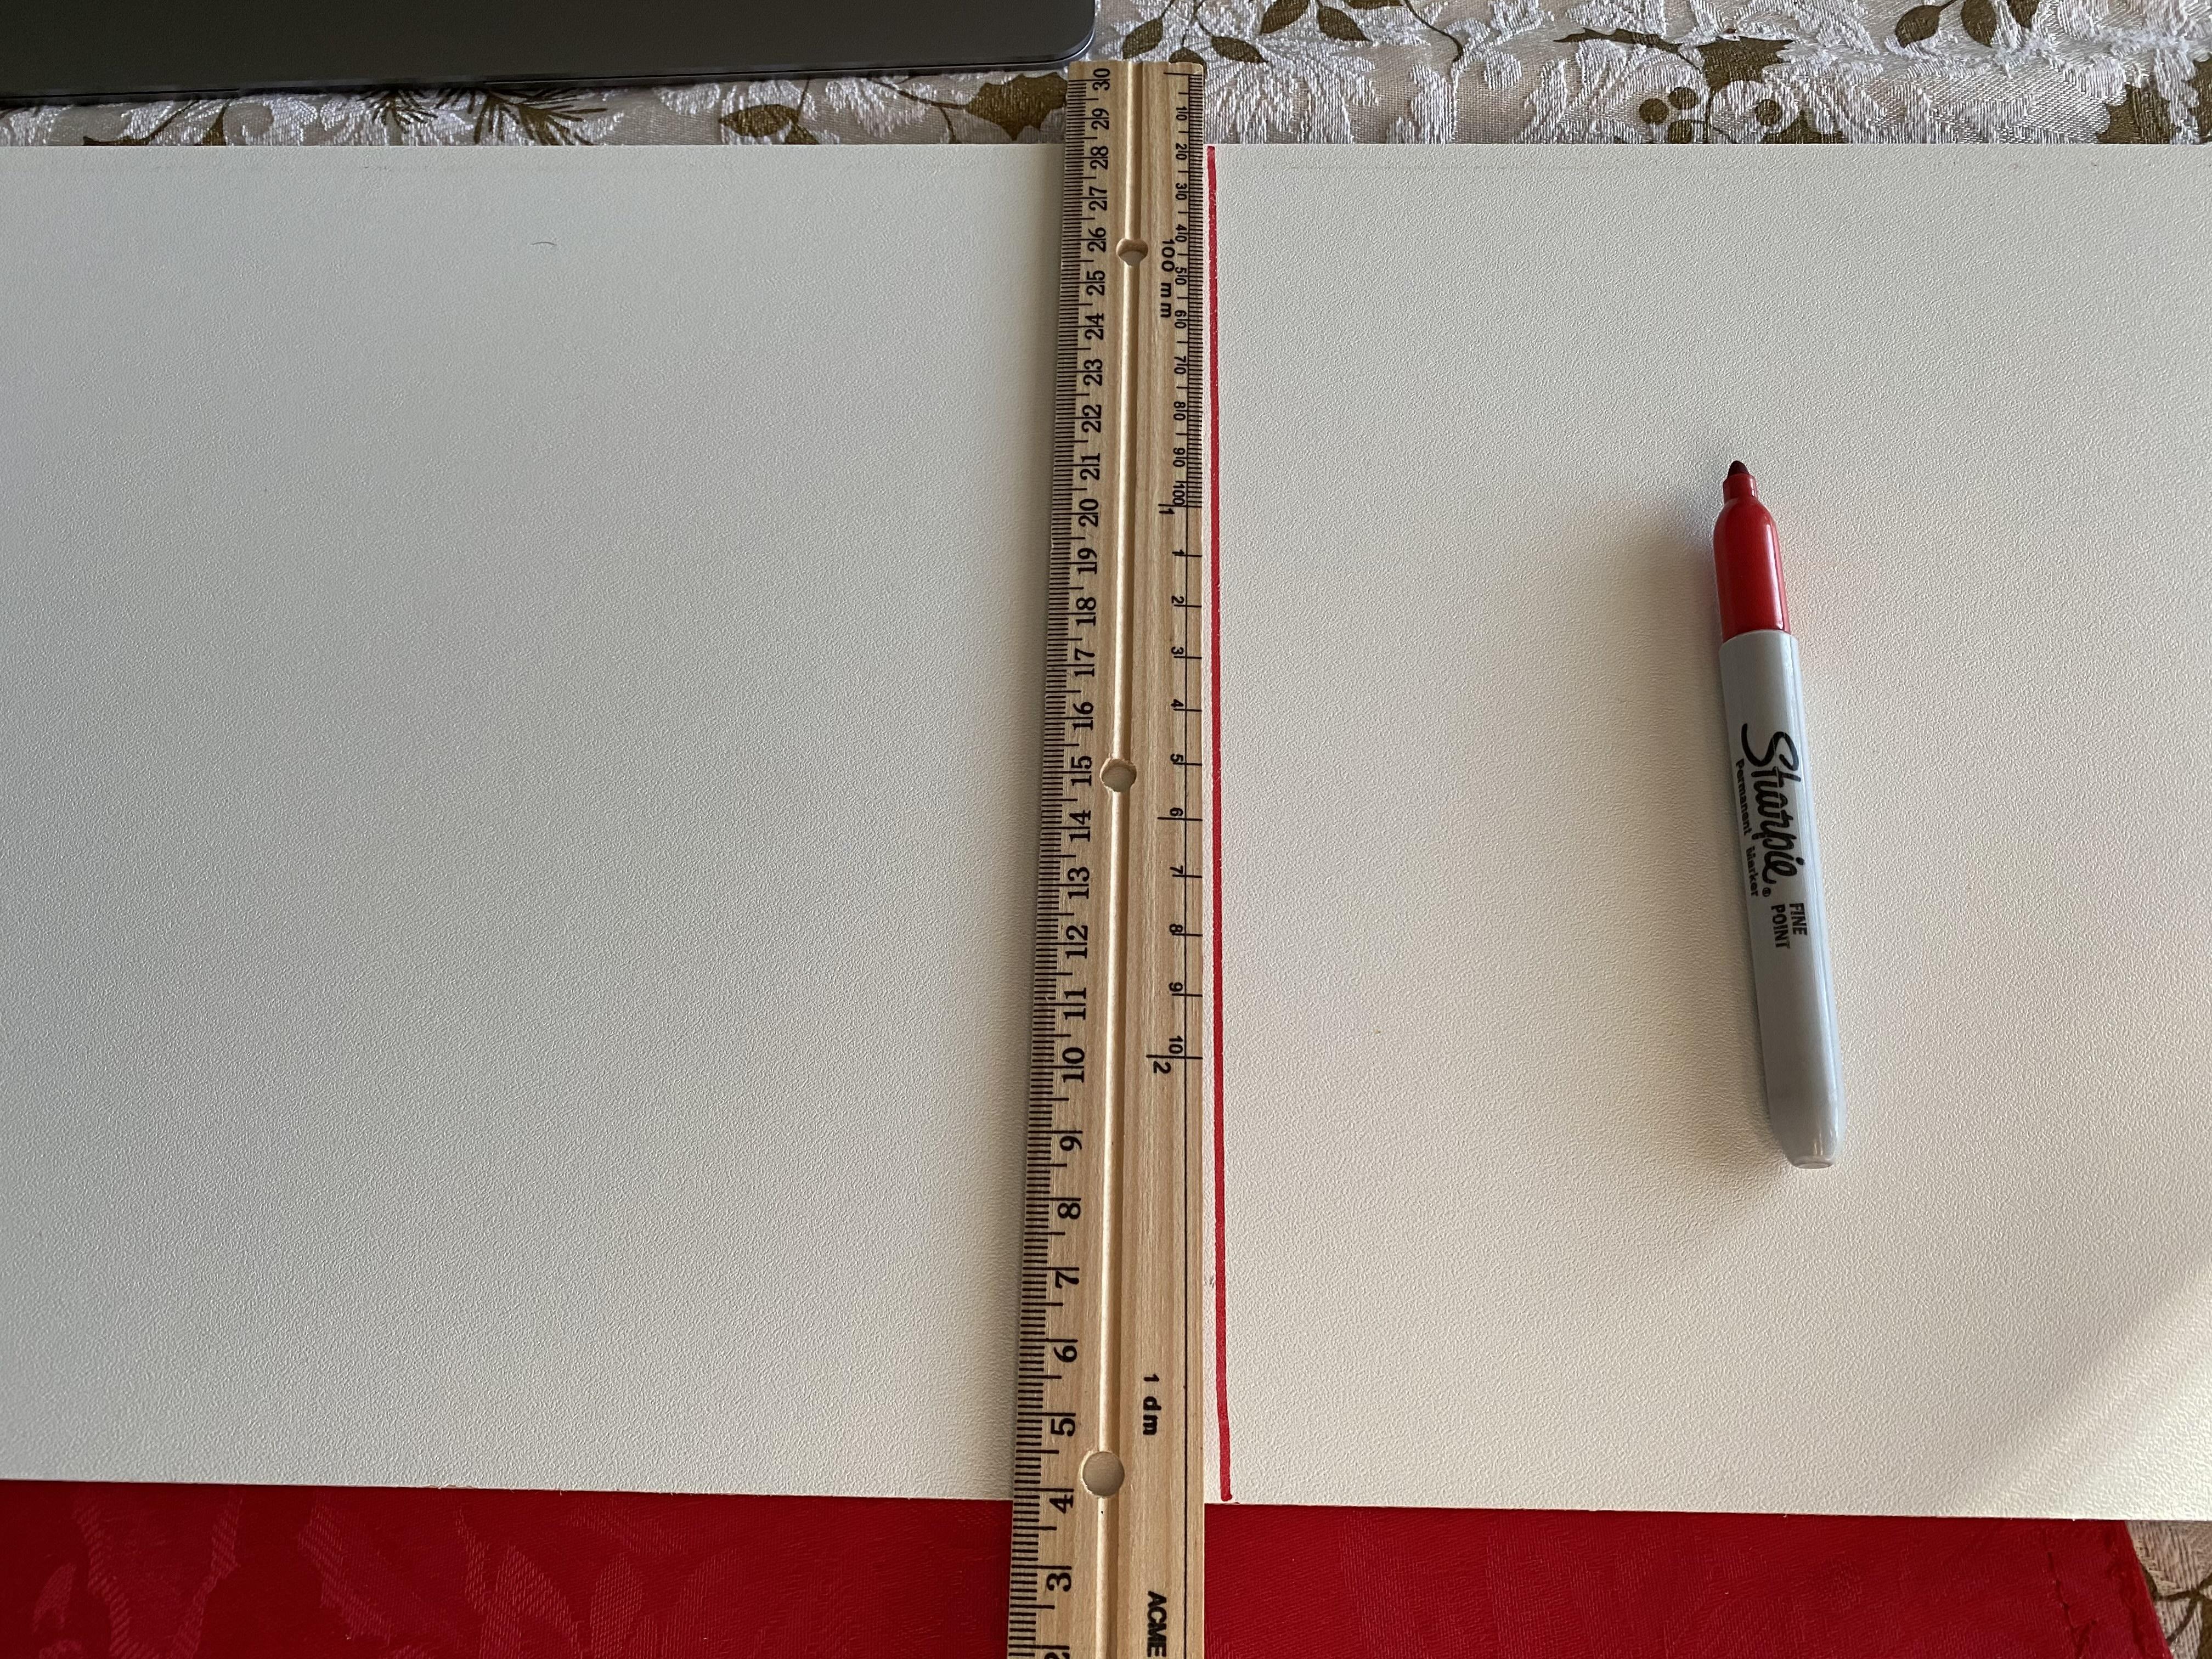


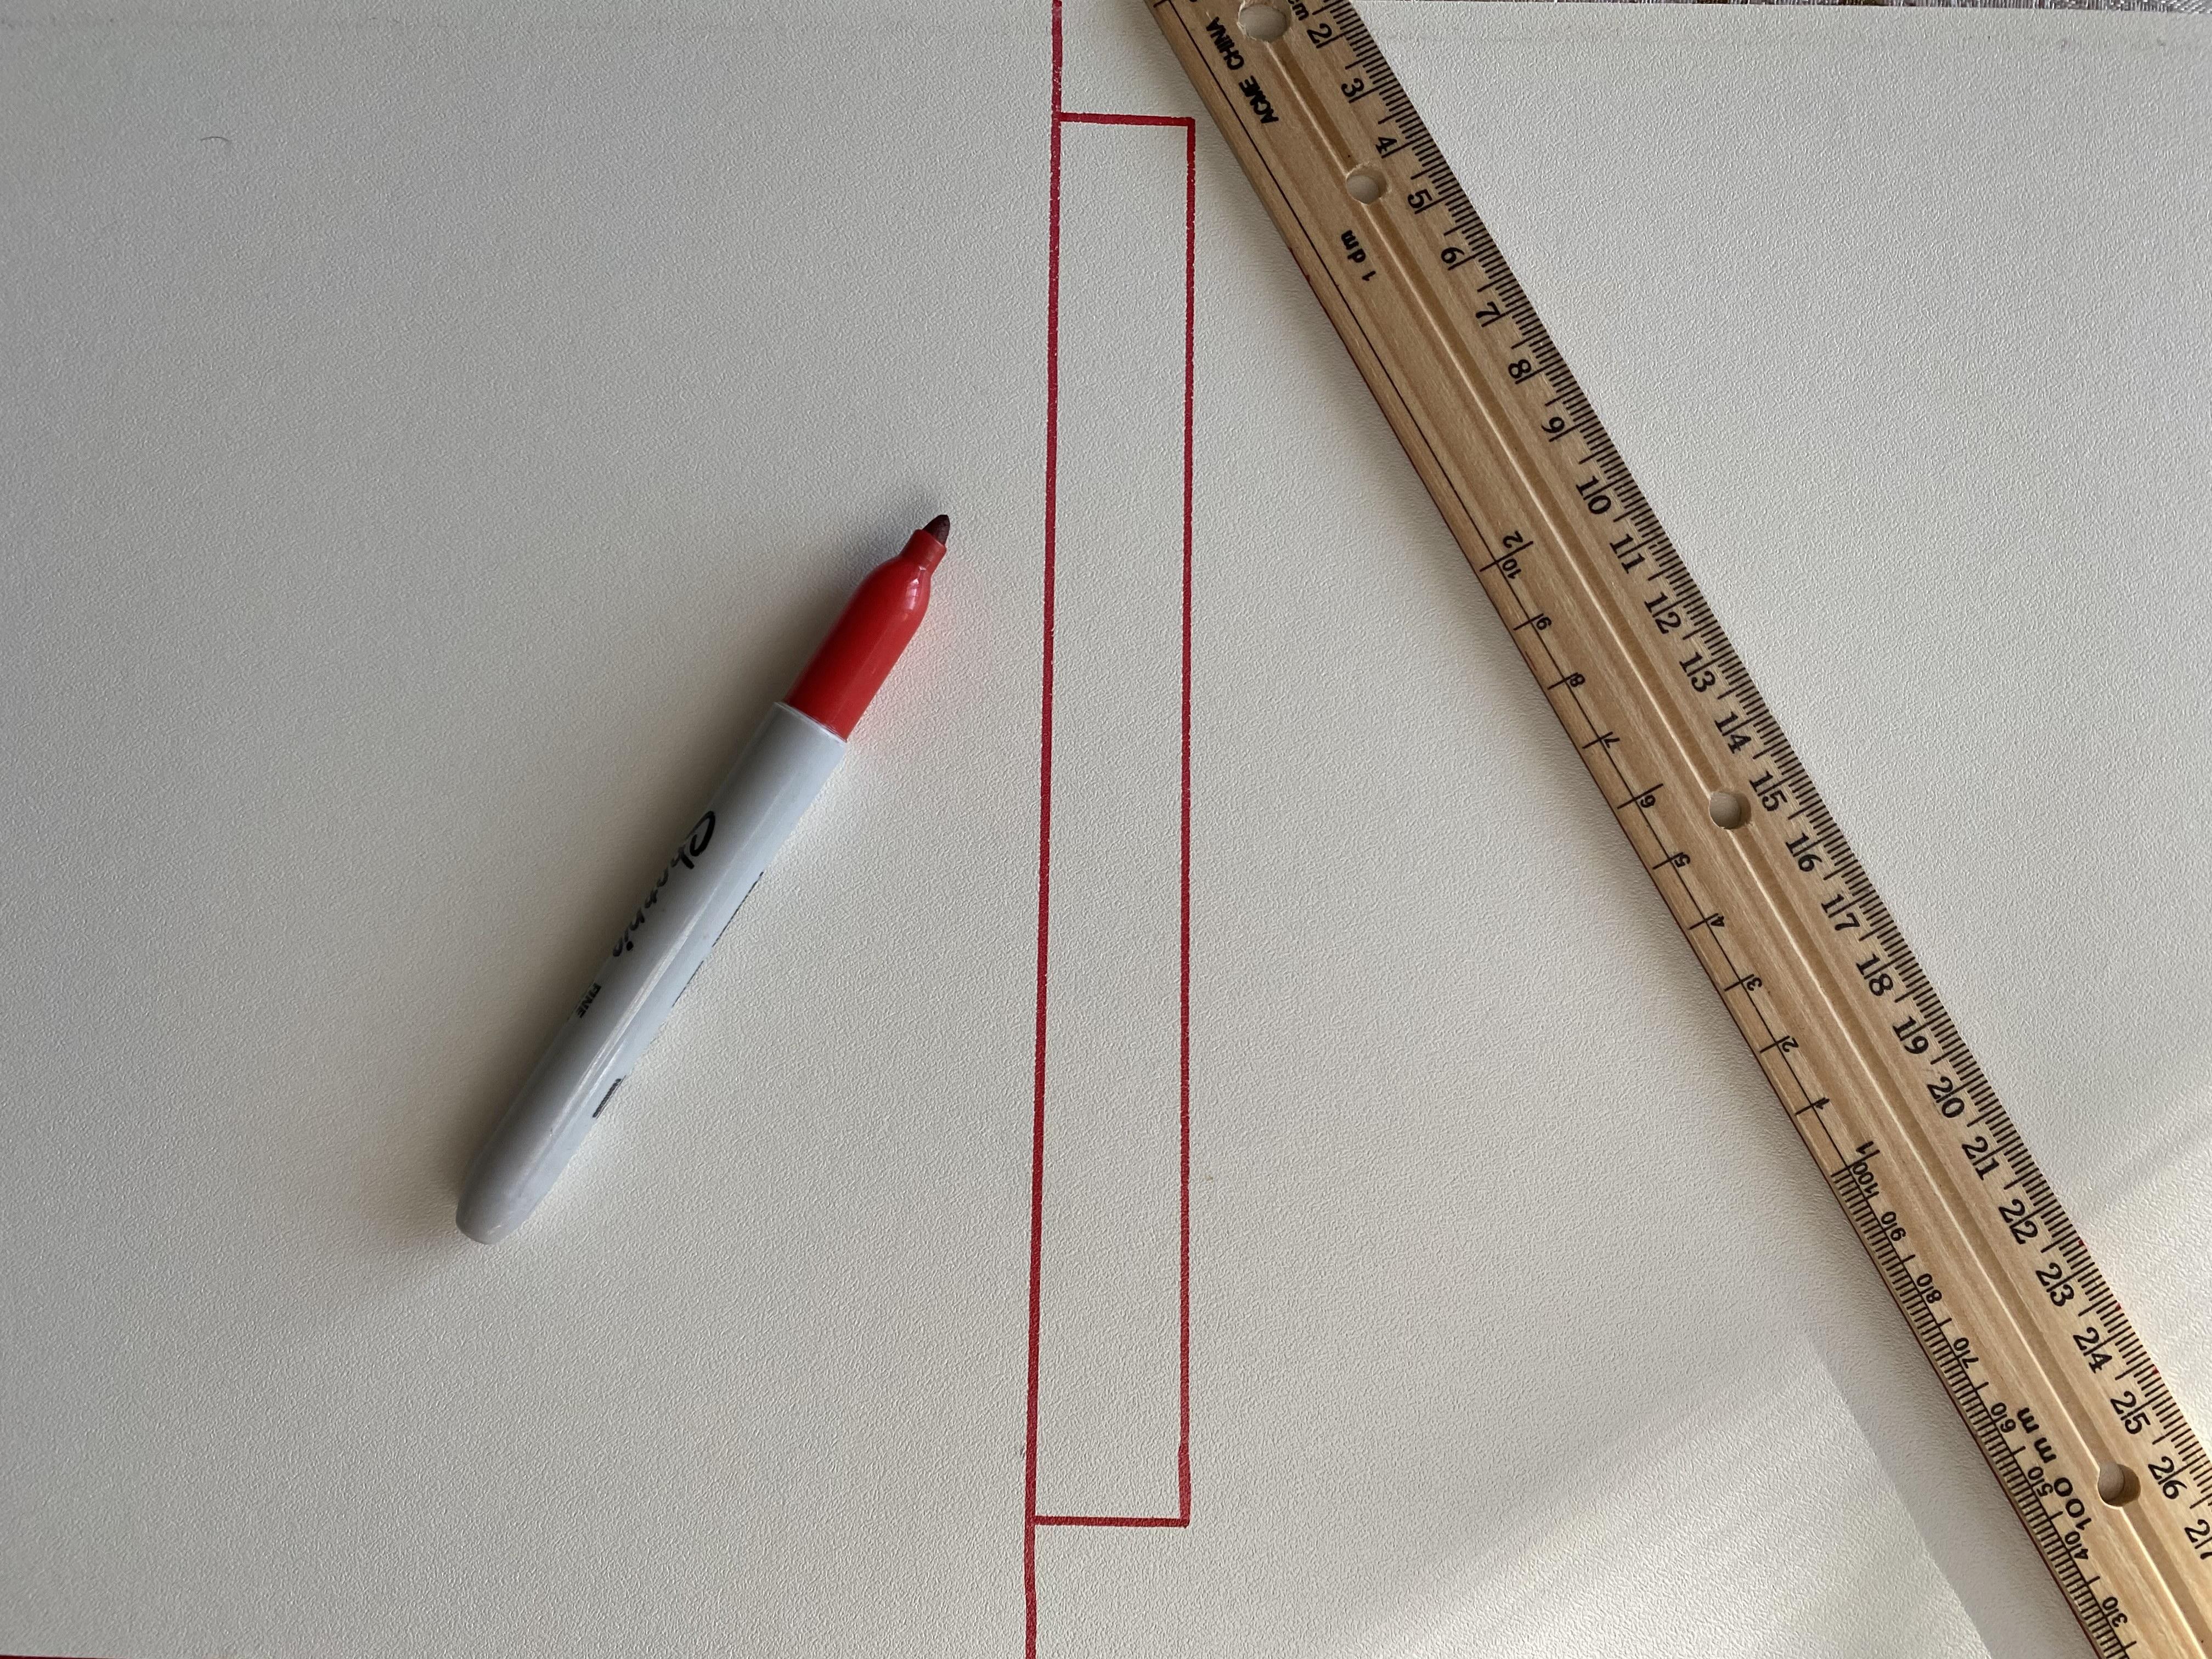
If you're board isn't exactly 34 cm in length, measure that with a ruler. Draw a line to mark that spot so later you can cut it. Since the computer stand will be on a stant, we need something to hold the computer from sliding off. Using a ruler, grab your sharpie and draw a straight line across. For the width, measure 5 cm AWAY from the edge on both sides. Mark that spot with a little dot. When you're done, draw a line to connect both sides.
Mark Your "legs"
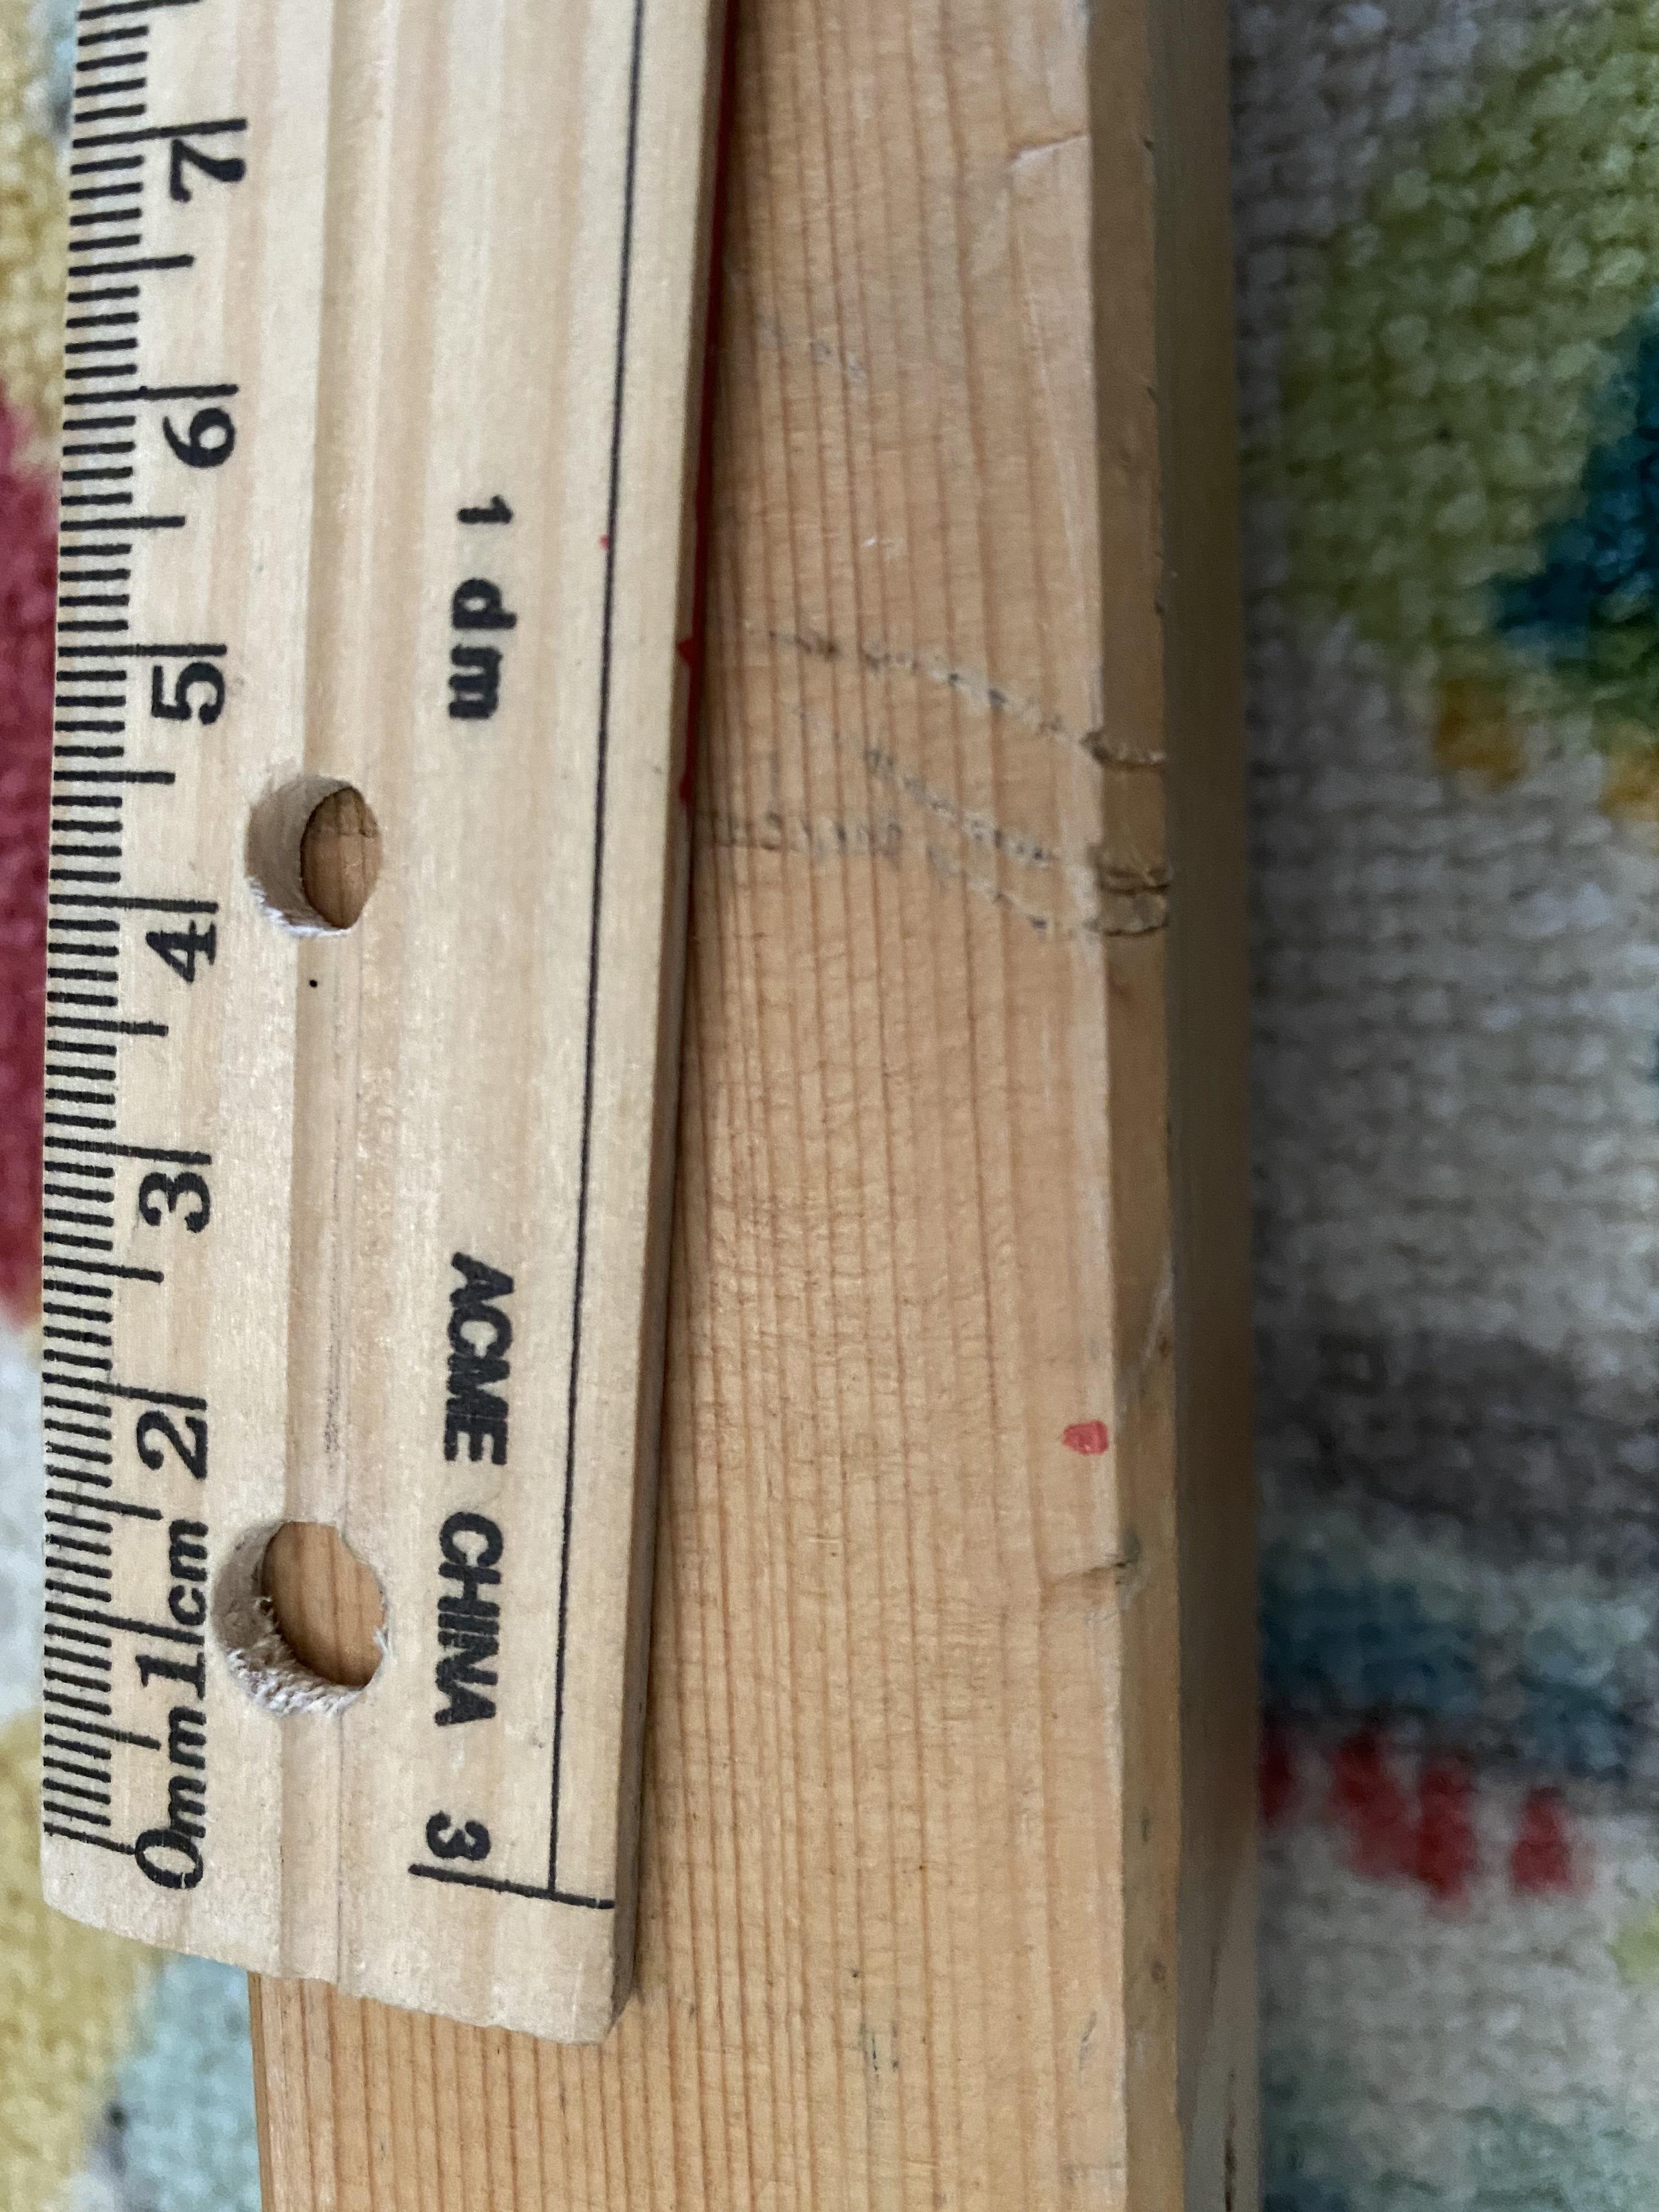
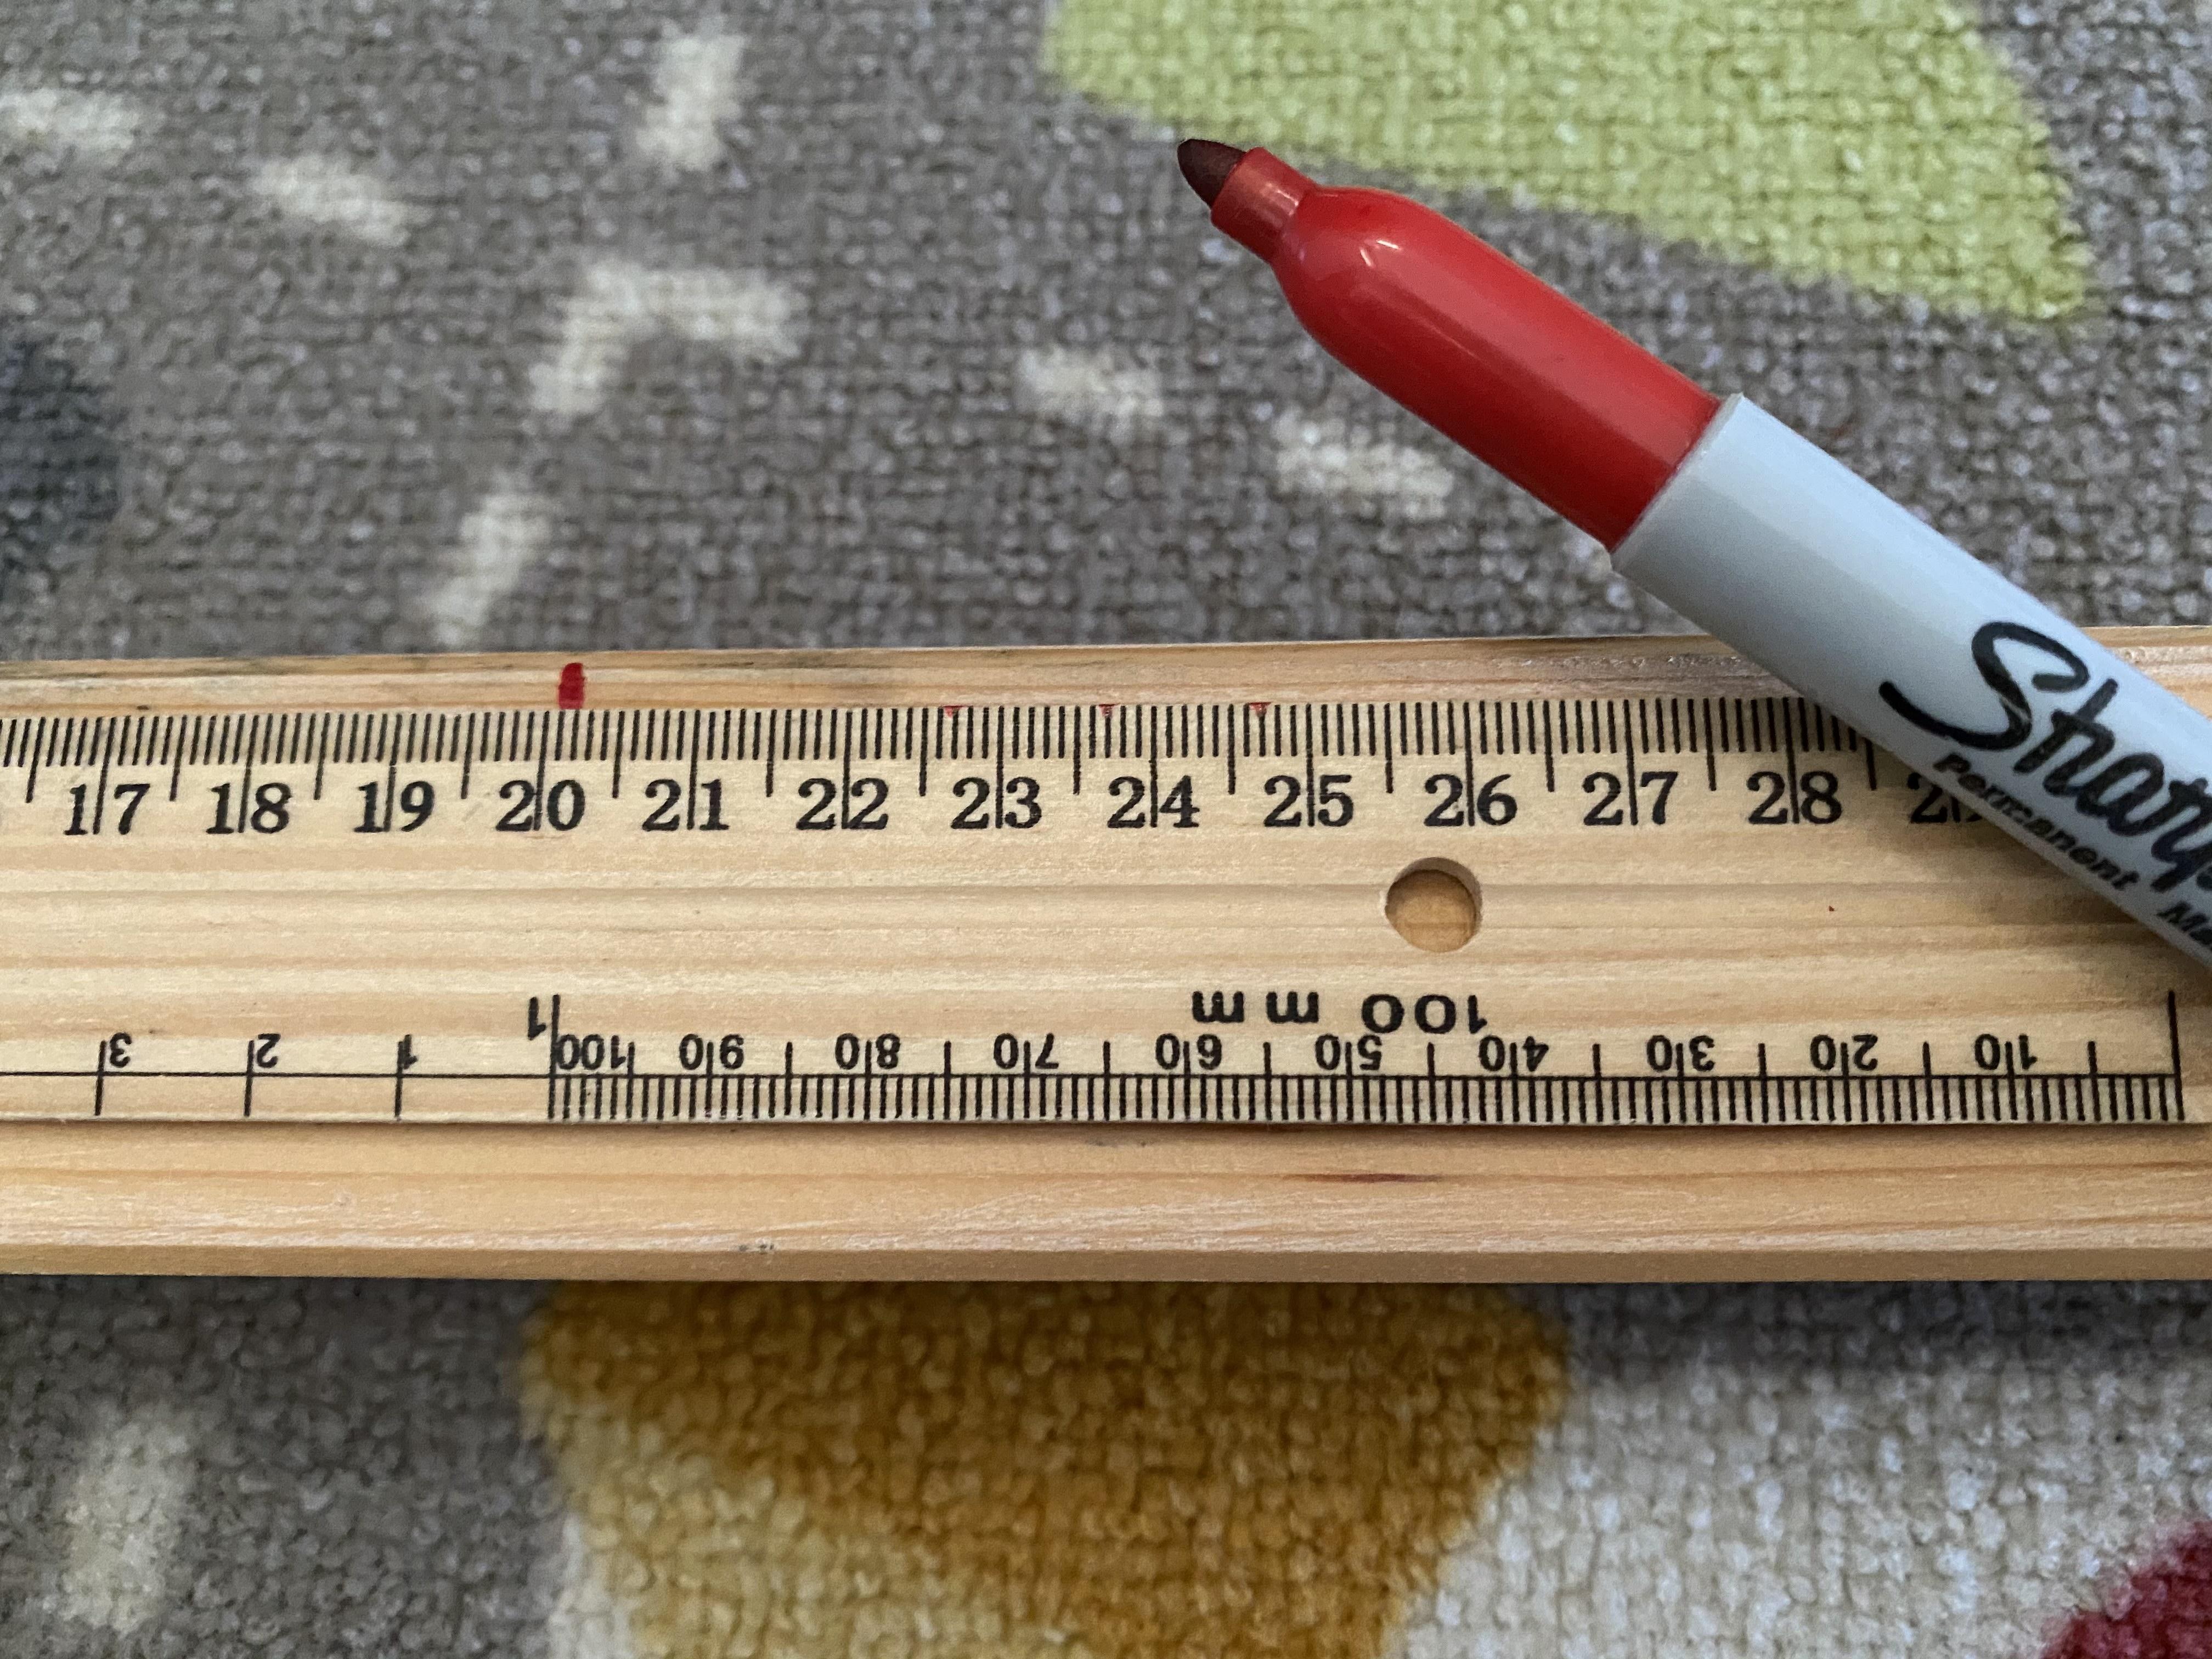
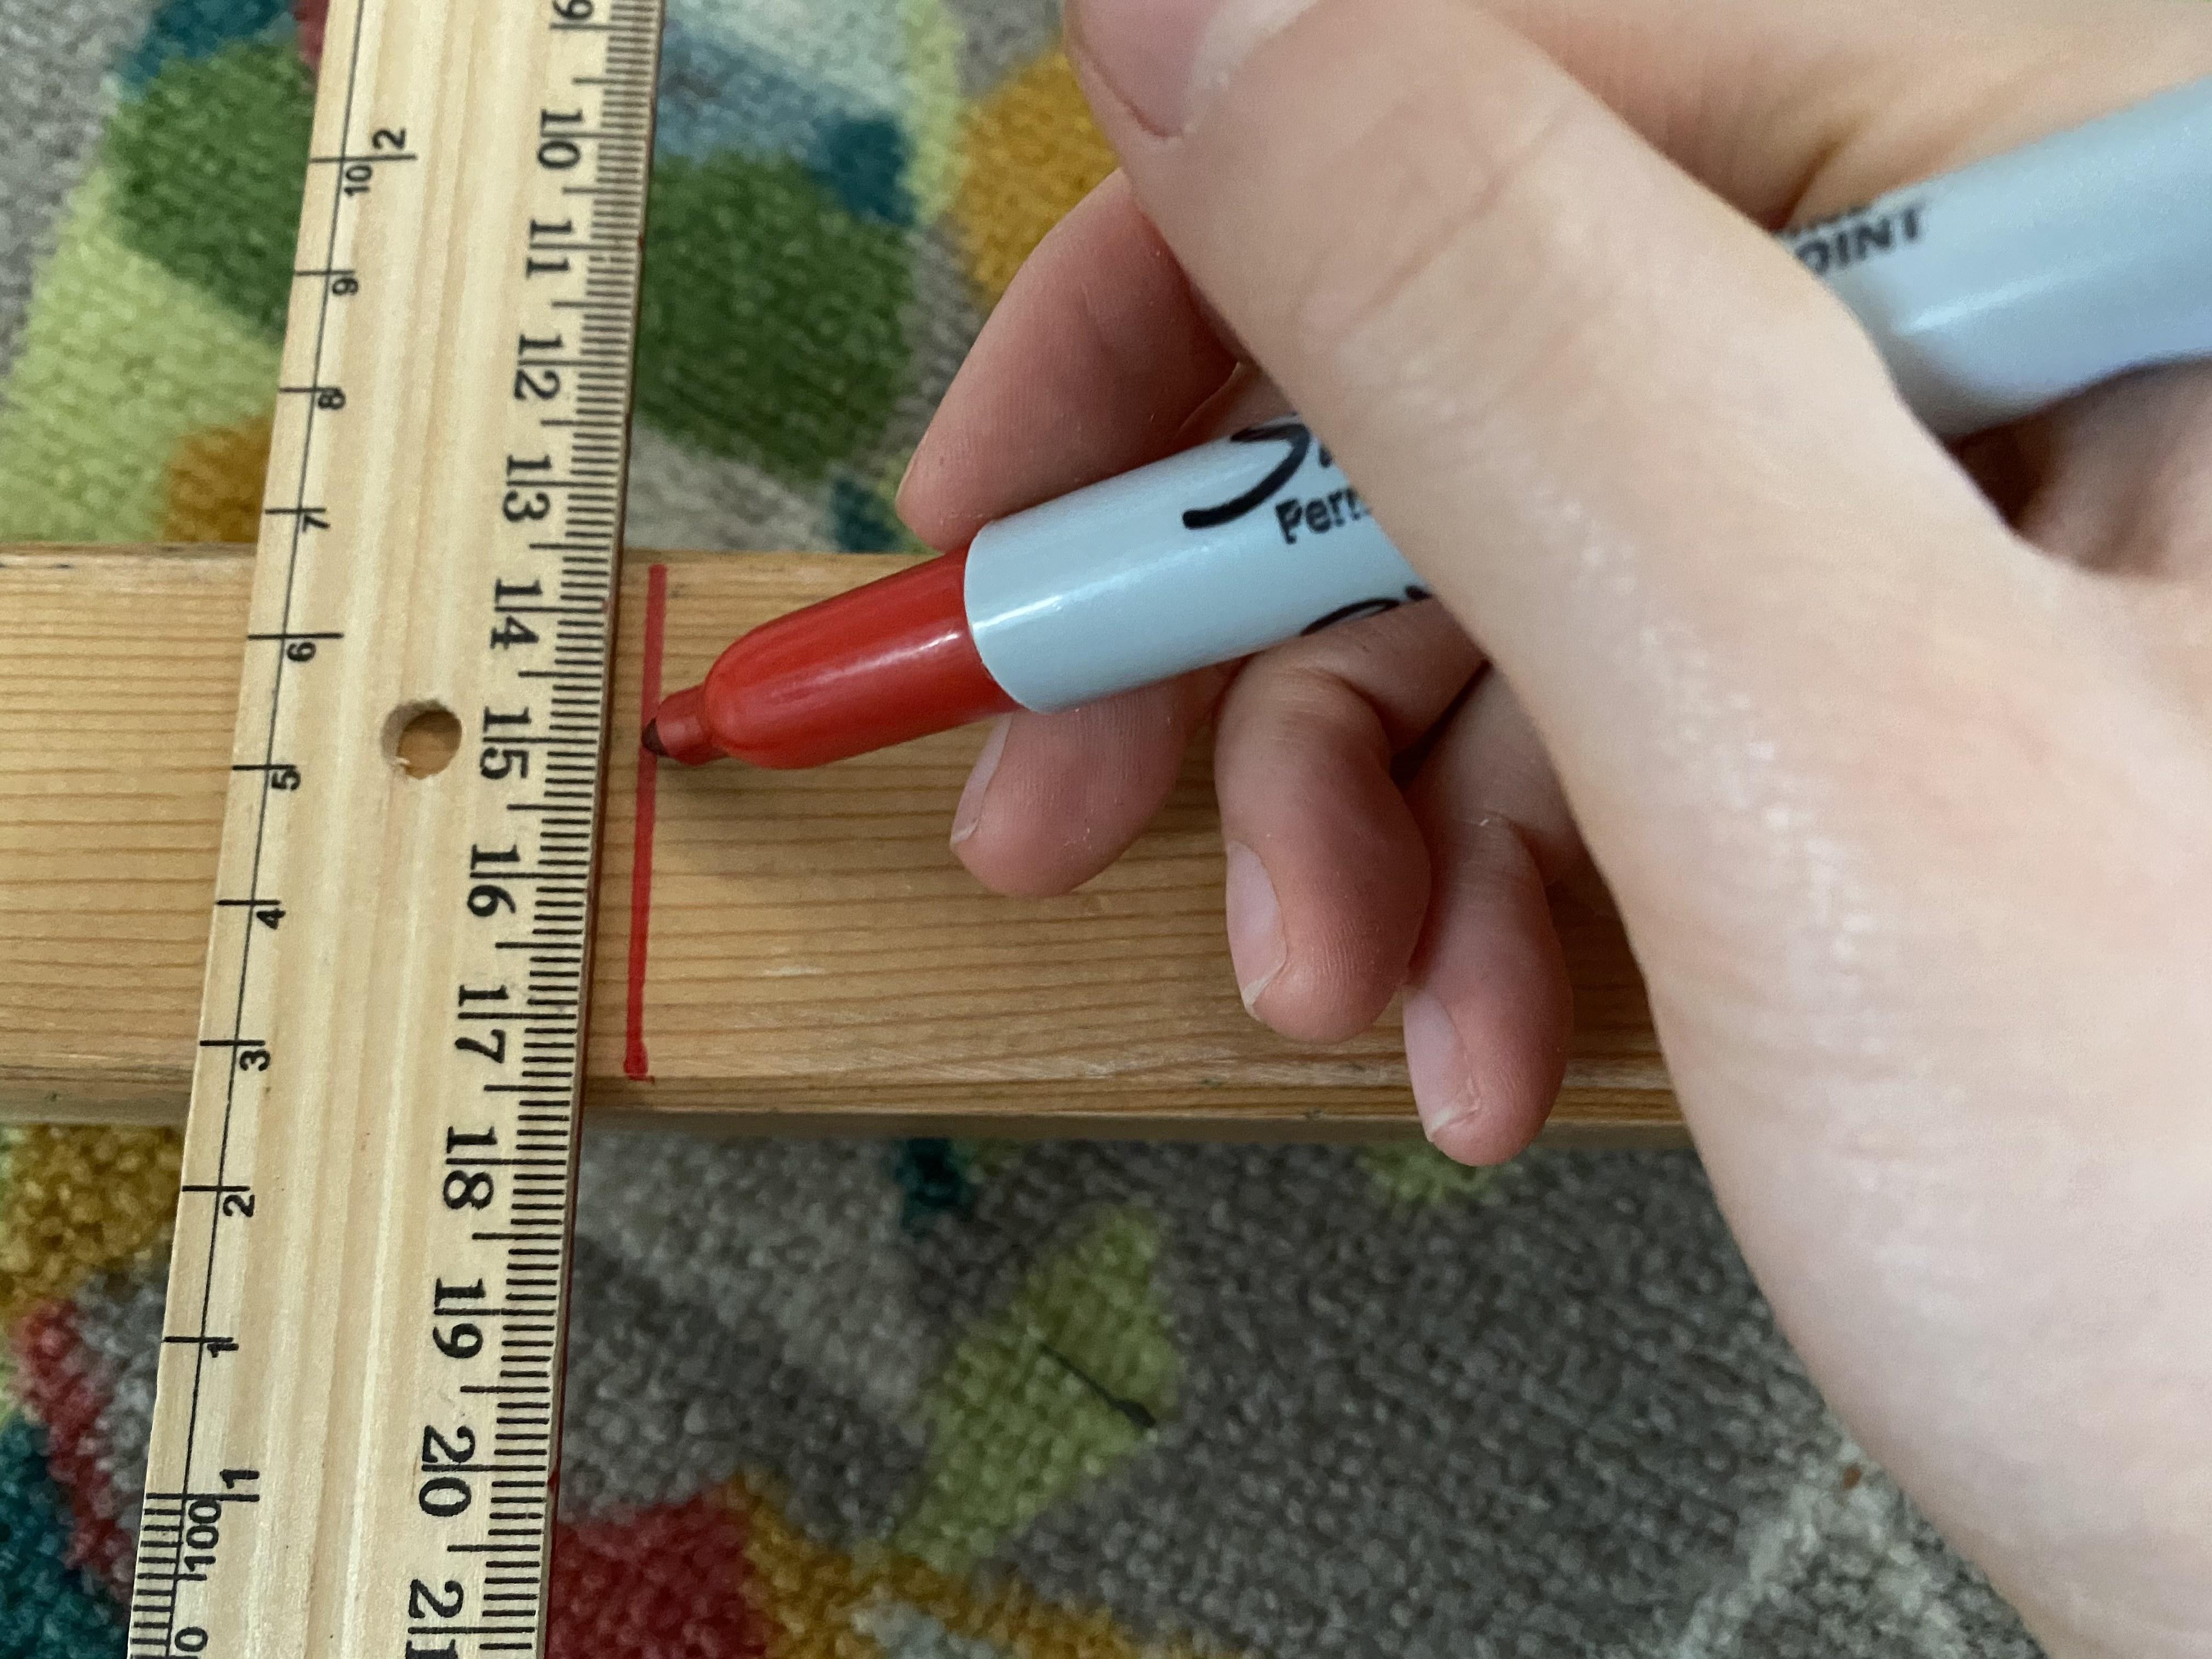
Grab your long piece of wood and measure 20 cm, mark that spot by drawing a line across. Starting from that line, measure again 20 cm so that you'll have four legs when we cut it. Also make sure you have room for a diagonal cut because we'll need to add that later.
Begin Cutting Pieces


Grab your saw and begin cutting the long board. Be sure to ask an adult to cut the pieces of your board for this and the next step. Once you cut the base and the thin strip of wood make sure to cut of the extra wood so the measurements are exact.
Cut the Legs
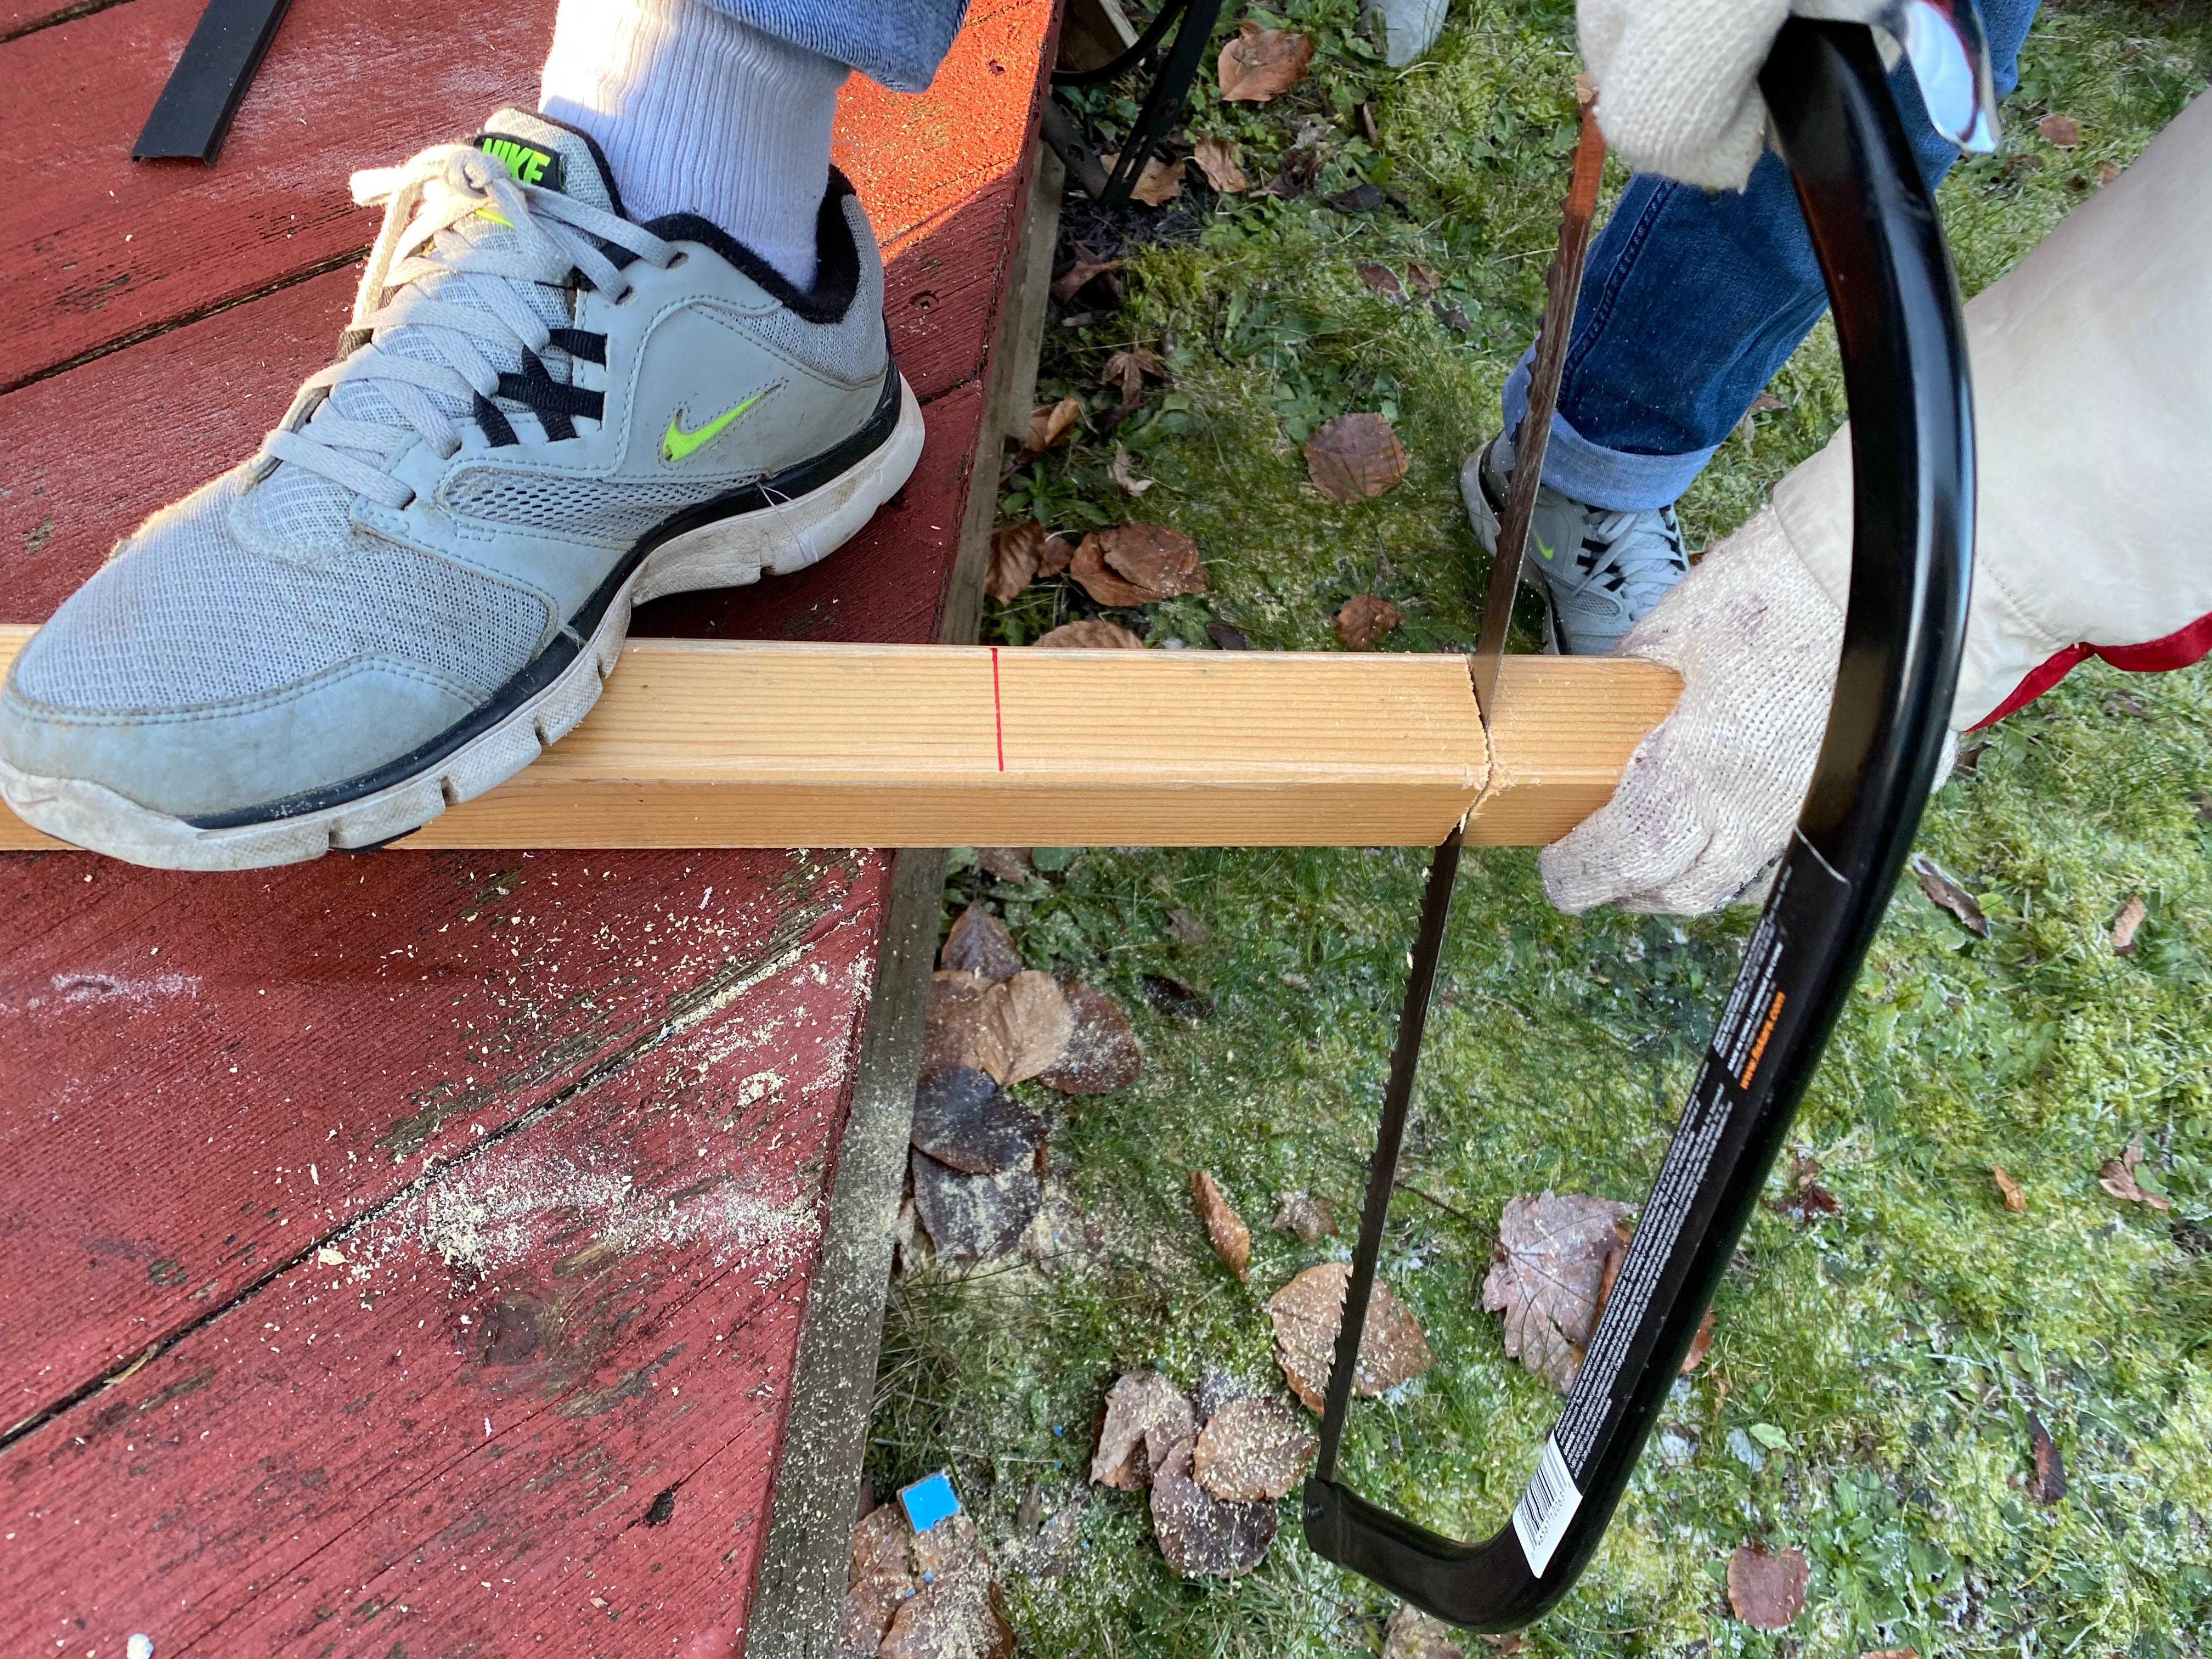
Now that you've cut out the base for the computer stand, it's time to cut out your "legs". Use that same saw to cut out the "legs" and place them to the side with the rest of the cut out items. When you're cutting, make a slight 45 degree angle cut so that it the "legs" have a slant for the base later on. Again, ask an adult to do this part.
* forgot to take a picture of cutting the 45 degree cut ( my bad )
Sandpaper Edges

For everything that has been cut out, grab some sand paper and scrub the edges. This step is optional but it's highly recommended because the edges when not sandpapered ( is that even a word? ), it could cut someone. Sandpapering the wood will also make the wood much smoother so it looks better.
ALL READY TO START GLUEING


Now that you've got all your pieces it's time to start glueing the pieces together. First, you'll need to grab some wood glue. The glue I used was bought at dollar store so it doesn't have to be a fancy expensive glue.
Glue on "legs" to Base
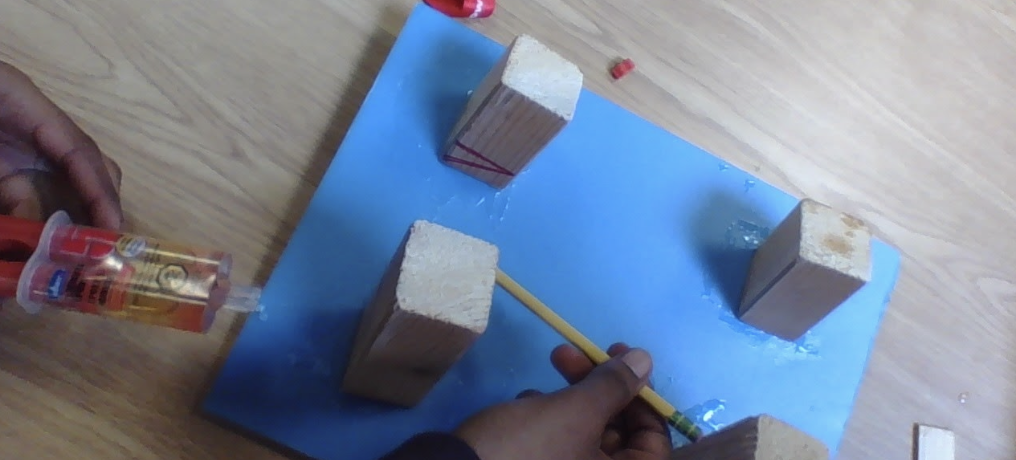

The first thing that needs to be glued on are the "legs" because they are the support of this computer stand. Use your wood glue and spread it all over the leg. Place your legs onto the base and hold the legs for around 2 minutes or until it's fully dry. Repeat this process for the rest of the legs.
Glue the "strip" Onto the Base


Since the legs are now glued and secured onto the base, we can go ahead a glue the strip near the end of the base so that the computer won't slide off the stand!
YOU'RE ALL DONE!


Now you've got a functioning computer stand! this computer stand can hold computers that are 13" and smaller. You can always adjust the measurements to suit your laptop size. Thank you for using this instructable to help you make your diy computer stand. Hope this helps!