Divider Yarn
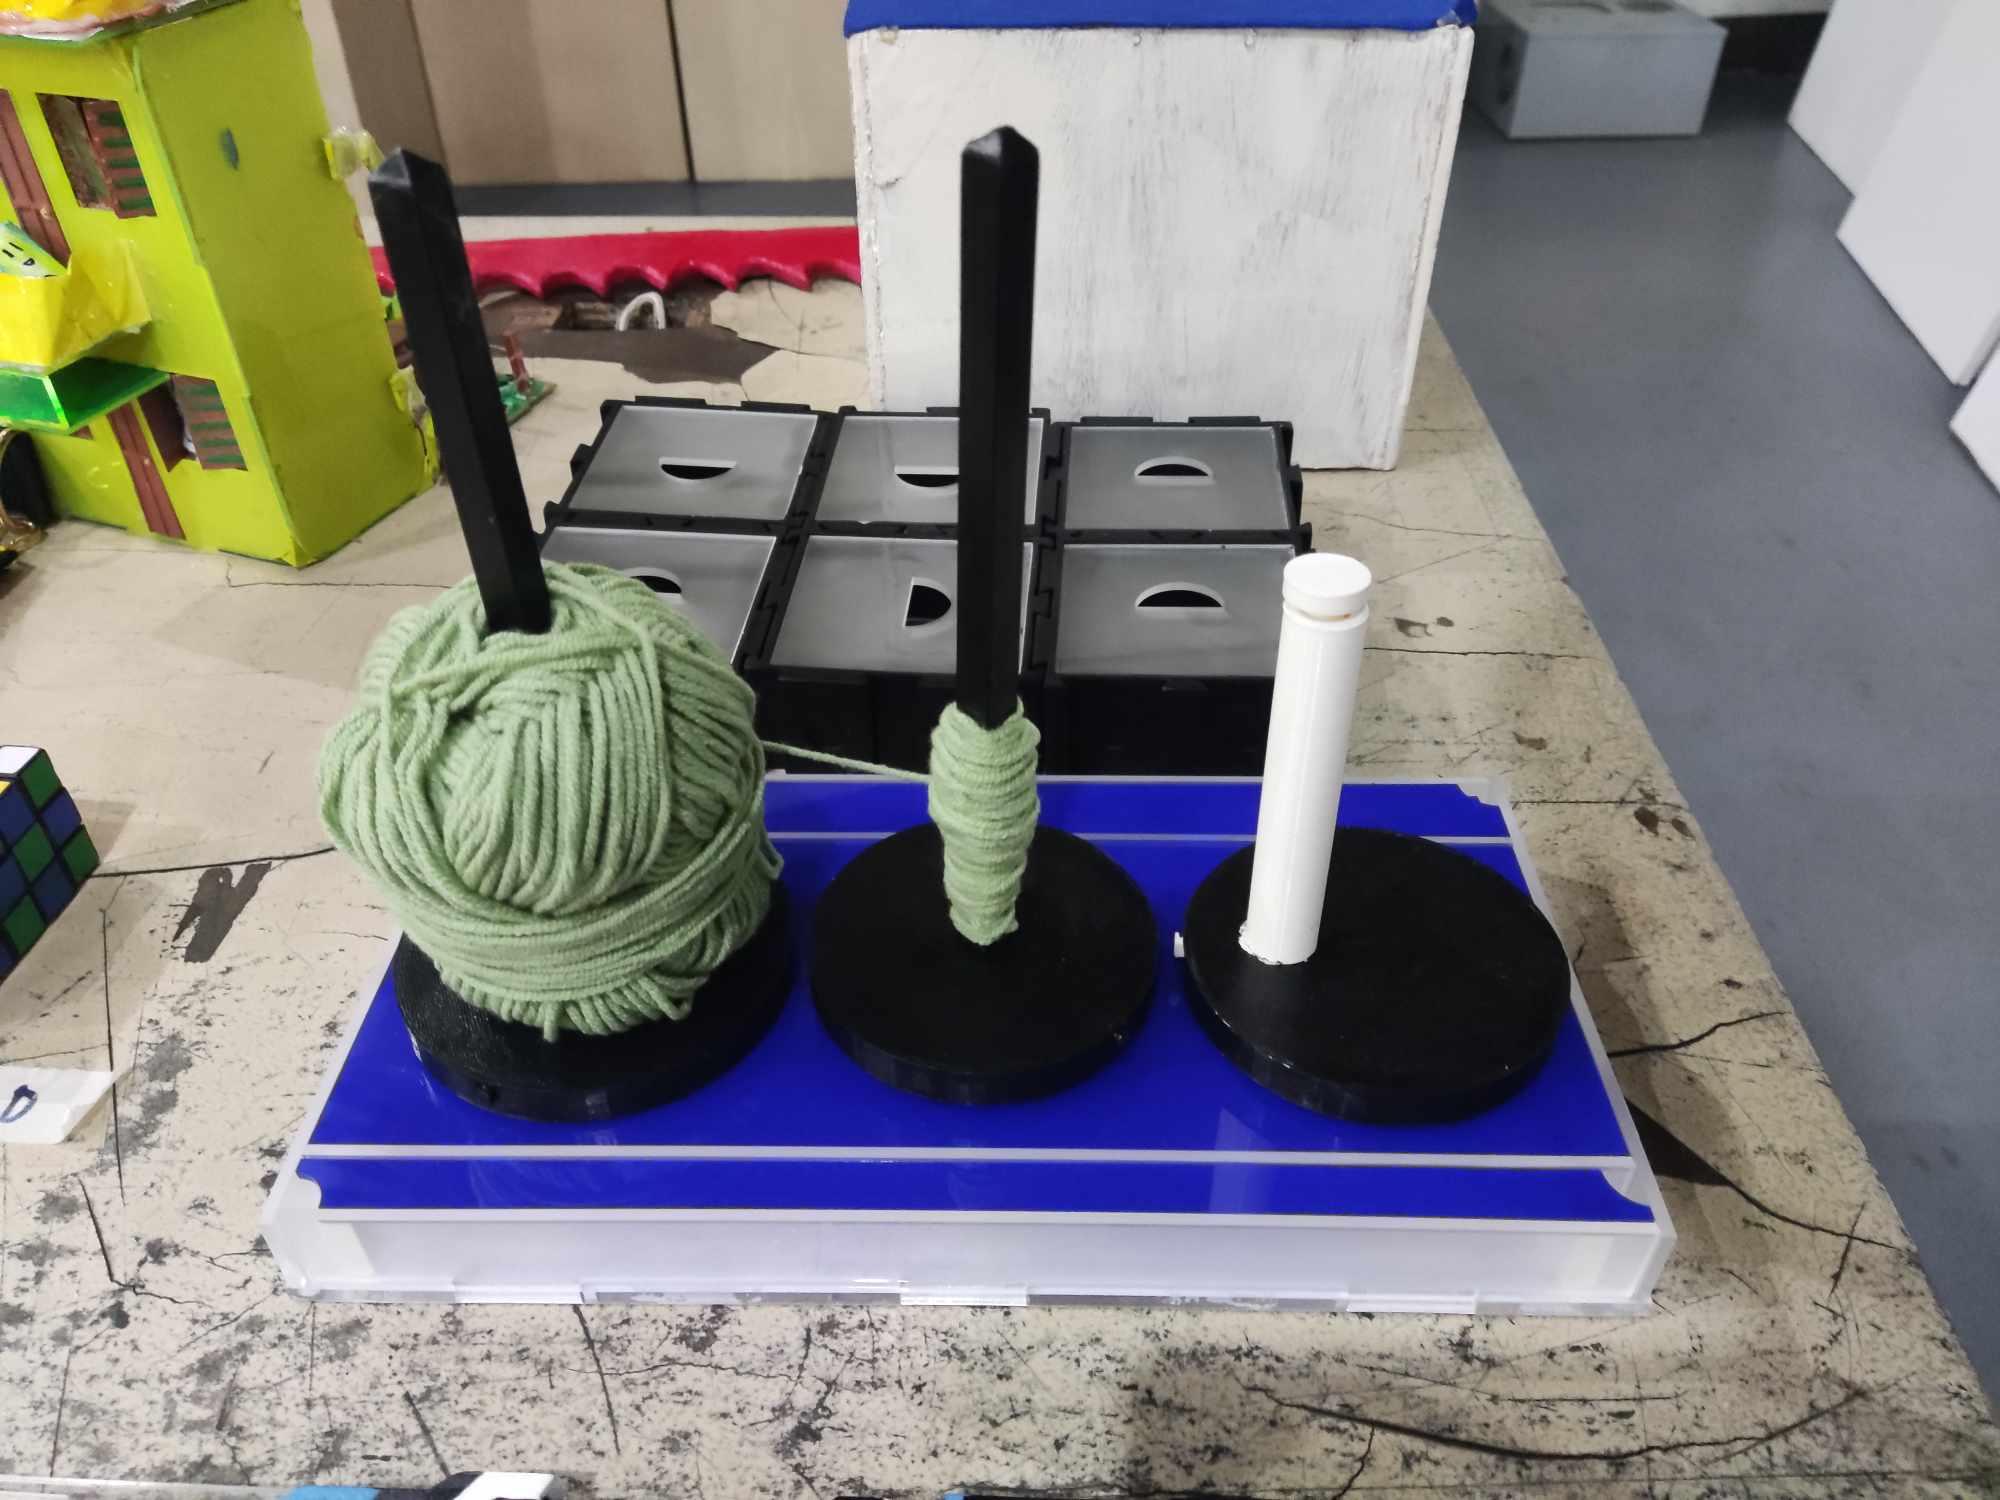
Divider Yarn is a yarn-transferring manual machine that makes the process of dividing yarn easier and faster.
Supplies
Materials
- 1 Sheet - 6mm Thick Acrylic Sheet (Use any color you want)
- 1 Sheet - 3mm Thick Acrylic Sheet (Use any color you want)
- 3D Printing Filament (Use any color you want)
- 8 pcs - 1mm Thick with 4mm Diameter Magnets
- 1 Sheet - Black Felt Paper
- Instant Glue (Mighty Bond)
Equipment
- 3D Printer
- Laser Cutter
- Cutter
- Laptop
Application
- Ultimaker Cura
Building the Frame
- Cut the base and the walls using the laser cutter.
- Download and apply the “6mm acrylic cut + 1mm engrave” setting on the laser cutter: https://drive.google.com/drive/folders/1gvV83-bd4bSOGB8Gtrmkj2nf23AwL4Rc?usp=sharing
- Download and print the base of the frame: https://drive.google.com/file/d/1z-wpy59pruZBcFmby1GCH51kT8Ogpfk6/view?usp=sharing
- Download and apply the “3mm acrylic cut + 1mm engrave” setting on the laser cutter: https://drive.google.com/drive/folders/1gvV83-bd4bSOGB8Gtrmkj2nf23AwL4Rc?usp=sharing
- Download and print the walls of the frame: https://drive.google.com/file/d/1jQH9fNSsCKXOhGxi6laAWaHeh5sm3T3n/view?usp=sharing
- 3D Print the parts where the magnets will be attached.
- Download and open the “Magnet Parts” file on your Ultimaker Cura: https://drive.google.com/file/d/1HZFK3SZAyZGyNouYUkF_rVPwX_qtHlic/view?usp=sharing
- Set the settings depending on your 3D Printer and print the file.
- 3D Print the parts where the gears will go.
- Download and open the “Gear Support” file on your Ultimaker Cura: https://drive.google.com/file/d/1eeQ3kRYDz2ioG3mdUFxfsITsBvsZD4Gv/view?usp=sharing
- Set the settings depending on your 3D Printer and print the file.
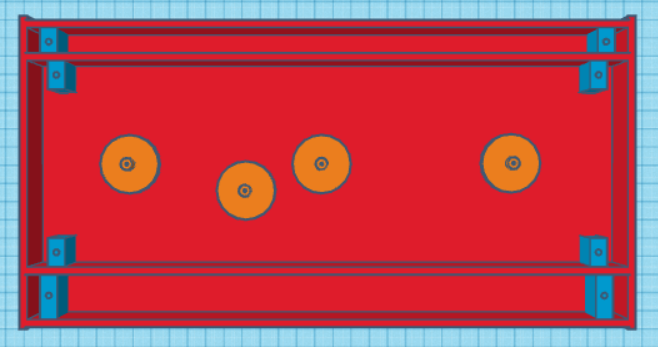
- Assemble and glue the parts as shown in the image (make adjustments as needed).
Attaching the Gears
- Print the Gears
- Download and open the “Gears” file on your Ultimaker Cura: https://drive.google.com/file/d/1cRP8NwFMr73hzXK2jFBa2PGmWLsa7xT4/view?usp=sharing
- Set the settings depending on your 3D Printer and print the file.
- Cut the circles that keep the gears in place.
- Download and apply the “3mm acrylic cut + 1mm engrave” setting on the laser cutter: https://drive.google.com/drive/folders/1gvV83-bd4bSOGB8Gtrmkj2nf23AwL4Rc?usp=sharing
- Download and print the circles: https://drive.google.com/file/d/1iuISkuCYtuMXNurE7AYuc-n4eO38v7OJ/view?usp=sharing
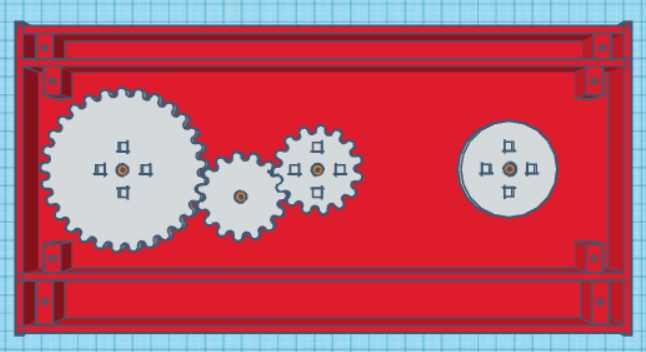
- Position the gears in their respective places as shown in the image.
- Glue the cut circles on top of the gear supports to lock the gears in place.
Attaching the Magnets and Covers
- Print the covers of the compartments at the sides and the middle part.
- Download and apply the “3mm acrylic cut + 1mm engrave” setting on the laser cutter: https://drive.google.com/drive/folders/1gvV83-bd4bSOGB8Gtrmkj2nf23AwL4Rc?usp=sharing
- Download and print the covers: https://drive.google.com/file/d/1vfteEmyZFRDBxdOBmvvmGPRSaGSlz7ss/view?usp=sharing
- Glue the magnets into their respective holes, which can be found in the “Magnet Parts” that are placed on the side compartments and the covers of the compartments.
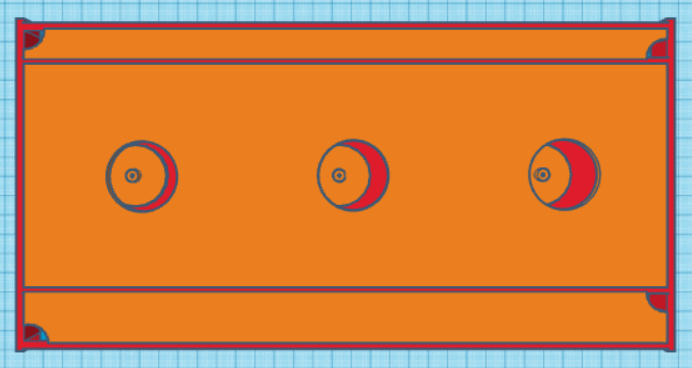
- Glue the middle cover in its place by gluing it to the "Magnet Parts" placed in the middle portion.
Attaching the Poles' Supports
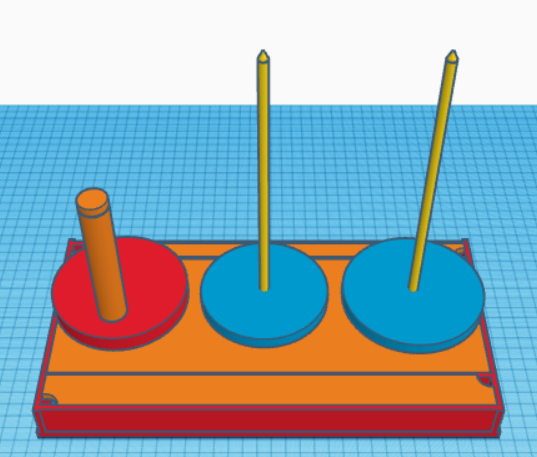
- 3D Print the yarn holder and spinner poles:
- Download and open the “Poles” file on your Ultimaker Cura: https://drive.google.com/file/d/1Gpi5ycRNdUaOUtDqCZB8OQD0B9rosHUf/view?usp=sharing
- Set the settings depending on your 3D Printer and print the file.
- 3D Print the supports of the poles:
- Download and open the “Supports” file on your Ultimaker Cura: https://drive.google.com/file/d/1l8u1Dh4hbDGWr70LI2kYJG3-C5L51FC1/view?usp=sharing
- Set the settings depending on your 3D Printer and print the file.
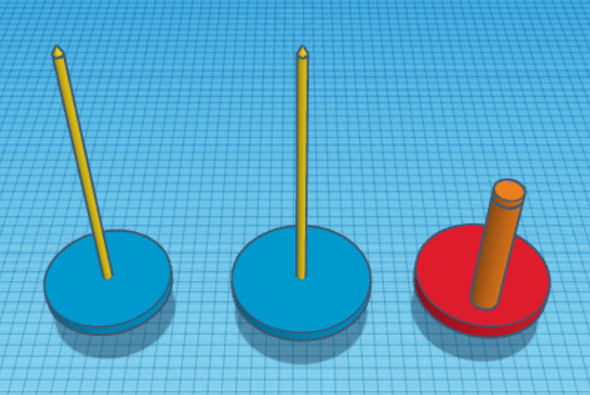
- Attach the poles to the supports as shown in the image (sand the parts as needed to fit).
- Glue the supports to the gears as shown in the image (sand the parts as needed to fit).