Distance Sensor(HC-SR04) W/ LED Ring
by Chichi0807 in Circuits > Arduino
359 Views, 0 Favorites, 0 Comments
Distance Sensor(HC-SR04) W/ LED Ring
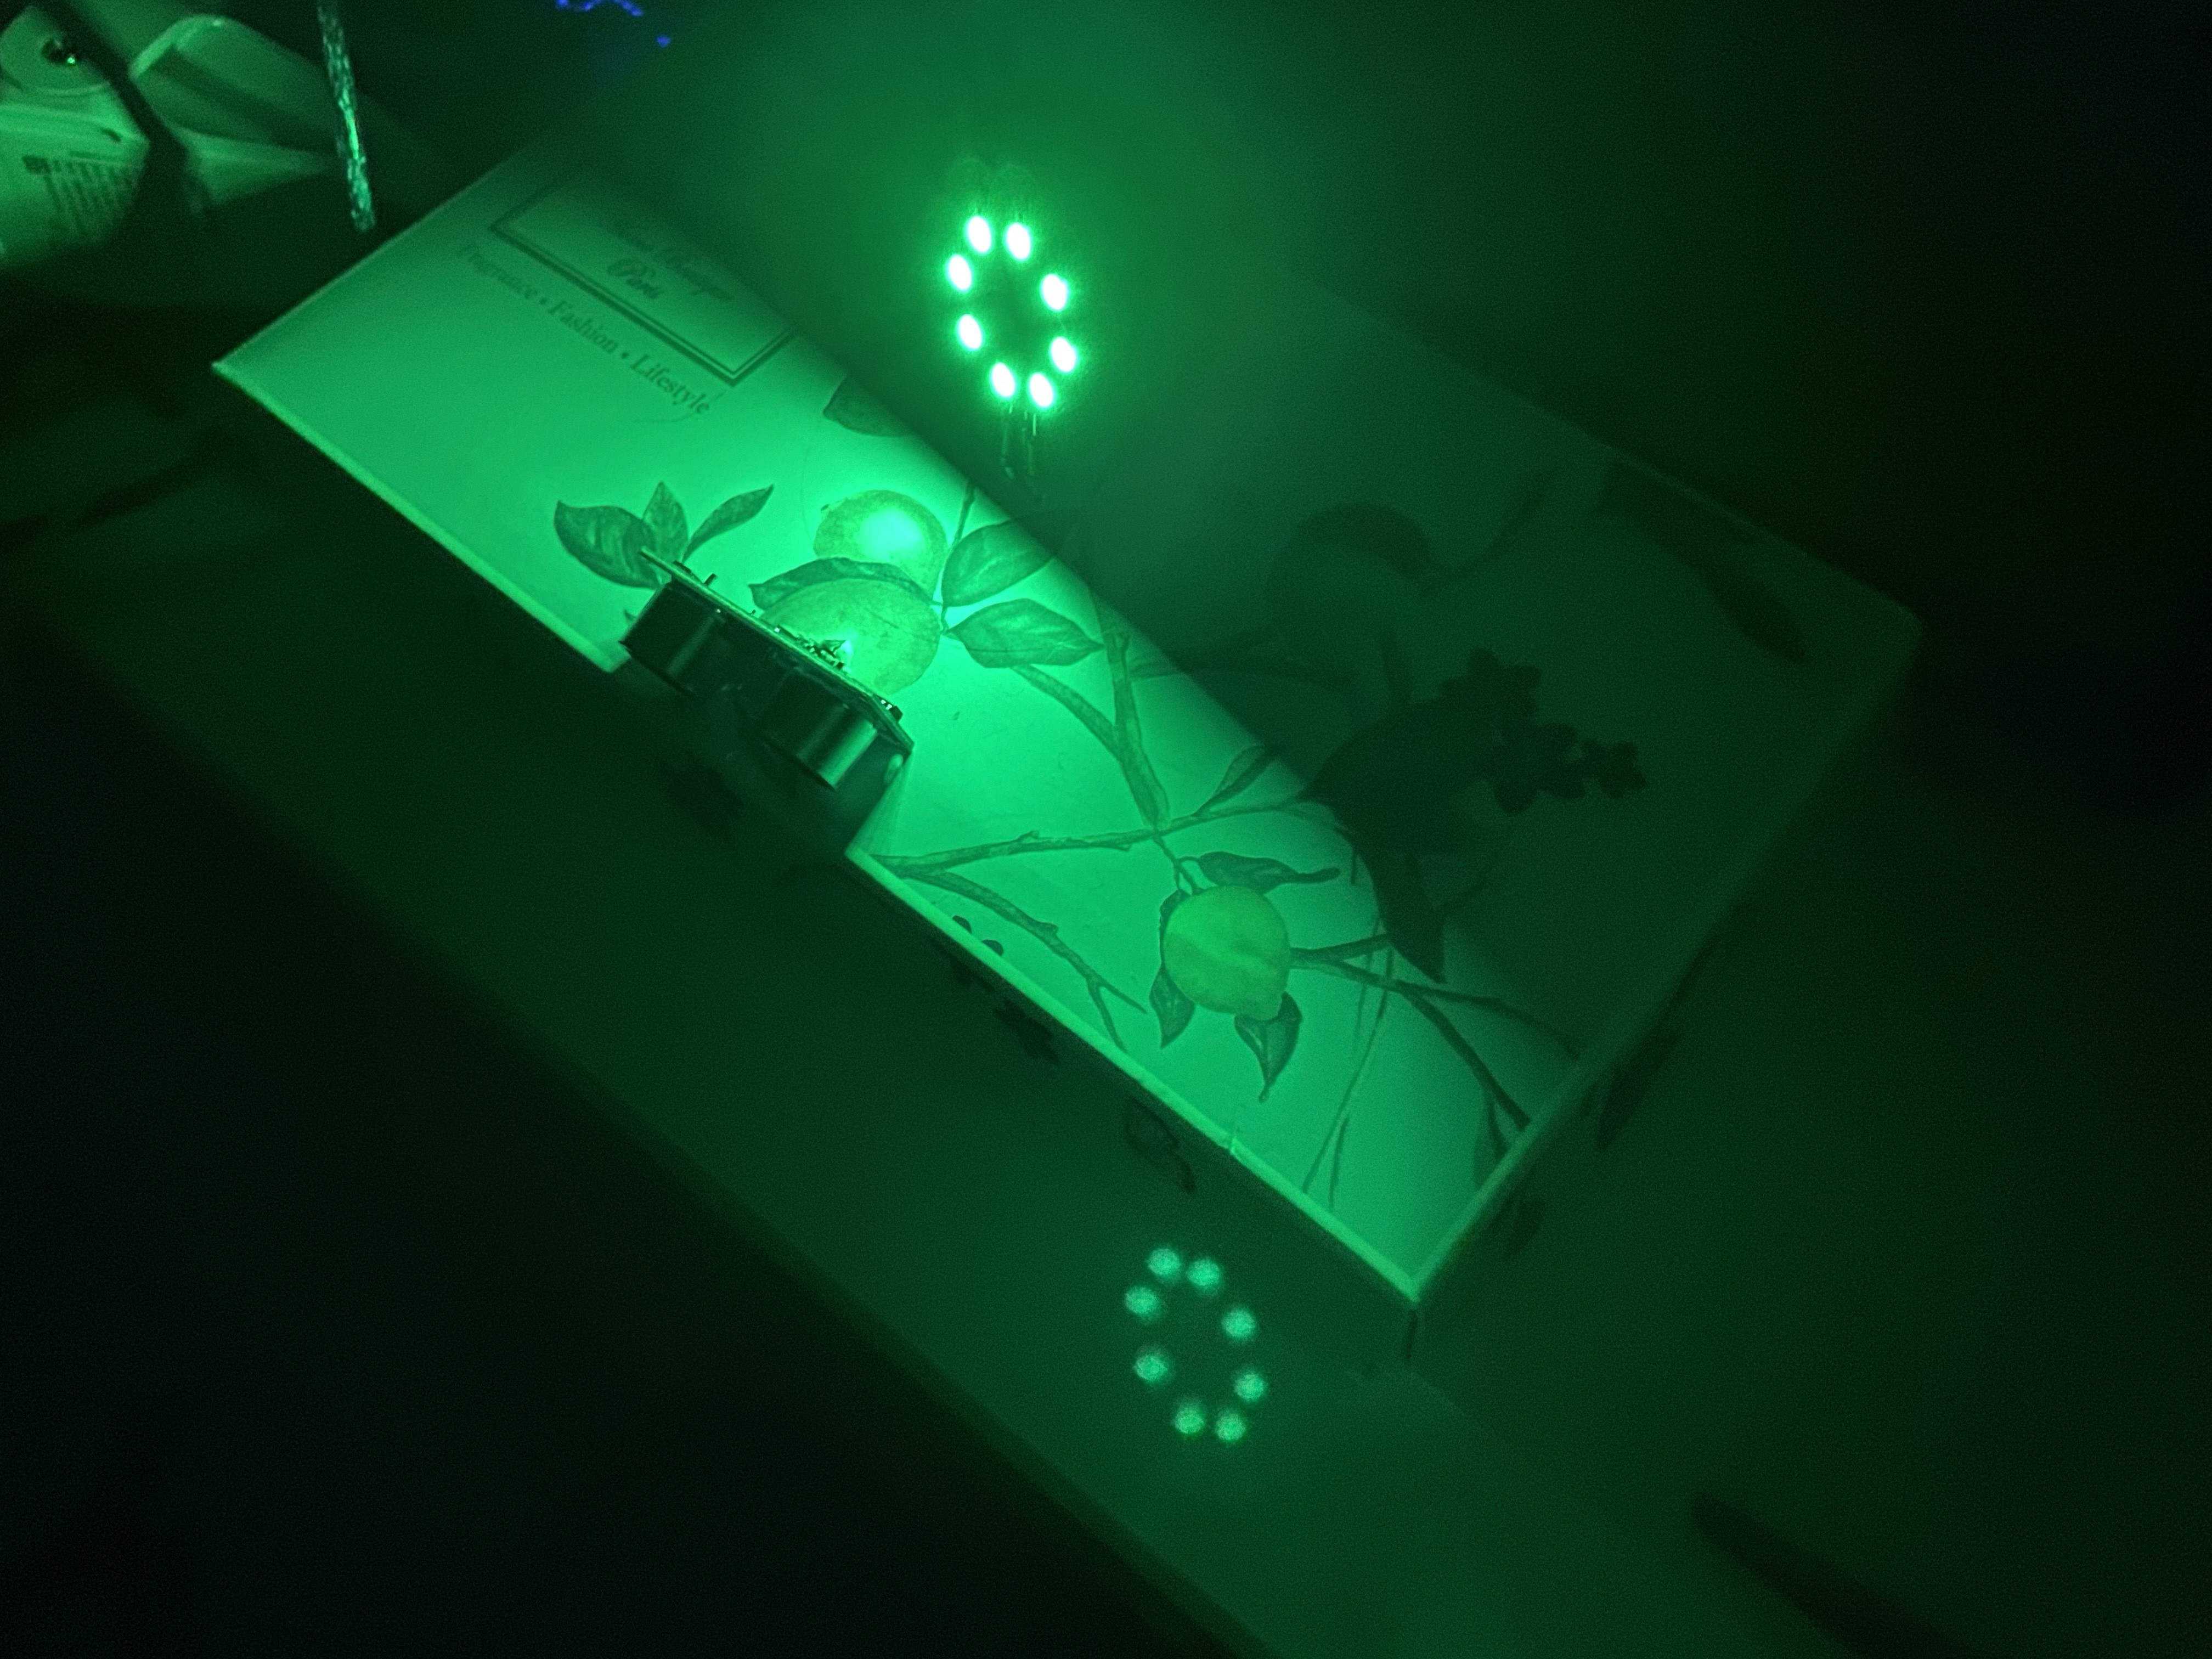
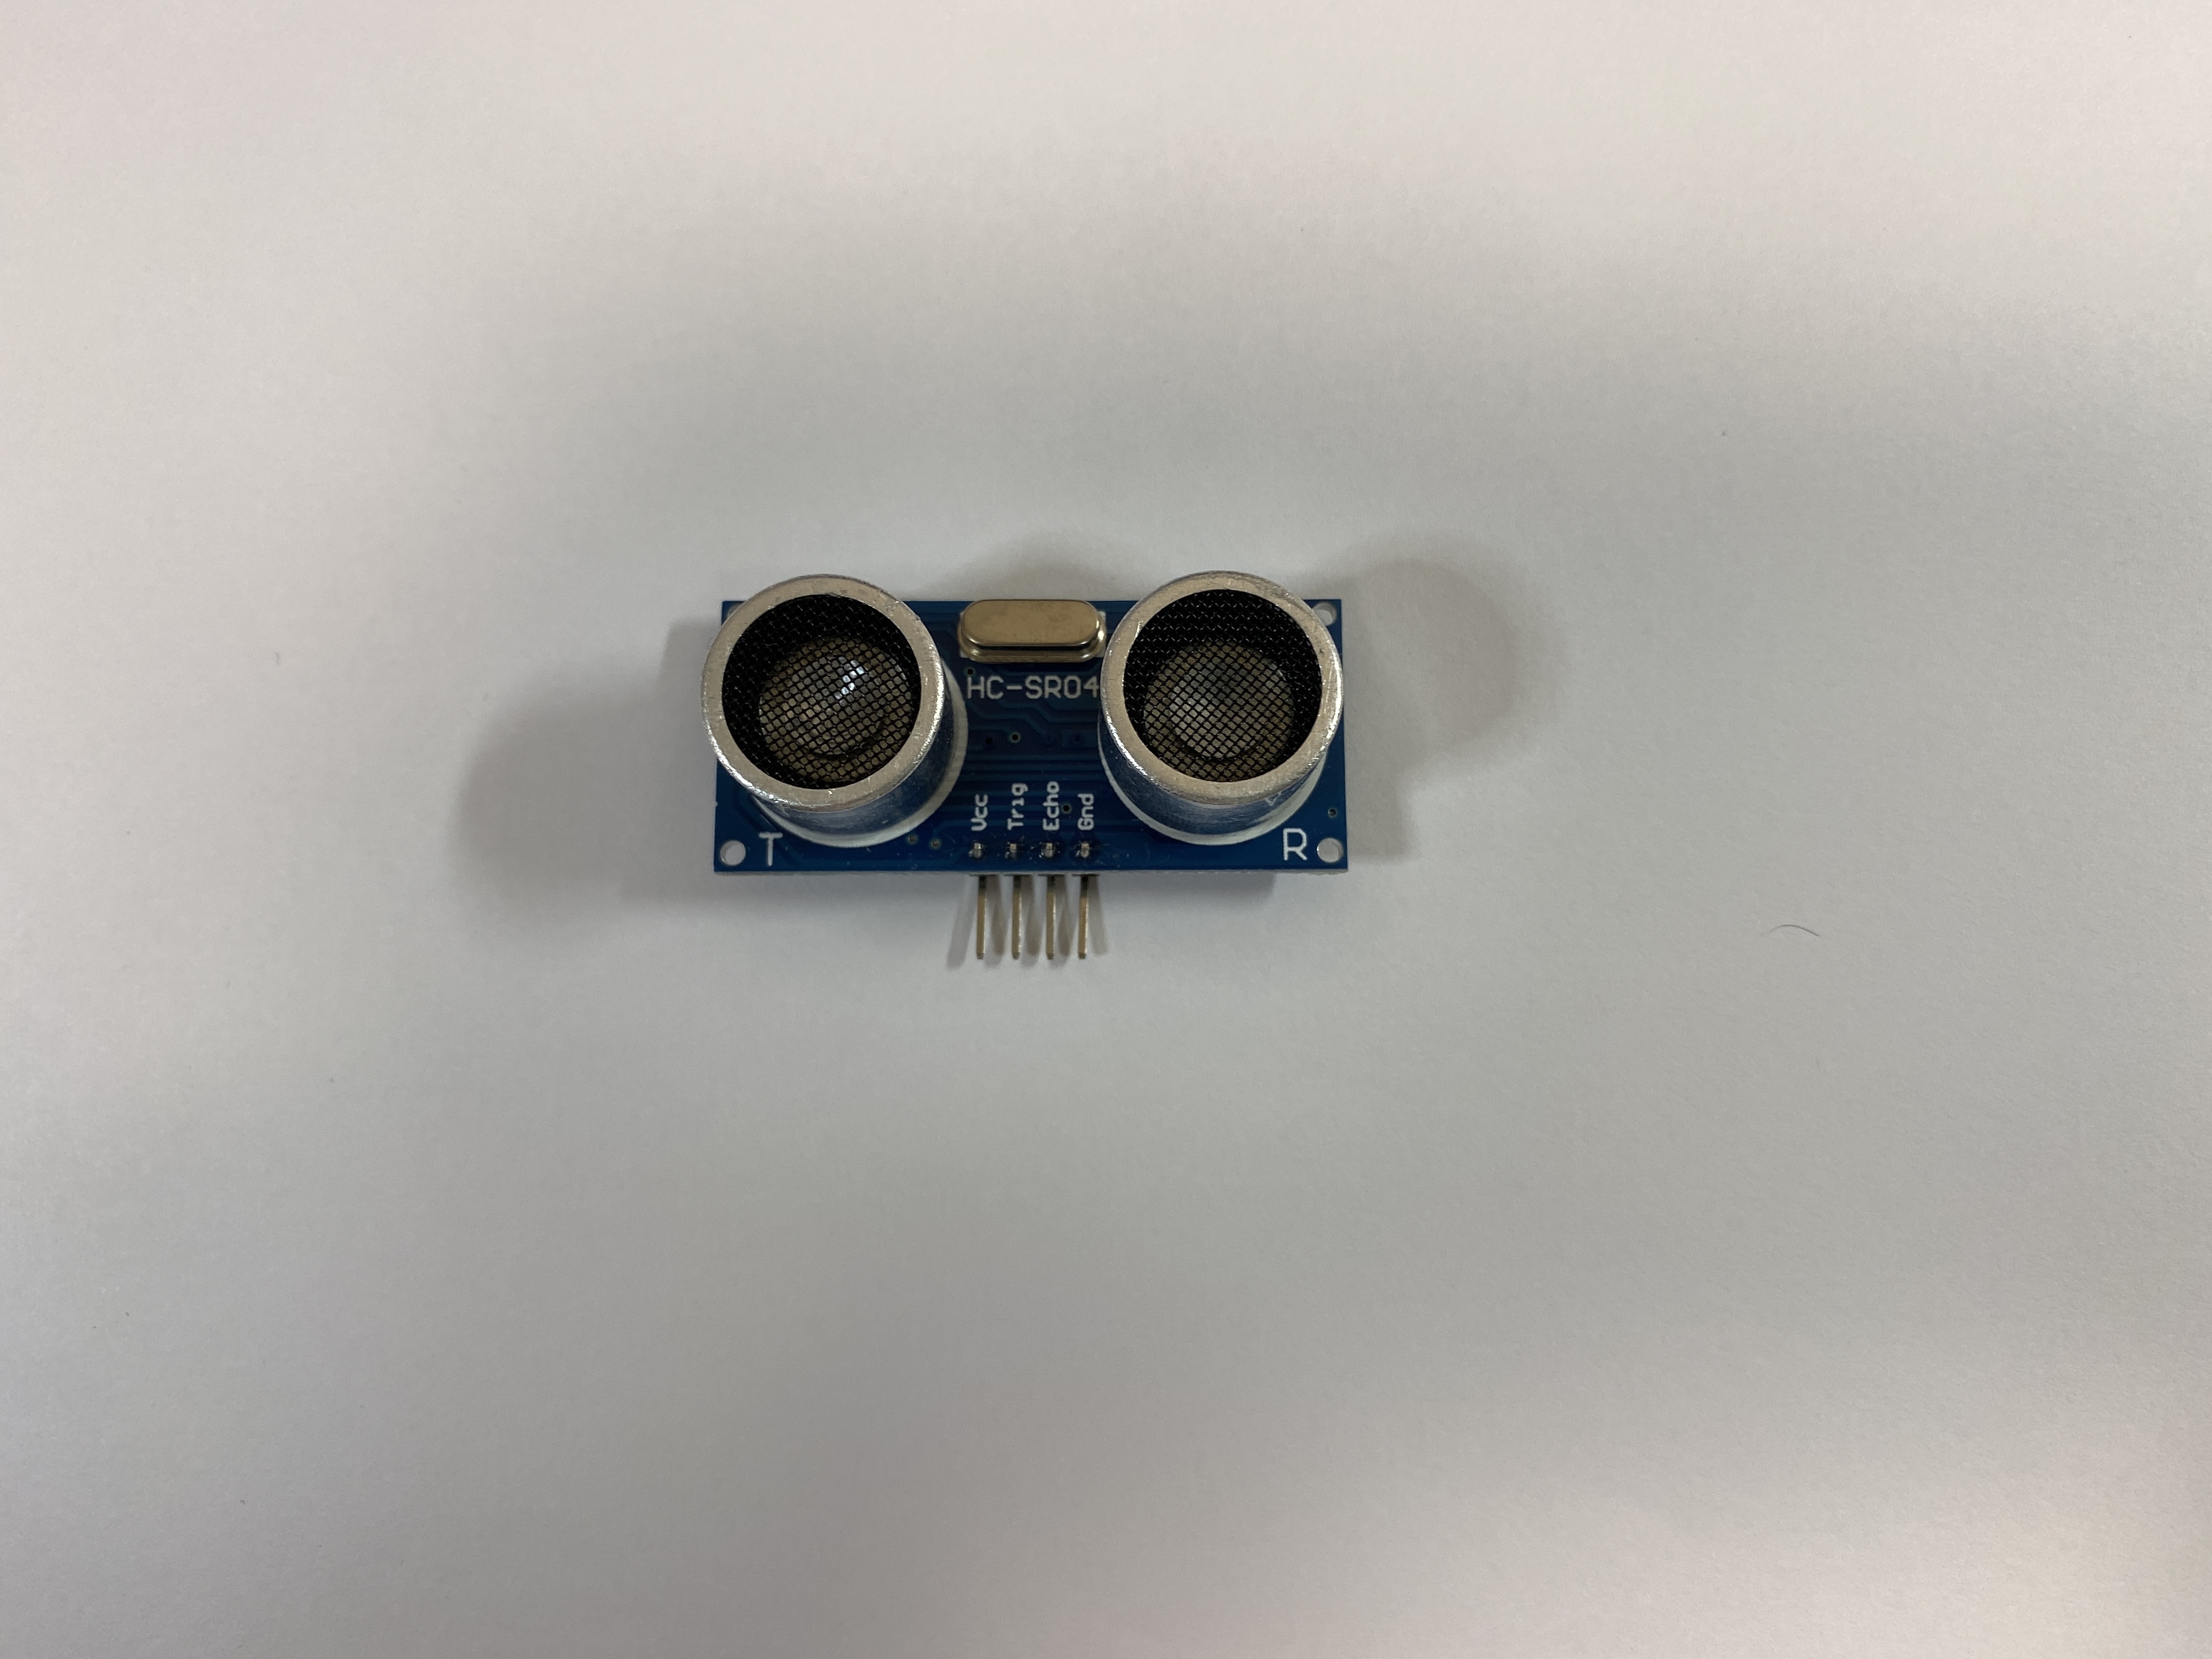
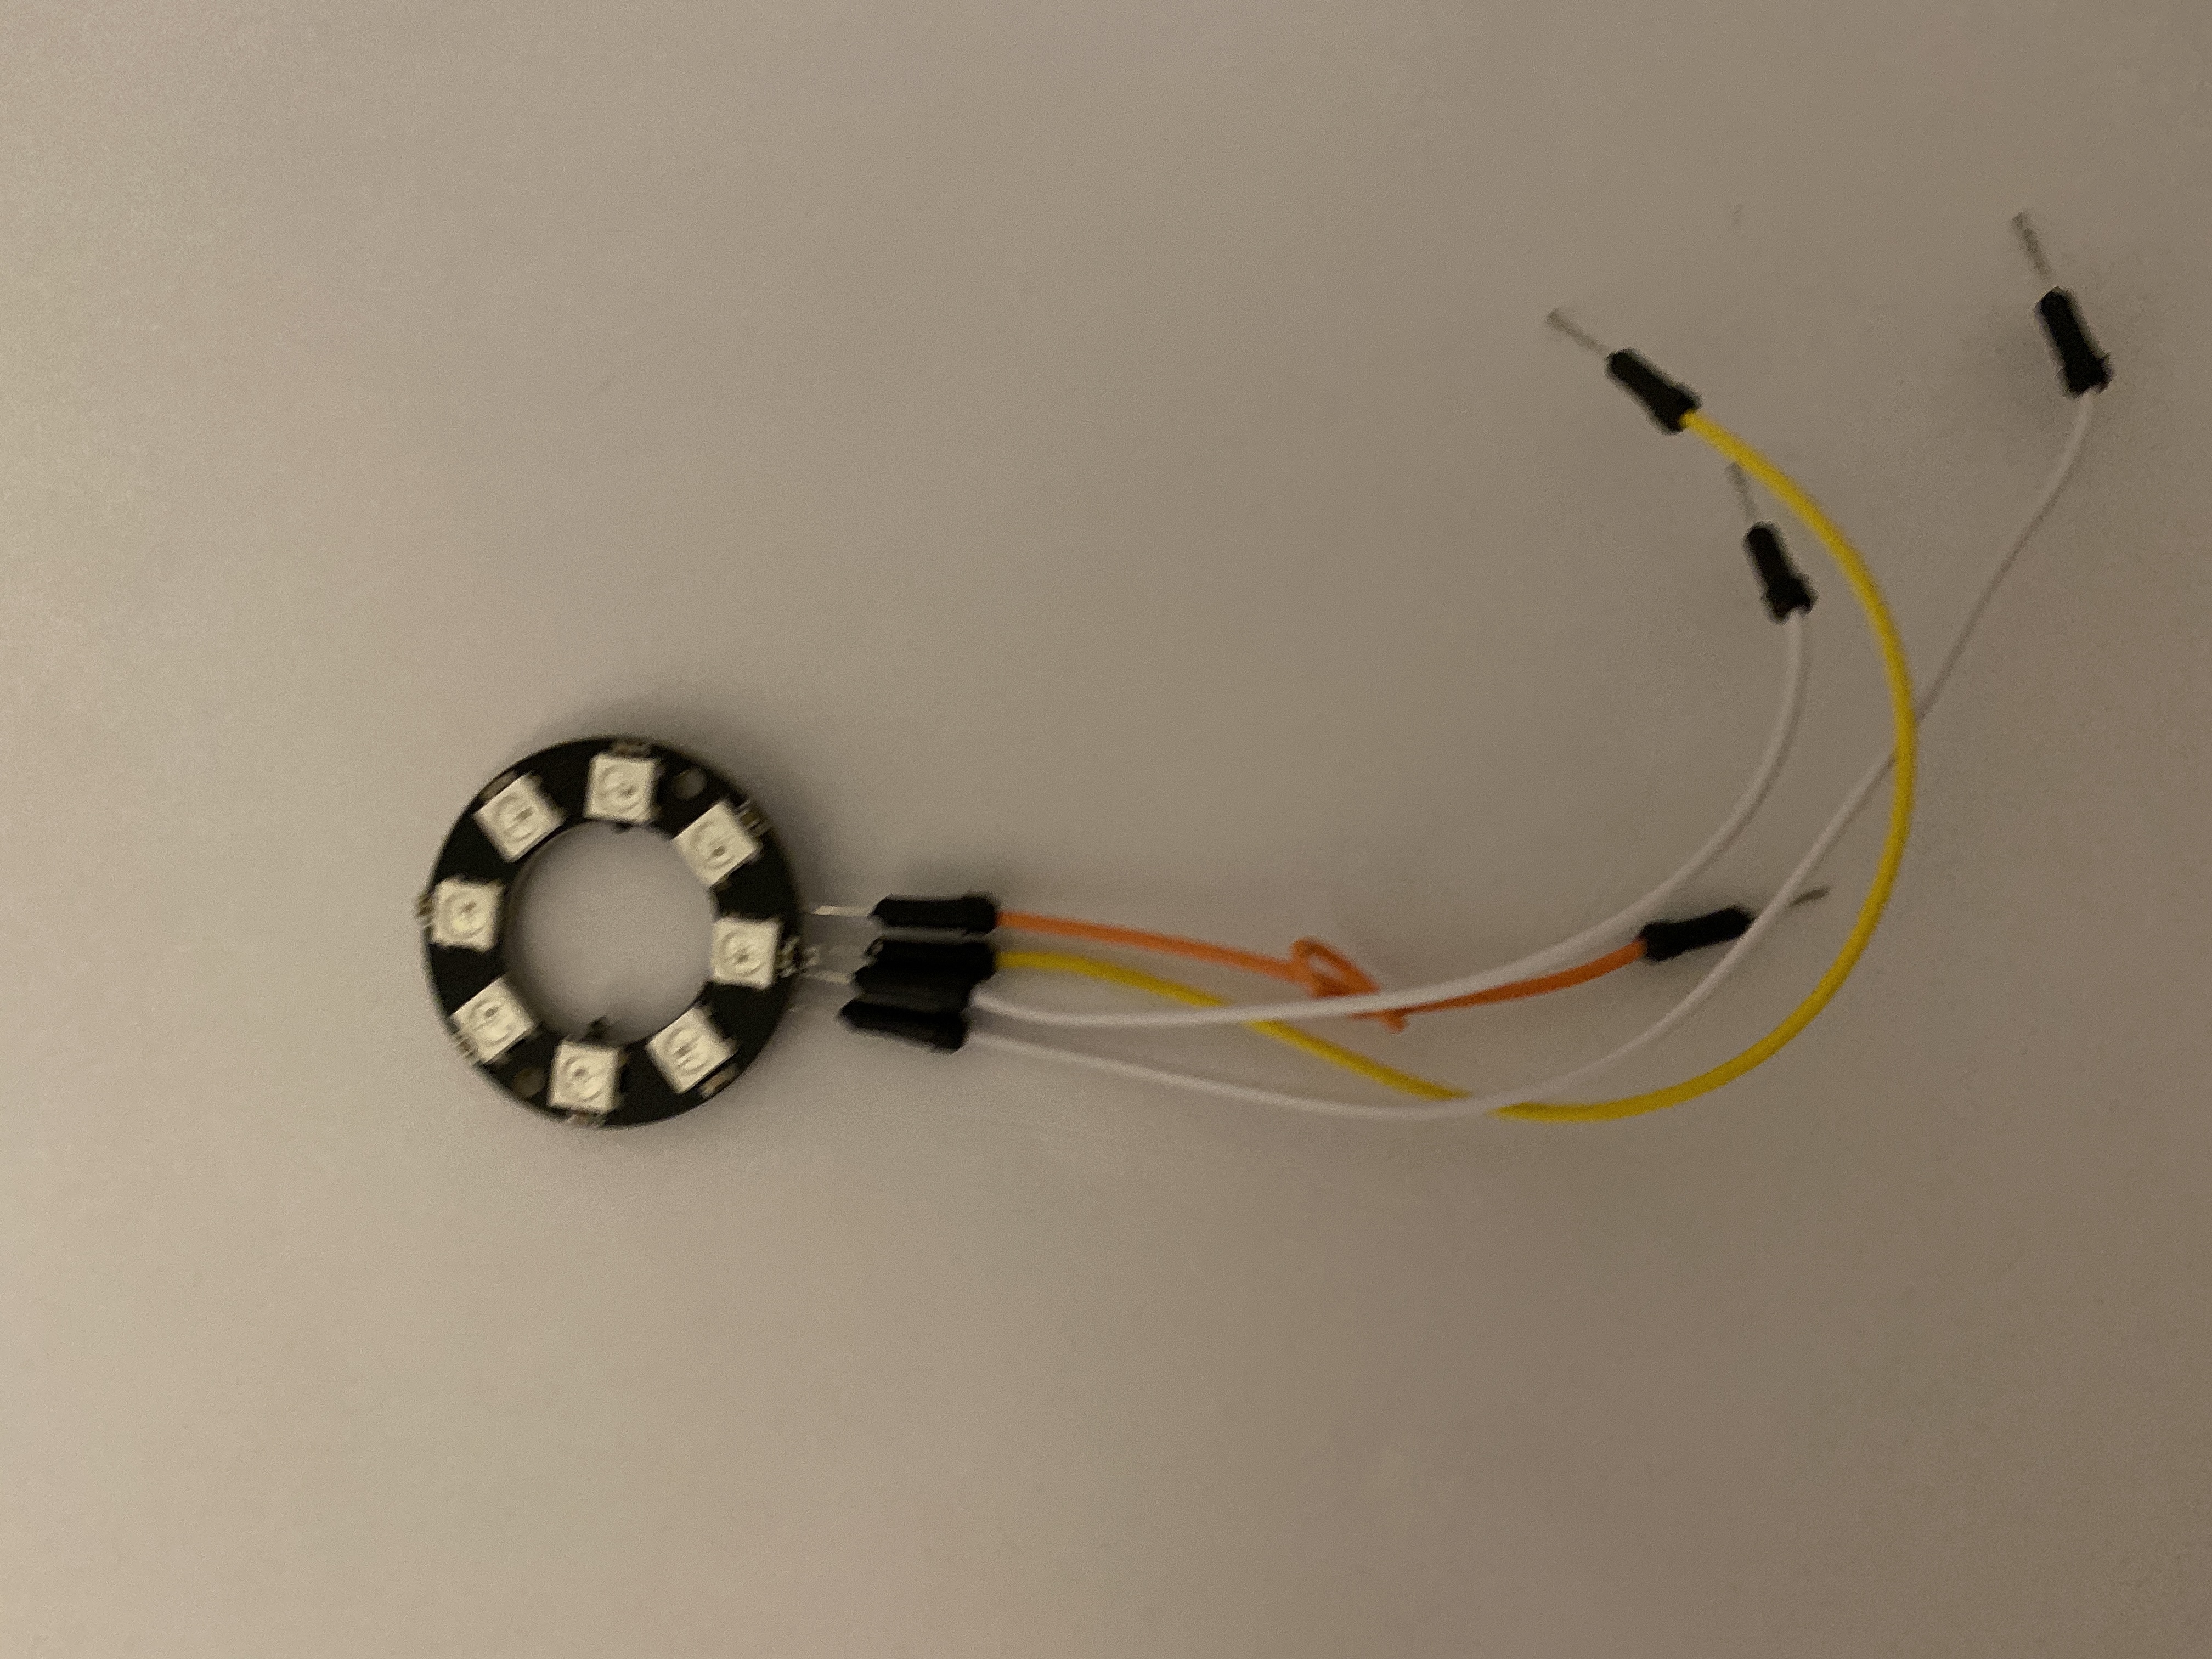
*This project is inspired by Illuminate-NeoPixels-using-an-HC-SR04-Distance-Sensor-and-an-Arduino. Code is from LED Ring Distance Sensor
This project is made with an HC-SR04 sensor and an RGB LED ring. The LED ring will show different colors while the distance sensor detects the distance.
Supplies
- Arduino Board(I used Leonardo. Others might work.)
- Some male to male cables
- A breadboard
- A 10k ohm resistor
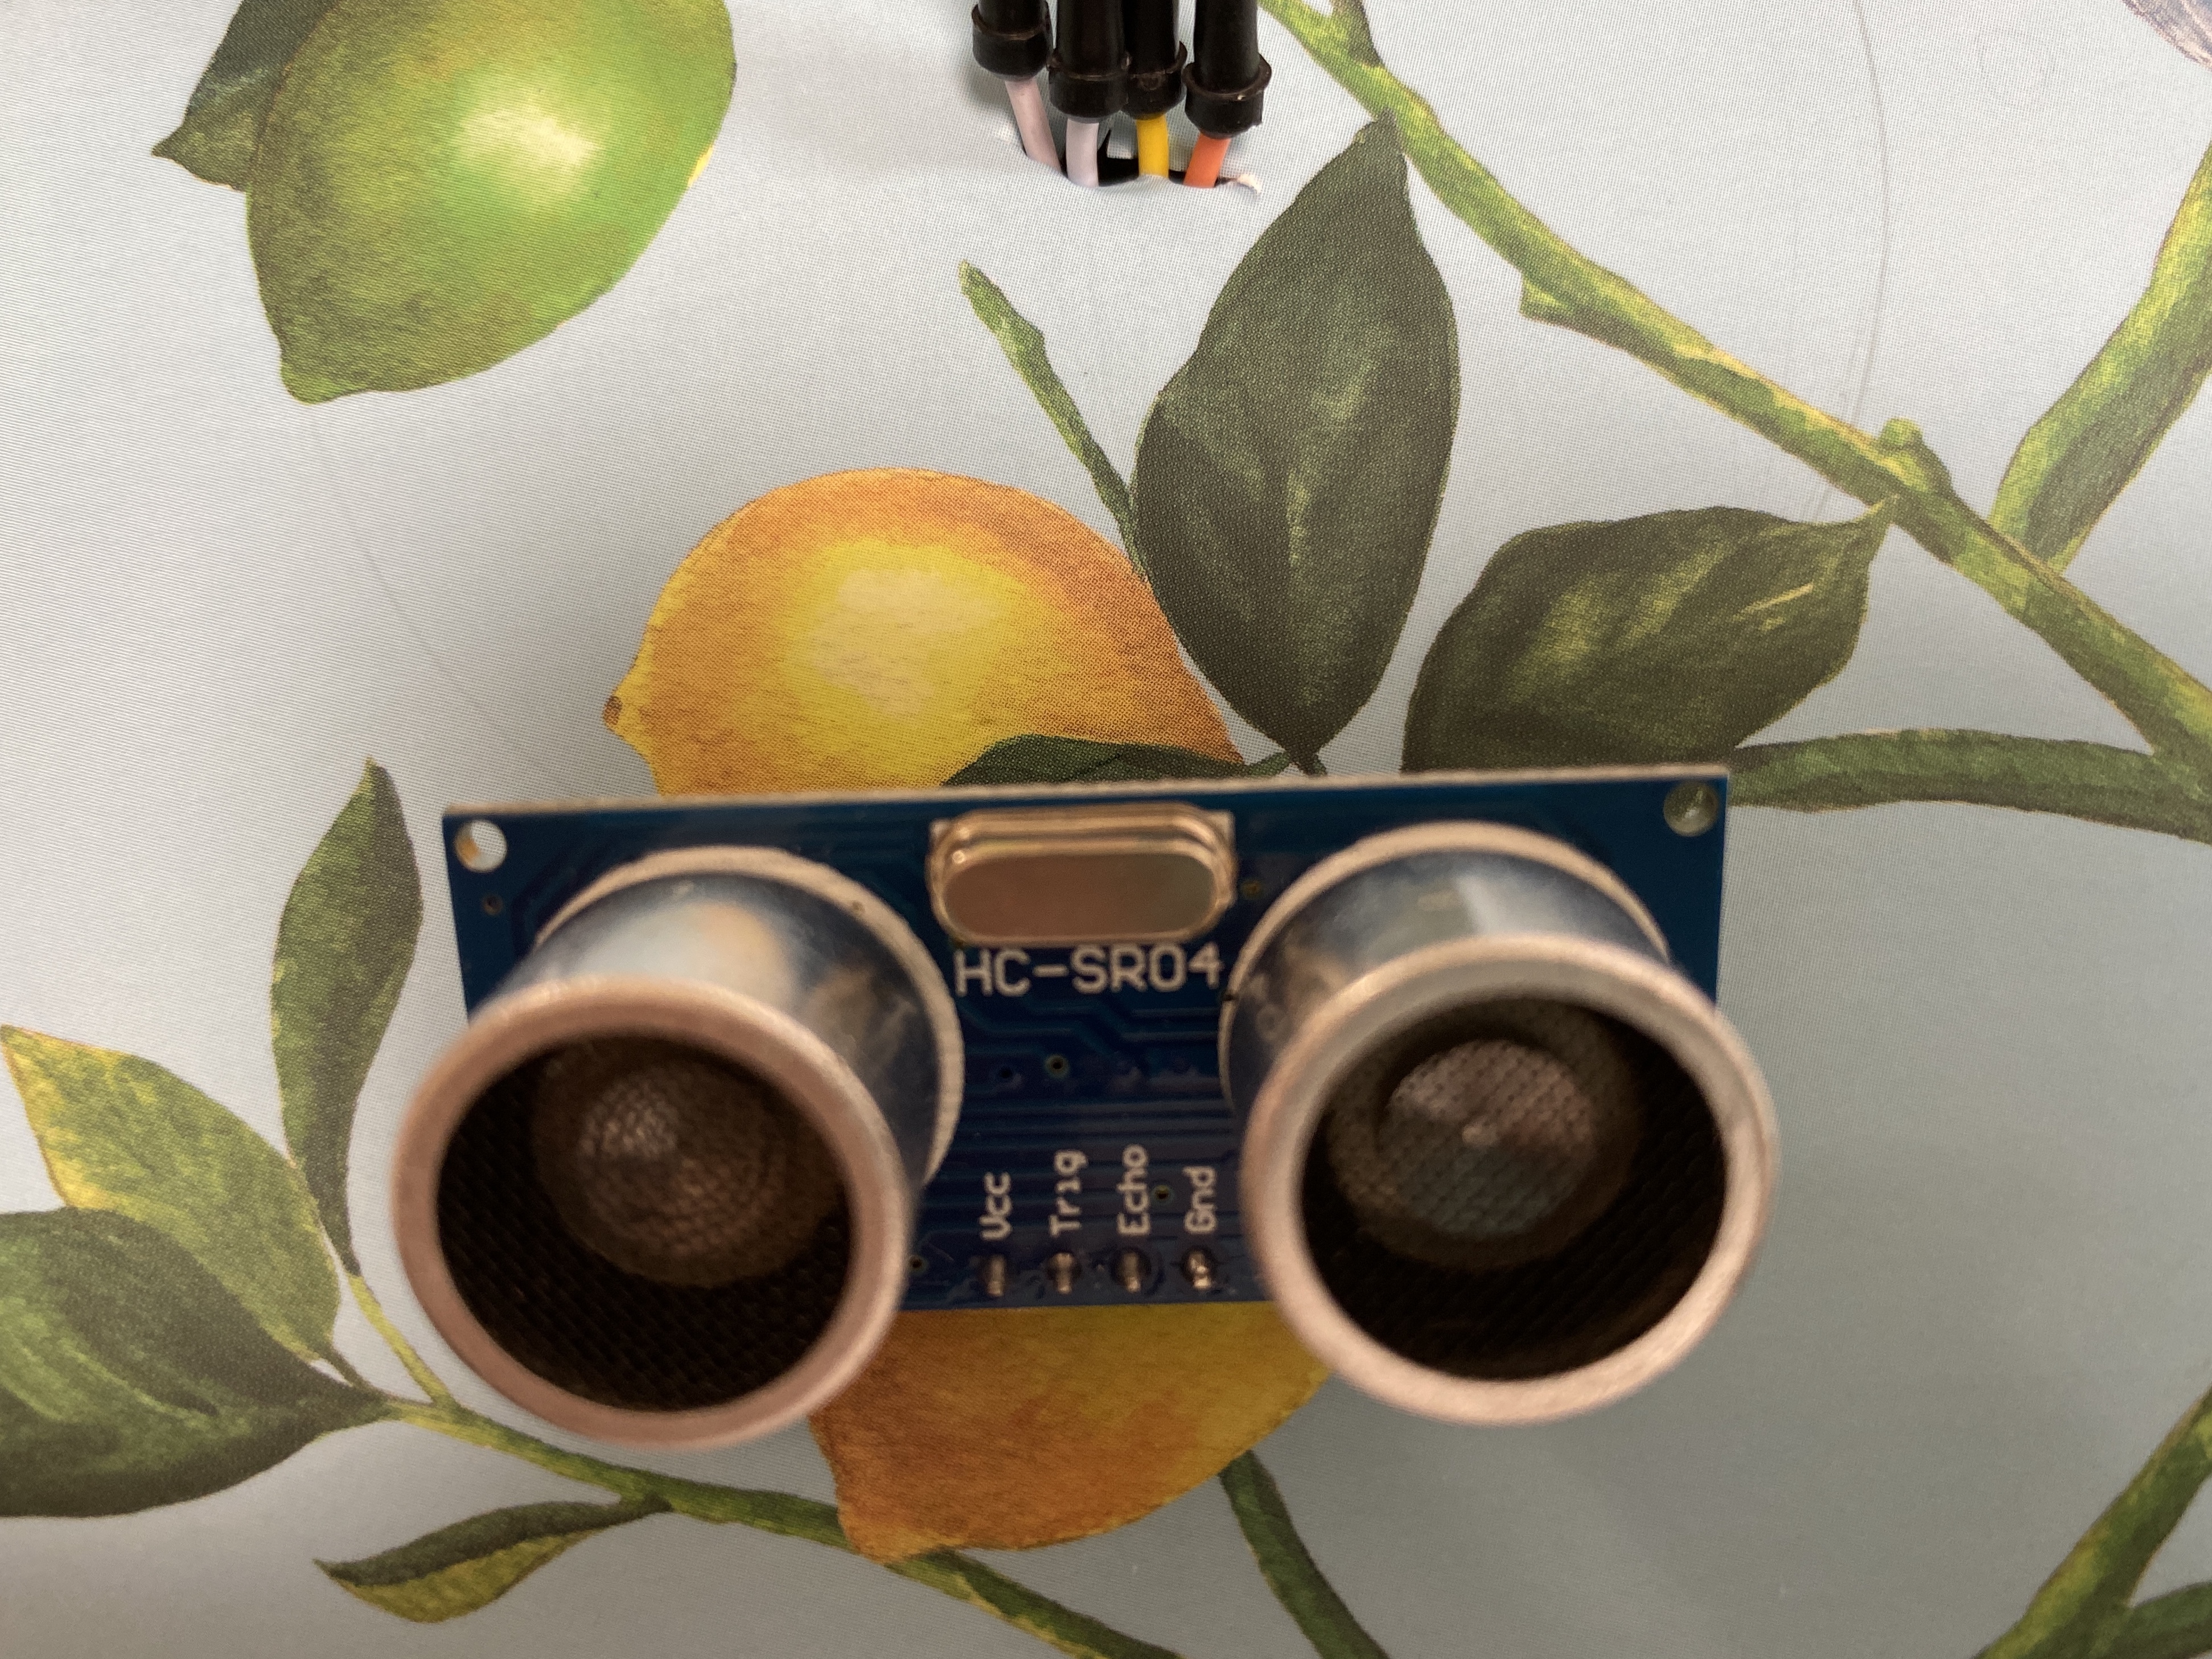
- An HC-SR04 ultrasonic sensor
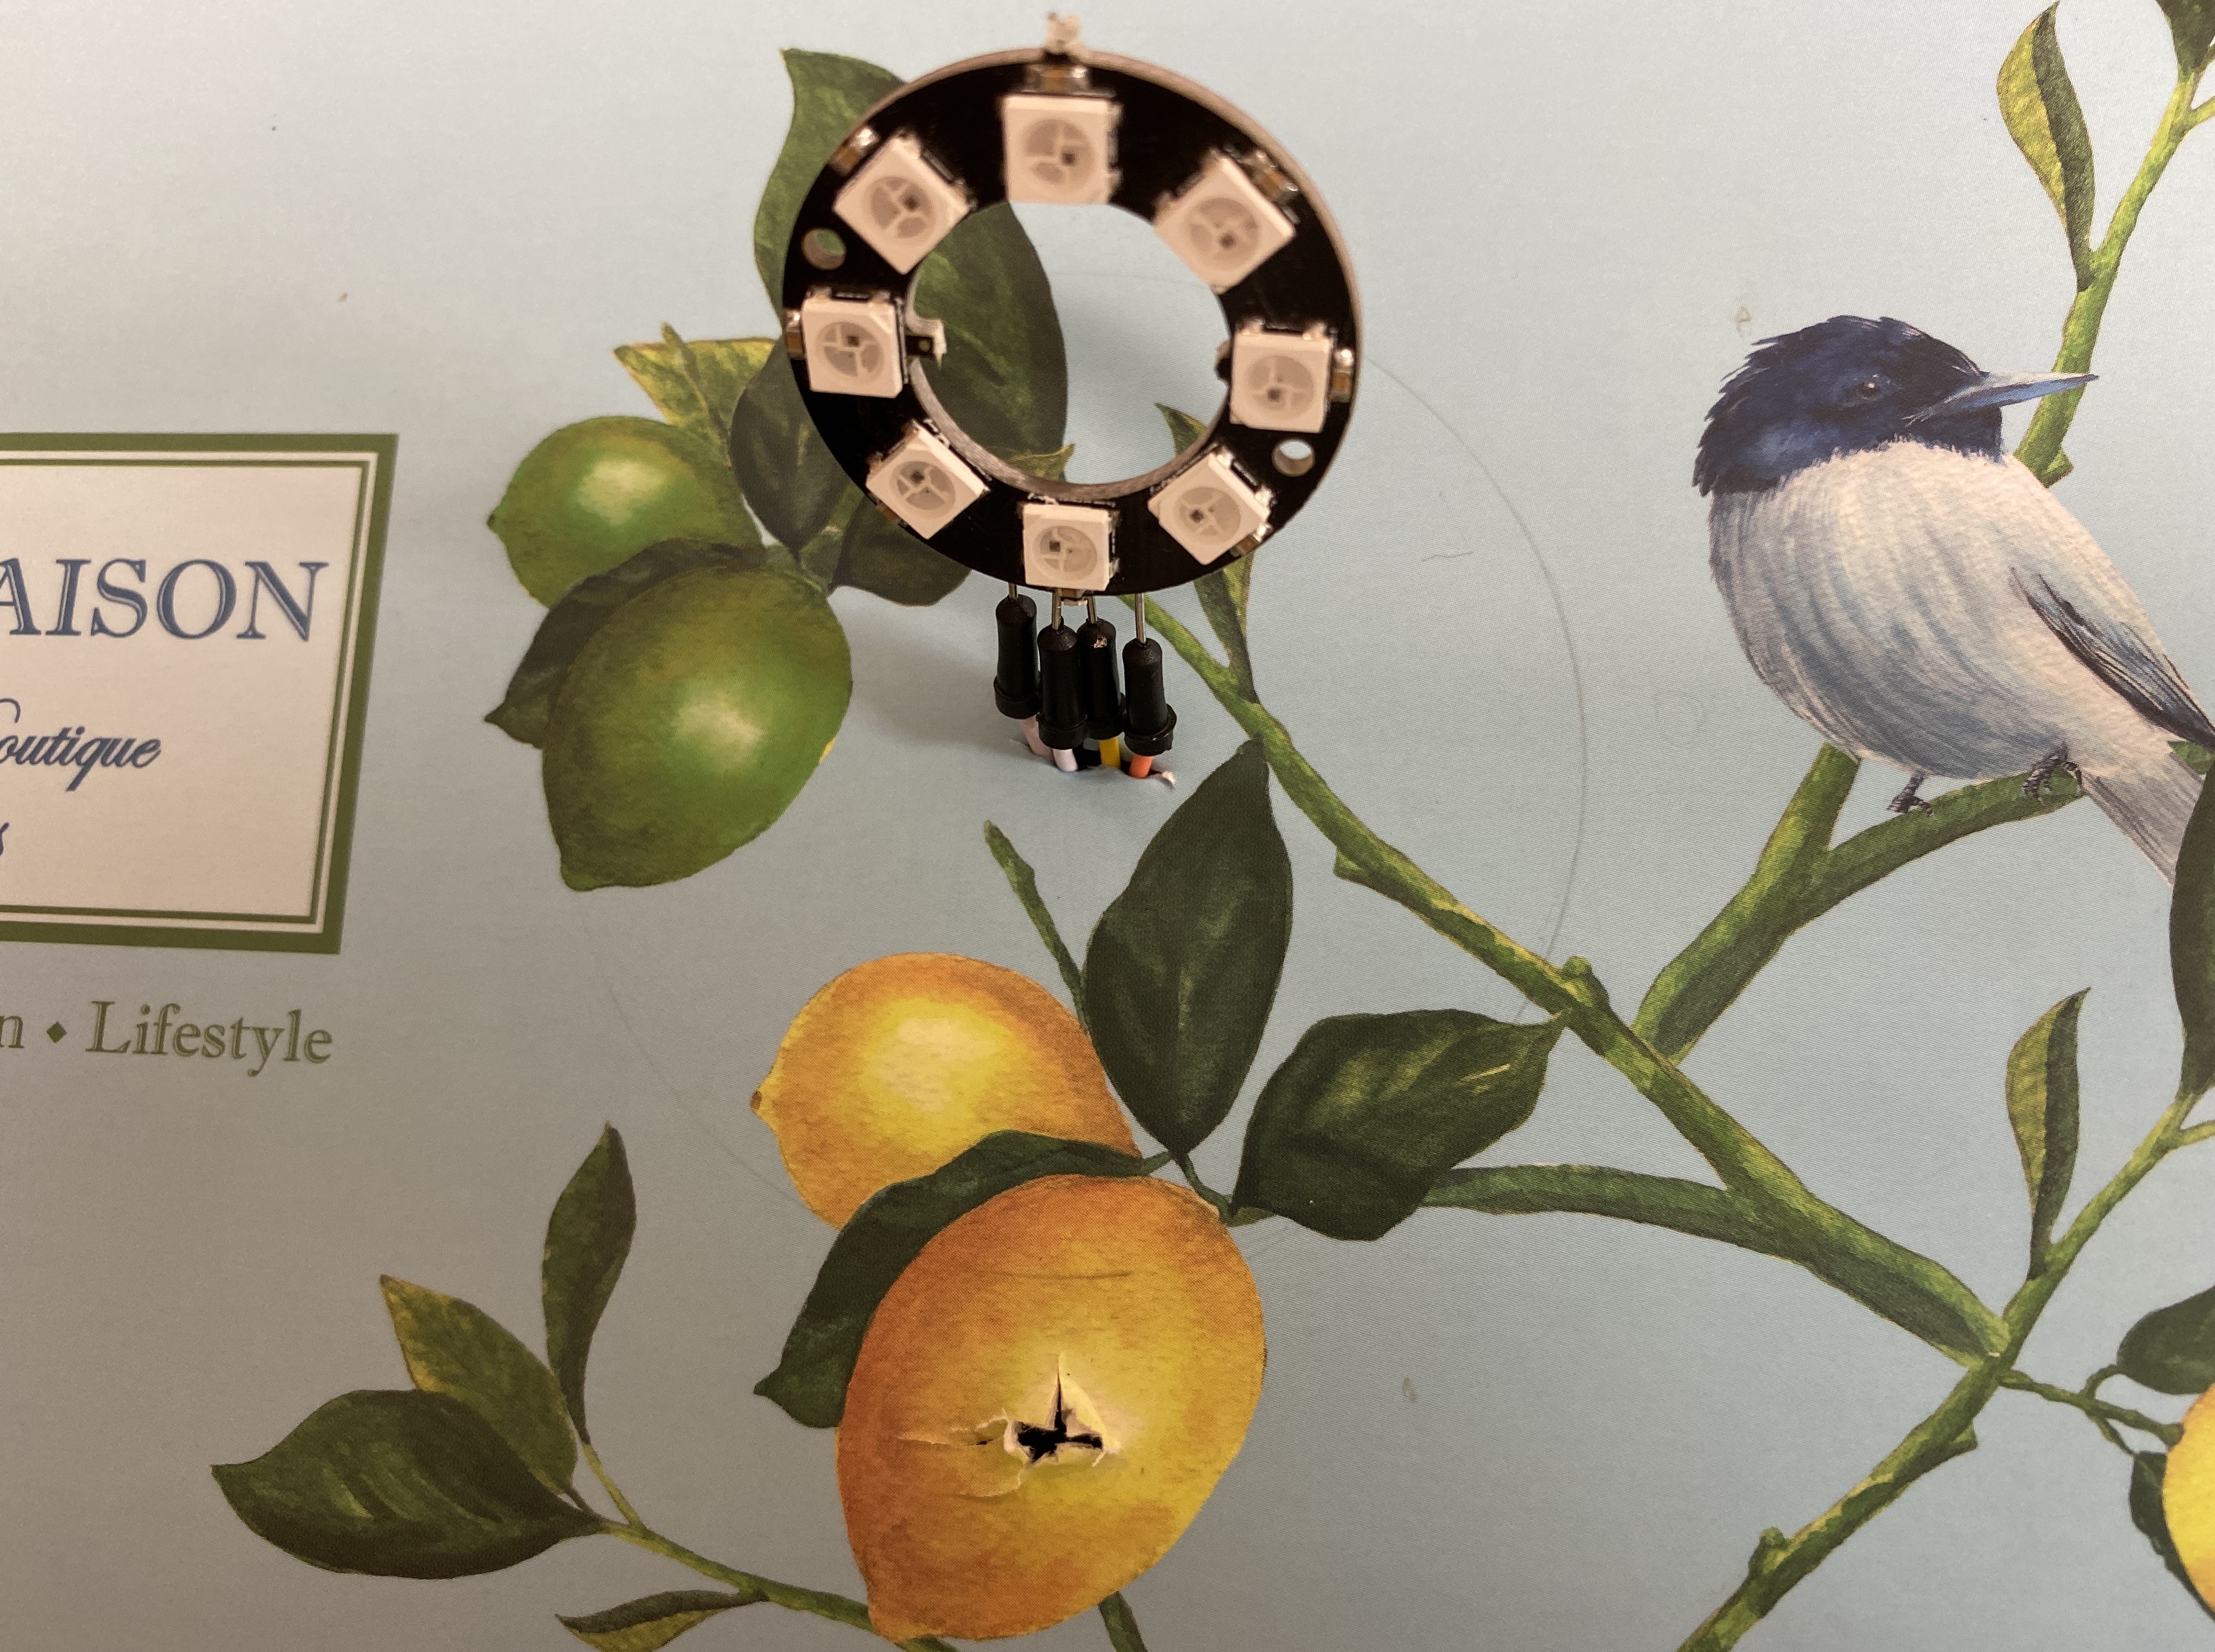
- RGB LED ring(I used a neopixel ring with 8 LEDs)
(You might also need an electric iron and some solder in order to weld the cables to the LED ring.)
(Optional) a Box/case for Your Distance Sensor
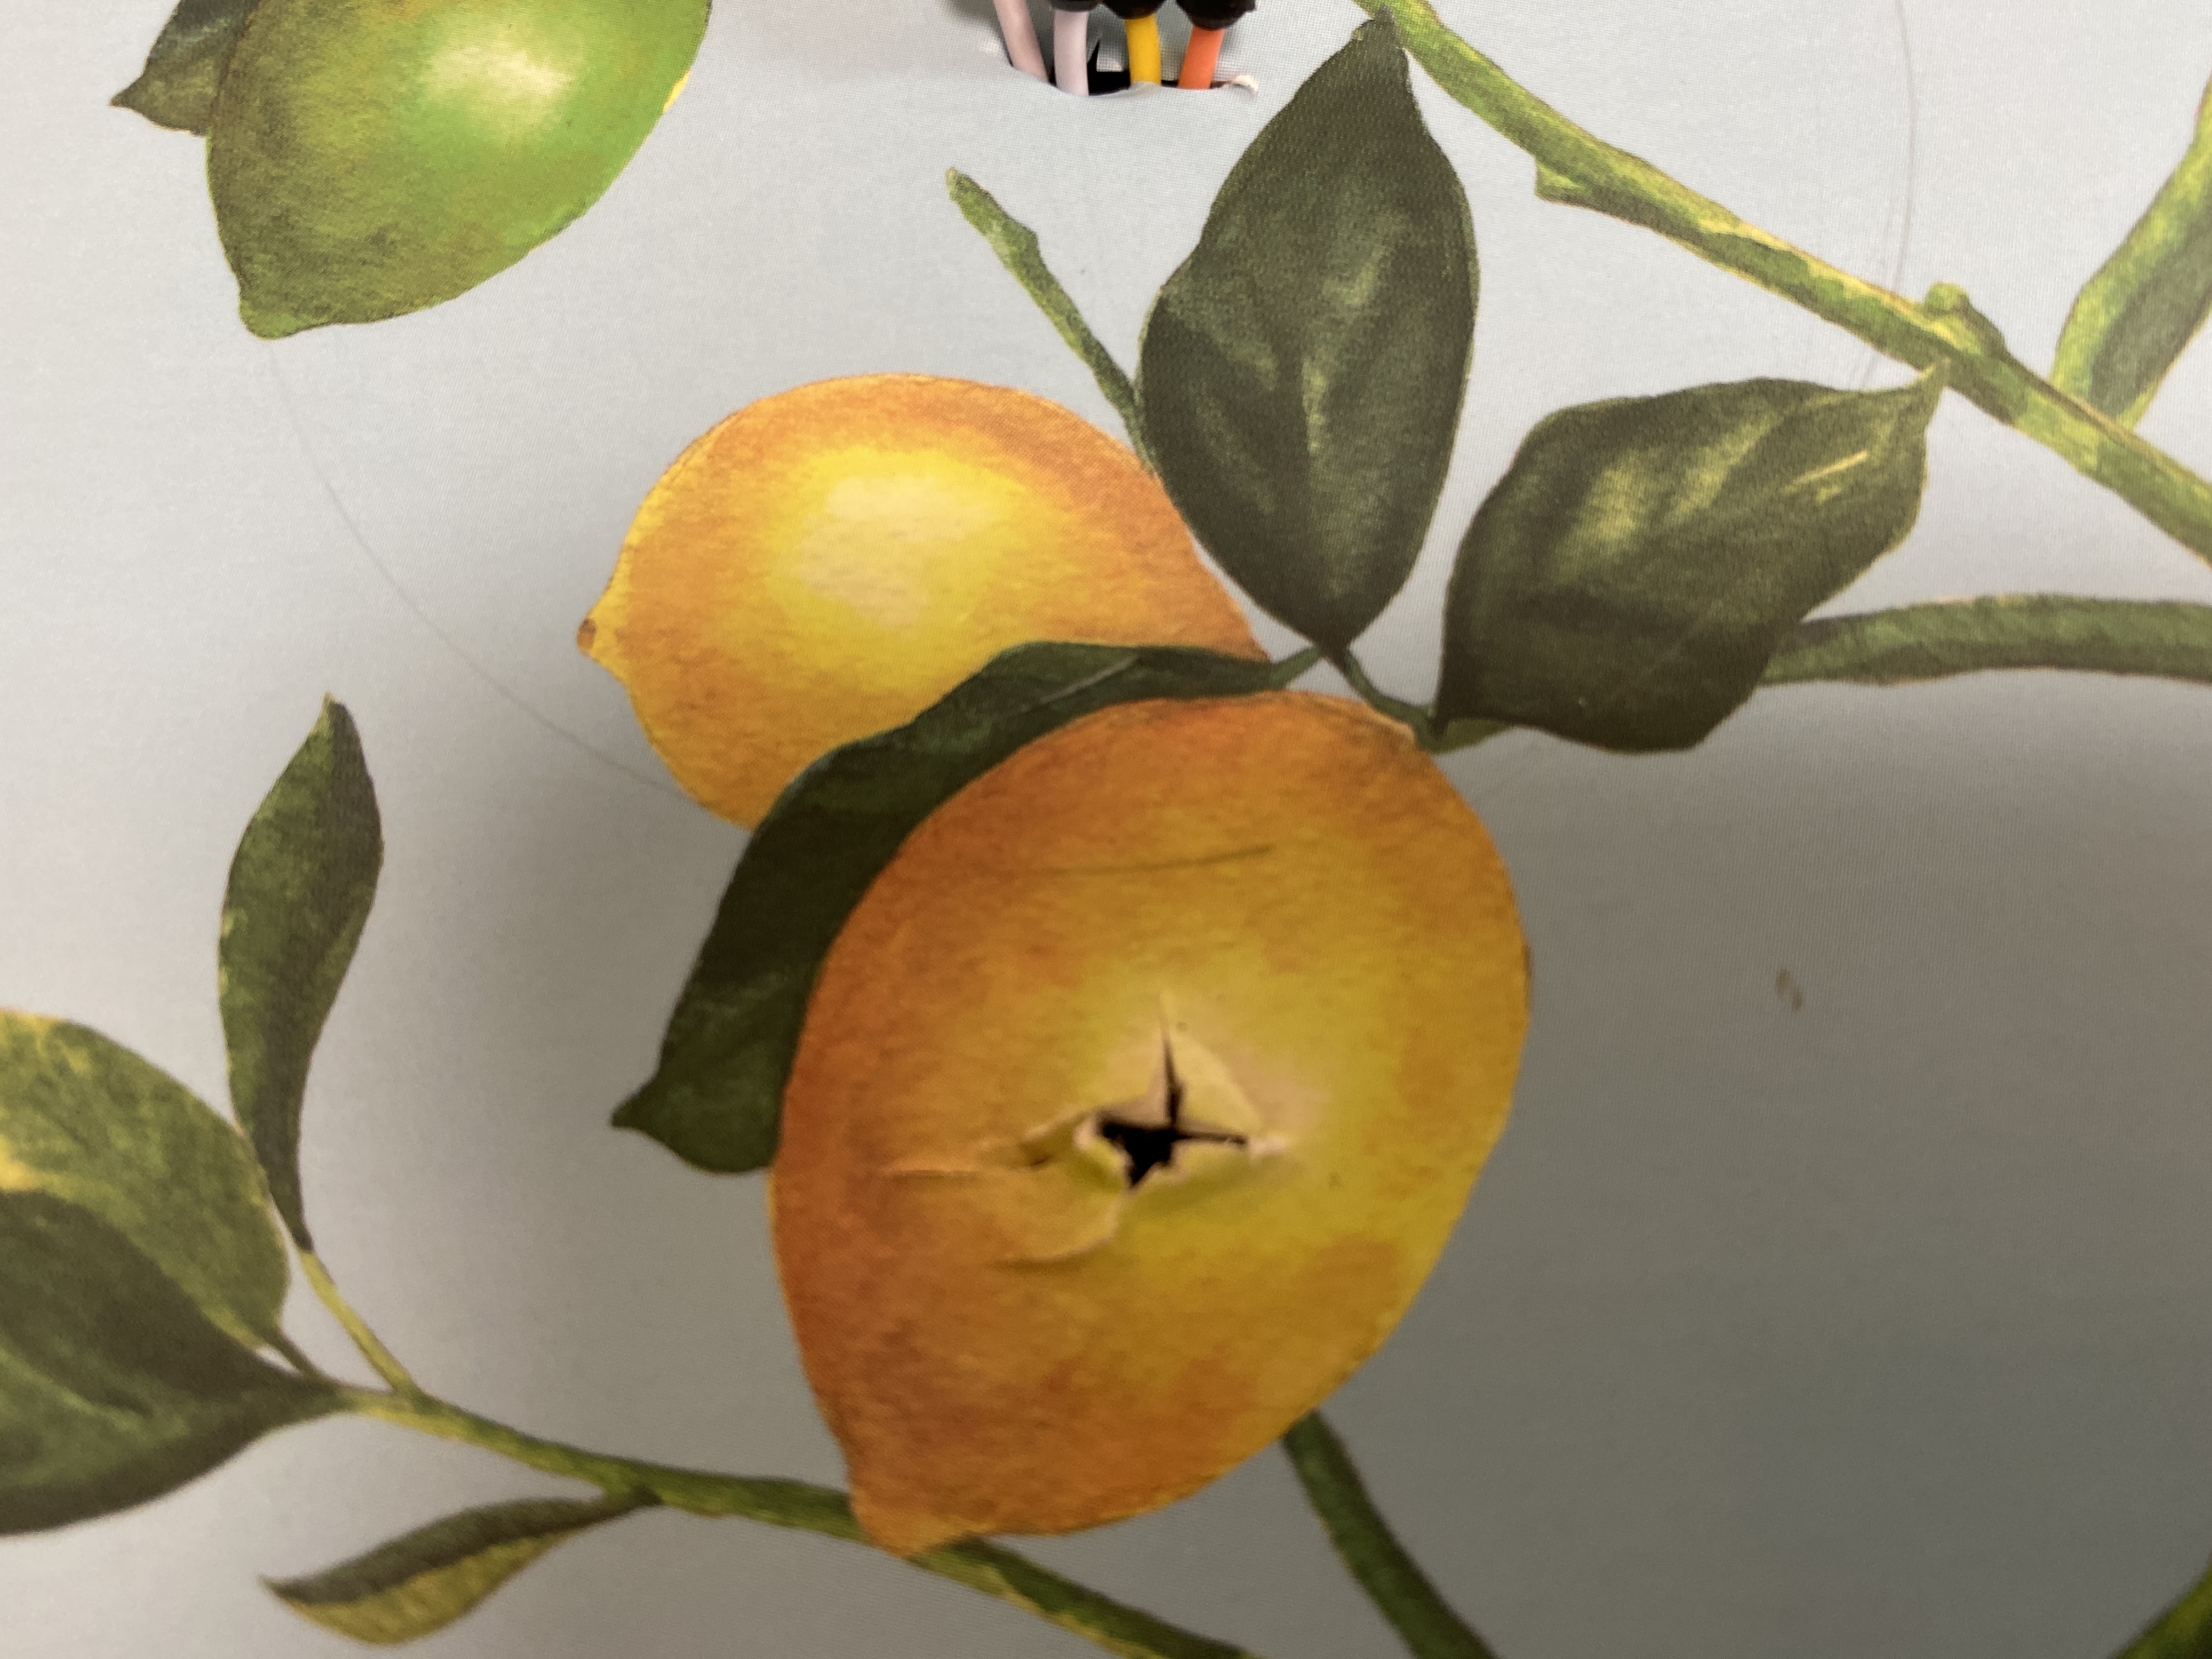
(This isn't needed.)
I found a small paper box in my house, so I decided to use that to hide the circuits. Two holes are cut at the top of the box, so the LED Ring and the ultrasonic sensor can get out. Make sure to cut a hole to let the power cable pass.
Connect the LED Ring Onto the Board
*(Step 2 and 3 can be switched if needed.)
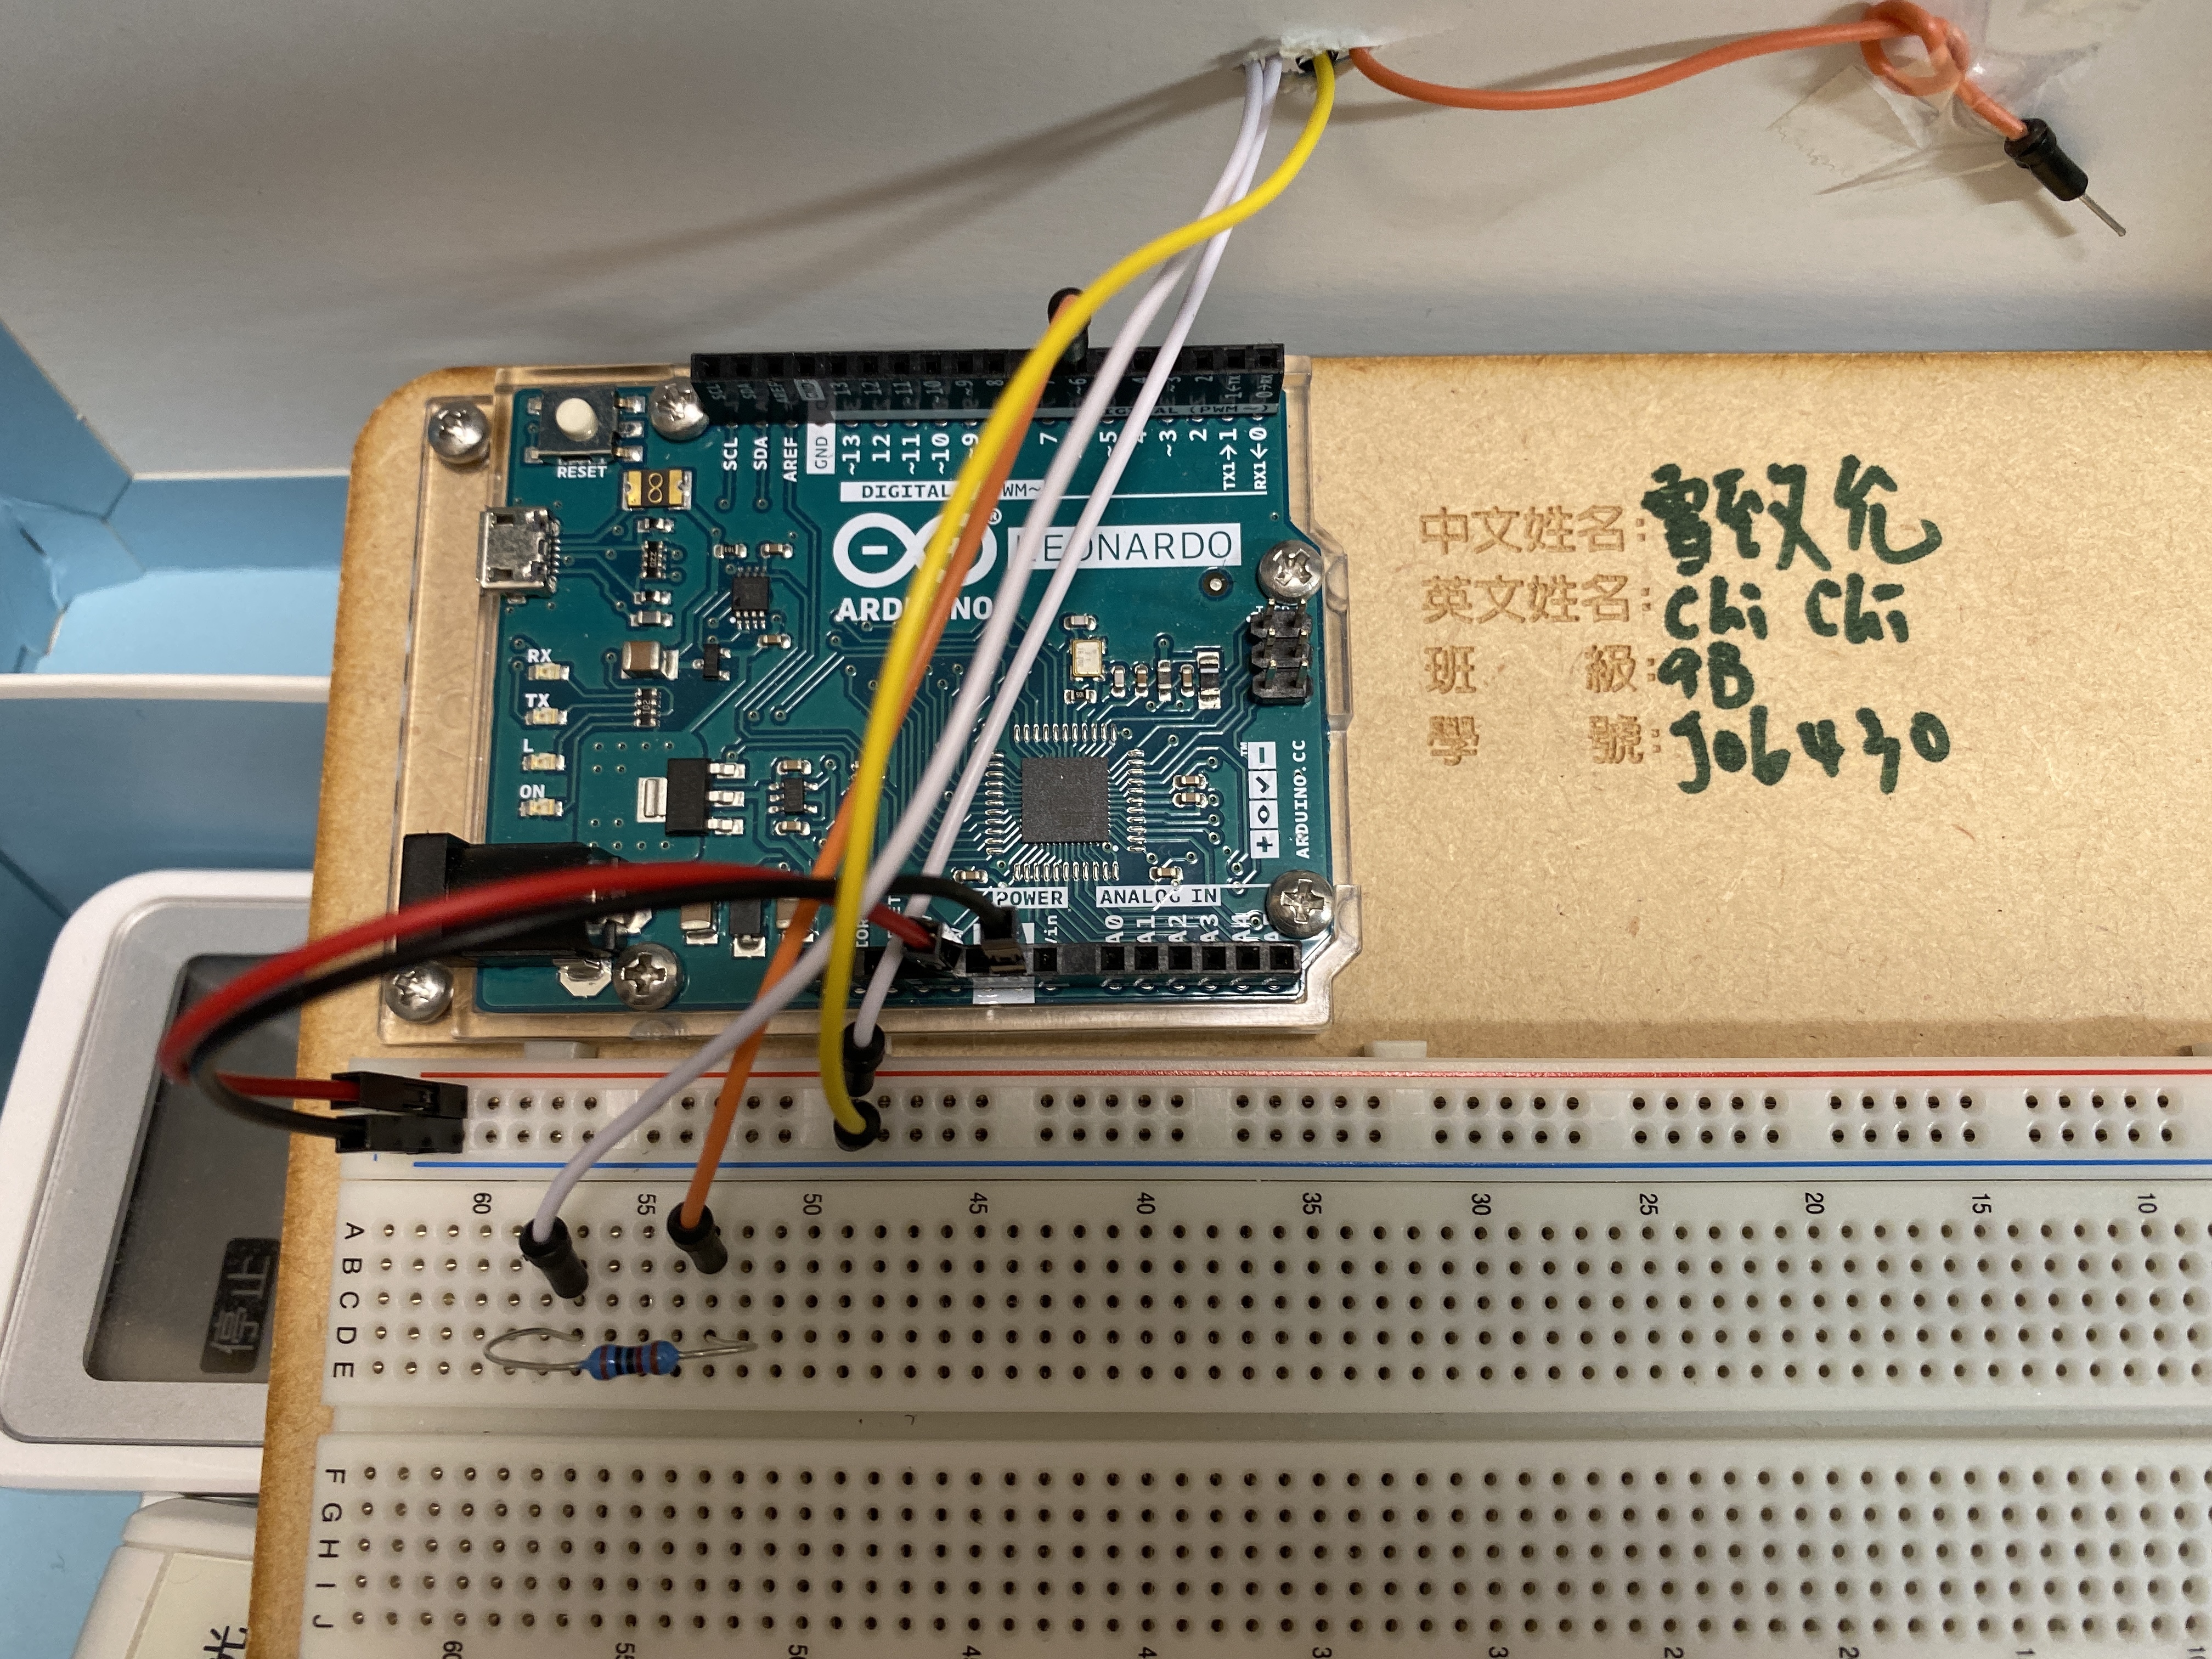
First, the cables should be welded on the ports on the LED ring. You will probably only need 5V, GND and DI on the ring.
Then connect the 5V, GND to the correct ports on the breadboard. 5V represents positive( + ), and GND represents negative( - ). The DI should be connected to D6.
Connect the Distance Sensor
*(Step 2 and 3 can be switched if needed.)
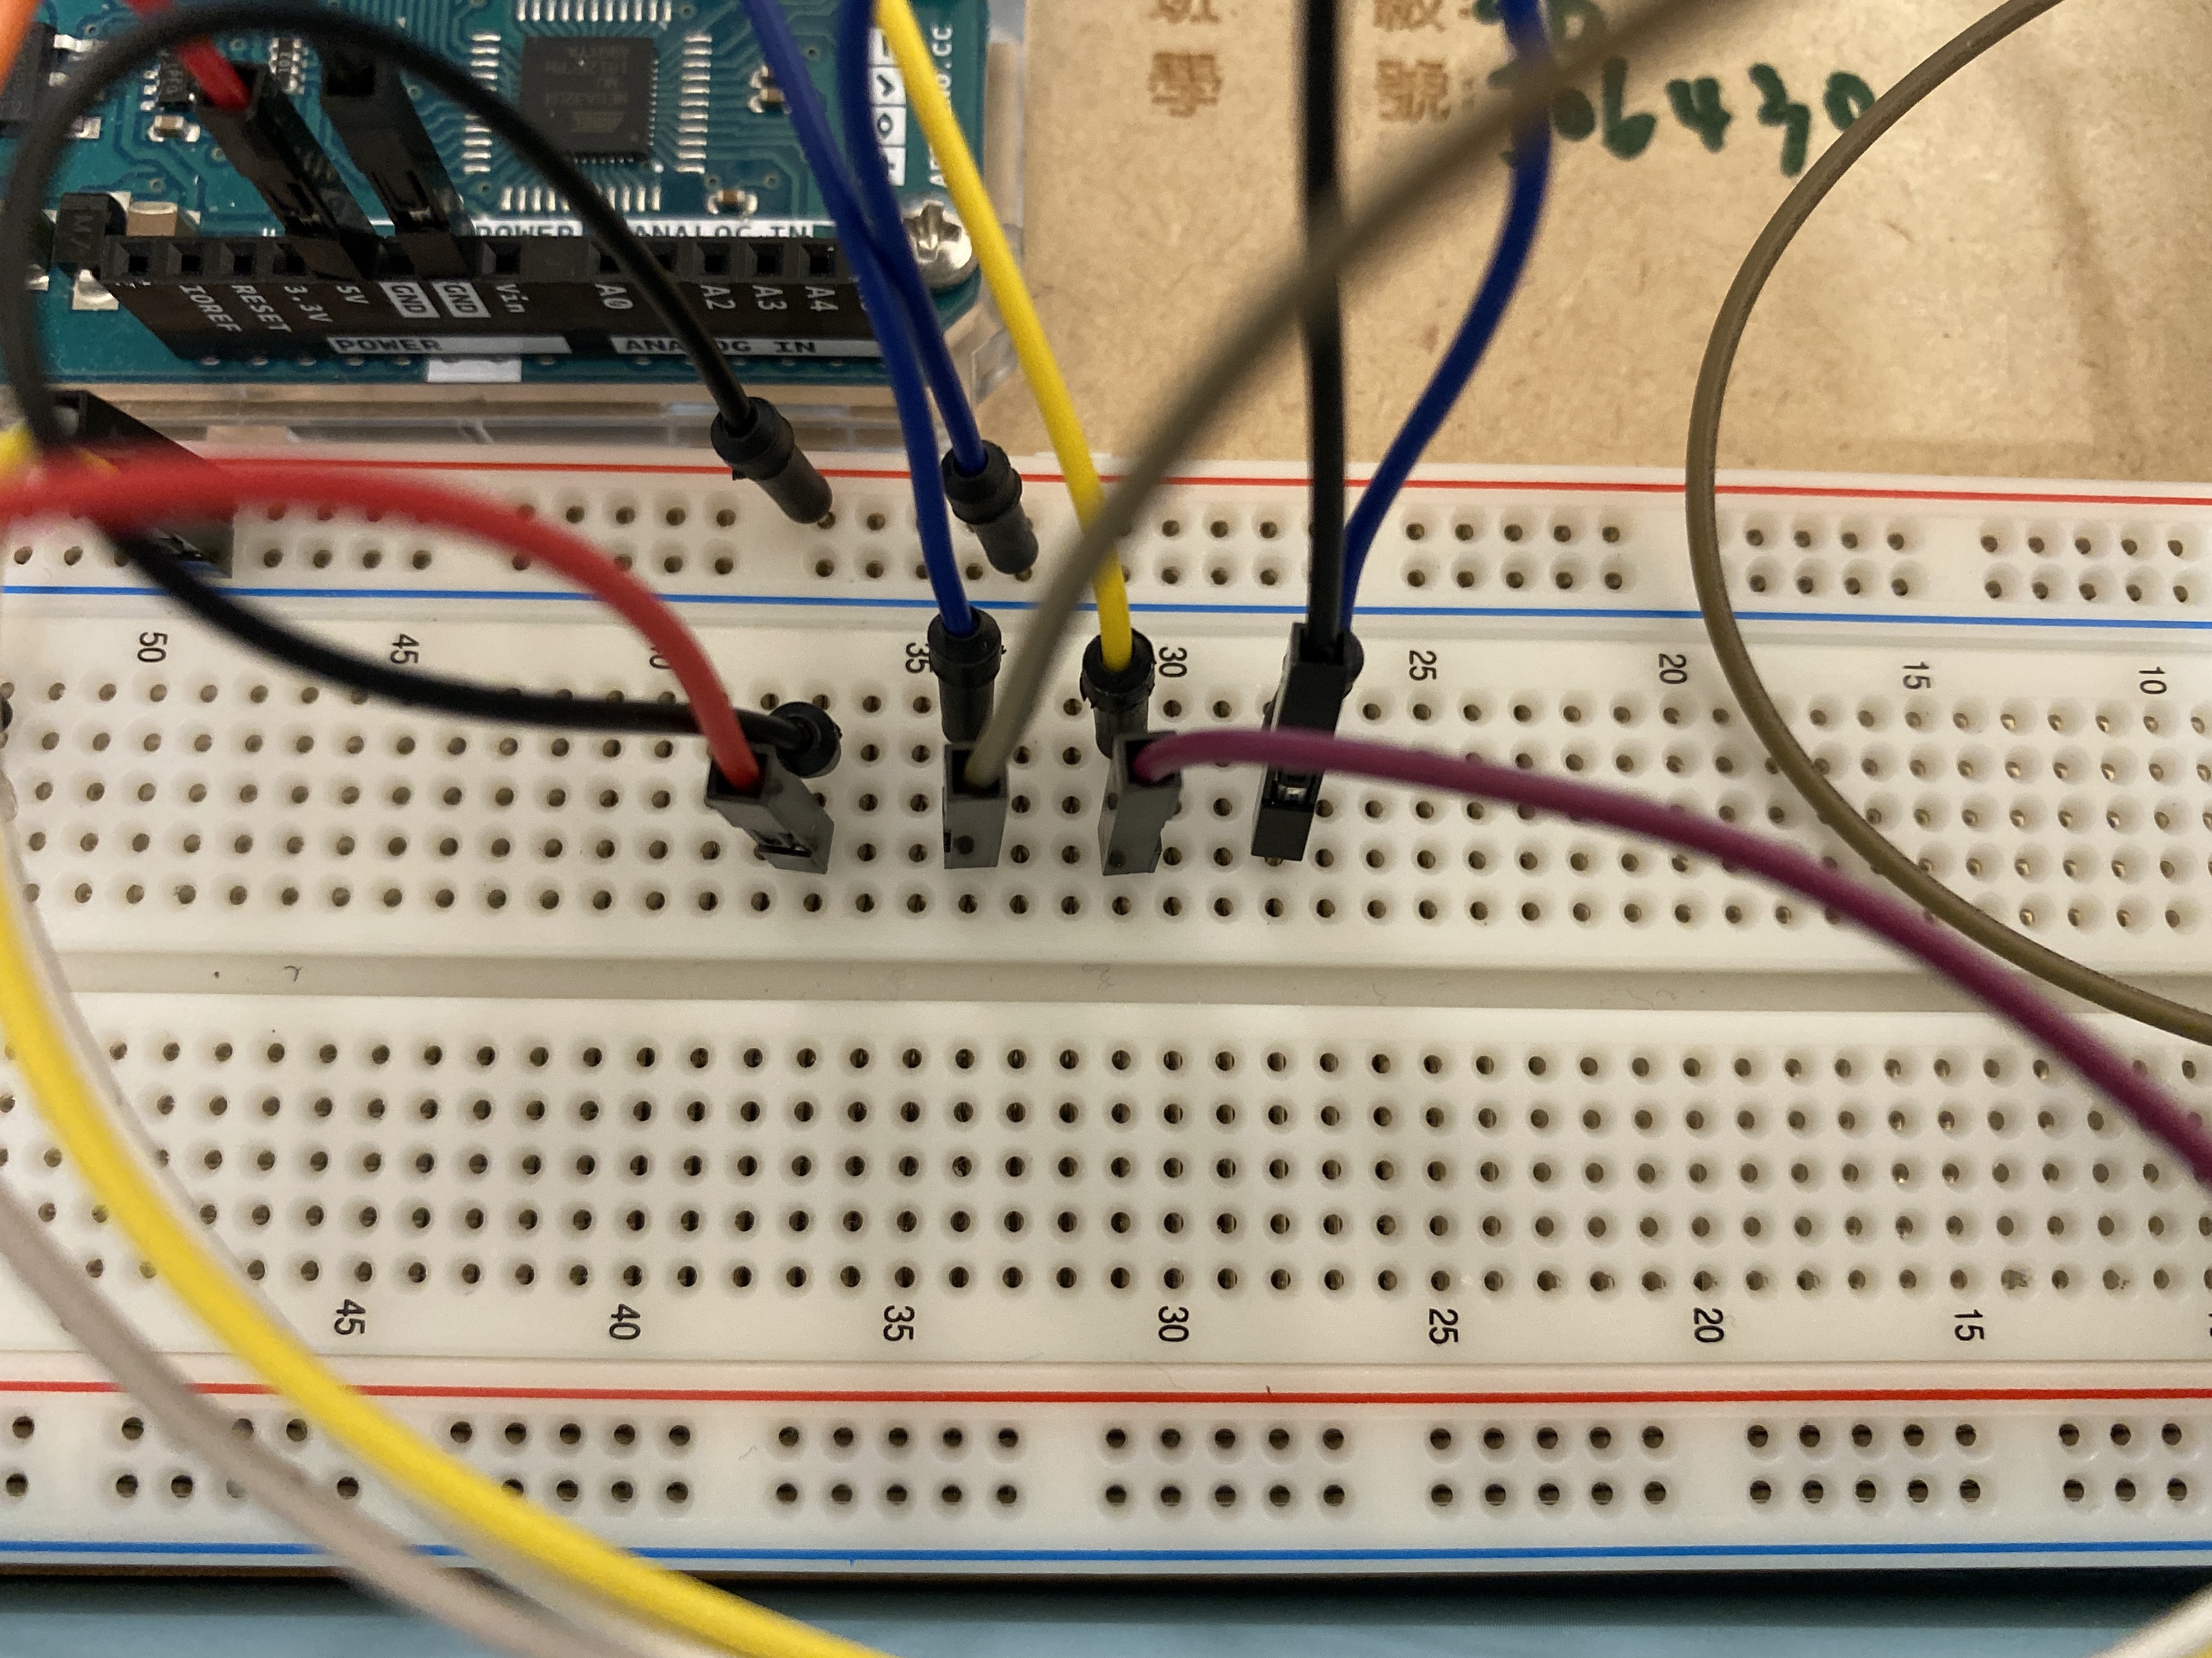
The next step is to connect the distance sensor to the Arduino board and the breadboard. Insert the distance sensor to the breadboard. The Vc should go to 5V, GND should go to GND, Trig should go to D7, and at last, Echo should go to D2.
After everything is set, it's time to operate the code!
The Code!
The code:
(If it can't be seen above, go to Ultrasonic Sensor with LED Ring)
The original code is from LED Ring Distance Sensor.
Time for Testing!
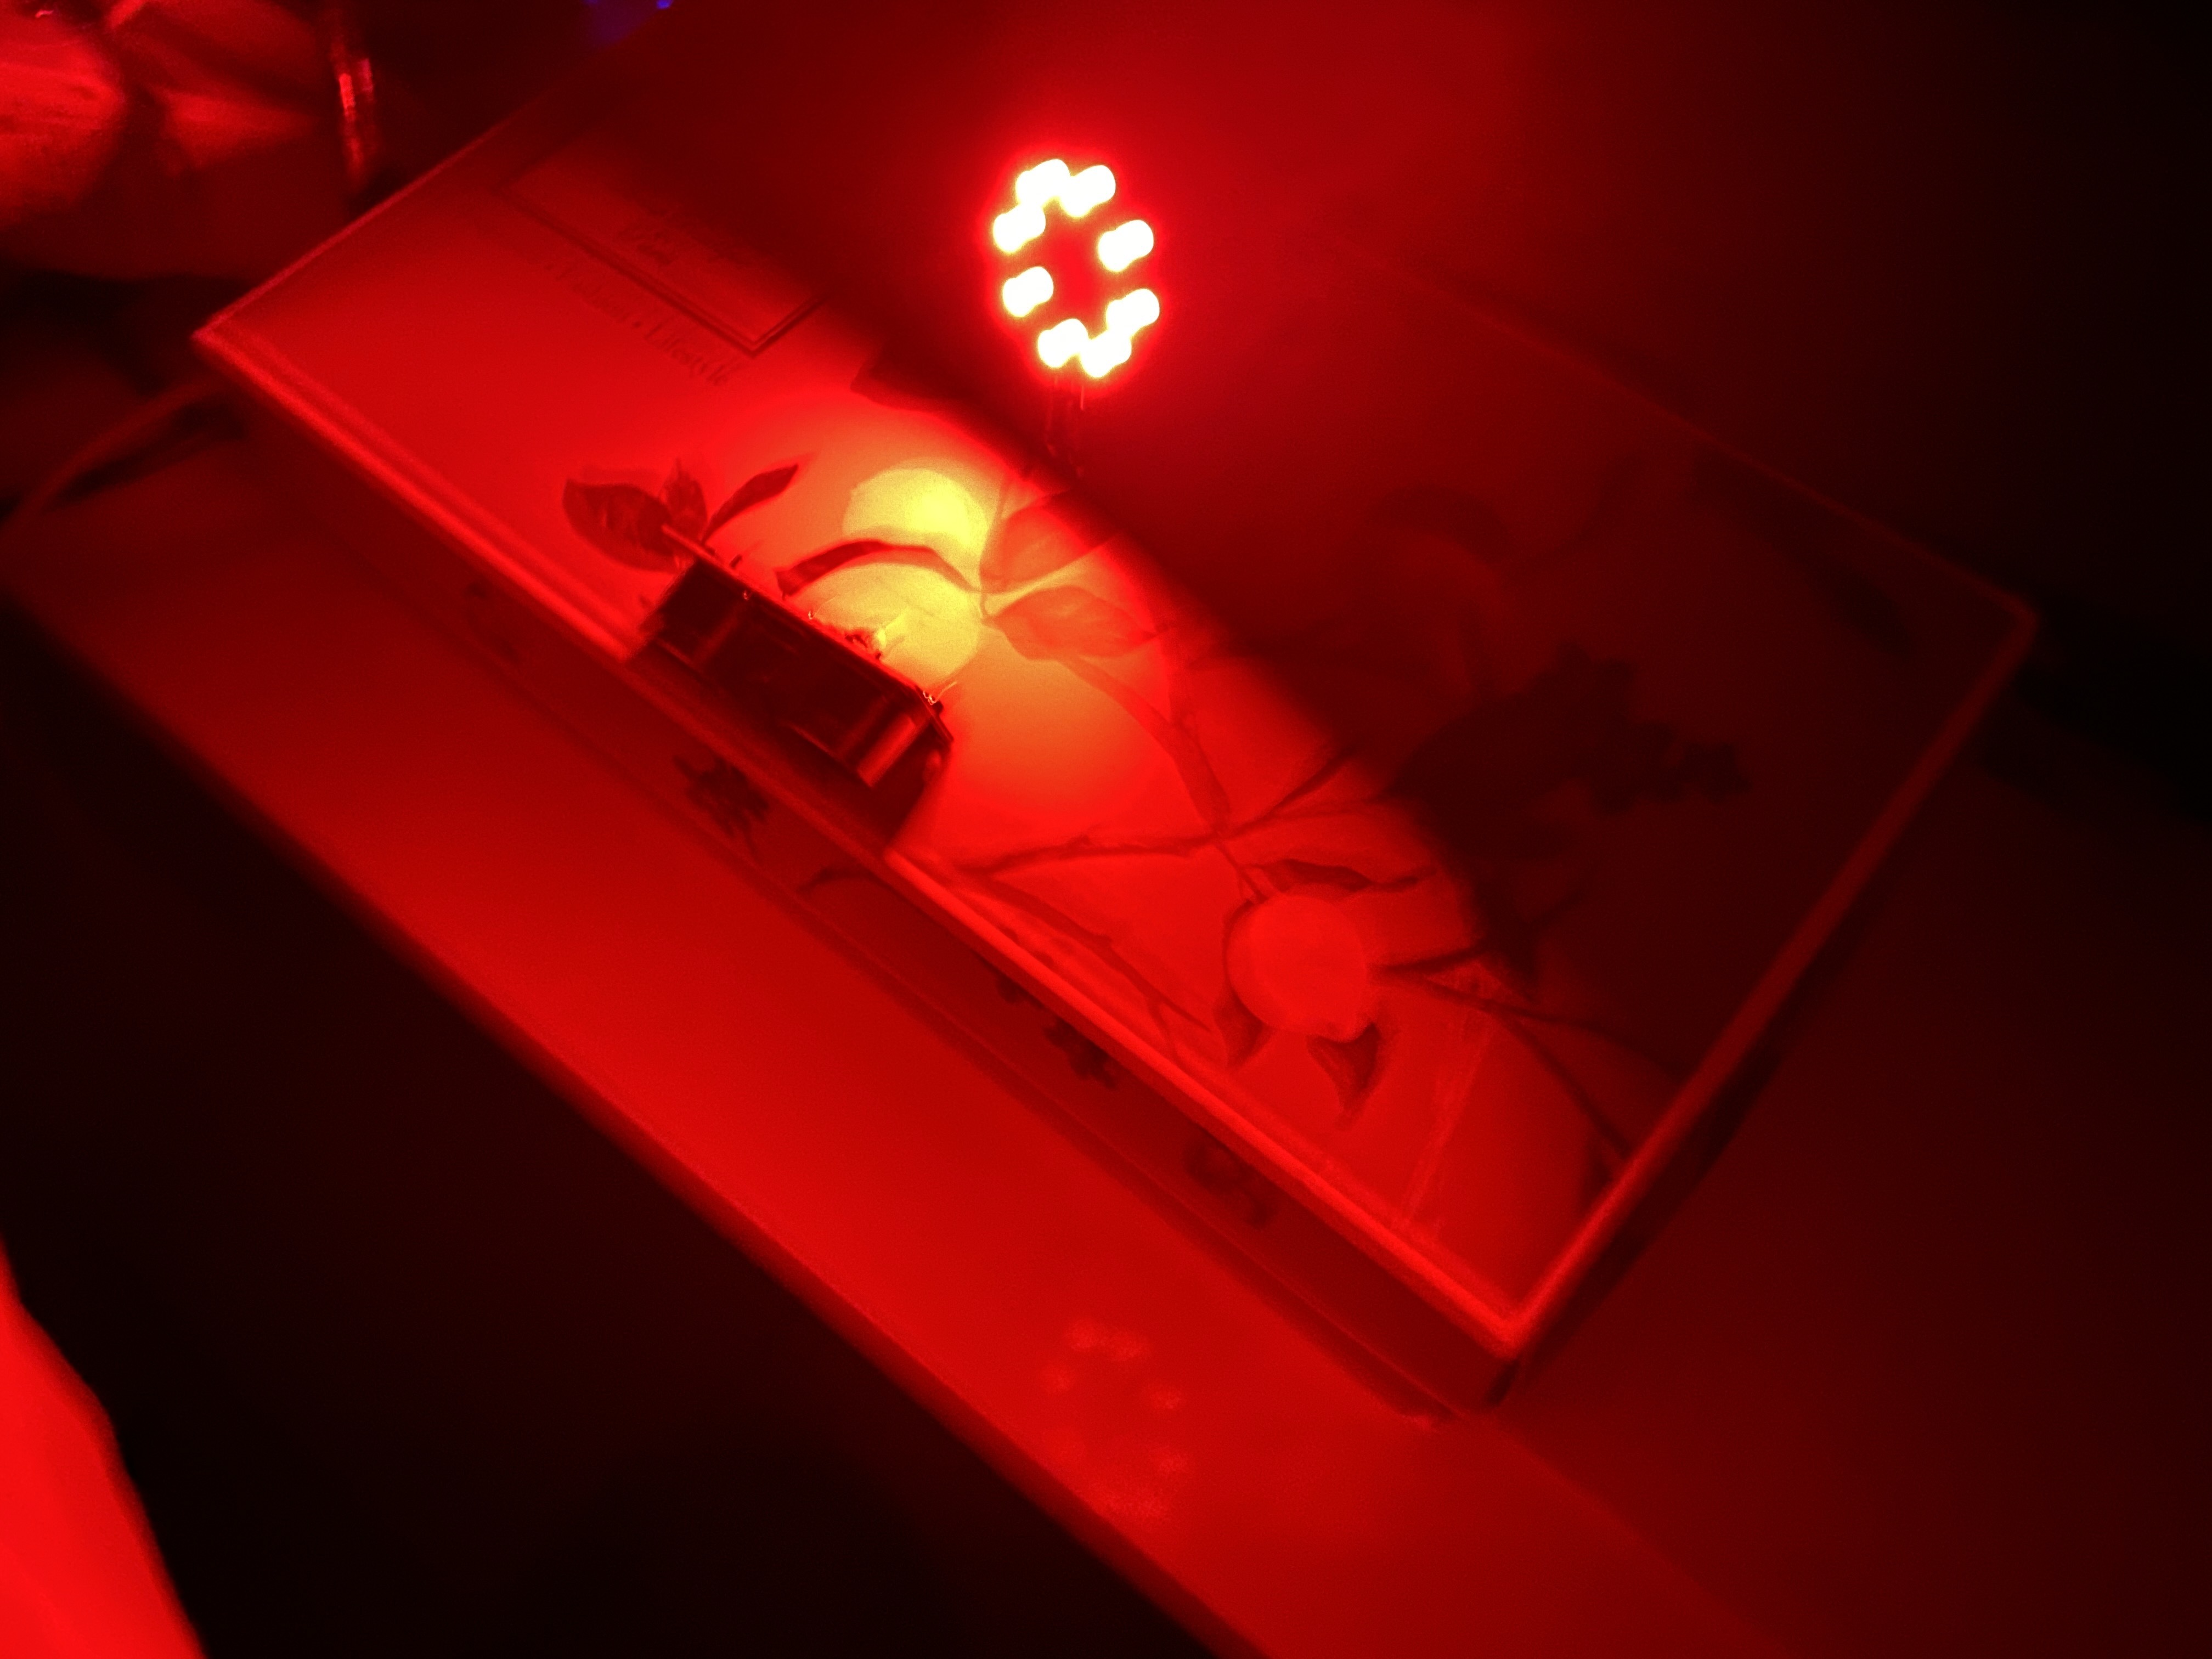
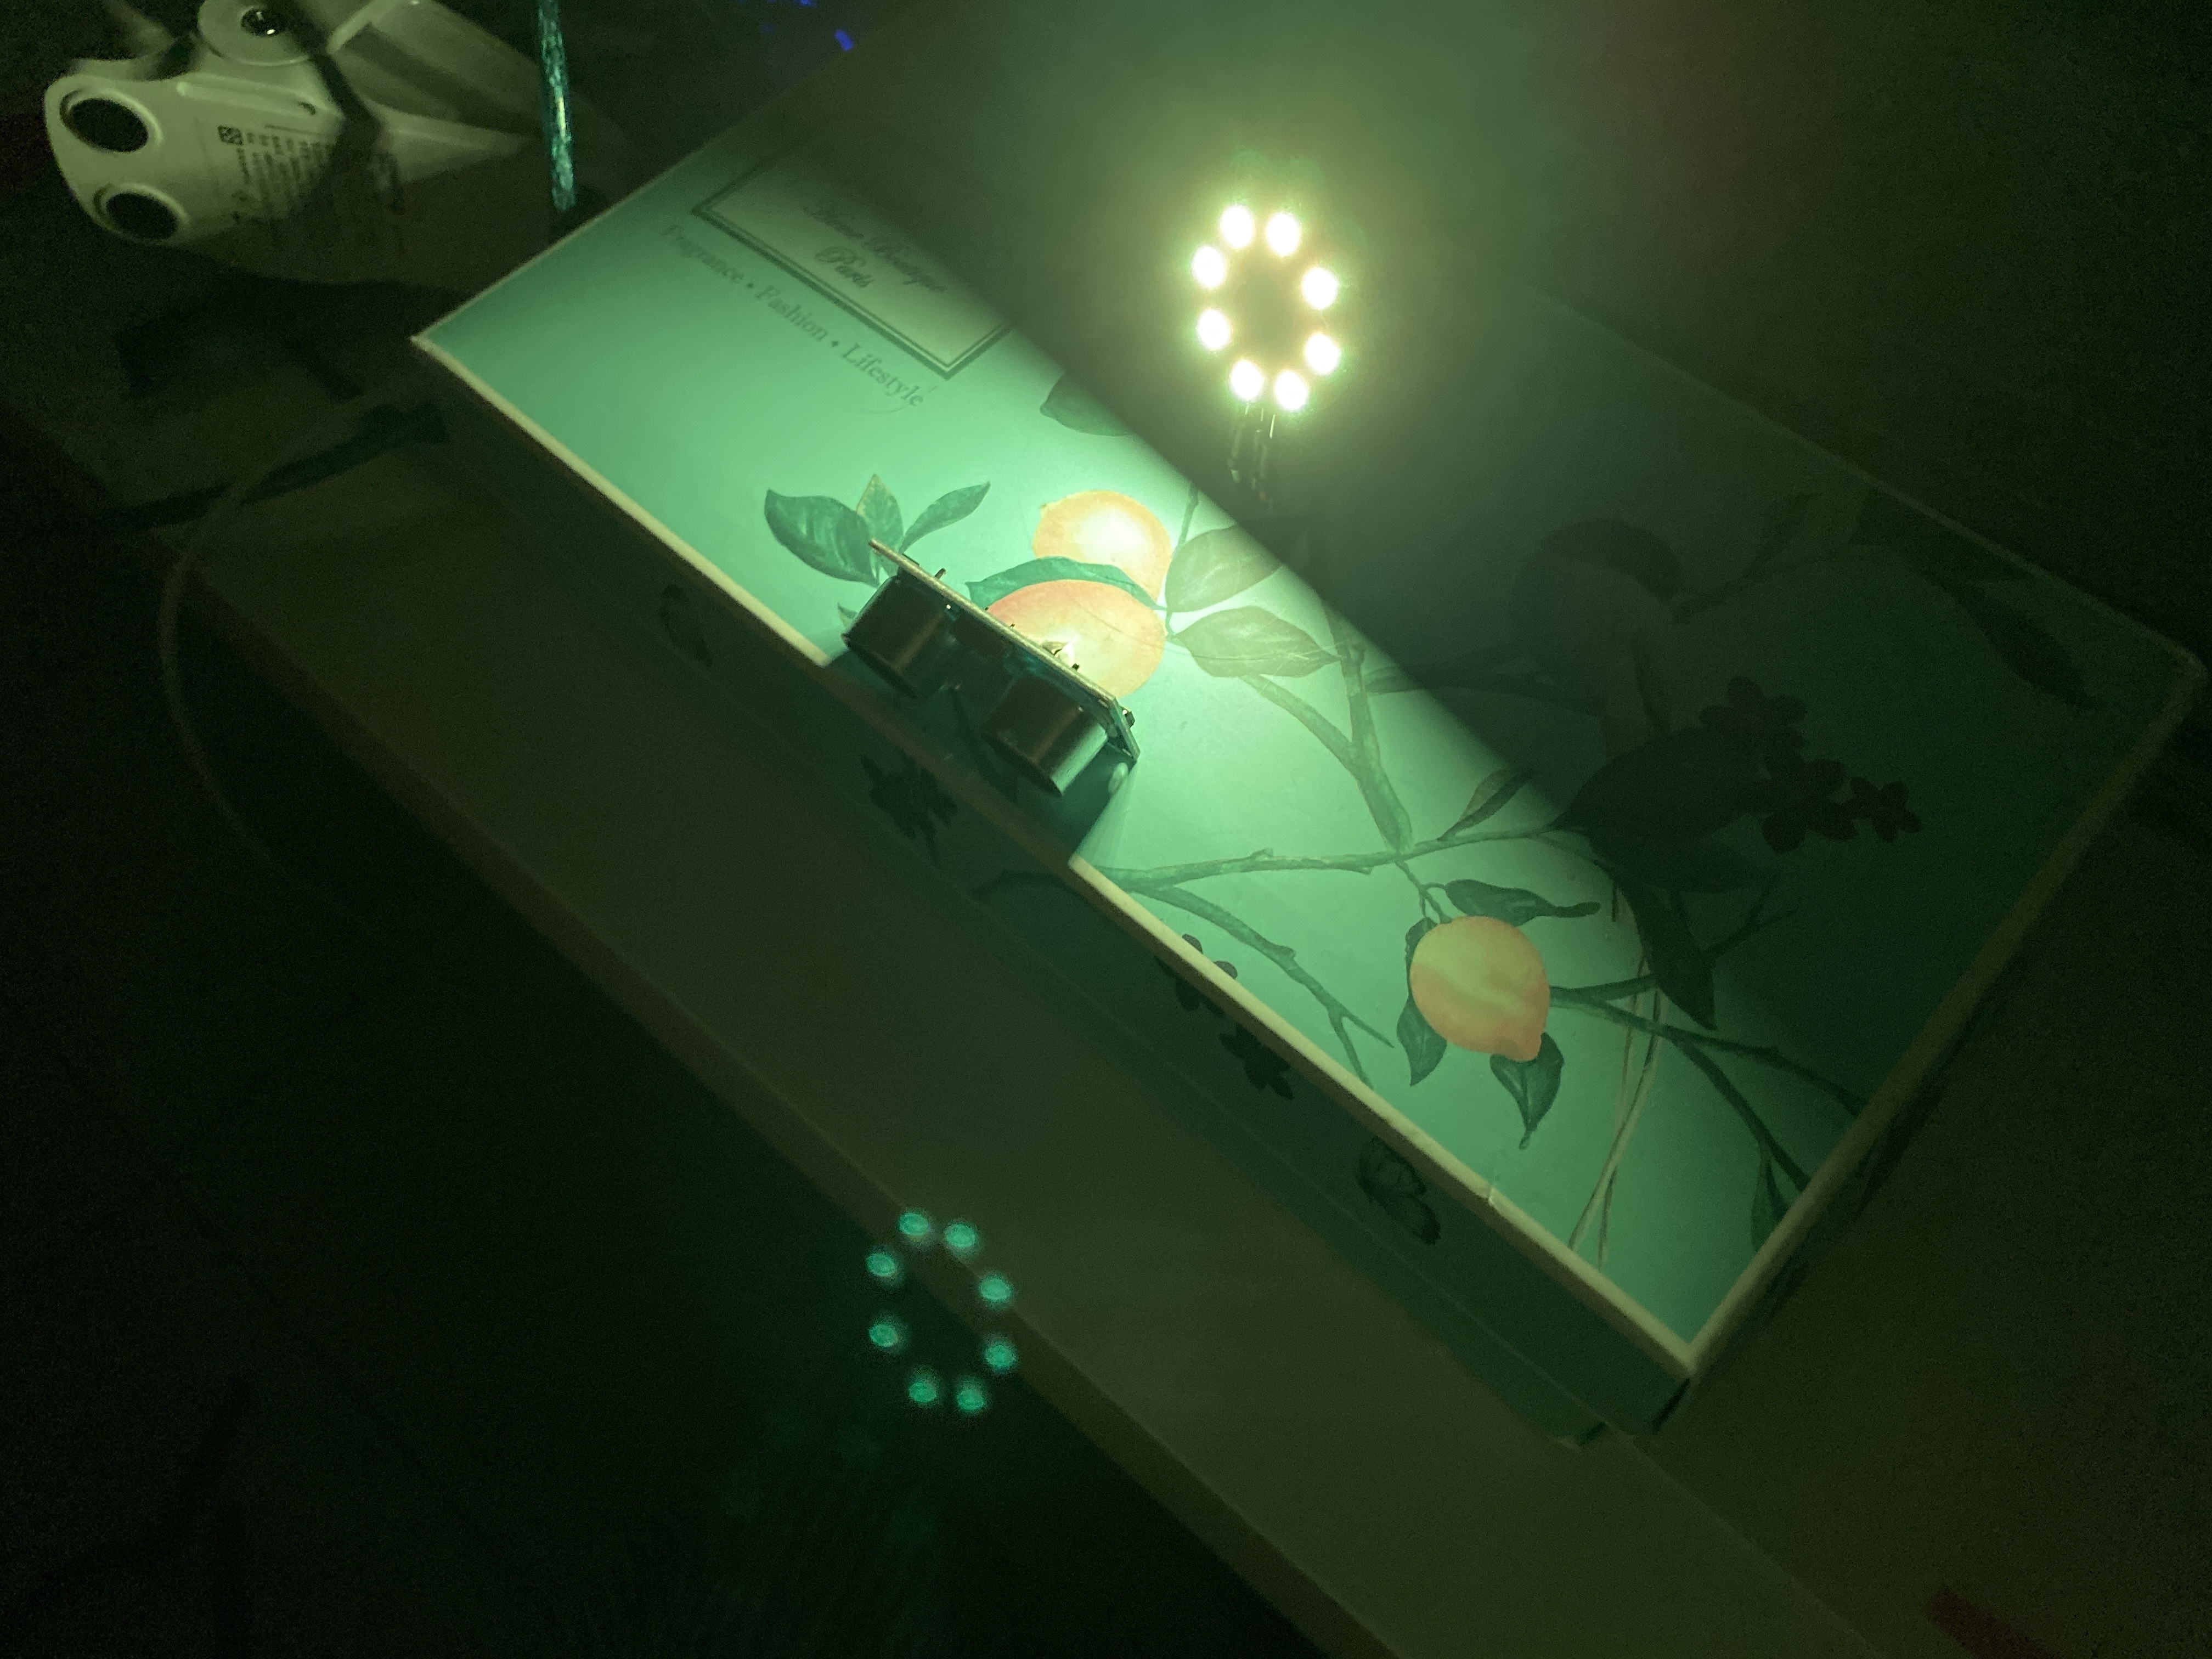
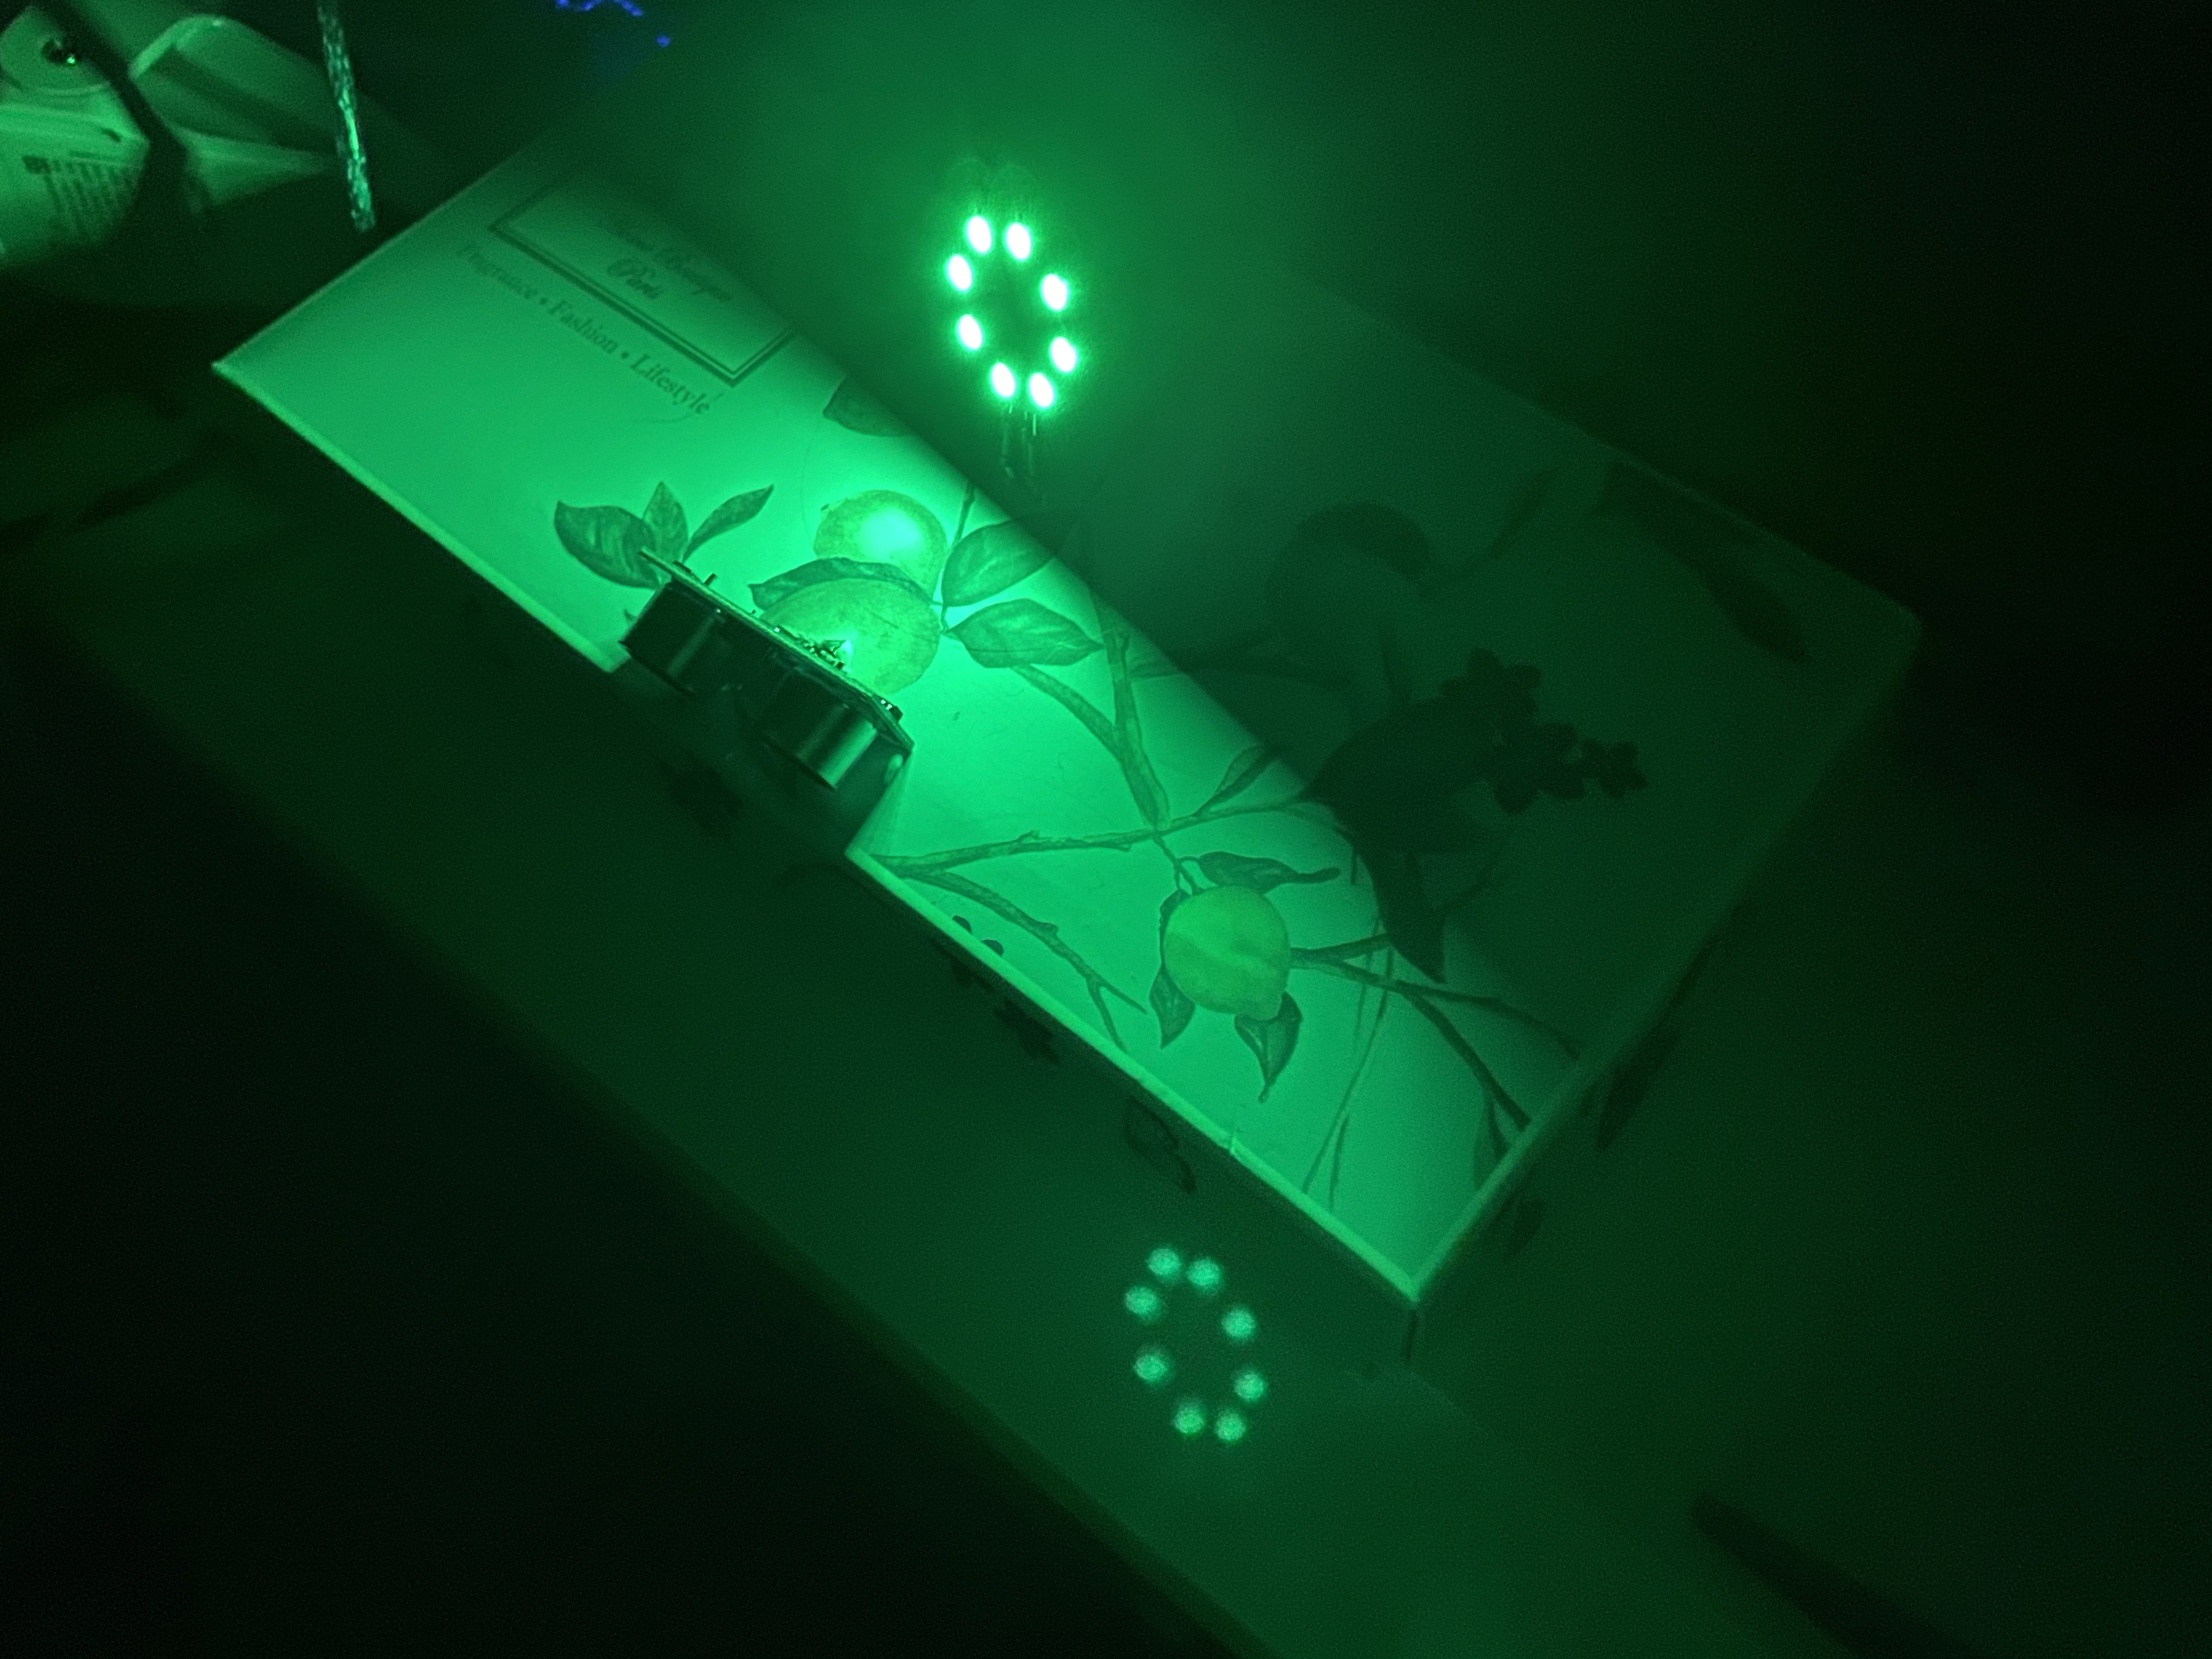
After uploading the code onto the Arduino board, it's time for testing! If an object is below five inches from the ultrasonic sensor, the color on the LED Ring should be red; If it's between five to ten inches, the color should be yellow; if it's more than ten inches, the color should be green.