Display Images on OLED Display | Ft. Instructables Robot
by Aarav G in Circuits > Arduino
8925 Views, 40 Favorites, 0 Comments
Display Images on OLED Display | Ft. Instructables Robot
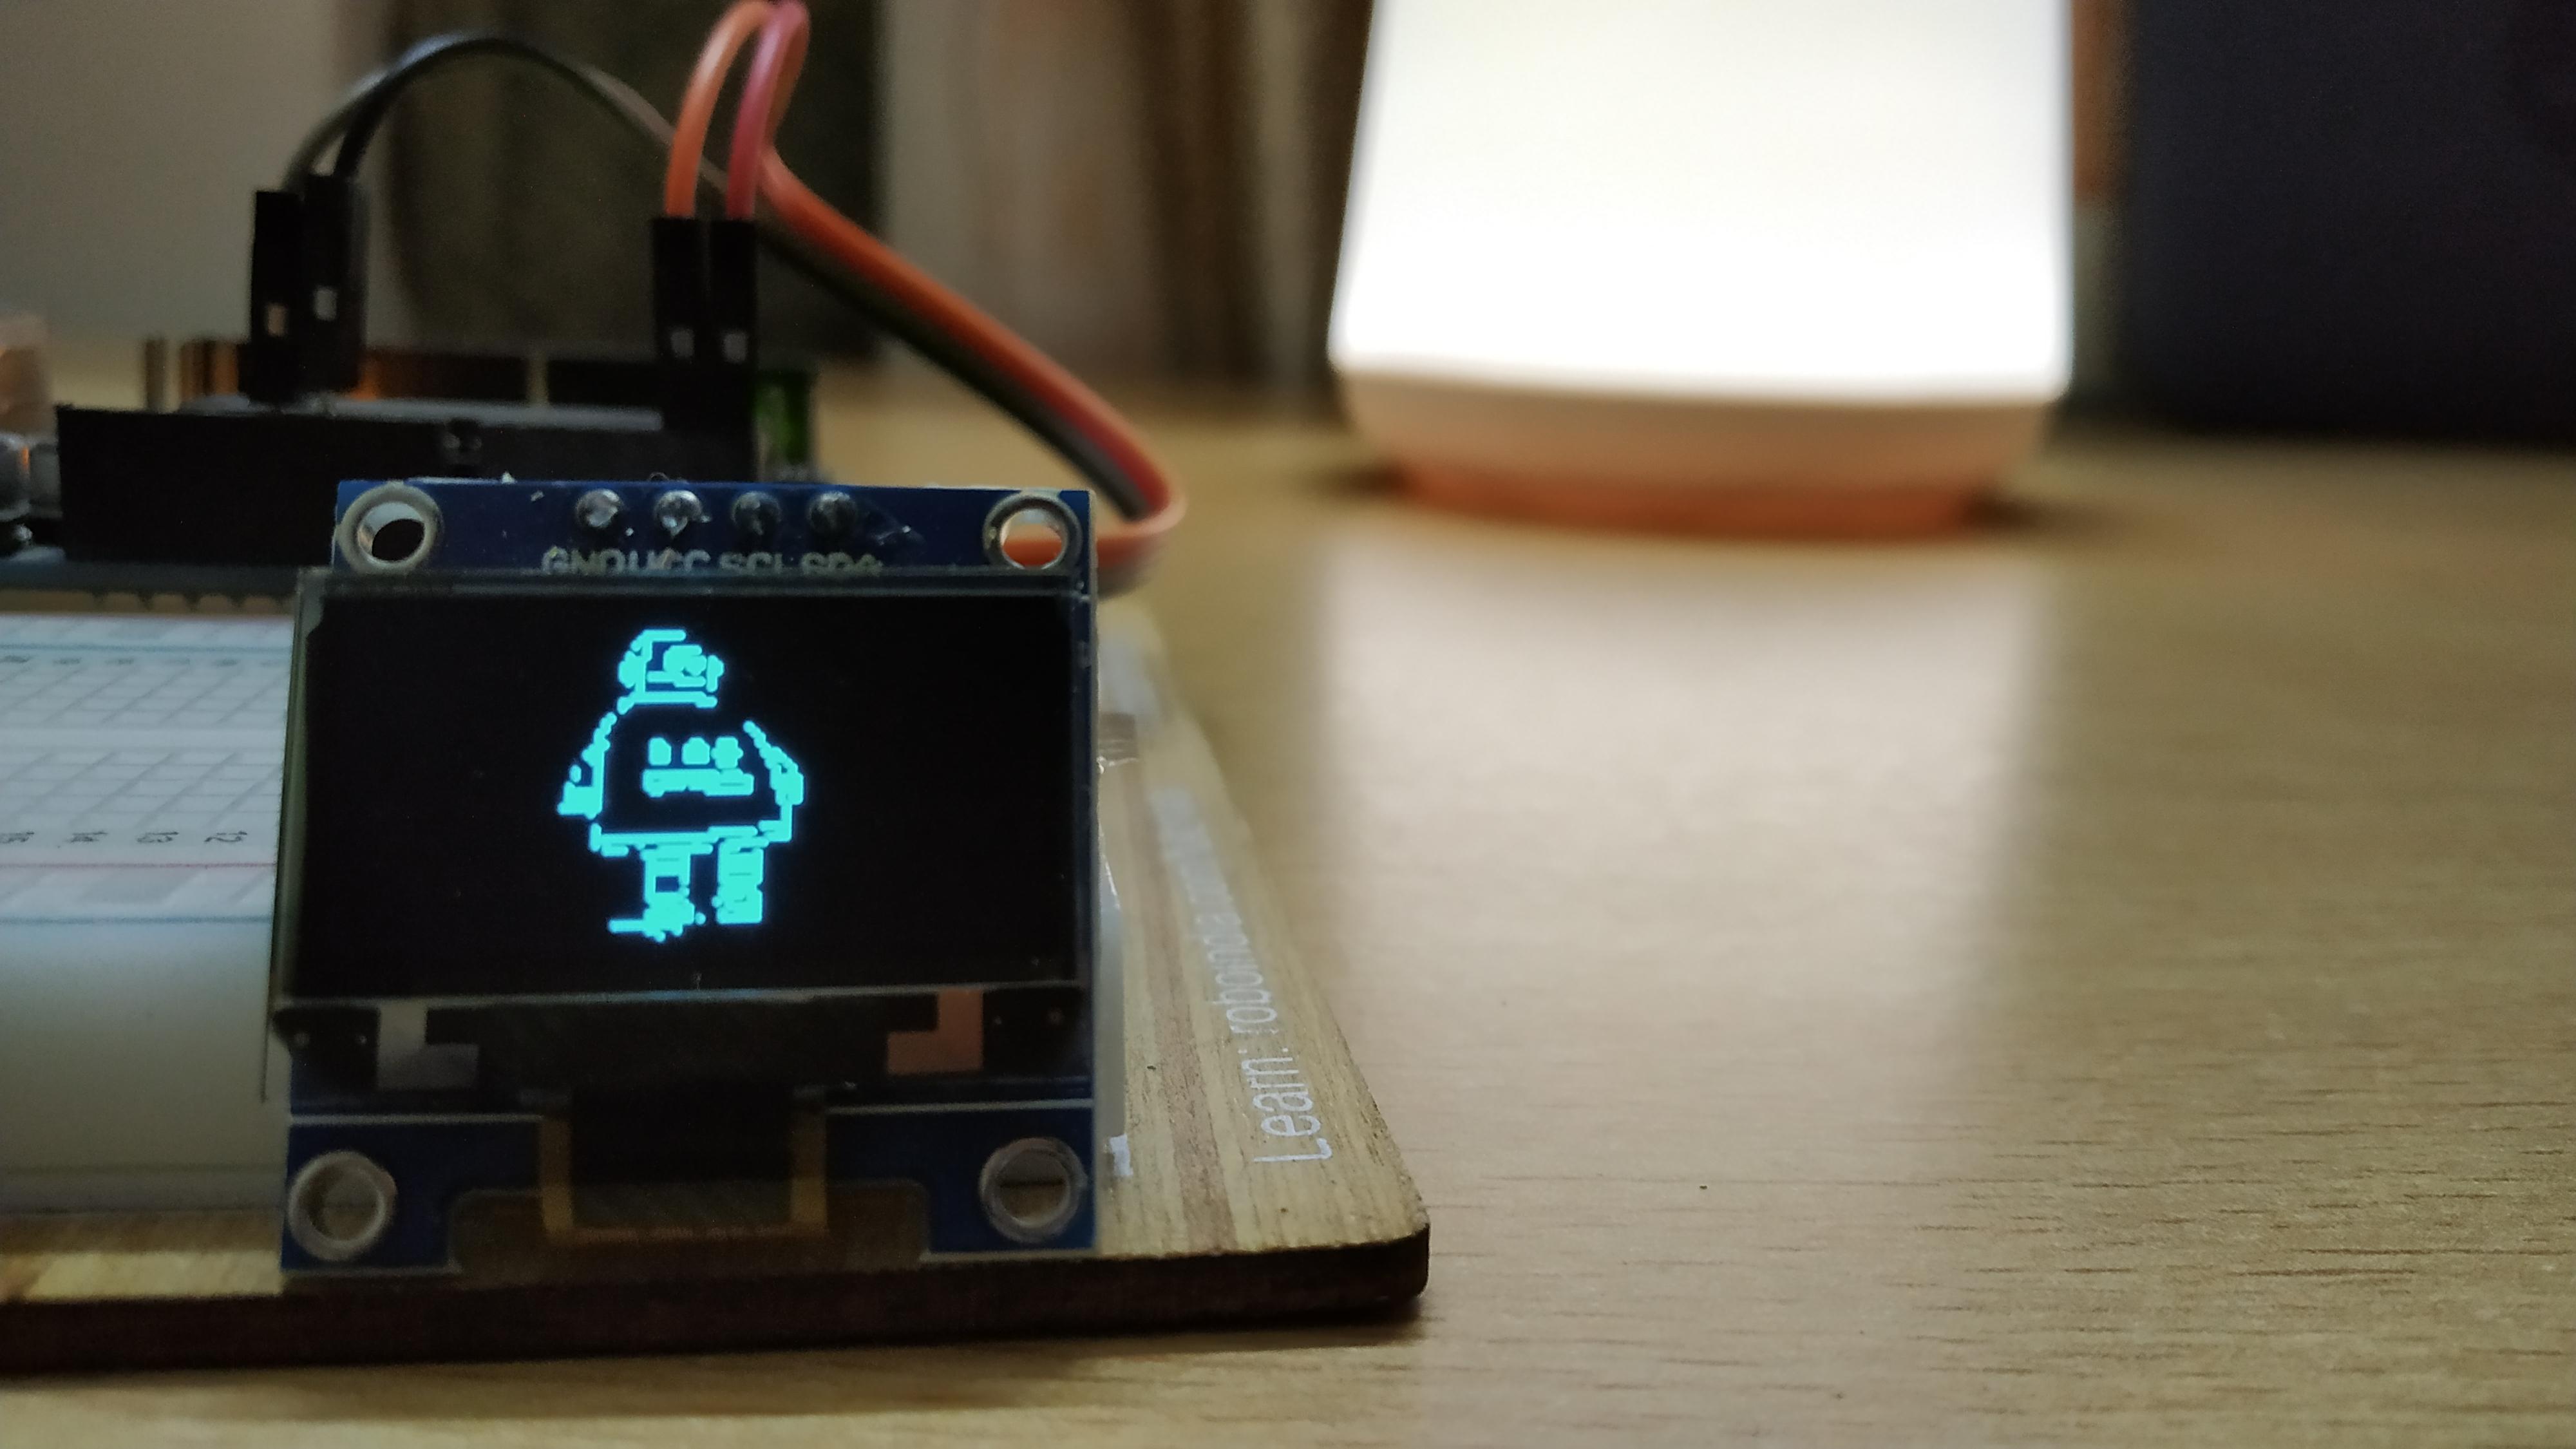
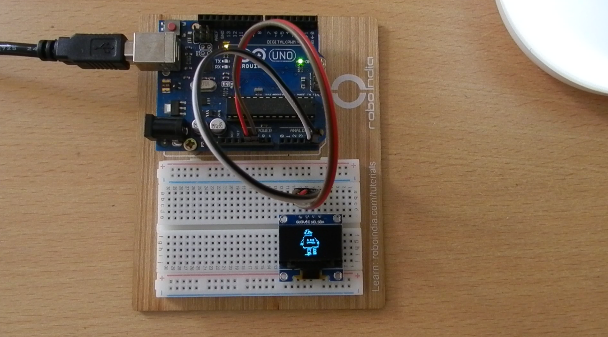
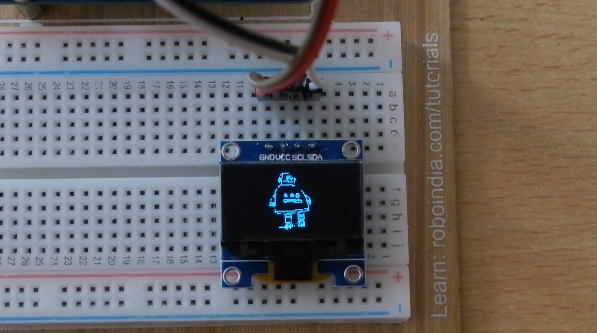
Hi guys, in this instructable I will be teaching you how to display any image on an OLED display using an Arduino board. I know that this topic is quite addressed on the internet but still when I tried it myself, I found it very tough to display an image as there are some important points and some common problems that are often overlooked by the content creators. I will address all such issues here.
So, let's get started. Wait for a second, if you are interested in more of such tech-related content, why mind subscribing to my channel for all the latest updates delivered right to your inbox:
Gather Components
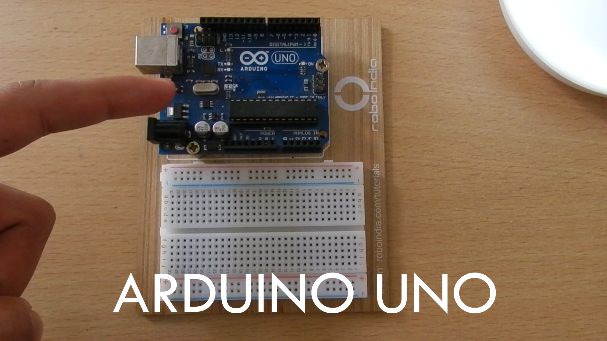
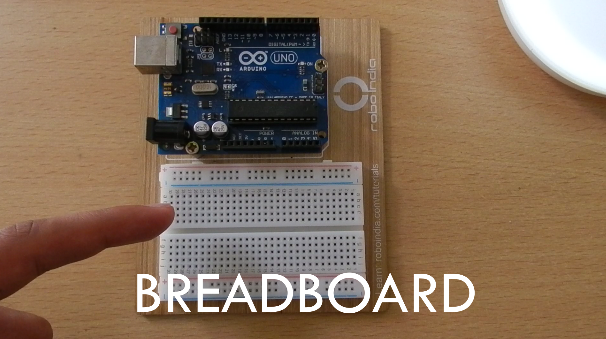
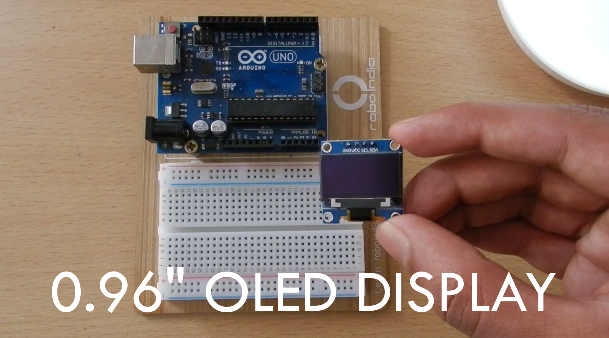
For this instructable, you will be needing a very minimal amount of components. In fact, it just comes down to four things that you will require:
1.1 Components:
1.2 Software:
I always buy all of my tech-related hardware components from Quartz Components.
Gather all these components and just move on to the next step!
Build the Circuit
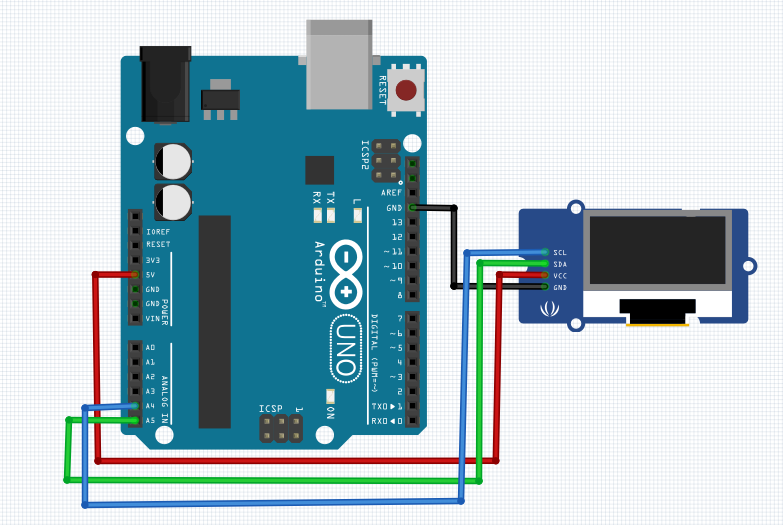
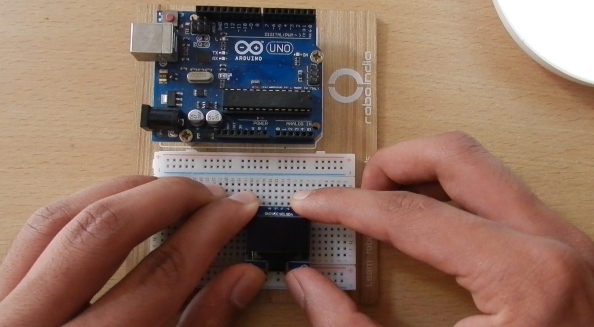
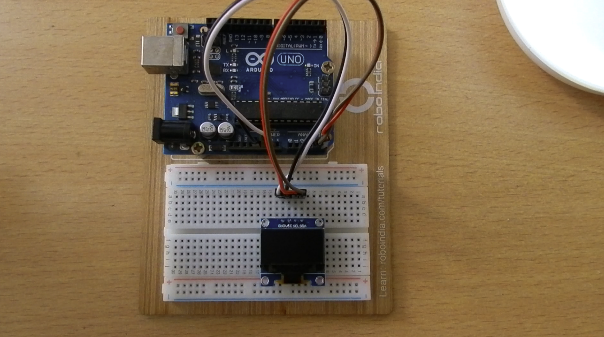
Now, we need to build the circuit required to power up the OLED display and get it running, and honestly, the circuit is very simple and has just 4 connections. You can refer the image I have attached for reference (or):
2.1 Connections:
- Arduino A4 - OLED SDA
- Arduino A5 - OLED SCL
- Arduino +5V - OLED VCC
- Arduino GND - OLED GND
These are all the connections you need to perform. If you are done with these, move on to the next step!
Select the Image

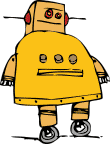
Now, you need to select the image that will be displayed on the OLED display. You can select any image until it doesn't have too many details and is of a good resolution. Also, make sure that the image is not unreadable without its colours because our OLED display doesn't have many colors.
I have chosen the Instructables robot as my test image today, as it would very well represent this platform and also look pretty cute on the OLED display 😆😆
Choose whatever image you wish to choose and just move on!
Generate Bitmap Code
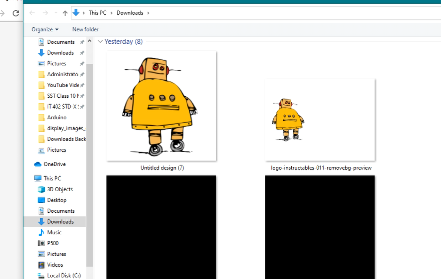
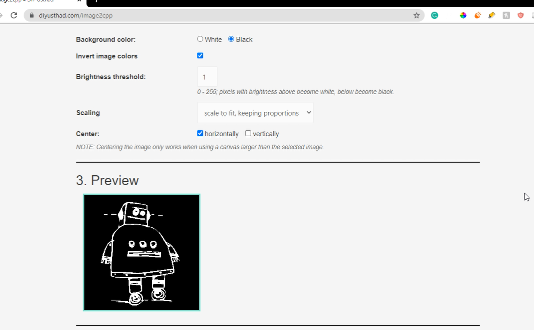
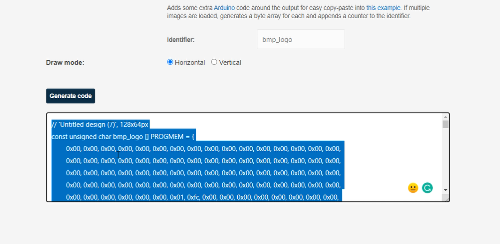
Now, you need to convert your image into a form that the Arduino board can interpret. There are many websites and software available out there that help in this. I used this website to convert my image to a bitmap code.
It is very easy to use. You can refer the images above too. So you just need to upload the image and customise the look of the image based on your requirements. Then from the dropdown present there, just choose the "Arduino Code" option and you will get some Bitmap code visible there when you press the "Generate Code" button.
Just copy the generated Bitmap code and move ahead to the next step!
The Coding Showdown
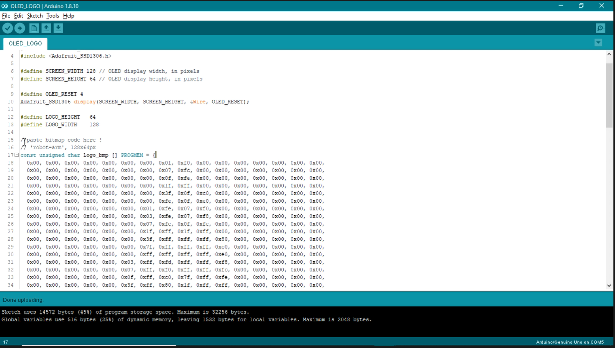
Now it is time to write the Arduino code that will enable us to display the images of our choice, on the OLED display. You can use the sample code written by me and modify it according to your requirements, or completely write your own Arduino program.
Remember, that you need to replace the bitmap code in mine with the one you previously copied from the Bitmap generator in the previous step!
Just upload the code after you are done and see if it works out!
   ////////////////////////////////////////////////////////
  //              OLED Custom Image Display             //
 //              By Aarav Garg - Tech Nuttiez          //
////////////////////////////////////////////////////////

#include <SPI.h>
#include <Wire.h>
#include <Adafruit_GFX.h>
#include <Adafruit_SSD1306.h>

#define SCREEN_WIDTH 128 // OLED display width, in pixels
#define SCREEN_HEIGHT 64 // OLED display height, in pixels

#define OLED_RESET 4
Adafruit_SSD1306 display(SCREEN_WIDTH, SCREEN_HEIGHT, &Wire, OLED_RESET);

#define LOGO_HEIGHT   64
#define LOGO_WIDTH    128

//image bitmap data
const unsigned char logo_bmp [] PROGMEM = {
  0x00, 0x00, 0x00, 0x00, 0x00, 0x00, 0x00, 0x01, 0xf0, 0x00, 0x00, 0x00, 0x00, 0x00, 0x00, 0x00,
  0x00, 0x00, 0x00, 0x00, 0x00, 0x00, 0x00, 0x07, 0xfc, 0x00, 0x00, 0x00, 0x00, 0x00, 0x00, 0x00,
  0x00, 0x00, 0x00, 0x00, 0x00, 0x00, 0x00, 0x0f, 0xfe, 0x00, 0x00, 0x00, 0x00, 0x00, 0x00, 0x00,
  0x00, 0x00, 0x00, 0x00, 0x00, 0x00, 0x00, 0x1f, 0xff, 0x00, 0x00, 0x00, 0x00, 0x00, 0x00, 0x00,
  0x00, 0x00, 0x00, 0x00, 0x00, 0x00, 0x00, 0x3f, 0x0f, 0xc0, 0x00, 0x00, 0x00, 0x00, 0x00, 0x00,
  0x00, 0x00, 0x00, 0x00, 0x00, 0x00, 0x00, 0xfe, 0x0f, 0xe0, 0x00, 0x00, 0x00, 0x00, 0x00, 0x00,
  0x00, 0x00, 0x00, 0x00, 0x00, 0x00, 0x01, 0xfe, 0x07, 0xf0, 0x00, 0x00, 0x00, 0x00, 0x00, 0x00,
  0x00, 0x00, 0x00, 0x00, 0x00, 0x00, 0x03, 0xfe, 0x07, 0xf8, 0x00, 0x00, 0x00, 0x00, 0x00, 0x00,
  0x00, 0x00, 0x00, 0x00, 0x00, 0x00, 0x07, 0xfe, 0x0f, 0xfe, 0x00, 0x00, 0x00, 0x00, 0x00, 0x00,
  0x00, 0x00, 0x00, 0x00, 0x00, 0x00, 0x1f, 0xff, 0x1f, 0xff, 0x00, 0x00, 0x00, 0x00, 0x00, 0x00,
  0x00, 0x00, 0x00, 0x00, 0x00, 0x00, 0x3f, 0xff, 0xff, 0xff, 0x80, 0x00, 0x00, 0x00, 0x00, 0x00,
  0x00, 0x00, 0x00, 0x00, 0x00, 0x00, 0x7f, 0xff, 0xff, 0xff, 0xc0, 0x00, 0x00, 0x00, 0x00, 0x00,
  0x00, 0x00, 0x00, 0x00, 0x00, 0x00, 0xff, 0xff, 0xff, 0xff, 0xe0, 0x00, 0x00, 0x00, 0x00, 0x00,
  0x00, 0x00, 0x00, 0x00, 0x00, 0x03, 0xff, 0xfd, 0xff, 0xff, 0xf8, 0x00, 0x00, 0x00, 0x00, 0x00,
  0x00, 0x00, 0x00, 0x00, 0x00, 0x07, 0xff, 0xf0, 0xff, 0xff, 0xfc, 0x00, 0x00, 0x00, 0x00, 0x00,
  0x00, 0x00, 0x00, 0x00, 0x00, 0x0f, 0xff, 0xc0, 0x7f, 0xff, 0xfe, 0x00, 0x00, 0x00, 0x00, 0x00,
  0x00, 0x00, 0x00, 0x00, 0x00, 0x3f, 0xff, 0x80, 0x1f, 0xff, 0xff, 0x00, 0x00, 0x00, 0x00, 0x00,
  0x00, 0x00, 0x00, 0x00, 0x00, 0x7f, 0xfe, 0x00, 0x0f, 0xff, 0xff, 0x80, 0x00, 0x00, 0x00, 0x00,
  0x00, 0x00, 0x00, 0x00, 0x00, 0xff, 0xf8, 0x00, 0x07, 0xff, 0xff, 0xc0, 0x00, 0x00, 0x00, 0x00,
  0x00, 0x00, 0x00, 0x00, 0x01, 0xff, 0xf0, 0x00, 0x03, 0xff, 0xc3, 0xc0, 0x00, 0x00, 0x00, 0x00,
  0x00, 0x00, 0x00, 0x00, 0x03, 0xff, 0xc0, 0x00, 0x01, 0xff, 0x81, 0xe0, 0x00, 0x00, 0x00, 0x00,
  0x00, 0x00, 0x00, 0x00, 0x03, 0xff, 0x80, 0x00, 0x00, 0x7f, 0x81, 0xe0, 0x00, 0x00, 0x00, 0x00,
  0x00, 0x00, 0x00, 0x00, 0x07, 0xff, 0x80, 0x00, 0x00, 0x3f, 0x81, 0xe0, 0x00, 0x00, 0x00, 0x00,
  0x00, 0x00, 0x00, 0x00, 0x07, 0xff, 0x80, 0x00, 0x00, 0x1f, 0x83, 0xc0, 0x00, 0x00, 0x00, 0x00,
  0x00, 0x00, 0x00, 0x00, 0x07, 0xff, 0x80, 0x00, 0x00, 0x1f, 0xc7, 0xc0, 0x00, 0x00, 0x00, 0x00,
  0x00, 0x00, 0x00, 0x00, 0x07, 0xff, 0x80, 0x00, 0x00, 0x1f, 0xff, 0xc0, 0x00, 0x00, 0x00, 0x00,
  0x00, 0x00, 0x00, 0x00, 0x07, 0xff, 0x80, 0x00, 0x00, 0x1f, 0xff, 0x80, 0x00, 0x00, 0x00, 0x00,
  0x00, 0x00, 0x00, 0x00, 0x07, 0xff, 0x80, 0x00, 0x00, 0x3f, 0xff, 0x80, 0x00, 0x00, 0x00, 0x00,
  0x00, 0x00, 0x00, 0x00, 0x07, 0xff, 0x80, 0x00, 0x00, 0x3f, 0xff, 0x80, 0x00, 0x00, 0x00, 0x00,
  0x00, 0x00, 0x00, 0x00, 0x07, 0xff, 0x80, 0x00, 0x00, 0x3f, 0xff, 0x00, 0x00, 0x00, 0x00, 0x00,
  0x00, 0x00, 0x00, 0x00, 0x07, 0xff, 0x80, 0x00, 0x00, 0x7f, 0xff, 0x00, 0x00, 0x00, 0x00, 0x00,
  0x00, 0x00, 0x00, 0x00, 0x07, 0xff, 0x80, 0x00, 0x00, 0x7f, 0xff, 0x00, 0x00, 0x00, 0x00, 0x00,
  0x00, 0x00, 0x00, 0x00, 0x03, 0xff, 0x00, 0x00, 0x00, 0x7f, 0xfe, 0x00, 0x00, 0x00, 0x00, 0x00,
  0x00, 0x00, 0x00, 0x00, 0x00, 0x78, 0x00, 0x00, 0x00, 0xff, 0xfe, 0x00, 0x00, 0x00, 0x00, 0x00,
  0x00, 0x00, 0x00, 0x00, 0x00, 0x78, 0x00, 0x00, 0x00, 0xff, 0xfc, 0x00, 0x00, 0x00, 0x00, 0x00,
  0x00, 0x00, 0x00, 0x00, 0x00, 0x78, 0x00, 0x00, 0x01, 0xff, 0xfc, 0x00, 0x00, 0x00, 0x00, 0x00,
  0x00, 0x00, 0x00, 0x00, 0x00, 0x00, 0x00, 0x00, 0x00, 0xff, 0xfc, 0x00, 0x00, 0x00, 0x00, 0x00,
  0x00, 0x00, 0x00, 0x00, 0x00, 0x00, 0x00, 0x00, 0x00, 0x03, 0xf8, 0x00, 0x00, 0x00, 0x00, 0x00,
  0x00, 0x00, 0x00, 0x00, 0x00, 0x00, 0x00, 0x00, 0x00, 0x00, 0xf8, 0x00, 0x00, 0x00, 0x00, 0x00,
  0x00, 0x00, 0x00, 0x00, 0x00, 0x00, 0x00, 0x00, 0x00, 0x00, 0x38, 0x00, 0x00, 0x00, 0x00, 0x00,
  0x00, 0x00, 0x00, 0x00, 0x00, 0x00, 0x00, 0x00, 0x07, 0xc0, 0x10, 0x00, 0x00, 0x00, 0x00, 0x00,
  0x00, 0x00, 0x00, 0x00, 0x00, 0x00, 0x00, 0x00, 0x3f, 0xfc, 0x00, 0x00, 0x00, 0x00, 0x00, 0x00,
  0x00, 0x00, 0x00, 0x00, 0x00, 0x00, 0x00, 0x00, 0xff, 0xff, 0x00, 0x00, 0x00, 0x00, 0x00, 0x00,
  0x00, 0x00, 0x00, 0x00, 0x00, 0x00, 0x00, 0x01, 0xff, 0xff, 0x80, 0x00, 0x00, 0x00, 0x00, 0x00,
  0x00, 0x00, 0x00, 0x00, 0x00, 0x00, 0x00, 0x03, 0xff, 0xff, 0xc0, 0x00, 0x00, 0x00, 0x00, 0x00,
  0x00, 0x00, 0x00, 0x00, 0x00, 0x00, 0x00, 0x07, 0xff, 0xff, 0xe0, 0x00, 0x00, 0x00, 0x00, 0x00,
  0x00, 0x00, 0x00, 0x00, 0x00, 0x00, 0x00, 0x0f, 0xff, 0xff, 0xf0, 0x00, 0x00, 0x00, 0x00, 0x00,
  0x00, 0x00, 0x00, 0x00, 0x00, 0x00, 0x00, 0x1f, 0xff, 0xff, 0xf0, 0x00, 0x00, 0x00, 0x00, 0x00,
  0x00, 0x00, 0x00, 0x00, 0x00, 0x00, 0x00, 0x1f, 0xff, 0xff, 0xf8, 0x00, 0x00, 0x00, 0x00, 0x00,
  0x00, 0x00, 0x00, 0x00, 0x00, 0x00, 0x00, 0x3f, 0xff, 0xff, 0xf8, 0x00, 0x00, 0x00, 0x00, 0x00,
  0x00, 0x00, 0x00, 0x00, 0x00, 0x00, 0x00, 0x3f, 0xfc, 0x3f, 0xfc, 0x00, 0x00, 0x00, 0x00, 0x00,
  0x00, 0x00, 0x00, 0x00, 0x00, 0x00, 0x00, 0x3f, 0xf8, 0x3f, 0xfc, 0x00, 0x00, 0x00, 0x00, 0x00,
  0x00, 0x00, 0x00, 0x00, 0x00, 0x00, 0x00, 0x3f, 0xf8, 0x3f, 0xfc, 0x00, 0x00, 0x00, 0x00, 0x00,
  0x00, 0x00, 0x00, 0x00, 0x00, 0x00, 0x00, 0x3f, 0xfc, 0x3f, 0xfc, 0x00, 0x00, 0x00, 0x00, 0x00,
  0x00, 0x00, 0x00, 0x00, 0x00, 0x00, 0x00, 0x7f, 0xfe, 0x7f, 0xfc, 0x00, 0x00, 0x00, 0x00, 0x00,
  0x00, 0x00, 0x00, 0x00, 0x00, 0x00, 0x00, 0x7f, 0xff, 0xff, 0xfc, 0x00, 0x00, 0x00, 0x00, 0x00,
  0x00, 0x00, 0x00, 0x00, 0x00, 0x00, 0x00, 0x7f, 0xff, 0xff, 0xfc, 0x00, 0x00, 0x00, 0x00, 0x00,
  0x00, 0x00, 0x00, 0x00, 0x00, 0x00, 0x00, 0x7f, 0xff, 0xff, 0xfc, 0x00, 0x00, 0x00, 0x00, 0x00,
  0x00, 0x00, 0x00, 0x00, 0x00, 0x00, 0x00, 0x7f, 0xff, 0xff, 0xfc, 0x00, 0x00, 0x00, 0x00, 0x00,
  0x00, 0x00, 0x00, 0x00, 0x00, 0x00, 0x00, 0x7f, 0xff, 0xff, 0xfc, 0x00, 0x00, 0x00, 0x00, 0x00,
  0x00, 0x00, 0x00, 0x00, 0x00, 0x03, 0xff, 0xff, 0xff, 0xff, 0xff, 0xc0, 0x00, 0x00, 0x00, 0x00,
  0x00, 0x00, 0x00, 0x00, 0x00, 0x03, 0xff, 0xff, 0xff, 0xff, 0xff, 0xc0, 0x00, 0x00, 0x00, 0x00,
  0x00, 0x00, 0x00, 0x00, 0x00, 0x03, 0xff, 0xff, 0xff, 0xff, 0xff, 0xc0, 0x00, 0x00, 0x00, 0x00,
  0x00, 0x00, 0x00, 0x00, 0x00, 0x03, 0xff, 0xff, 0xff, 0xff, 0xff, 0xc0, 0x00, 0x00, 0x00, 0x00
};

void setup() {
  Serial.begin(9600);

  // SSD1306_SWITCHCAPVCC = generate display voltage from 3.3V internally
  if(!display.begin(SSD1306_SWITCHCAPVCC, 0x3C)) { // Address 0x3D for 128x64
    Serial.println(F("SSD1306 allocation failed"));
    for(;;); // Don't proceed, loop forever
  }

  testdrawbitmap();    // Draw the required image
}

void loop() {
}

void testdrawbitmap(void) {
  display.clearDisplay();

  display.drawBitmap(
    (display.width()  - LOGO_WIDTH ) / 2,
    (display.height() - LOGO_HEIGHT) / 2,
    logo_bmp, LOGO_WIDTH, LOGO_HEIGHT, 1);
  display.display();
  delay(1000);
}<br>
Did It Work? (Troubleshooting)
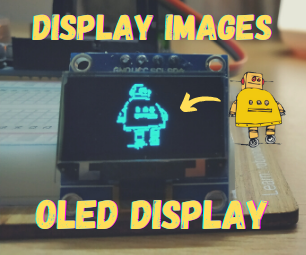
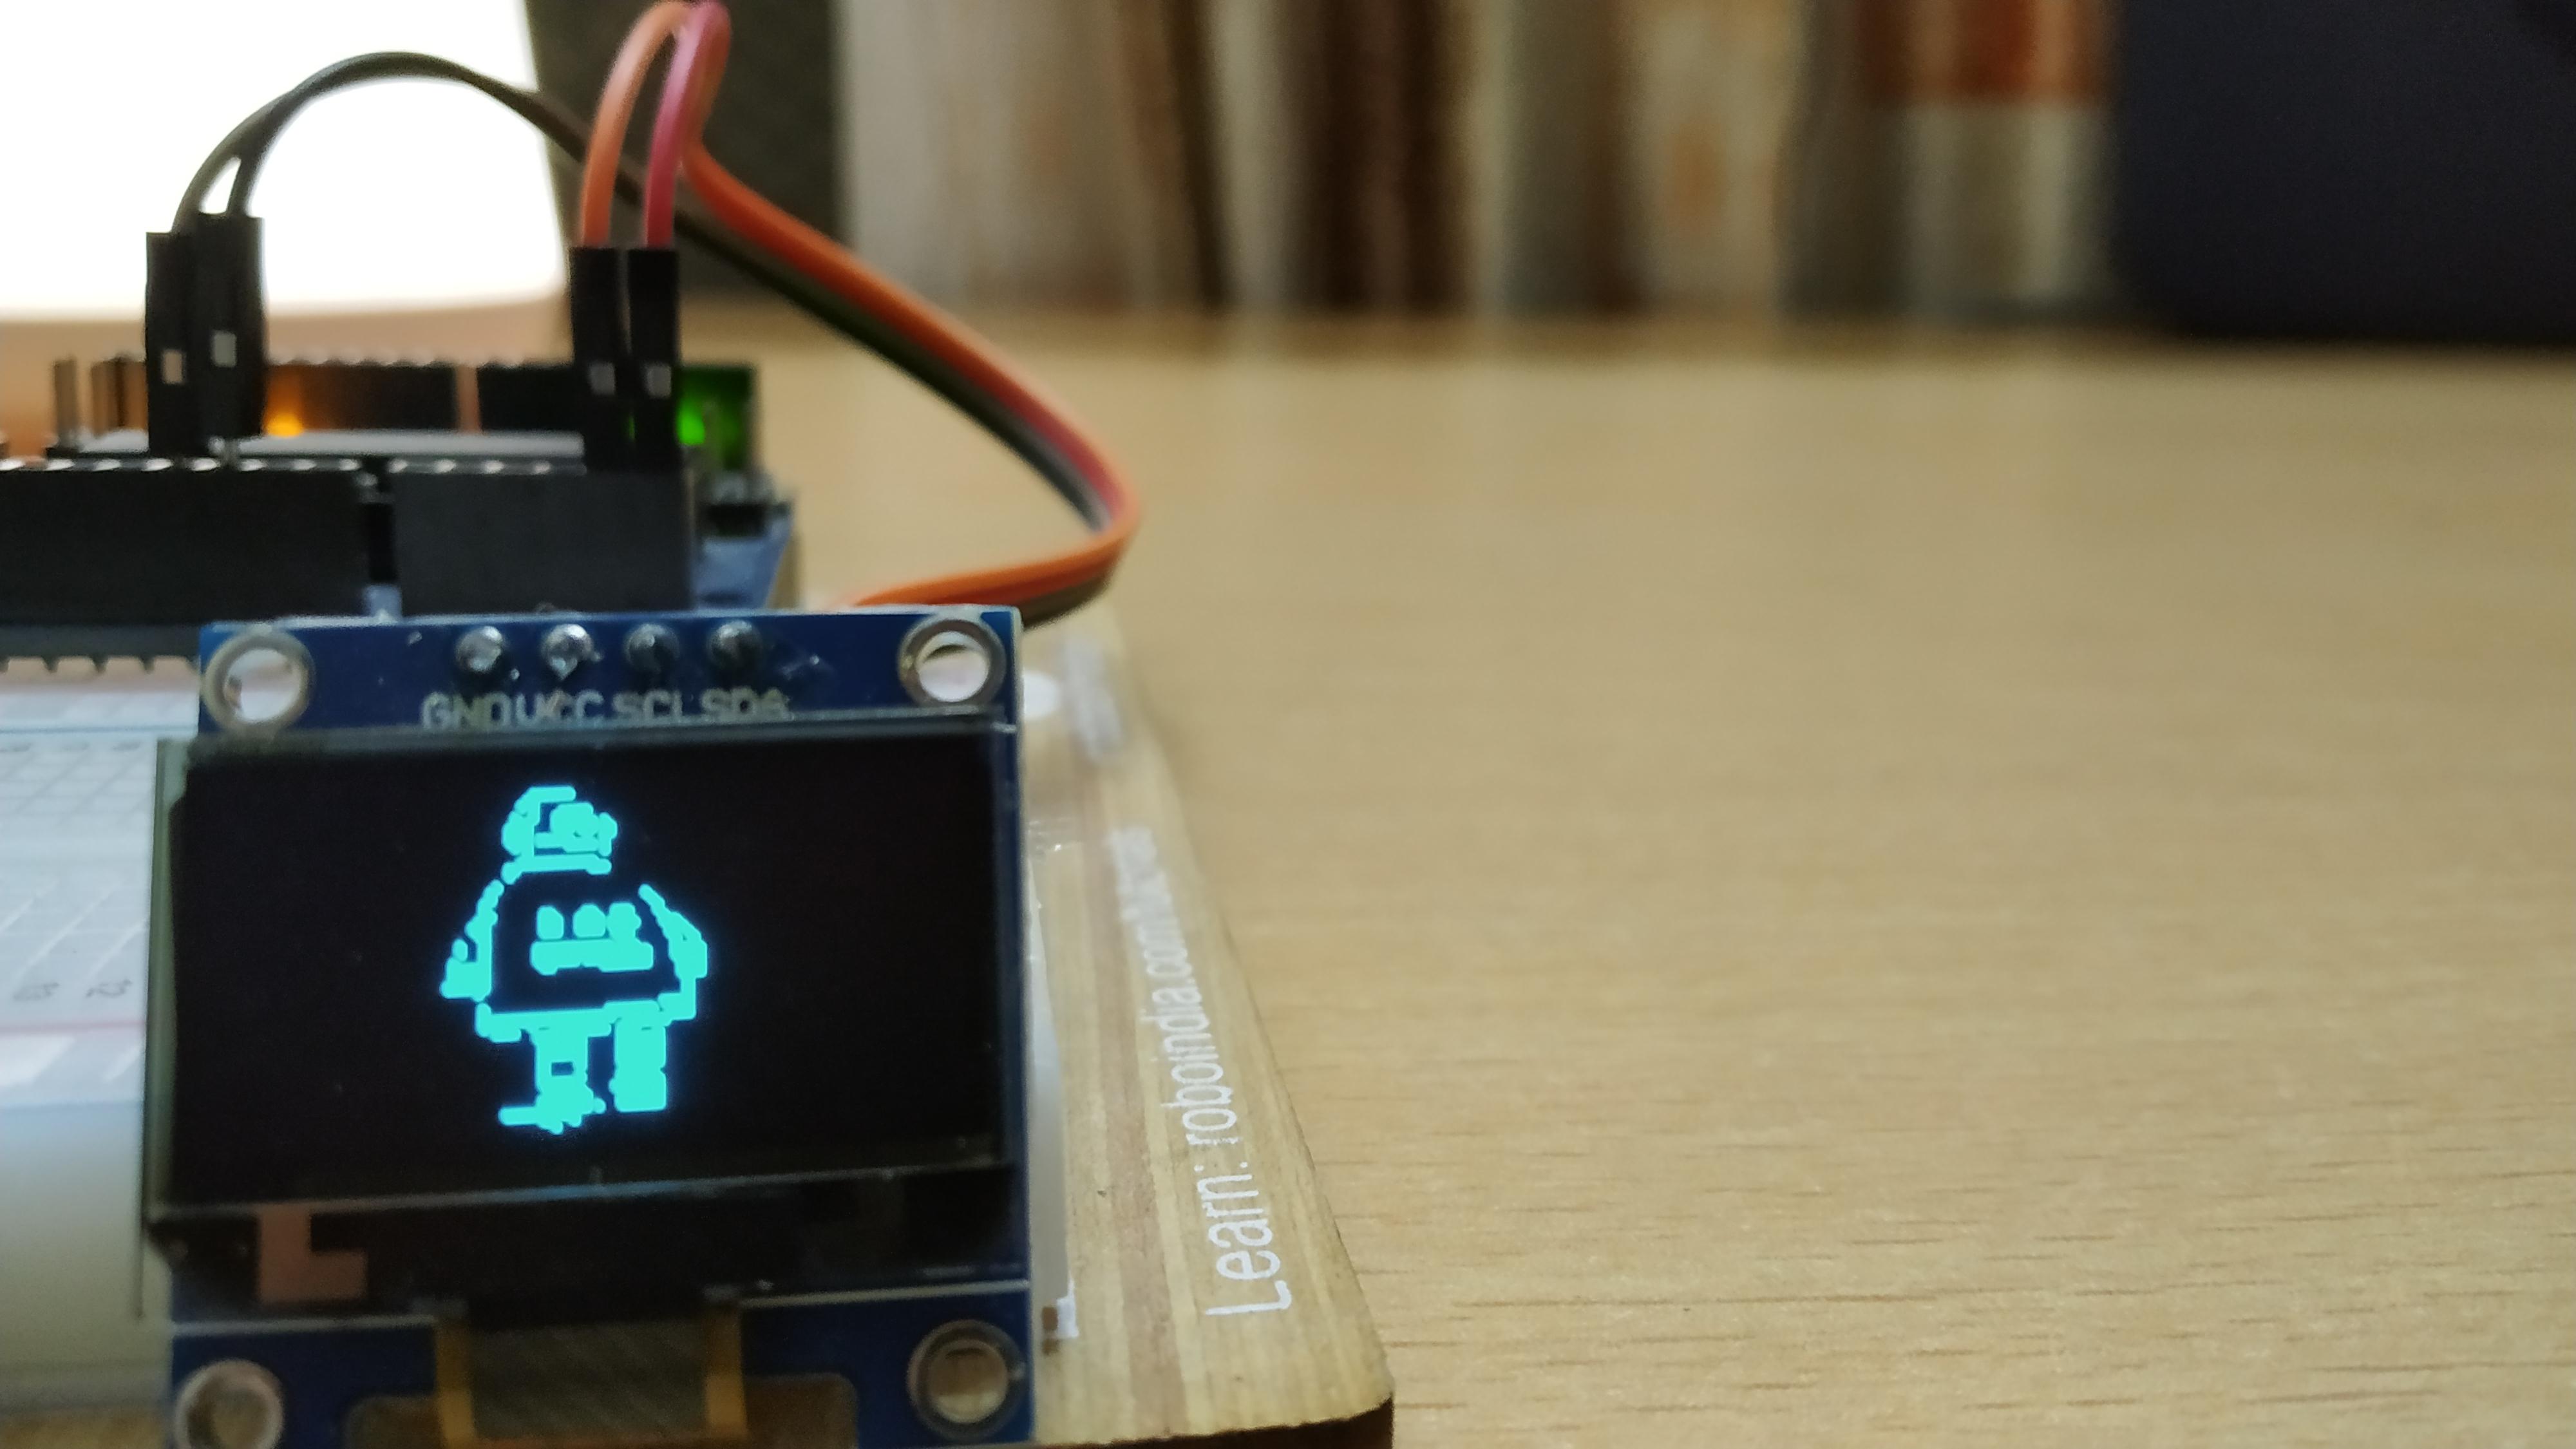
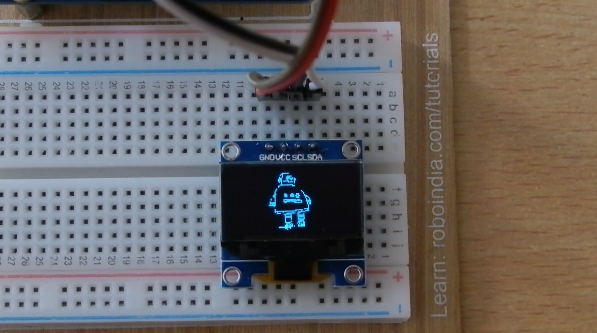
If you are here, then I assume that you have built the project and it either worked which is great or it didn't which is also great because you not only will know how you build something but also how you do not build it and this kind of learning is very useful.
6.1 It Did Not Work 😲:
- 6.1.1: OLED Blank:
If the OLED display is completely blank then wither you have burnt your OLED display, or it is a defective piece, or maybe there is an issue in your wiring. Interchanging SCL and SDA are a few common mistakes.
- 6.1.2: OLED Displaying Weird Characters:
In this scenario, it is a problem in the bitmap code for your image. Try tweaking some settings on the bitmap generator software. Especially, the option at the last where you choose between horizontal and vertical, just go with whatever works the best after trying out the two options!
- 6.1.3: Inappropriate Sizing:
For this just try tweaking the settings at the very beginning of the Bitmap generator such as the orientation and the pixel size and try to fit in the image properly. This is a process of trial-and-error that you will have to perform rigorously!
6.2 It Worked 🎉🎊:
Great job mate. You overcome all the obstacles and finally are here, touching victory yourself and that is amazing. There is also a section down here "I Made It". Meet me there. Thank You :)