Dishwasher Magnet Signs With Scandinavian Print Using Microsoft Word
818 Views, 5 Favorites, 0 Comments
Dishwasher Magnet Signs With Scandinavian Print Using Microsoft Word
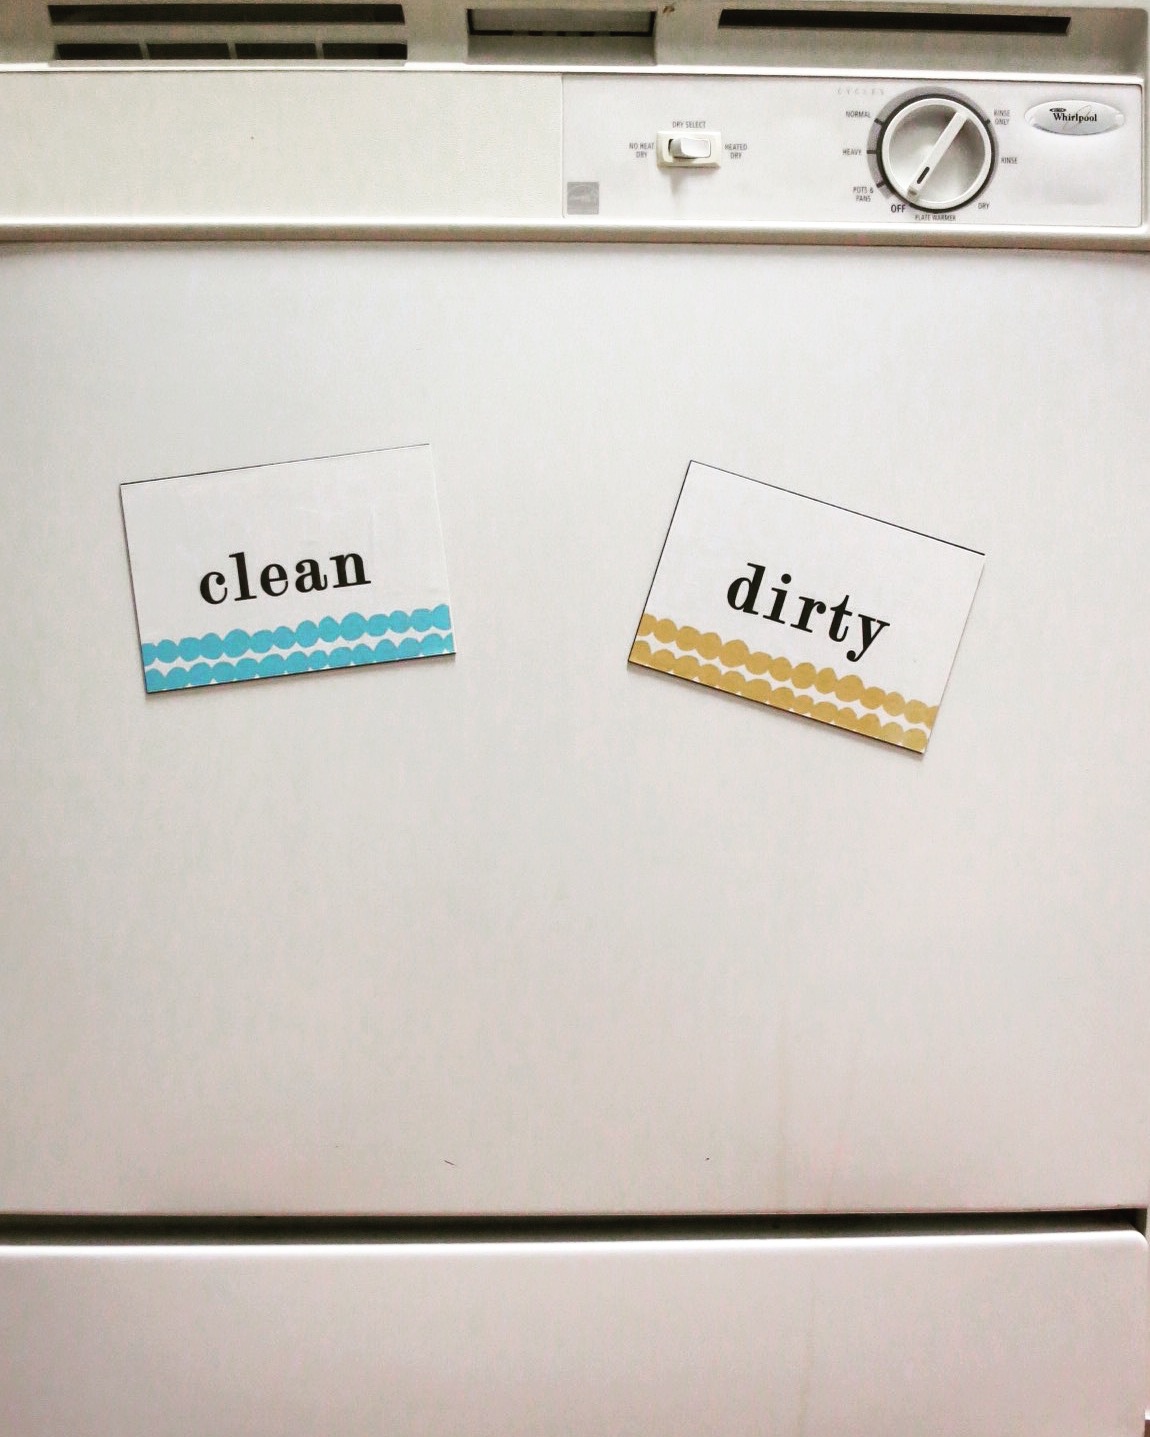
Have you ever run into the following scenarios?
- You run the dishwasher with a few kitchenware in it. When it's done, you get lazy and forget to empty it out. Then you generate dirty dishes. Do you stick the dirty dishes in the dishwasher? Is the dishwasher clean or is it dirty? Crap. Just put it in the sink and check it later. Dishes in the sink build up.
- You have your Filipino mom stay with you for a few days, who is only used to washing dishes by hand, and using the dishwasher as a drying rack. You leave the house for a few hours, come back to the kitchen, and generate some dirty dishes. You look at the dishwasher and see some kitchenware sitting in the rack. Are they clean, or are they dirty? Should I ask Mom? She may have forgotten, as well!
Signage around the house very important to being efficient while running around your house like a chicken without a head in your household. However, your home is a place where you relax and should be decorated as though you put enough time looking at interior design catalogs and Pinterest boards of "Places I wish my house looked like someday." But this "someday" isn't some day in the future. This day is today. And today you will make a dishwasher signage magnets that will help you be efficient in the kitchen, have a cute design print, and tell your visitors, "yea, I made this," all with your own design flair (We were aiming for a Scandinavian print designed by Lotta Jansdotter which is why the title is labeled that way).
Moreover, you can do this with Microsoft Word.
I love all those image processing programs. But if you can do it with simple word processing, why not?
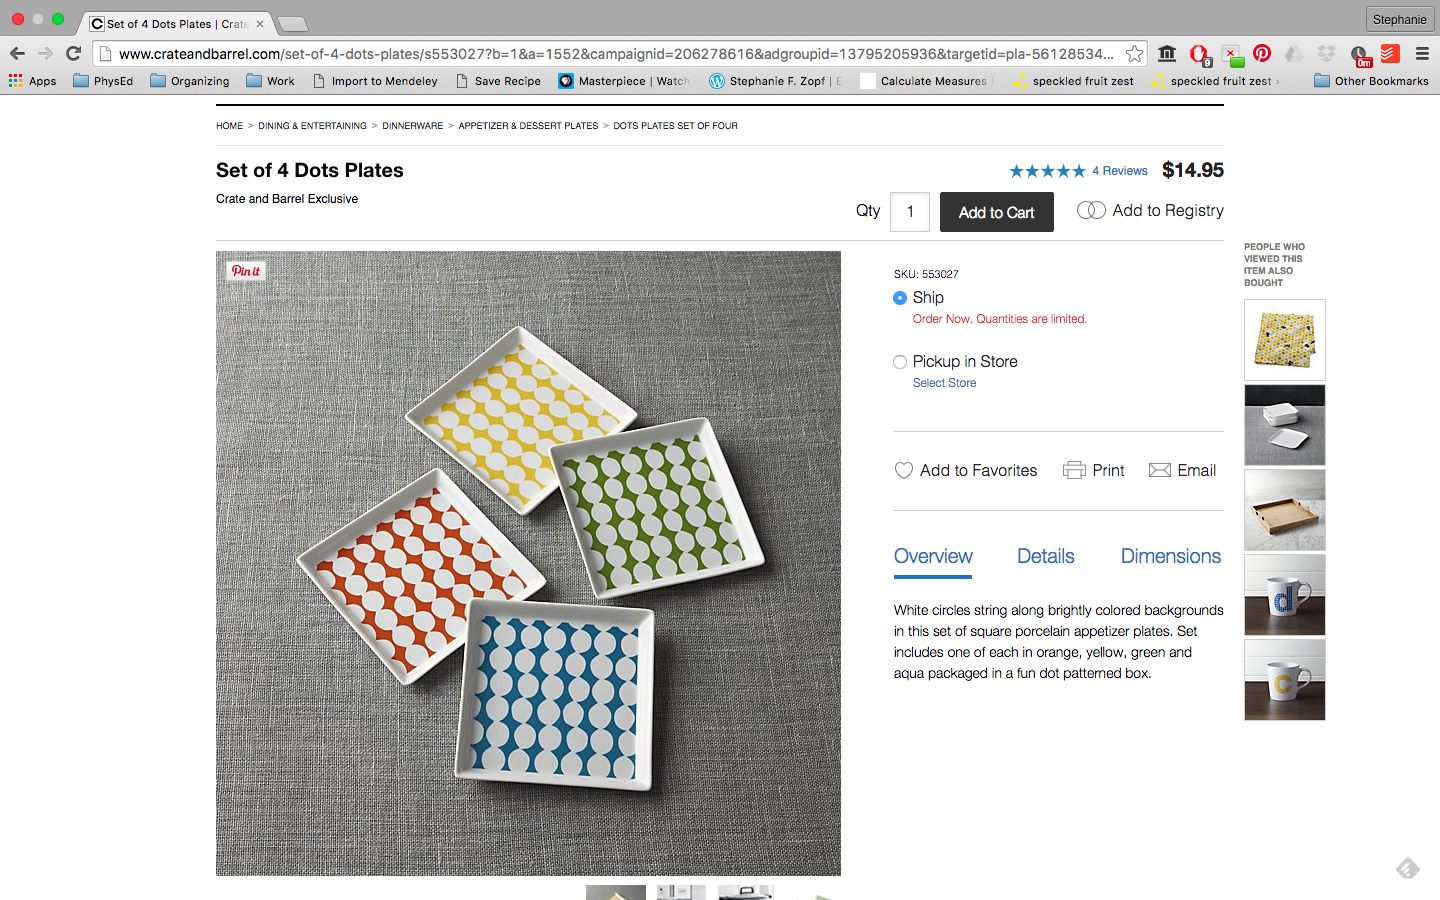
I will add that Crate and Barrel has a product that incorporated one of Lotta Jansdotter's prints which made me think - you could actually have matching dishes to match your magnets! But that's for another instructable on another day.
In terms of materials, here's what you'll need:
- 4" x 6" adhesive magnet sheets (like this: http://www.walmart.com/ip/Craft-Hobby-Rubber-Peel-... - this pack of 2 from Walmart costs $5
- Photo paper pre cut in 4" x 6" size (or you could just use regular photo paper to print on) (like this: http://www.amazon.com/Epson-Premium-GLOSSY-Inches-... costs $10 for 100. Use the rest for other projects.
- Microsoft Word
- Color printer
- Mod Podge
Assuming you have materials 3-5, the unit cost of each magnet is $2.60!
Think About the Overall Look You're Going For
In my case, I was going for the Scandinavian look. Minimalist. Simplistic. Beautiful.
Find a Font and Print That Completes This Vision
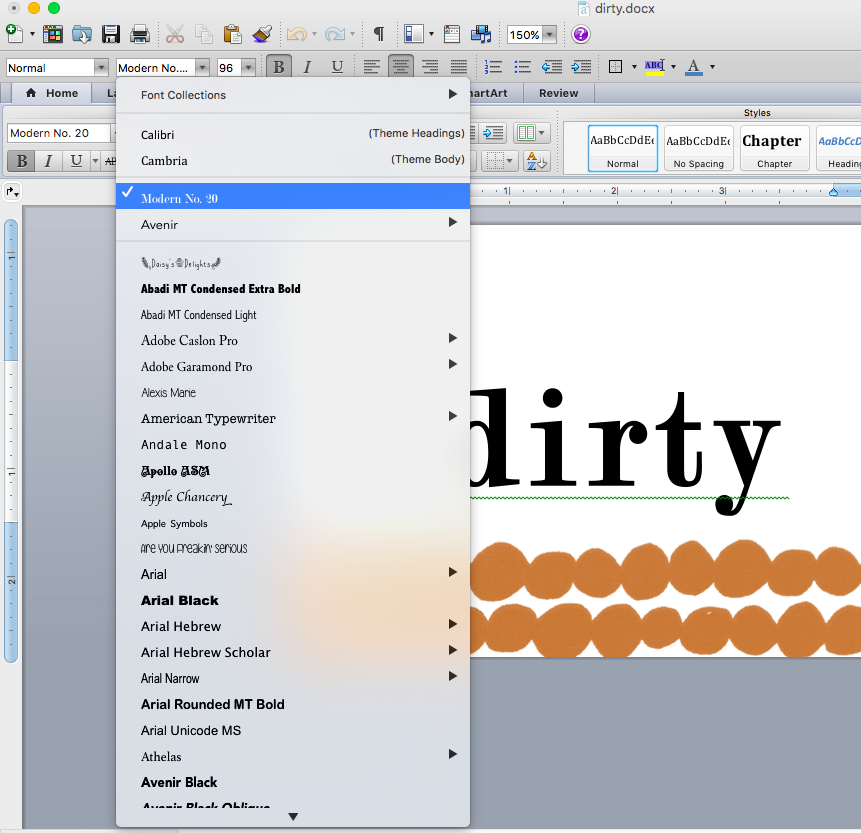
Choosing a font
Find a font that you're okay looking at for a while and matches the rest of your kitchen. If you like the built-in Microsoft Word fonts, that's cool, too. But if you wanted to get fancier, you can download free fonts on places like http://www.1001freefonts.com/ or http://www.1001freefonts.com/ (Just google "free fonts"). I think the fonts you find start to appear in other sites and it could get overwhelming to go through them.
In my case, I found a font called "Modern No. 20." For some reason, the serifs on the font called out to me. It was classy, but simple in a fancy beautiful way.
Choosing a print
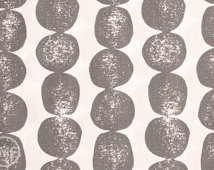
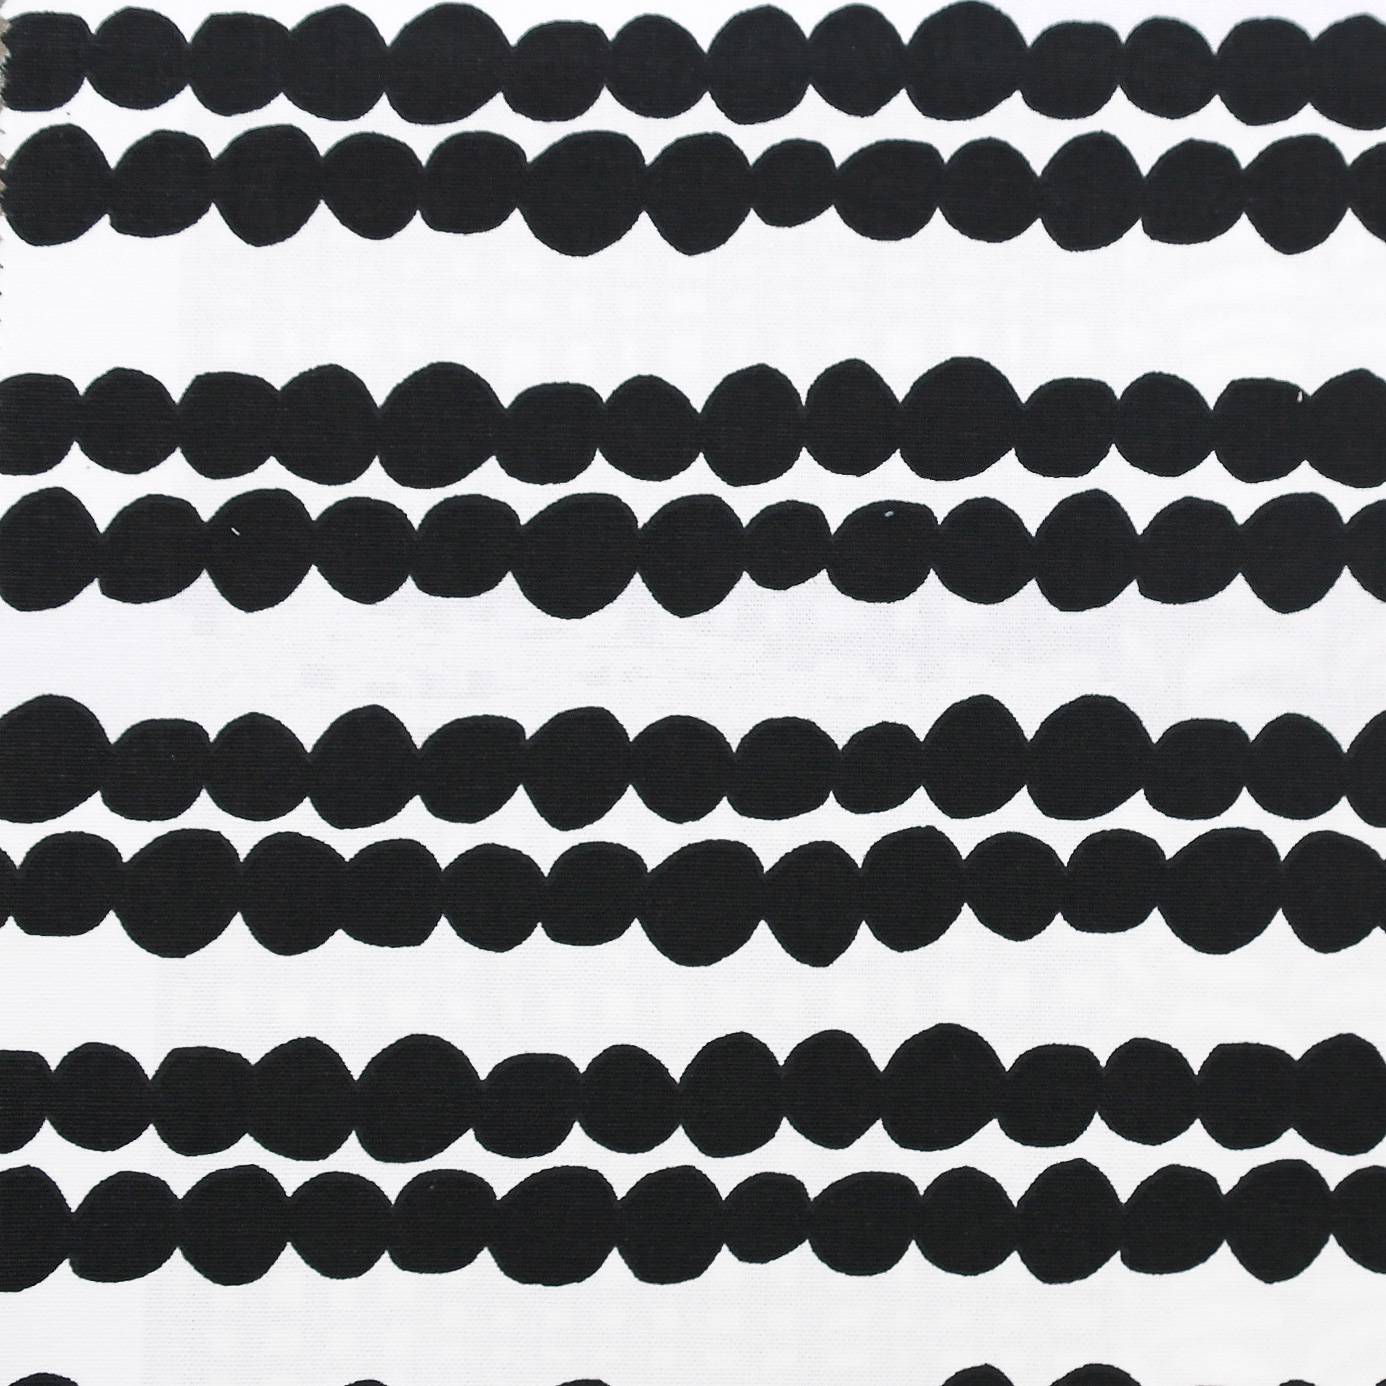
As I mentioned in my intro, I really liked the designs of Lotta Jansdotter, who makes Scandinavian prints. I basically did a Google Image search for her prints and tried to find something that I could incorporate into a sign. I ultimately went with a print called "Mormor." It's a print pattern I've seen on quilt fabrics (see second picture, I pulled this from Etsy shop 'Fresh Modern Fabric') and most recently from a Crate and Barrel plate set (can be found here, but in the case that C&B stops selling these things, I've made a screenshot to capture the product).
Lay Out Text and Stamp Graphic
Page layout
I had a bunch of 4" x 6" photo paper laying around, which is why I suggested using that. You could use any size paper, really, you just have to cut it. Anyway, if you're following my method, make sure you adjust the document to be 4" x 6." You can ensure this by enabling the viewing of rulers in your document and seeing if the measurement is correct. I would list step-by-step instructions on how to do this on MS Word, but it would be specific to MS Word 2011 on a Macintosh and I realize everybody will have a different version. So just make sure the layout is 4"x6".
Again, the layout of text and graphics is entirely up to you.
Laying out graphics
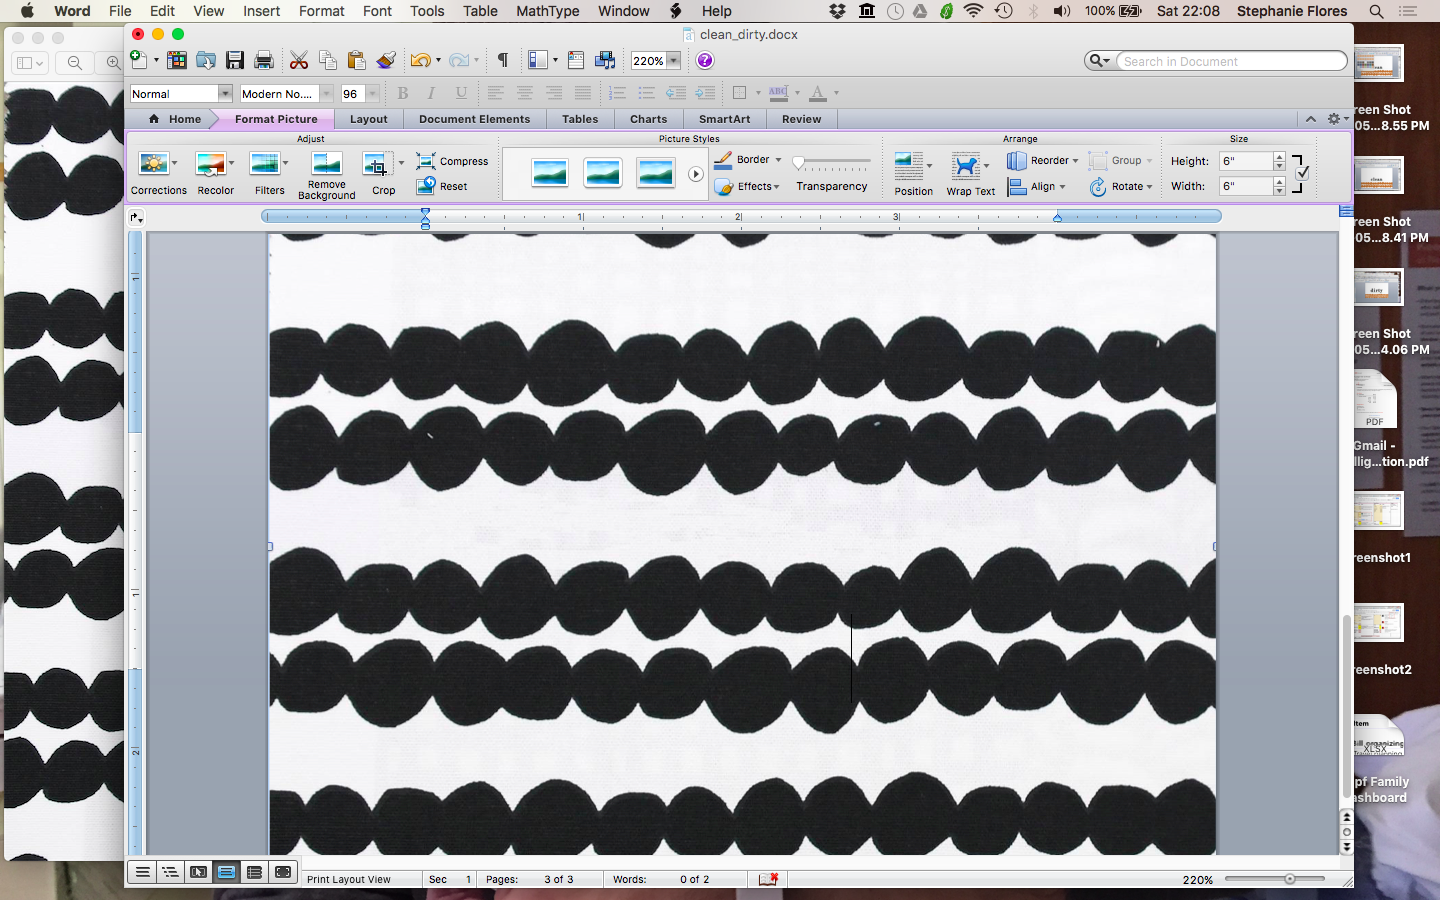
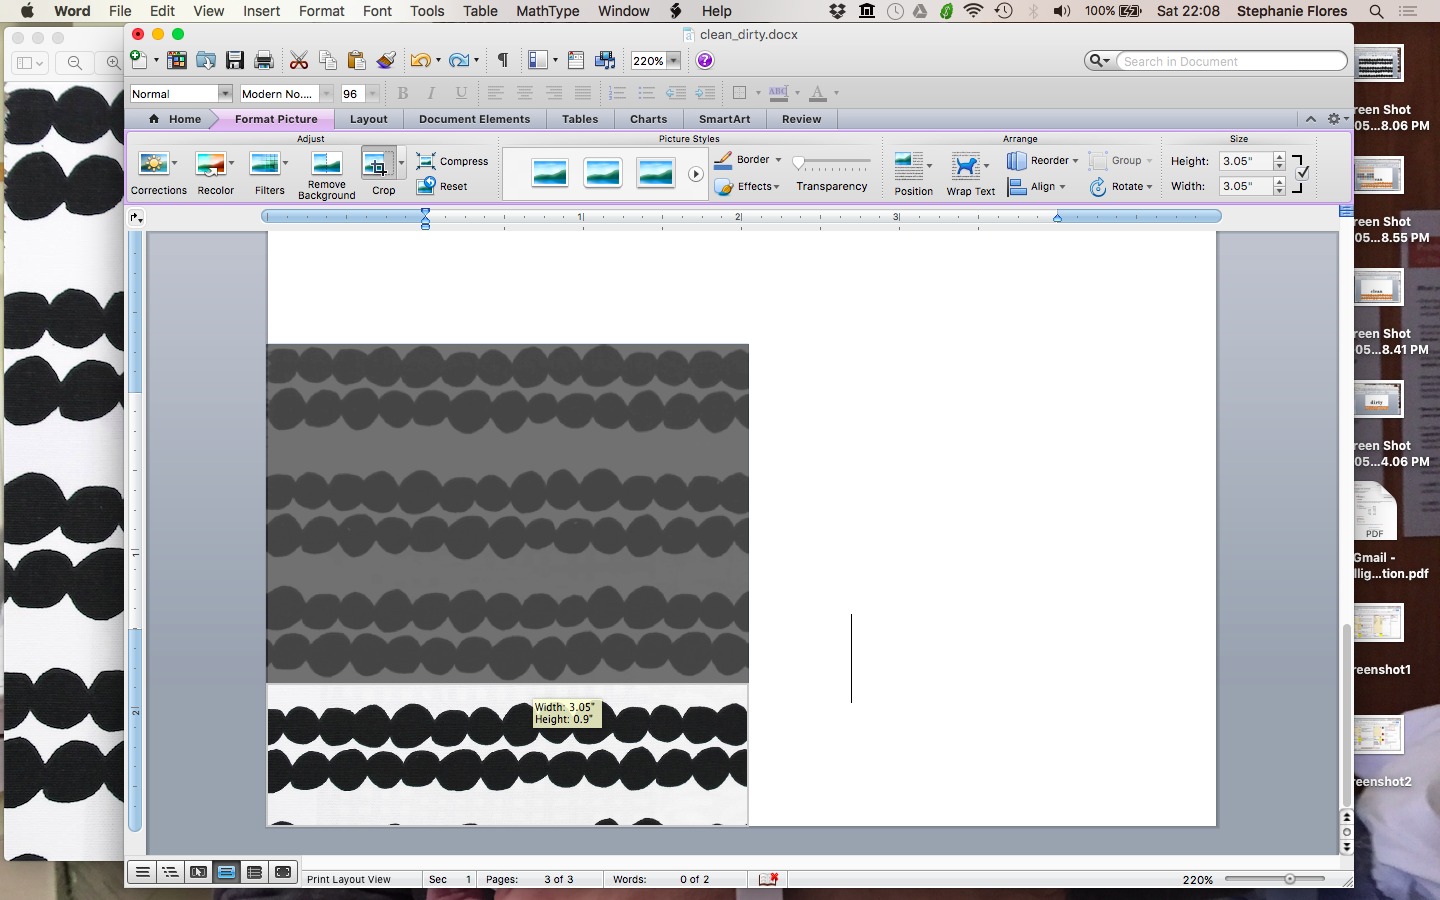
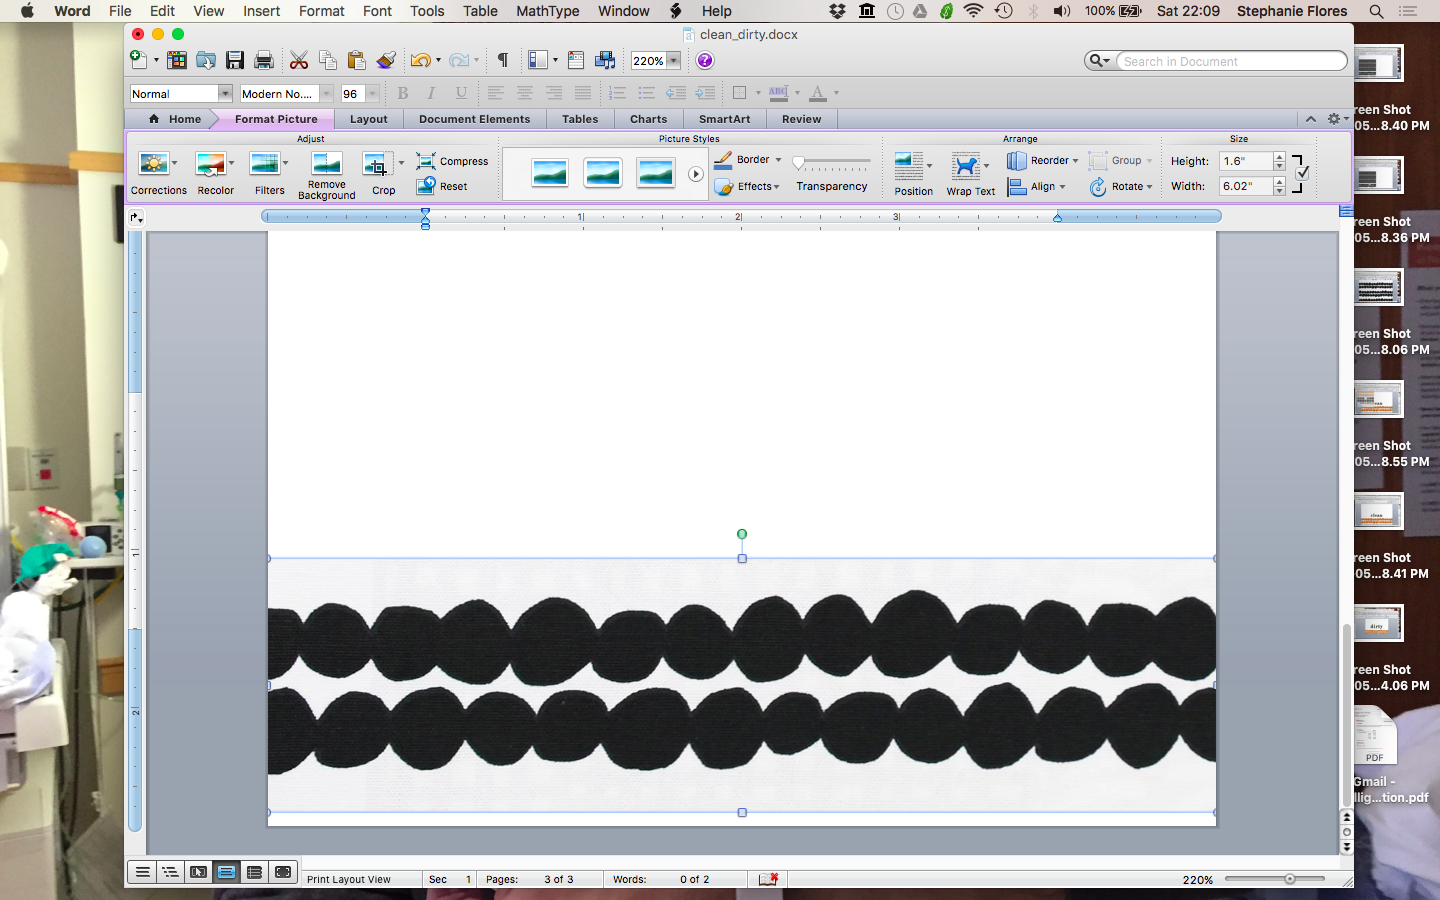
As for the graphic, I scoured Google Images for a clear, crisp, black and white picture of the Mormor pattern. A two-tone color picture is important for MS Word to work with recoloring it (the less MS Word has to process your image, the better). I found it on this company (House Decor)'s site, but I'm also uploading it here just in case they pull the print down (see 1st picture). When you have your graphic, follow these steps (the order may not have to be followed this way, just depends on the graphic you use. Also, all the following instructions are under the 'Format Picture' submenu in whatever MS Word version you're using):
- Place and resize graphic onto your document (2nd picture)
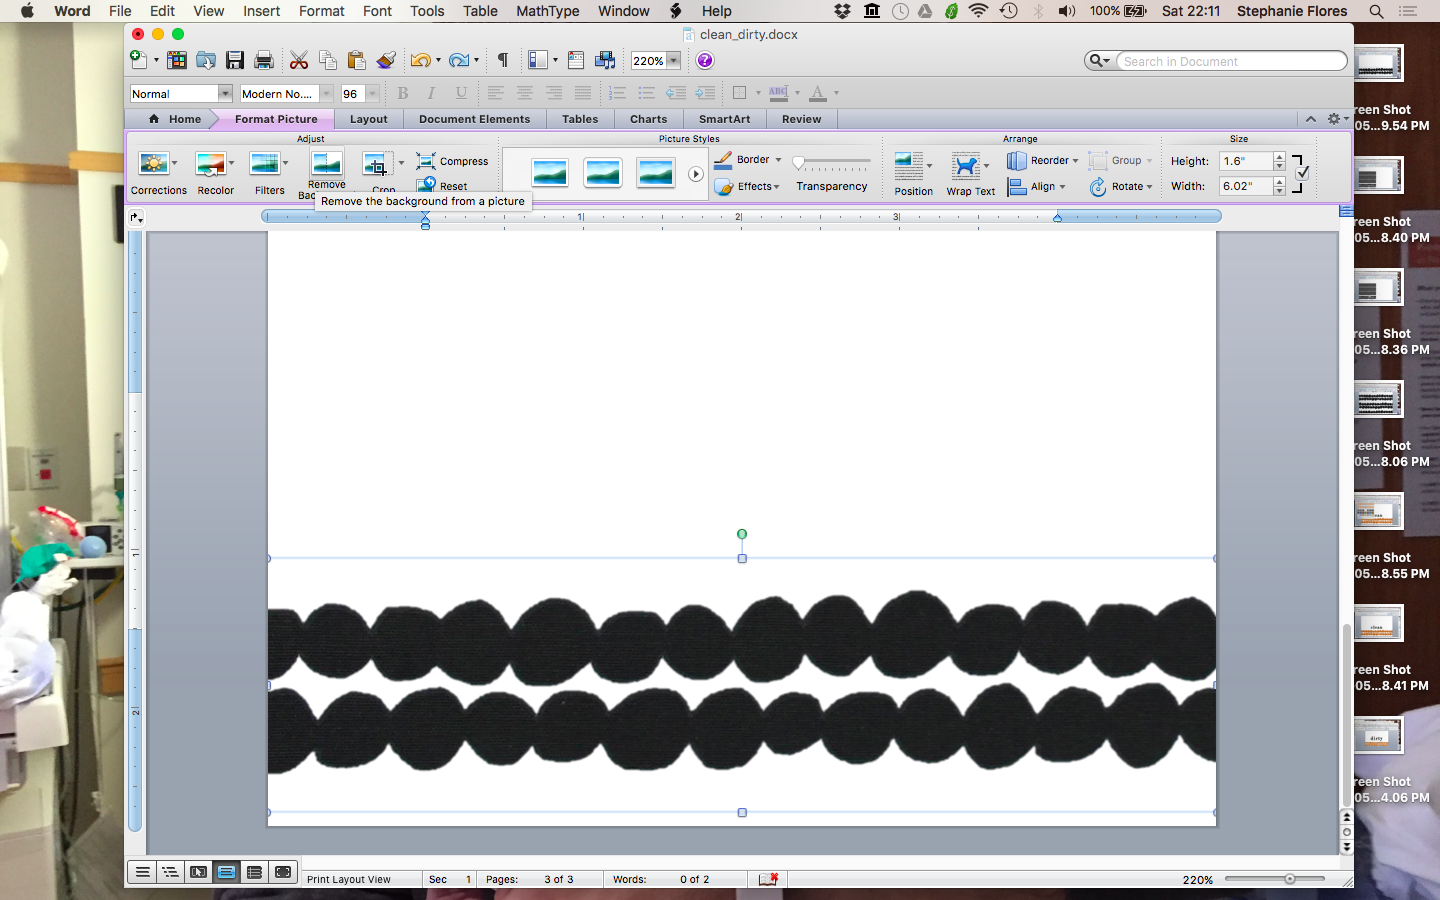
- Crop the area you want to keep as the design for your magnet (3rd picture)
- Resize cropped image (4th picture)
- Remove background (5th picture)
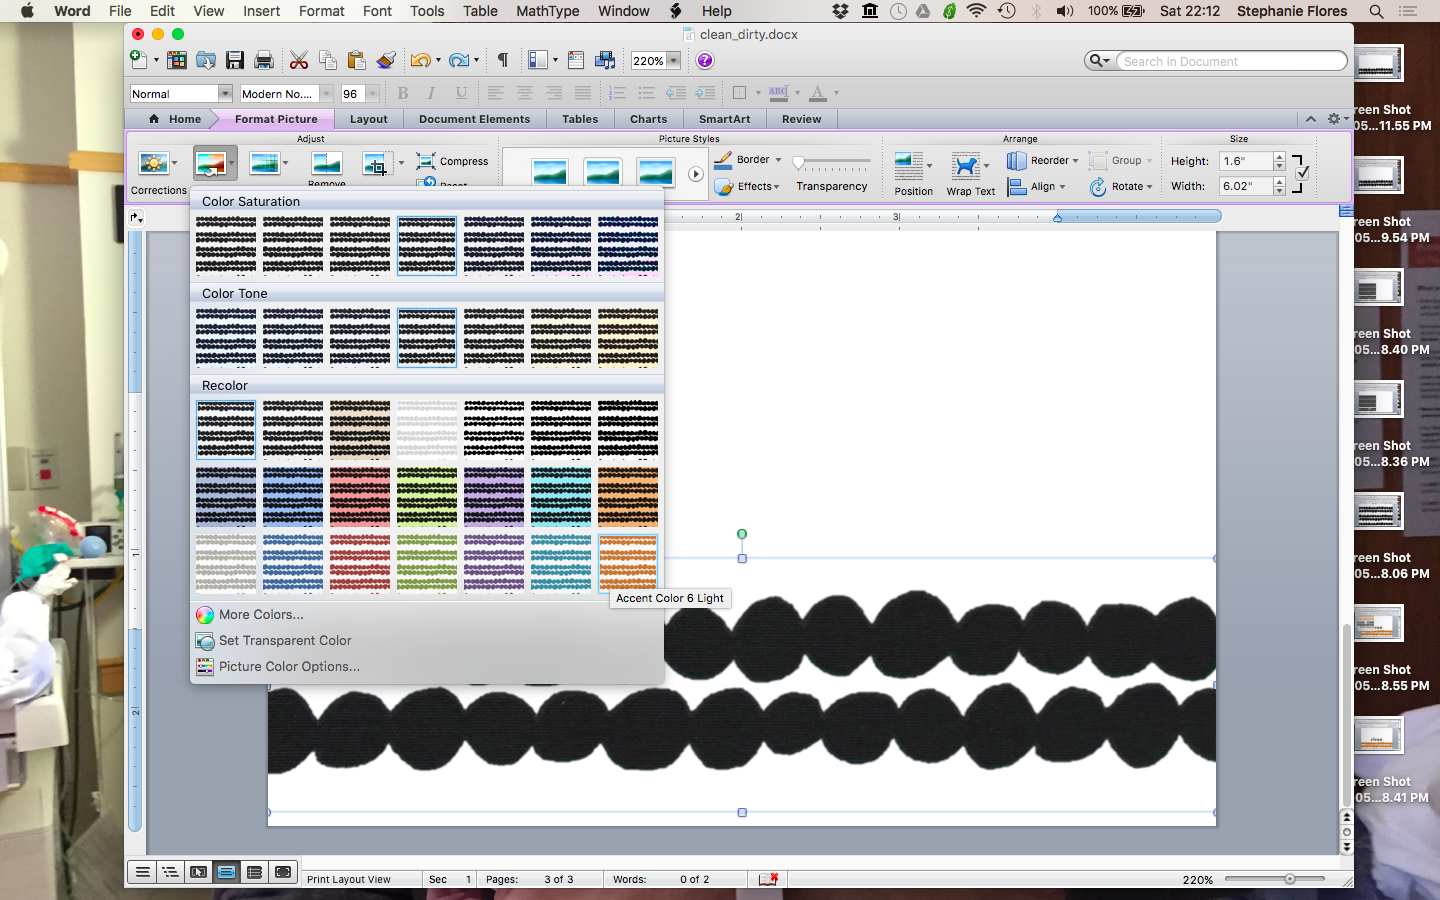
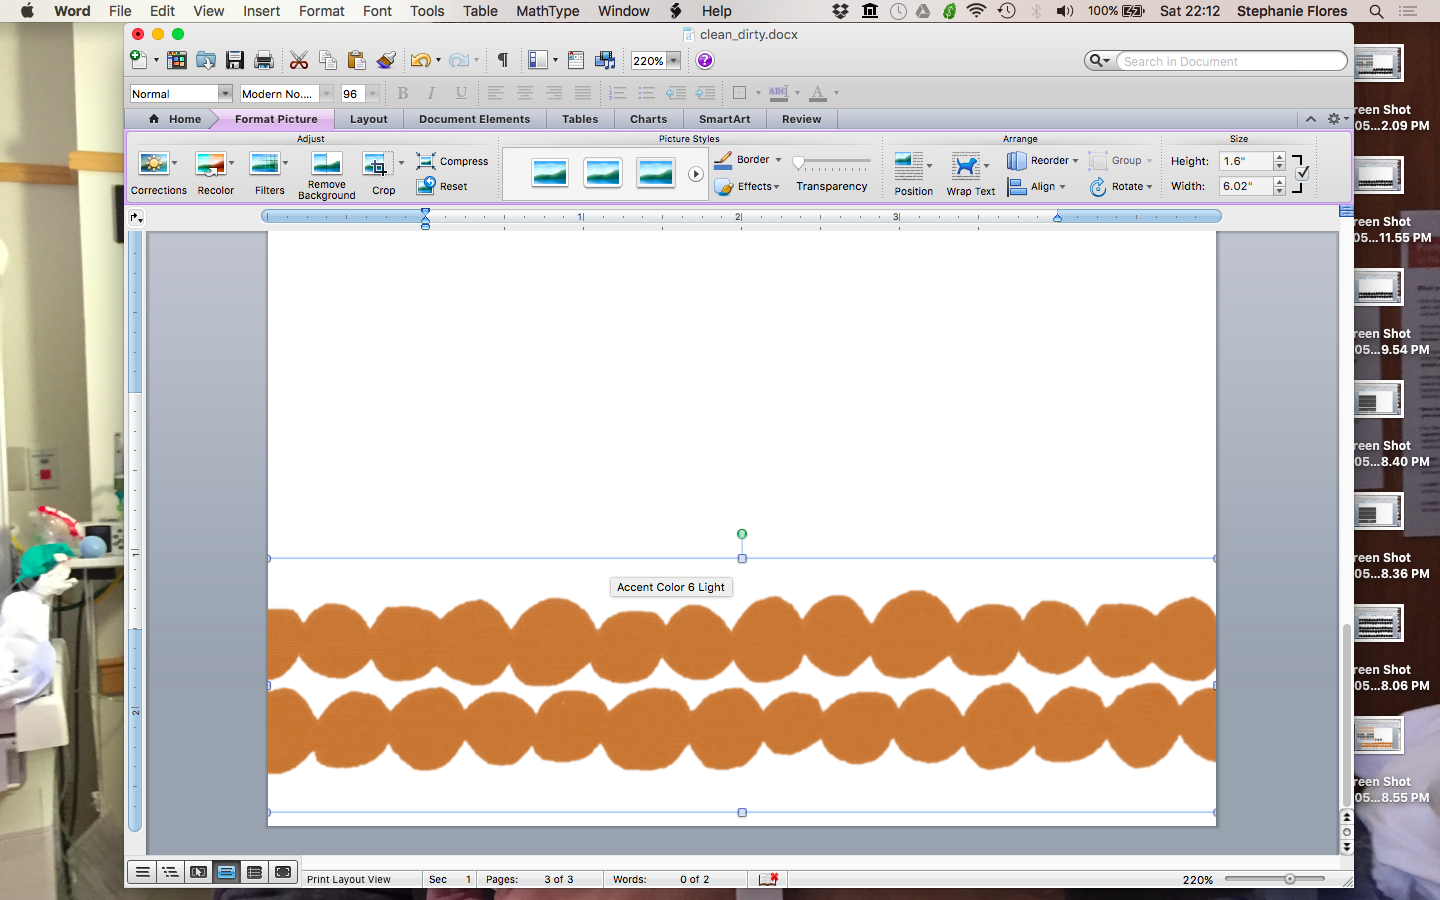
- Recolor picture to your liking (6th picture), which results in the 7th picture!
If you're lazy to follow the aforementioned instructions, I also am attaching the word document (last file, "clean_dirty.docx") to this step if you like my design.
Downloads
Print Out Your Design!
Self-explanatory.
Stick Printed Design Onto Magnet
Peel the cover off of the adhesive side of the 4x6 magnet, and stick the printed design onto the magnet.
(I don't have pictures of this part because I made these way before writing Instructables. Also, this is pretty self-explanatory as well).
Waterproof Your Magnet by Applying Mod Podge to Your Design
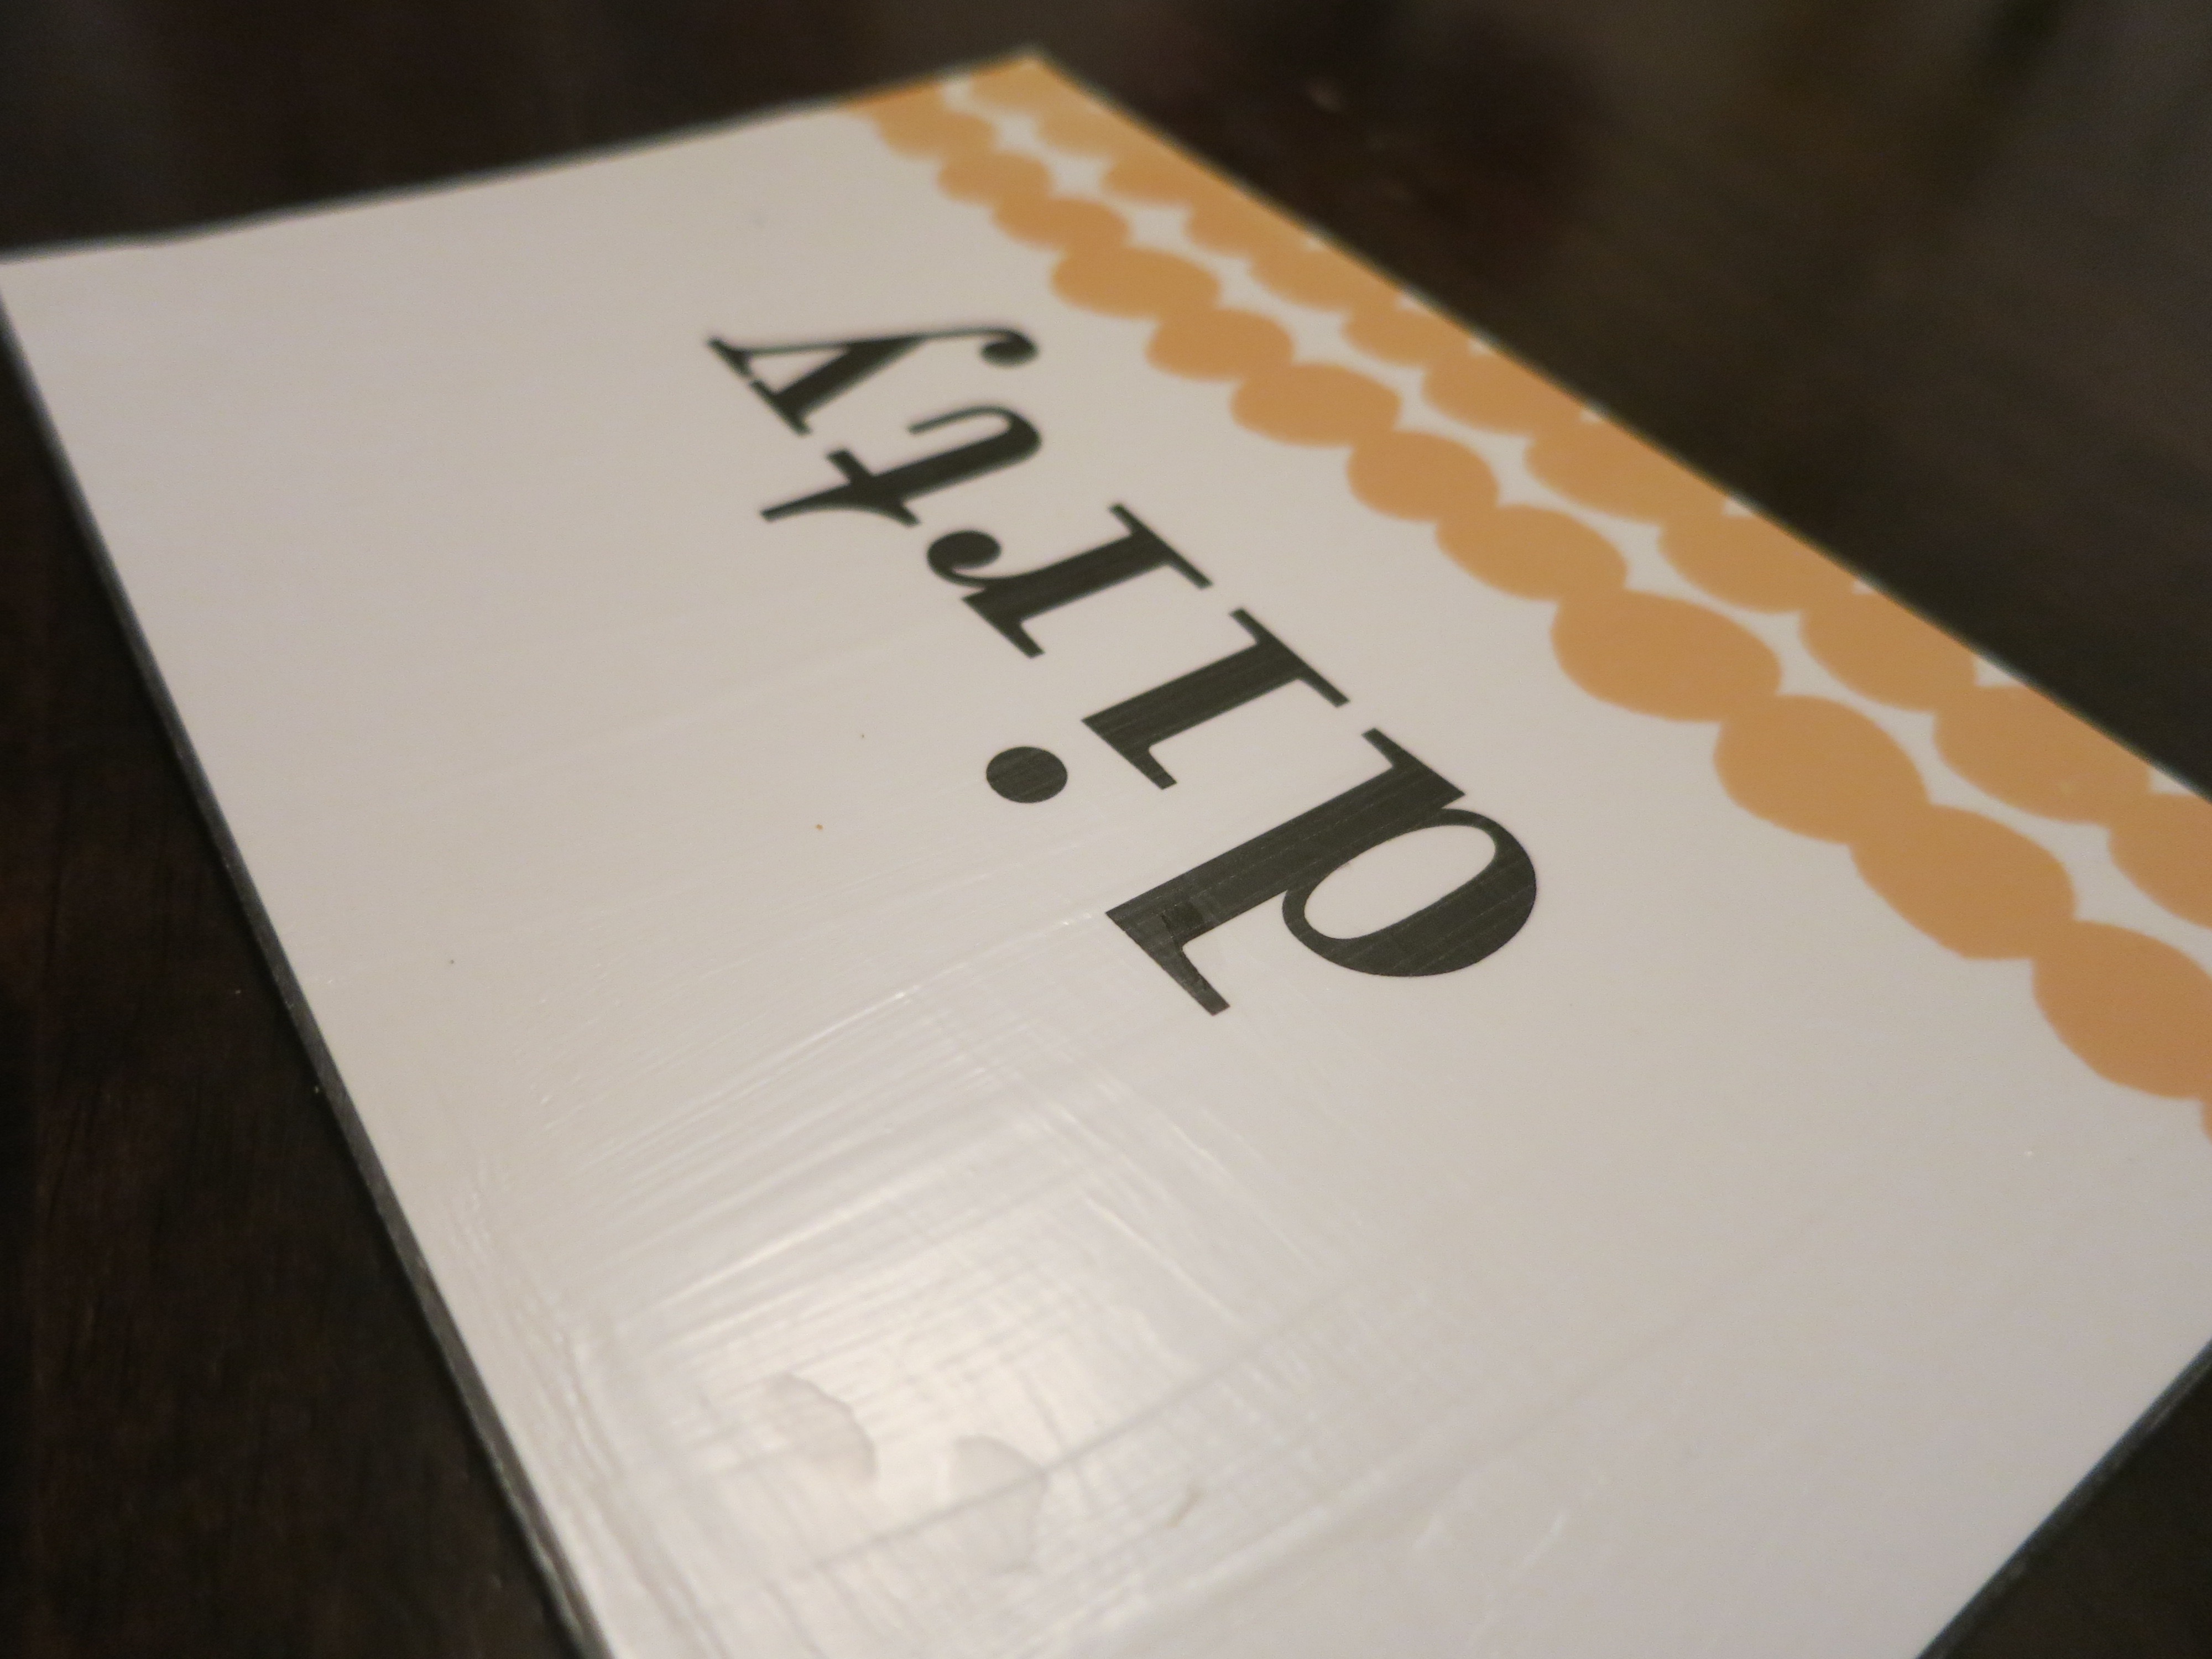

Because you'll be in the kitchen, it's inevitable that you'll splash water on the magnet.
I printed my design on an inkjet printer which definitely will smear the design. If you're printing on some kind of waterproof paper then this won't happen, but I was just using whatever was around the house. There are a lot of tutorials online if you want to learn how to do it, but you basically just paint it on. Let it dry, and you're done!