Disdrometer
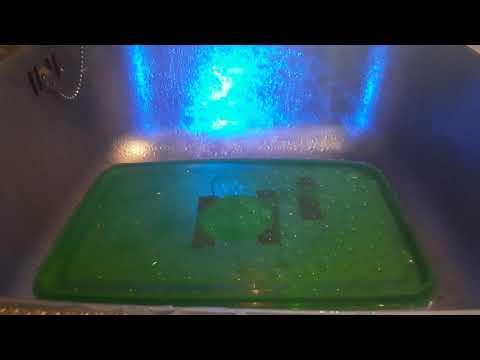
Unable to estimate the need for an umbrella because of the dark, or just too lazy to check the weather report? Take a quick glance out the window to see how intense the rain is. This disdrometer will tell you the intensity of the rain.
Designing a sensor for a water related phenomenon was required for passing a course on the Technological University Delft. A sensor should be made from objects commonly found in a household or easily attainable in combination with a Arduino Uno.
The sensor can be used to determine 3 different stages of rain intensity which can be configured yourself! For this project no soldering skills are necessary. Arduino script writing is limited to the bare minimum.
Supplies
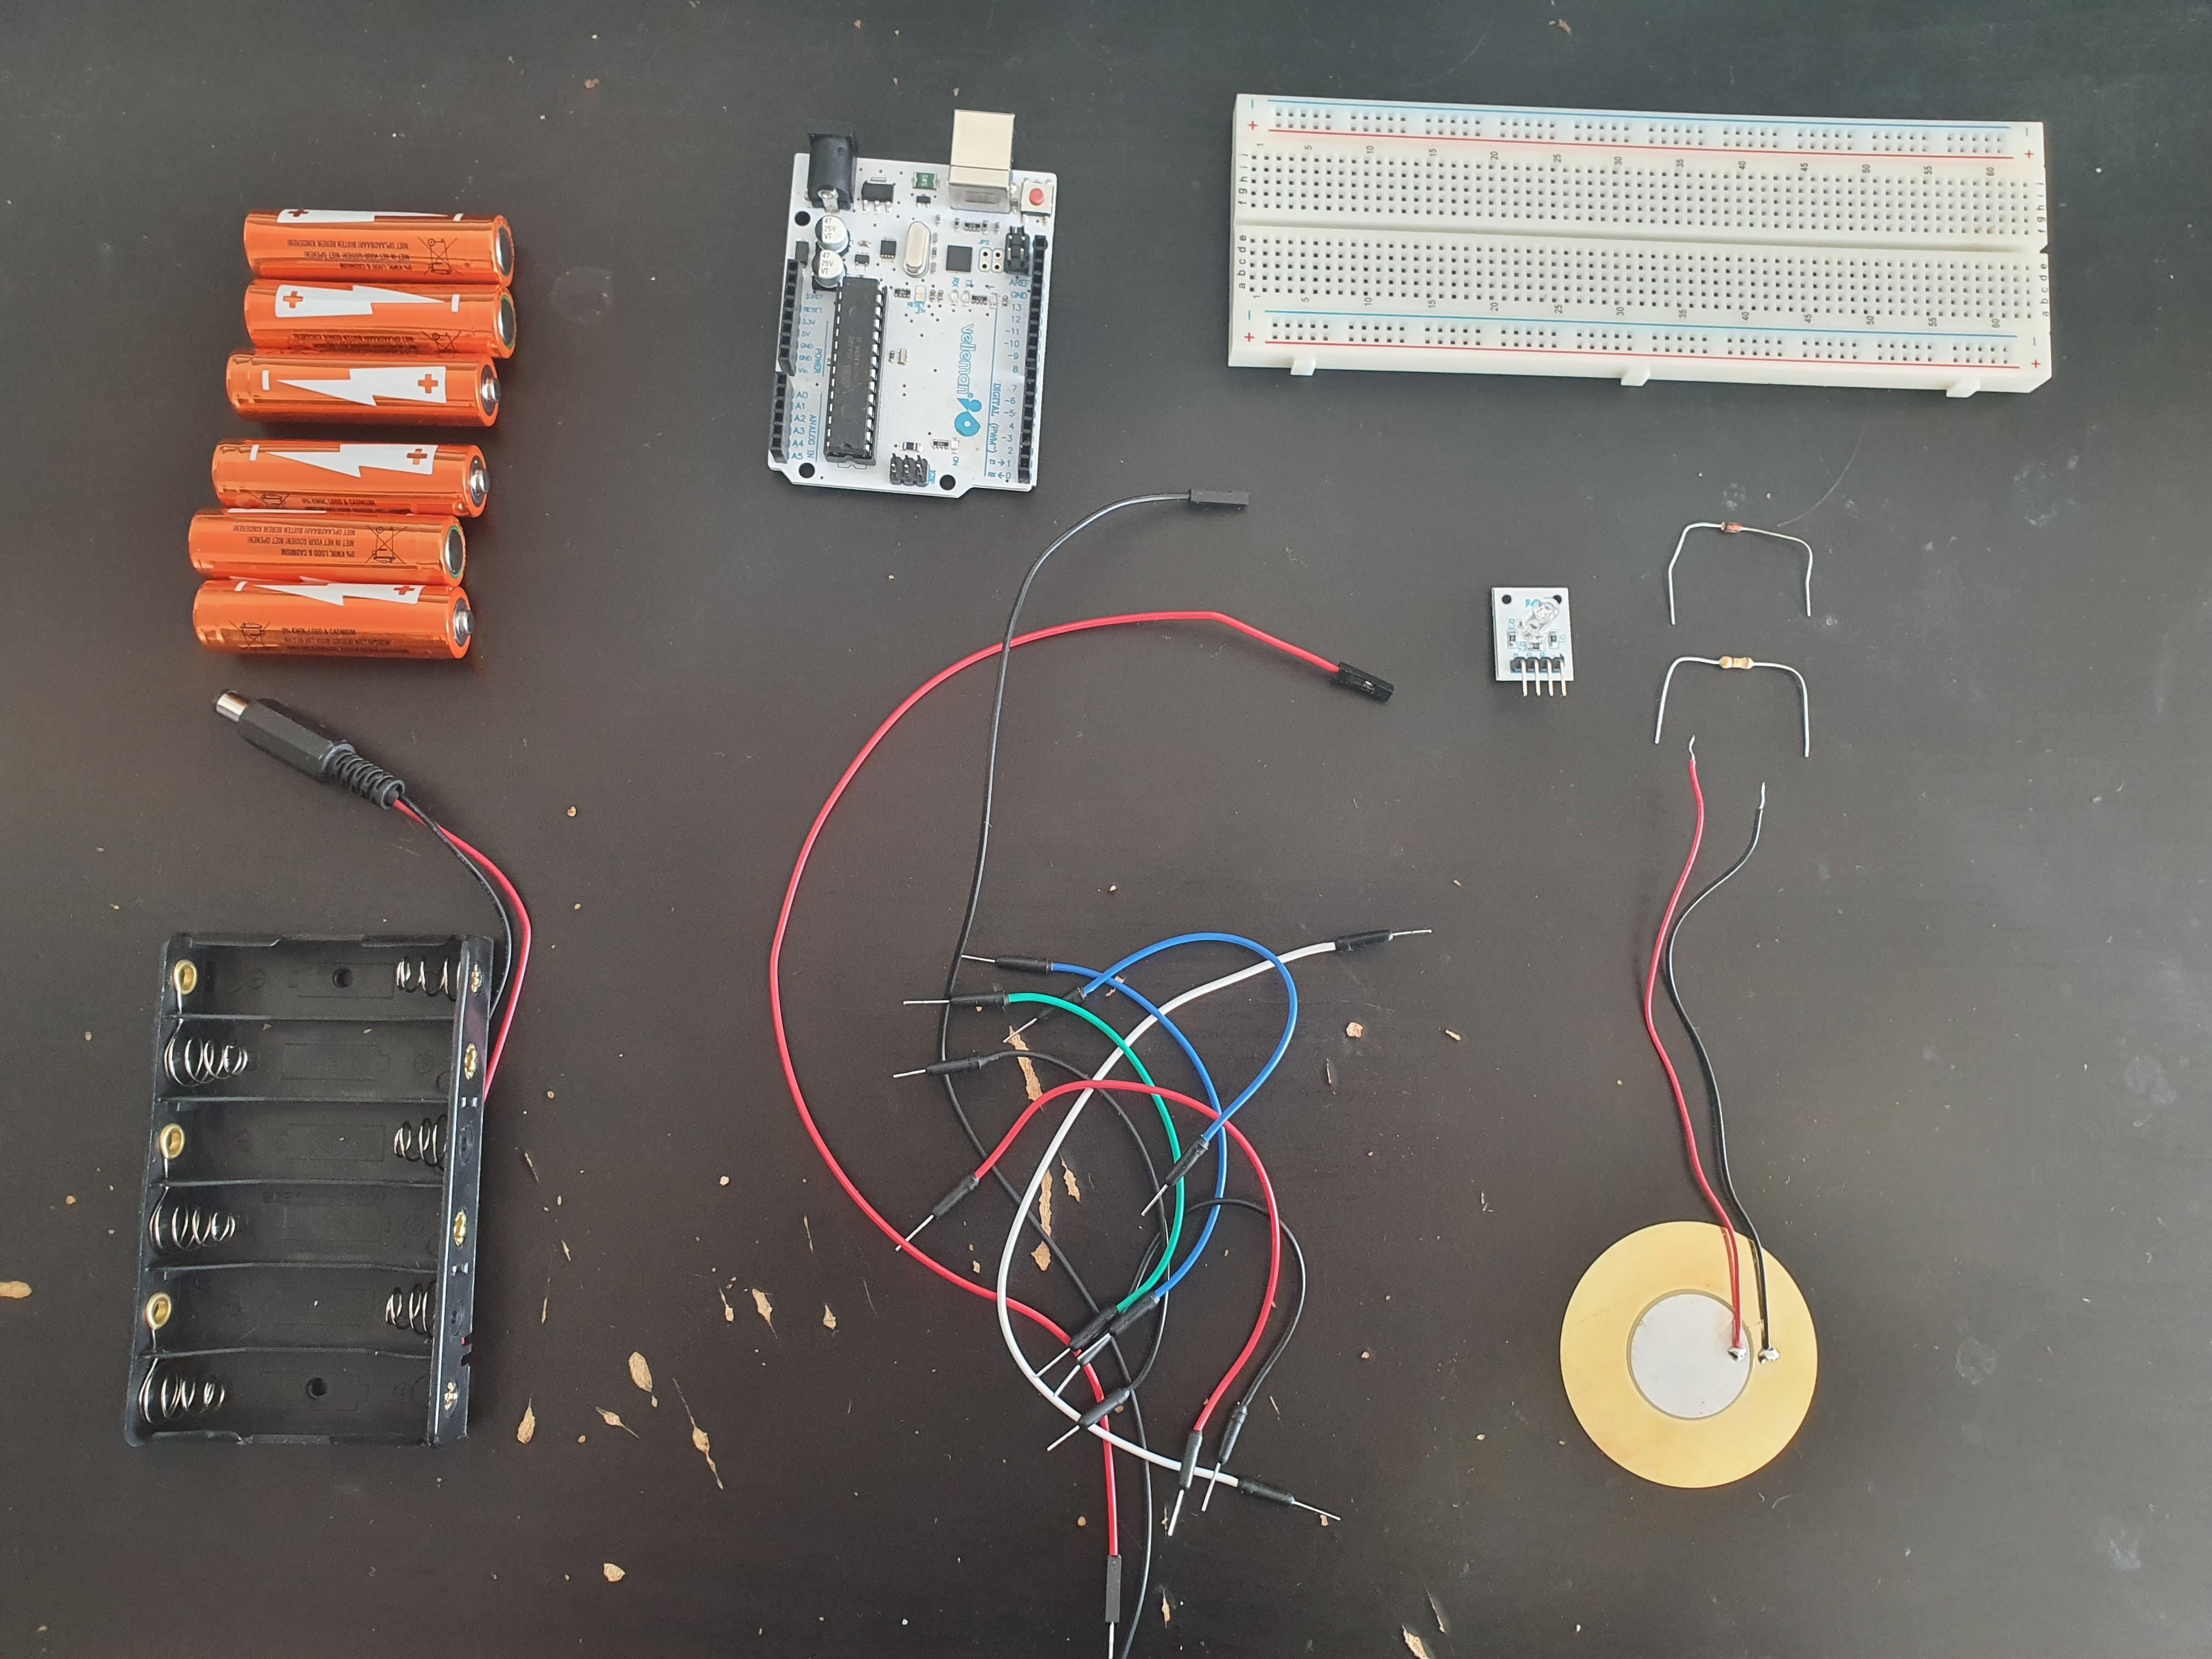
For this instructable you will need:
- Arduino (Uno)
- 830 Hole Breadboard (smaller will suffice)
- RGB Led module (VMA318)
- 4.7V Zener Diode (ZPD4v7)
- Battery holder for 6 AA battery's (similar to BH363B)
- 6 AA Batteries
- Breadboard jumper wire
- 500kOhm resistor
- Piezo element
- Tupperware (big enough to fit Arduino + Breadboard)
- Tape
- Glue (optional)
Tools:
- Soldering Iron (optional)
- Water Mister
Preparing the Arduino
Plug the Arduino Uno in your Computer and start up Arduino. Download Disdrometer.ino provided and upload to the Arduino. Take a quick look at the code and notice the three different thresholds. These will be configured later.
Downloads
Assembling the Sensor
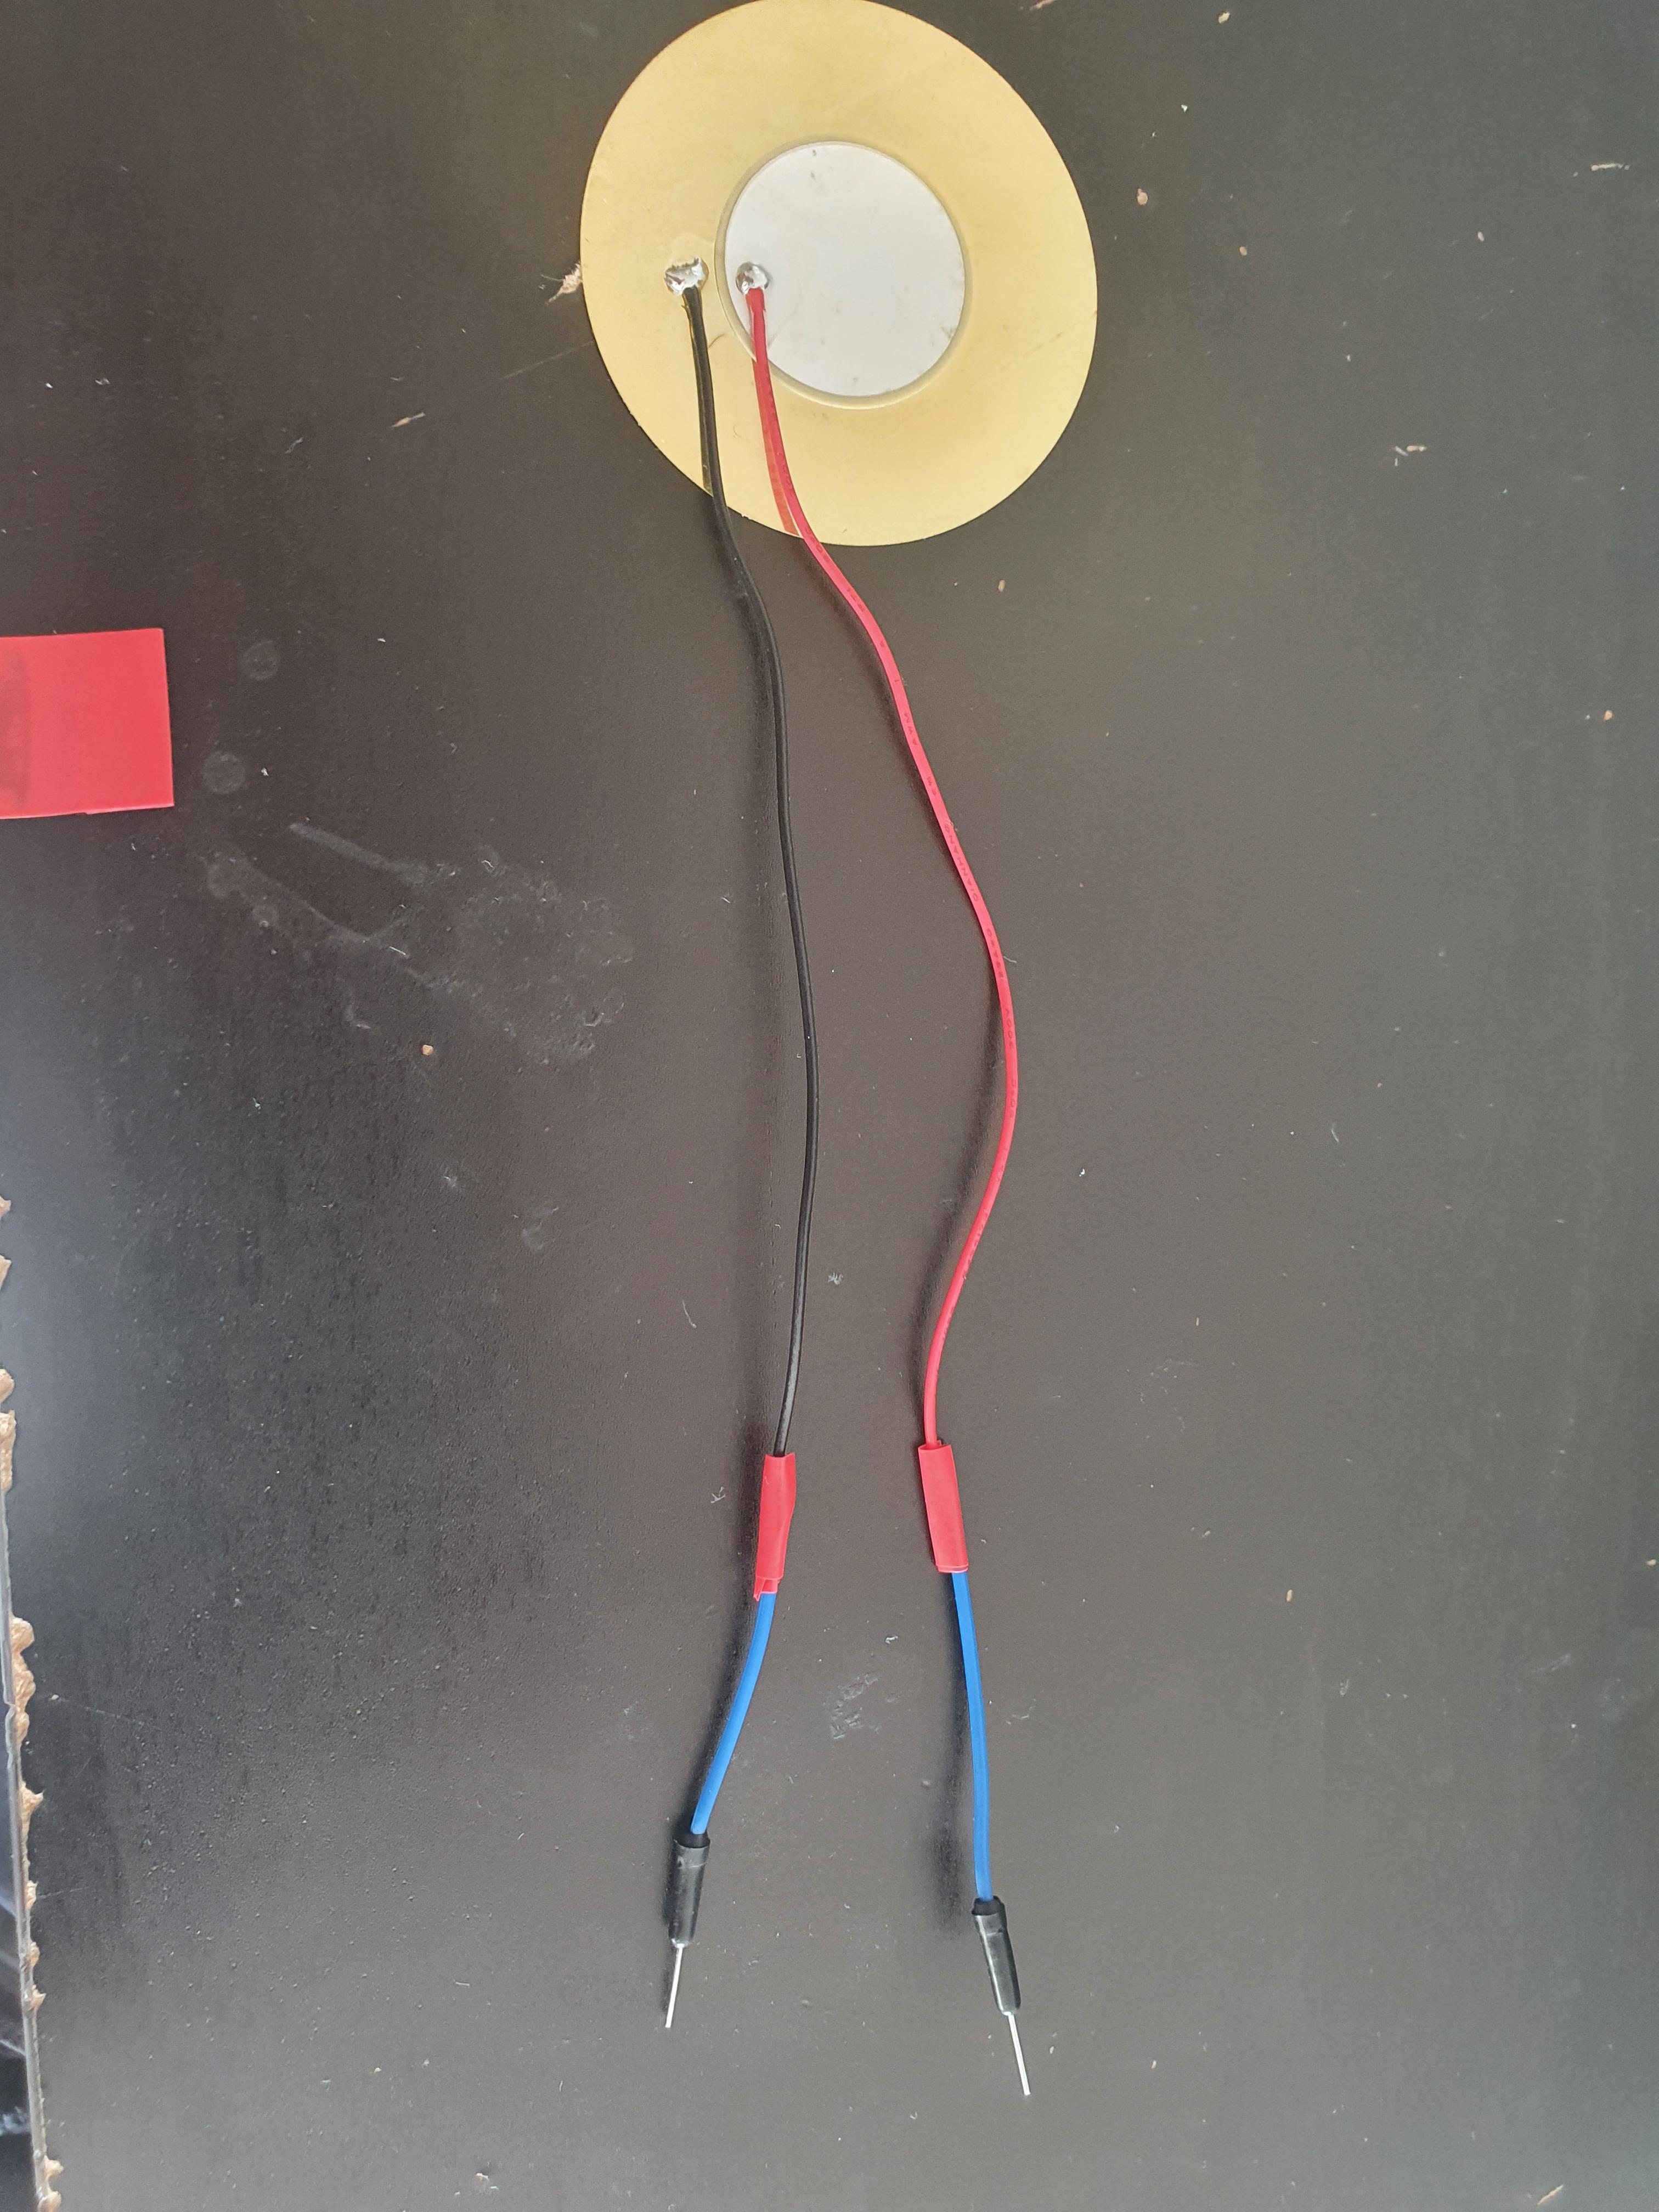
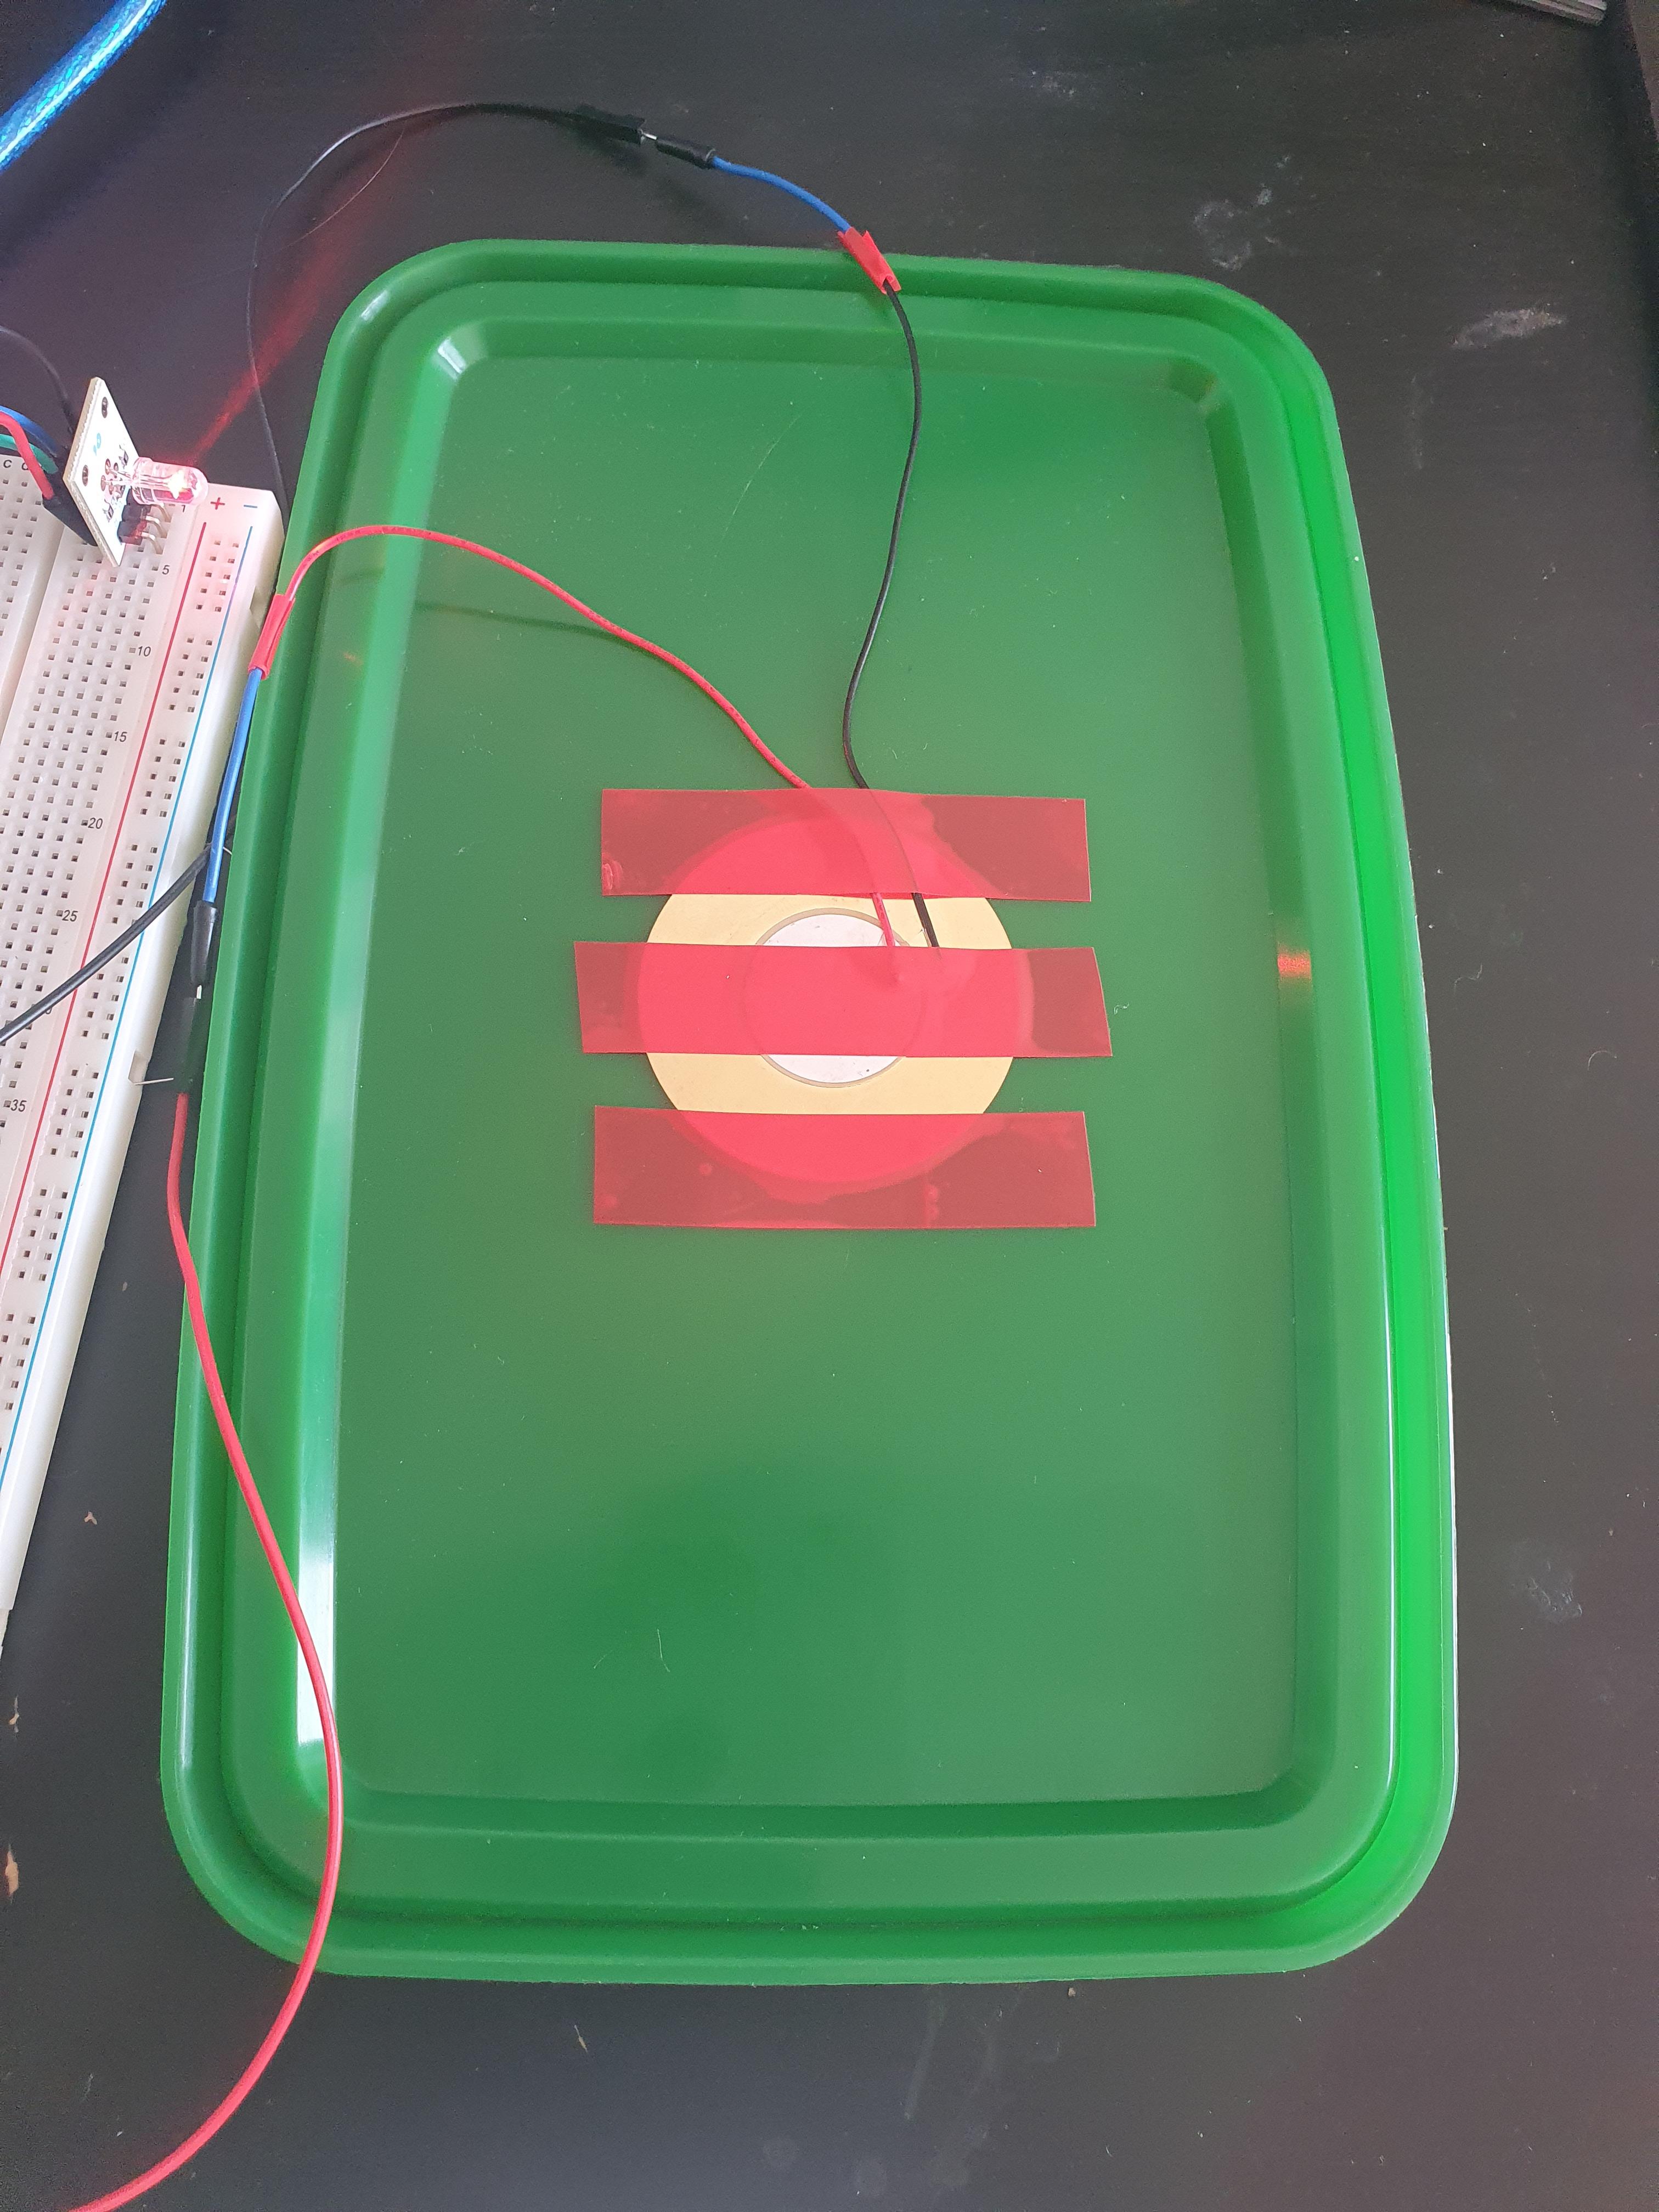
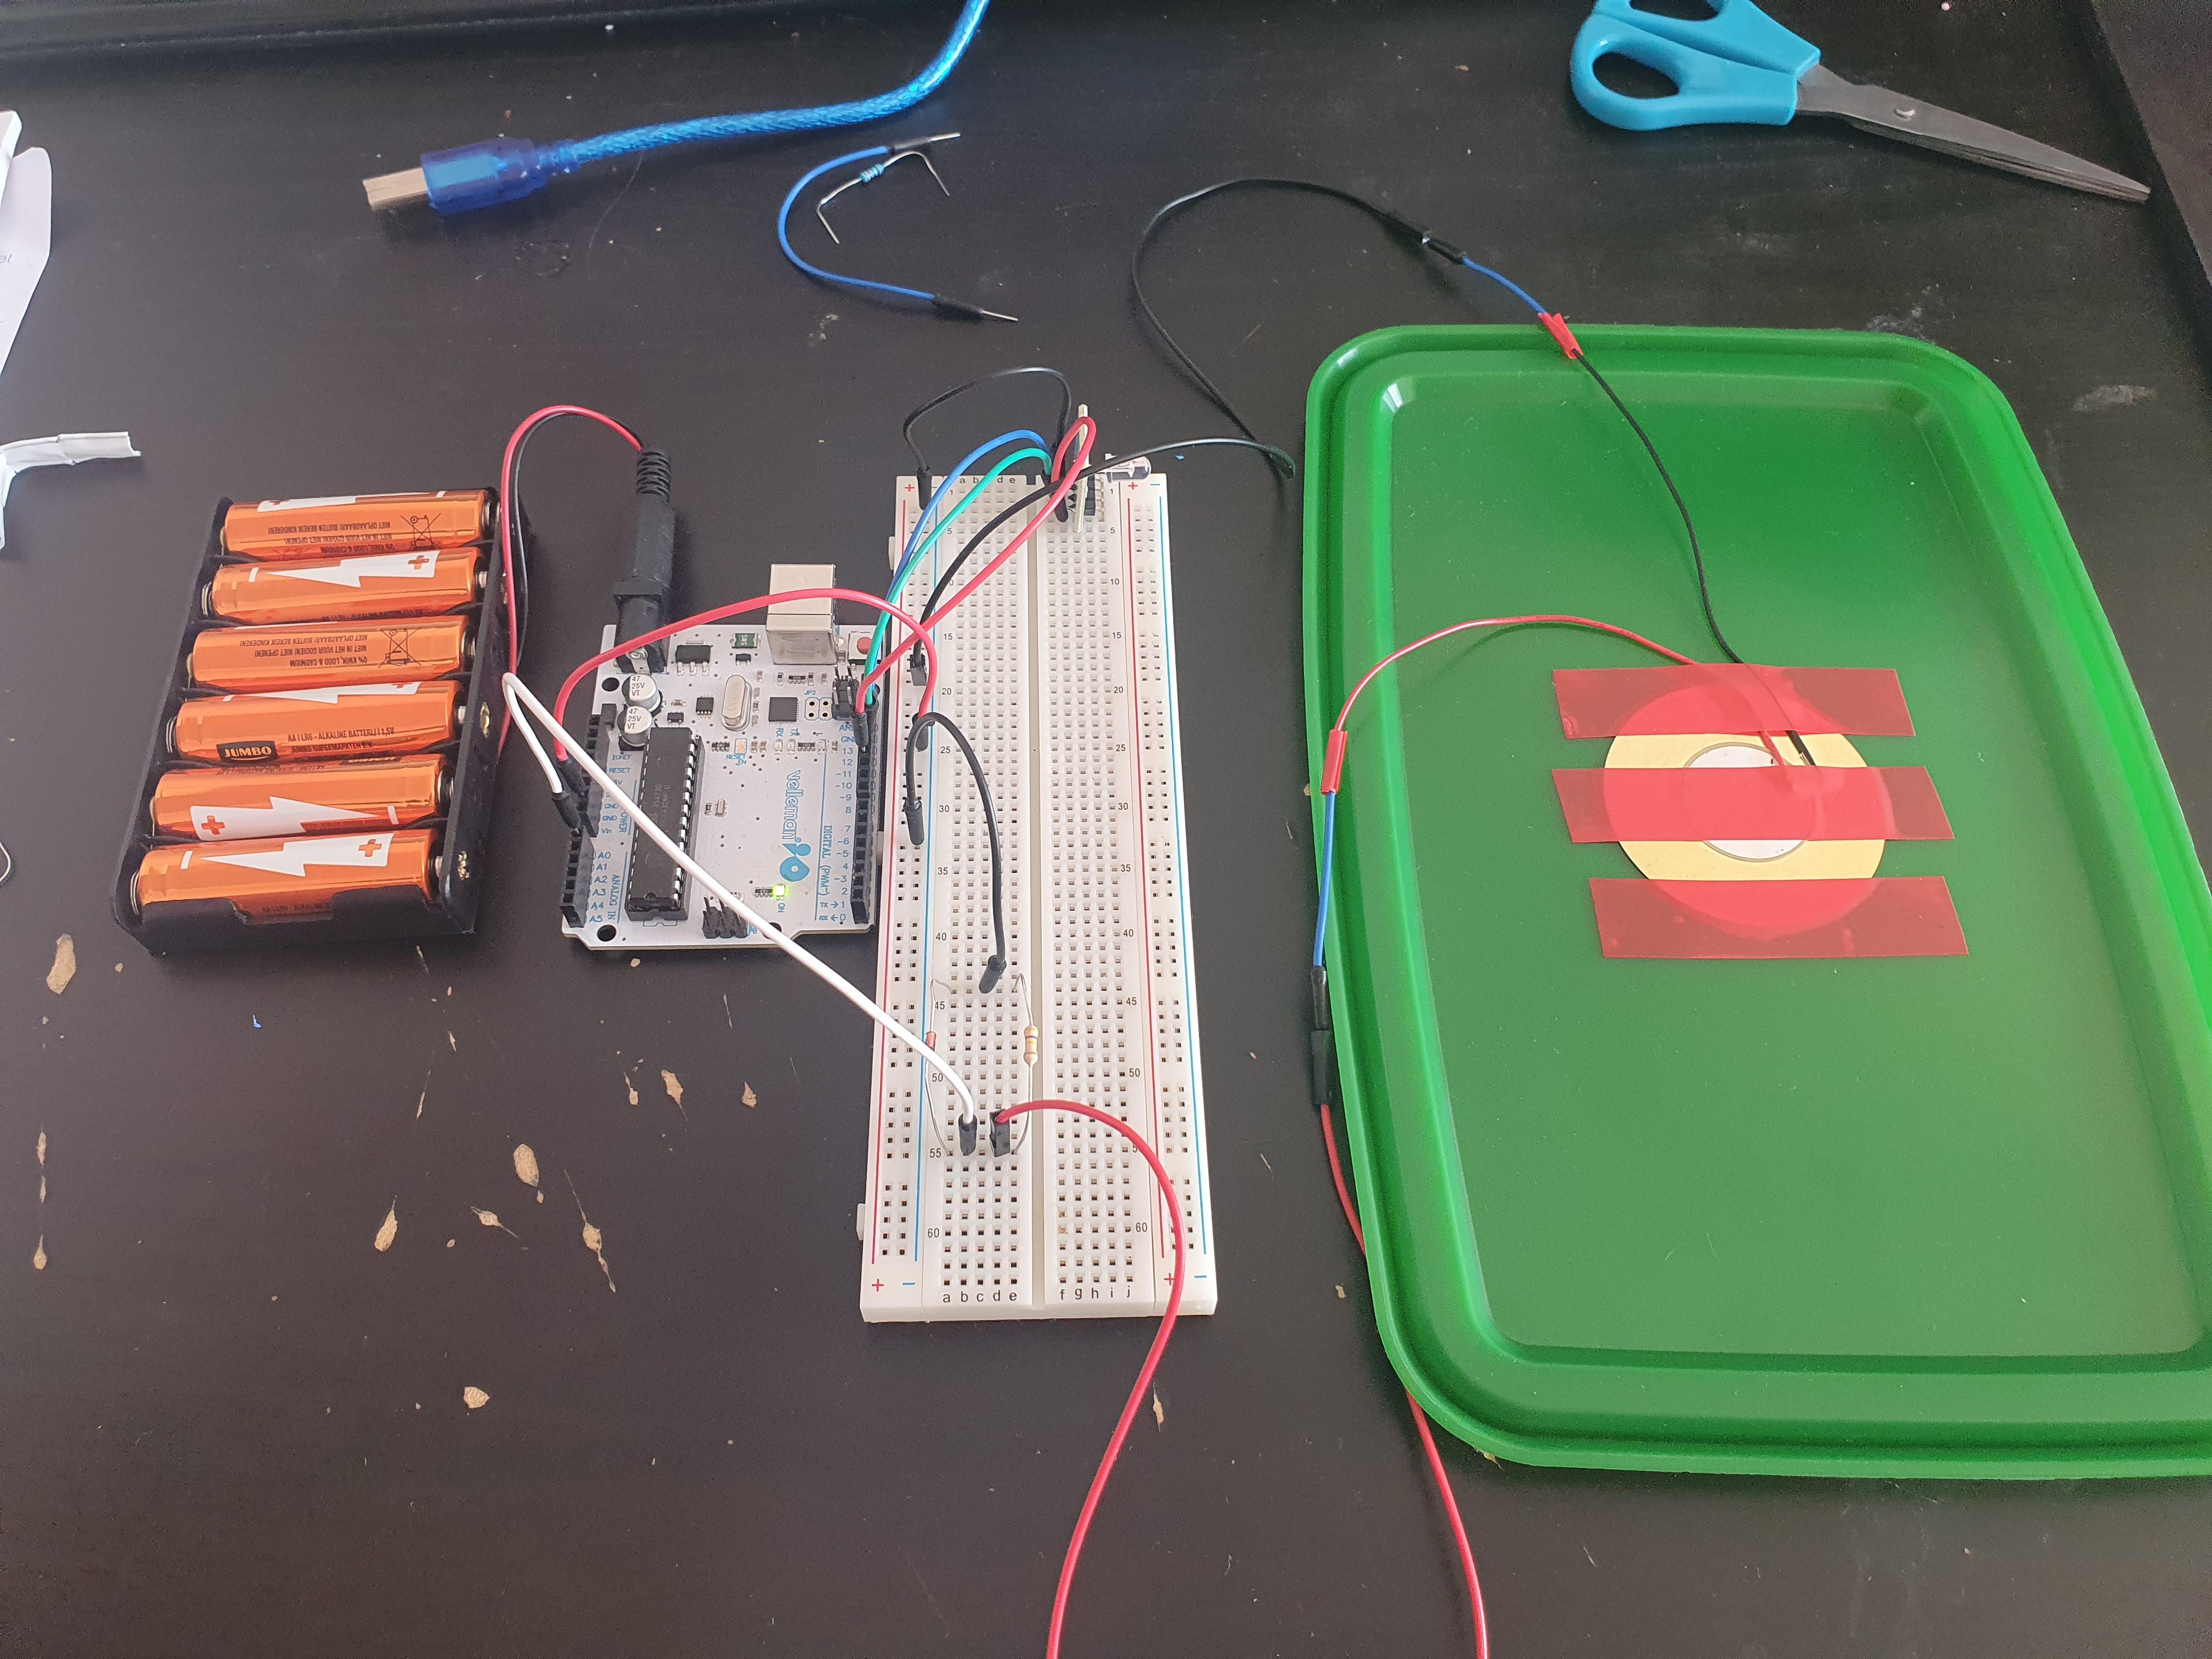
Snip a breadboard wire in half and solder both ends to the piezo wires. This enables the use of the piezo on the breadboard. If you are unable to solder, simply twist the wires into eachother. Don't forget to tape the wire to protect the connection. Stick the piezo with some pieces of tape or glue to the bottom of the tupperware lid.
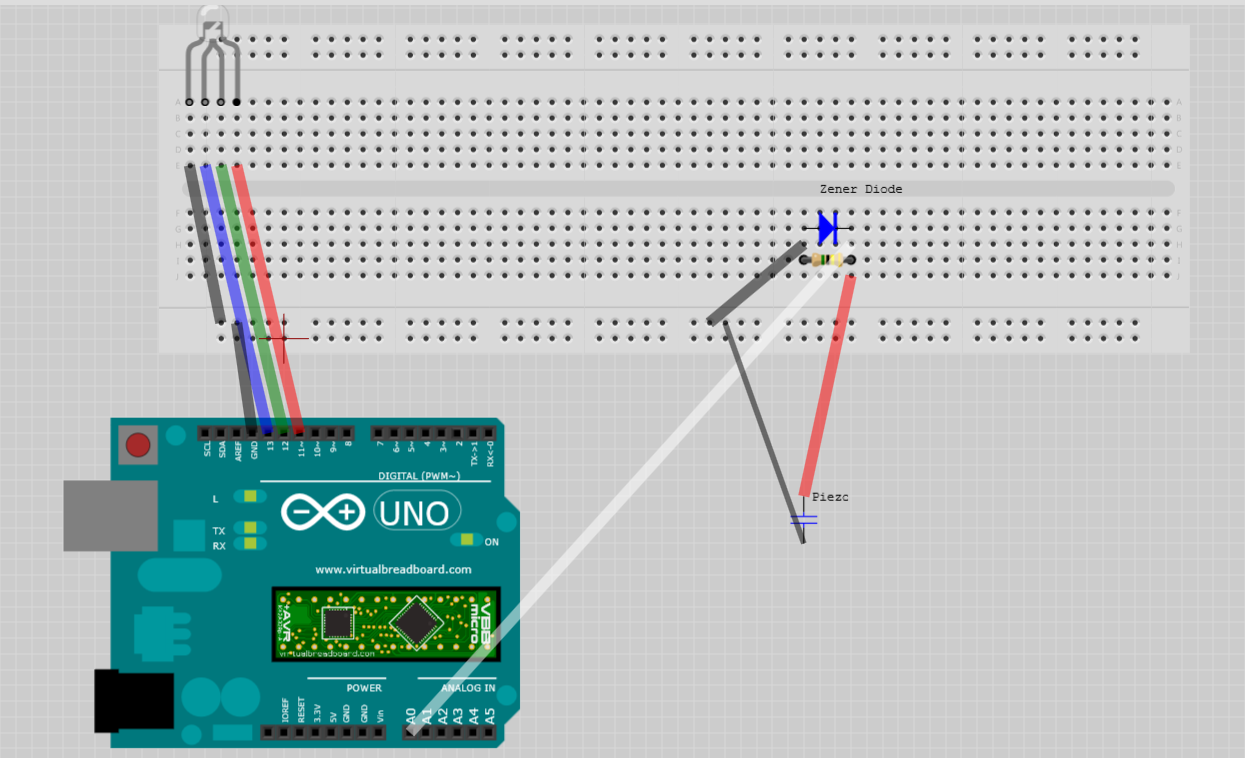
Assemble the breadboard as shown in the picture.
Testing & Calibrating

If assembled correctly, plug in the power source in the Arduino. The on led on the Arduino will turn on. If you give a light tap on the lid of the Tupperware it should start shining bright red. It should turn off after 10 seconds of not disturbing the sensor.
Put your closed bin somewhere you can spill some water and take out your mist gun. Drizzle the minimum amount of water on the sensor, to determine the first point you want the light to turn green (default). This will be the first threshold. Take note of the color of the light and plug the Arduino back in. Copy the threshold value you just witnessed to Tresh1. Alter the other values to have an increase
Example: The light turned blue for the amount of water i sprayed. I change thresh1 to 15, to match my minimal rain amount. Then change tresh2 and thresh3 to have an increase with respect to tresh 1.
Repeat this for thresh 2 and tresh3.
Finished
Congratulations, you must made your own Disdrometer. Put it outside and wait till it rains, it should give some pretty lights.