Discord Security Camera With an ESP32
by willmakestv in Circuits > Microcontrollers
6190 Views, 52 Favorites, 0 Comments
Discord Security Camera With an ESP32
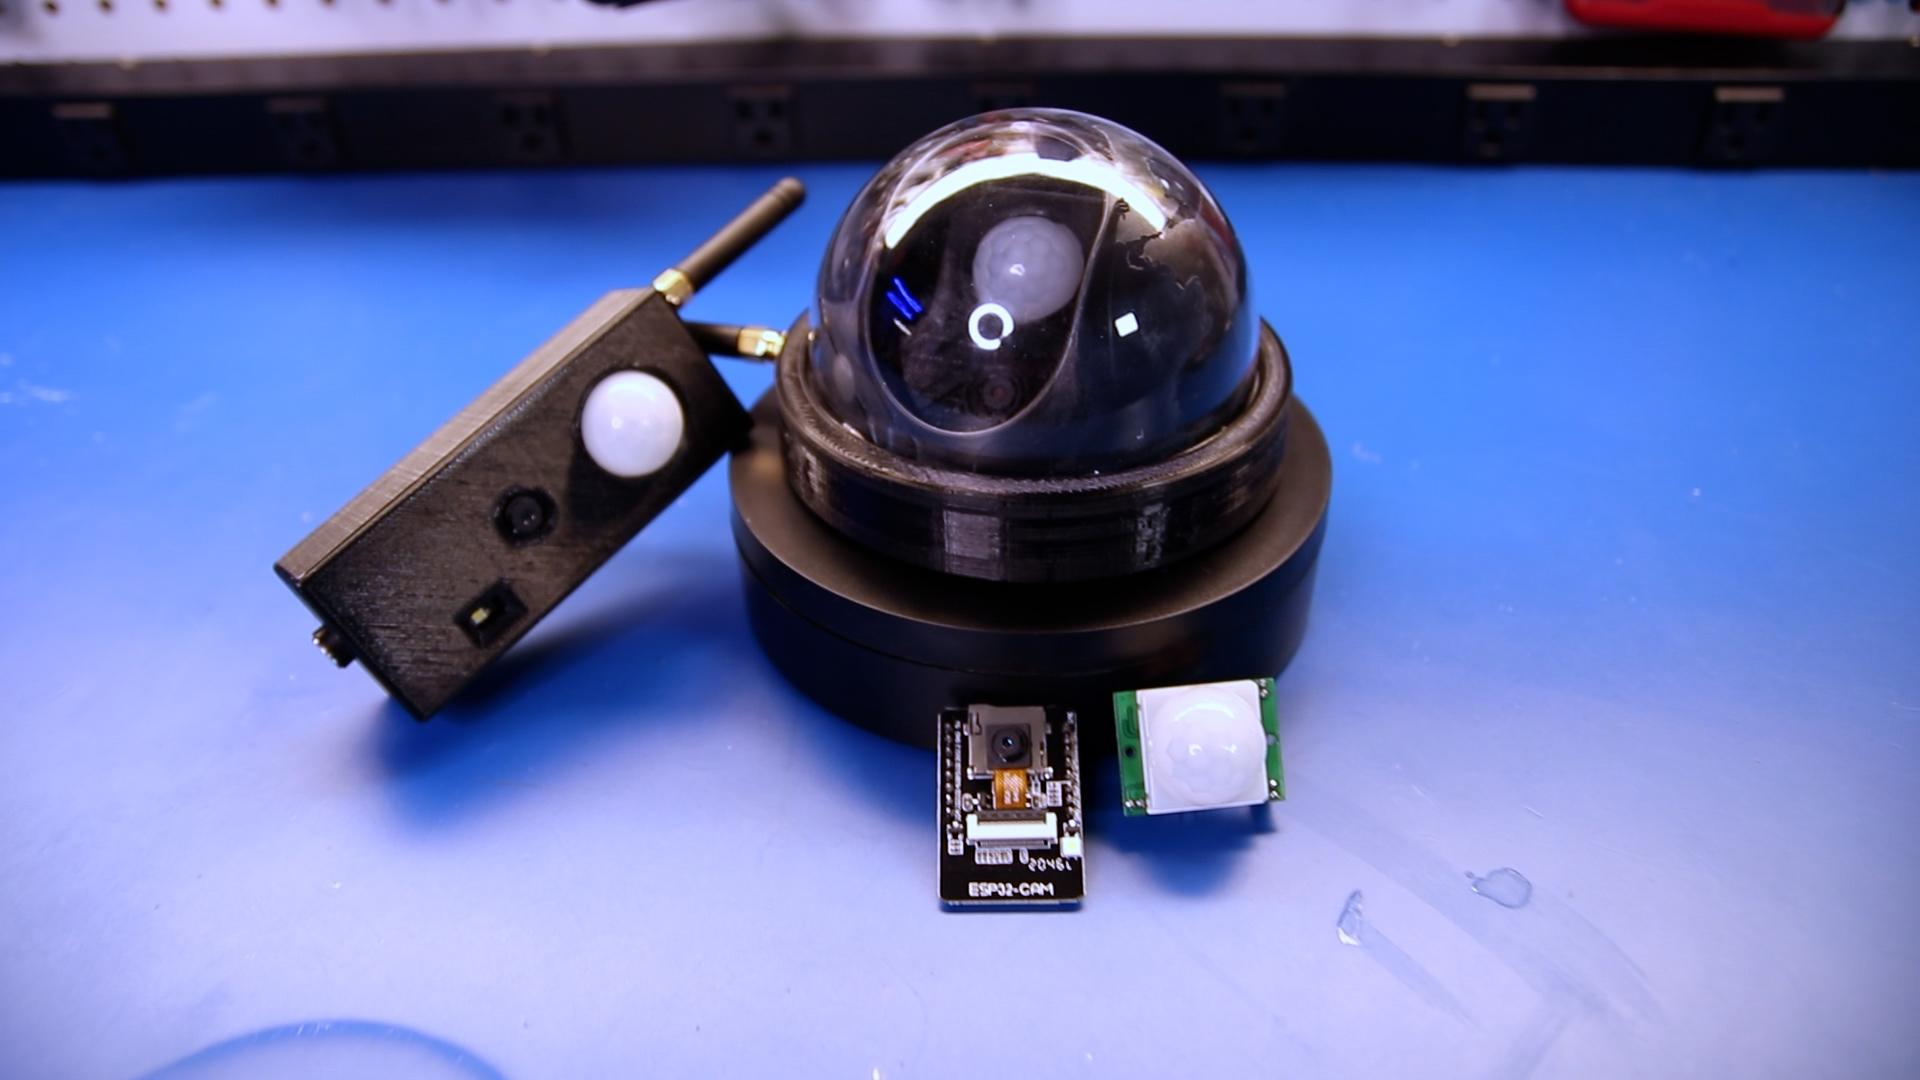
Use an ESP32 Cam and a passive infrared (PIR) sensor to create a motion-activated security camera that will post a photo to a Discord channel, where you have access to create a webhook.
We'll build out the test circuit, using a breadboard and jump wire. We'll then build a wiring harness using Dupont connectors to allow for easy connections to the development board and PIR sensor.
We'll then use our choice of a wall or ceiling-mounted 3D printed case to contain our parts and our camera.
The ceiling-mounted camera makes use of an inexpensive decoy camera that can be purchased online.
Supplies
Programming the ESP32 Cam With an Arduino
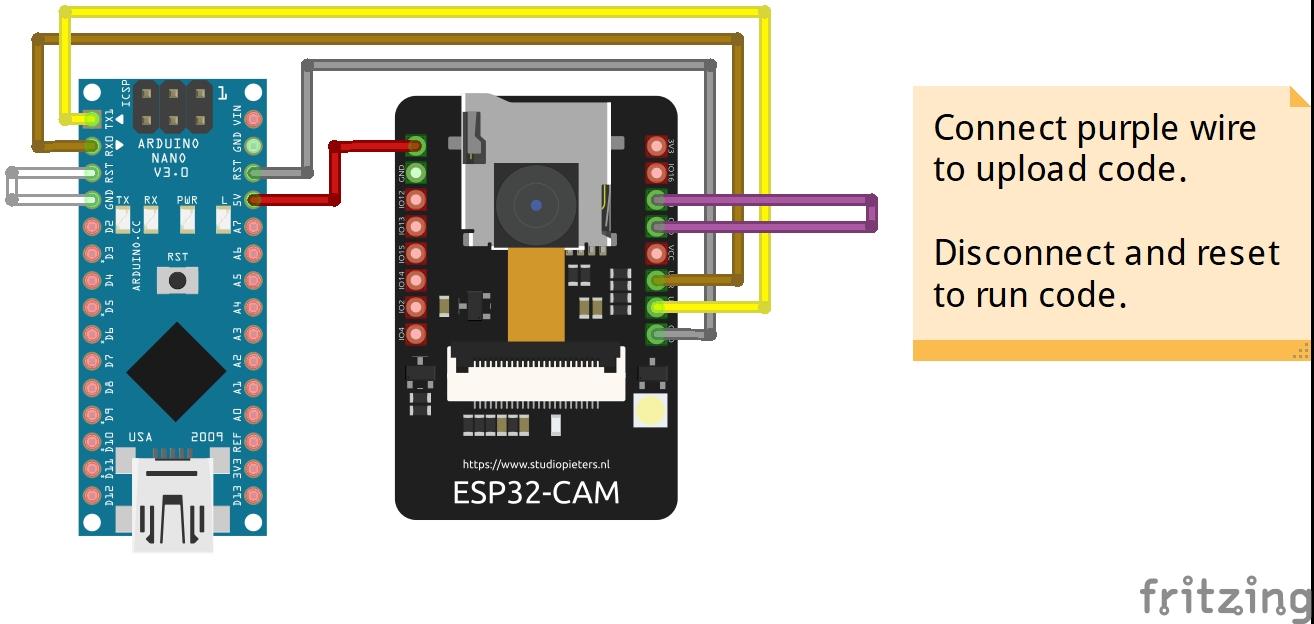
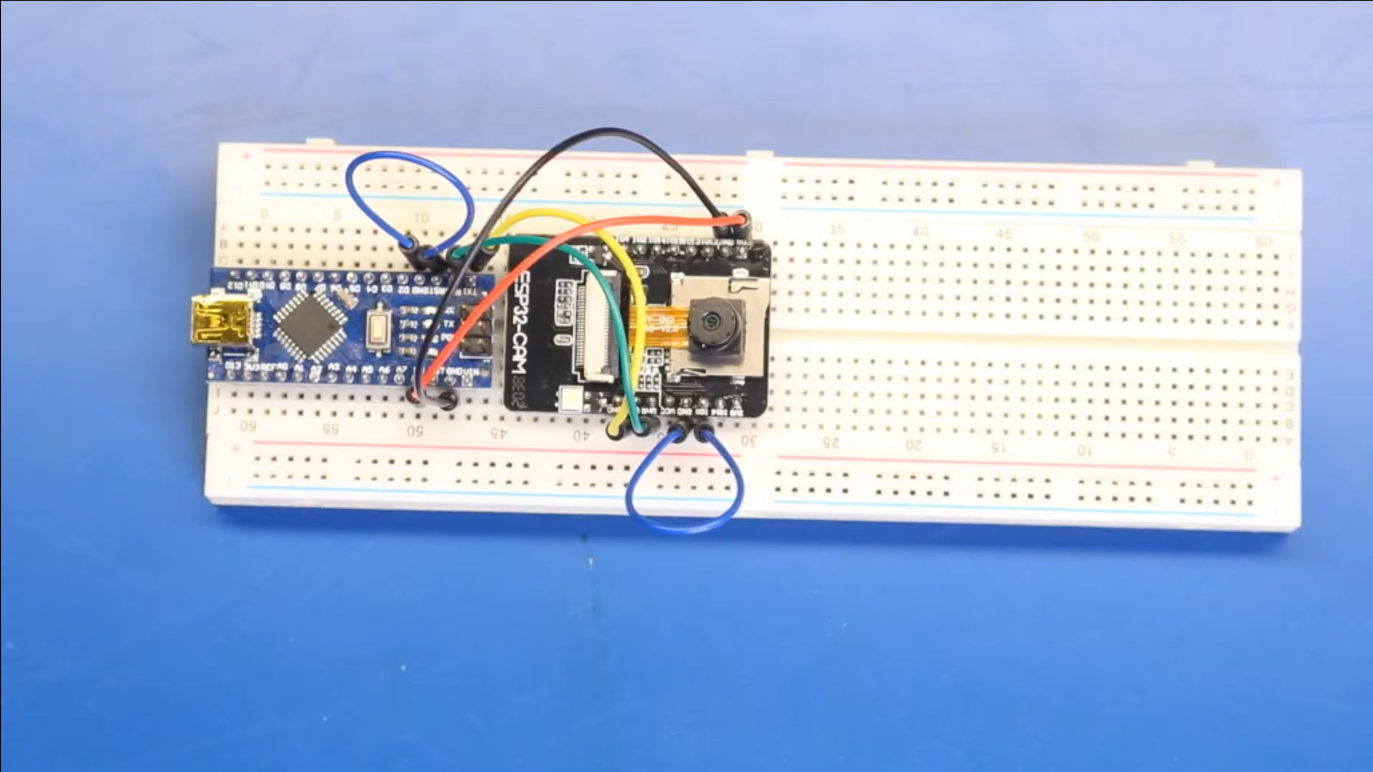
Set the ESP32Cam into flash mode and wire it to an Arduino, to allow for programming of the ESP32.
For this step, we'll need the ESP32Cam, an Arduino Nano, and jump wires.
Make sure the ESP32 Board Manager URL has been added to your preferences:
- https://raw.githubusercontent.com/espressif/arduino-esp32/gh-pages/package_esp32_index.json
Use the diagram above as a reference when wiring with your breadboard.
Connect the PIR Sensor to the ESP32 Cam
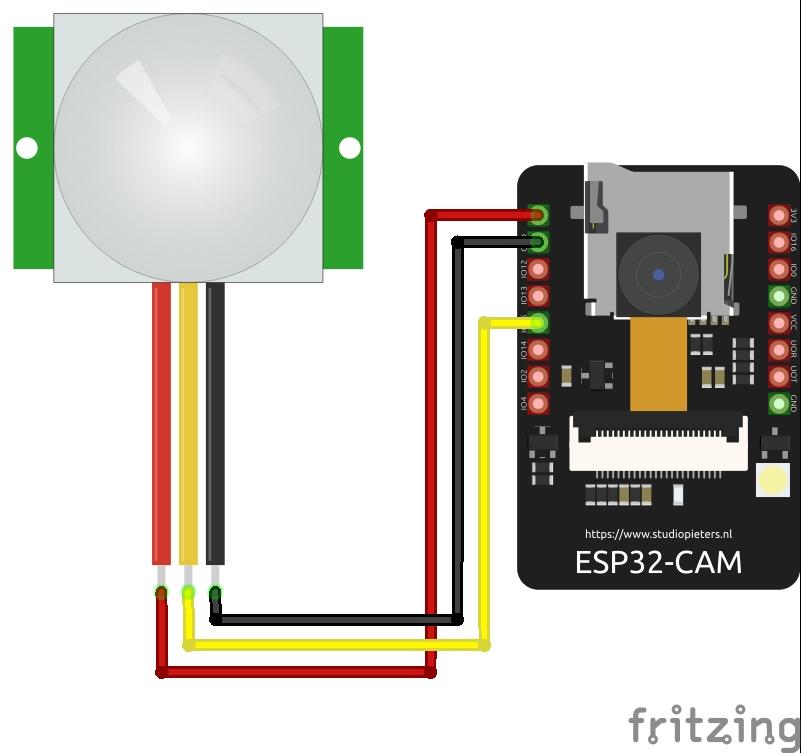
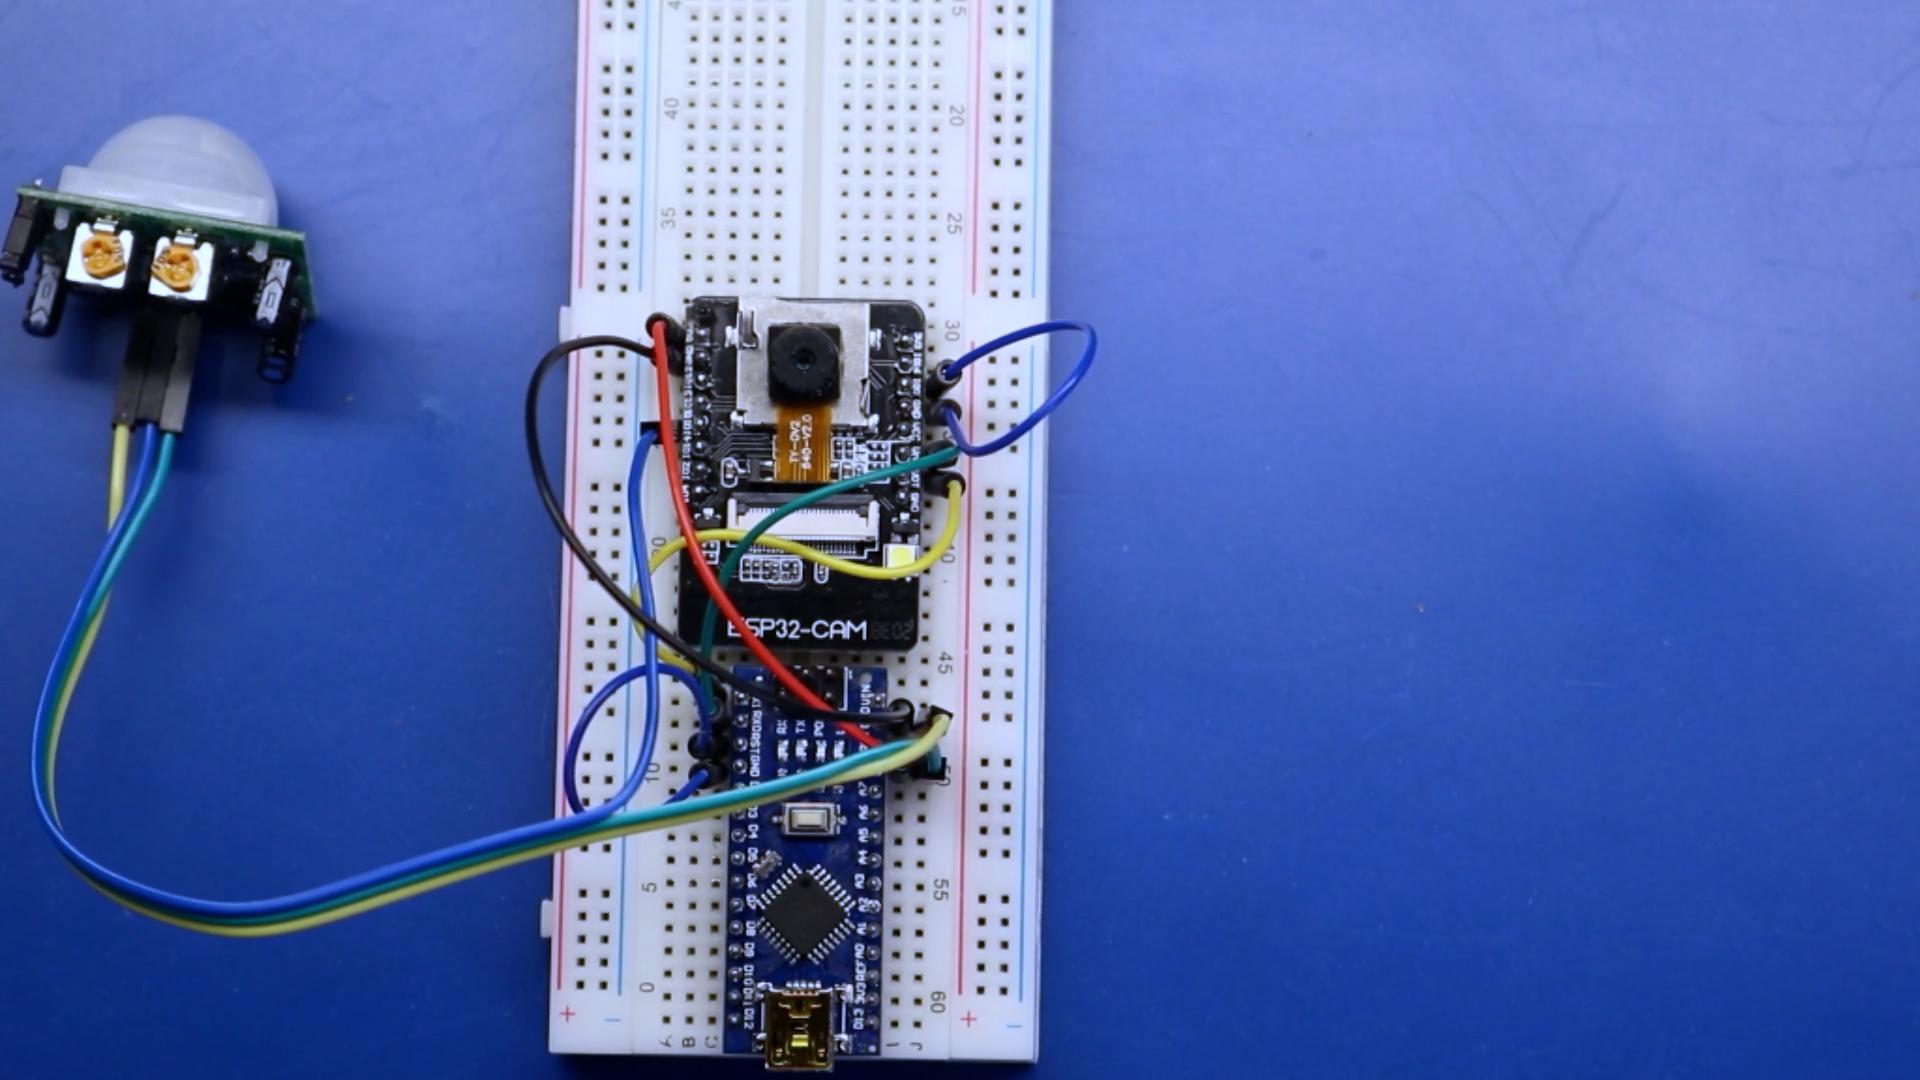
Connect the passive infrared (PIR) sensor to the ESP32 Cam. For the initial setup, you'll want to connect to the PIR sensor to 5V, Ground, and the center data pin to GPIO 15 on the ESP32 cam as seen in the wiring diagram.
Download the Code and Dependencies
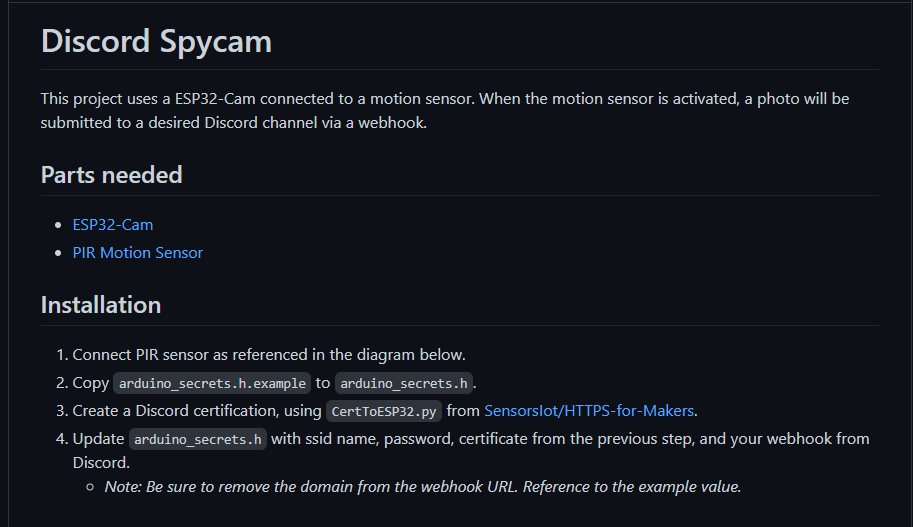
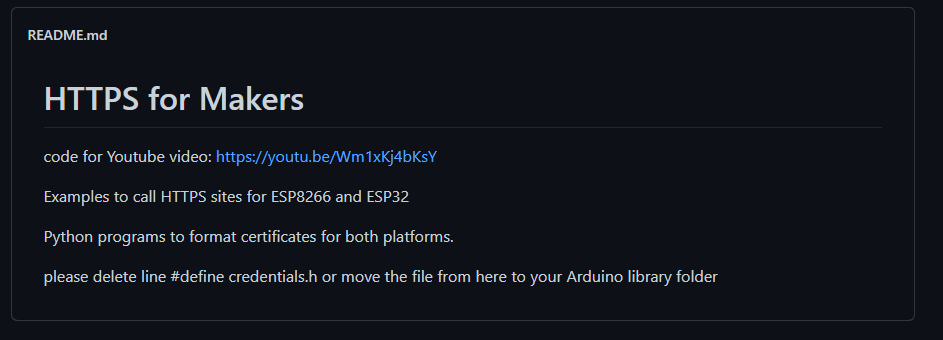
The source code for the project can be found on Github:
- Discord Spycam: https://github.com/WillMakesTV/discord-spycam
Additionally, we'll need to use the CertToESP8266 Python script from the HTTPS for Makers project.
And since we're using a Python script, we'll also need to make sure that Python is installed.
Create a SSL Certificate for Discord.com

Once you have verified that Python has been installed, download the HTTPS for Makers from Github and extract it to a folder on your computer.
To generate an SSL certificate, we’ll need to visit Discord.com.
From the address bar, next to the domain name, click the Lock and then select “Certificate”.
- Select the Details tab, then select “Copy to File” to open the export wizard.
- Click Next, then select the Base64 Encoded option.
- On the next step, select the extracted folder of the HTTPS for Makers download and save it as "discord-cert.cer".
If everything worked as expected, then you should see a message that the export was successful.
Use CerttoESP32 to Format SSL Certificate
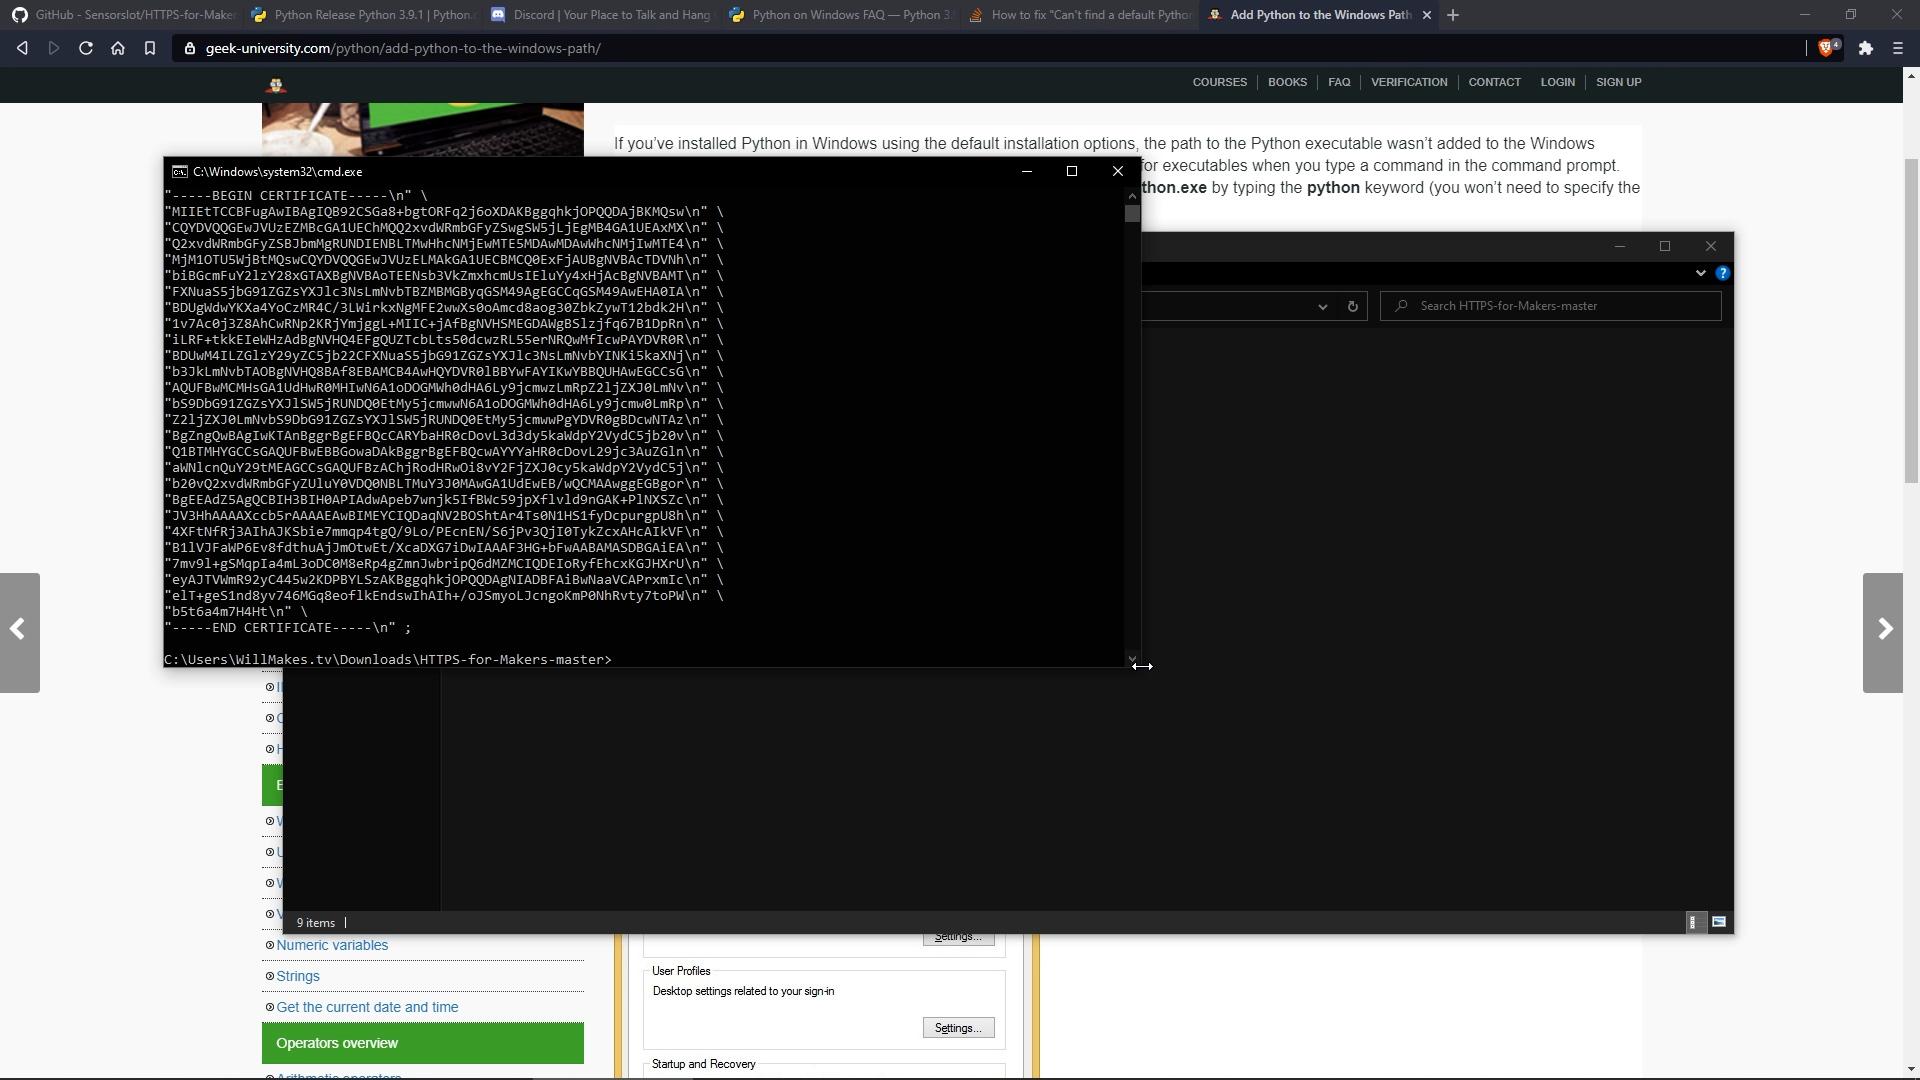
Now we’ll want to edit the CerttoESP32 Python script found in the HTTPS for Makers project that we downloaded; to update the filename variable to the one we exported from Discord.com.
Once we’ve saved the script, using the command prompt or terminal, change directories to the HTTPS for Makers project and run the CerttoESP32 script.
This will format our certificate in a way that we can use with the ESP32.
Using the Command Prompt on Windows or a terminal on macOS/Linux, change to the directory where the CerttoESP32 script is located and run the script.
If everything worked as expected, you should see the output in the command prompt or terminal with a formatted SSL certificate.
Configure the Discord Spycam Project
Extract the Discord Spycam project downloaded from Github. Note that you may be prompted to rename the project directory to "discord-spycam" if downloaded via a zip file from Github, so changing the directory name initially is recommended.
Copy arduino_secrets.h.example to arduino_secrets.h within the project directory and open discord-spycam.ino.
In the arduino_secrets.h file, update the SECRET_DISCORD_CERT variable to match the output in the command prompt/terminal from running the CertToESP8266.py script.
Be sure to update the SECRET_NETWORK_SSID and SECRET_NETWORK_PASS variables to use the name and password for your WIFI network.
Discord Webhook
Open Discord and go to the channel where photos/messages are desired. Right-click and edit the channel, then under integrations create a new webhook. This will open a dialog, for you to provide a name for your bot and an optional photo.
Copy the webhook URL and save, then return to Arduino IDE. Paste in the webhook URL for the SECRET_DISCORD_WEBHOOK variable and remove the domain name, so that it matches the example format provided.
Save your project, compile and upload to the ESP32Cam.
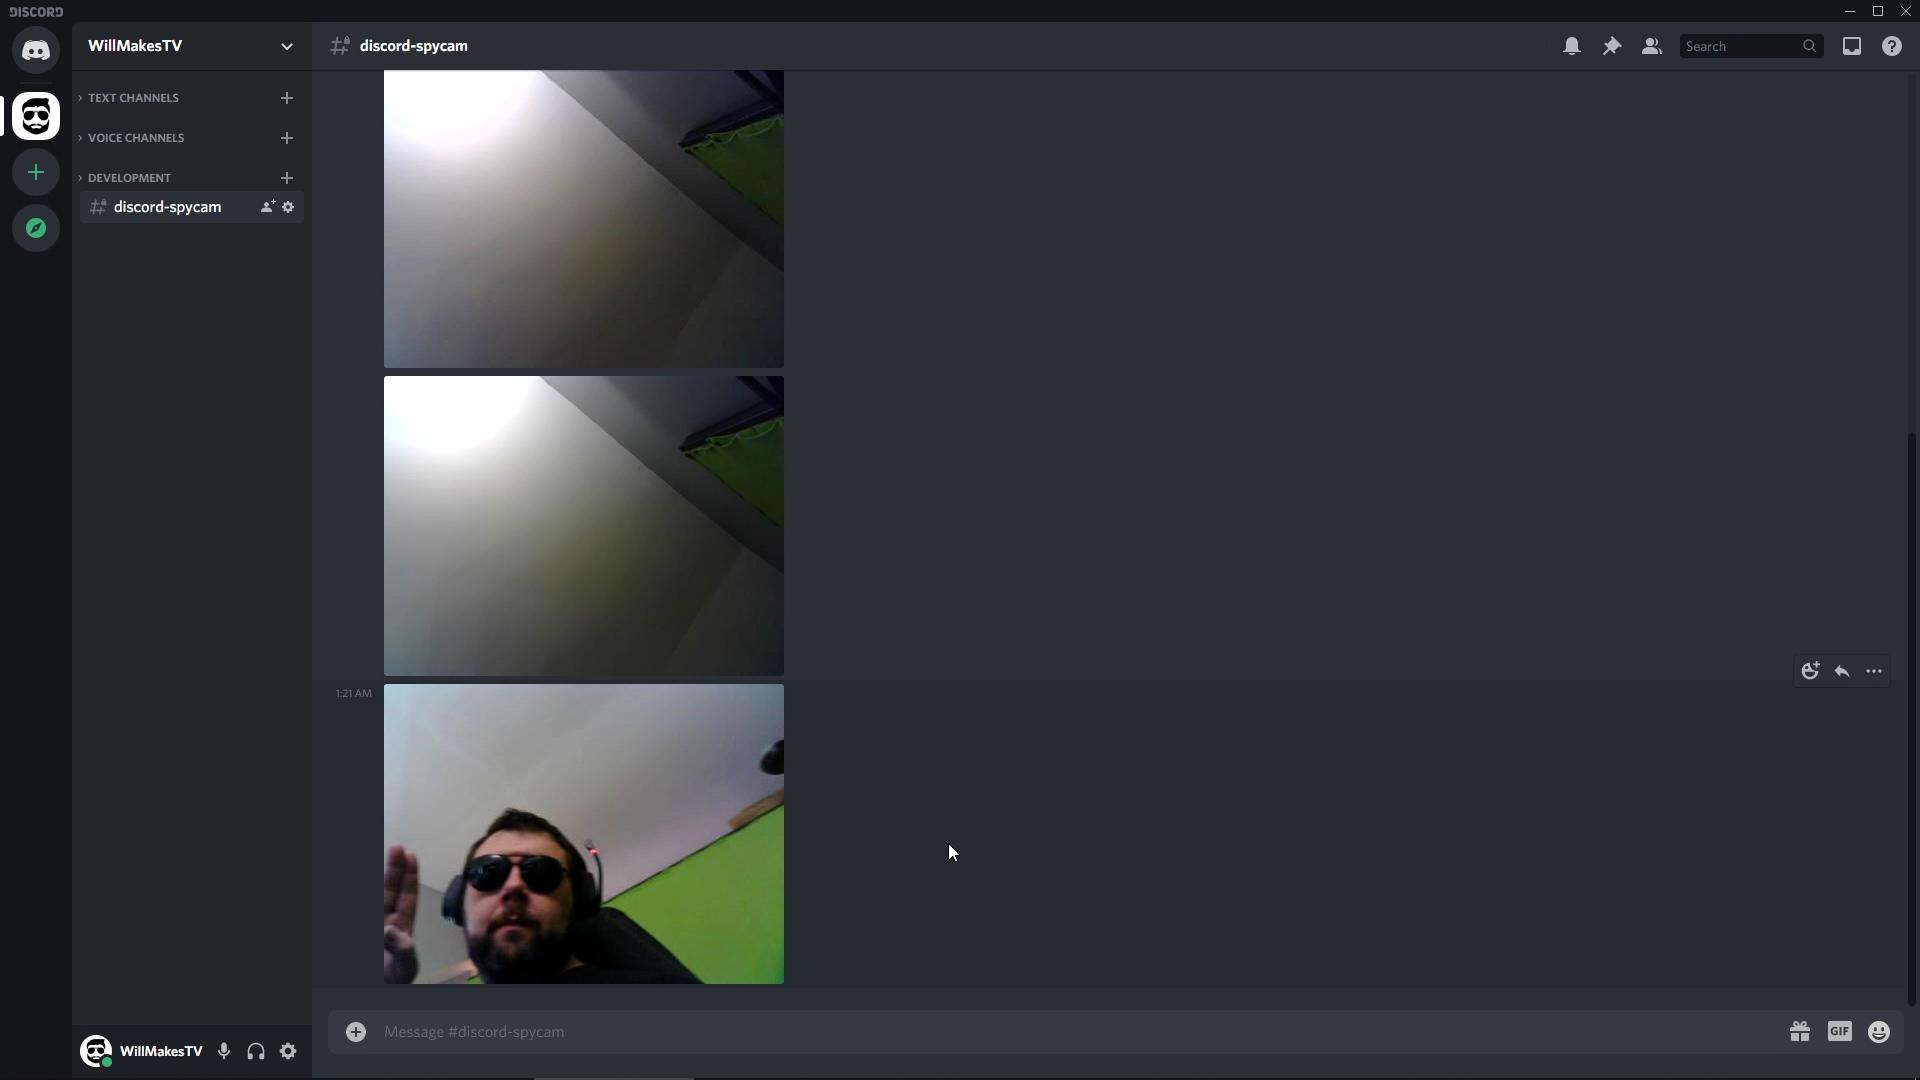
If everything is working as expected, then when motion is detected by the PIR sensor you should see a photo posted by the bot in the Discord channel.
Crimp and Solder Wires
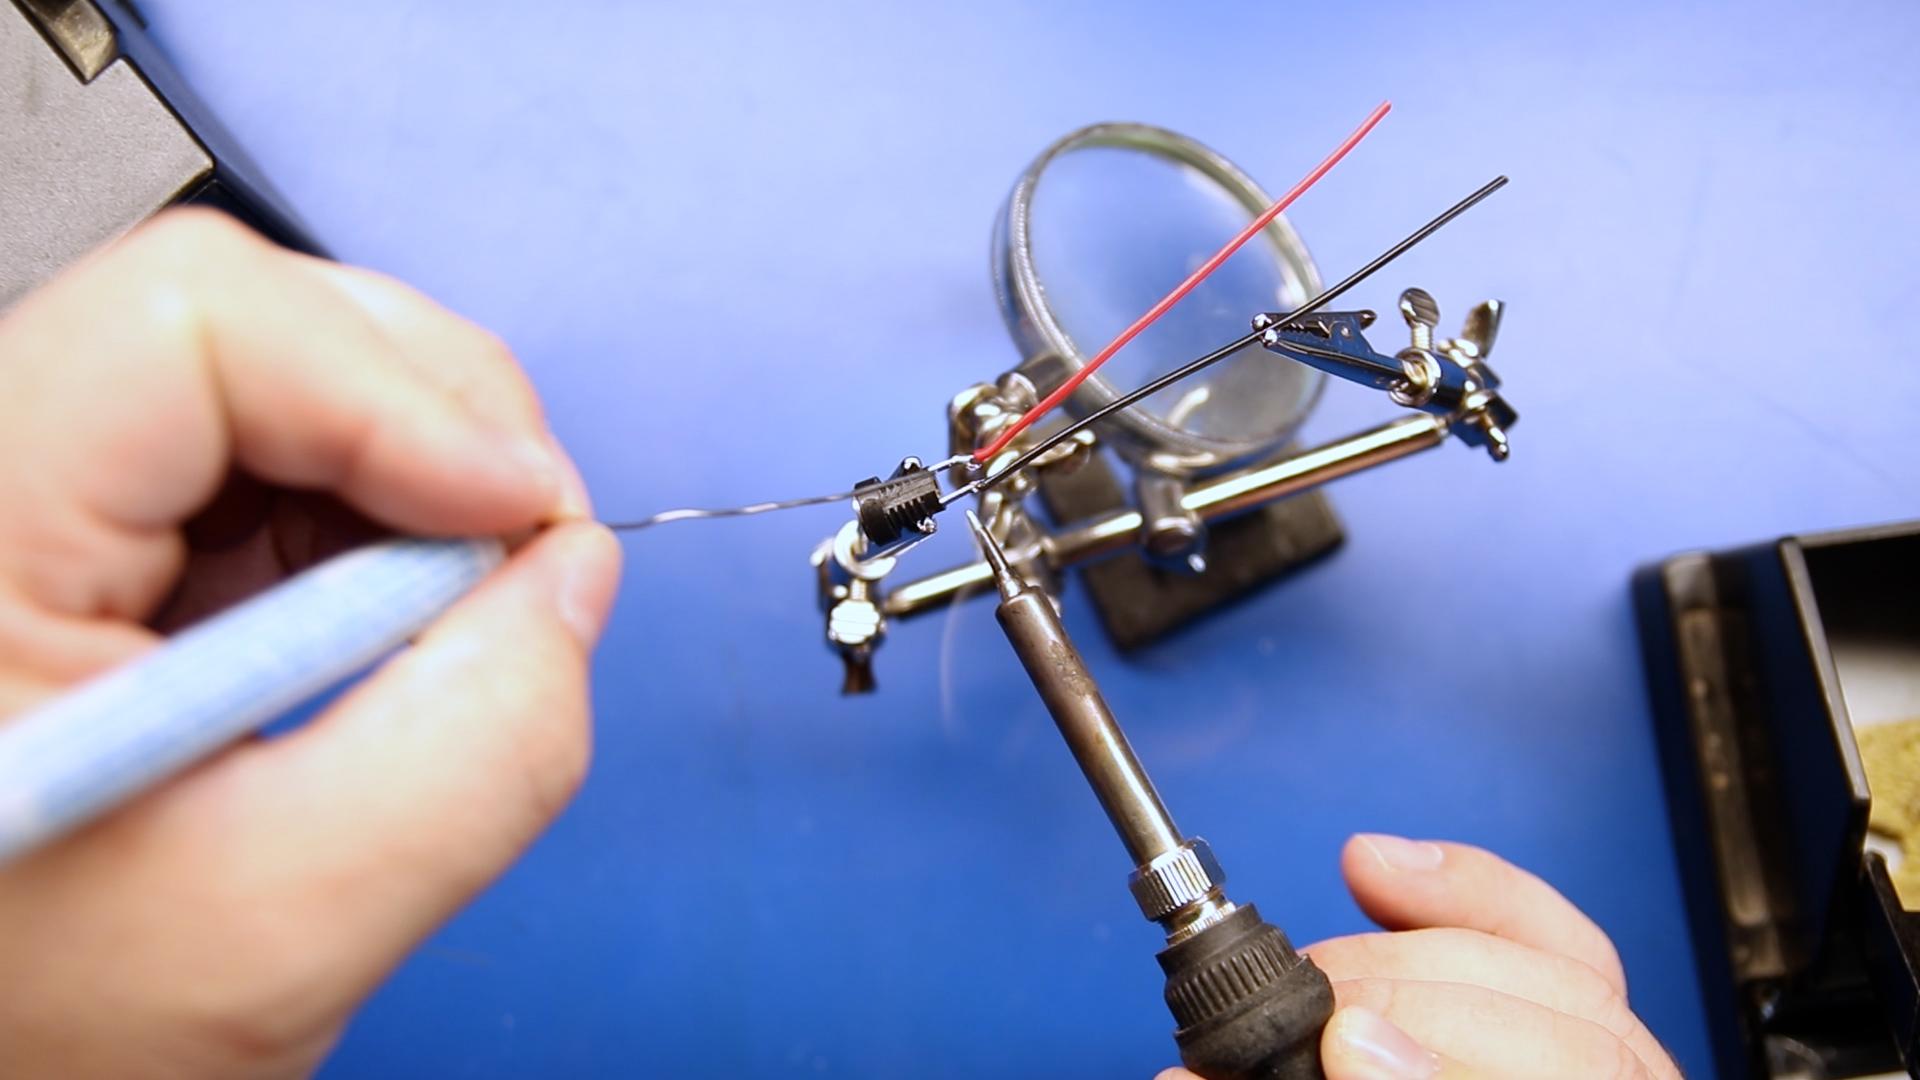
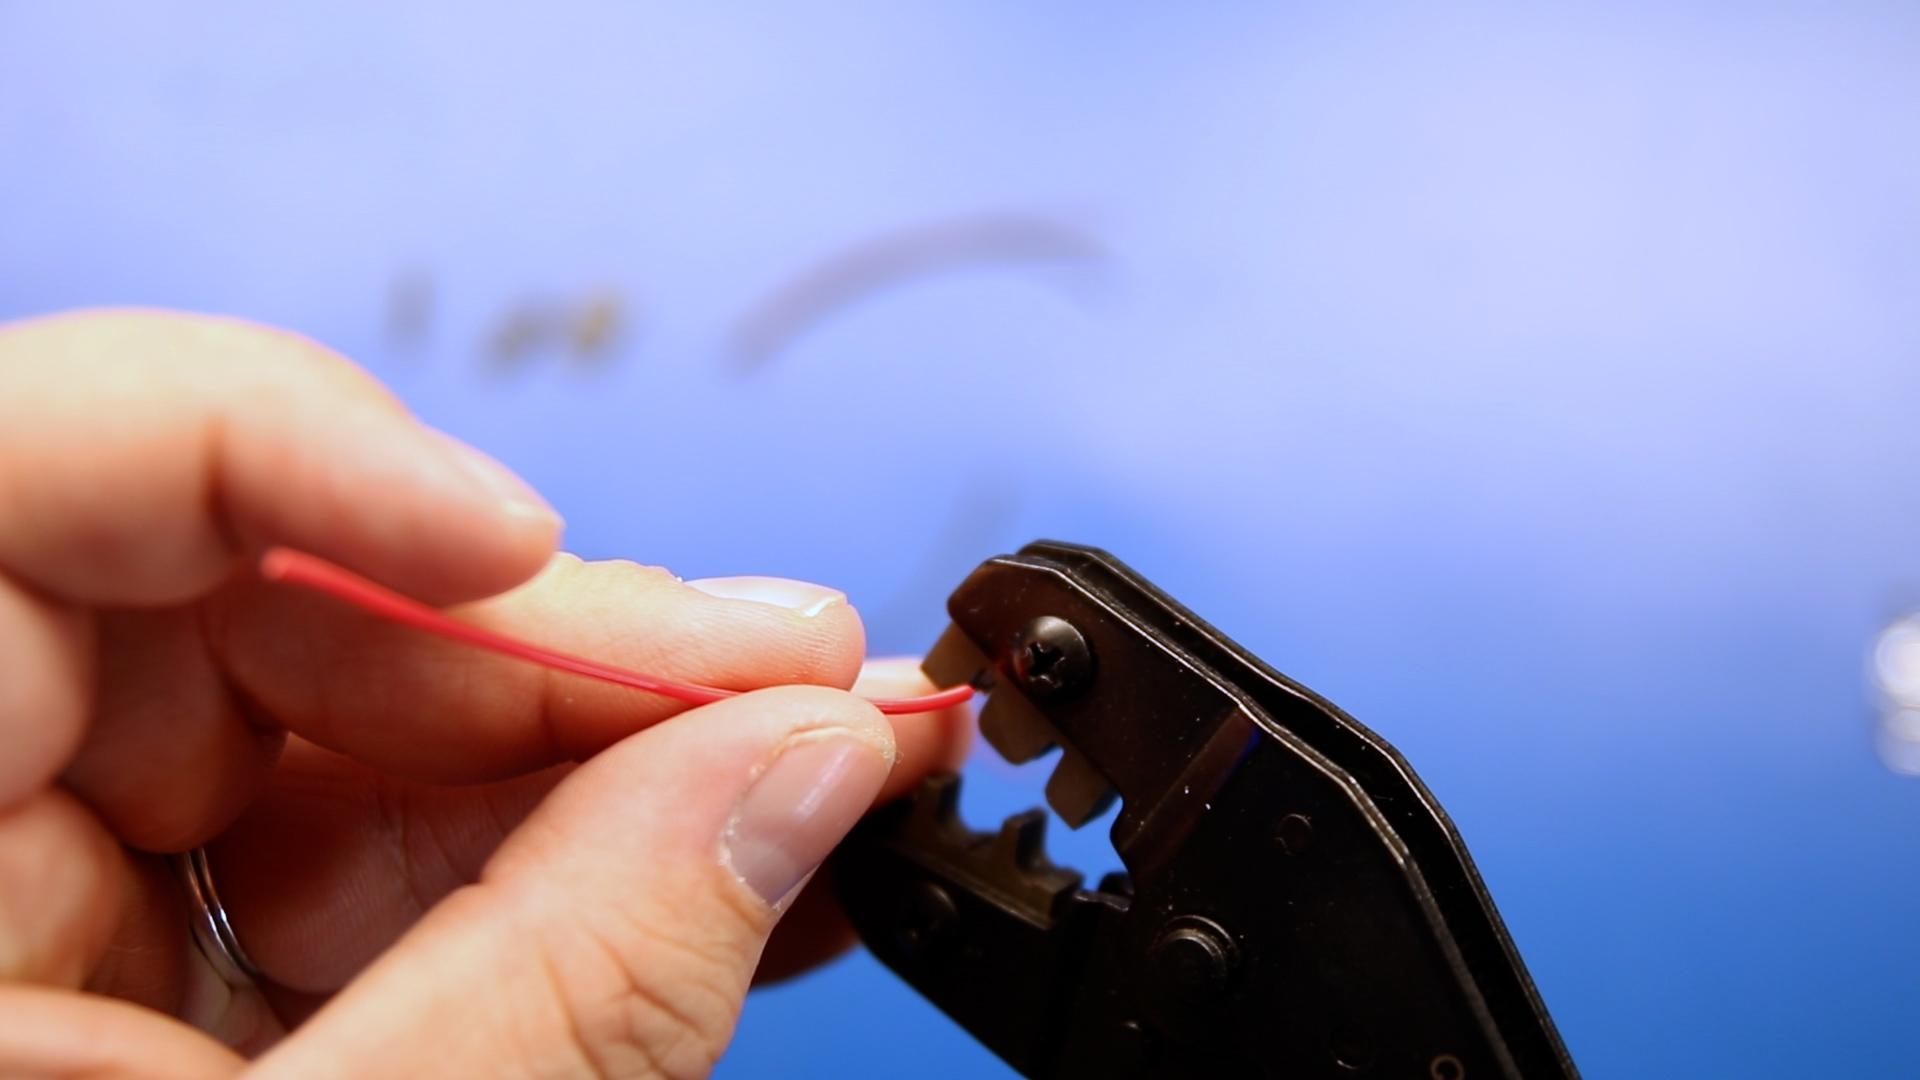
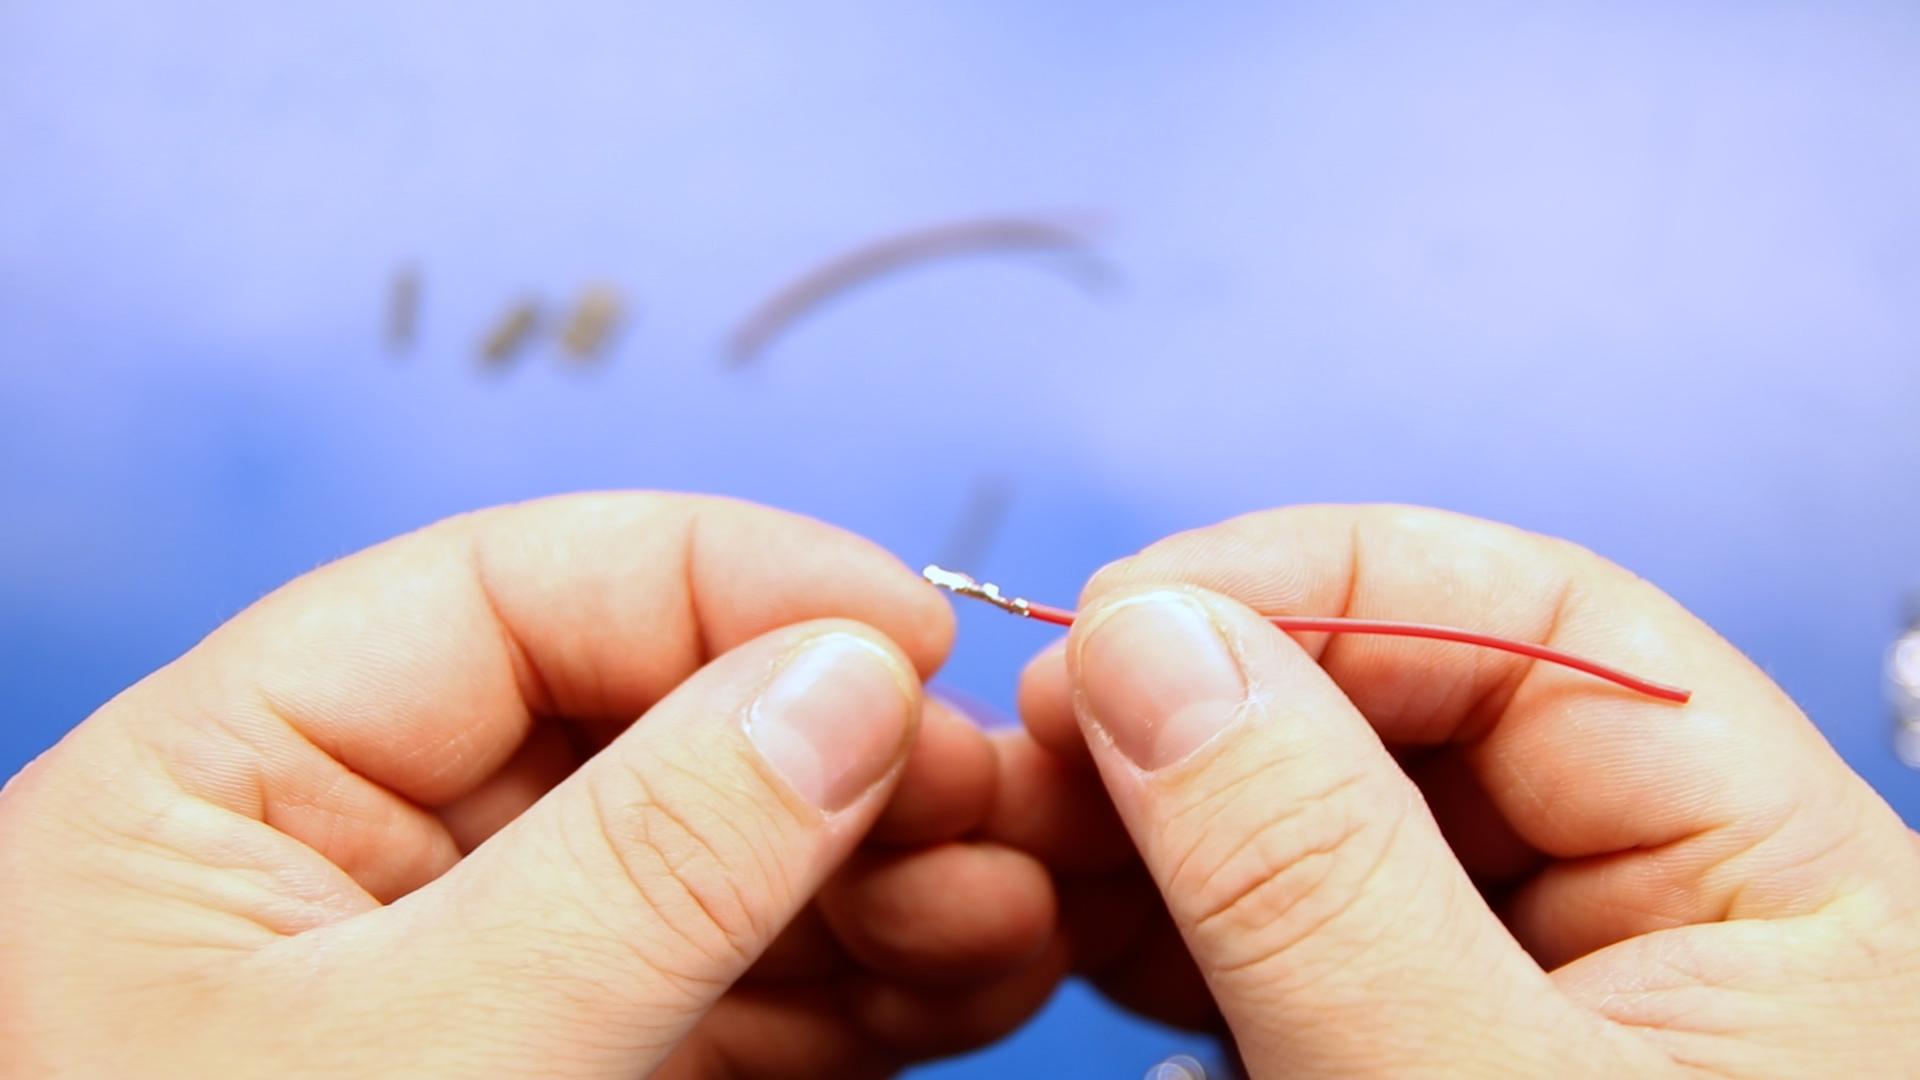
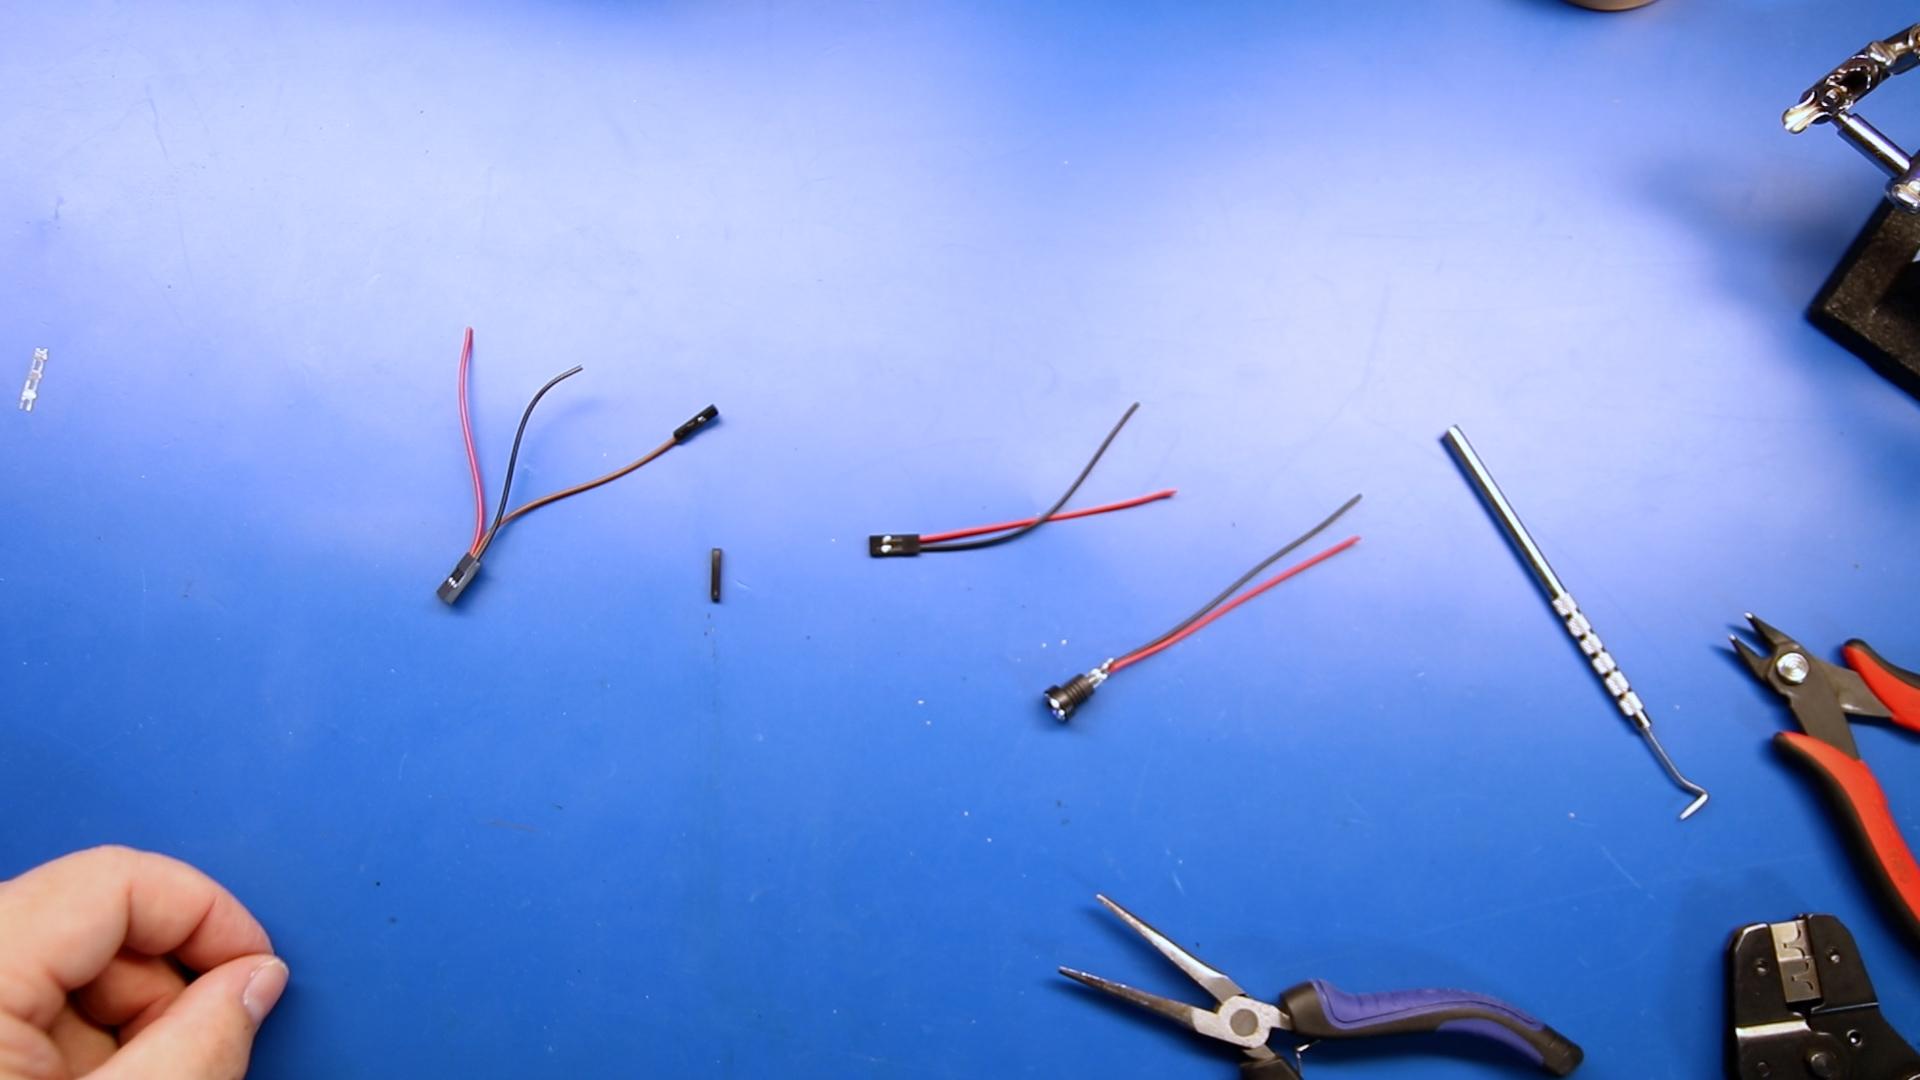
Solder power and ground wires to the DC power jack, then crimp the ends of the wires for the PIR sensor and ESP32Cam using Dupont connectors.
Create two connectors, one that uses a three-barrel connector on one end for the PIR sensor. The middle lead on the PIR sensor is data, while one side is 5v and the other is ground. Check your specific PIR sensor, as most are labeled directly on the board.
A two-barrel connector will be used with 5v and ground to power the ESP32.
Wall-Mounted Case
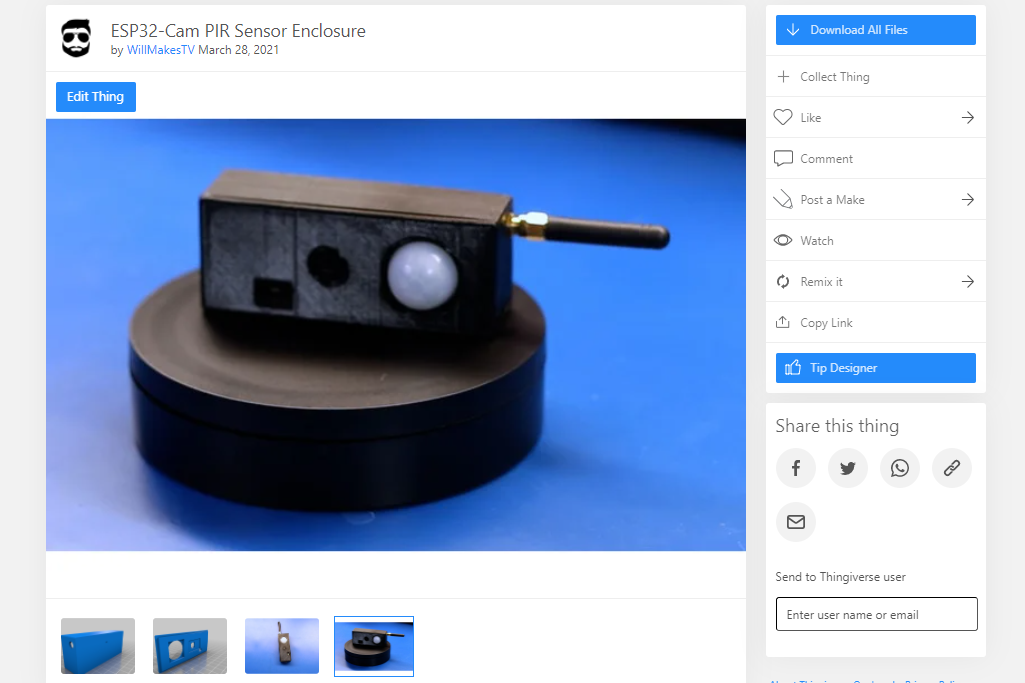
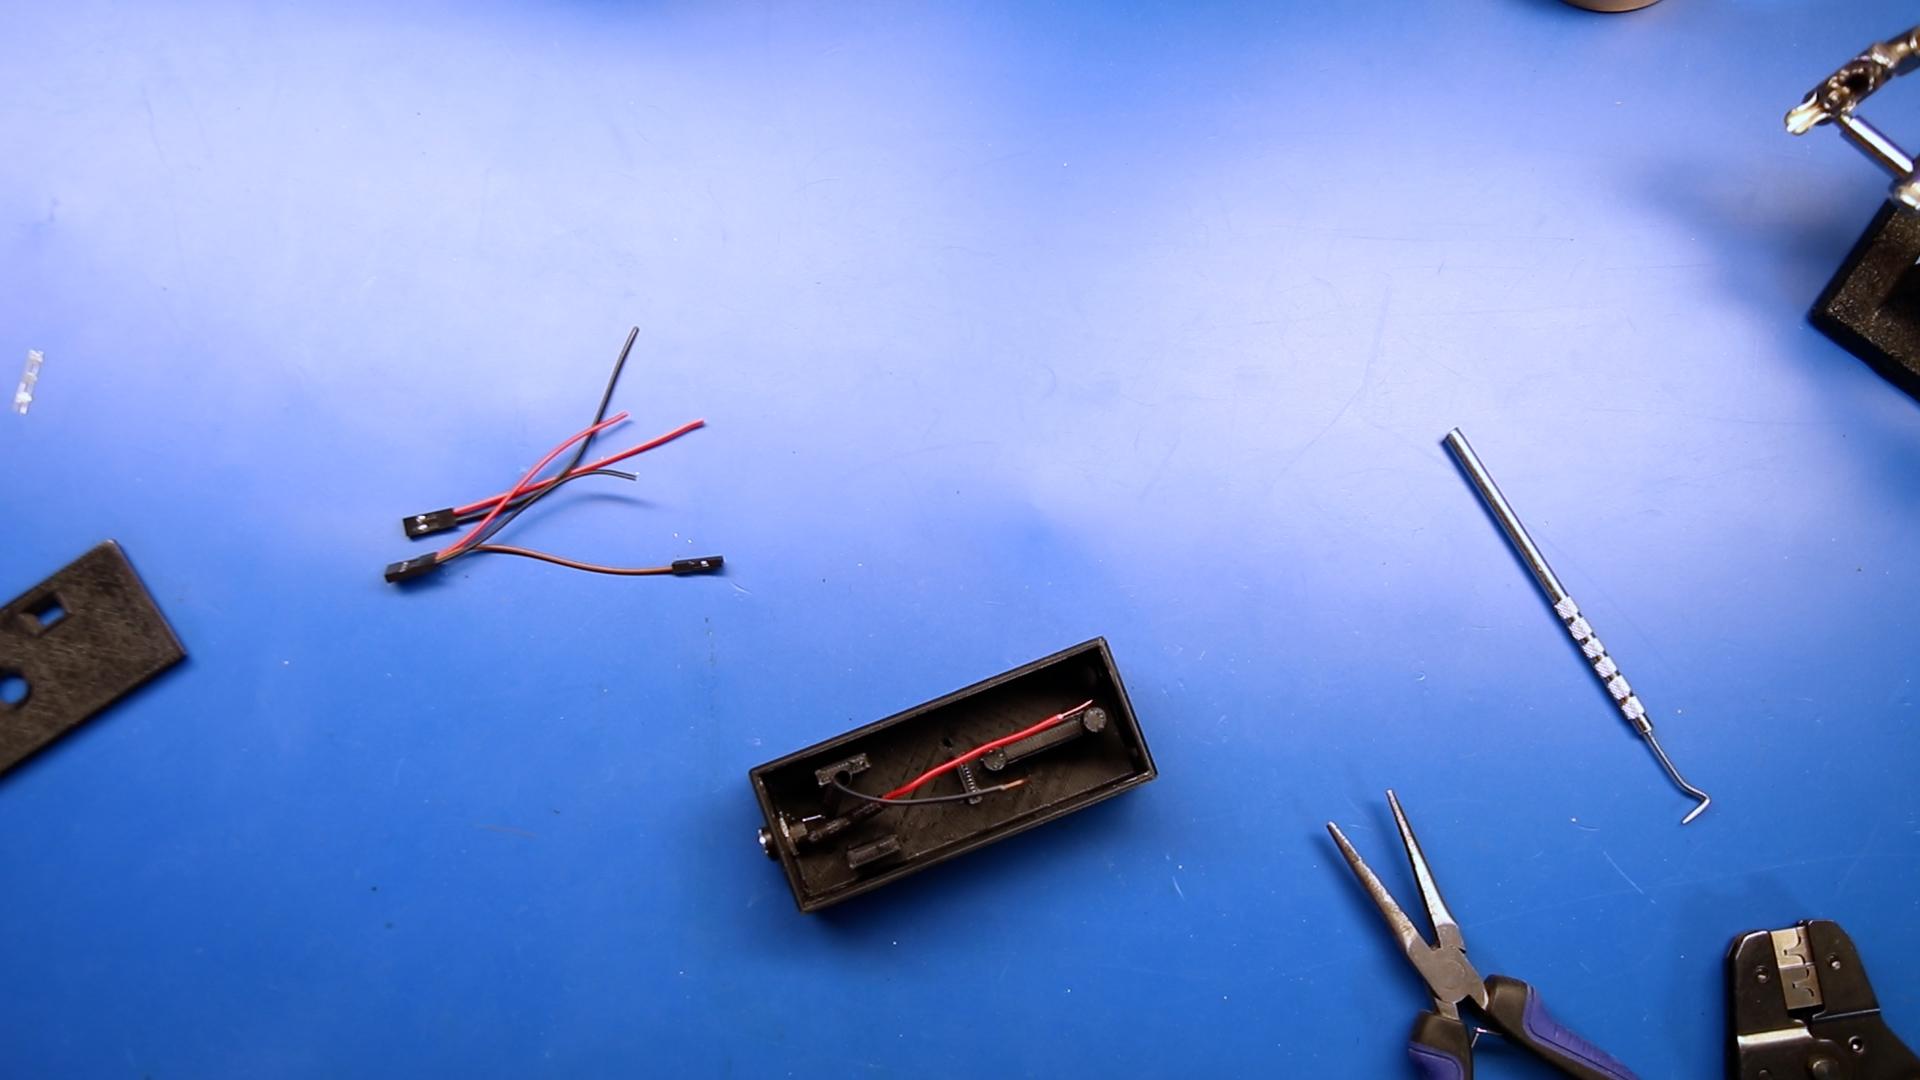
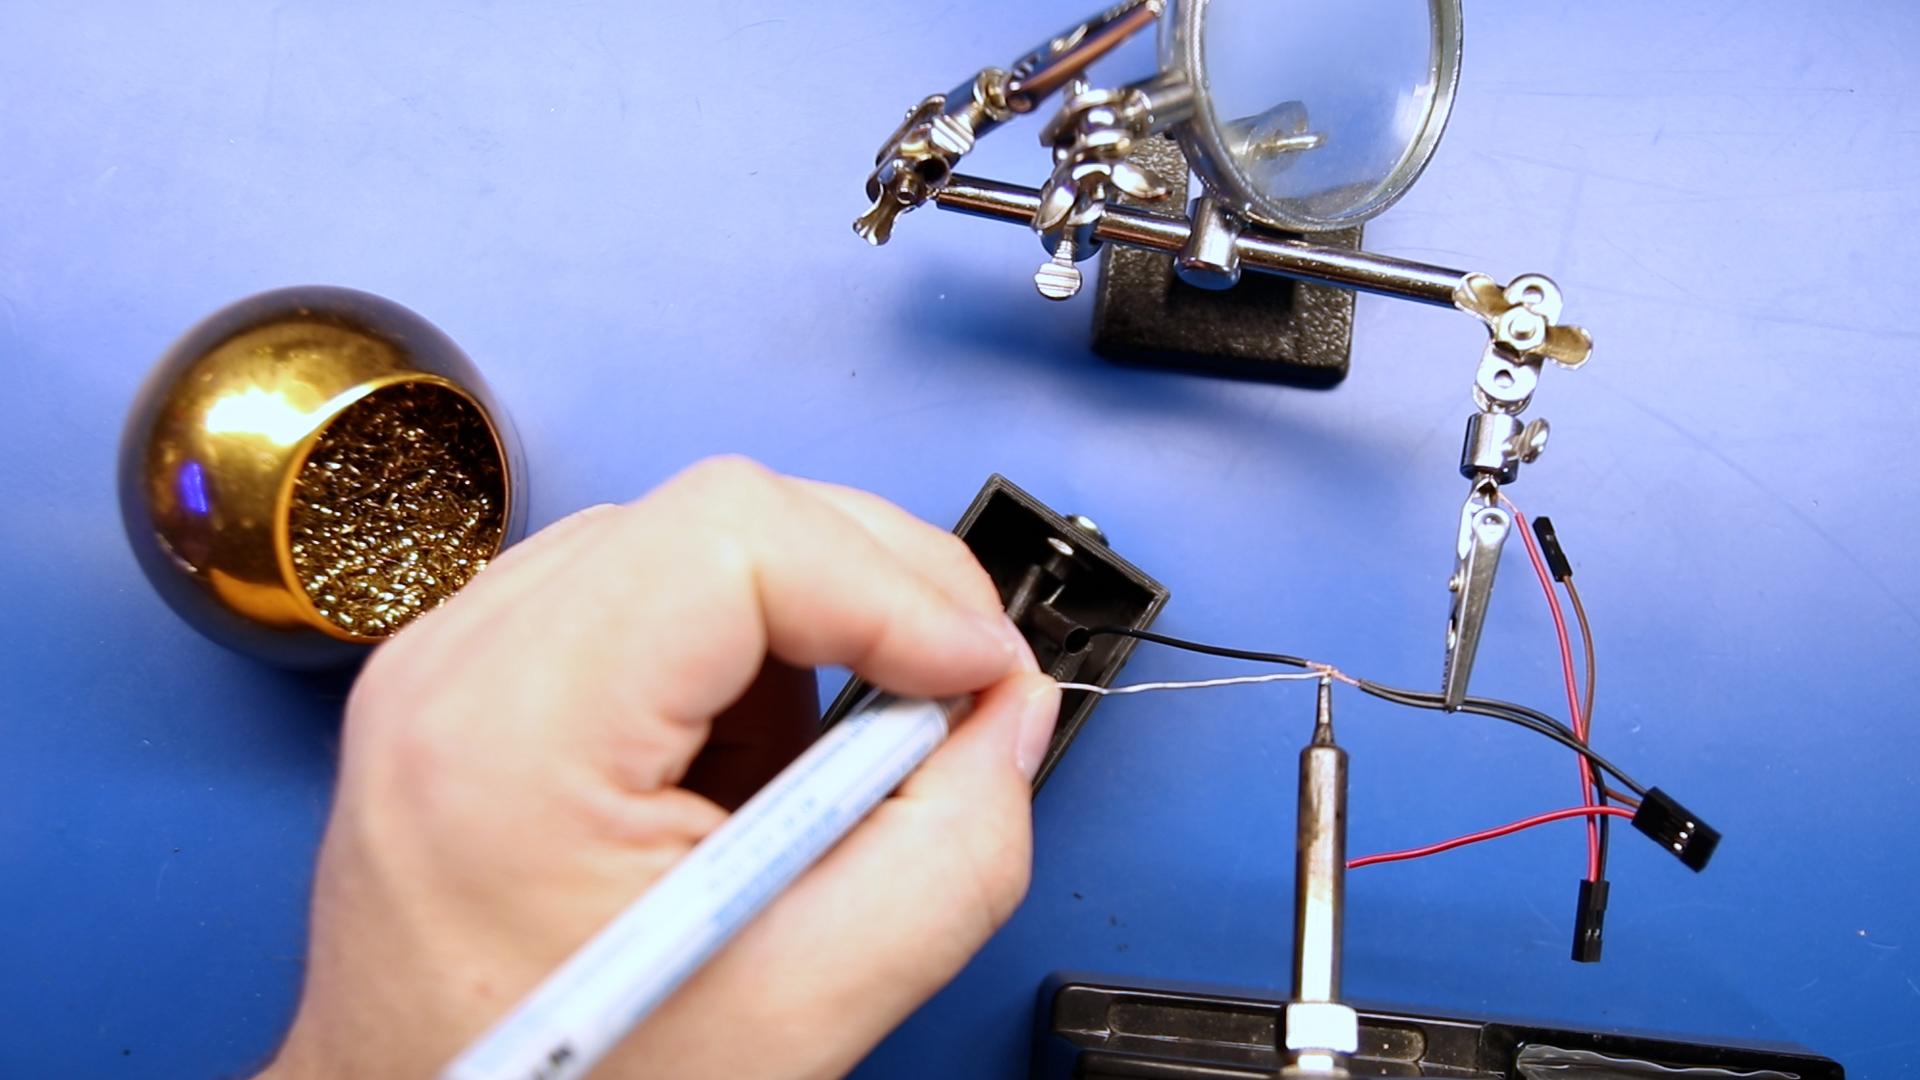
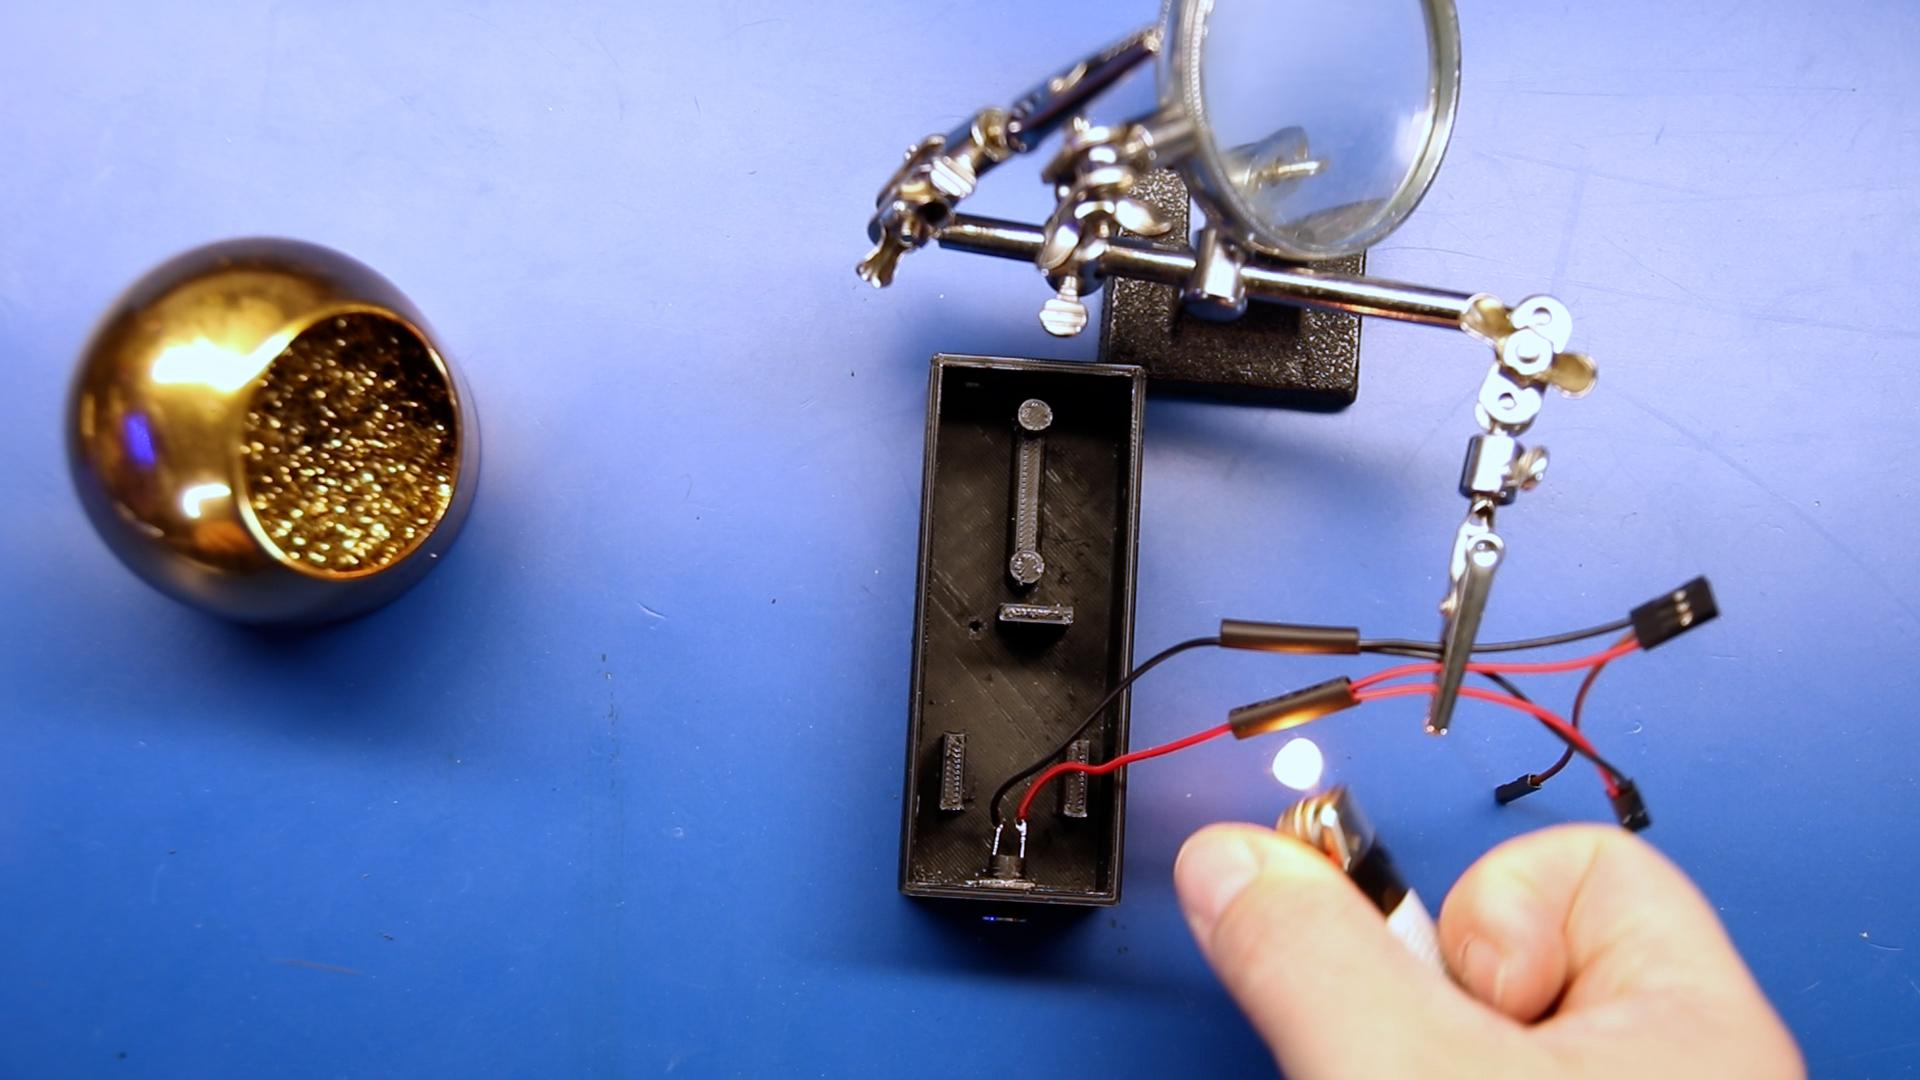
With the 3D printed wall-mounted case, slide the DC power jack through the bottom hole and secure the connection with the washer. We'll then slip on heat shrink before soldering the wires and shrinking the tube.
Last we'll inset the external wifi antenna and work to connect the ESP32 Cam and the PIR sensor.
Using the snap-fit lid, we can secure our parts, and the wall-mounted build is complete.
There is also a slot cut out on the side of the enclosure that allows for easy access to the time delay and sensitivity potentiometers.
Ceiling-Mounted Case
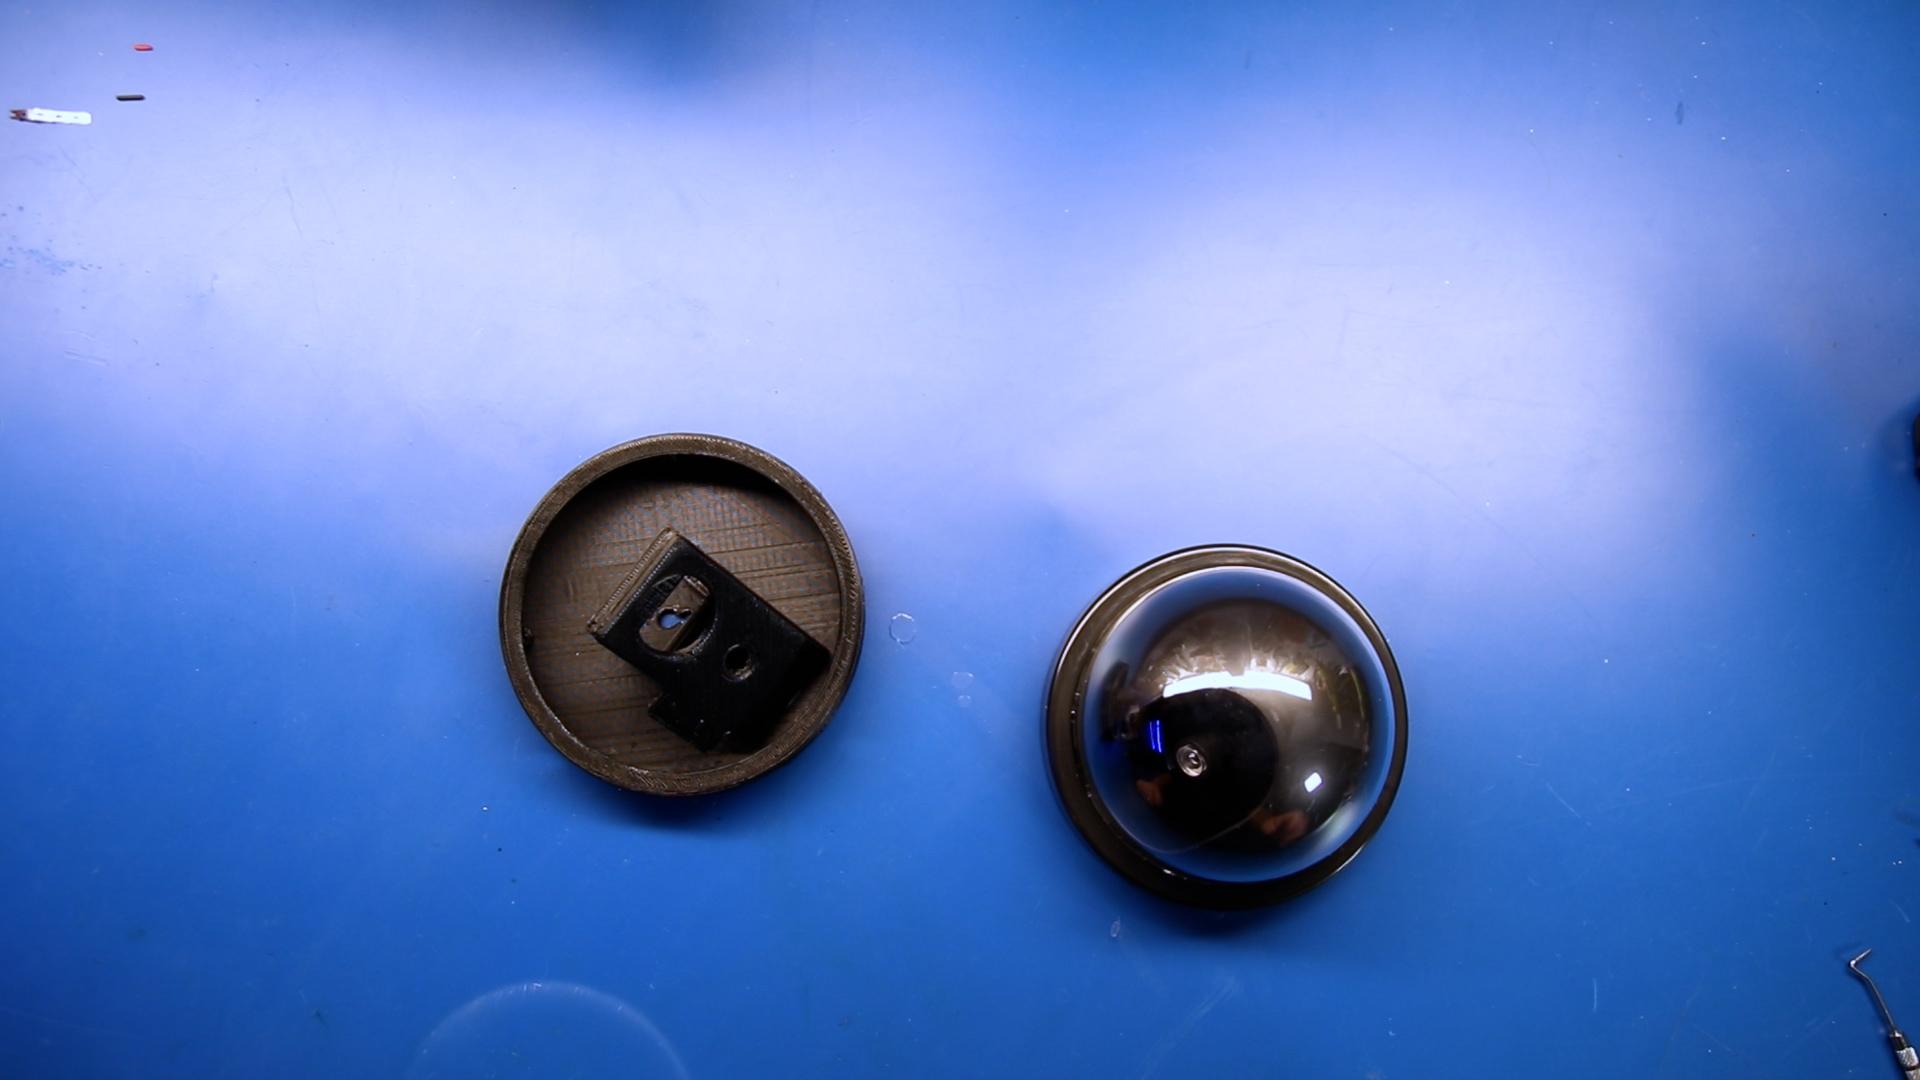
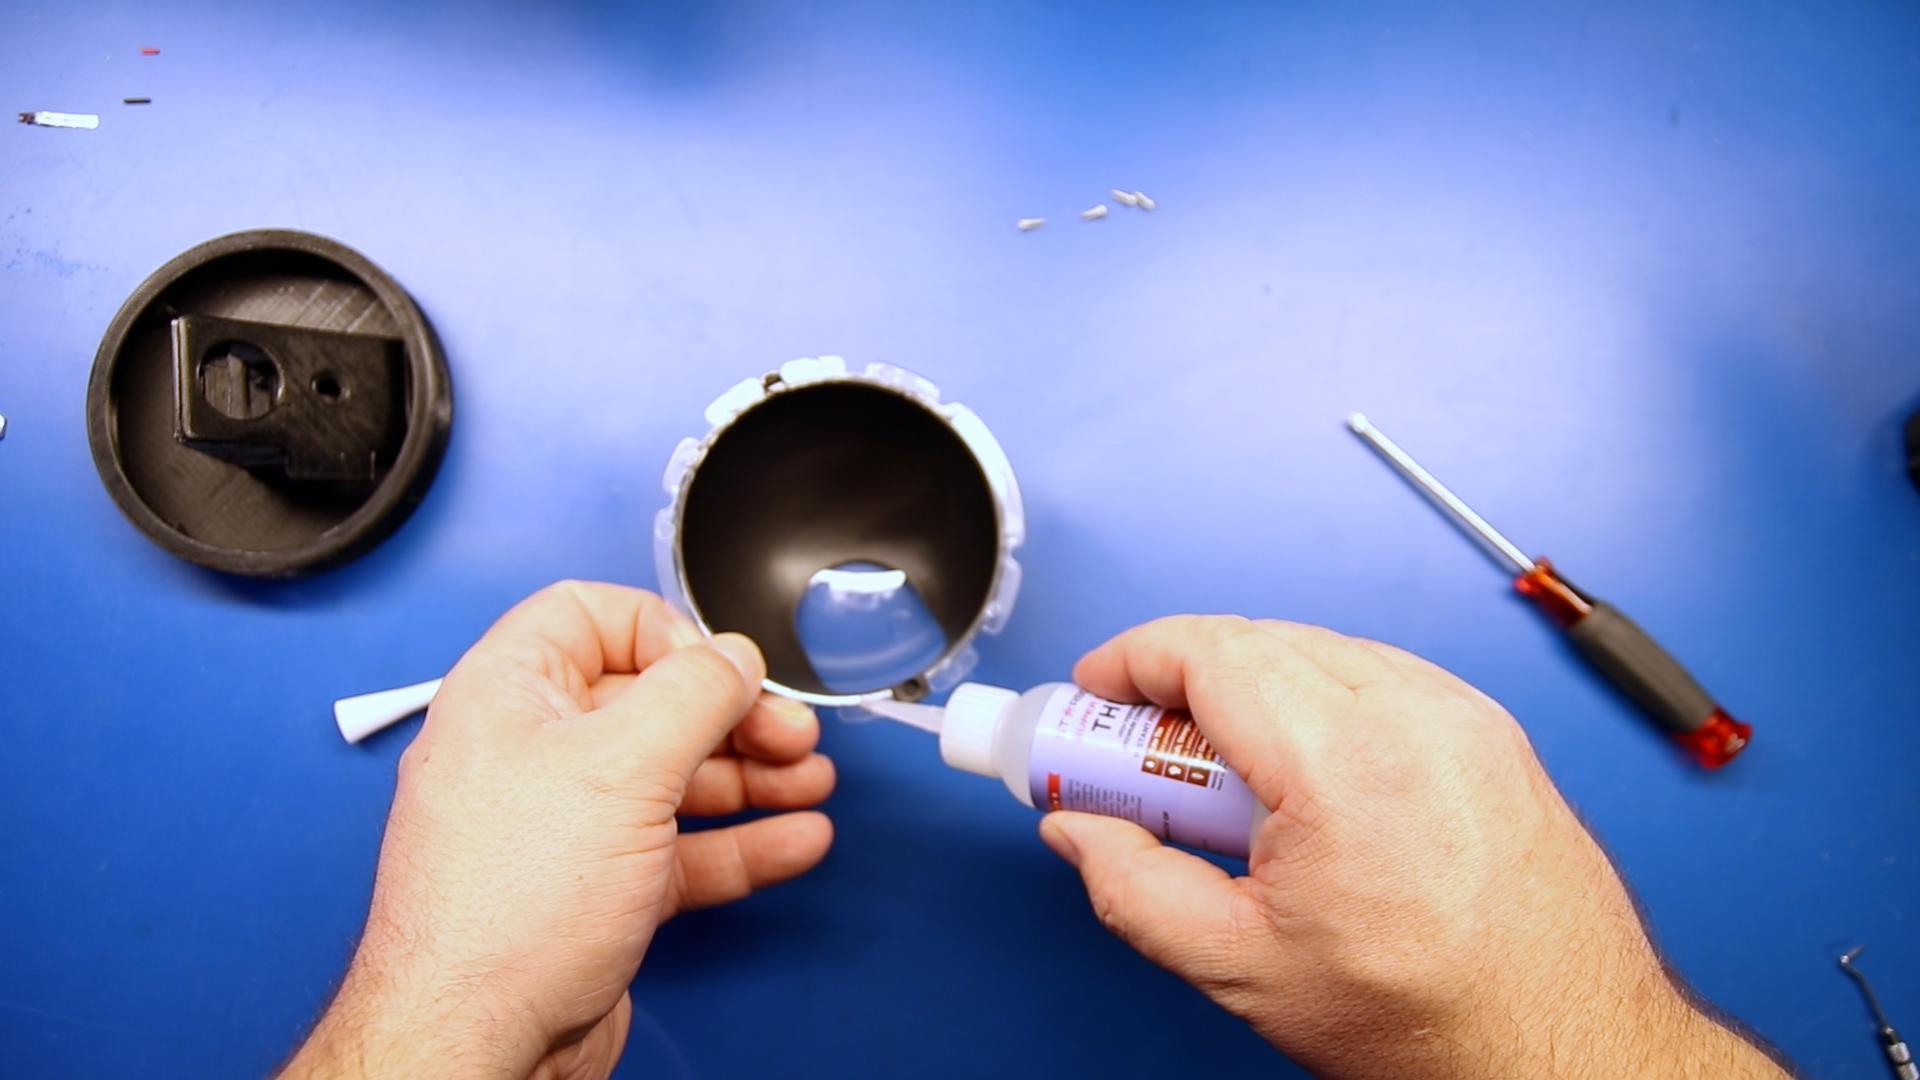
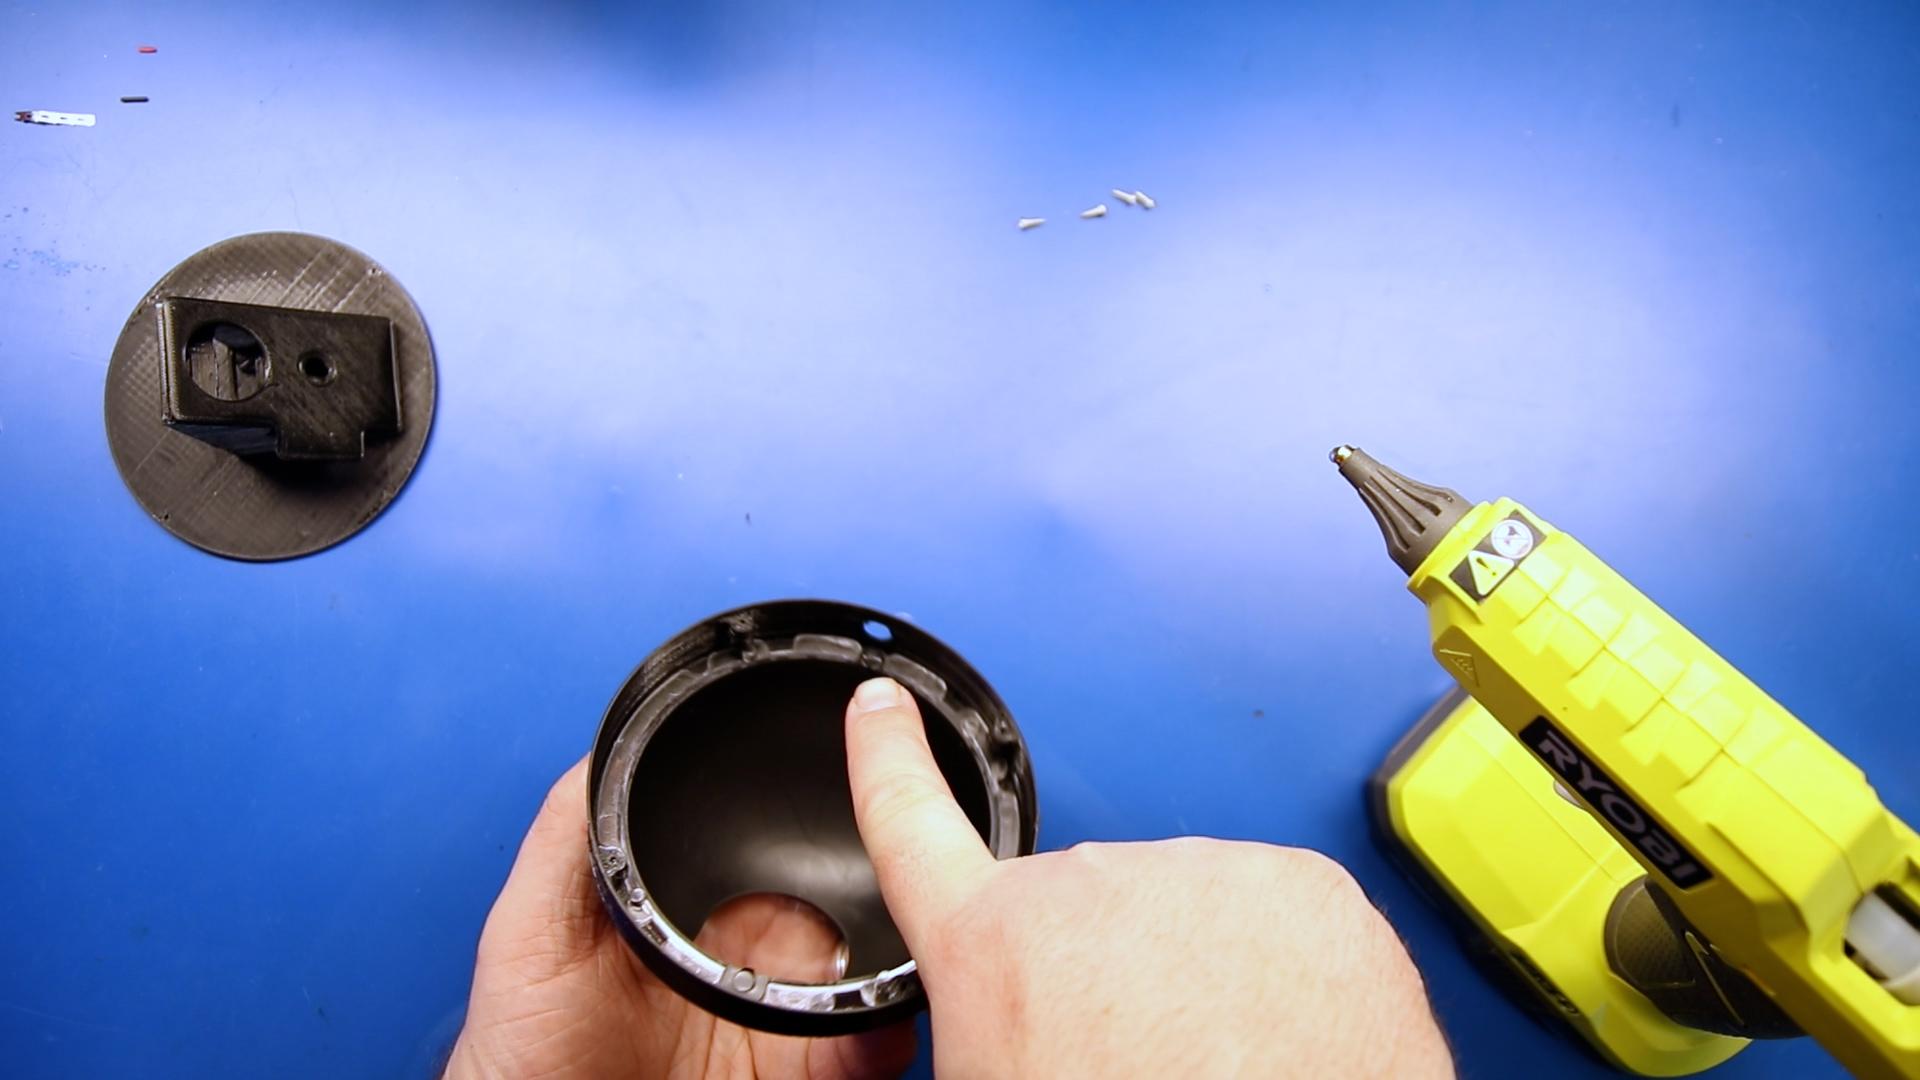
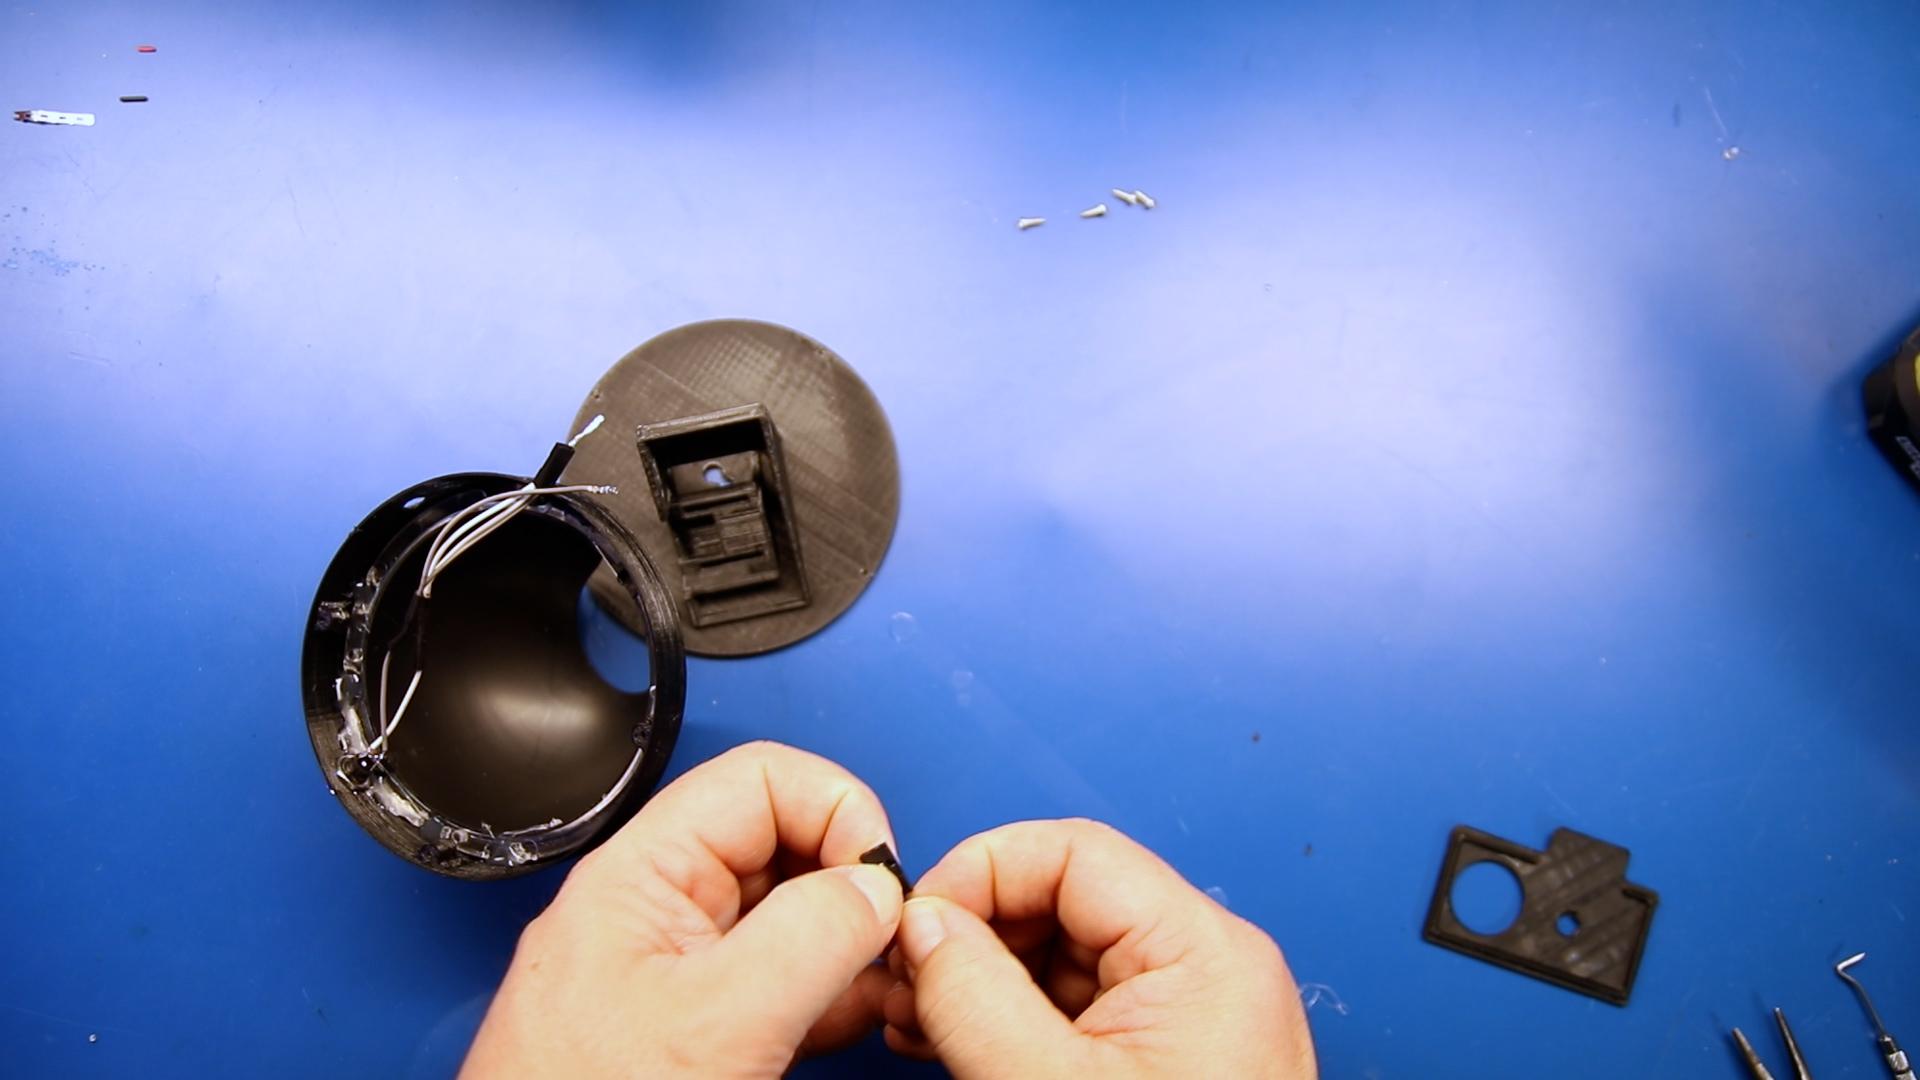
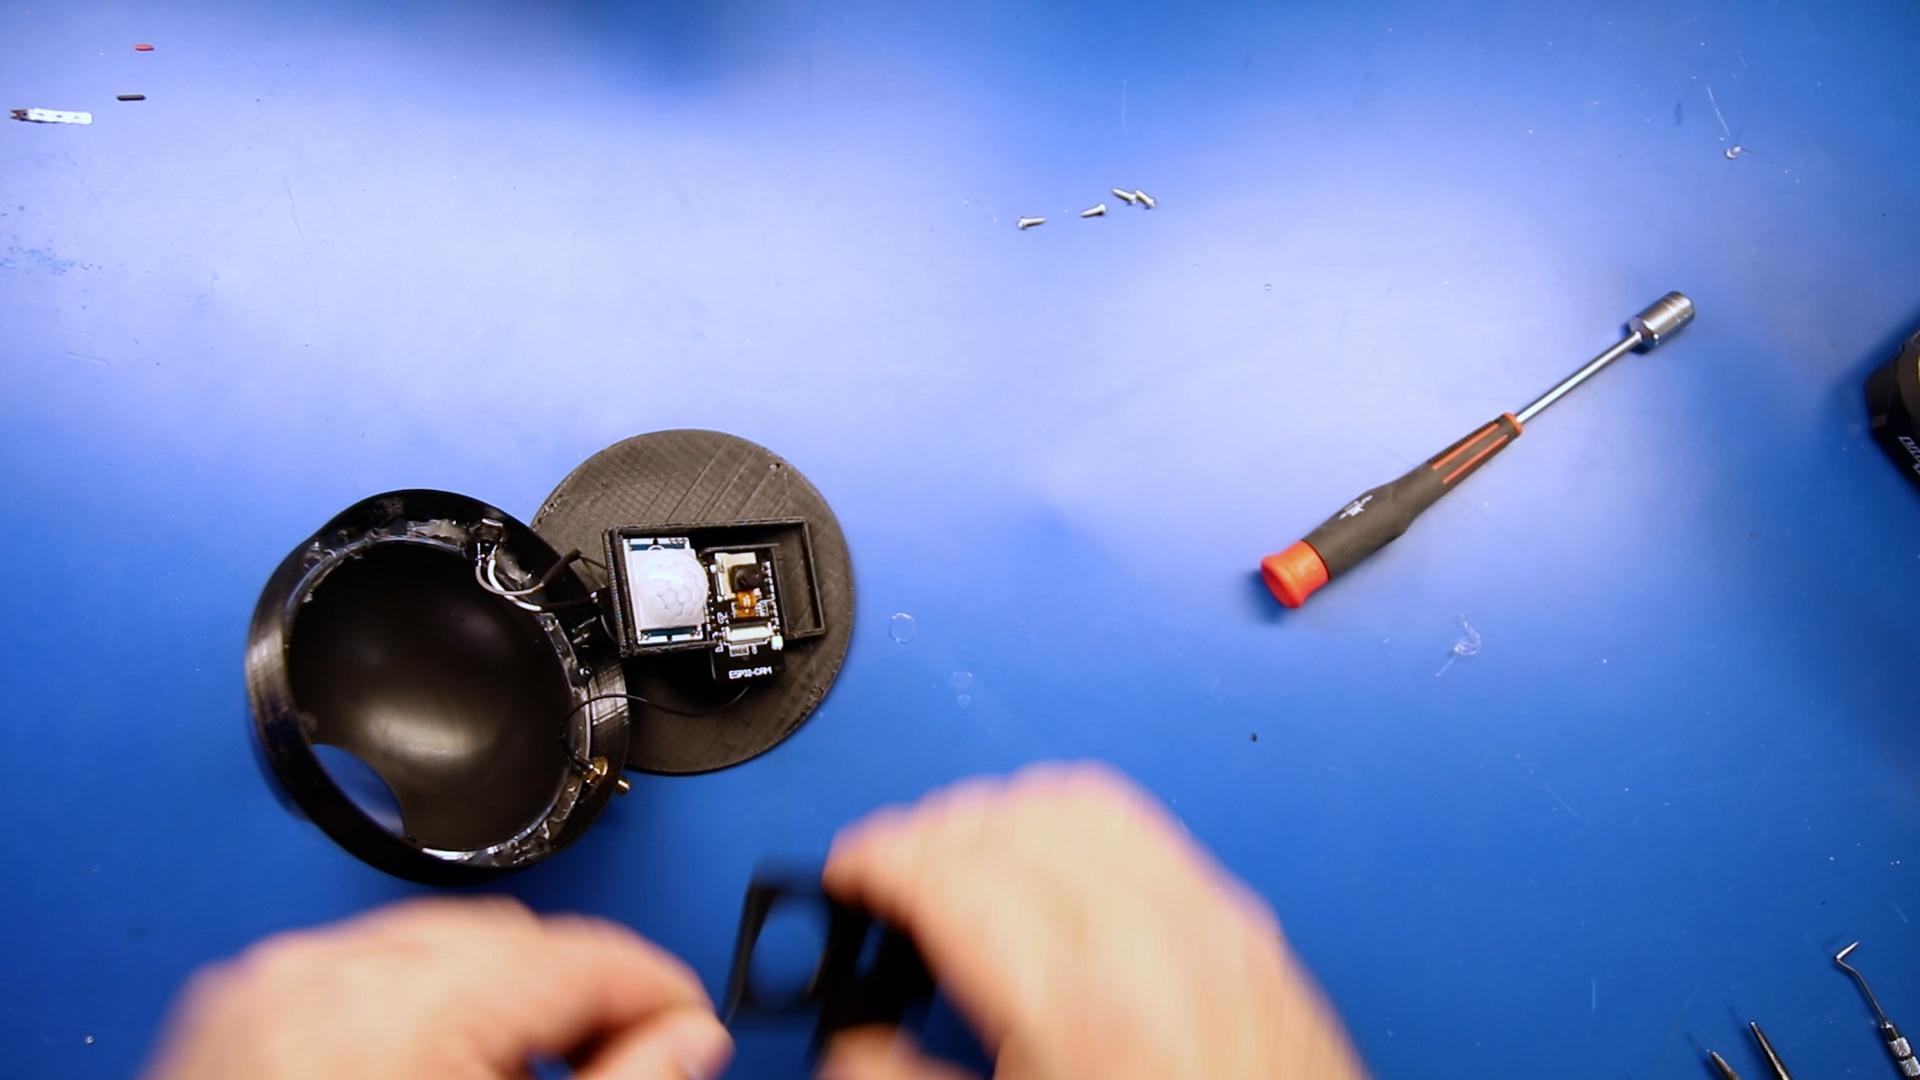
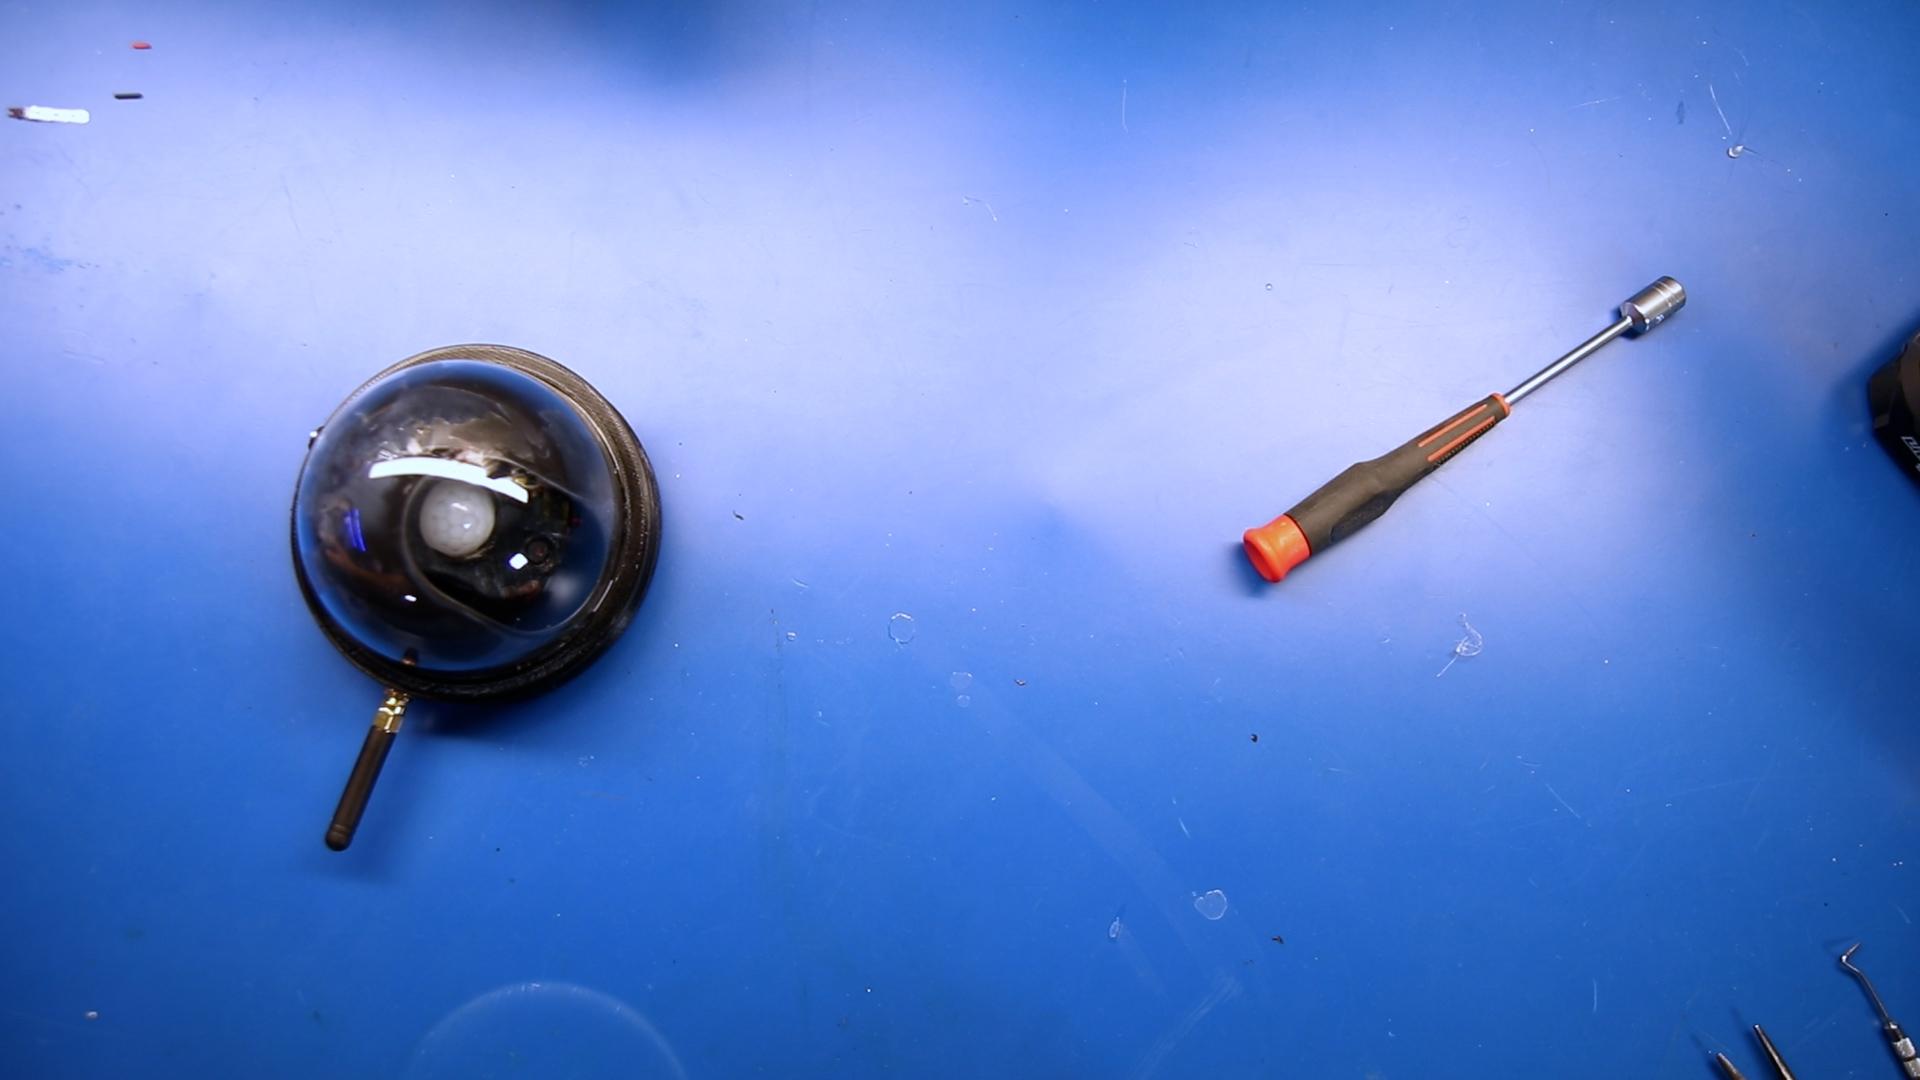
We also have a ceiling-mounted case that uses parts from an inexpensive dummy camera. The parts we use are the clear dome, the camera shroud, and the fastening screws.
We'll want to superglue the clear dome to the camera shroud, then hot glue the shroud and dome to the 3D printed outer ring.
Align the larger hole for the power jack to the back of the camera shroud, double-check this while gluing to make sure the part remains aligned.
The wiring for the ceiling-mounted case can be built and slid in through the larger hole on the outside ring, through the hole for the DC power jack. You'll need to slide on the washer, prior to inserting the Dupont pins into the three-barrel connector.
Note that you will want to fine-tune the sensitivity and time delay with the PIR sensor, prior to installing it to the case. Once installed, you will need to completely disassemble to make adjustments.
This model also utilizes a snap-fit lid to align and contain the ESP32 and PIR sensor.