Digital Notice Board for Schools
by liquidhandwash in Circuits > Raspberry Pi
16491 Views, 118 Favorites, 0 Comments
Digital Notice Board for Schools
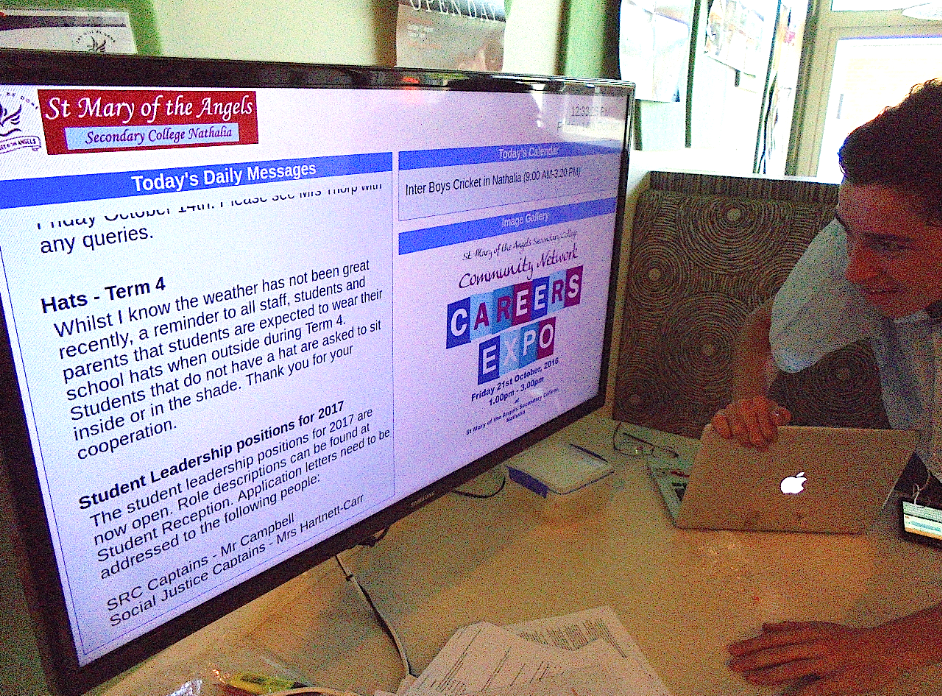
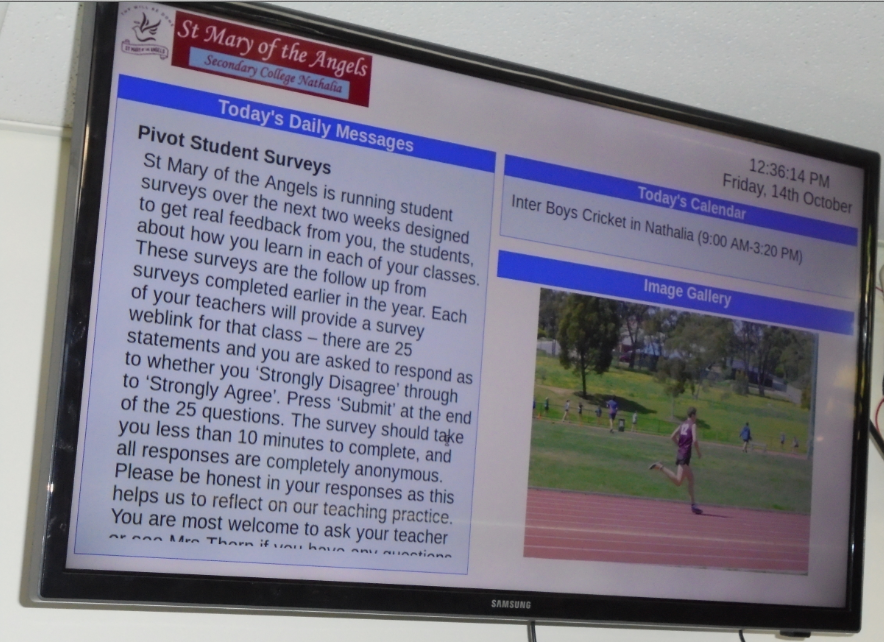
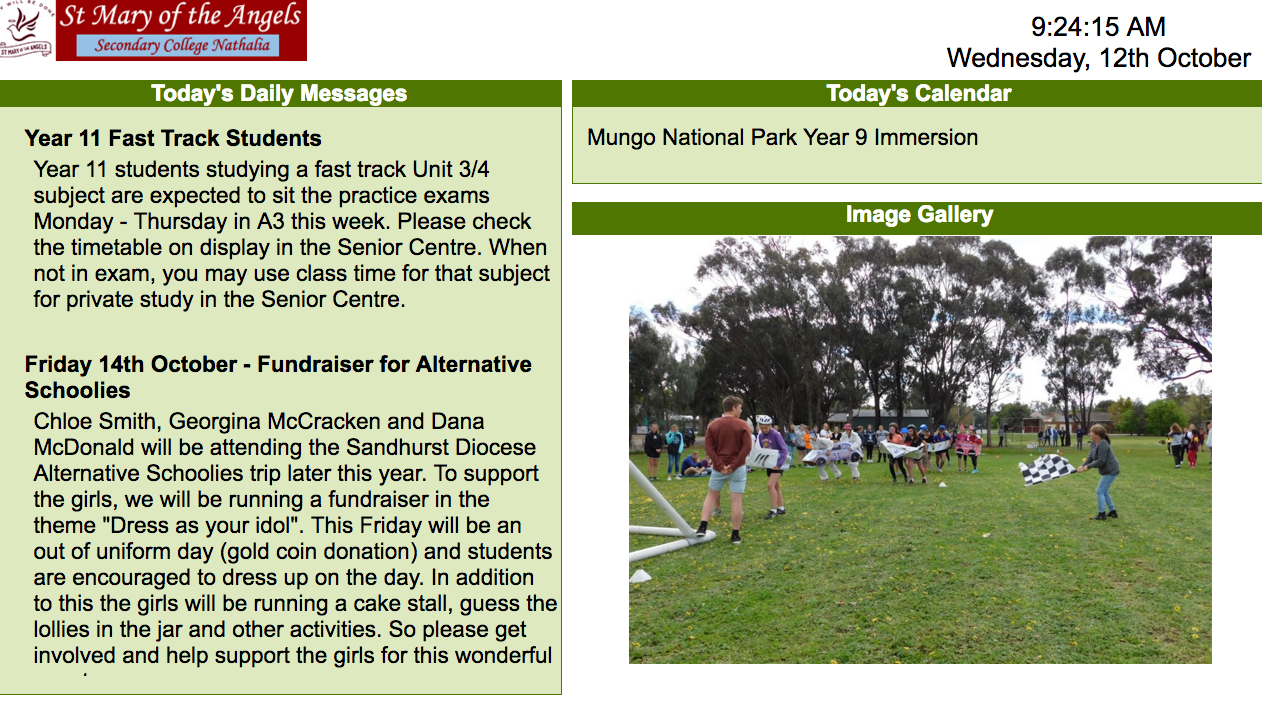
The school that I work at wanted to have some way of communicating to the students without using the PA or having to run around change notice boards everyday.
So the idea was to have screens around the school hooked up to a web site that can be easily updated every day, the web site was the easy bit, getting the screen to do what we needed proved to be quite difficult.
There was a number of things the notice board had to do
- Automatically come on after a power outage
- Hook up to the wifi
- Open the web browser and find the notice page
- Default on to full screen
- Update the page every few minutes
- Not show error messages or update screens
- Turn off when there is no one to read the notices
- Be low cost
- Im not much good at coding so.. no coding if possible.
A bit of a list but i got there in the end and they have been working well for the past two months
Parts You Will Need
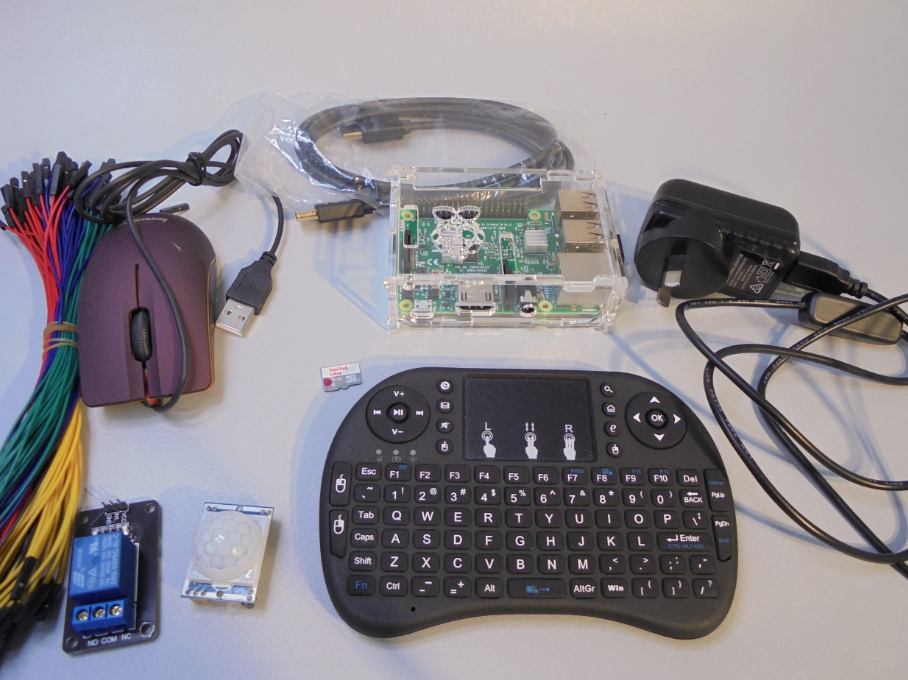

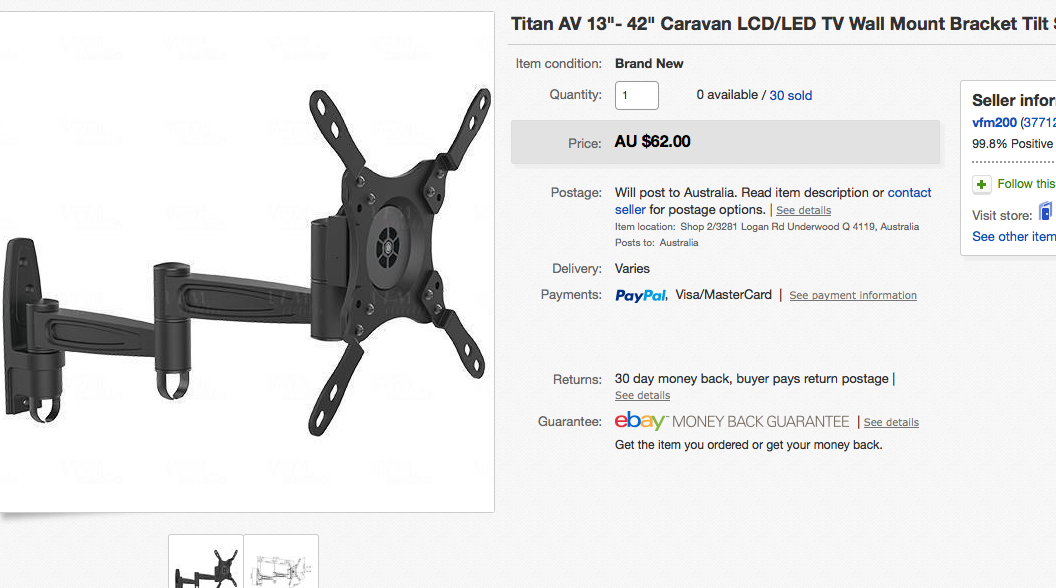

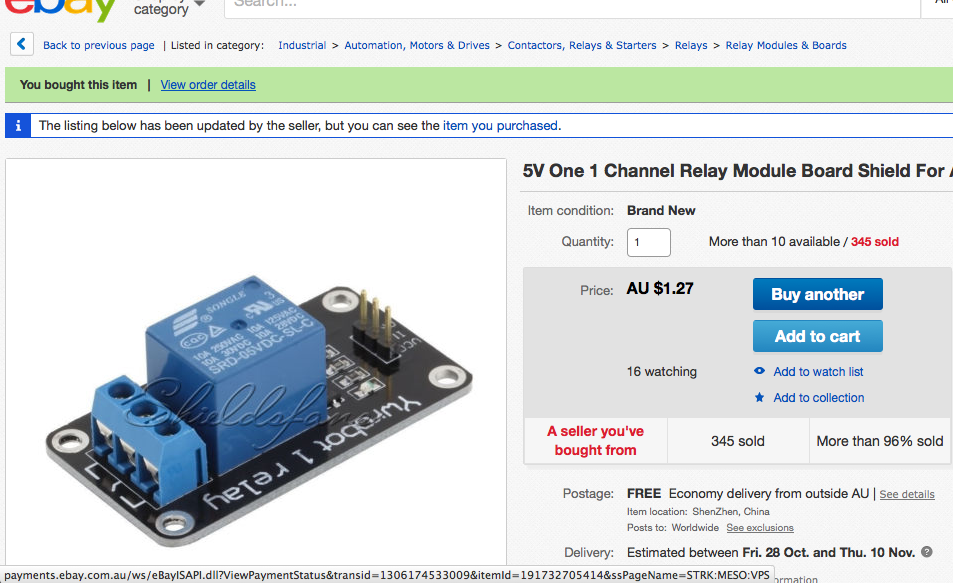

For this project I used the raspberry pi and for the motion detection I used a USB mouse with a relay and motion sensor. Also you will need a screen and its useful to have a cordless key board and mouse to make adjustments if the screen is mounted high on a wall or otherwise awkward to plug cables into.
- Raspberry pi 3 which has built in wifi. Mine came with a SD card, leads and case $95
- Motion sensor $5.95
- Relay $1.27
- USB Mouse $1.80
- Mounting bracket $62
- Screen as big as you can afford.....$$
Installing the Operating System to the SD Card
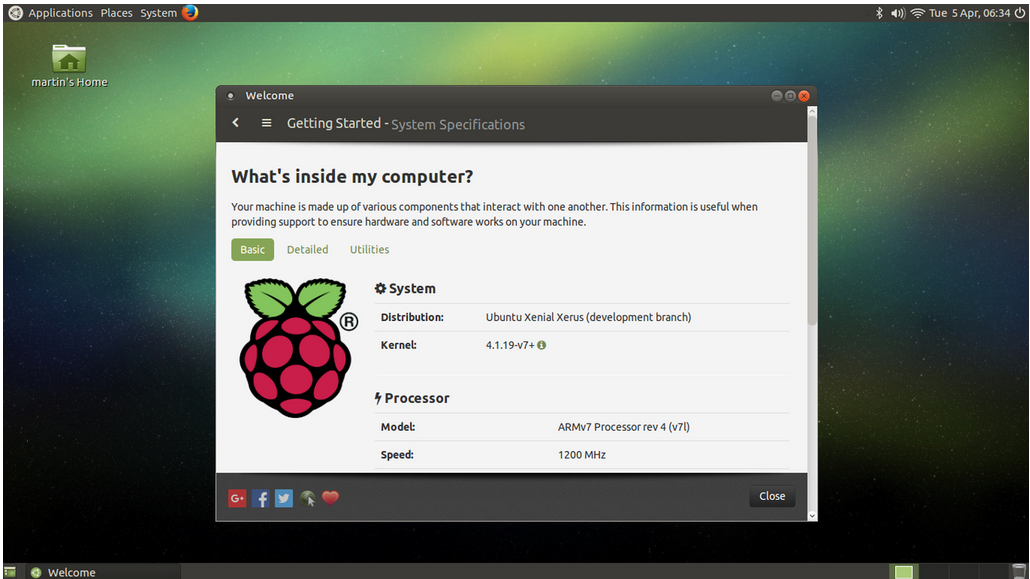
After trying a few different operating systems, and running into dead ends, I decided on Ubuntu Mate.
https://ubuntu-mate.org/raspberry-pi/
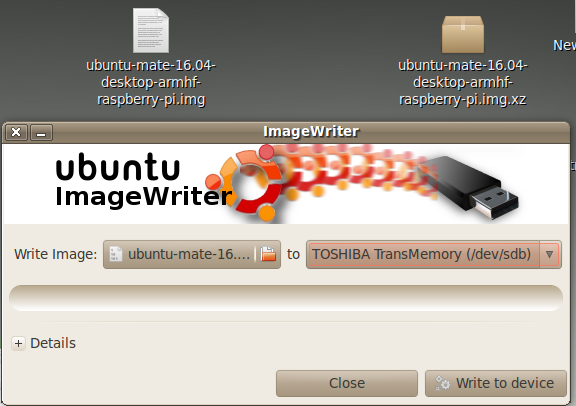
Just download the image from the site, and extract it as it is a compressed .XZ file. I then used image writer to create the image on the micro SD card. (I used an Ubuntu computer to do this)
If you using windows you can use Win32disk imager and you can get some help on how to do it here
https://www.raspberrypi.org/documentation/installation/installing-images/windows.md
Ive only use the win32 disk imager software once to clone the SD cards after I was happy with all the setting and it worked well, so I'm no expert on how to use it.
Once finished you can pop theSD card into your Pi and it will ask a number of things like time, language keyboard layout and location as the OS installs.
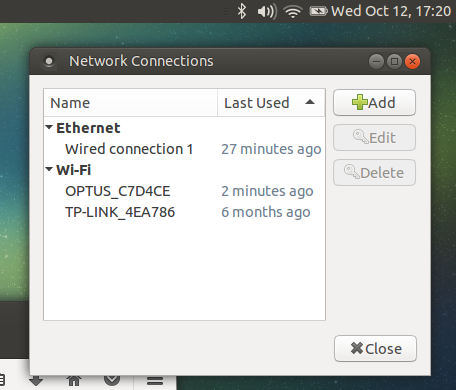
There is only one little bug with Ubuntu that is, upon completion of the first boot setup WiFi doesn’t work, at all. Reboot and WiFi will be available. You can can find your network by clicking on the wifi icon on the top right of the page.
Apart from that it works beautifully and best part for me, no code required.
Starting Firefox Automatically and on Your Website
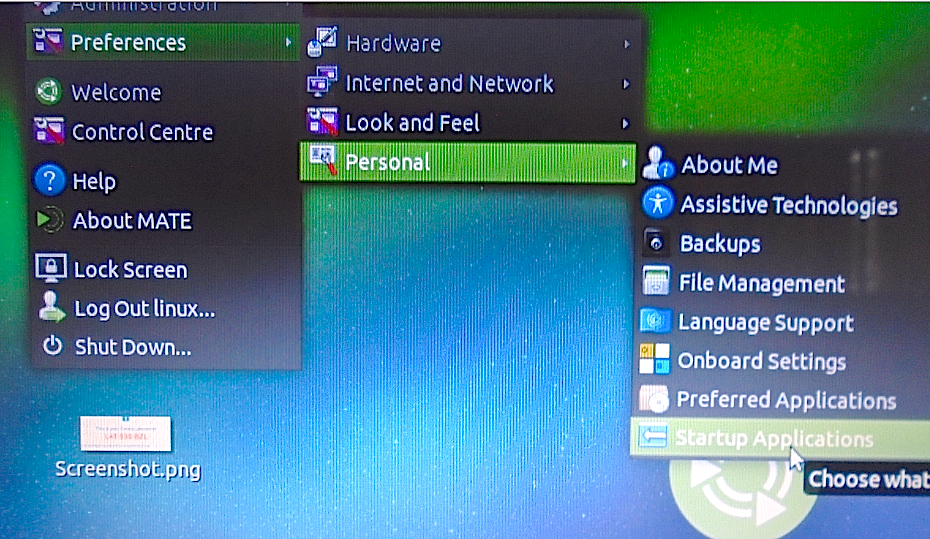
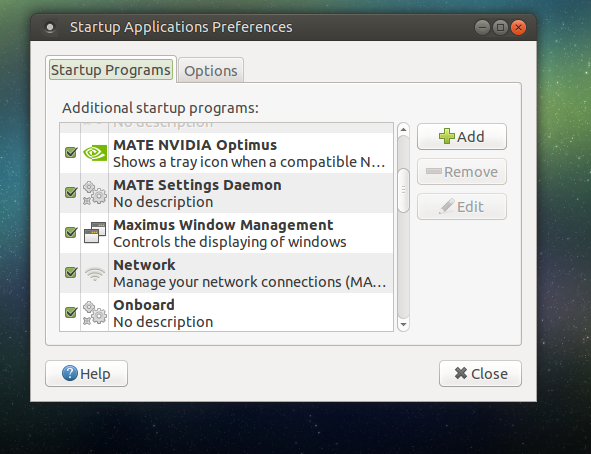
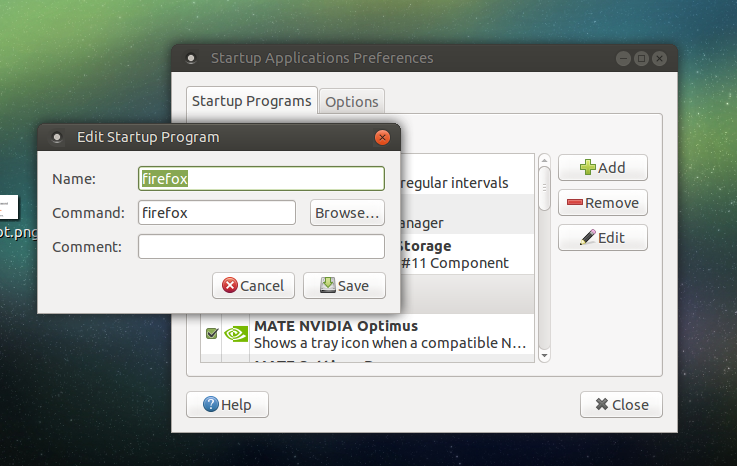
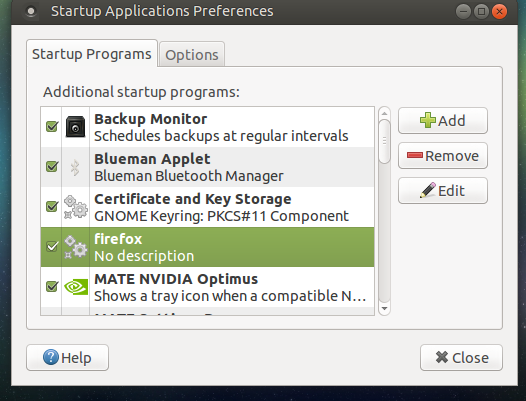
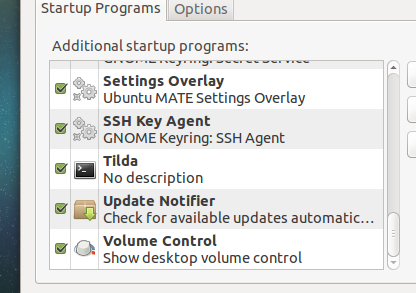
Getting firefox to start automatically after the raspberry boots is dead easy. Go into the startup applications preferences. This is under system / preferences / personal. Click on Add and type in "firefox" in both the name and command box. Make sure the tick in the green box is ticked.
While your at it untick the update notifier as this will stop a pop up screen telling you all about the latest updates
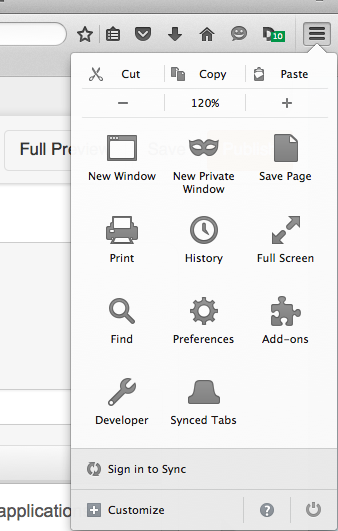
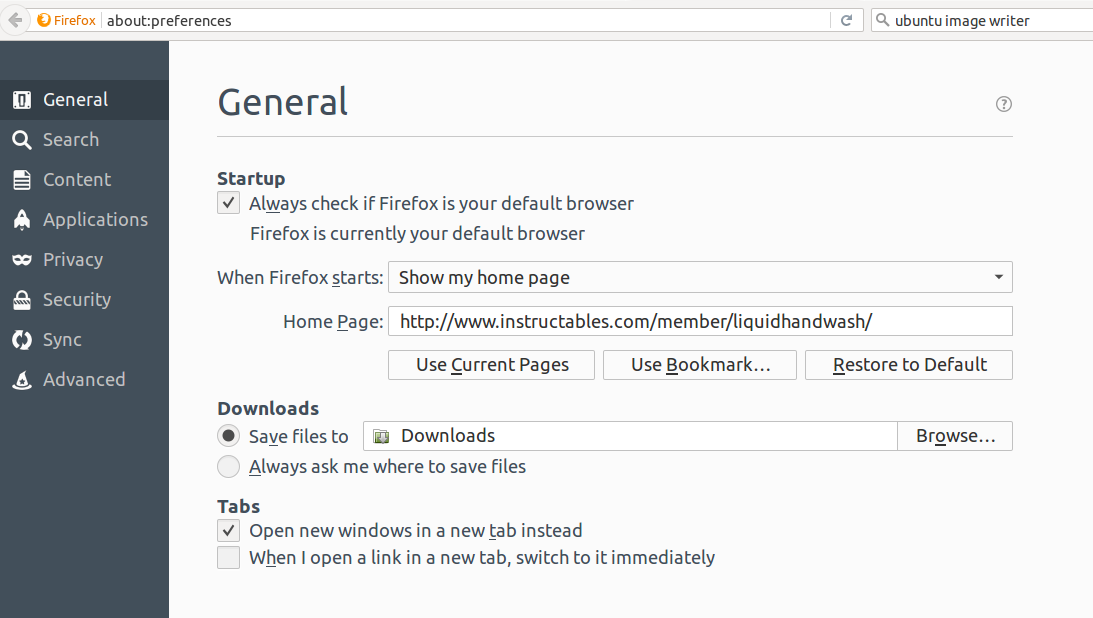
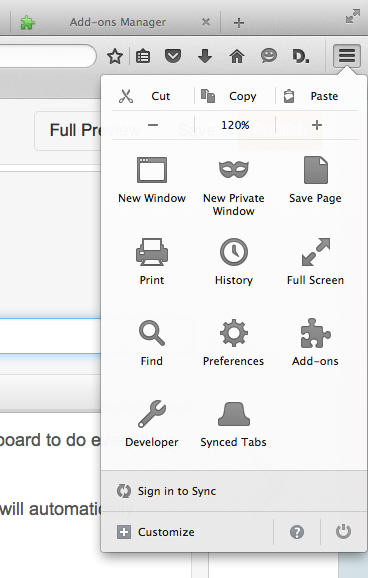
Now on firefox go to the hamburger icon on the right and click on preferences. You can now type in your website into the home page, and firefox will always open that page when started.
Now if there is a power outage the you wont have to run around to your digital notice boards opening the website when the power comes back on.
Helpfull Add-ons

To make things really easy firefox has lots of add-ons but only 3 are need to get my notice board to do everything I want. They are
- Fierr This is useful is the server goes down If the error can be fixed by reloading, the page will automatically reload in ten seconds,
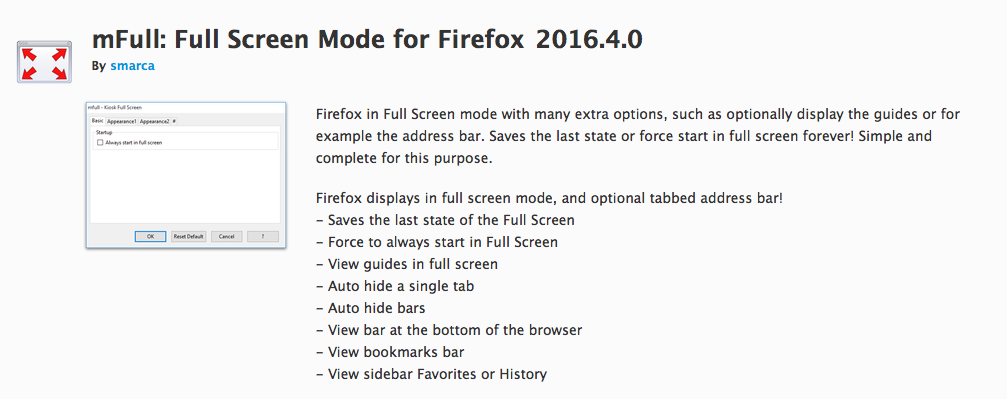
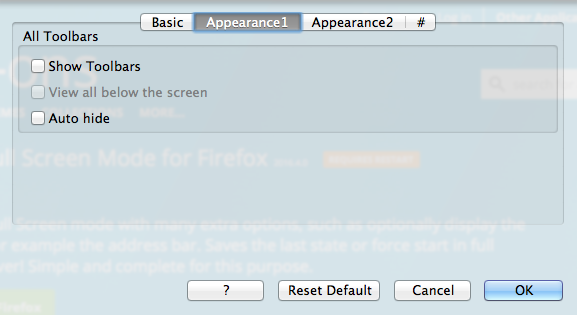
- Mfull This forces firefox to start in full screen. There are some setting you can change within the add-on to also remove tool bars and hide the URL bar. Hitting F11 on the keyboard will get it out of full screen
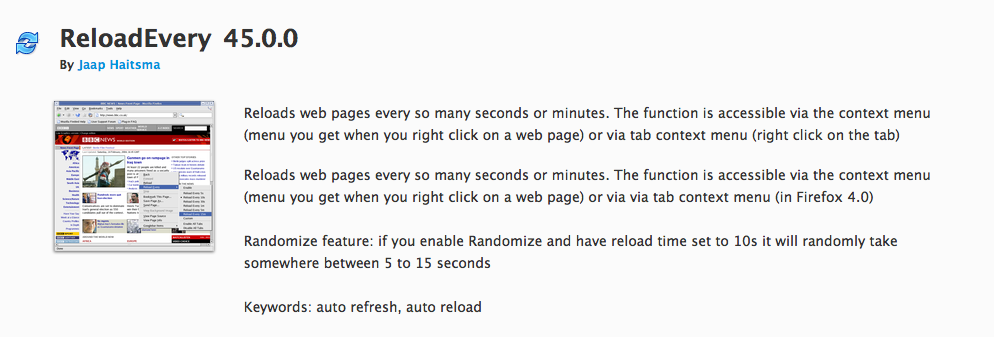
- Reload every Reloads web pages every few seconds or minutes, you can adjust this function which is accessible via the context menu (menu you get when you right click on a web page) or via tab context menu (right click on the tab). This will keep the web page displayed automatically up to date with any changes to the content.
To install just click on the hamburger looking symbol and find the add-on menu Type the add-ons into the search bar.
Disabling the Screen Saver.
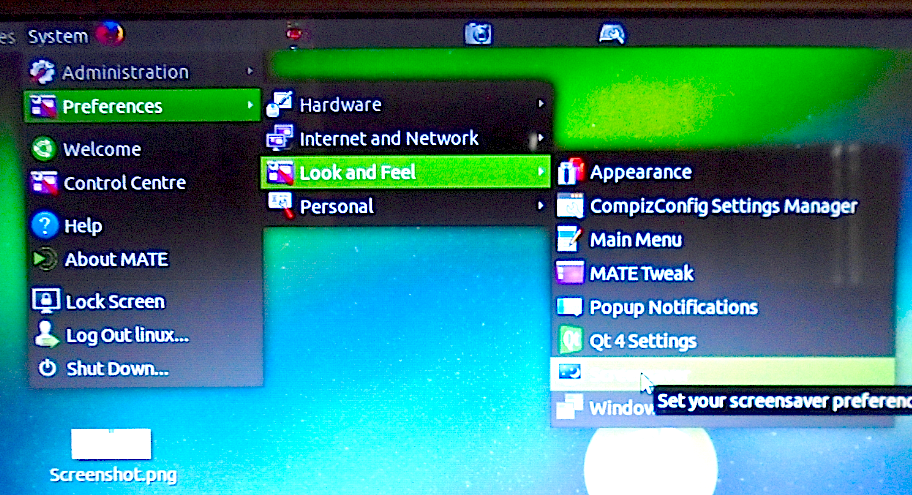
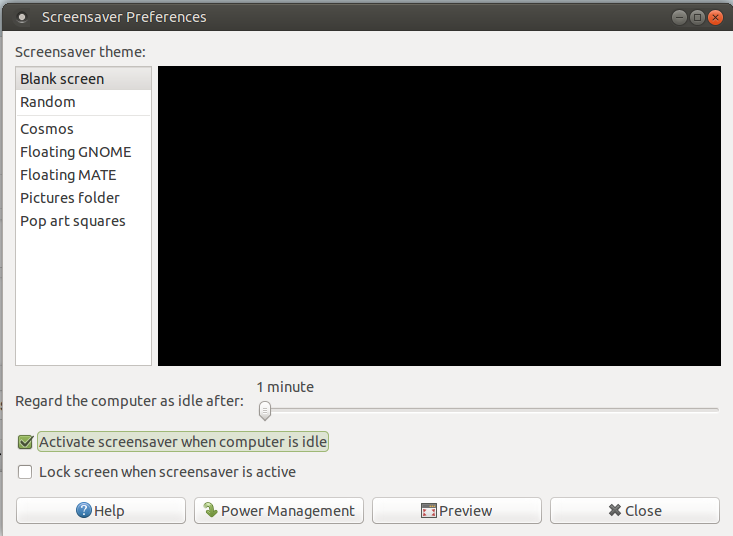
If your not planing on making a motion sensor you will need to disable the screen saver. This is in system / preferences / look and feel.
Untick the box "activate screen saver when idle"
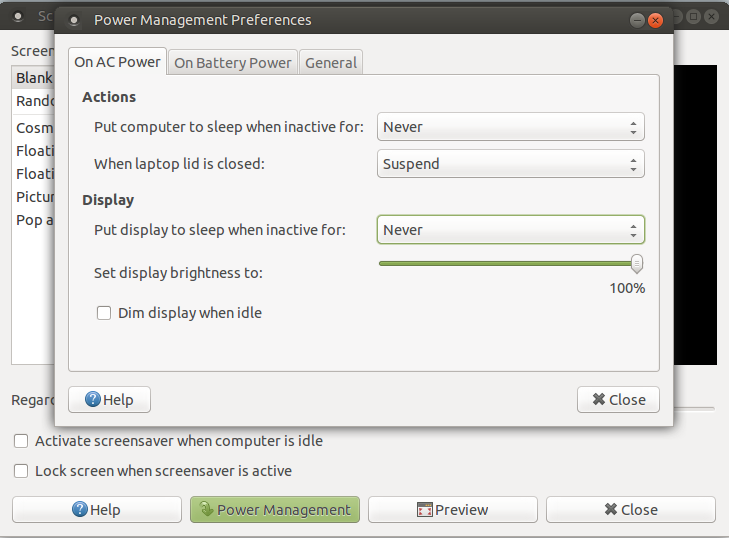
Now go into the power management and from the "put display to sleep when inactive" pull down menu select "never"
Your now ready to go, but if you would like to get the screen to turn off when no one is around, have a look at the next step. With the motion sensor fitted I have the screen saver set to black screen after one minute and the put display to sleep when inactive set on 5 minutes.
Adding Motion Control Sensor.
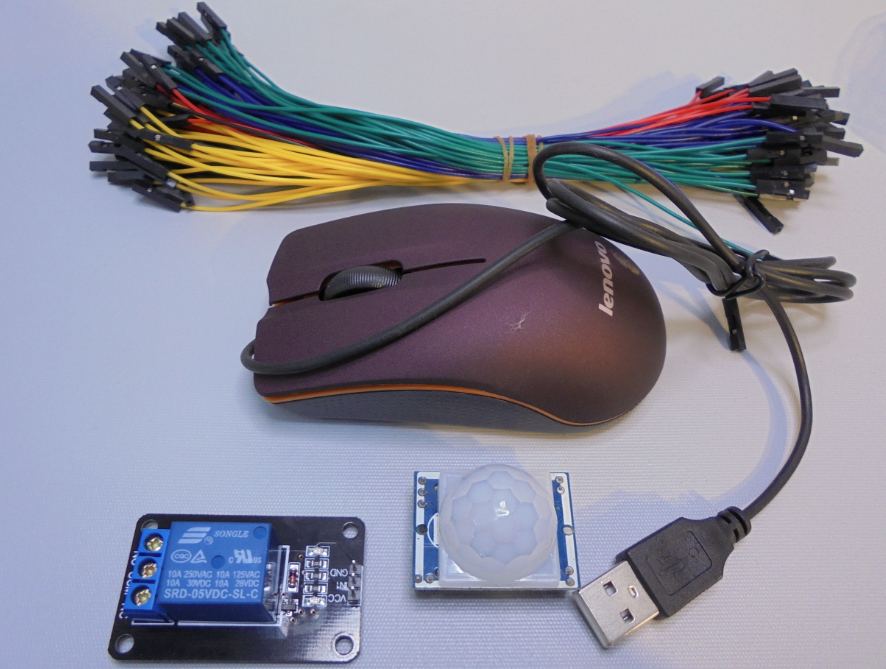
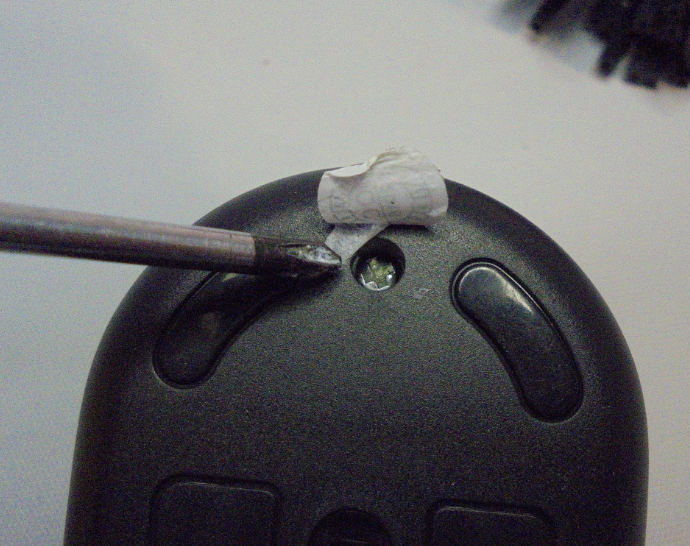
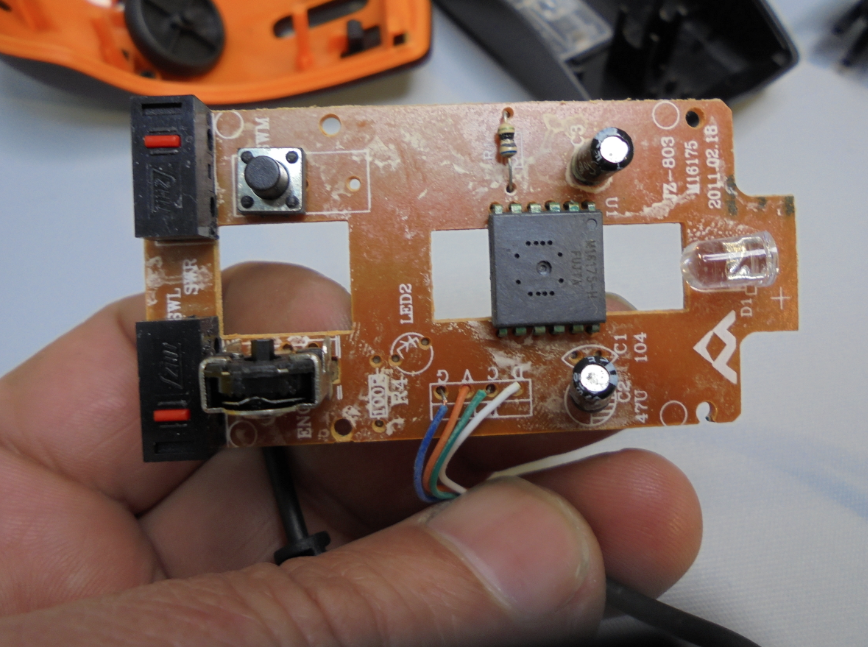
Adding motion control will allow the raspberry to shut down the screen when no one is viewing it, saving a bit of power and extending the life of the screen. It is very easy to set up you just need a USB mouse a motion sensor and a relay.
First gut your mouse there is usually a hidden screw somewhere, in my case it was under a sticker, once the screw is out the mouse should come apart without to much of a fight.
Find the Power Supply
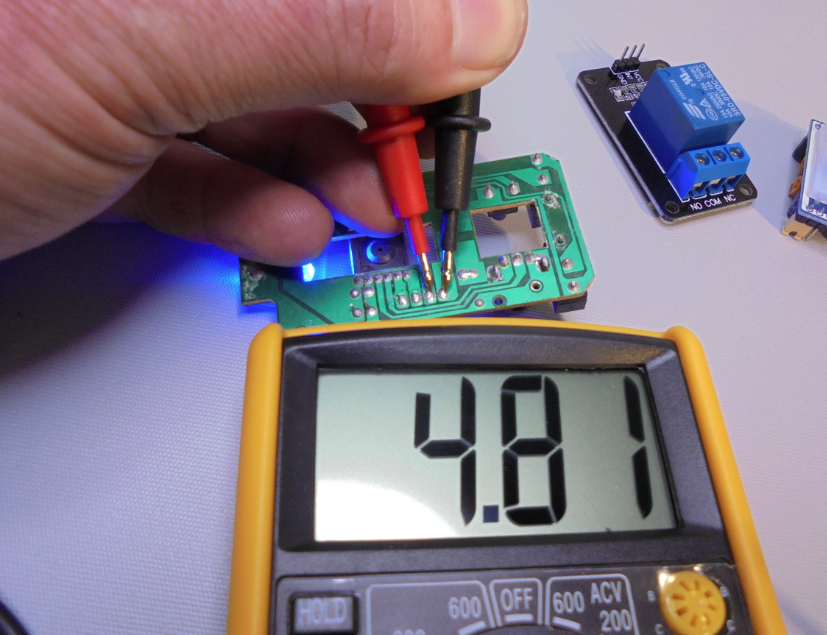
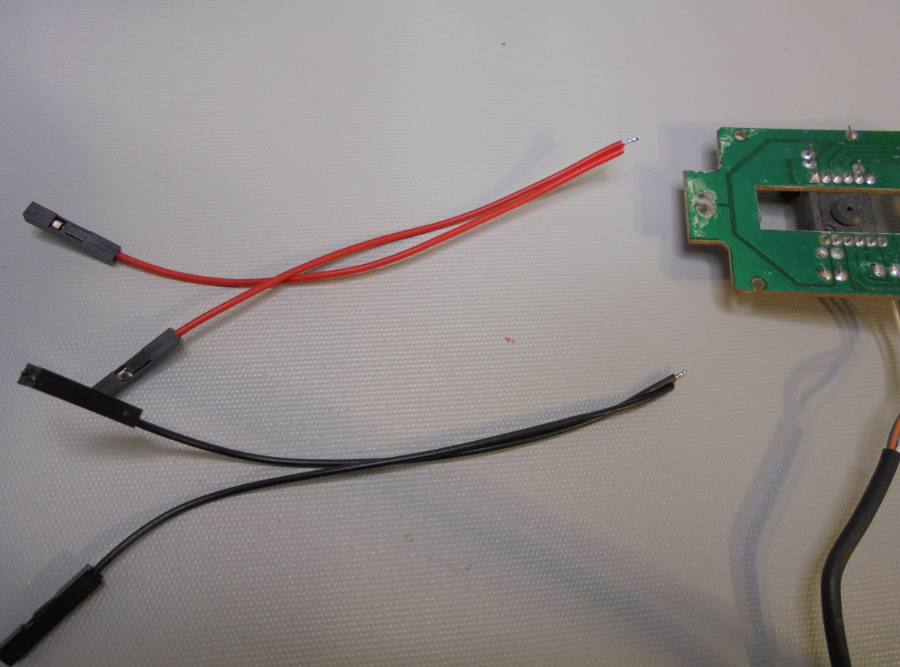
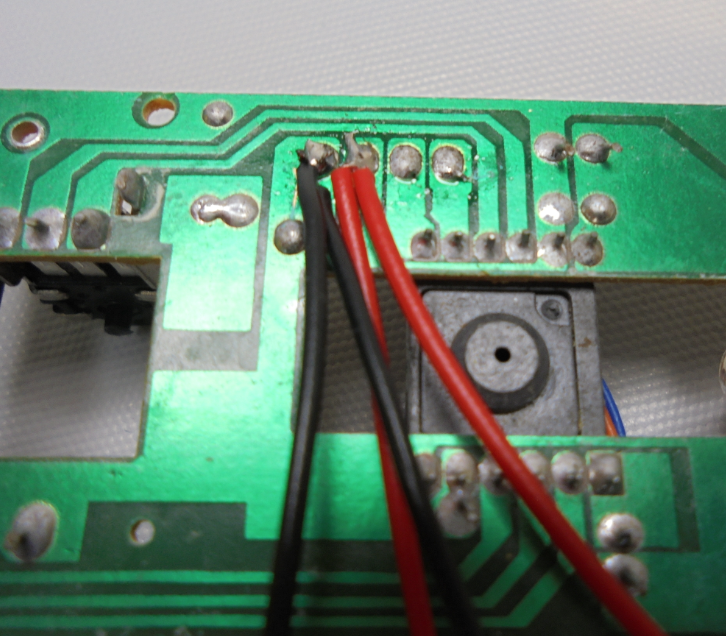
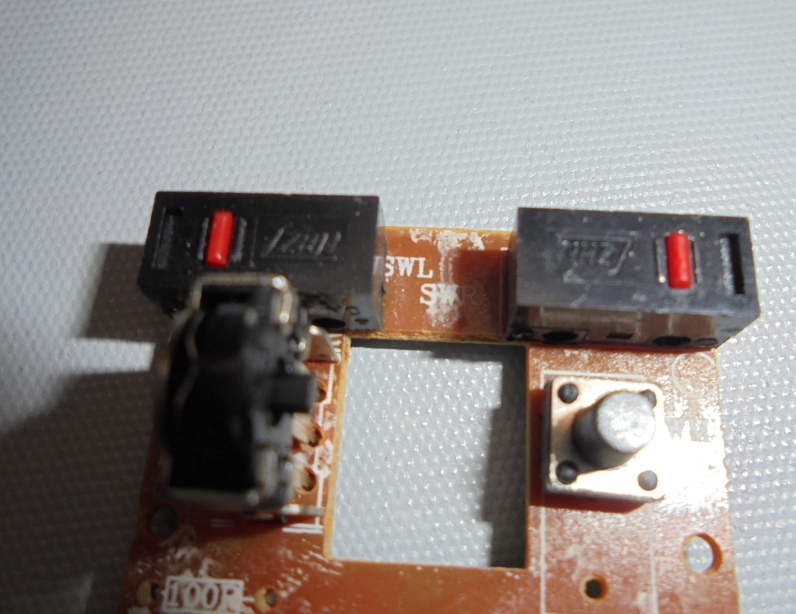
There are four wire going into the mouse, 2 are data and the other to are ground and 5 volts. You can look up the color codes of the wires on google, but Ive found sometimes they are not accurate.
A multi meter and phone charger work well just plug the mouse into a phone charger and find the 5 volt and ground with the meter.
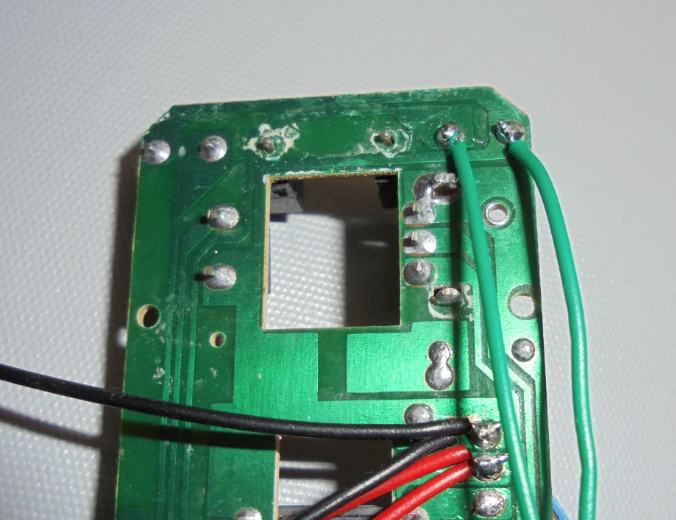
Solder 2 red and 2 black wires to the back of the circuit board.
While your at it solder 2 more wires on the back of the left mouse buttons micro switch.
Wire Up Motion Sensor and Relay
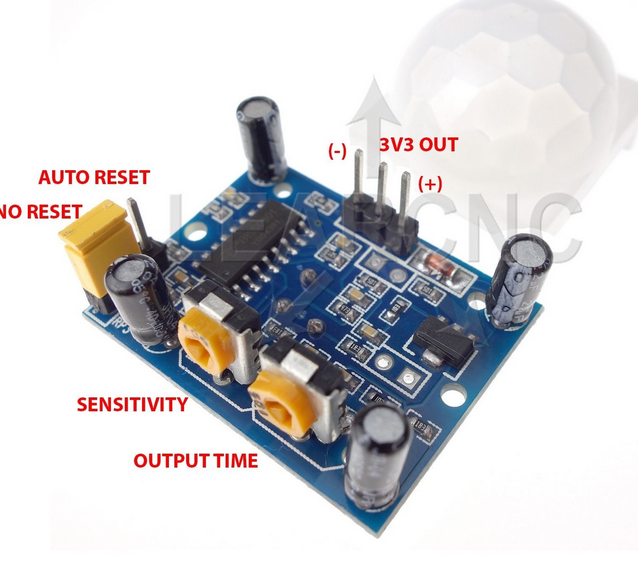
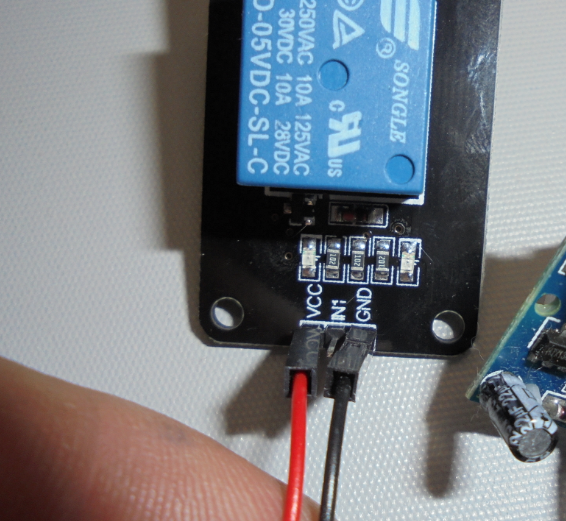
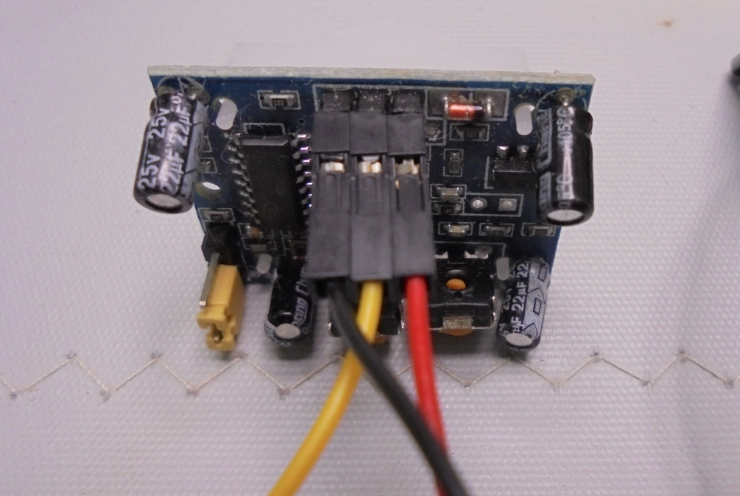
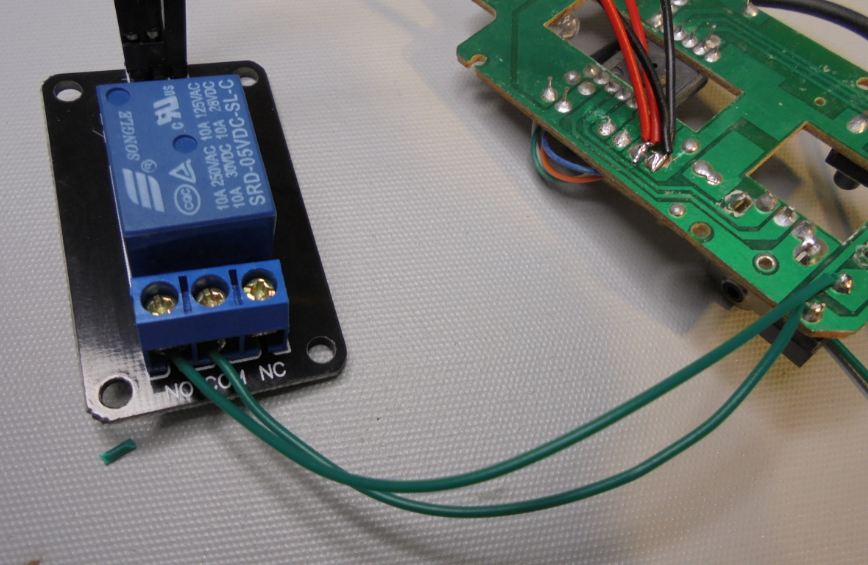
Wireing up the motion sensor and relay is just a case of pluging wires in to the right spots if you have used the dupont wires. The relay is clearly labeled but the motion sensor you may have to look up the pinout.
You can also wire up the NO (normally open) contacts on your relay to the wire coming off the back of the micro switch.
Add Pull Up Resistor
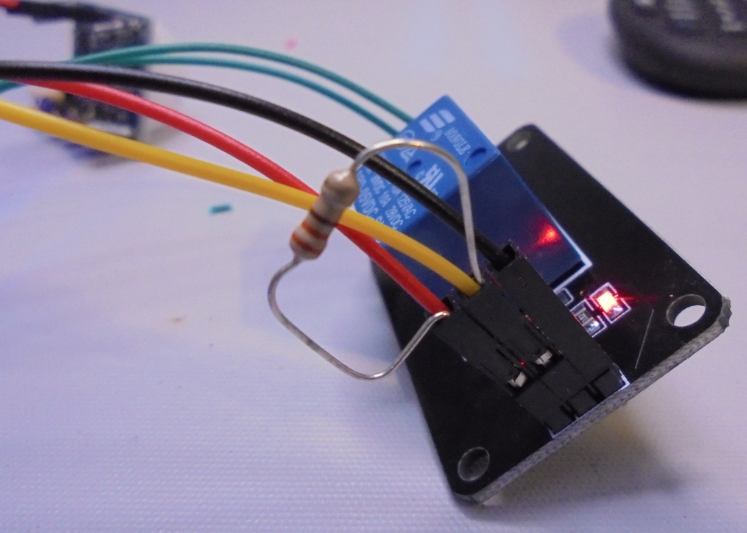
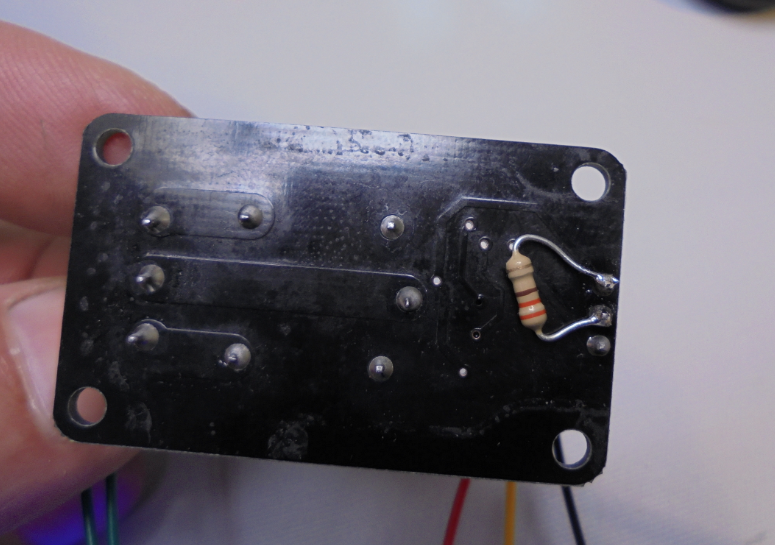
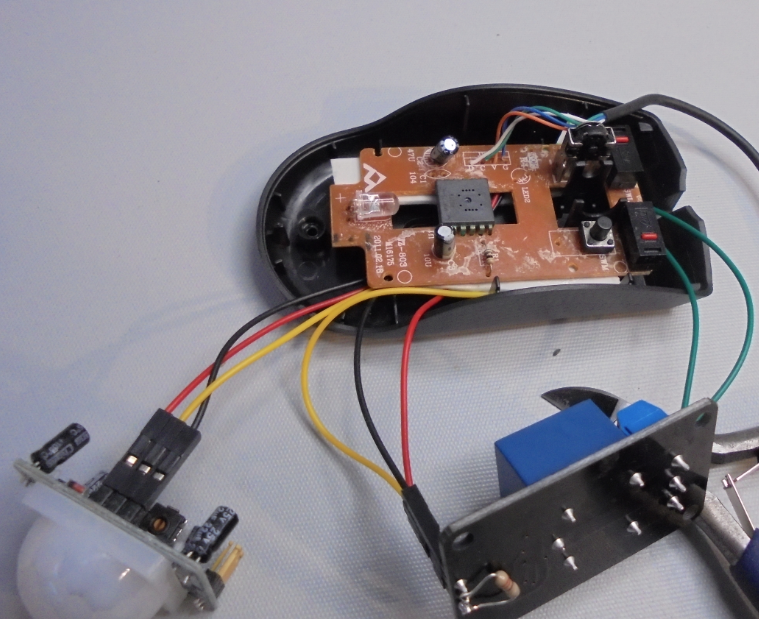
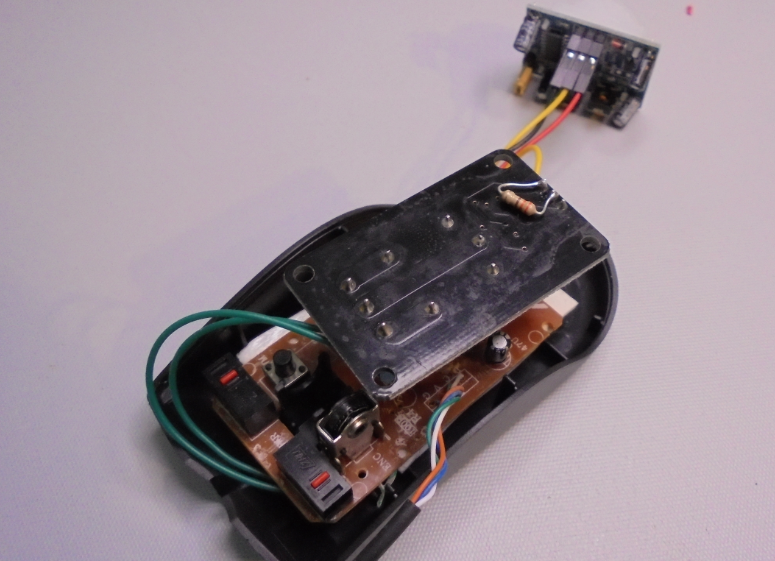
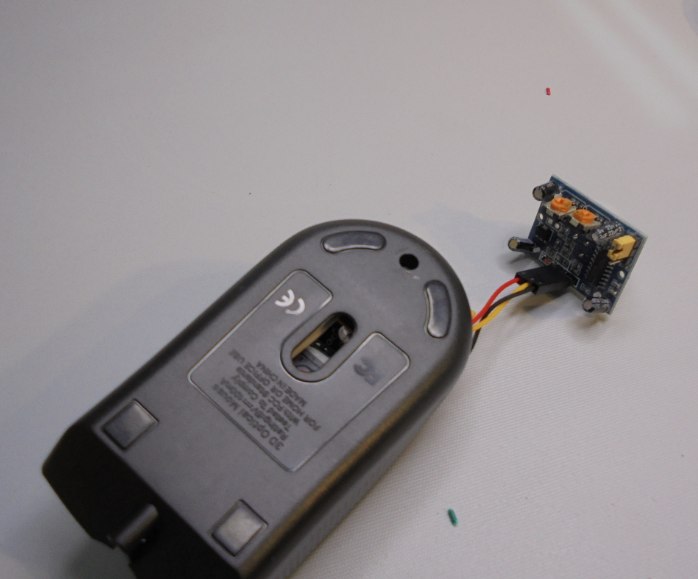
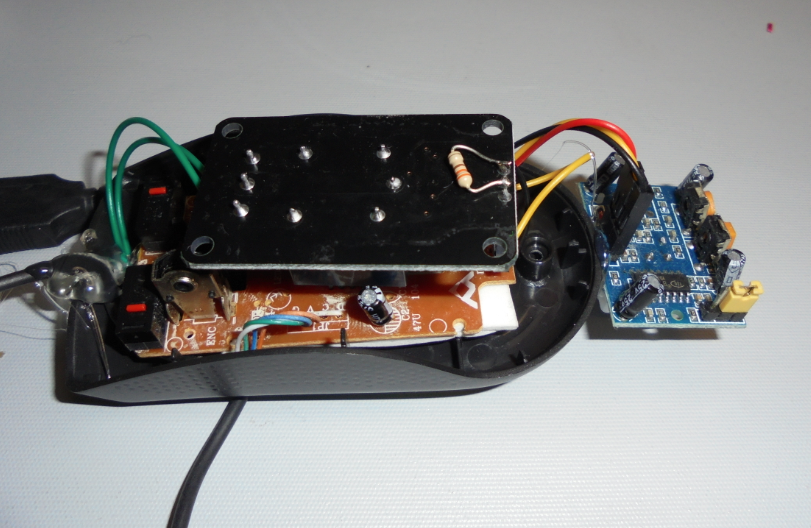
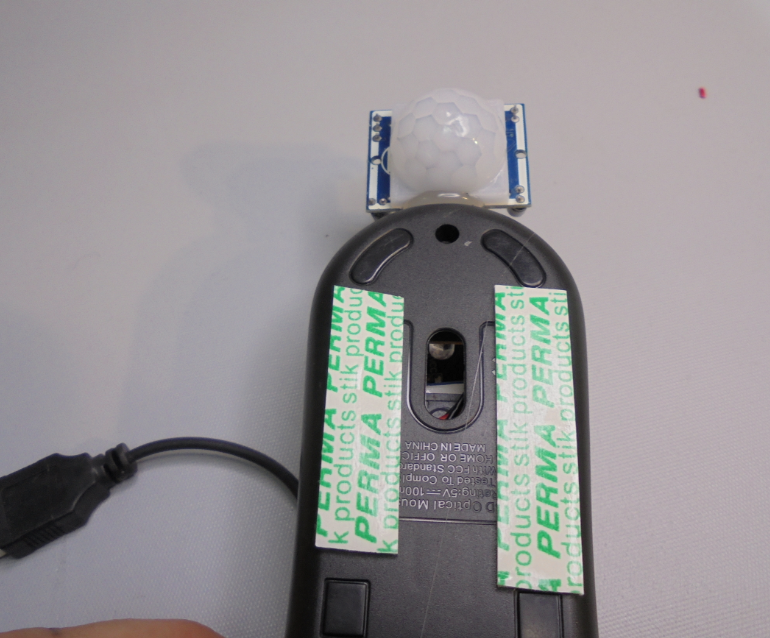
If you plug in your new motion sensor mouse and it doesn't want to click on or off it may need a pull up resistor on the sensor wire. I found a 1k resistor worked well just try it between the 5 volt wire and the sensor wire, and see if it helps.
Once working the resistor can be soldered onto the back of the relays circuit board as shown.
Ive still got to design a case for all this to fit into, the prototype is taped and hot glued together and stuck on the screen for some long term testing, so far it has worked well. It make a audible click when it sees movement, which lets you know the sensor is working.
As and add bonus well meaning but annoying people no-longer go around turning the screens off to save power, as they never would turn them back on again.