Digitize Newspapers, Wood Patterns, Etc
by davethewoodworker in Workshop > Woodworking
1473 Views, 7 Favorites, 0 Comments
Digitize Newspapers, Wood Patterns, Etc
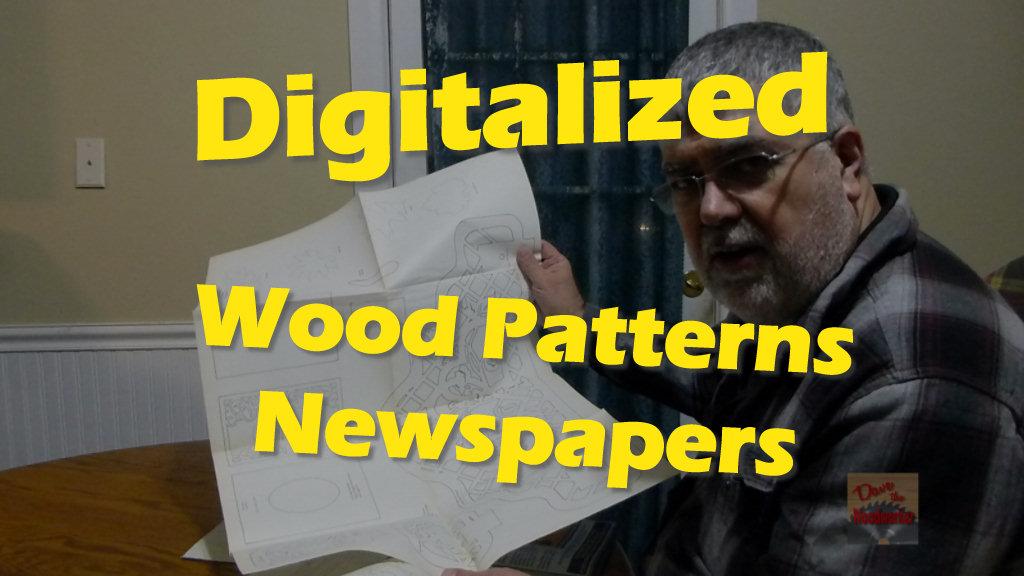
Today I will show you how to digitalize your wood patterns or large pictures. You can also watch the video on my YouTube channel Dave The Woodworker, Digitize your Wood Patterns. I also uploaded a video to Youtube.
What's Needed:
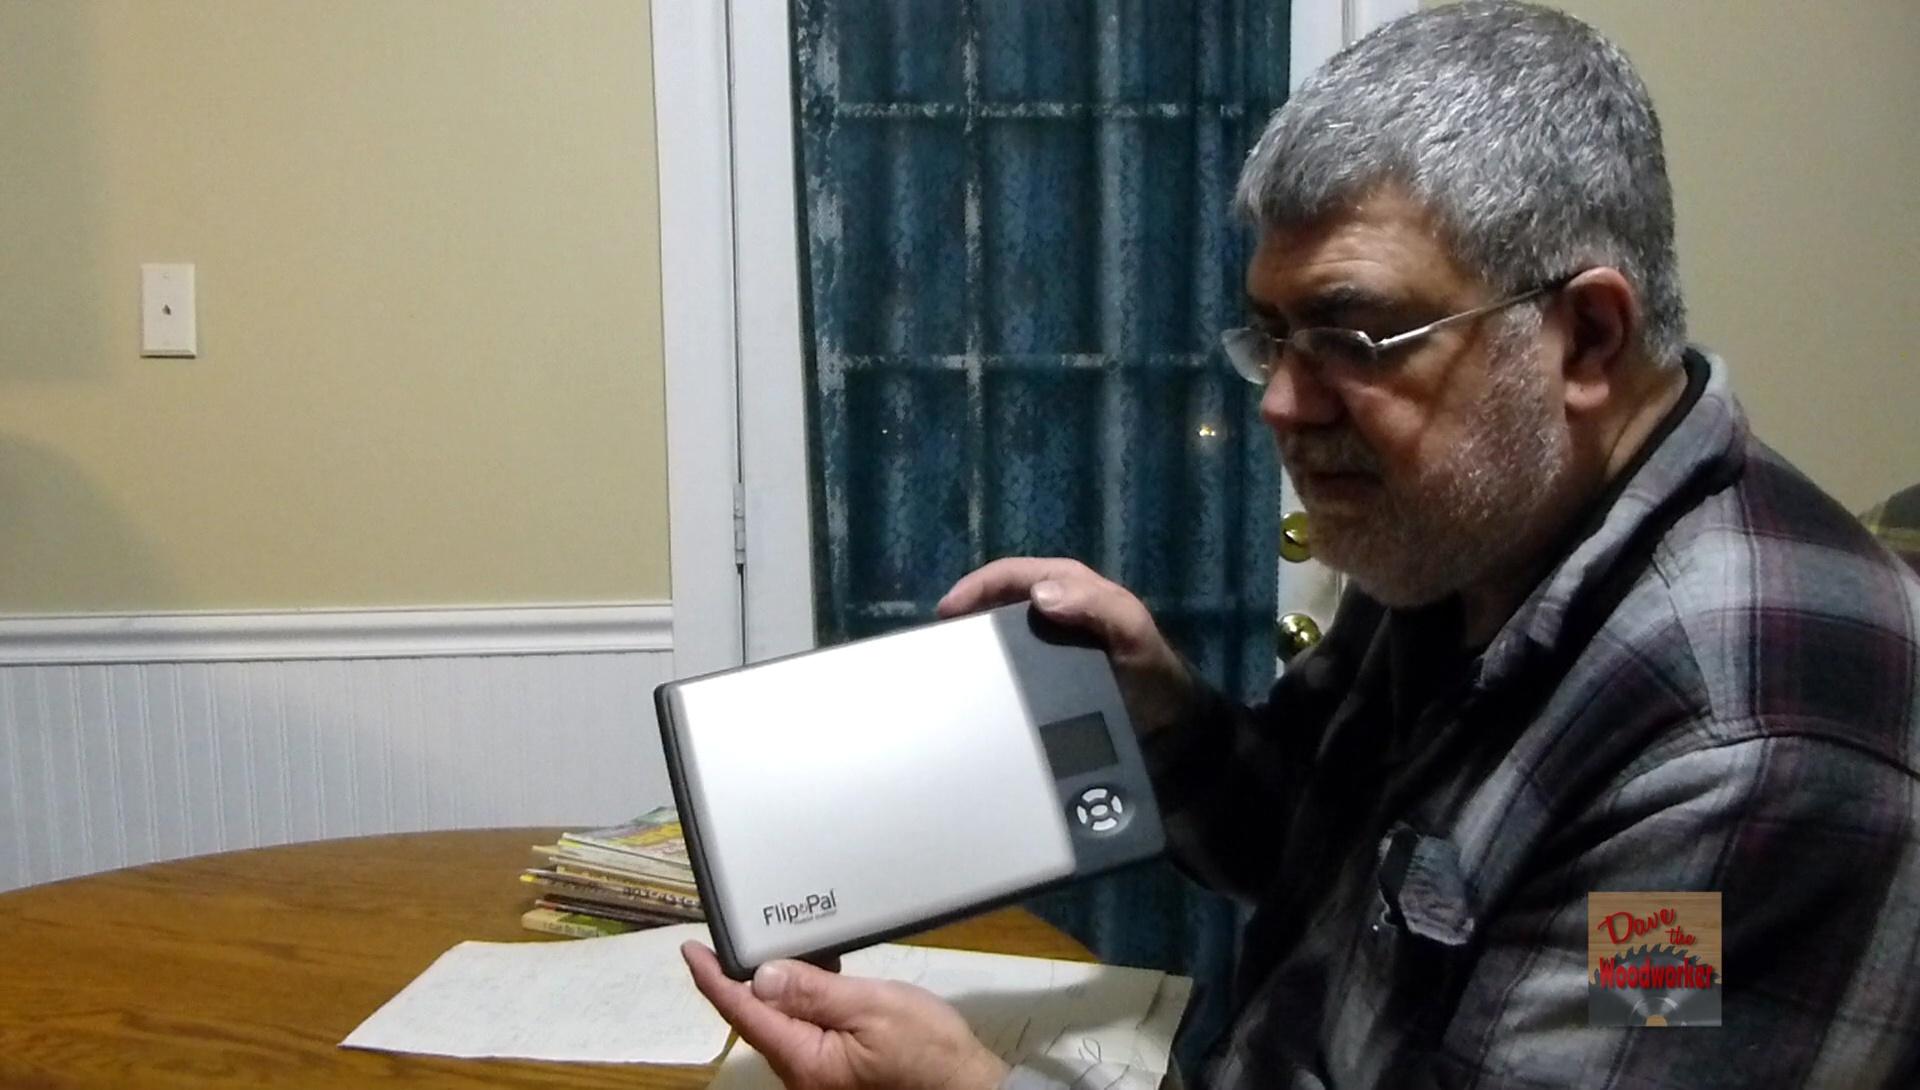
You need a special scanner, called a Flip-Pal mobile scanner, it comes with a SD card and special software.
Several Double A batteries ( use good ones, such as Energizer or Duracell )
Don't buy cheap batteries, they will not last long
A Laptop or Desktop PC
The Flip-Pal mobile scanner is a battery powered, color flatbed scanner for photos and documents. It is mobile, versatile, accurate, simple to operate. It scans at 300 or 600 DPI, in just a few seconds. It takes 4 AA Batteries, I would recommend Energizer Max or Rechargeable batteries.
Step 1
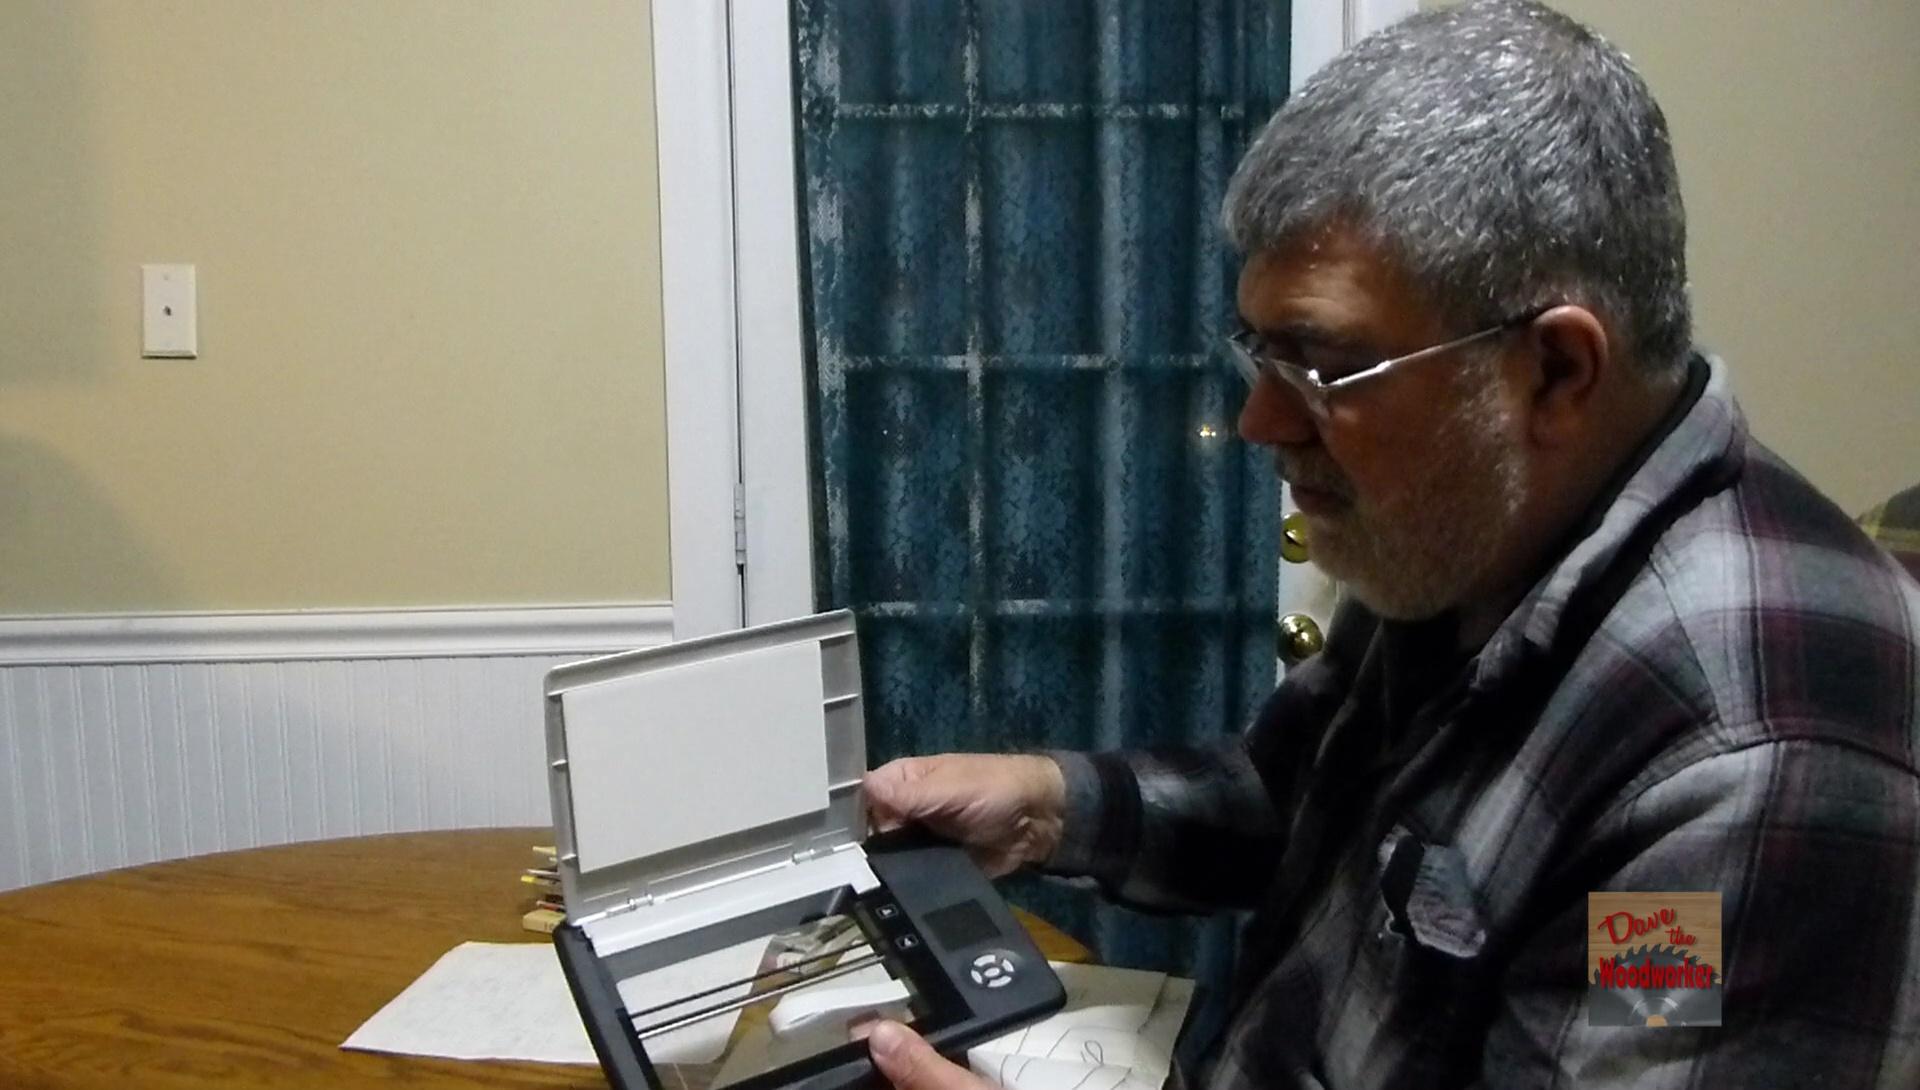
Install new batteries into the Scanner and the included SD card. For scanning small pictures, just lift the lid and place picture facing down and scan.
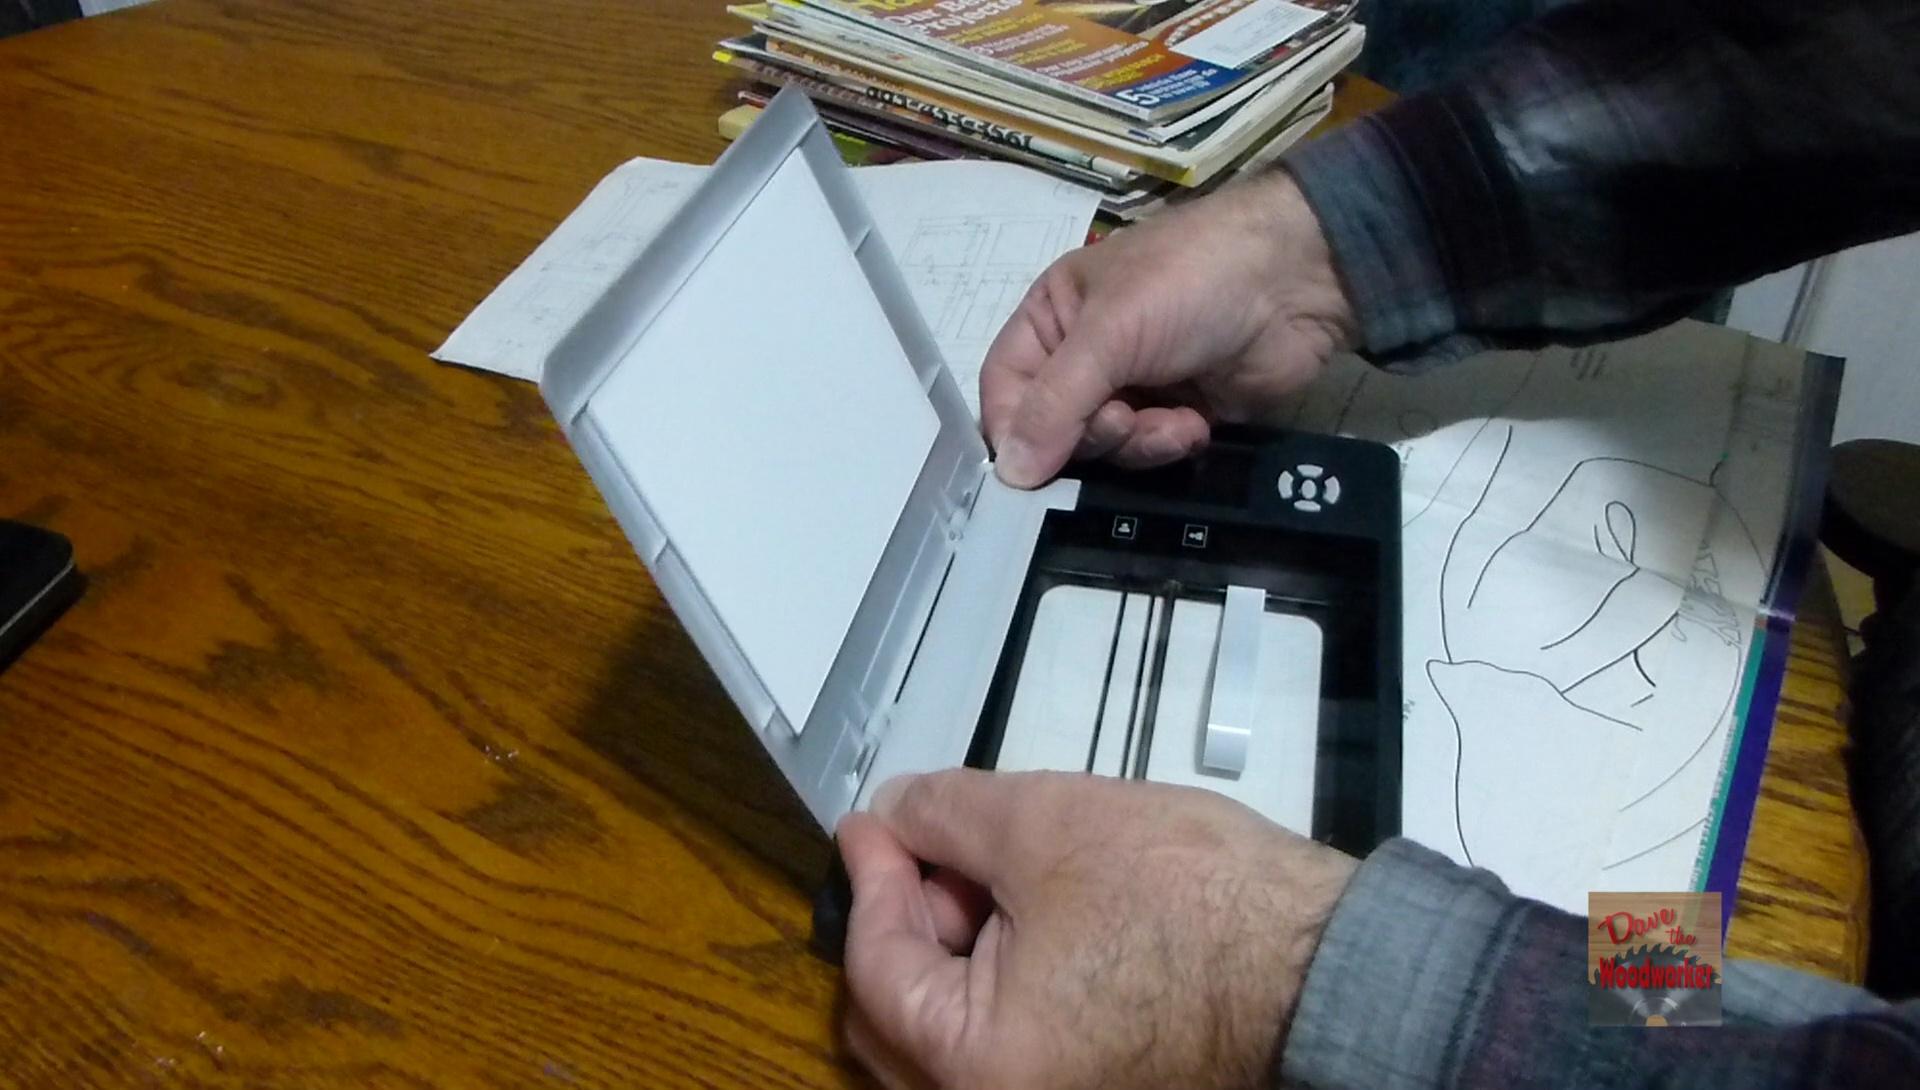
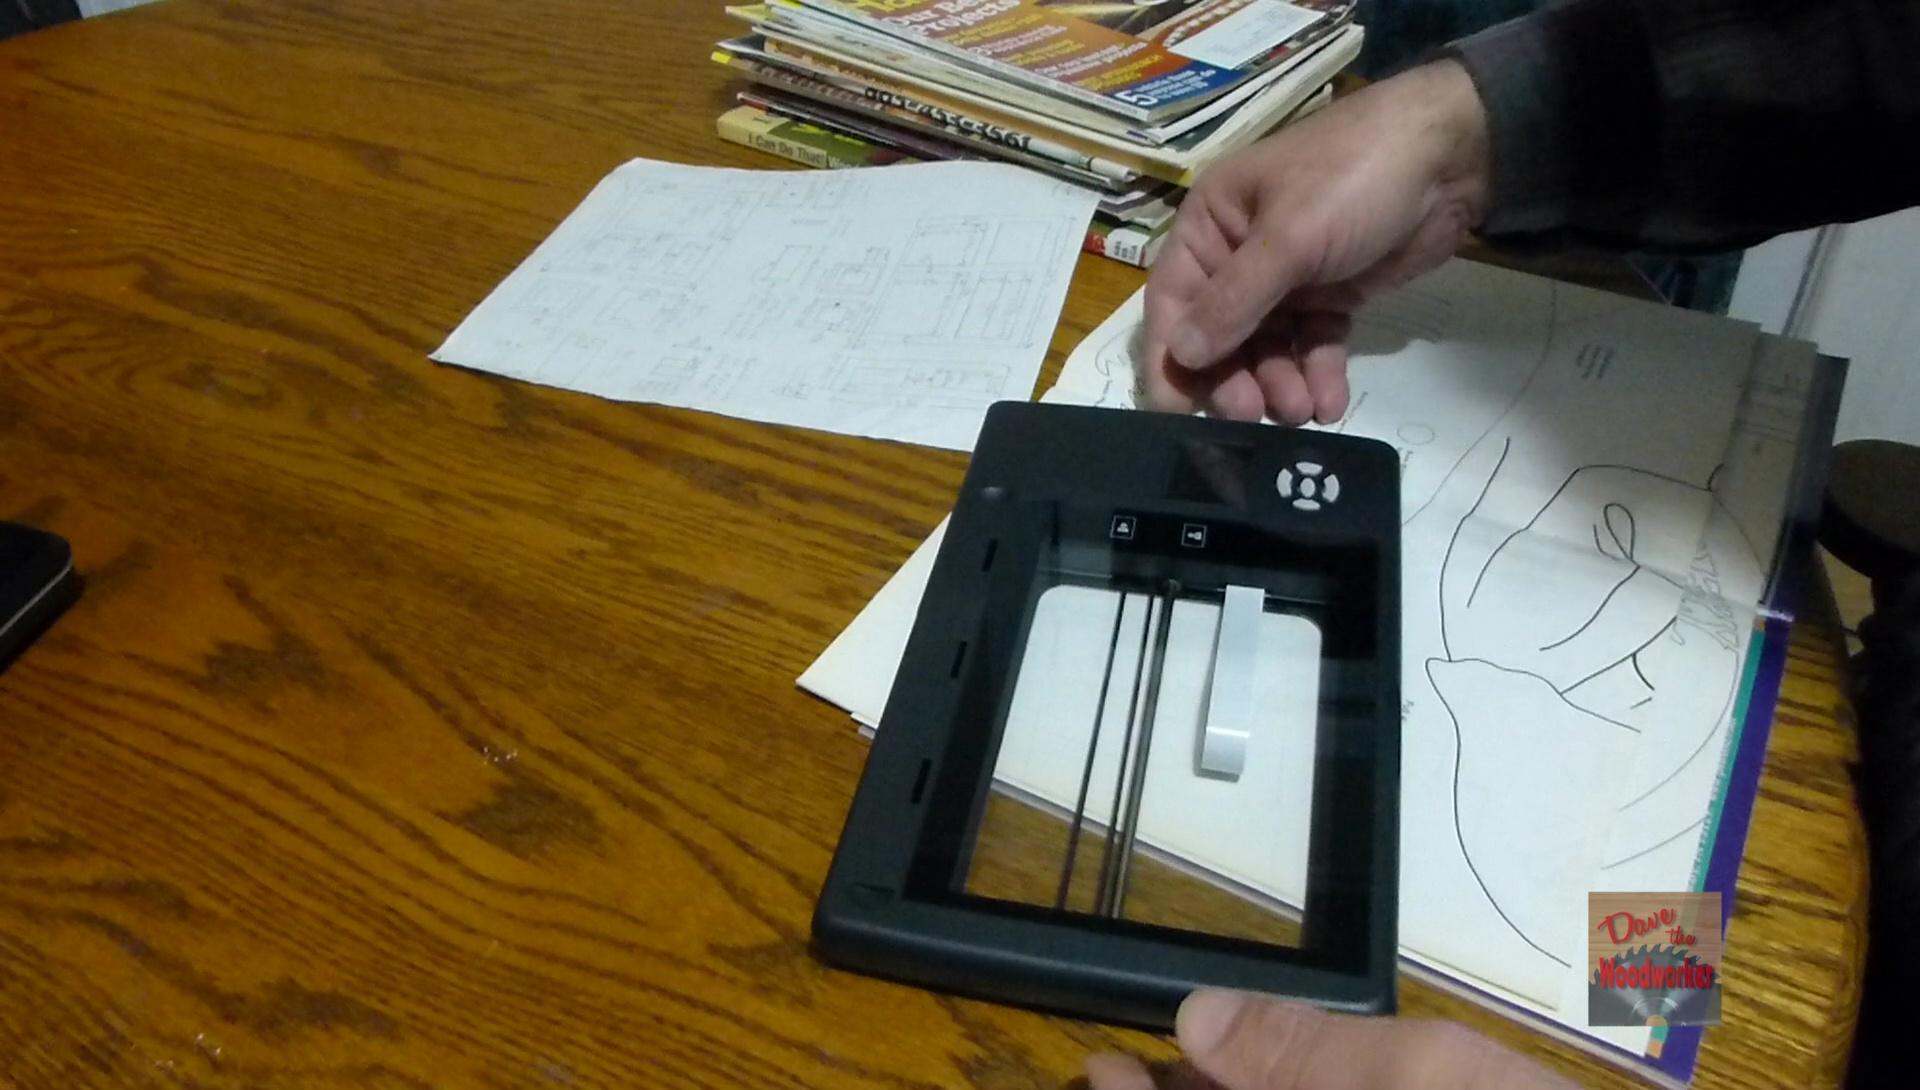
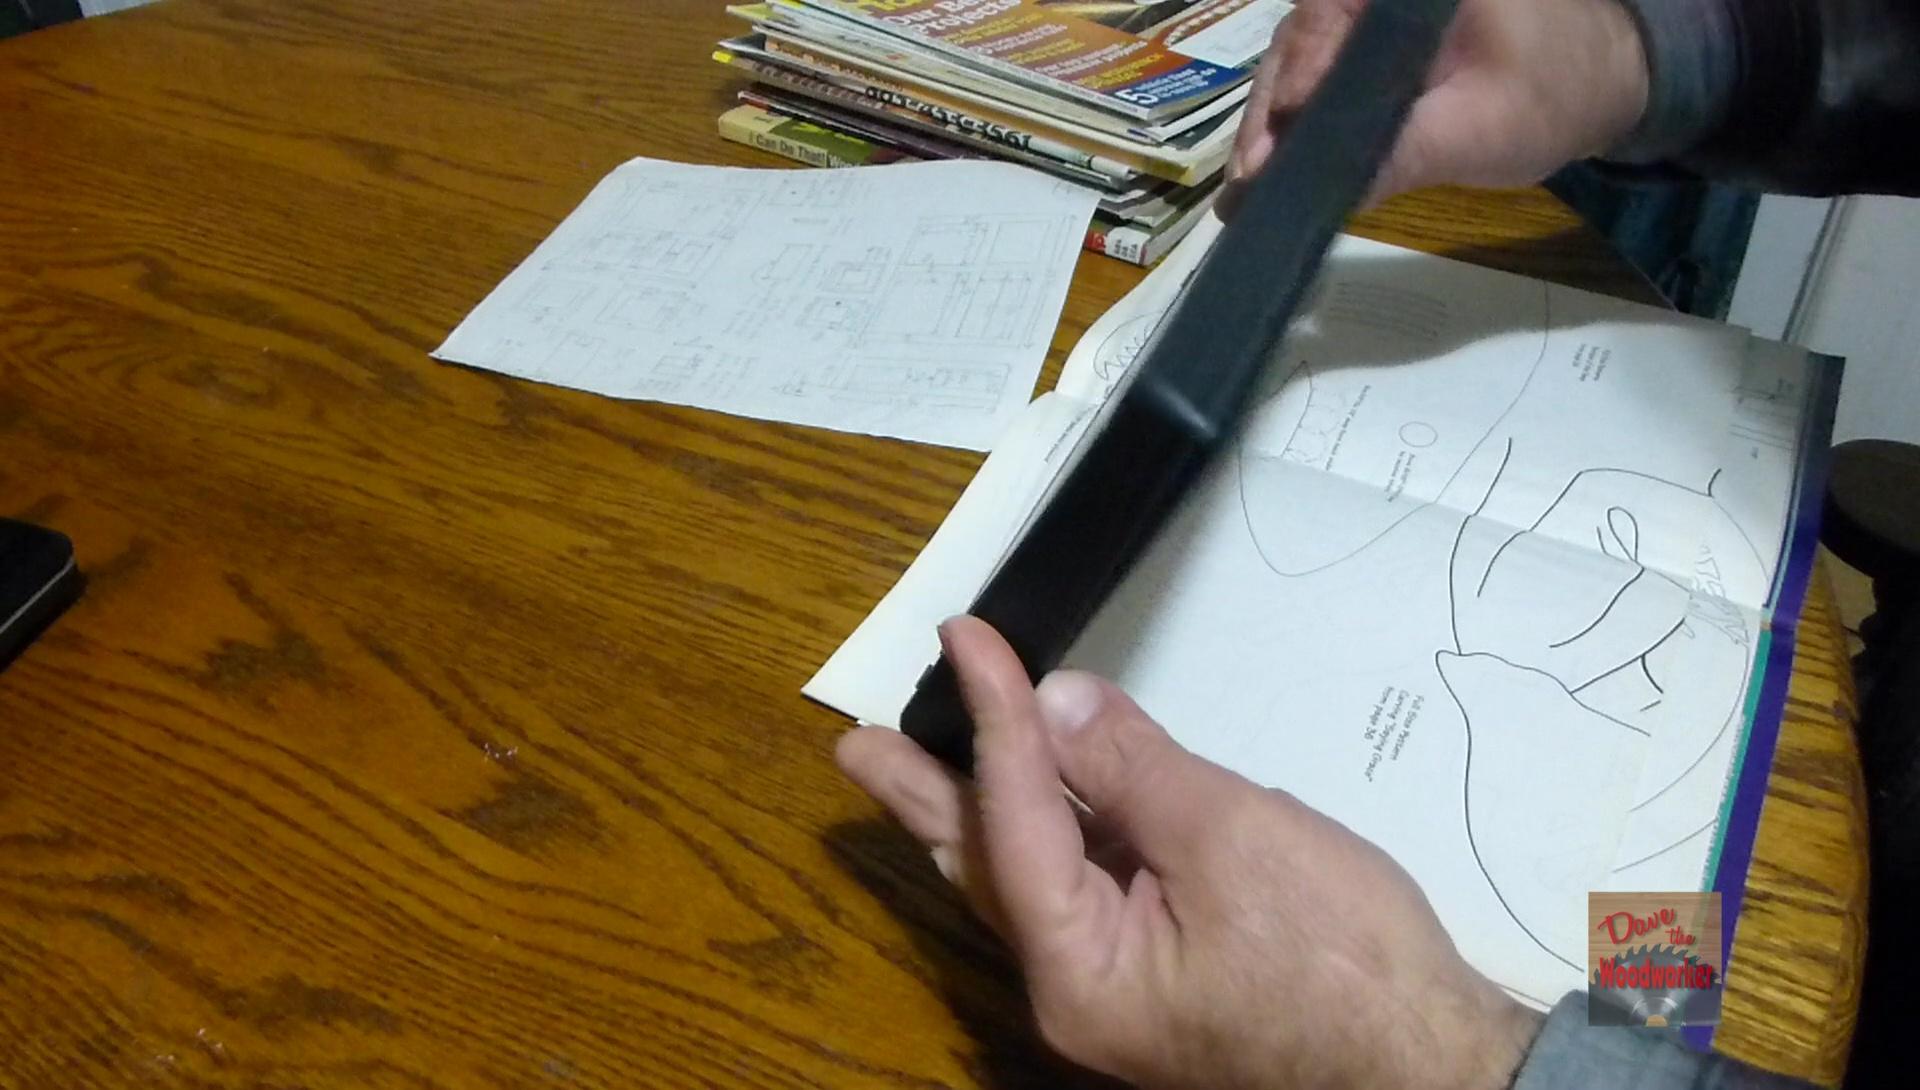
But to scan big documents, pictures or Wood patterns. First removed the lid, then flip the scanner over.
Step 2

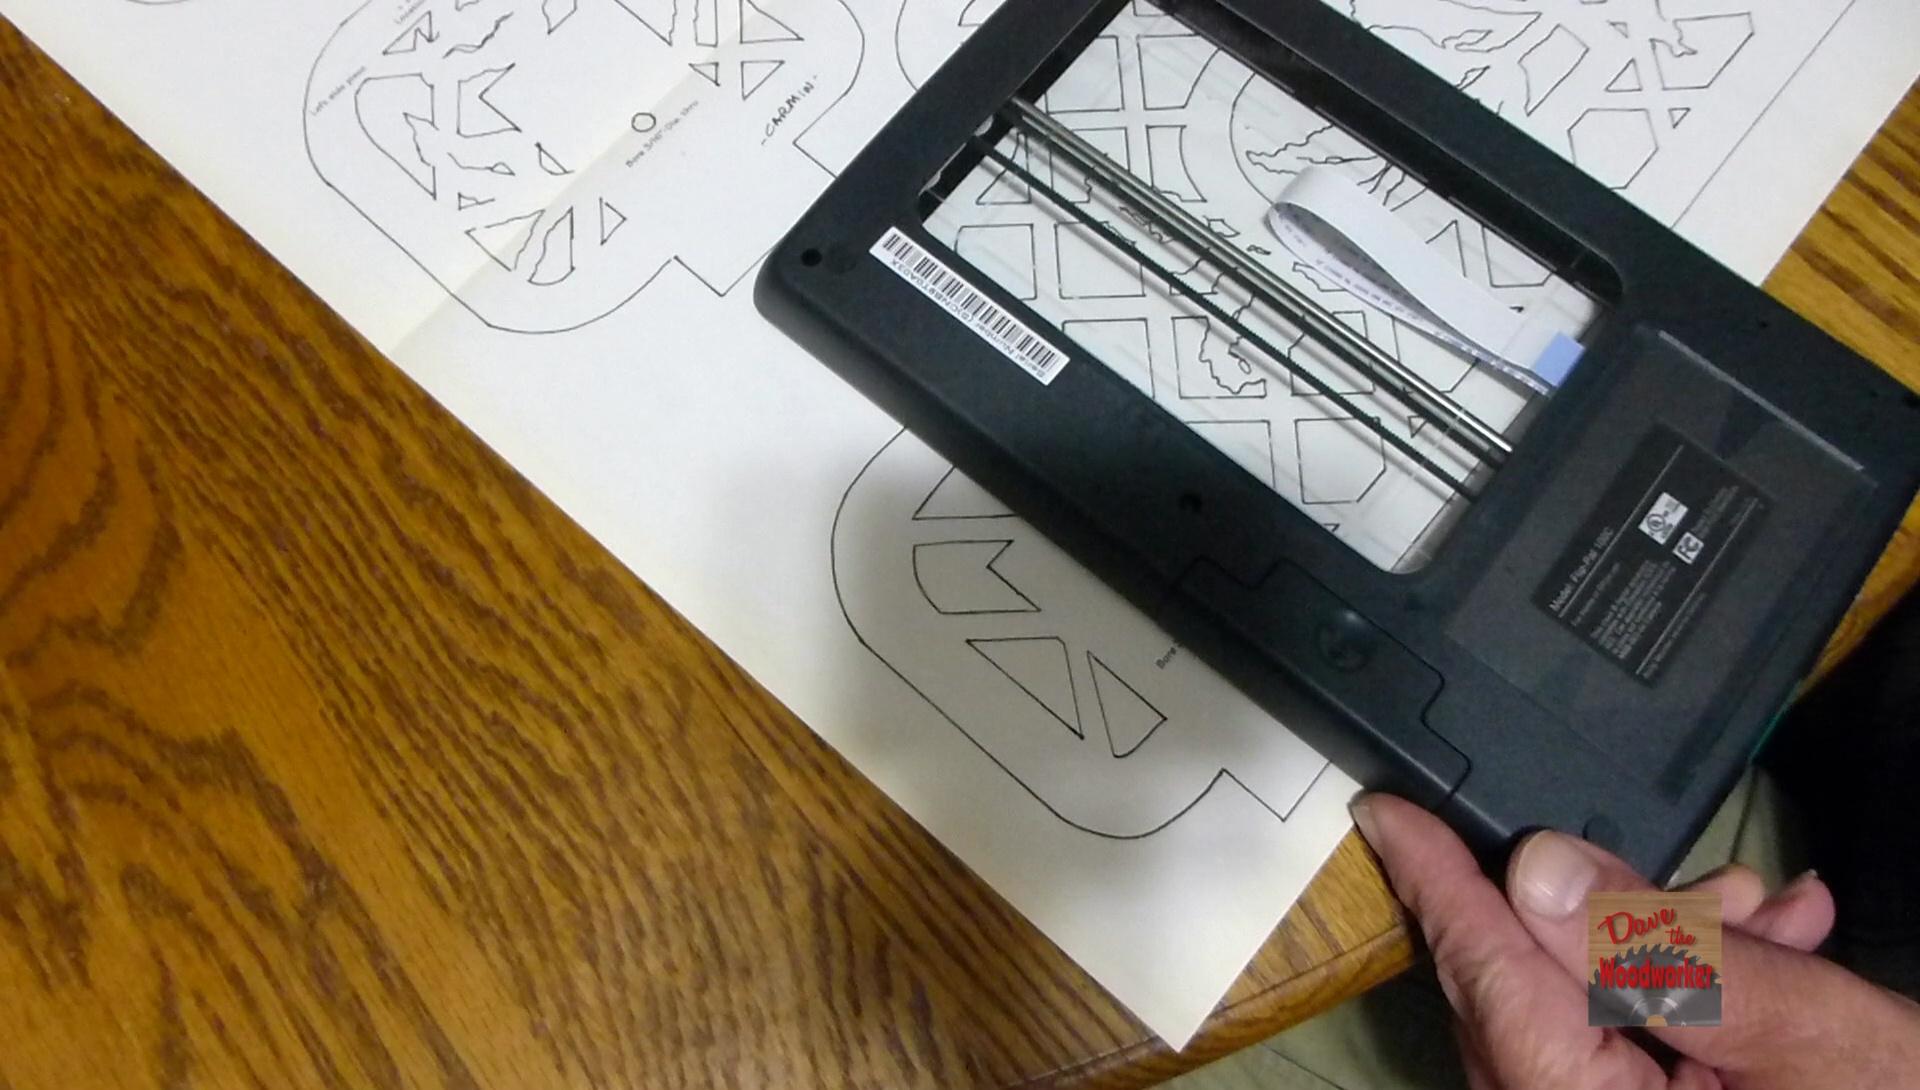
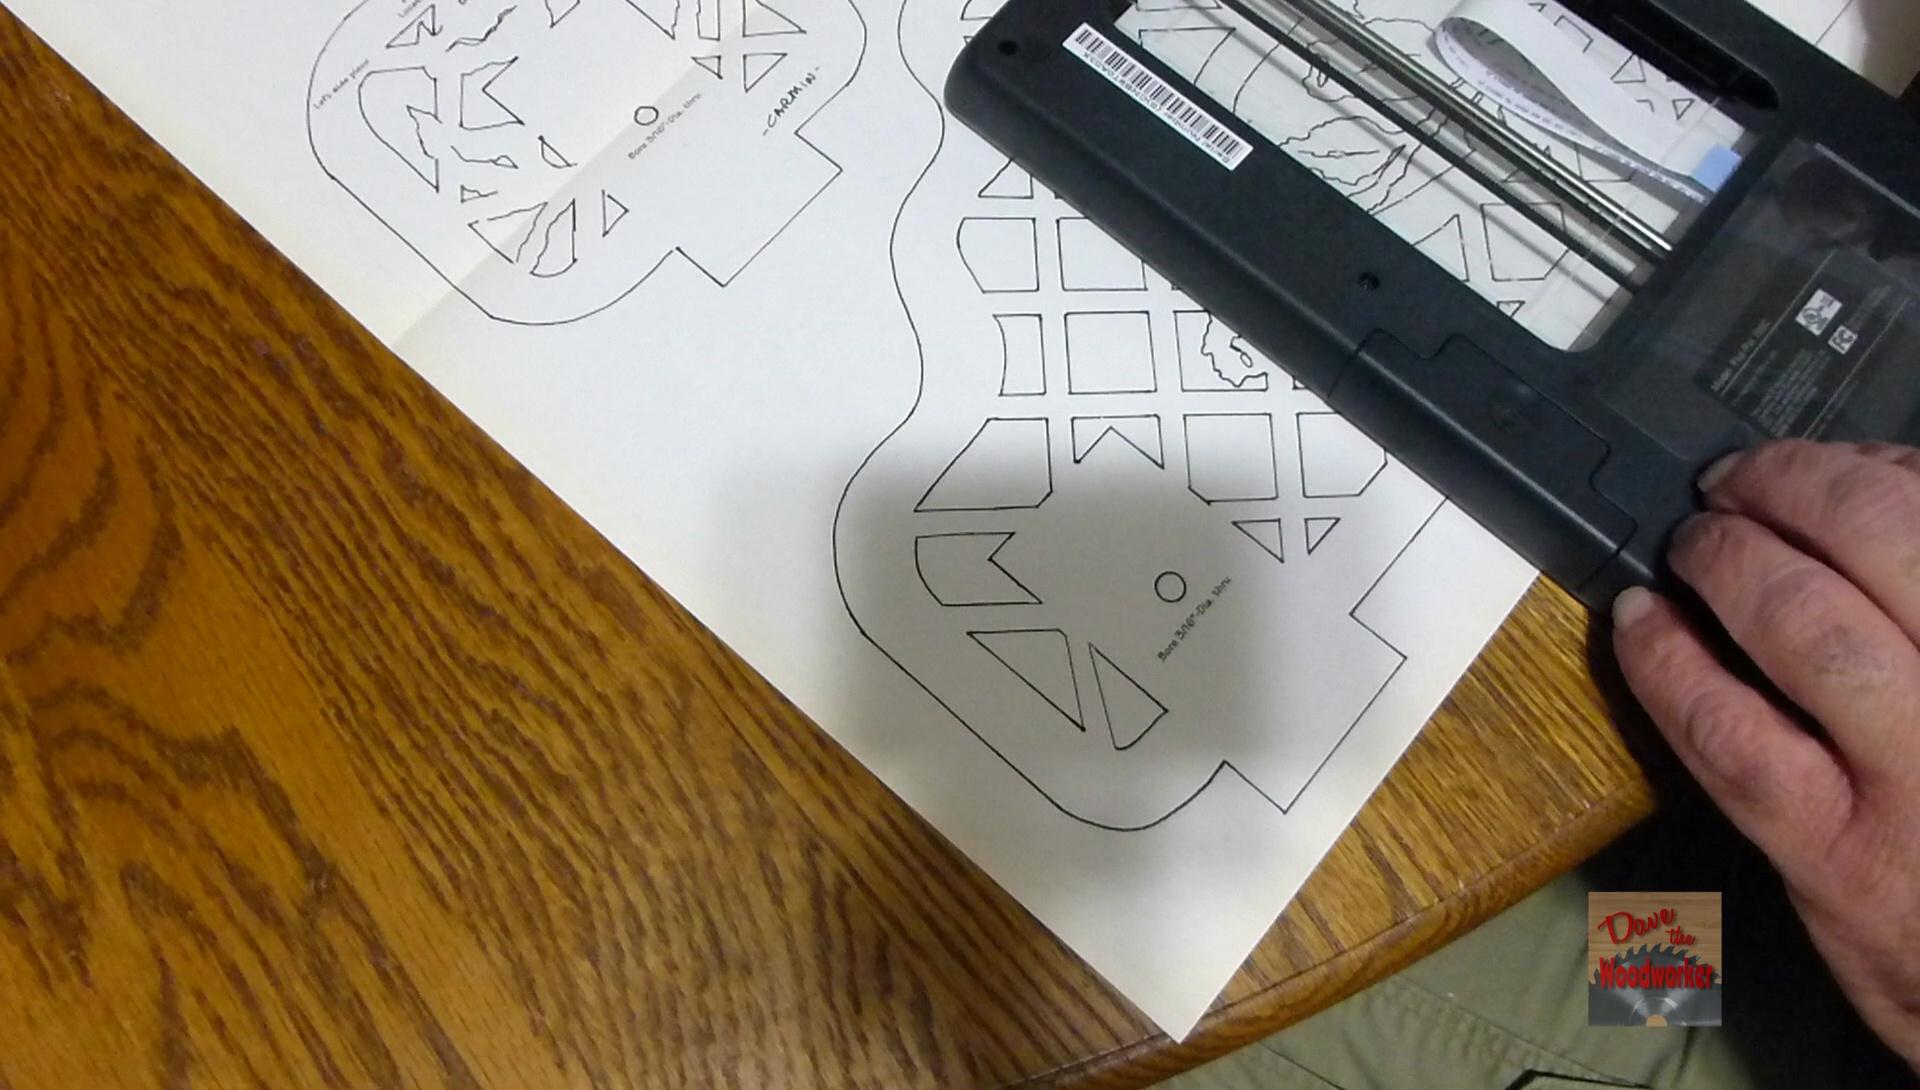
Noticed the gray lines on the back, they are about a half inch from each end. These are align marks, place the scanner at one edge of your pattern or picture. Scan by pushing the Green button. After scanning, moved the scanner over, overlapping about a inch. Keep doing this unto the whole imaged is scanned.
Step 3
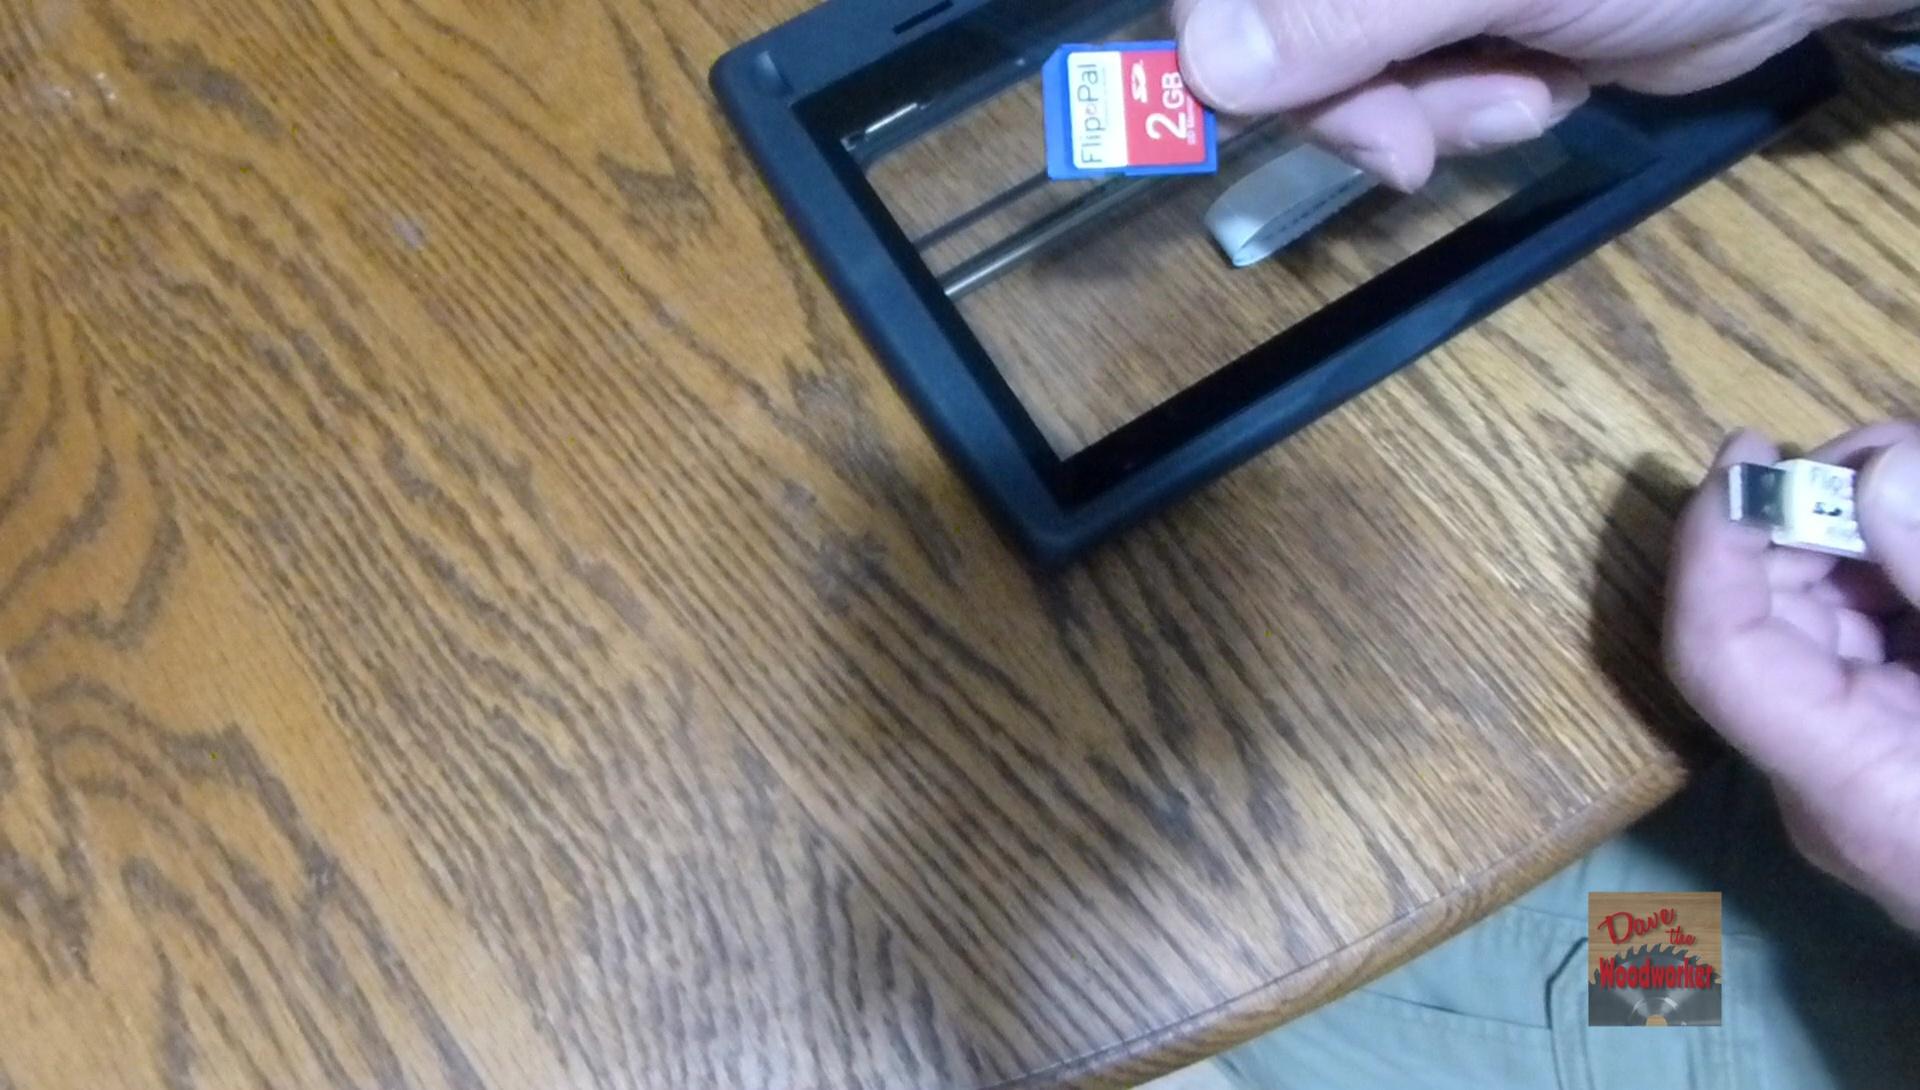
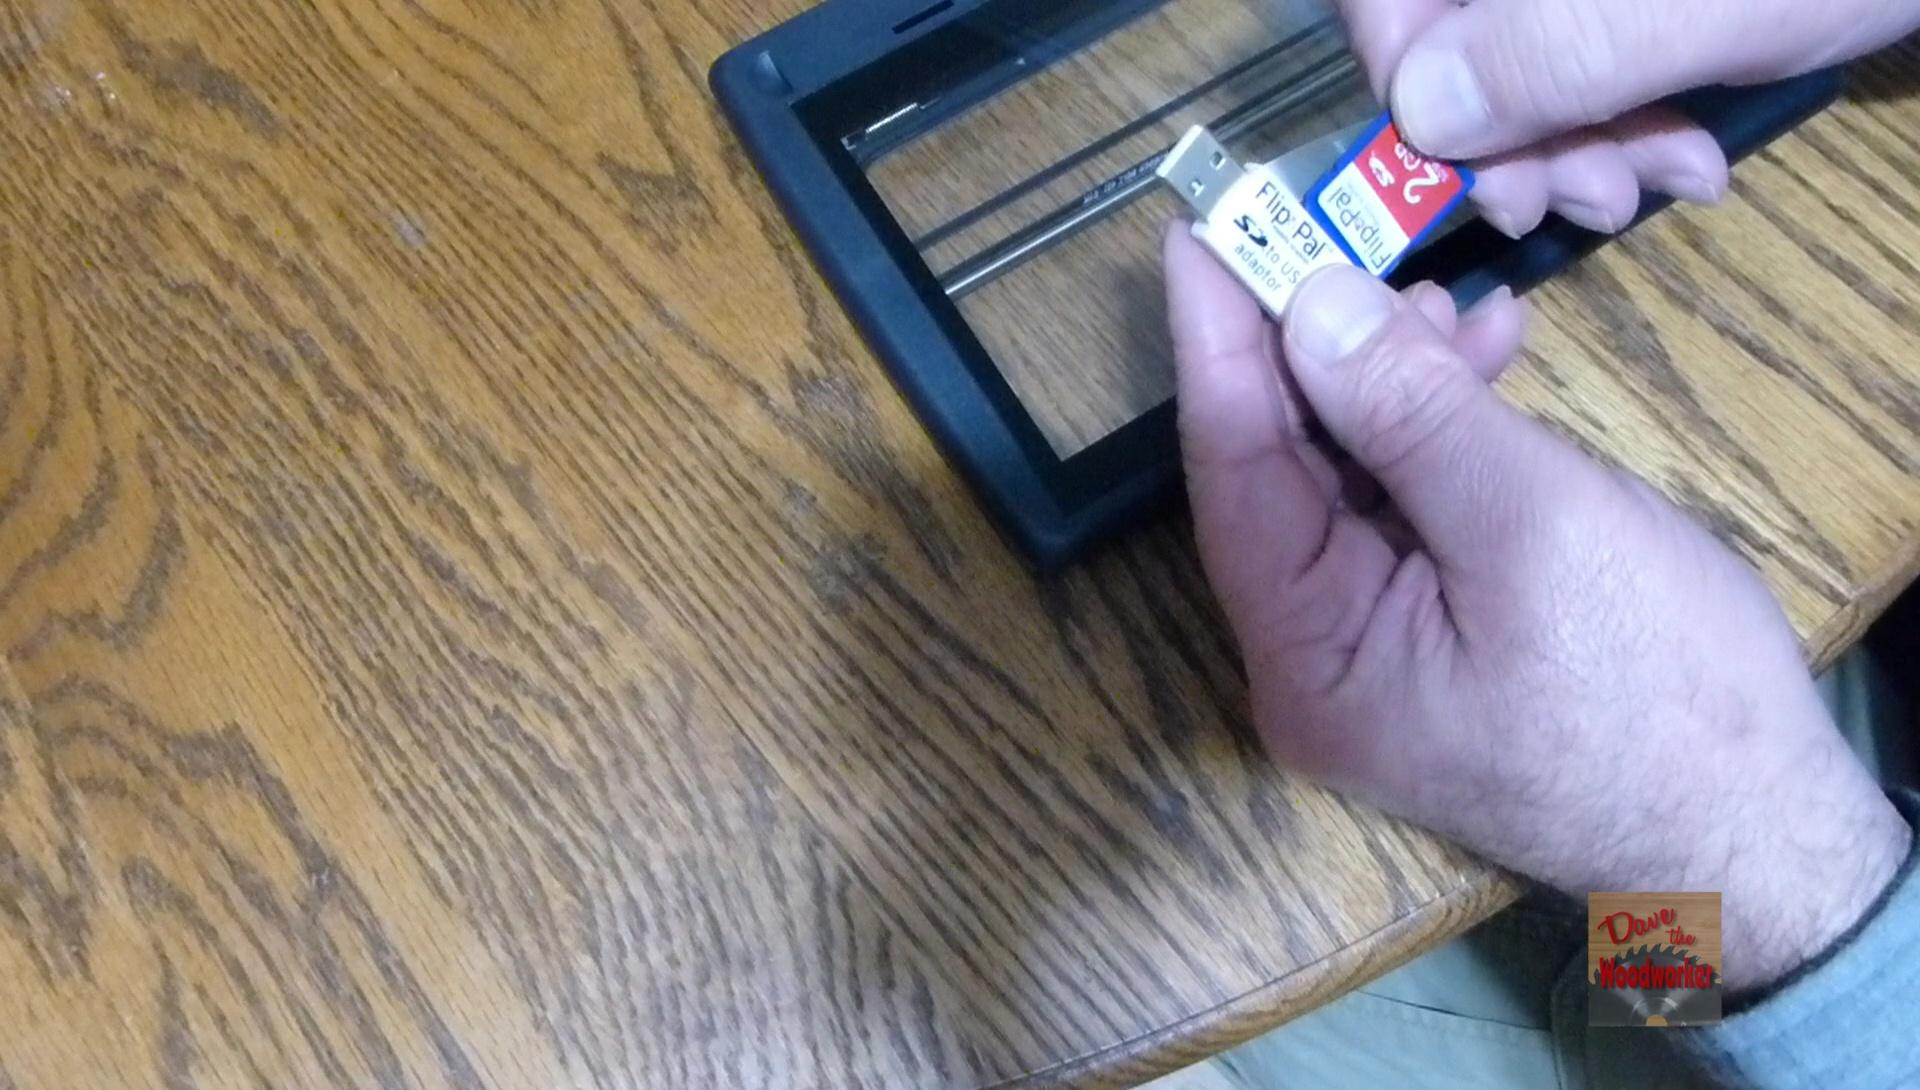
Then turned the scanner off, and removed the SD card. Either use the USB card reader with the scanner, or place the SD card into a built SD card slot.
Step 4
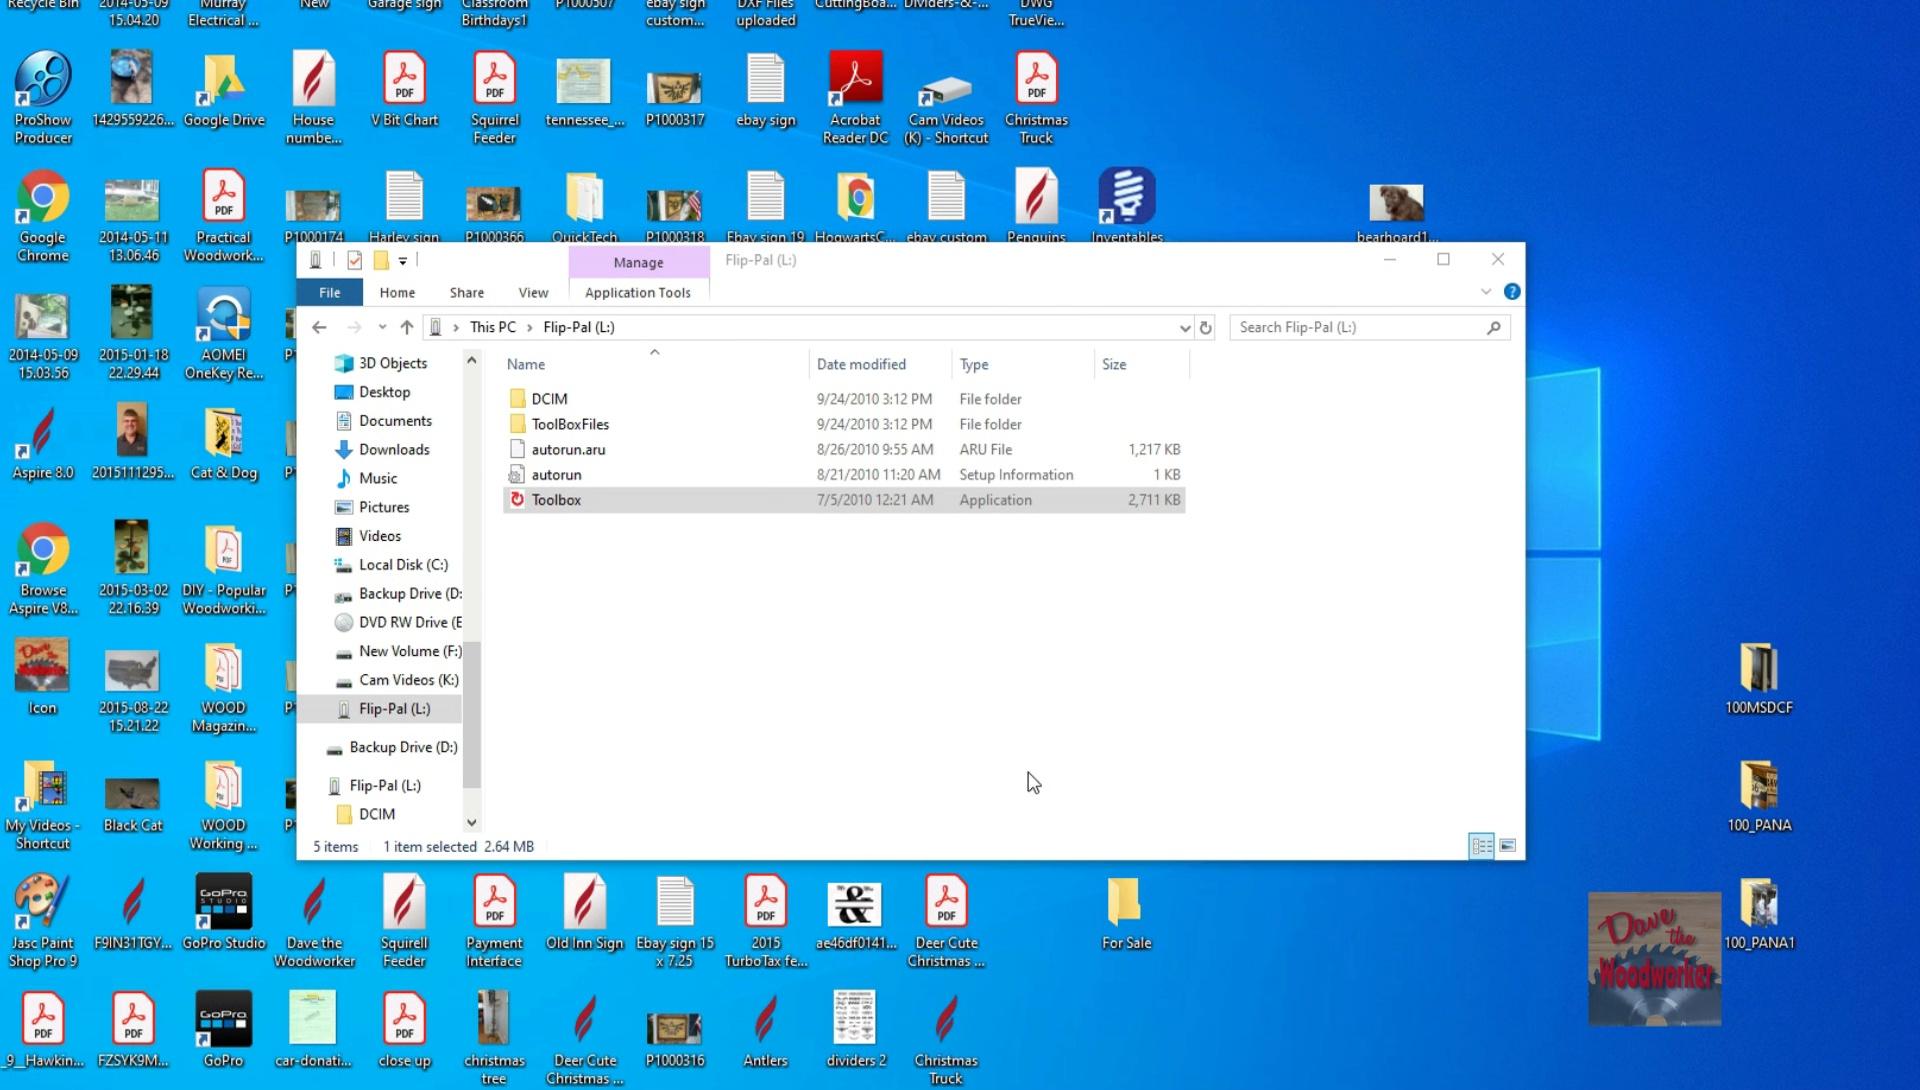
When you plugged the SD card into your PC or Laptop, it should pop up like the above picture. If not, navigate to the drive thru your file explorer.
The pictures will be stored in the DCIM folder, but you want to open the Toolbox, this is where the software is at.
Note you don't install the Software, it runs from the SD card.
Also you might check out there Website for more Tutorials and updated Software
Step 5
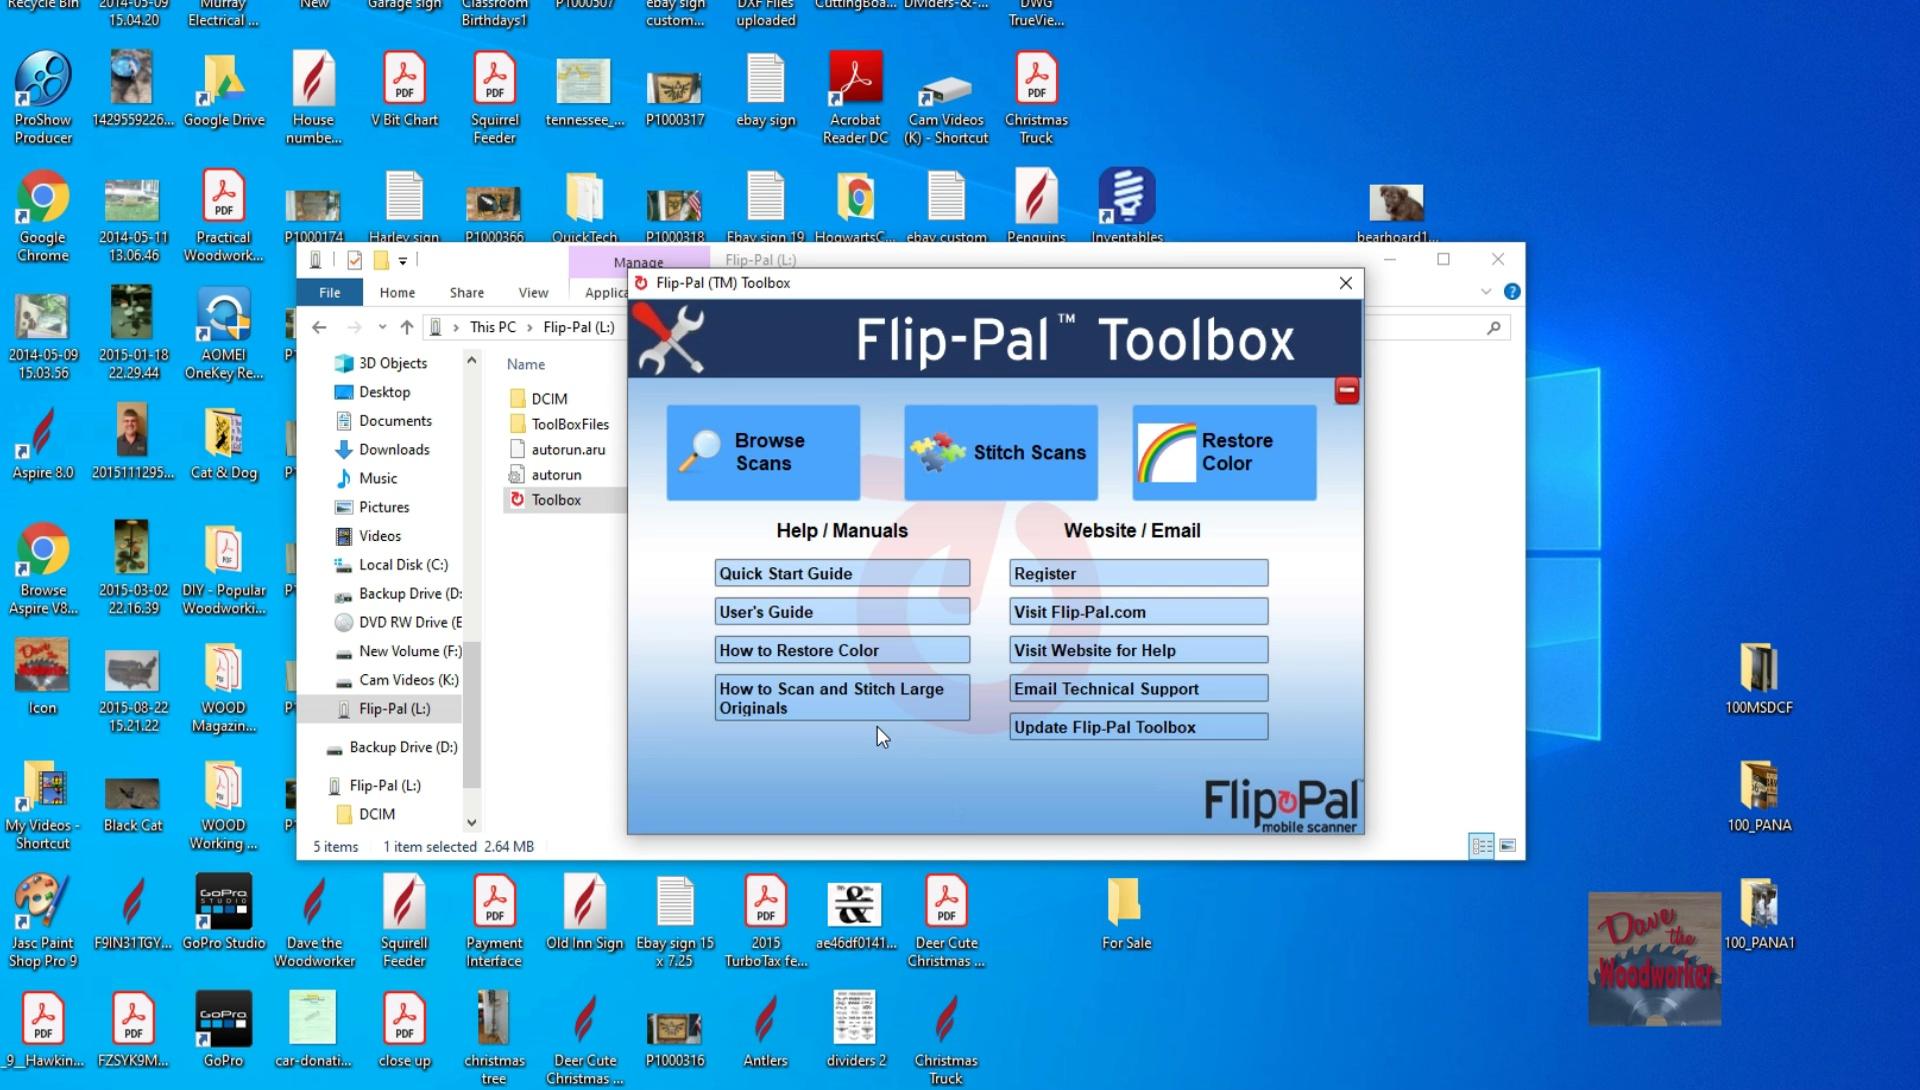
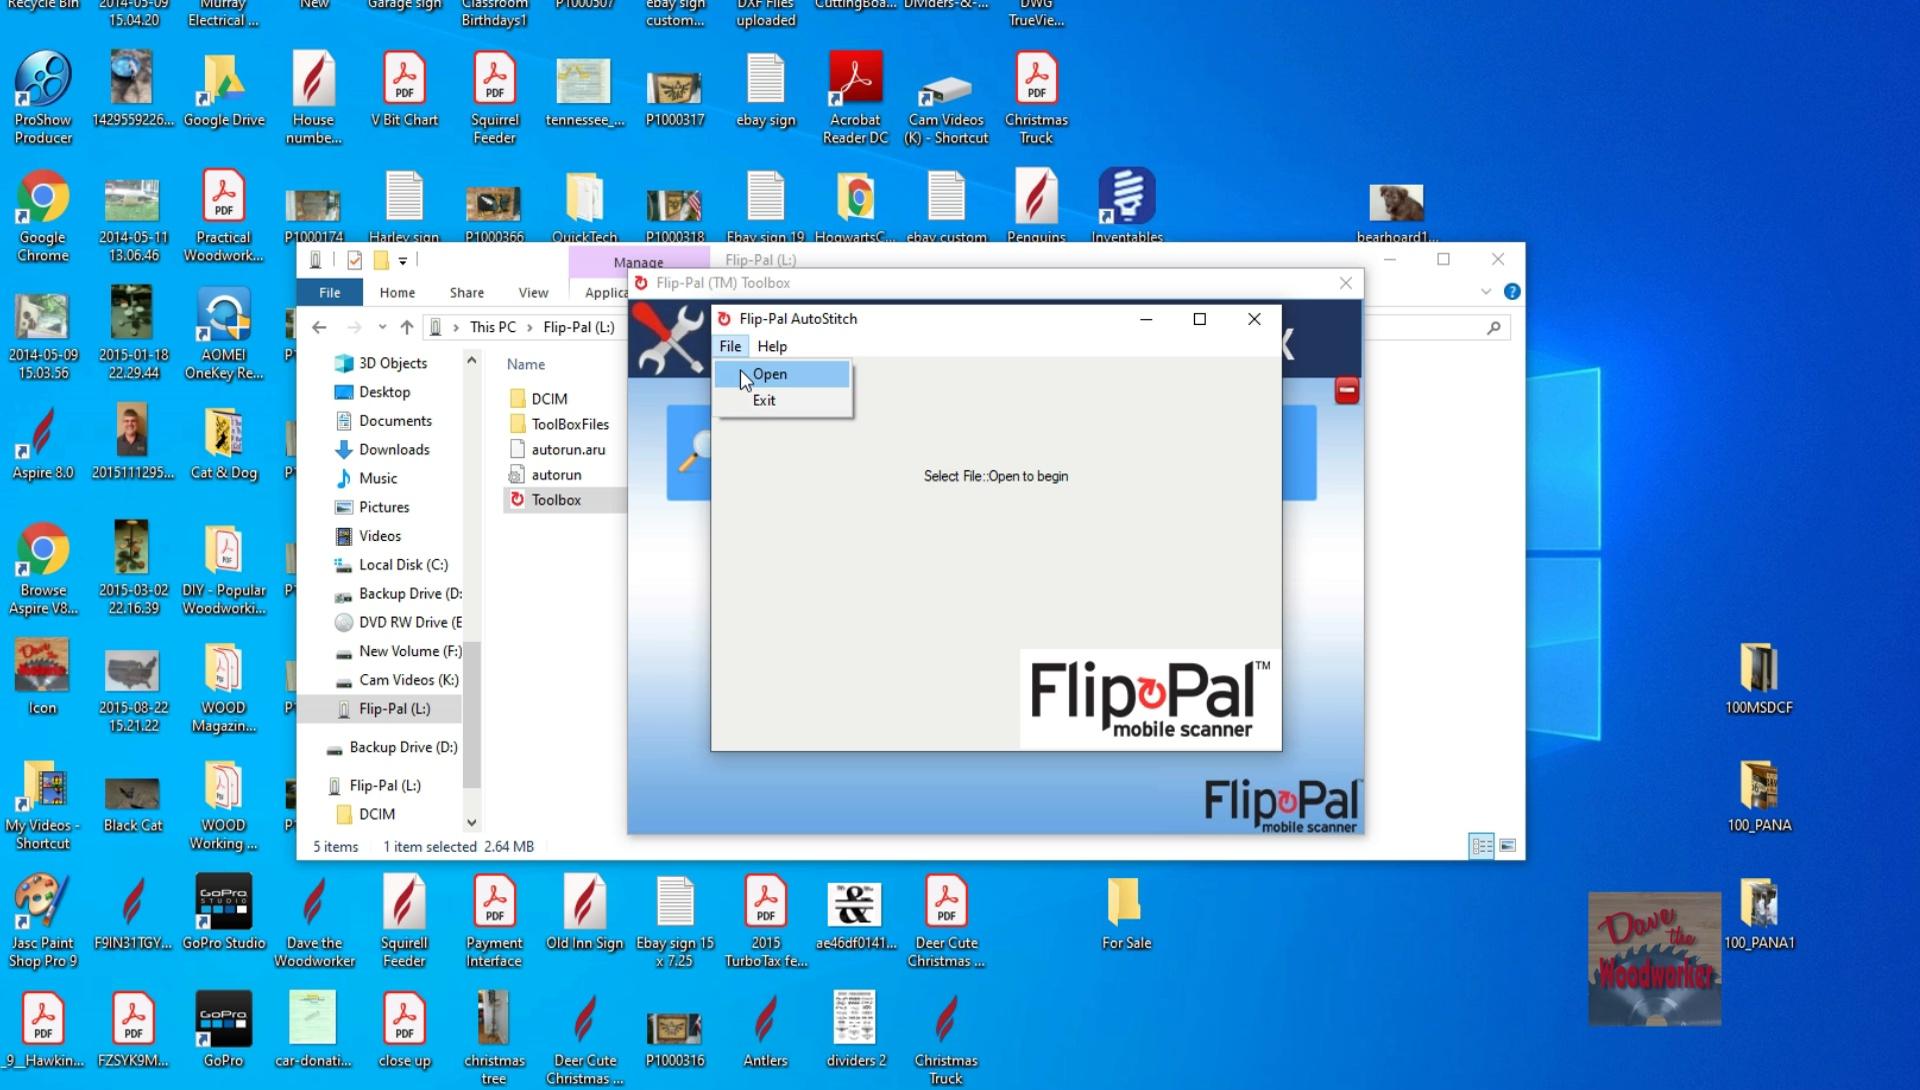
The software that we want to use, is called Stitch Scans. From it, click on file, Open, and it should open in your scanned folder, if not, navigate to the DCIM folder.
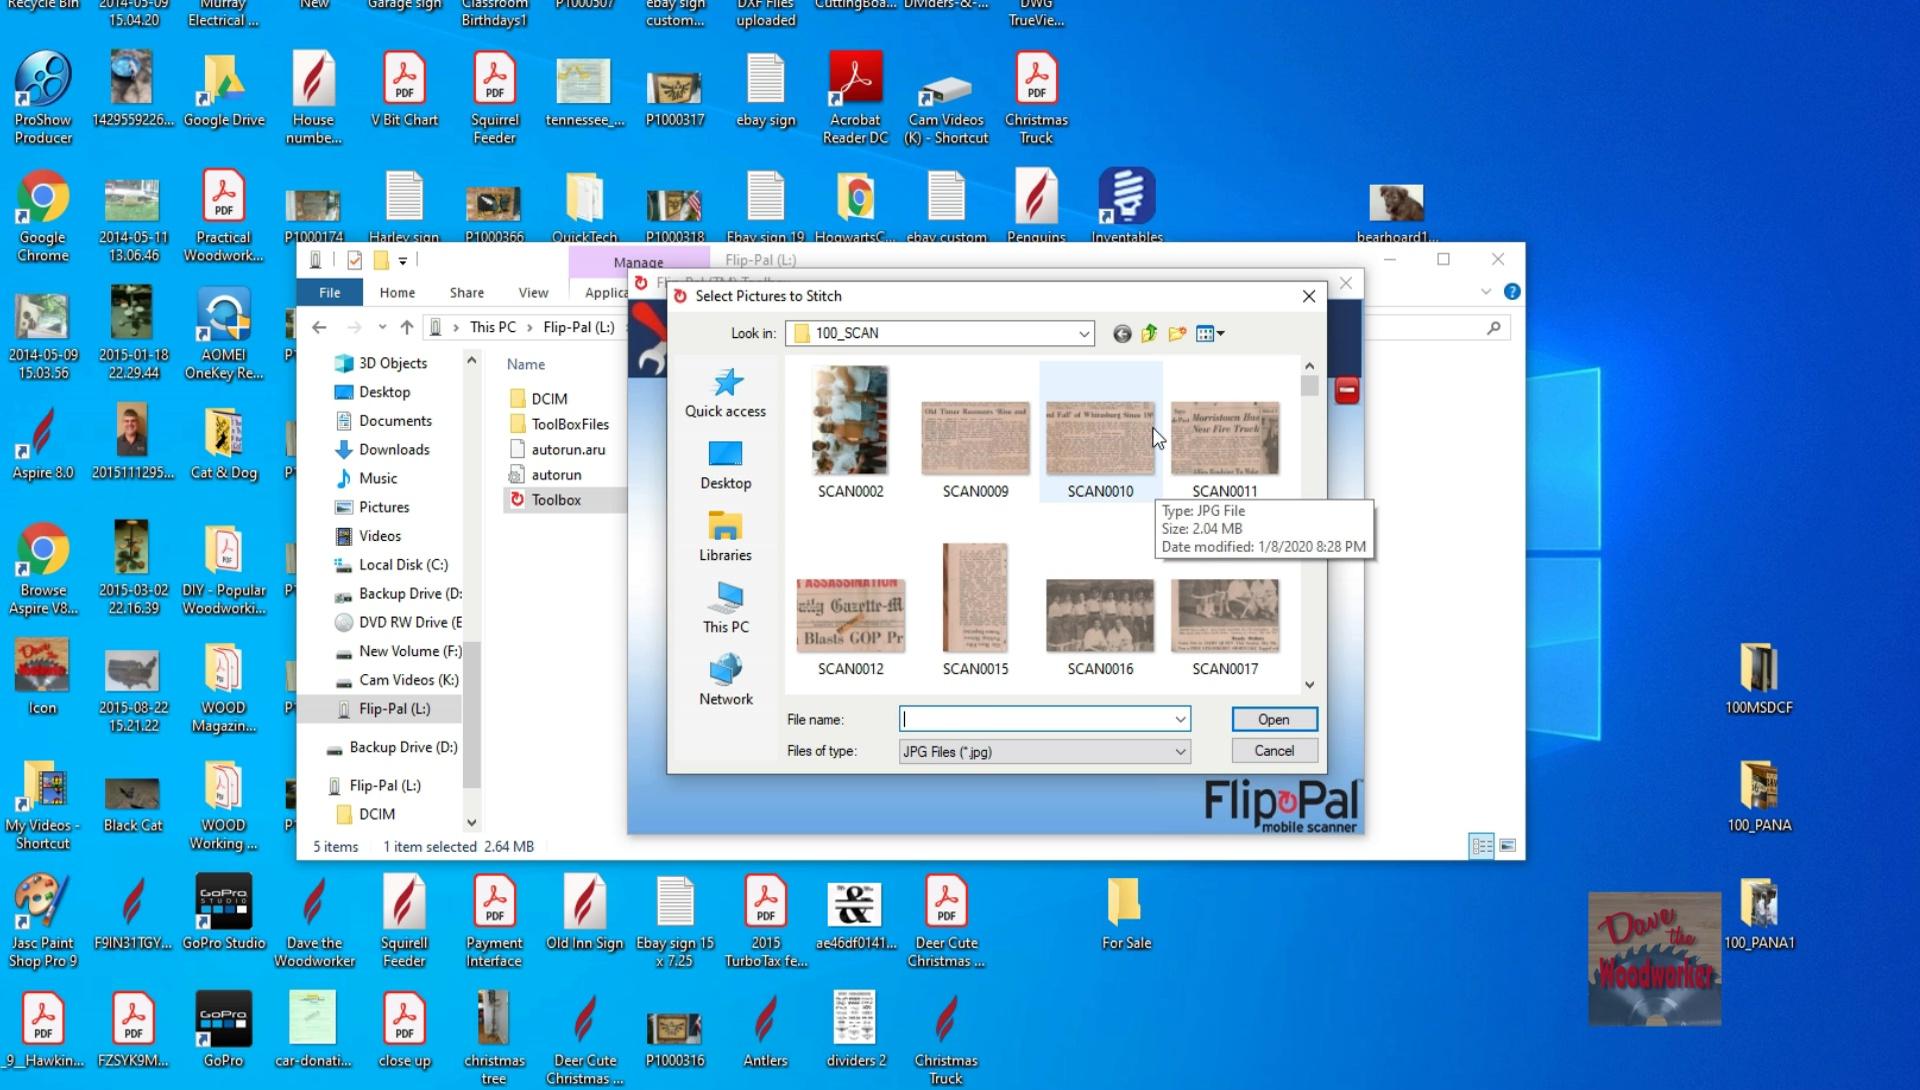
Step 6
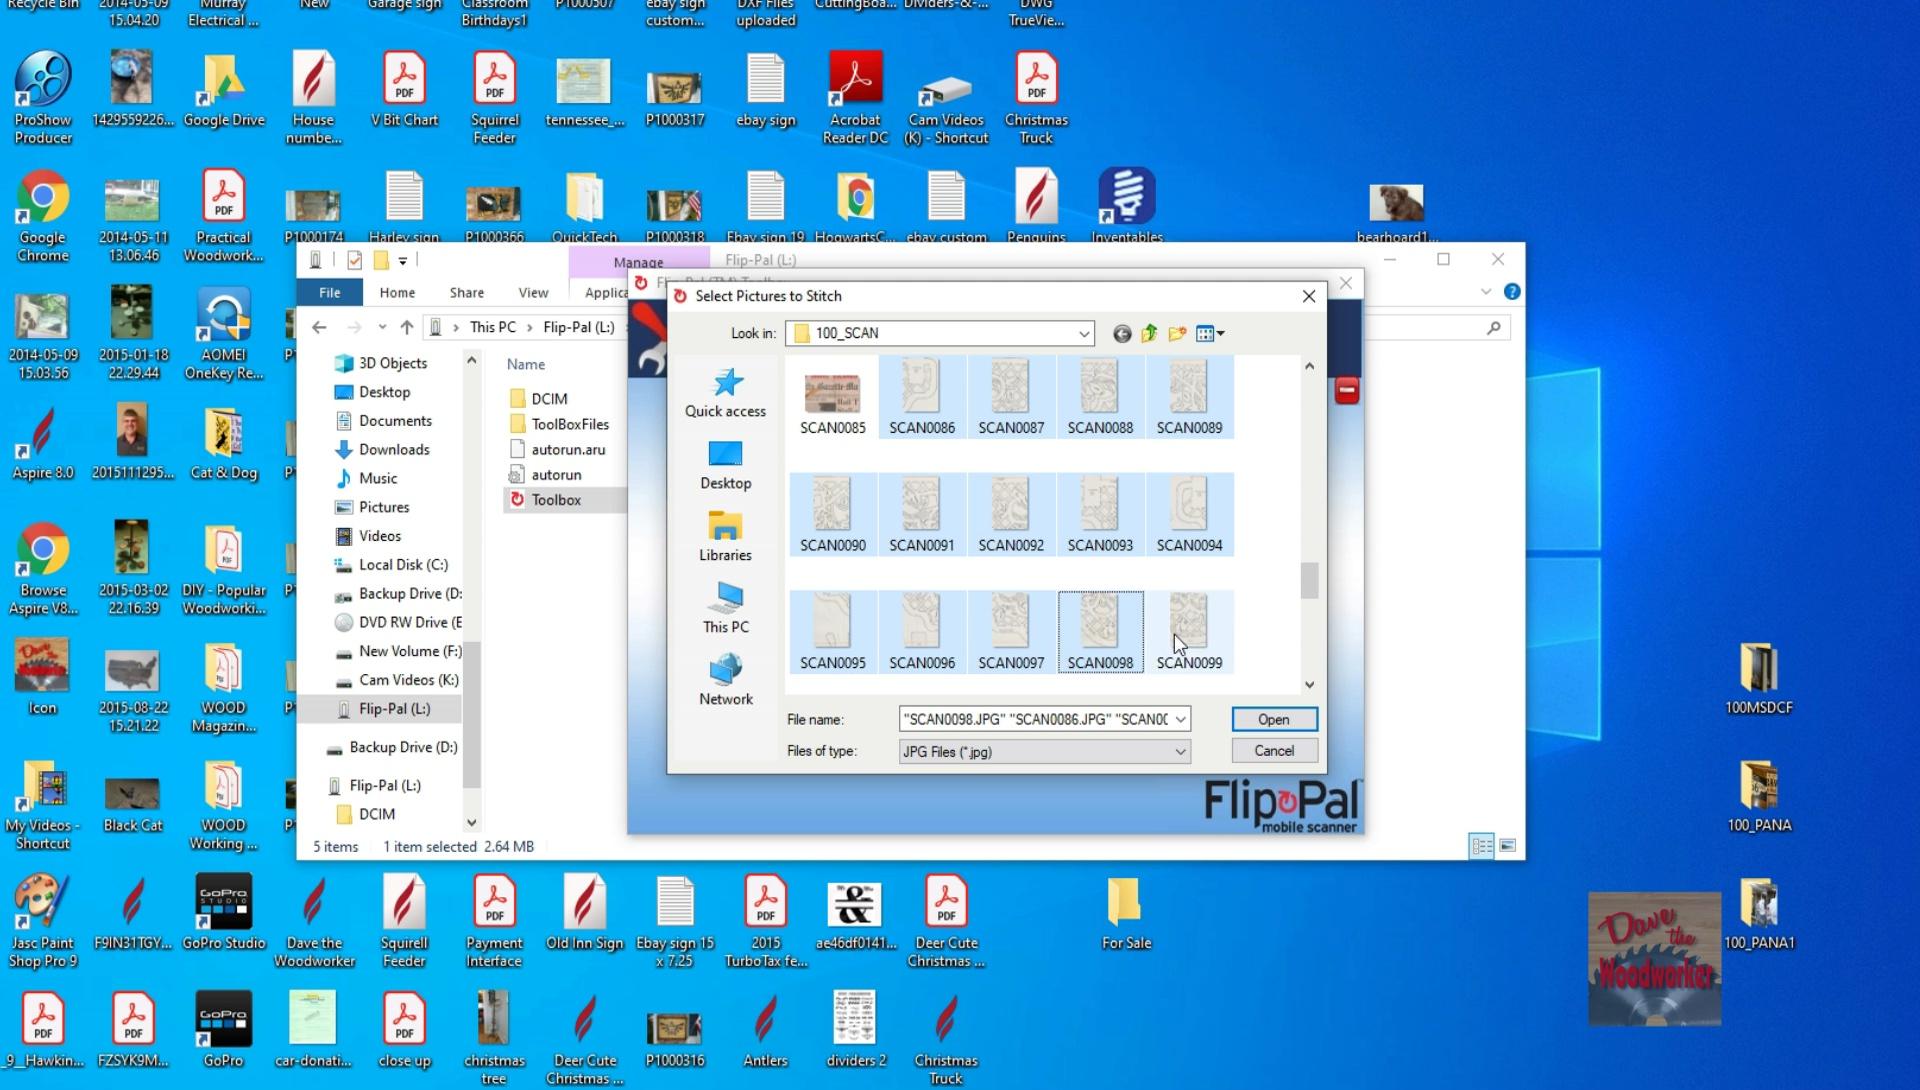
Now highlight all the pictures that we scanned, to do this hold the CTRL key down while clicking on each picture. Then click open.
Step 7
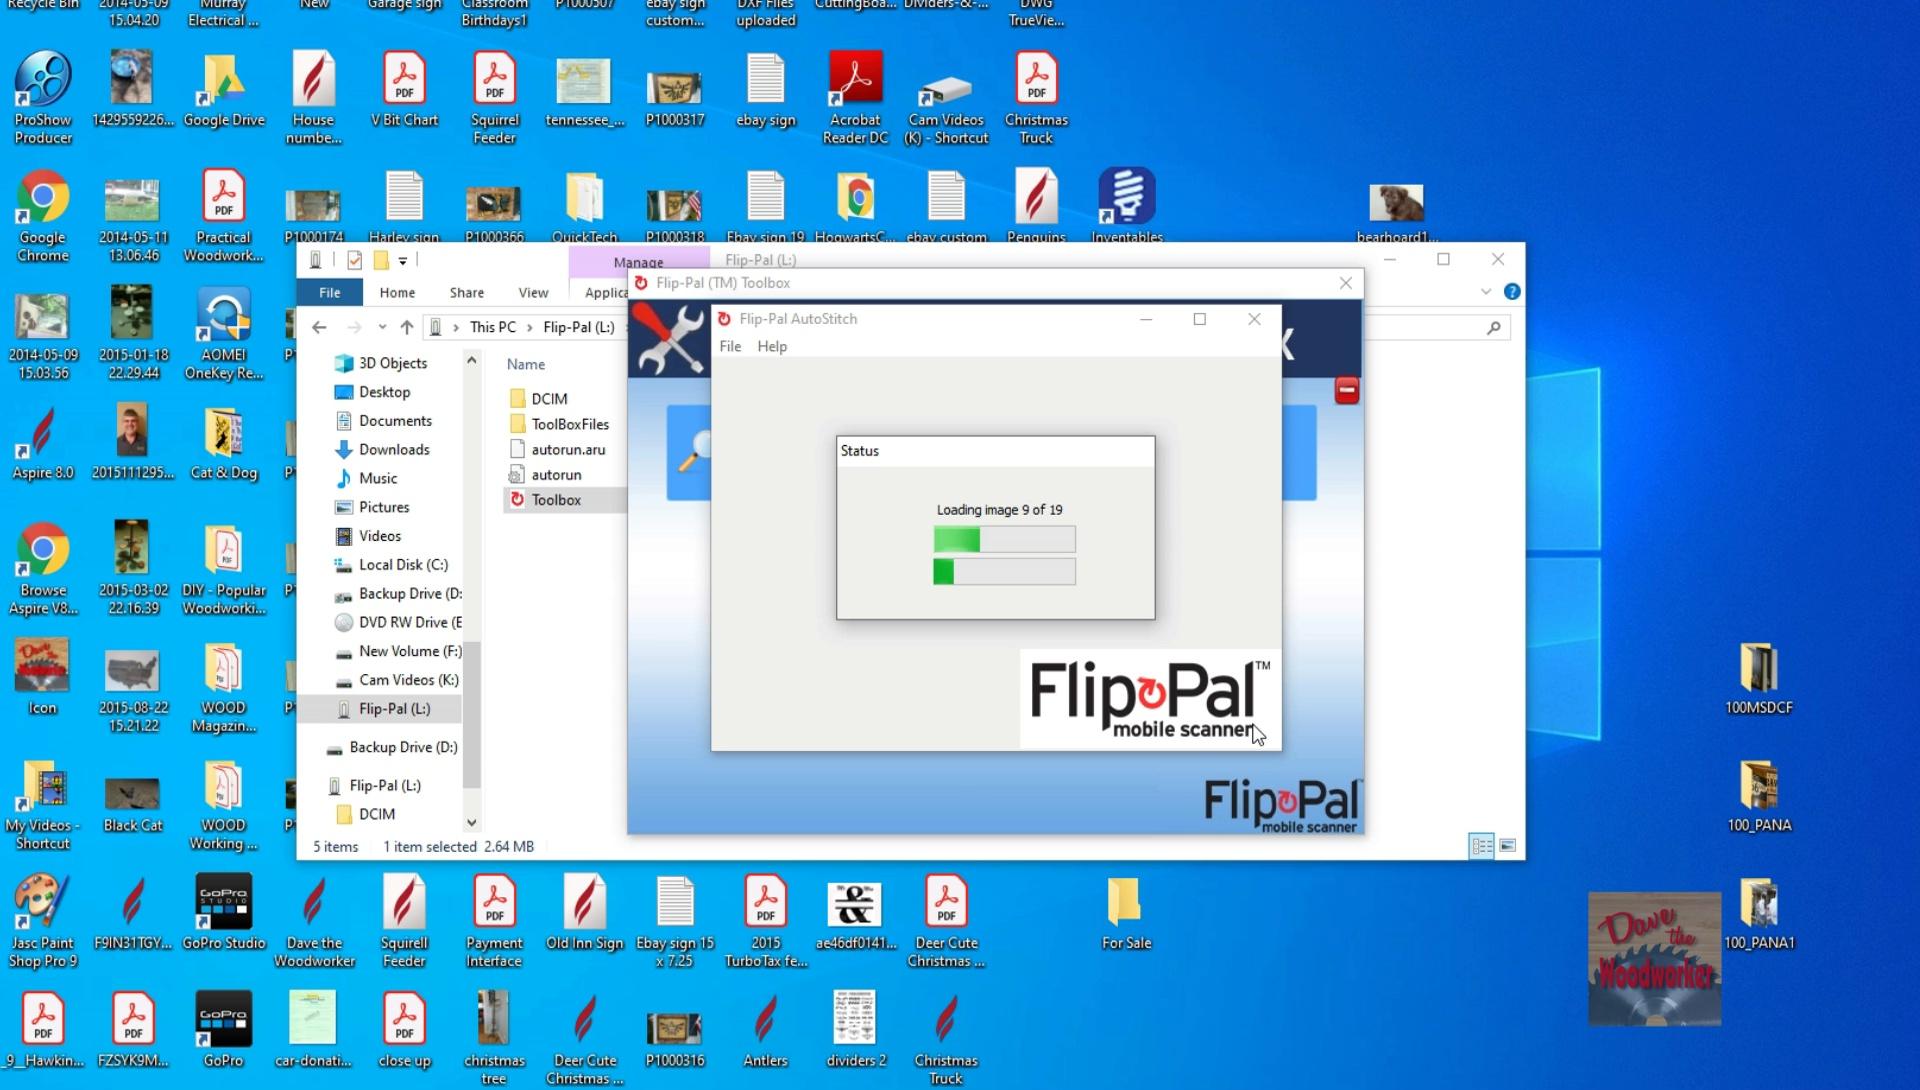

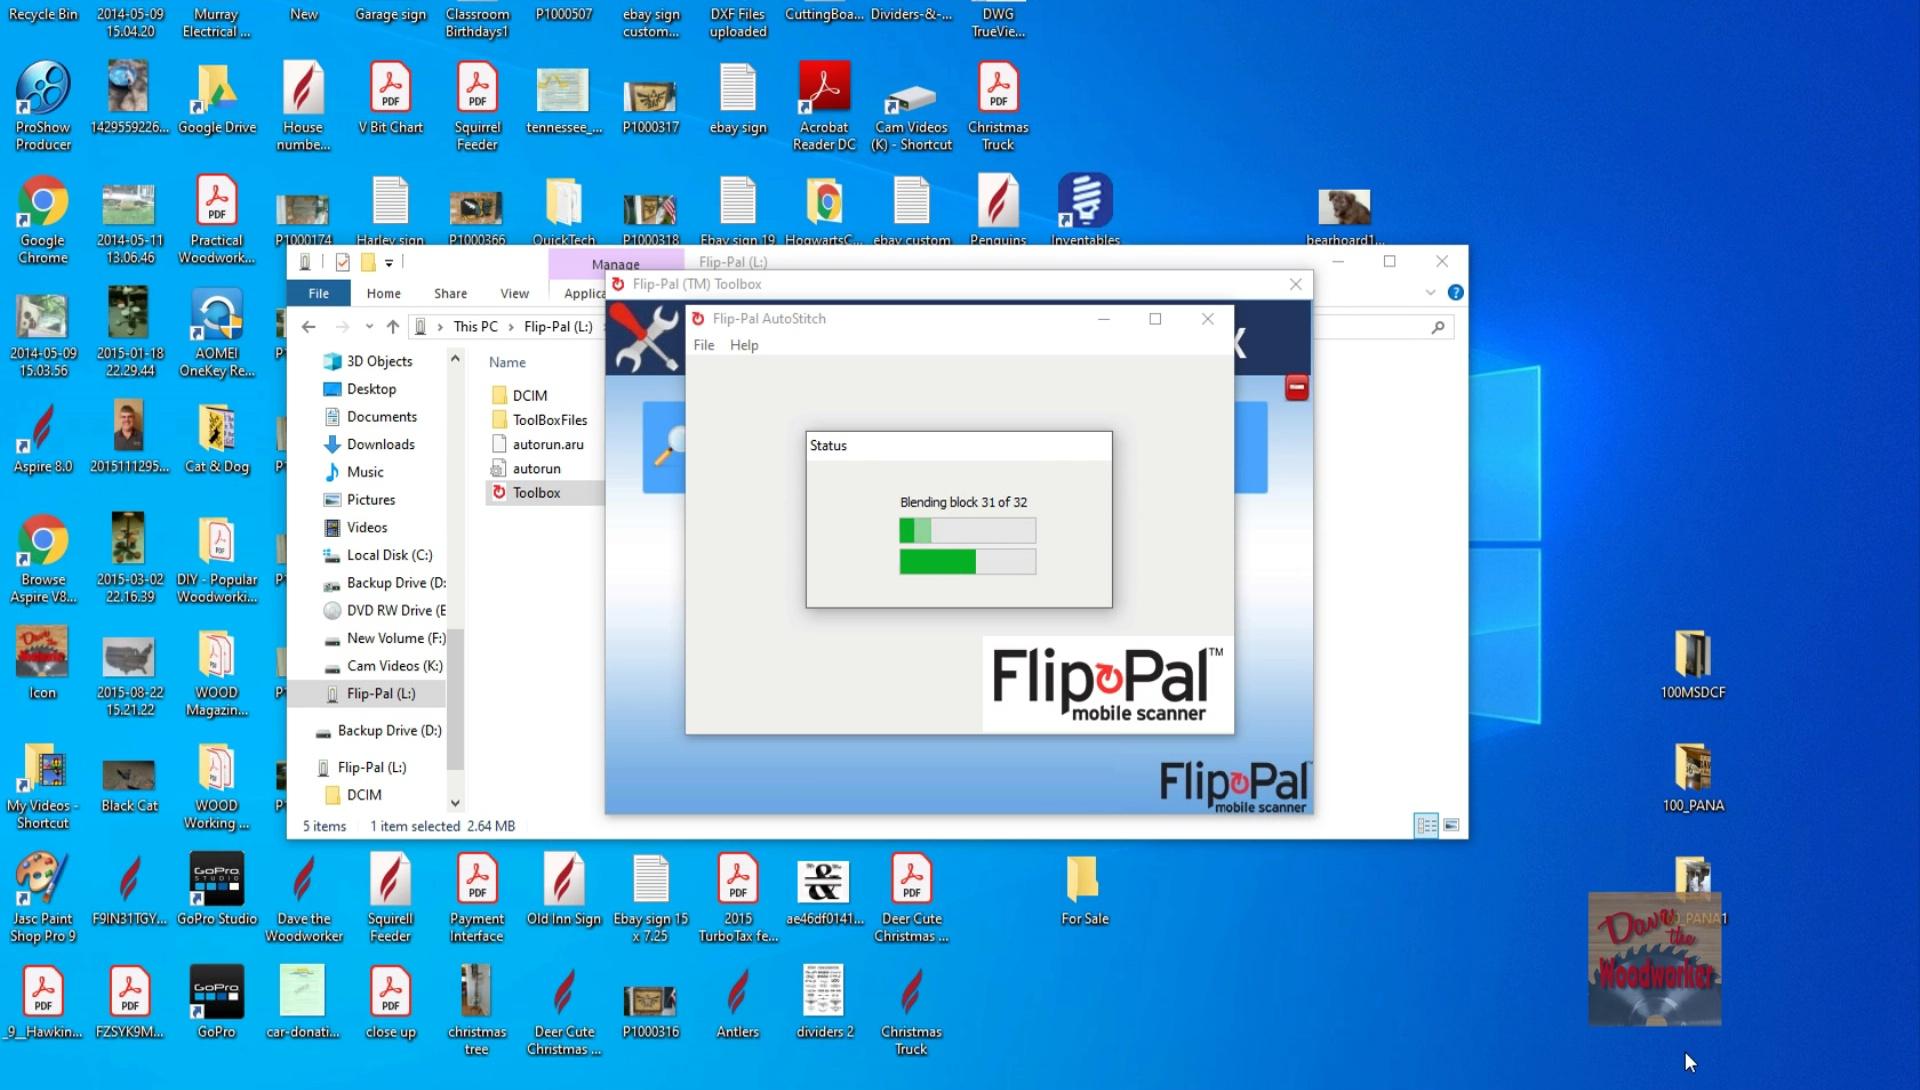
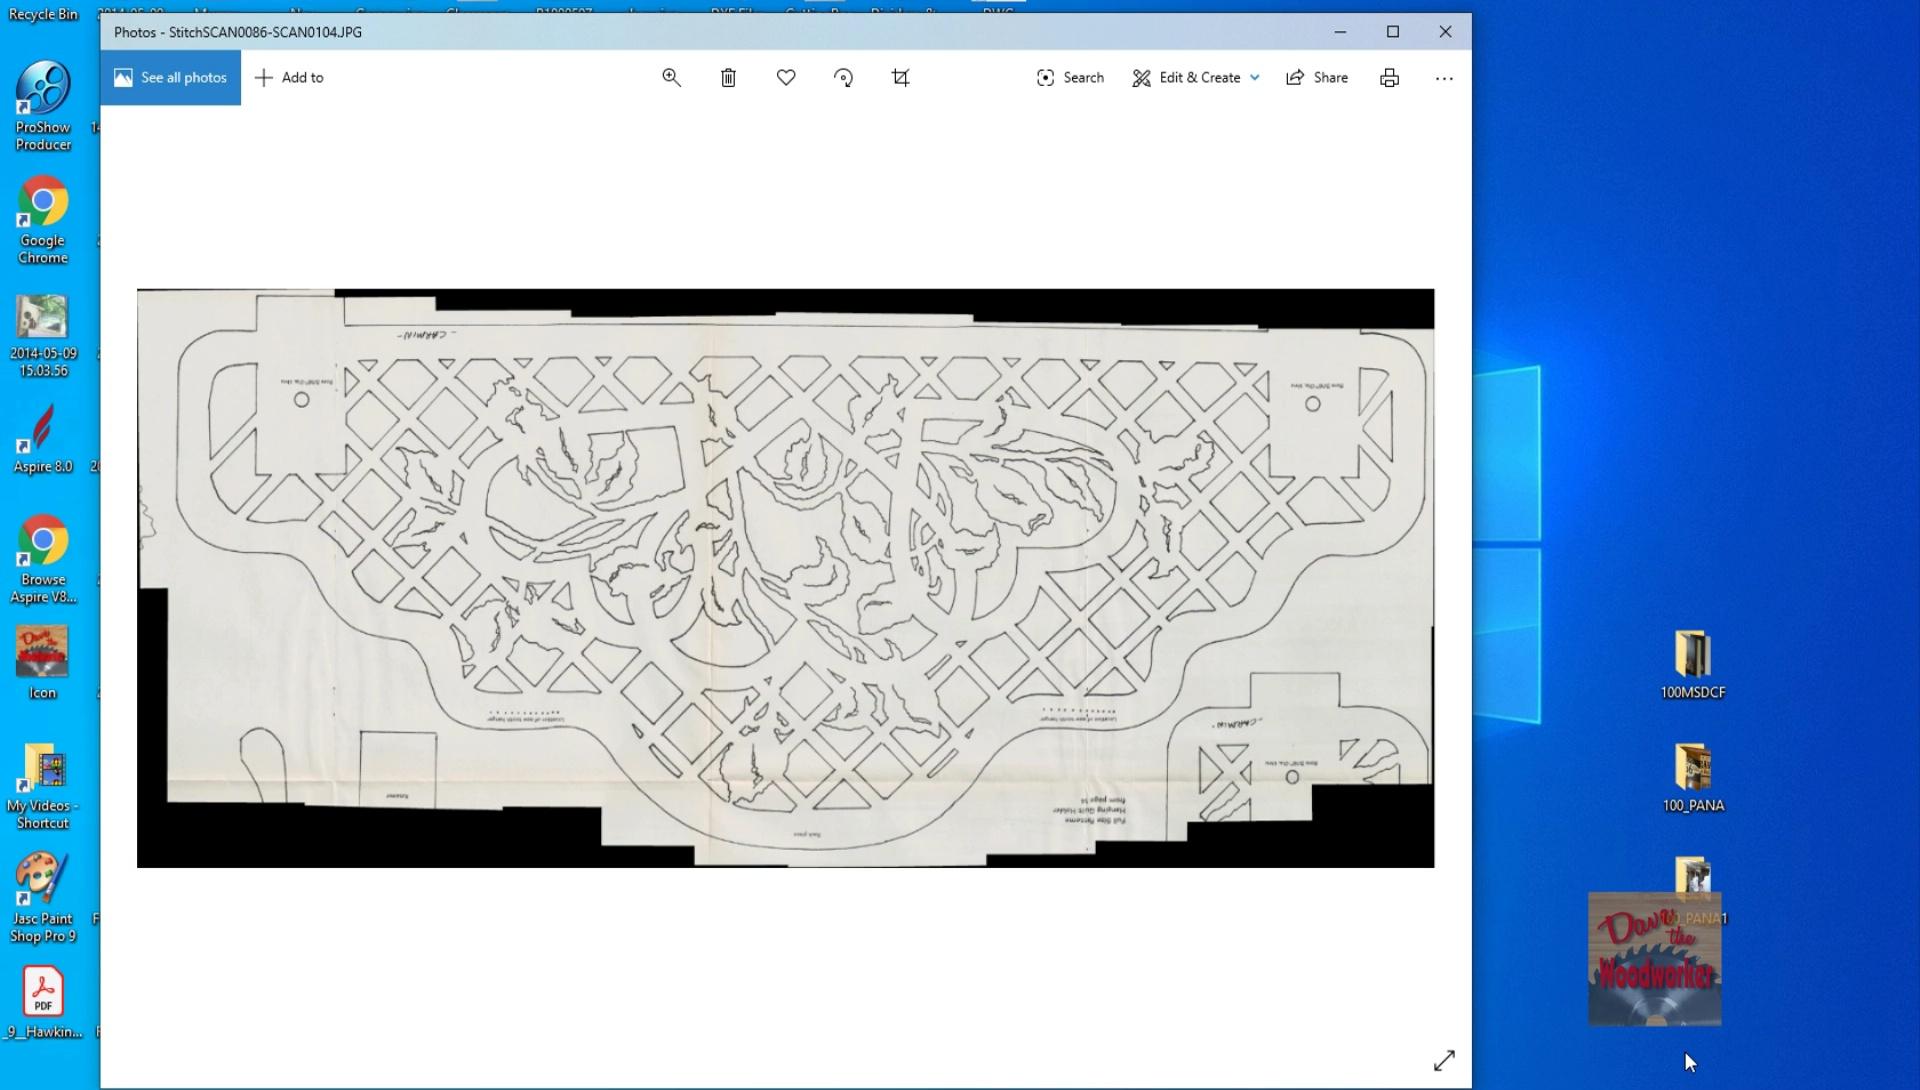
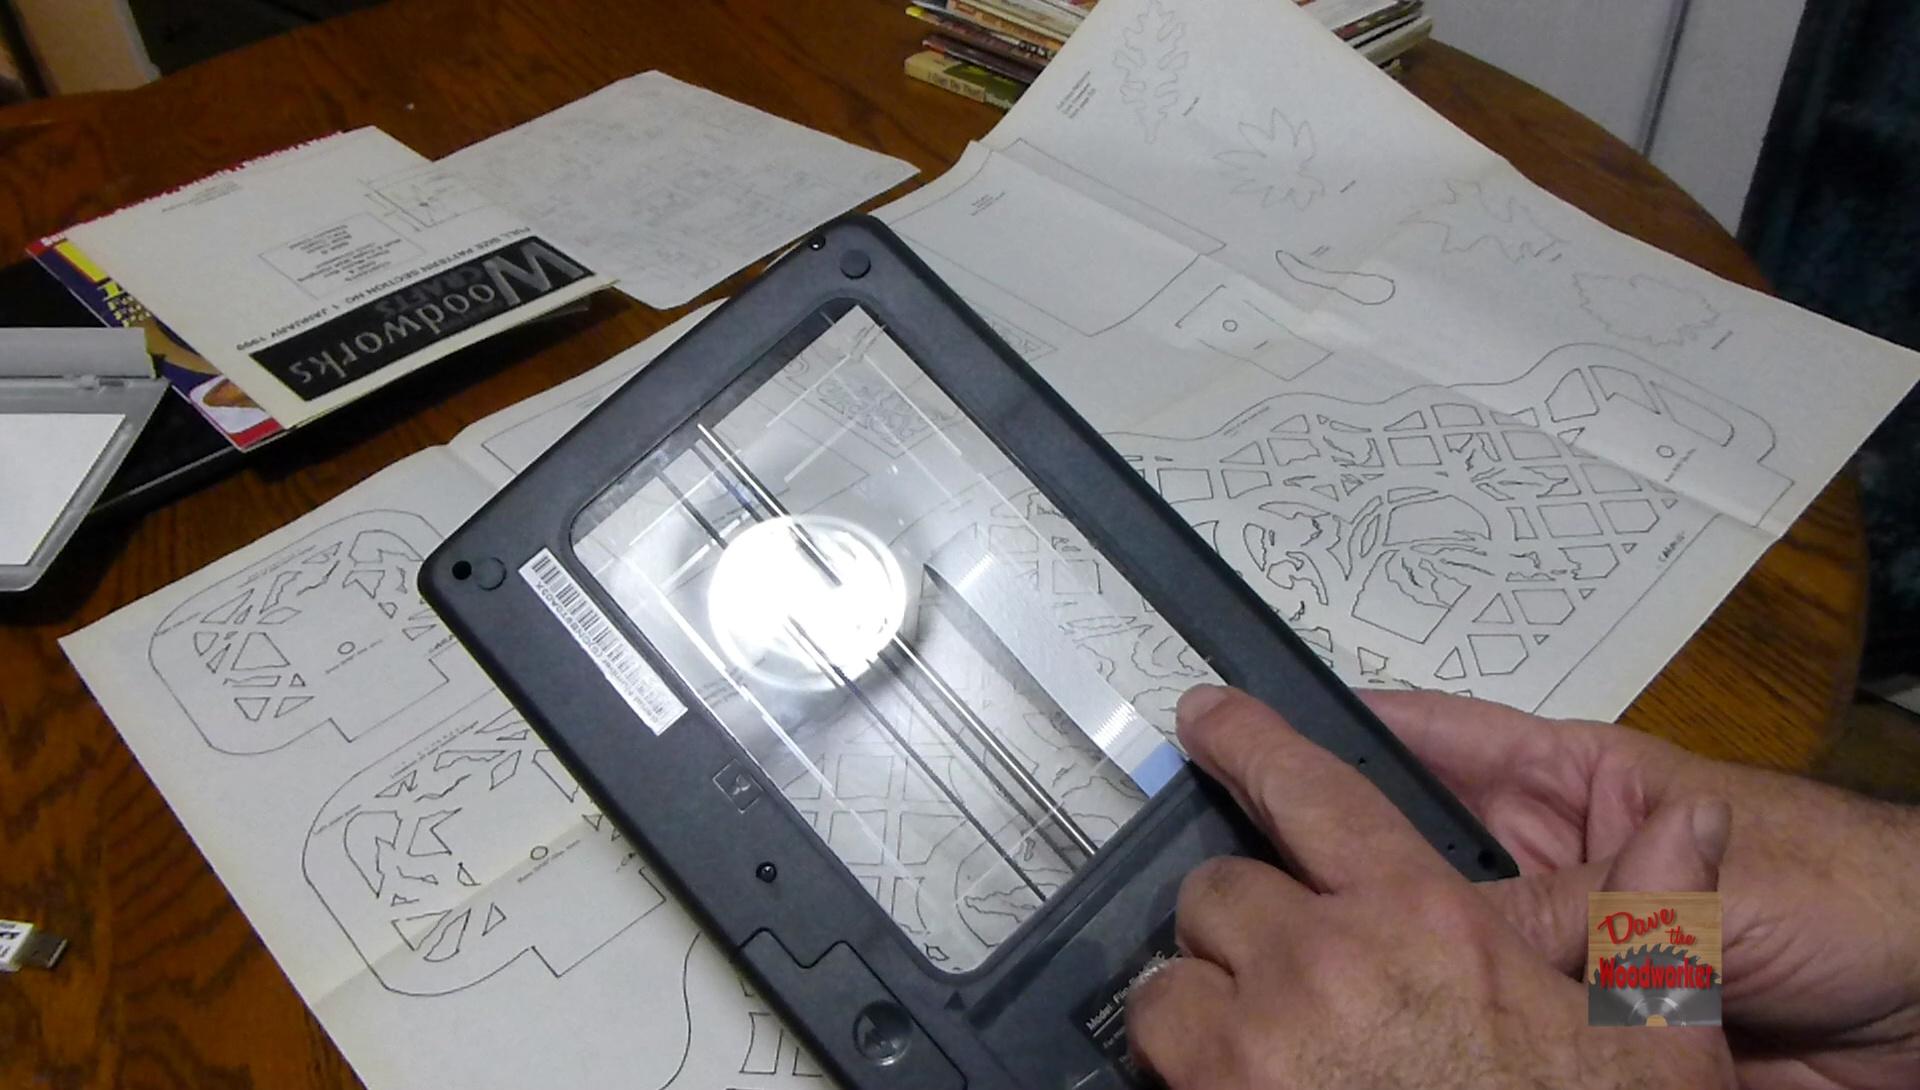
Now the Software is working it's magic, Stitching your scans together, be patient, this might take awhile. You should have a good picture of the scanned object.
Note if it doesn't come out right, scanned again, this time allowing a little more over lapping. Practice makes perfect, you might try smaller objects to begin with.
Finish
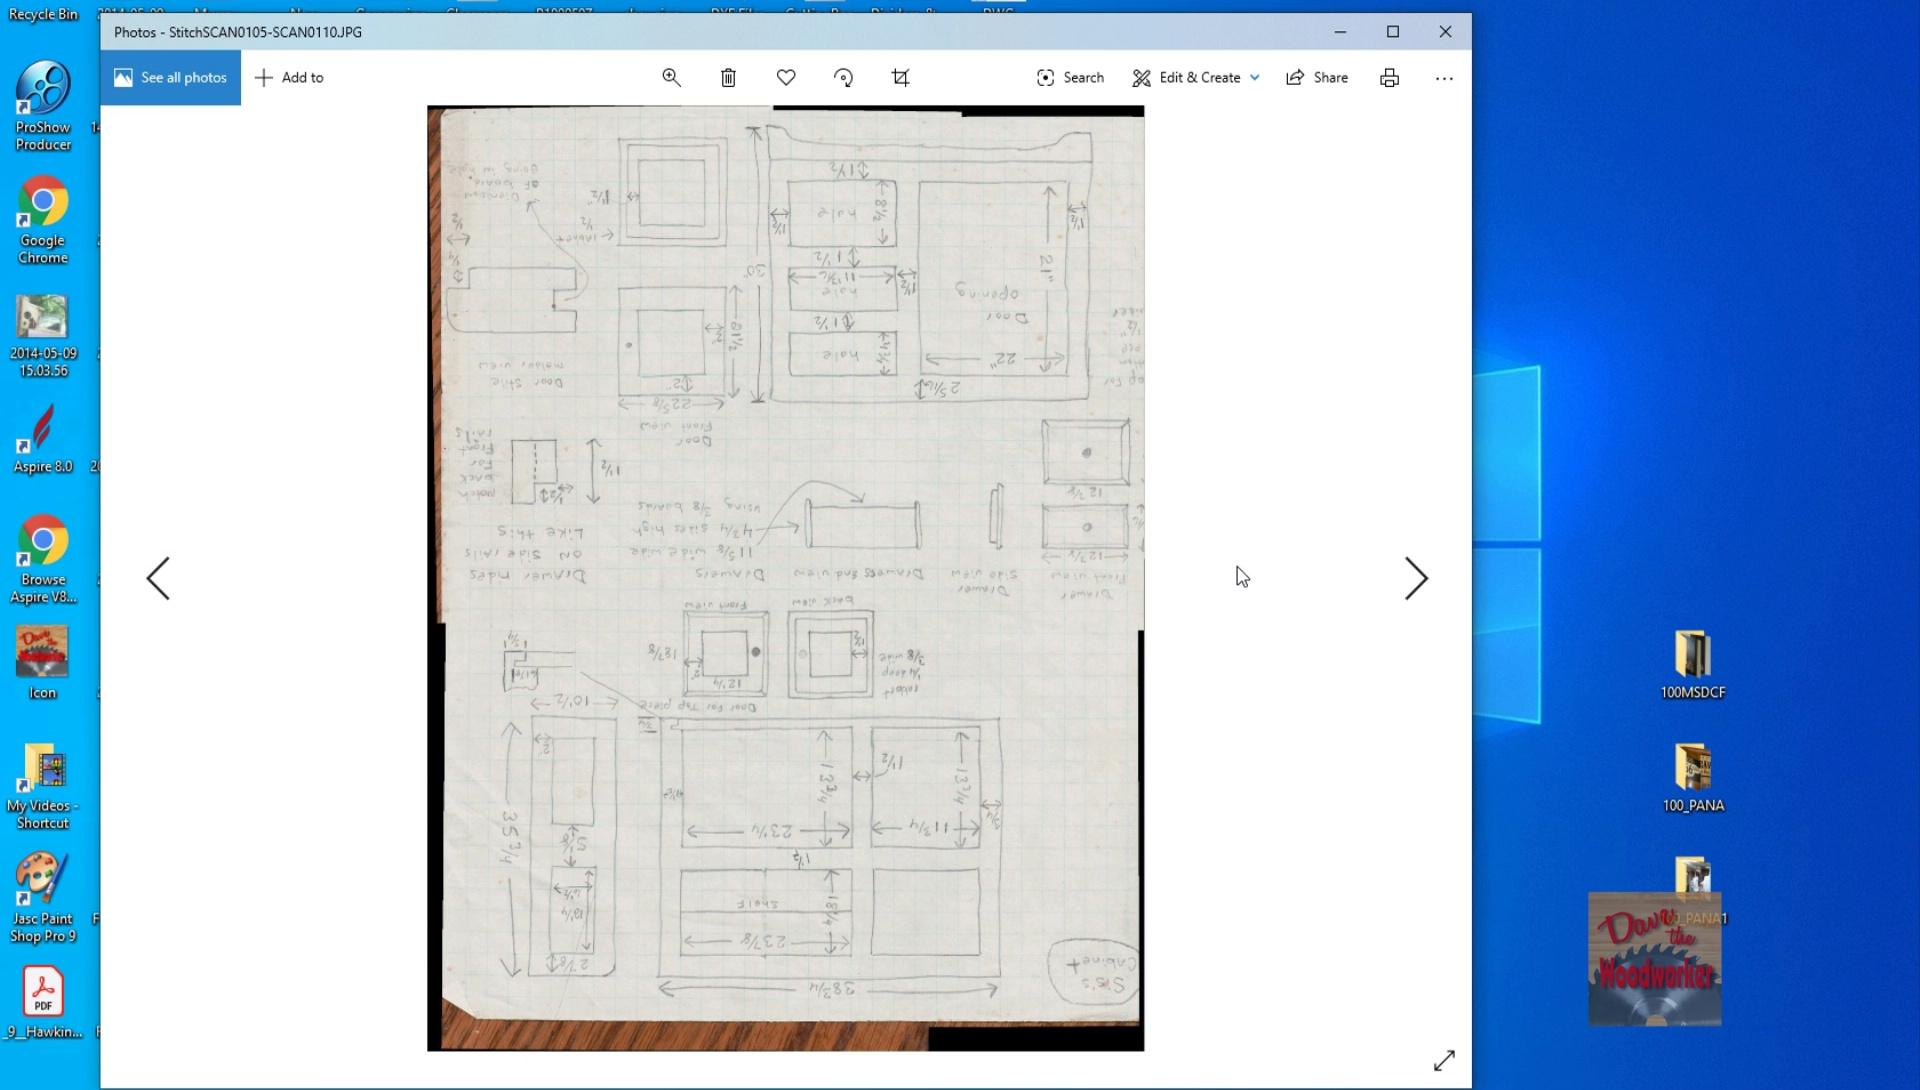
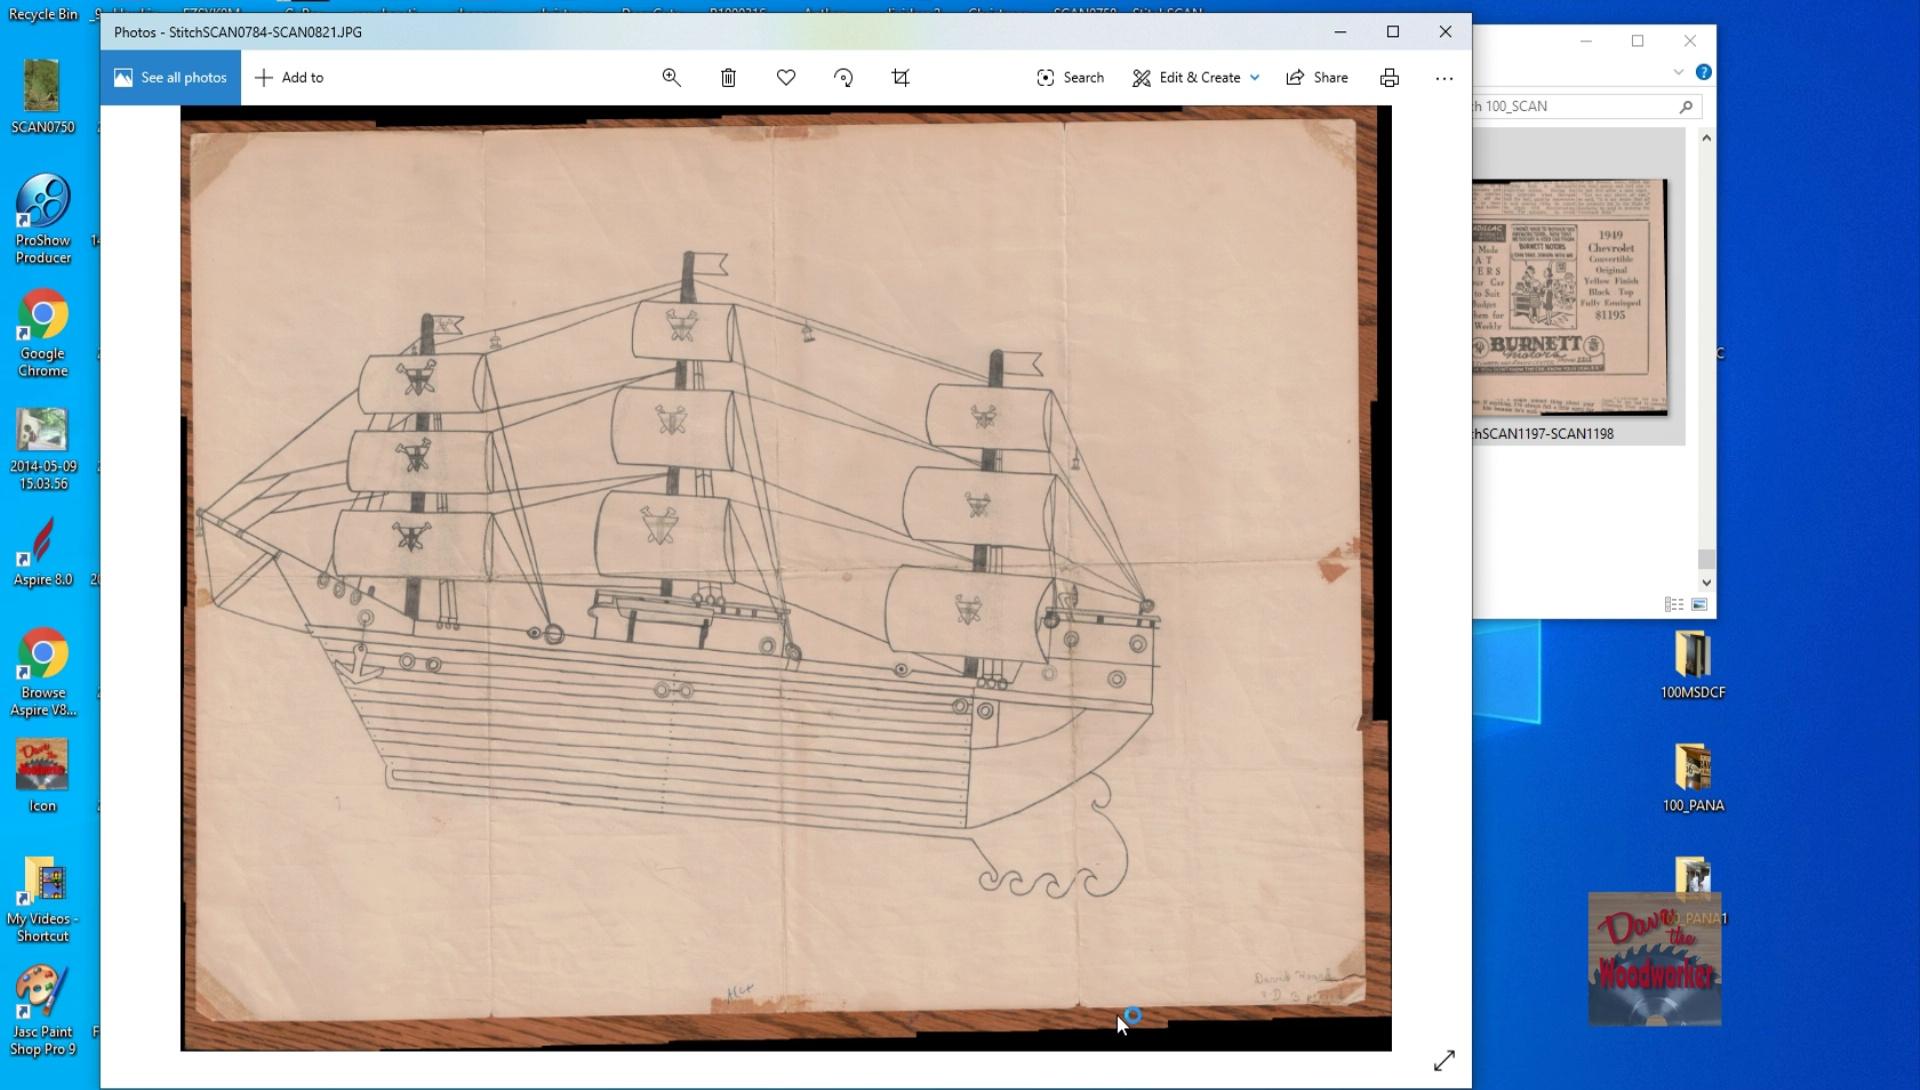

The software automatically names it, but you can rename it what you want. Here is some other pictures I scanned, this scanner works great for Wood patterns, old News Papers or large pictures.
Thanks for checking out this Instructable.