Digital Thermometer Using Arduino UNO & LM35
by DIYTechStudio in Circuits > Arduino
2490 Views, 9 Favorites, 0 Comments
Digital Thermometer Using Arduino UNO & LM35
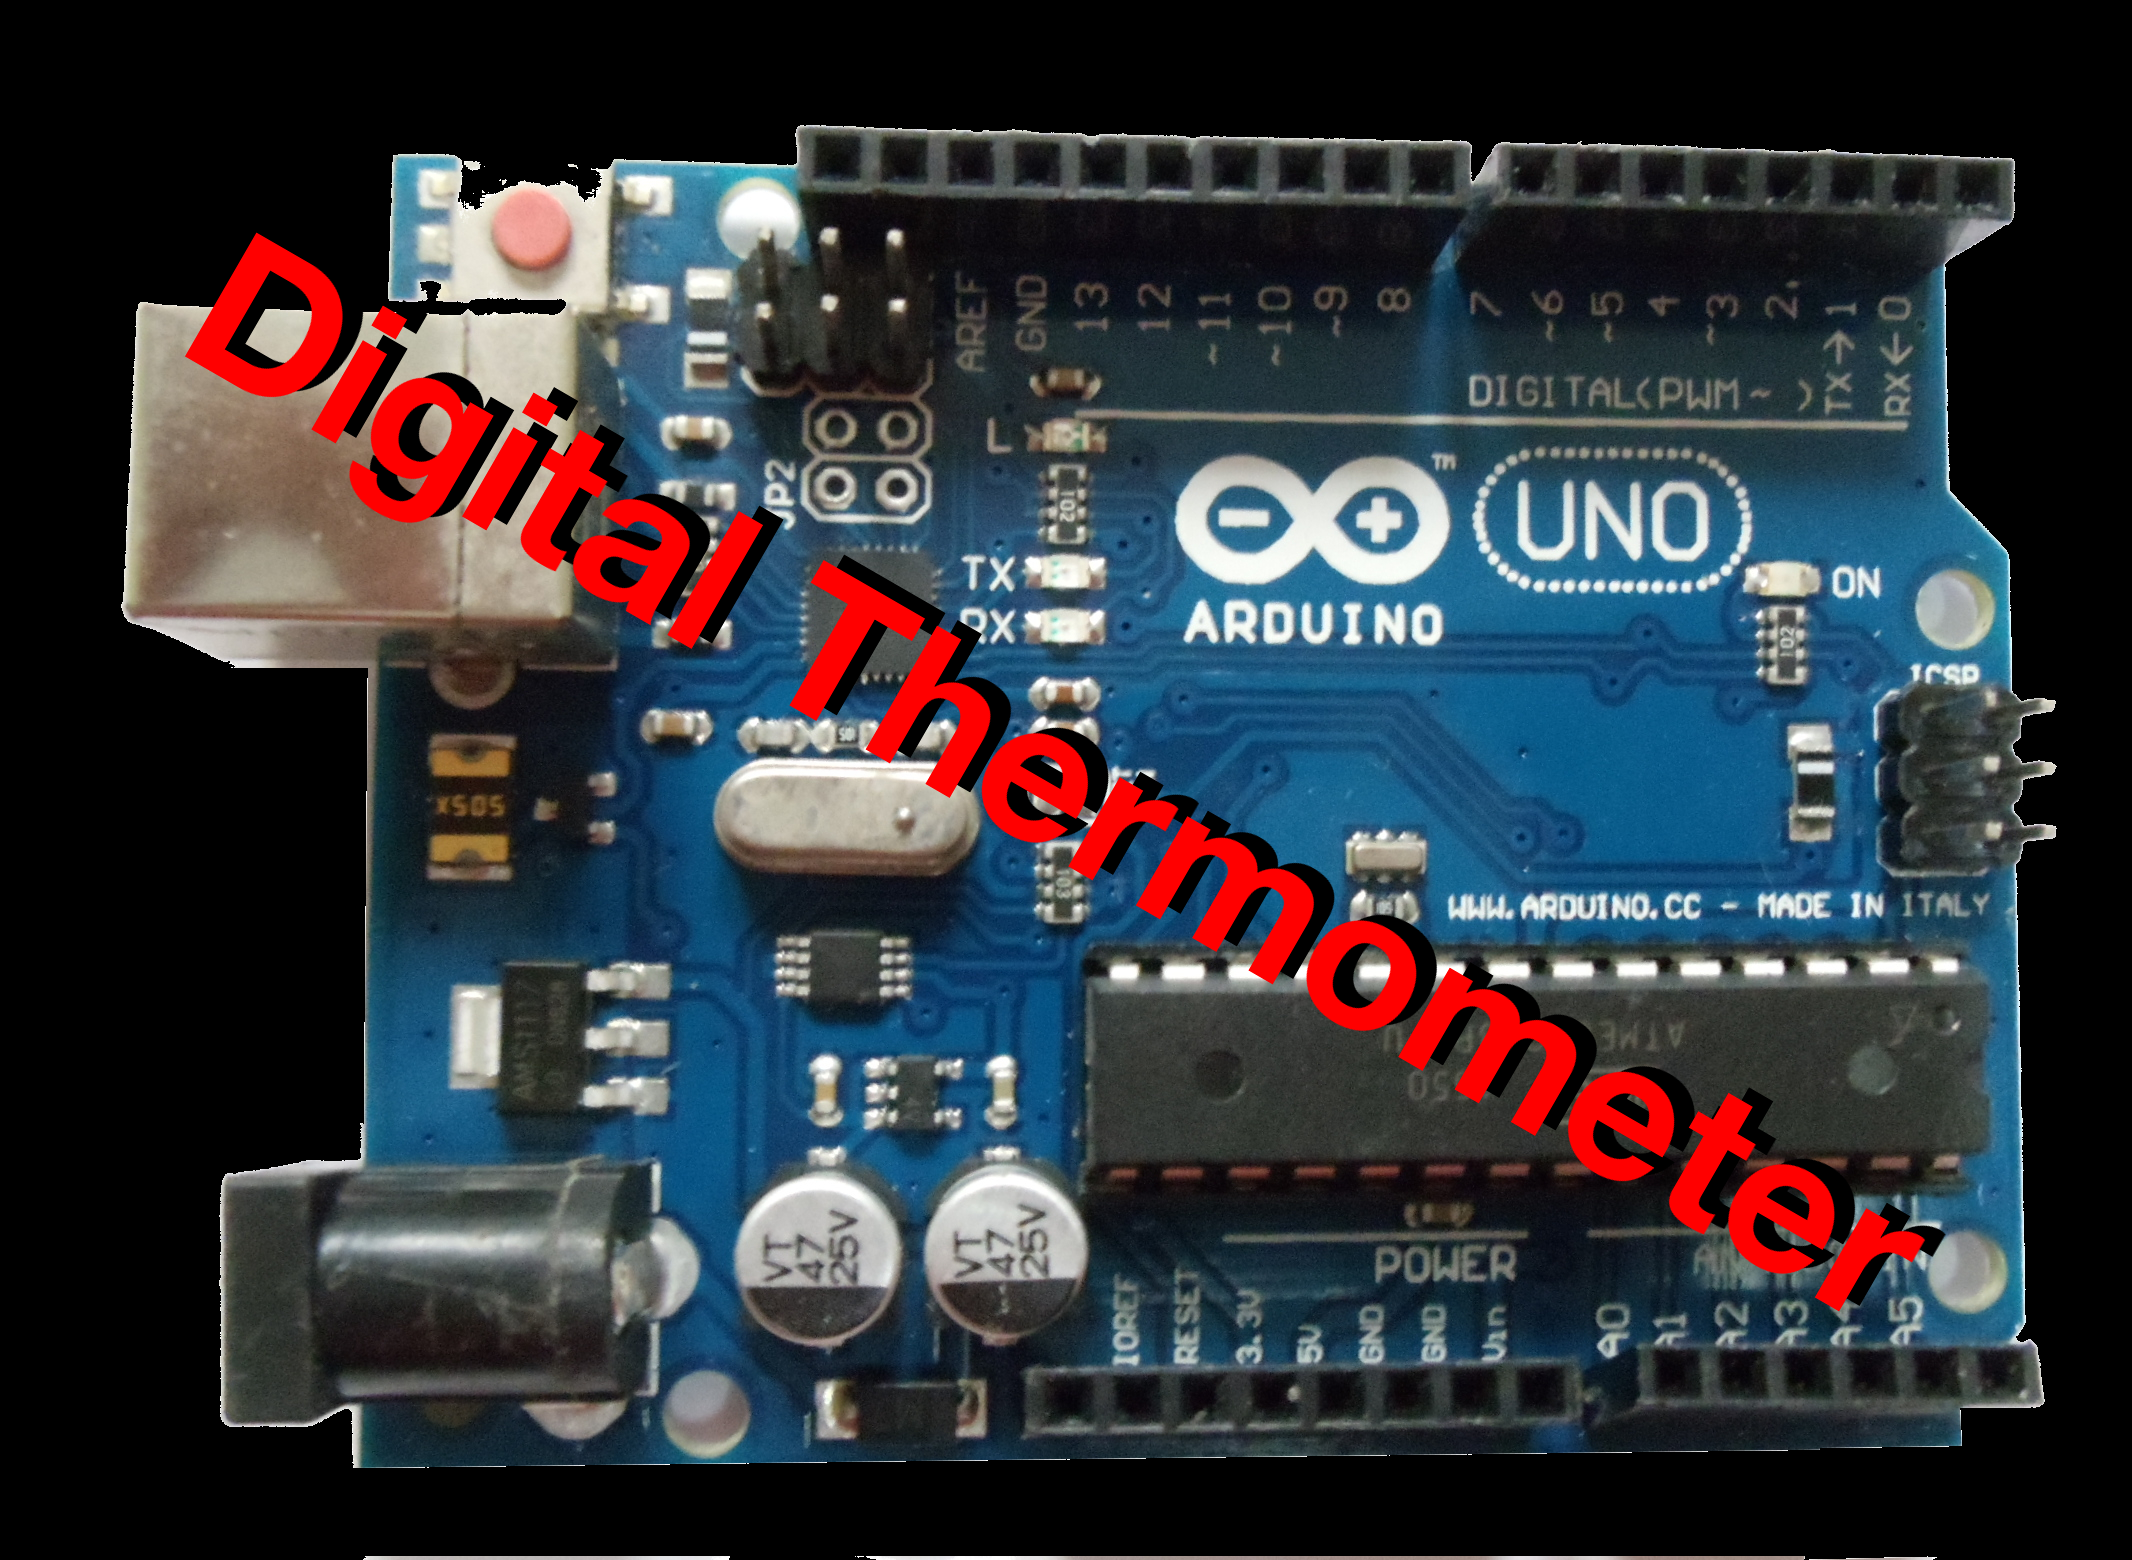
In this instructables i will show, how to read the temperature using Arduino UNO & LM35
Video
You can also watch the video or continue reading for detailed explanation
If you like to subscribe to my YouTube Channel please Click Here
Components Required
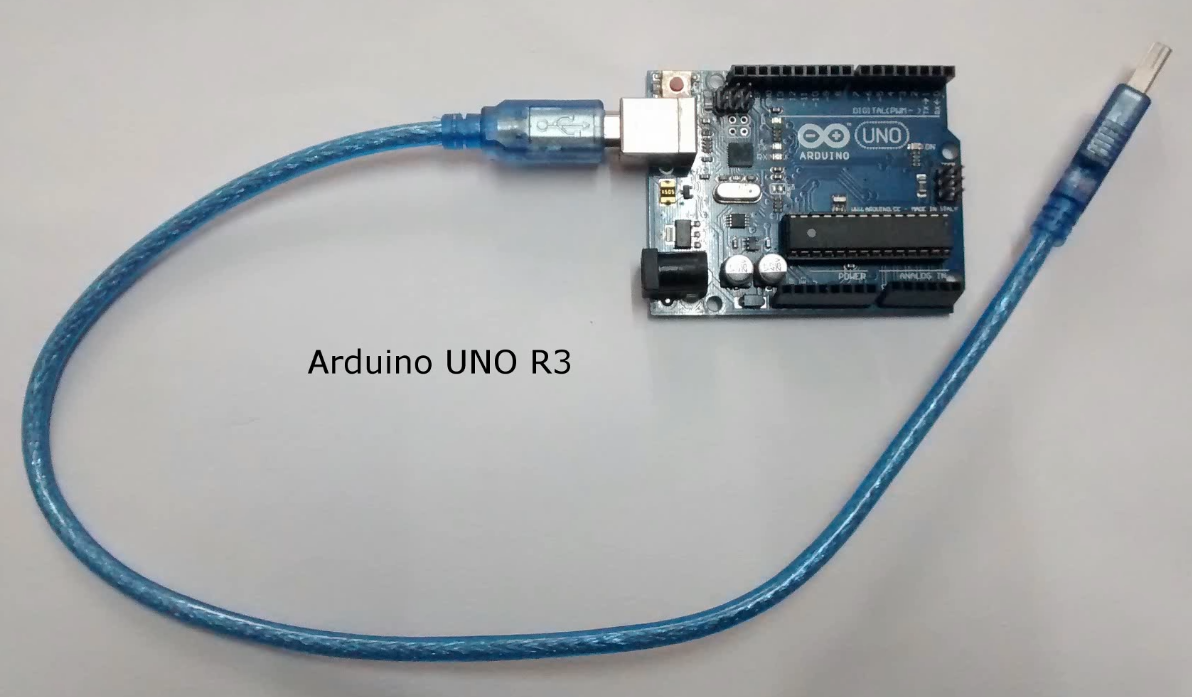
1. Arduino UNO
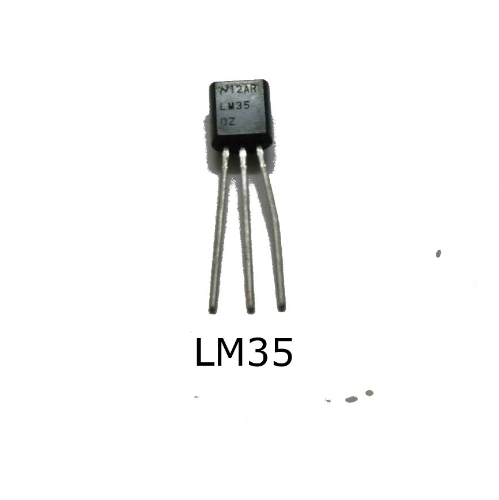
2. LM35
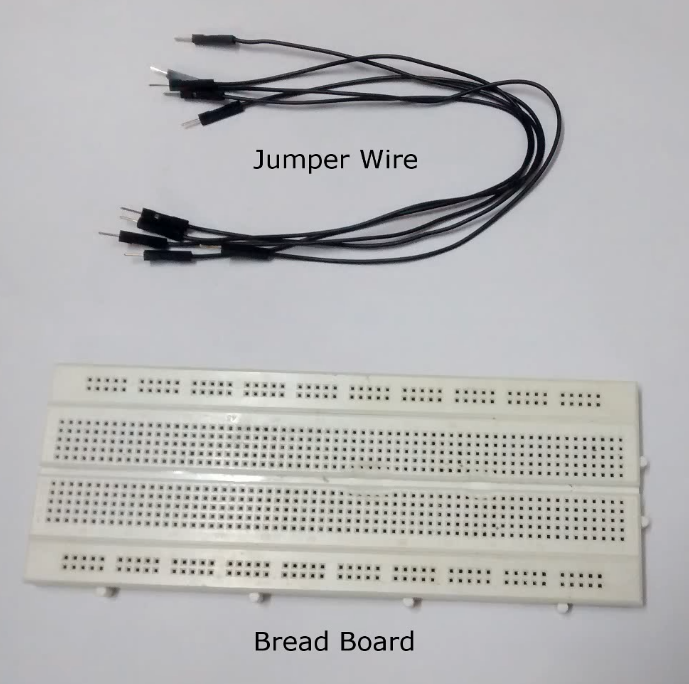
3. Bread Board
4. Jumper Wires
Circuit Diagram
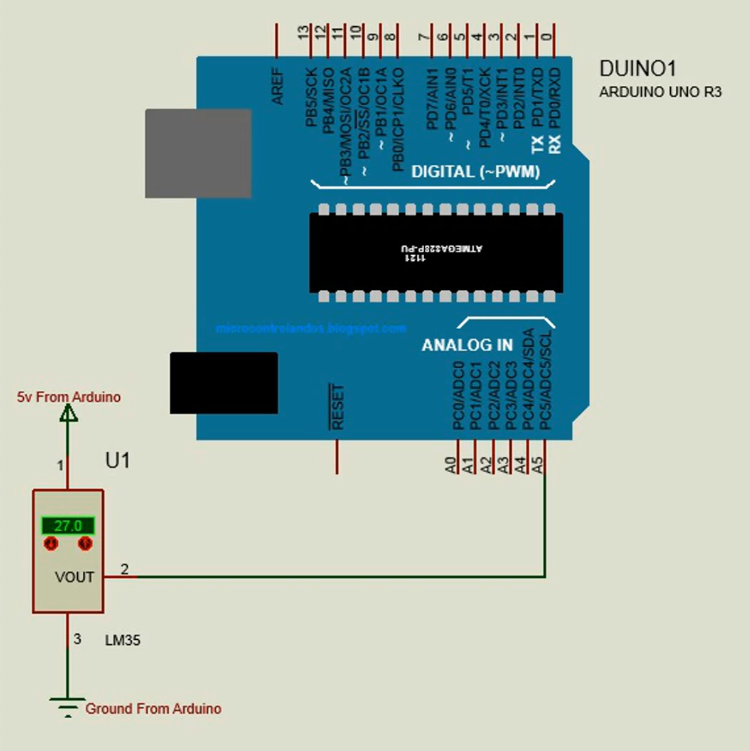
Sketch Explanation
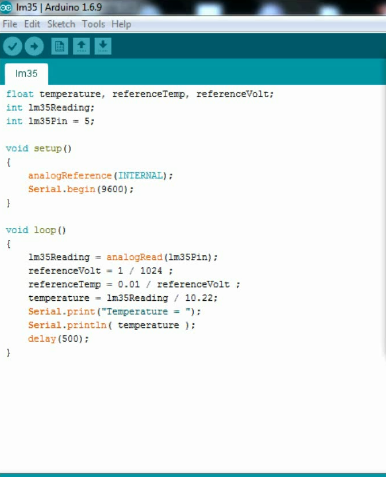
Declarations
This is where the variables are declared which will store the values during execution
float temperature, referenceTemp, referenceVolt;
int lm35Reading;
int lm35Pin = 5;
---------------------------------------------------------
Setup - Setting the arduino pins
void setup()
{
analogReference(INTERNAL);
Serial.begin(9600);
}
the statement analogReference(INTERNAL); is used to Configures the reference voltage used for analog input (i.e. the value used as the top of the input range).
& the statement Serial.begin(9600); is for setting the baud rate
------------------------------------------------------------
Loop
This is the place where all the things happen. This is main core of the sketch or program.
void loop()
{
lm35Reading = analogRead(lm35Pin);
referenceVolt = 1 / 1024 ;
referenceTemp = 0.01 / referenceVolt ;
temperature = lm35Reading / referenceTemp ;
Serial.print("Temperature = ");
Serial.println( temperature );
delay(500);
}
- lm35Reading = analogRead(lm35Pin); - This statement will the read the value from the LM35 which is an analog value.
- referenceVolt = 1 / 1024 ; - This will be our reference voltage
- referenceTemp = 0.01 / referenceVolt ; - Now if your wondering from where did i get the value 0.01. The answer is simple if you refer the datasheet it says "Linear a 10.0 mV/'C scale factor" which means for every 10m volt or 0.01 volt change there is a 1 degree change
- temperature = lm35Reading / referenceTemp ; - This statement calculates the temperature
- Serial.print("Temperature = "); & Serial.println( temperature ); - This statement is to print the values in the serial monitor
- delay(500); - For every 500 milli second the loop will execute
-----------------------------------------------------------------------------------------------------------------------------------------------
Important Note : I have used 1 volt has my reference in my sketch, so please kindly change it to 1.1 volt in the statement & comment the line analogReference(INTERNAL); ( i.e referenceVolt = 1 / 1024 ; into referenceVolt = 1.1 / 1024 ; ).
Using 1 volt will limit temperature range to 0 to 100'C approx and if you are using 1.1 volt you will get a range of approx 0 to 115'C.
If you refer the LM35 datasheet the temperature range is -55 to +150'C so we are not utilizing the full potential of LM35, i.e is the one drawback.
If your wondering why i used 1 volt instead of 1.1 volt, using 1 volt as my top range i got the near exact temperature and with 1.1volt i got nearly 1.5'c difference. This may be because a faulty LM35
If you are trying, I strongly Recommend you to use 1.1 volt as the reference
Downloads
Construction & Working
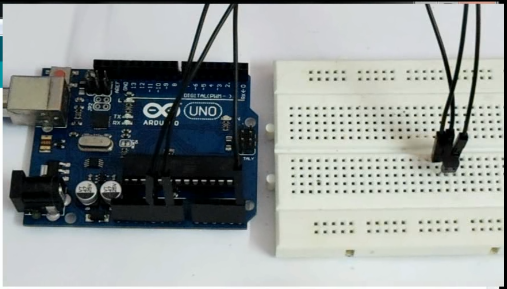
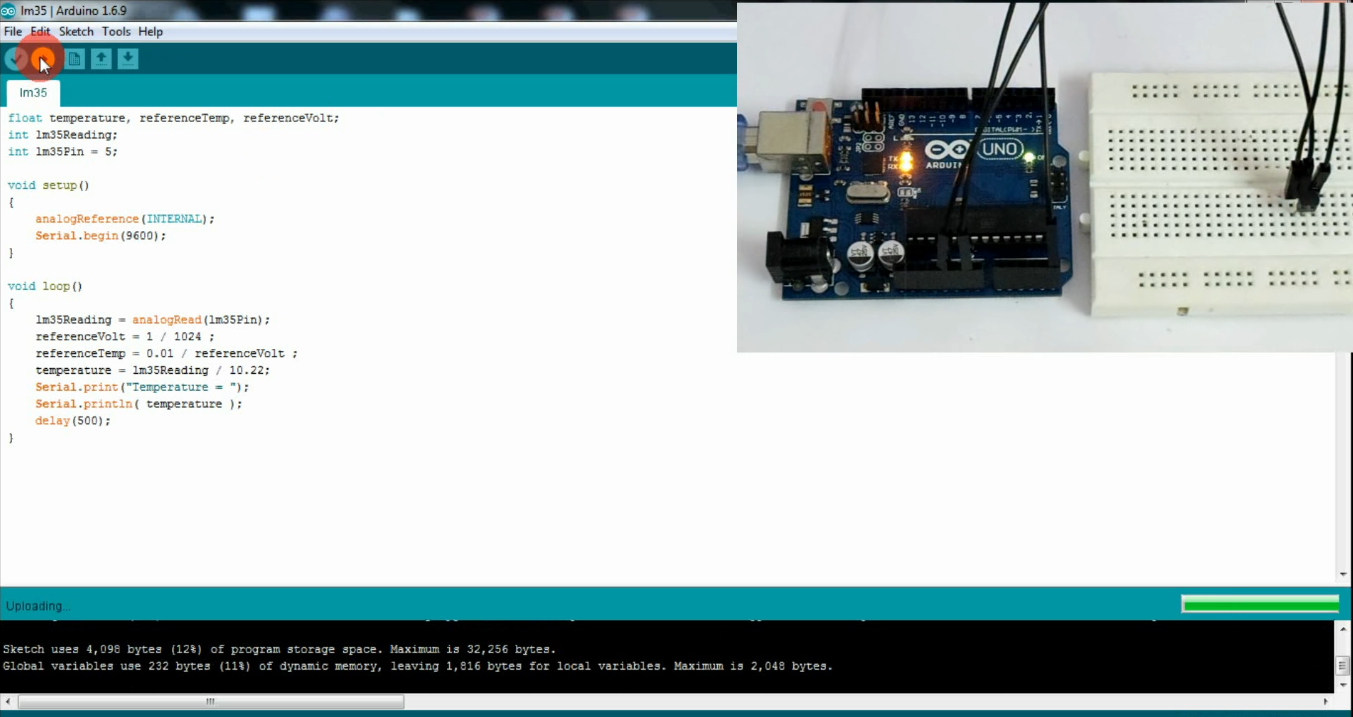
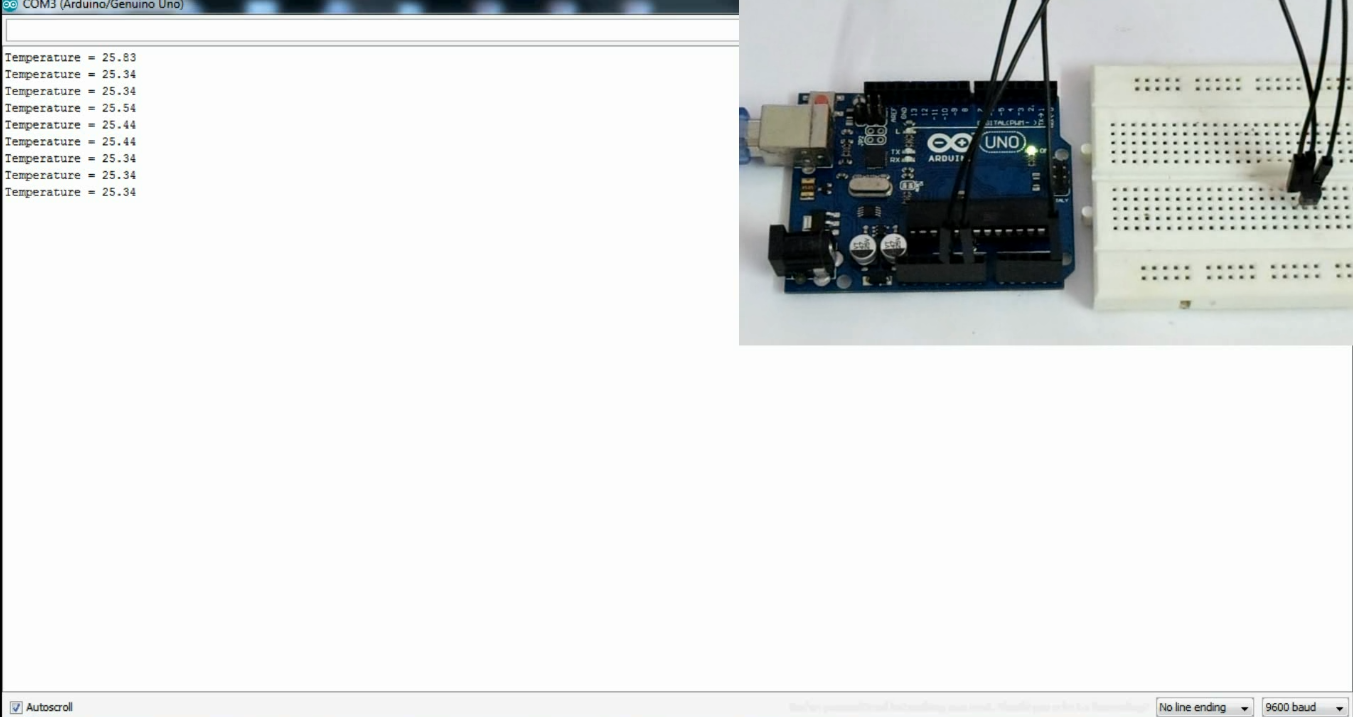
1st & 2nd Image - Now connect the circuit as show in the Step 3 and upload the sketch. Once uploaded open the serial monitor which is under the TOOLS section or press Ctrl + Shift + M.
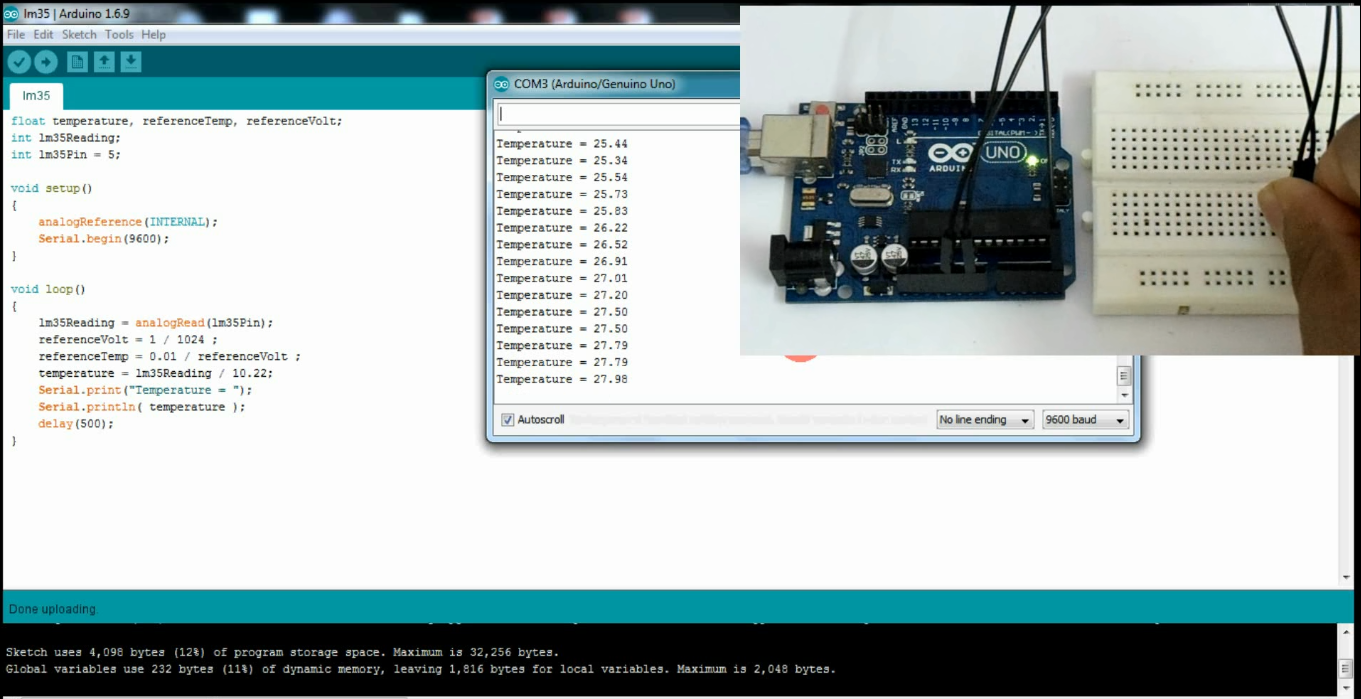
3rd Image - It is reading the temperature of the room
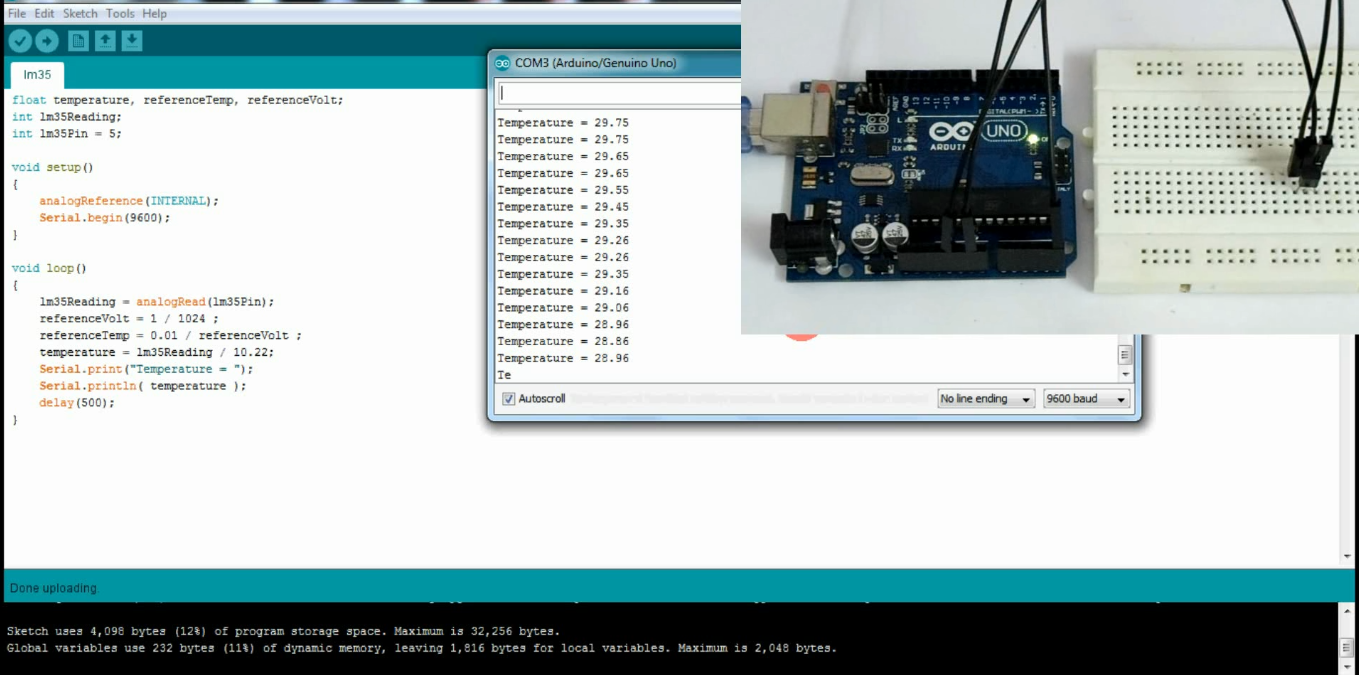
4th Image - When i touched the LM35 with my hand the temperature went up due to my body tempearature
5th Image - When i removed my hand the temperature kept and started showing the room temperature which is shown in the video
To watch the test video please CLICK HERE
Testing begins @ 00:51 sec
----------------------------------------------------------------------------------------------------------------------------------------------
If you interested in making this product you can please use my affiliate buying links to buy the components
Do you want to support my videos?
If Yes, Please browse and buy things from my Amazon Store. This way I get a small commission which will help me produce more videos. Please use the link to visit my store : http://goo.gl/gKjns4
You can also contribute to me on Patreon using the link : https://goo.gl/JHoagv
Amazon India :
Arduino UNO : http://amzn.to/2ae6tn7
Bread Board : http://amzn.to/2aAZS57
Jumper Wires : http://amzn.to/2a5zh2p
LM35 : http://amzn.to/2a8enBr
Amazon US :
Arduino UNO : http://amzn.to/29TsMvE
Bread Board & Jumper Wires : http://amzn.to/2a5VCw5
LM35 : http://amzn.to/2a1BxUA
--------------------------------------------------------------------------------------------------------------------------------------------------
Follow Me On :
You Tube : https://goo.gl/ctc8l9
Twitter : https://twitter.com/MakeStuff_MS
Instagram : https://www.instagram.com/makestuff_ms/
Google Plus : https://goo.gl/RpTnwf
Facebook : https://www.facebook.com/makestuffMS
THANK YOU FOR READING !!!