Digital Portraits Made Easy
by Pooknuckle in Design > Digital Graphics
102566 Views, 1300 Favorites, 0 Comments
Digital Portraits Made Easy
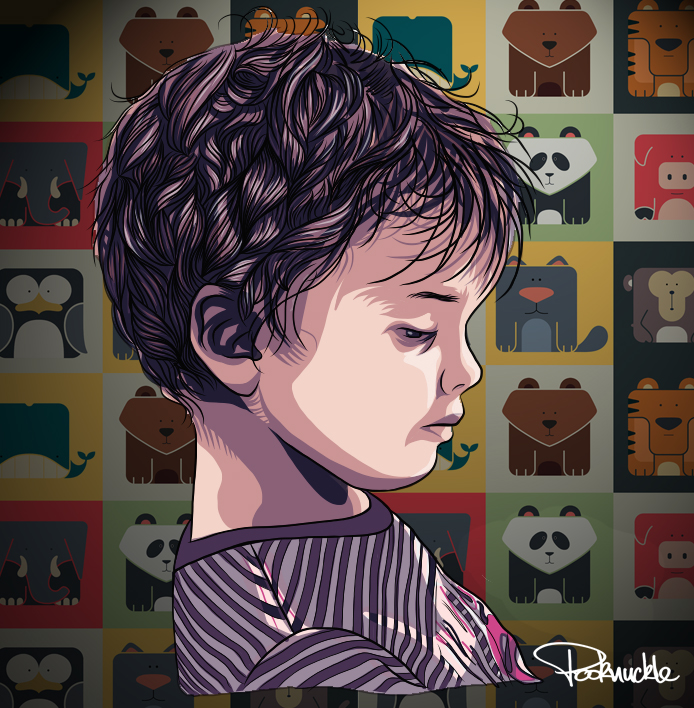
A portrait of a loved one created by you is something truly special.
It's also something quite easy to achieve with a little practice and a couple of tricks to help you through it.
In this Instructable I will take you step-by step through the process I use to make these great pictures.
What You Need
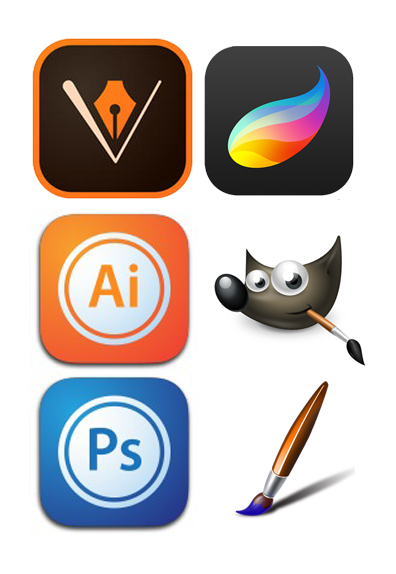
All you need is...
- The photo you want to work from
- Your favourite art-making program/app
- Some optional but time-saving graphic assets from Creative Market
As far as the program/app goes, anything capable of using multiple layers is good for this project.
It depends on the style you want and what you're comfortable with.
For smooth vector art you would want something like Adobe Illustrator or Adobe Draw, otherwise there are raster based programs like Photoshop, Corel Painter and Procreate to name a few.
If you need something free, there's always Gimp.
Note: an input other than a regular mouse (like a Wacom tablet or touch screen) is highly recommended.
Setting Up the Photo
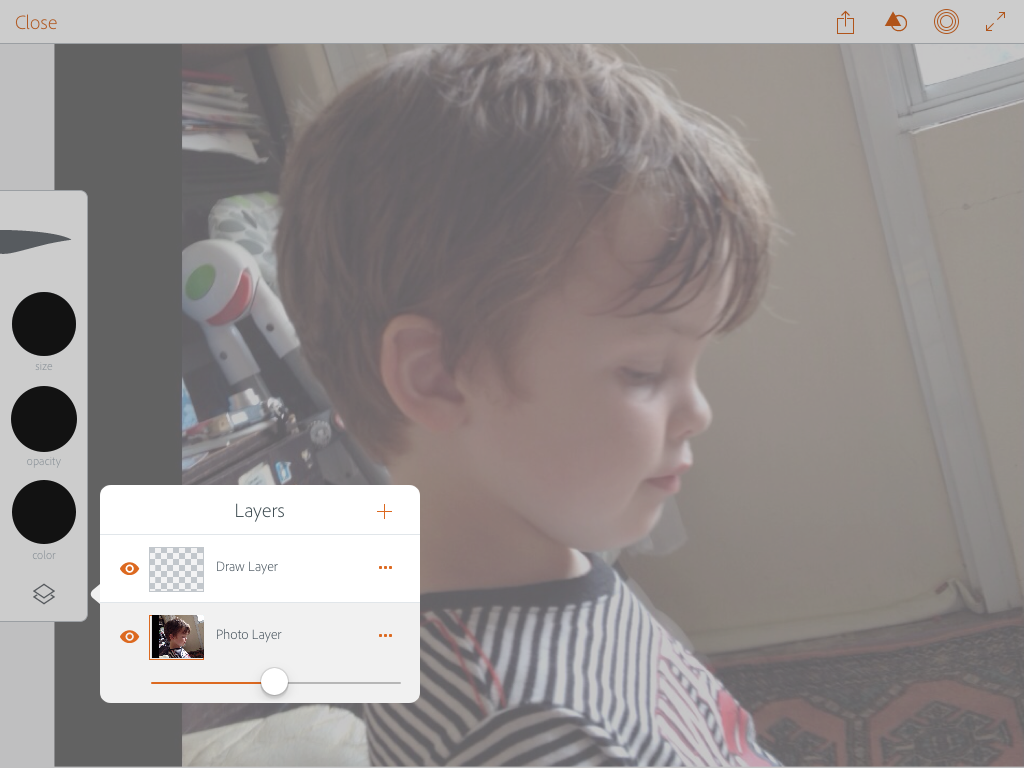
Open your program of choice, in my case it will be Adobe Draw.
Insert the photo you want to work from and lower the opacity to around 50%.
This is so we can clearly see the lines as we trace them.
Tracing Time!
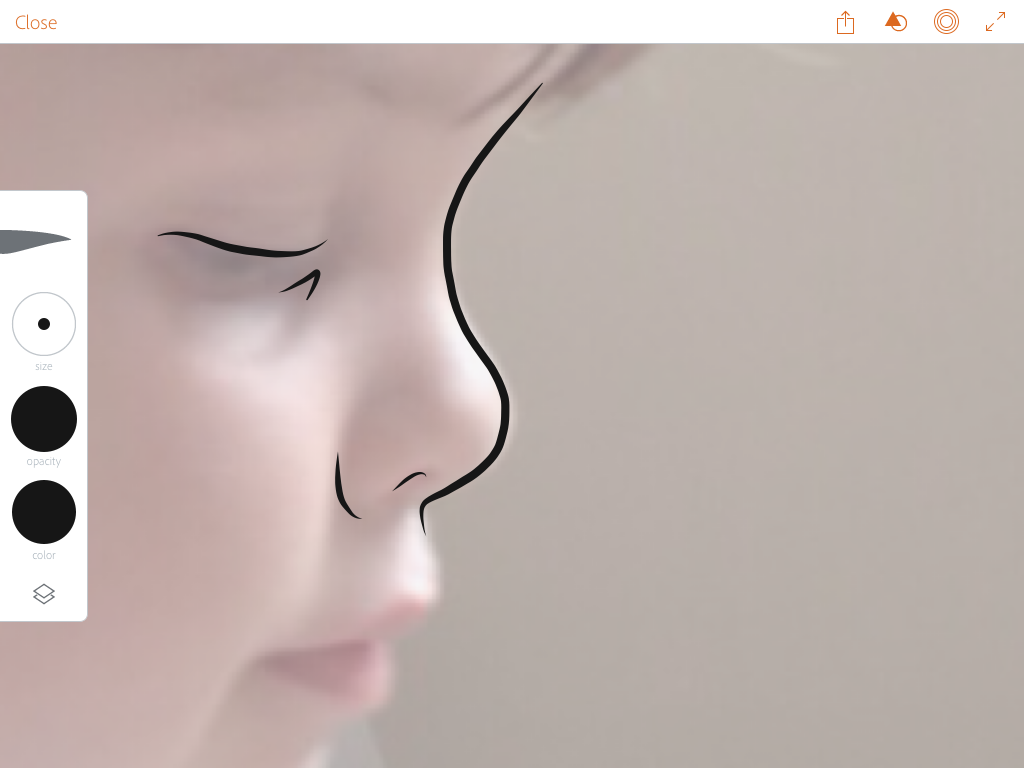
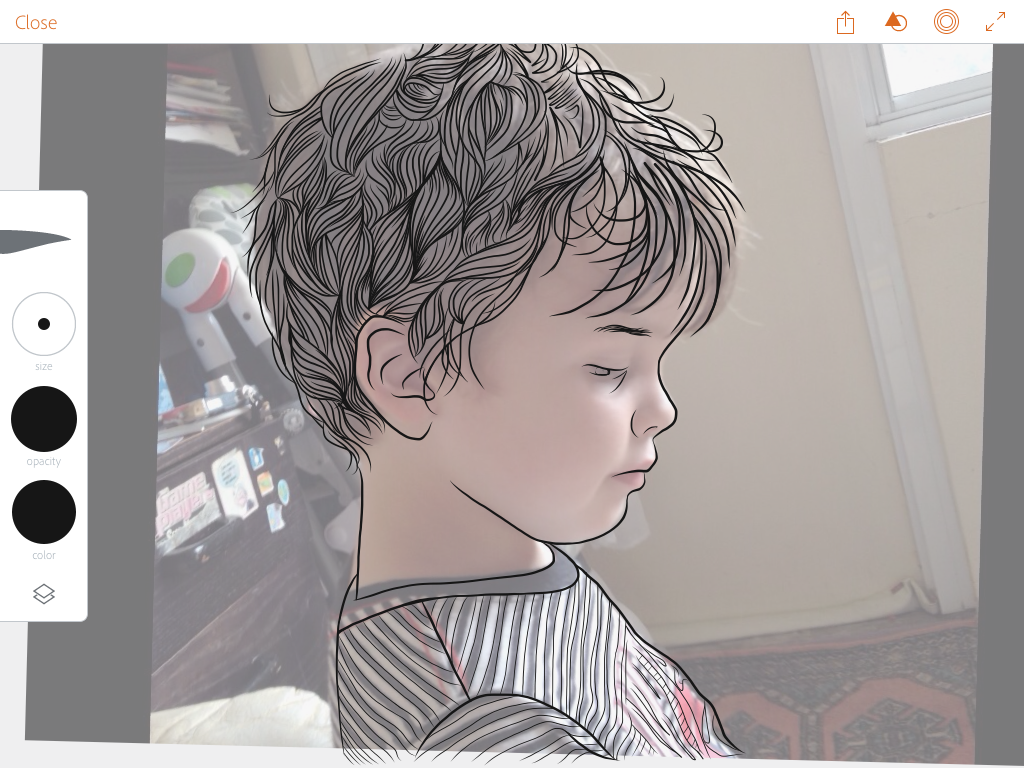
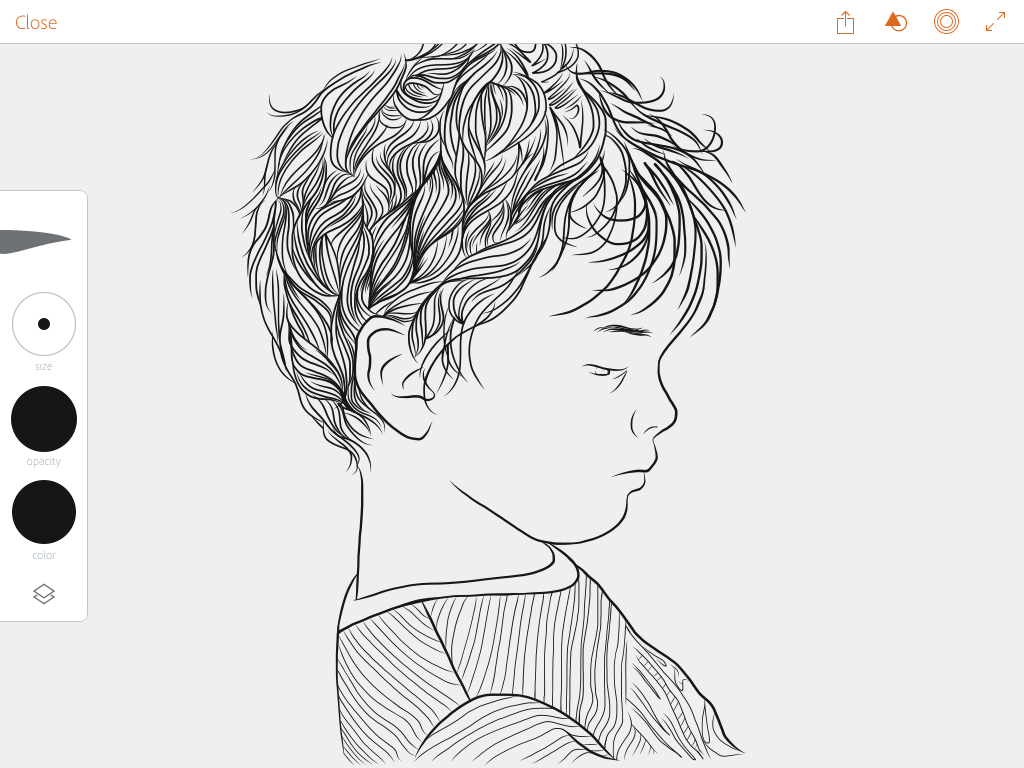
Create a new layer above the photo and grab your favourite brush.
Start tracing the main outlines in.
Choosing the right lines is the trick here and you will get a feel for it rather quickly with some practice.
In my experience, choosing the right lines to leave out speaks louder than choosing which ones to put in.
Colour
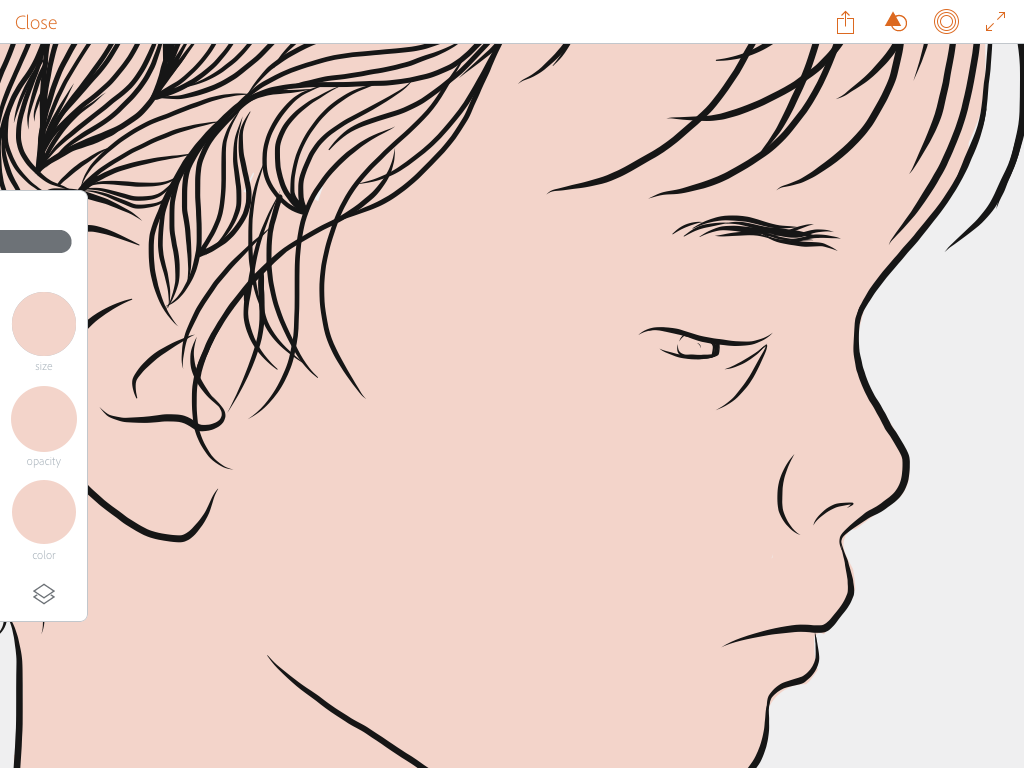
Time to spice things up a bit with some colour!
Create another layer, placing it underneath the outlines you just drew
Pick a good mid-tone colour, this will be for the base skin tone.
If you want help finding a colour scheme to use, check out Colour Lovers for some awesome suggestions.
Throw in your skin tone.
Shadows
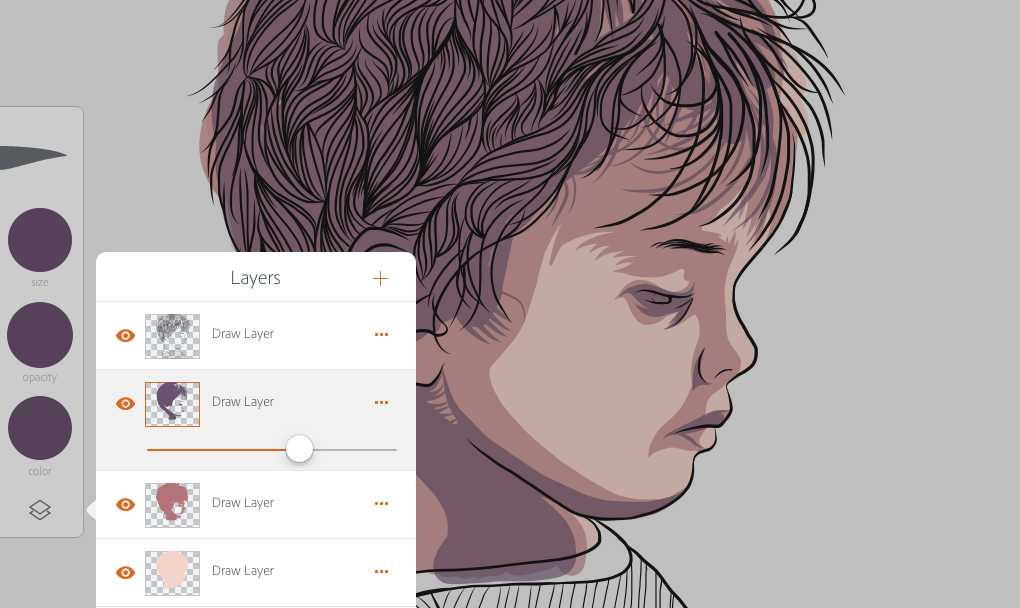
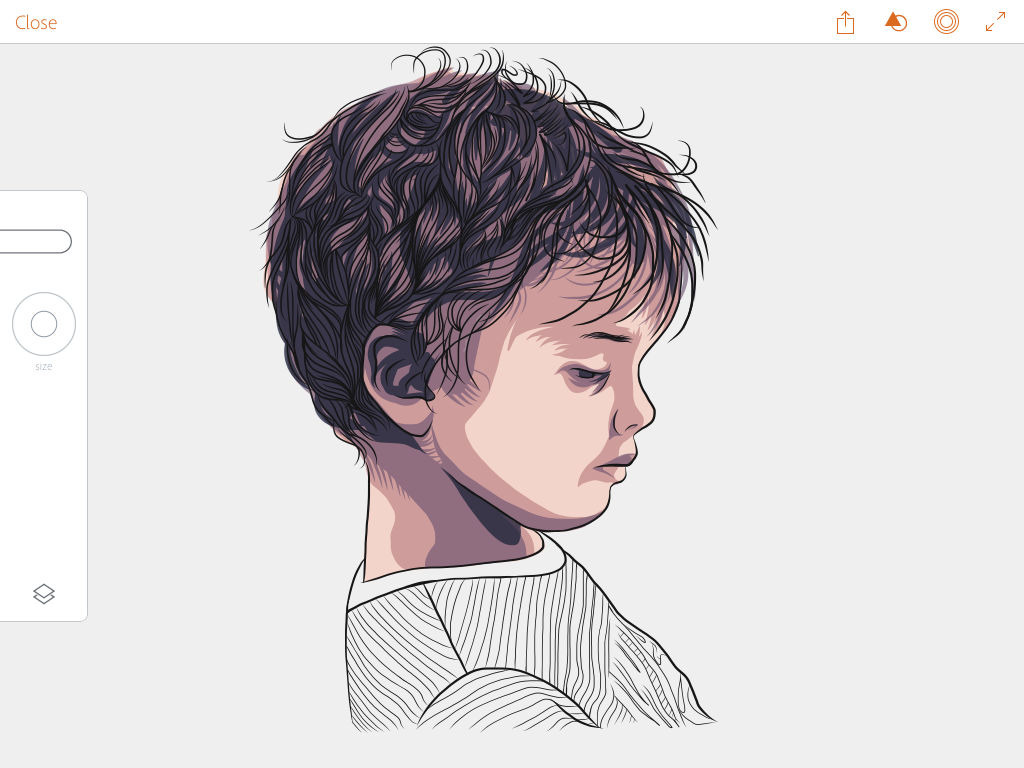
Create another layer or two depending on how many shades you want to use in your shadows.
In this case, I used three different colours for my darks.
Place the layers above your base skin tone but still under the outlines layer.
Trace in the contours for the shadows and then fill them in.
Highlights
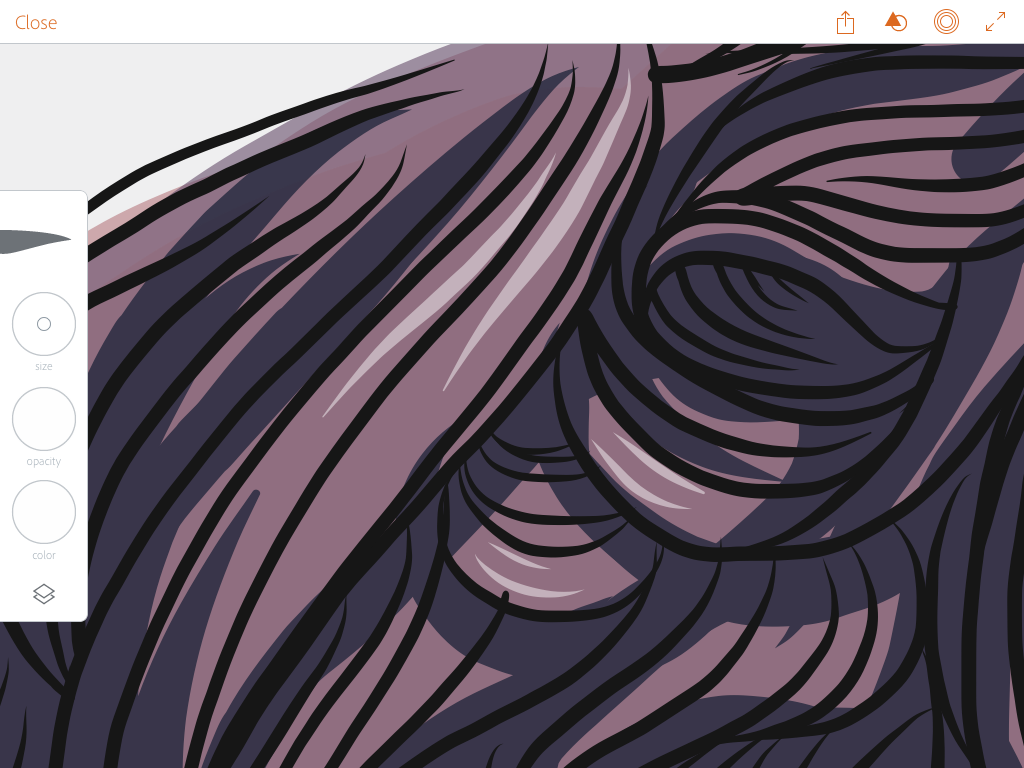
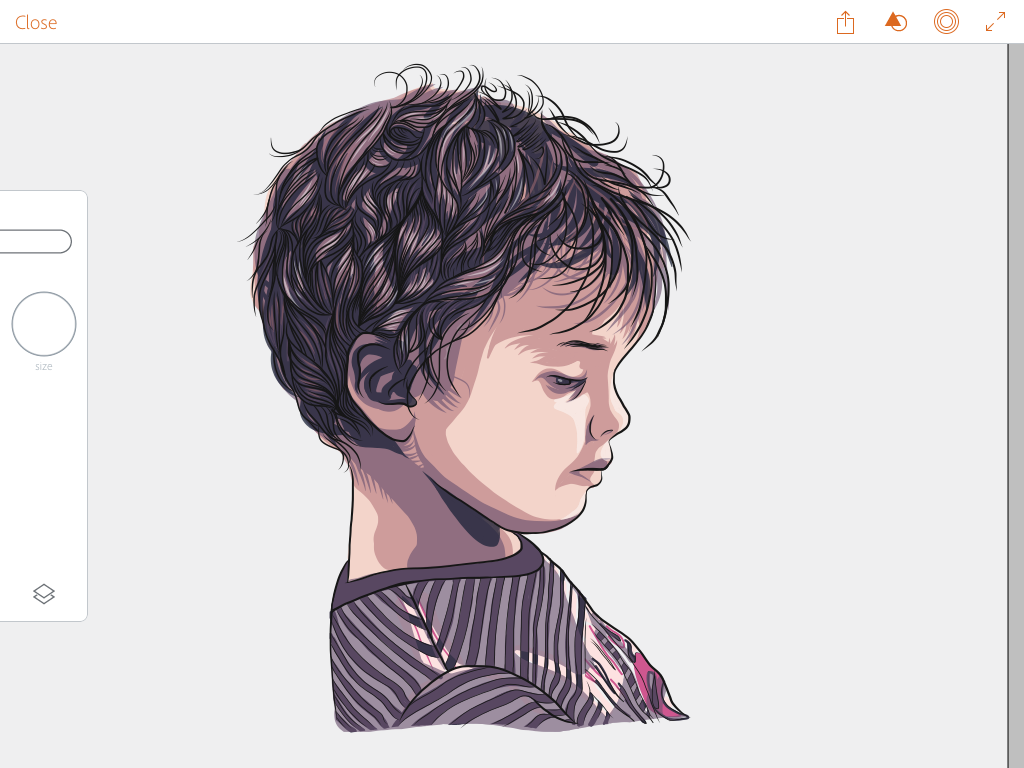
Create yet another layer, above every layer except the outlines.
This is where we will put in the highlights which will really bring your picture to life
I used white for my colour and lowered its opacity a bit.
Be sparing with the highlights and choose your lines carefully, a little goes a long way.
Background
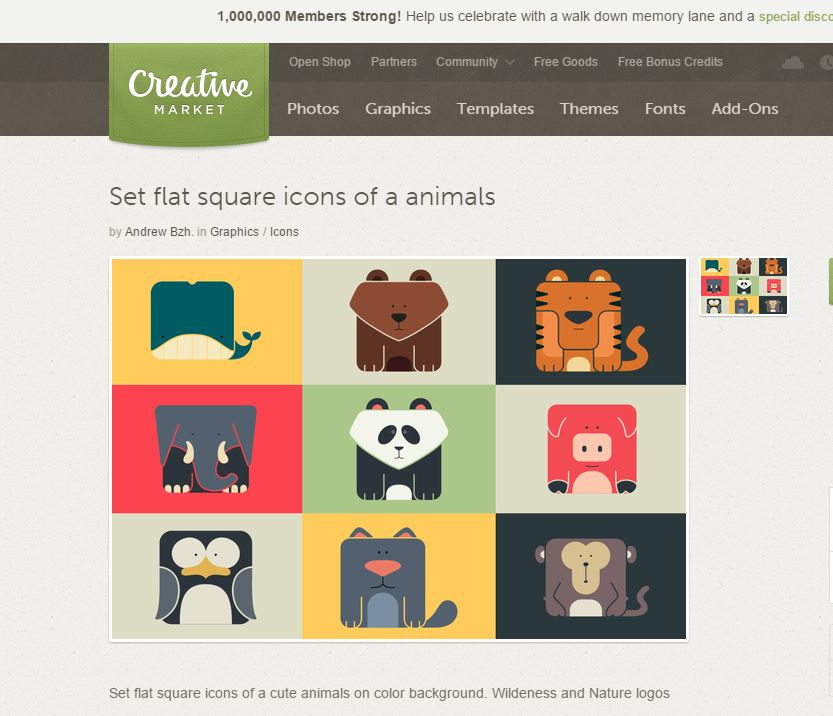
Let's add in a background.
Perhaps you need the picture done in a hurry, the receiver of this gift has a birthday tomorrow.
Save yourself some time and effort and check out Creative Market for some pre-made graphic assets to use.
The freebies can be found here.
I chose to use this picture as a background, it works really well with my subject.
Finished!
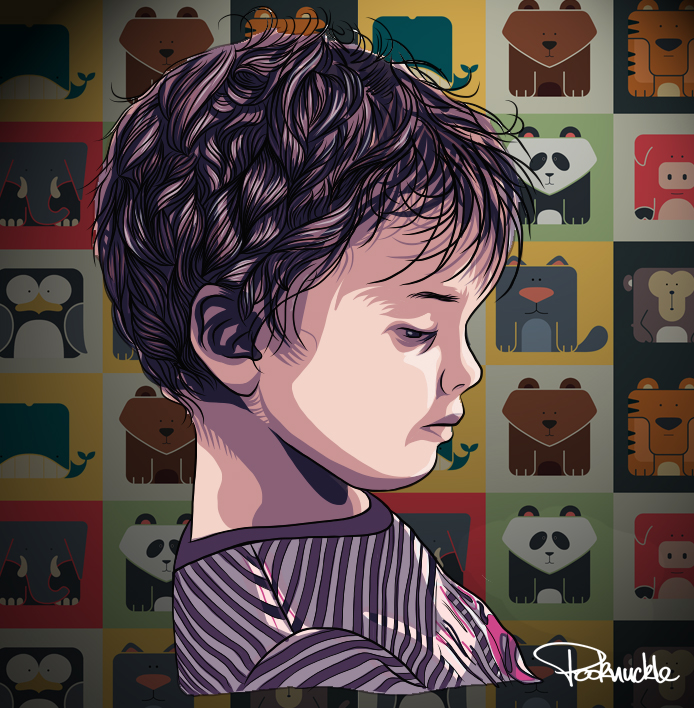
All that's left to do is sit back and revel in your artistry!
But not before ruining your work by signing with your horrible pen name.
Thanks for reading, I hope this Instructable got your creative juices flowing.
If you have any questions leave a comment, I'd love to help and if I can't I'm sure someone else in there will.
Peace out.