Digital Photo Frame - Using an Old Laptop
by dushyantahuja in Circuits > Reuse
9878 Views, 37 Favorites, 0 Comments
Digital Photo Frame - Using an Old Laptop
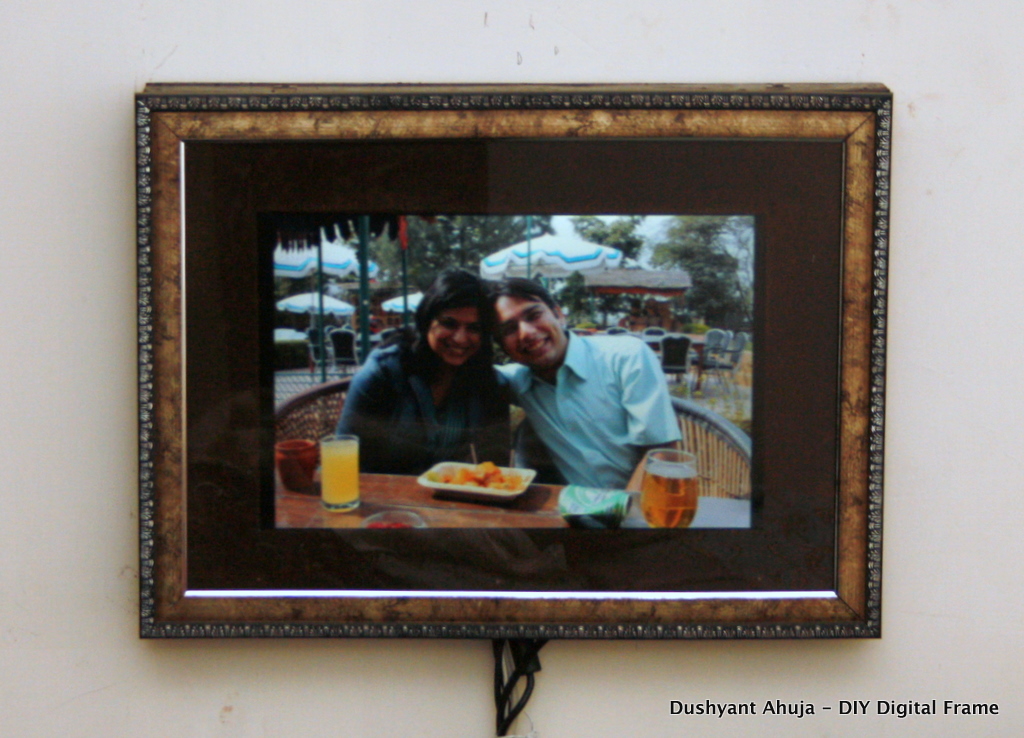
I had an old Dell Inspiron 6400 lying around at home and decided to install Linux on it – had been dabbling with Linux for many years – but as it was never the only operating system on the computer – didn’t really get ahead with it. Also the plan was to make a multimedia center that I could control wirelessly.
The feature-set I had planned includes:
- Digital Photo Frame – slideshow starts as soon as the computer boots
- Media Centre
- Remote access via ssh and vnc
- Start songs automatically in the morning
The Software
There are many small linux distributions (these are old distributions I had checked and may not be the latest ones) available for this purpose and the ones I liked and tested include:
- Geexbox – very small, very nice, was perfect for the job – except for the fact that it was based on Ubuntu 9 – and to my chagrin, the dell had an ATI Radeon X1100 video card – which is not compatible with Ubuntu 9 (out of the box). I have found some options that would allow me to use geexbox now, but have moved on
- XBMC – another very nice OS – but same problem as Geexbox
- Linux MCE – Could not download this as the download links are offline, but reviews on websites are extremely good
- Ubuntu – Finally gave up on smaller distributions and installed the full version of Ubuntu, very easy installation, worked out-of-the-box and I loved it. Was using a software called Freevo to run the multimedia center – unfortunately it was crashing regularly, specially on downloaded videos.
- Xubuntu - So the search continued - finally decided on Xubuntu with MythTV - You can also install mythbuntu directly
Install Xubuntu
Really easy – was a breeze – download the latest Xubuntu live CD from the following http://xubuntu.org/getxubuntu/
Boot from the Live CD or USB drive and install on your hard-disk using instructions on the following pages:
http://www.mythtvbook.com/wiki/The_Easy_Way:_Inst...
http://www.youtube.com/watch?v=Gw1OUT70iGo
In addition for the system to support my projector, I had to set ‘nomodeset’ for the linux kernel, you may not have to so try without the following:
Instructions as follows (courtesy http://techies-r-us.com.au/blog/?p=483):
sudo nano /etc/default/grub
Change
GRUB_CMDLINE_LINUX=””
to
GRUB_CMDLINE_LINUX=”nomodeset”
Then run
sudo update-grub
Restart
Configure Xubuntu
For Xubuntu to work as you want, you need to install additional packages (you will need an internet connection). These can be installed by running the following commands in ‘Terminal’ - courtesy http://xtremediary.blogspot.com/2010/04/to-do-aft... and http://www.my-guides.net/en/guides/linux/193-ubun...
- MythTV: mythbuntu-control-centre
- Music Player: sudo aptitude install xmms2 xmms2-plugin-all
- Some extra codecs: sudo aptitude install ubuntu-restricted-extras
- Open SSH Server: sudo apt-get install openssh-server openssh-client
- VNC Server (allows you to control the system from another computer): sudo aptitude install vino
- Dropbox: download from www.dropbox.com
I won't go into details of configuring MythTV - there are lots of details available already: https://docs.google.com/document/d/19knOlqz8cV5_8V...
Save the file myth.sh to your Documents folder.
Configure VNC Server: Type the following in Terminal
vino-preferences
Enable server and set your password.
Music Player
The music player can be configured by running the following in terminal:
nyxmms2 server config output.plugin alsa
nyxmms2 server config playlist.repeat_all 1
nyxmms2 server config effect.order.0 normalize
To start music automatically:
Save the file UpdateM.sh to your Documents folder. Type the following in Terminal
crontab -eAdd the following lines at the end of the file:
40 7 * * * amixer set Master 50%
45 7 * * * ~/Documents/UpdateM.sh
0 8 * * * nyxmms2 play
30 10 * * * nyxmms2 pause
The cron setup does the following:
- Set Volume to 50% at 7:40am
- Updates the playlist from all the songs in "~/Music/Favourites" folder at 7:45am
- Starts songs at 8:00am
- Stops songs at 10:30am
Automatic Slideshow
To start the slideshow automatically - go to Settings Manager -> Session and Startup -> Application Autostart -> Add -> Add the attached file - slideshow.sh
This file starts a slideshow using 'feh' from the folder "~/Dropbox/Slideshow" - this allows you to update your slideshow images through dropbox. You can change the file to take images from another folder if required.
The Hardware
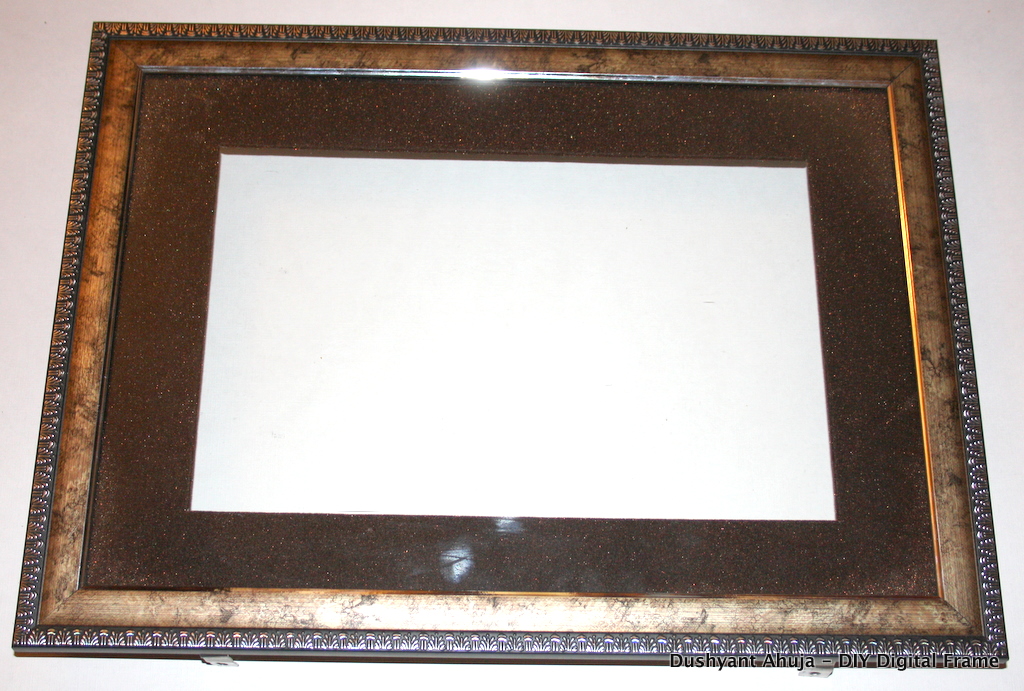
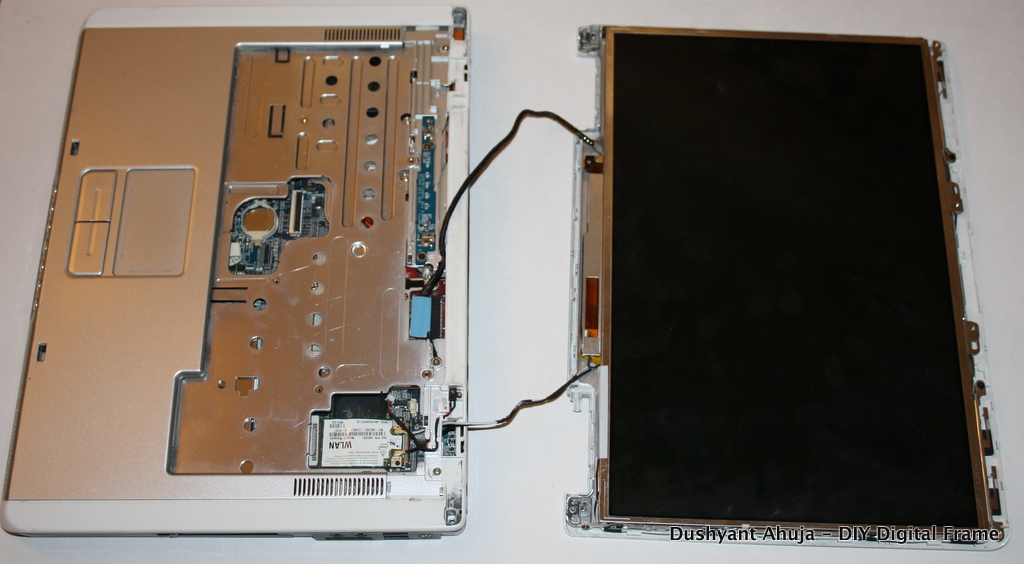
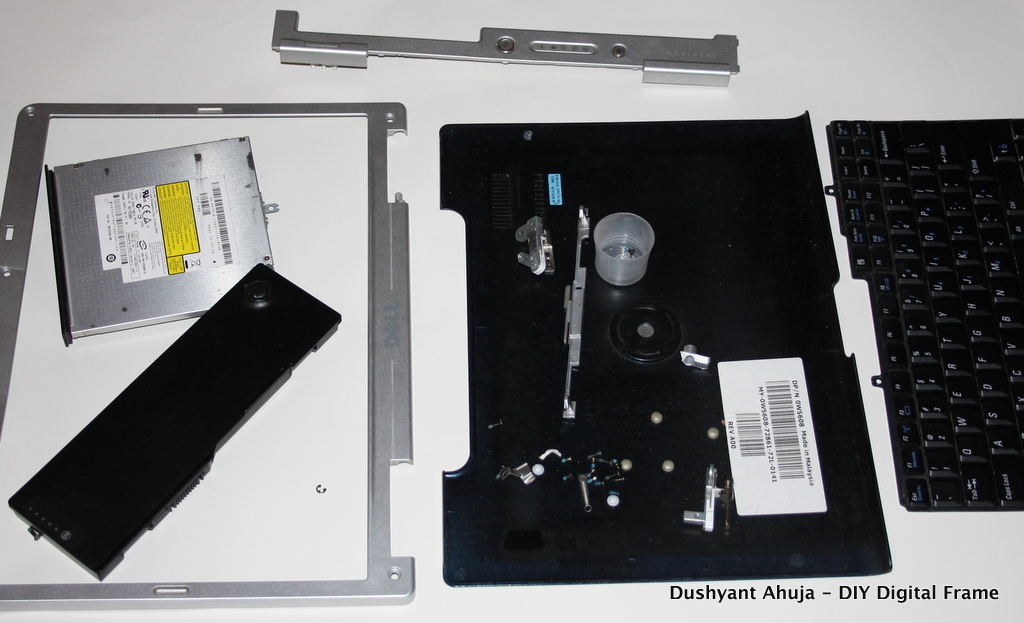
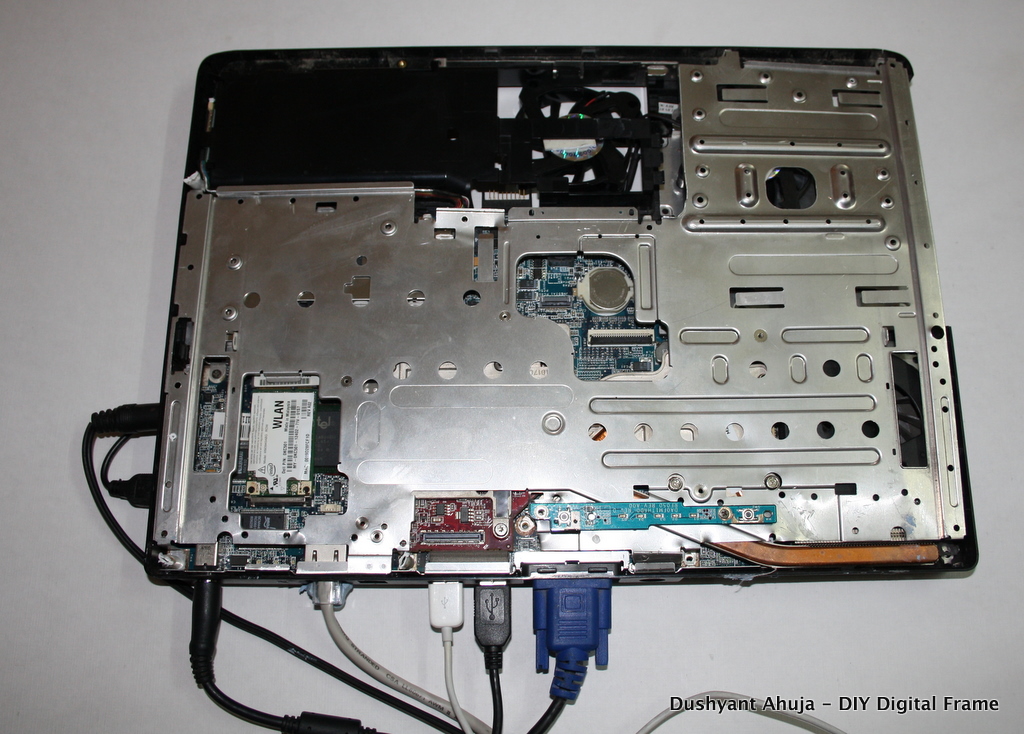
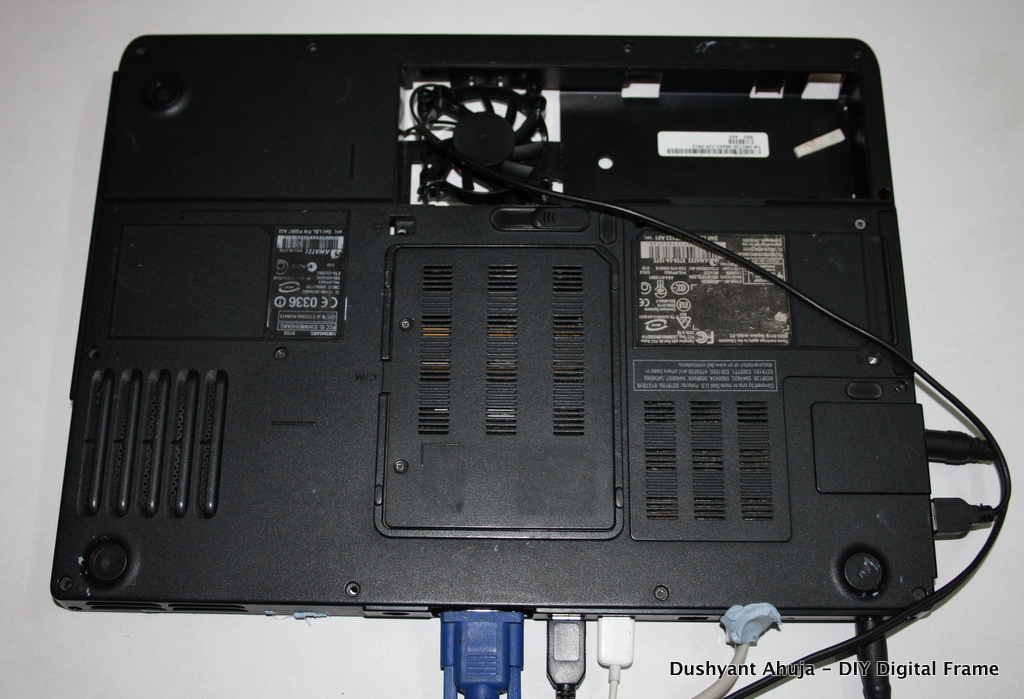
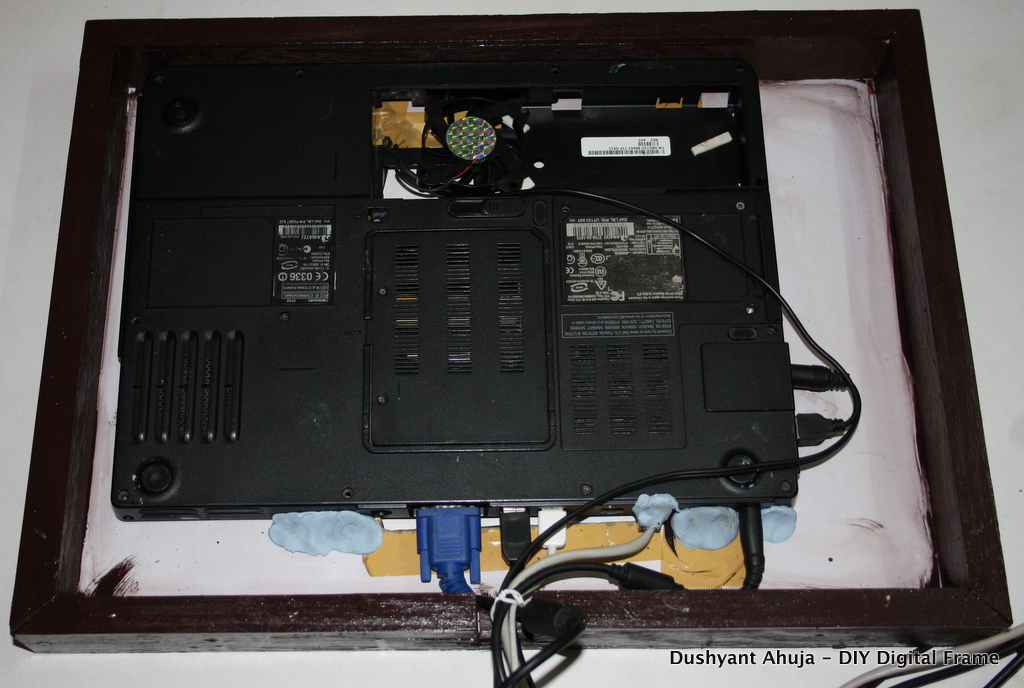
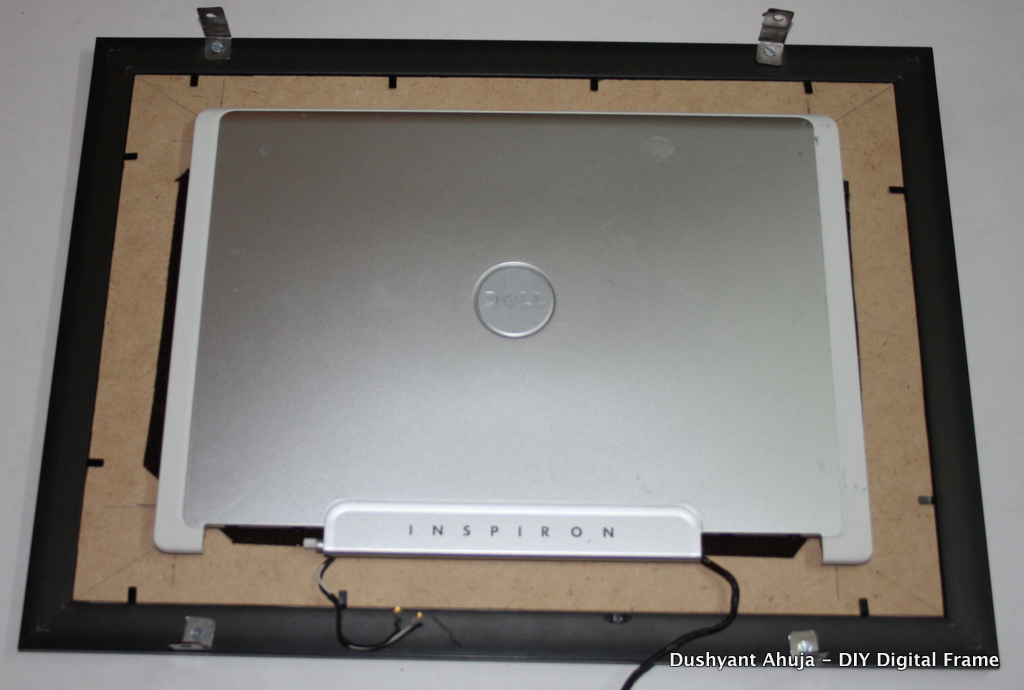
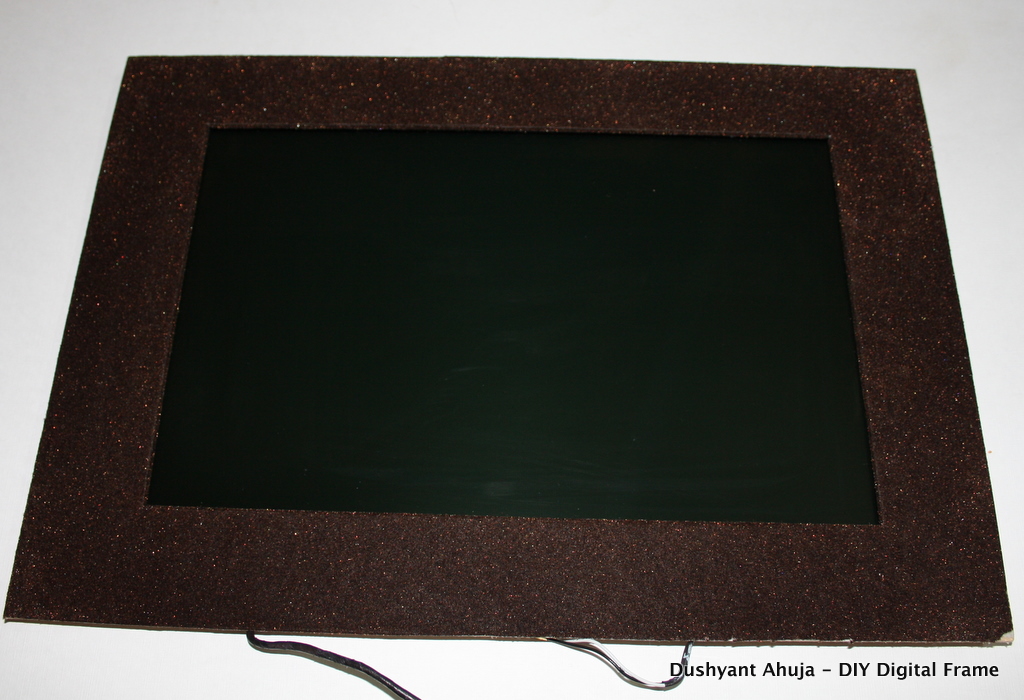
Once you have setup the software, you can start to disassemble your laptop and “frame” it. This step depends on your laptop model and manufacturer, and you can find many directions on the net (again google is your best friend). I would suggest, you try to find the guide for your laptop before jumping in as there are many hidden screws and you’re liable to break something (I know I did, missed one screw on the front side of the laptop and forced open the casing – luckily only the casing broke)
- The first step was to buy a frame. I bought a ready-made frame from a local photo framing shop
- Next was to open the laptop and detach the screen so that it can be pasted on the back.
- To make space, I also removed the battery, DVD Drive, keyboard, trackpad, etc. Probably should not have removed the battery - as I realised the power supply of this Dell laptop doesn't provide enough power for the CPU - and the system now constantly remains at low power mode
- I had to add two USB-powered fans as my CPU was getting very hot – later found out that was because of a 1″ thick layer of dust in the heatsink fan. Be sure to check that.
- The next step was to insert the CPU in to the box, I had asked the carpenter to make two large cutouts at the back – this allowed for additional ventilation as well as access to the power switch.
- The last part was mounting the LCD on the frame – this is the most delicate step and must be done extremely carefully. I tried to stick it using FeviBond, araldite, quickfix, et al. However was finally successful with strong 2-sided tape. Was able to buy a roll from a car accessories shop. Do NOT use the one which you get in stationery shops – that does not work and the LCD may slip after some time.
- Finally, you can screw-in the front of the frame to the box and switch on
The Remote
Bought a Multimedia IR PC Remote Controller with USB Receiver: http://www.ebay.in/itm/Multimedia-IR-PC-Remote-Con...
Connected the receiver to a USB port - and this remote works out of the box. It works like a USB keyboard. You can then setup the shortcut buttons on the remote as follows:
Go to Settings Manager -> Keyboard -> Application Shortcuts -> Add
I've setup the following commands:
<Control><Alt>3 ~/Documents/slideshow.sh
<Control><Alt>2 ~/Documents/myth.sh
XF86HomePage ~/Documents/youtube.sh
XF86AudioNext nyxmms2 next
XF86AudioNext nyxmms2 prev
<Control><Alt>1 nyxmms2 toggle
To Do
To Do:
- Control wi-fi router through remote (restart, etc)
- E-book server - Serve e-books to the nook over wi-fi
- Sync music, videos and photos from usb HDD
- Download torrents automatically by placing a torrent file in my dropbox
- Send commands via email – e.g start slideshow, suspend, start/ stop torrents, etc.
- Act as a wireless server for my macbook time machine