Digital Painting for Illustrators
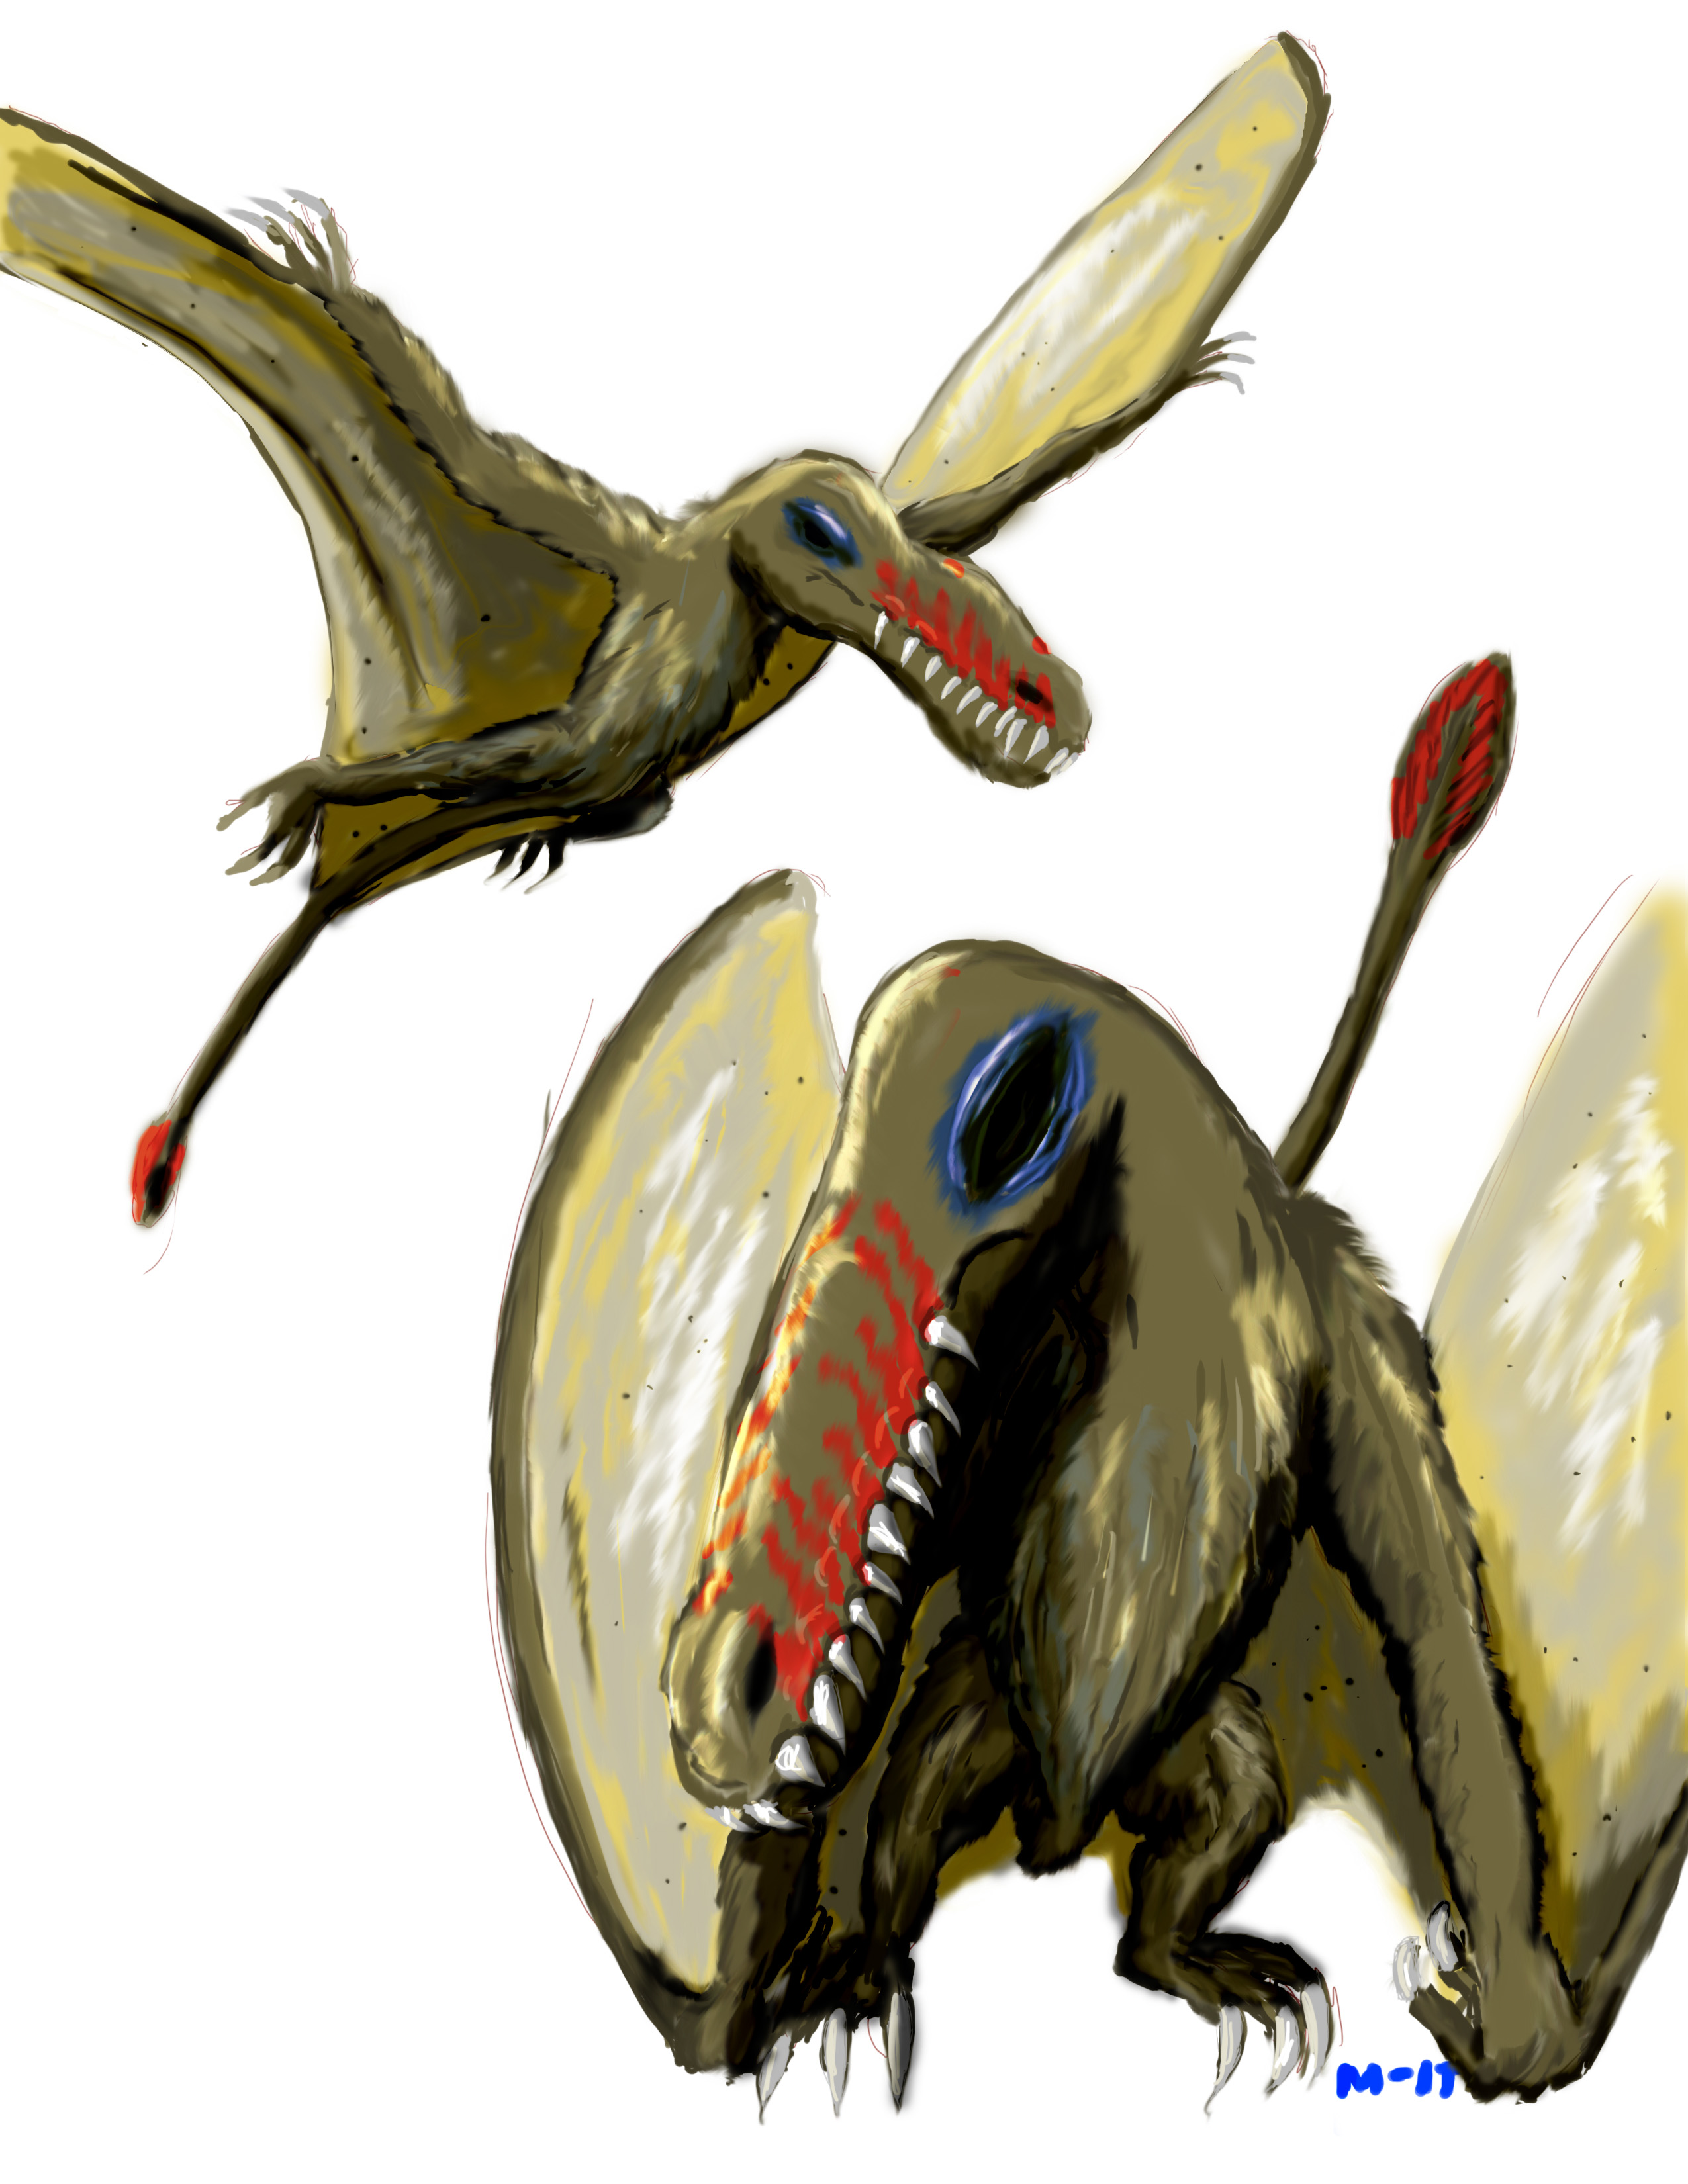
I've been drawing with pen on paper since I was four but I could never get the hang of painting. Illustration is, at least for me, very different than painting.
I've been interested in digital painting for a while now. I tried doing it with a mouse but never got anywhere. I then got a little bamboo tablet but had some trouble figuring out how to do more or less photorealistic art. The process I use for illustration just did not work for painting or digital otherwise. I looked at other tutorials and got hints at what I was doing wrong or more accurately how I was thinking wrong. This is all about what I've learned.
Software
This kind of art can be done with a range of software from GIMP to Photoshop. You'll need a program that uses layers and has a smudge tool. The difference between programs is significant but the method here can be worked on any of them.
Hardware
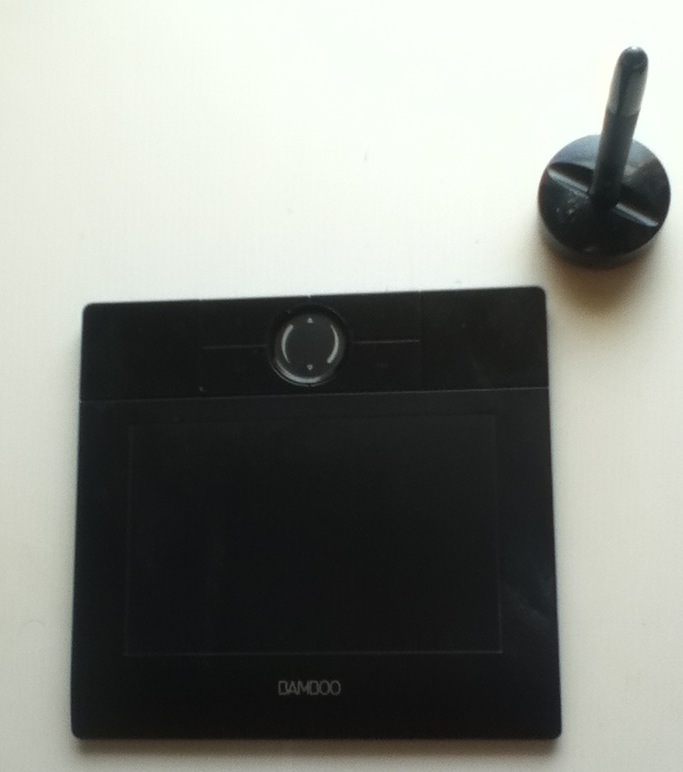
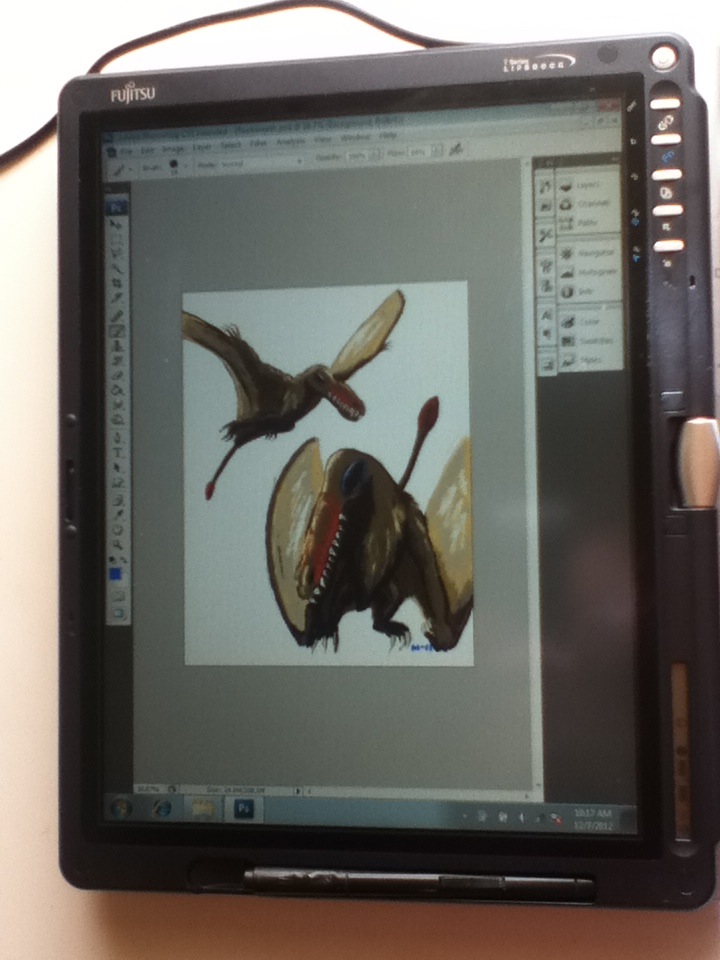
At a minimum a tablet is important to keep the feel of drawing. I have a small Wacom Bamboo but I was able to get a hold of a old Fujitsu tablet that has a built in Wacom. Being able to draw on the surface that the artwork is on is a huge advantage but I've done this on my Bamboo also.
You
This is a raw outline of how I've been painting. I haven't settled on any one method yet, you probably won't right away either. Be willing to practice and experiment to find your style and a process that works well for you.
Sketching
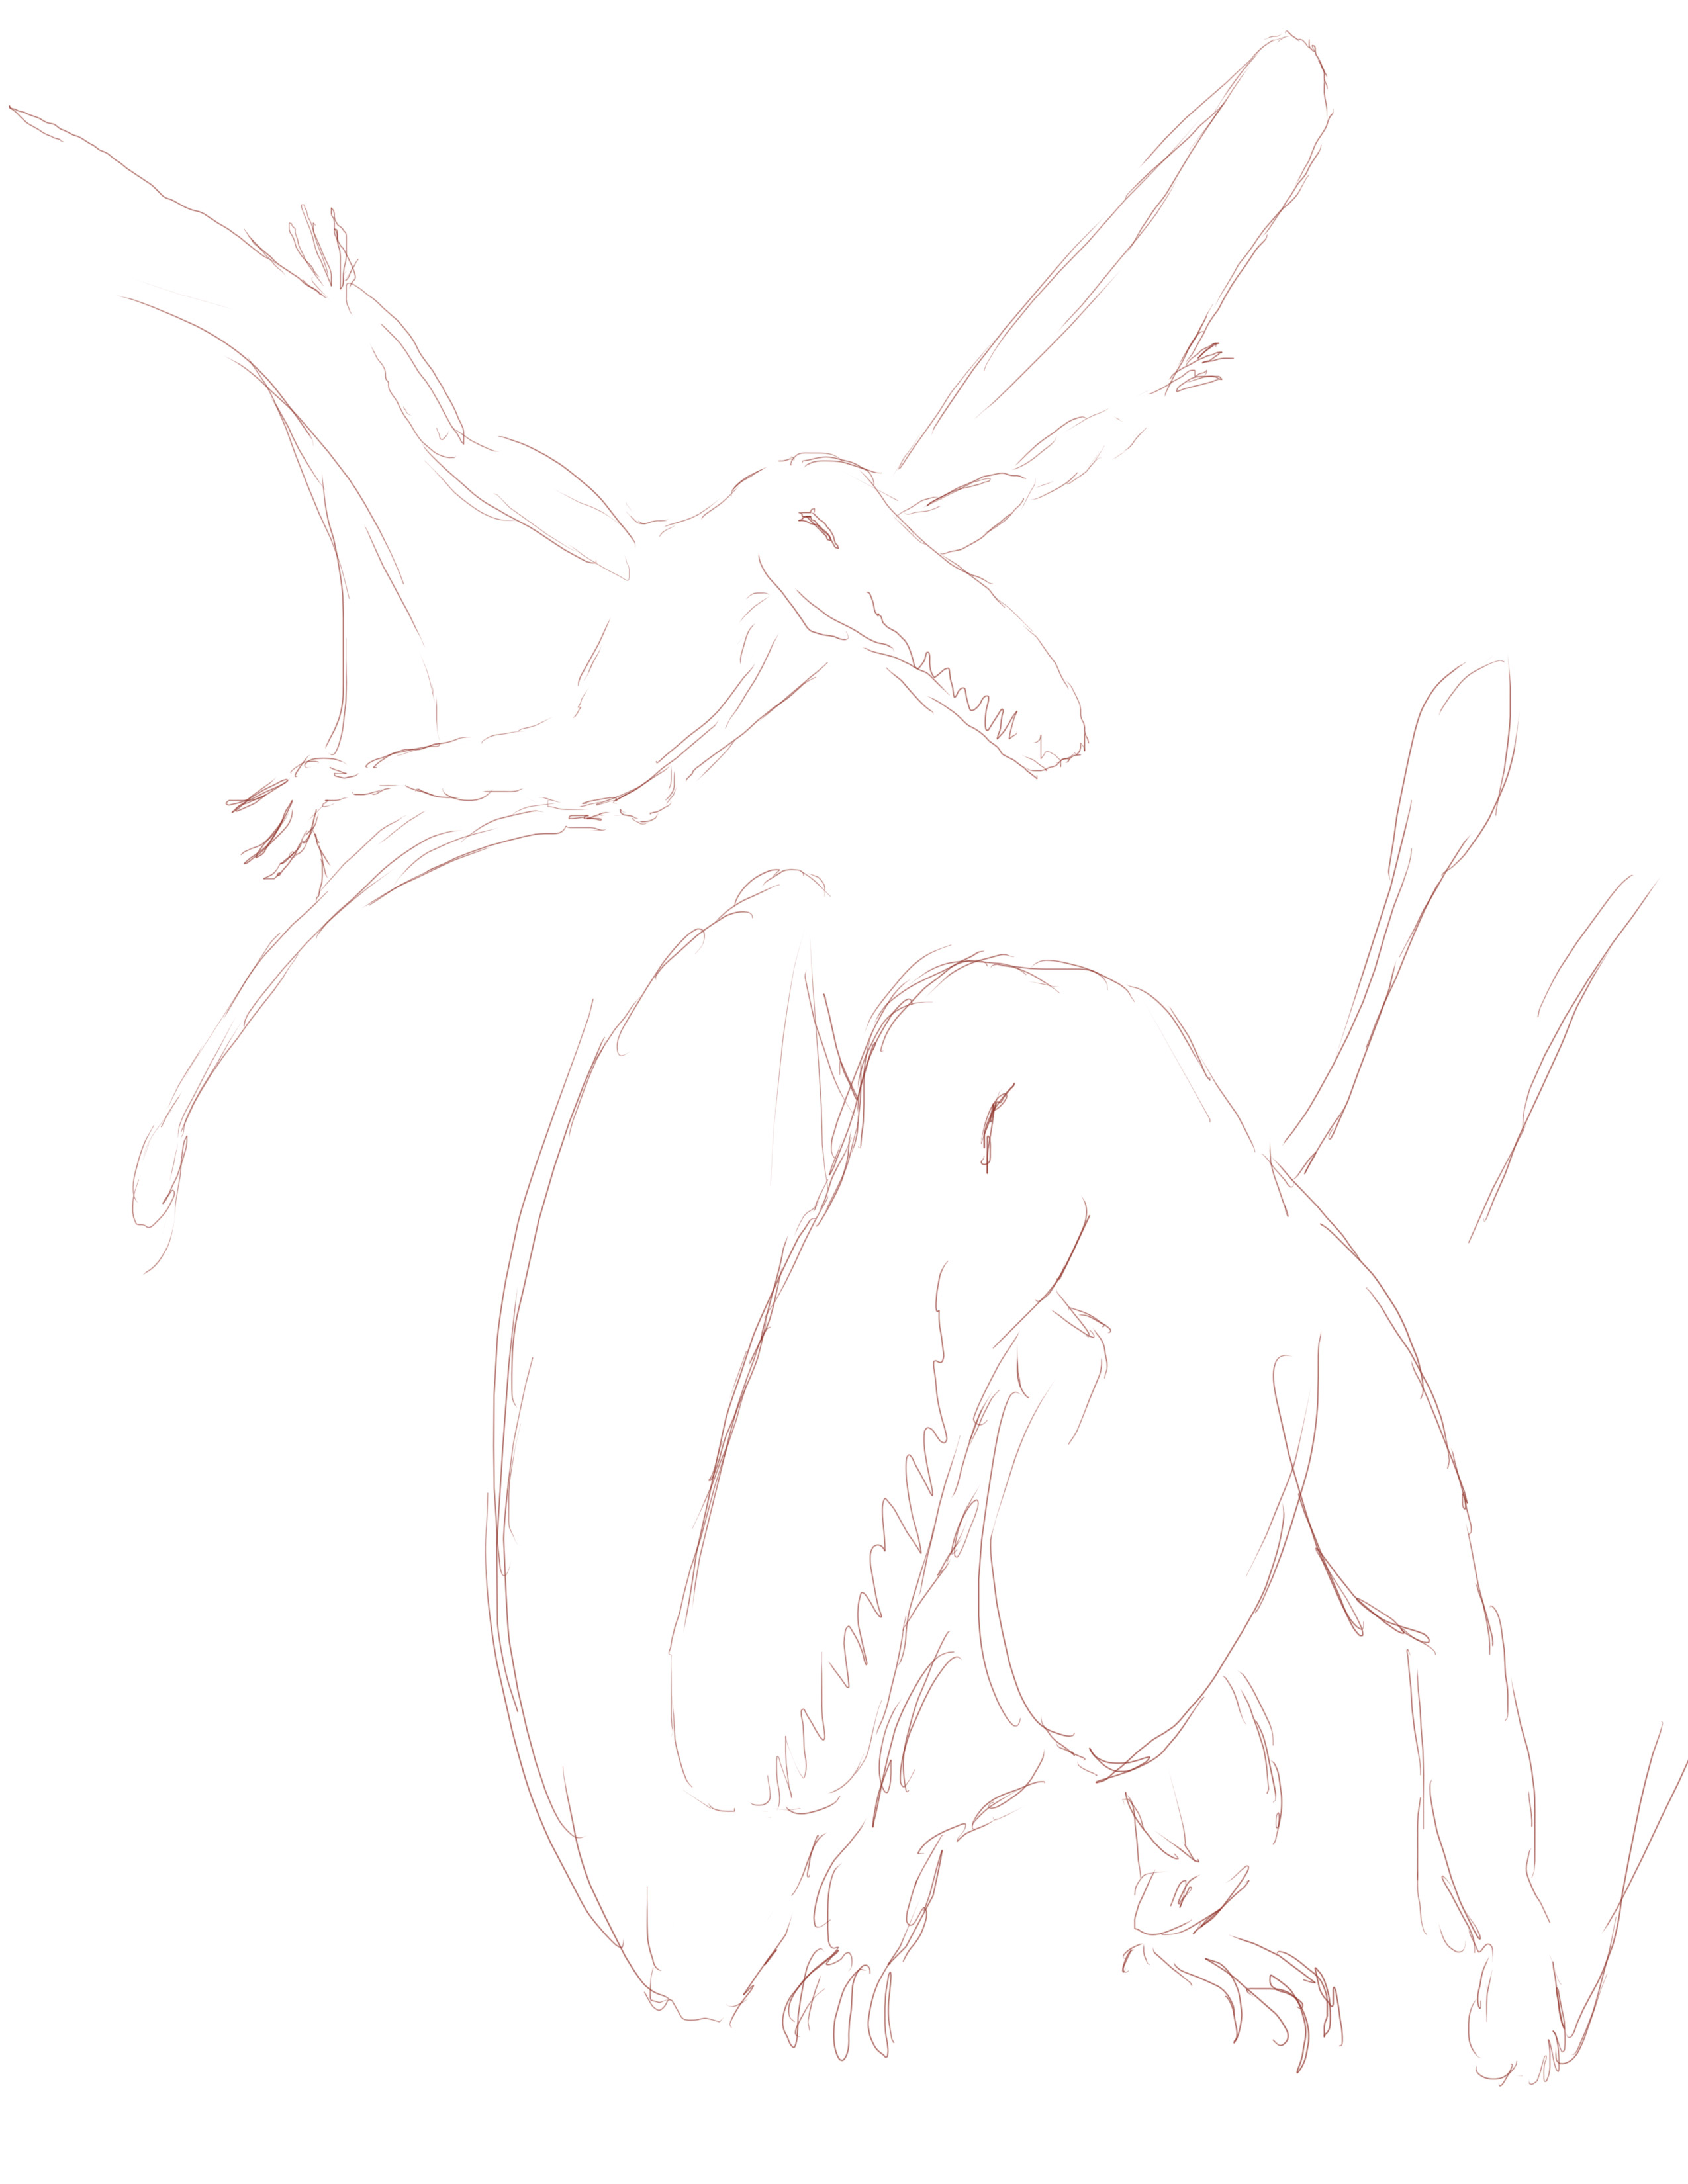
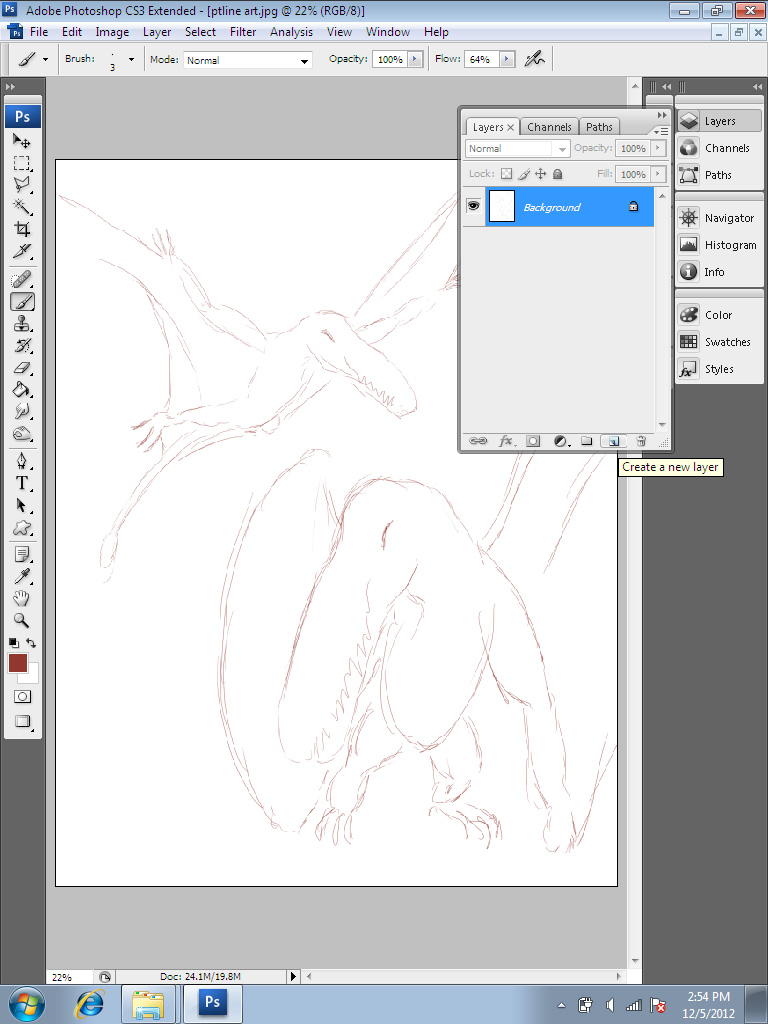
The first step is to do a rough sketch. This is pretty standard and comfy but it led to a problem. When drawing on paper, the sketch lines guide my process. Early on, when digital painting I had one of two problems, either I was painting over my sketch lines and effectively erasing them or I'd have to erase the lines later.
For this, all you need is the vaguest of outlines. If you're an illustrator like me, you'll want to strengthen details that you like in your sketch. You'll want to clean up lines and refine things. Resist that urge. Anything you do in this sketch is going to be removed later. Don't invest any extra time here. This is part of the philosophy that I had as an illustrator and had to overcome.
The solution to this problem is relatively simple. Layers. There are many ways I've used to do my sketch lines, if you look closely you'll find that I don't quite follow either of the processes I describe. This is because I'm still experimenting and because I forget to take steps that would save me time and effort. Choose one that you're more comfortable with or develop your own.
Painting Over
Leave the background blank for now. I'm not worried about the background for this picture so I won't be working on that. Create a new layer for the sketch lines. This way you can paint a background and not disturb your main artwork. Then, with your sketch lines in place, create a layer on top of your sketch lines. Set the opacity to a value that allows you to see your lines under the art, usually 90% works.
The pitfall of this method is if you start using multiple layers to paint on (which is a good idea) you'll have to set the opacity on all those layers or you'll have some that block out the sketching and one that doesn't. At worst, I've made the mistake of merging my main layer into a layer that's at 100% opacity which locks the paint at it's 90% opacity value.
If that scares you at all, maybe you should go with the next option.
Painting Under
Alternatively you can place the layer that you'll be doing your painting on under your sketch lines. This way they're always on top. In this example, this would work easily because my lines are thin and don't obscure much.
The pitfall here is that you may not be able to see what you're painting with the lines hovering over. This will greatly depend on your style and the subject you're painting. You'll want to sketch with a very fine line if you're going to paint under.
Filling in the Canvas
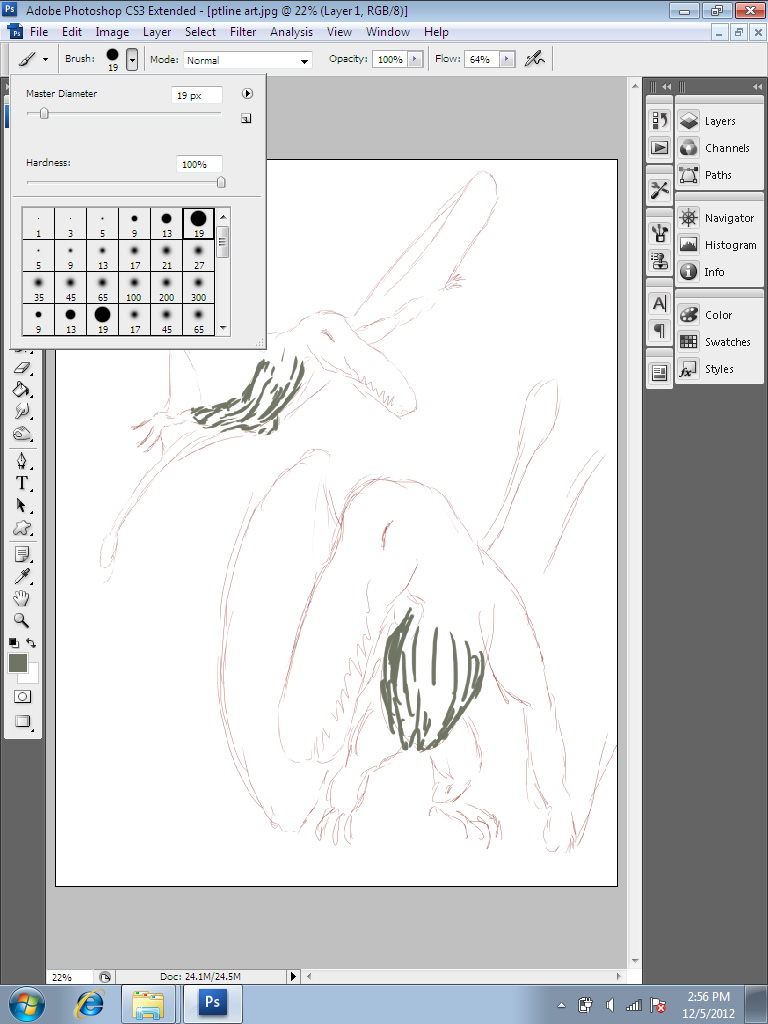
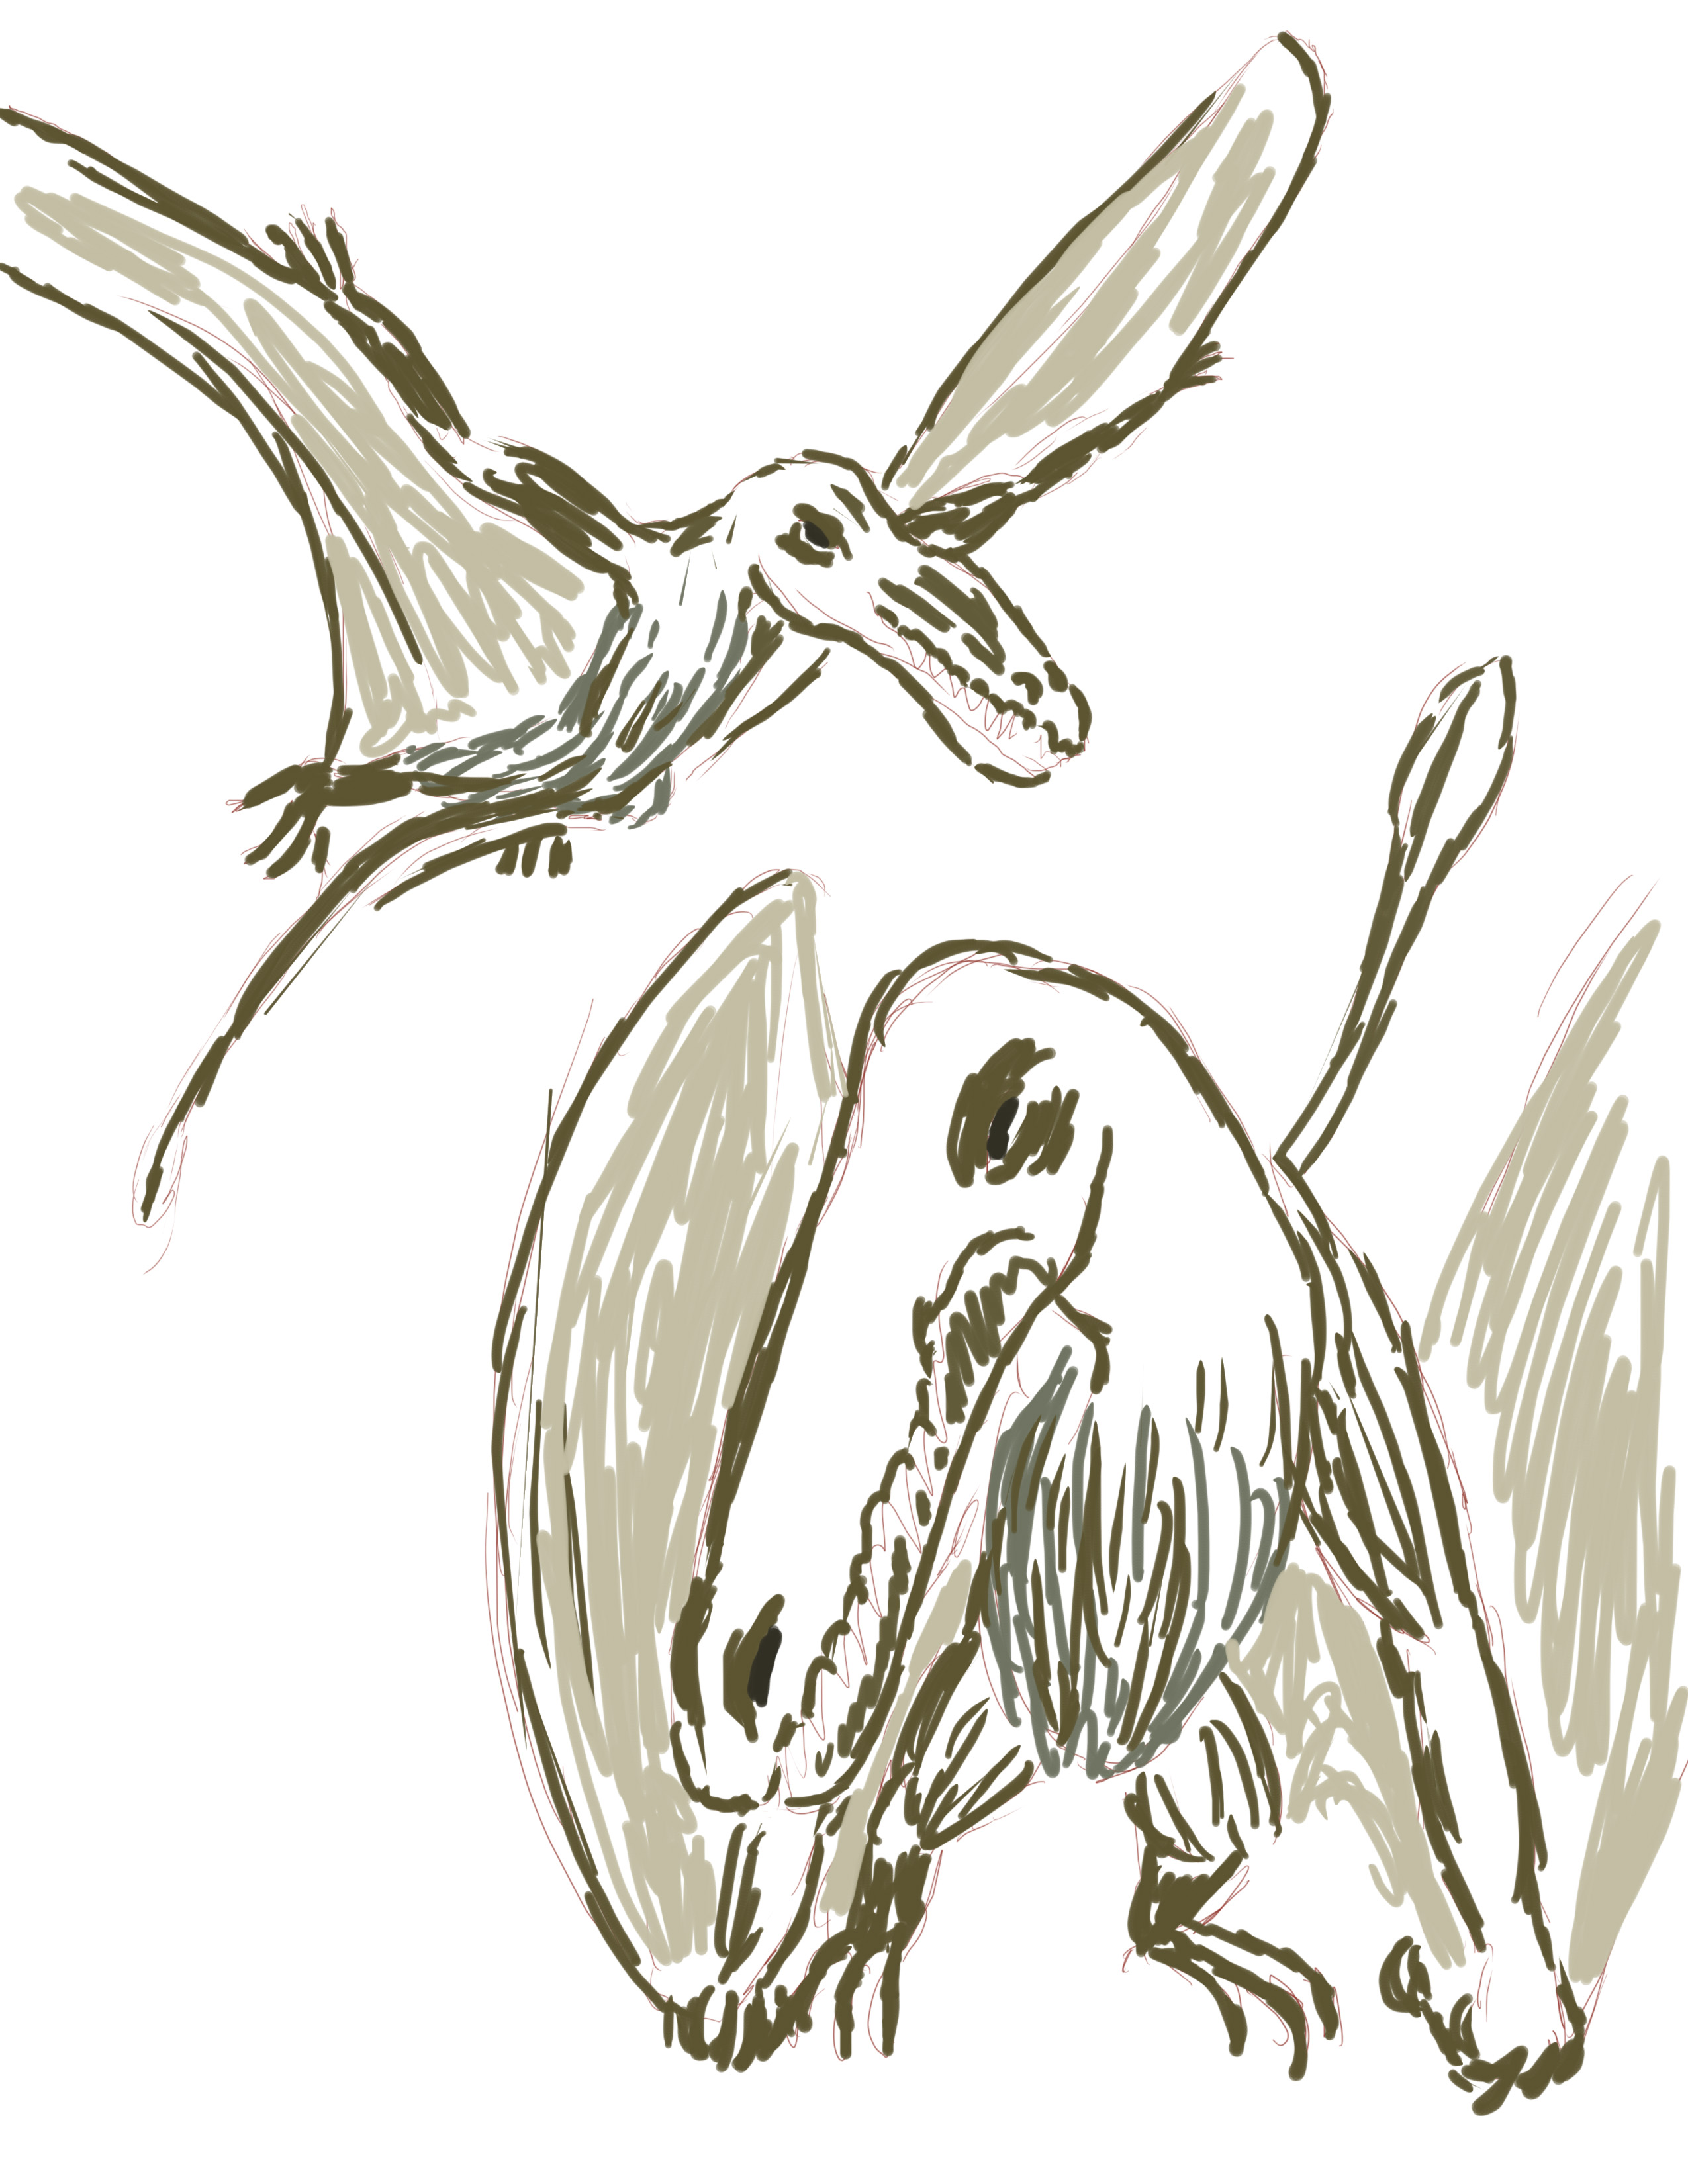
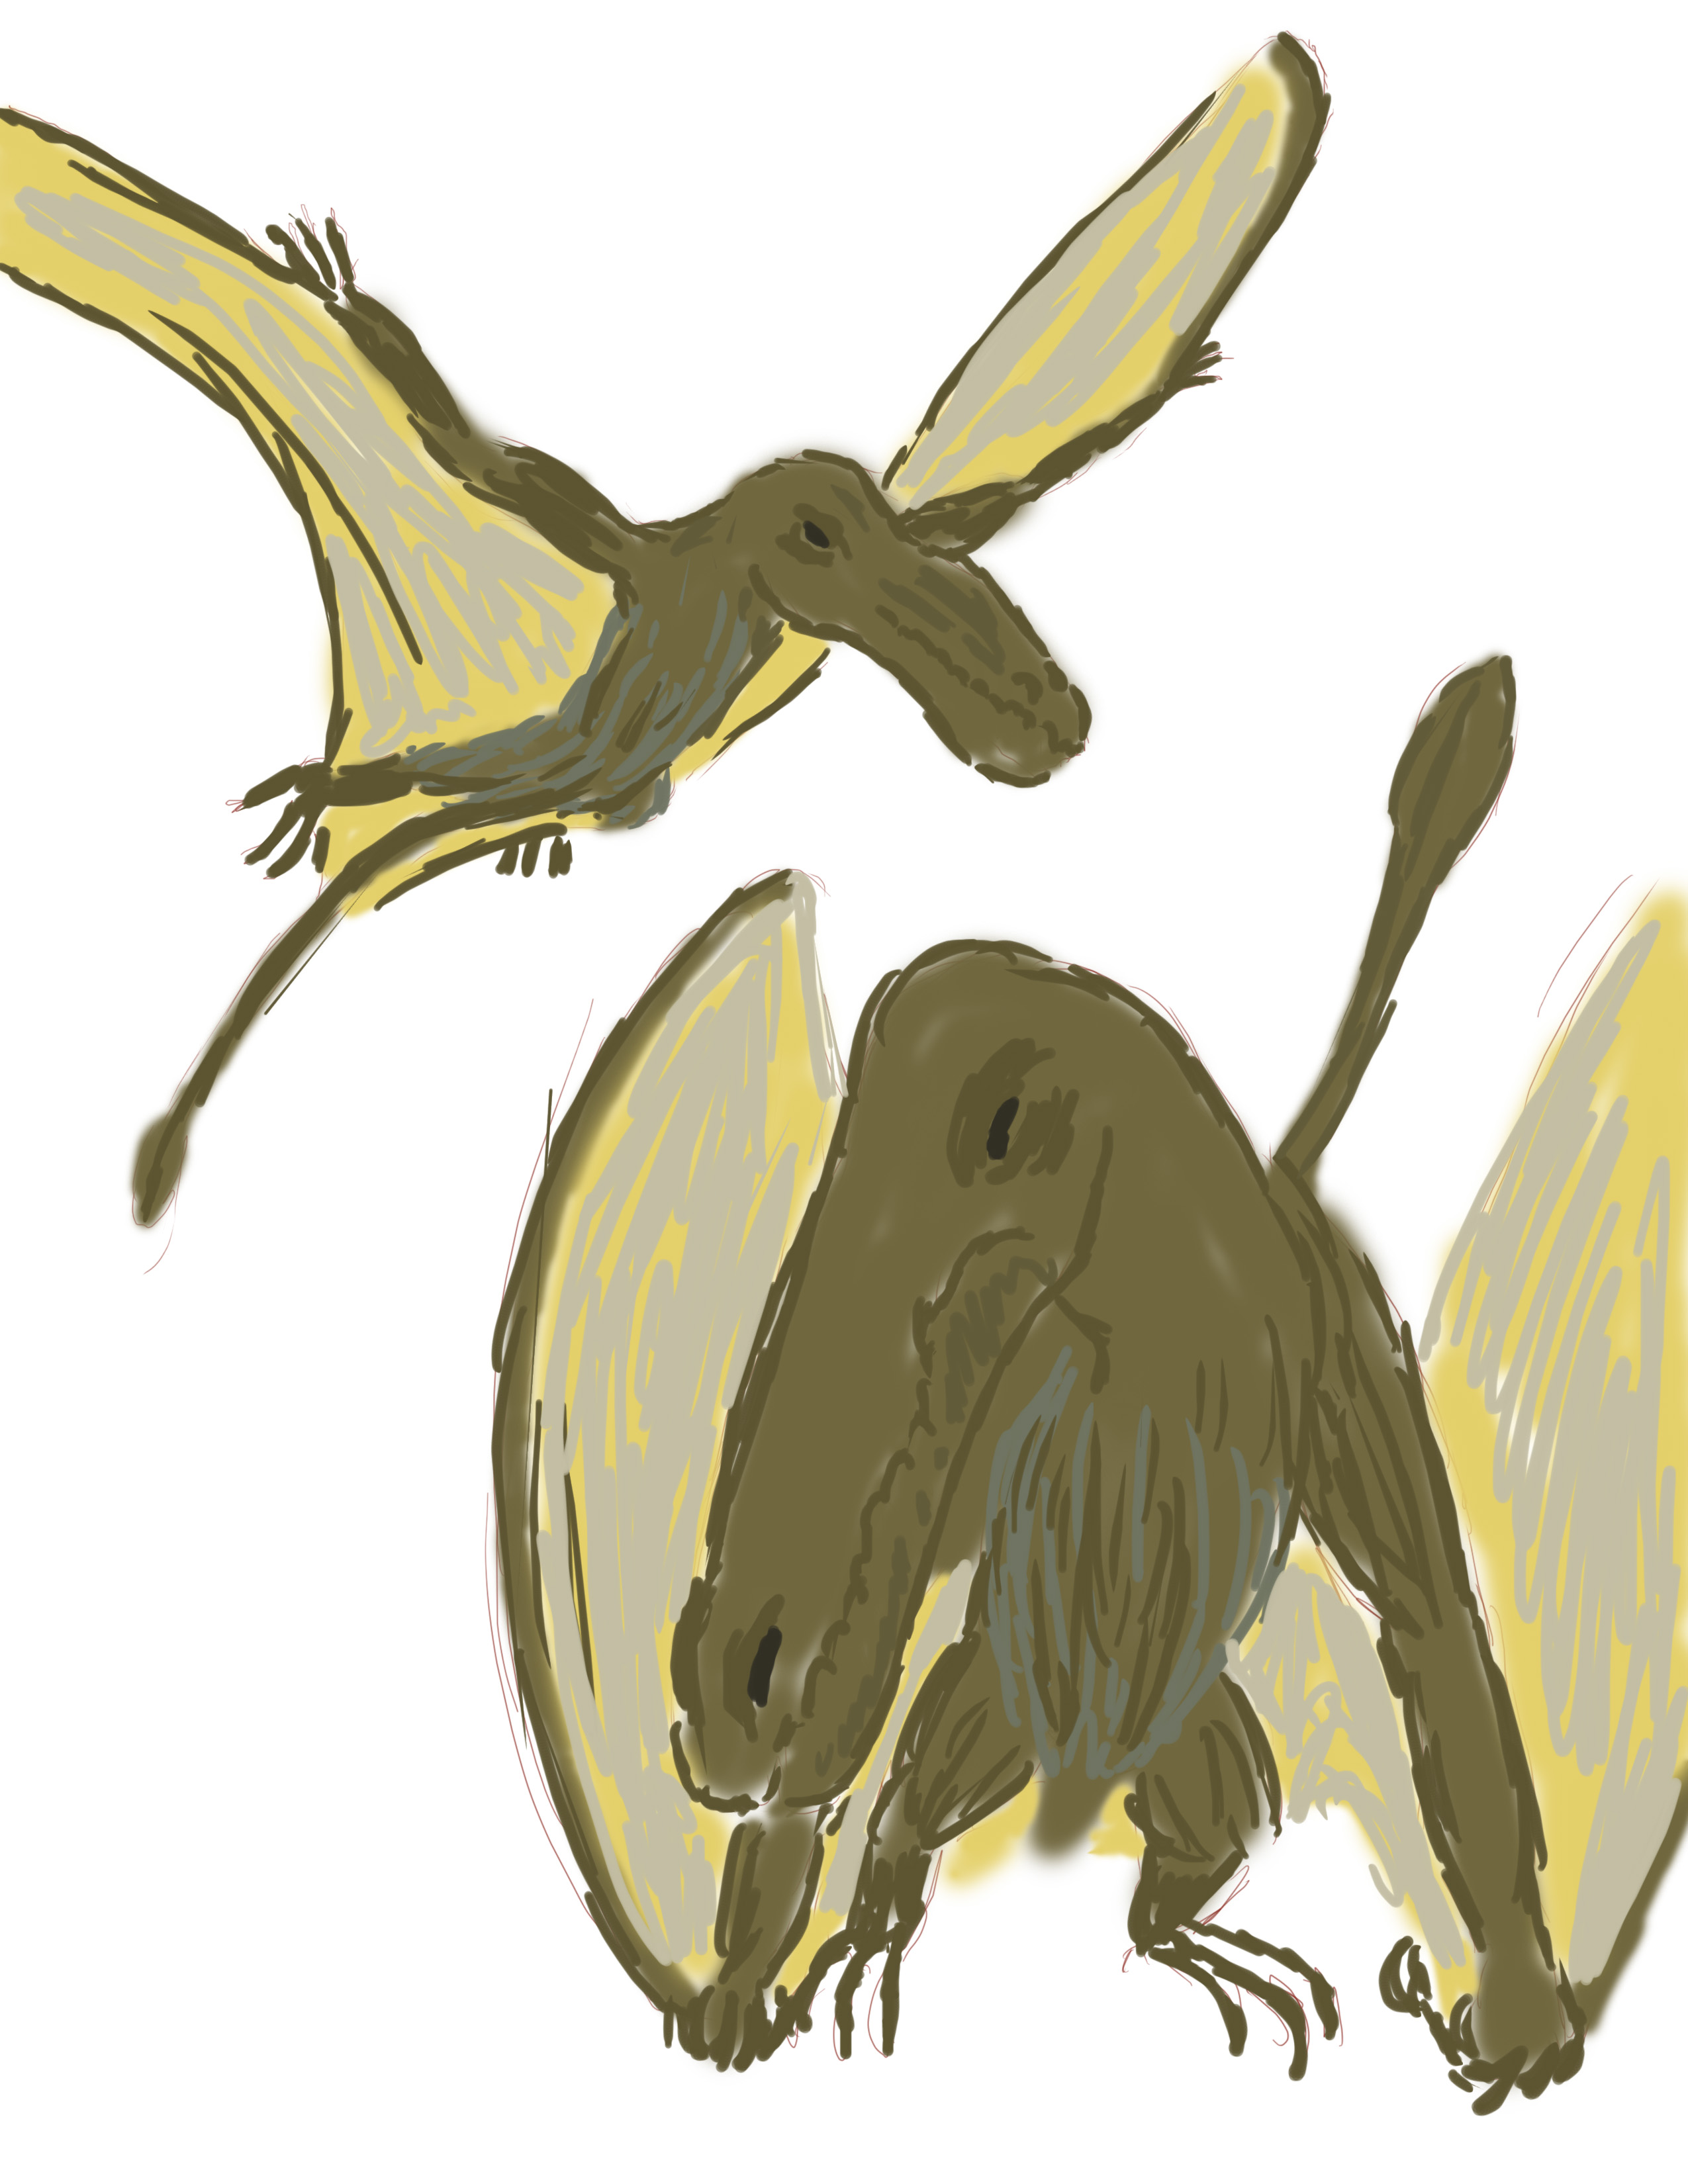
With your main paint layer, get a large brush and start filling in the area your line art covers. Often the largest brush you can select is best. This part is crucial if you want to finish the piece in any short order. If you're looking to produce art professionally, the speed that you can complete a quality picture is important. What this step is doing is giving you "paint" that can be pushed around on your canvas. It doesn't have to be exact, it doesn't have to be pretty.
What you do want is to introduce several main colors into your canvas right away. You can throw these down quickly, what you're doing here is just getting the colors vaguely in place. You'll be pushing the paint around and painting over the parts that really don't work later. Right now, don't concentrate on details, it's all about the color.
Things that seem like they should be one color seldom are. They often blend a series of different colors. Here I want a brown fur look but I include some fairly substantial greens and yellows. Skin tones often have blues and greens as well as plenty of reds in them. Open a photograph in your drawing program and use the color picker to explore the different tones that you see. Especially with skin tones, I use this process to build a palette of colors that I will use in my paintings. Here I'm picking what strikes my eye.
In the example pictures, the brush I chose wasn't covering a large enough area. I got tempted to start putting in some detail. This was a mistake that I had to fix later. I put a layer underneath what i had already and with a much larger brush, painted in more color. Then I merged the two layers together.
Smudging Blurring and Detail Painting
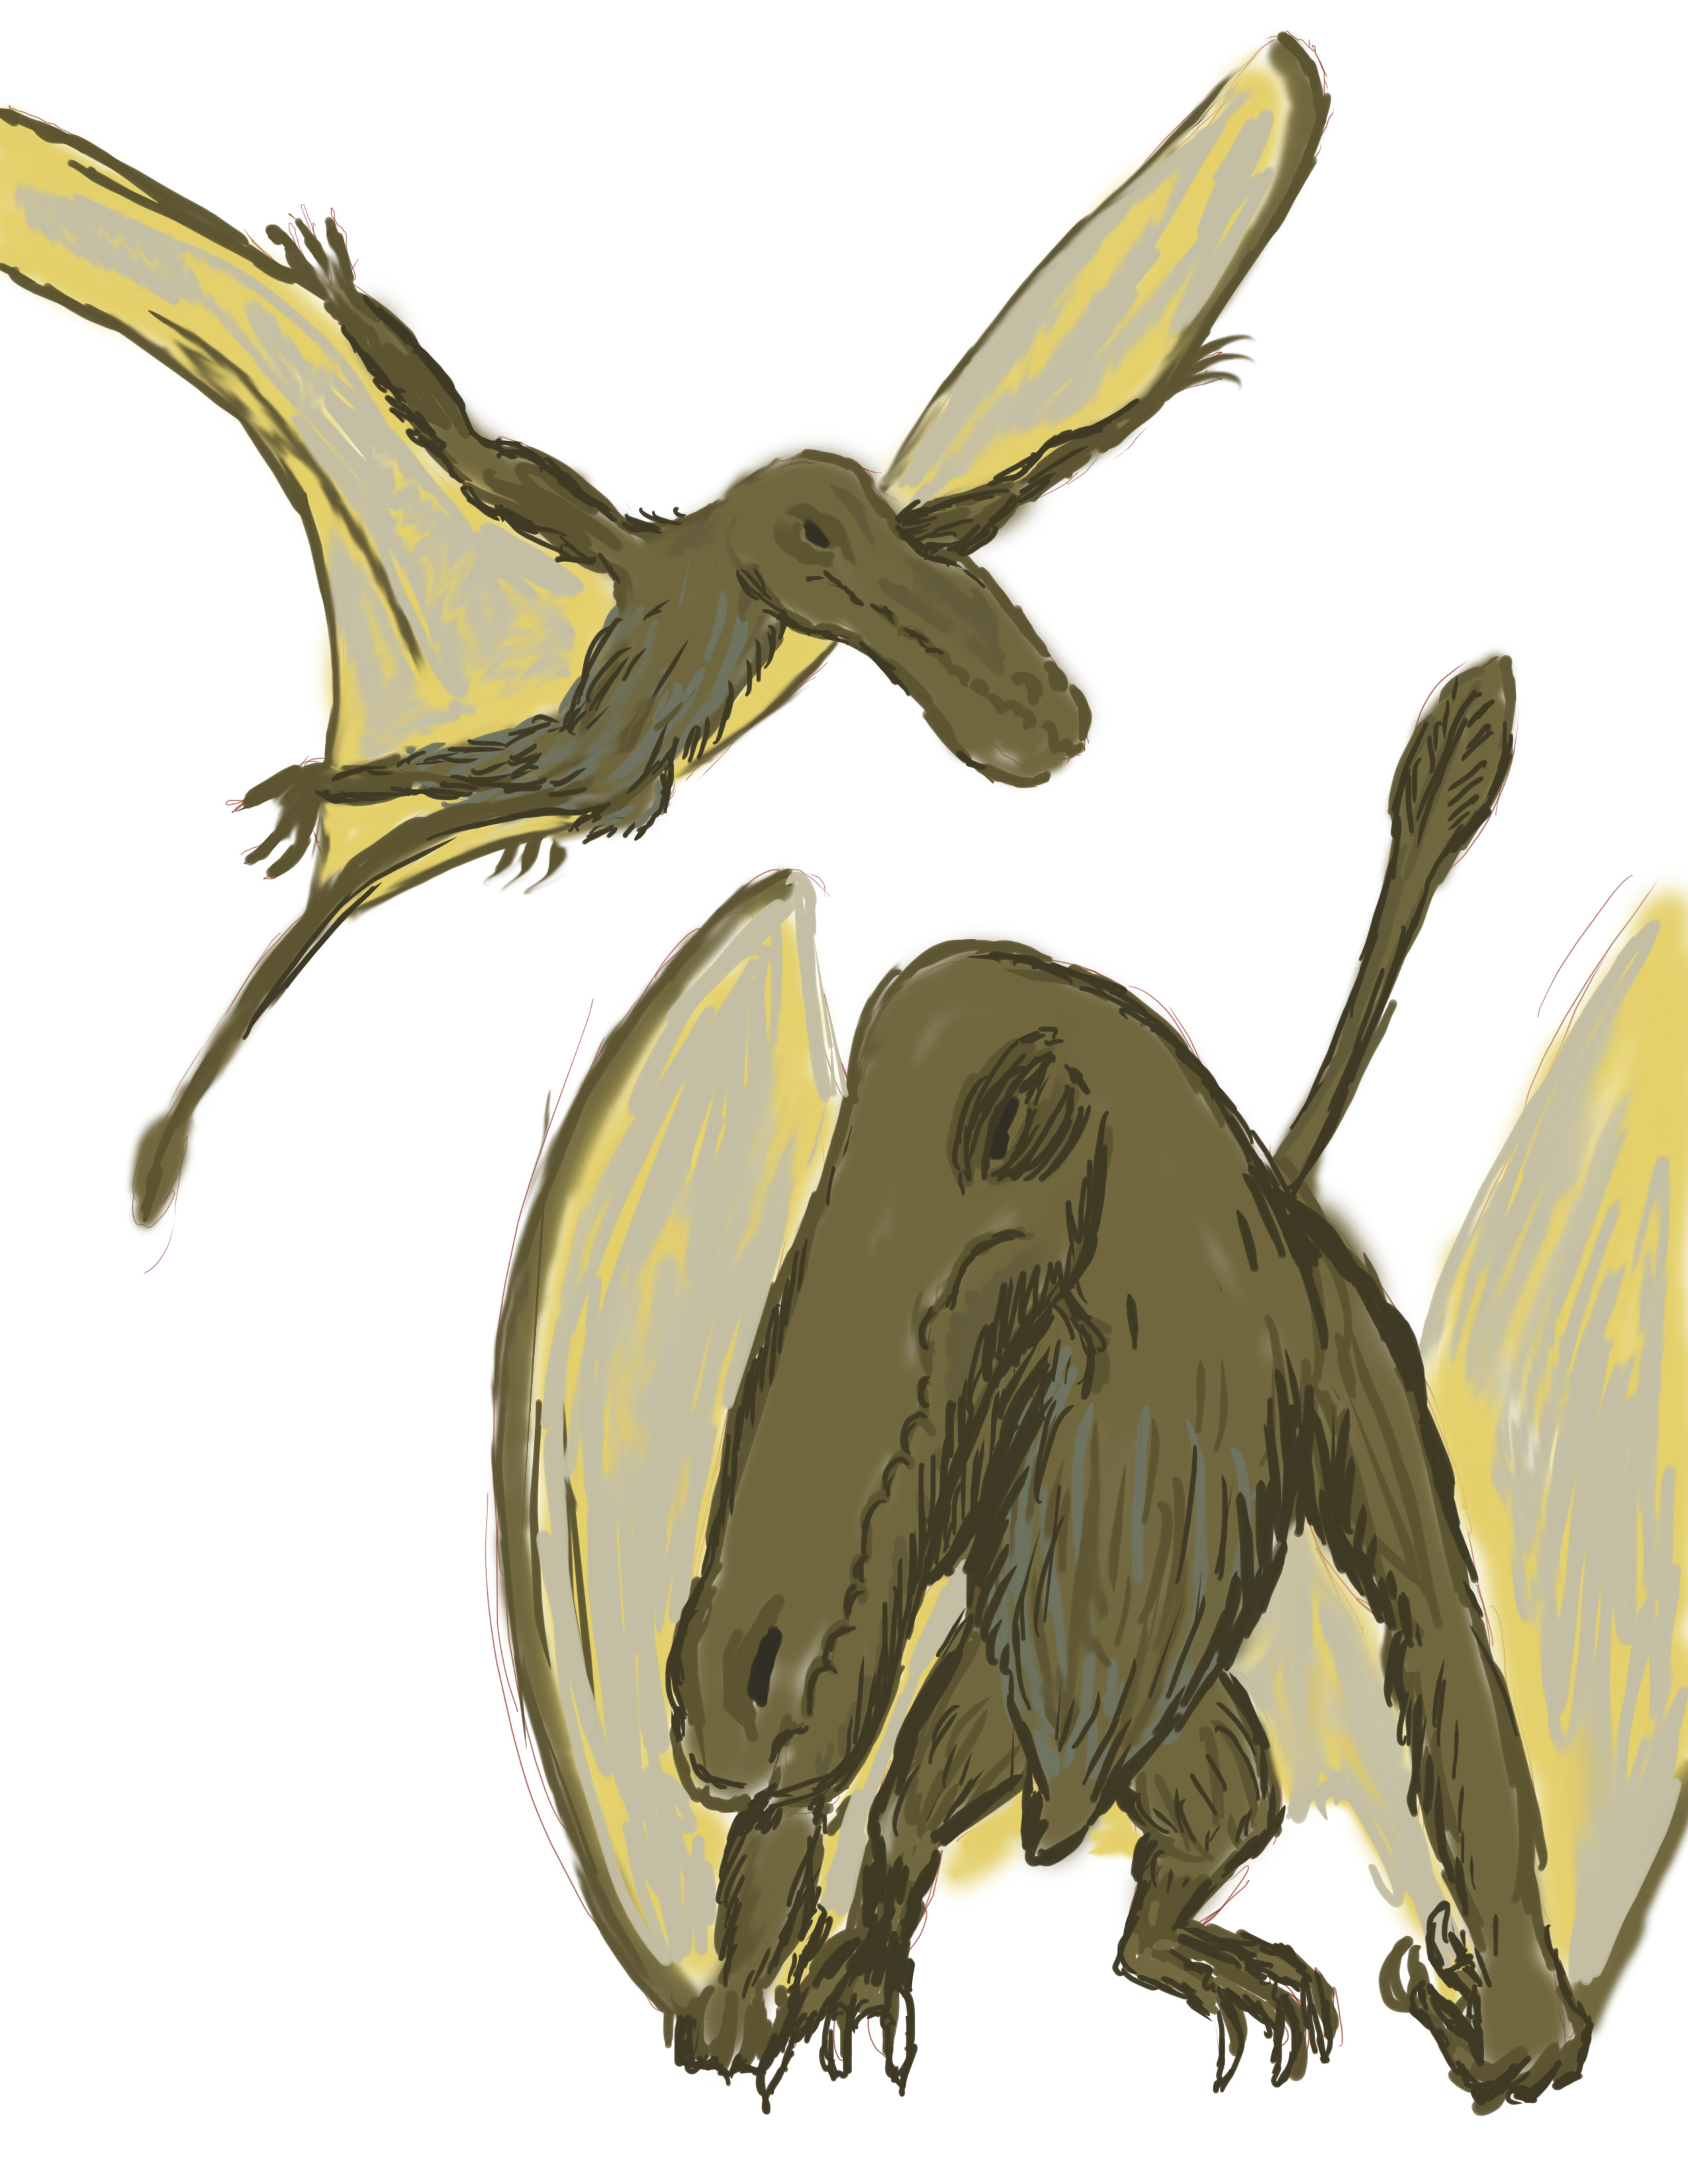
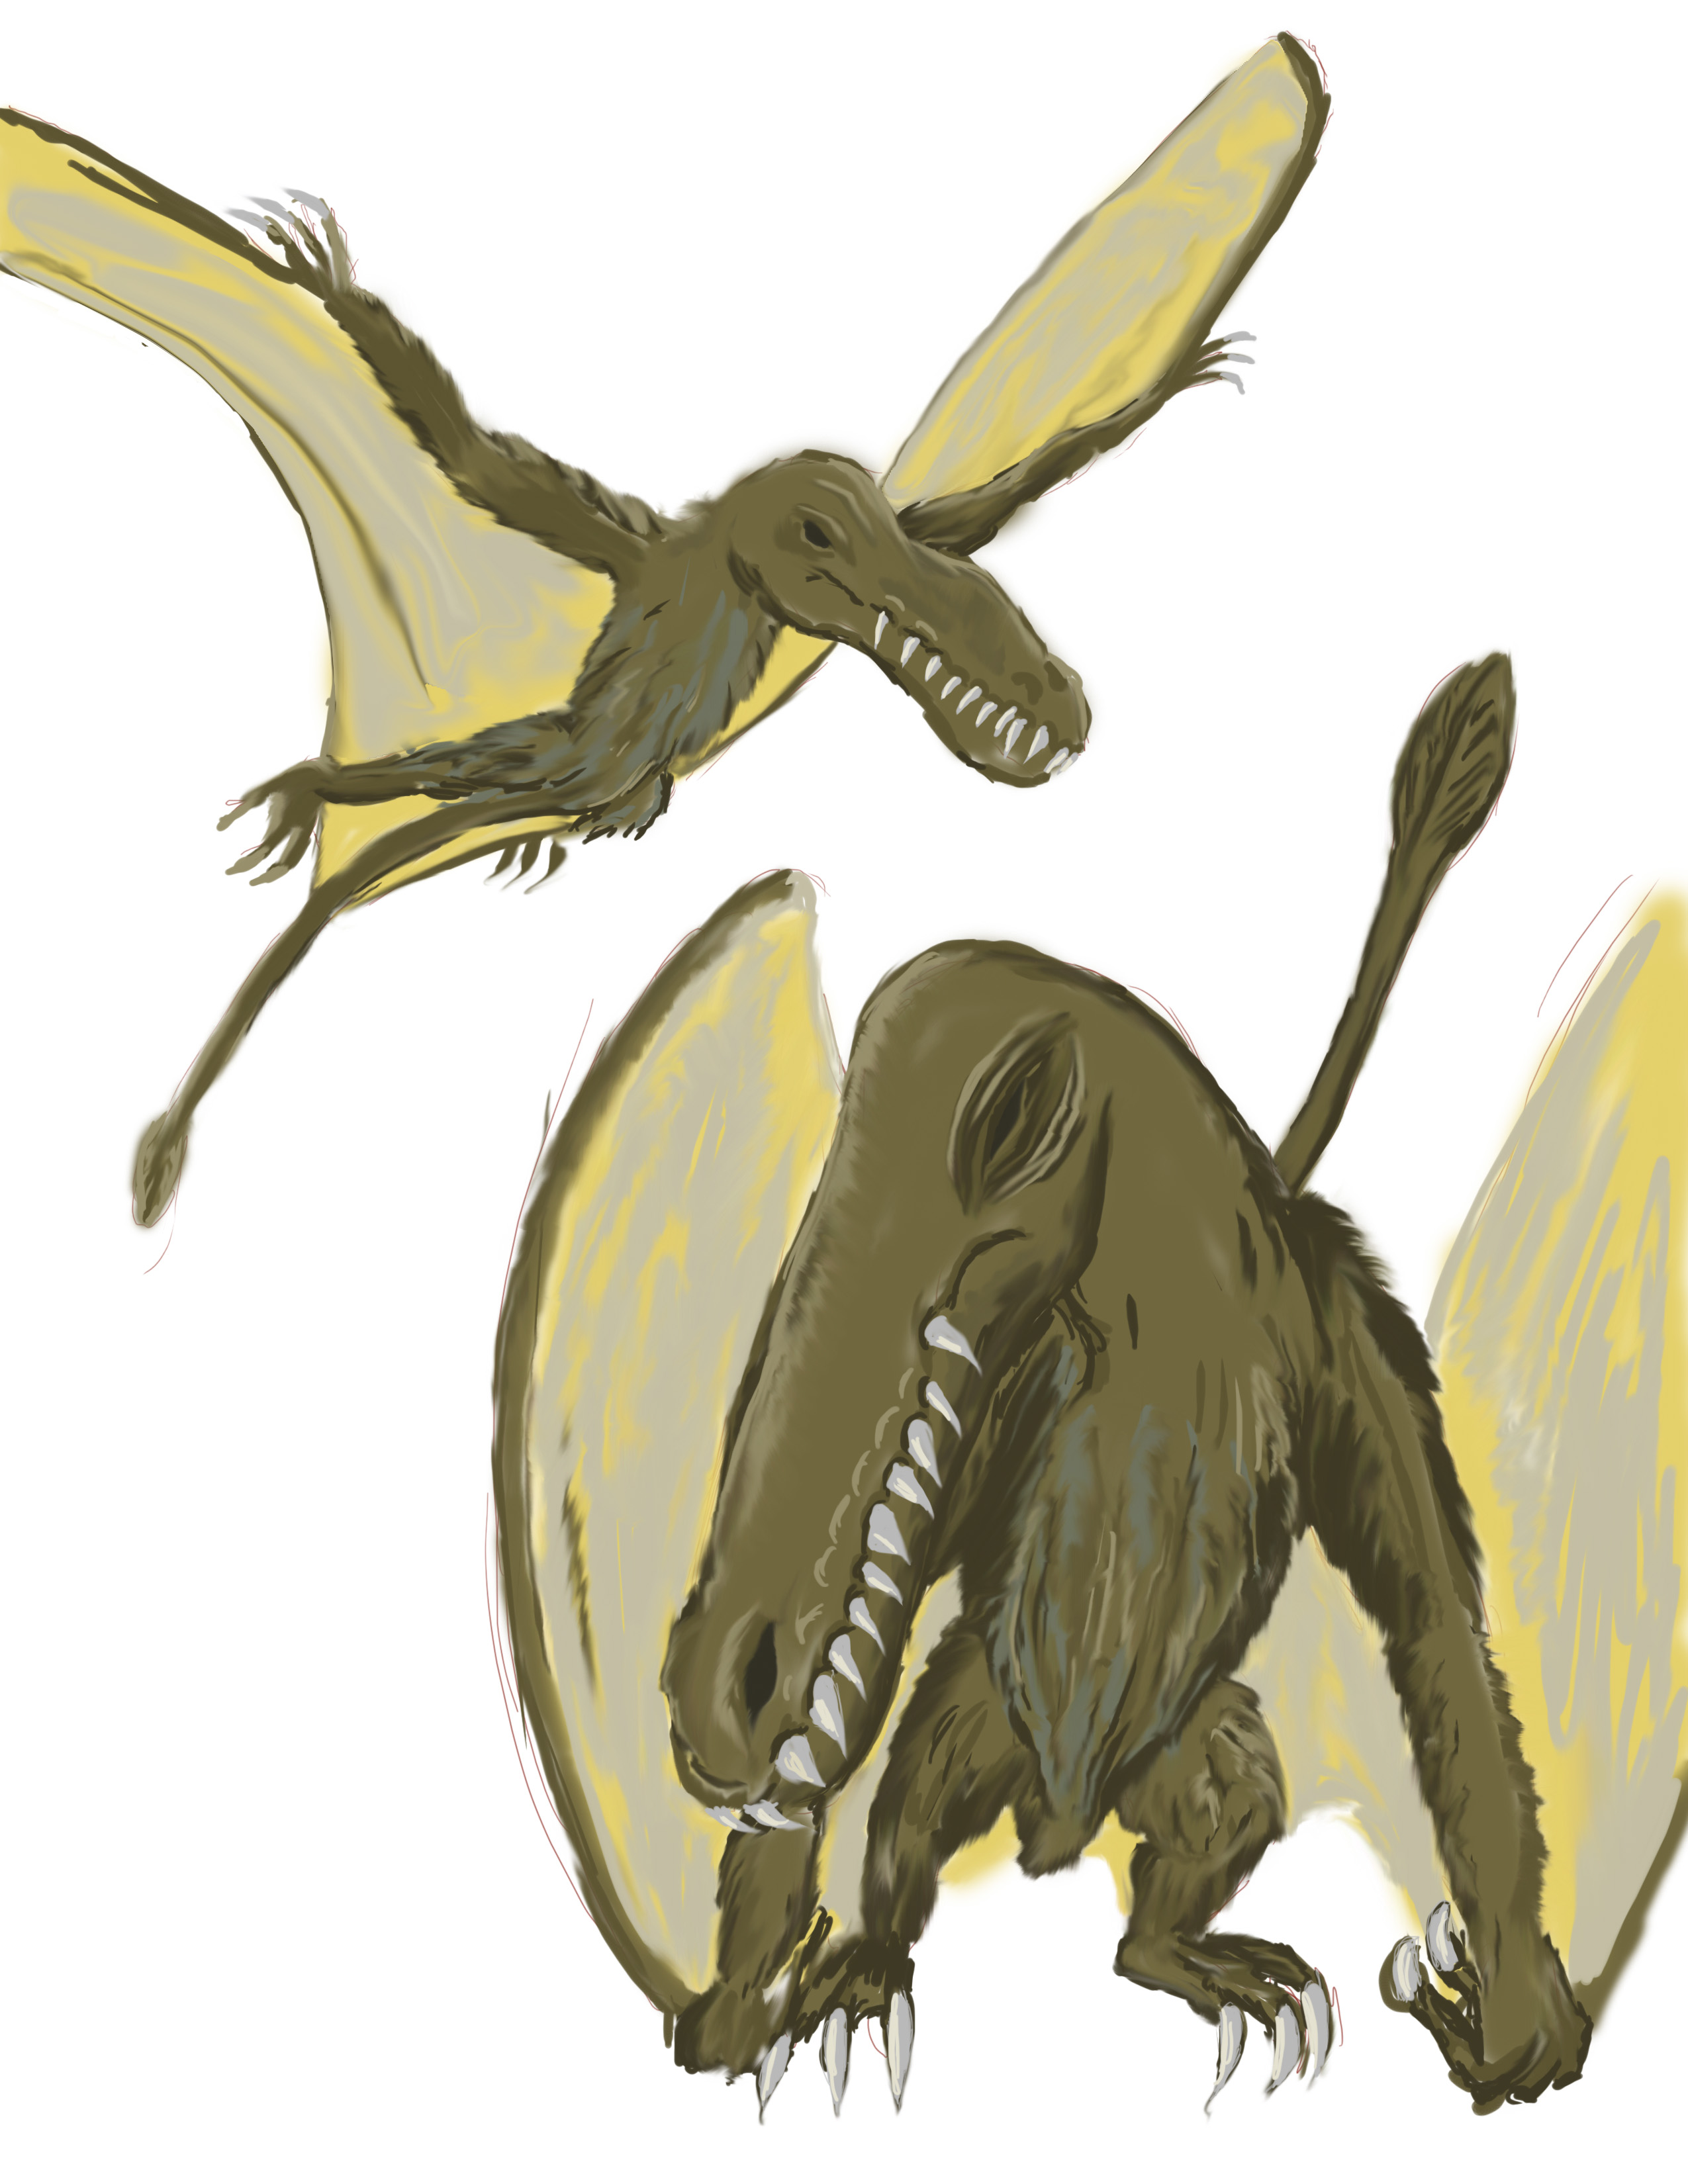
Now that your colors are in on the canvas, it's time to find your Smudge tool and Blur tool. The Smudge tool usually has an icon like a finger pointed downwards. This is now your primary tool for finishing your picture. You will also start to use a paintbrush with smaller brush sizes and then smudge them into place.
The main idea here is a to work the colors so that they're where you want them to be and they blend nicely together. I stumbled on this by accident but I've found that other artists work in a similar way. Using the smudge tool is foreign at first, it's something like smudging charcoal lines but it's more. It's like being able to push paint around a canvas and reshape it even after it's down. This is another point where the program you're using will diverge the most with how it's smudge tool behaves. Play with it, learn how it acts. Some programs allow you to use different brushes to smudge with. Changing brushes can give different effects.
Create a new layer for details. Paint in some details in fine brushes and then smudge the lines in to blend with their surroundings and shape them. Try repeating this process several times adding different details each time. For example, I add the teeth in on the second picture. I painted rough forms with a medium sized brush and then shaped each tooth with the smudge tool by dragging past the white on either side. When you're satisfied merge the layer in with your main painting.
Accentuate the forms by choosing darker tones of the colors you've used already. Paint them in where there should be shadows but don't go too dark, you'll be finishing your shading in the next step.
Add specific highlights to your subject. If you look at a photograph of different objects you'll notice that many times at their brightest, highlights are very close to white. Paint in small white highlights and then blur them in with a Blur tool and then paint your near white color in and blur or smudge it again. This is a very subjective situation that will require experimentation and practice.
Painting a line often looks artificial and unsatisfying. Paint lines and then smudge along the line to shape and blur them.
Darken
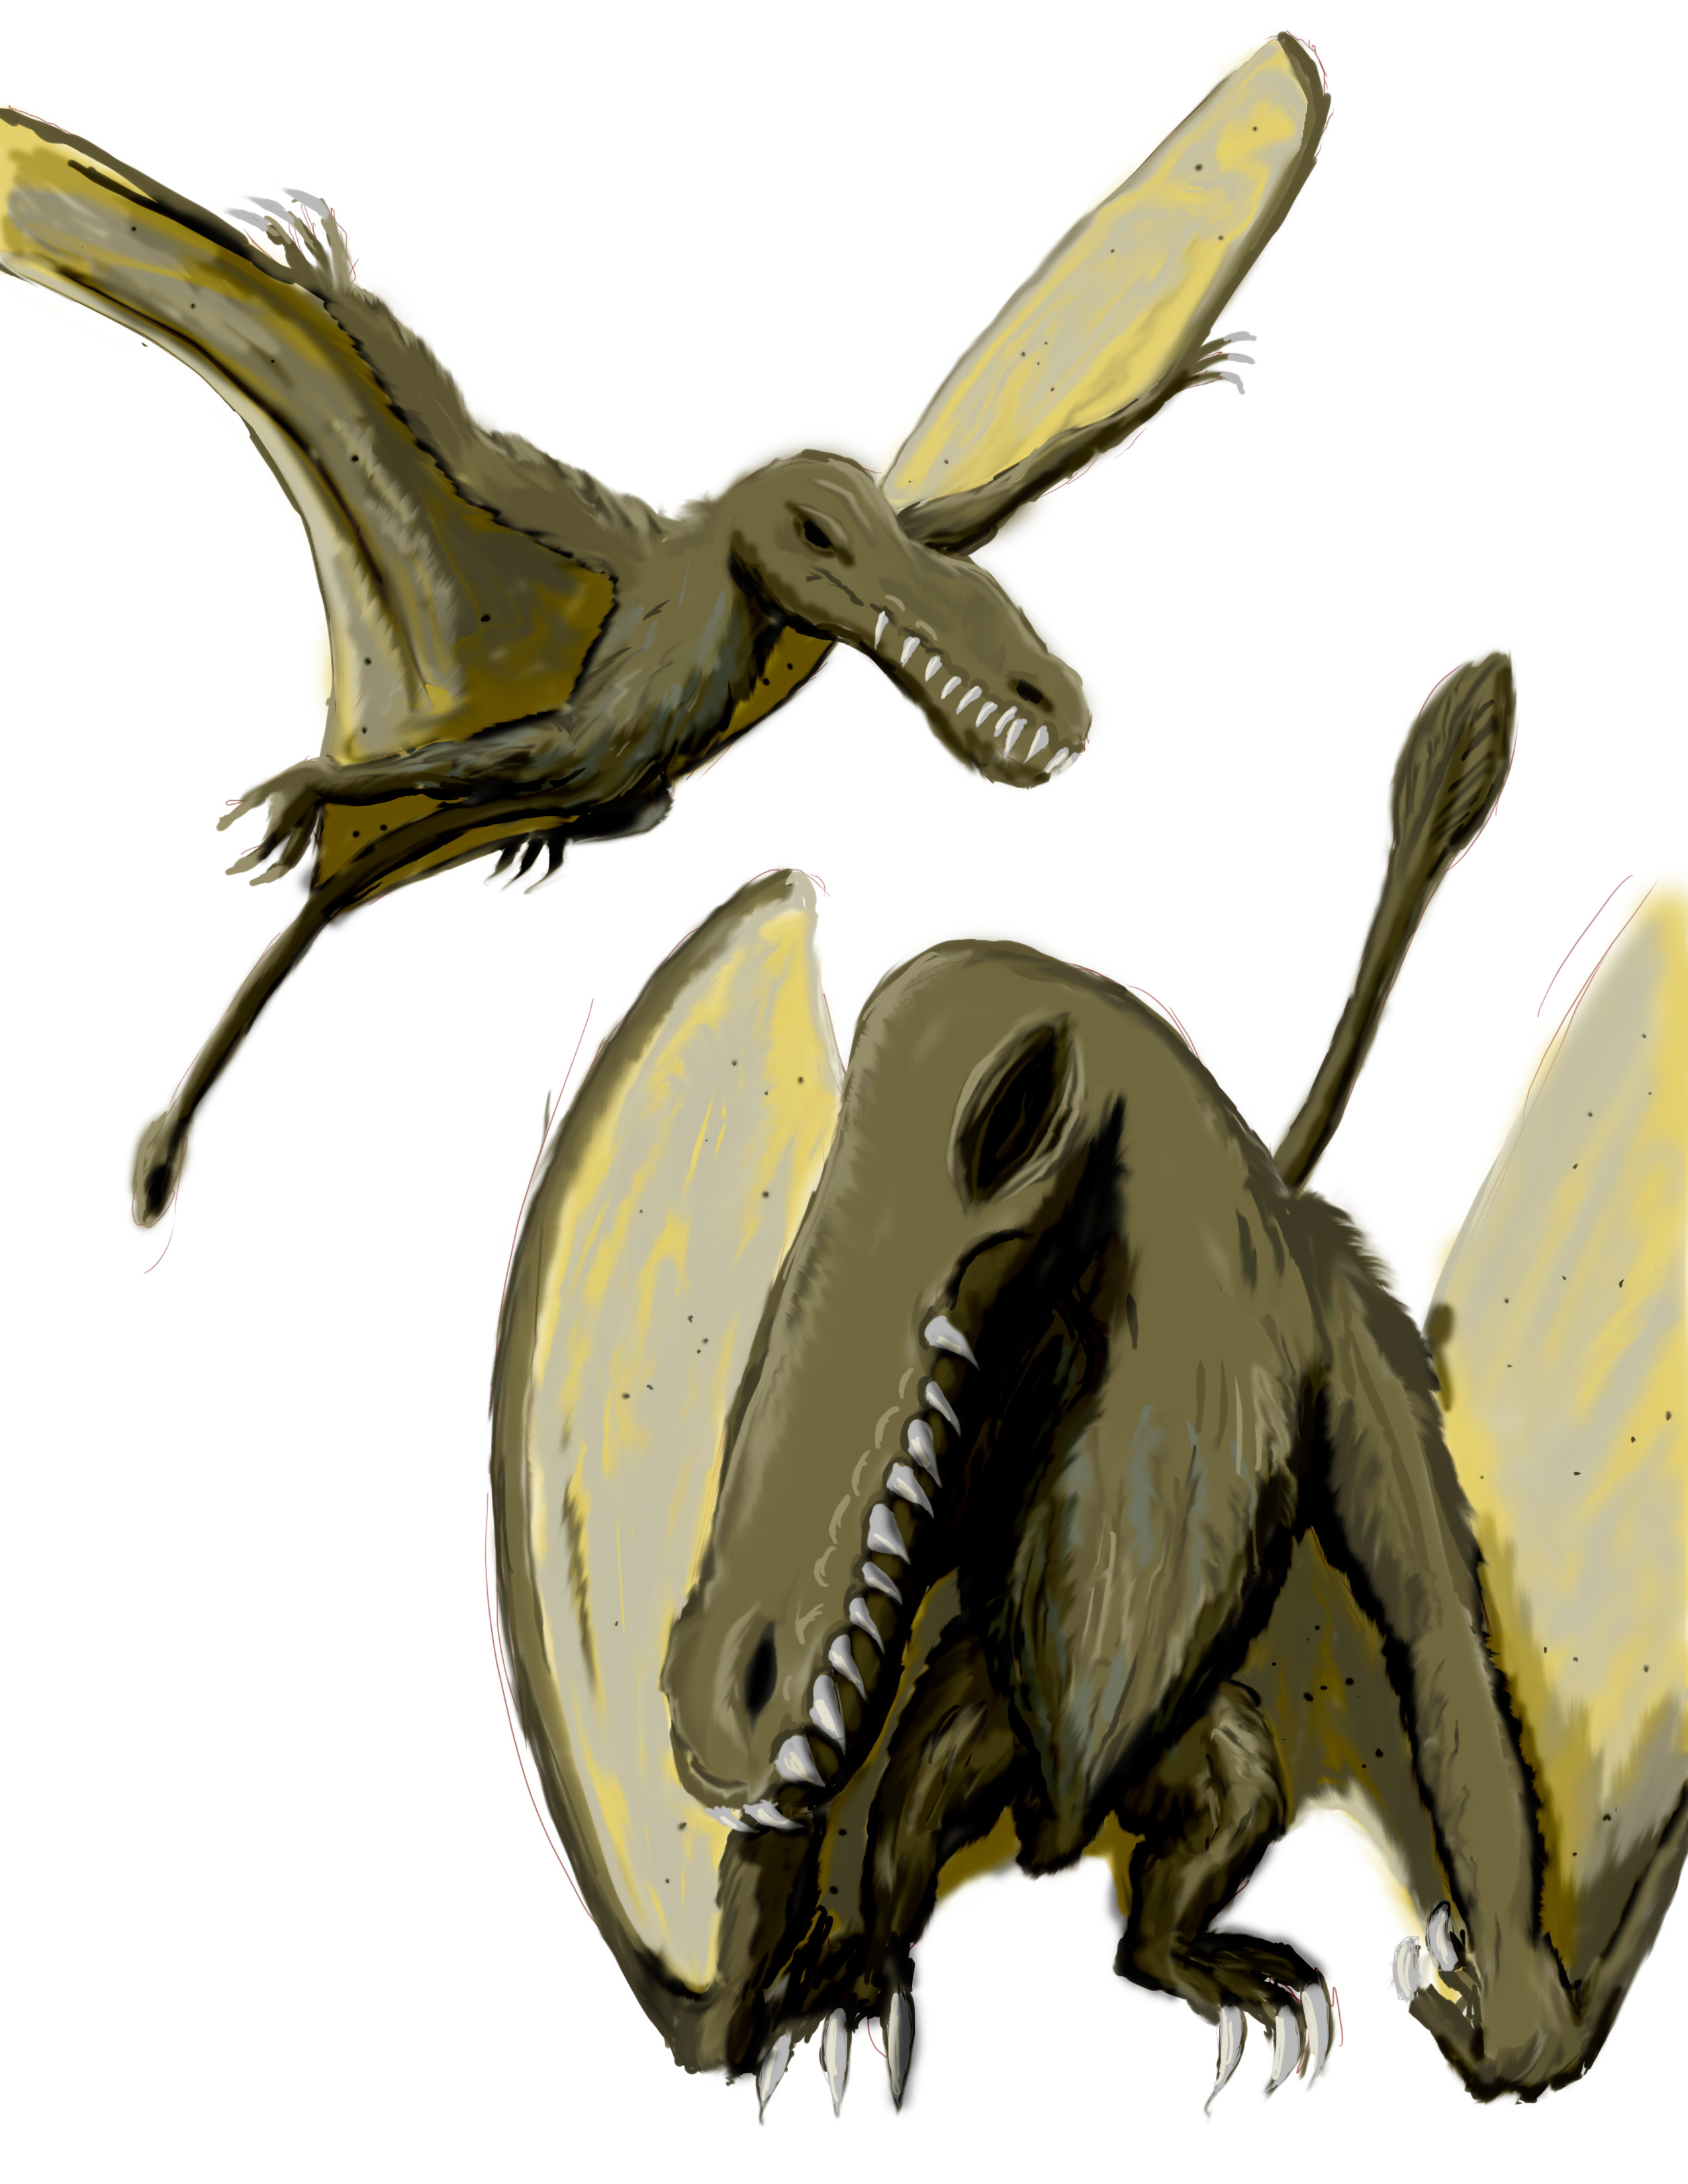
As you've seen, I've been doing some shading as I go but getting shading and tones even over the entire painting is a time consuming process. It's easier to create a new layer over everything and change it's type to a darken layer this is sometimes called a Burn layer. GIMP and Photoshop have this option. If you have Seashore for Mac it also has this type of layer. There are different options for different programs so being too specific might not be helpful.
Start out with a very light grey and paint with a large brush size. Paint over any areas that should be in shadow. Use progressively smaller brushes with darker grays to create darker areas of shadow.
Start out with a very light grey and paint with a large brush size. Paint over any areas that should be in shadow. Use progressively smaller brushes with darker grays to create darker areas of shadow.
Lighten
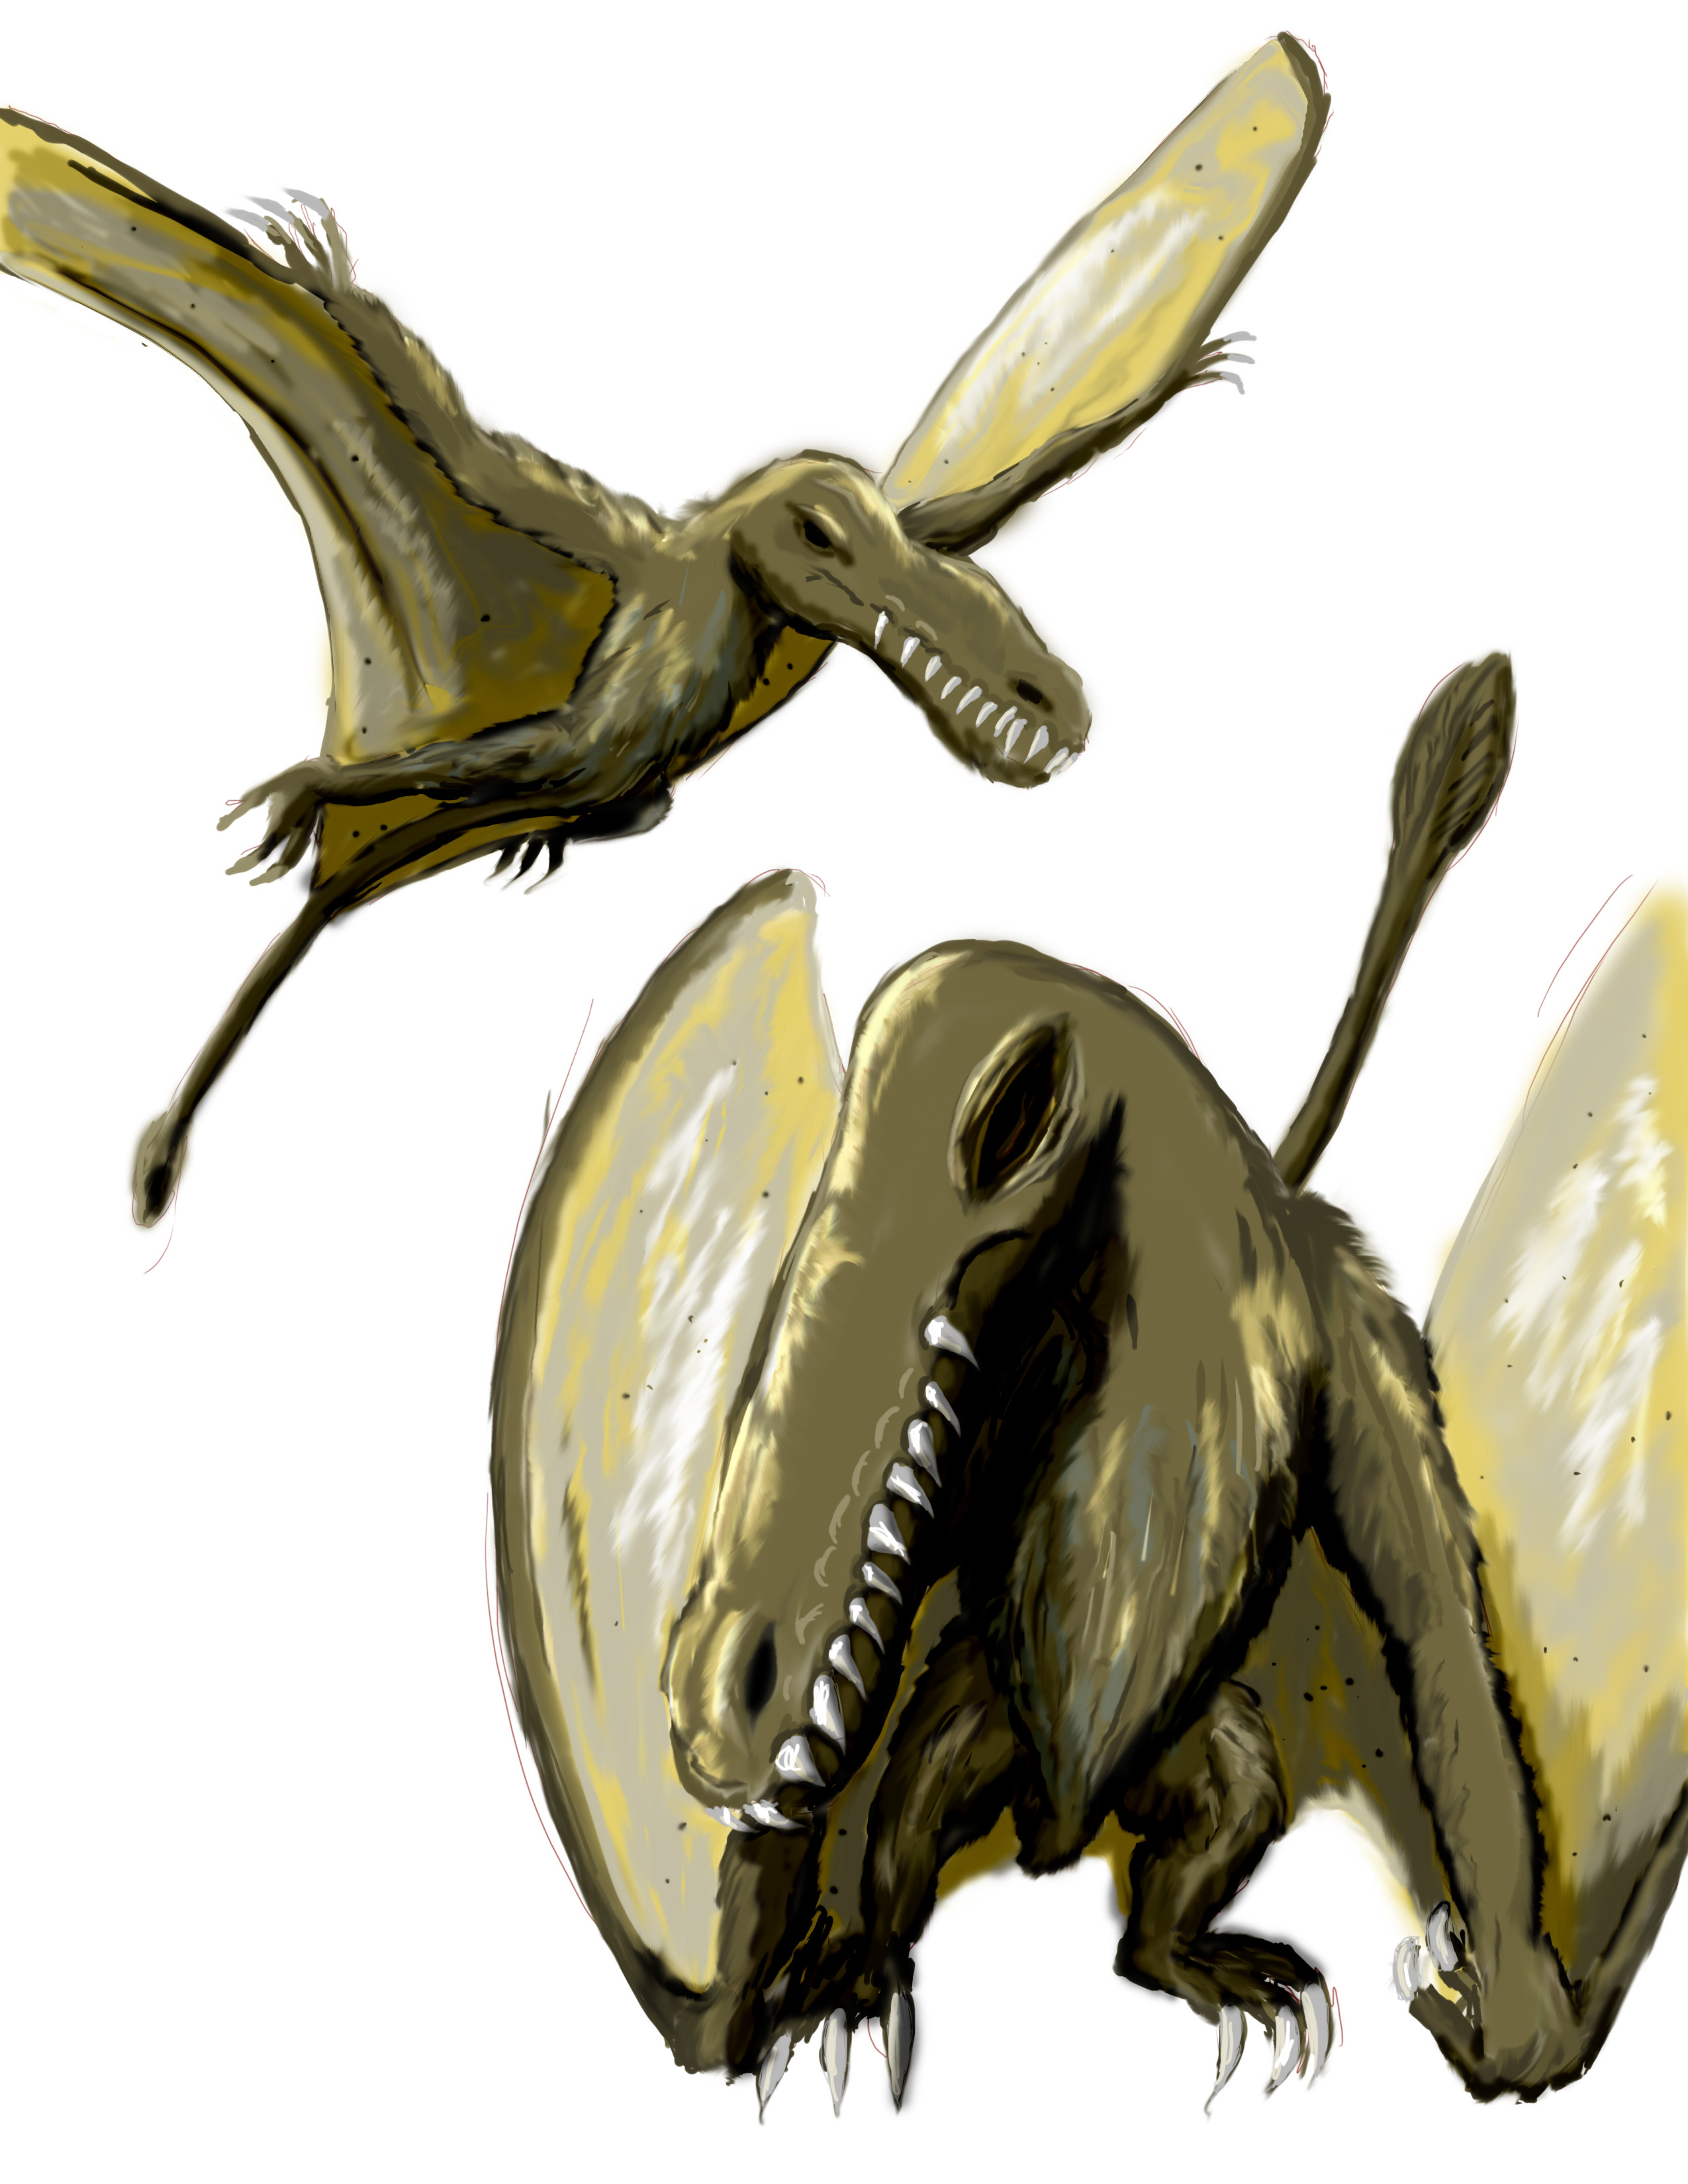
Just like the darken layer, create a layer to create general highlights. This kind of layer is sometimes called a Dodge layer. I find this kind of layer to be more finicky than the darken layers. They will sometimes produce colors I don't want and some tones don't react at all to them so I use this sparingly. If all else fails, fall back on painting in more highlights manually.
More than in the darken layers I have to smudge around the Dodge layer's paint more to make it look right.
I tend to be highlight shy, maybe that's just me though.
More than in the darken layers I have to smudge around the Dodge layer's paint more to make it look right.
I tend to be highlight shy, maybe that's just me though.
Finishing Touches

In most cases you will have to cycle through the steps here, making smaller and smaller alterations to complete your painting.
Remember the guiding principal, start big and work down towards detail. Each step you want to add information to your painting instead of erasing and redoing details because they were painted over.
When looking at a large surface, add small tonal and color variations in and then blur or smudge them in.
When there is a highlight or a shadow, varying the tone of your color is safe but adding a hue that you wouldn't expect can lead to a more striking image. For example, blues are often used as shadows on flesh tone and other colors.
Surfaces are seldom perfectly smooth, especially skin. Adding blotches of different tones and subtle color variations can give a more lifelike feel.
Illustrators often want as much detail as possible in a drawing. In the majority of cases, a painting concentrates on a center of attention or an action. Many very striking paintings leave details outside of this center or action undefined, only roughly painted in. This can be used to create a sense of motion or to lock the viewer's attention on a specific point which can create a desired mood. Think about what you want to be the focus of the painting and concentrate on that.
Shadows are often darker in a photograph than you'd like them to be. In many cases I've found myself completely obscuring details that I worked hard on because they're in deep shadow. The illustrator can often leave a hint of the details in place while the painter, if trying to paint photorealistically, will not have that option. Again look at dramatic photographs or better yet, stills in a movie. You will see very deep shadows that often obscure a third of the subject.