Digital Nature Poster

In this tutorial for Adobe Illustrator, you will learn how to create your own abstract digital nature poster that can be used as decoration, whether in your home or on your computer as a background! This is a beginner tutorial that can be completed in 30 minutes or less.
Supplies
For this tutorial, you need:
A functional computer, whether it be a PC or Mac.
An up-to-date version of Adobe Illustrator. If you do not own a license to Illustrator, it can be found on many computers in the NC State Libraries.
Optional but Recommended:
A Computer Mouse.
Opening a New File
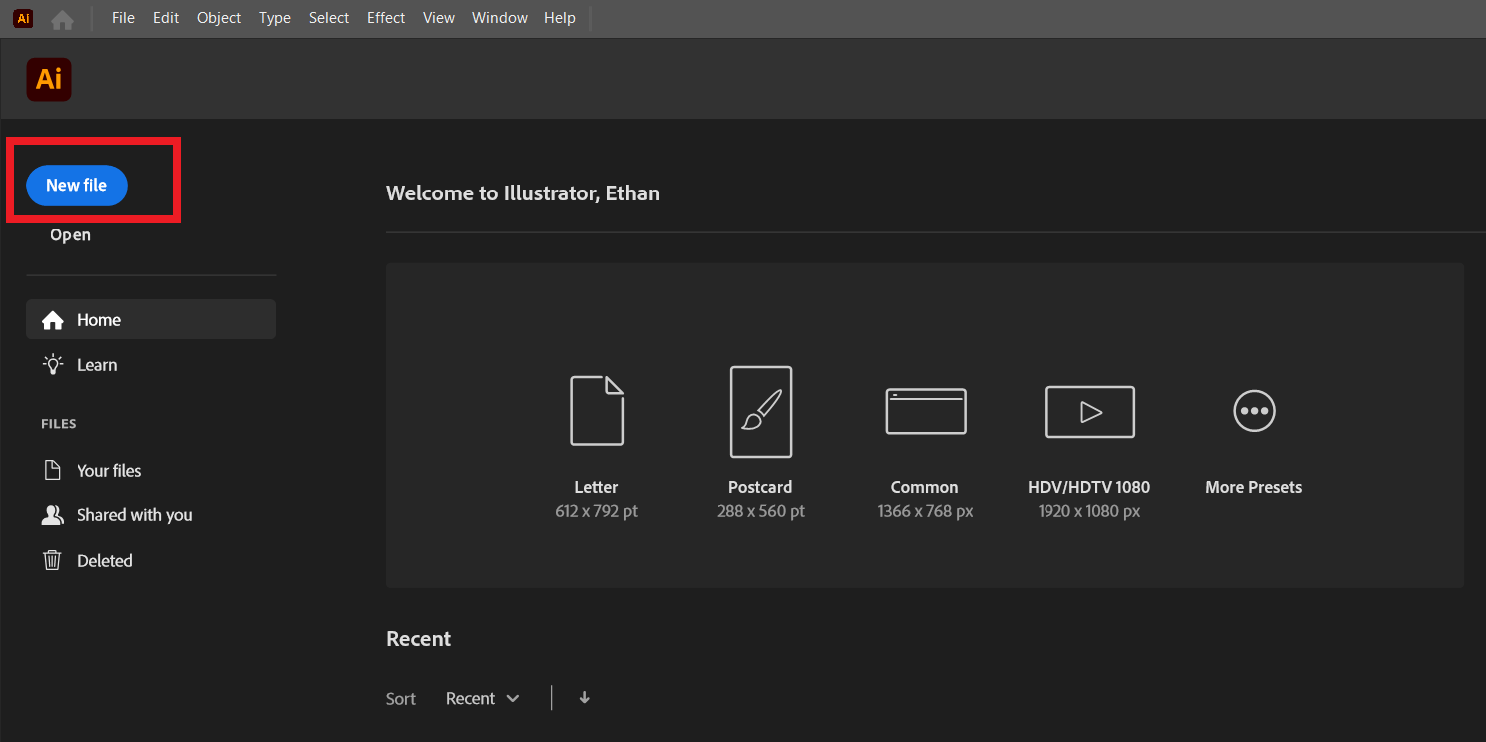
Open Adobe Illustrator. In the top right corner, select the new file button.
Creating File
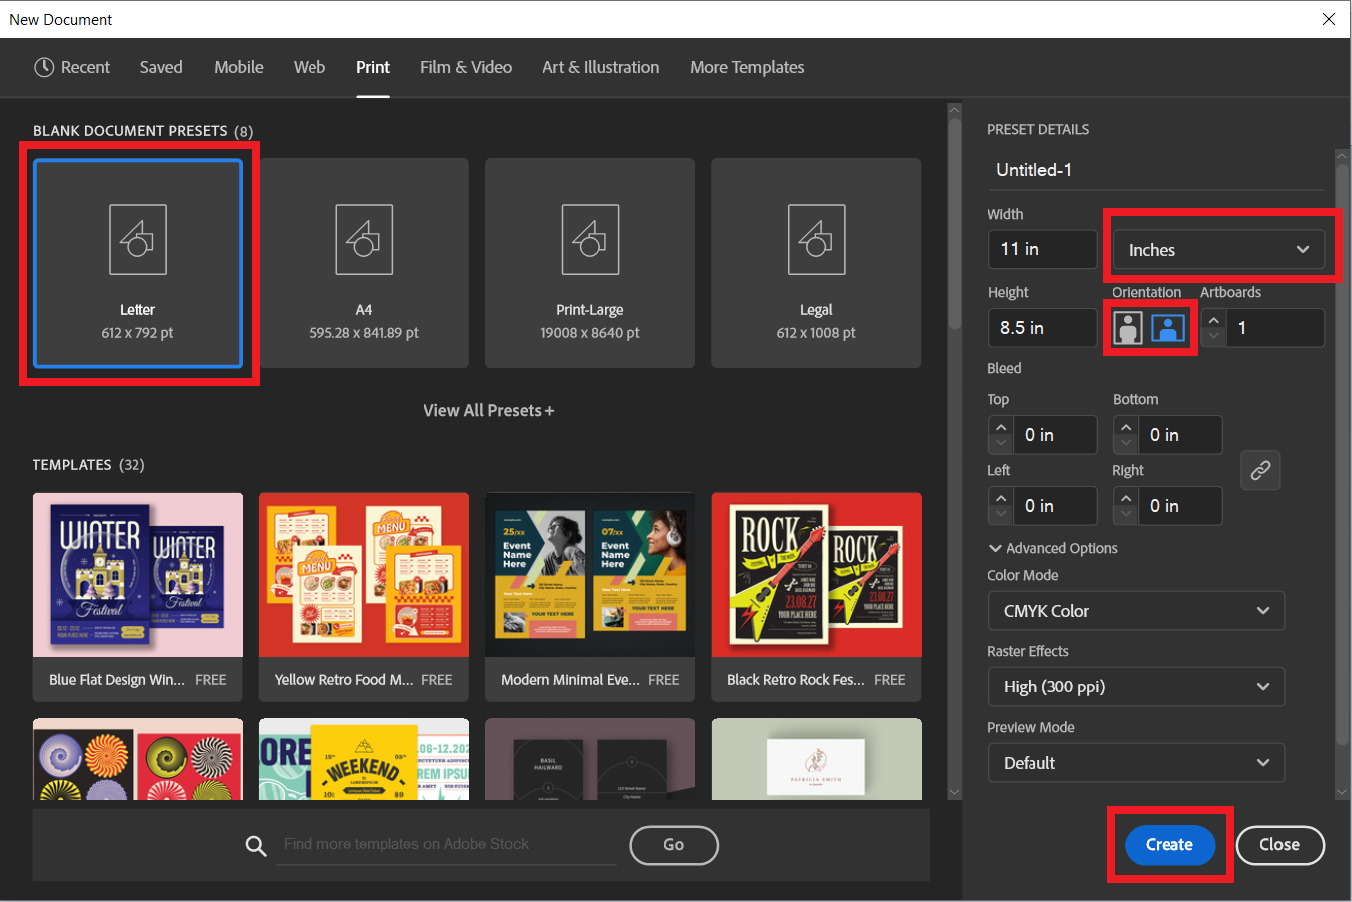
On the top toolbar, select the "Print" tab. Select the Letter preset. On the right side of the screen, adjust the units to inches and the orientation to landscape. Once the parameters are set, click "Create" in the bottom right-hand corner.
Draw Water Rectangle
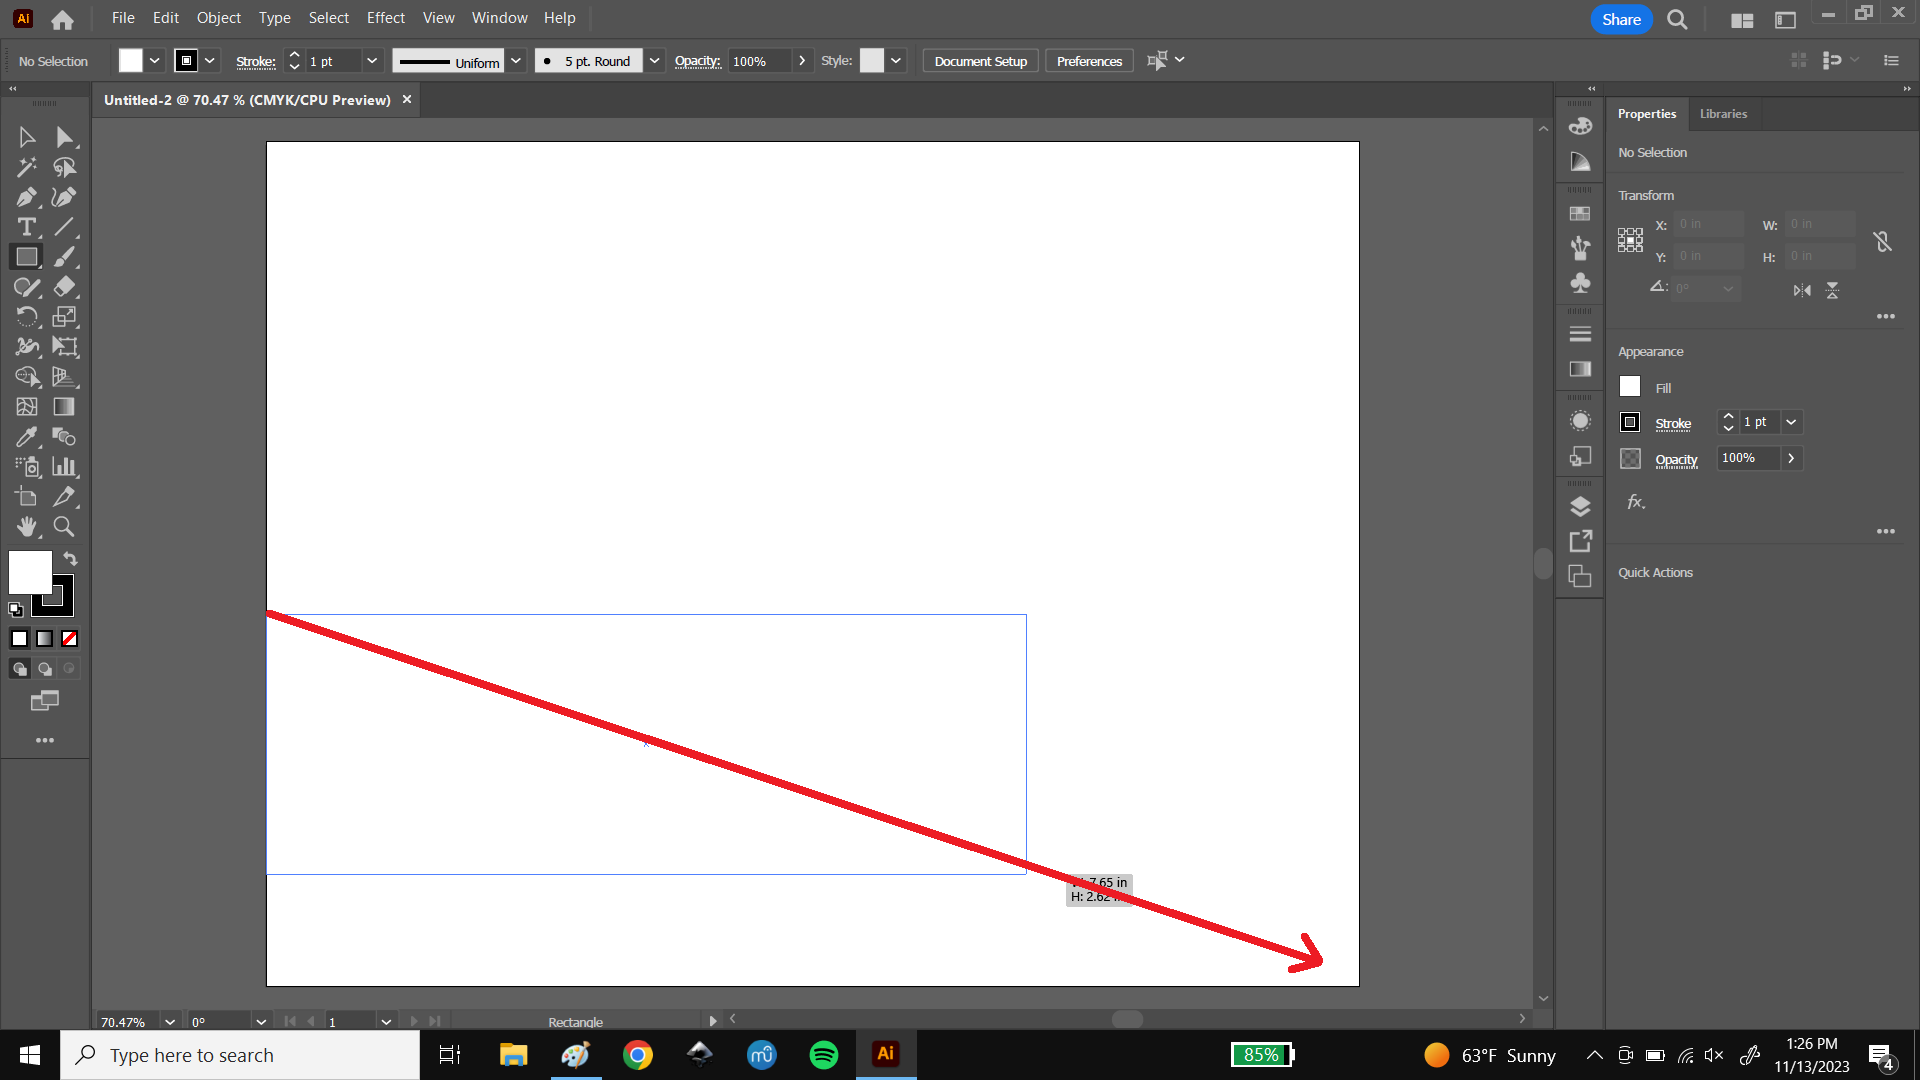
Once the file opens, select the rectangle tool from the toolbar on the left edge of the screen. Click and drag a rectangle, letting the pointer snap to the left edge of the white artboard and pulling down to the bottom right corner. The rectangle should be slightly less than halfway up the side of the artboard.
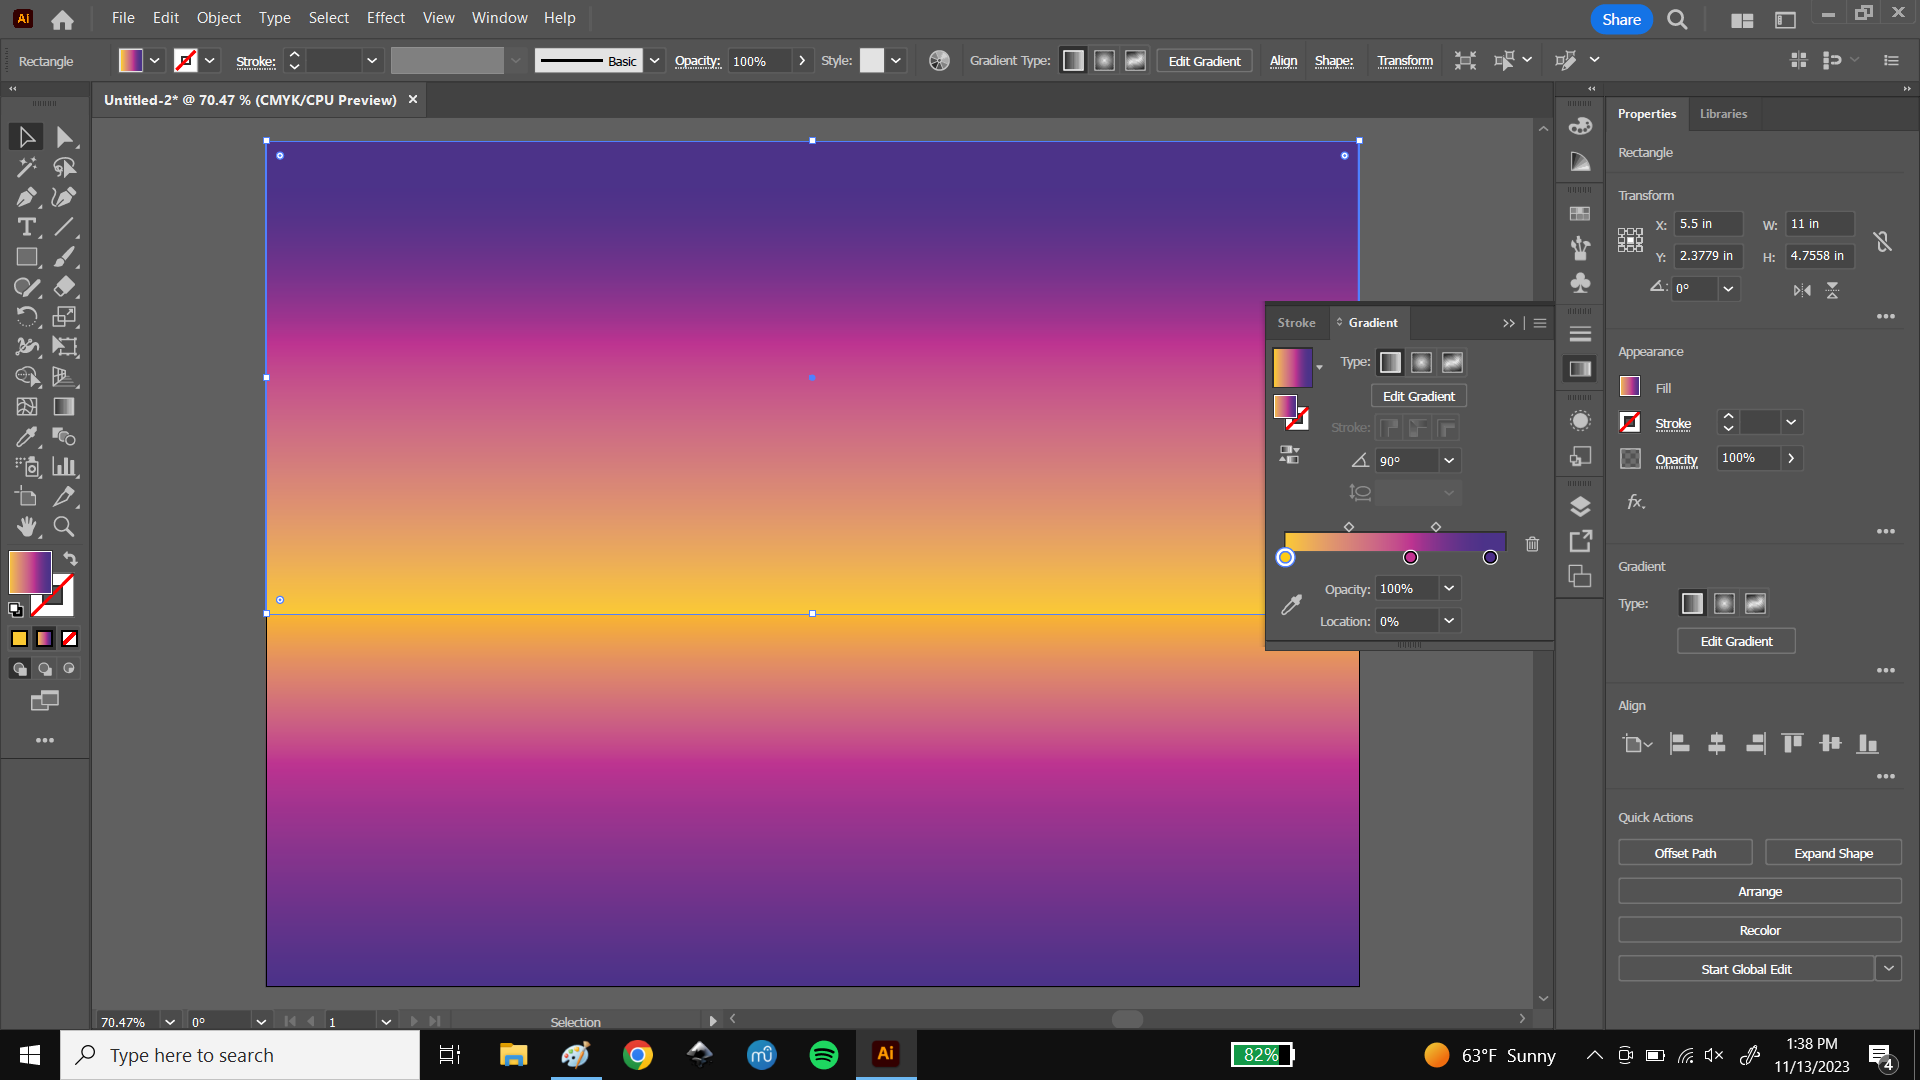
Add Gradient
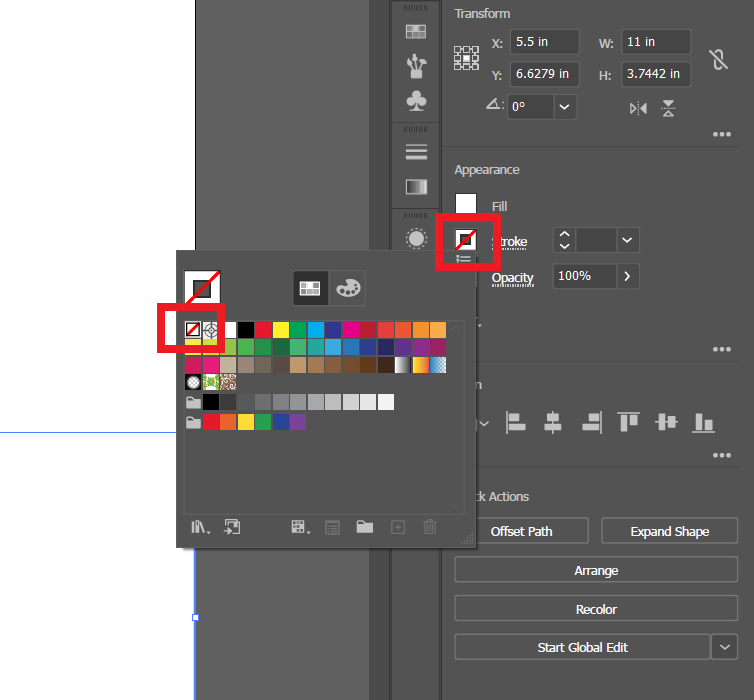
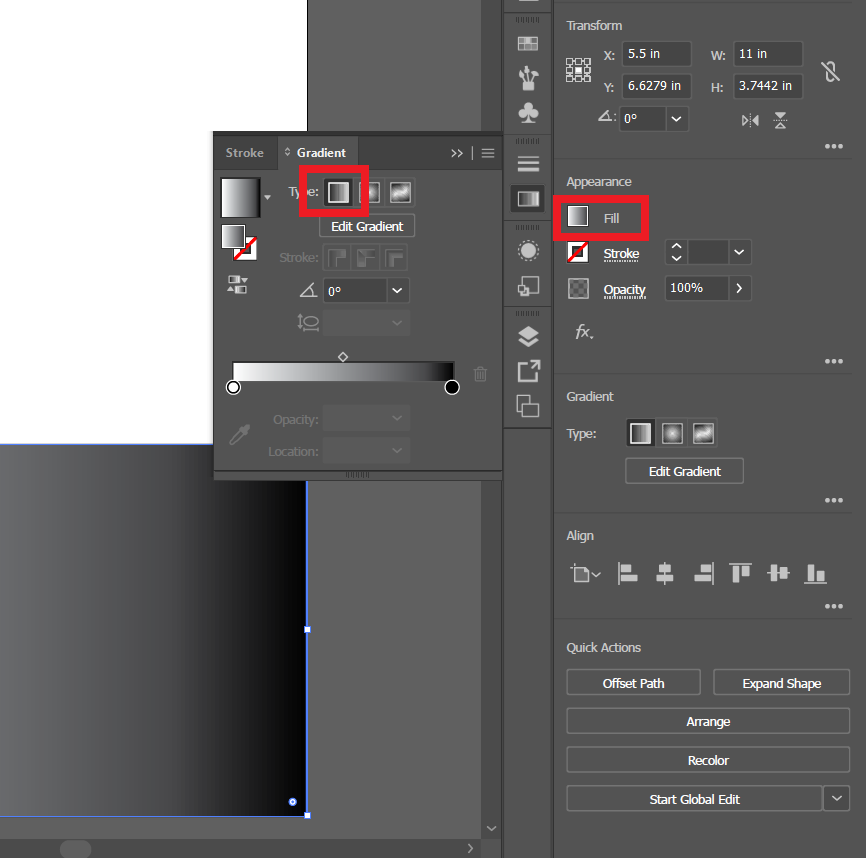
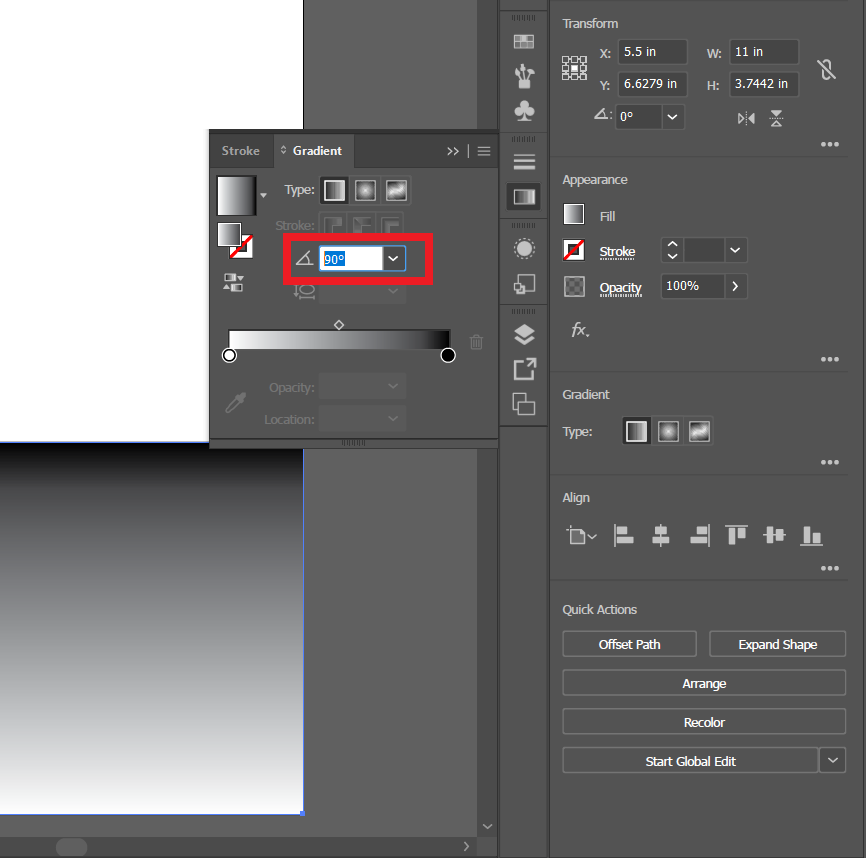
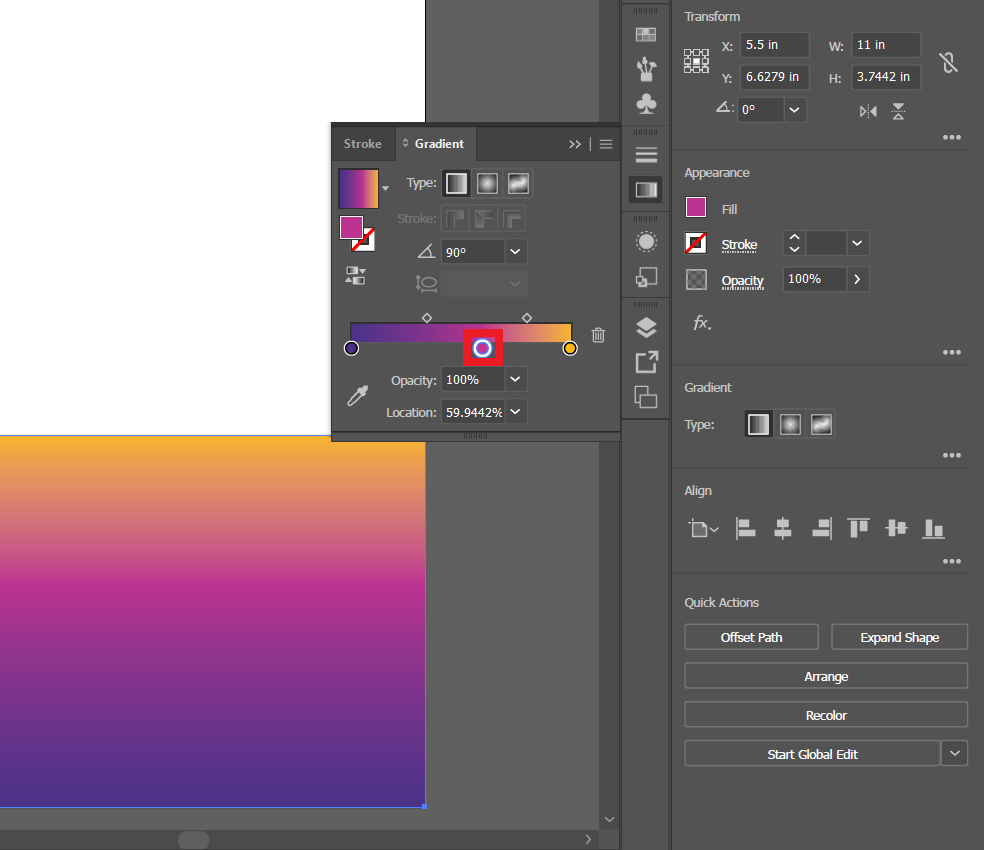
Make sure the outline of the rectangle is transparent. Make sure the rectangle is selected. Select "Stroke" under the Appearance tab on the right side of the screen. Pick the first color icon under the color selection, a white square with a red slash mark. Next, add a gradient to the rectangle by first selecting the gradient tool-- once the gradient options appear, Under "type" select Linear Gradient. Then adjust the angle to 90 degrees. Next, adjust the colors by double-clicking the circular color sliders. A color selection tab should appear. Make the right slider a bright gold color and the left a deep purple/navy. Add a third color slider by simply clicking just under the gradient slider, in line with the other circles. Make this slider a deep pink/magenta.
Create the Sky Rectangle
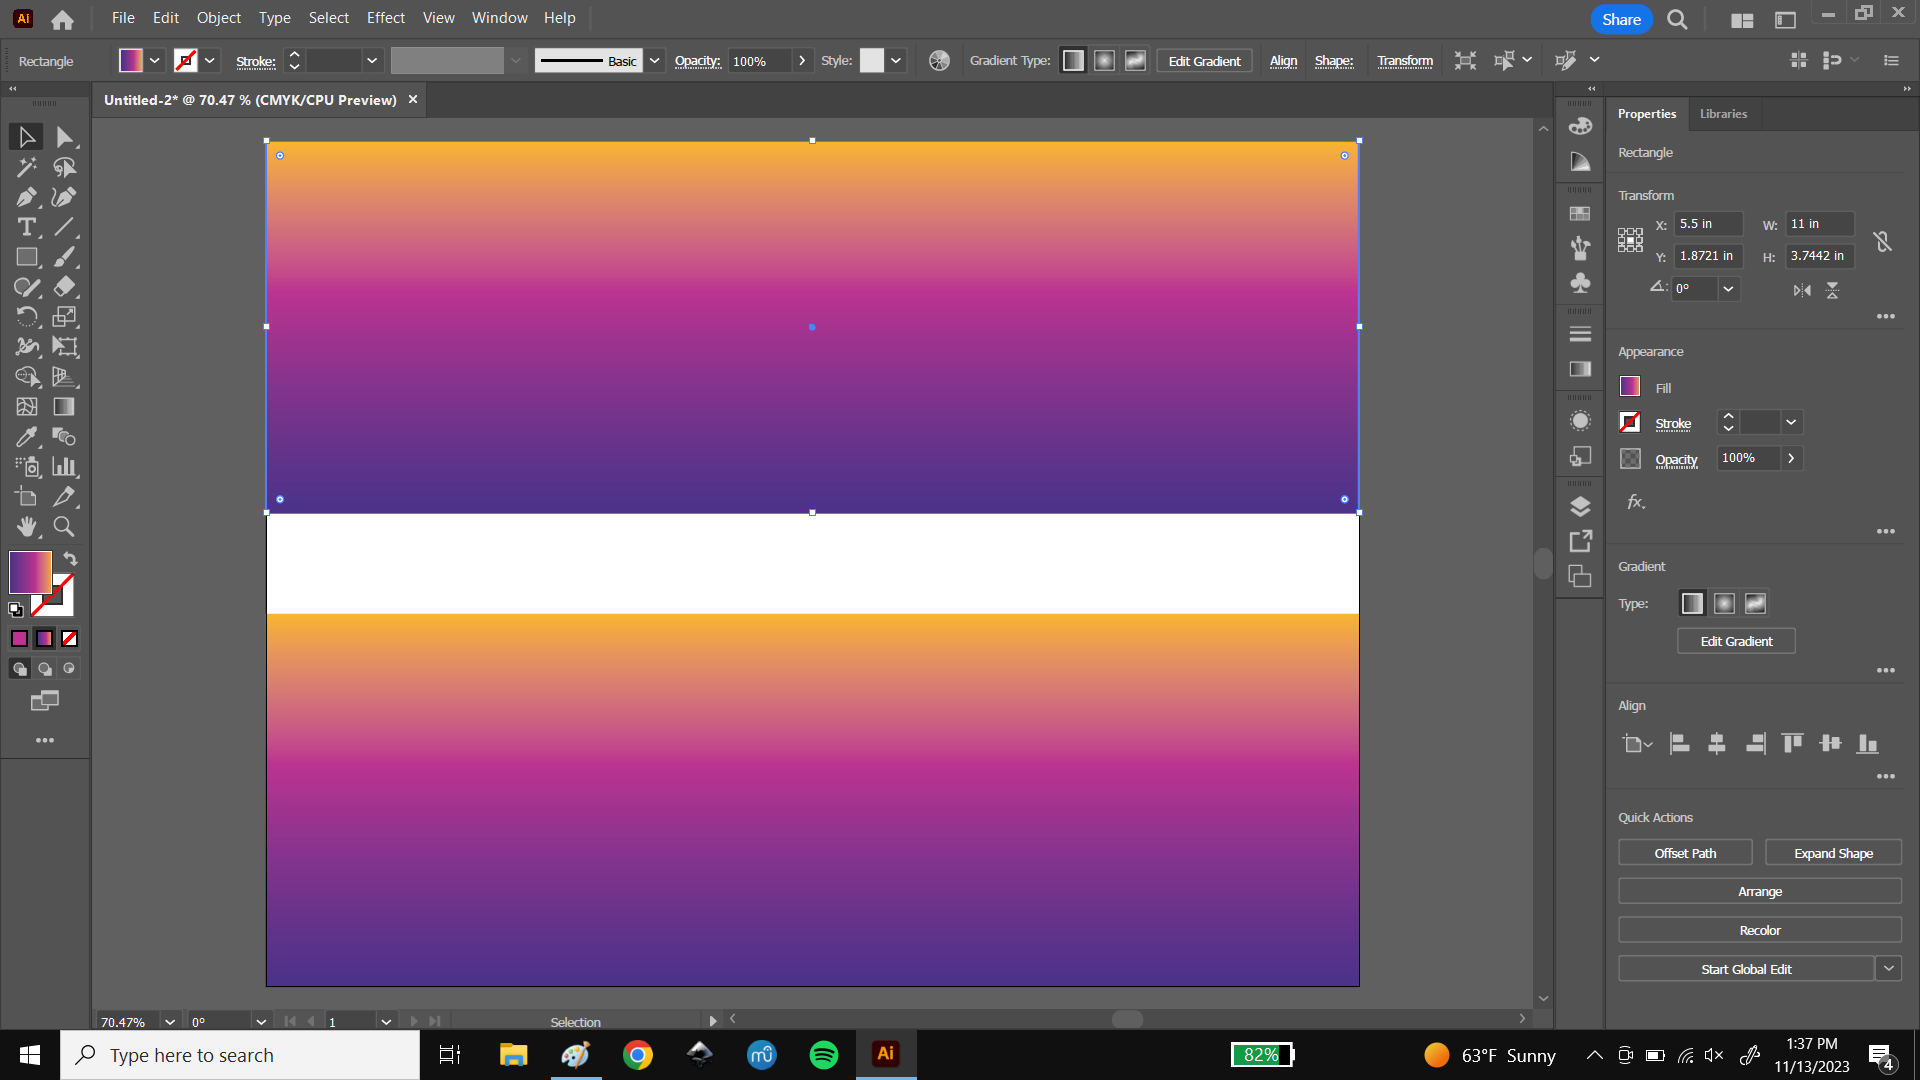
Select the first rectangle you drew with the selection tool in the upper right corner of the left-side toolbar. Use Ctrl+C, Ctrl+V to make a copy of the rectangle. Move this copy until it snaps to the upper left corner of the artboard. Using the adjustment node on the bottom edge of the selected rectangle, click and drag the edge to snap to the top of the original bottom rectangle. With the copy still selected, go to the gradient settings by clicking the same gradient icon as before and drag the gold and purple sliders to opposite ends of the gradient slider. Drag one part of the way across the slider and then pull the other across it. Once they have swapped places, change the color of the gold slider to a lighter shade of gold/yellow.
Add Land
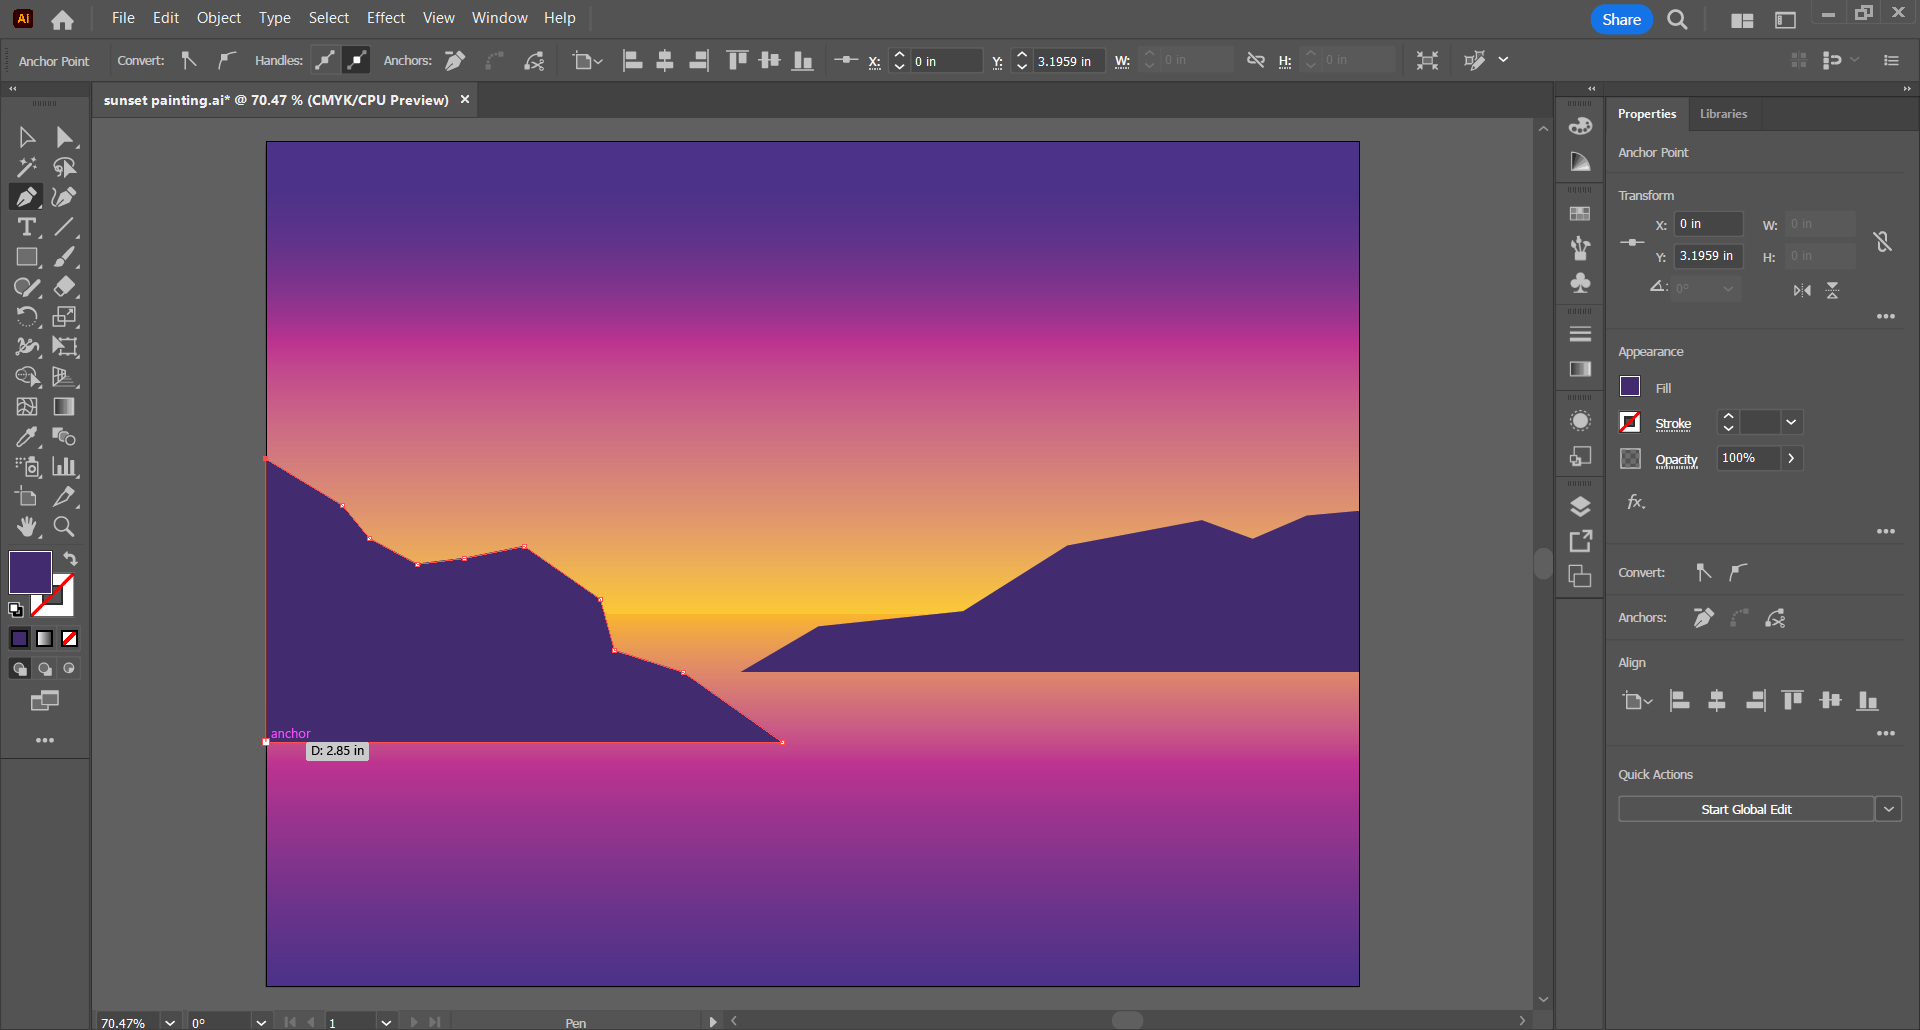

Select the Pen Tool from the toolbar on the left side of the screen. Pick a point along the left edge of the artboard, almost halfway down the first rectangle (the water), and move the mouse straight out to the right, about 2/3 of the way across the artboard. Click again to add a point. Using the provided images as a reference, continue clicking point-to-point to create a jagged landform that works its way back to the left edge of the artboard. Ensure the second to last point is snapped on the left edge, above the first, and pick the first point to close the shape. In a similar manner to coloring the water and sky, select the landform and ensure the stroke is transparent. Above the stroke settings in the Appearance tab on the right side of the screen is an option for "Fill". This works the same way as the stroke settings but changes the color of the interior of the shape. Pick a purple color, darker than the one used for the water and sky.
Repeat the steps to create a landform on the right edge of the artboard, this time very slightly smaller, and whose bottom edge is closer to the top of the water rectangle. Make this landform a lighter purple than the first.
Add Reflections in the Water
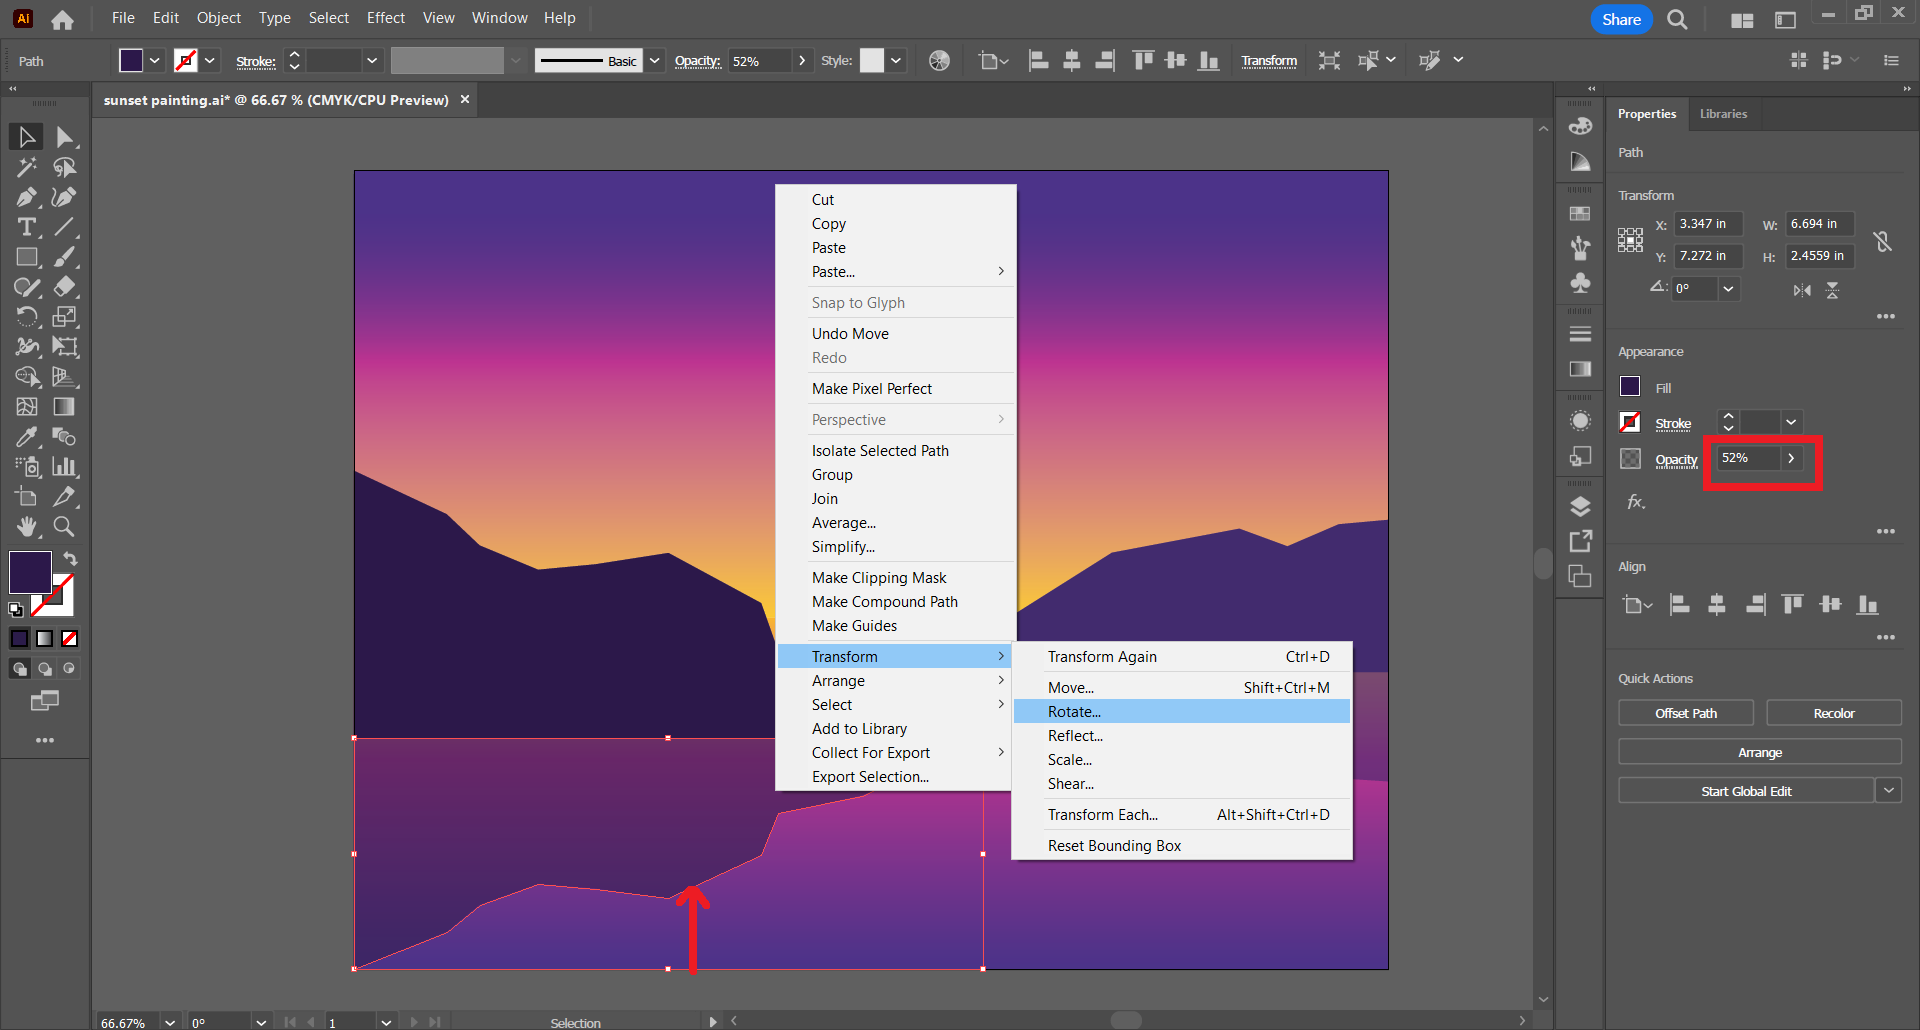
Select each landform and reflect them one at a time. Using the selection tool, select one of the landforms and make a copy using Ctrl+C, Ctrl+V. With the landform selected, right-click so an options tab appears. About 3/4 of the way down, select "Transform" then "Reflect". A Reflection Options tab should appear. Click "Horizontal" under the axis settings. The landform copy should now be mirrored to the original along the length of the artboard. Select the copy and drag it to snap to the bottom edge of the original, with the copy covering more of the water. Once it is in place, use the bottom adjustment node to shorten the height of the copy to fit inside the artboard. Lastly, under the appearance tab on the right side of the screen, adjust the "Opacity" to around 50%.
Repeat the same steps for the other landform, creating its reflection in the water.
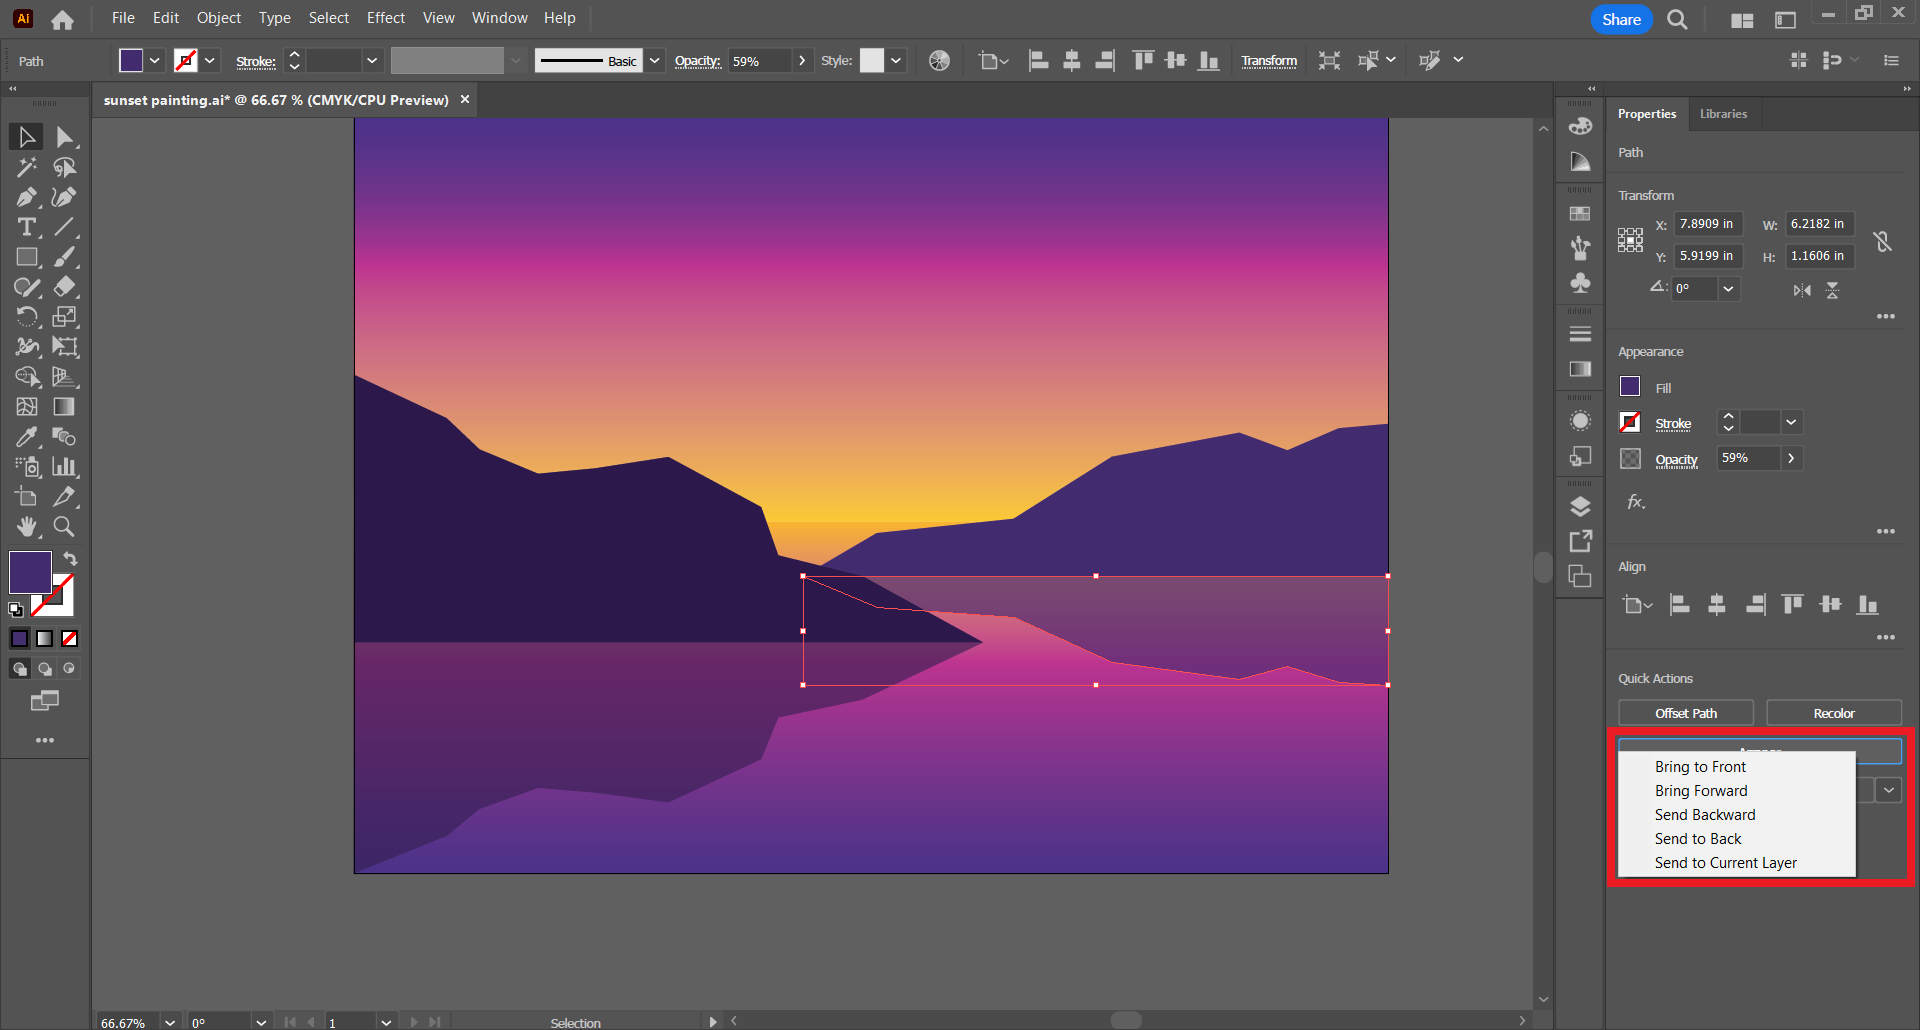
If the reflections or the landforms themselves cover each other in the wrong way, select the object, then under the "Quick Actions" tab on the bottom right side of the screen select "Arrange" and use the "Bring Forward" and "Send Backward" options to reorder the shapes to fit perspective.
Add Land and Trees in the Foreground
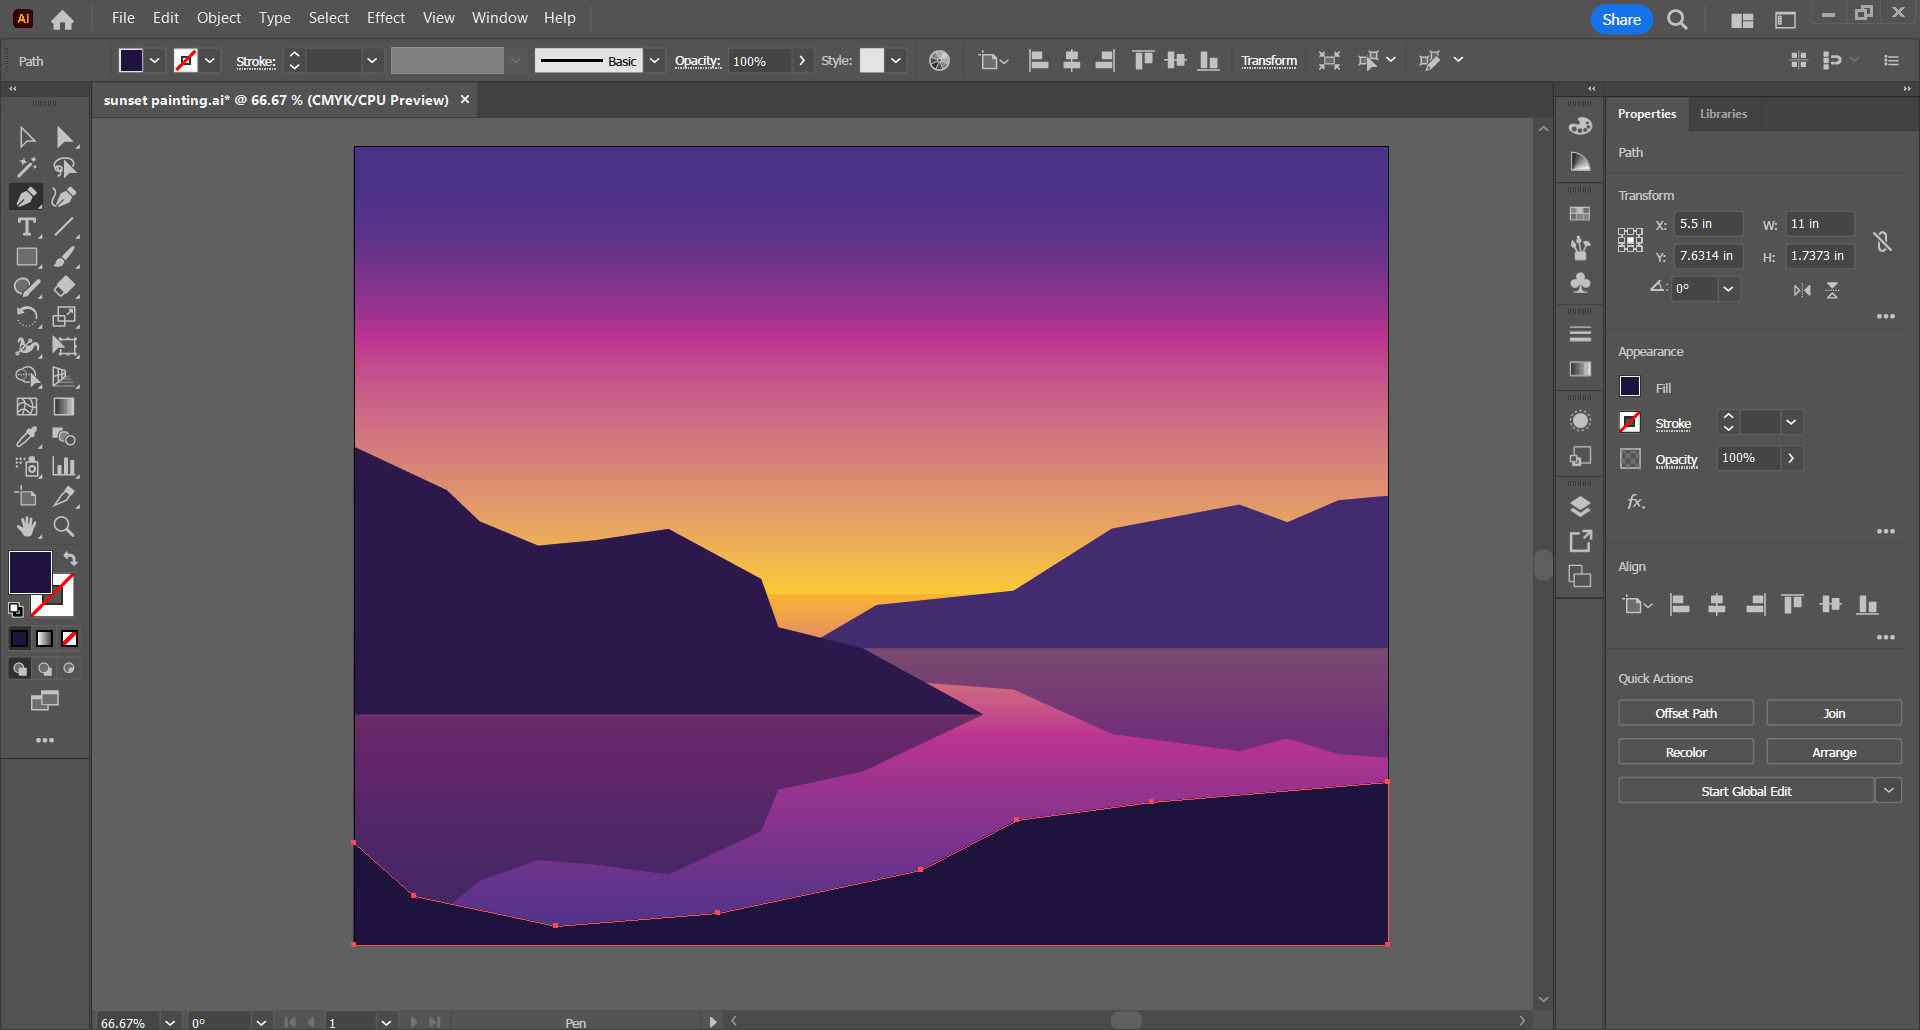

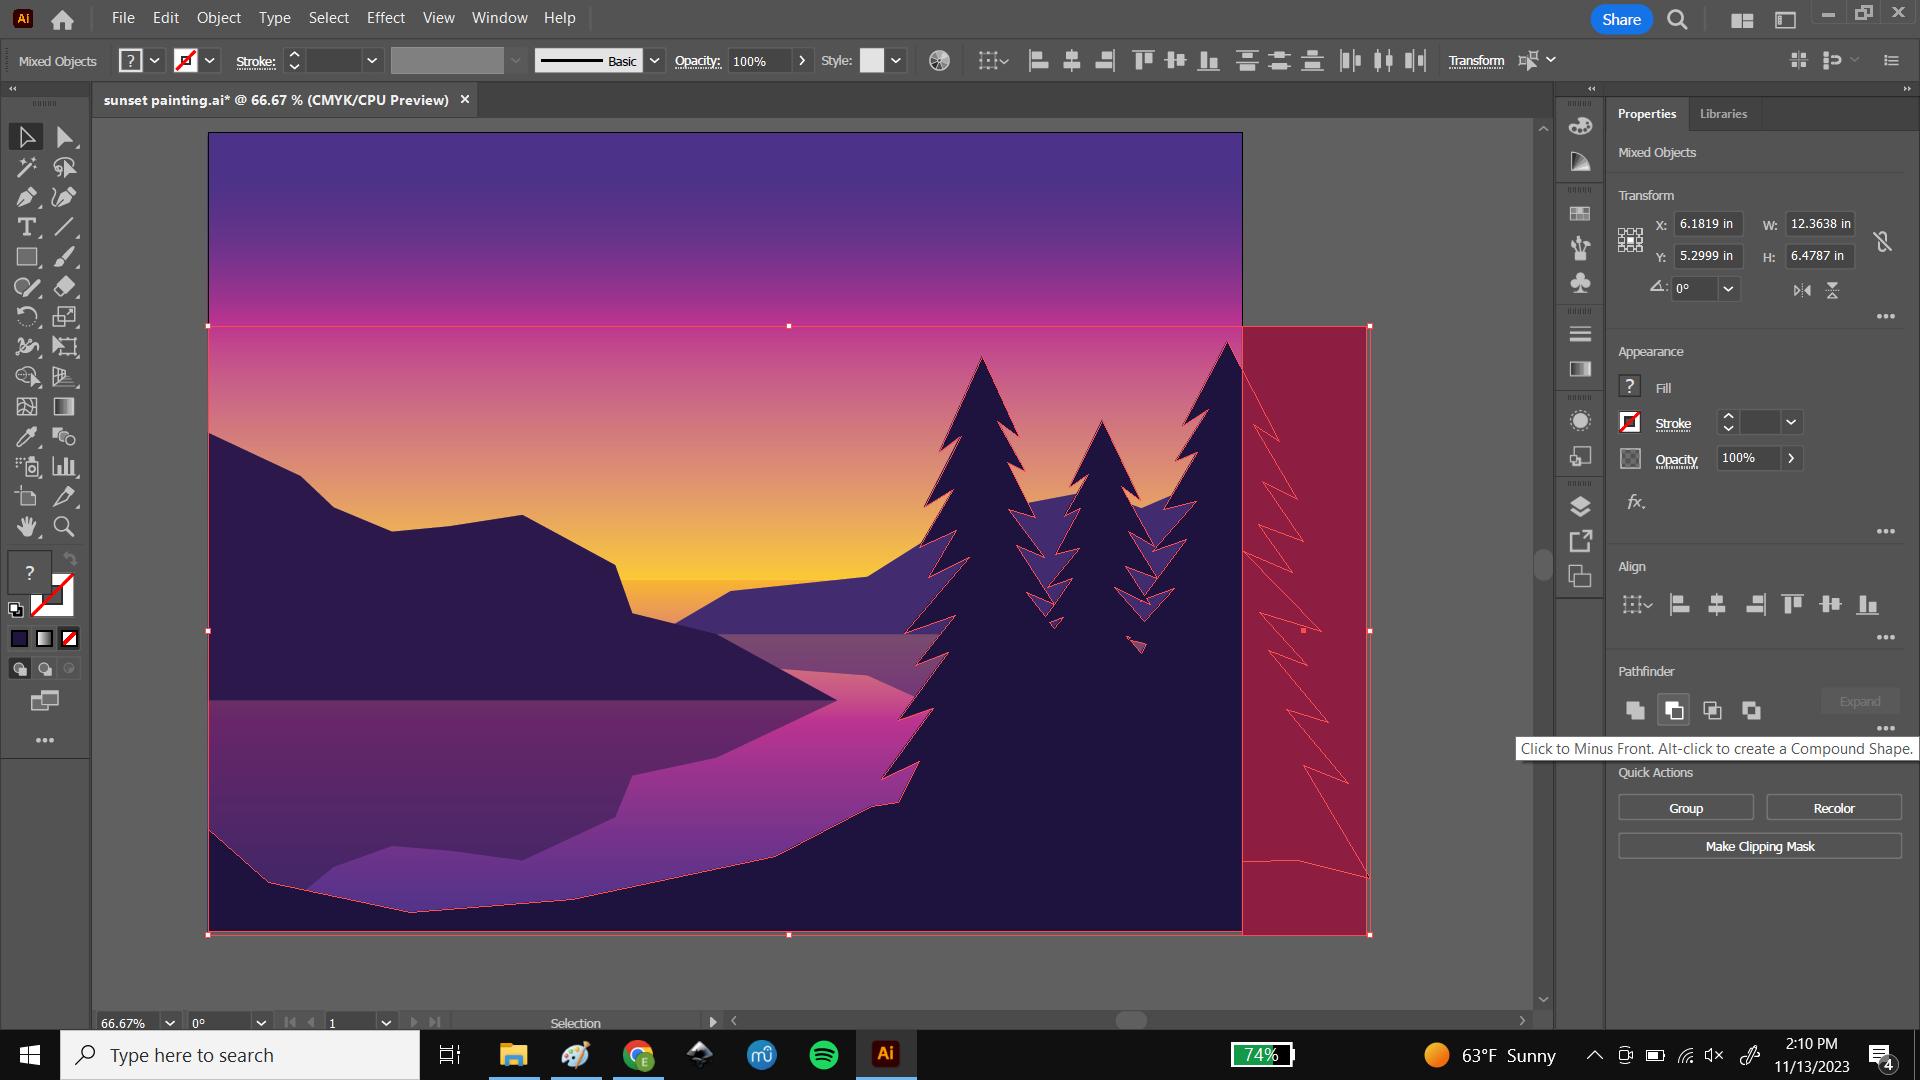
Using the same method as used in drawing the landforms, use the Pen Tool to draw a piece of land in the foreground on the bottom edge of the artboard. Use the provided pictures as a reference for the general shape. The Right side of the land should stick up higher into the artboard than the left.
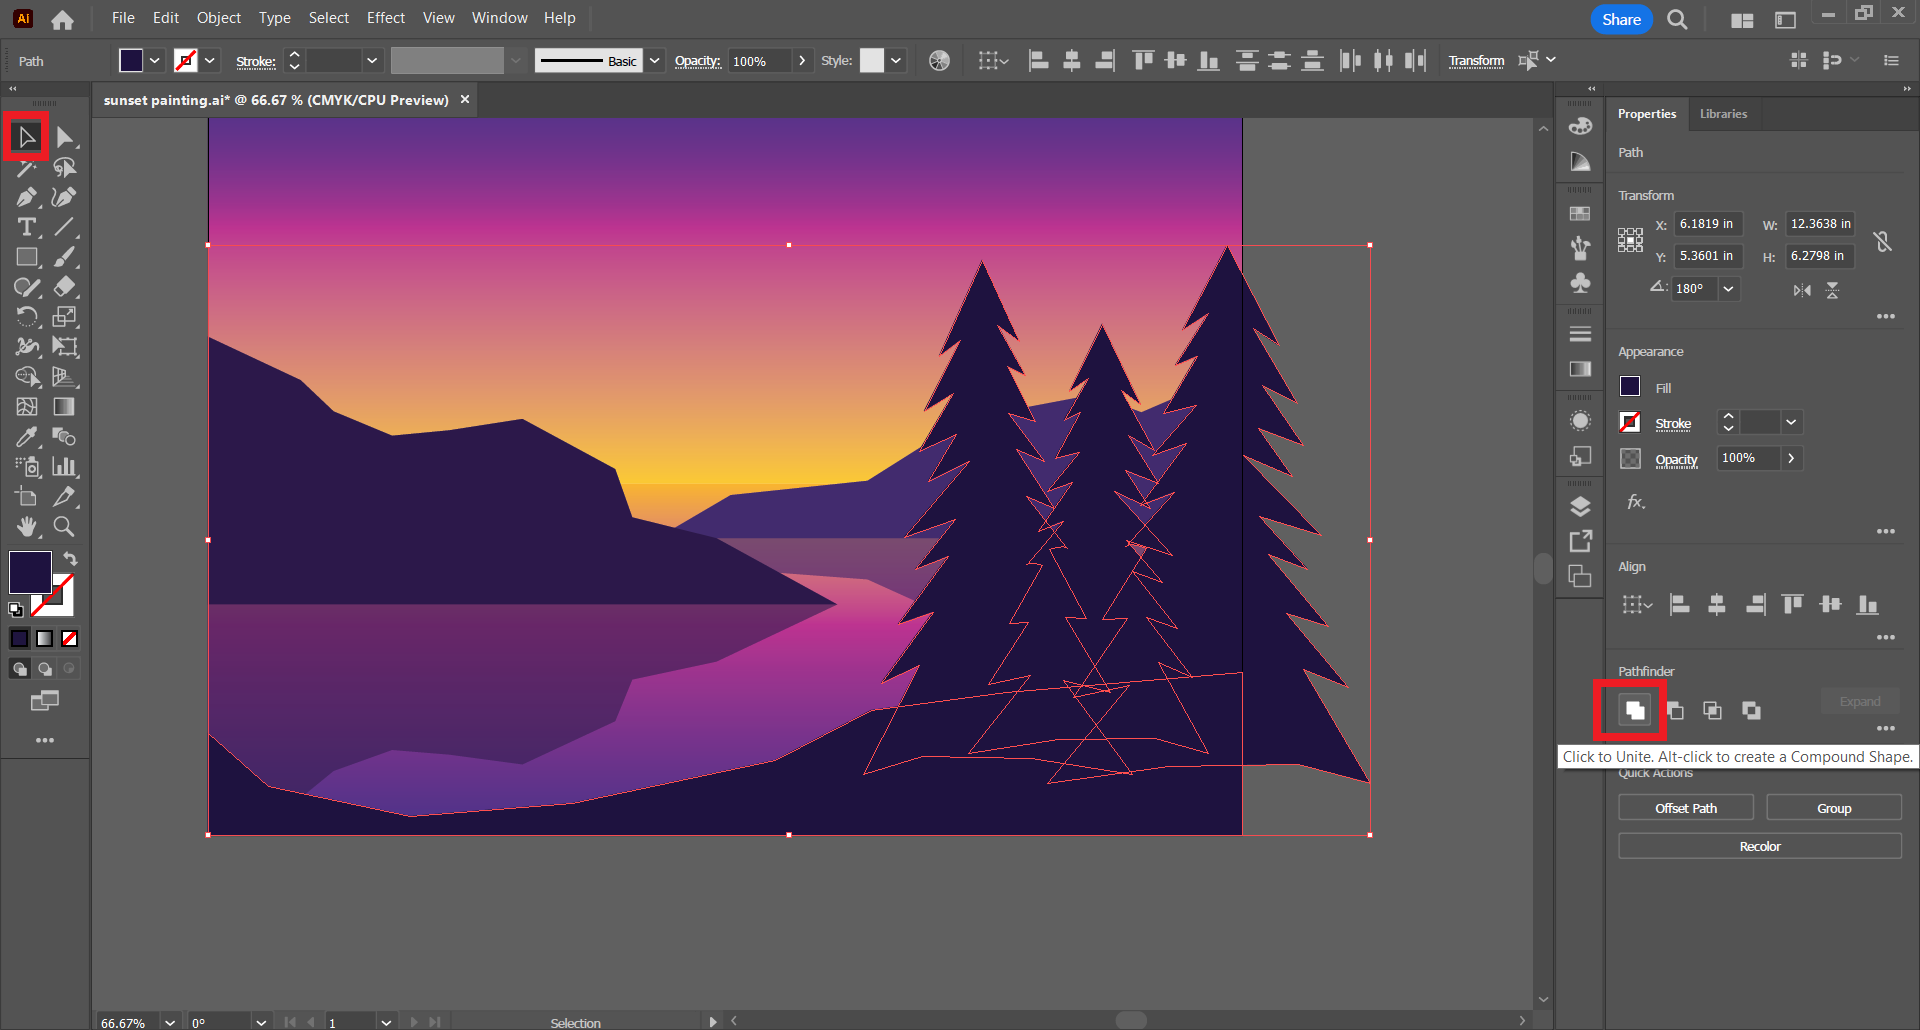
Next, using the Pen tool, Draw a pine tree in a tall triangle shape, zig-zagging all the way around to create an irregular, geometric tree. Make 2 copies of the tree and resize them by selecting one and using any of the corner adjustment nodes to push or pull out the size and shape. Arrange the 3 trees in a clump, sitting on the raised edge of the right side of the foreground land. Select all 3 trees and the foreground shape by selecting one, then holding the Shift key as you click on each shape. Under the "Pathfinder" tab on the right side of the screen, select the first icon, "Unite". This joins the trees and the foreground into one shape.
Make this new shape an even darker shade of purple/navy.
To trim off the parts of the trees hanging over the edge of the artboard, draw a new rectangle snapped to the right edge of the artboard and covering all parts of the trees that overhang. Select the tree/foreground shape and the new rectangle and use the second from the left button under the Pathfinder tab to trim the unwanted overhangs. The New rectangle should be gone and all shapes should fit squarely inside the artboard.
Adding Stars
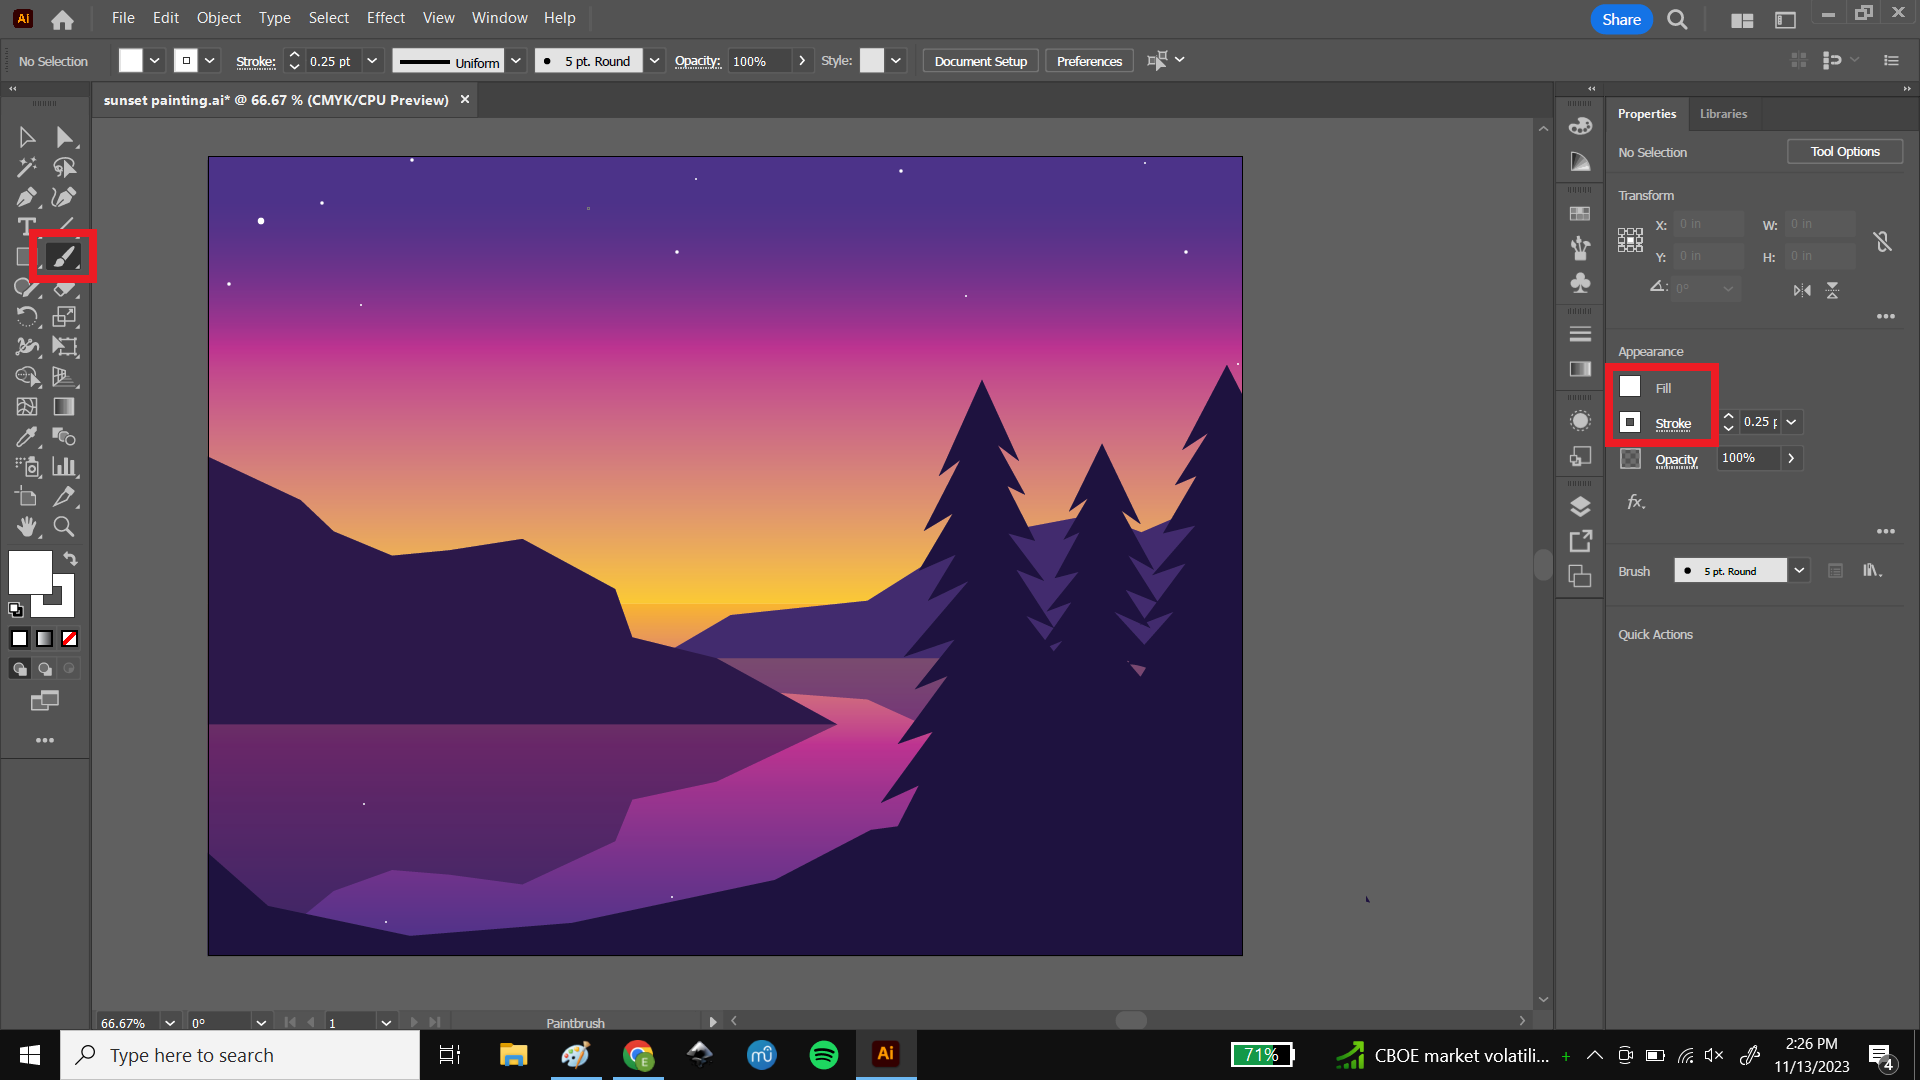
Using the Paintbrush tool from the toolbar on the left side of the screen, make sure the stroke and outline are both white, and add a handful of stars near the top of the sky by clicking on single points without holding down the mouse or moving it. Change the stroke size under the appearance tab between 1pt and 0.25pt to vary the size and brightness of the stars. Add a couple of small stars in the water too, to make the illusion of reflection in the water more complete.
DON'T GO OVERBOARD with the number of stars you make.
Adding Text
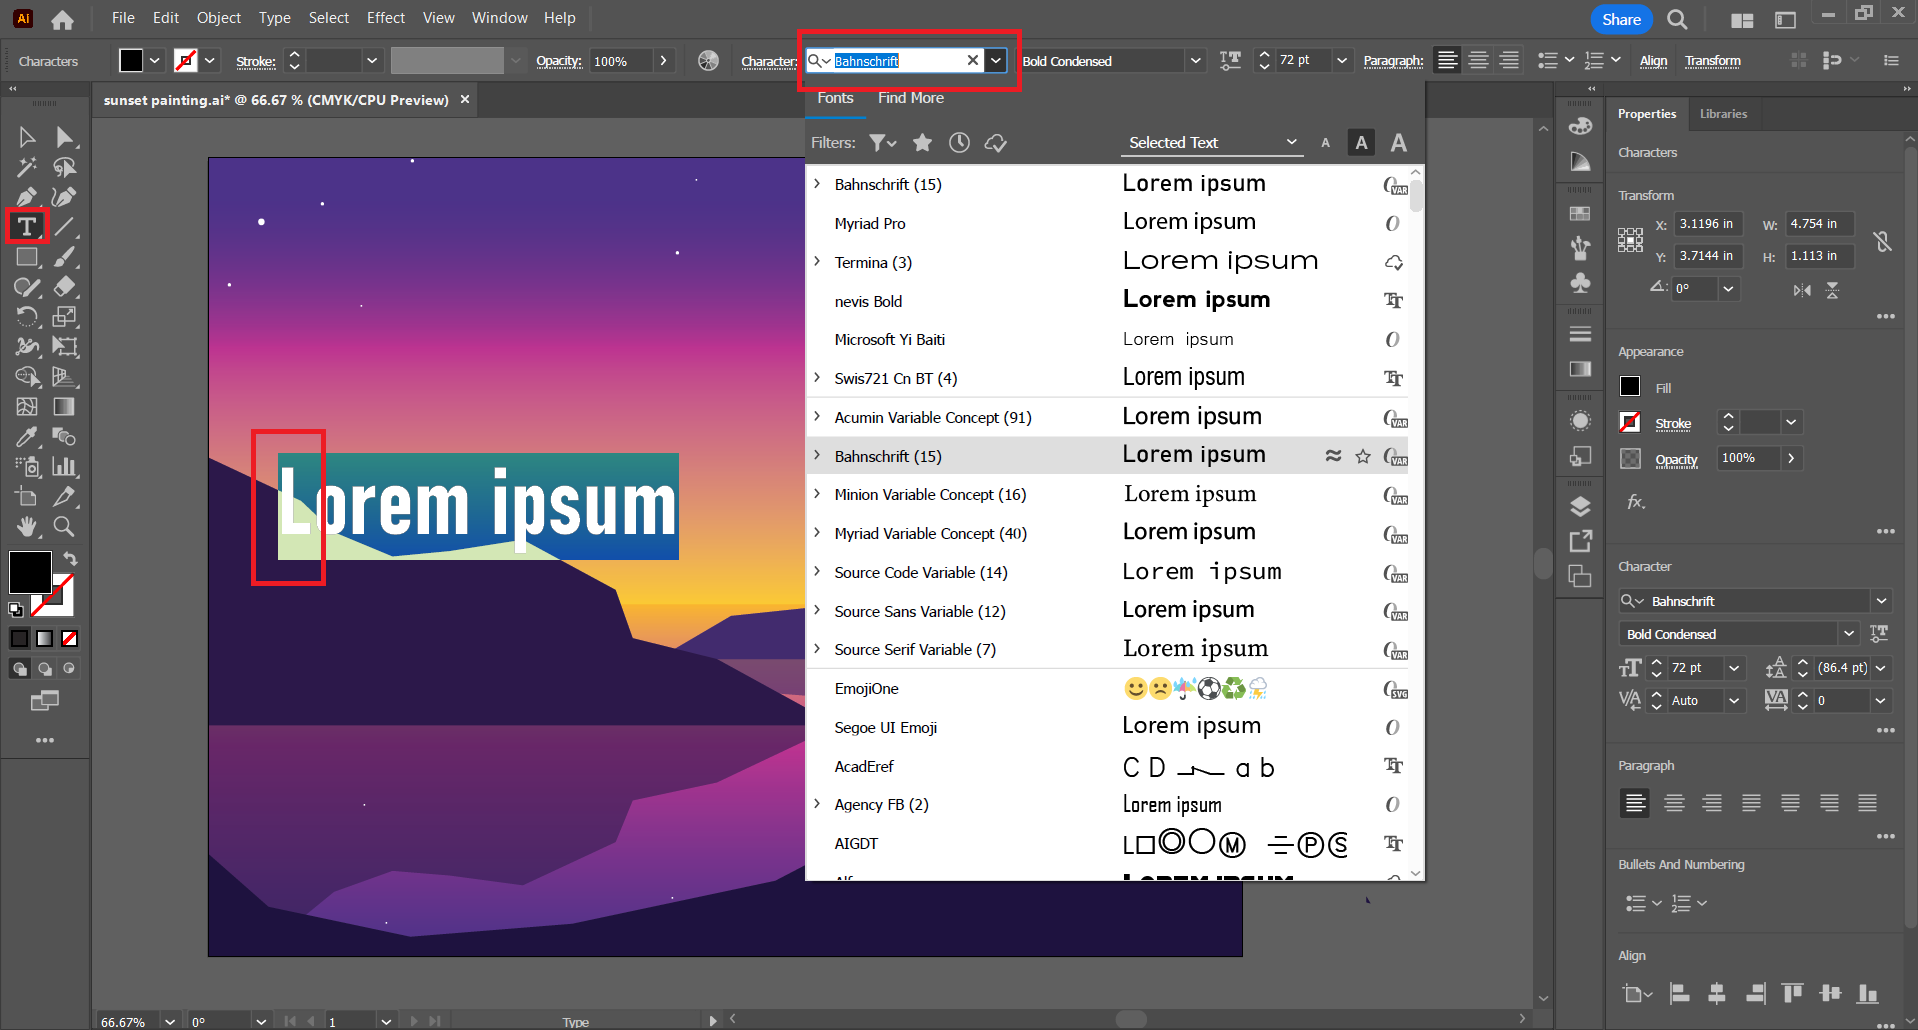
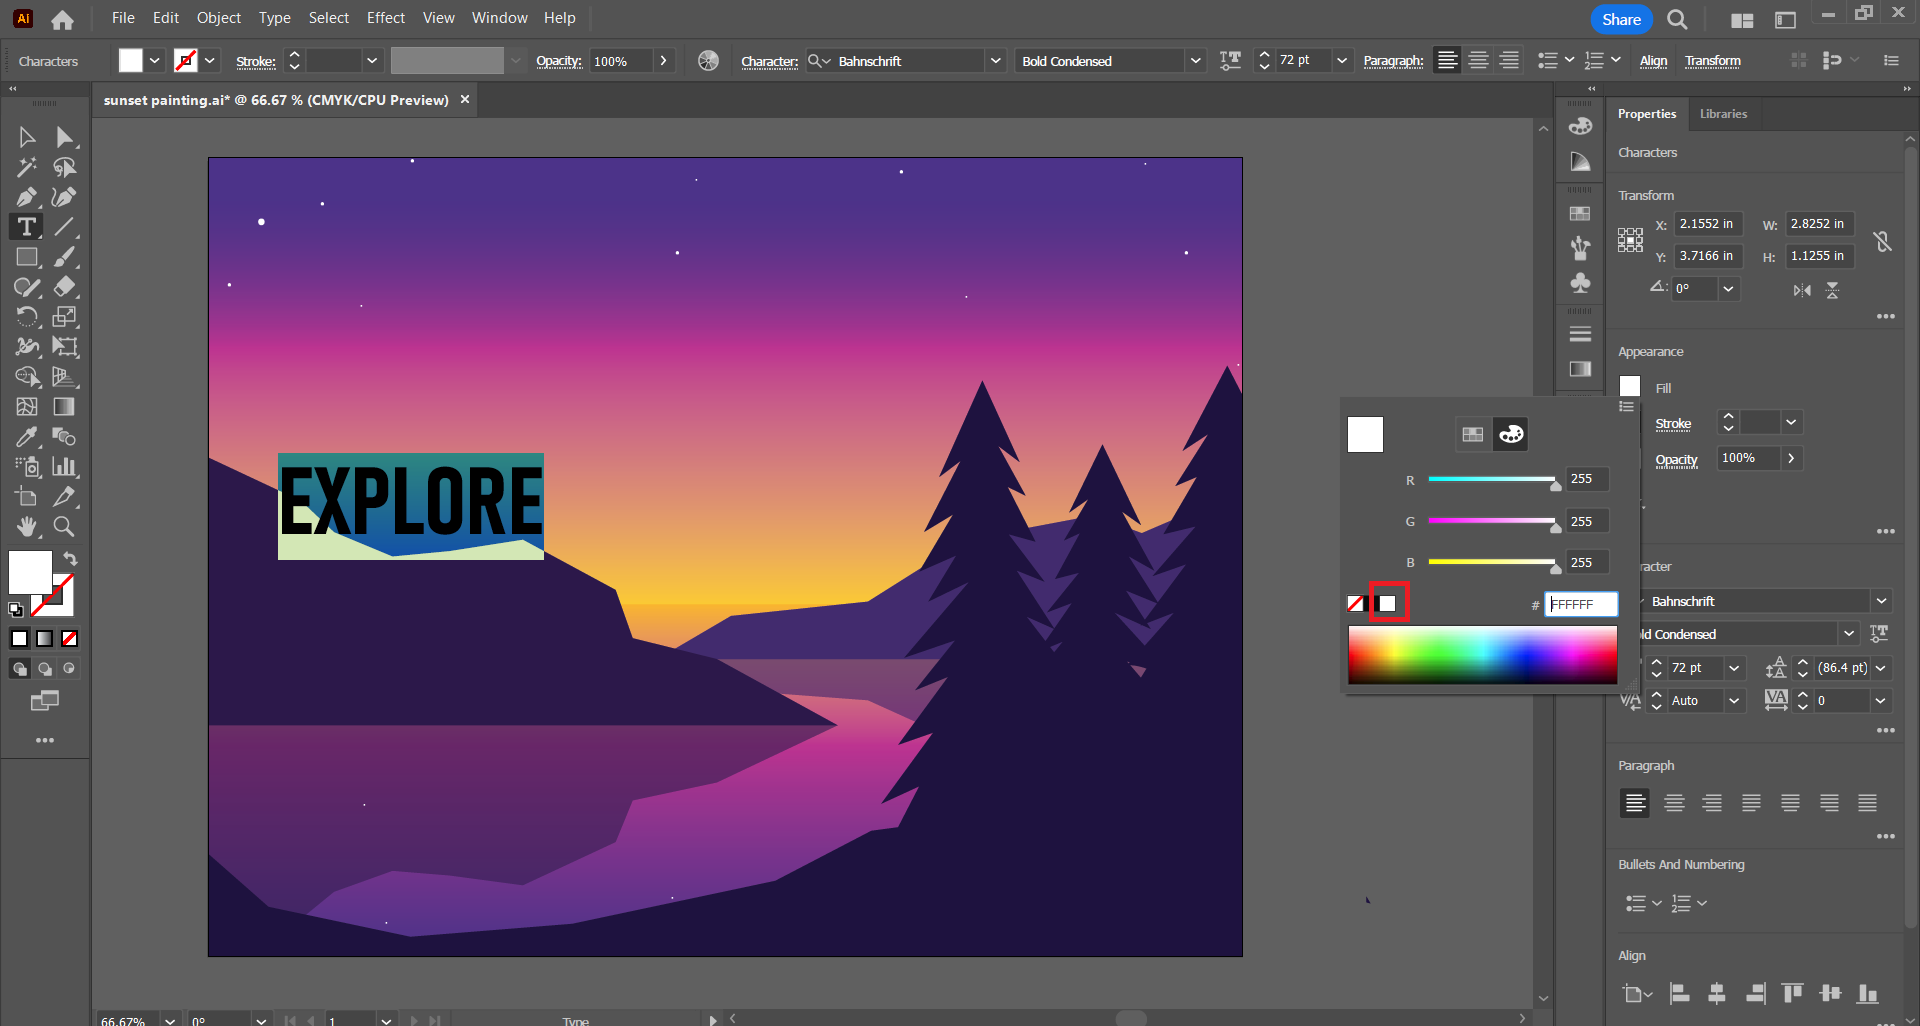
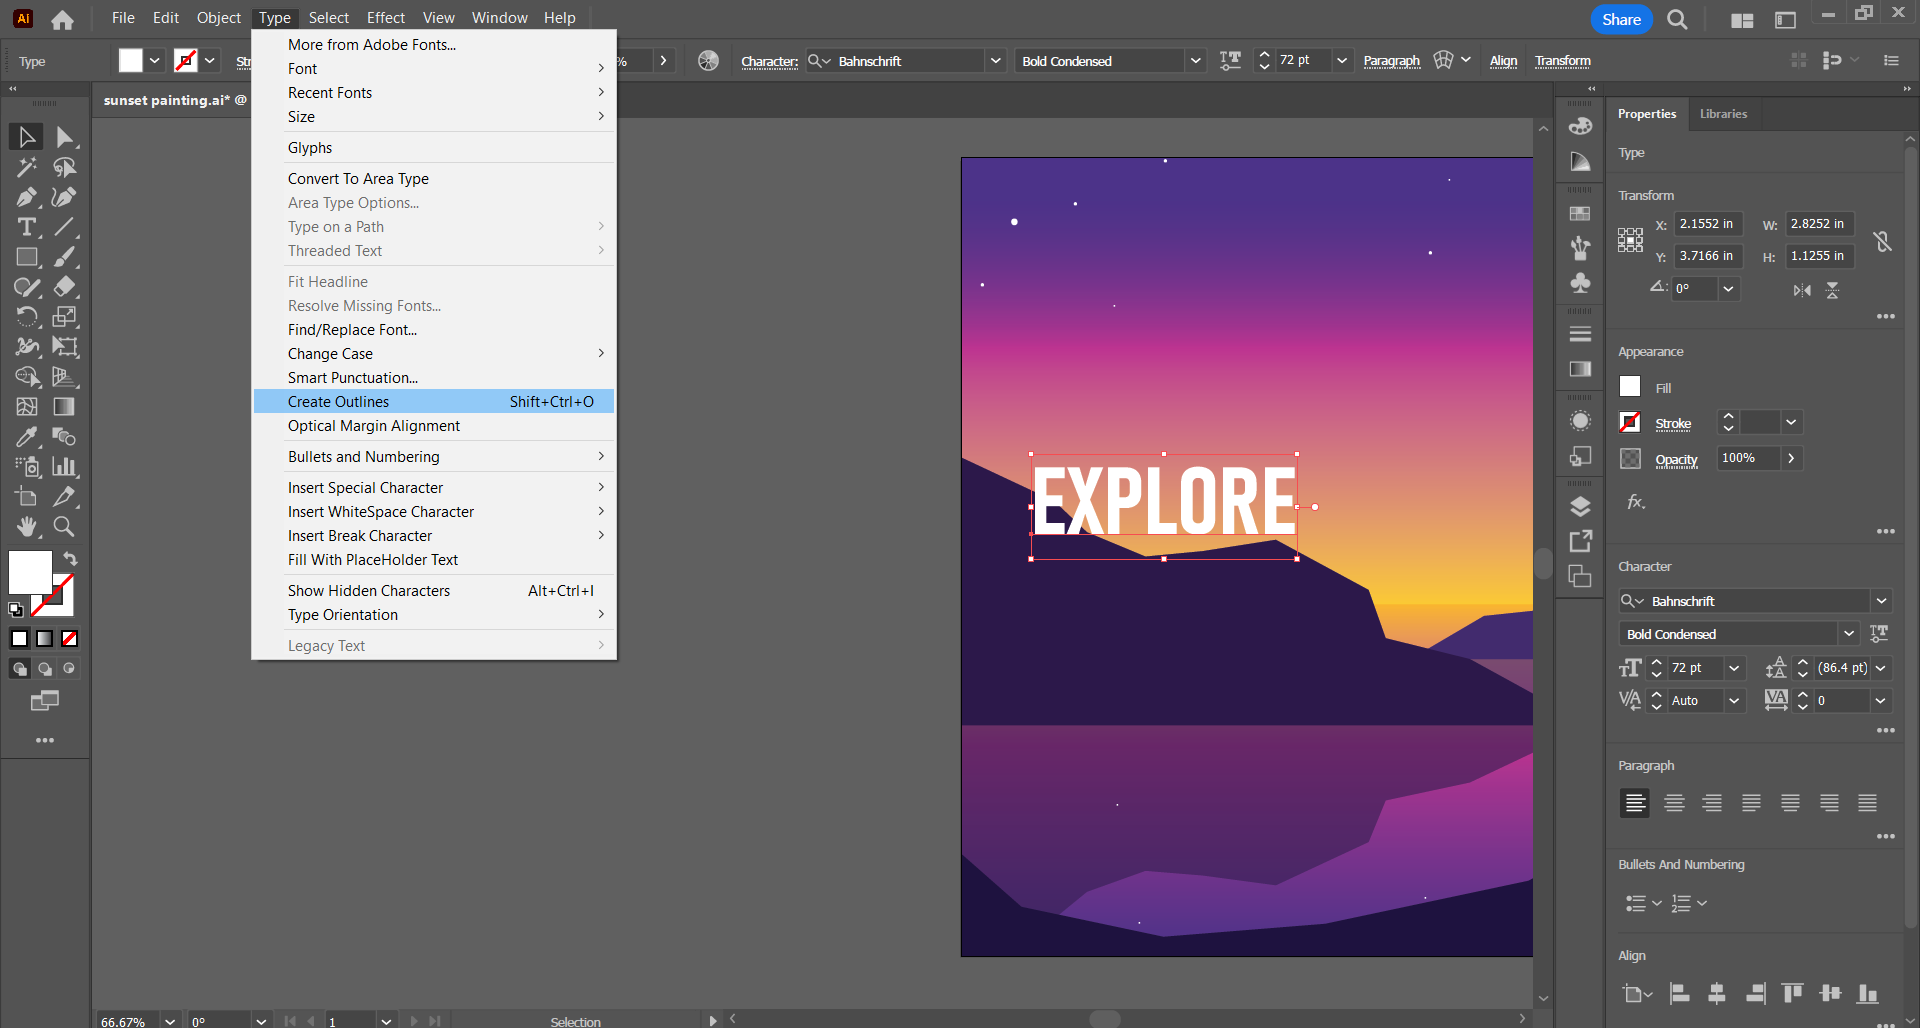
Use the Type tool from the left side of the screen to add a word to the picture. Click the cursor roughly in the middle of the artboard, on the left side. Before you type anything, change the font by clicking the "Set the Font Family" dropdown in the "Character" tab in the toolbar along the top of the screen. Select any tall, bold font that you like. In all caps, type the word "EXPLORE". Use the cursor to click and drag over the word to select the text and change the fill color to white in the same way the color for the shapes is adjusted. Click the selection tool, then click the "Type" tab at the very top of the screen. Making sure the text is still selected with the selection tool, click on "Create Outlines". This turns the text into a "shape" that can't be edited as text anymore but is easier to work with graphically.
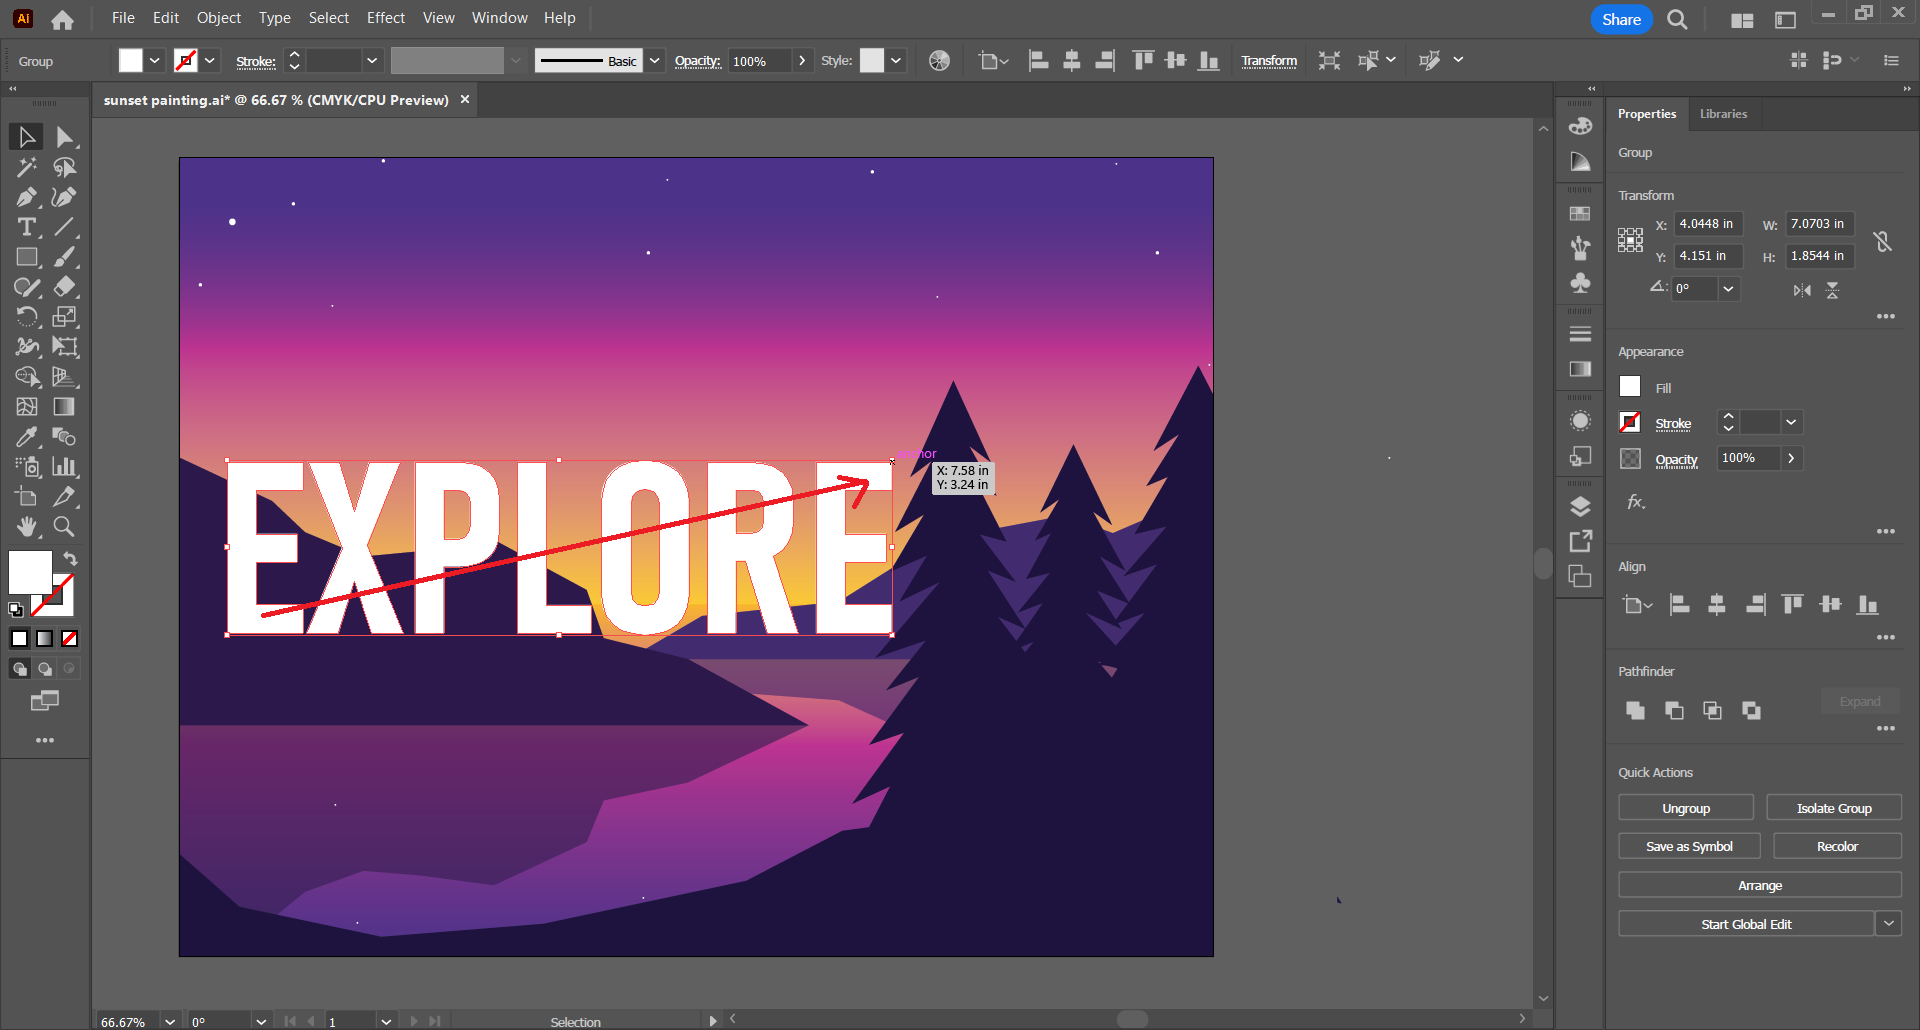
Select the word and resize it to fit most of the distance between the left edge of the artboard and the left of the trees. When resizing, drag a corner adjustment node while holding the Shift key to ensure the font of the word is not distorted.
Shaping the Text
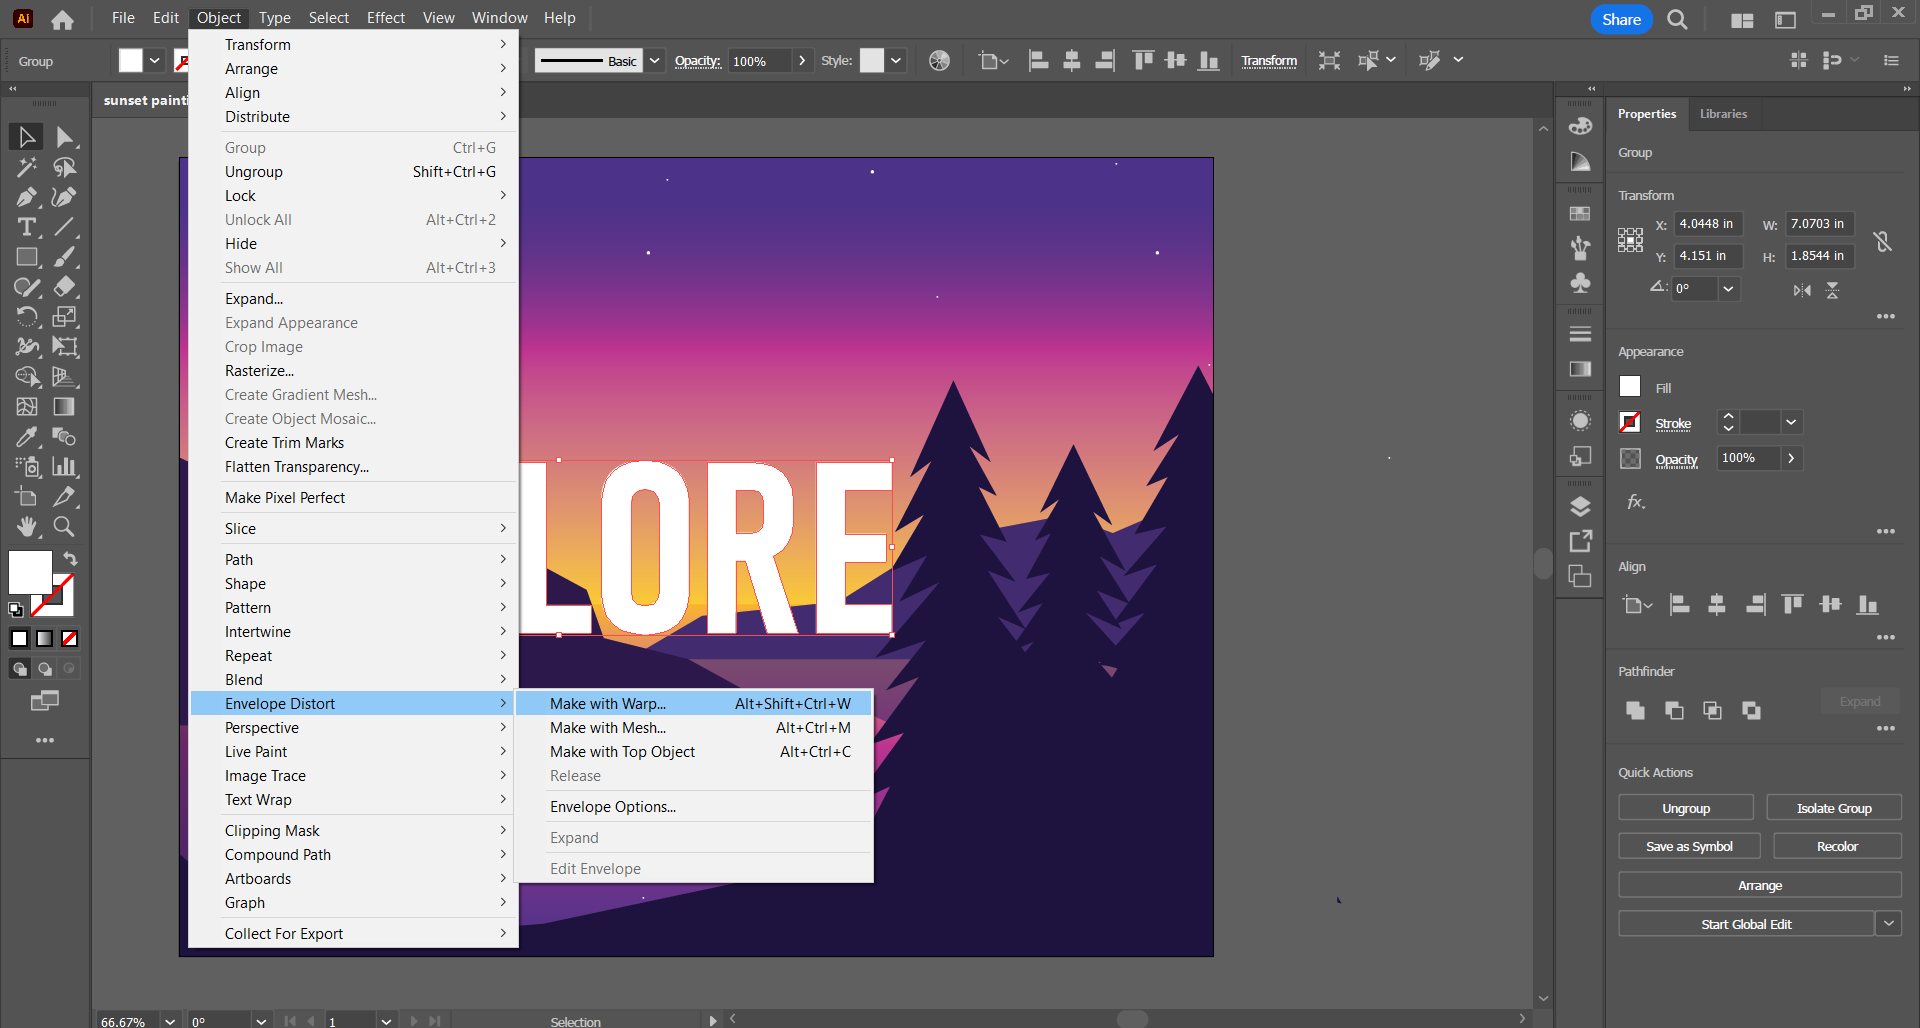
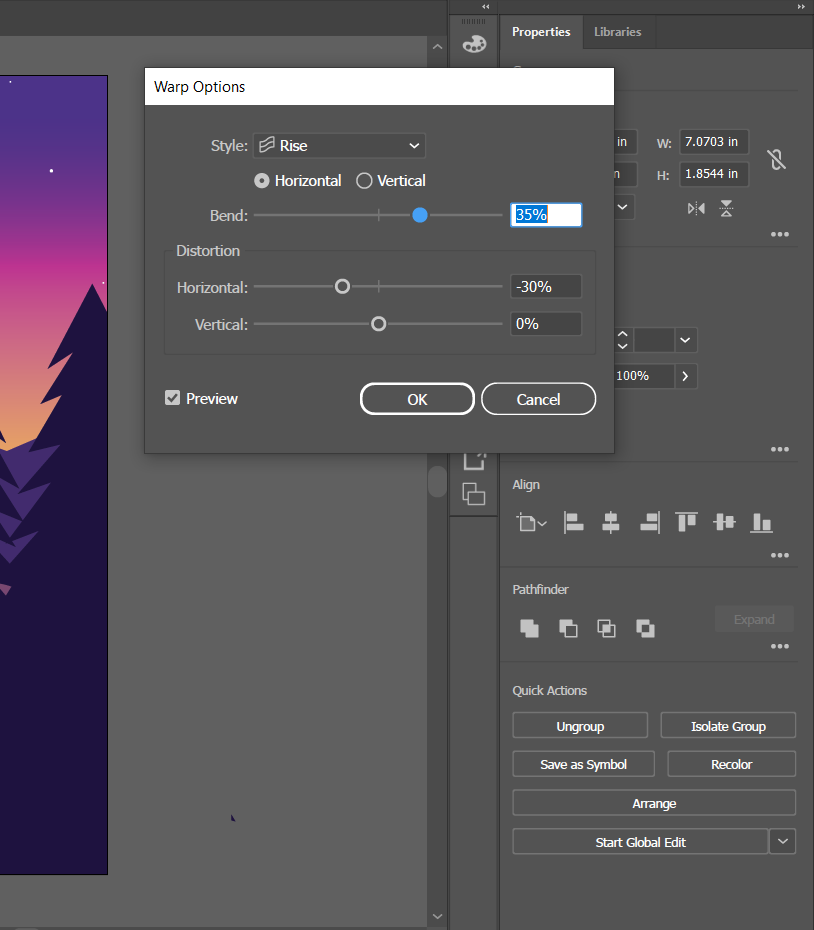

With the word selected, open the "Object" tab at the very top of the screen. About 3/4 of the way down, select "Envelope Distort" then "Make With Warp". A "Warp Options" tab should appear. For the Style, select "Rise", then make sure the "Horizontal" button is selected. Set the "Bend" to 35% and the Horizontal distortion to -30%. Click OK to apply the warp. If to word looks too short, select it, then click and drag the top or bottom adjustment node to stretch the word vertically.
The poster is now finished.
Exporting Poster
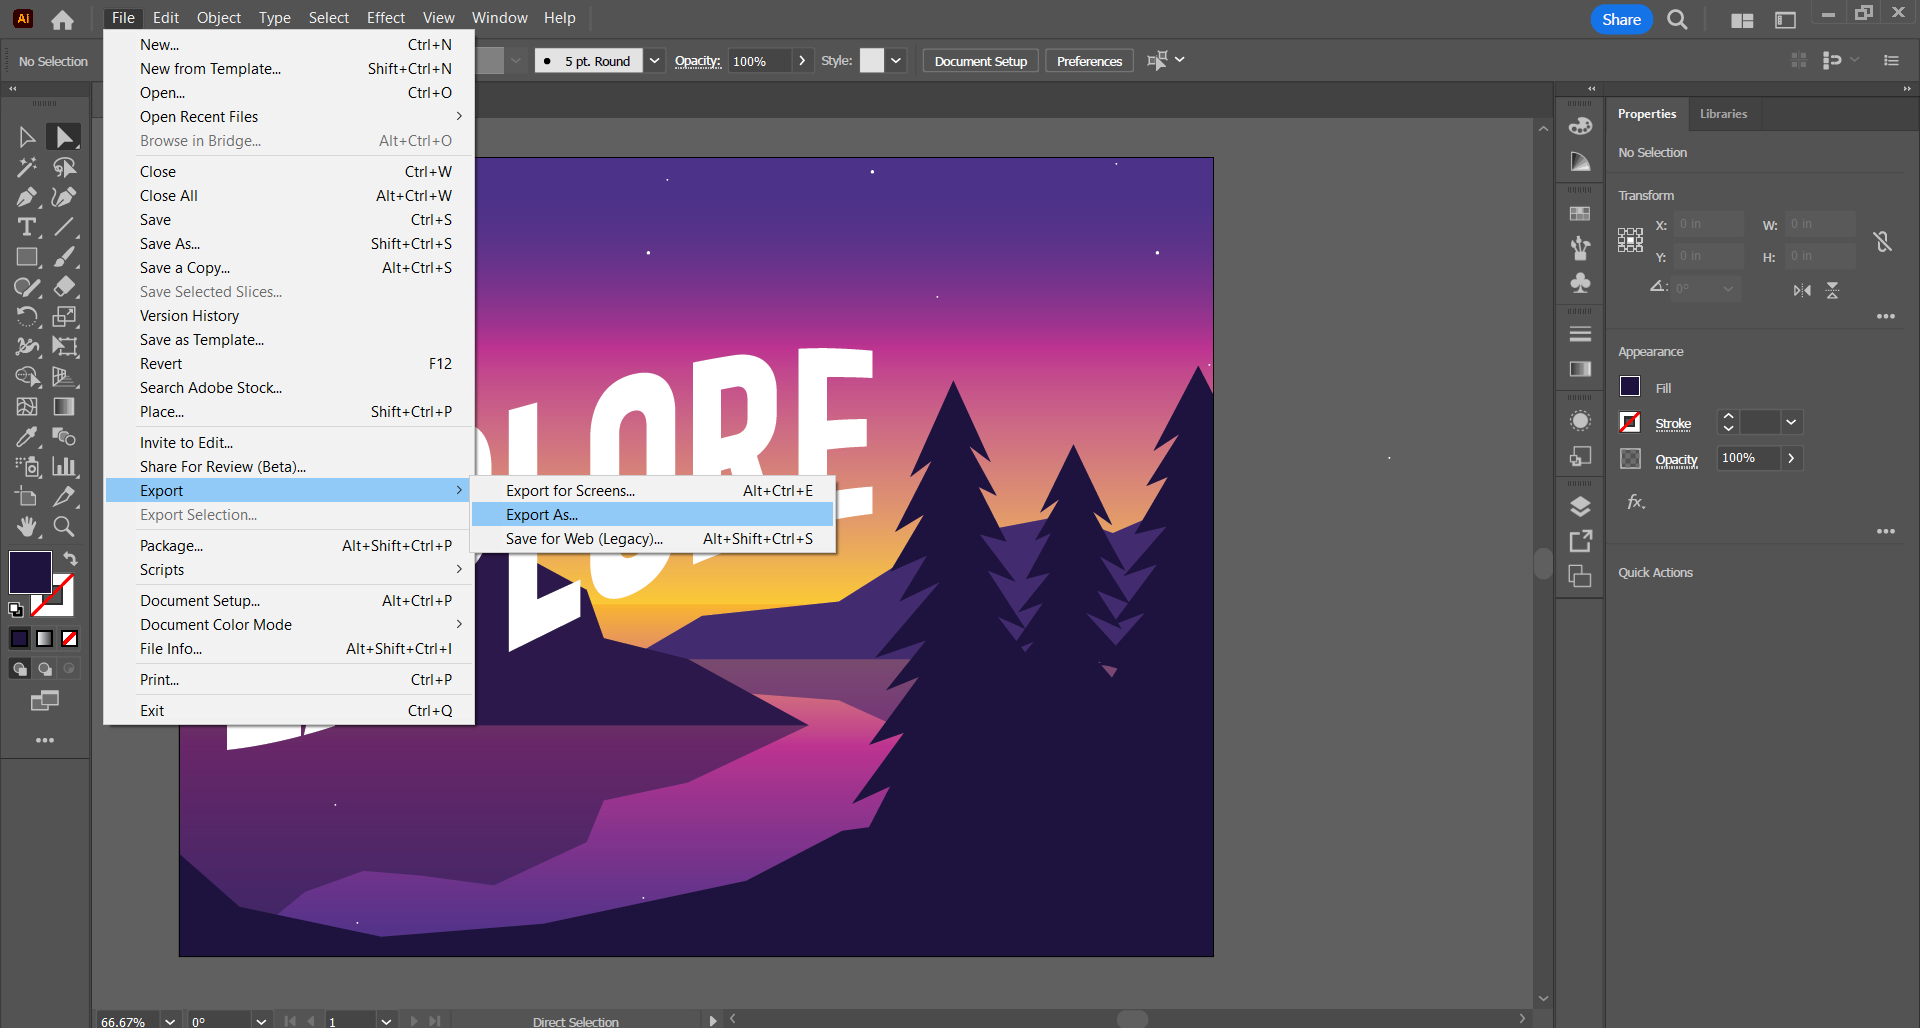
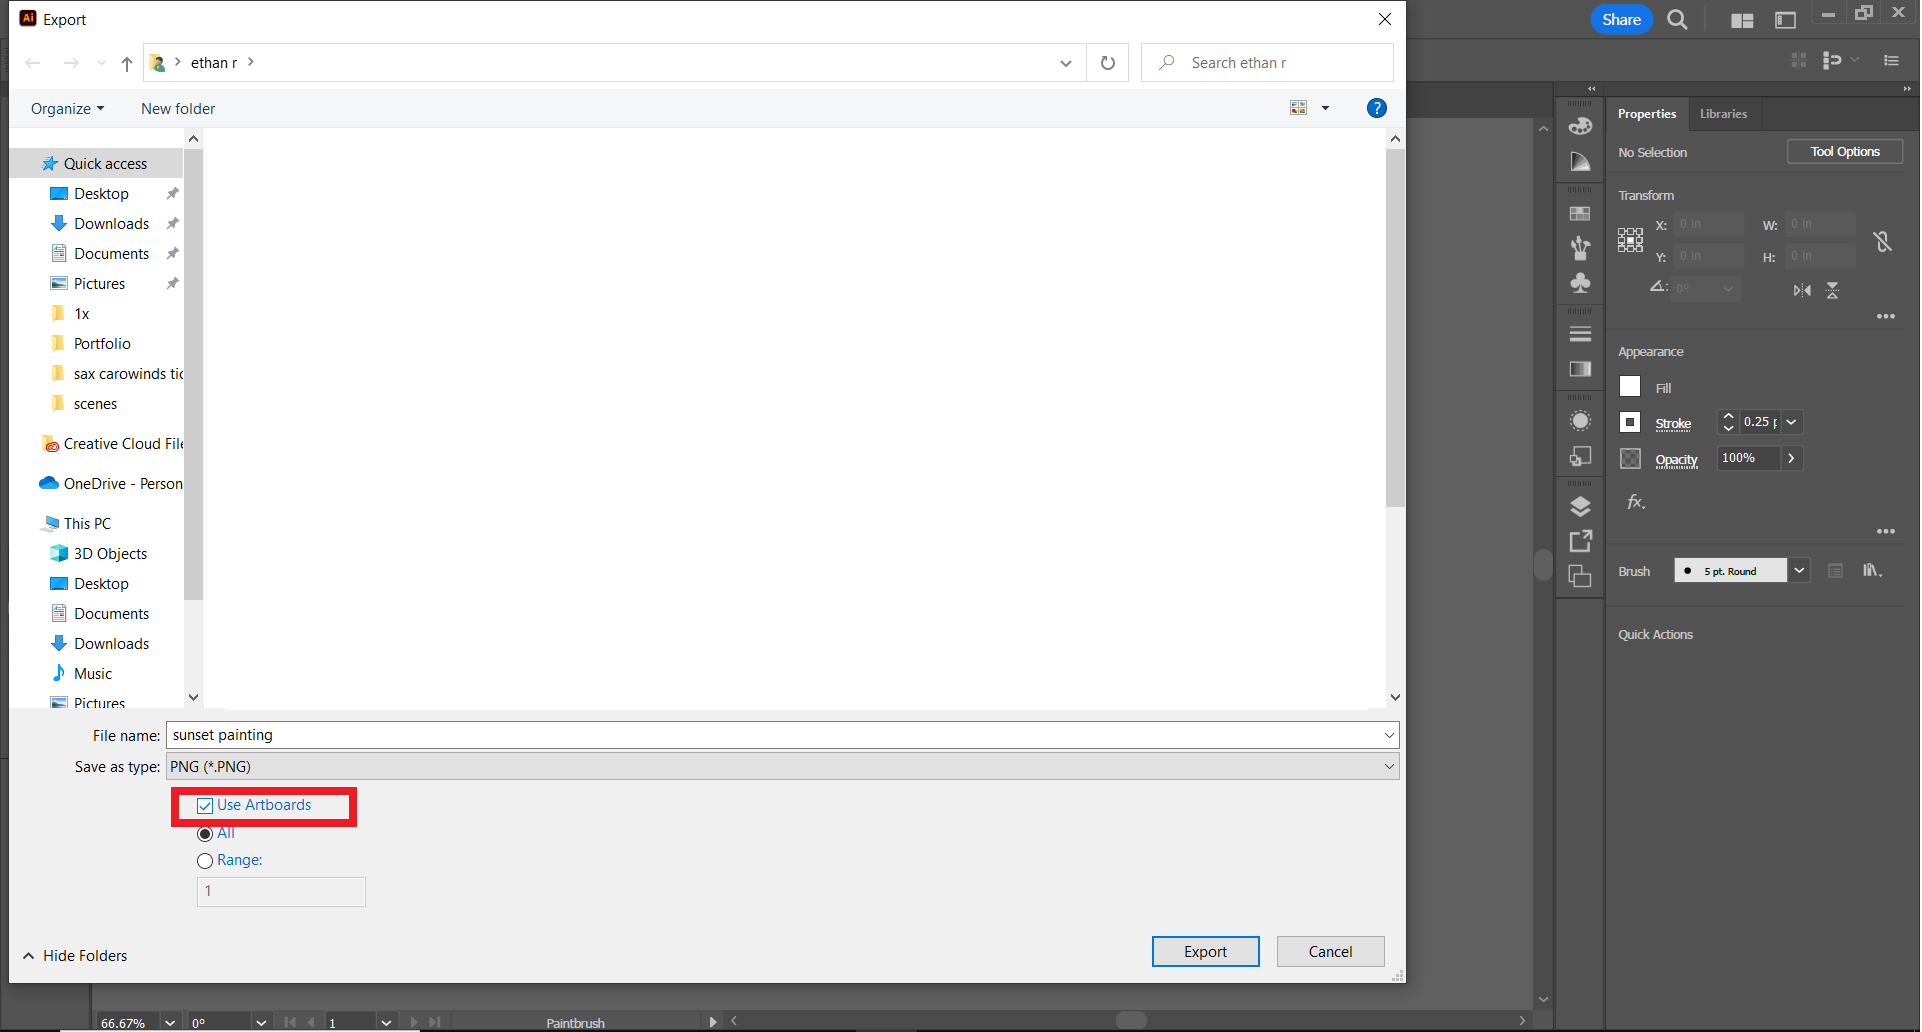
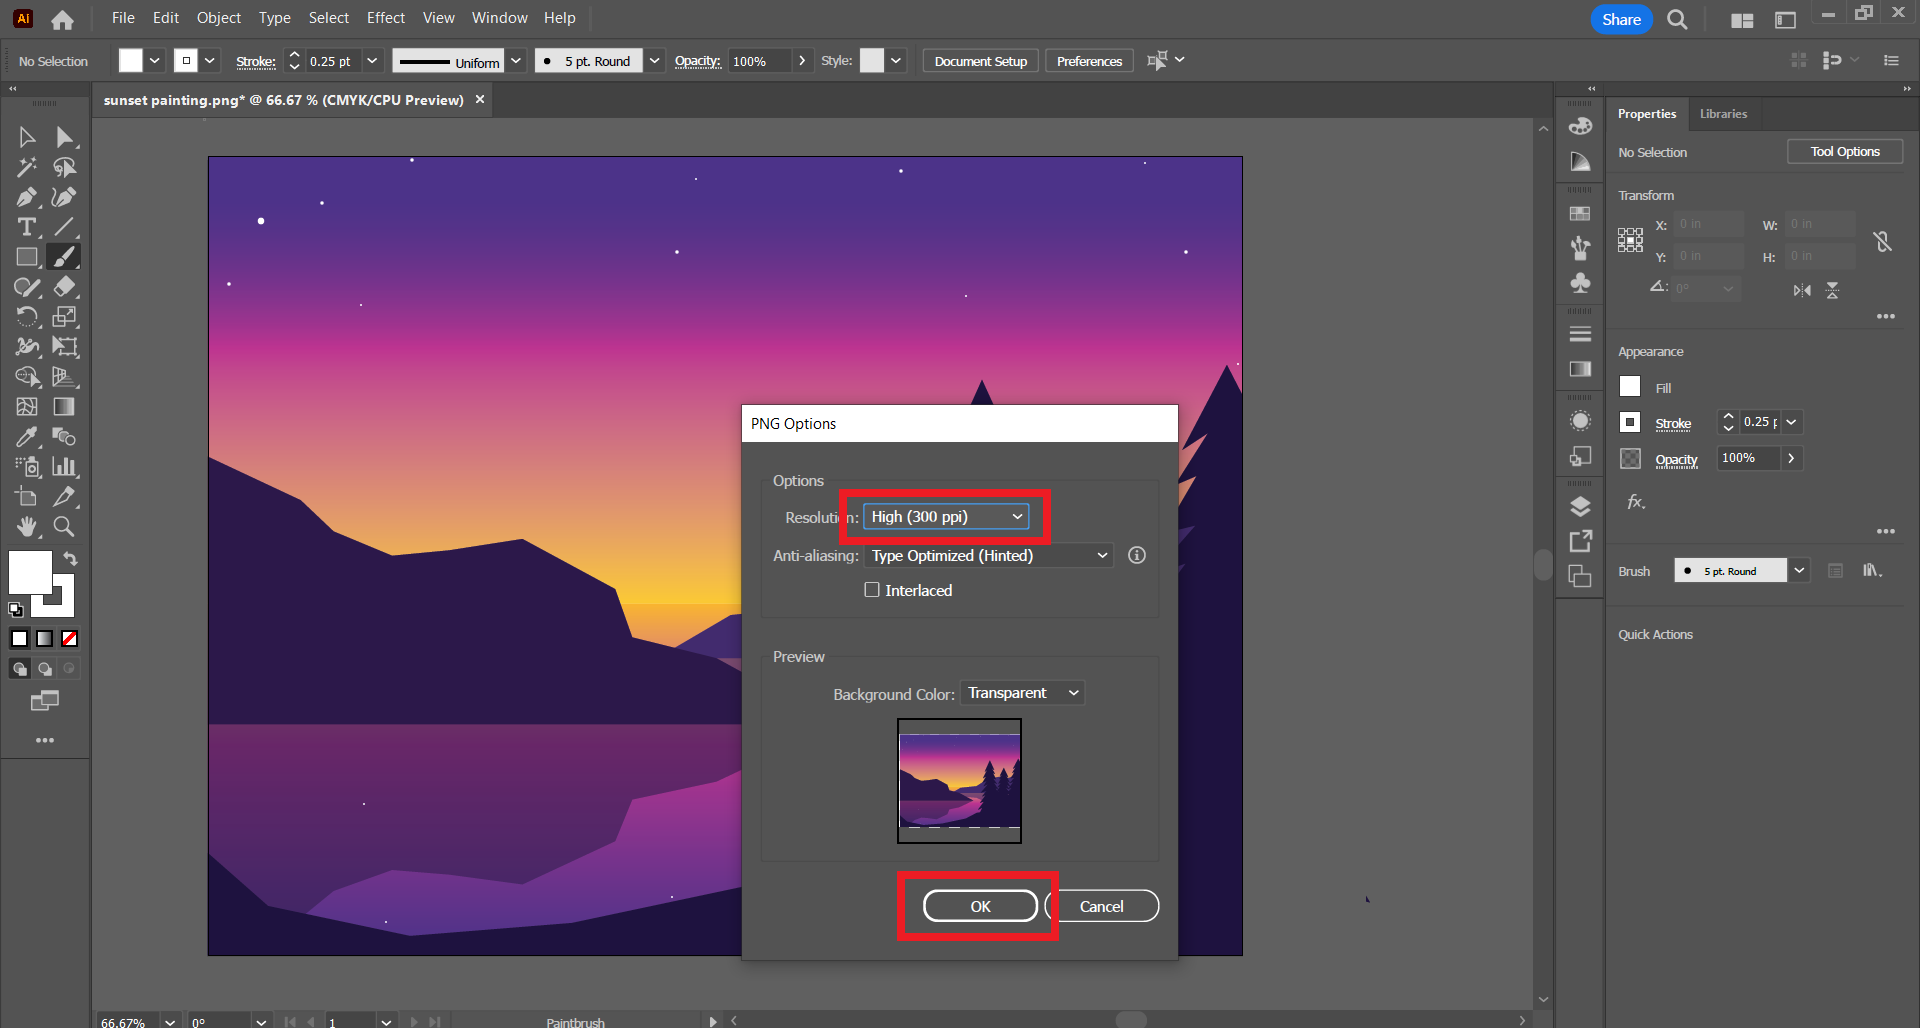
Open the "File" tab at the very top of the screen. About 2/3 of the way down, select "Export" then "Export As". Choose a place on your computer to save the exported picture. Save the file as a .PNG for the "Save As Type" and check the "Use Artboards" box under the "Save As Type" selection. Click "Export" in the bottom right corner of the window. A PNG Options tab should appear. Set the Resolution as 300 ppi and make sure the background is transparent. Click OK.
Your computer should now have a high-quality PNG image of your poster that can be used virtually or in print!