Digital Manufacturing - 3D Printed Box Project

by liquidhandwash in Workshop > 3D Printing

24568 Views, 92 Favorites, 0 Comments

Digital Manufacturing - 3D Printed Box Project

P2011748.JPG
P2011747.JPG
P2011749.JPG
P2011750.JPG
P2031751.JPG
Screen Shot 2013-02-02 at 9.44.21 PM.png

Designing a project to send to a 3d printer requires a different approach to a project that requires laser cutting, but is not to difficult as long as you remember few points

  • 3D printing has limitations on size cannot be too big or have parts that too small with no support.
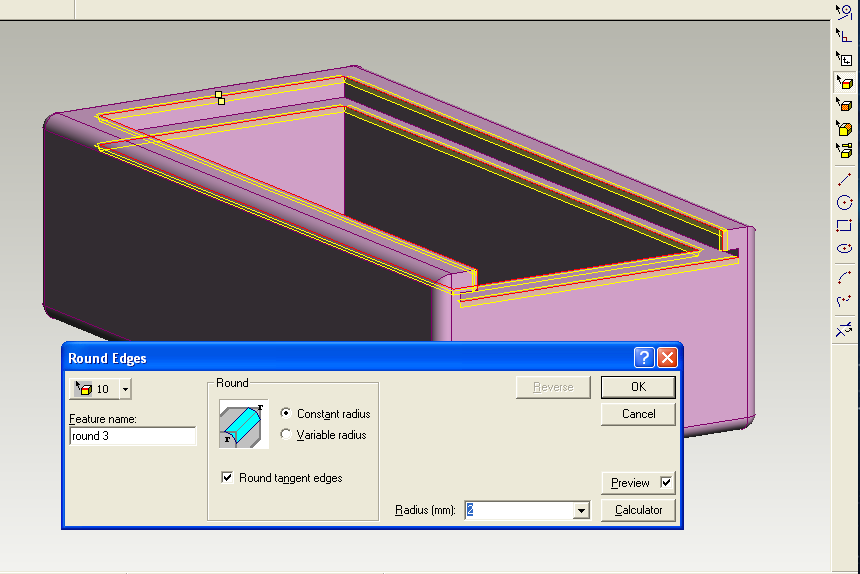
  • Projects with large overhangs and sharp corners can cause problems.
  • Support material and raft can be difficult to remove and needs to have some thought in the design process.
  • Parts that fit together like the lid, do need some clearance.
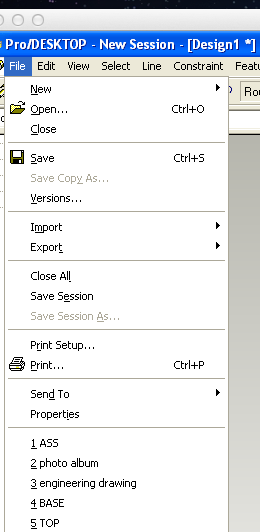
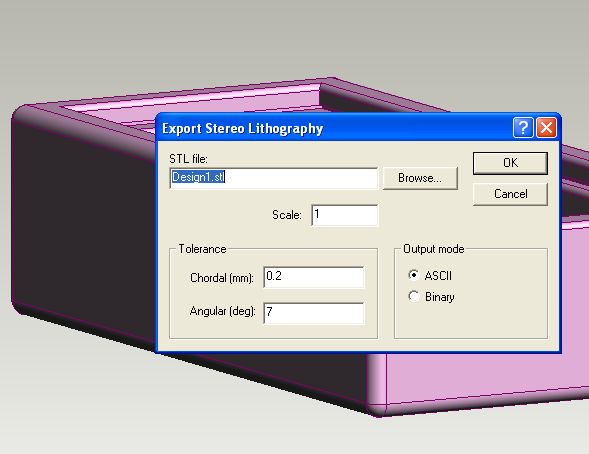
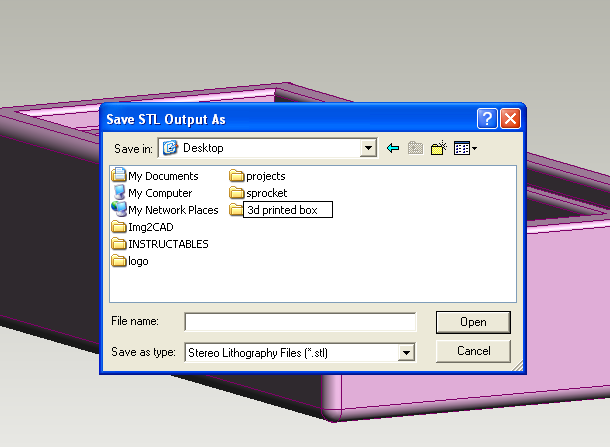
  • Projects needs to exported as a STL file
  • On Prodesktop you cannot import a STL file

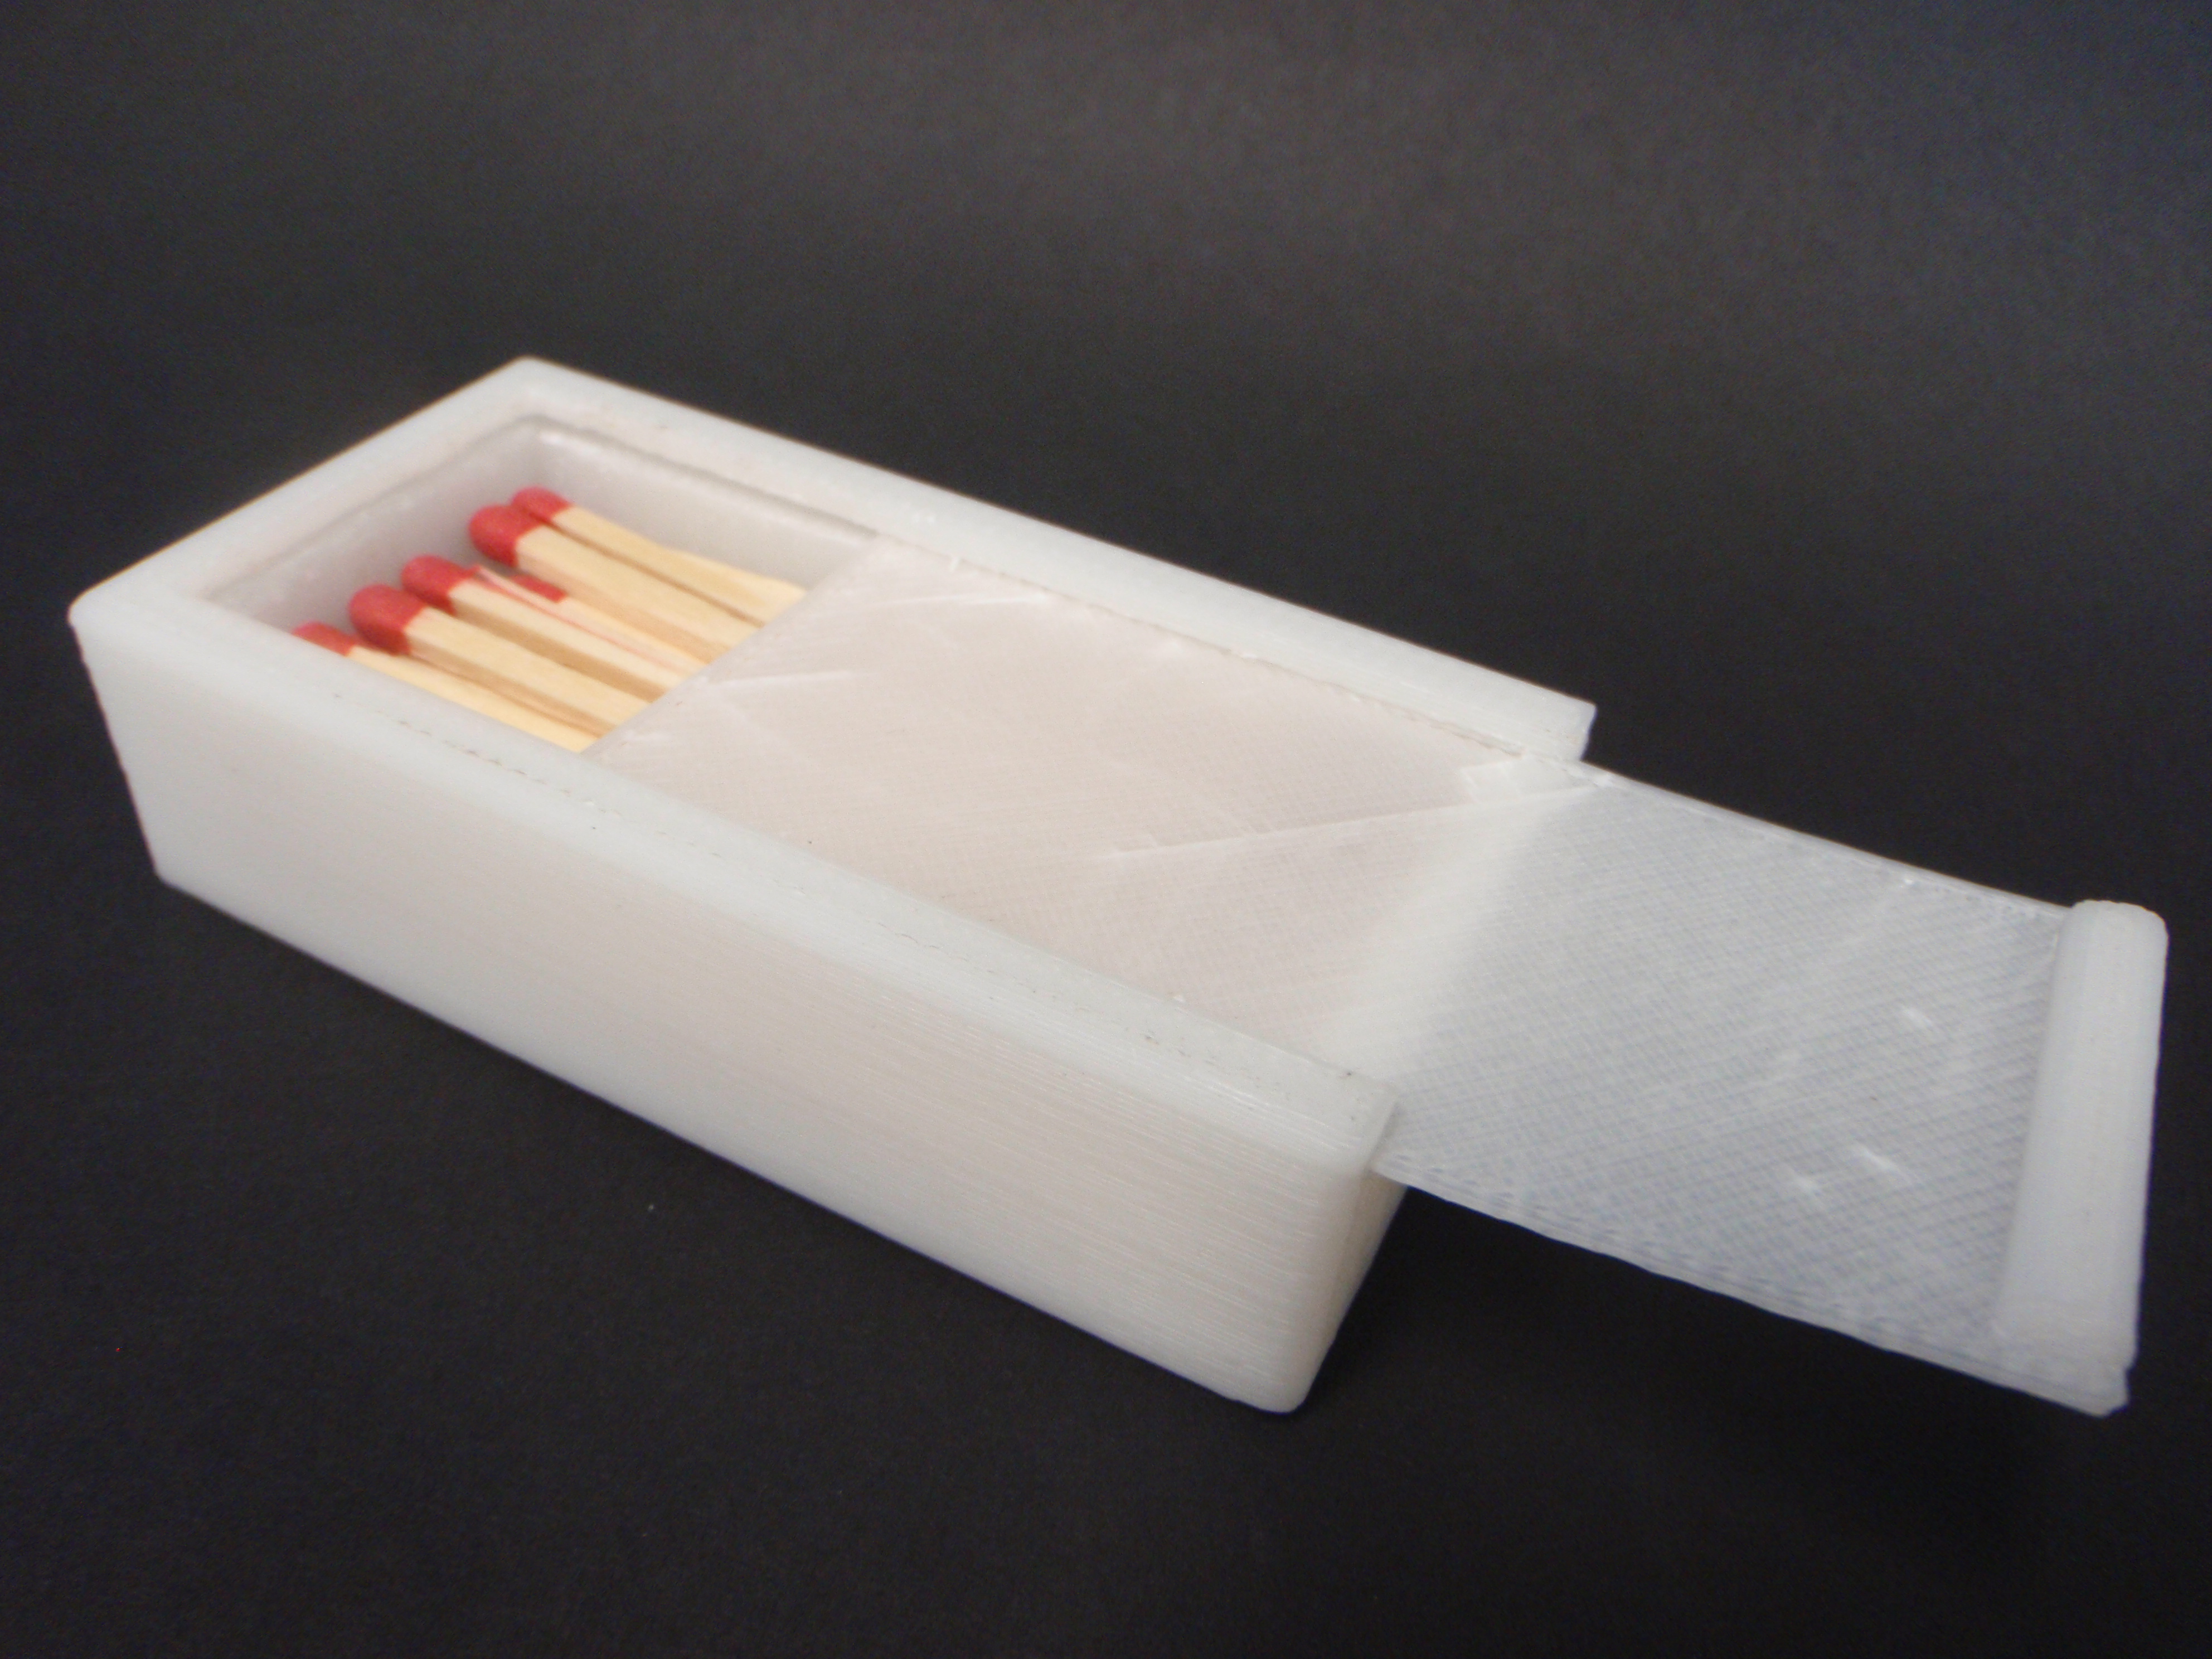
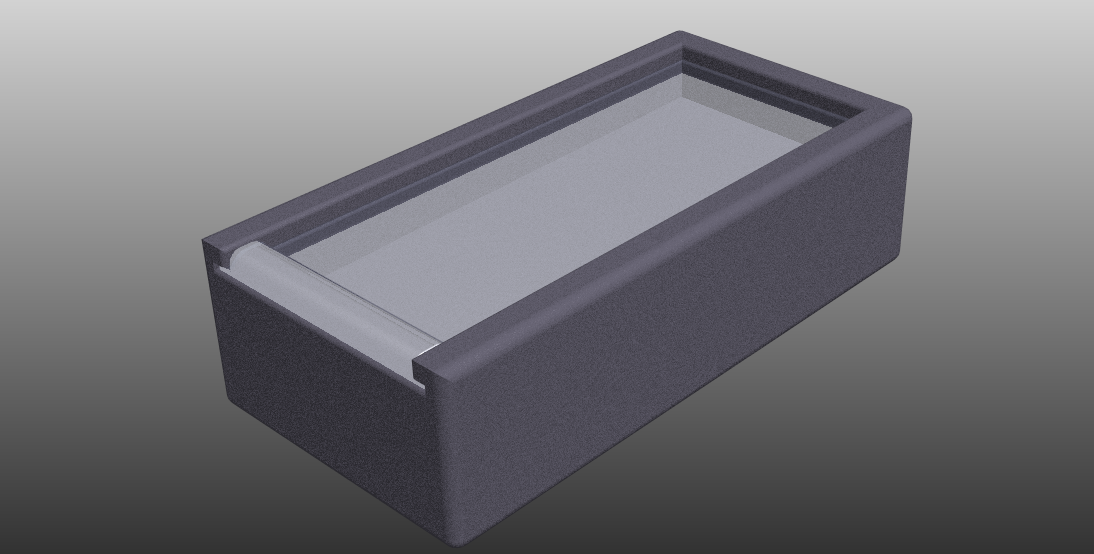
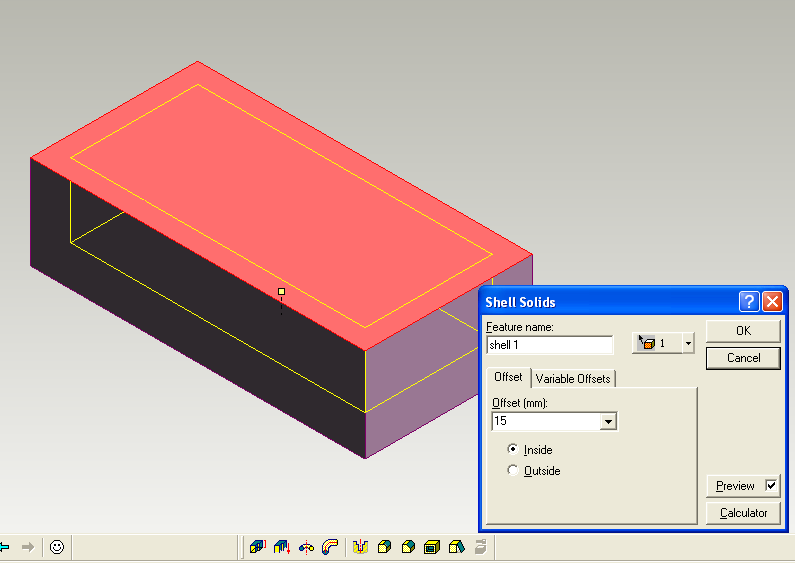
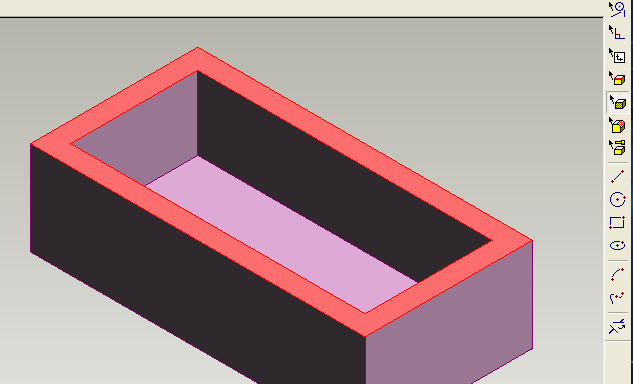
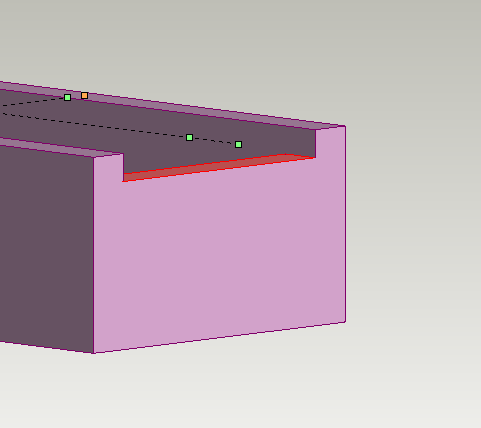
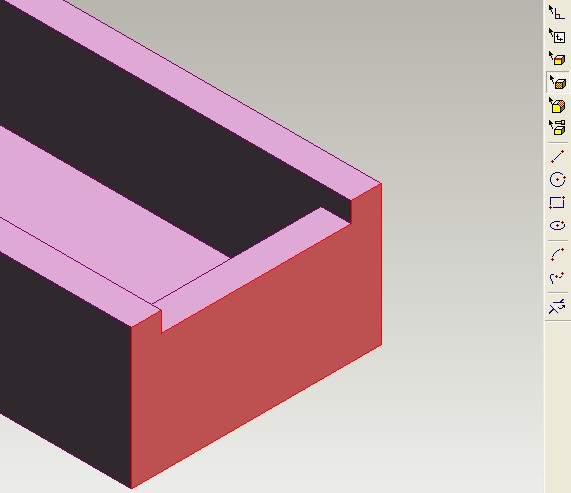
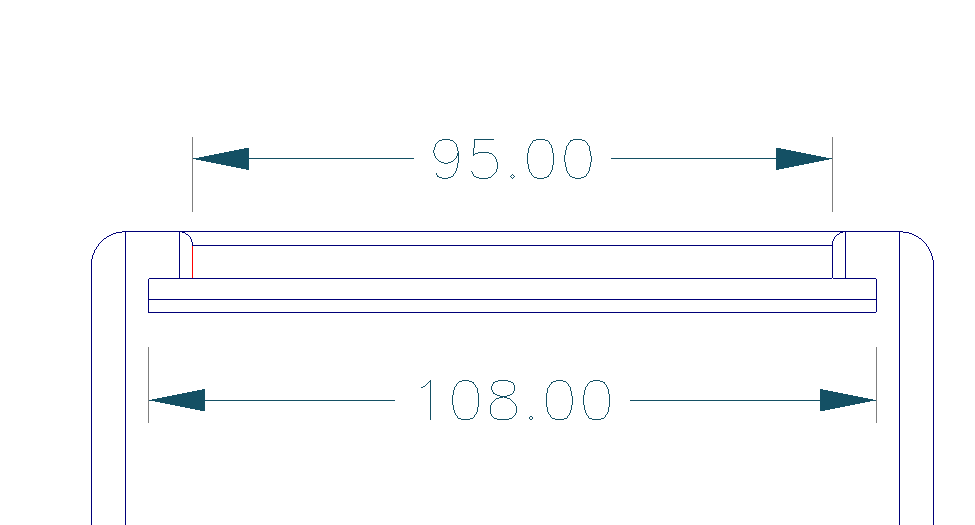
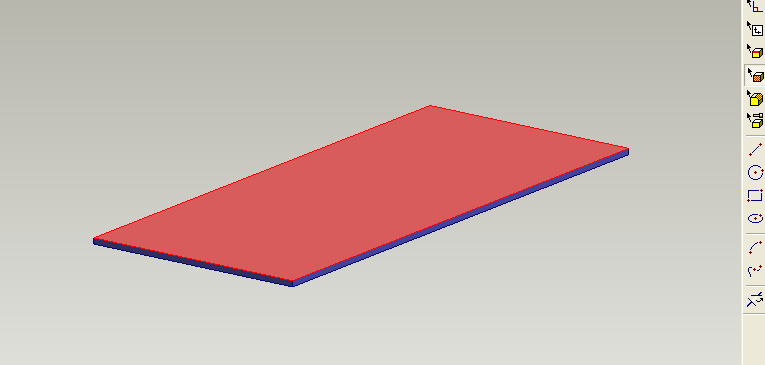
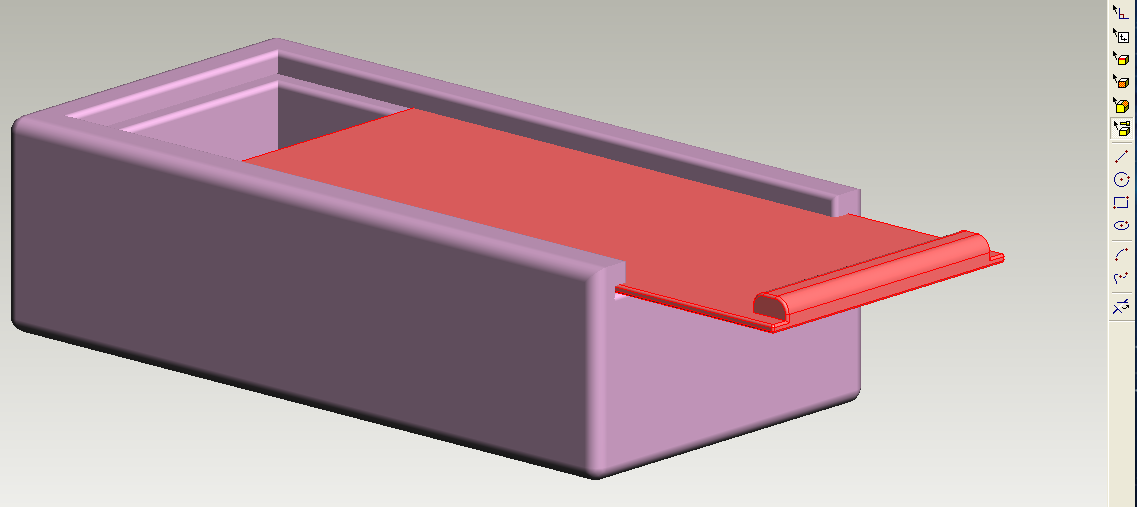
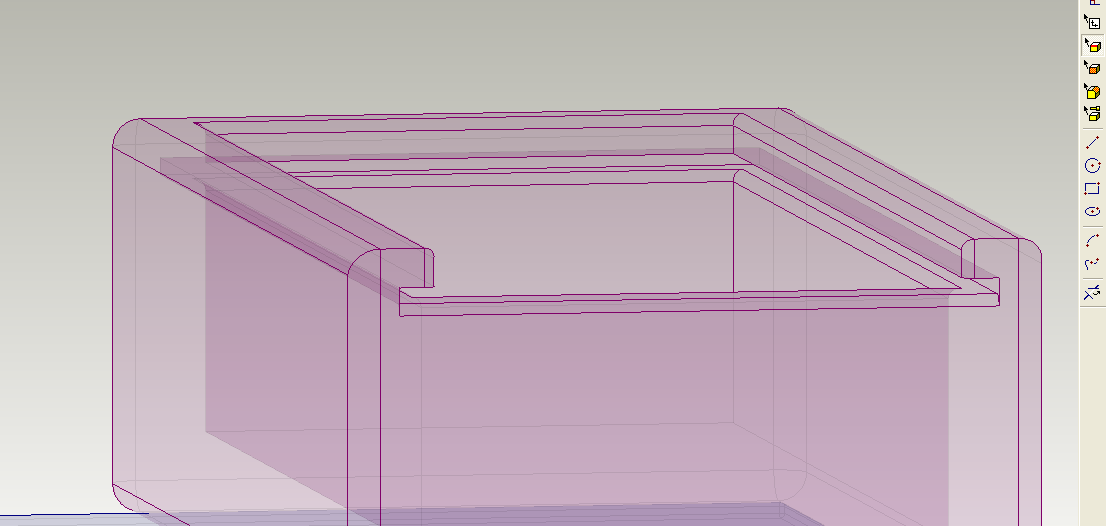
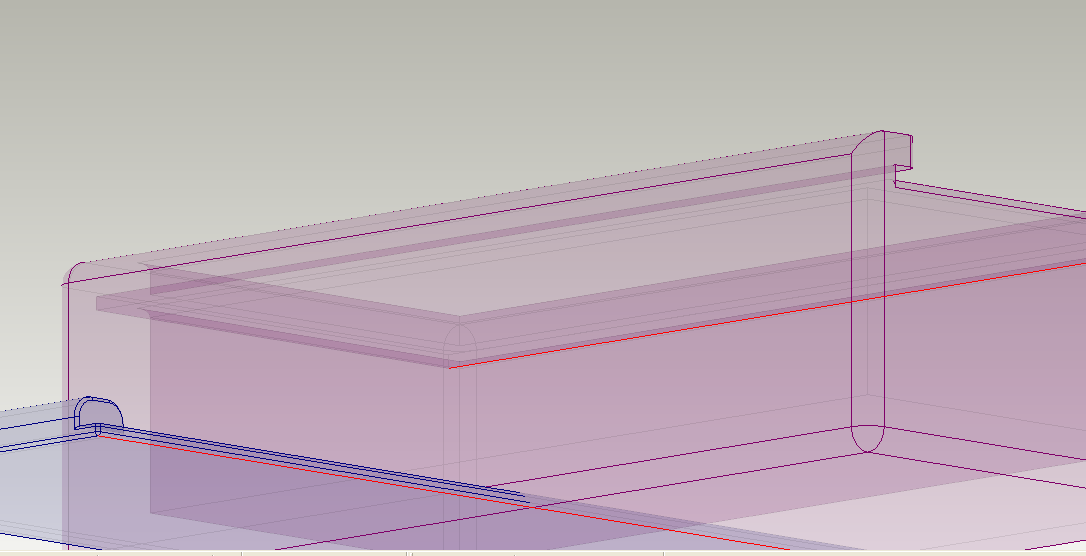
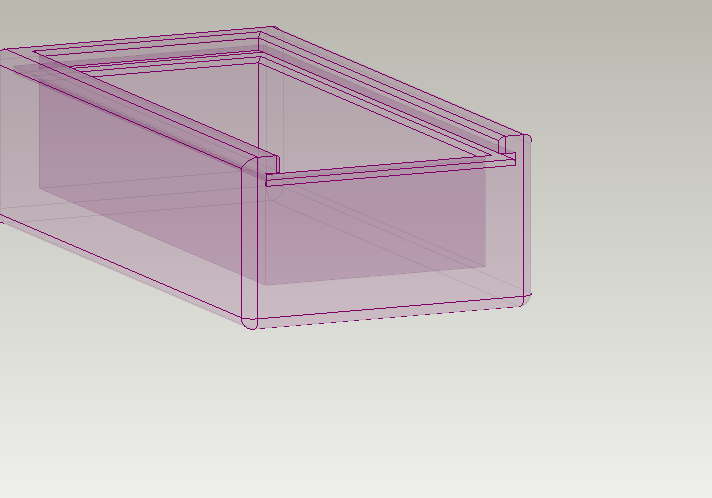
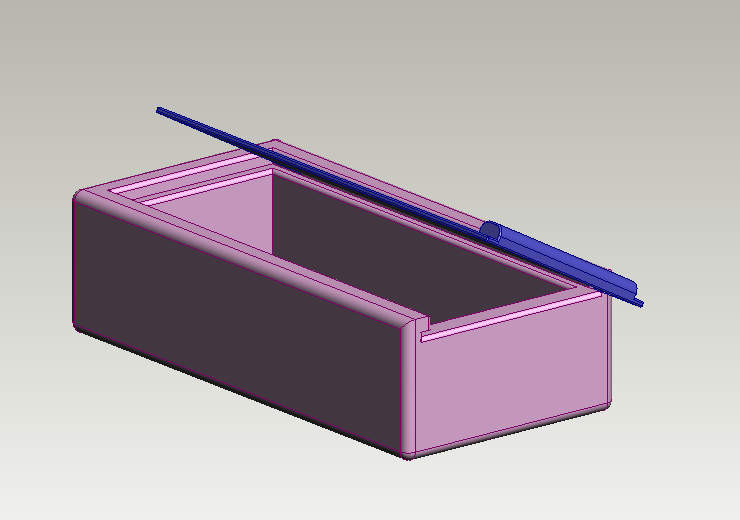
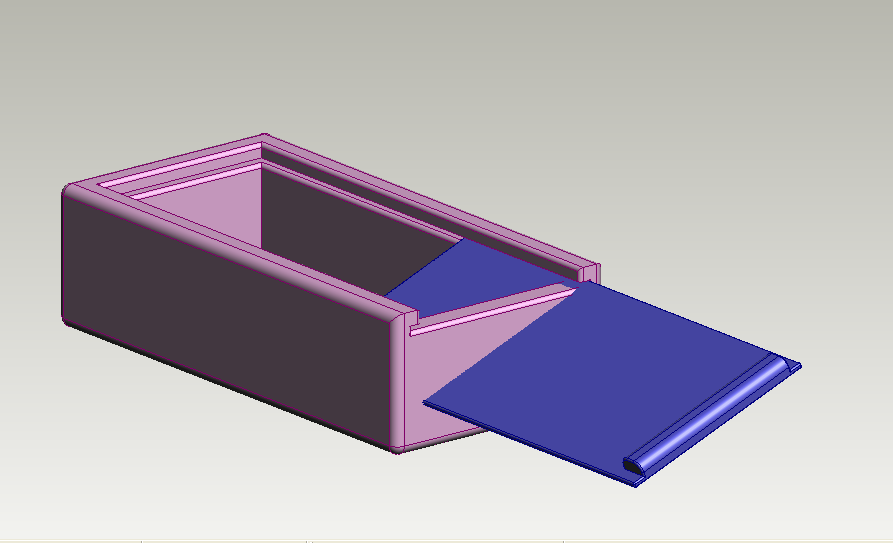
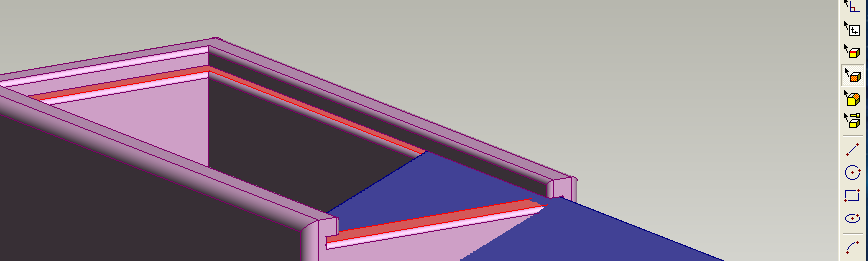
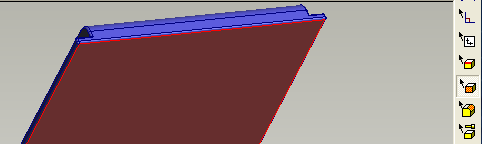
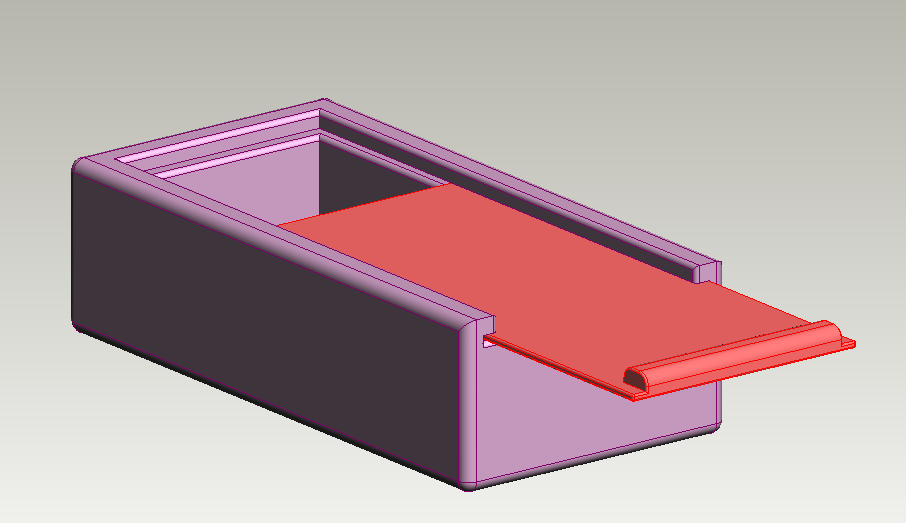
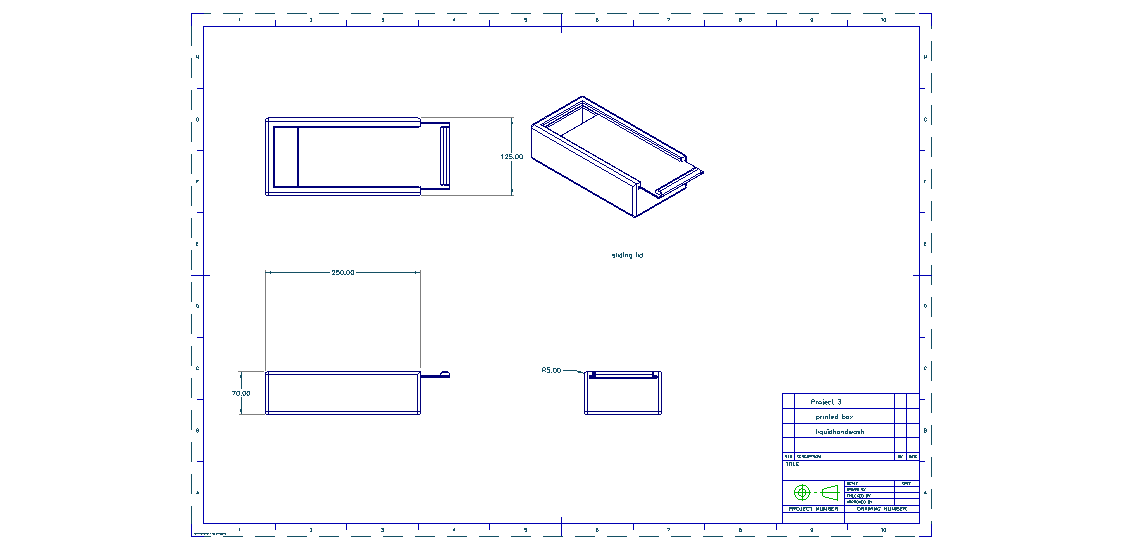
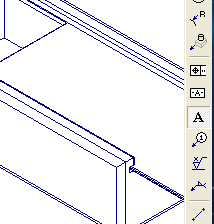
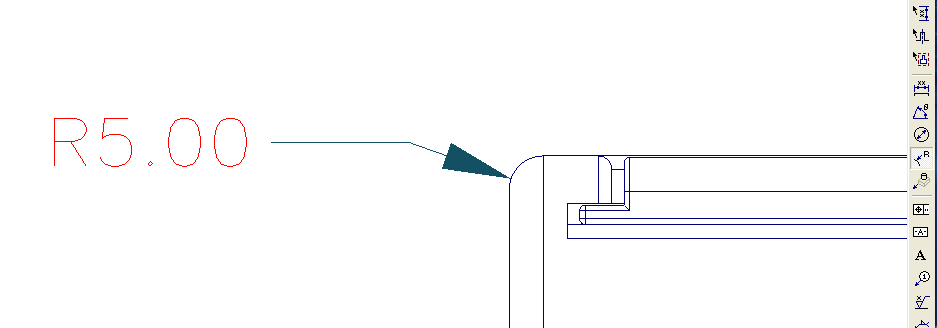
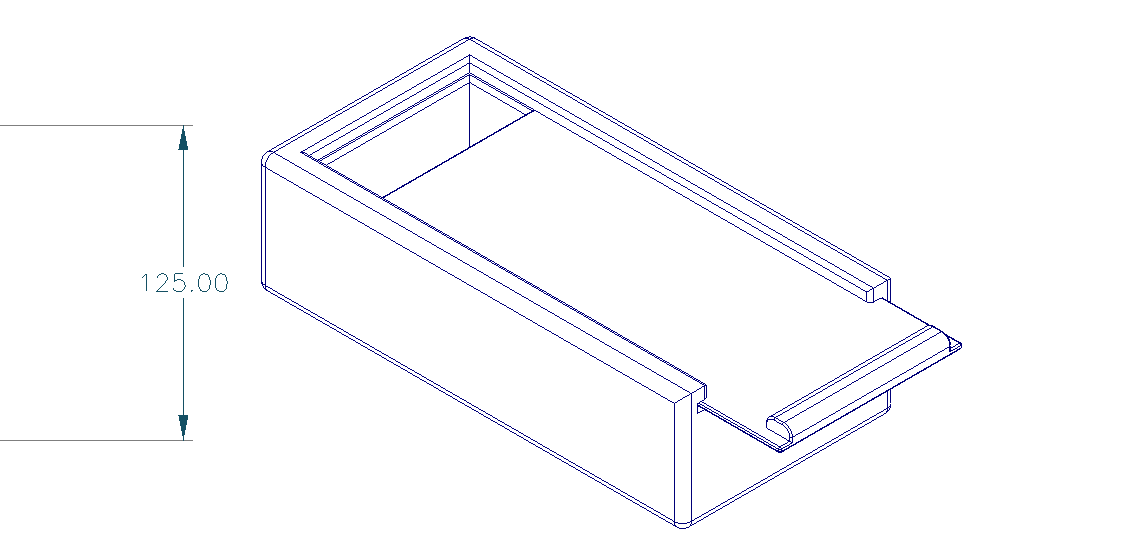
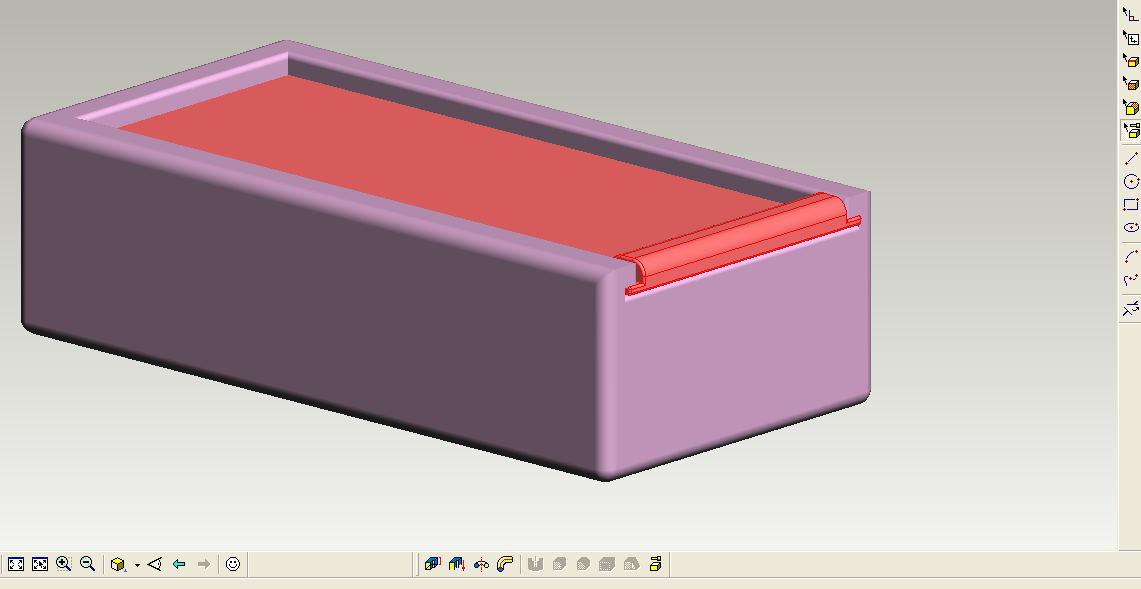
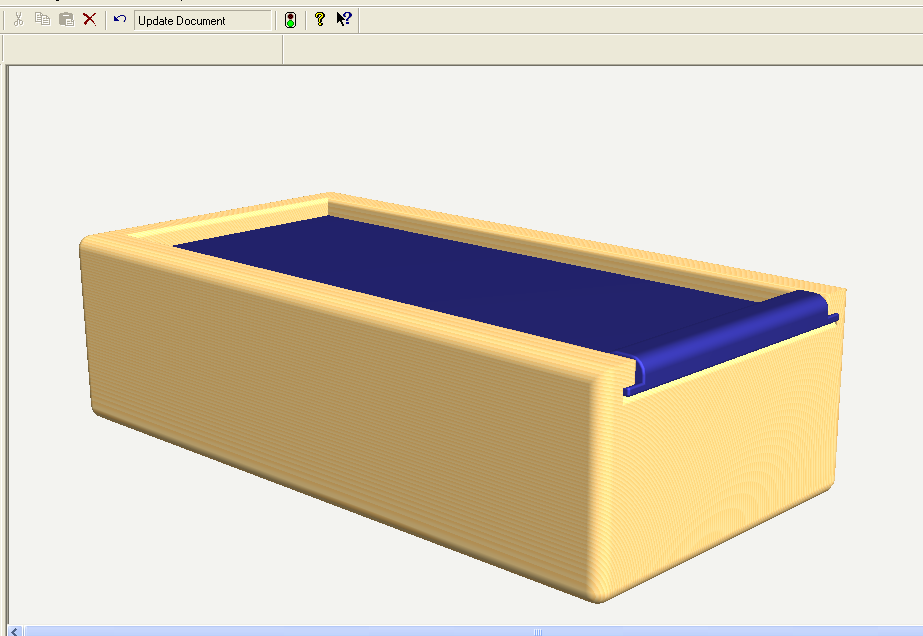
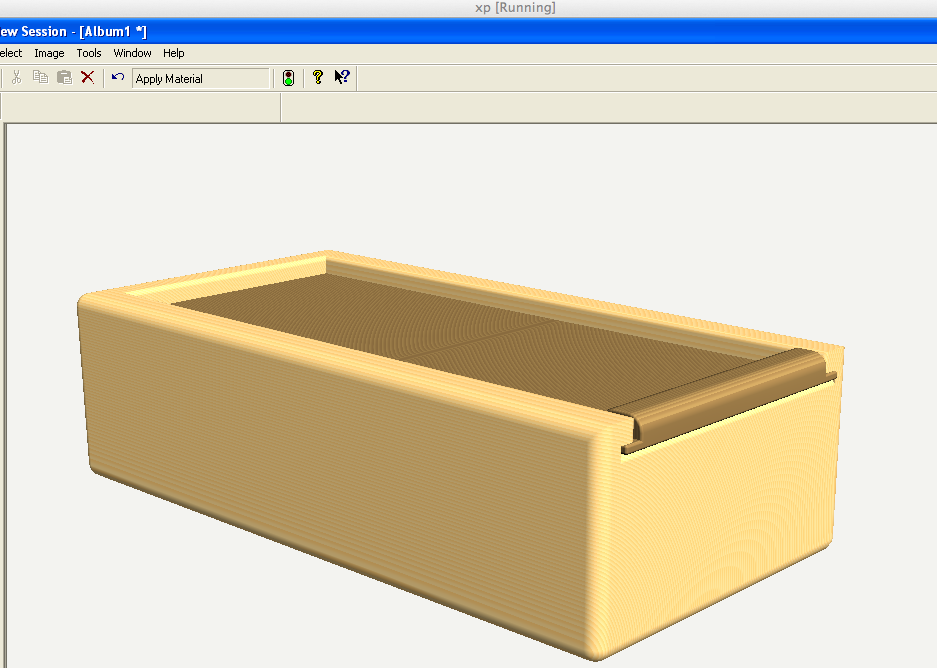
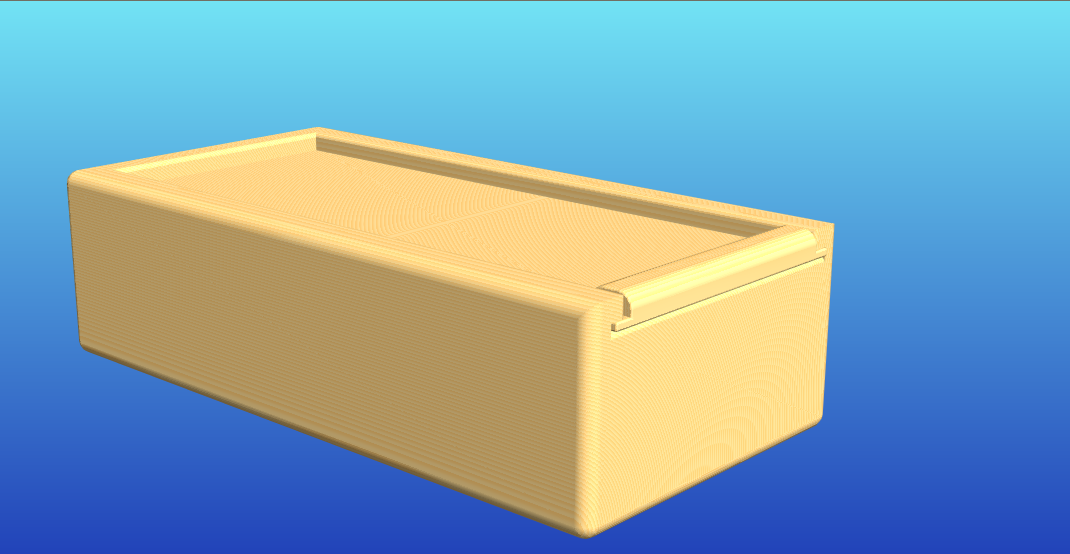
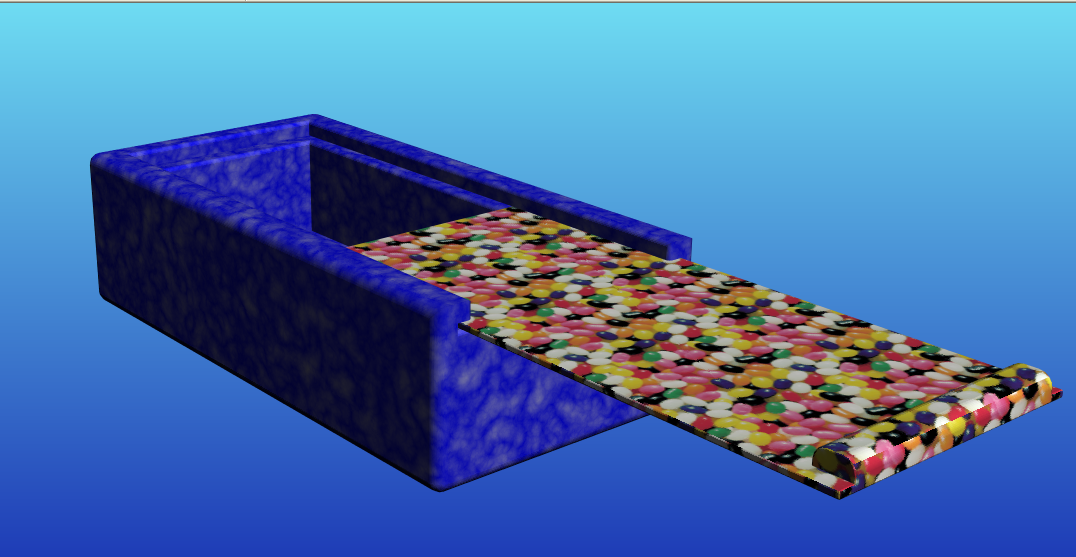
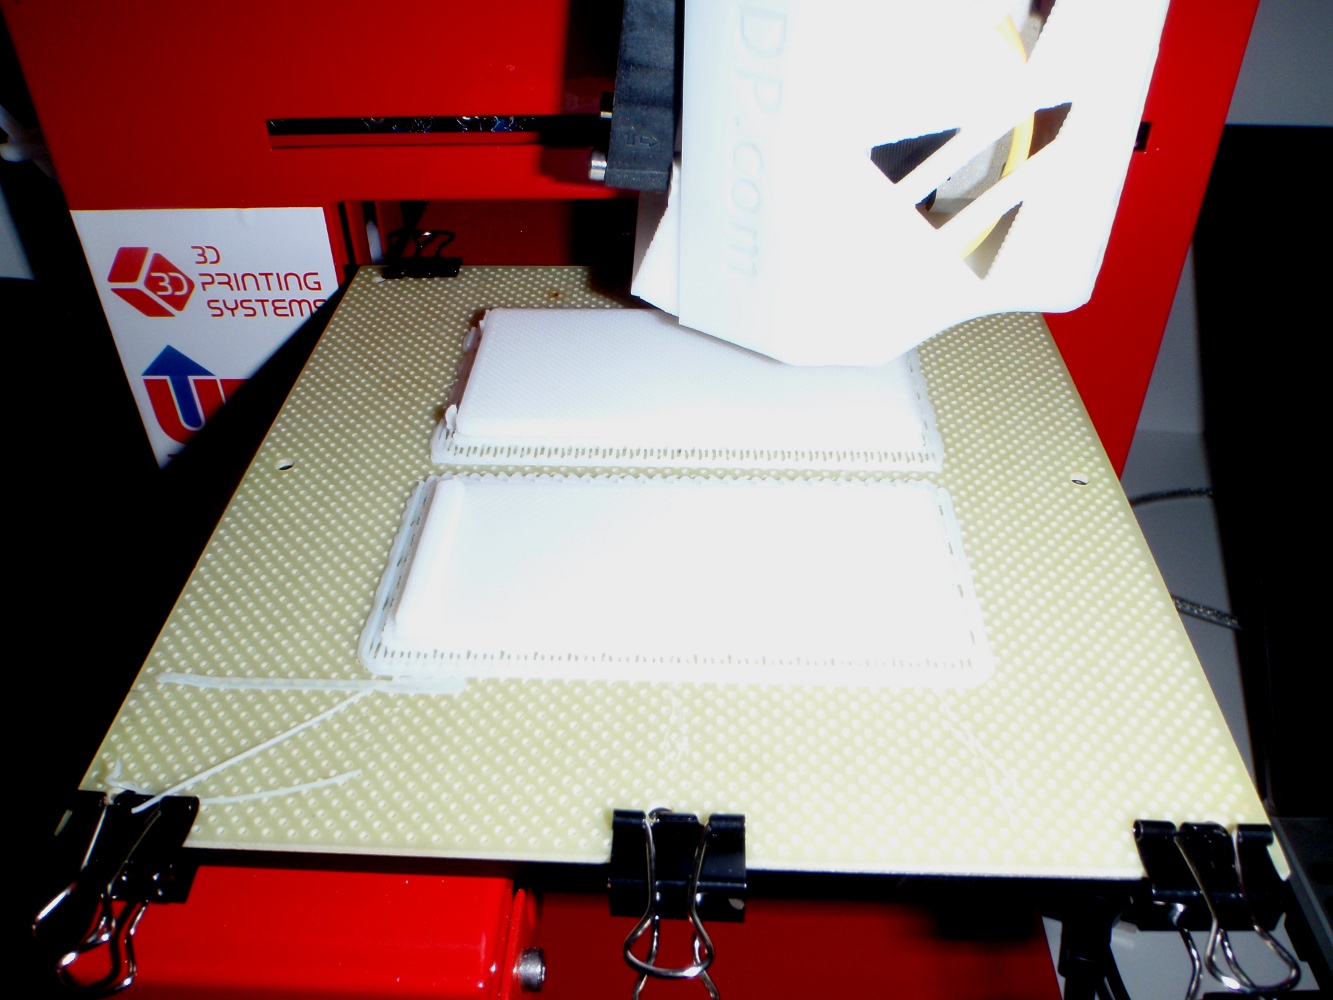
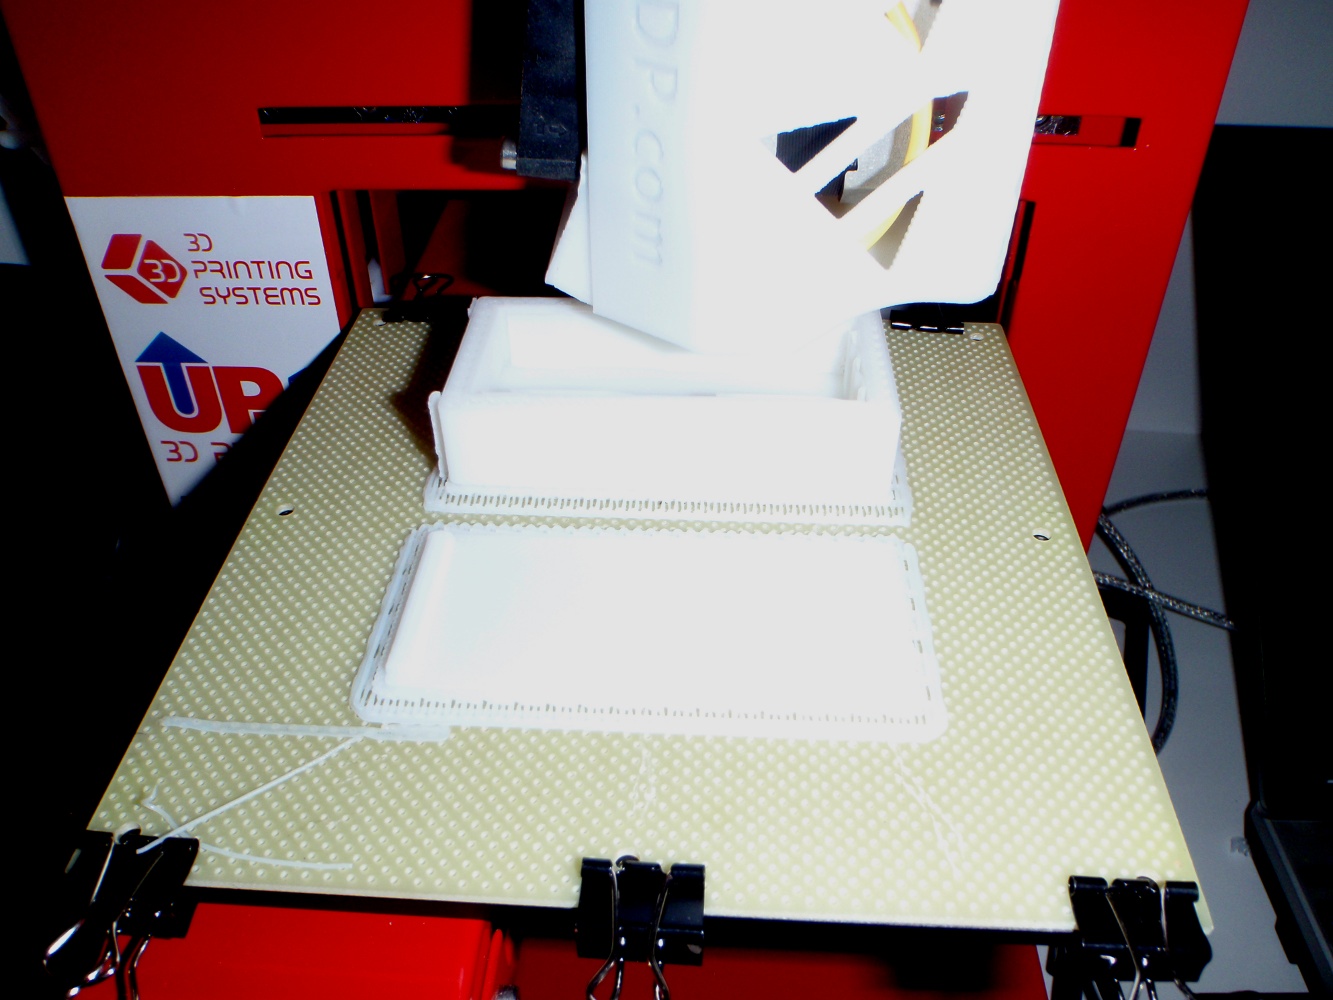
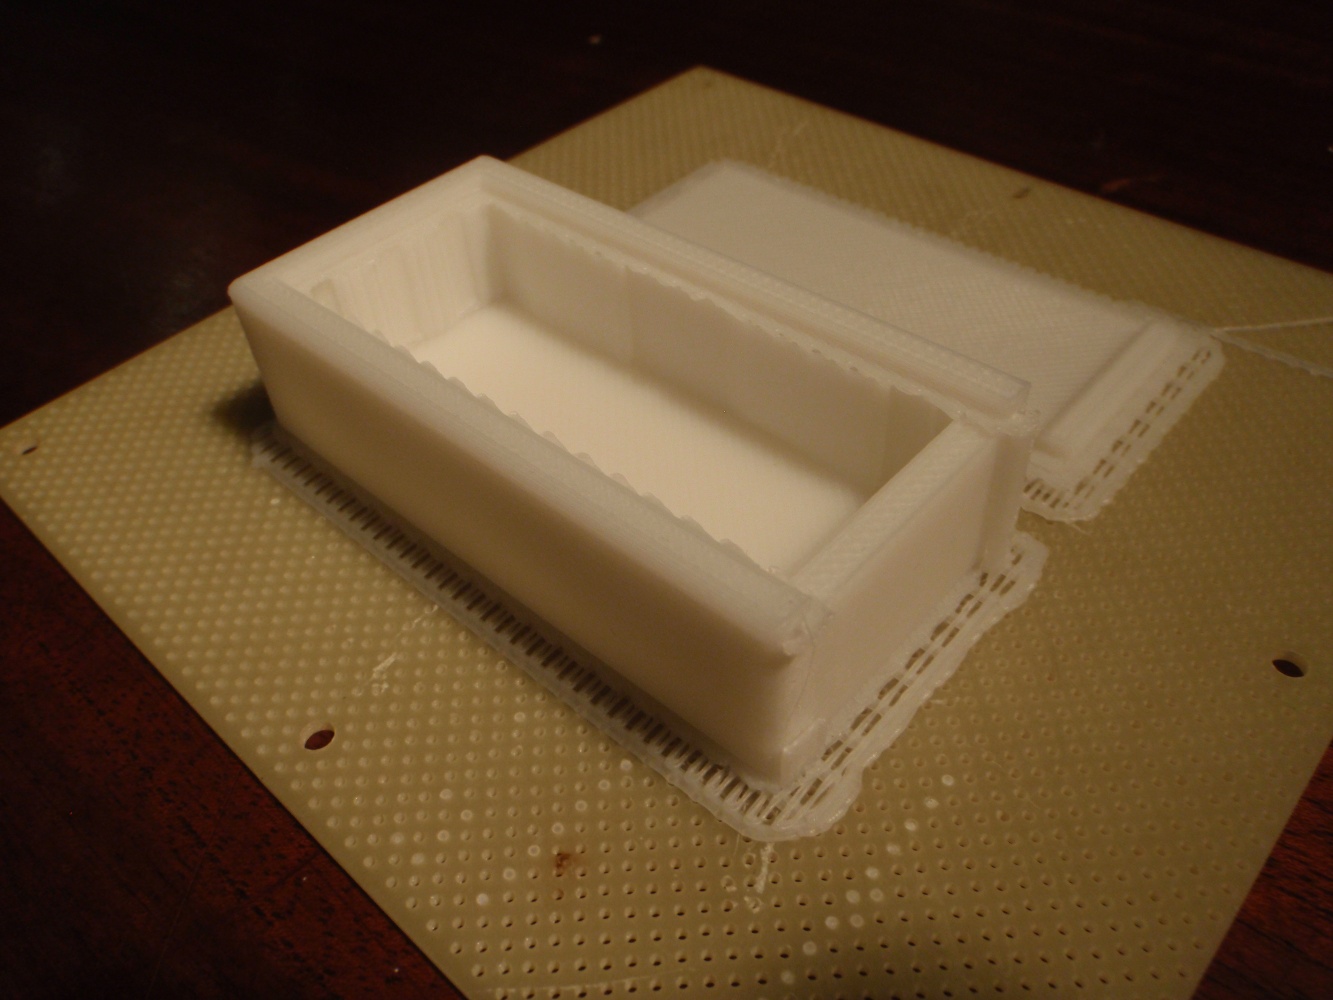
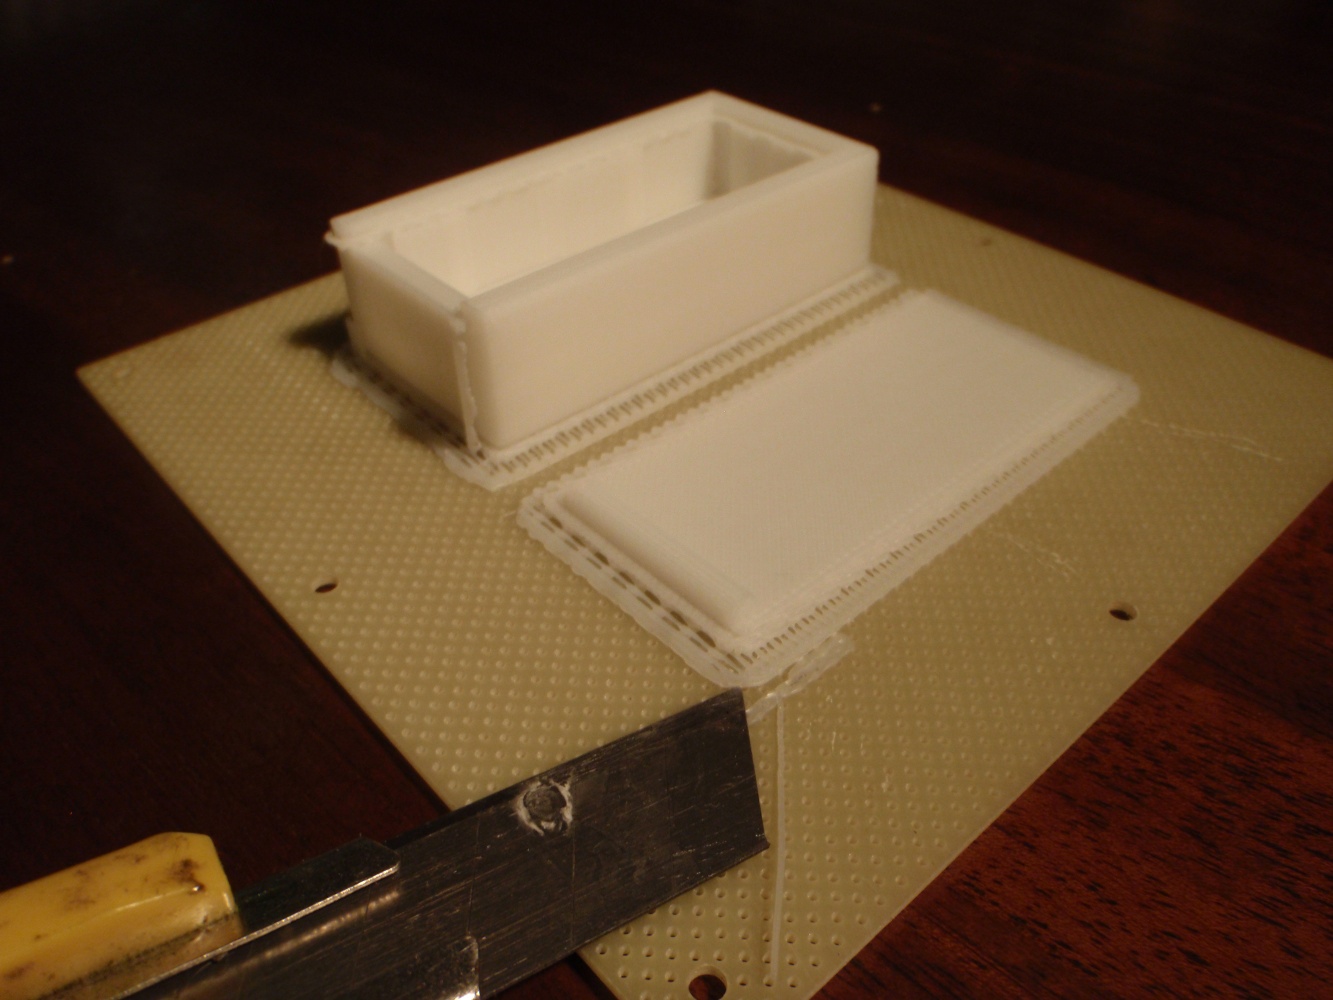
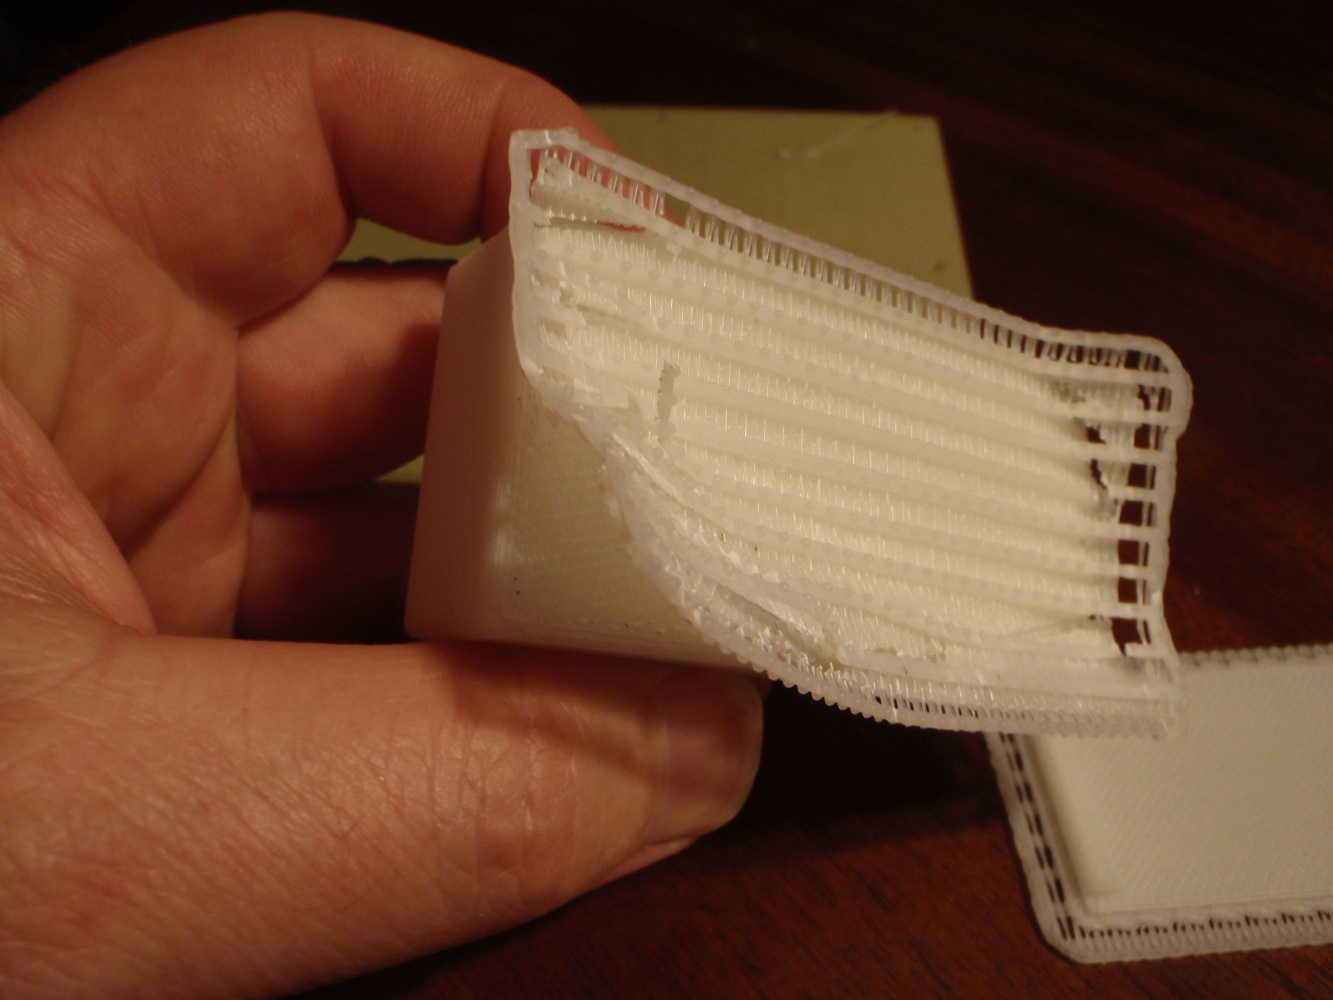
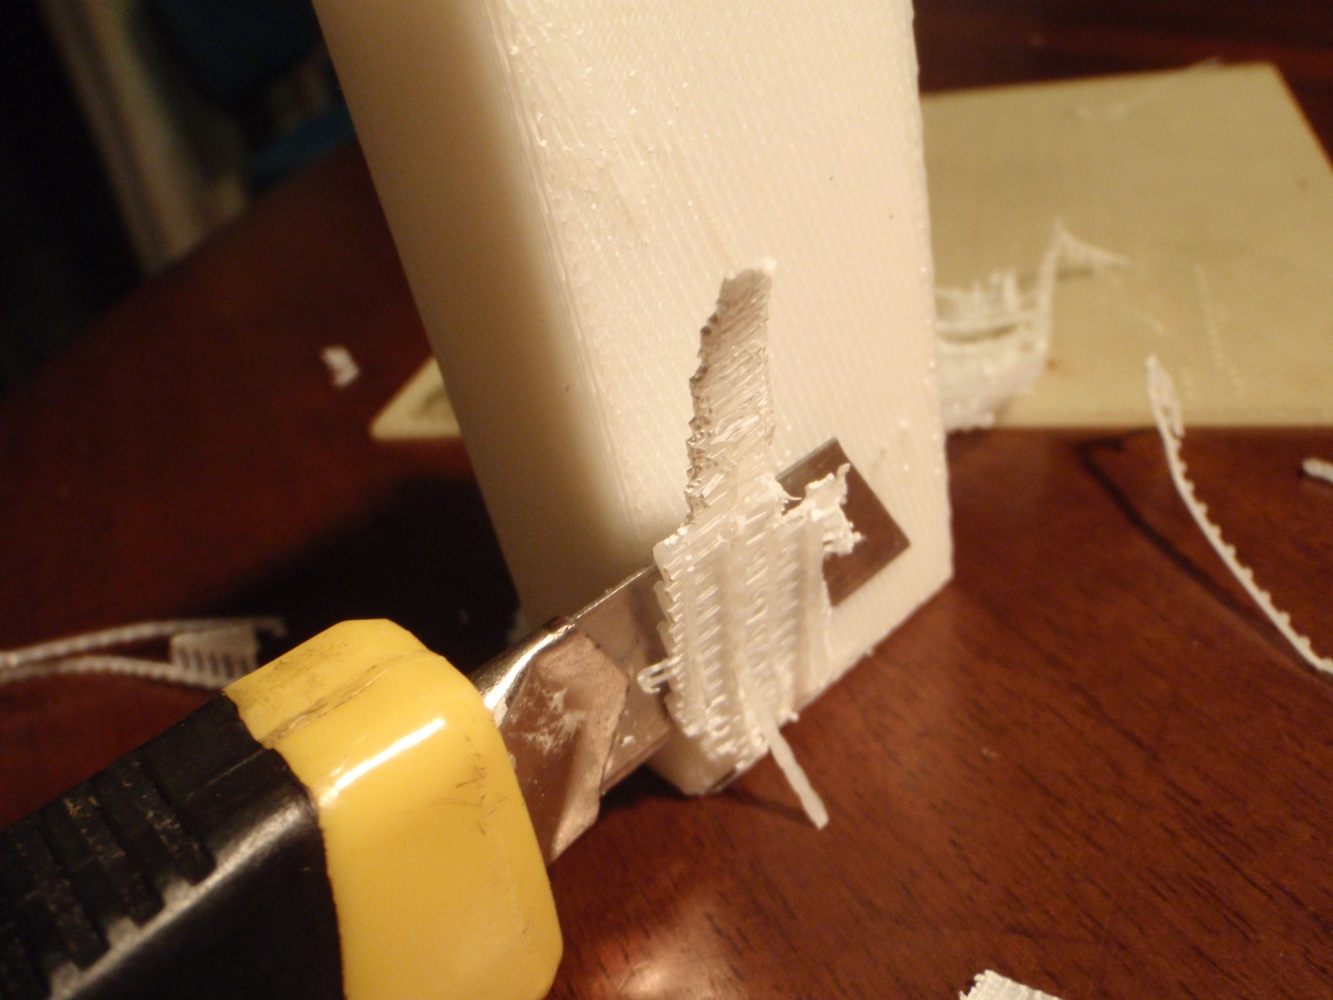
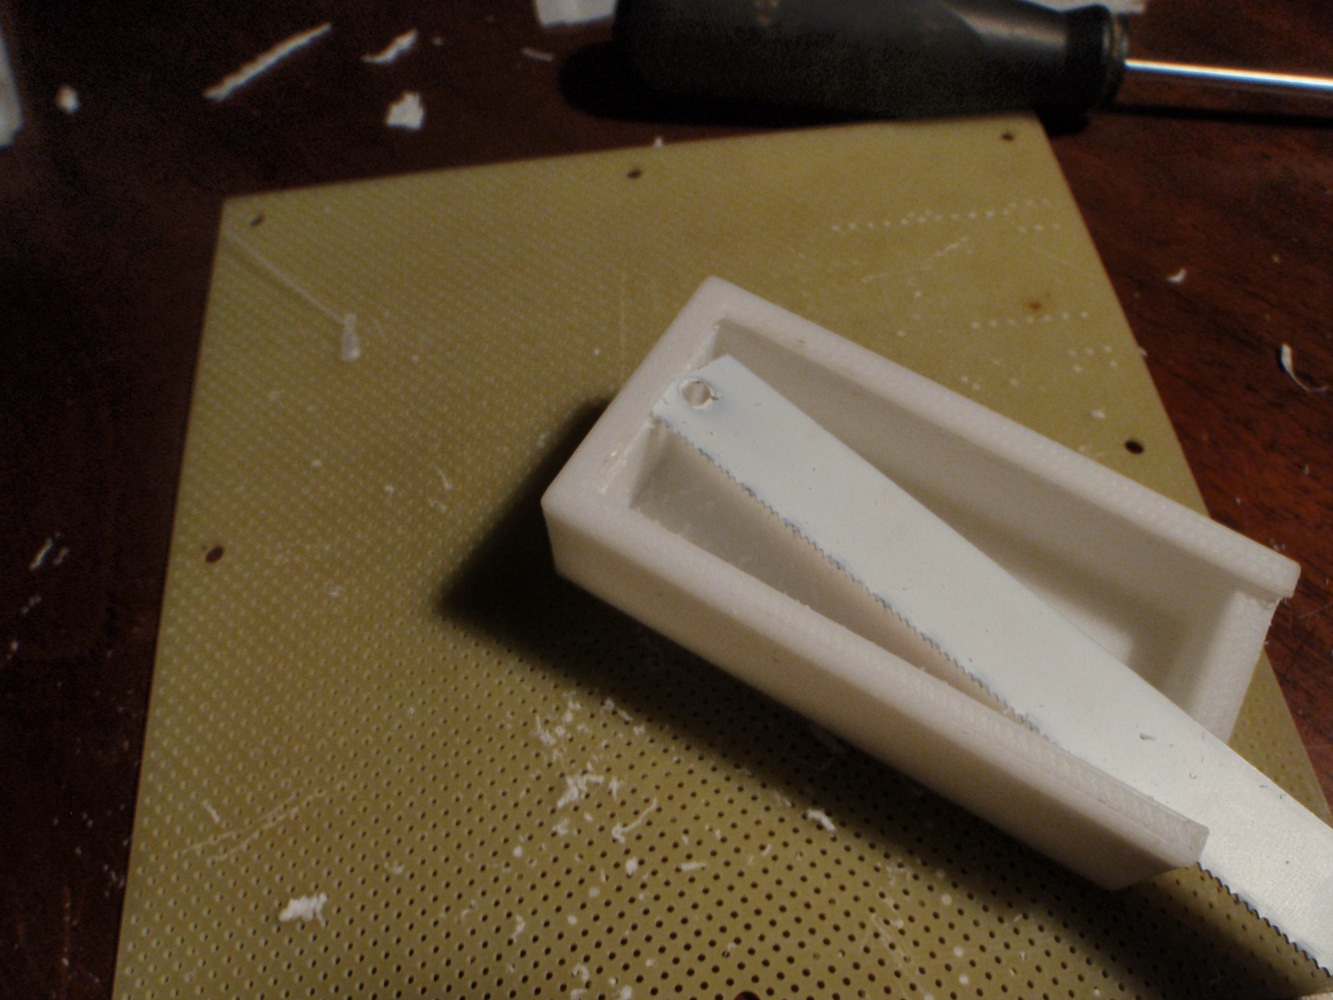
If you look carefully at the box you can see some of these problems as this design has pushed the printer to the limit in some respects. First the lid is very thin so was very difficult to remove from the raft in one piece. You can see some damage.
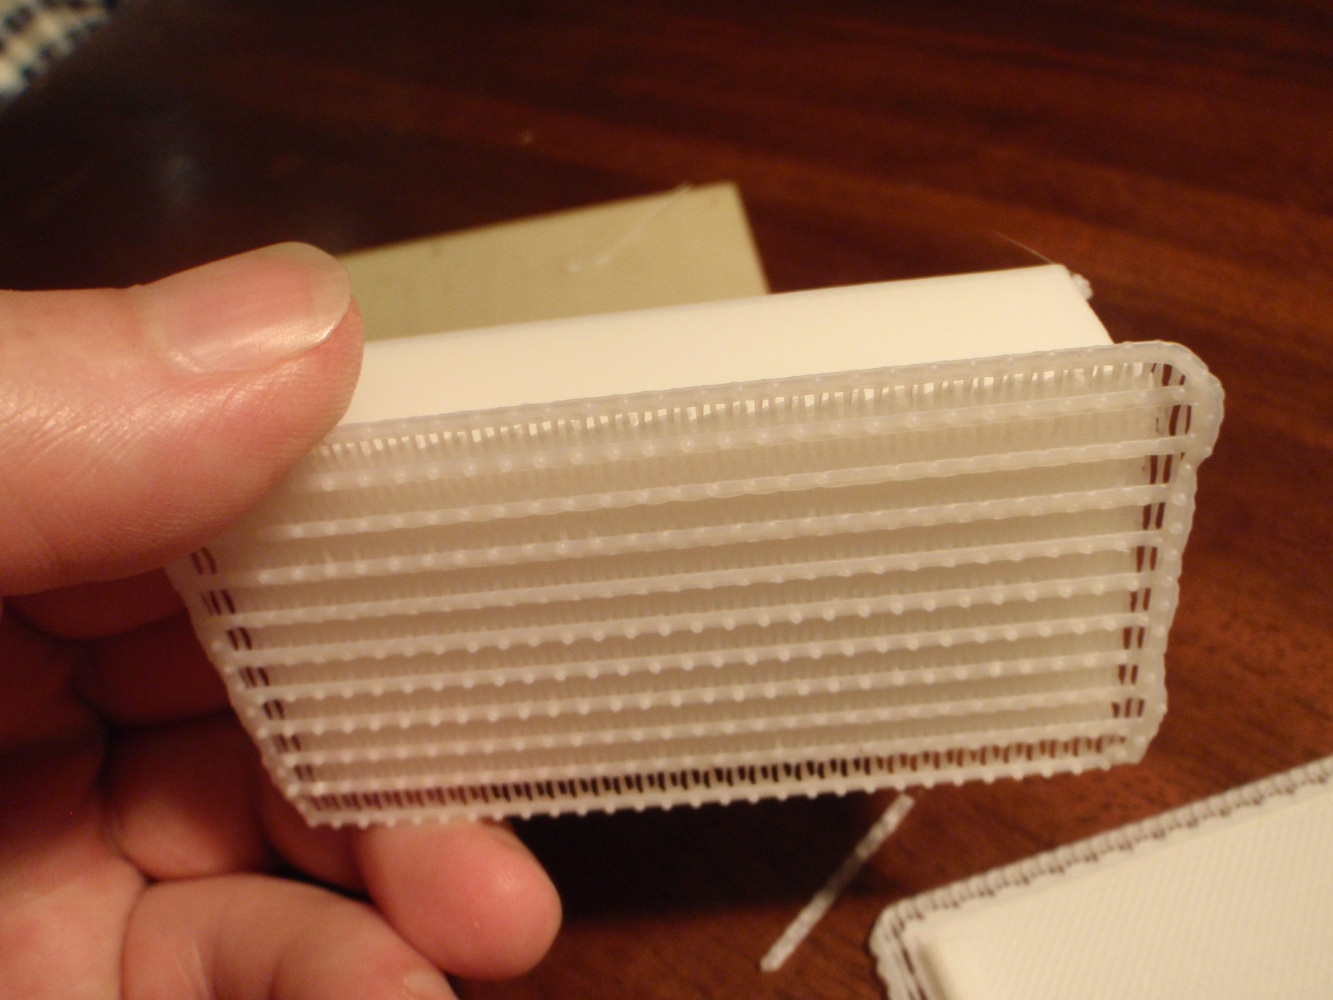
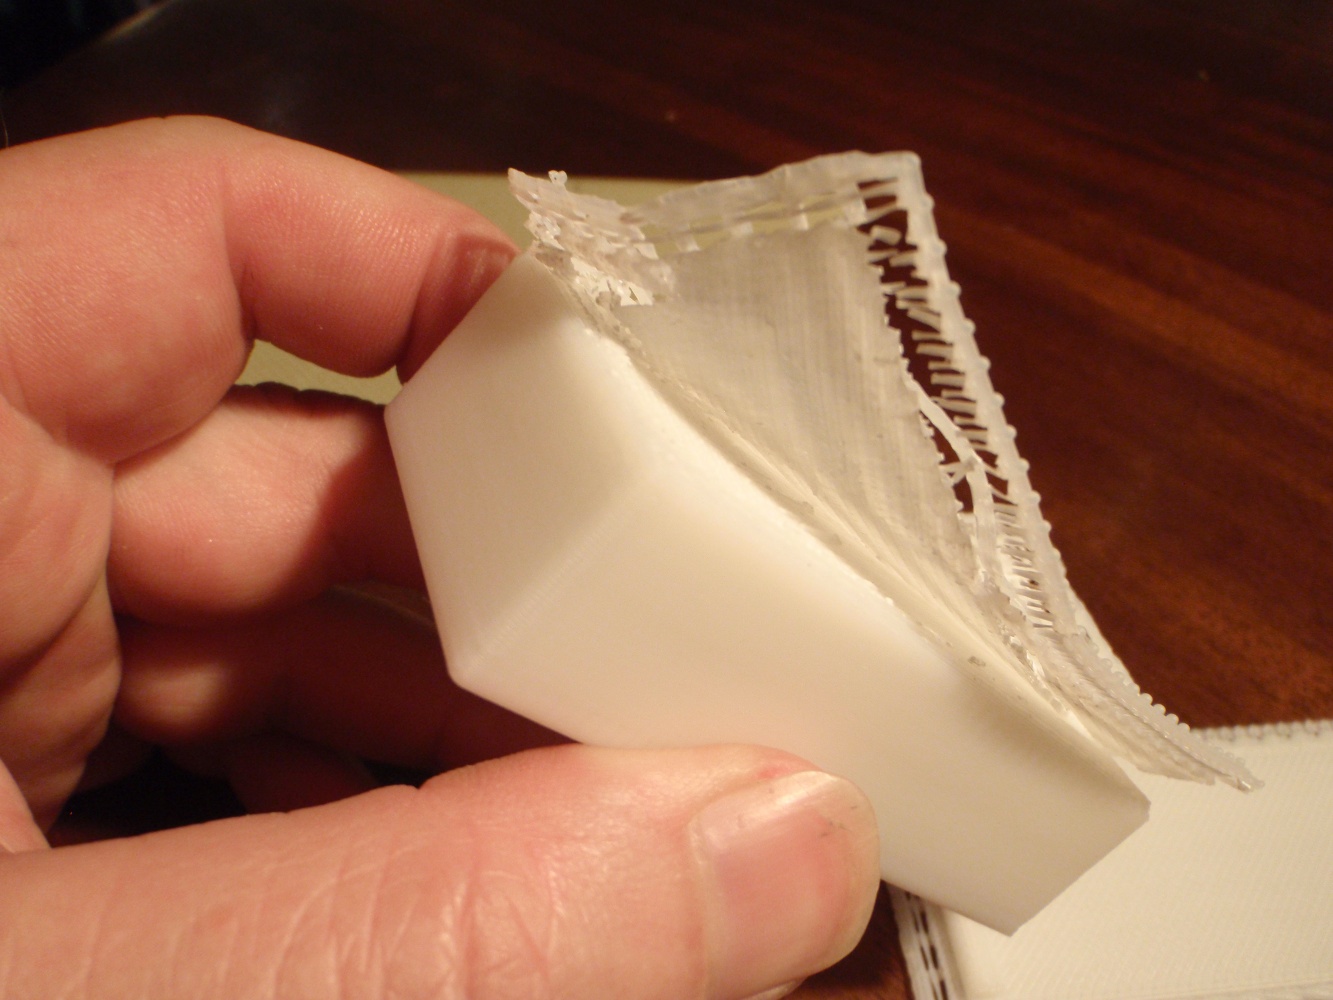
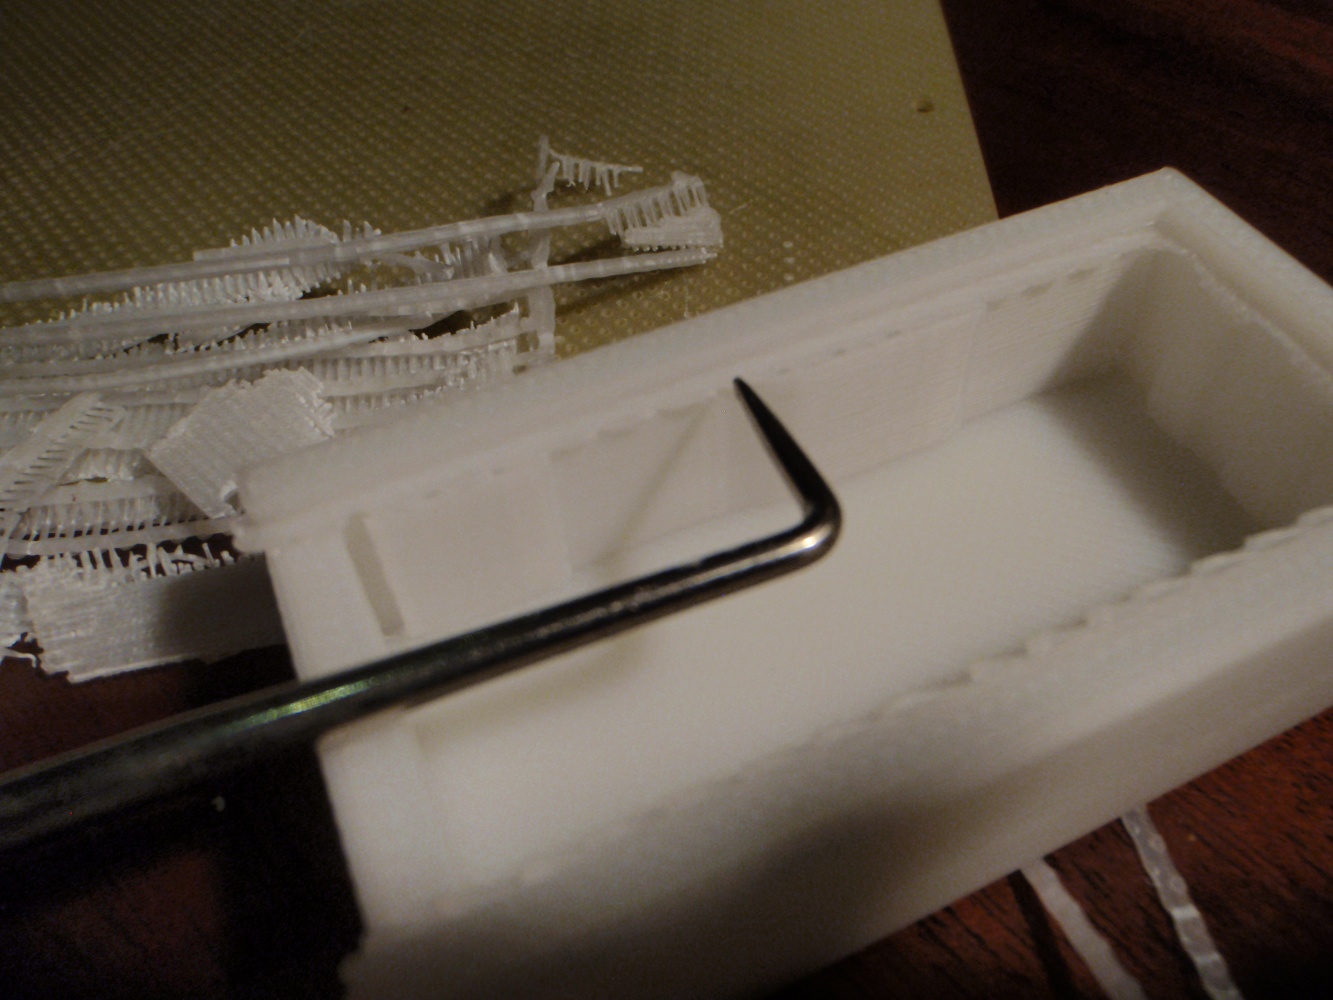
Also the slot where the lid fits had support material that had to be removed, this also was very difficult as it was trapped in the slot.
much of this could be avoided if the lid was a little thicker, and the slot a little bigger

If you haven't seen project one, take a look as it covers where to get the Prodesktop, how to activate the software, how to navigate the screen, what you will need and the mouse functions.

Digital Manufacturing - project one Key tag

Digital Manufacturing - project two desk name plate

Digital Manufacturing - project four laser cut box

Digital Manufacturing - project five printed toy car

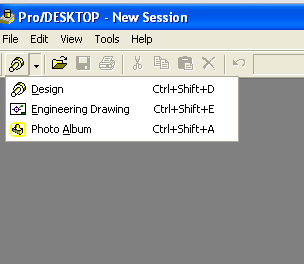
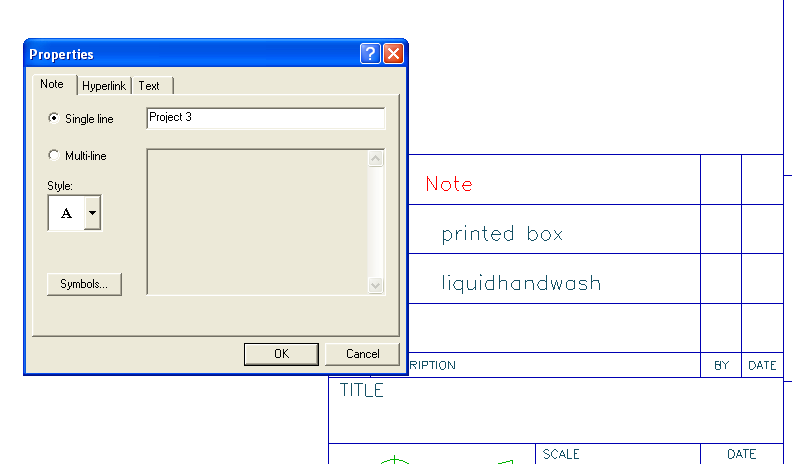
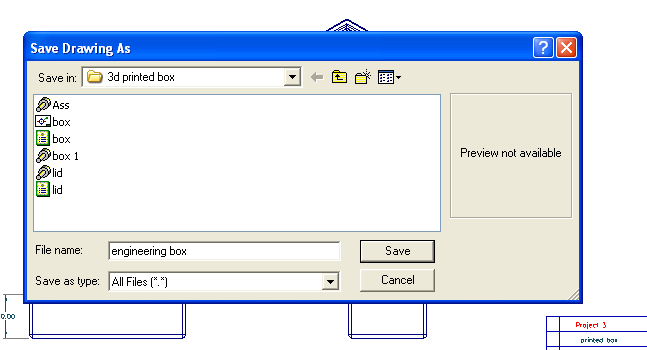
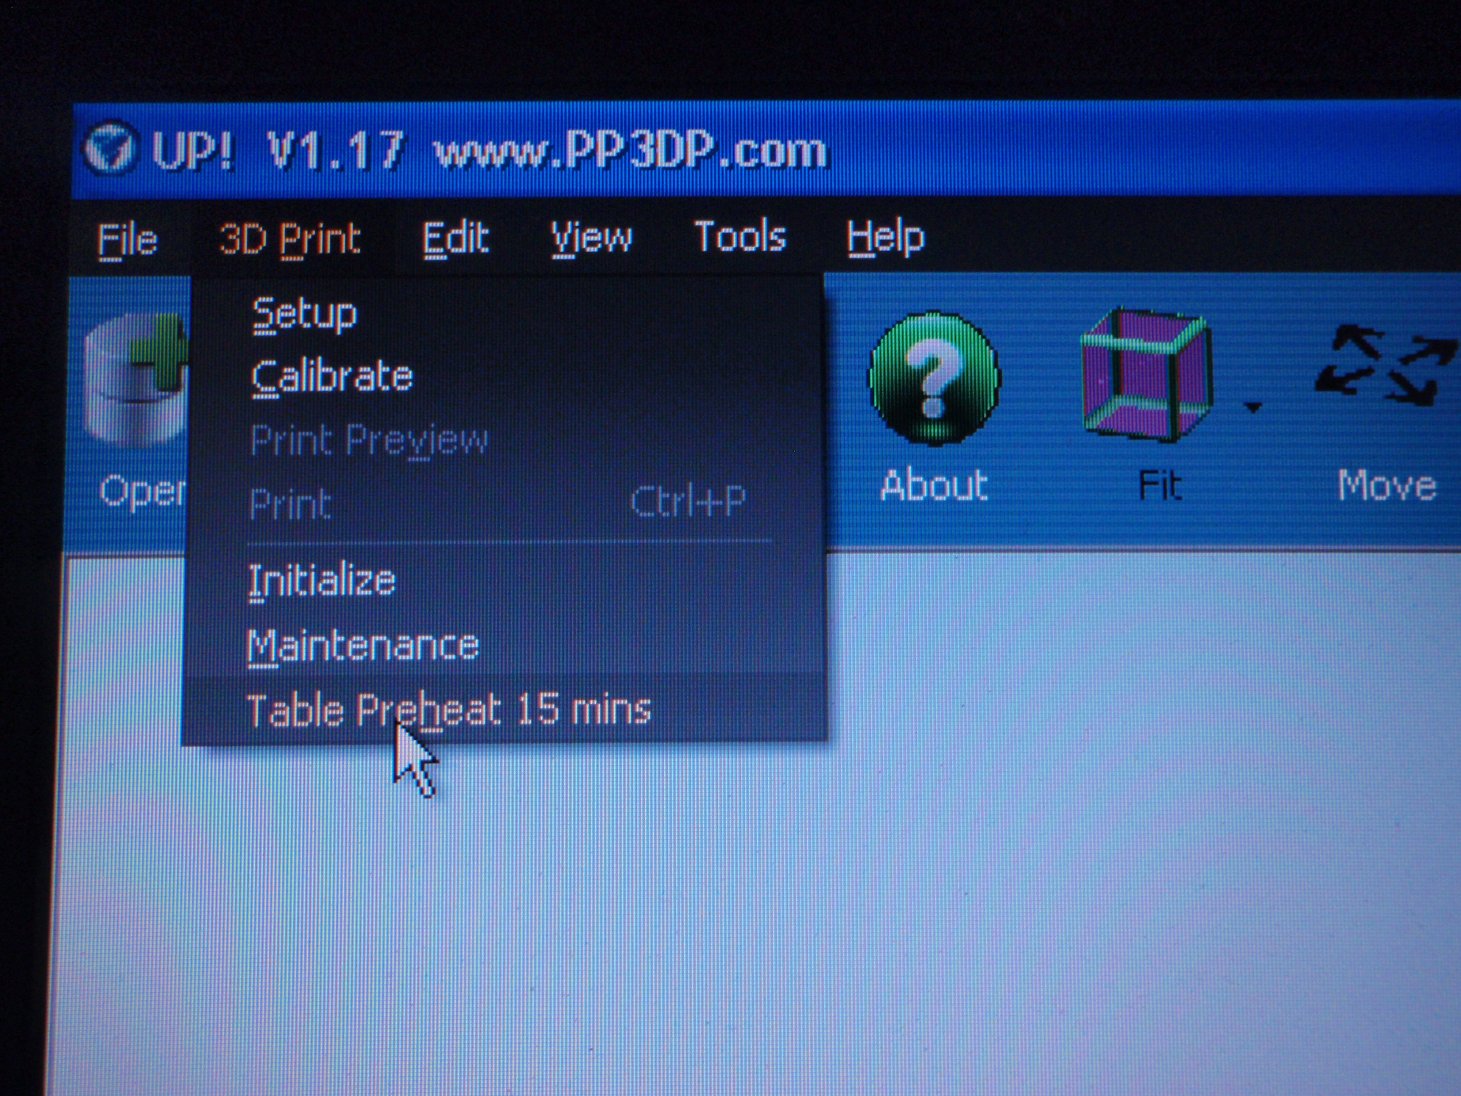
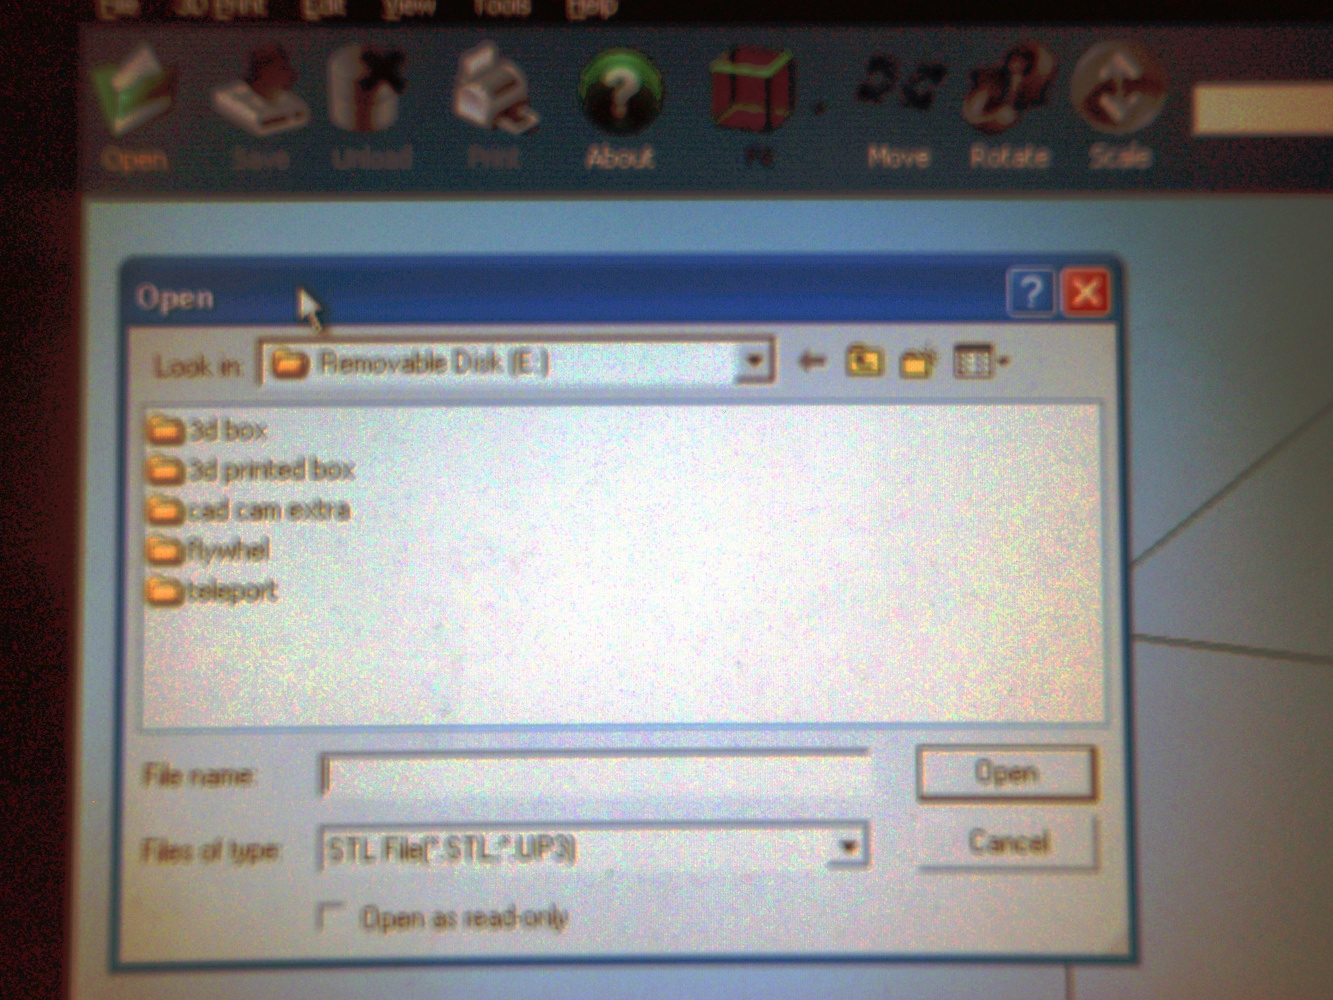
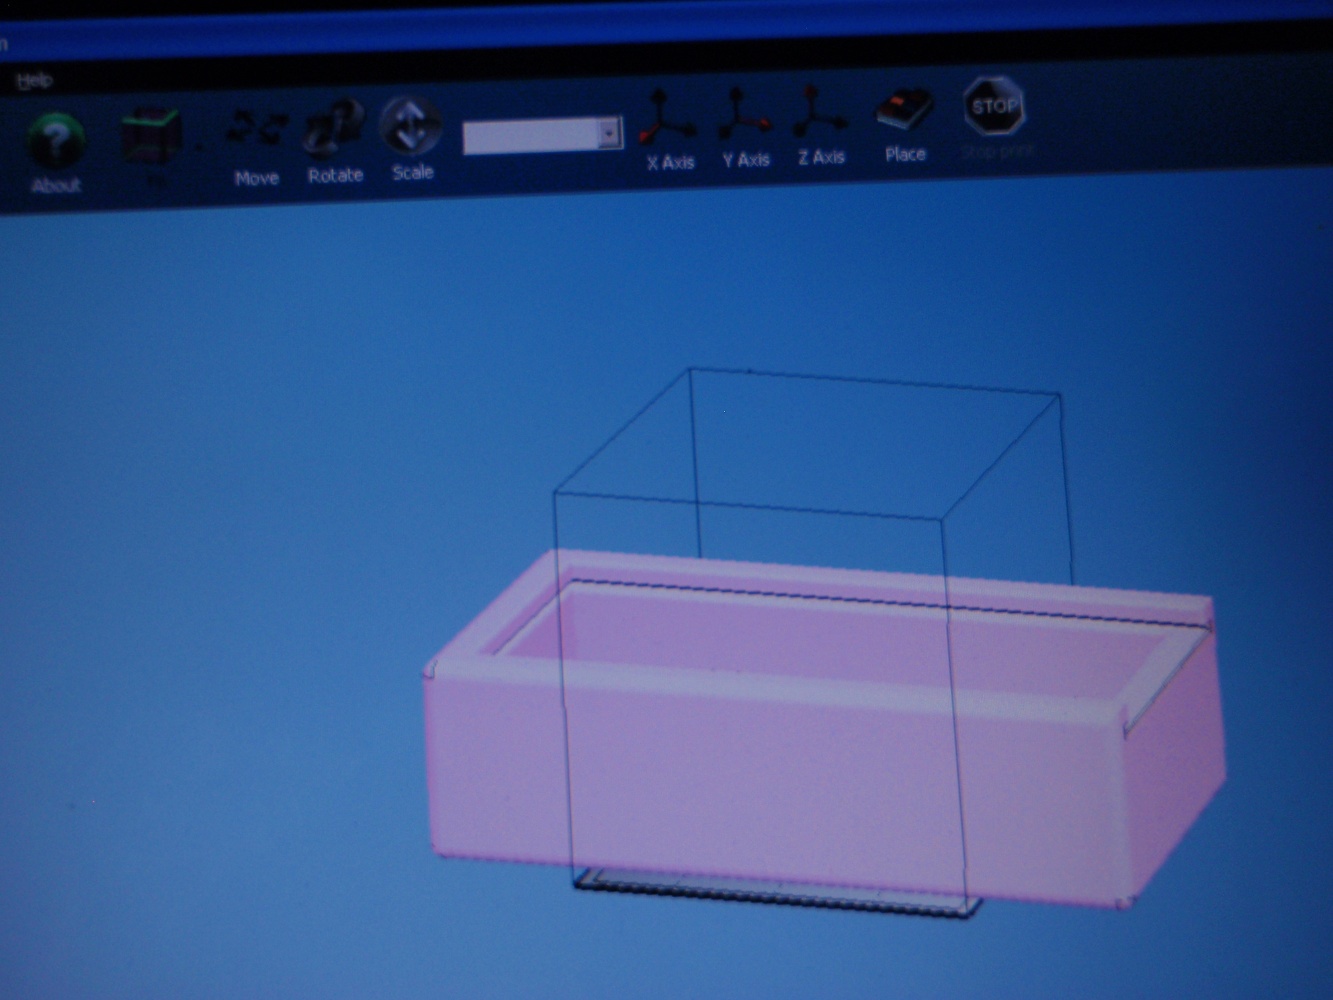
As computer tutorials don't translate to text very well, for this series of instructables most of the info is in the photos. So click on the first photo and use the arrows to go to the next photo. The boxes in the photos show the location of the icons and have have text in them when you hover the mouse on them.

Learning Intentions and Success Criteria

Learning Intentions

  • To work safely in the workshop
  • To improve my understanding of how the CAD software works
  • To operate a laser cutter
  • To be a self-directed learner

Success Criteria

  • I understand the safety rules and I am working safely in the workshop.
  • I can follow the instructions independently.
  • I can produce 3D CAD drawings and convert them to an STL file.
  • I can produce an assembly drawing.
  • I can produce a photo album drawing of my project.
  • I can operate a 3D printer safely and work safely in the workshop.


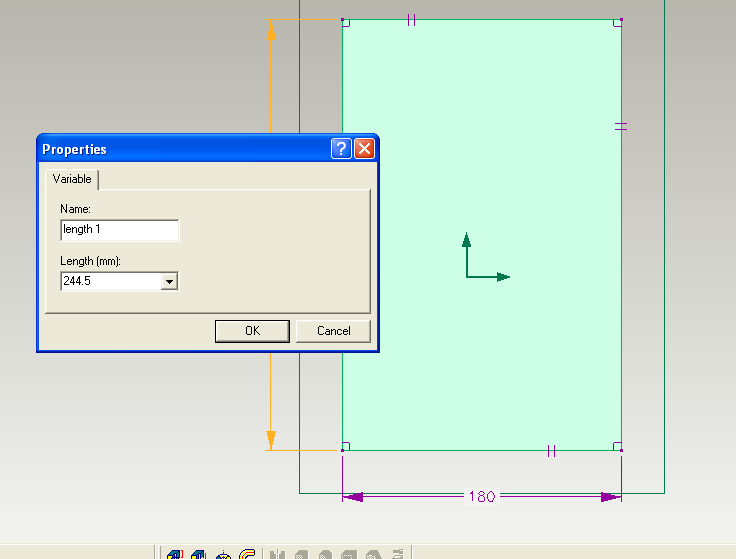
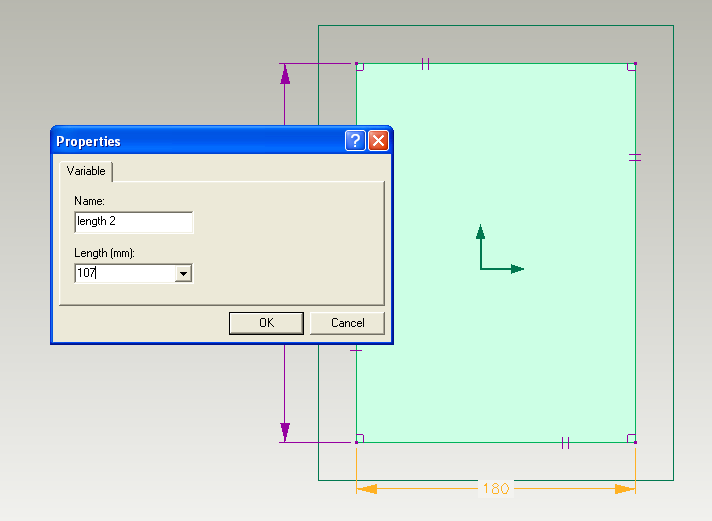
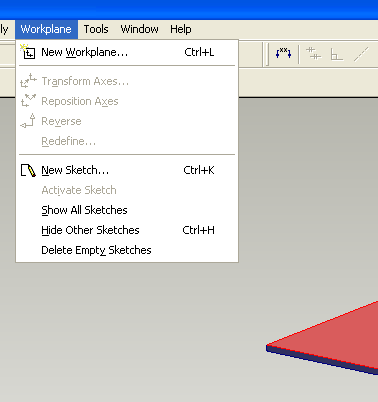
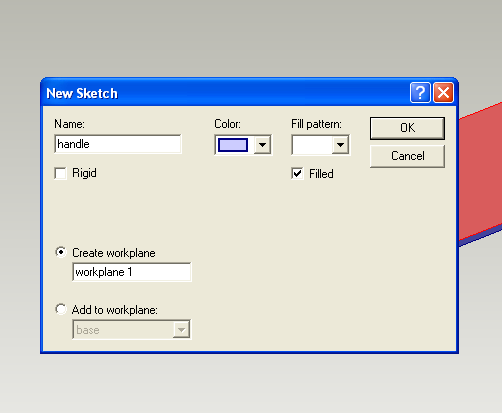
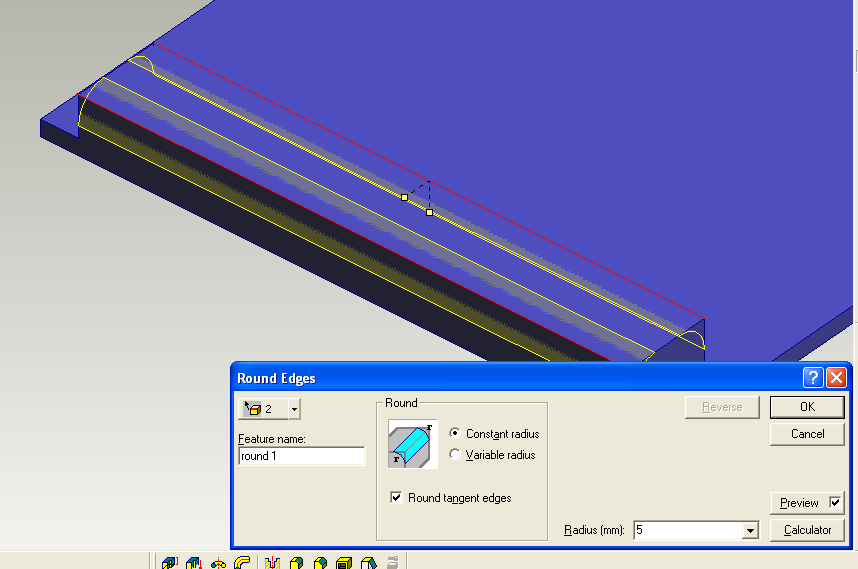
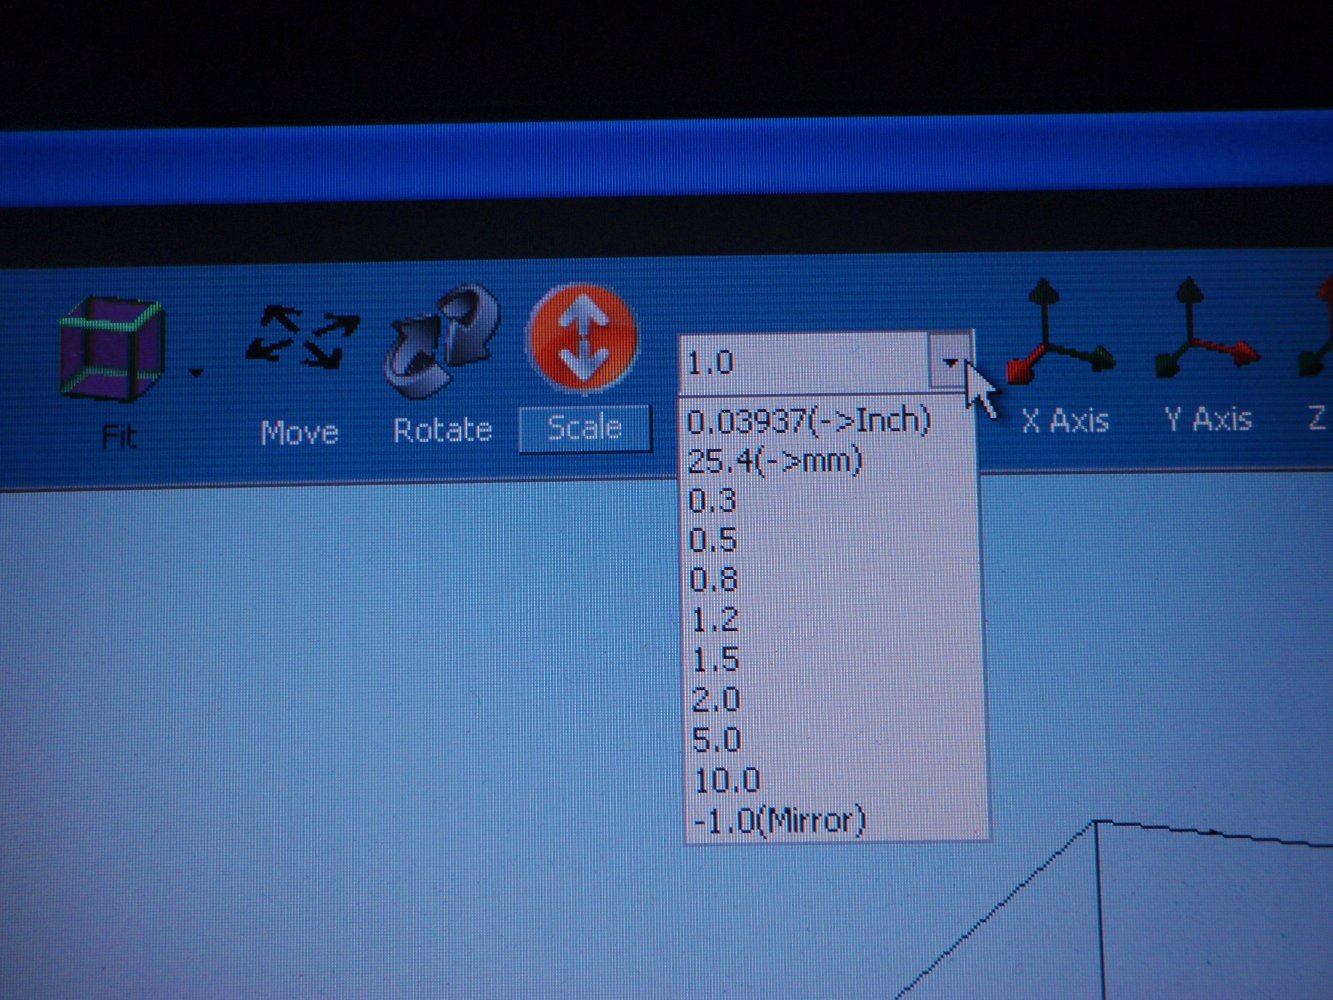
Designing for the 3D Printer

Screen Shot 2013-02-02 at 8.59.39 PM.png
Screen Shot 2013-01-31 at 9.12.19 AM.png
Screen Shot 2013-01-31 at 9.13.01 AM.png
Screen Shot 2013-01-31 at 9.13.45 AM.png
Screen Shot 2013-01-31 at 9.14.02 AM.png
Screen Shot 2013-01-31 at 9.14.27 AM.png
Screen Shot 2013-01-31 at 9.16.00 AM.png
Screen Shot 2013-01-31 at 9.16.49 AM.png
Screen Shot 2013-01-31 at 9.18.07 AM.png
Screen Shot 2013-01-31 at 9.18.45 AM.png
Screen Shot 2013-01-31 at 9.19.15 AM.png
Screen Shot 2013-01-31 at 9.19.38 AM.png
Screen Shot 2013-01-31 at 9.20.00 AM.png
Screen Shot 2013-01-31 at 9.20.29 AM.png
Screen Shot 2013-01-31 at 9.21.45 AM.png
Screen Shot 2013-01-31 at 9.23.03 AM.png
Screen Shot 2013-01-31 at 9.23.42 AM.png
Screen Shot 2013-01-31 at 9.24.01 AM.png
Screen Shot 2013-01-31 at 9.24.16 AM.png
Screen Shot 2013-01-31 at 9.25.46 AM.png
Screen Shot 2013-01-31 at 9.26.04 AM.png
Screen Shot 2013-01-31 at 9.26.21 AM.png
Screen Shot 2013-01-31 at 9.26.47 AM.png
Screen Shot 2013-01-31 at 9.28.59 AM.png
Screen Shot 2013-01-31 at 9.30.55 AM.png
Screen Shot 2013-01-31 at 9.31.22 AM.png
Screen Shot 2013-01-31 at 9.31.49 AM.png
Screen Shot 2013-01-31 at 9.32.31 AM.png
Screen Shot 2013-01-31 at 9.33.11 AM.png
Screen Shot 2013-01-31 at 9.34.22 AM.png
Screen Shot 2013-01-31 at 9.34.46 AM.png
Screen Shot 2013-01-31 at 9.36.36 AM.png
Screen Shot 2013-01-31 at 9.38.00 AM.png
Screen Shot 2013-01-31 at 9.38.18 AM.png
Screen Shot 2013-01-31 at 9.38.48 AM.png
Screen Shot 2013-01-31 at 9.39.47 AM.png
This project is based on the wooden pencil box and I took the measurements from the box and scaled it down, to create a miniature version. You can take this approach or you can draw your project full size, you just have to make sure that it will fit on the printer before you start, or you will end up having to scale it down anyway.

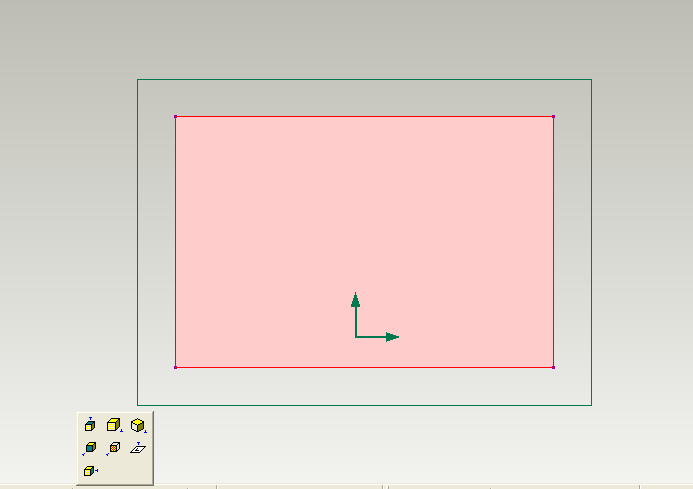
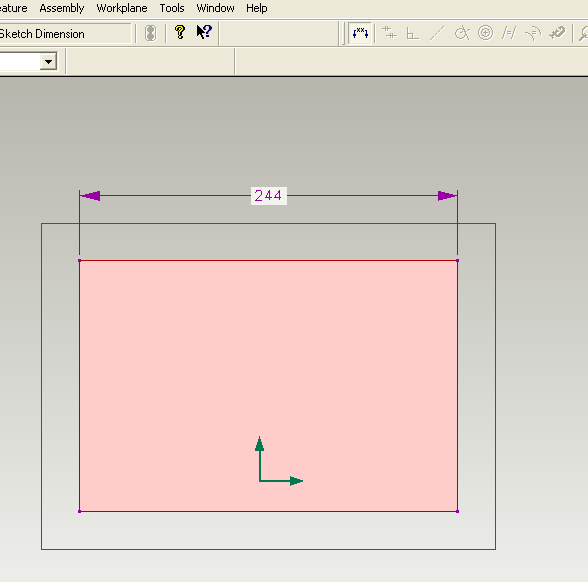
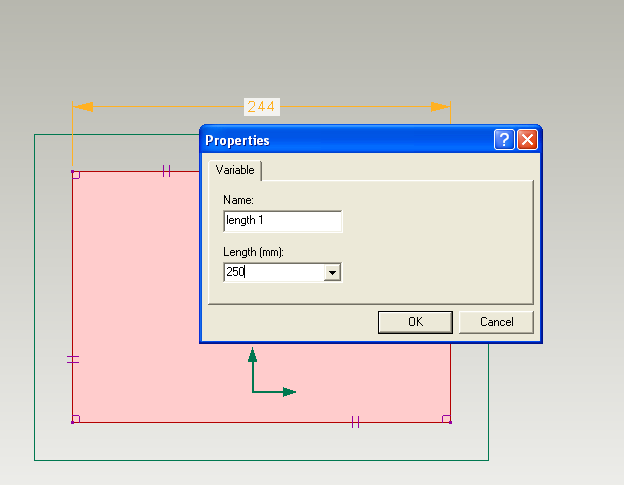
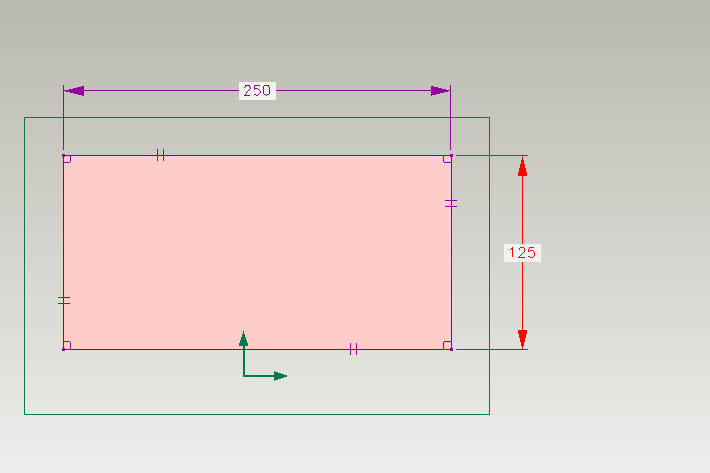
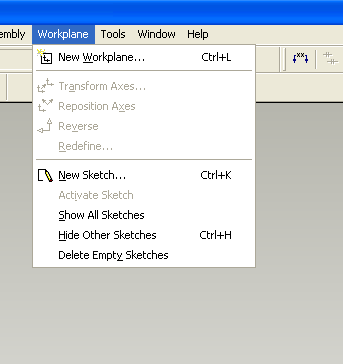
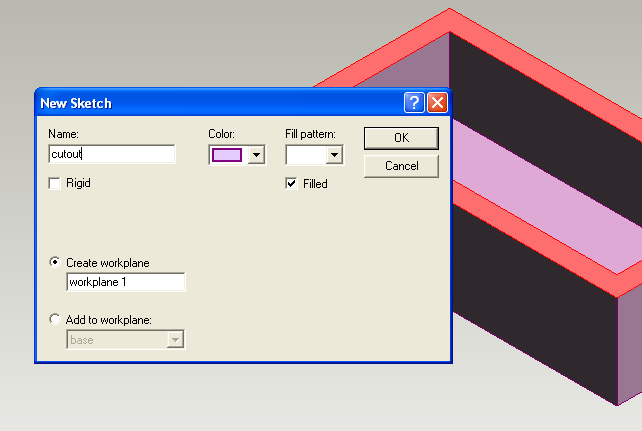
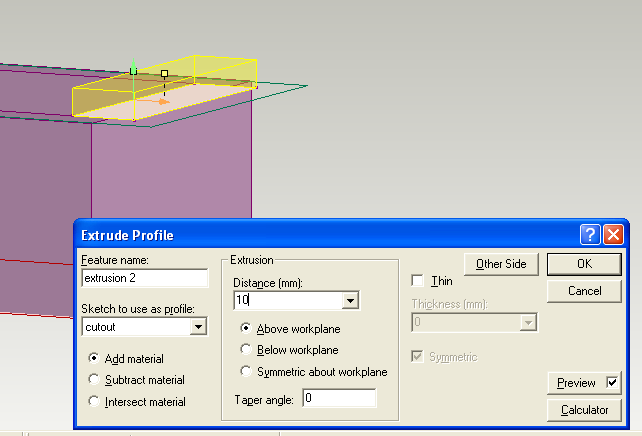
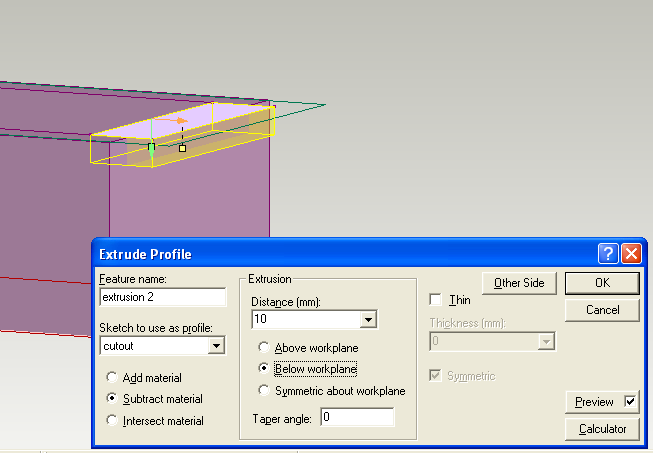
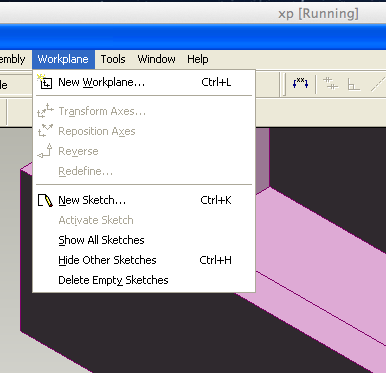
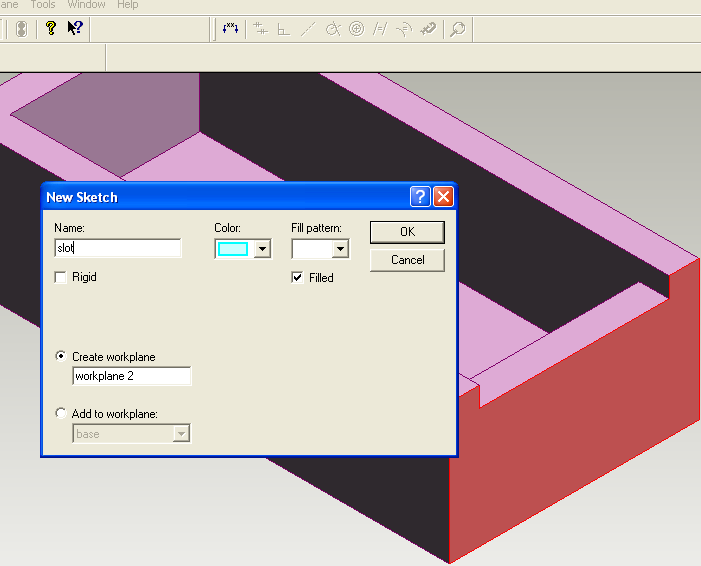
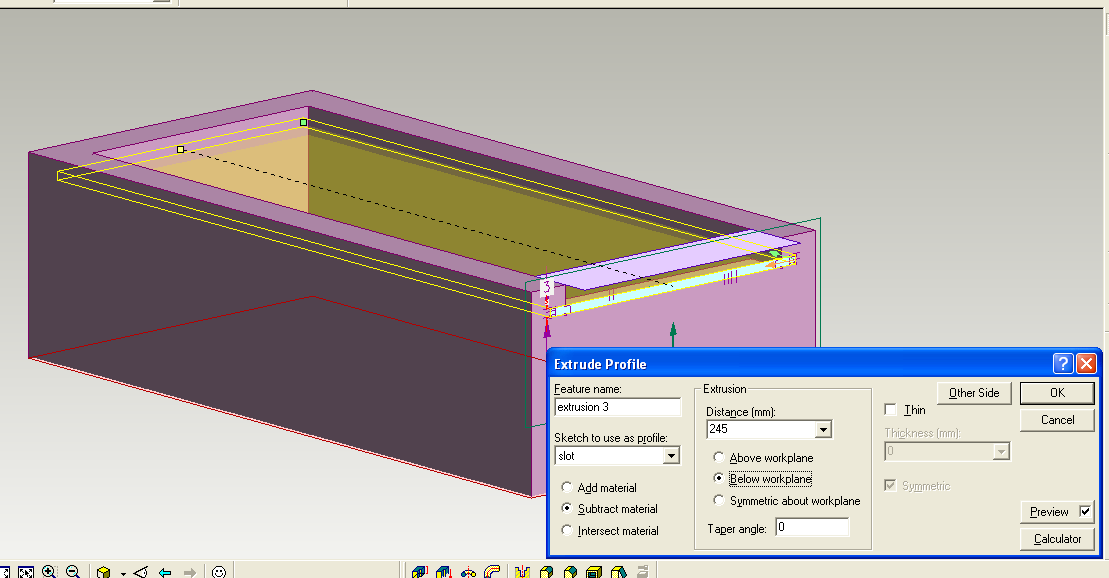
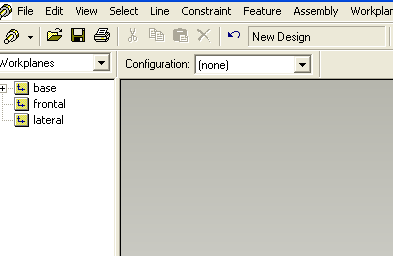
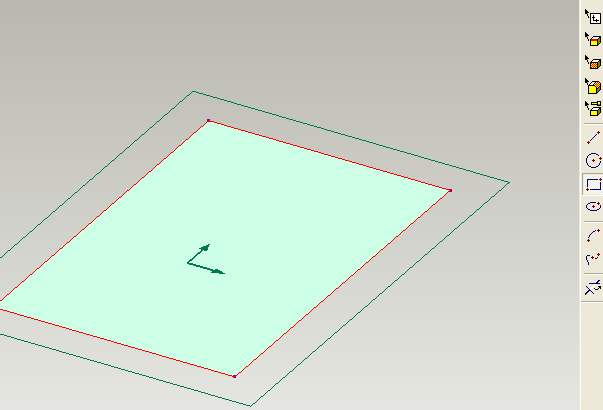
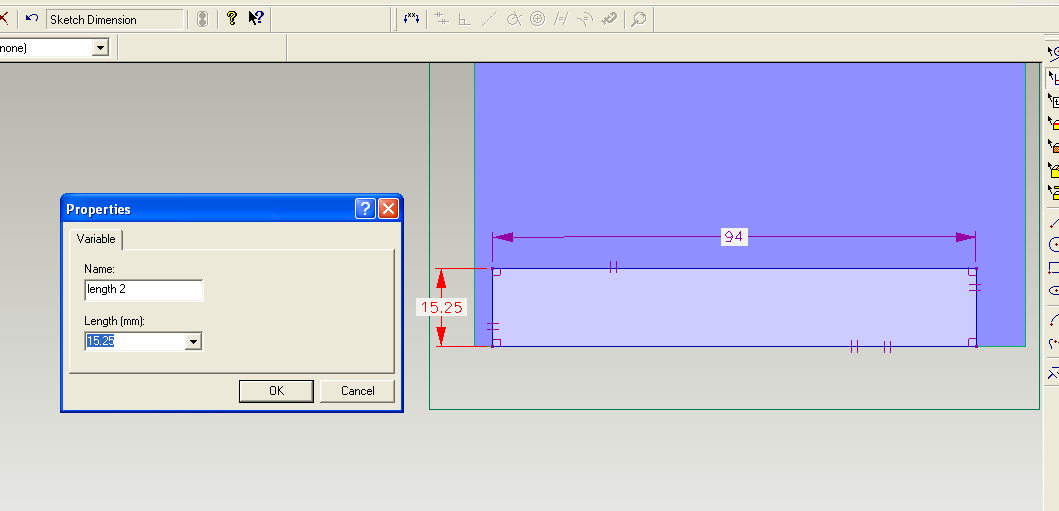
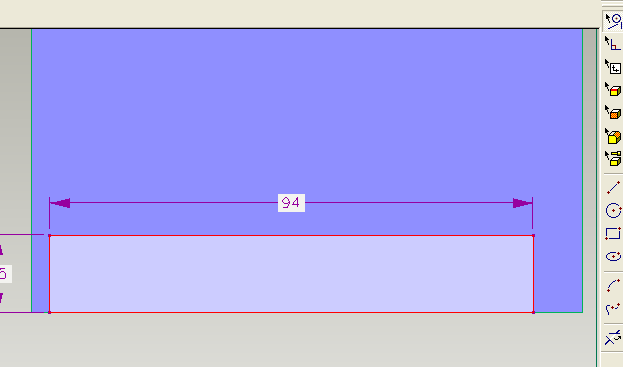
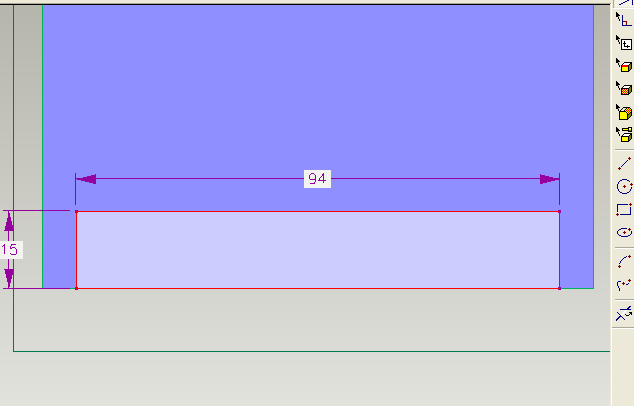
Before we start it is important to create workplanes correctly...   select face/ workplane/ new sketch/ give your sketch an name/ draw
if you can remember that you will find this easy.

As always with this  series of instructables click on the photo to start
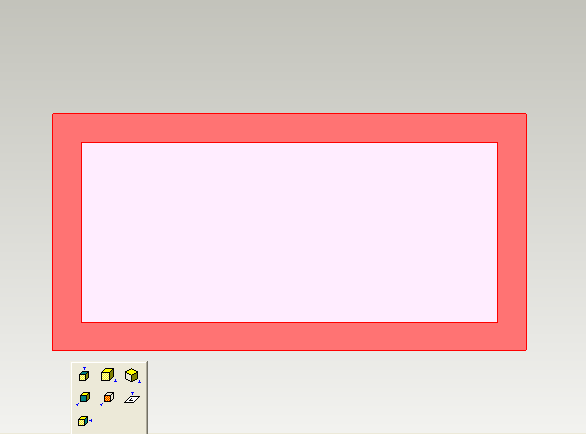
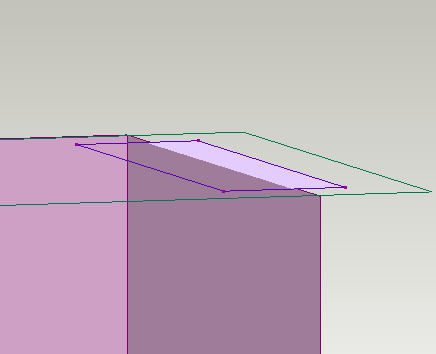
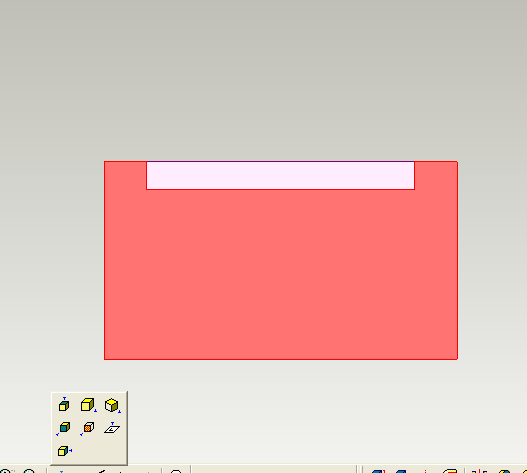
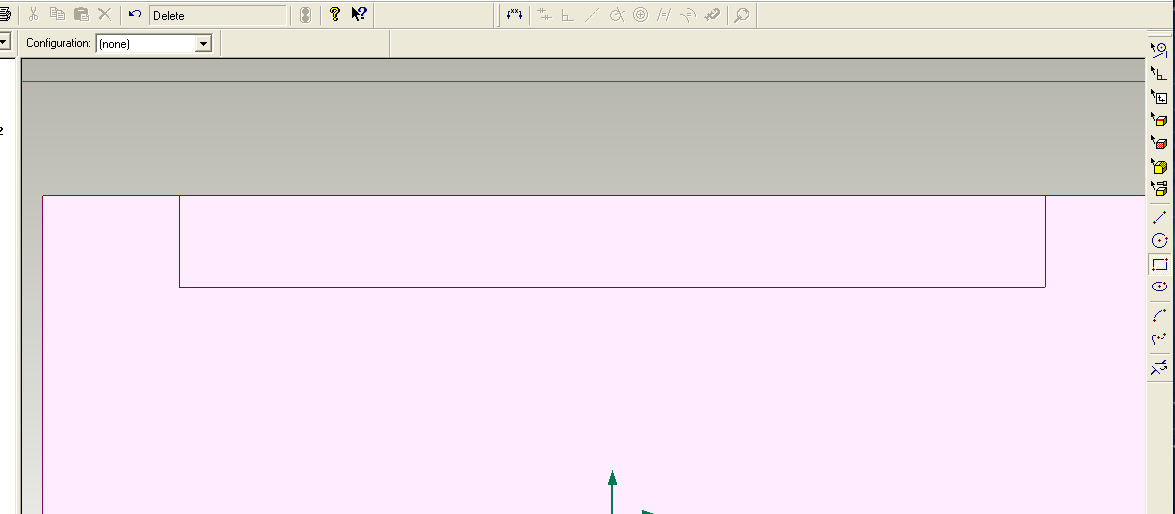
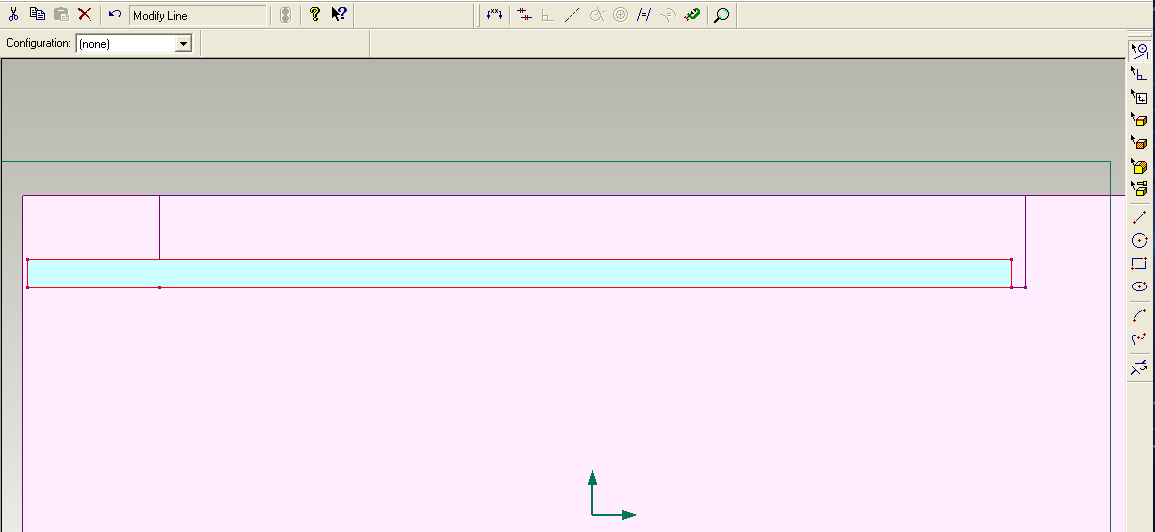
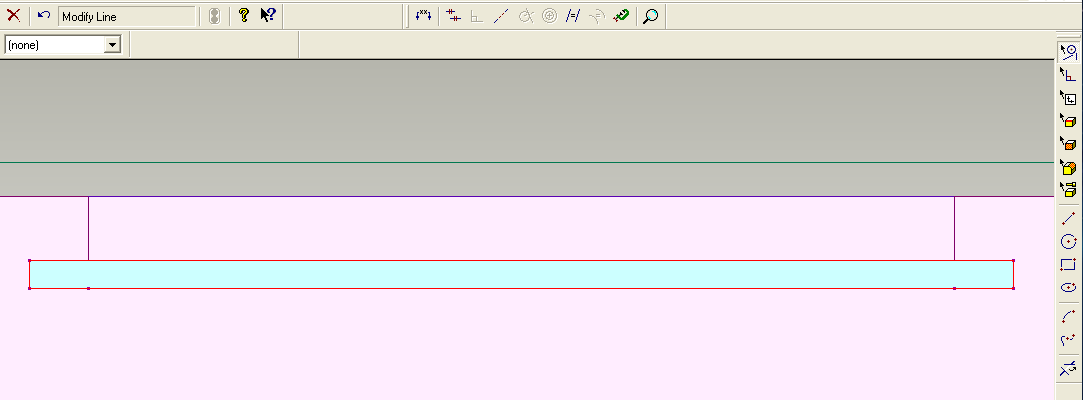
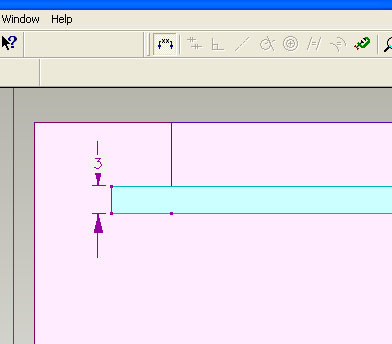
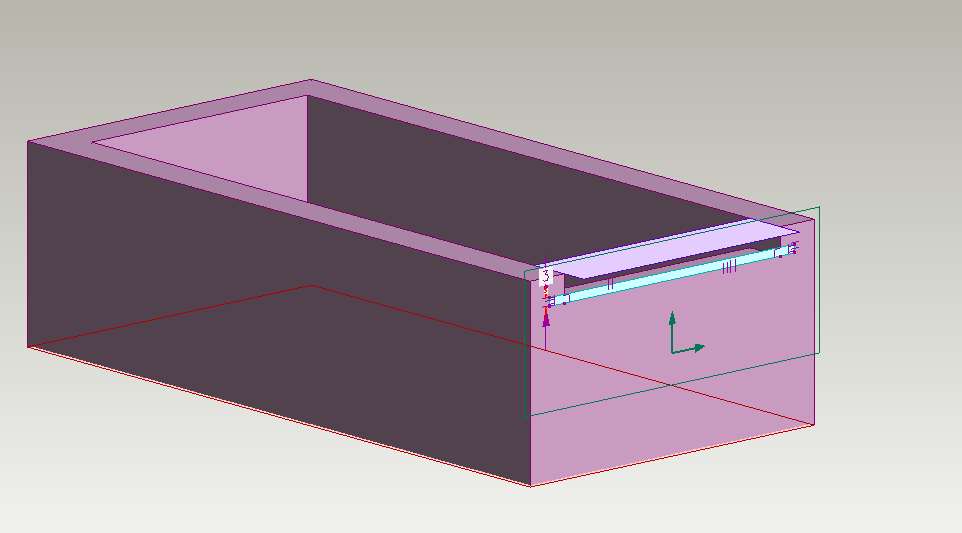
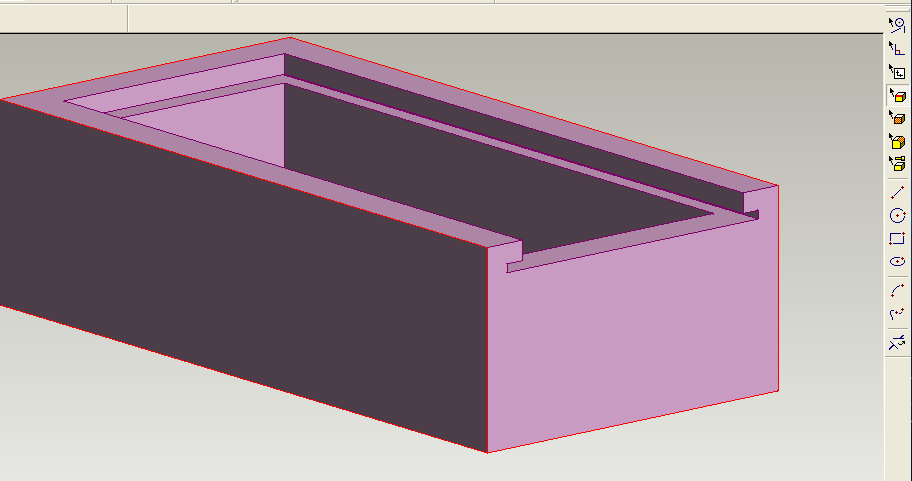
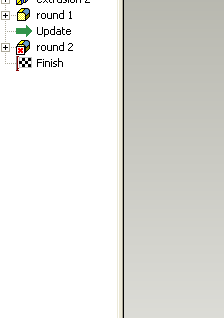
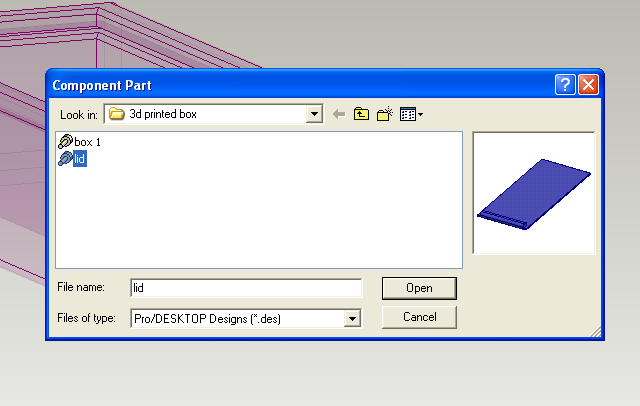
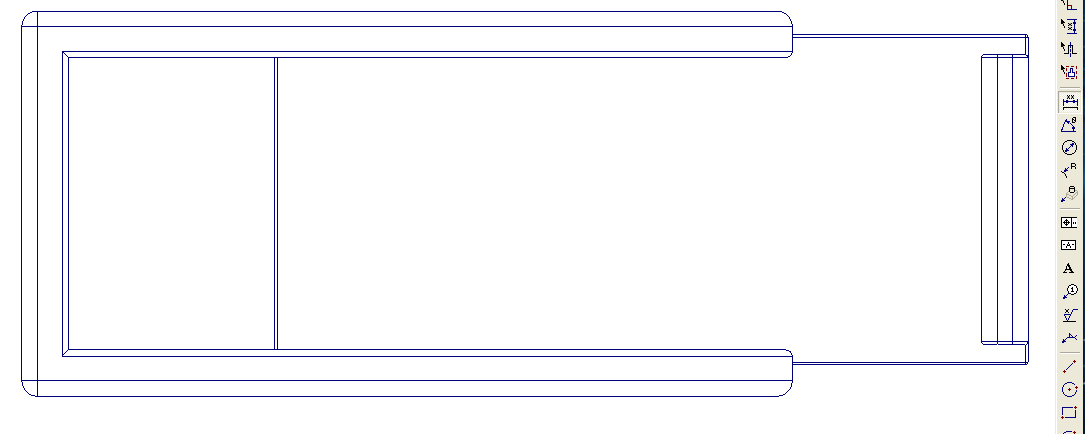
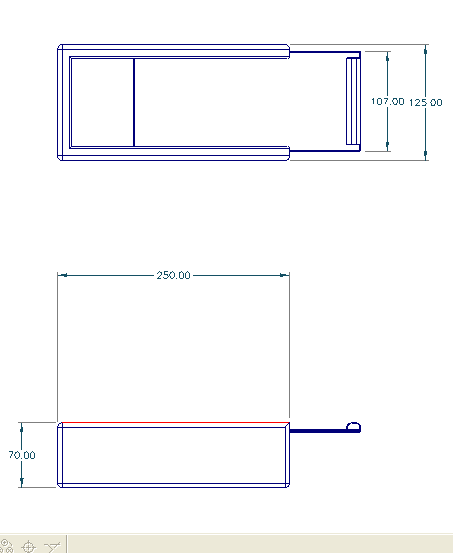
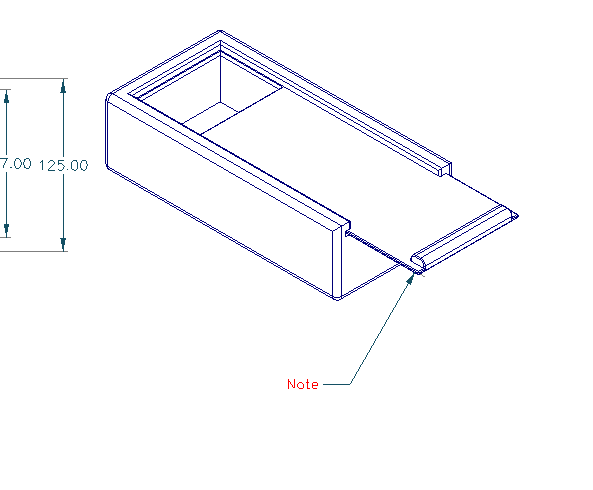
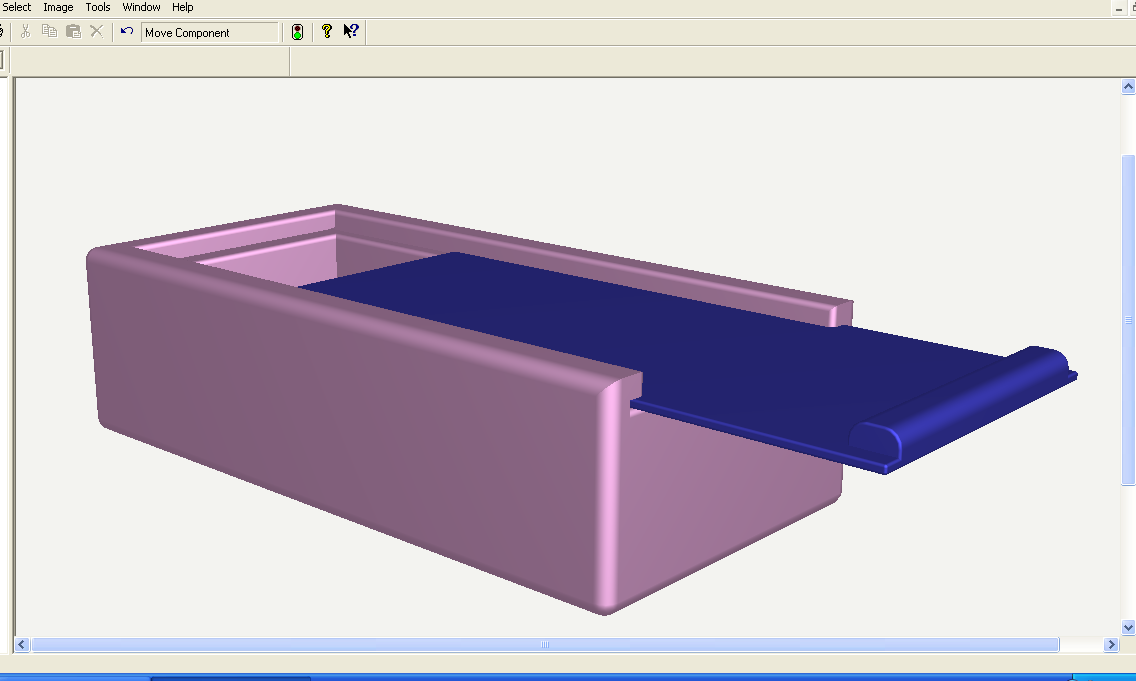
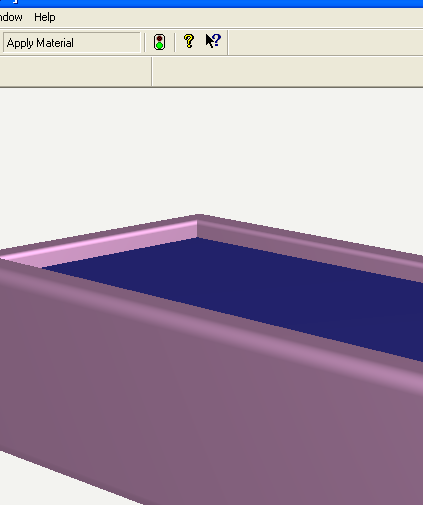
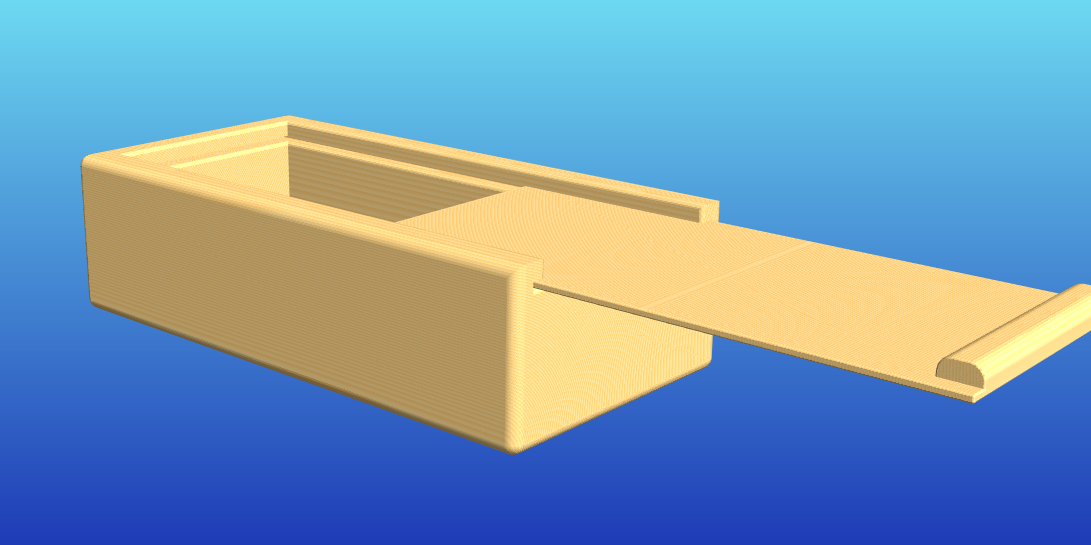
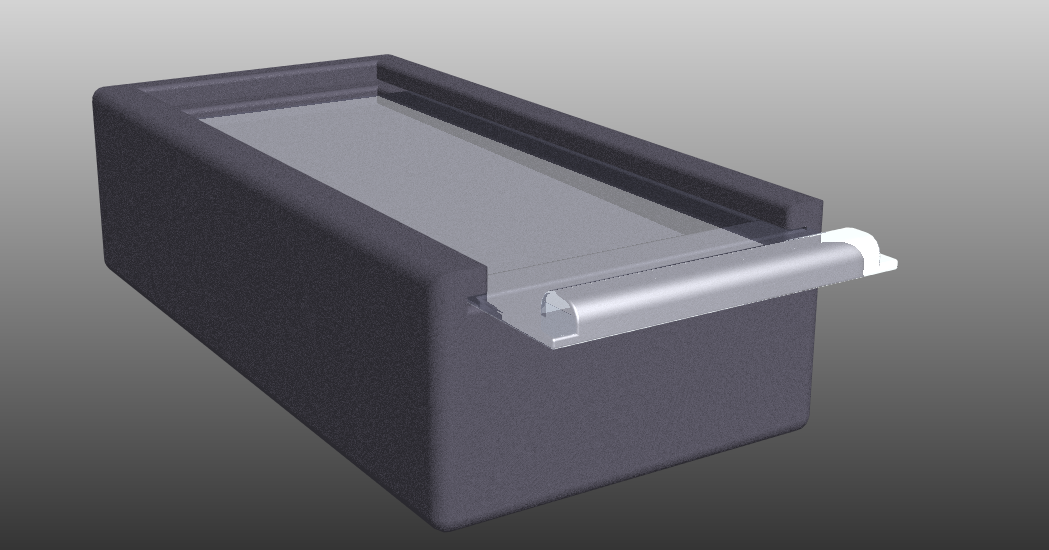
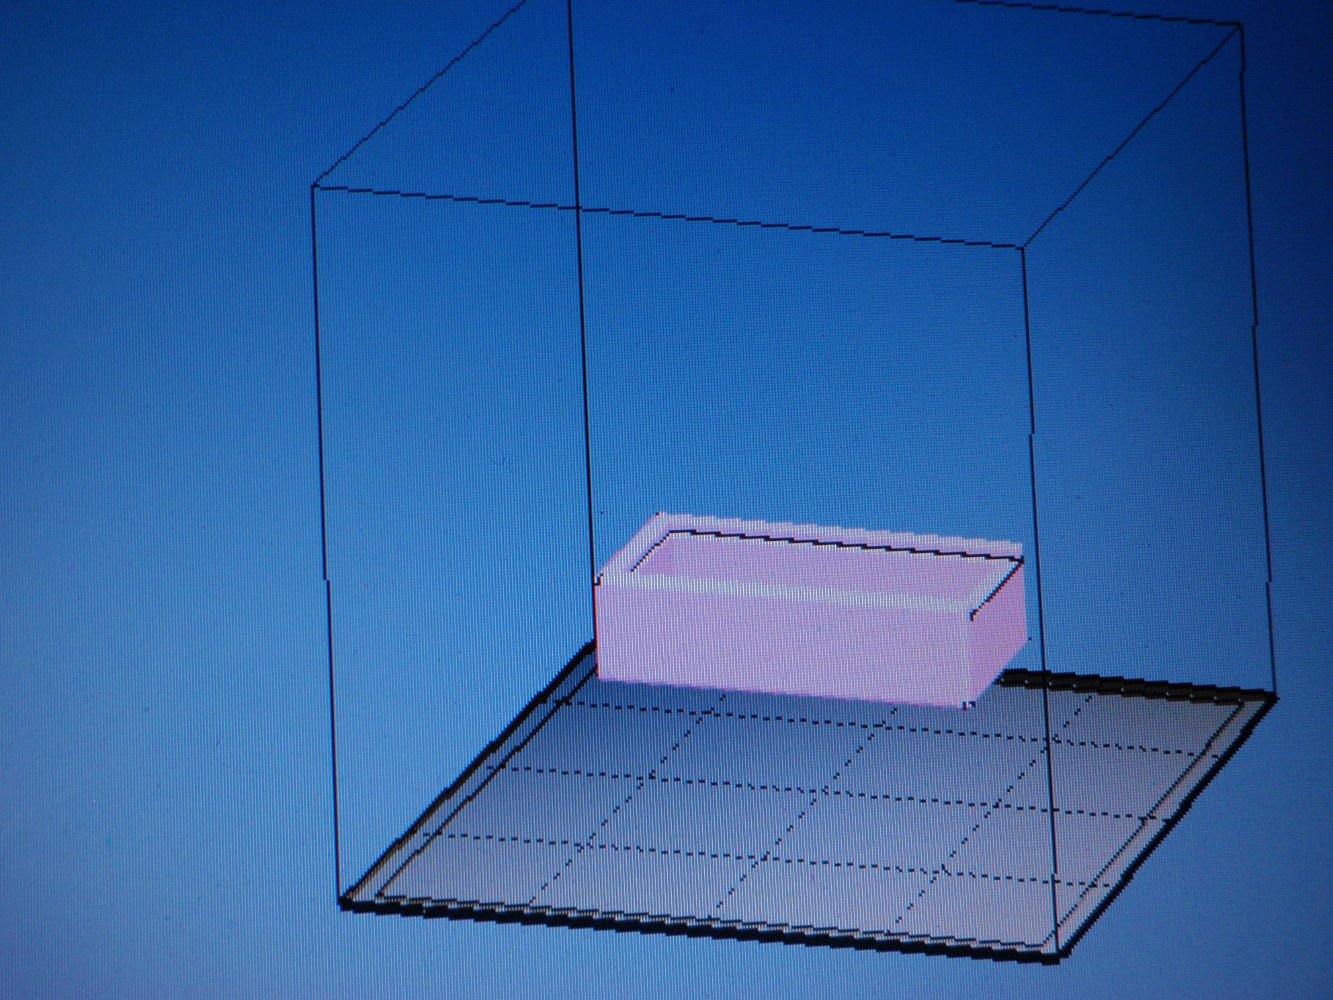
Designing the Lid

Screen Shot 2013-02-02 at 9.00.15 PM.png
Screen Shot 2013-01-31 at 9.40.03 AM.png
Screen Shot 2013-01-31 at 9.40.13 AM.png
Screen Shot 2013-01-31 at 9.40.22 AM.png
Screen Shot 2013-01-31 at 9.40.50 AM.png
Screen Shot 2013-01-31 at 9.43.31 AM.png
Screen Shot 2013-01-31 at 9.44.49 AM.png
Screen Shot 2013-01-31 at 9.45.22 AM.png
Screen Shot 2013-01-31 at 9.45.49 AM.png
Screen Shot 2013-01-31 at 9.46.17 AM.png
Screen Shot 2013-01-31 at 9.46.46 AM.png
Screen Shot 2013-01-31 at 9.47.21 AM.png
Screen Shot 2013-01-31 at 9.47.44 AM.png
Screen Shot 2013-01-31 at 9.47.54 AM.png
Screen Shot 2013-01-31 at 9.48.07 AM.png
Screen Shot 2013-01-31 at 9.48.58 AM.png
Screen Shot 2013-01-31 at 9.50.00 AM.png
Screen Shot 2013-01-31 at 9.50.22 AM.png
Screen Shot 2013-01-31 at 9.50.47 AM.png
Screen Shot 2013-01-31 at 9.51.03 AM.png
Screen Shot 2013-01-31 at 9.51.30 AM.png
Screen Shot 2013-01-31 at 9.52.23 AM.png
Screen Shot 2013-01-31 at 9.53.53 AM.png
Screen Shot 2013-01-31 at 9.54.10 AM.png
Screen Shot 2013-01-31 at 9.54.19 AM.png
Screen Shot 2013-01-31 at 9.54.26 AM.png
Screen Shot 2013-01-31 at 9.55.41 AM.png
Screen Shot 2013-01-31 at 9.56.12 AM.png
Screen Shot 2013-01-31 at 9.56.25 AM.png
Screen Shot 2013-01-31 at 9.56.47 AM.png
The lid has to be designed in a new drawing and sometimes it is helpful do make an enginneering drawing of parts of your project before you start the design for the next part. This is so you can check measurements and saves writing things down on scraps of paper that can get lost  and typos etc.
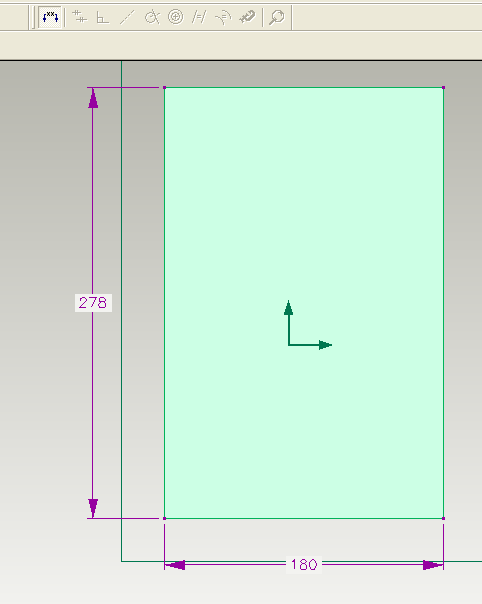
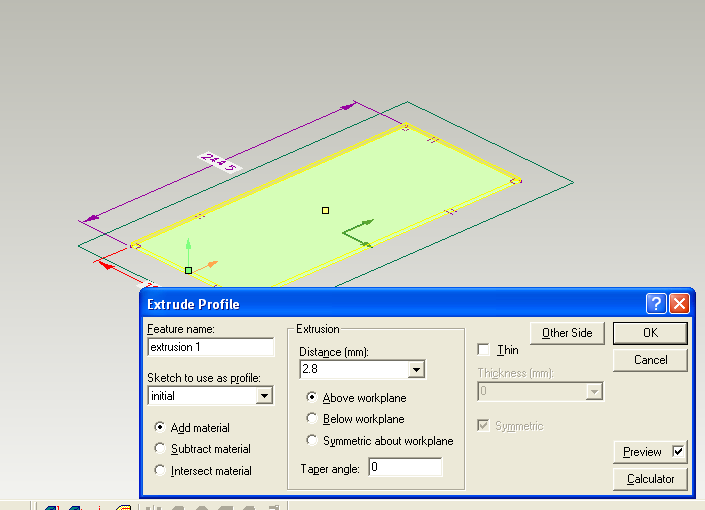
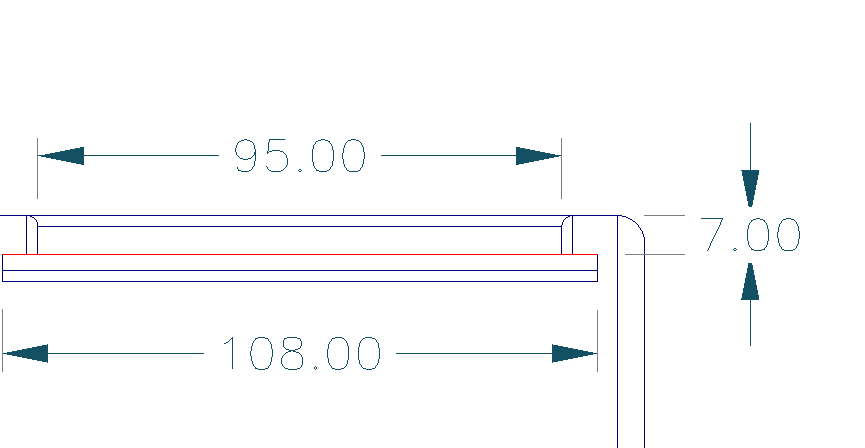
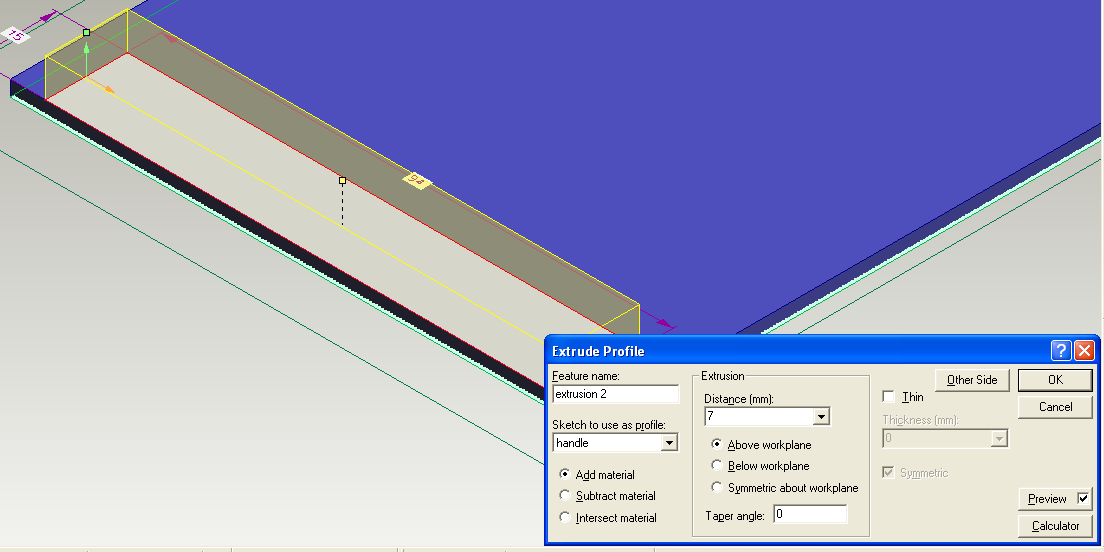
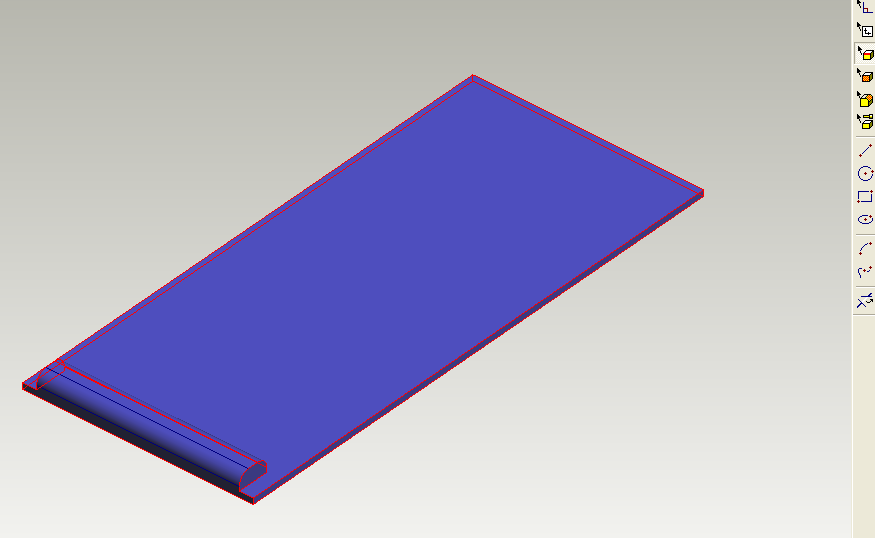
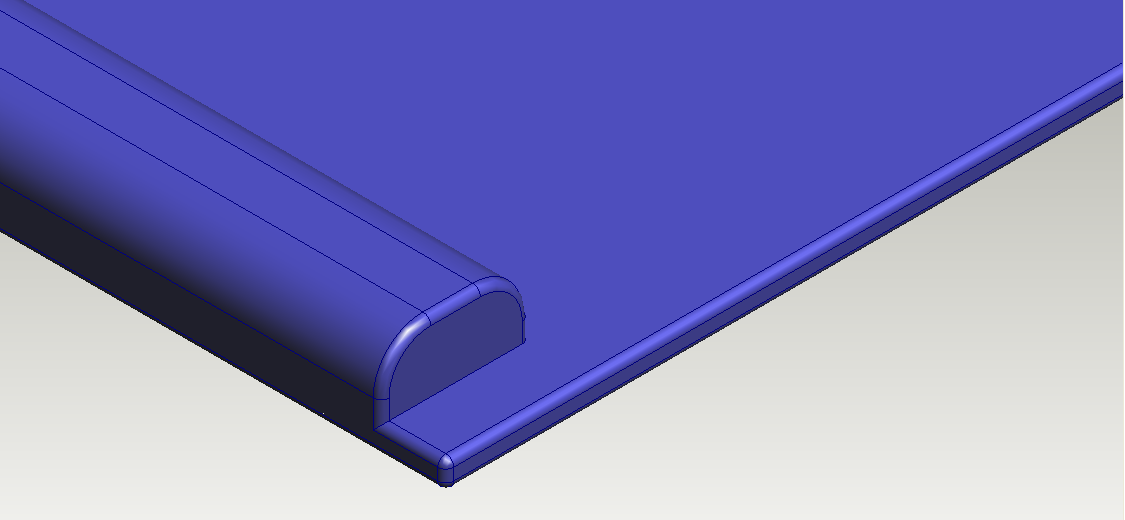
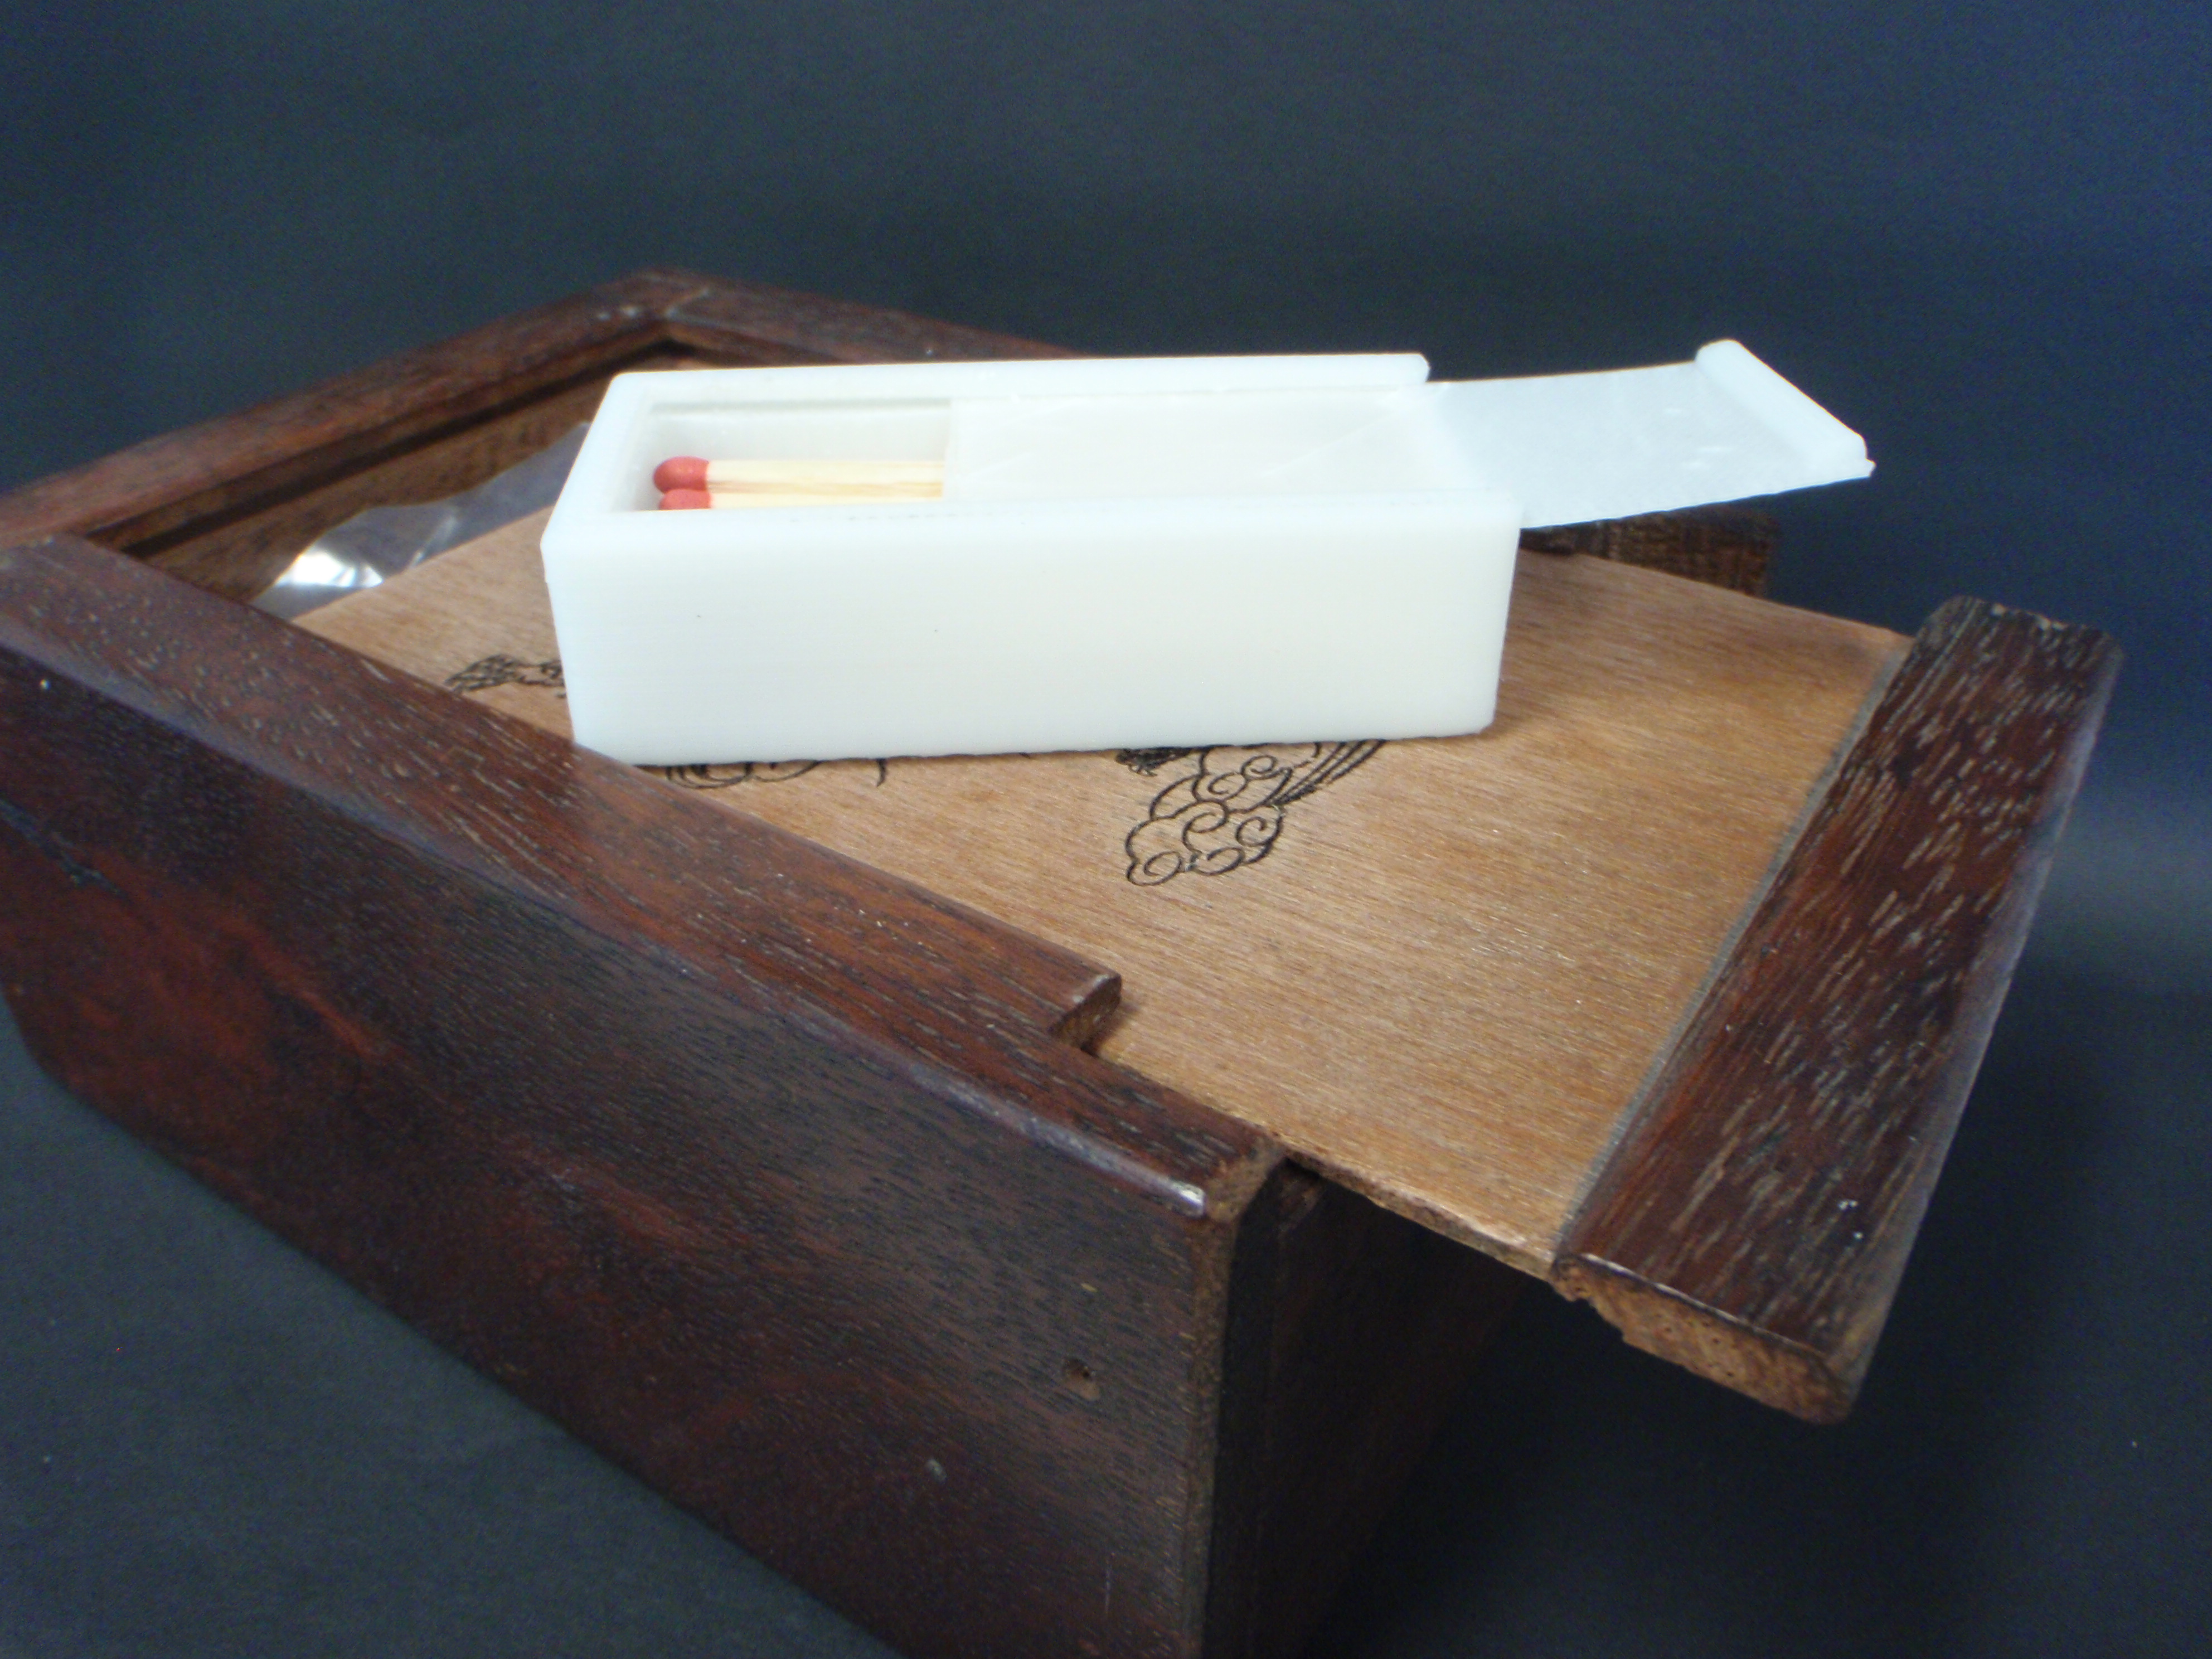
I found that when using a laser cutter you can cut a 10mm hole and a 10mm disc and it will fit together perfectly. But when you do this on a 3D printer this is not the case (well not on the one that I use) You may need to give the parts some clearance or you may find that they are either a very tight fit, or do not fit at all.
This is why the lid is a little smaller than the hole it has to fit in.

click on the photos to begin

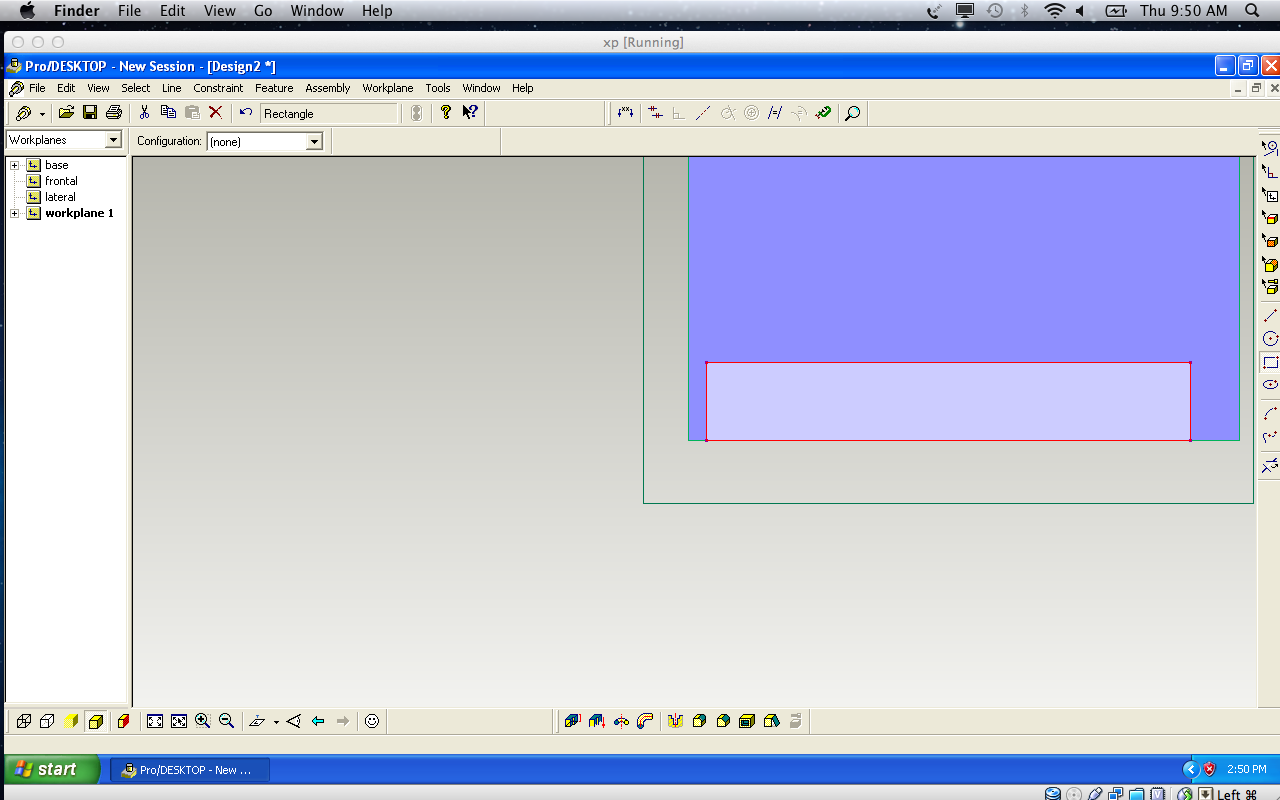
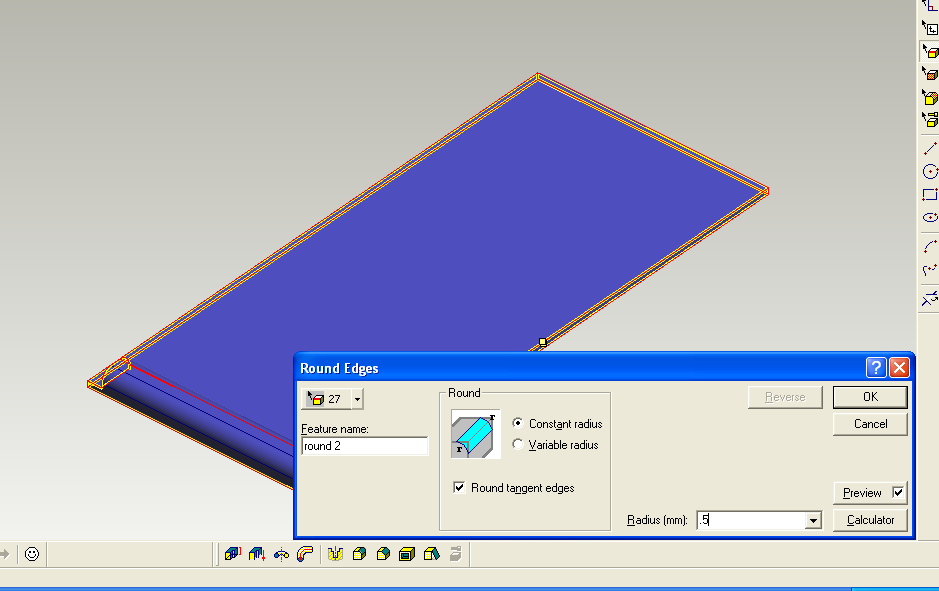
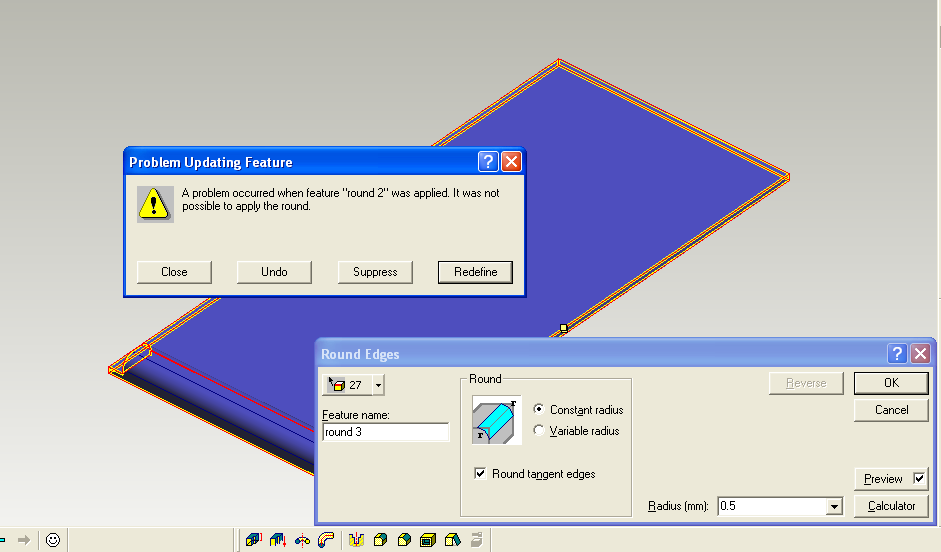
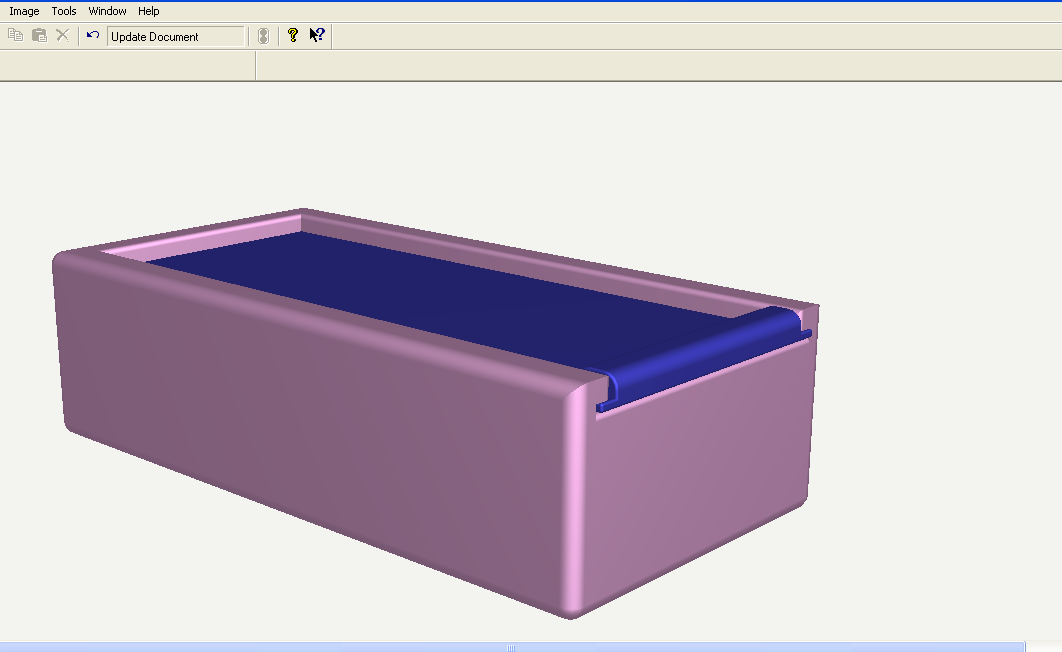
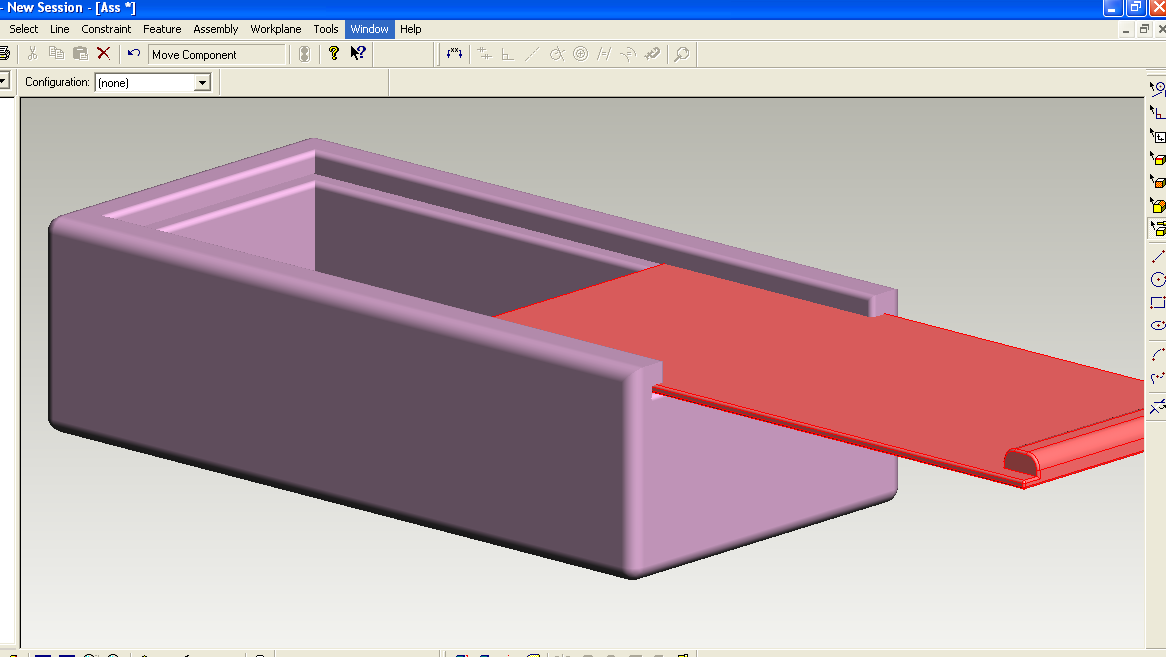
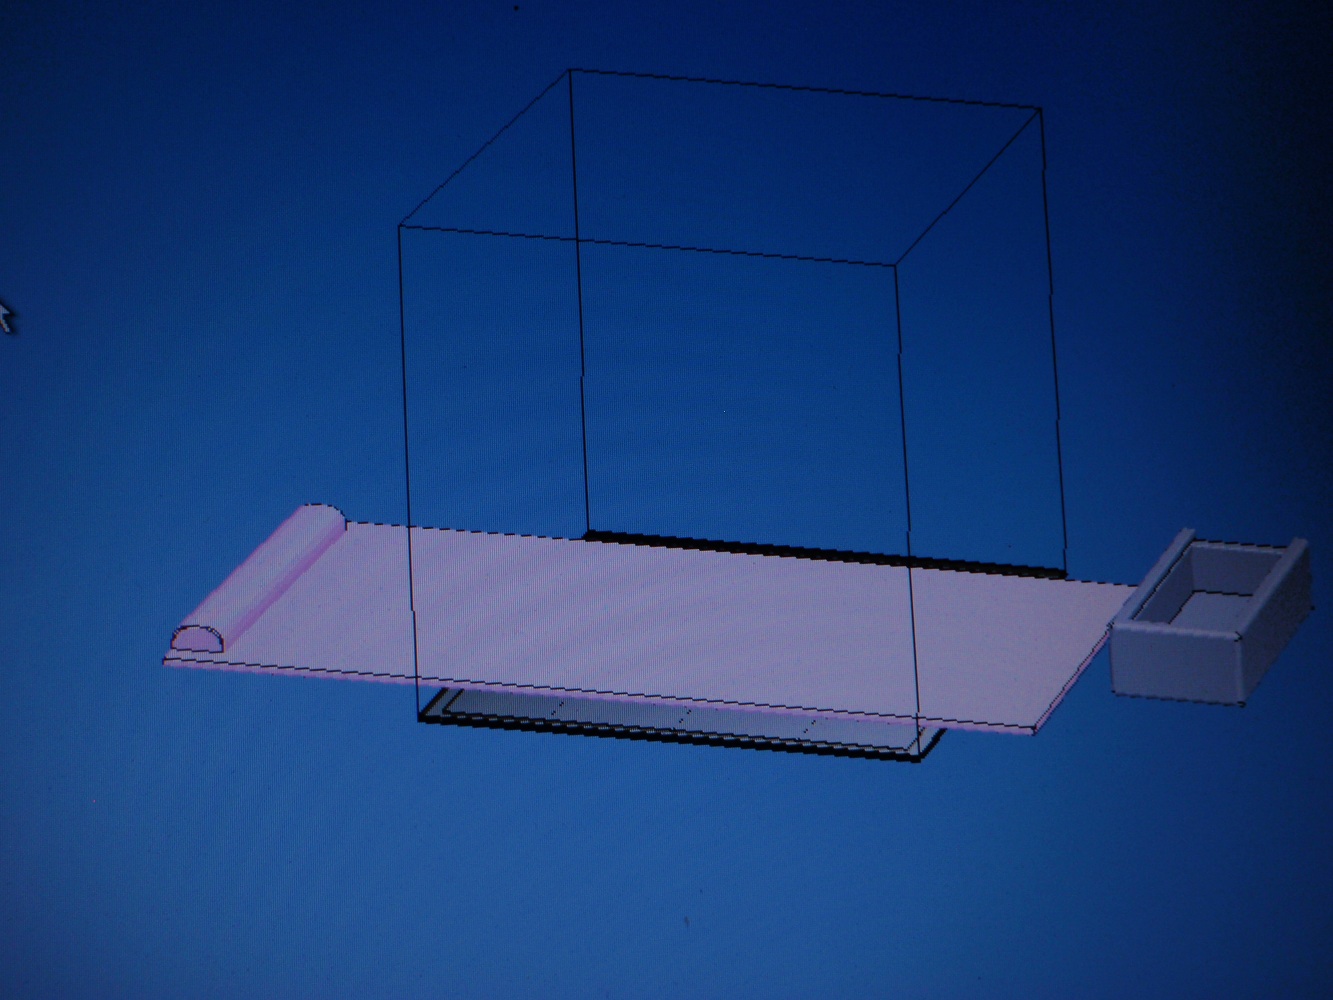
Assembling Drawing to Check for Errors

Screen Shot 2013-02-02 at 9.30.21 PM.png
Screen Shot 2013-02-02 at 9.00.44 PM.png
Screen Shot 2013-02-02 at 9.00.58 PM.png
Screen Shot 2013-02-02 at 9.01.48 PM.png
Screen Shot 2013-02-02 at 9.01.18 PM.png
Screen Shot 2013-02-02 at 9.01.38 PM.png
Screen Shot 2013-02-02 at 9.03.31 PM.png
Screen Shot 2013-02-02 at 9.03.47 PM.png
Screen Shot 2013-02-02 at 9.04.43 PM.png
Screen Shot 2013-02-02 at 9.04.55 PM.png
Screen Shot 2013-02-02 at 9.05.09 PM.png
Screen Shot 2013-02-02 at 9.06.12 PM.png
Screen Shot 2013-02-02 at 9.06.49 PM.png
Screen Shot 2013-02-02 at 9.07.11 PM.png
Screen Shot 2013-02-02 at 9.07.29 PM.png
Screen Shot 2013-02-02 at 9.02.10 PM.png
Screen Shot 2013-02-02 at 9.09.49 PM.png
Screen Shot 2013-02-02 at 9.10.30 PM.png
Screen Shot 2013-02-02 at 9.10.54 PM.png
Screen Shot 2013-02-02 at 9.12.53 PM.png
Screen Shot 2013-02-02 at 9.13.07 PM.png
Screen Shot 2013-02-02 at 9.13.27 PM.png
Screen Shot 2013-02-02 at 9.13.54 PM.png
Screen Shot 2013-02-02 at 9.14.51 PM.png
Screen Shot 2013-02-02 at 9.15.56 PM.png
Screen Shot 2013-02-02 at 9.16.34 PM.png
Screen Shot 2013-02-02 at 9.16.55 PM.png
Assembling the parts of your project is the best way to check for problems or oversights and gives you a good idea of what the finished product will look like.
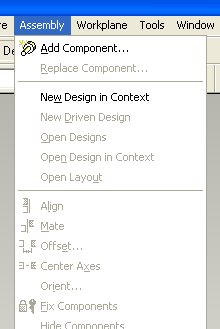
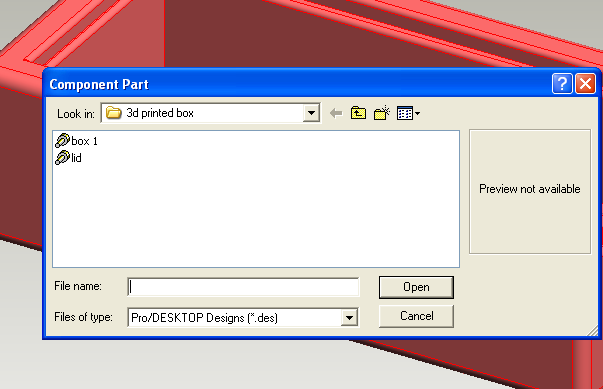
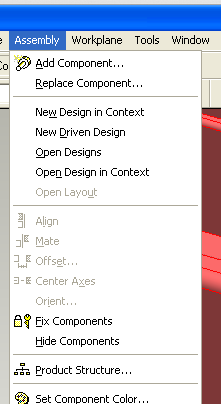
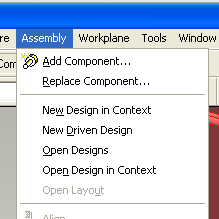
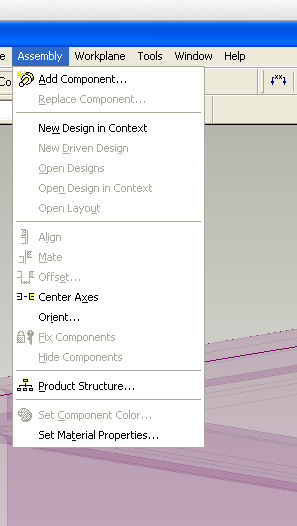
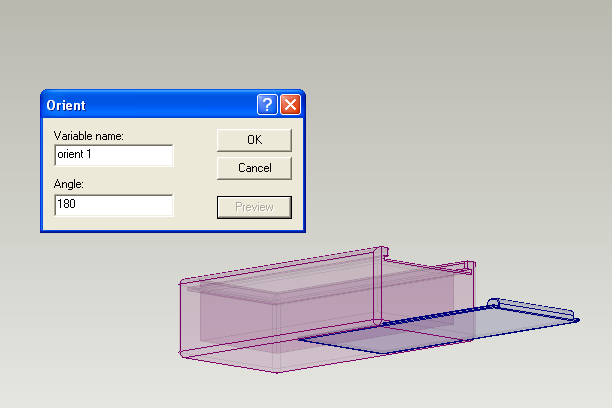
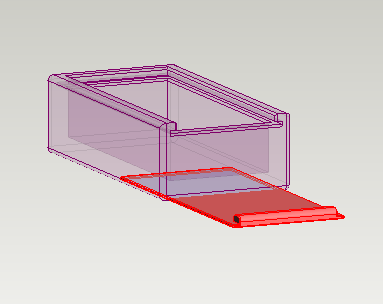
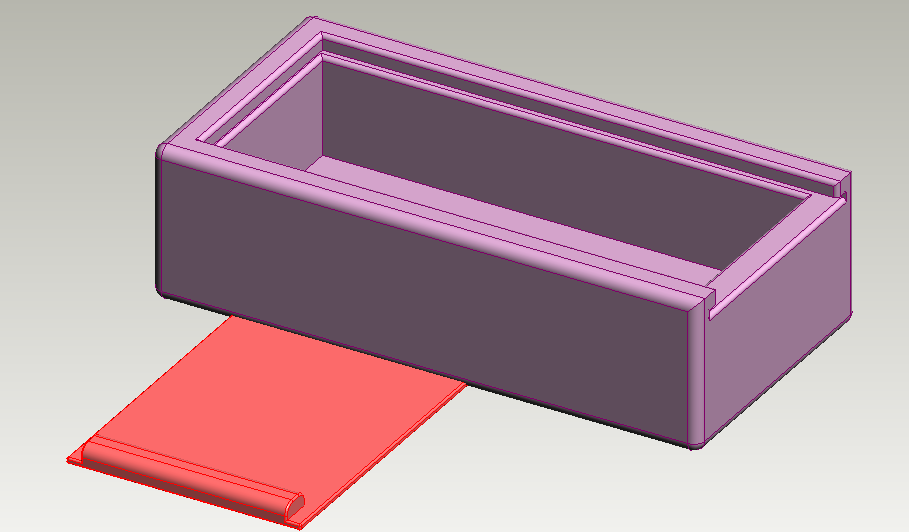
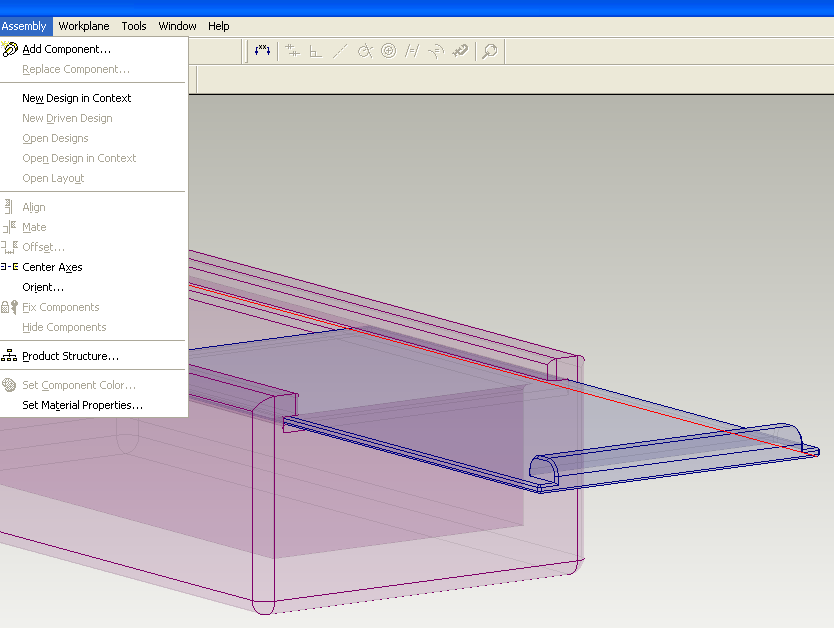
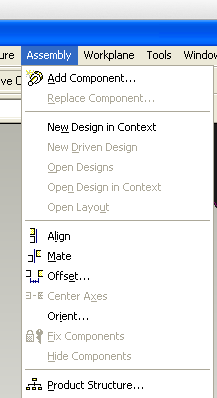
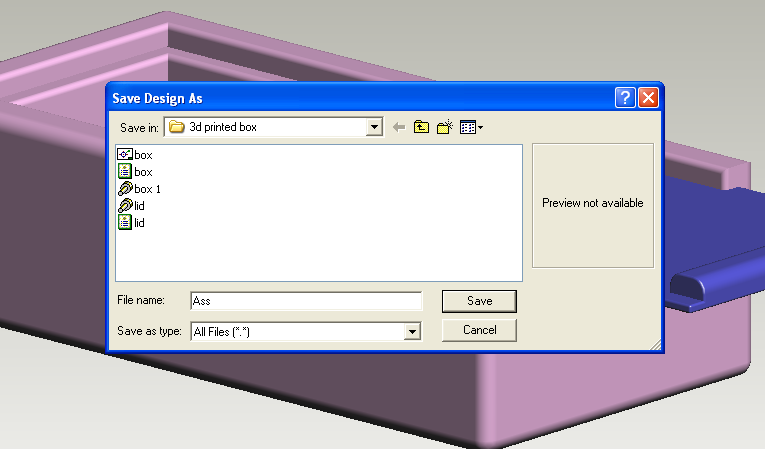
Sometime you will find that if you make a mistake it is easier to delete the component from the drawing and add it again.

Click on the photos to  begin..
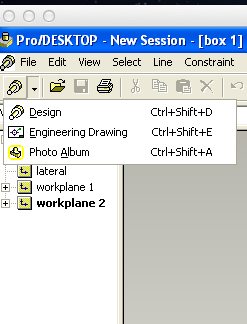
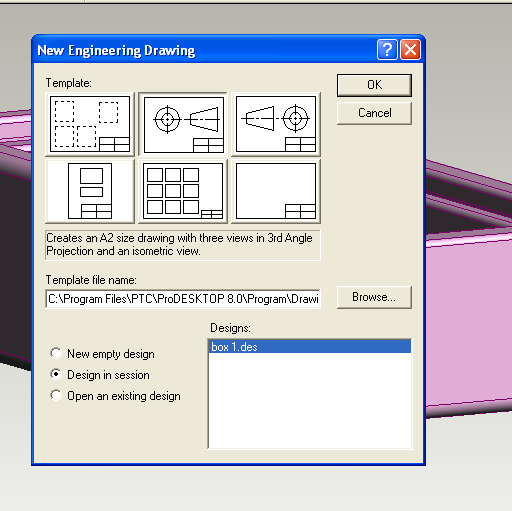
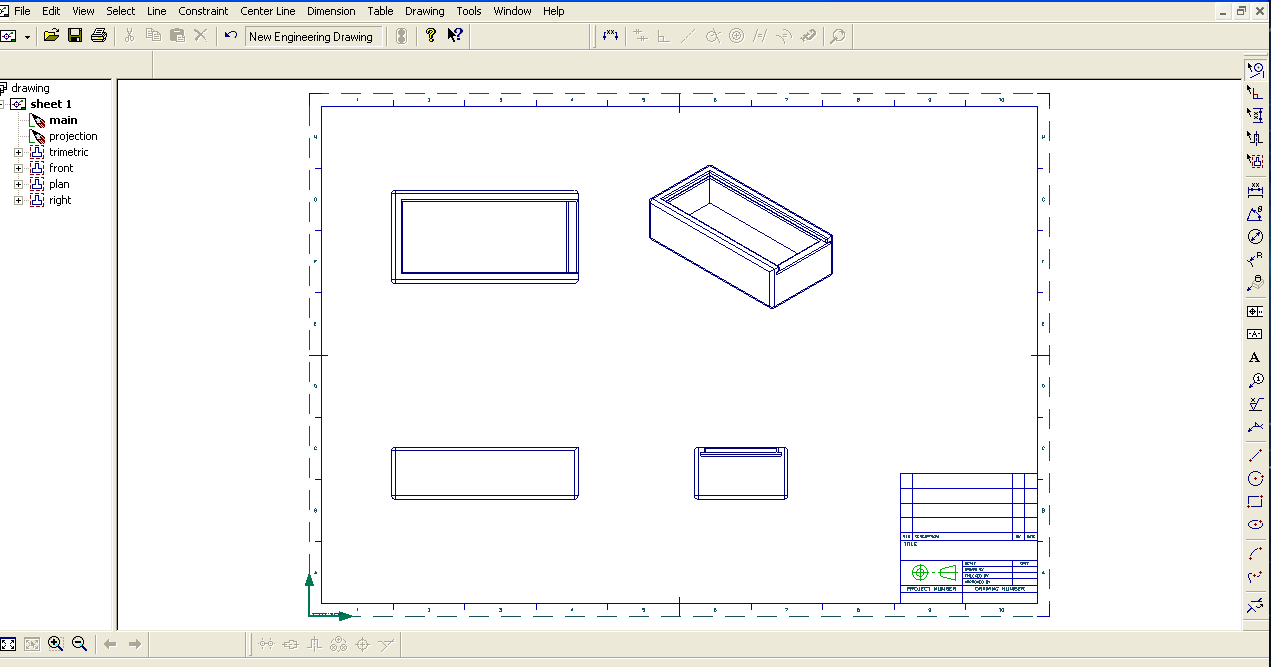
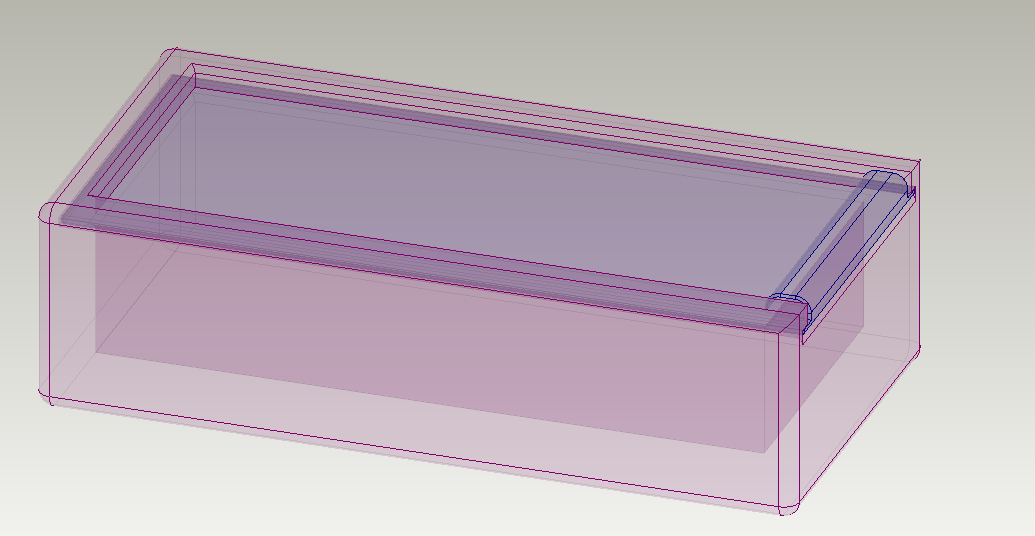
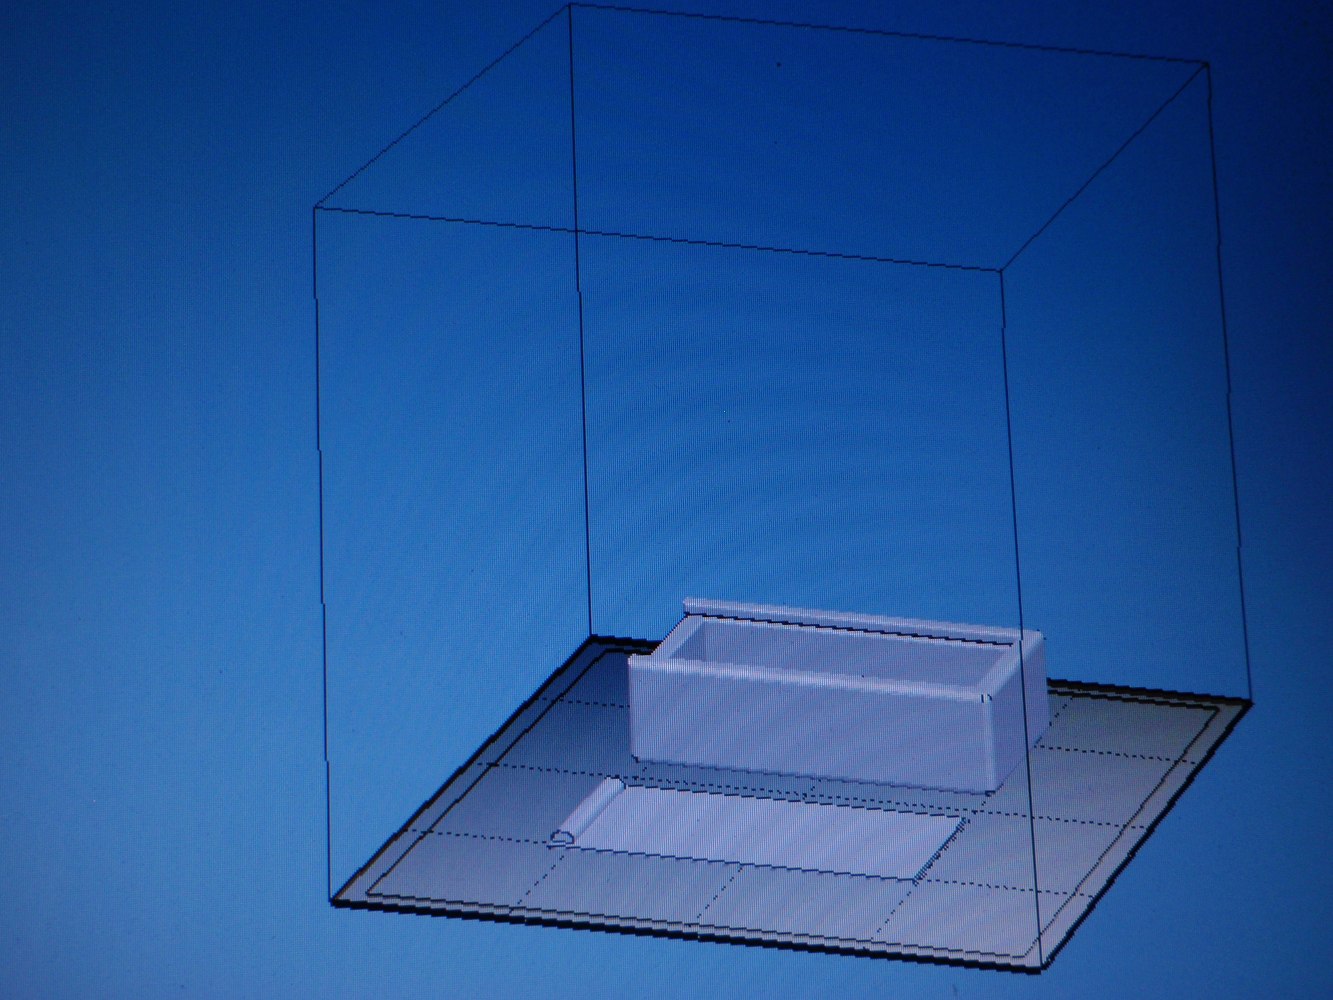
Engineering Drawing

box 4.bmp
Screen Shot 2013-02-02 at 9.18.26 PM.png
Screen Shot 2013-02-02 at 9.18.36 PM.png
Screen Shot 2013-02-02 at 9.18.54 PM.png
Screen Shot 2013-02-02 at 9.19.47 PM.png
Screen Shot 2013-02-02 at 9.20.54 PM.png
Screen Shot 2013-02-02 at 9.21.36 PM.png
Screen Shot 2013-02-02 at 9.21.58 PM.png
Screen Shot 2013-02-02 at 9.22.08 PM.png
Screen Shot 2013-02-02 at 9.24.59 PM.png
Screen Shot 2013-02-02 at 9.25.50 PM.png
Screen Shot 2013-02-02 at 9.27.08 PM.png
Screen Shot 2013-02-02 at 9.28.02 PM.png
box3.bmp
Engineering drawings are great if you are making your project  in the traditional way (hand tools and timber)  and can be exported as a JPG,  bitmap or dxf file to email,  post on a website or printed off on paper.


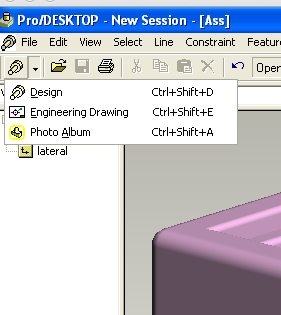
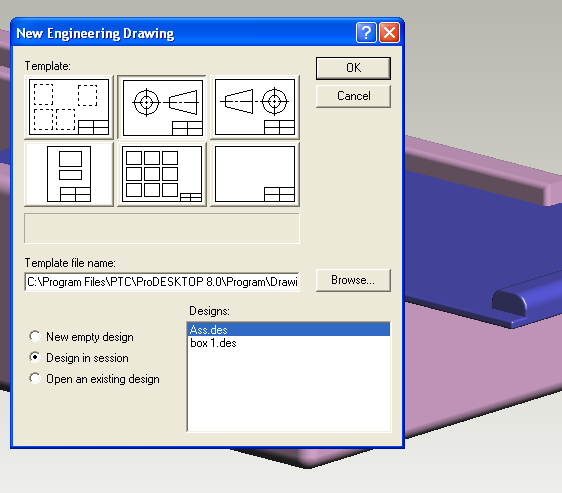
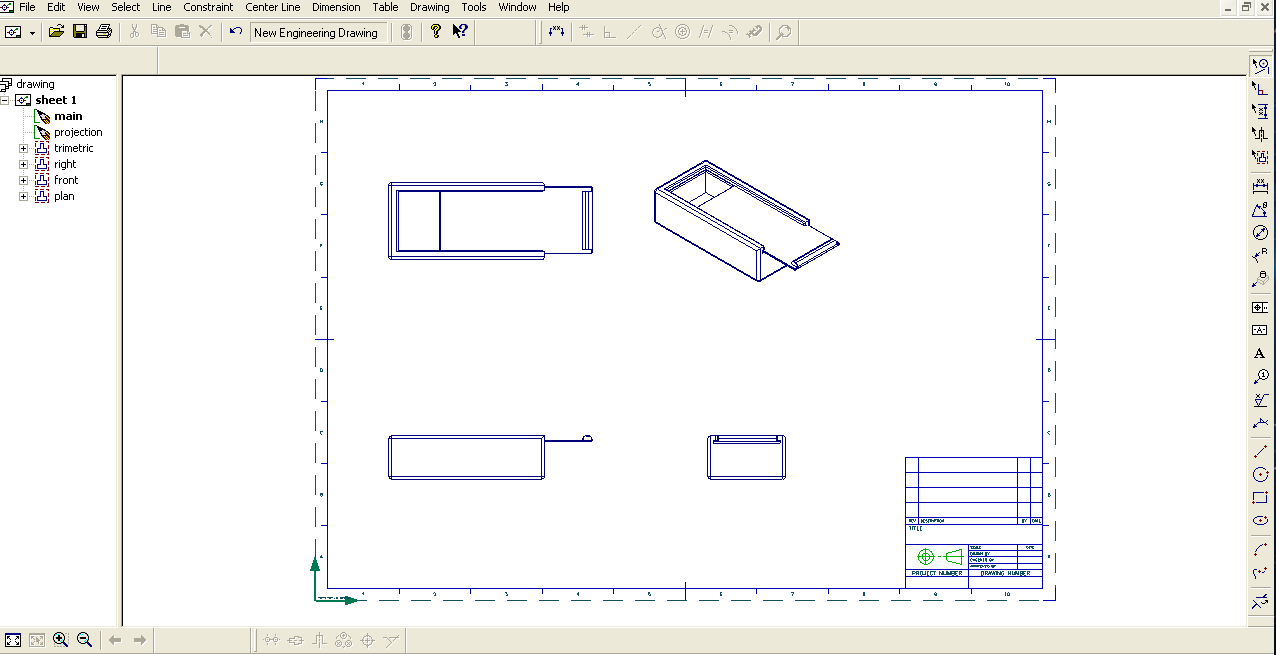
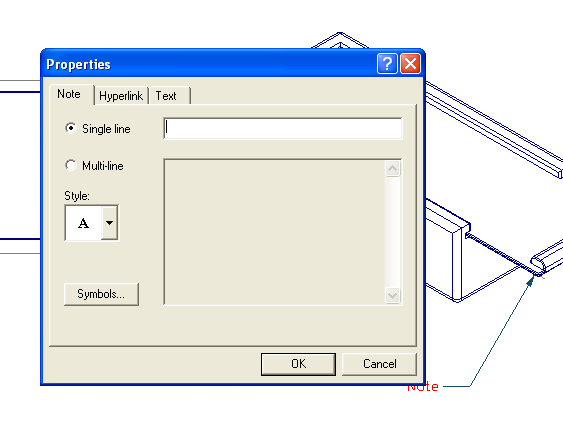
Click on the photos to start
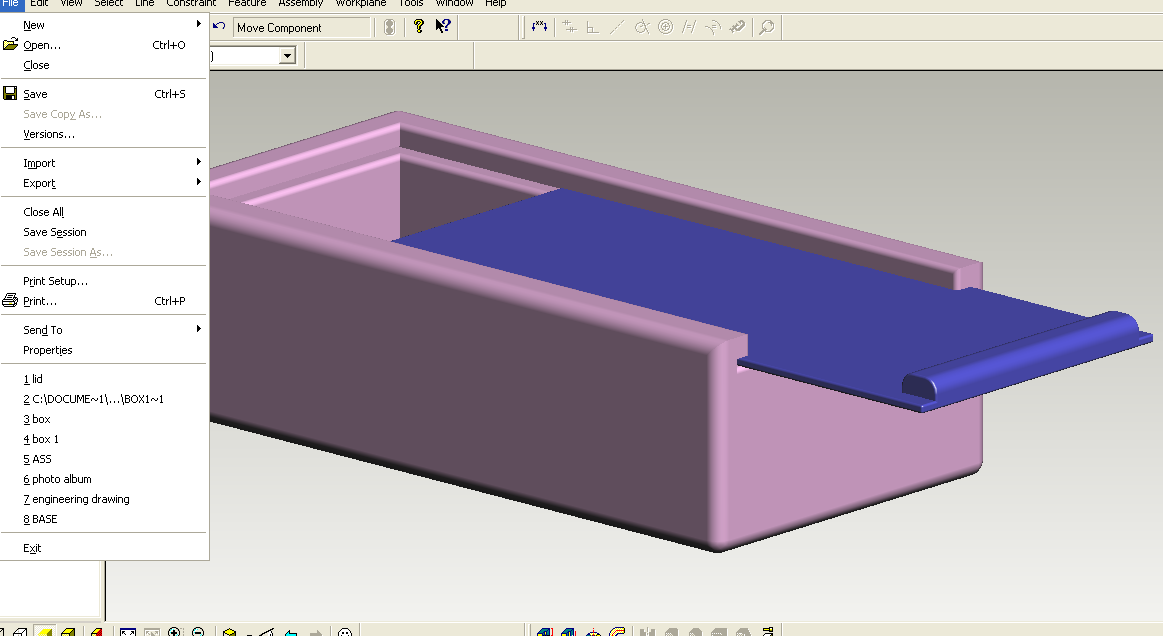
Photo Album

Screen Shot 2013-02-02 at 9.44.21 PM.png
Screen Shot 2013-02-02 at 9.28.25 PM.png
Screen Shot 2013-02-02 at 9.28.39 PM.png
Screen Shot 2013-02-02 at 9.28.48 PM.png
Screen Shot 2013-02-02 at 9.29.24 PM.png
Screen Shot 2013-02-02 at 9.29.51 PM.png
Screen Shot 2013-02-02 at 9.30.34 PM.png
Screen Shot 2013-02-02 at 9.30.47 PM.png
Screen Shot 2013-02-02 at 9.30.58 PM.png
Screen Shot 2013-02-02 at 9.31.08 PM.png
Screen Shot 2013-02-02 at 9.31.26 PM.png
Screen Shot 2013-02-02 at 9.31.36 PM.png
Screen Shot 2013-02-02 at 9.31.49 PM.png
Screen Shot 2013-02-02 at 9.31.58 PM.png
Screen Shot 2013-02-02 at 9.33.14 PM.png
Screen Shot 2013-02-02 at 9.33.30 PM.png
Screen Shot 2013-02-02 at 9.33.42 PM.png
Screen Shot 2013-02-02 at 9.34.14 PM.png
Screen Shot 2013-02-02 at 9.34.50 PM.png
Screen Shot 2013-02-02 at 9.35.22 PM.png
Screen Shot 2013-02-02 at 9.35.56 PM.png
Screen Shot 2013-02-02 at 9.36.39 PM.png
Screen Shot 2013-02-02 at 9.39.02 PM.png
Screen Shot 2013-02-02 at 9.42.39 PM.png
Screen Shot 2013-02-02 at 9.44.41 PM.png
Screen Shot 2013-02-02 at 9.44.55 PM.png
The photo album feature is great for showing off your work. You can spend a lot of time playing with colour, views, material, backgrounds, refection, camera lens just to name a few.
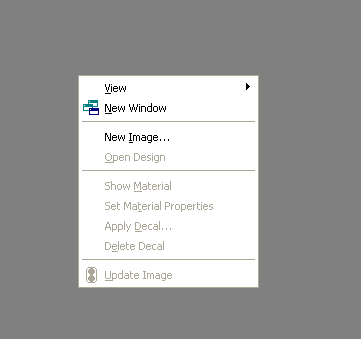
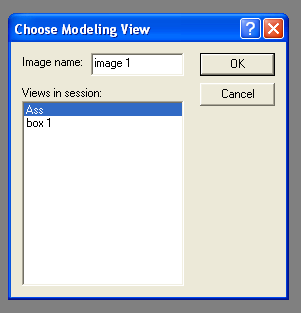
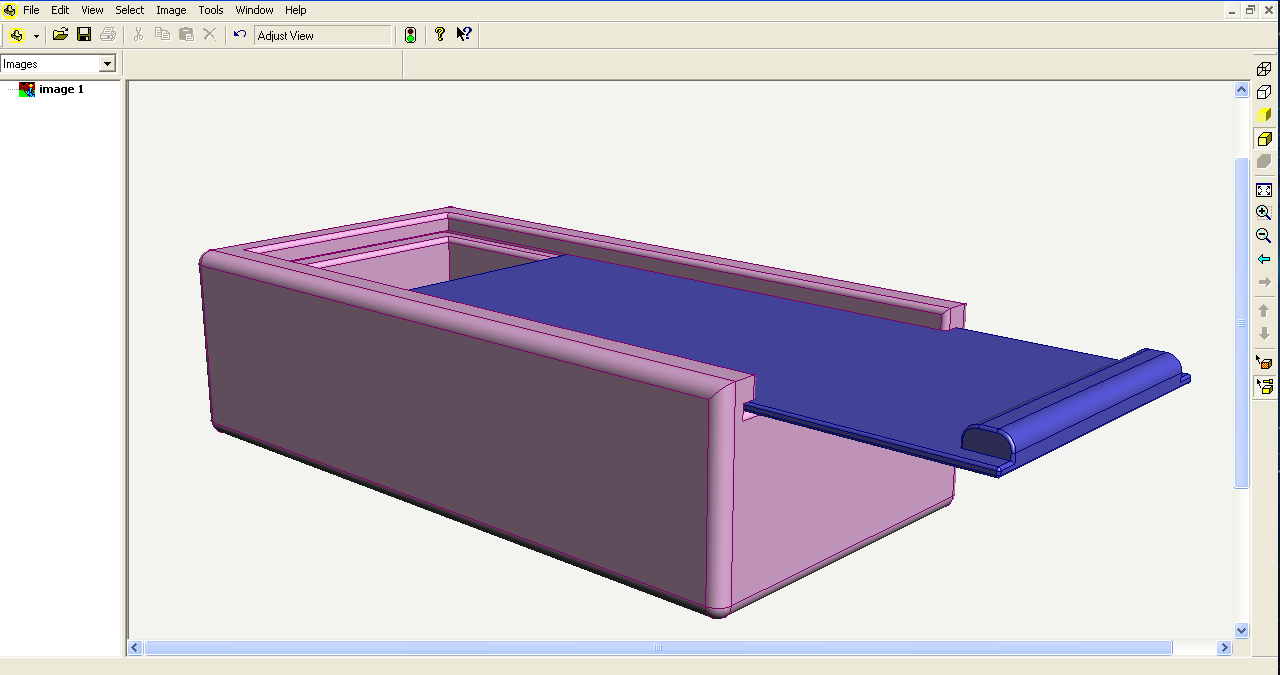
Here are some basic commands to get you started.
just be aware the Zoom works differently in photo album, you have to use the icons on the right


click on the photo......

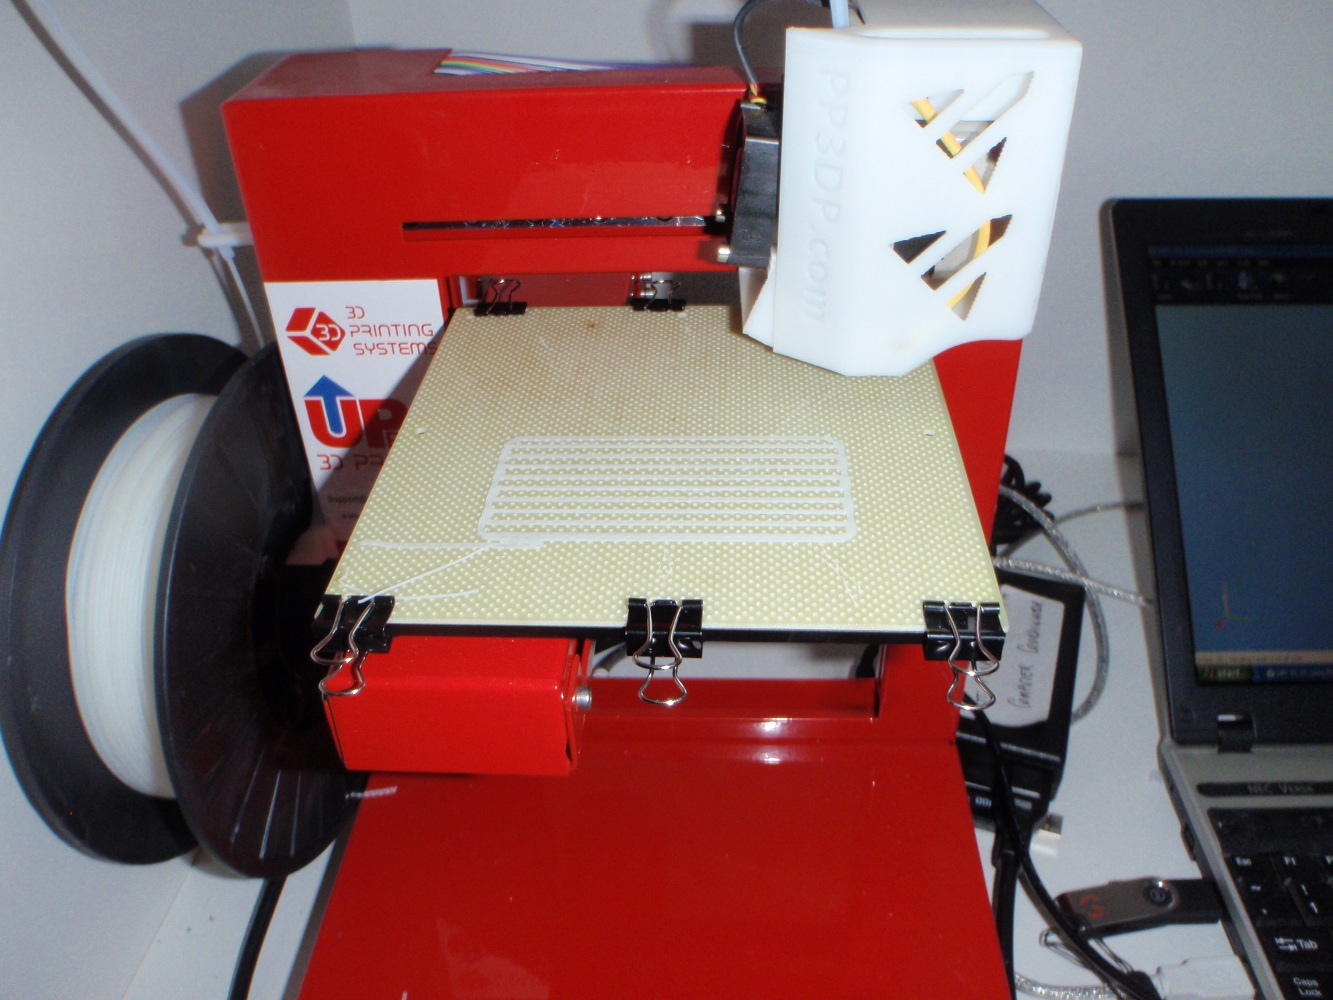
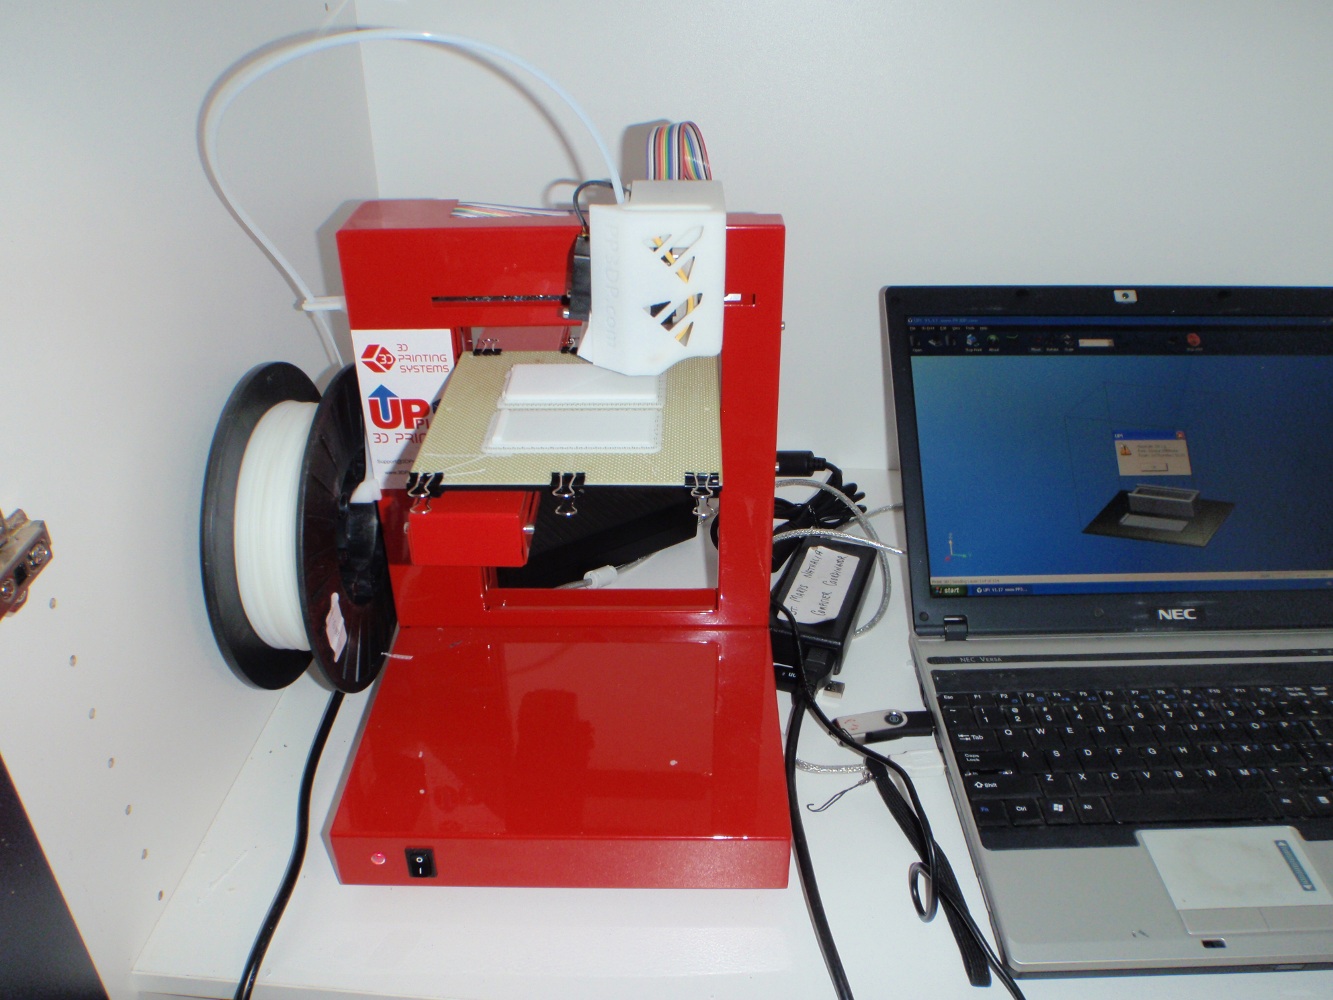
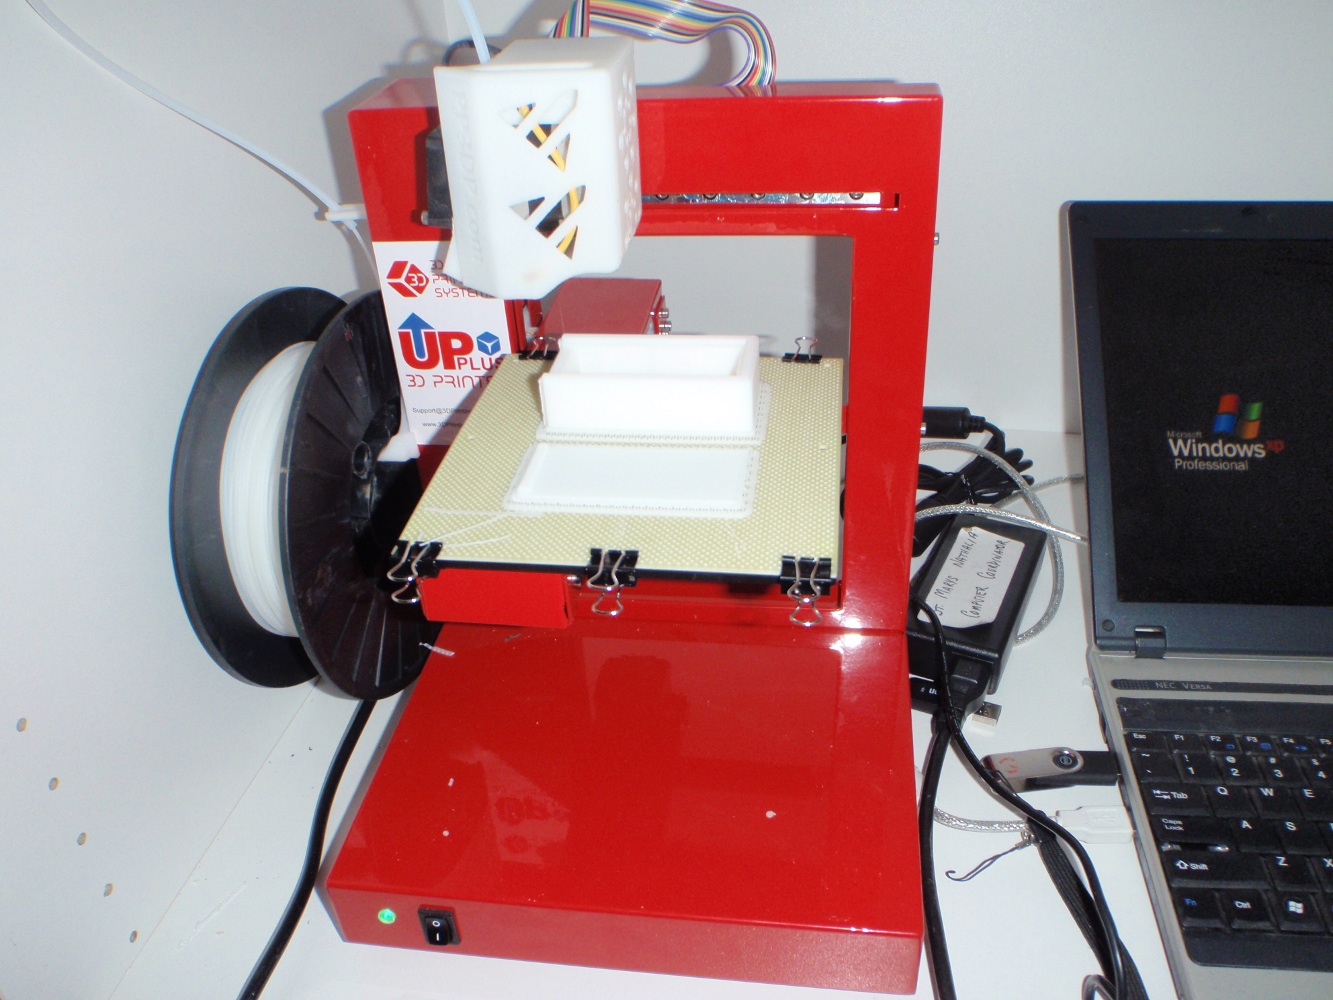
Using the 3D Printer and Removing the Raft

P1311722.JPG
P1311708.JPG
P1311710.JPG
P1311711.JPG
P1311712.JPG
P1311713.JPG
P1311714.JPG
P1311715.JPG
P1311718.JPG
P1311719.JPG
P1311720.JPG
P1311721.JPG
P1311723.JPG
P1311726.JPG
P1311727.JPG
P1311728.JPG
P1311733.JPG
P1311736.JPG
P1311738.JPG
P1311739.JPG
P1311740.JPG
P1311741.JPG
P1311742.JPG
P1311743.JPG
P1311745.JPG
P2031751.JPG
If you don't have a 3D printer you can hire one quite cheaply just email them your STL file and they will post your project back to you.
There are several places that can do this for you the most  well known is probably shapeways
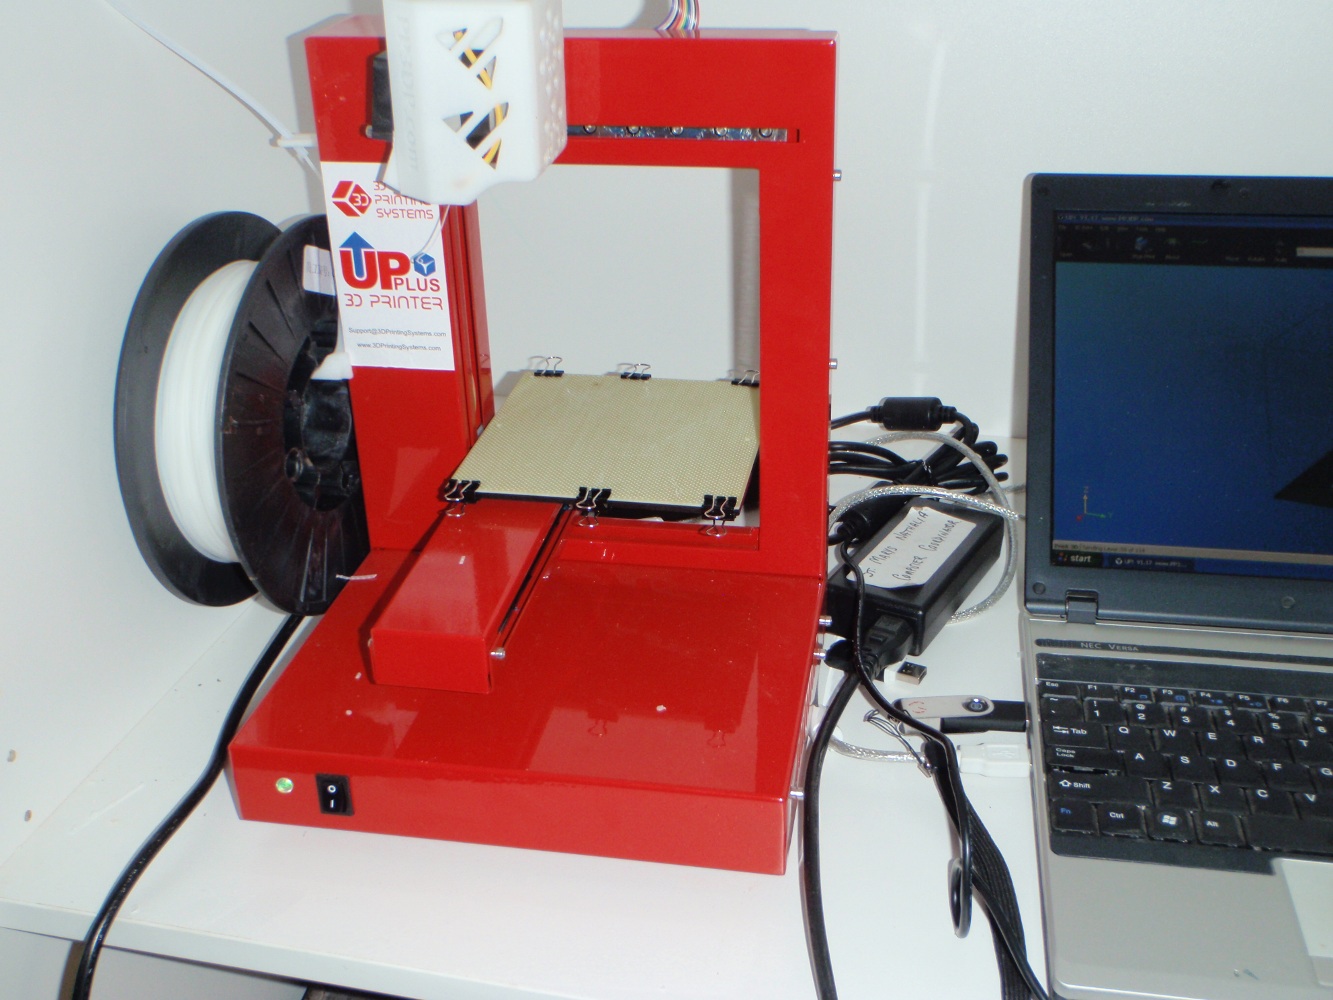
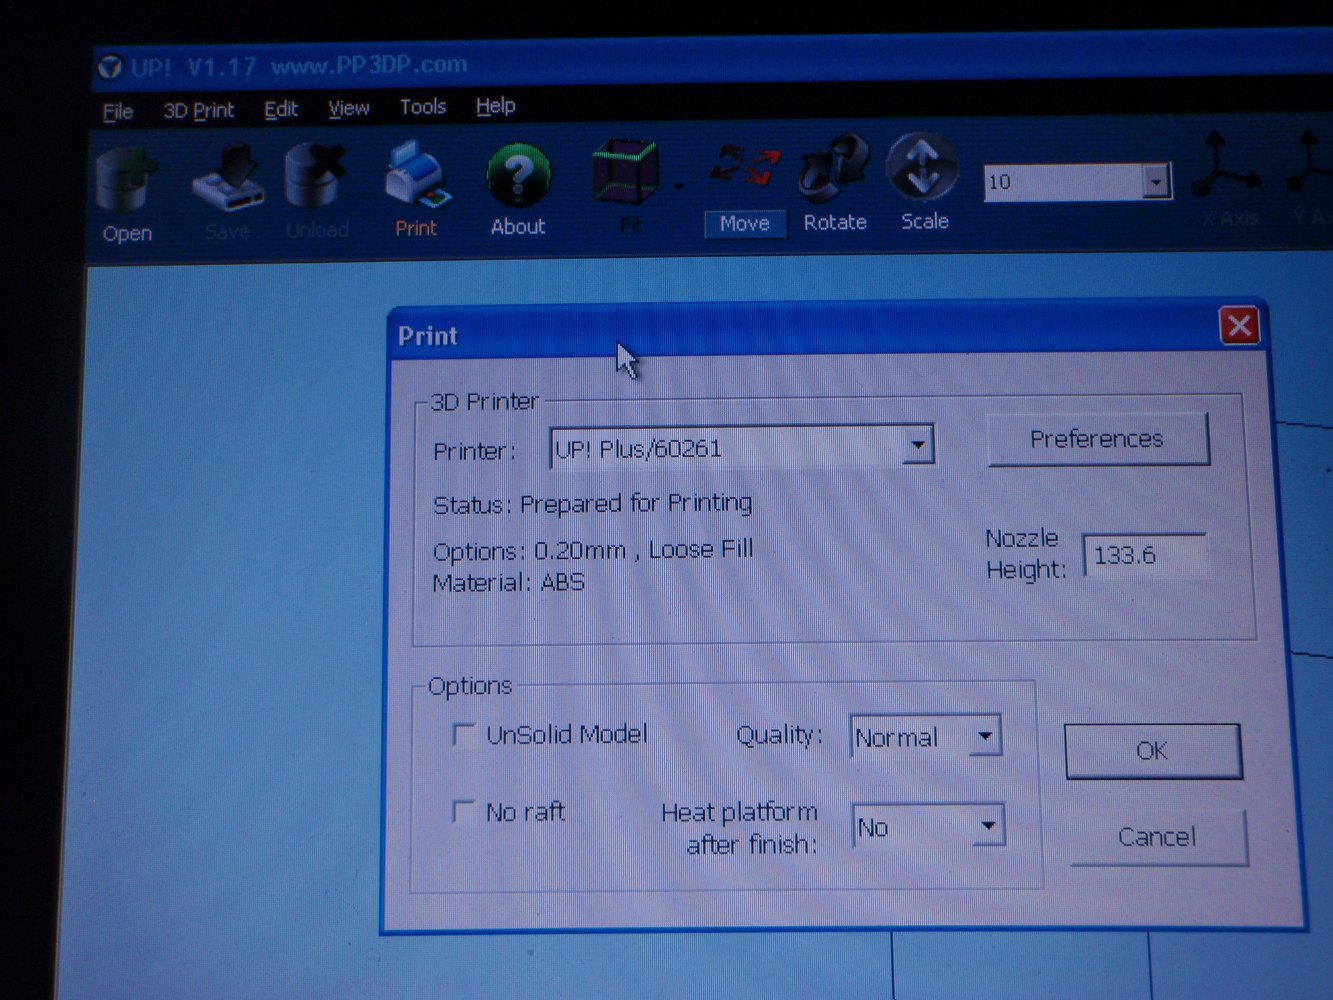
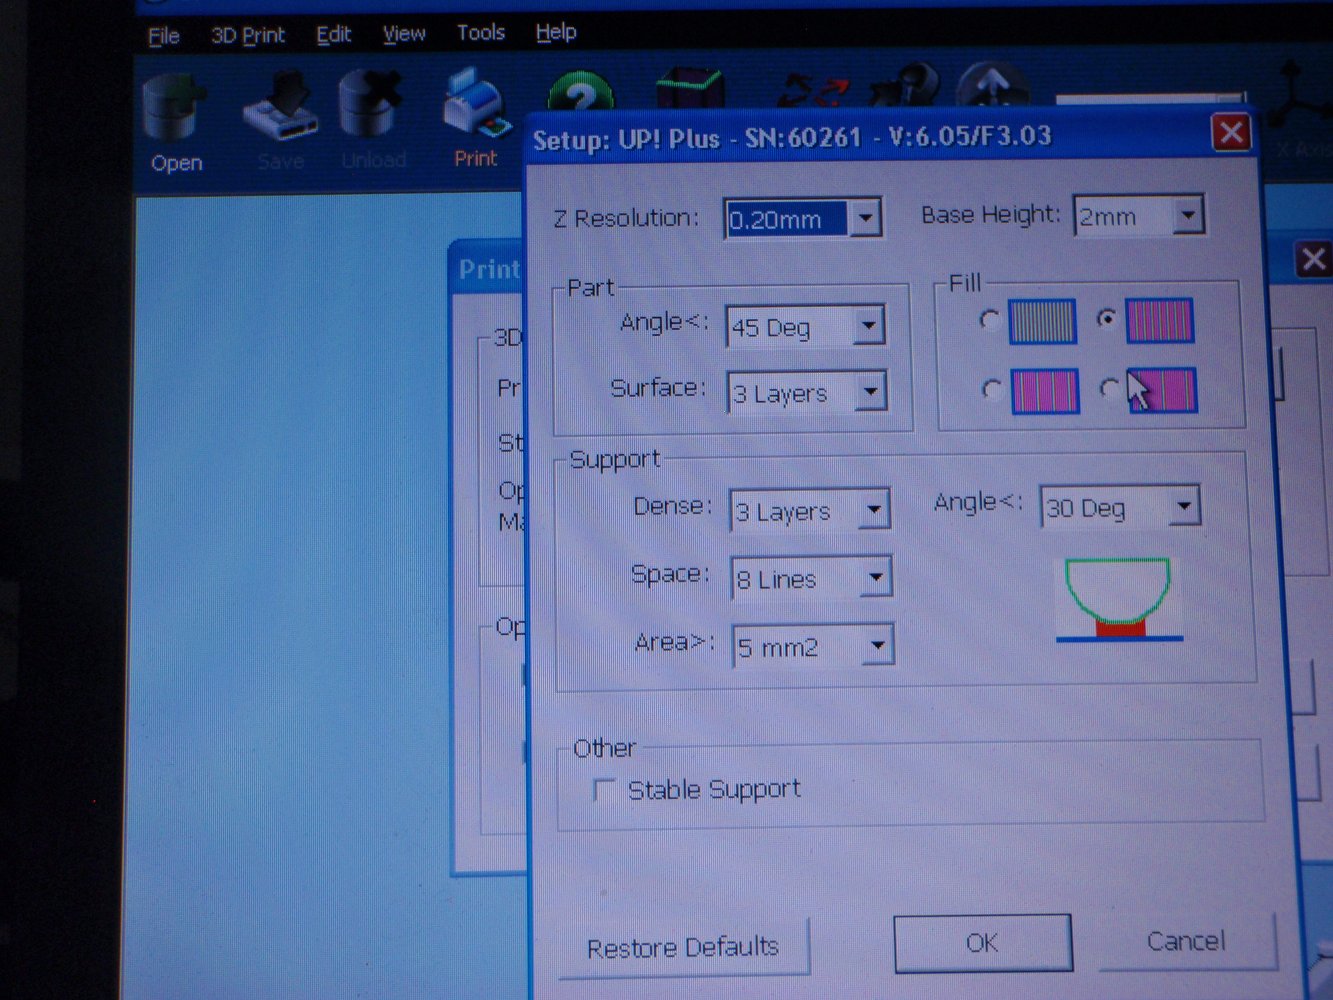
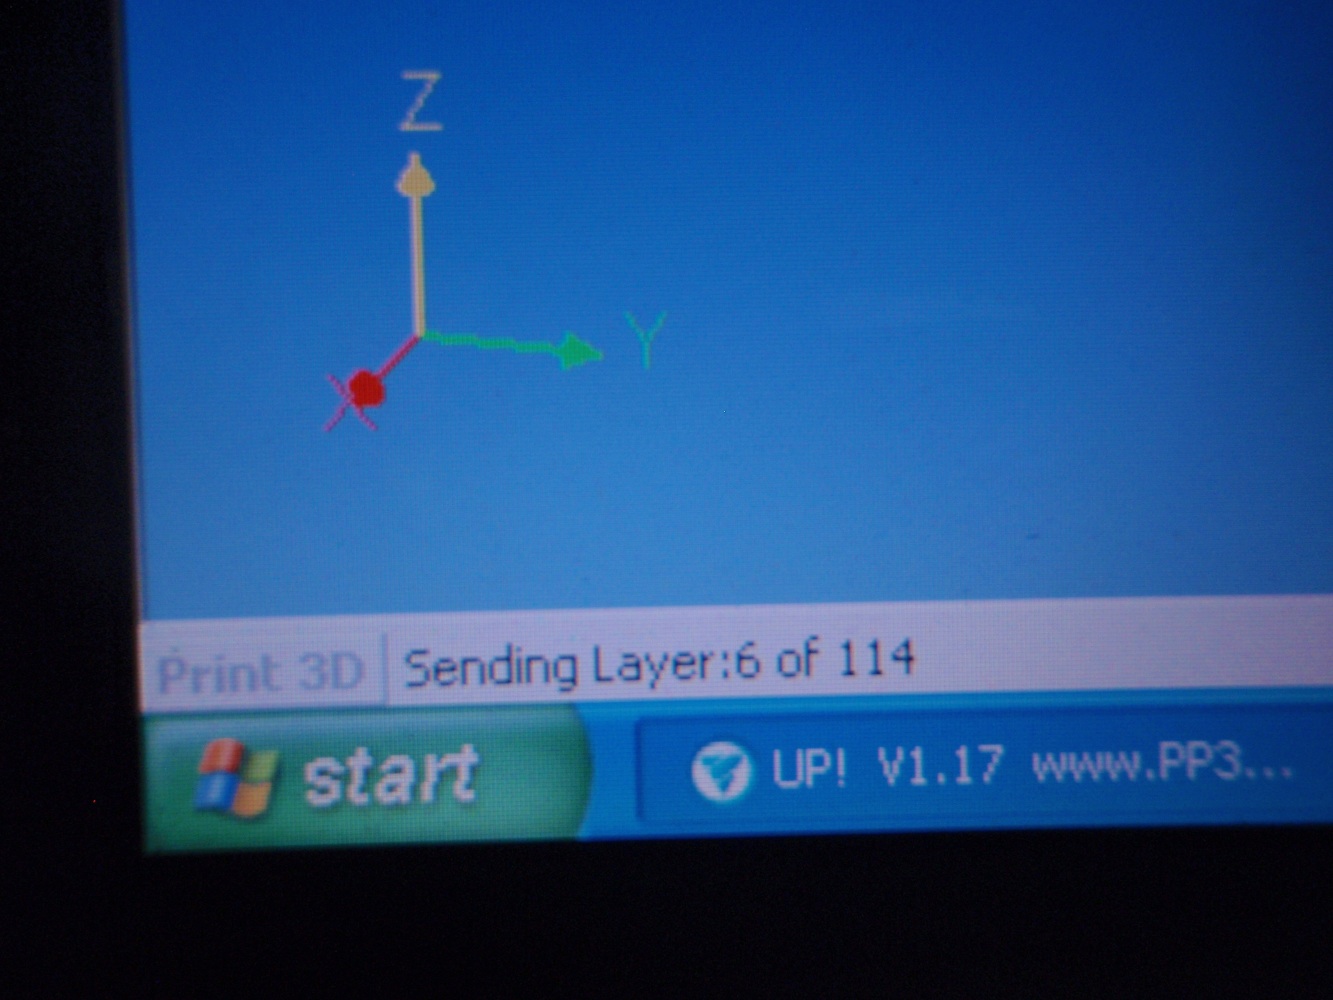
If you have an Up printer here's how to print your project. The software shown in this step comes with the Up  printer.
Removing the raft can be difficult and time consuming depending on your project, the more you rush it the more likely you are going to cut yourself or damage the project. There are a number of videos on you tube on the subject if you need more help.

removing the raft

click on the photos to start