Digital Manufacturing - Key Tag Project
by liquidhandwash in Workshop > CNC
36578 Views, 96 Favorites, 0 Comments
Digital Manufacturing - Key Tag Project
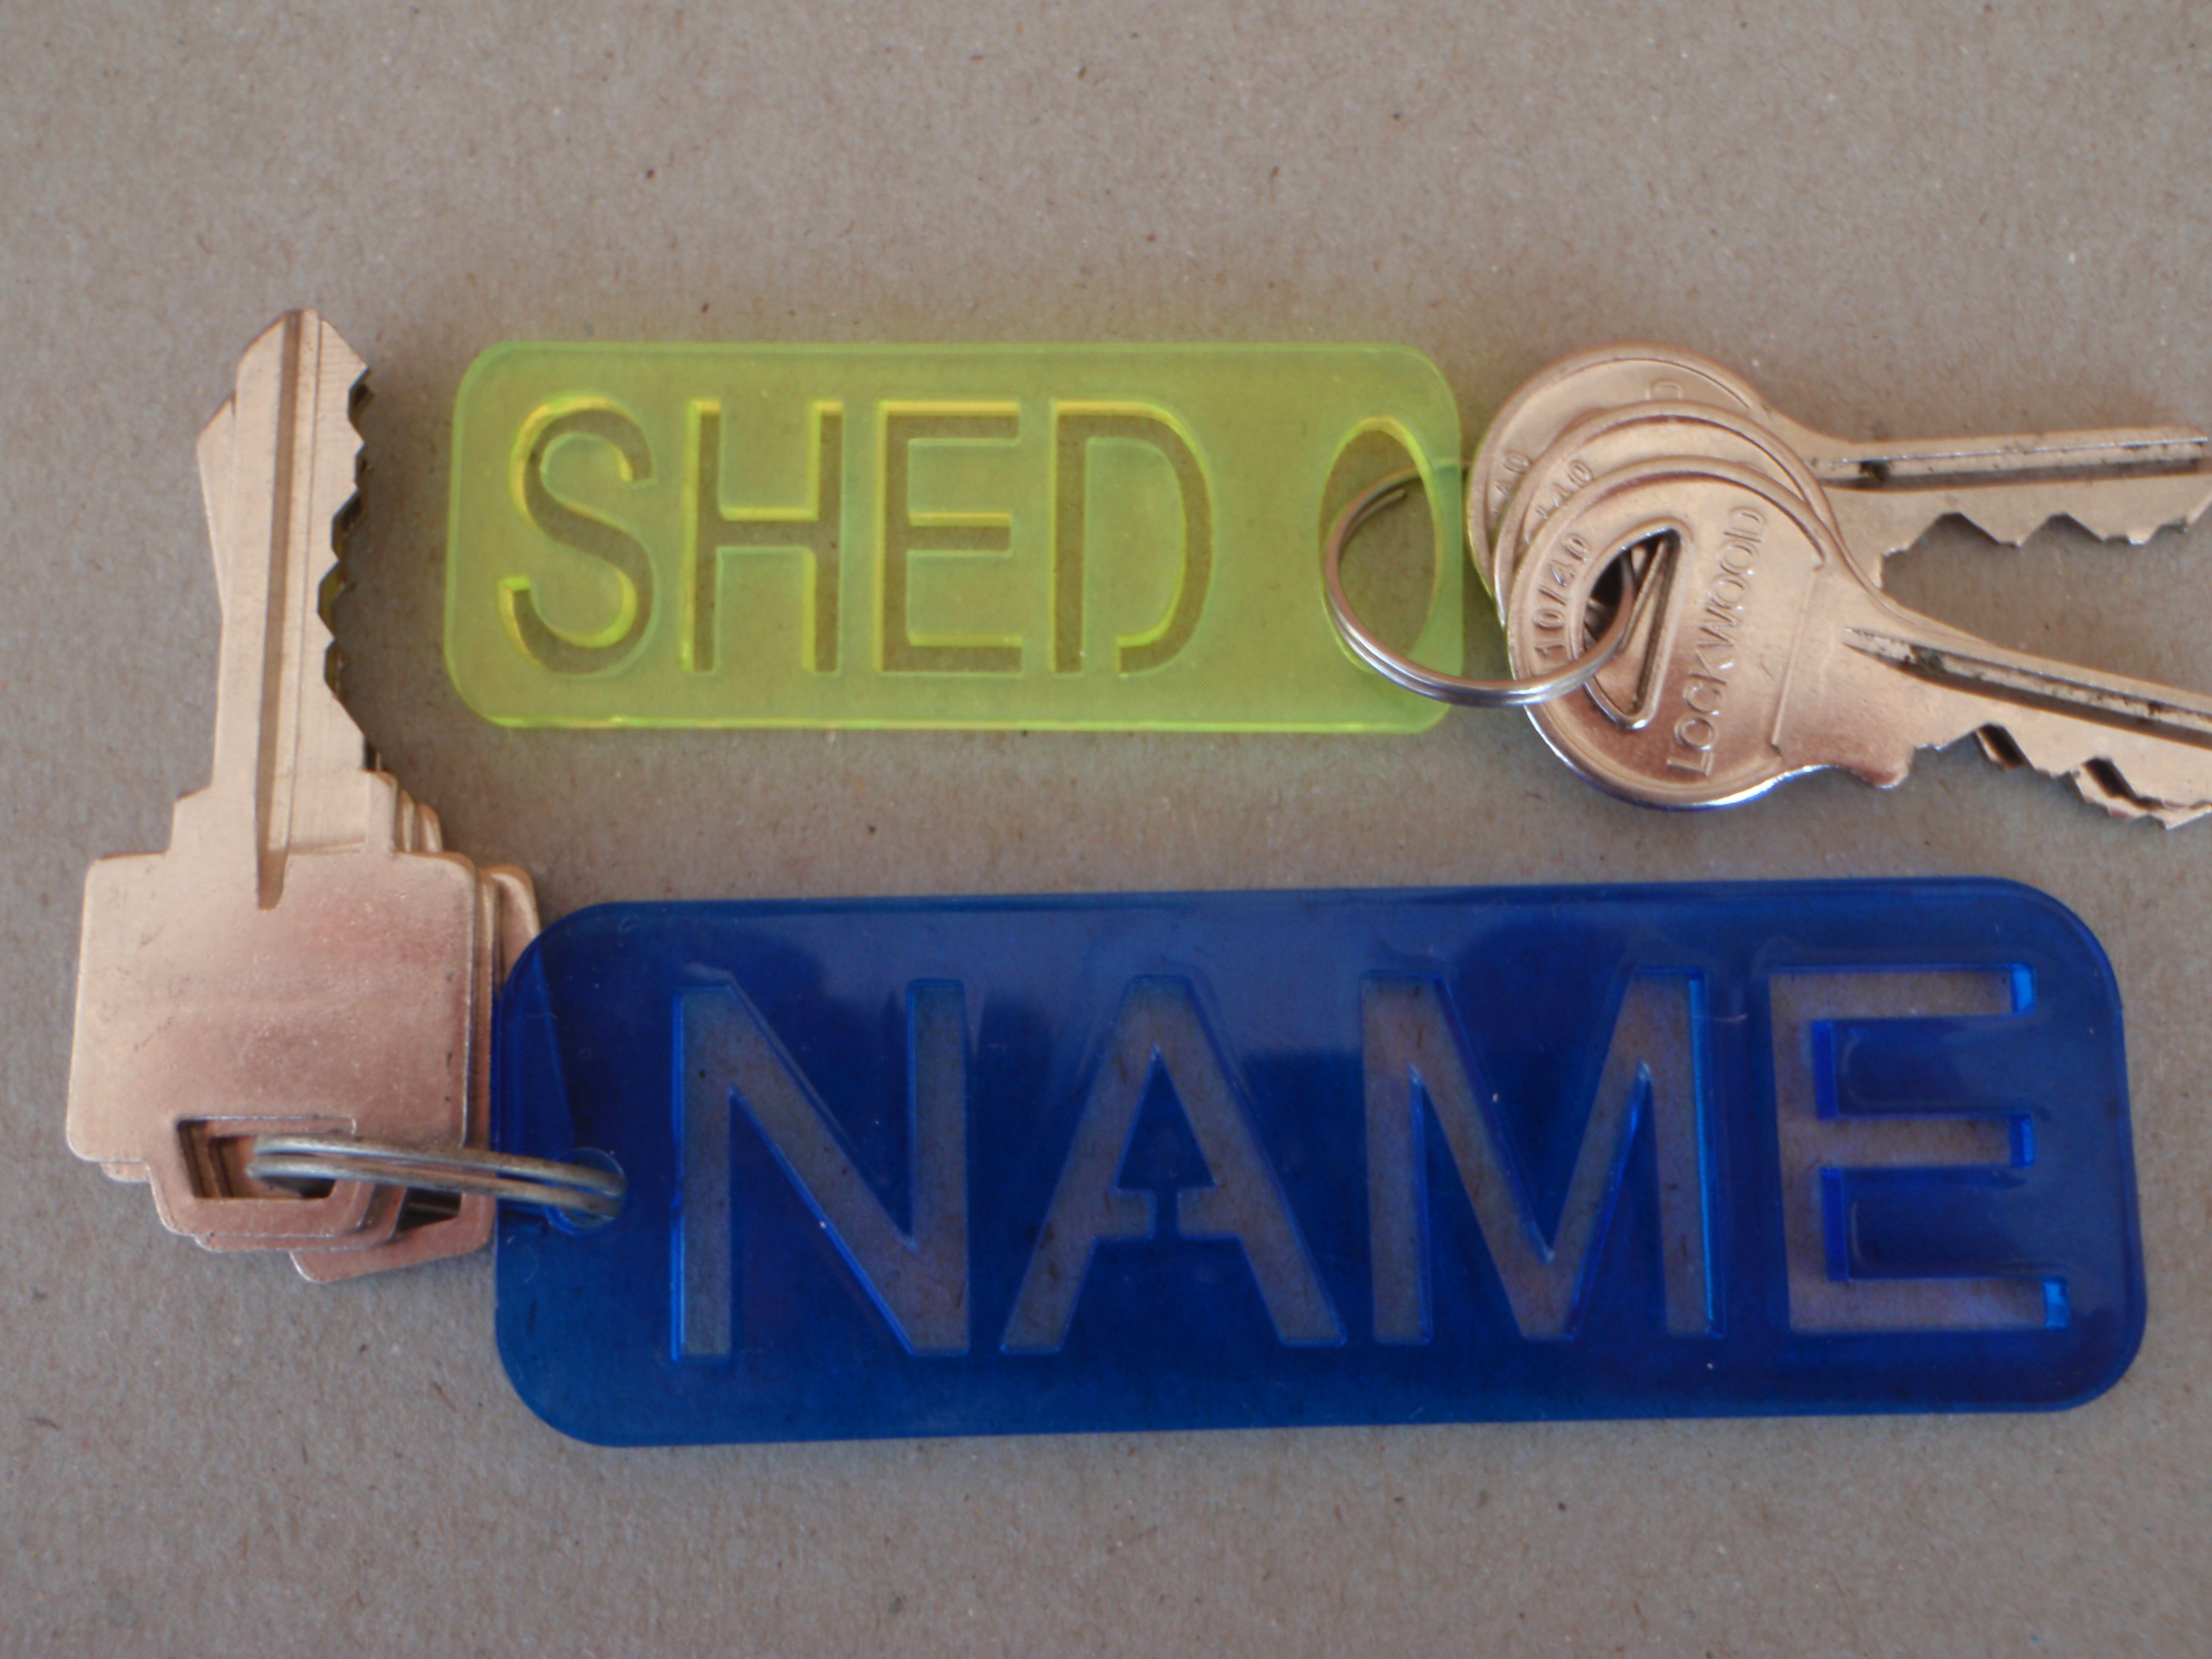
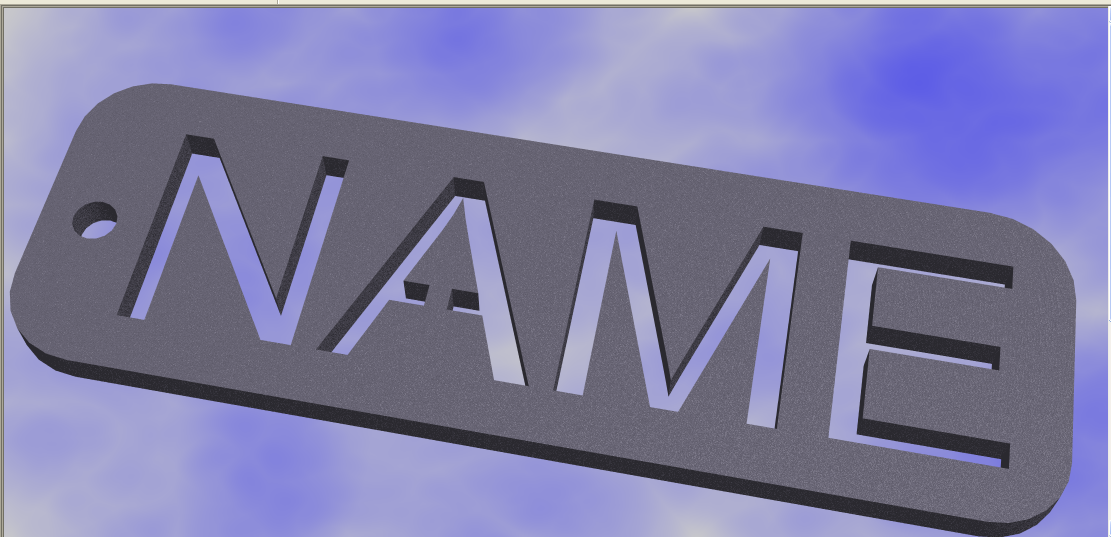
Digital manufacturing doesn't have to be expensive or difficult, with an old computer, free software and a hiring a machine for a few minutes you can make things that would not be possible in a home workshop!
This is the first in a series of Instructables on how to use CAD (Computer Aided Drawing) and CAM (Computer Aided Machining)
The first project is simple and can be cut out of plastic with a cheap laser cutter, or If you want you can send your file to an engineering shop and have it cut out of steel, aluminum, or almost any material you can think of with, either a high power laser cutter, water jet cutter, or plasma cutter as the process is the same.
This will probably cost less than you think,as the CAD program featured here is free and it only requires an old computer to run.
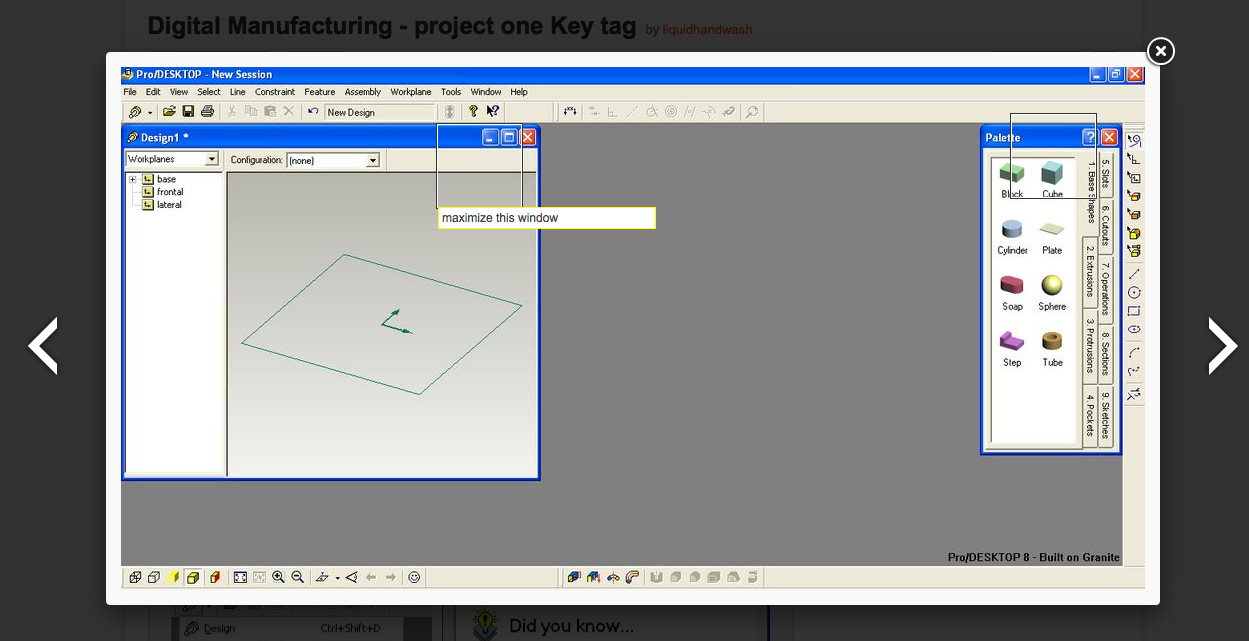
As computer tutorials don't translate to text very well, for this series of instructables most of the info is in the photos. So click on the first photo and use the arrows keys on your keyboard to go to the next photo. The boxes in the photos show the location of the icons and have have text in them when you hover the mouse on them.
If you download the Instructable as a pdf the photos will have numbers in different locations and the notes will be on the bottom of the photos.
Other projects are here
Digital Manufacturing - project two desk name plate
Digital Manufacturing - project three 3D printed box
Digital Manufacturing - project four laser cut box
Digital Manufacturing - project five printed toy car
Stuff You Will Need
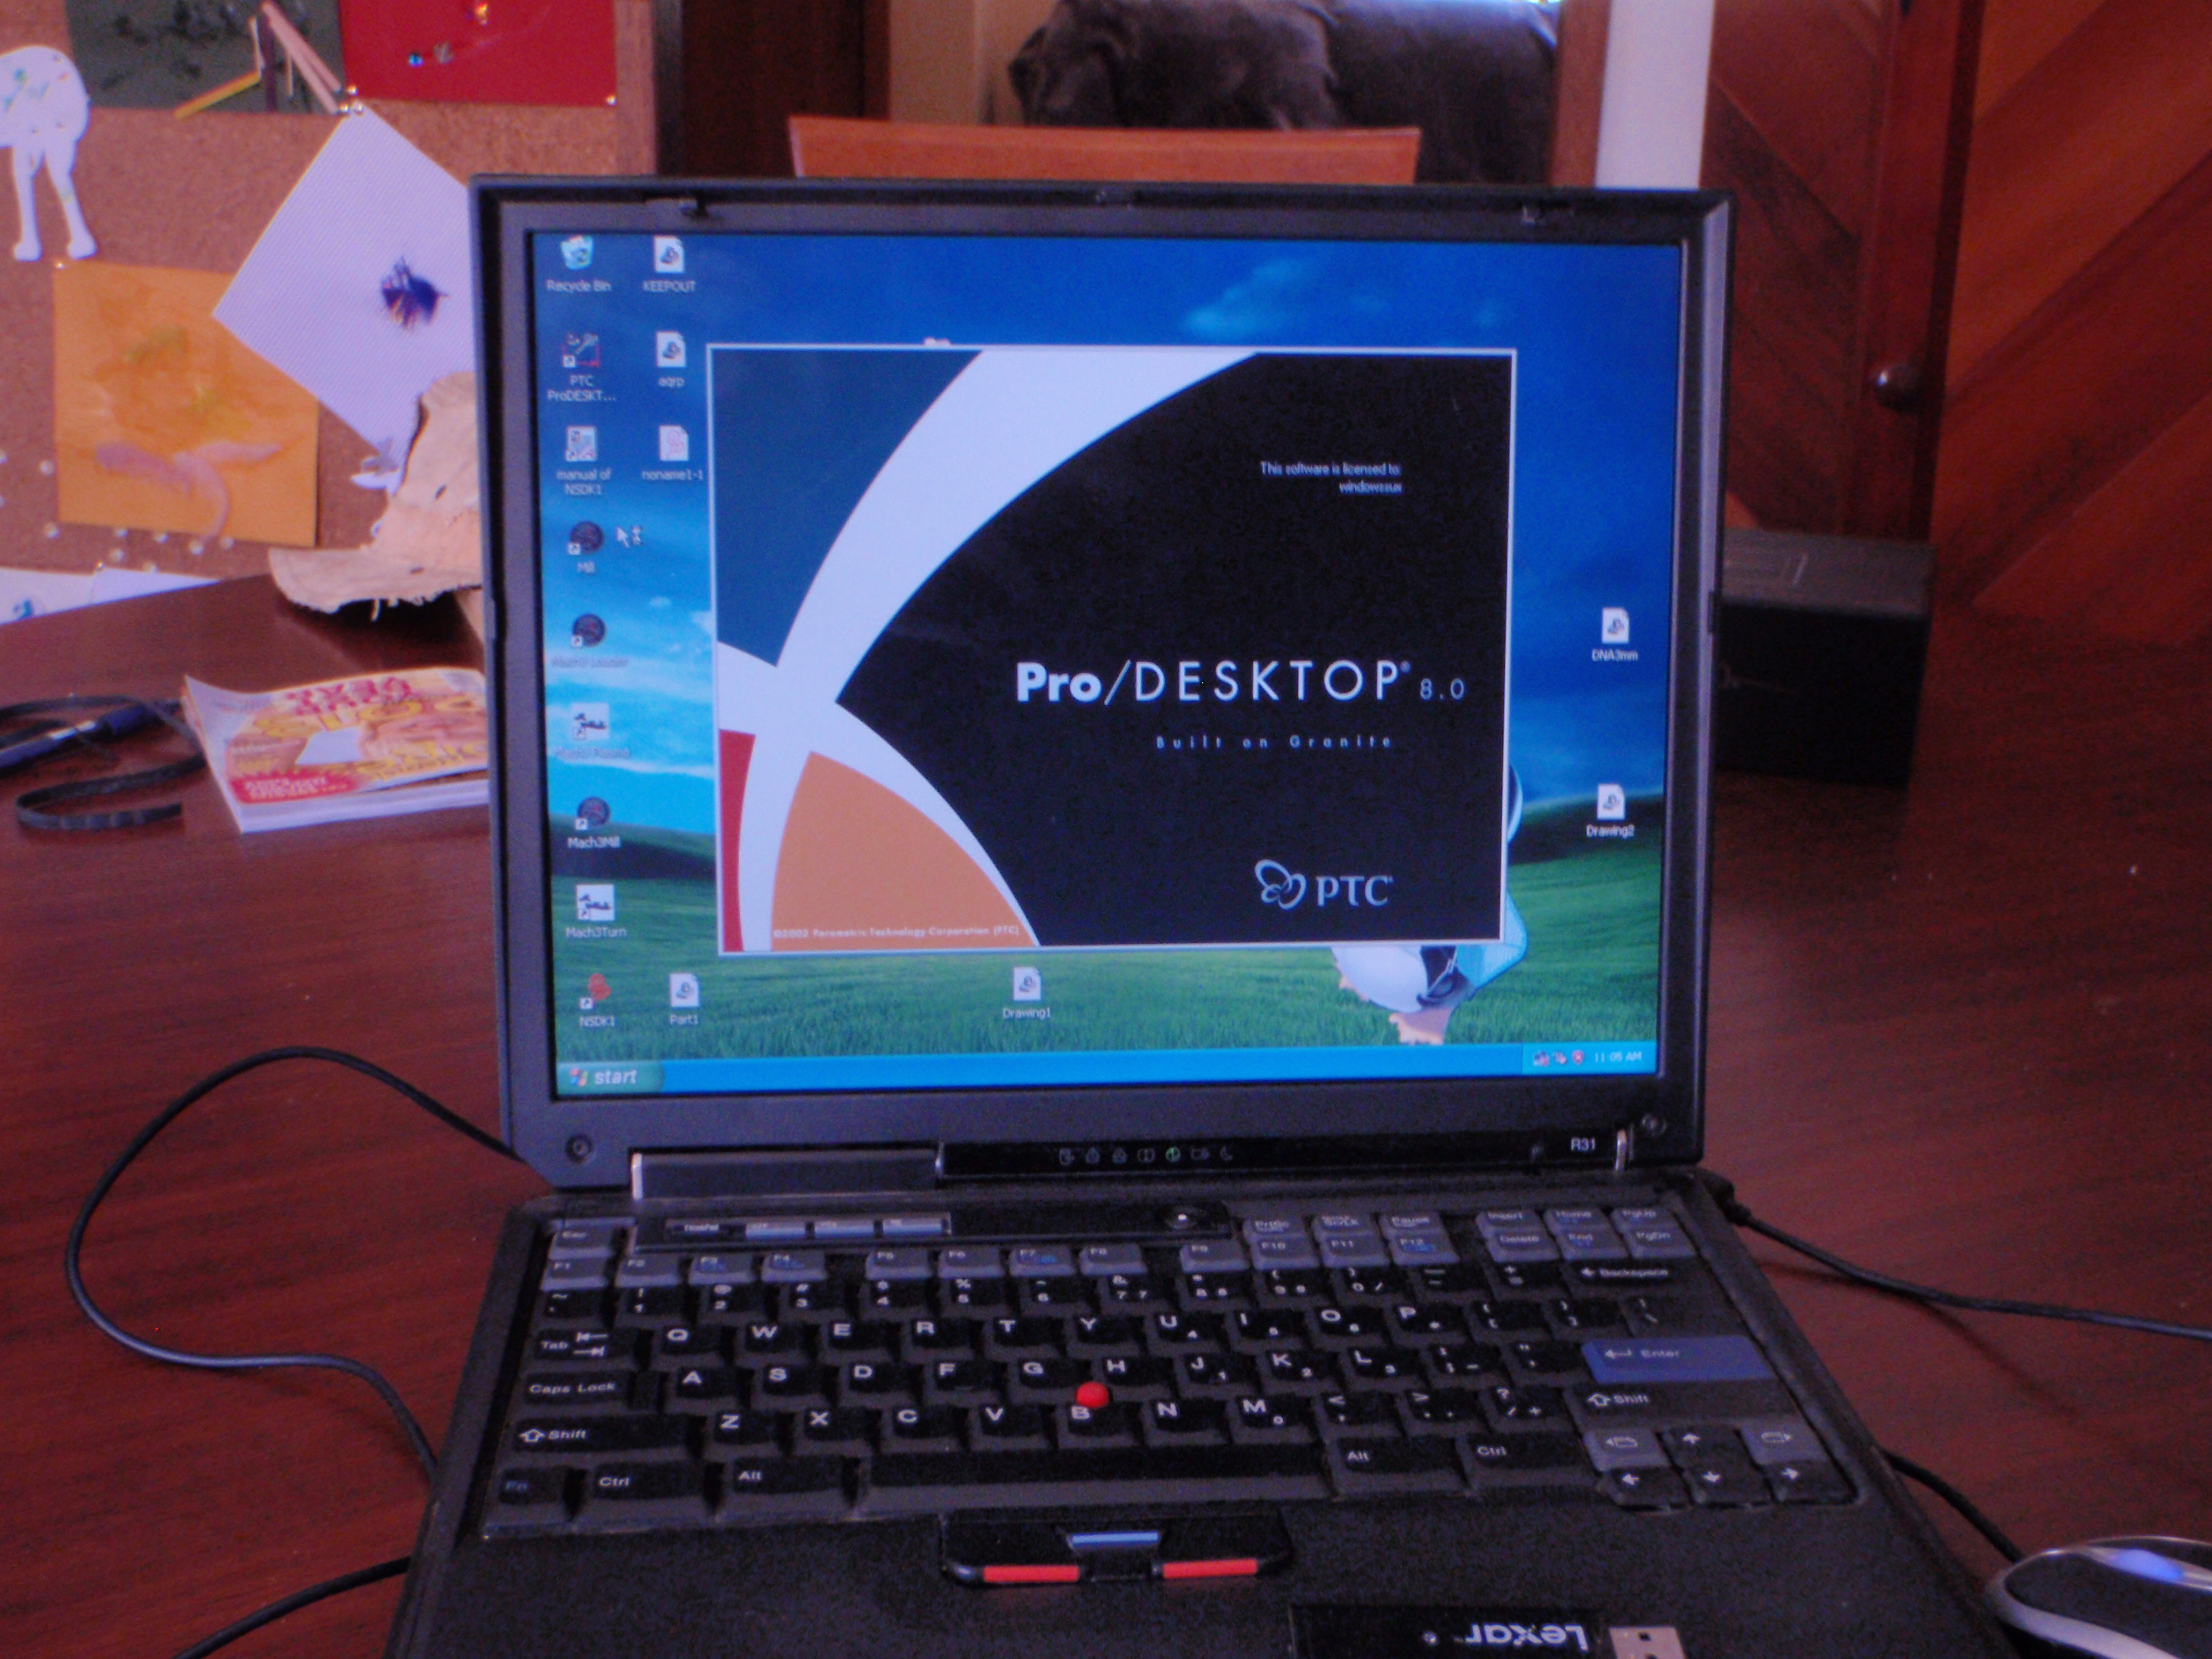
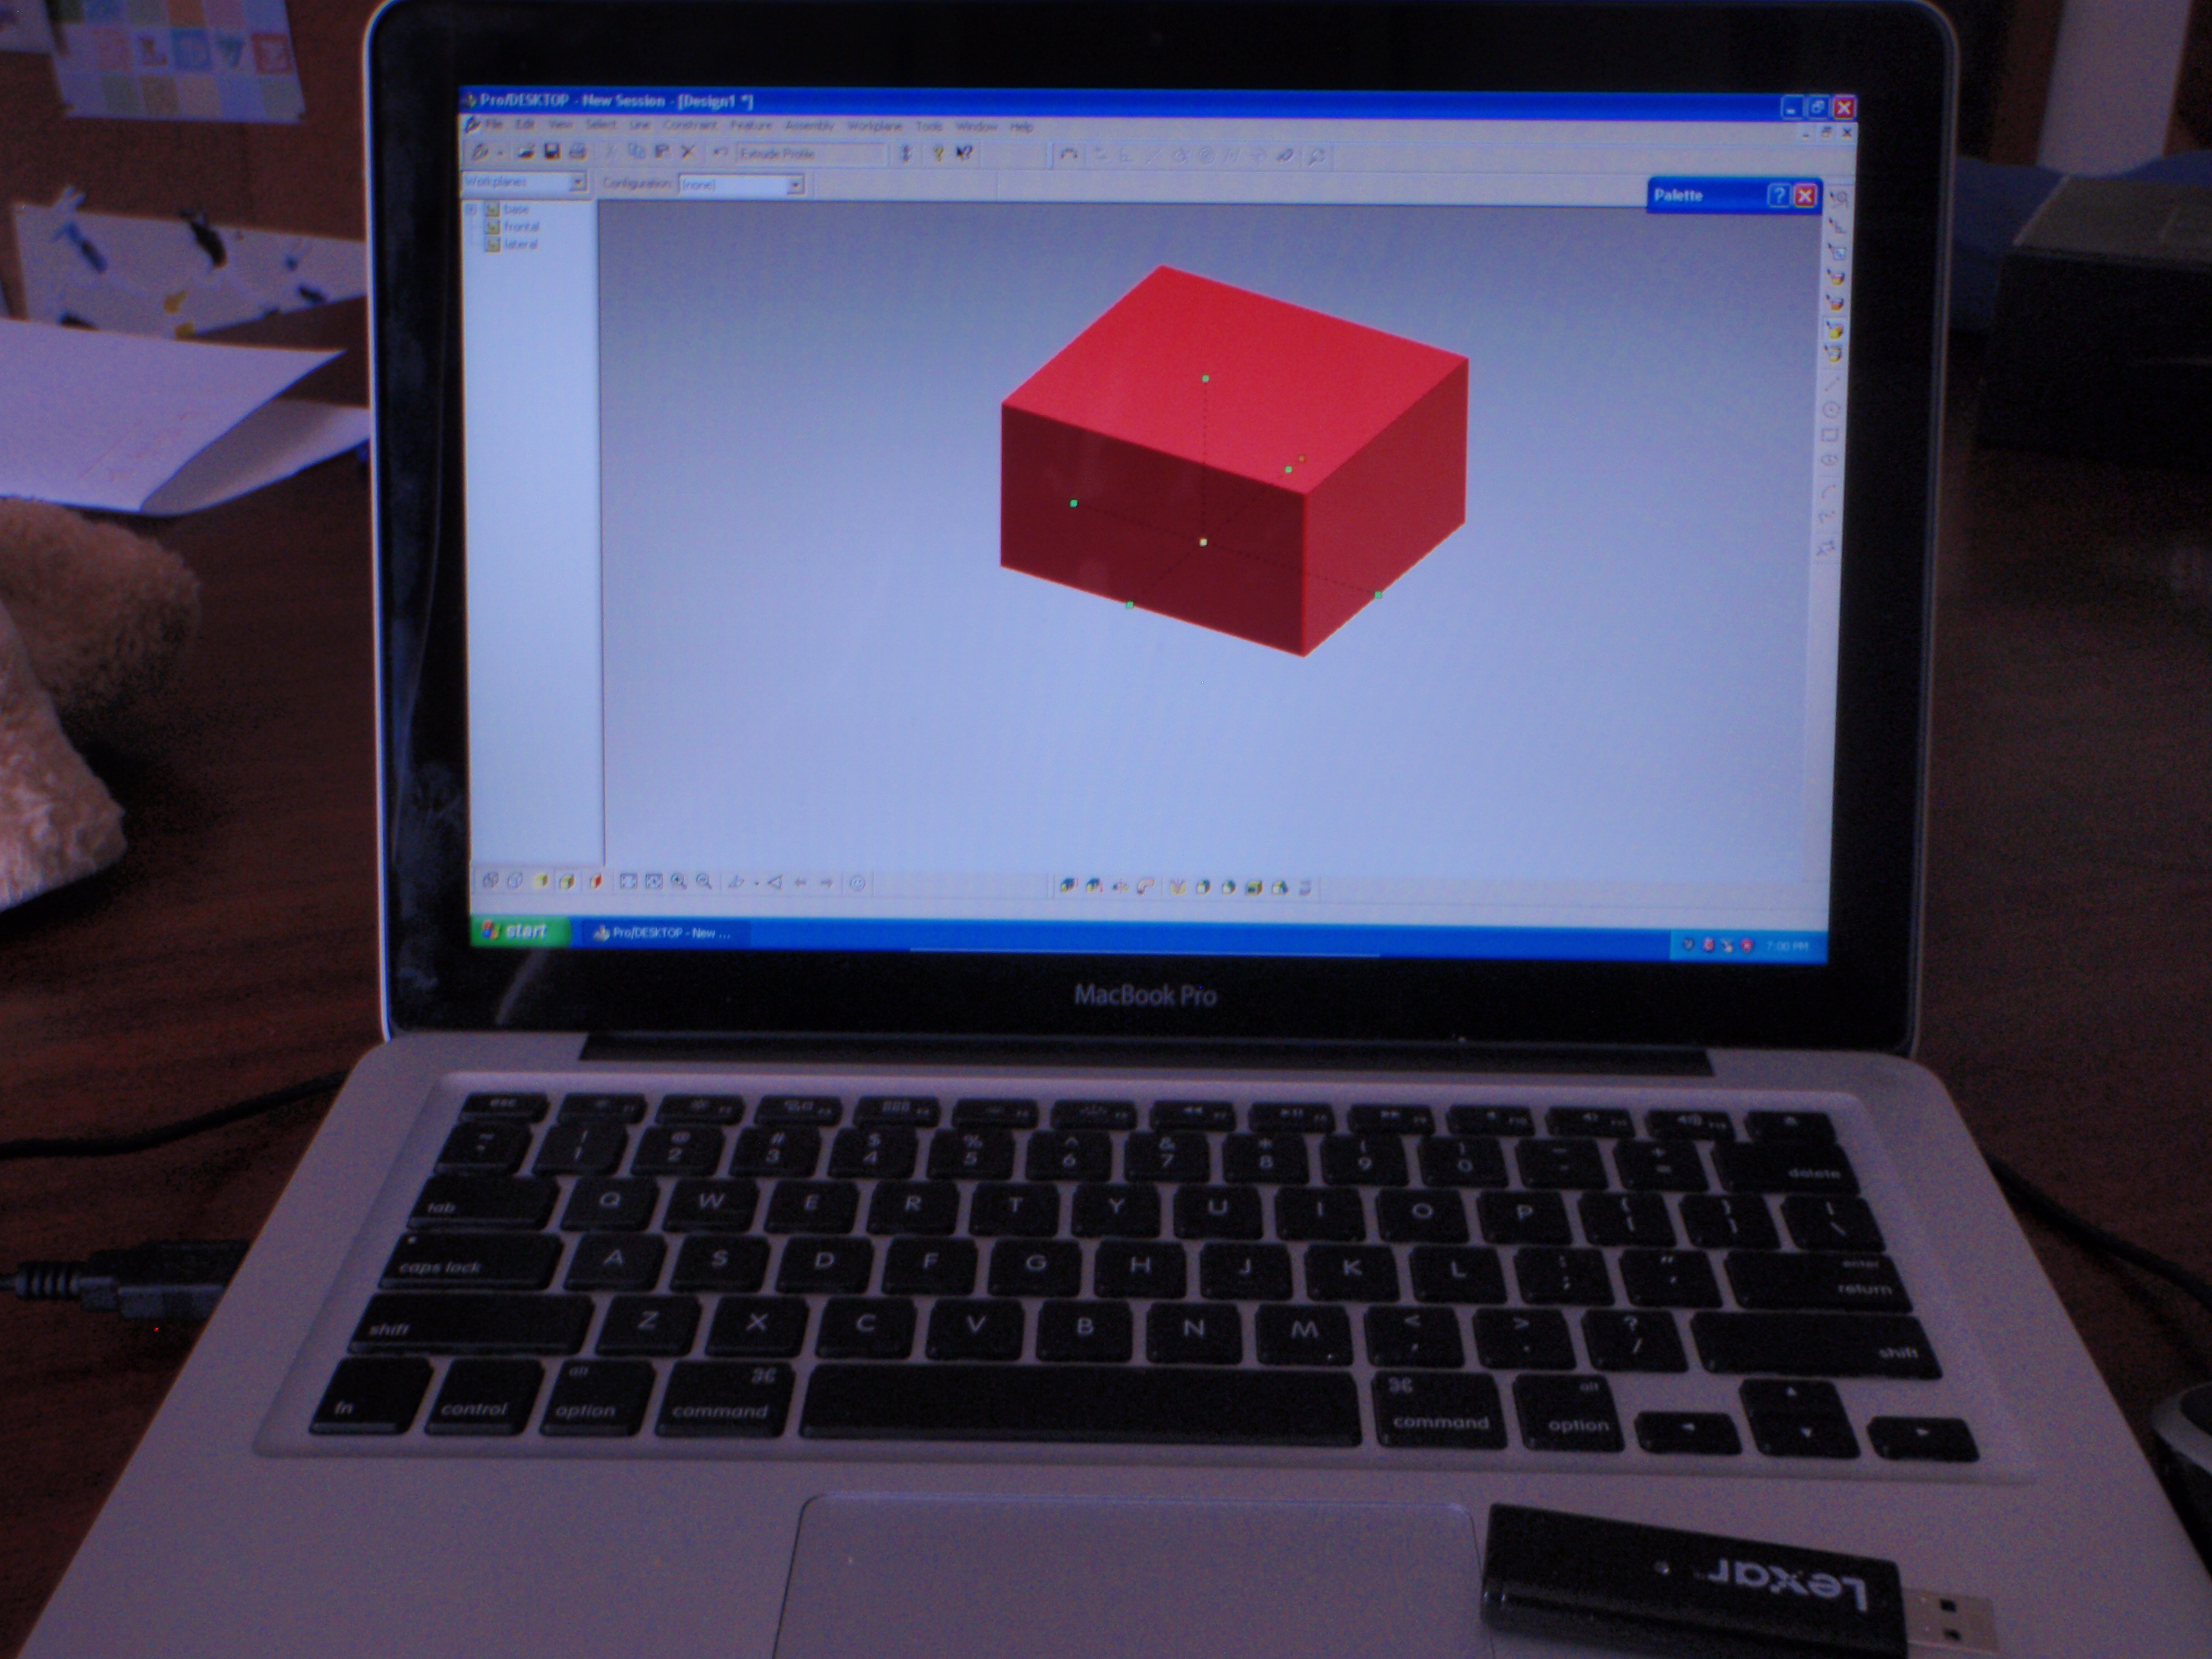
- The first thing you need is a computer and a old clunker running windows XP is fine. Note the 12 year laptop in the photo
- Make sure you have a real mouse with a scroll wheel, it is near impossible to draw with a track pad
- A USB drive is also useful to get your project to the laser cutter.
- The software I'm using is prodesktop which is fairly old now, but it is very easy to use, does not require a fast or new computer and I find it will do most of a what a newer program can do .PTC have been giving this software away to schools for several years.
- You can get a copy from an internet search or click on this link Prodesktop
- The file is 250MB so it may take awhile if your internet is slow. Its also in a zip folder so unzip it and install using the start.exe icon
- You can also use prodesktop on a mac if you install Virtualbox and Windows XP and it will run just fine.
- If you use Vitsa Windows 7 you will have to run prodesktop in administrator and with the XP compatible tick box on
- Mac uses. As the delete key is a backspace key, if you want to delete something you will have to push the fn and delete key
- If you don't have a laser cutter you can hire them quite cheaply most places will even supply the material. The last project I did was the top of a barbeque about 600mm x400mm with lots of cut outs cost $30 and they supplied the steel
Downloads
Activating Prodesktop
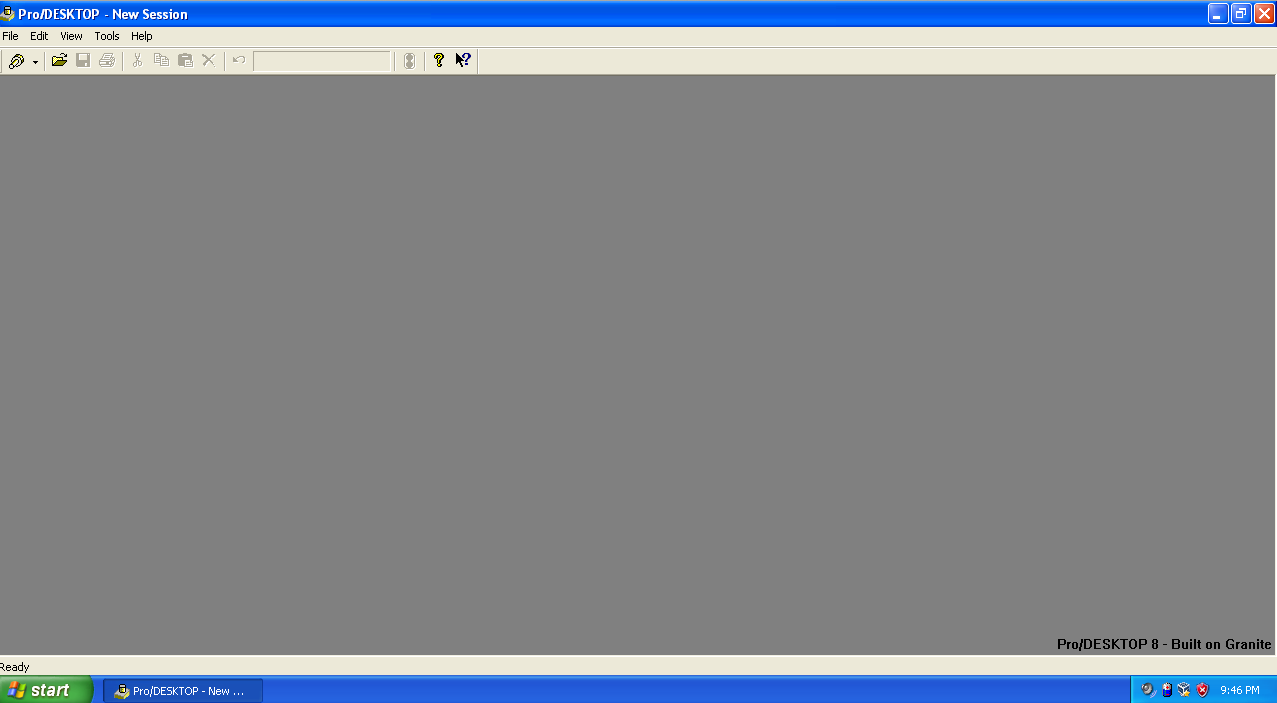
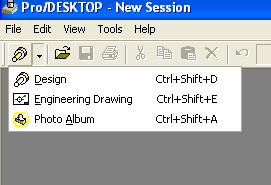
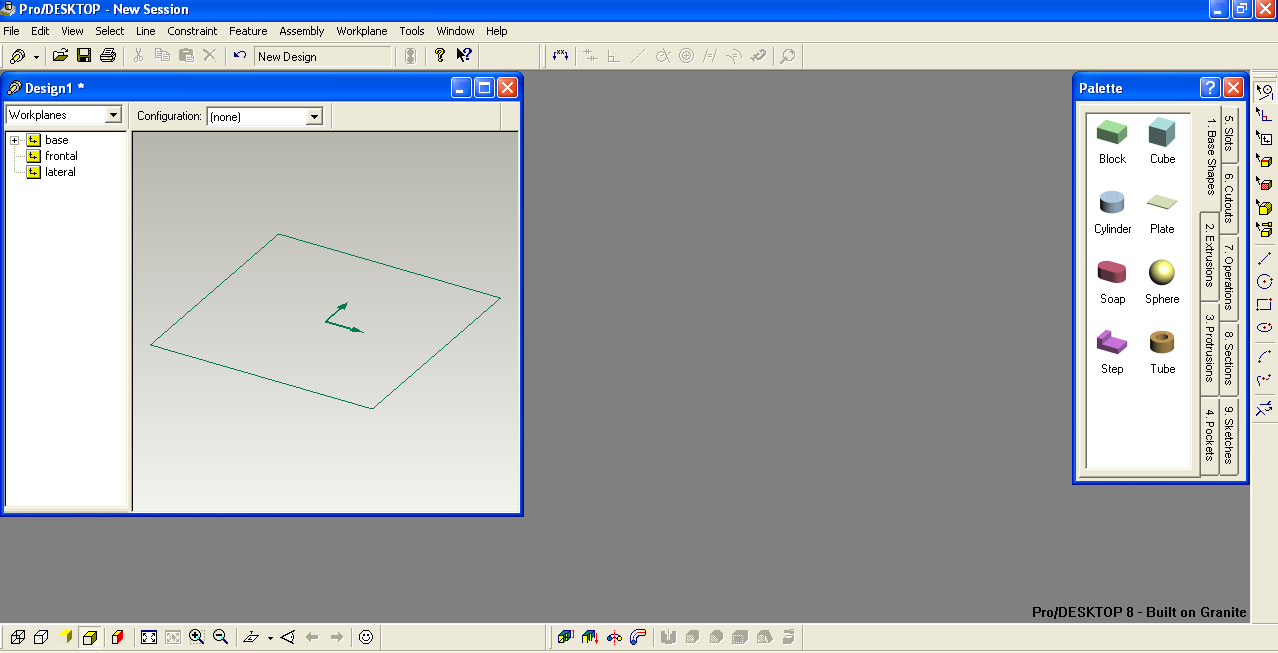
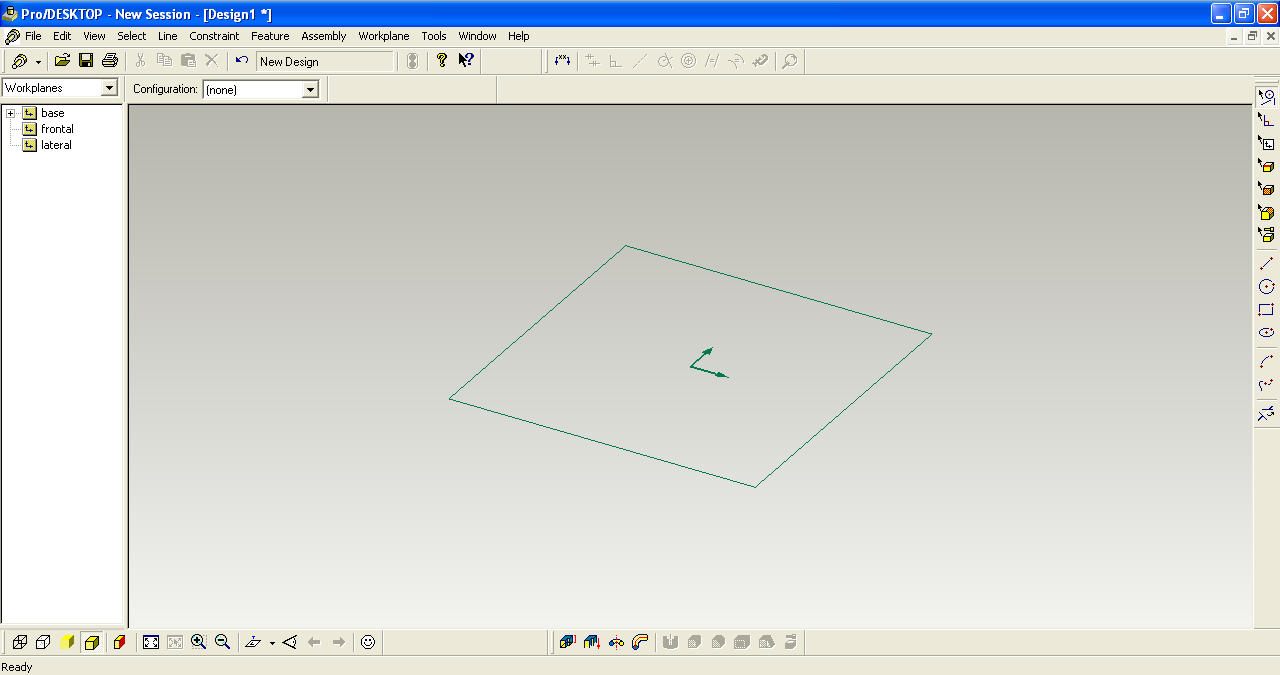
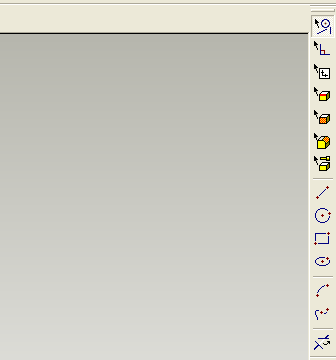
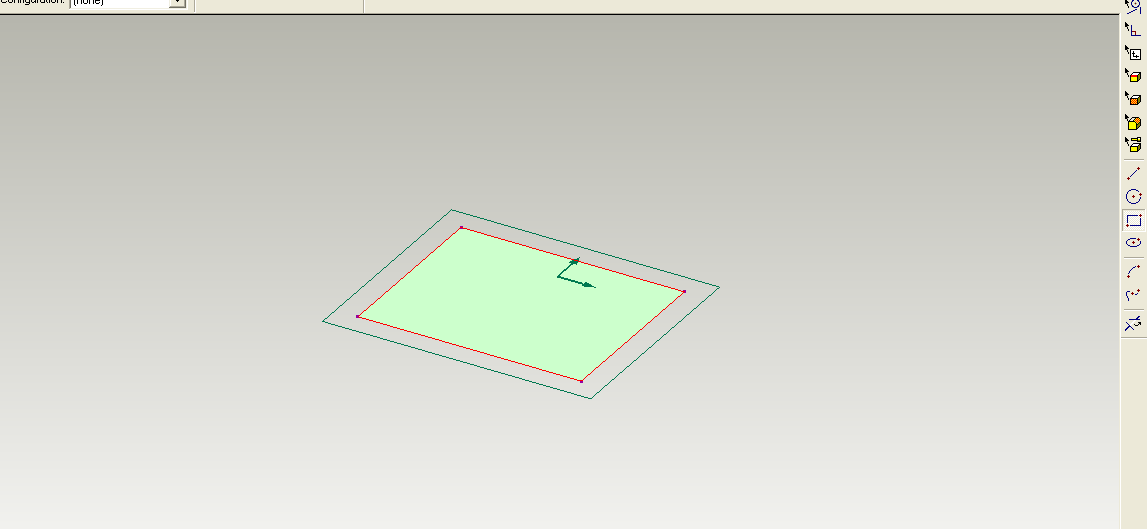

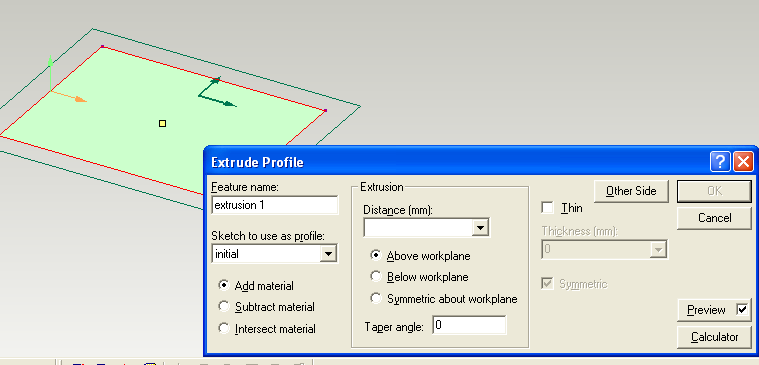
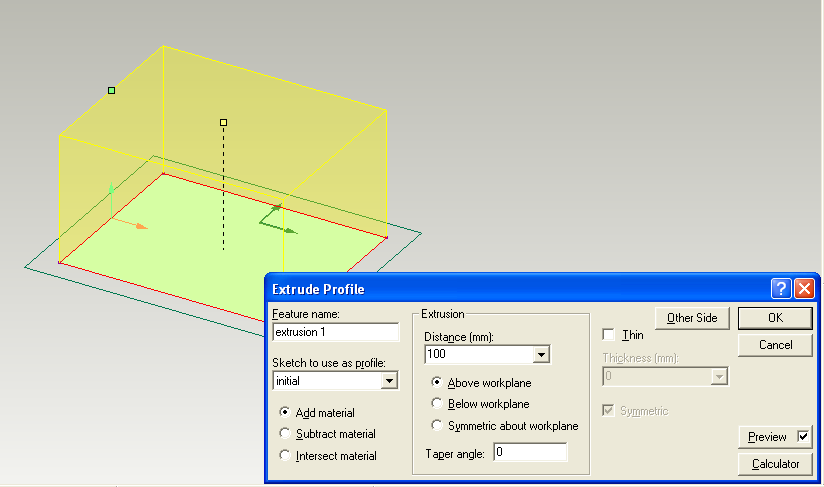
Ok so if your still reading and you have downloaded and installed prodesktop, don't start playing with it just yet!
first you have to activate Prodesktop. This is easy it just required that you draw a square, extrude it and the shut the program down the first time you use it. This is very important. If you don't it will give an odd error message and you will have to uninstall it and start again.
So click on the first photo and use the arrows to go to the next photo. The boxes in the photos show the location of the icons and have have text in them when you click on them.
Learning Intentions and Success Criteria
.png)
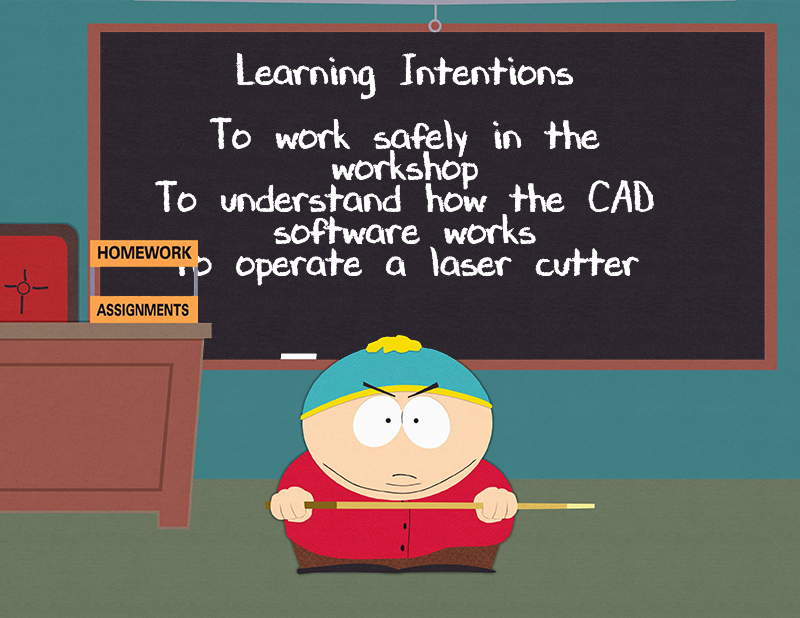
Learning Intentions
- To work safely in the workshop
- To understand how the CAD software works
- To operate a laser cutter
Success Criteria
- I understand the safety rules and I am working safely in the workshop
- I can produce 2D and 3D CAD drawings and convert them to a DXF file
- I can operate a laser cutter safely.
Navigating


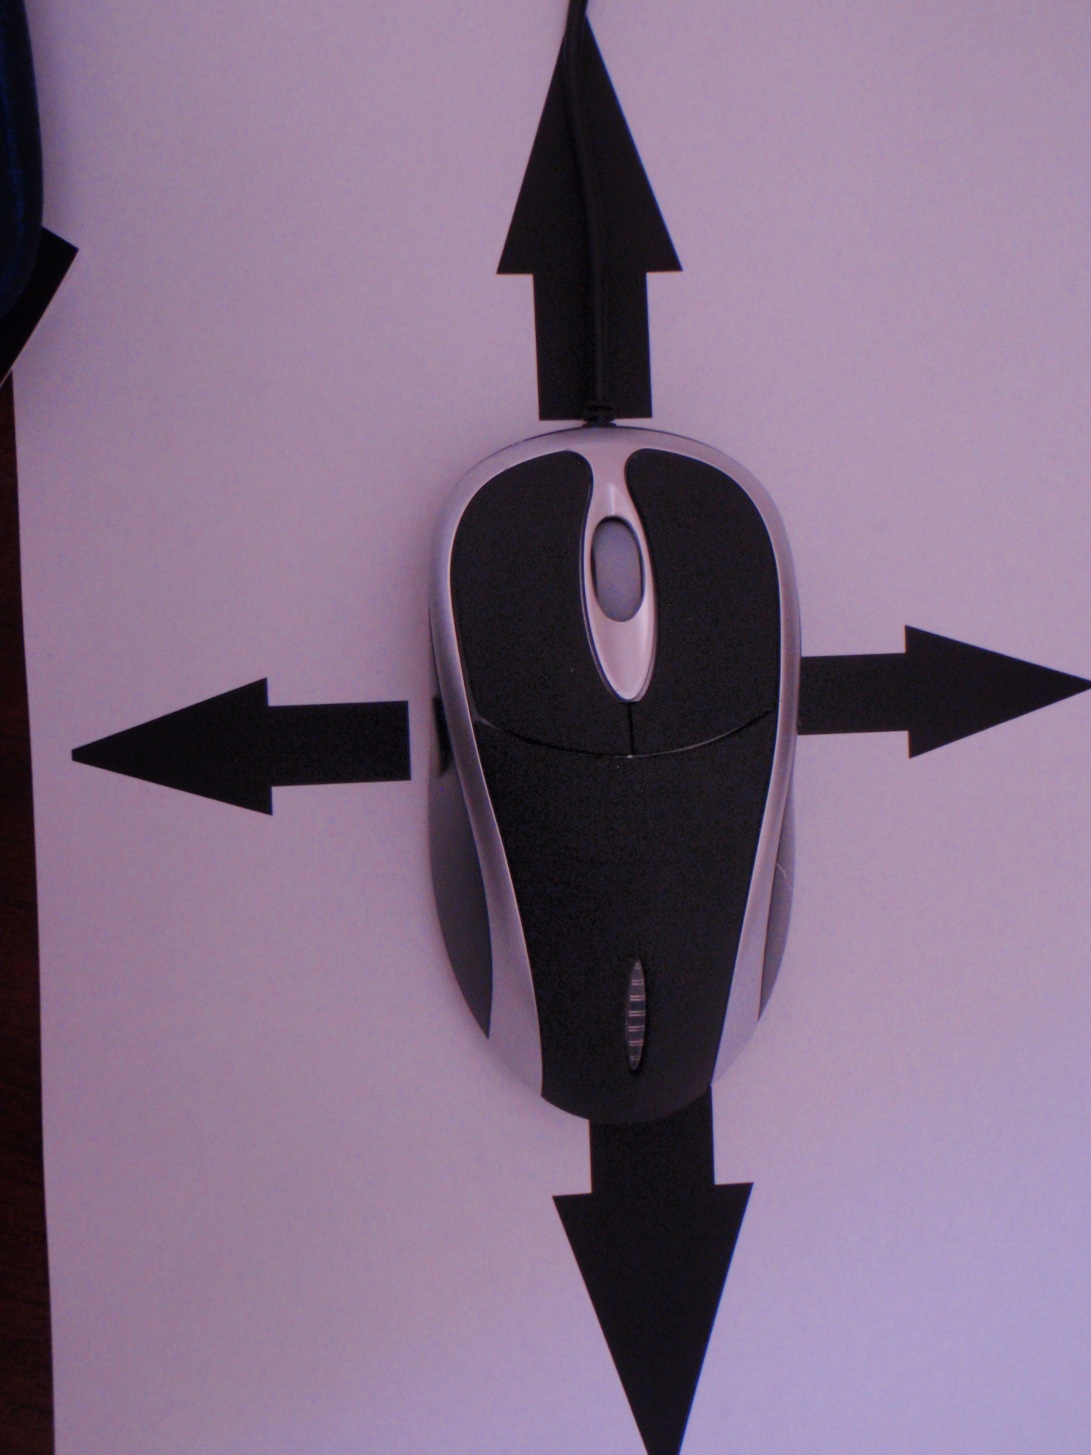
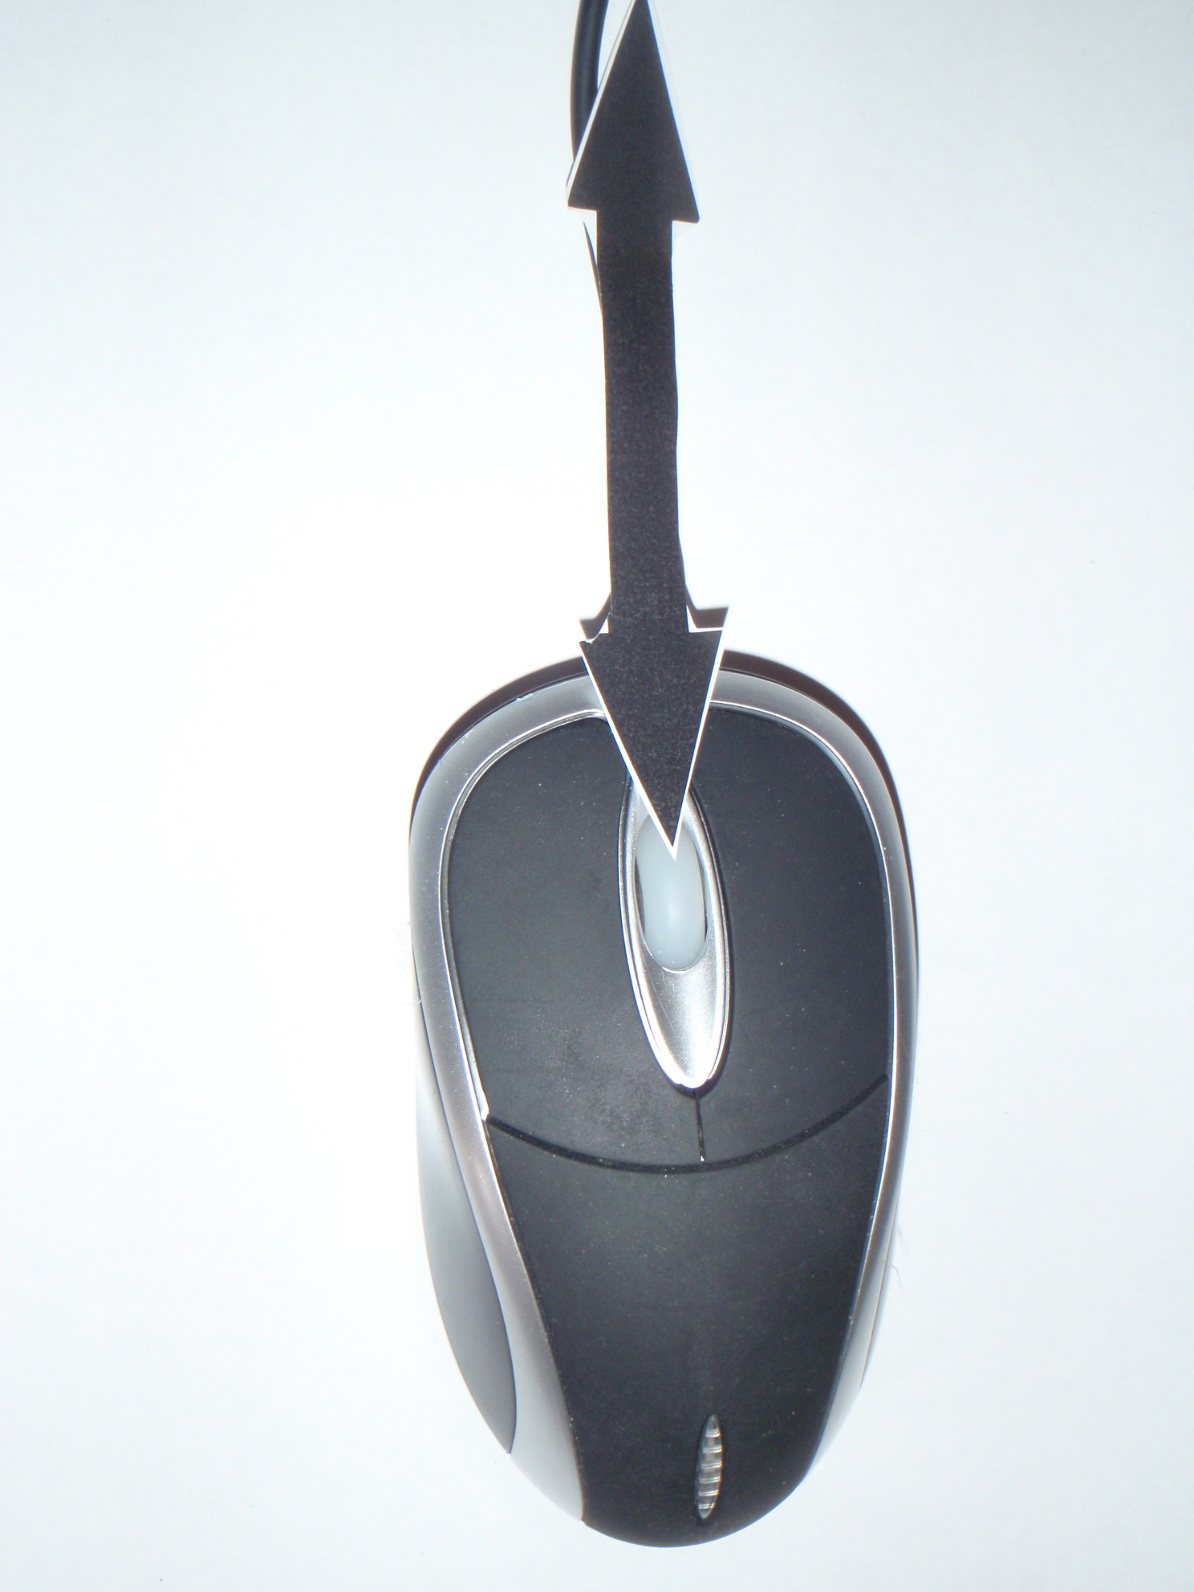
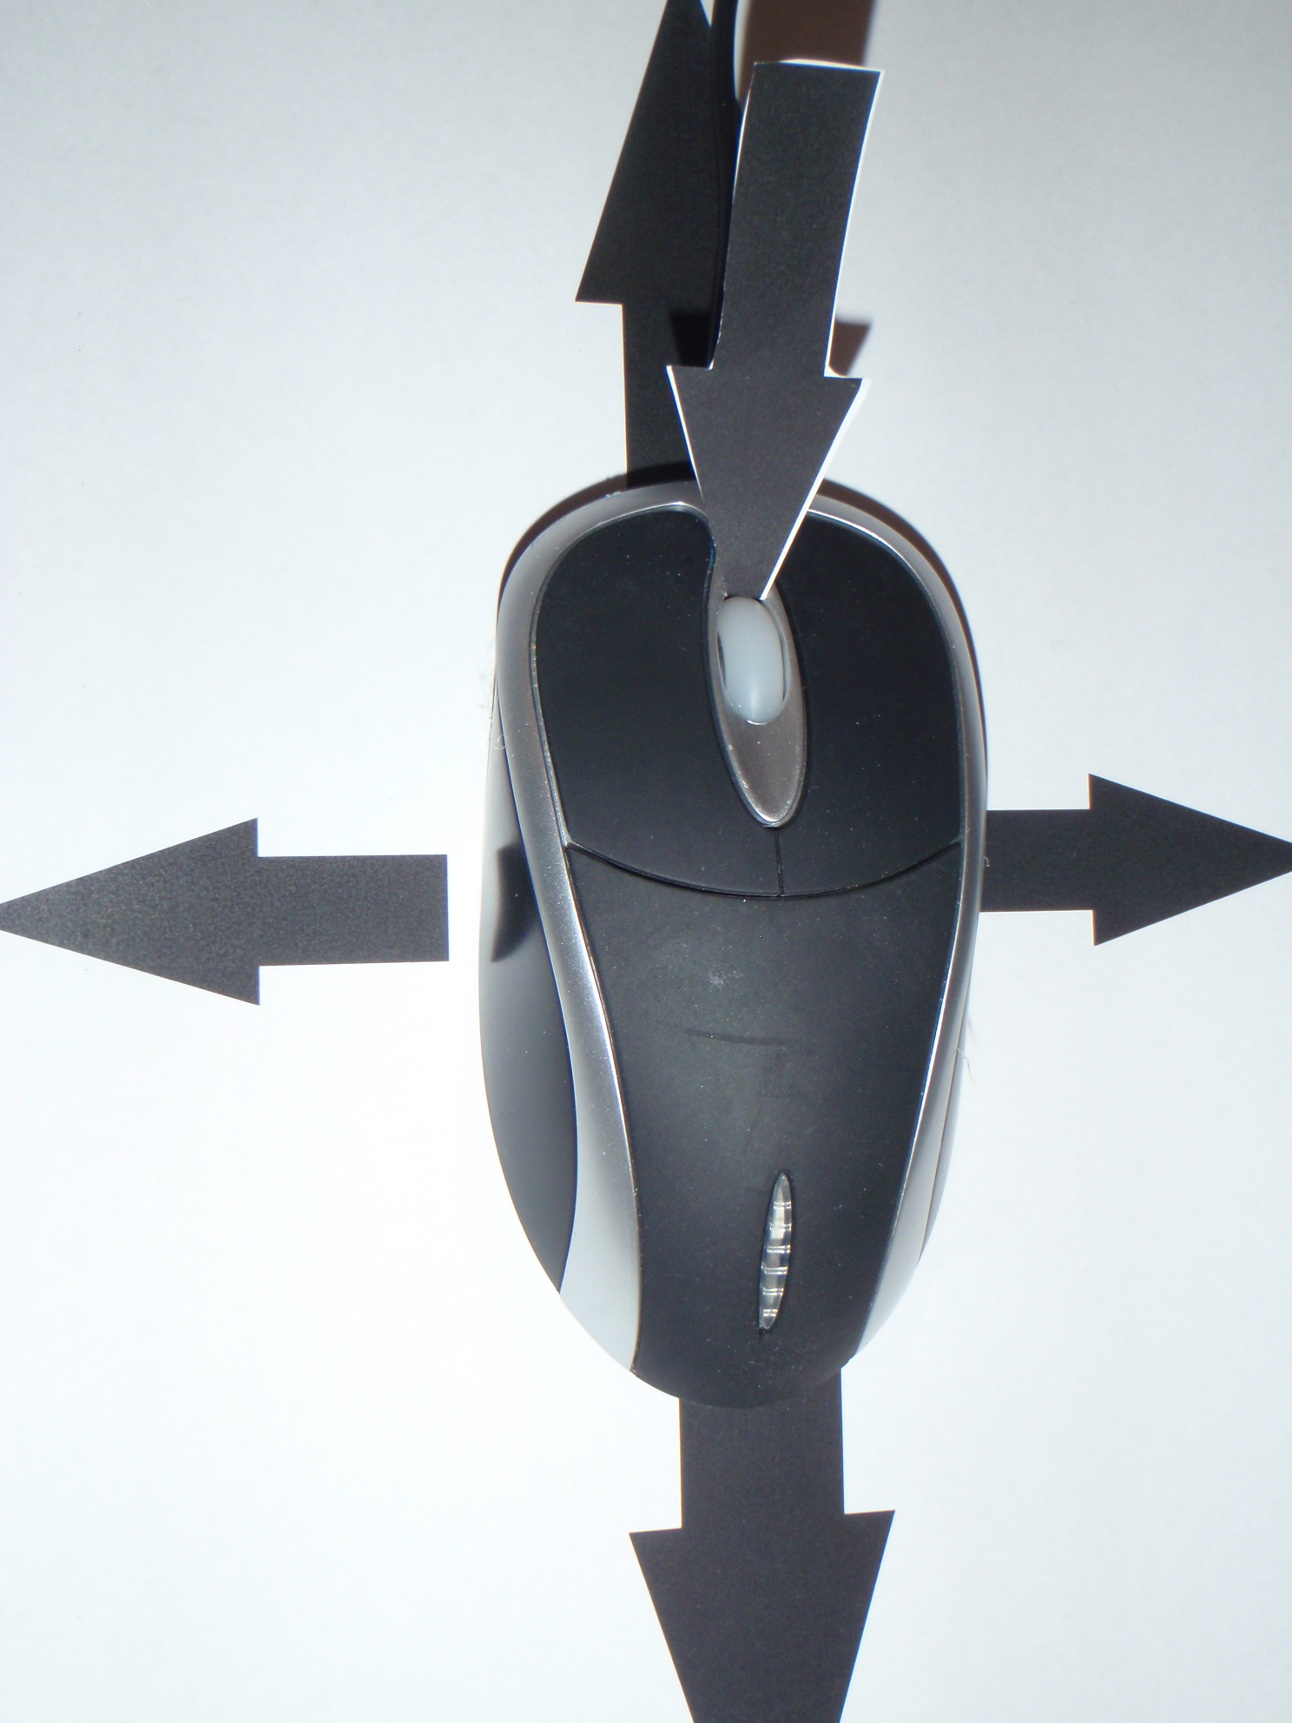
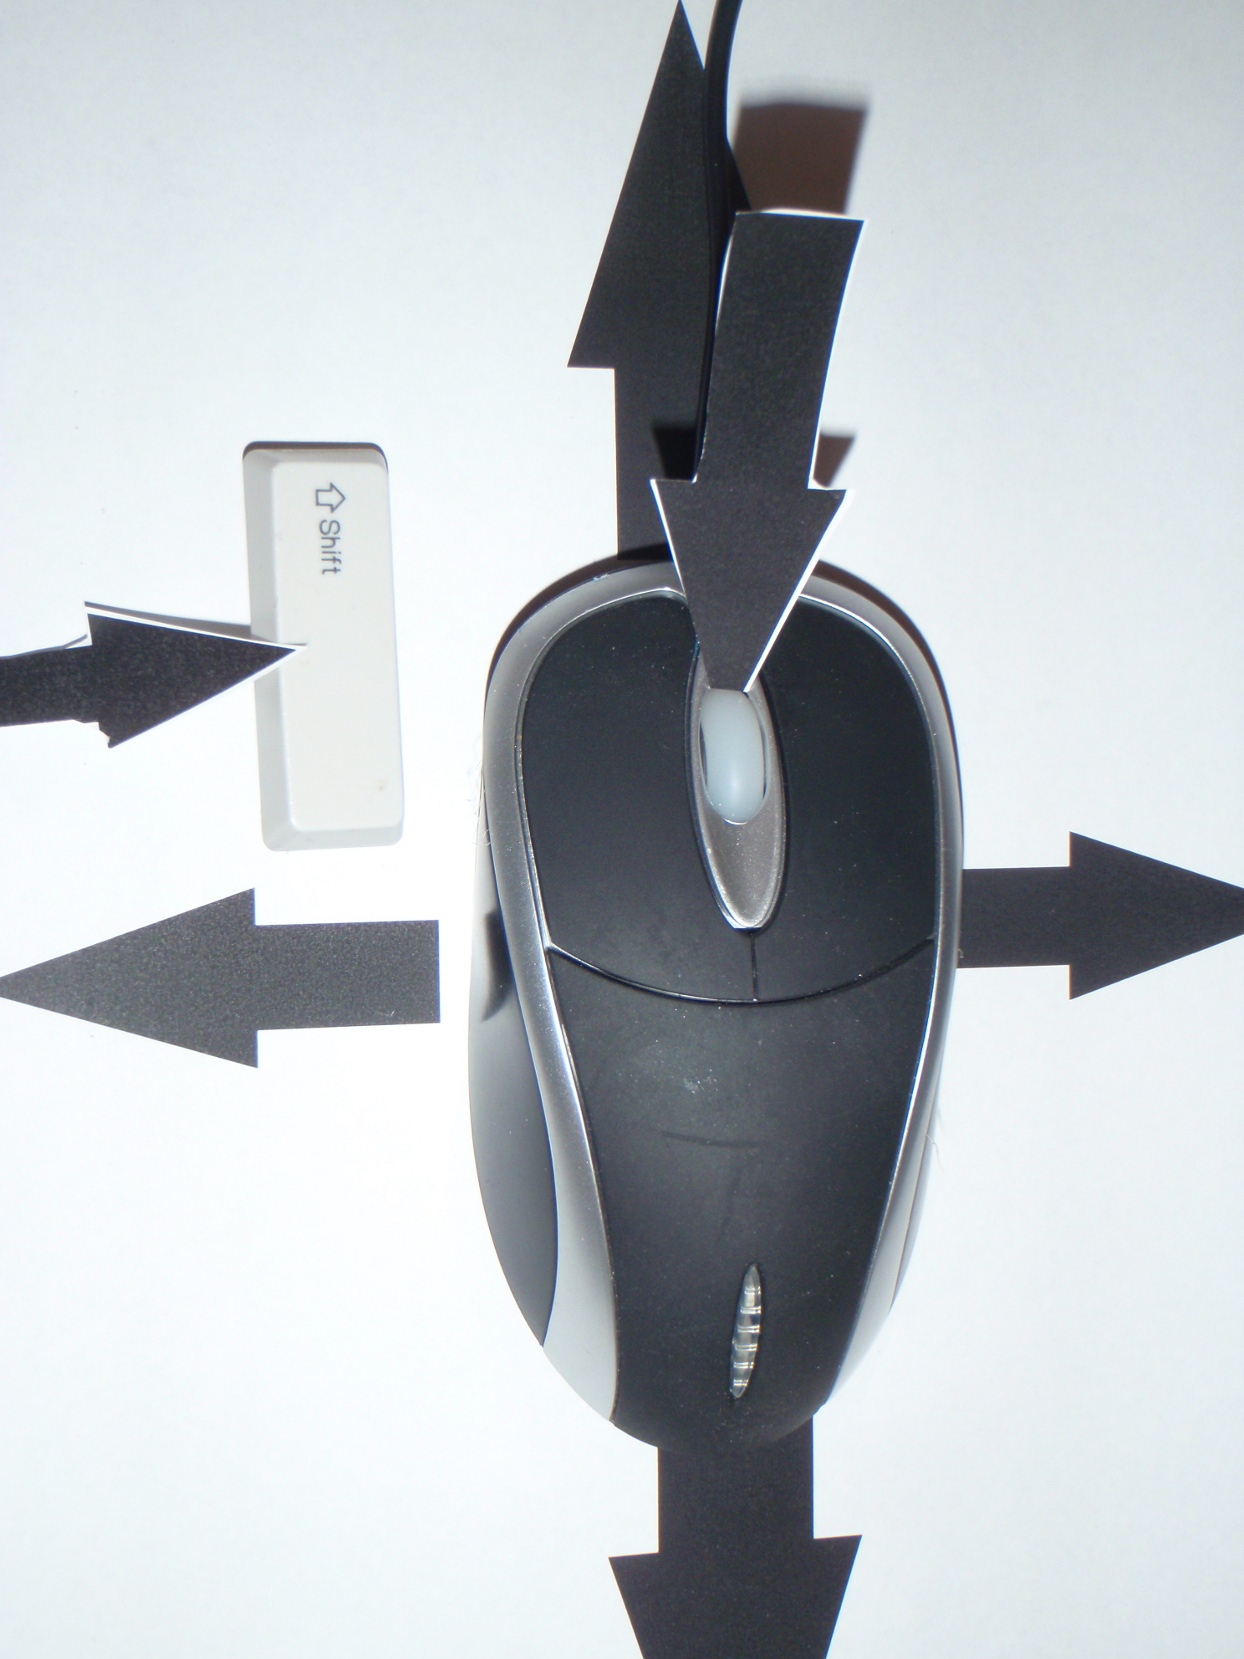
Navigating the screen is like most good CAD programs with icons around the edge of the screen,and the mouse has quite a few functions you need to get to know such a zoom, rotate, and pan. Its worth having a practice for a few minutes with all of the functions of the mouse.
click on the photos for a full description.
Lets Get Started
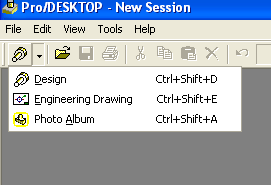
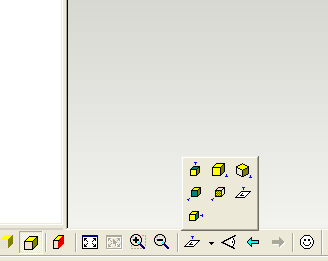
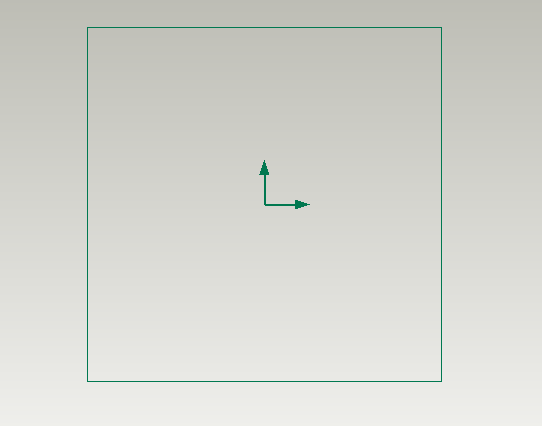
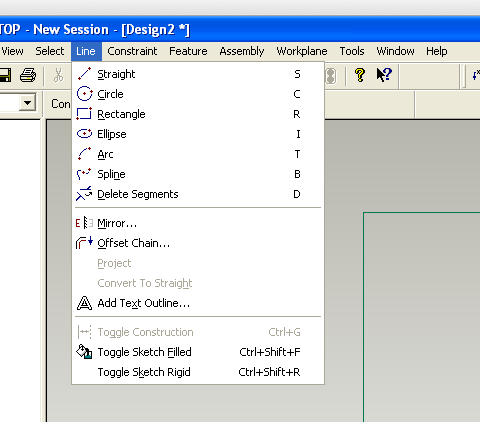
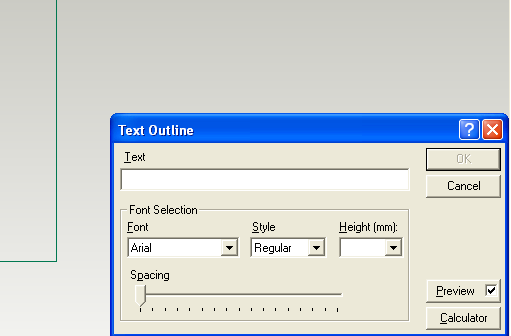
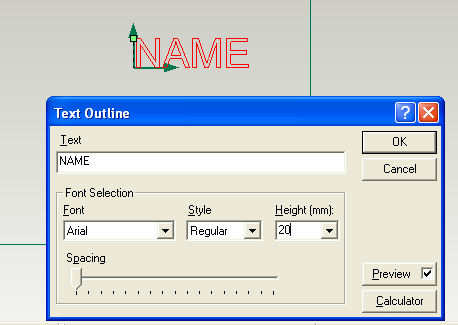
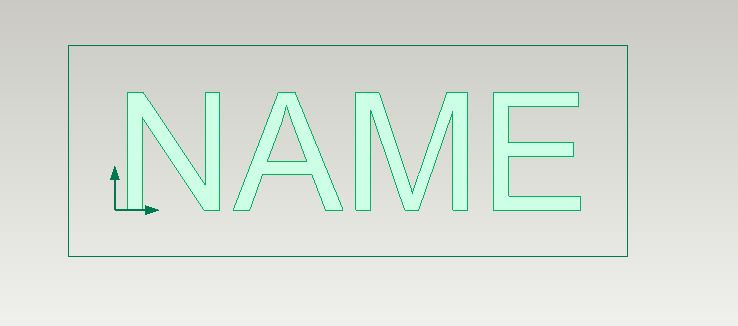
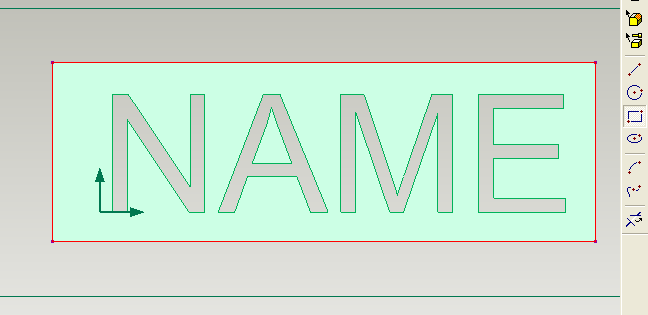
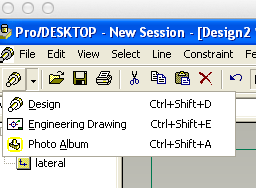
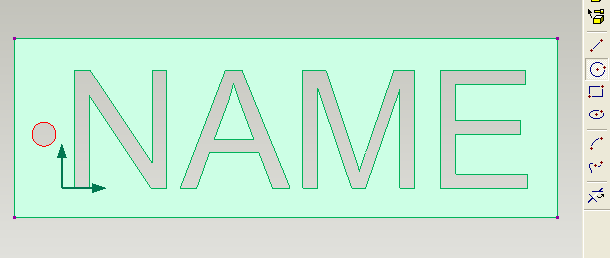
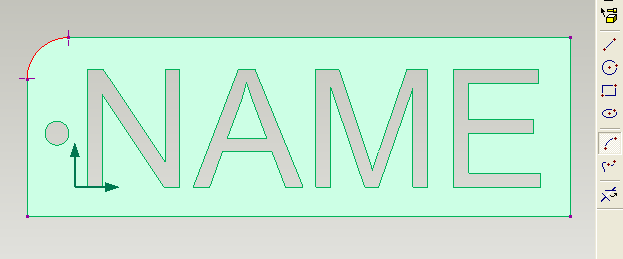
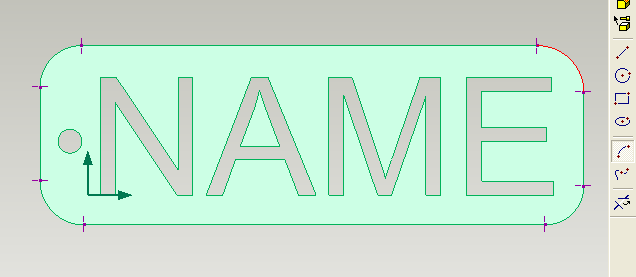
First you need to insert some text, your best to use capital letters you will see why in the next step. Be aware of the size as your key tag can get too big if you have too many letters or make them too big.
My screen shot program dos not capture the measurements that pop up when drawing. You will see them when using the drawing tools
Also if you make a mistake undo straight away either "control Z" or use the undo icon at the to of the page. The program only has a one step undo.
If your using a Macbook the "delete key" will not work, as its a back space key not a delete key. To delete line with a Mac push the function key (fn) and "delete" key at the same time.
Again click on the photos and follow along.
Fixing the Centre of Our Letters
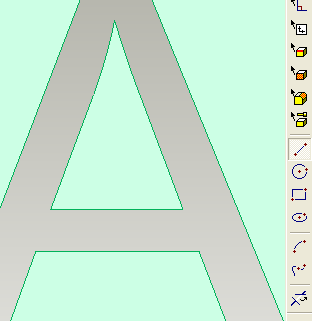
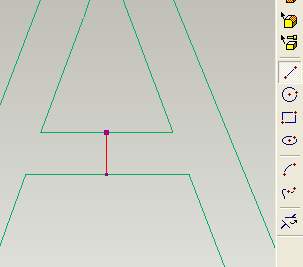
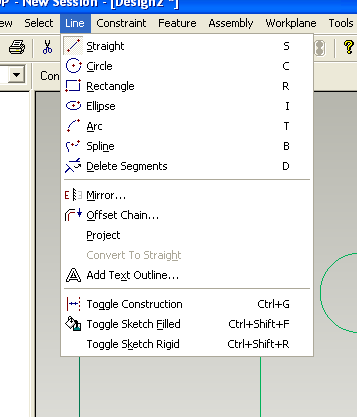
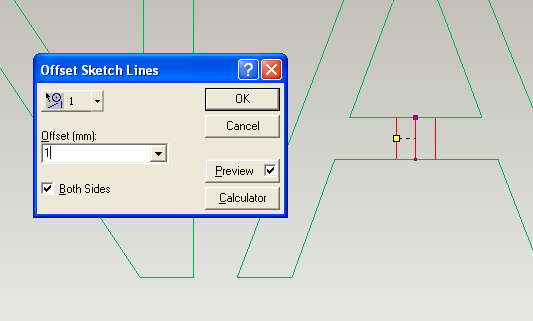
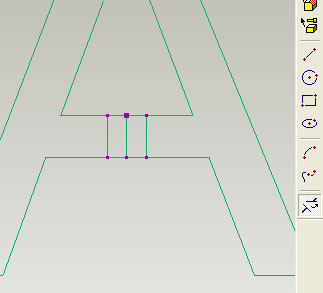
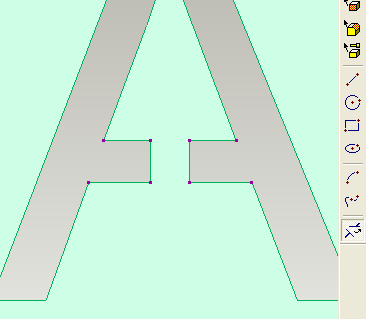
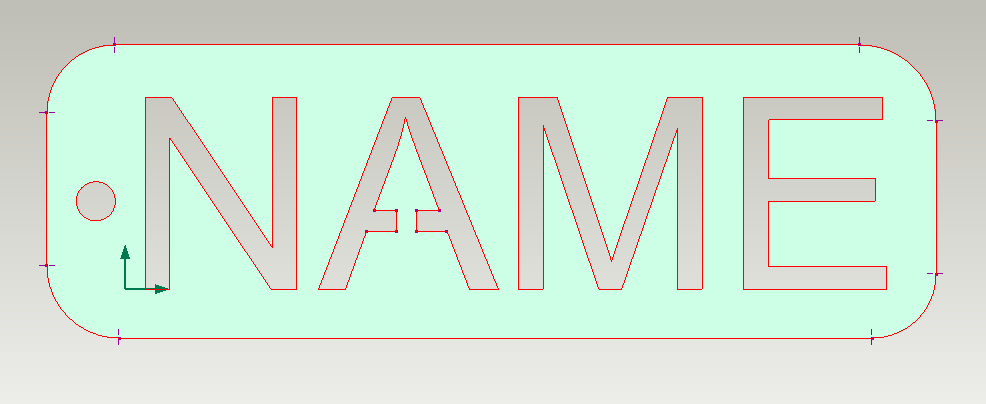
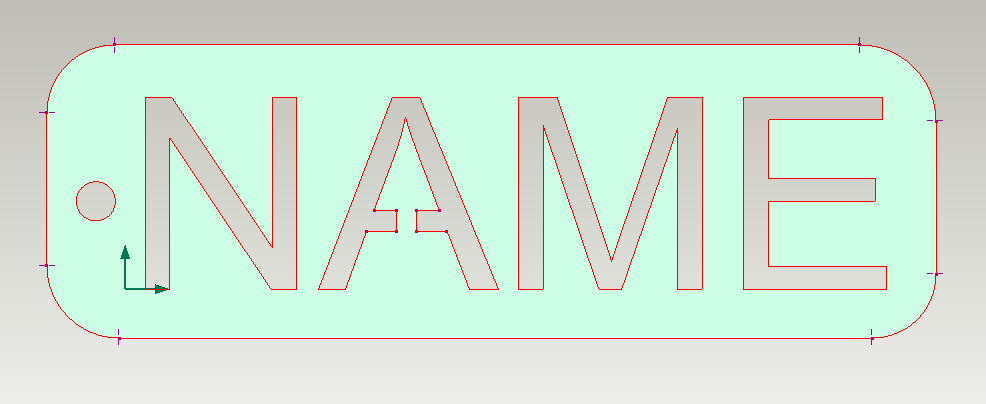
If you look at the design you will see it is impossible to make, as there is nothing holding the centre in place. This is a problem with the capital letters Q R O D P A and B lower case letter have more issues q e o p a d g and b
So the letters will have to be cut and supports added to stop the centre falling out. You can be quite creative with this process.
again click on the photos.....
Creating a DXF File
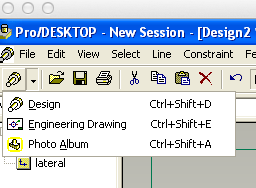
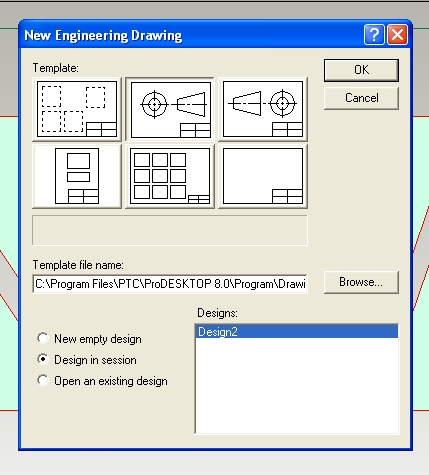
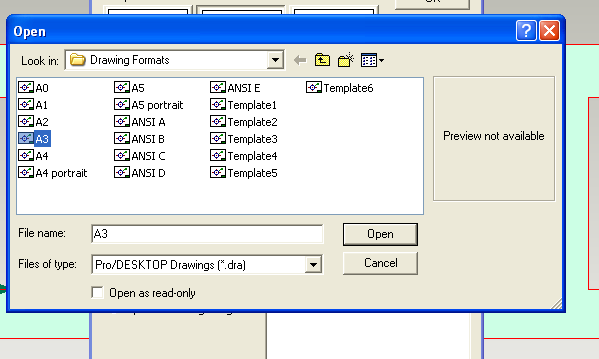
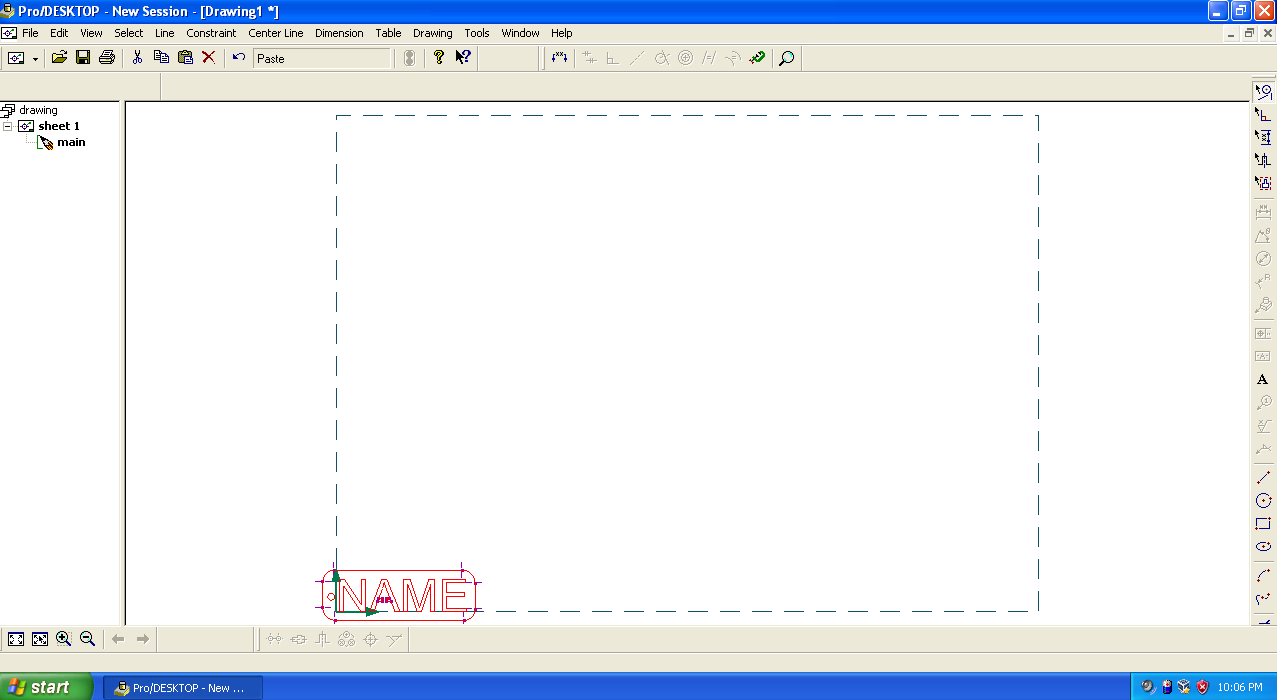
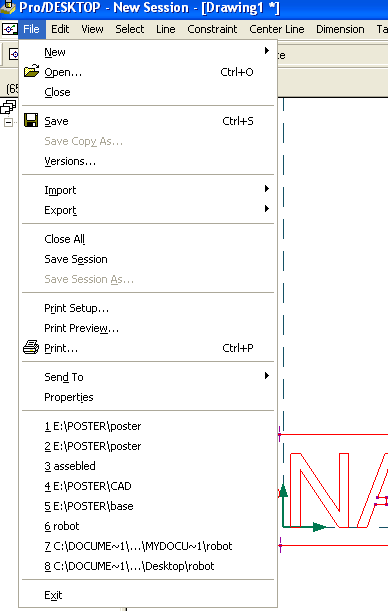
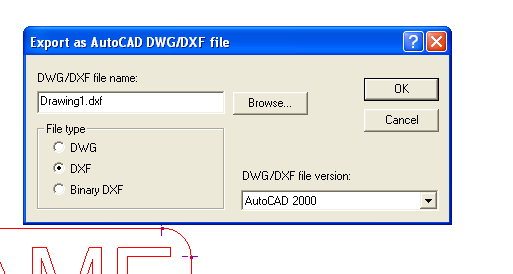
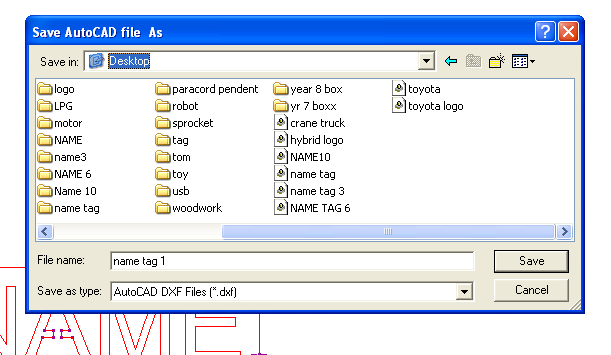
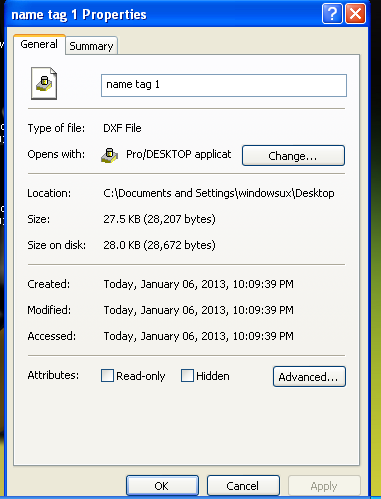
DXF stands for data exchange format, and is the industry standard for use on 2D machines like laser cutters. You can only create a DXF from a 2D drawing. Once done it can be put on a USB or emailed and any other CAD program or CNC machine can open it.
Follow the notes in the photos to turn your project into a DXF
Making Pretty Pictures Using Photo Album

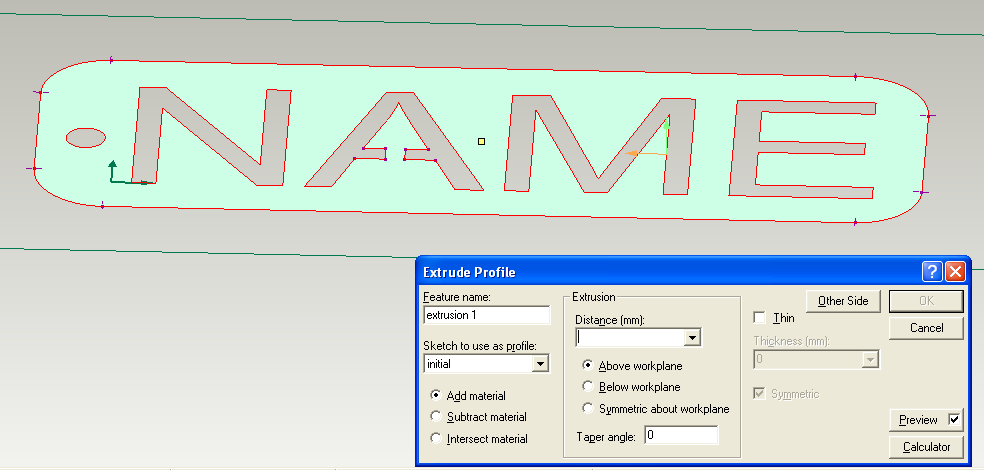
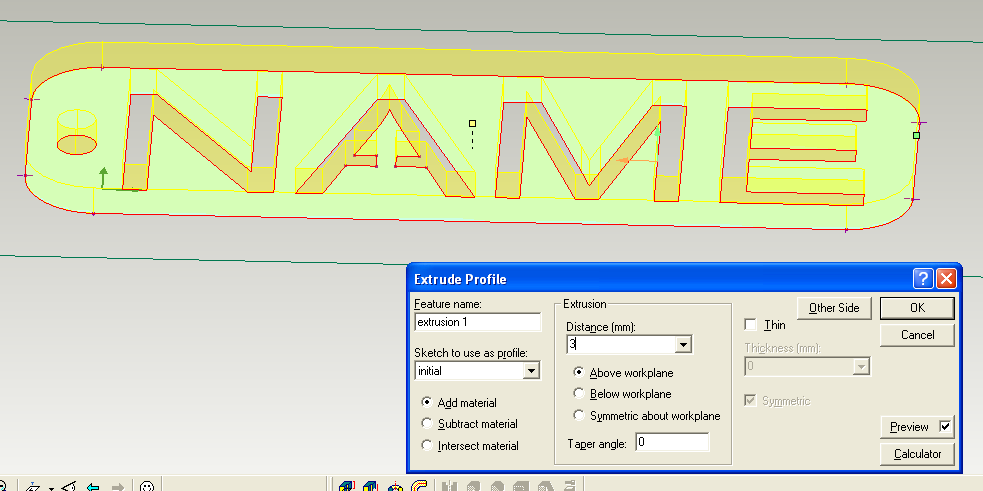
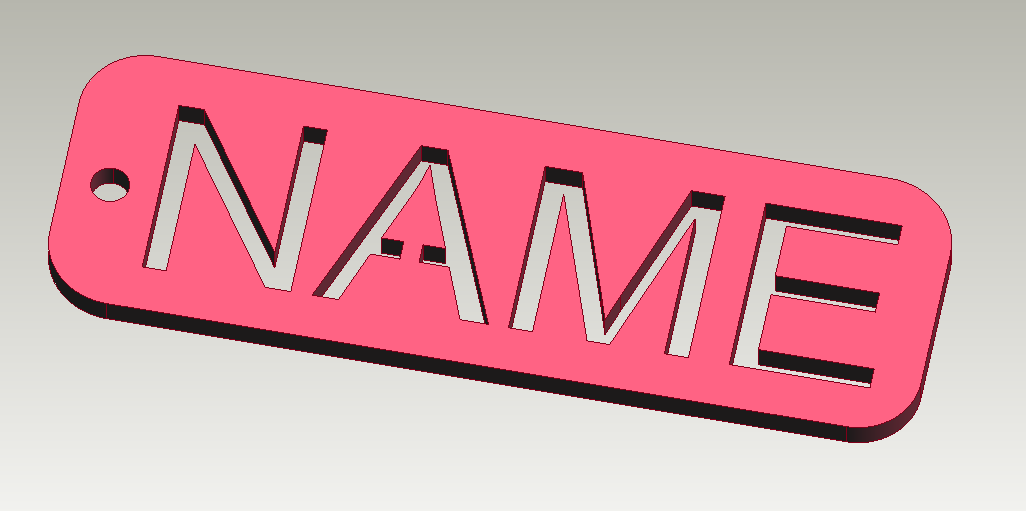
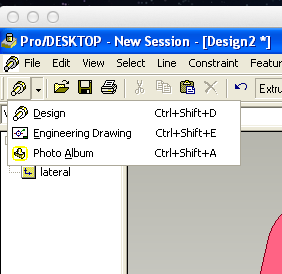
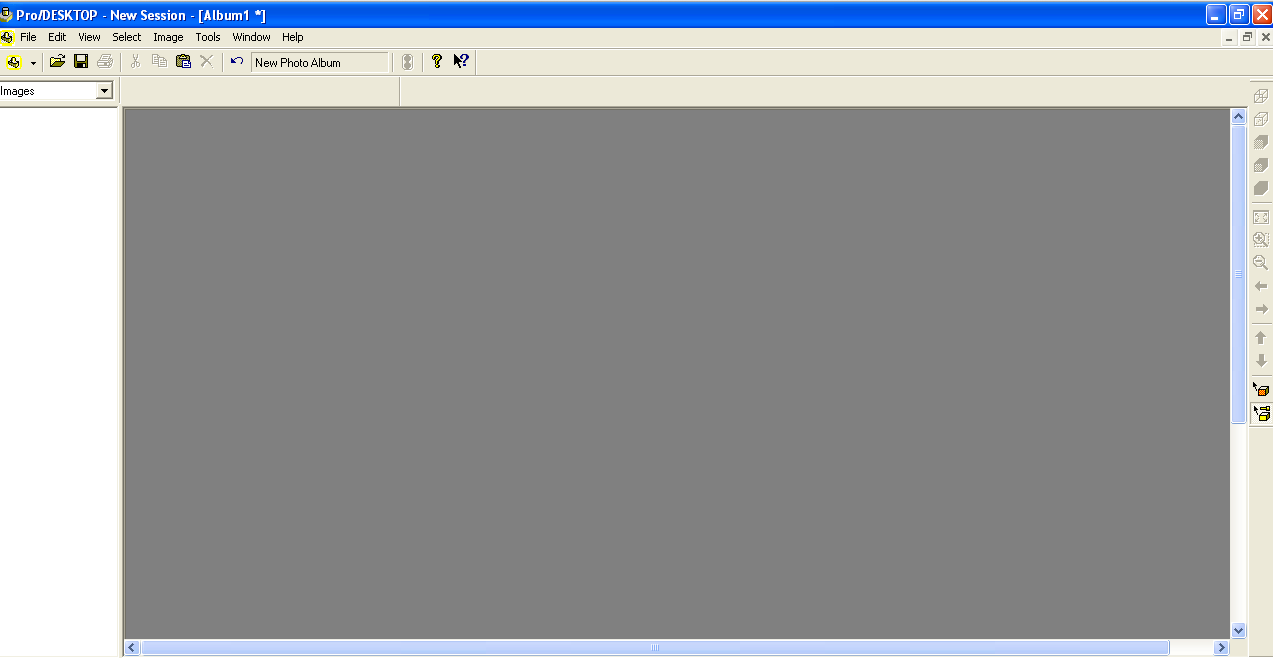
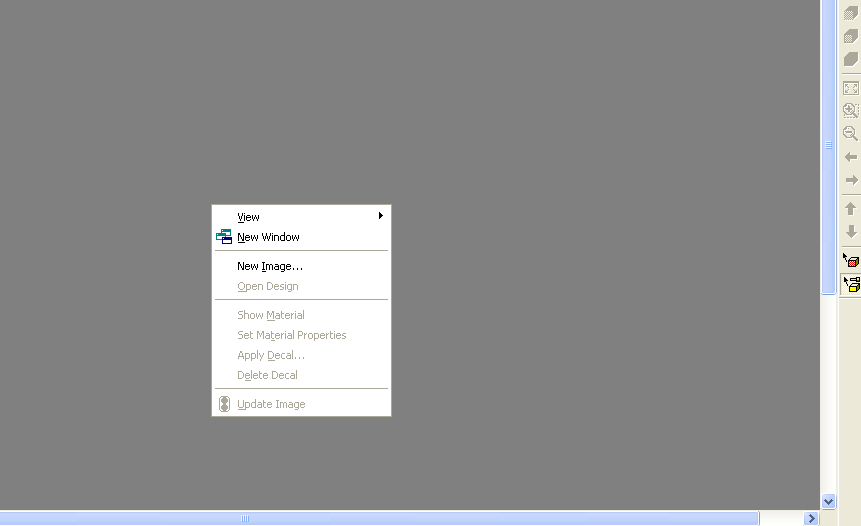
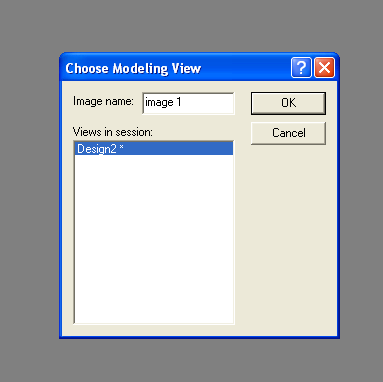
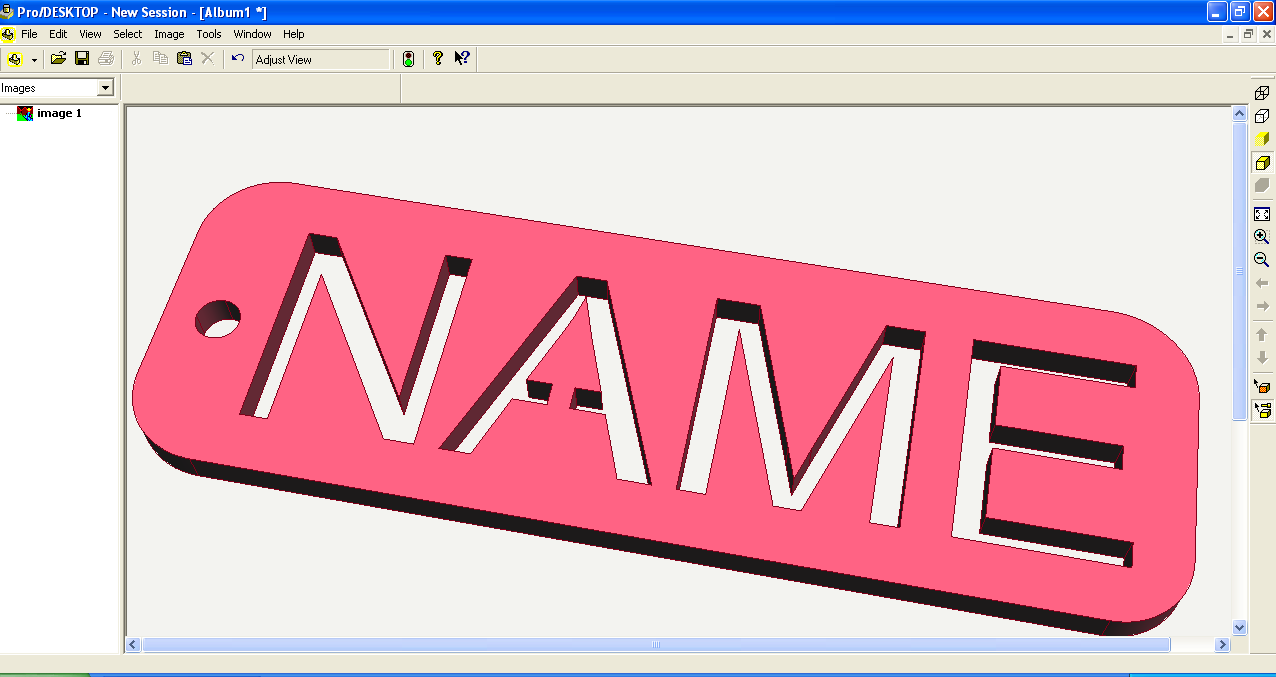

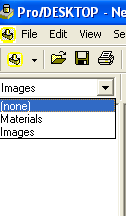
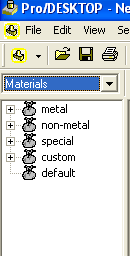

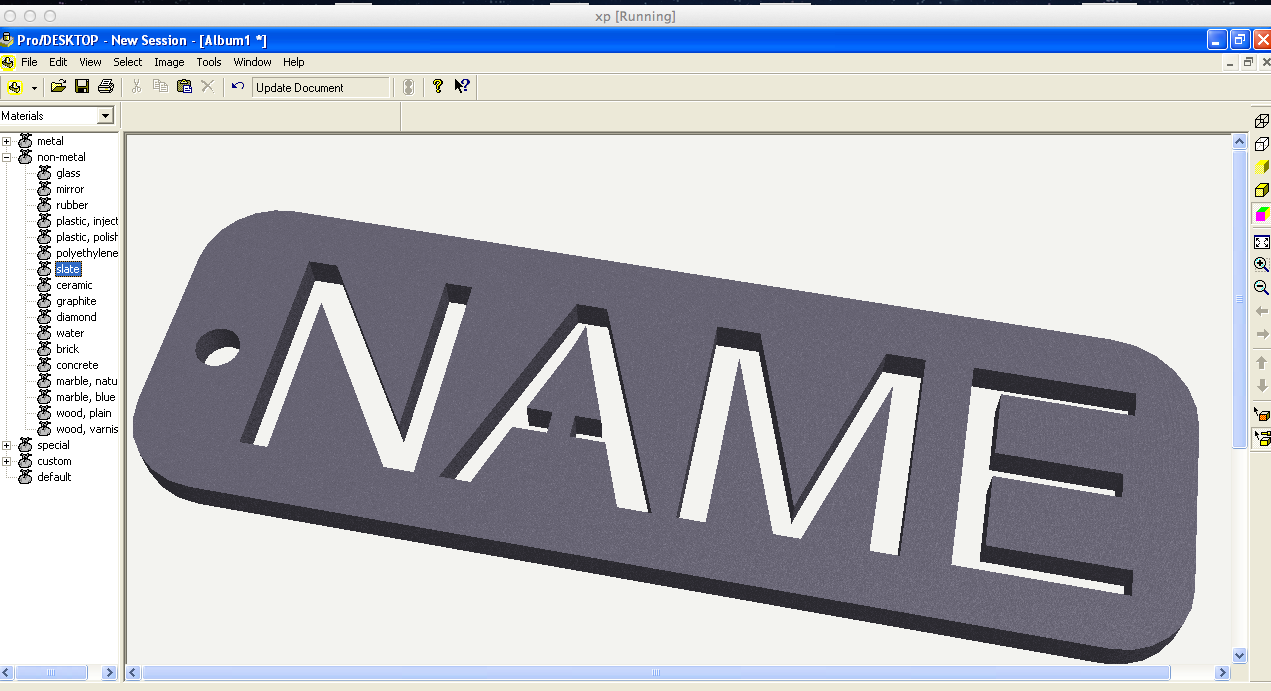
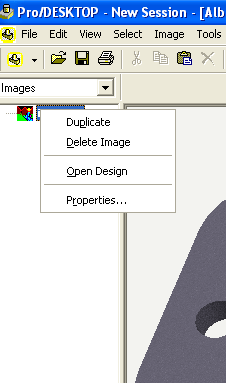
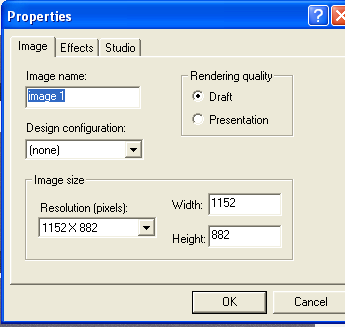
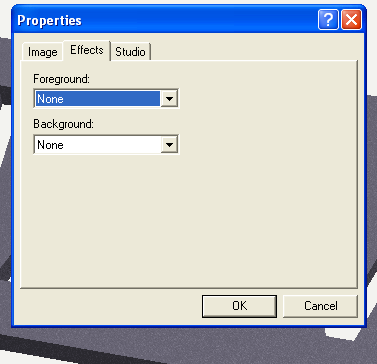
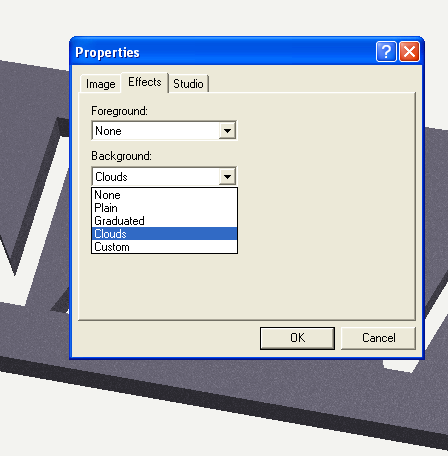
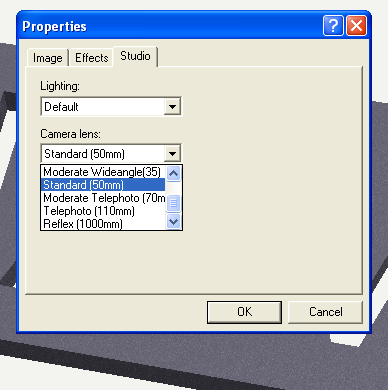
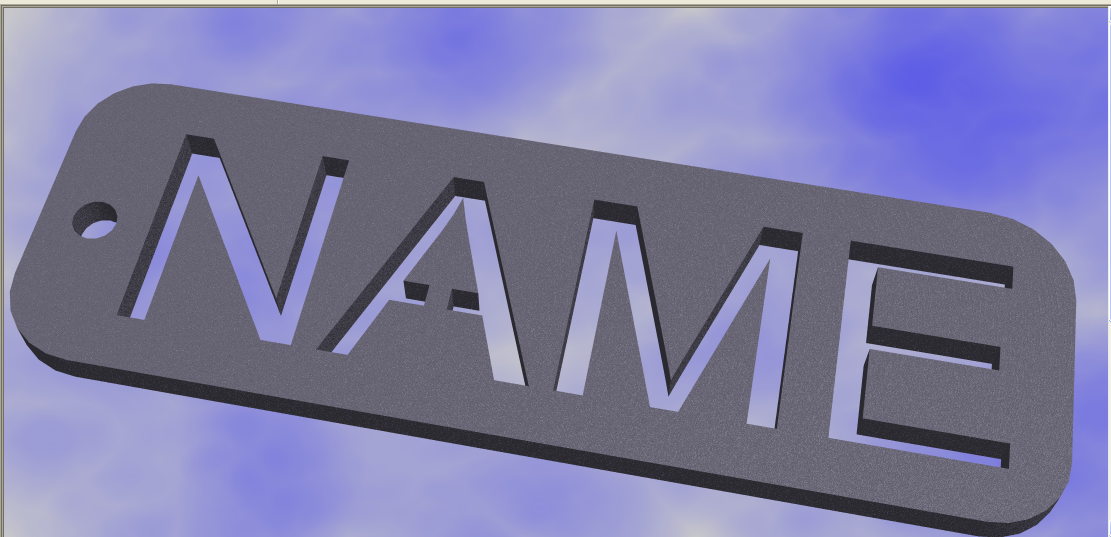
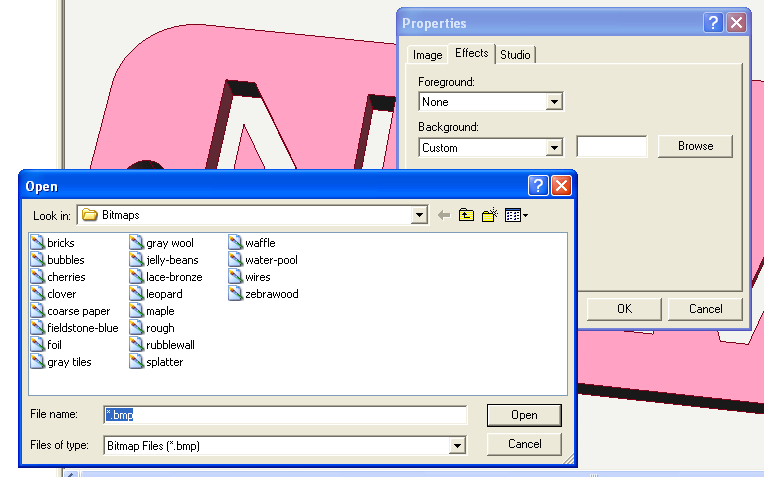
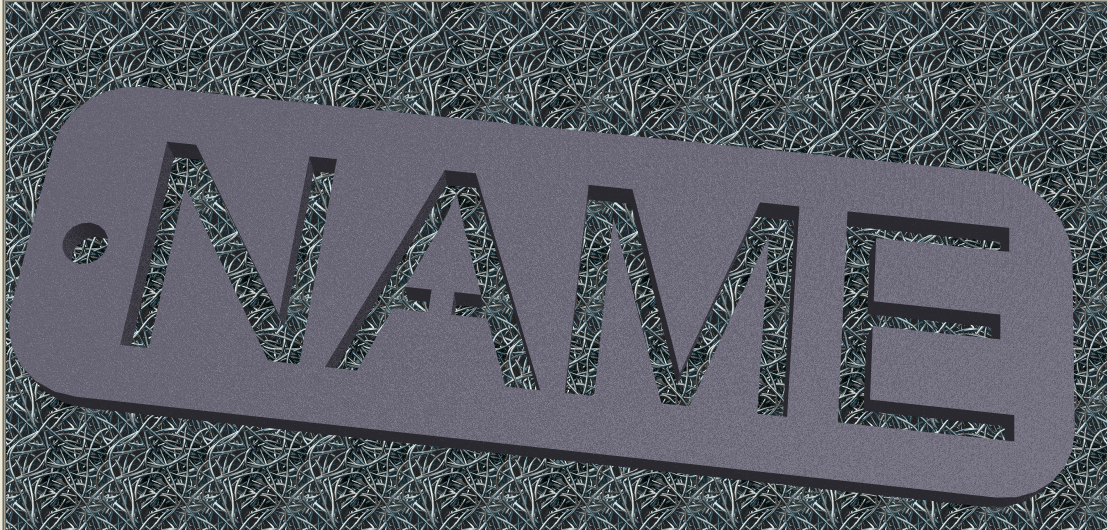
Of course you can also make pretty pictures with a CAD program, this is great for getting an idea of what the finished product will look like, or just showing off.
Go back to your design drawing or sketch and we will go through the process using the "photo album" part of prodesktop. You can then export the images as JPG and print , email or upload to a website.
As always click on the photos......
Using the Laser Cutter
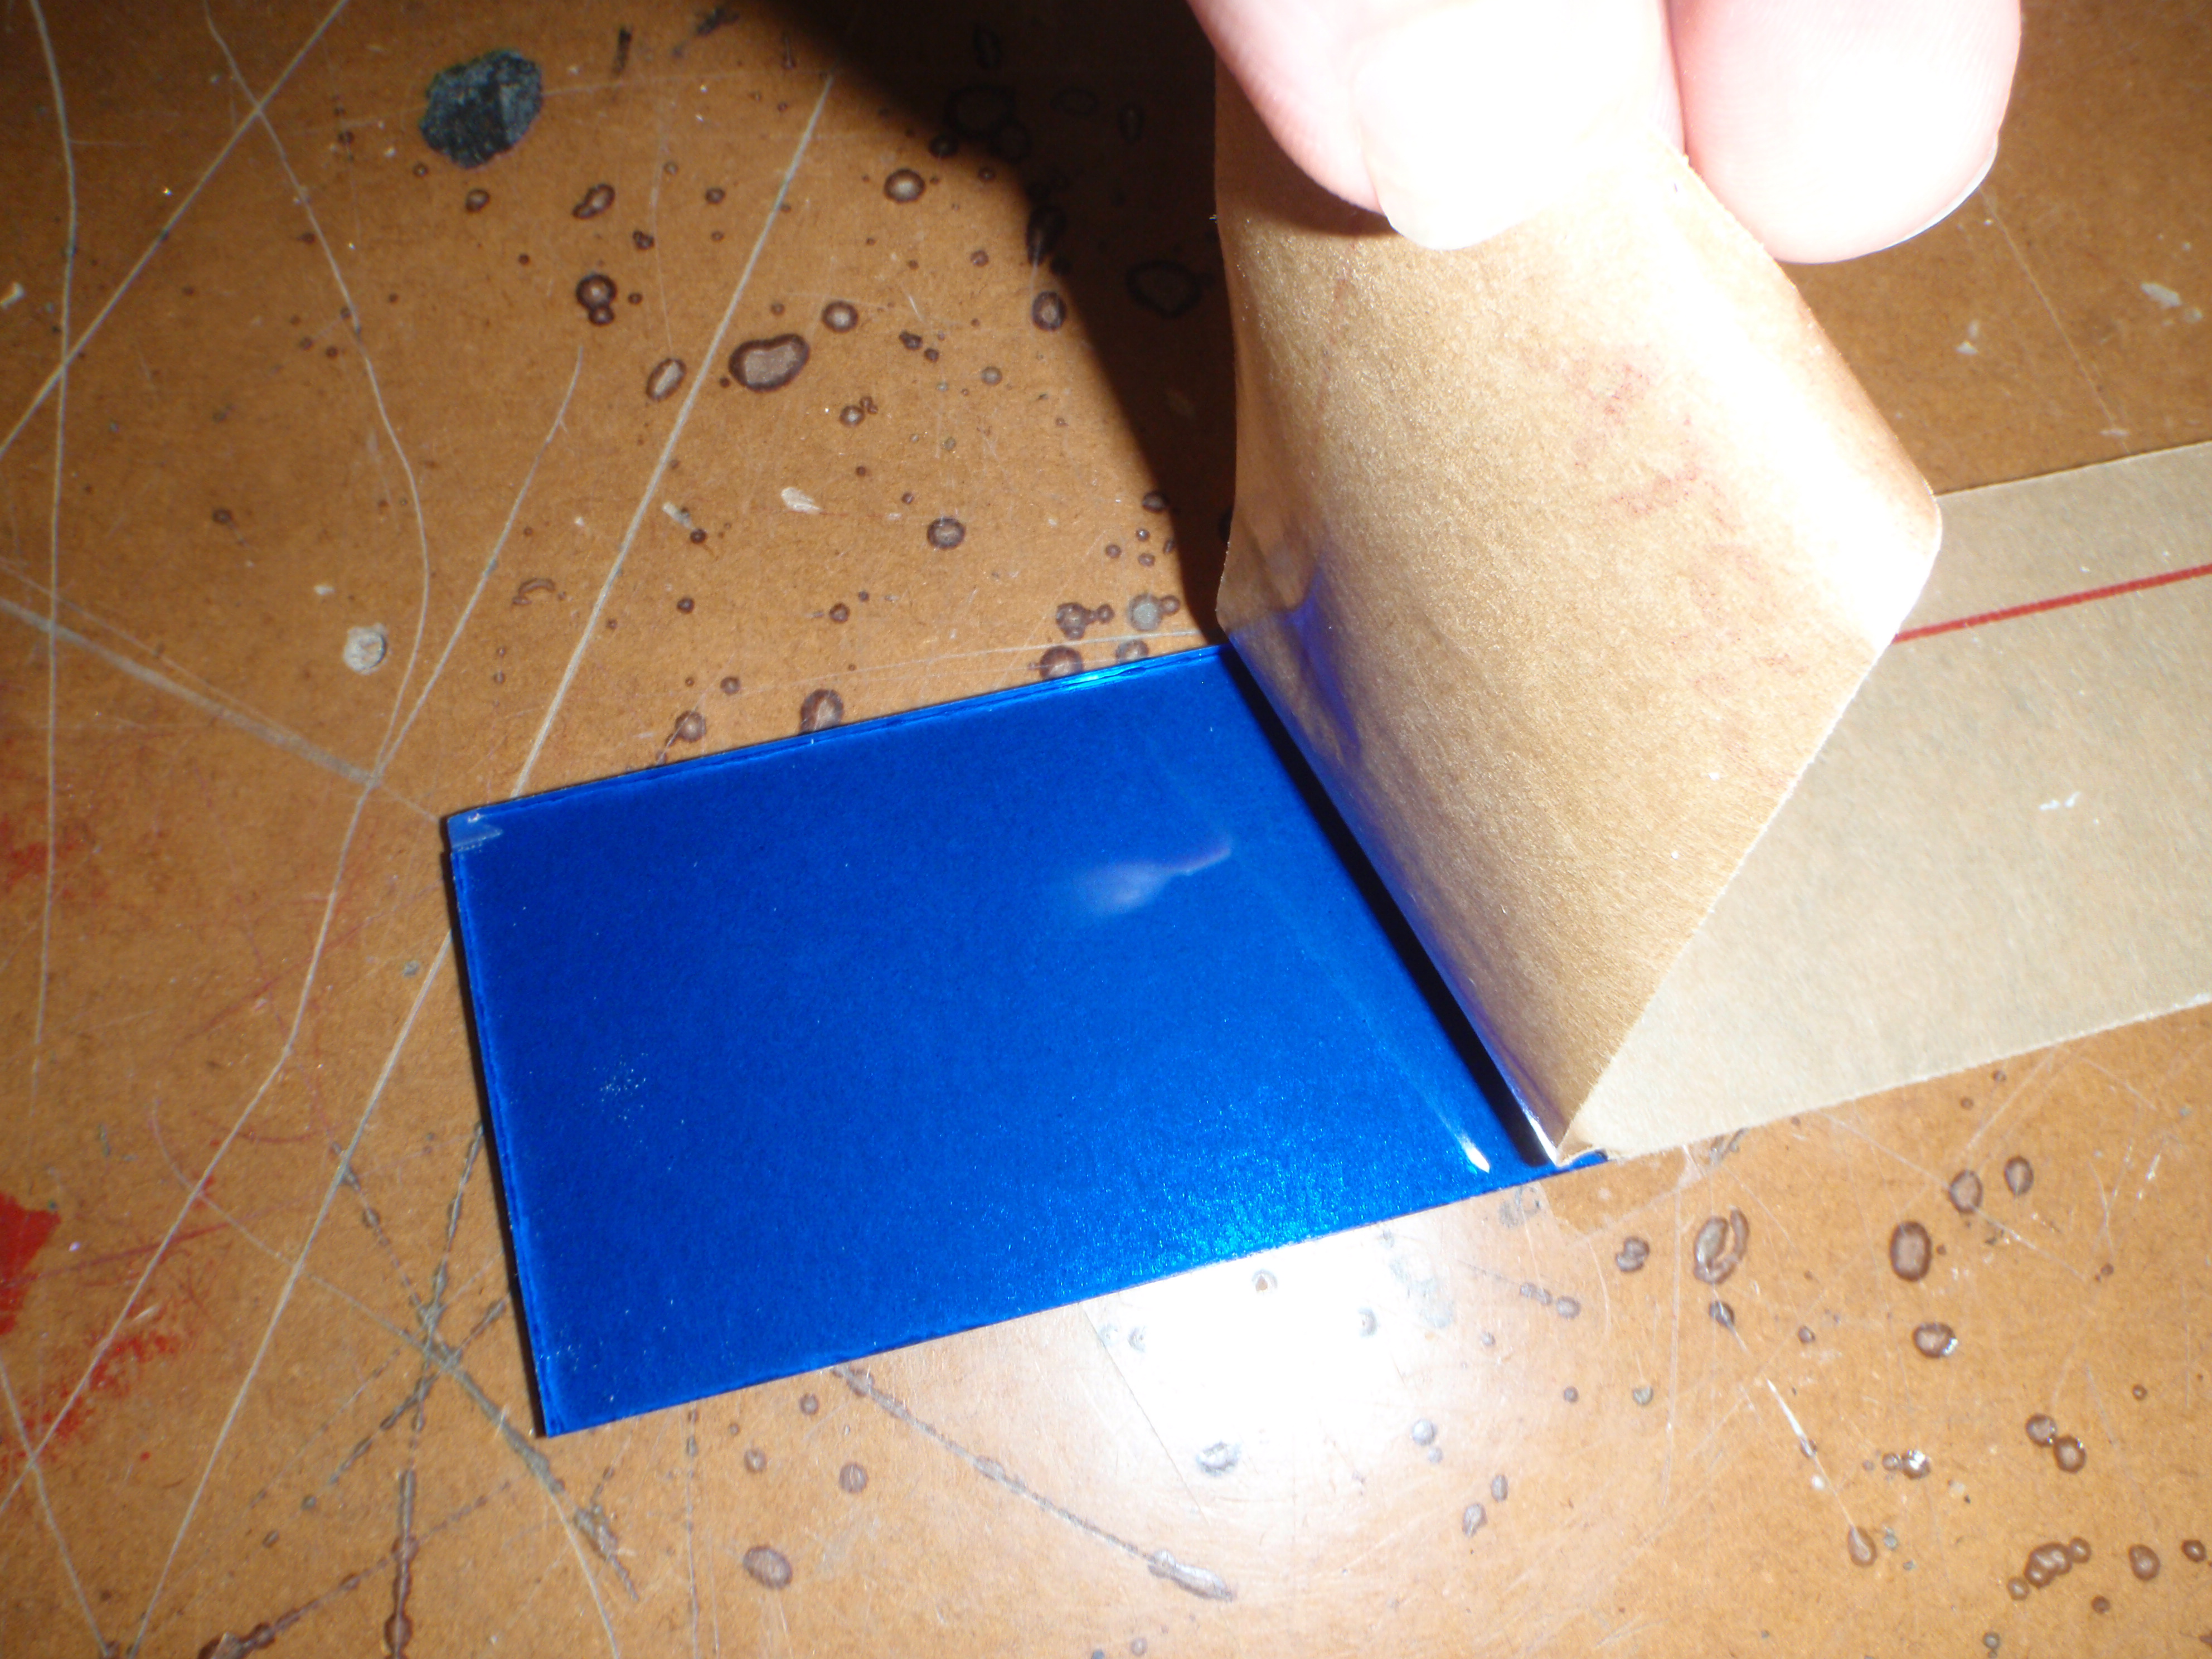
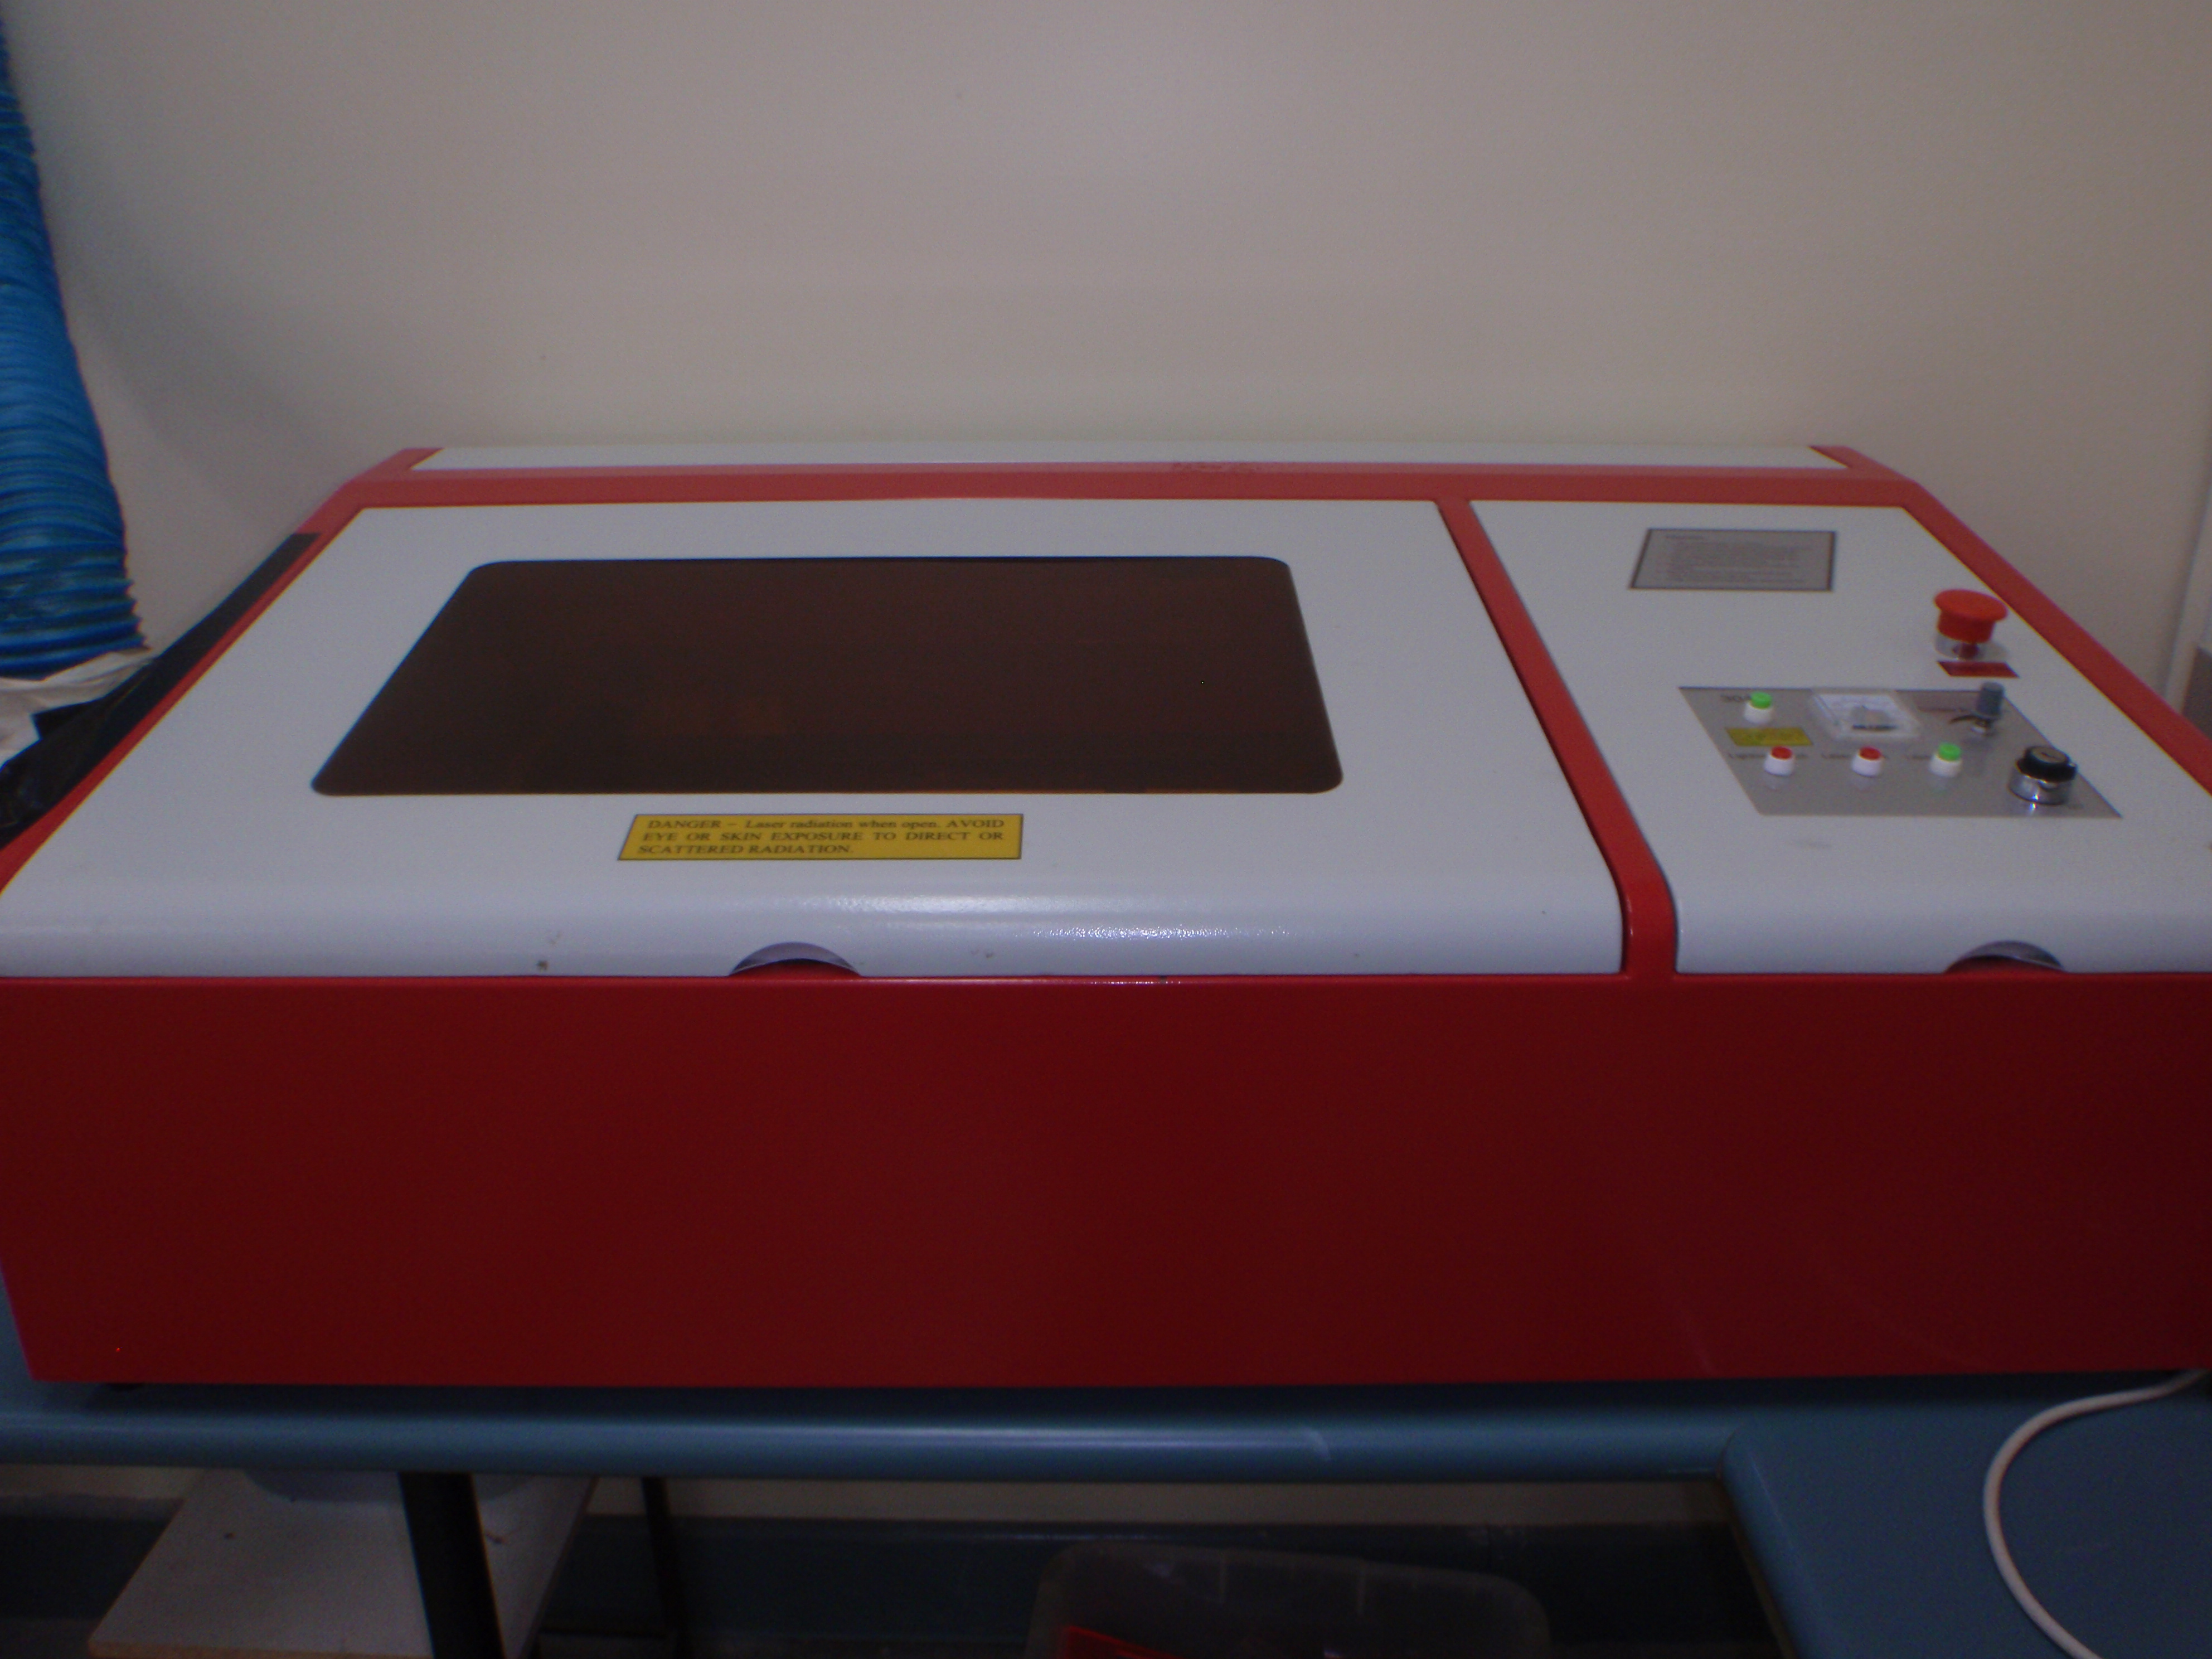
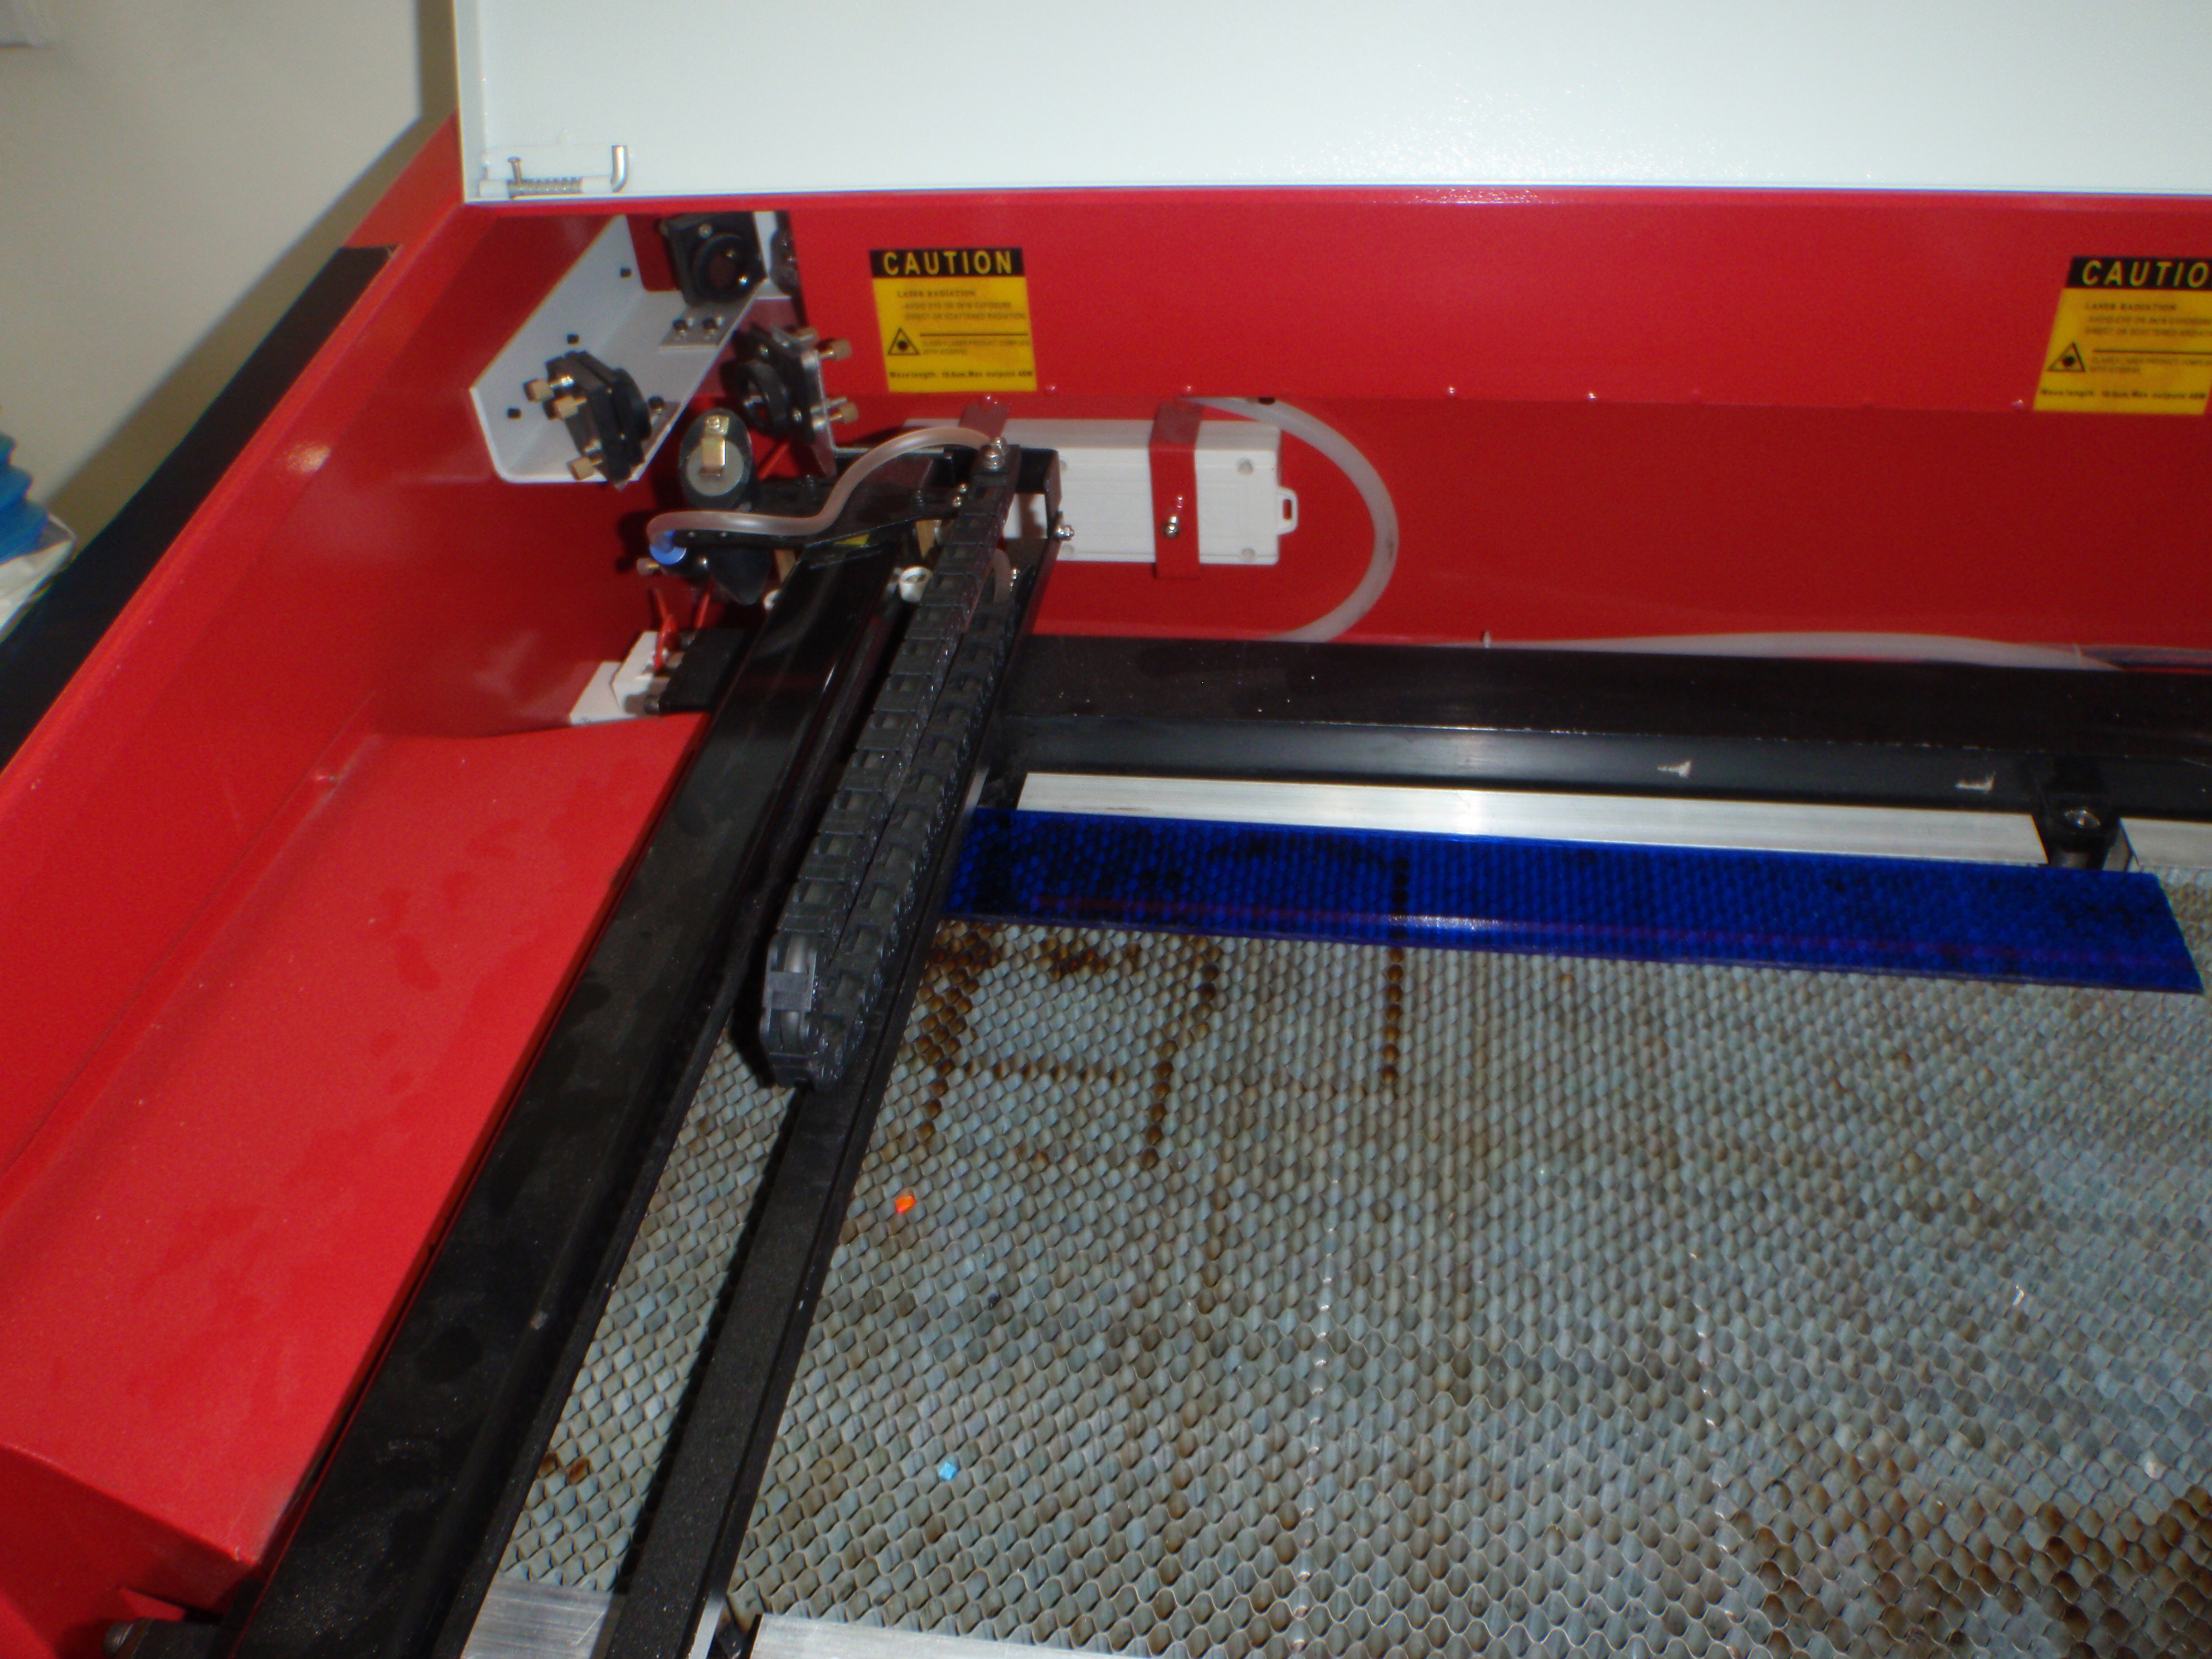
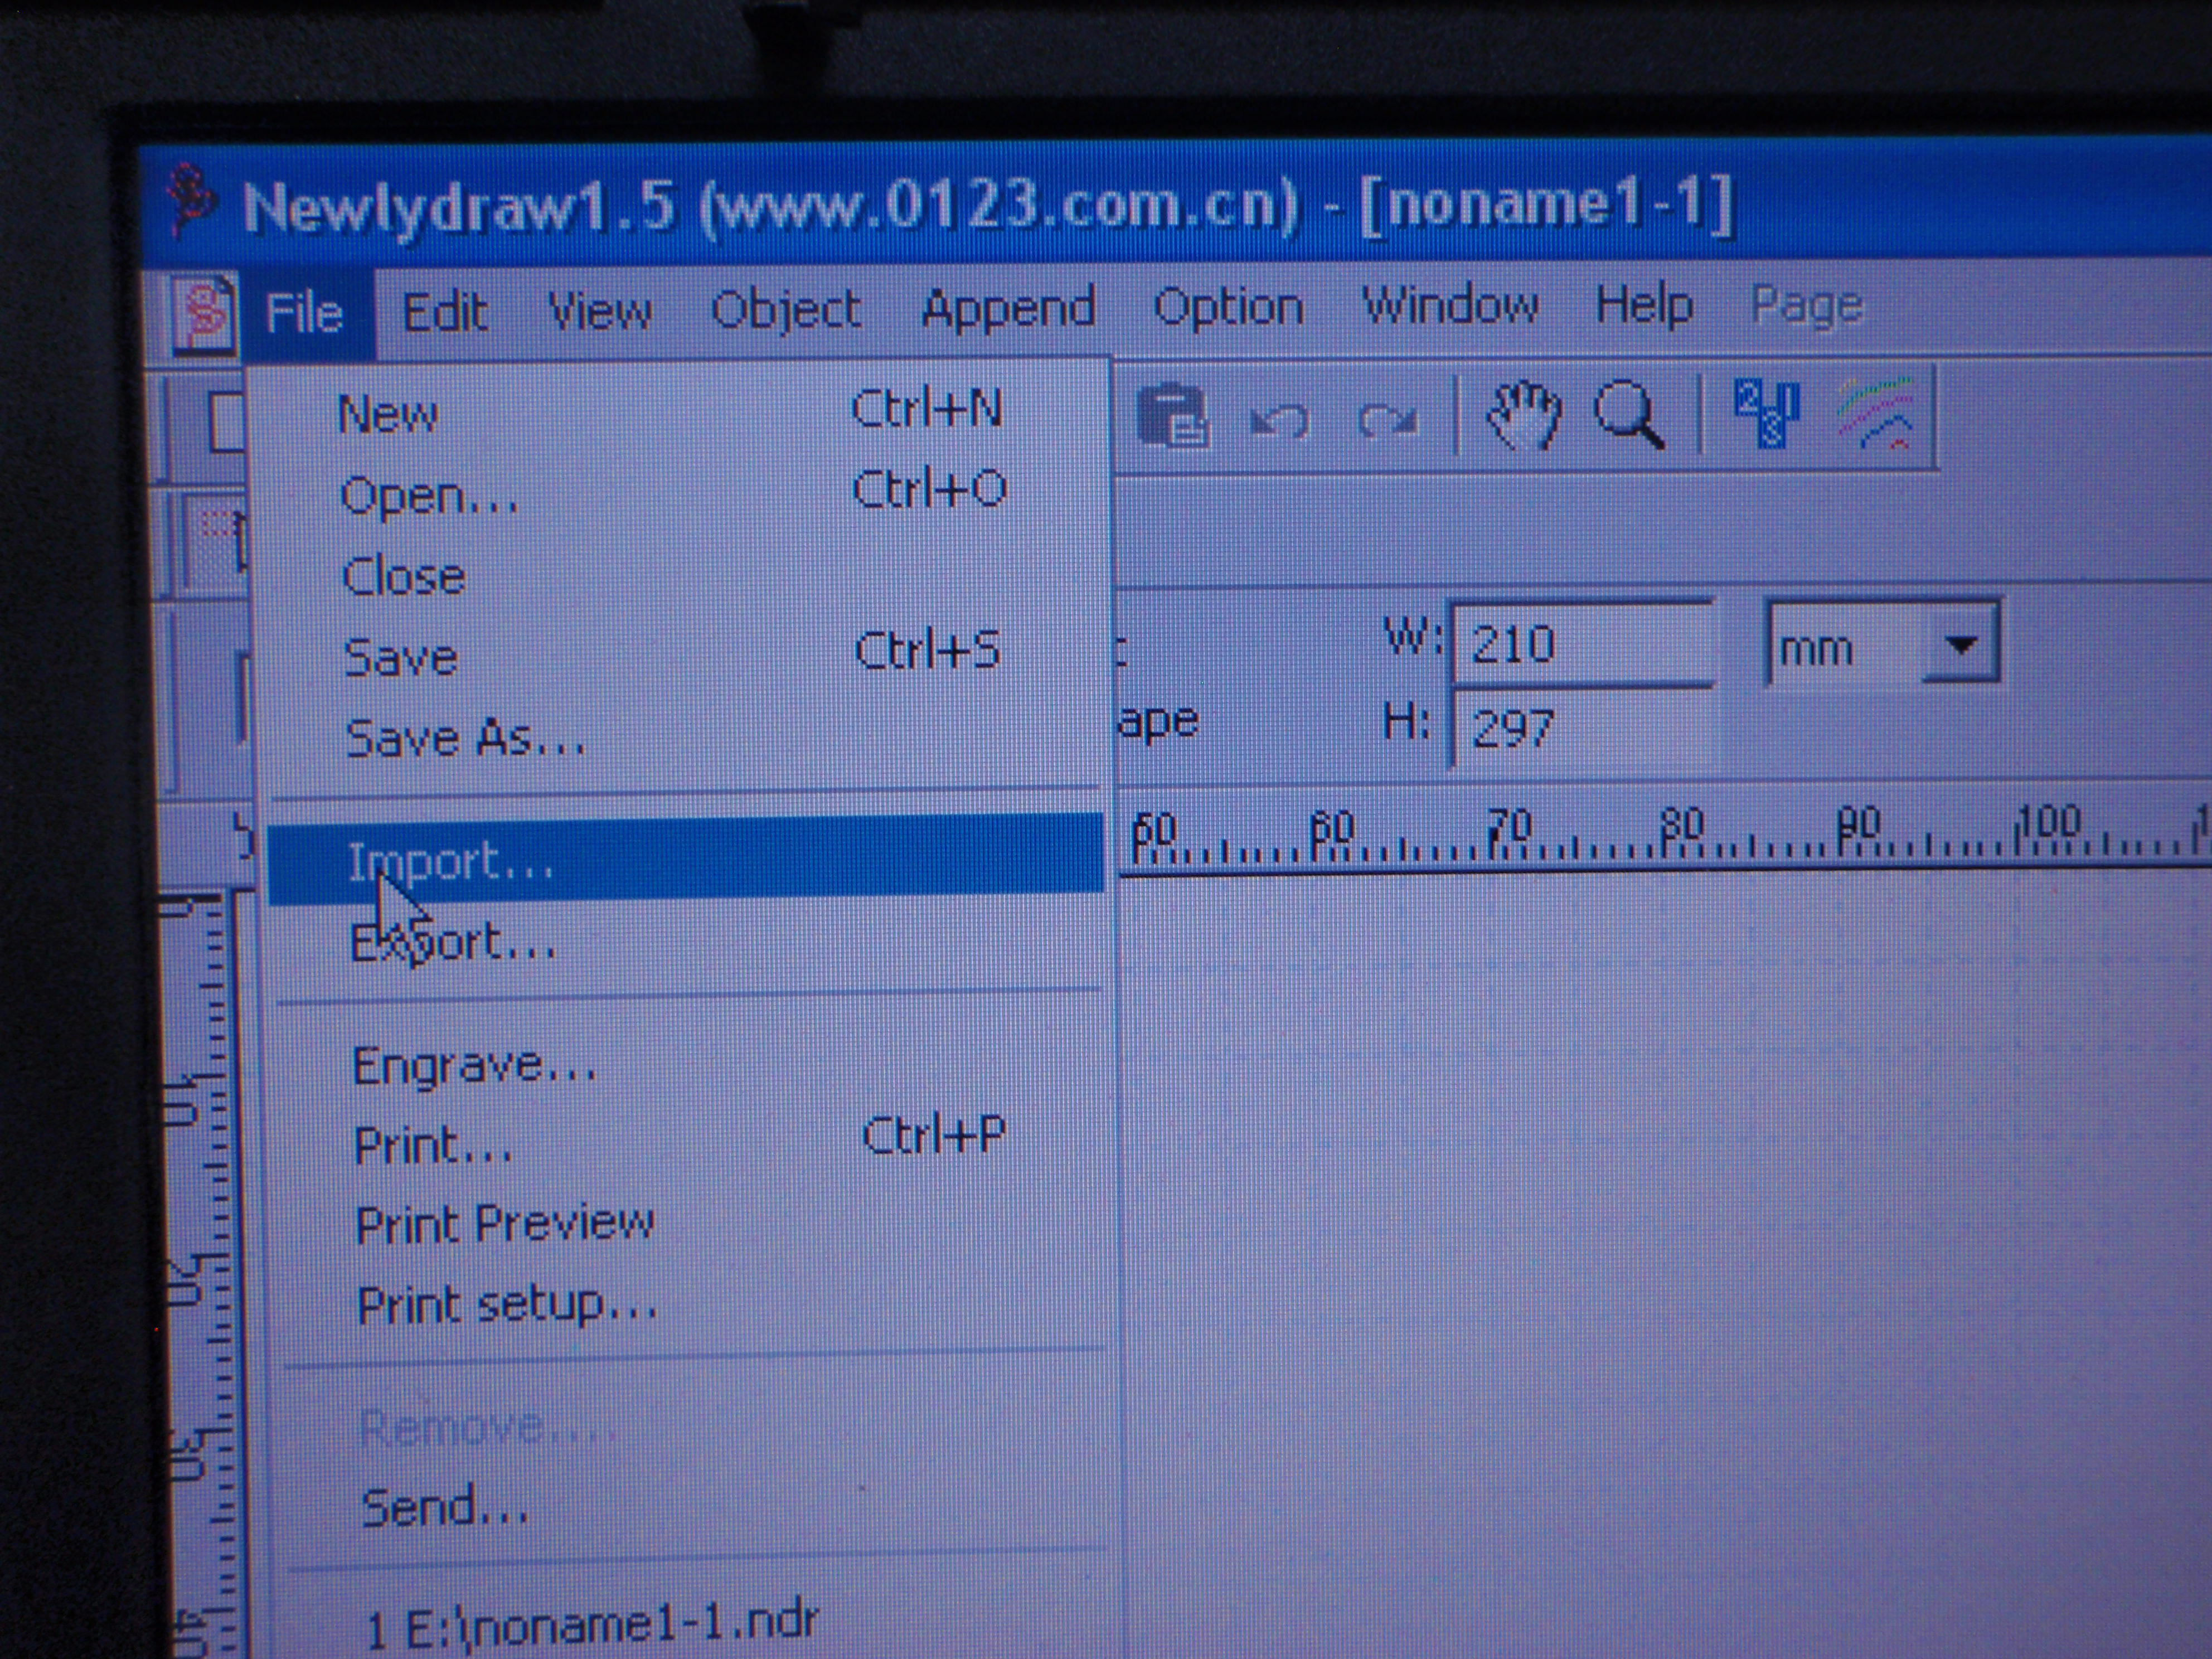
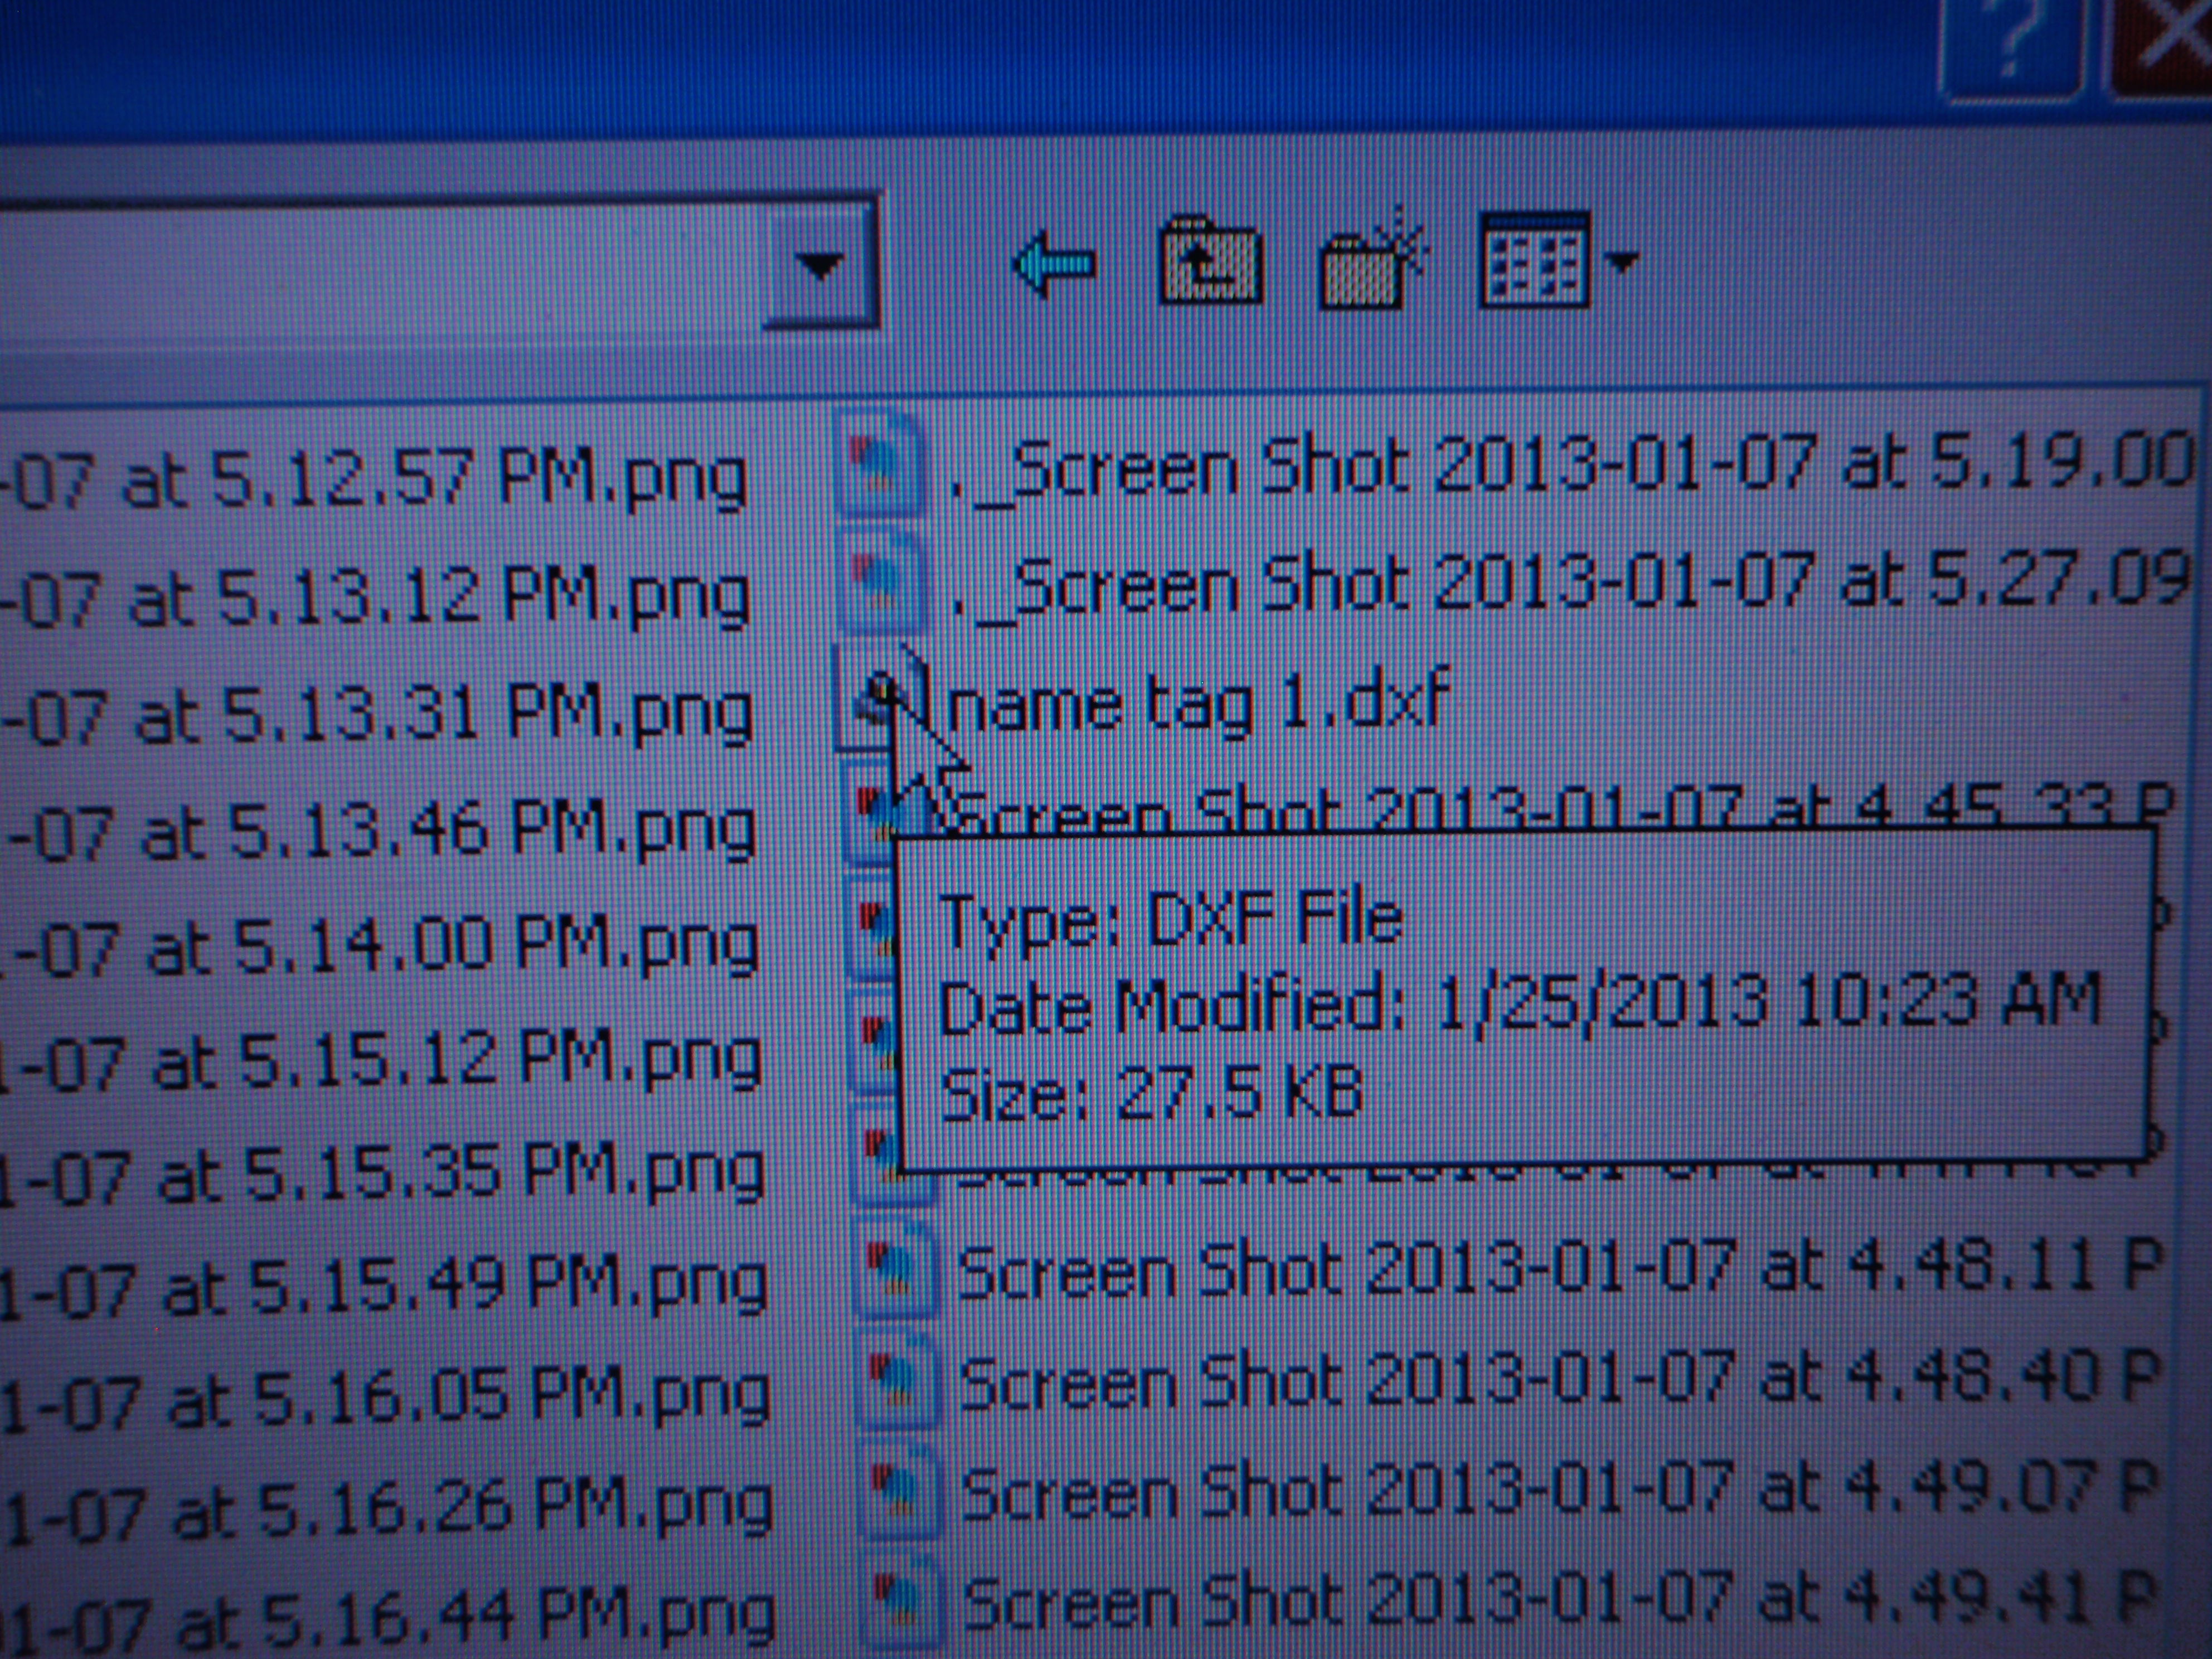
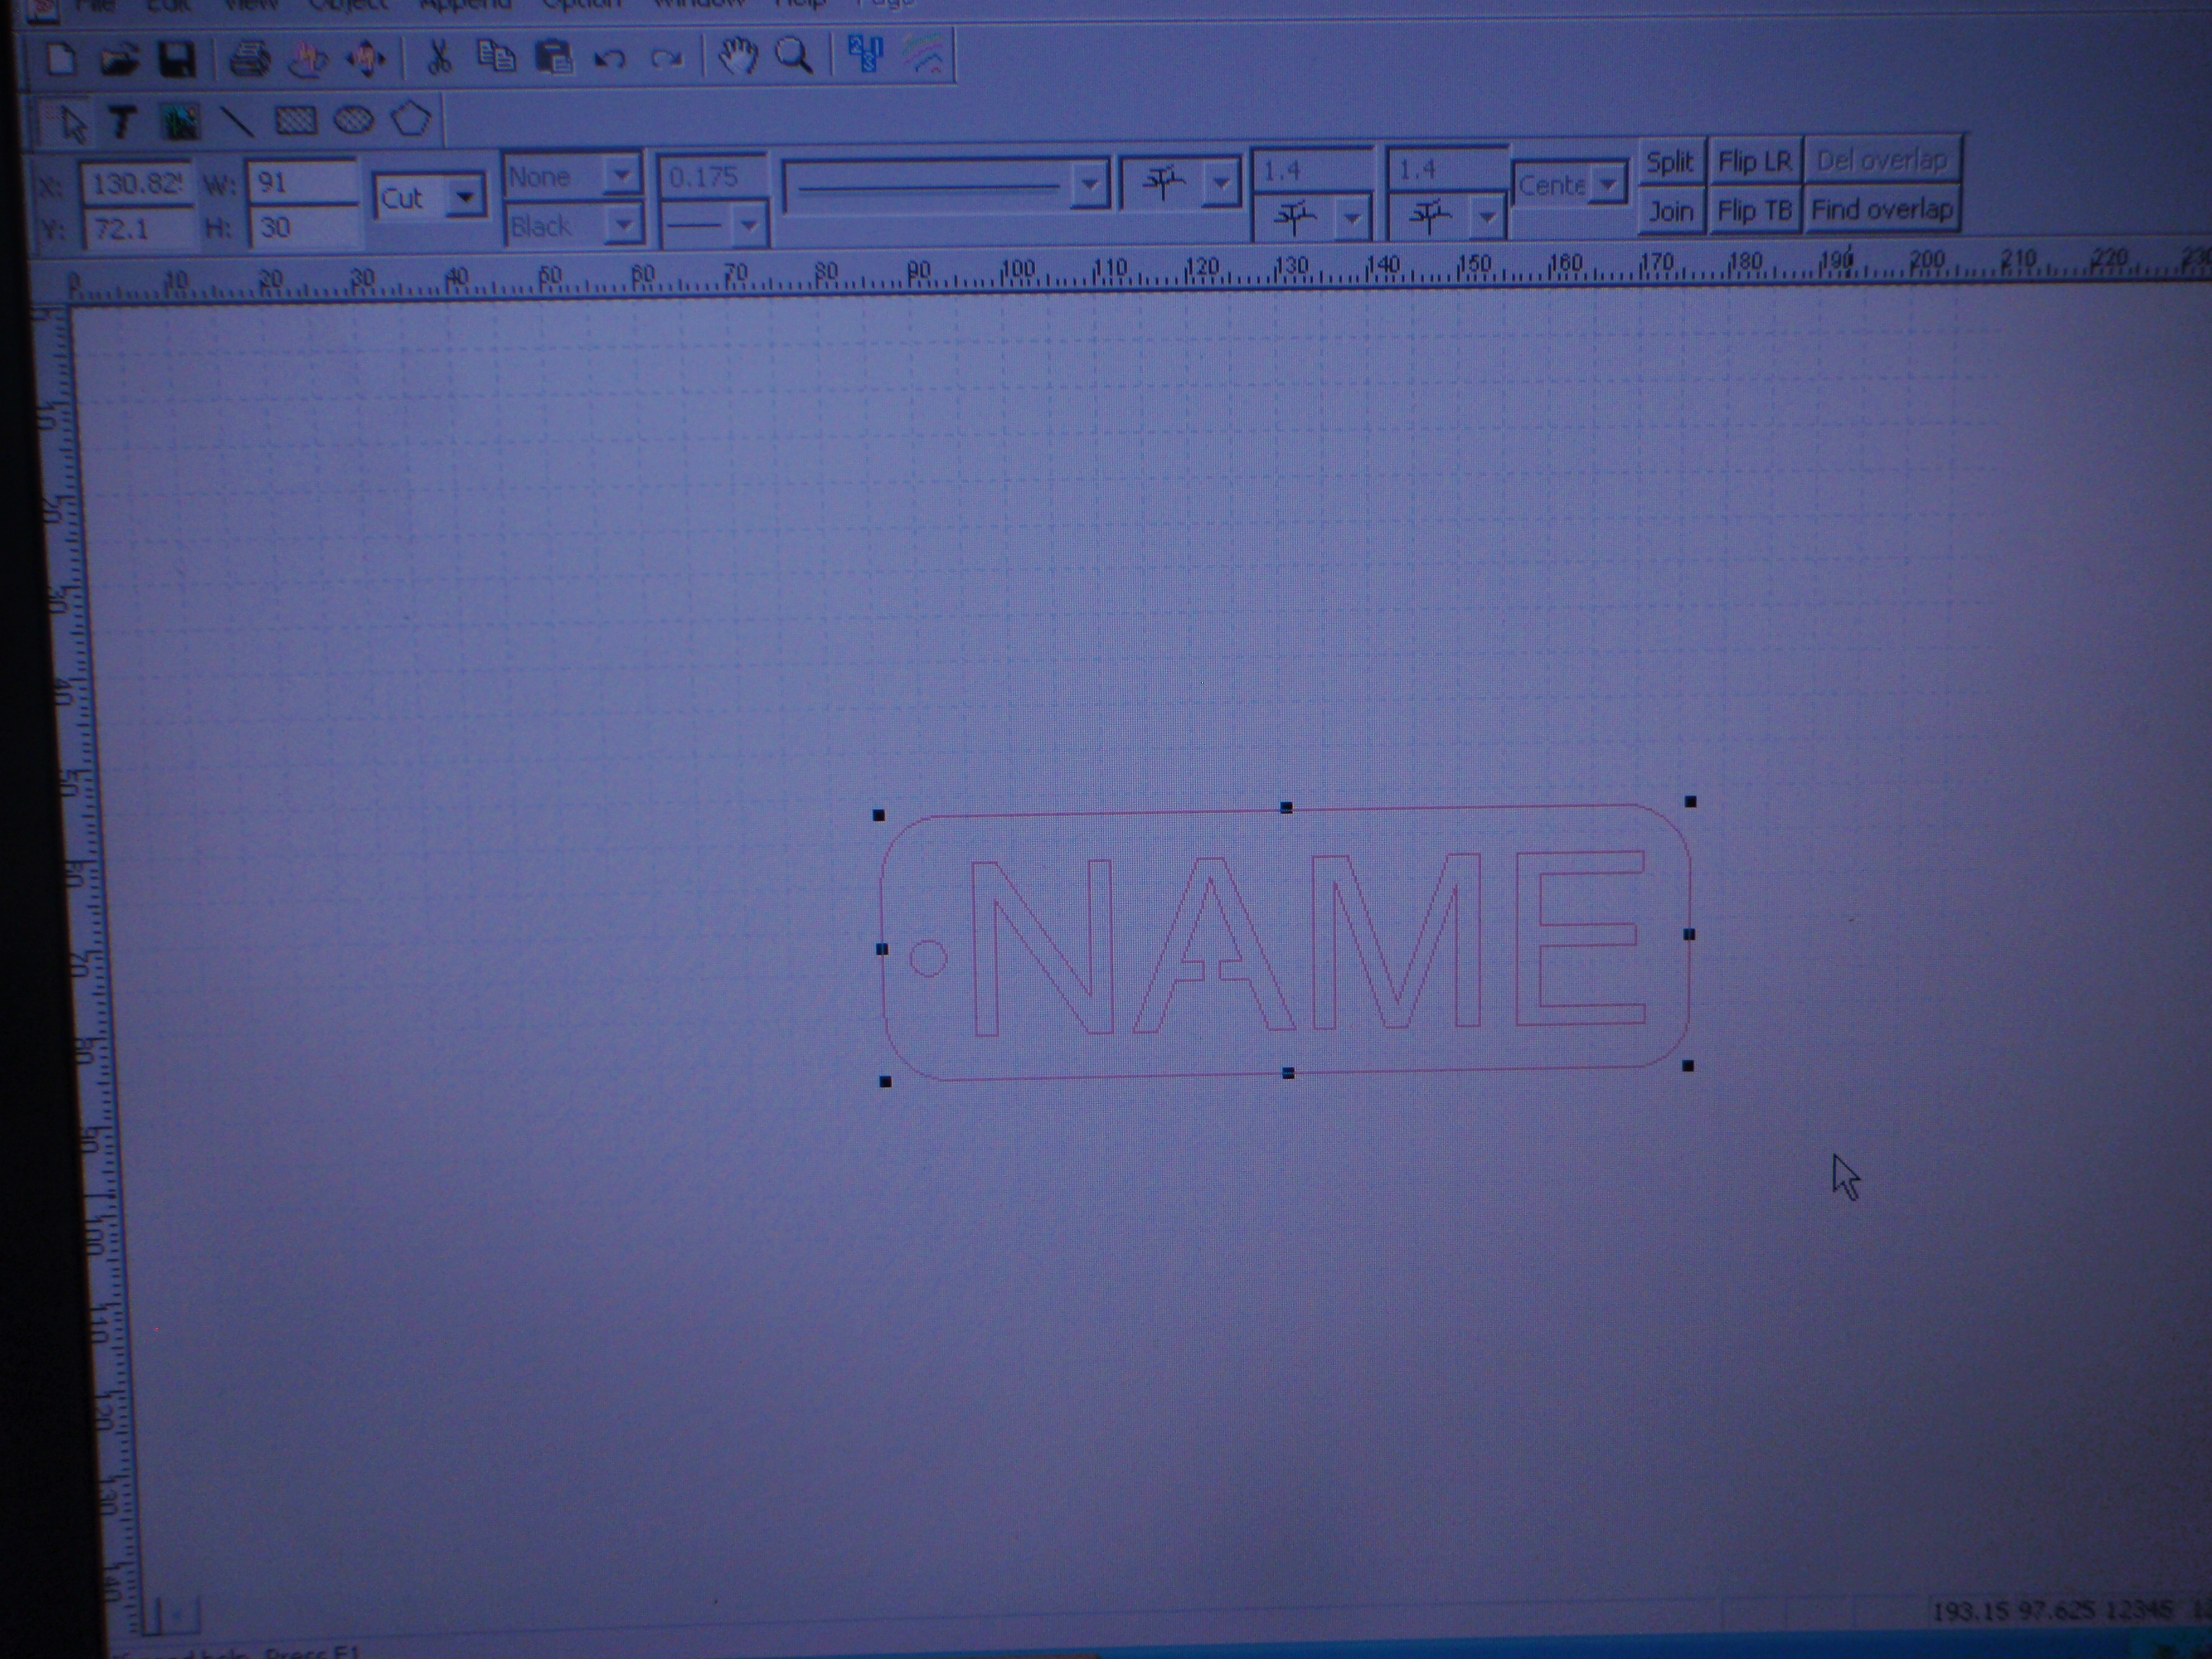
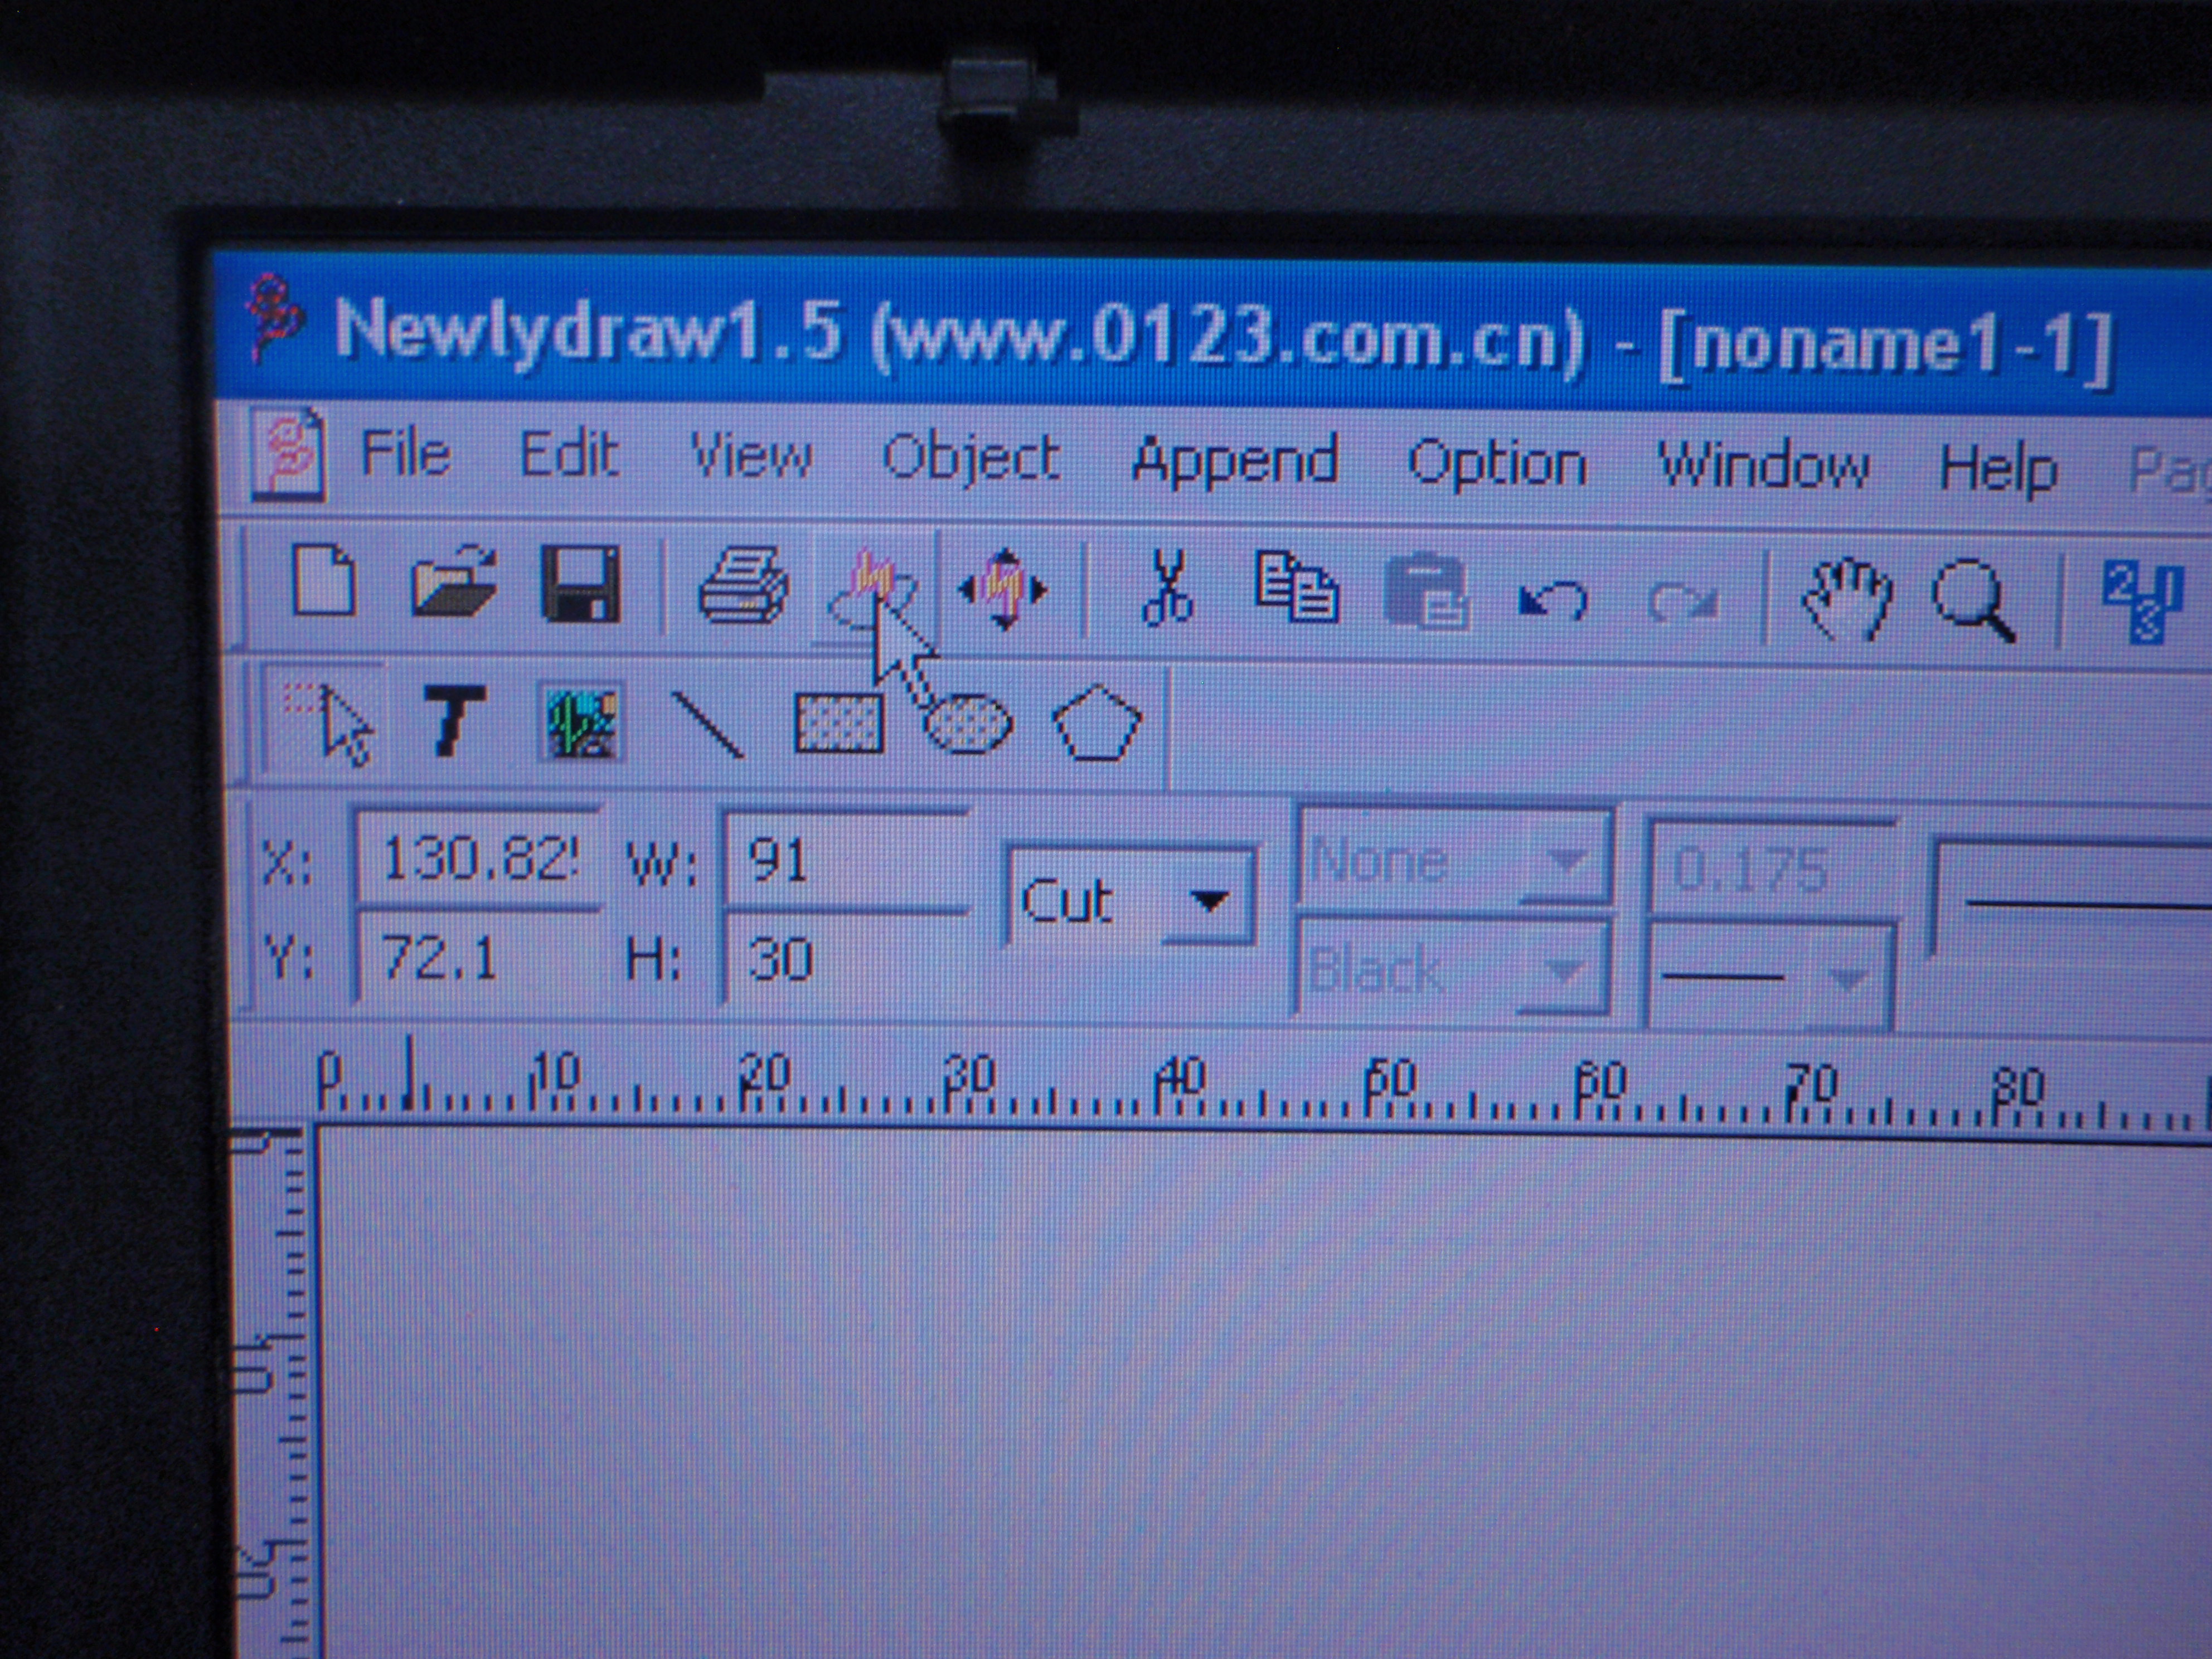
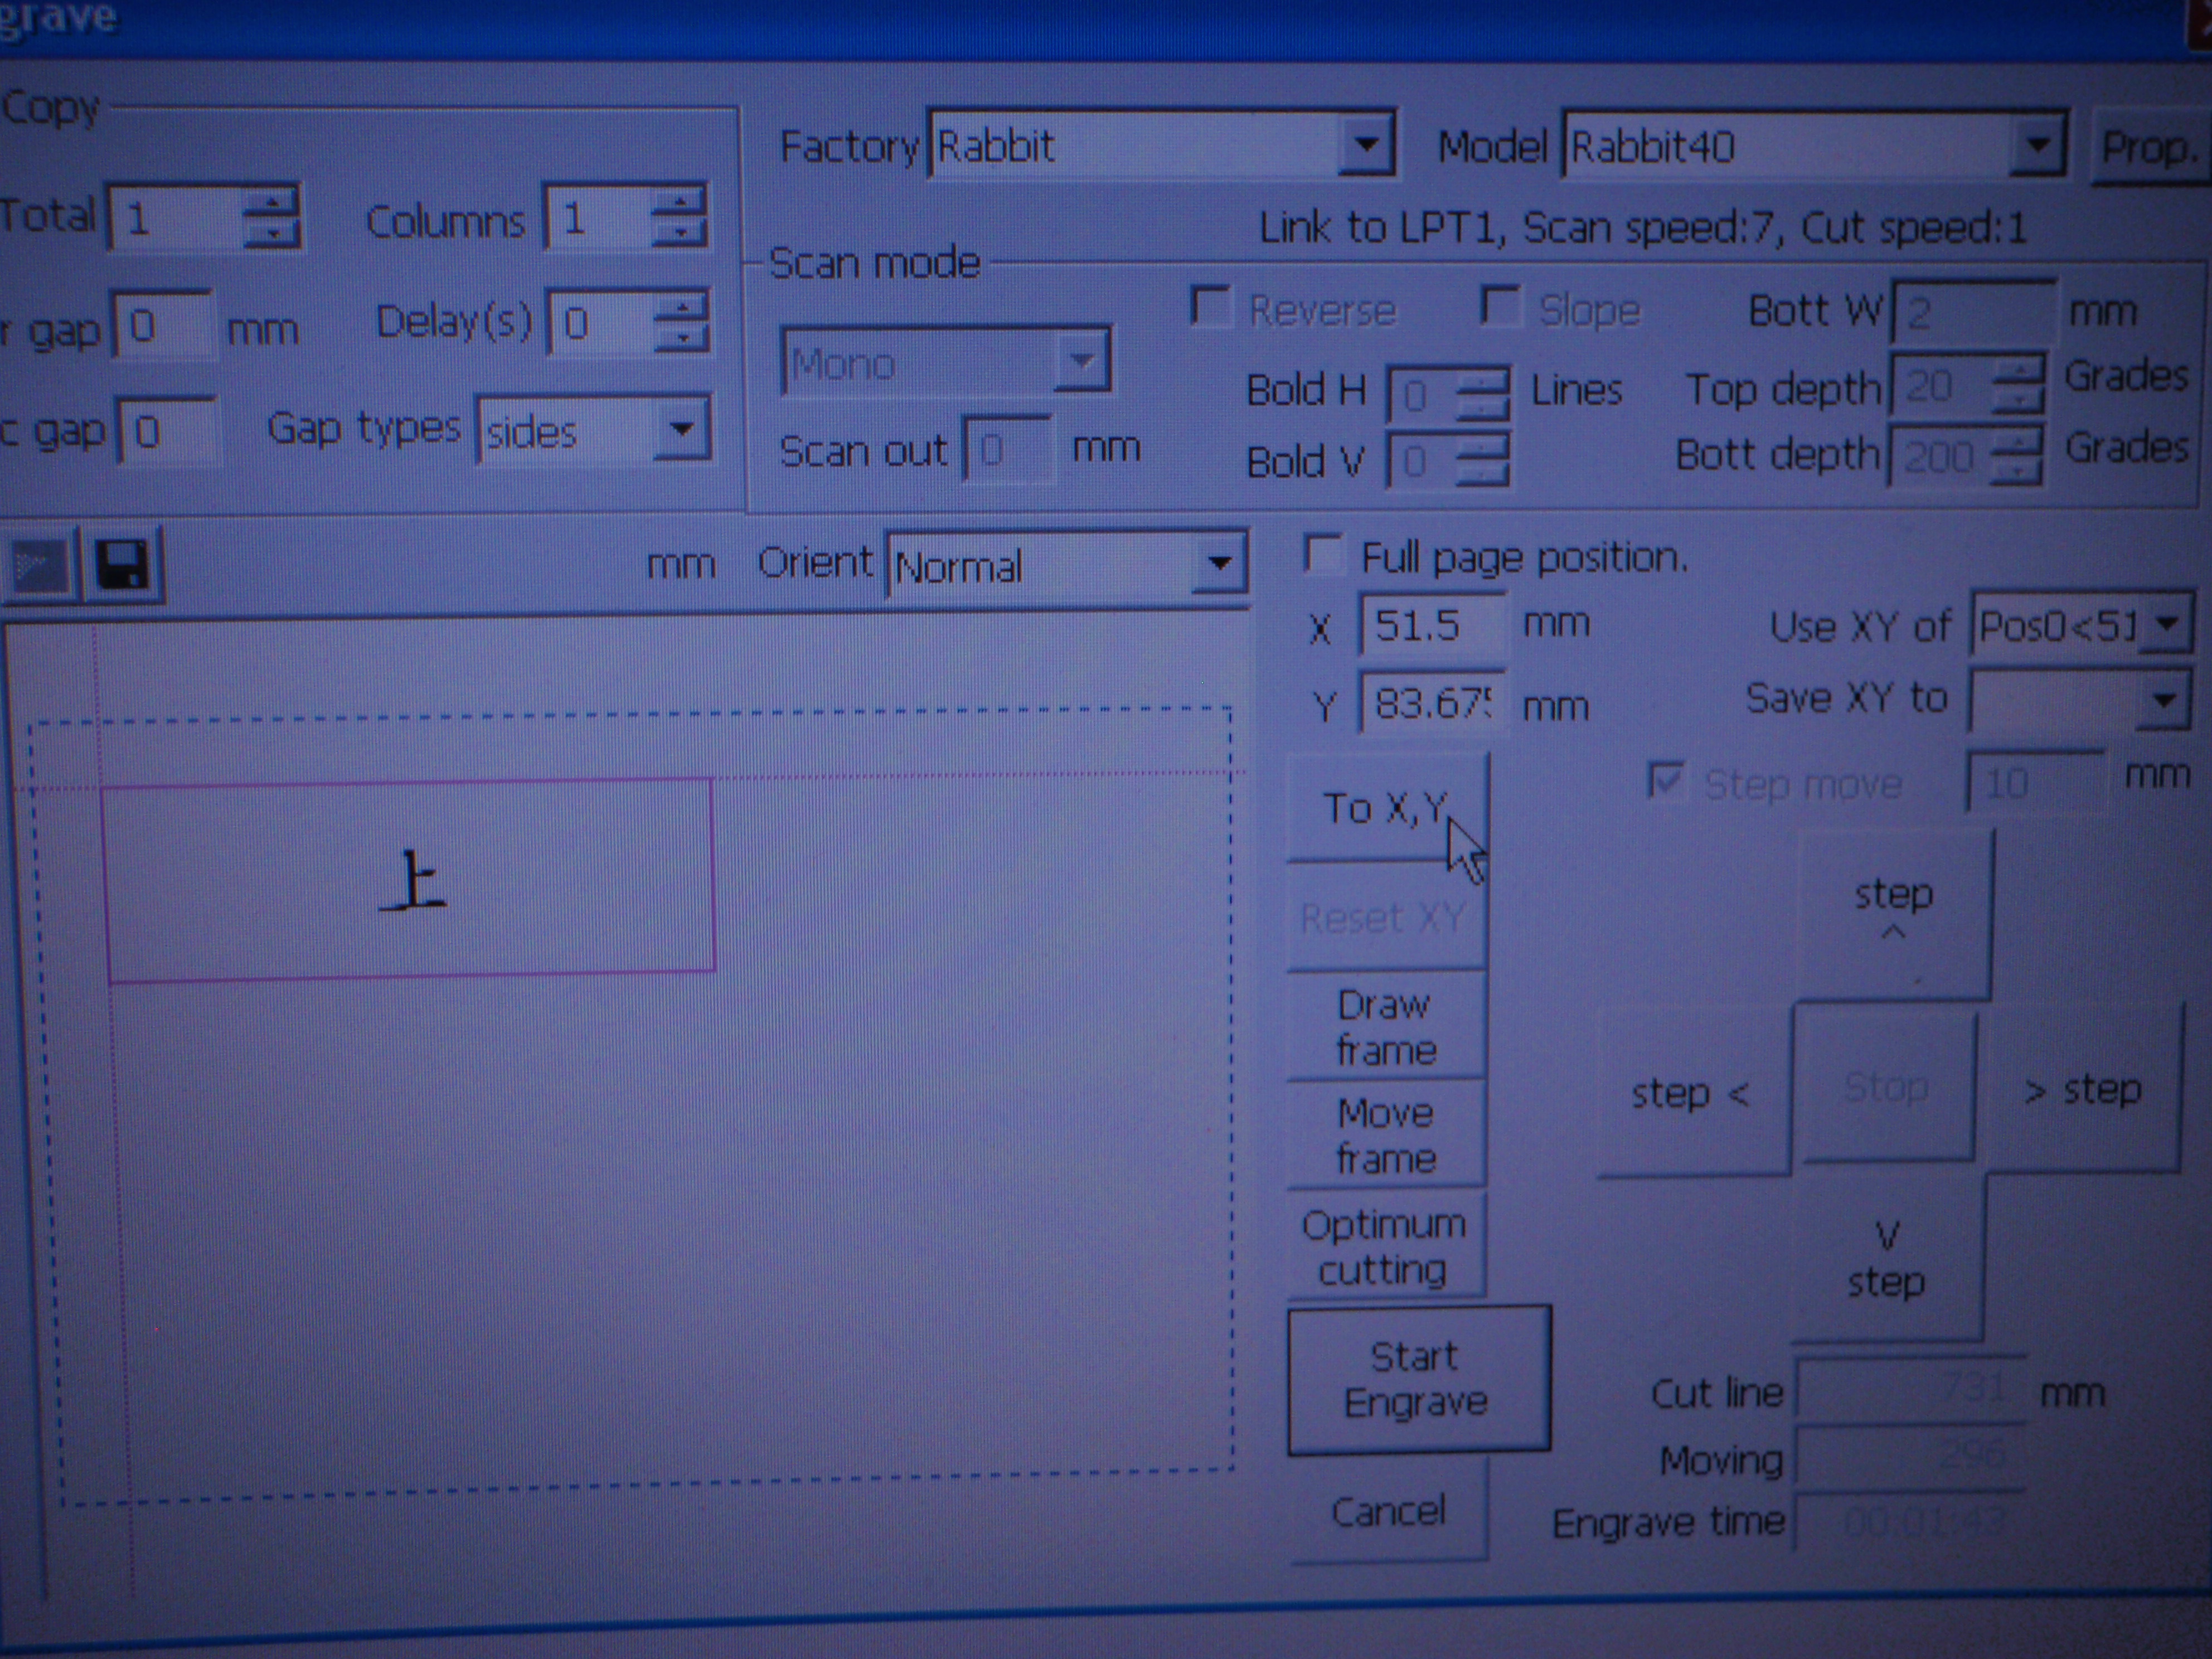
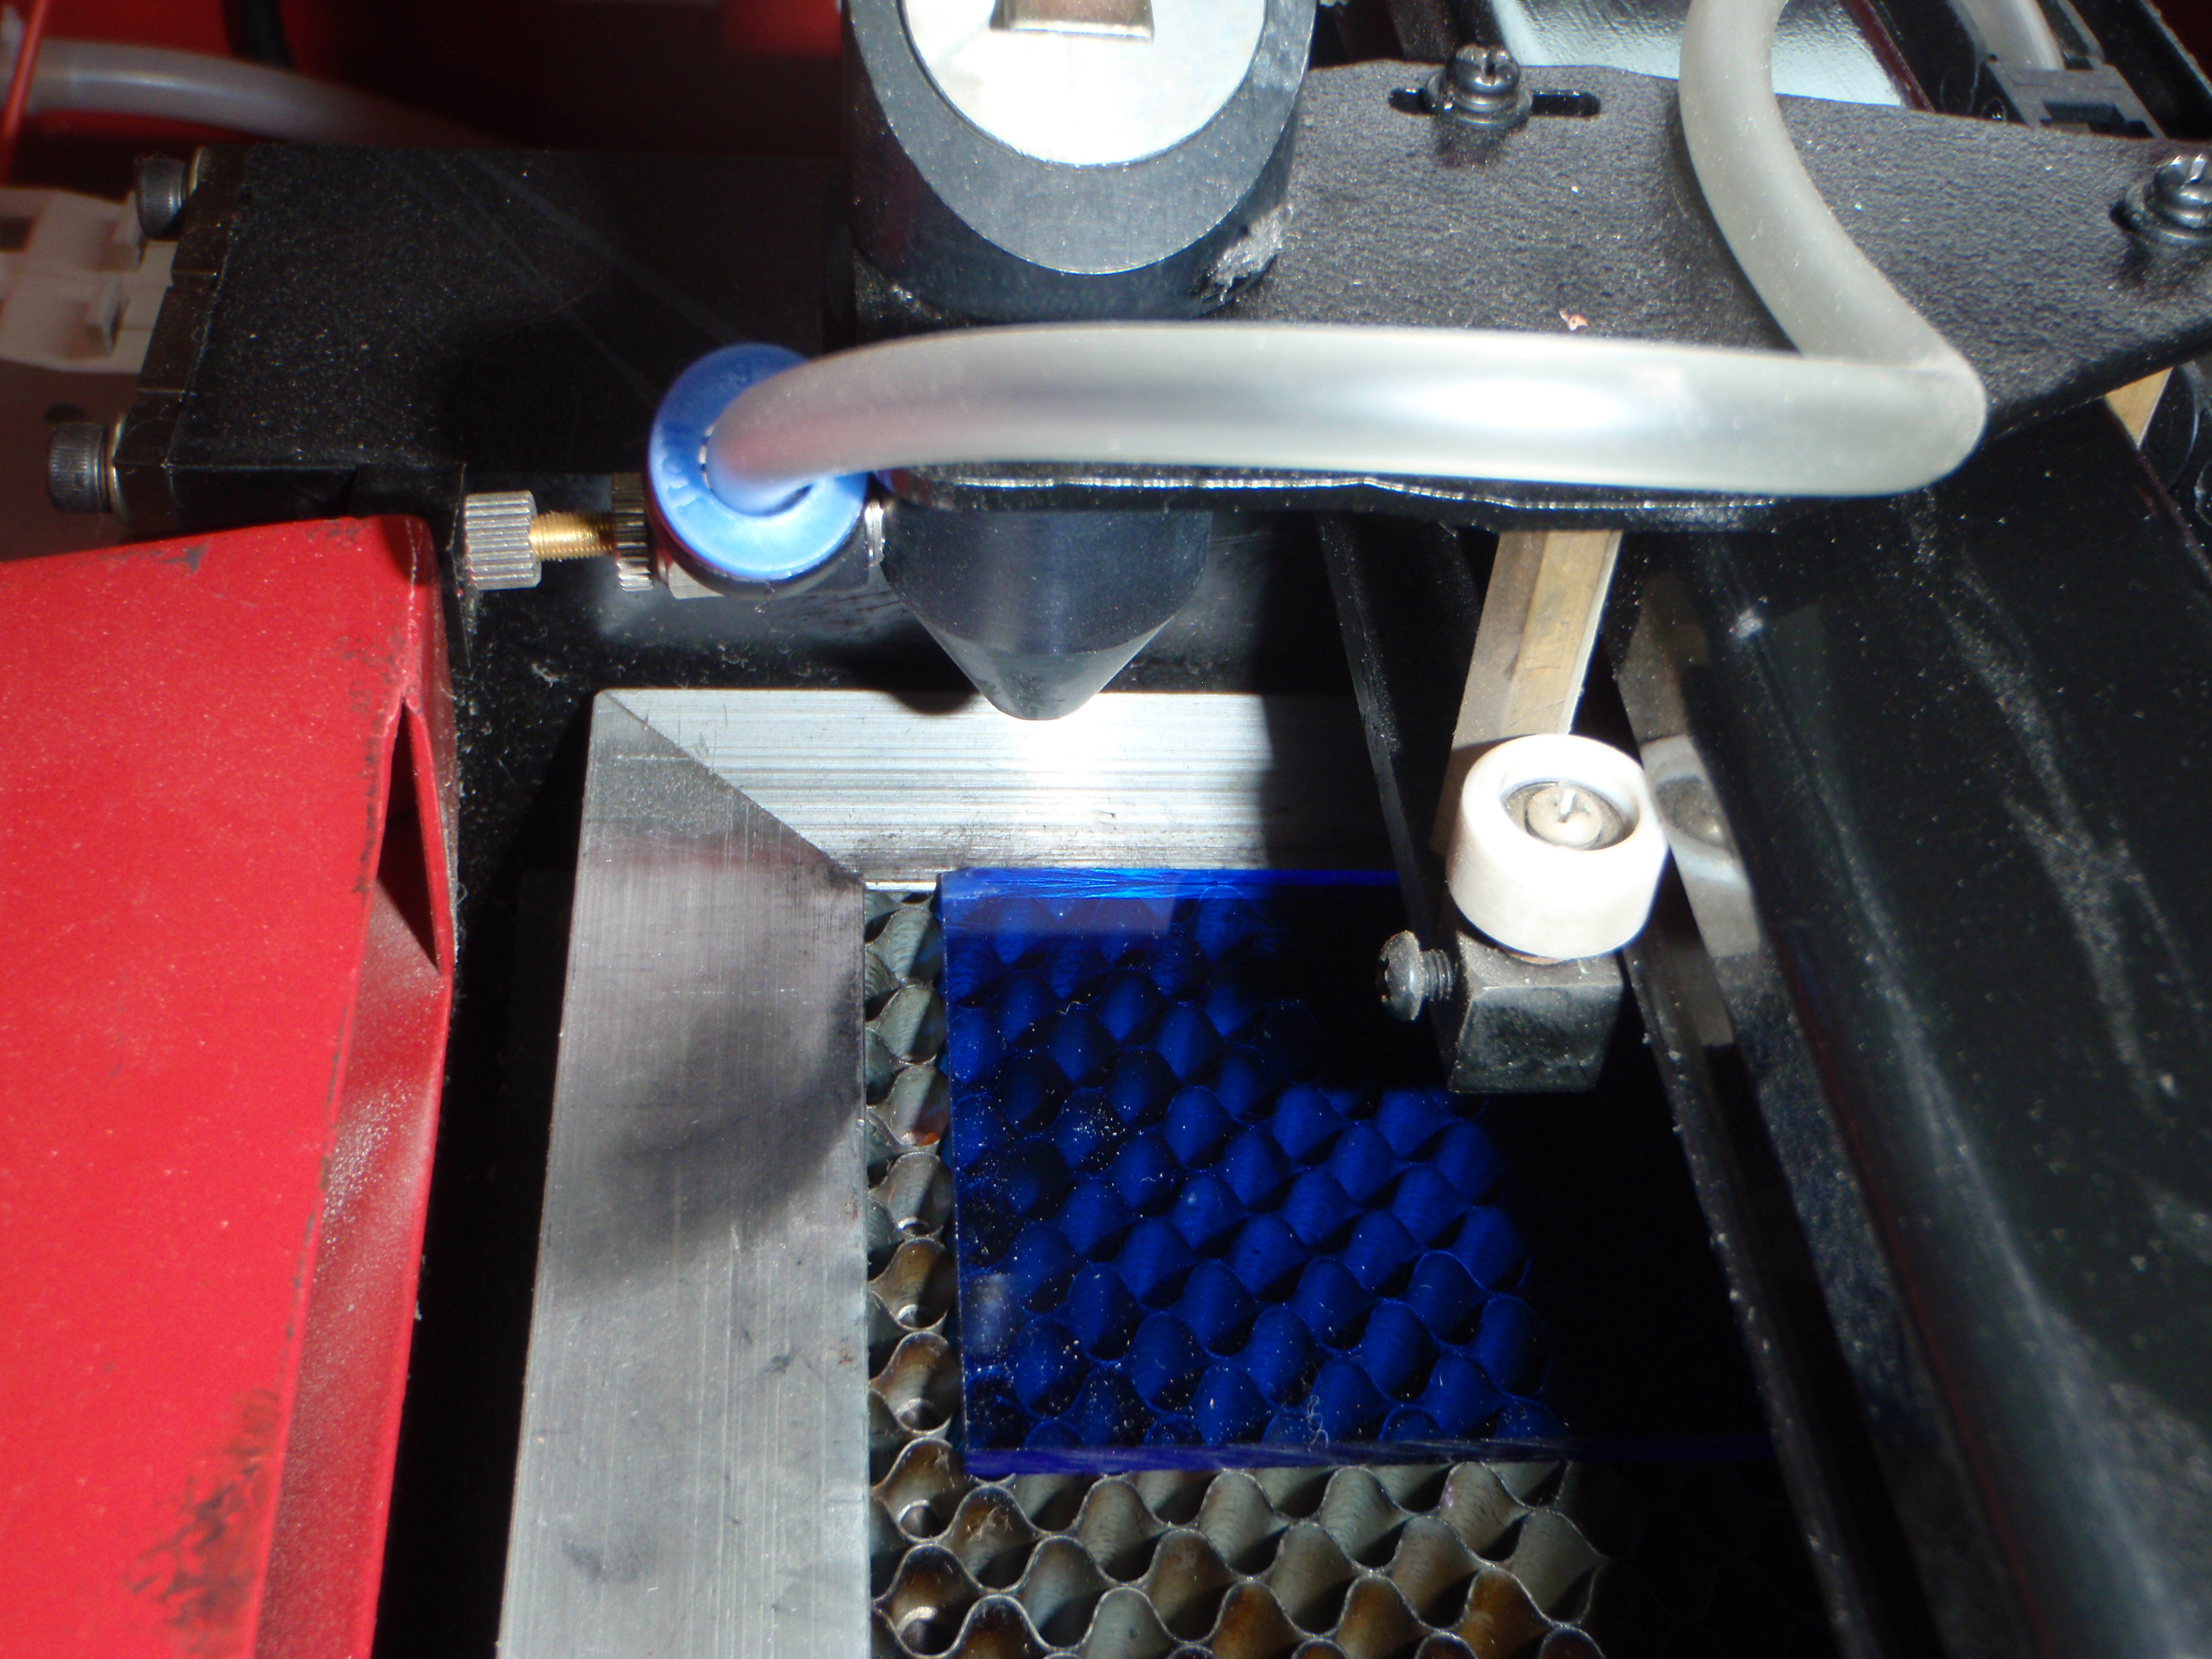
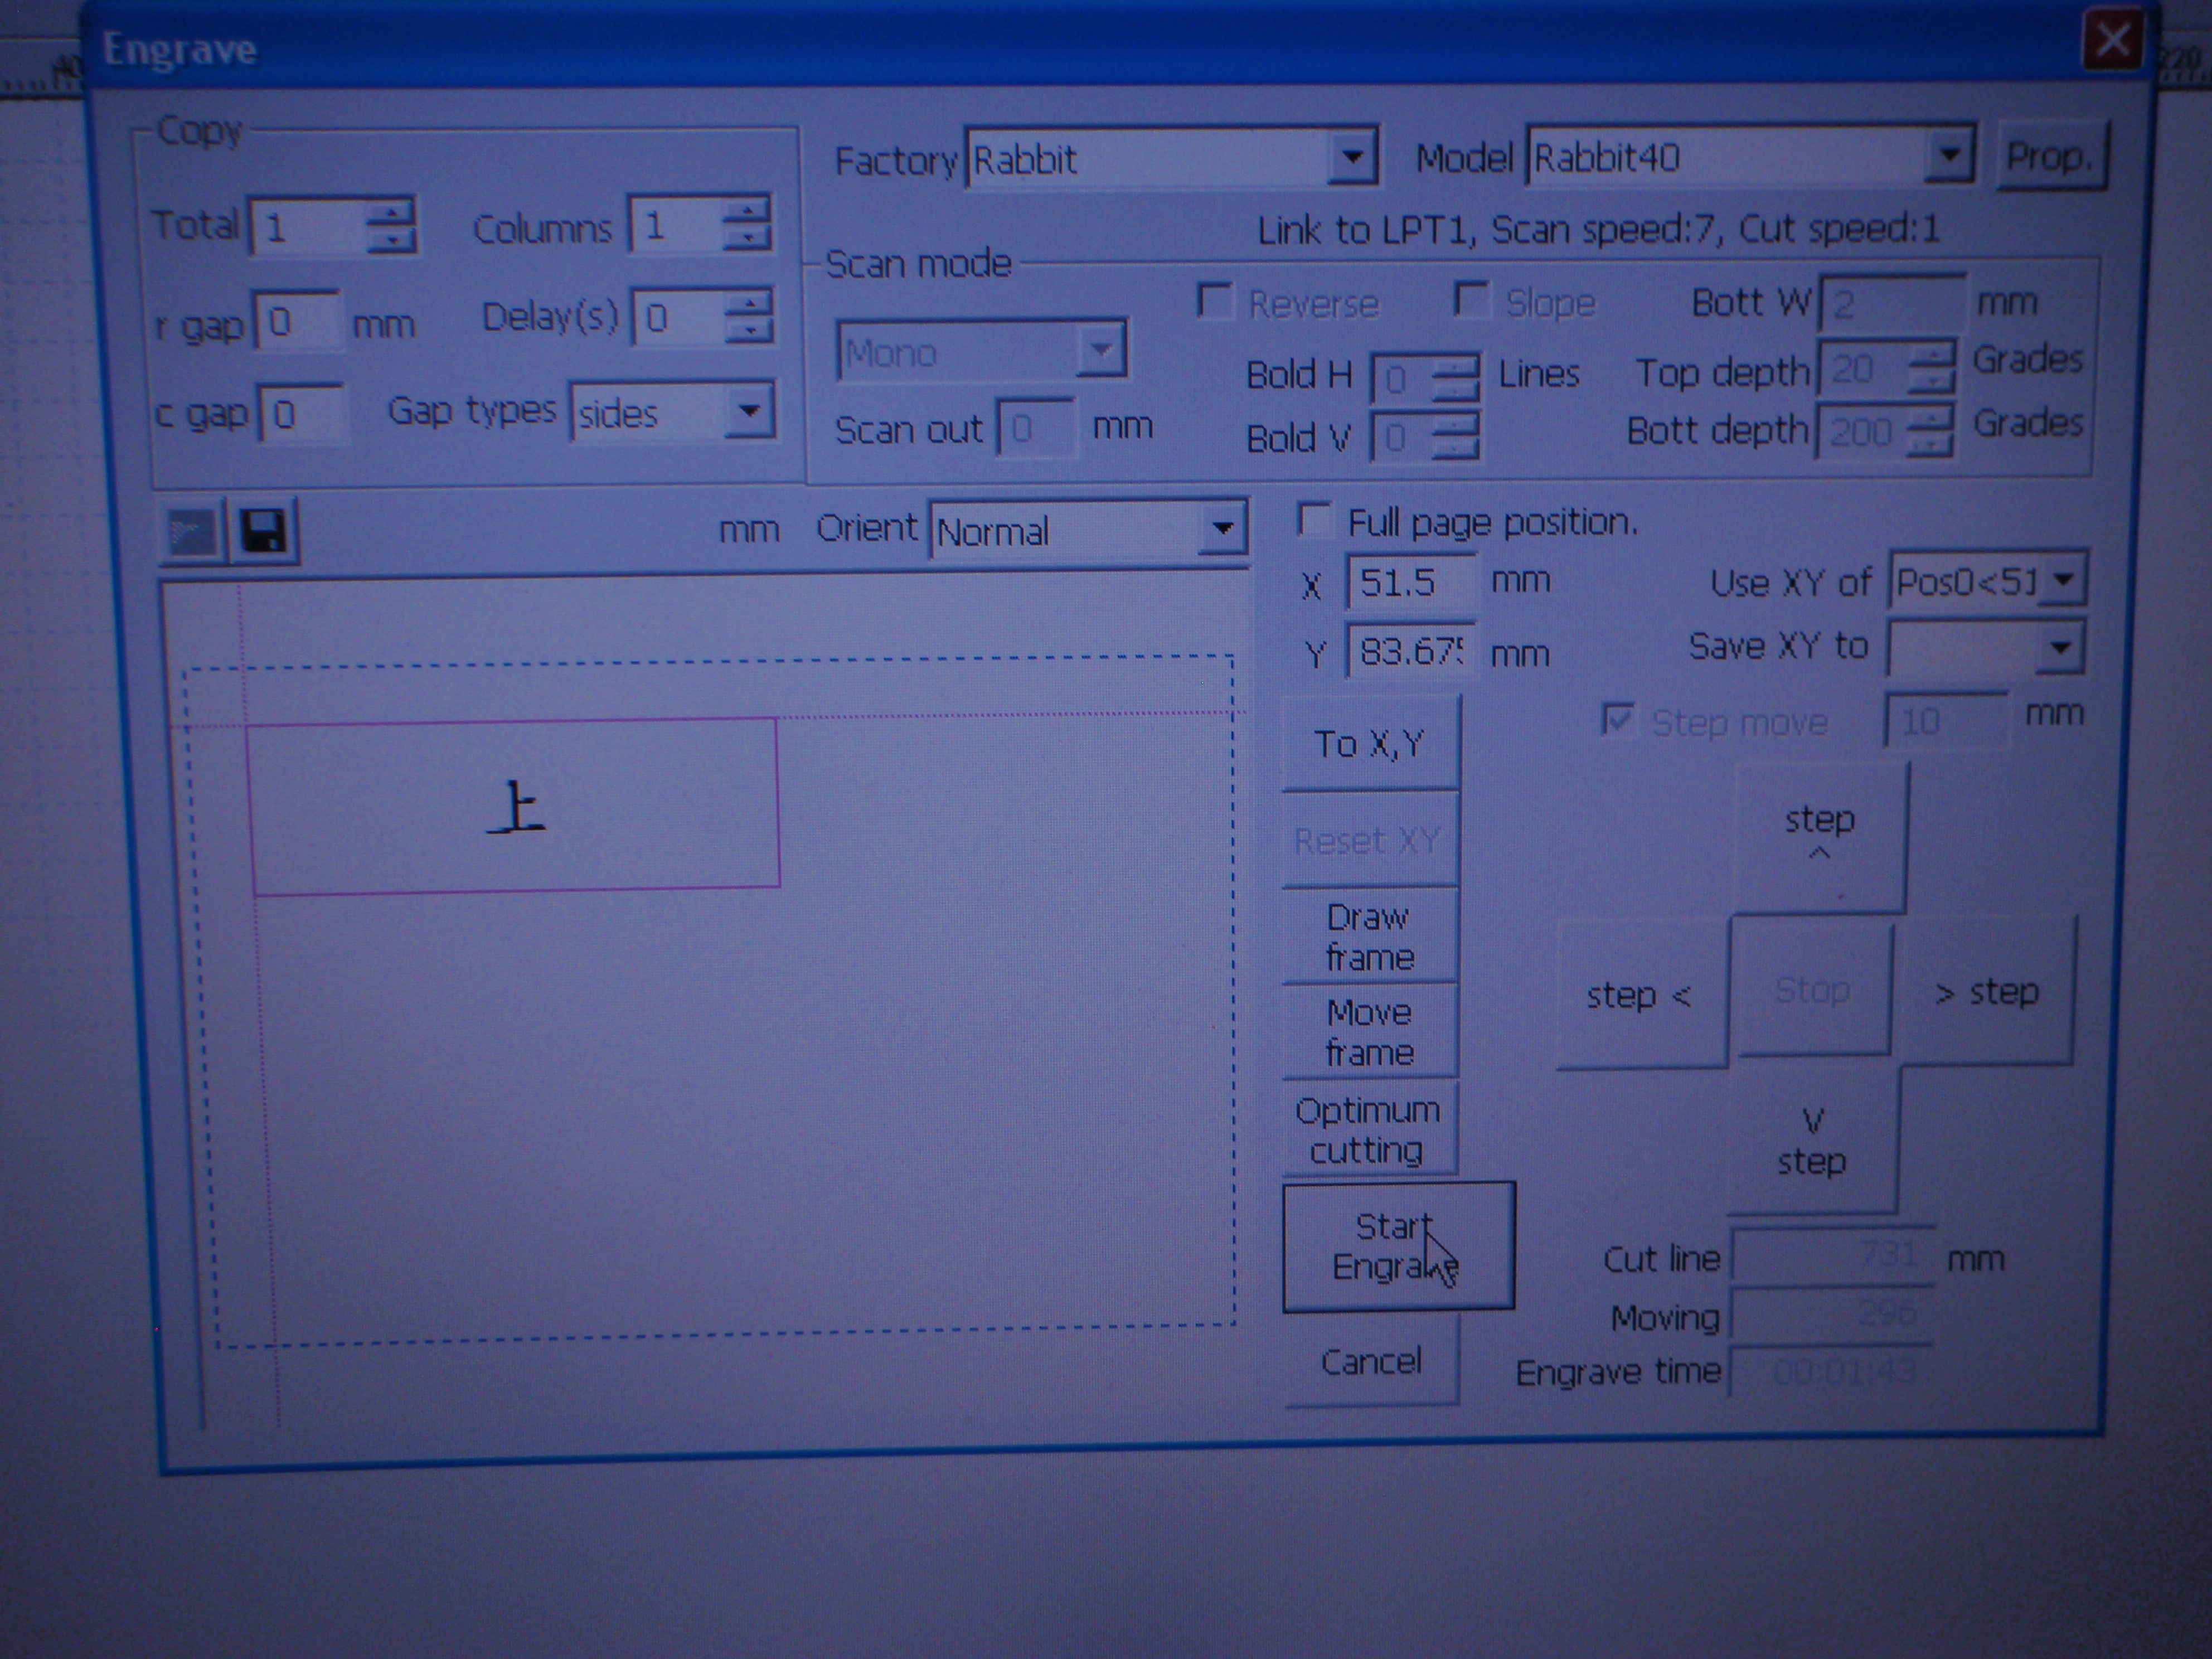
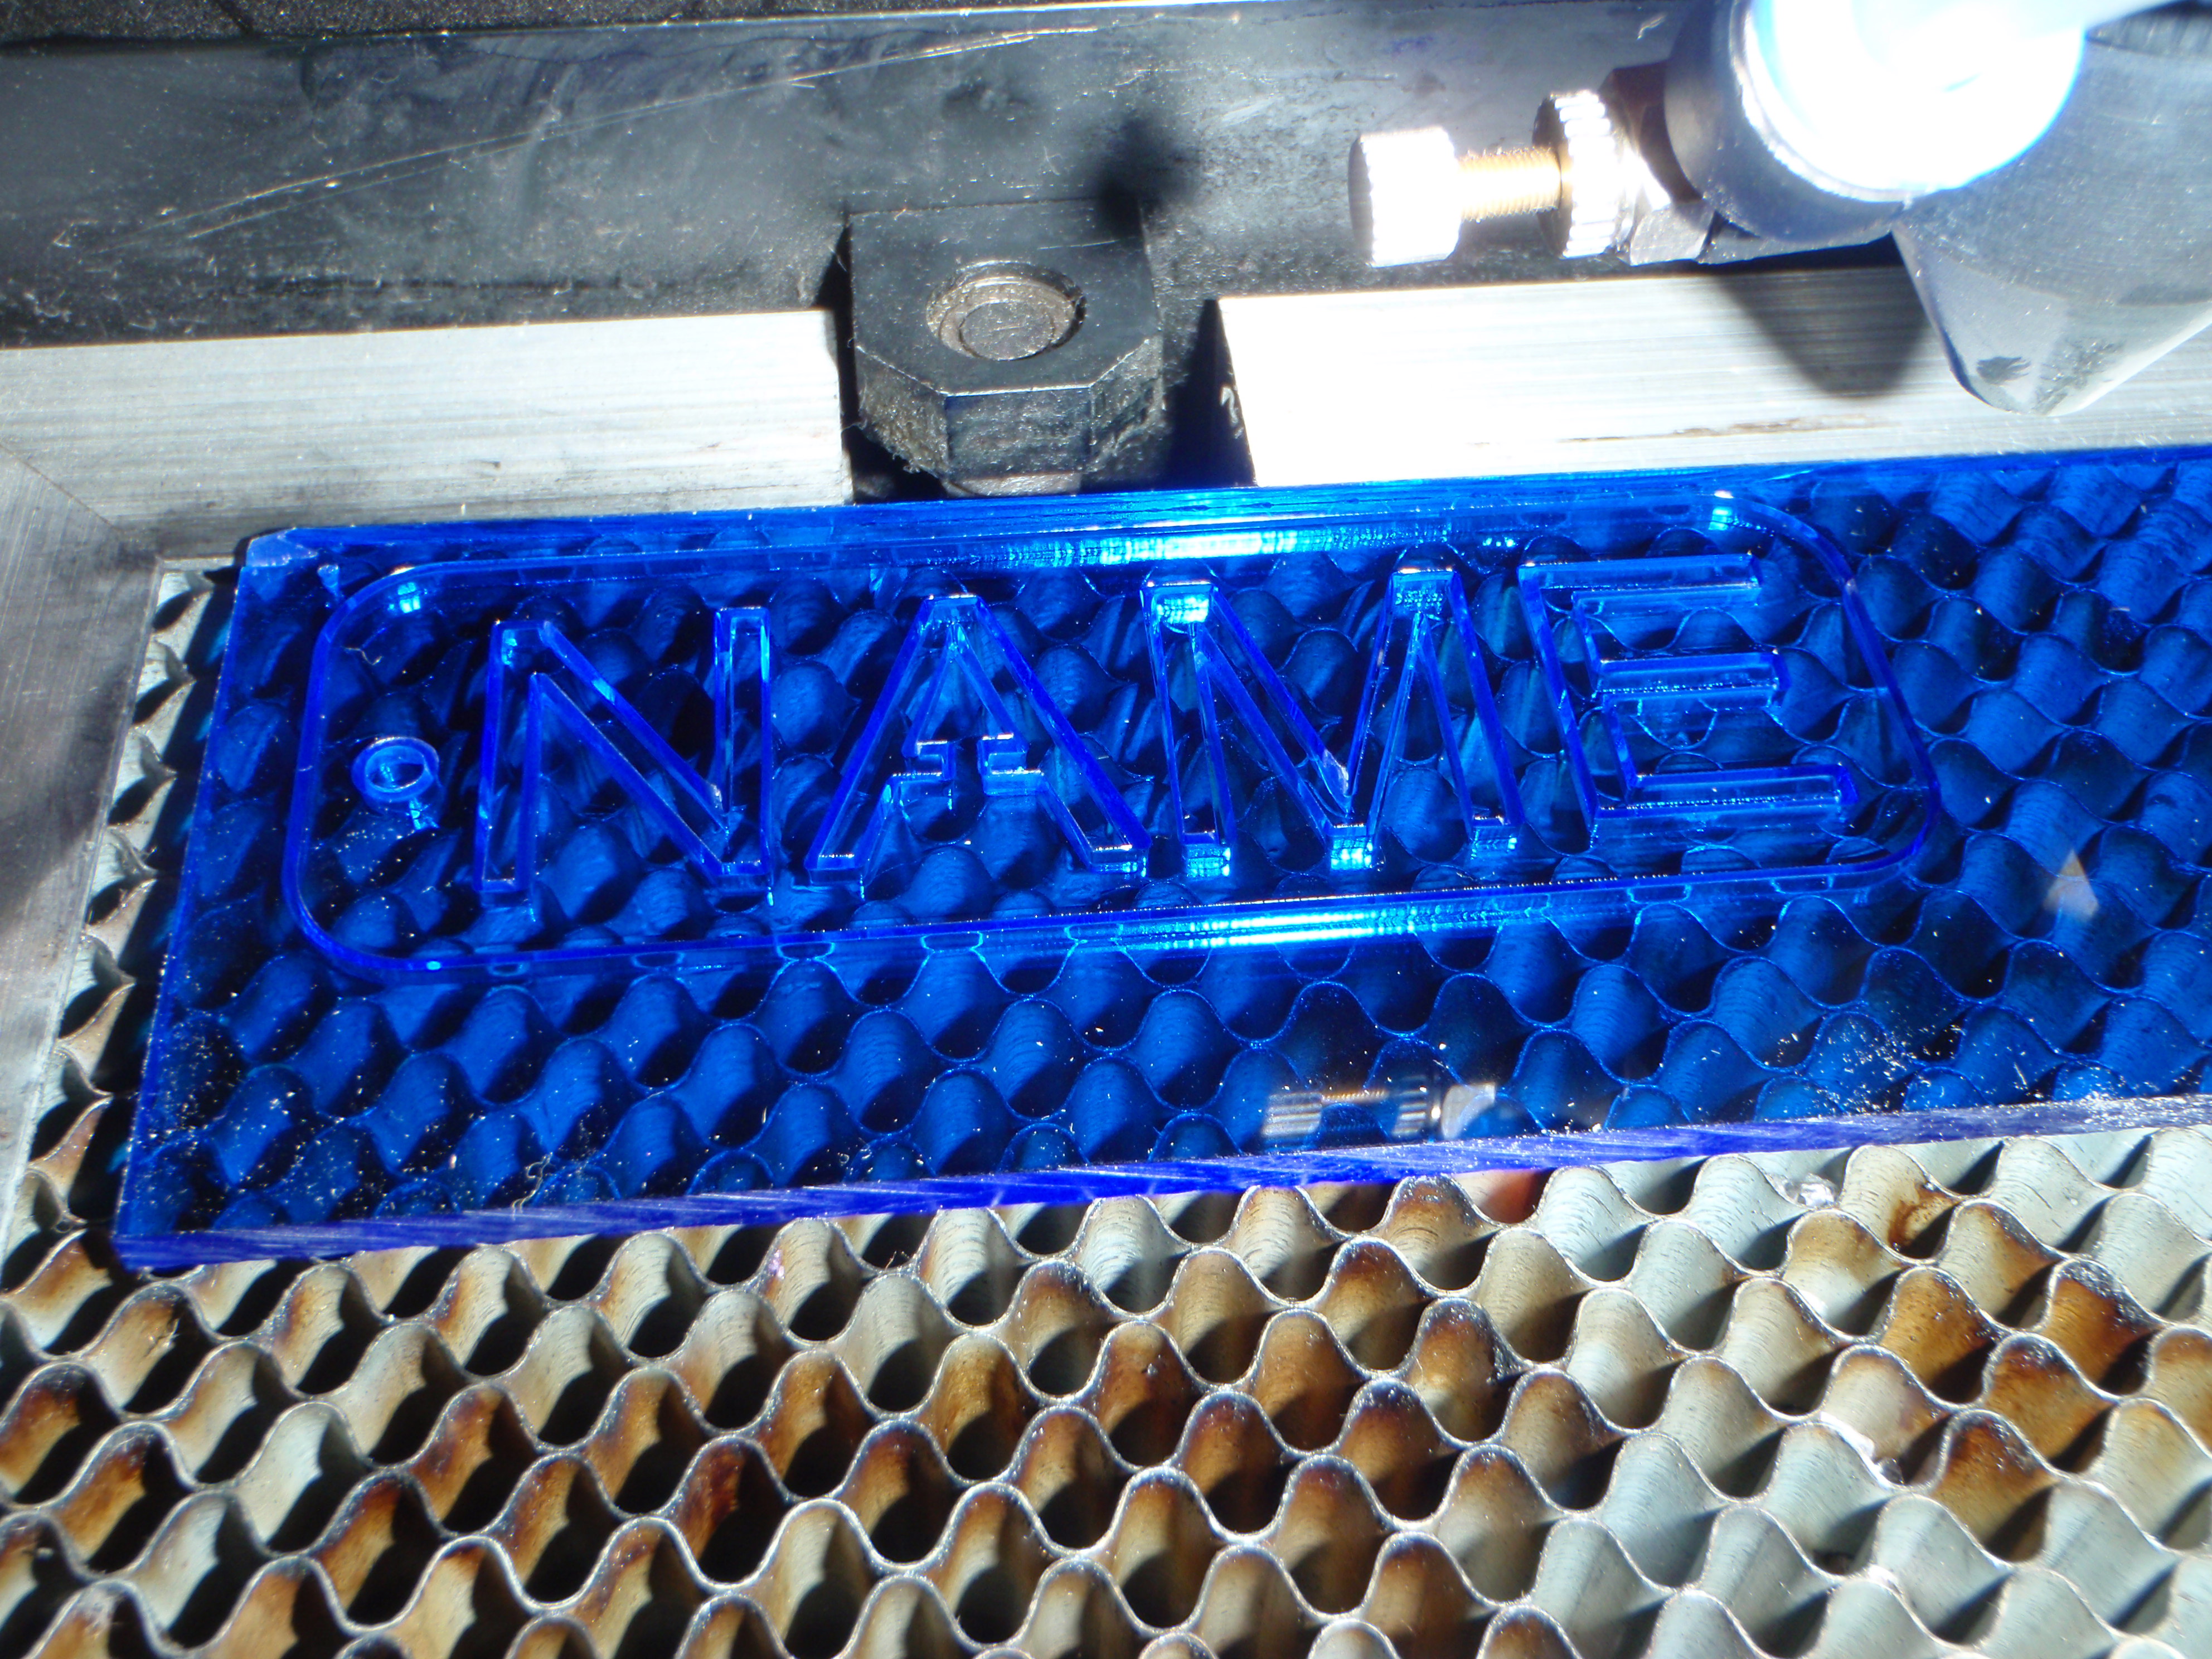
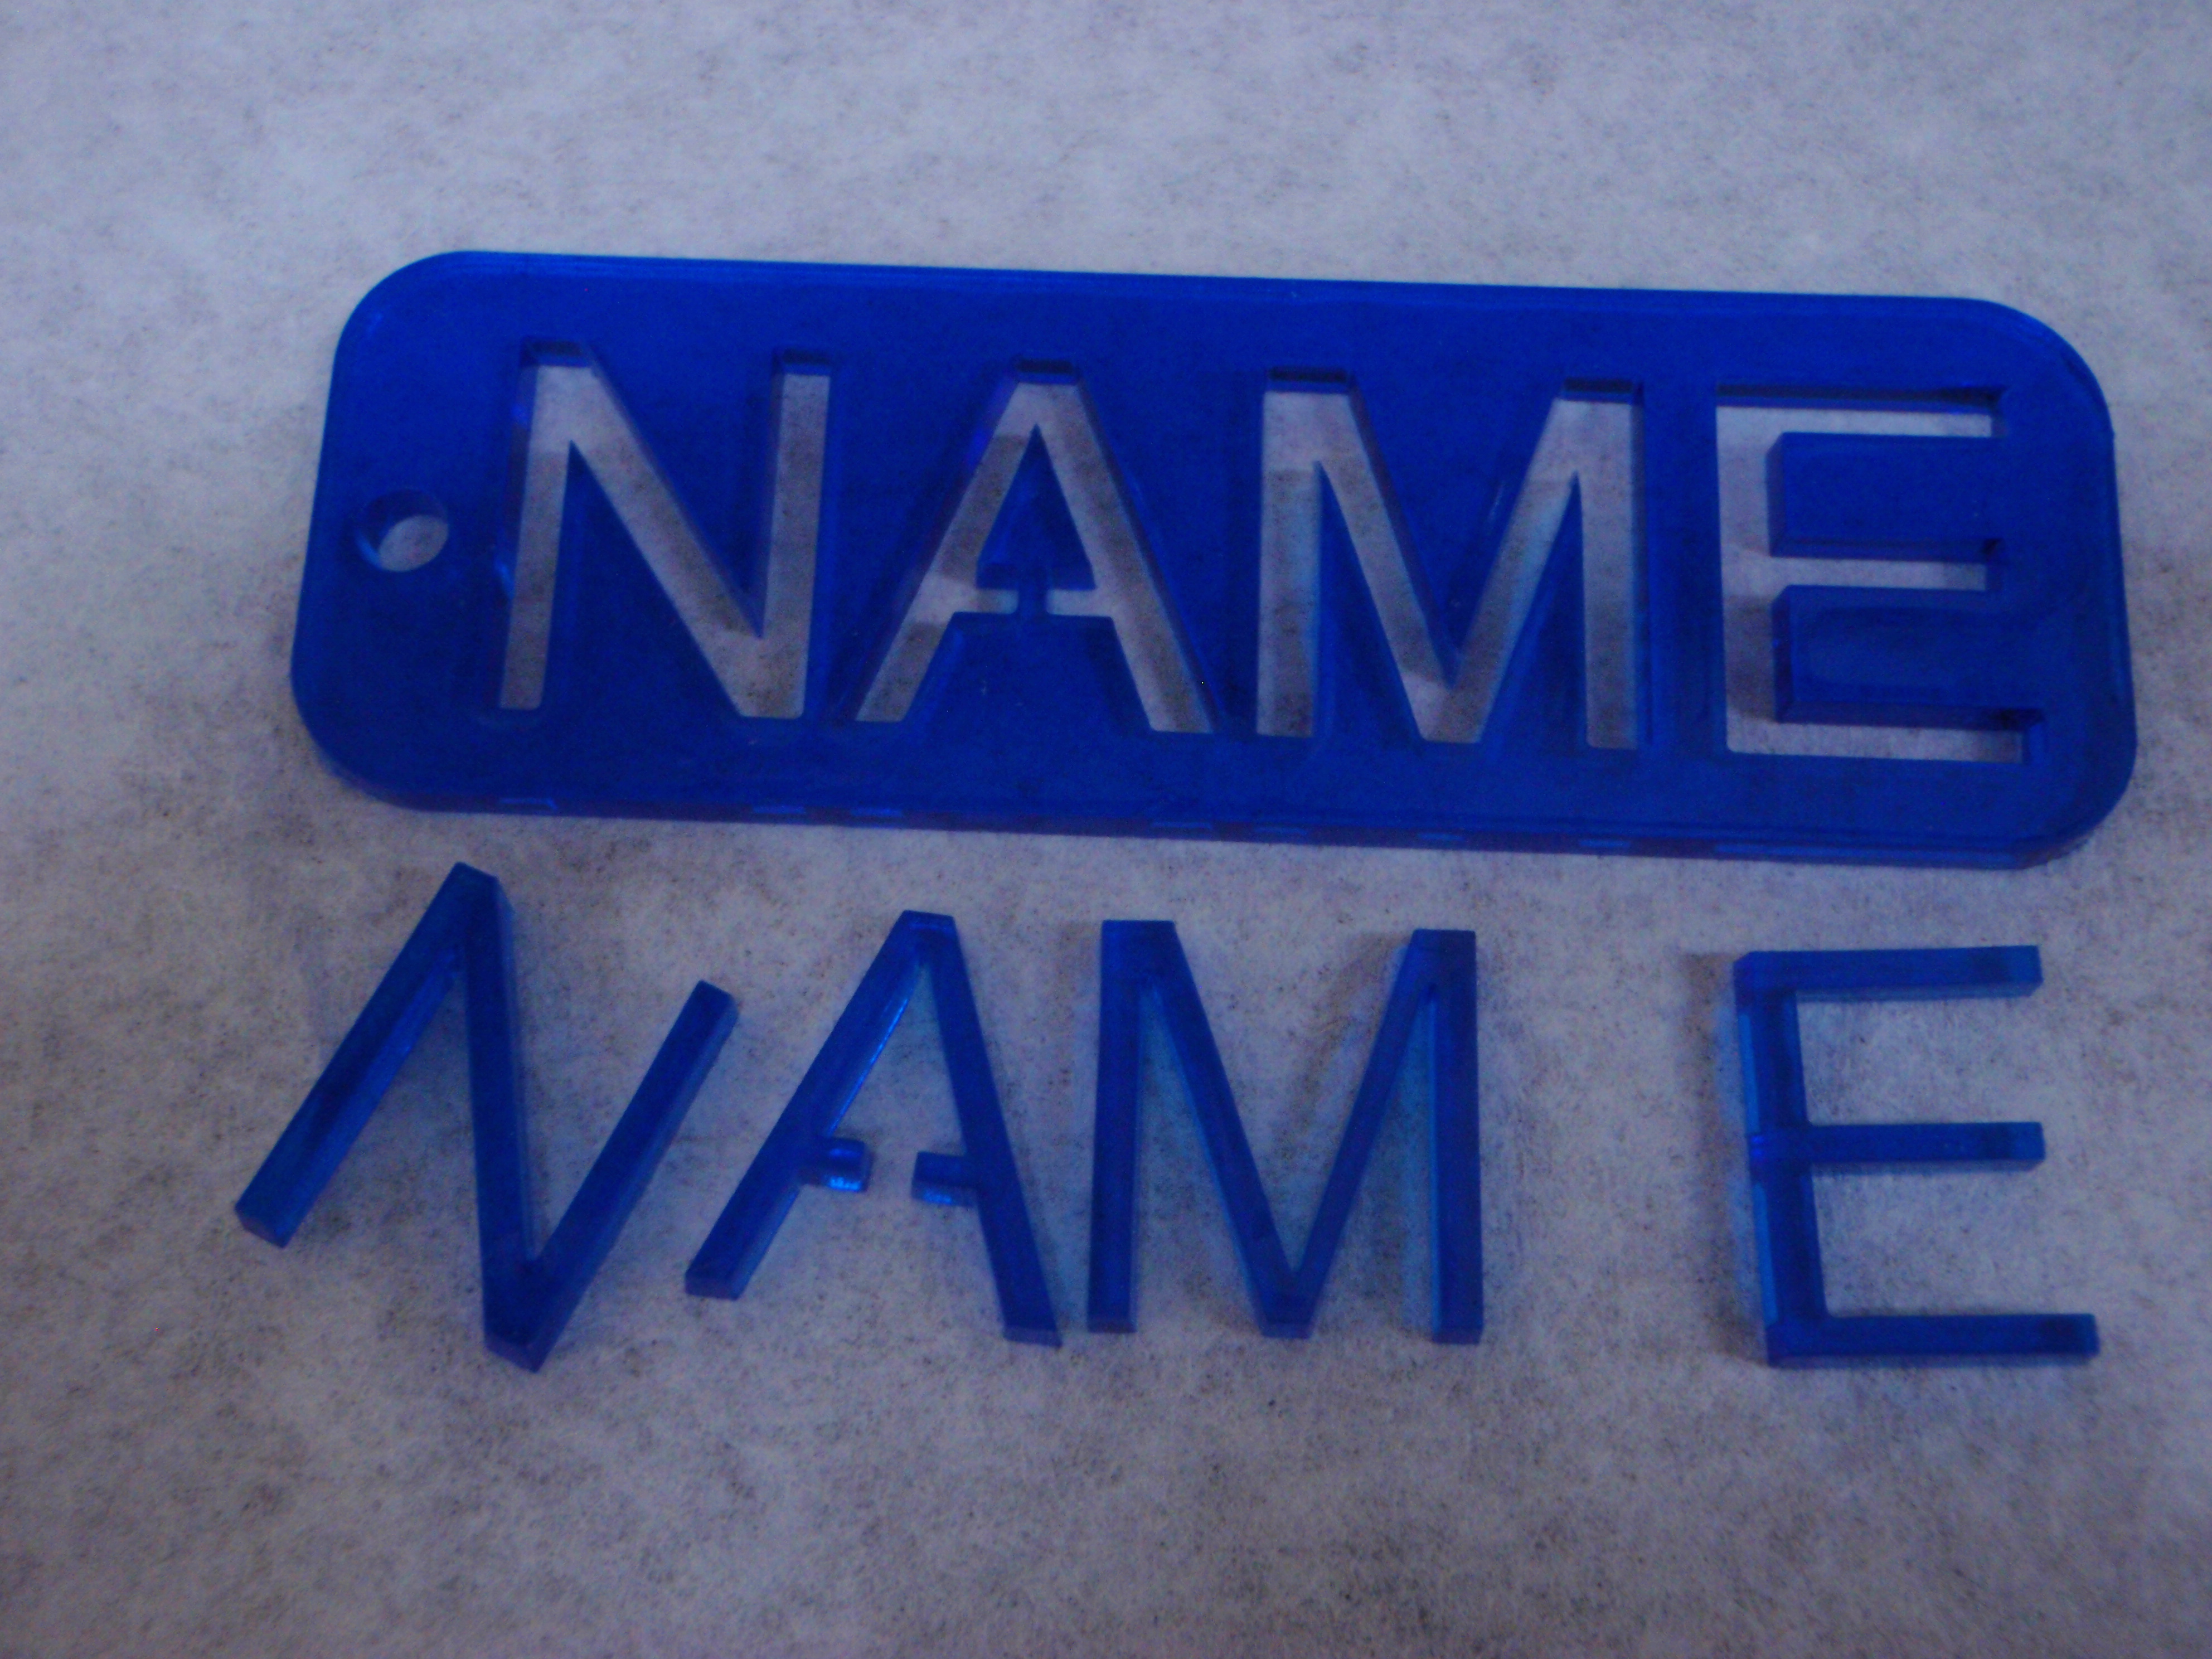
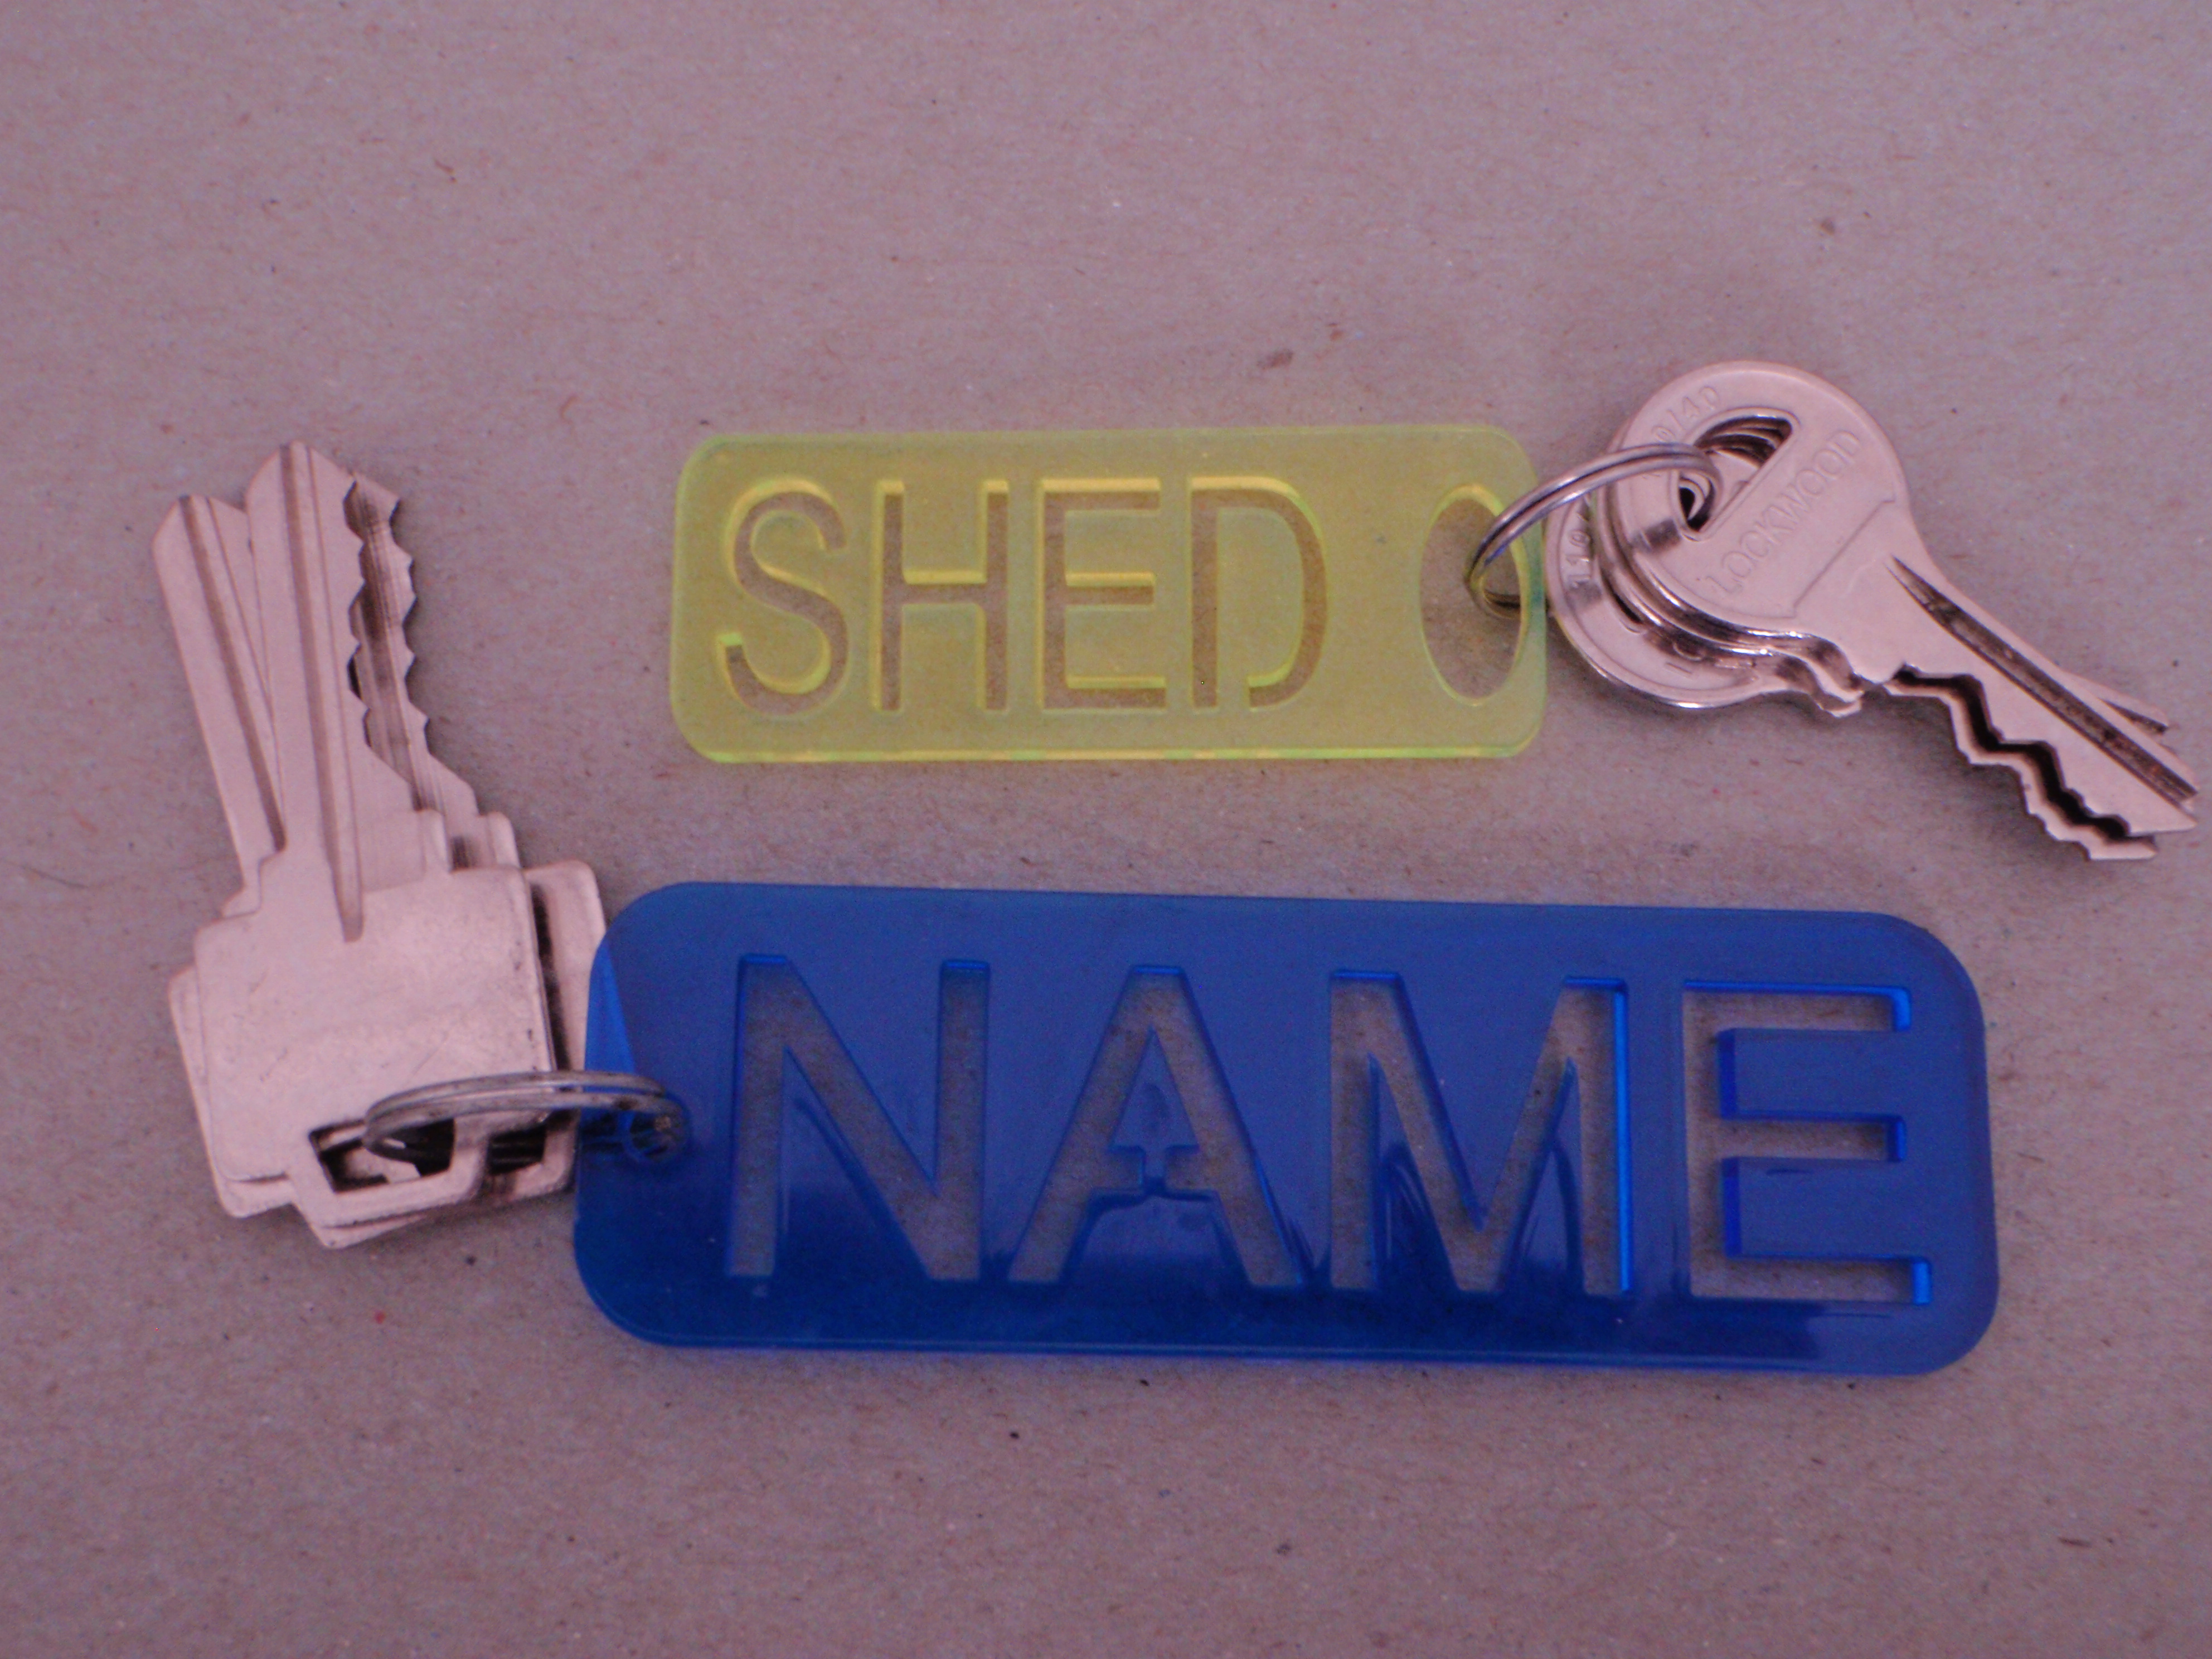
Now you remember your DXF file right? Here's how to make your drawing a real object. This laser cutter is a cheap one from Ebay and has preformed well for the last three years Is only 40 watts but cuts acrylic and MDF really well.
anyway click on the photos....