Digital Fabrication : Bent Lamination Mold
by GabrielleGera in Workshop > Woodworking
9759 Views, 81 Favorites, 0 Comments
Digital Fabrication : Bent Lamination Mold
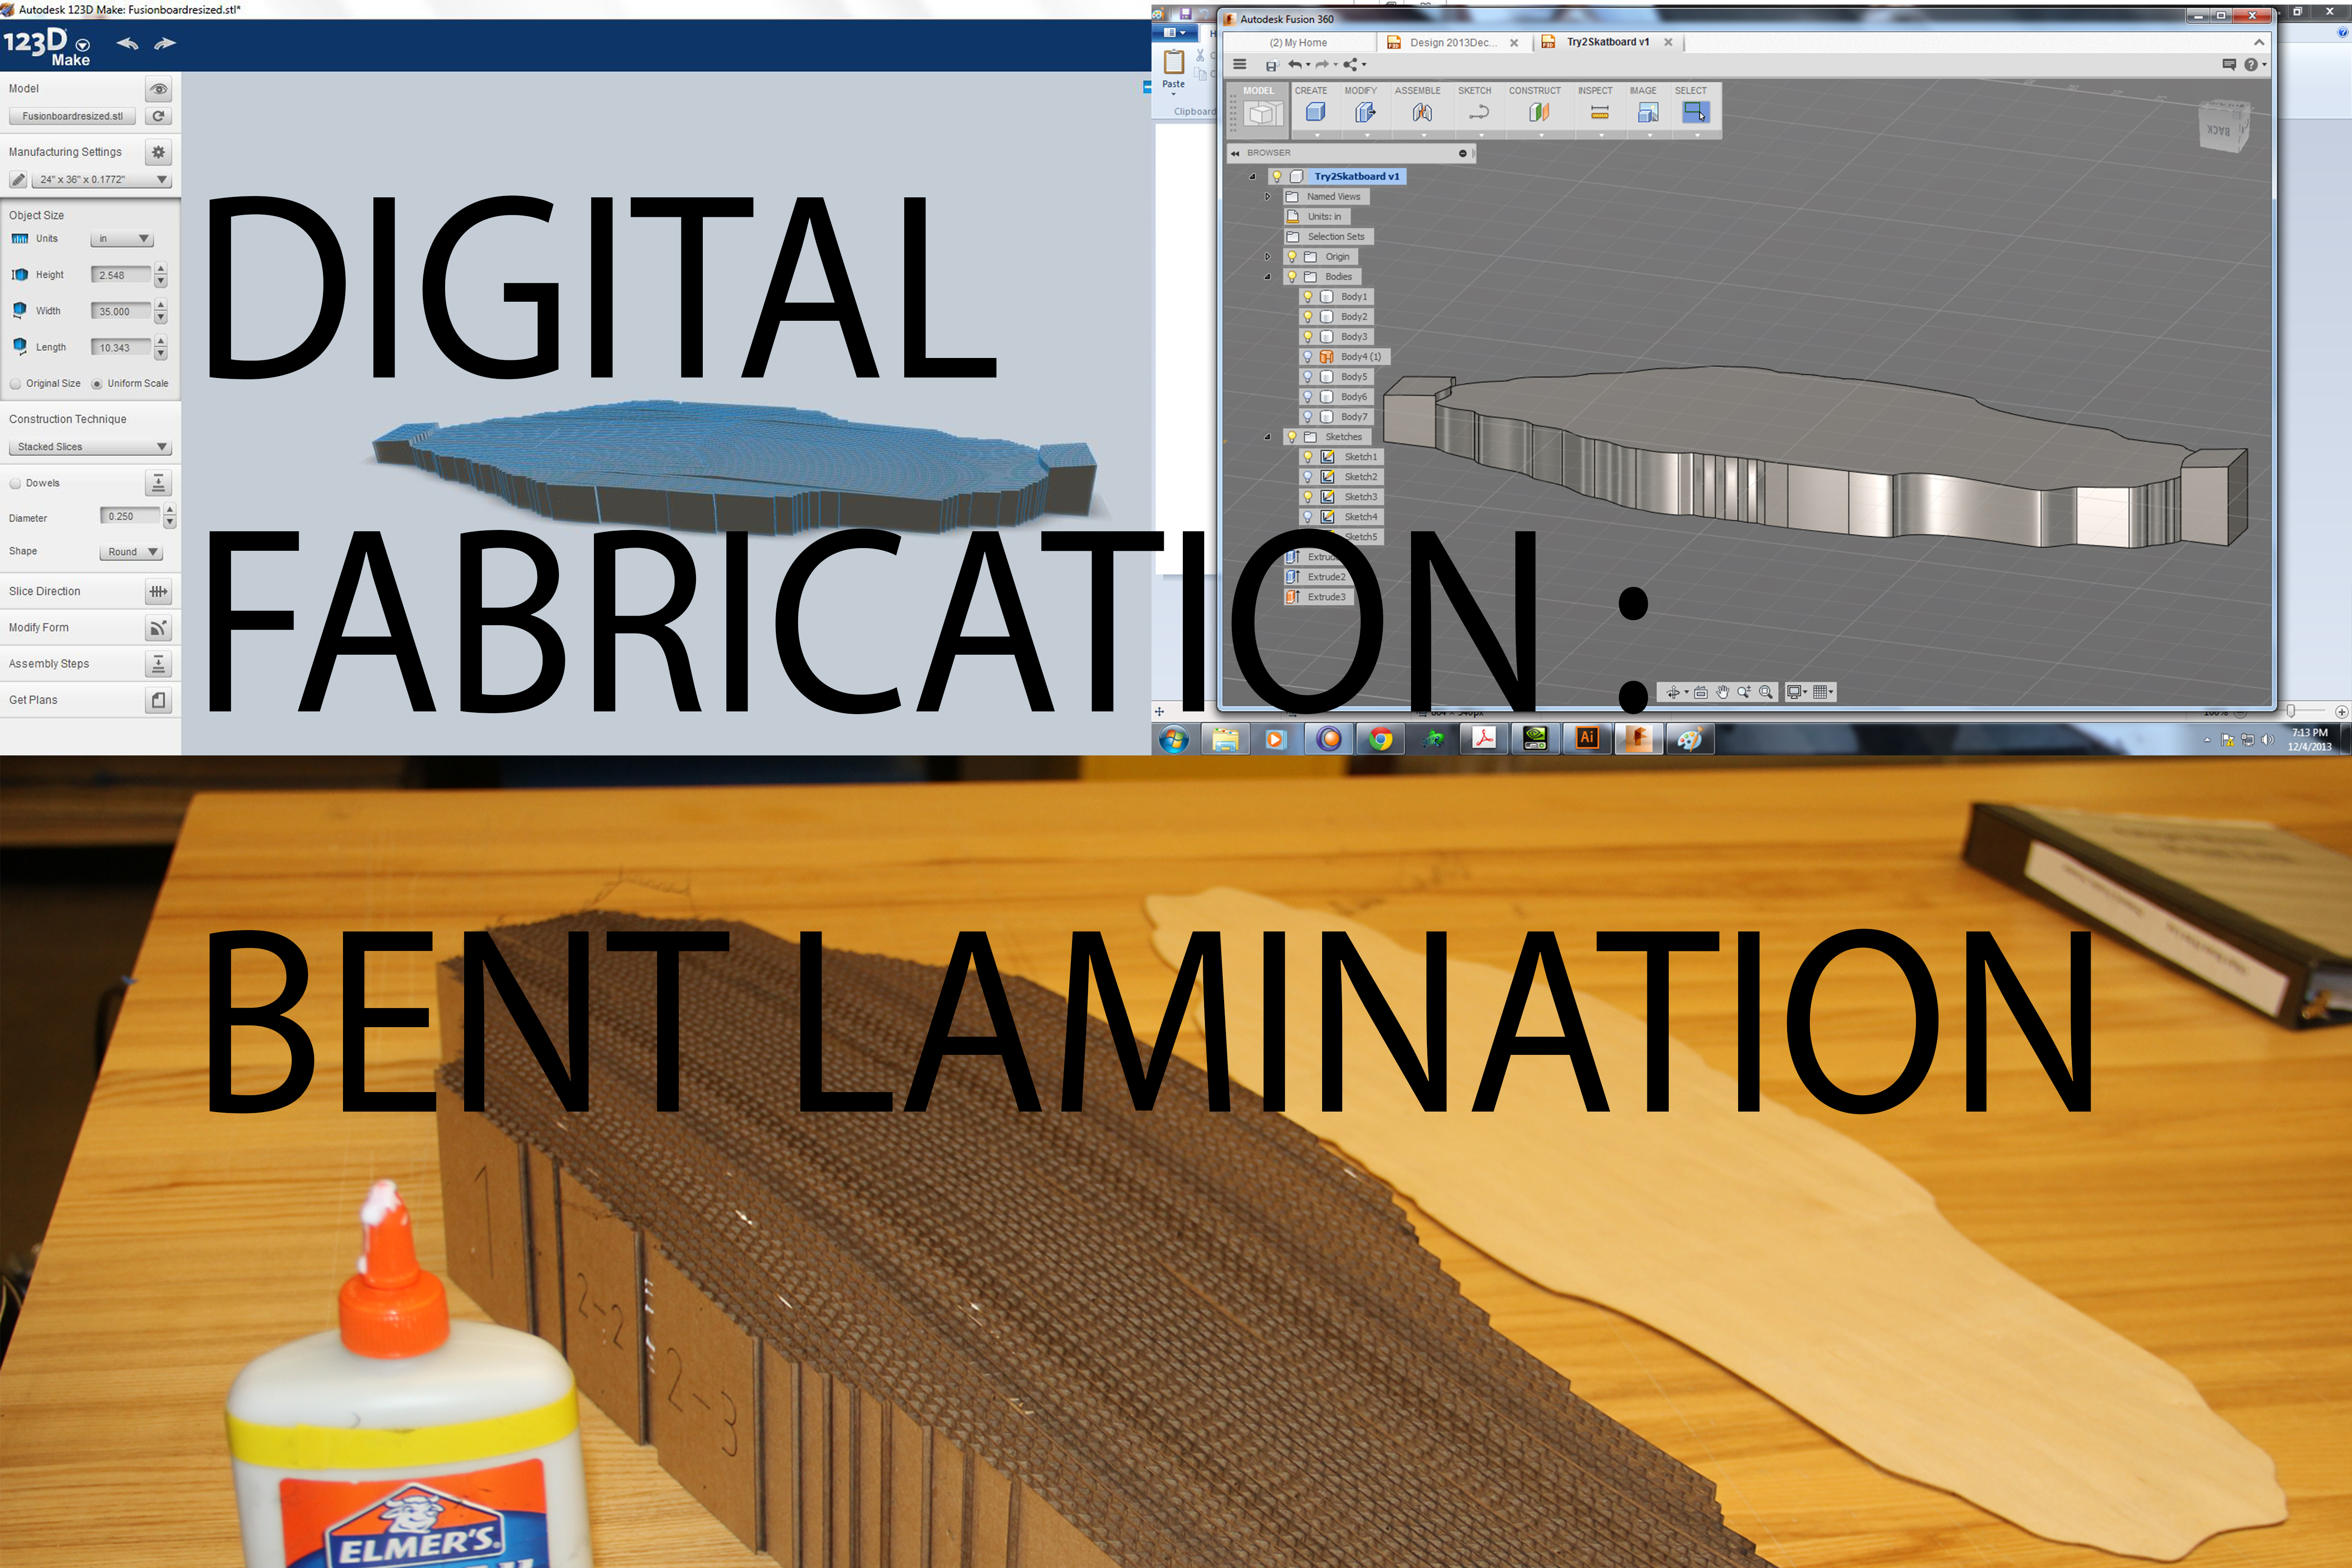
Creating the Mold for Bent Lamination on a Laser Cutter
This Instructable will teach you the Digital Fabrication workflow I used to take a 3D Model and create a laser cut, Cardboard Bent Lamination Mold.
We will be creating a skateboard design and it's camber (The curvature in the deck created from the bent lamination) in Fusion 360, then sending that .stl file to 123D Make to create the mold's slices. These slices will be cut on a laser cutter and glued together to create the skateboard's camber mold.
Tools :
- 123d Make
- Fusion360
- Laser Cutter
Materials :
- Cardboard sheets
- Elmer's glue
Fusion 360 : Designing Your Bent Lamination Curvature.
Creating the 3D Model of your Mold
Choose your design software. I used Fusion 360, free to hobbyists.
- To design the curvature of my bent lamination I opened up Fusion 360.
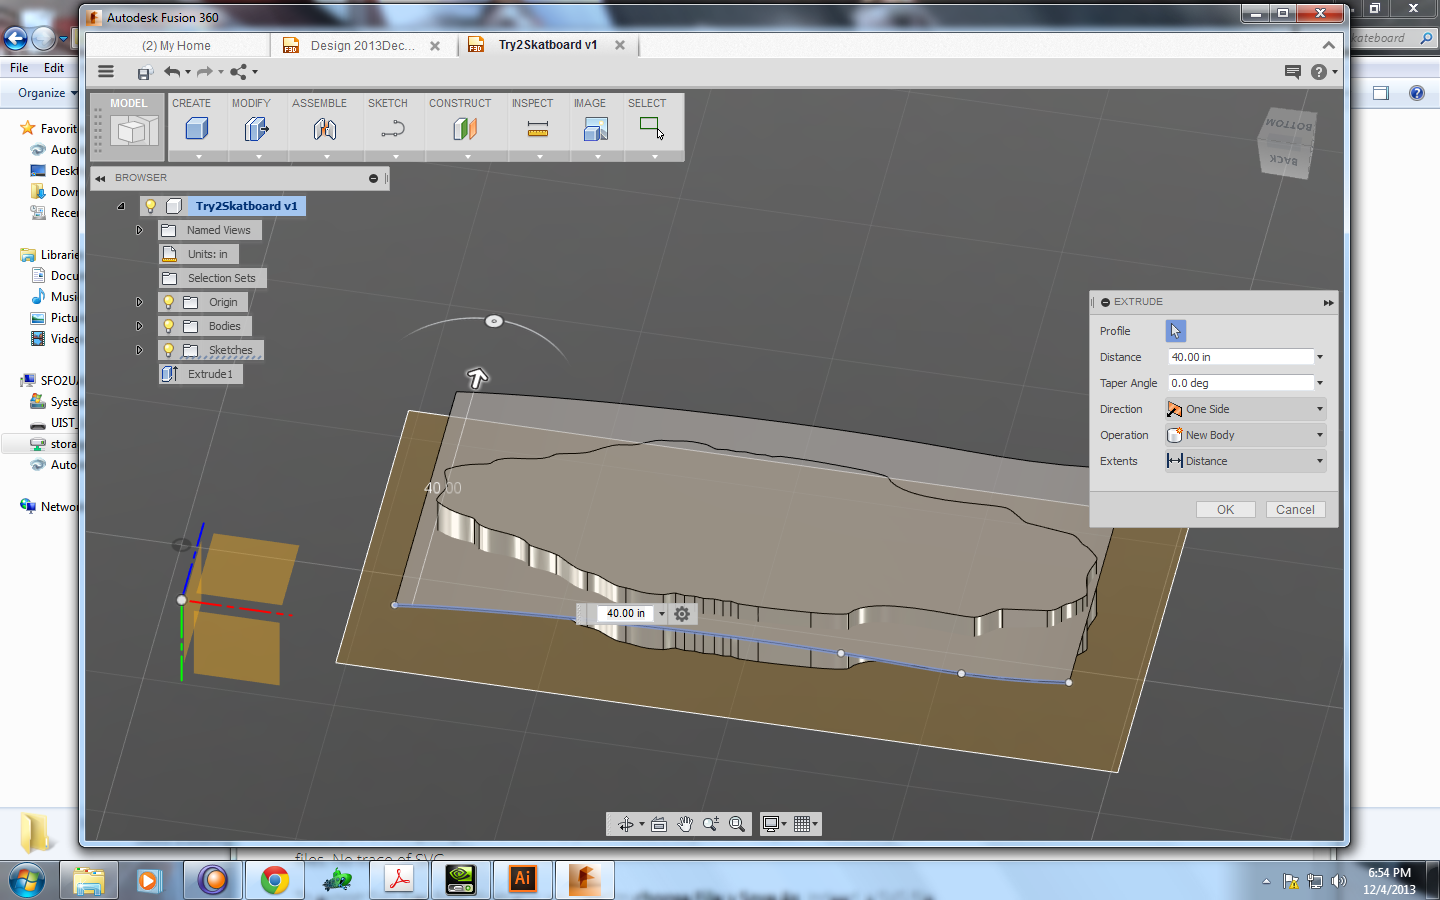
- I wanted to use the shape of my skateboard in the mold, so I uploaded a .SVG I designed in Illustrator into fusion and extruded the skateboard shape 5 inches.
- Insert > Insert SVG
- Modify > select the shape > choose extrusion distance.
- Then along the side of that shape, I created a sketch of a curved line that represented my desired camber in the skateboard.
- Create Sketch > Create Spline of your desired bend.
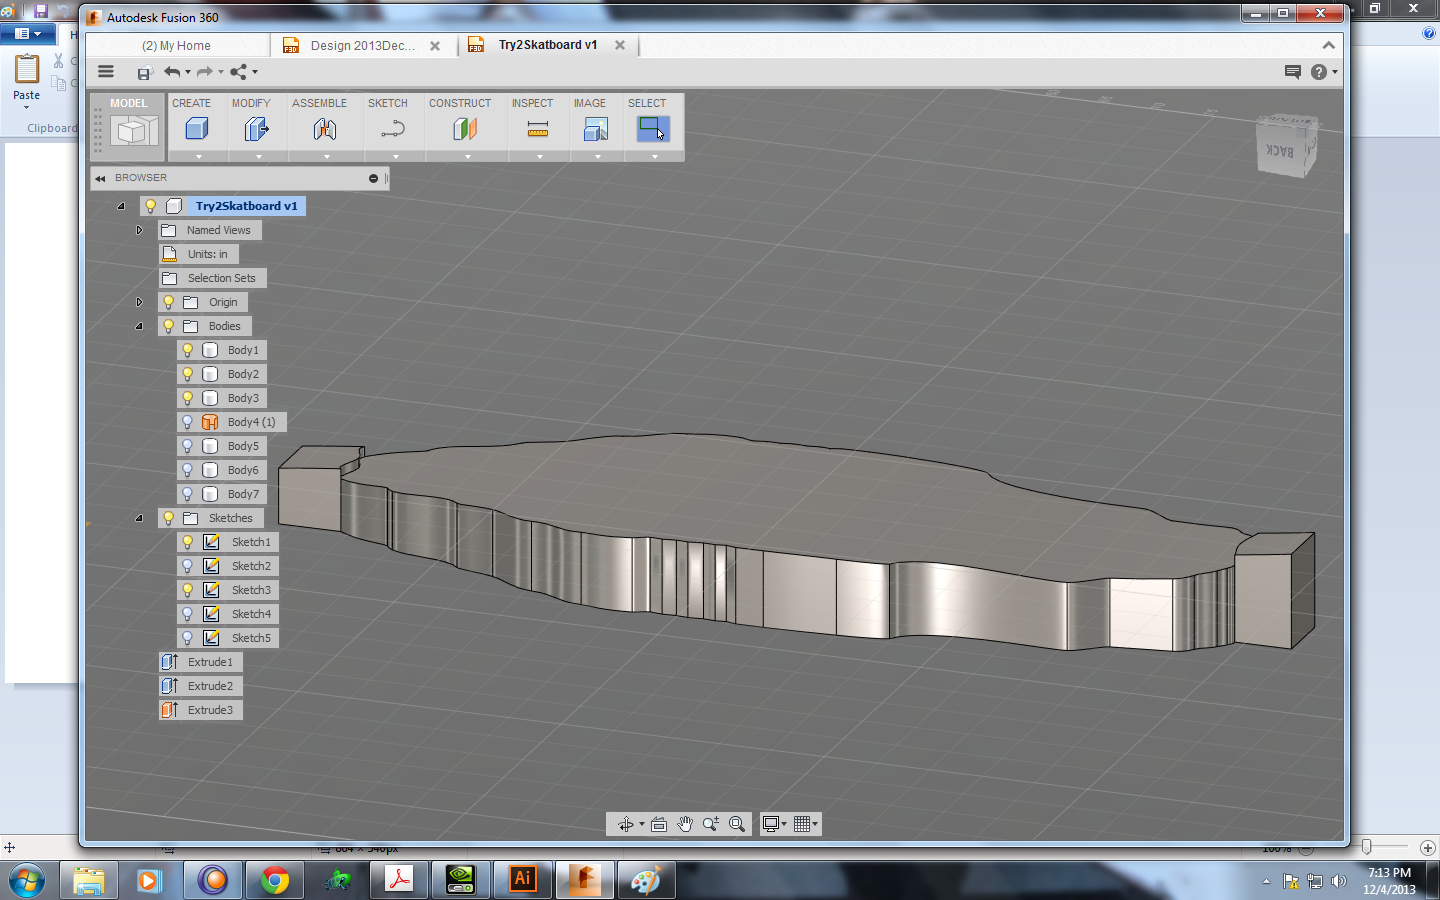
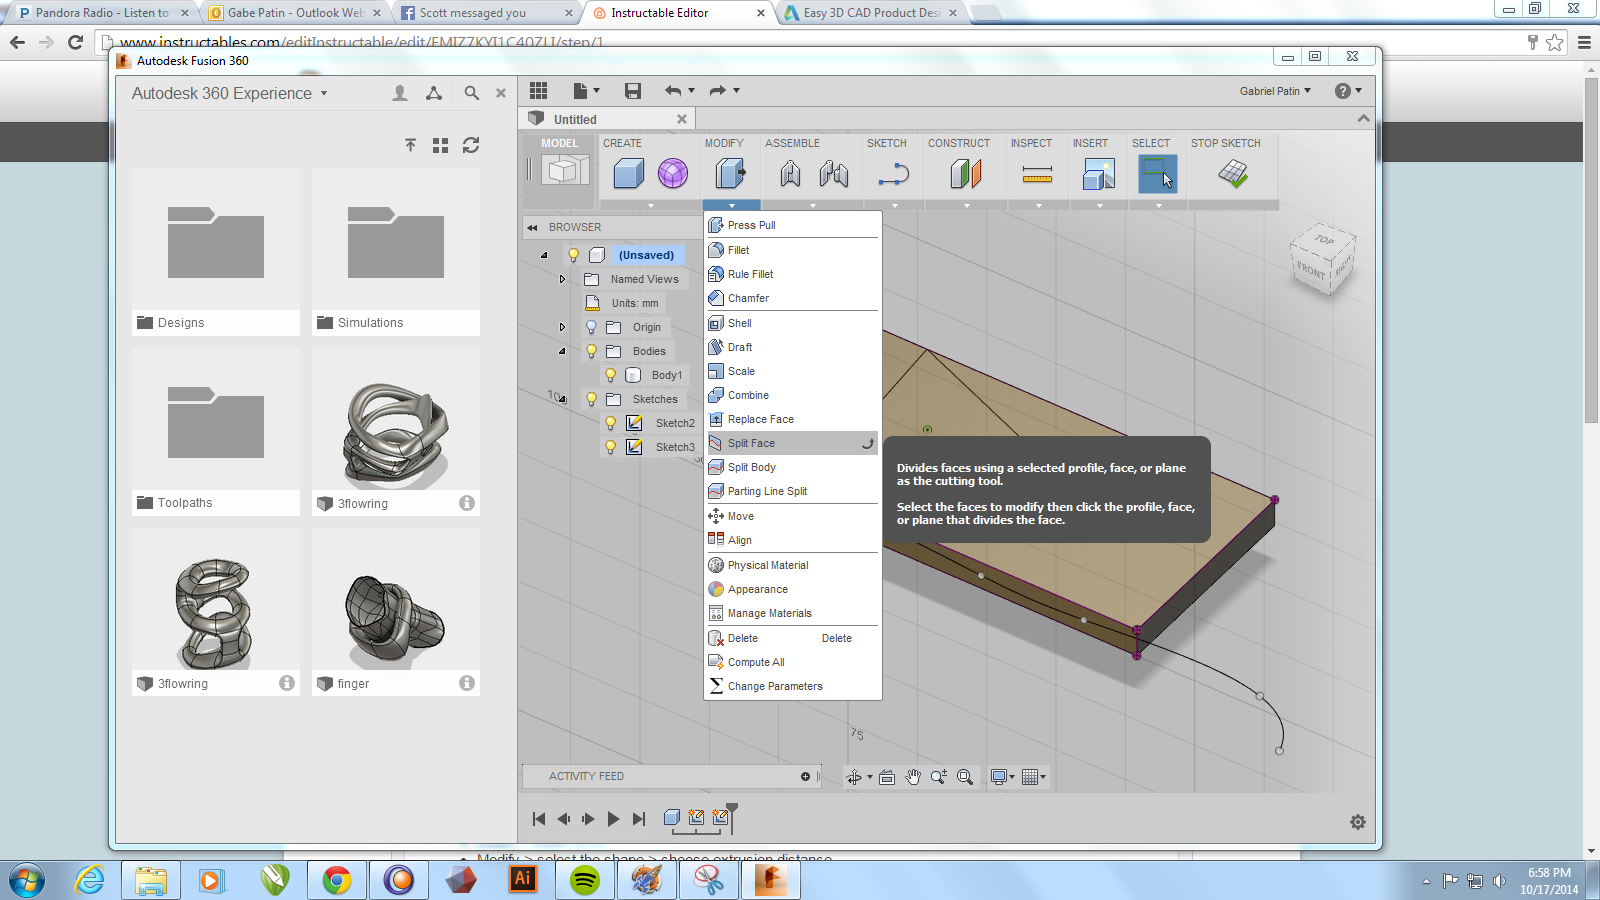
- Next, I used that line to split the skateboard mold in half. I deleted the top shape leaving a model of the skateboard shape with the surface that represented my desired bent lamination shape.
- Modify > Split Body > Select mold body > select camber line > select the top surface and delete.
- If you are only concerned with creating bent lamination, you can skip the import .DXF step and just create an extruded rectangle. Trace your curvature in sketch mode and use that line to split the model.
- Note : It can be useful to create a border around where the material will be placed. This will hold the material in position when you are laying down your wood and make sure your wood does not move and slide around once it is glued up.
- Now export your shape as an .STL so that we can create the slices in 123D Make.
- Right click on the model and select save as .STL.
Create Slices to Laser Cut in 123D Make
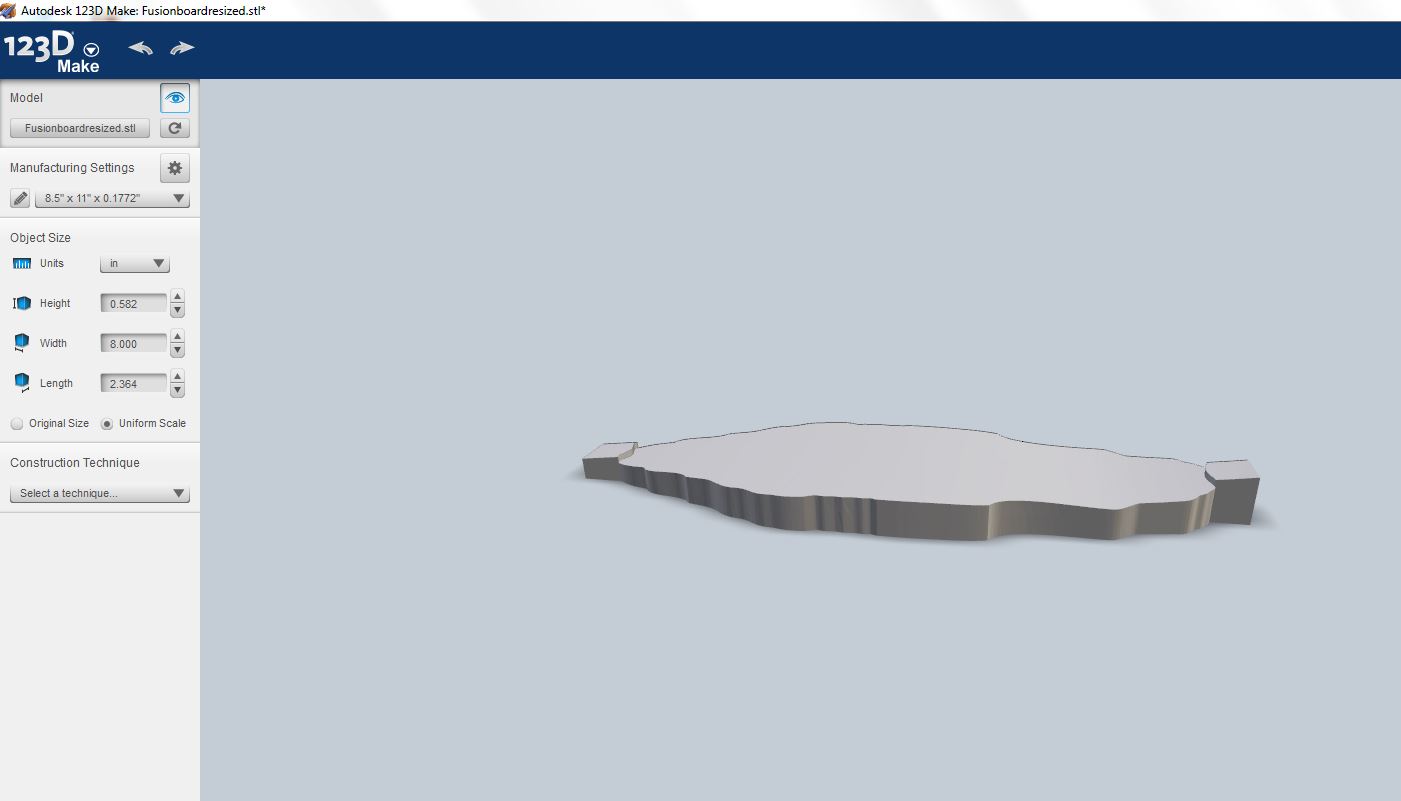
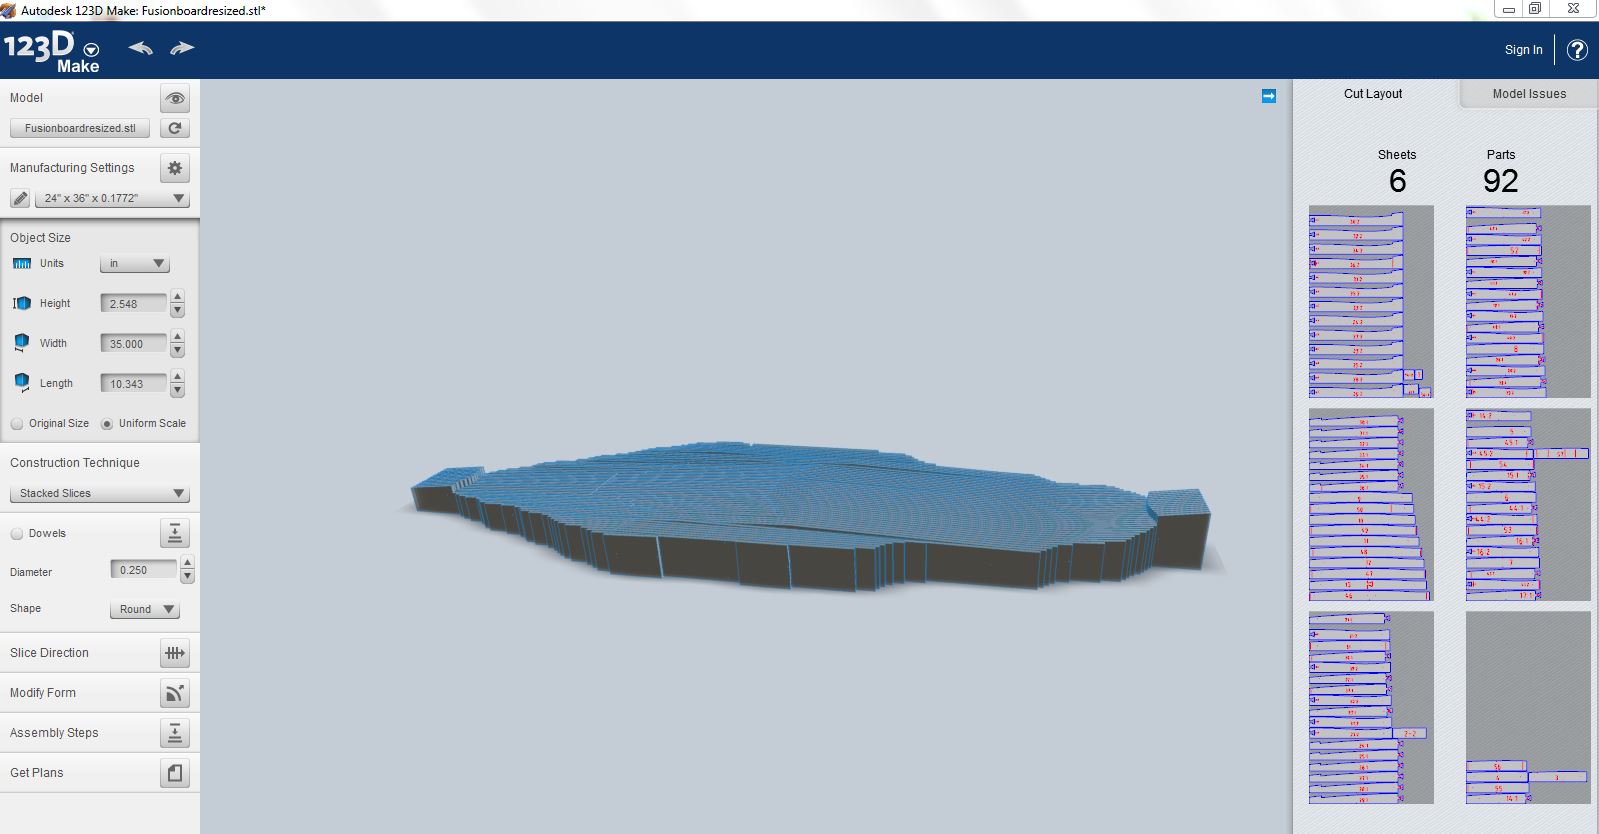
Download 123D Make
- Upload your 3D Mesh file.
- create a new material setting for the size of cardboard sheet you are using.
- Slice you model vertically. If you slice it horizontally the weight of the wood will crush the mold causing it to fail. Learned that the hard way.
- Next up, export your files to laser cut.
Laser Cut and Glue Up Your Model
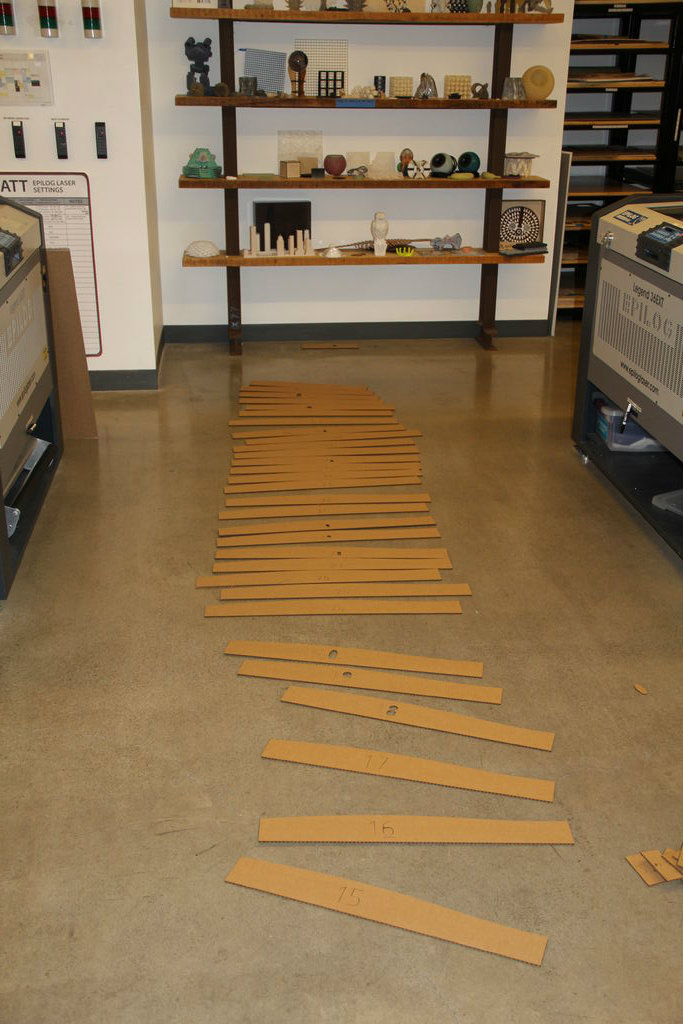
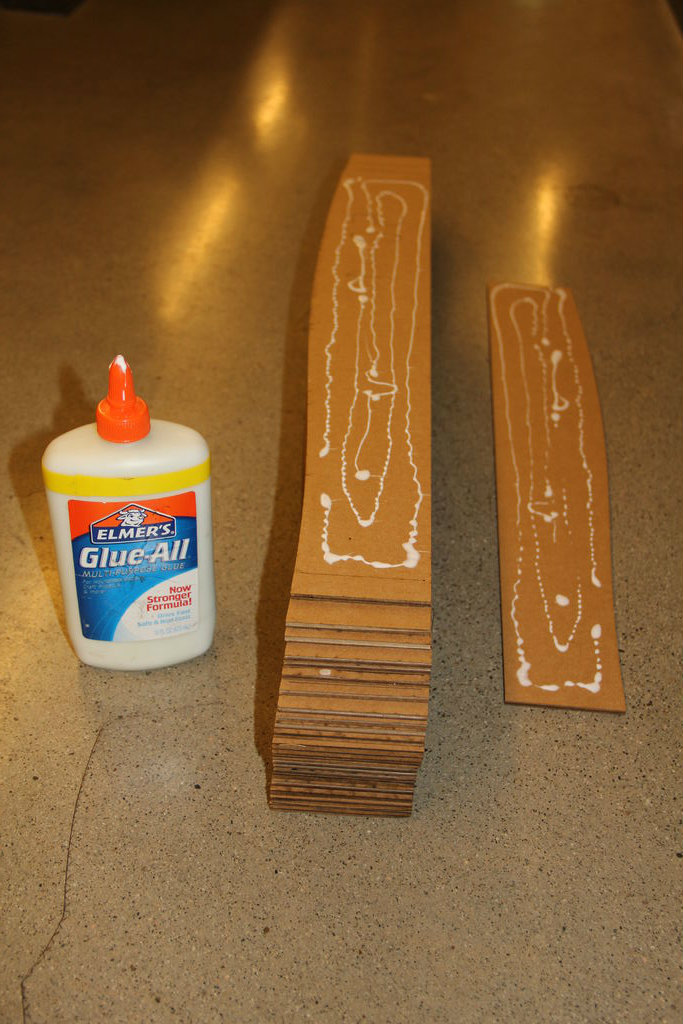
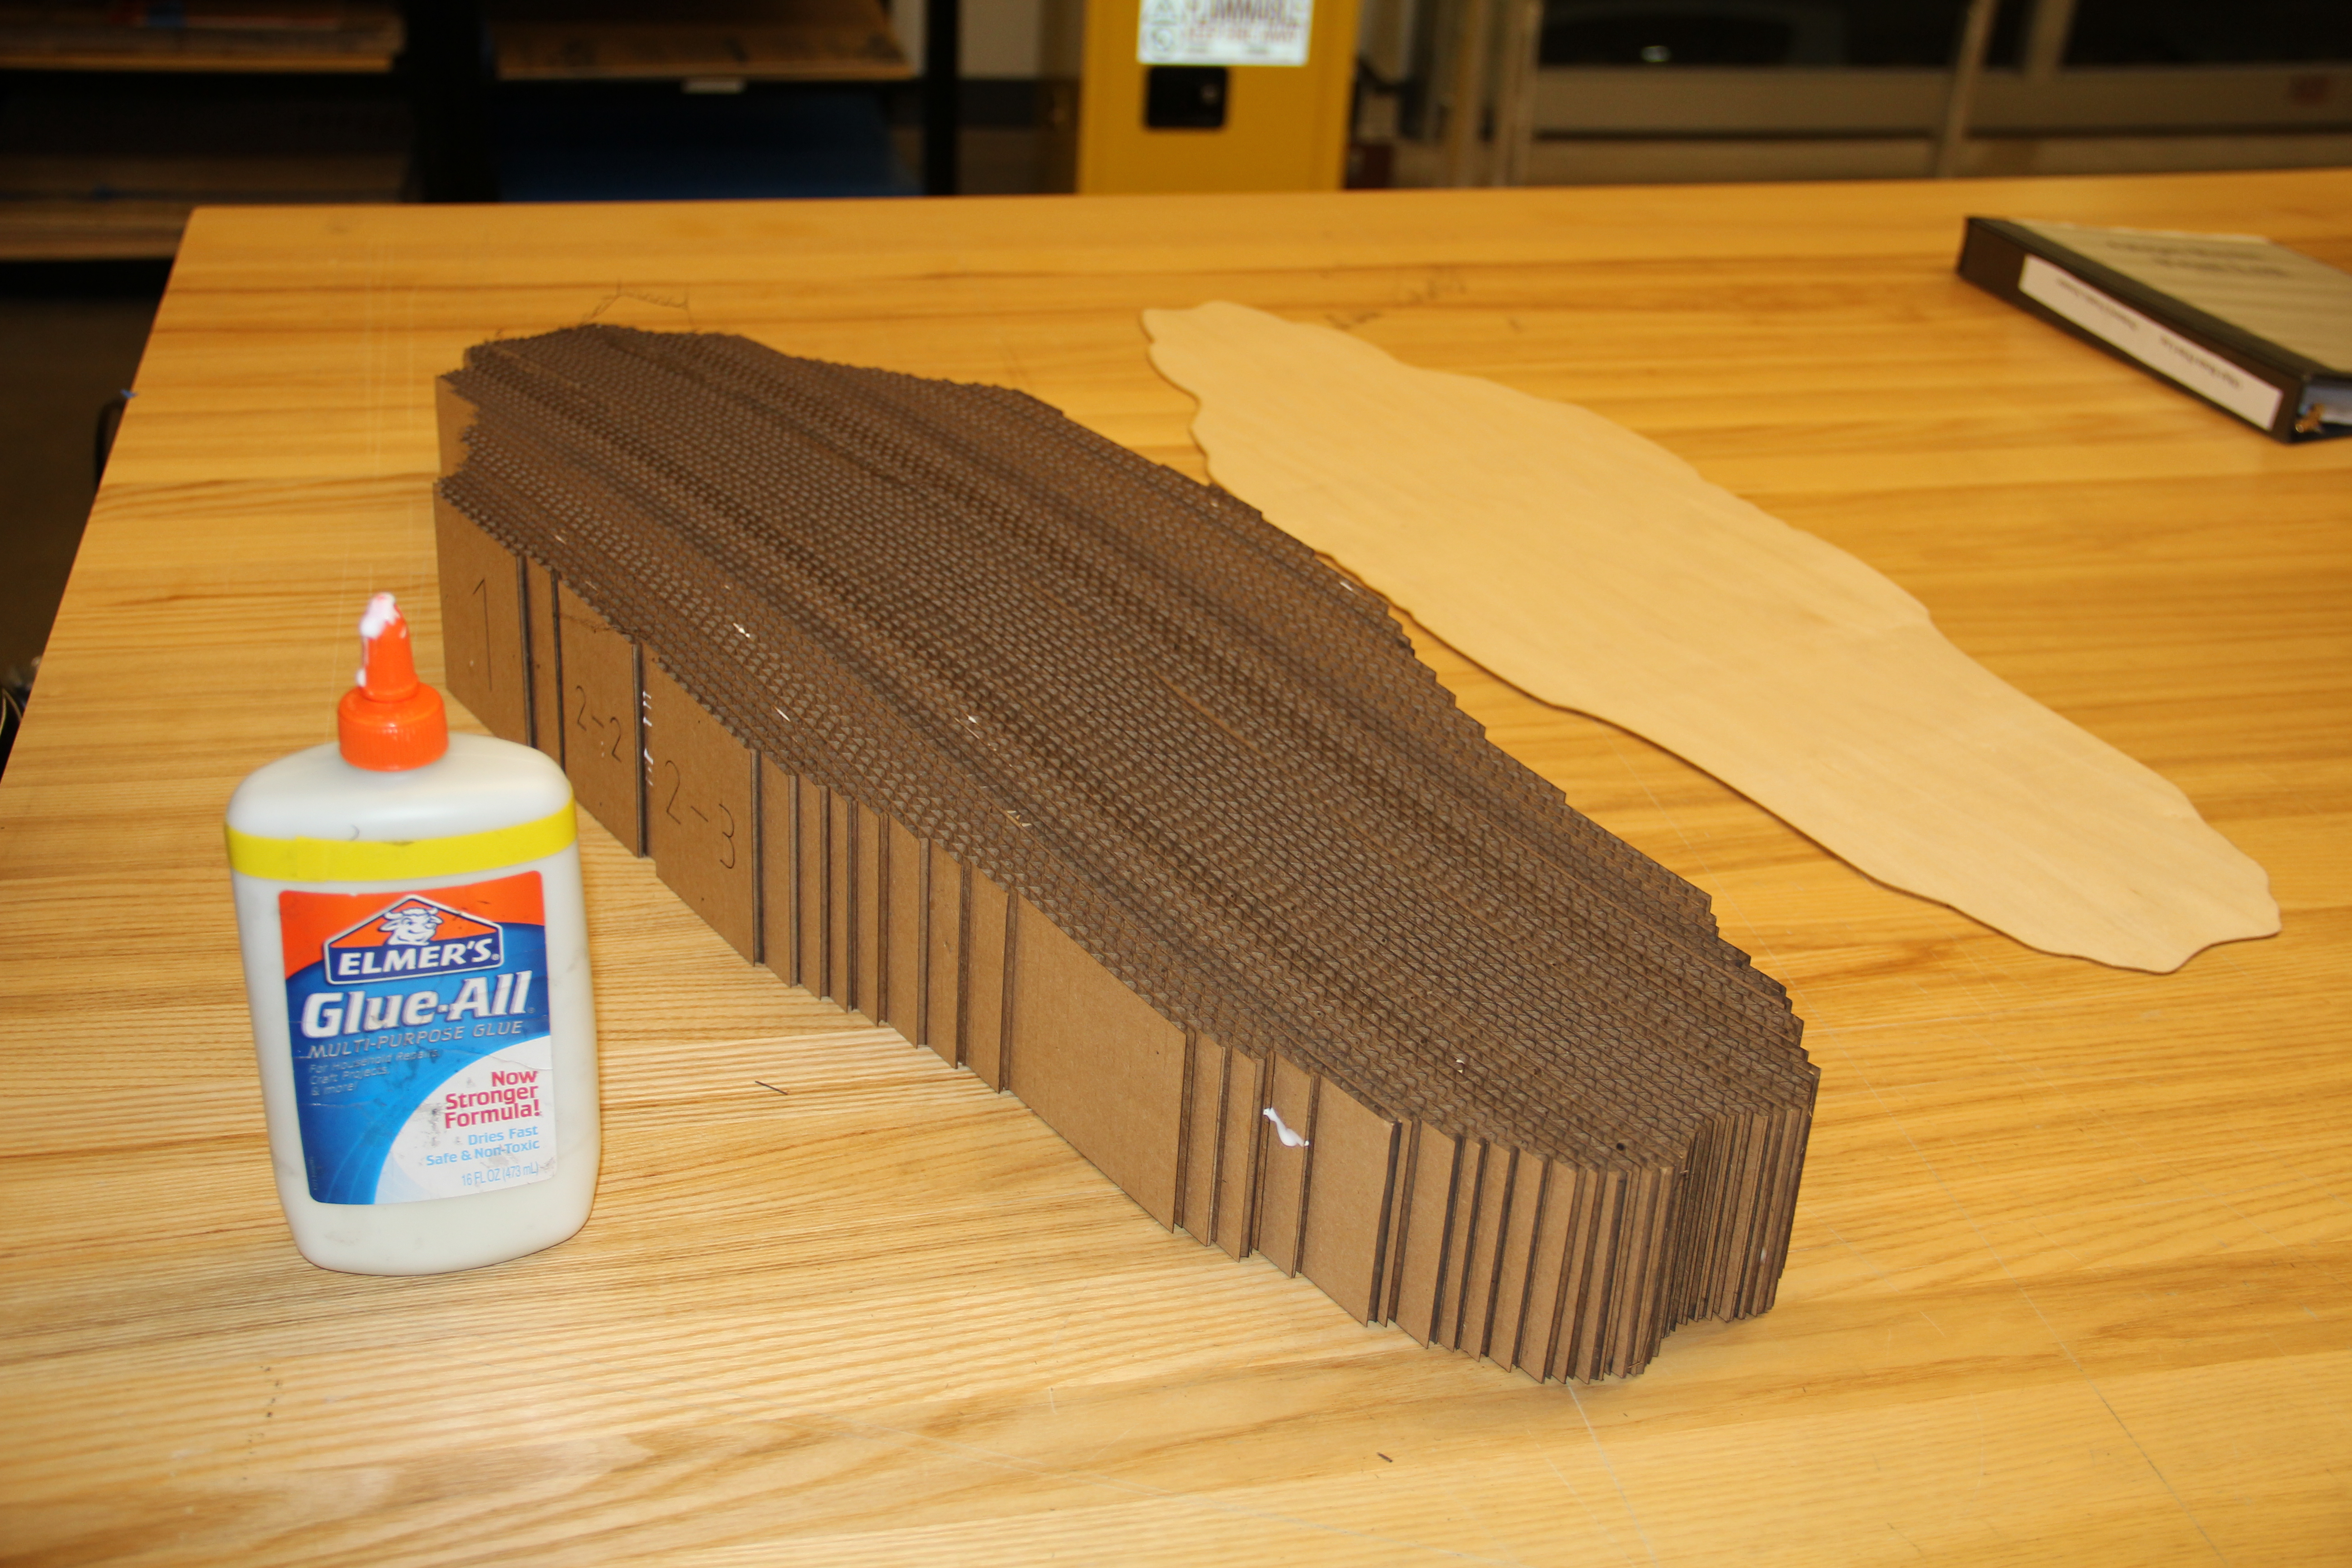
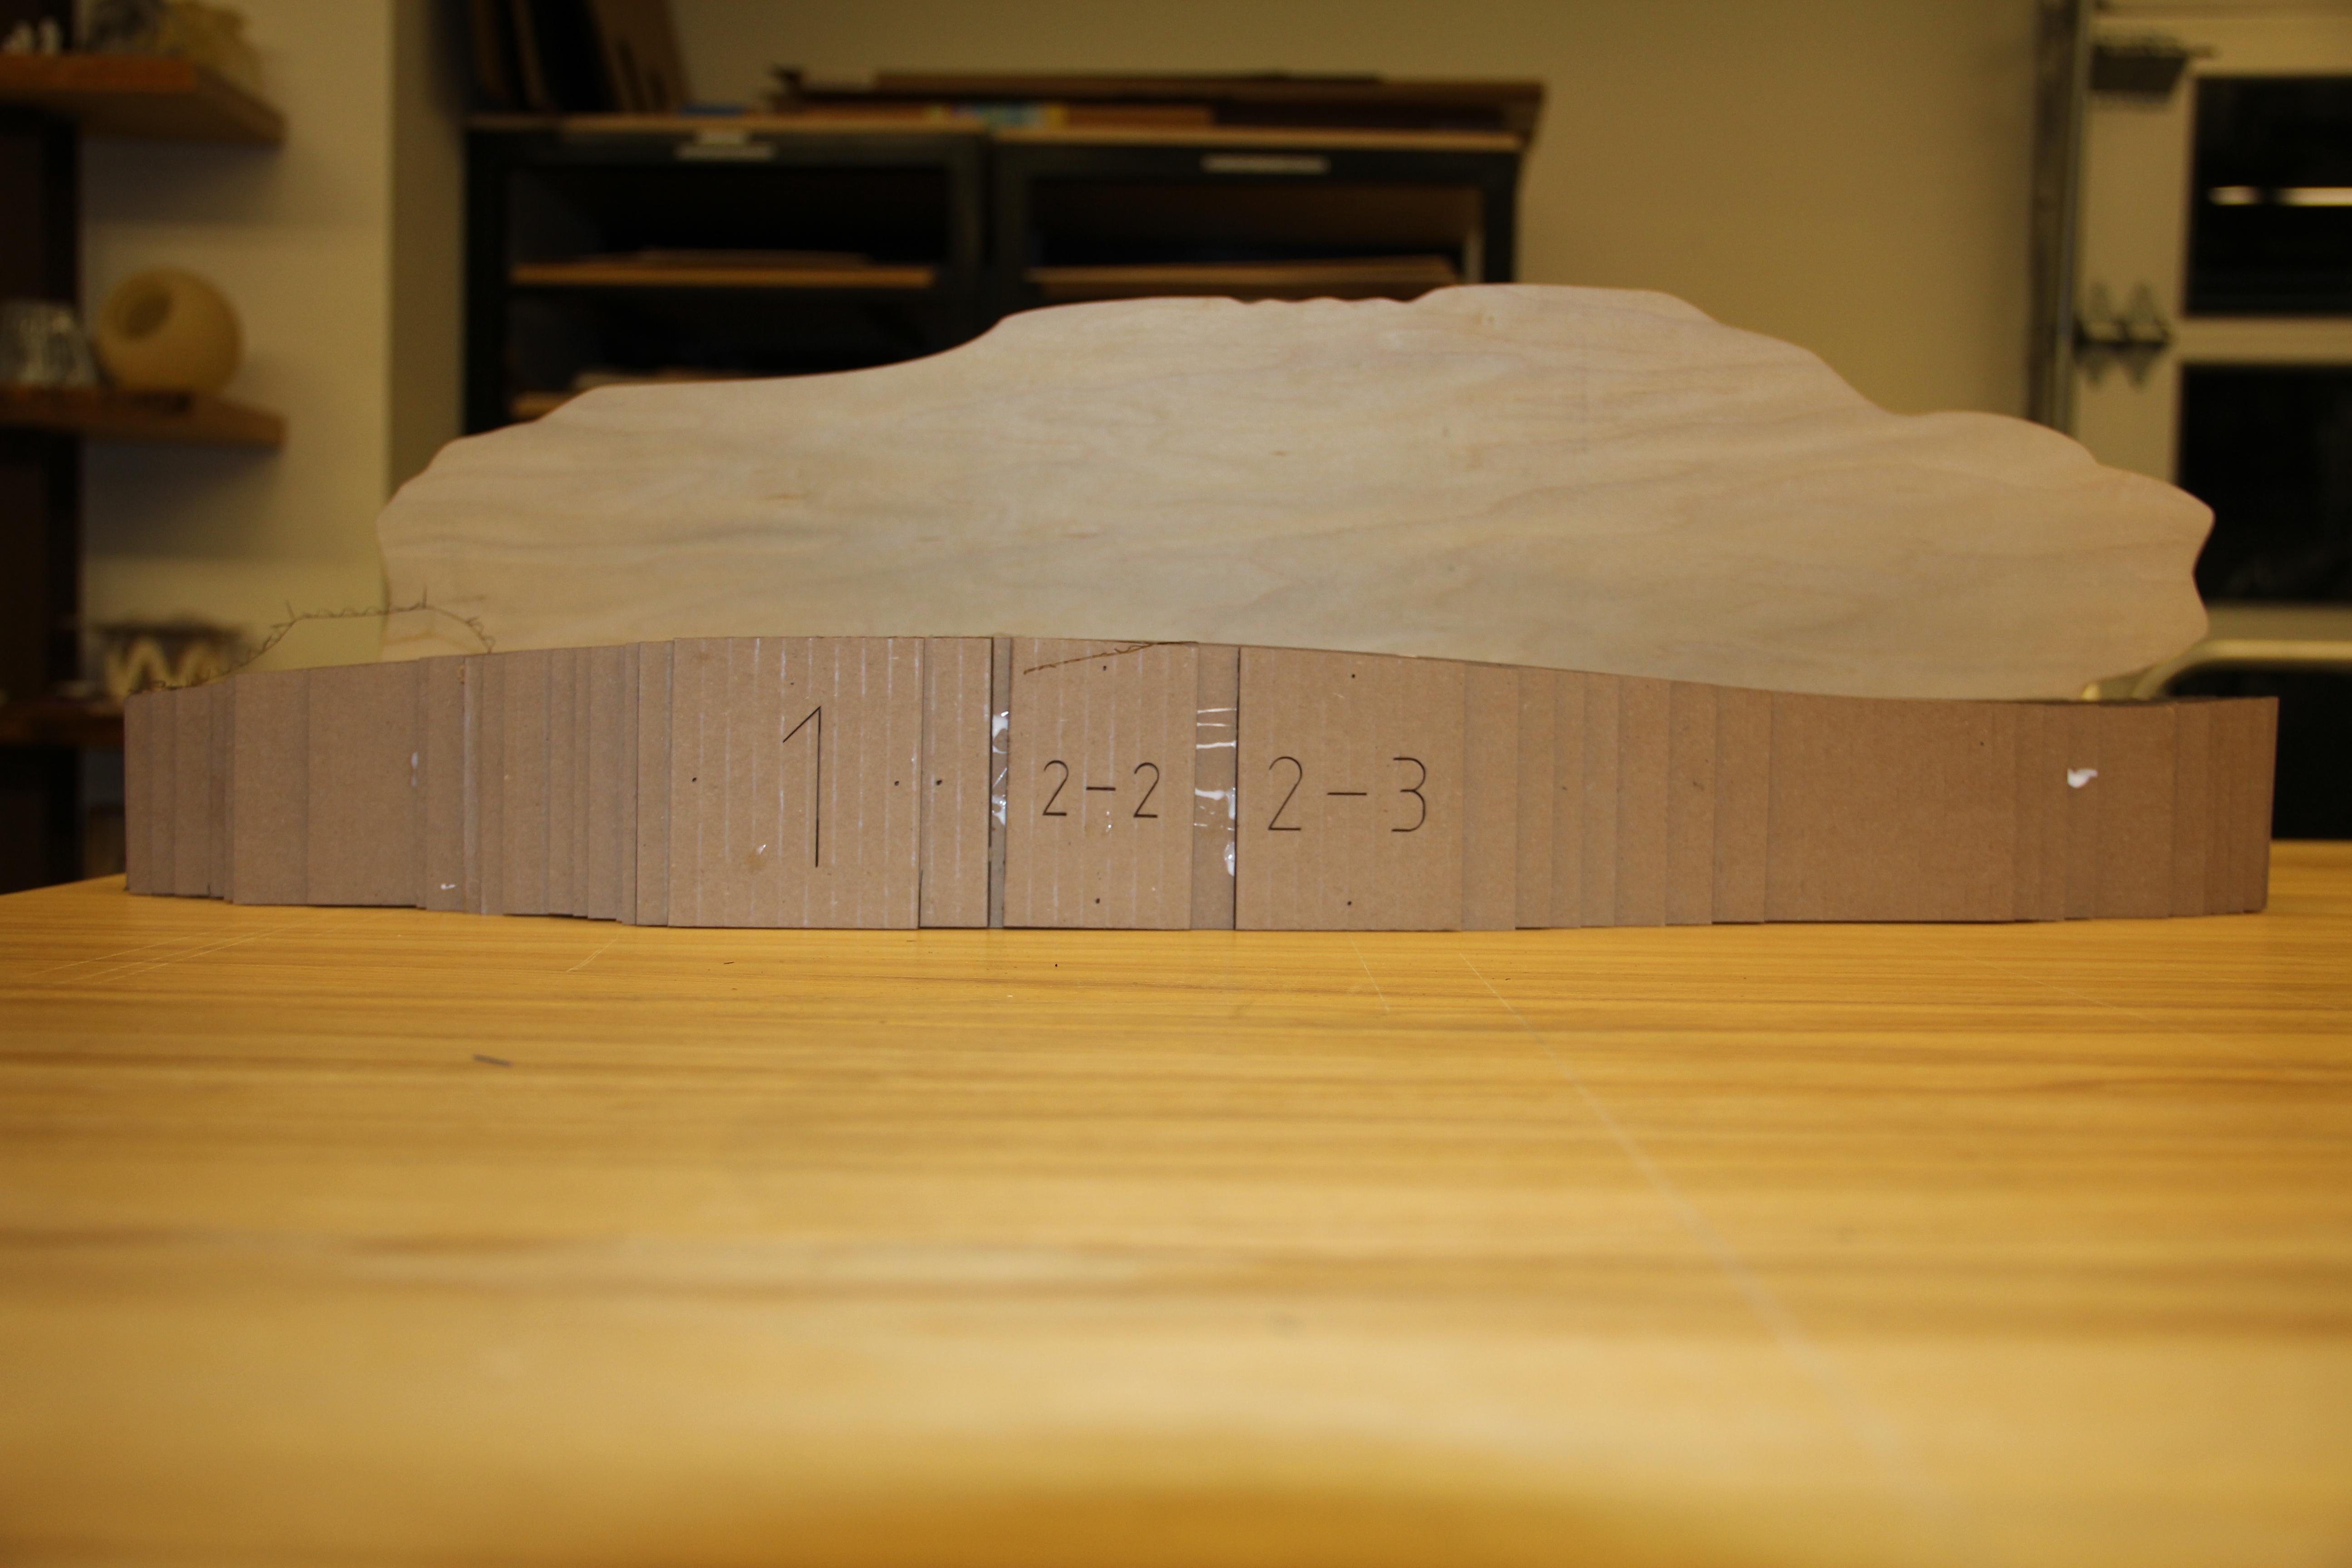
Now Laser Cut away.
- Cut out all of the sheets and then assemble the 123D Make model.
- Be generous with the amount of glue you use.
- Let glue dry.
- Now you have a mold for your bent lamination!
Use Your Mold!
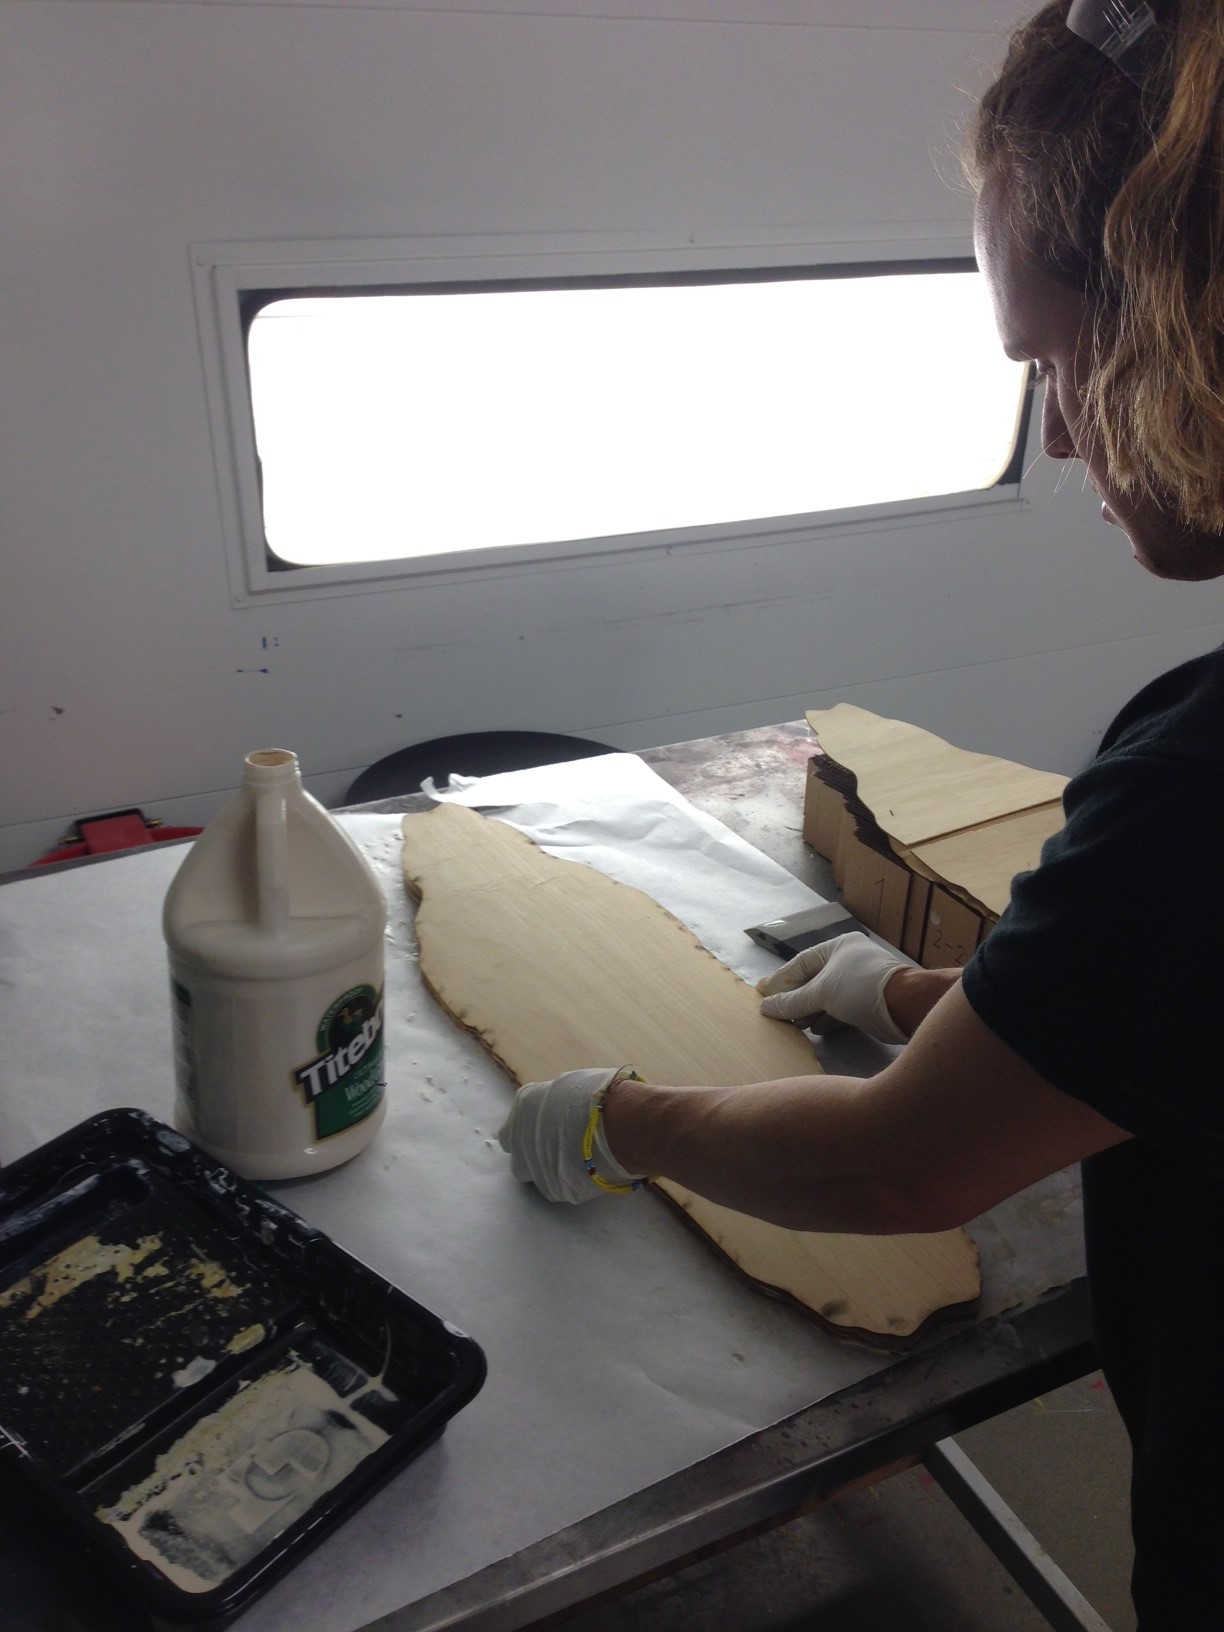
Time to lay up your Bent Lamination project!
I used Wood glue and 1/32 inch veneer.
Then I attached large rubber bands to hold the veneer sheets in place. You could potentially just use clamps and rubber bands to hold everything together.
I placed the whole assembly into a vacuum bag and let sit for 24 hours. Once removed, my deck form was complete. I sanded down the edges to create the smooth curved edge typically found in skateboards.
Part 2 : Laser Cut Skateboard Instructable coming soon.