Digital Art - Glitch
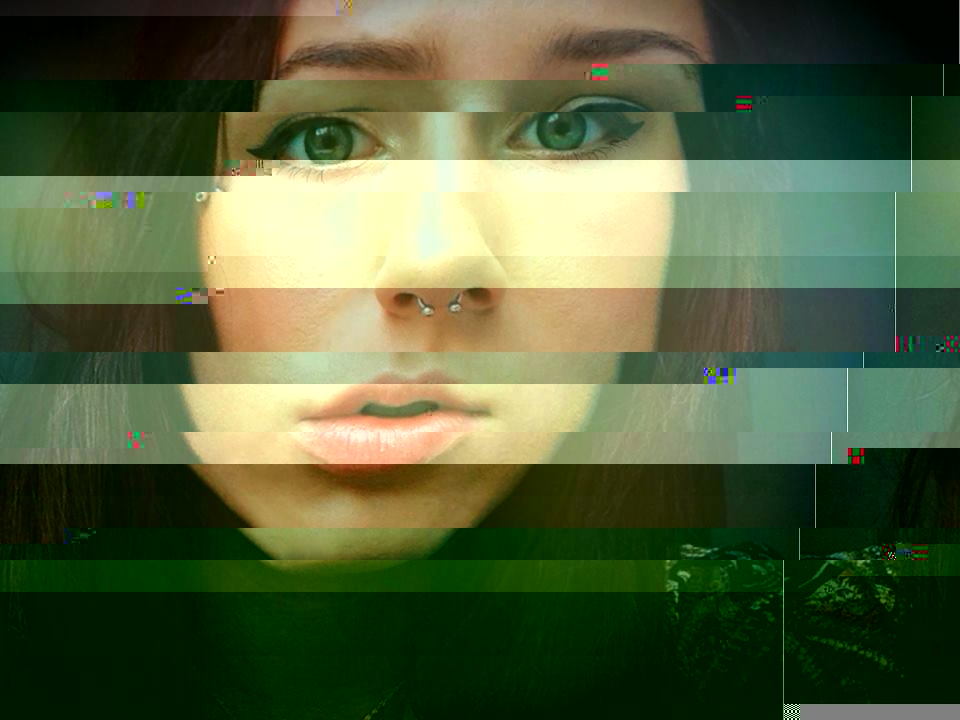
Glitch art is a fun and easy way to edit a photo or image in an abstract, almost randomized way. It is as if you are taking an image and collaging it- cutting it up, changing colors, and adding effects, but still using the information that was given in the image when you started.
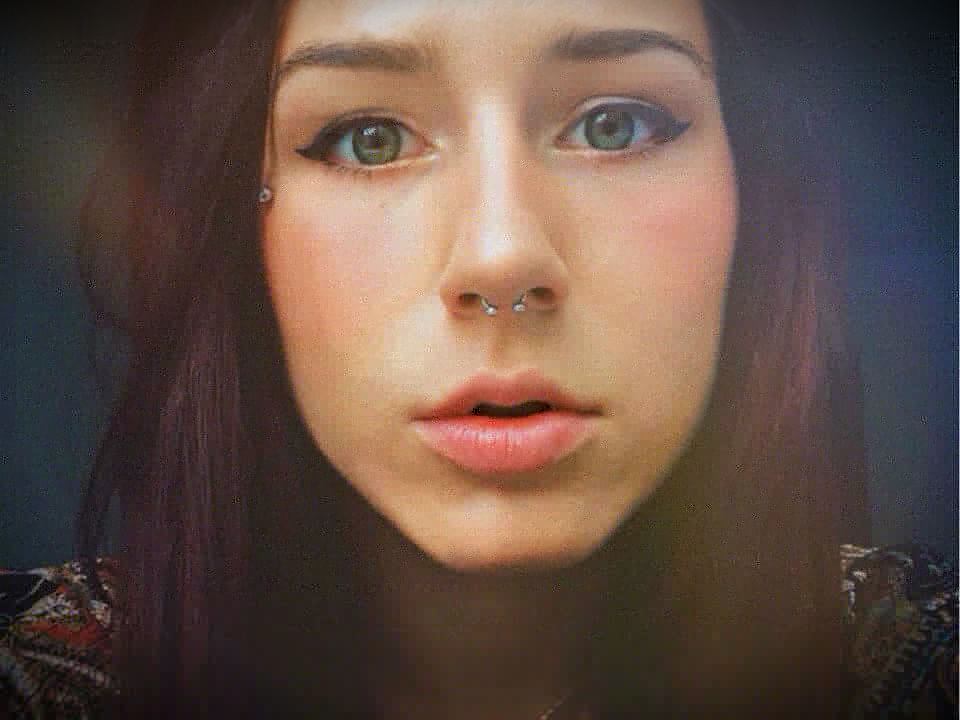
Step One: Select an Image. Any image can be glitched! You can choose any size or format, and different formats produce different glitches- so experiment with them all!
Step Two: Make sure you save and duplicate your image as you go on, because it is very possible you can destroy your image for ever.
Step Three: Open a Text-Only Based Application. This can be TextEdit for MAC, and Wordpad for PC. Click File > Open > then your Image. A bunch of gibberish text will appear.
Step Four:This is the fun part. You can alter the code that makes up your image. Add things, delete them, scramble it around! Just be careful not to touch the first 1/4th part of the code, because then you might damage the file and it will be lost.
Step Five: Save it. Don't click “Save As”, because then the glitch won't run You must click “Save”, hence why duplicating the image is necessary.
Step Six: Open it to view the Image! You can glitch it over as many time as you want until you get the desired result.
For a less tech-savvy classroom, one can use a pre-made program such as the one on this website. For this website, the process is automated, so opening the image in a text edit program and manually adding the glitches is not necessary: http://snorpey.github.io/jpg-glitch/