Digispark Attiny 85 With Arduino IDE
by electronicGURU in Circuits > Arduino
75199 Views, 24 Favorites, 0 Comments
Digispark Attiny 85 With Arduino IDE
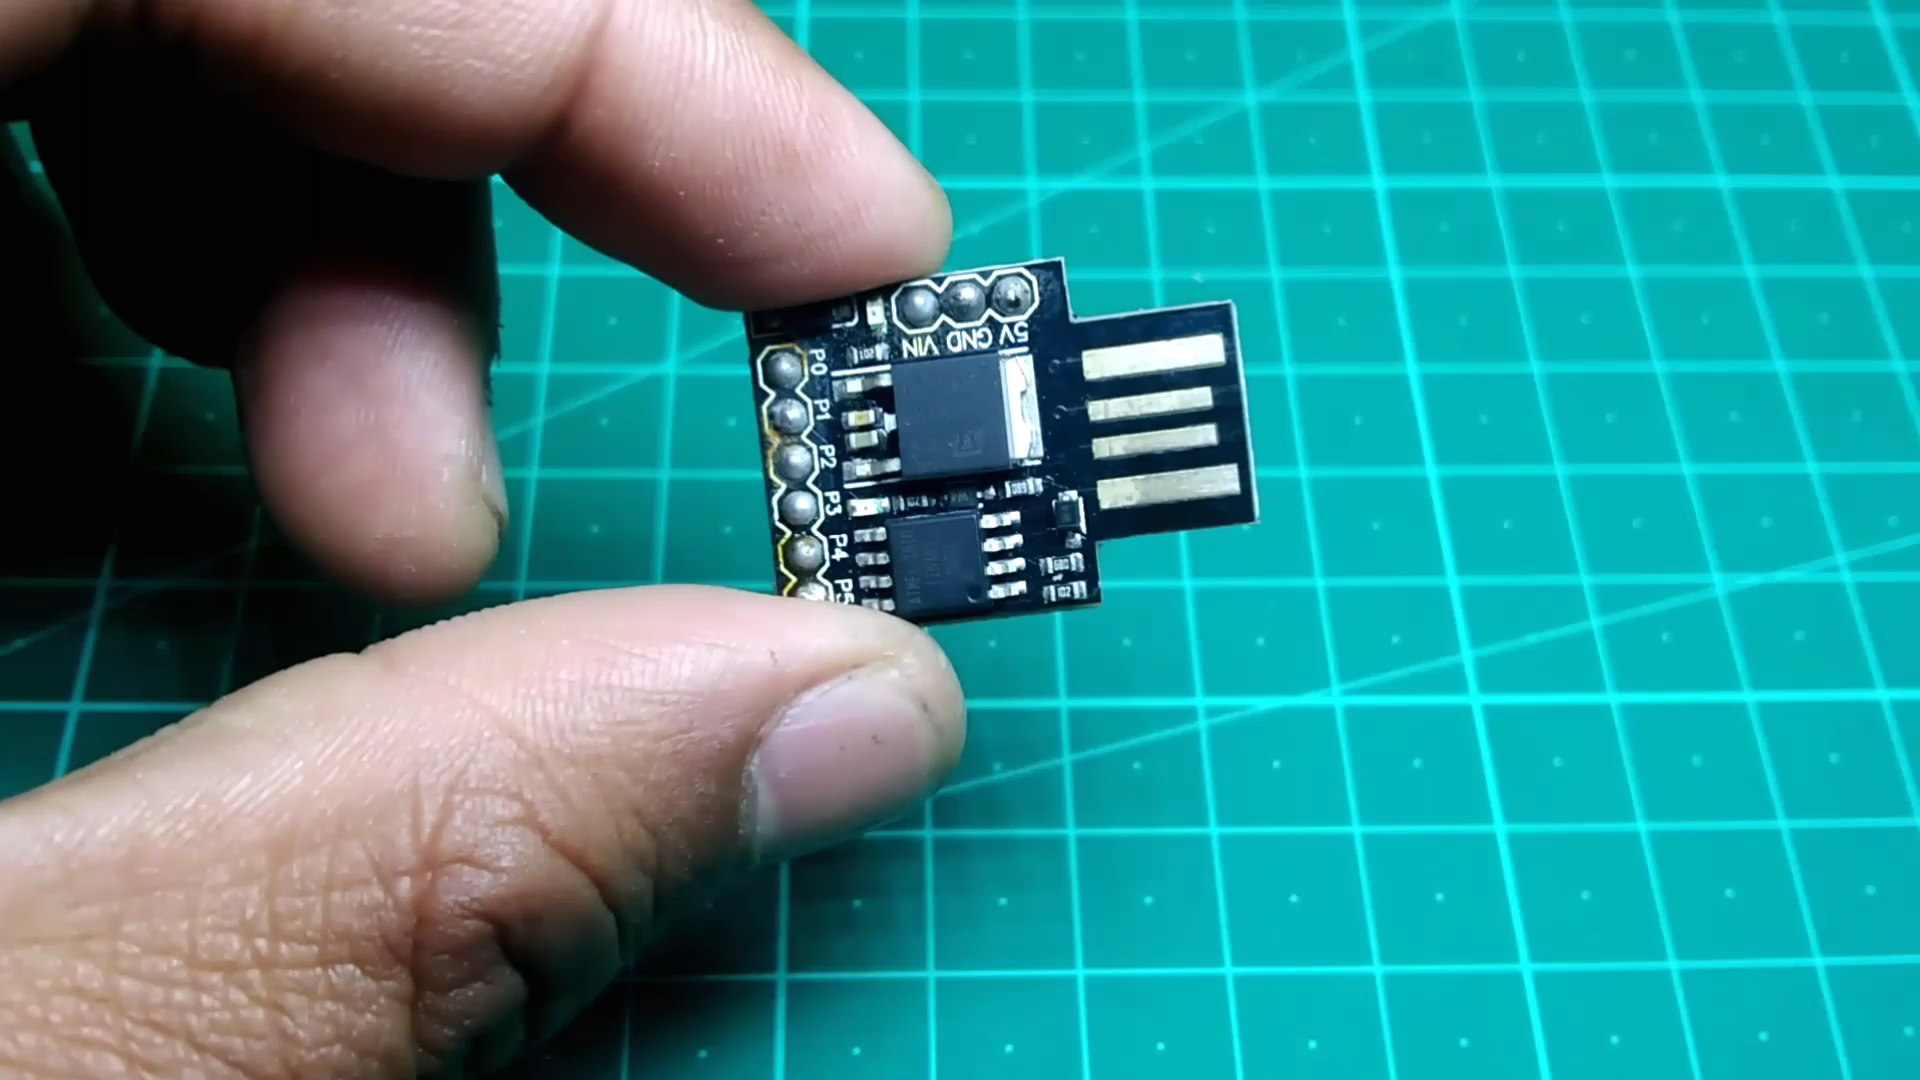
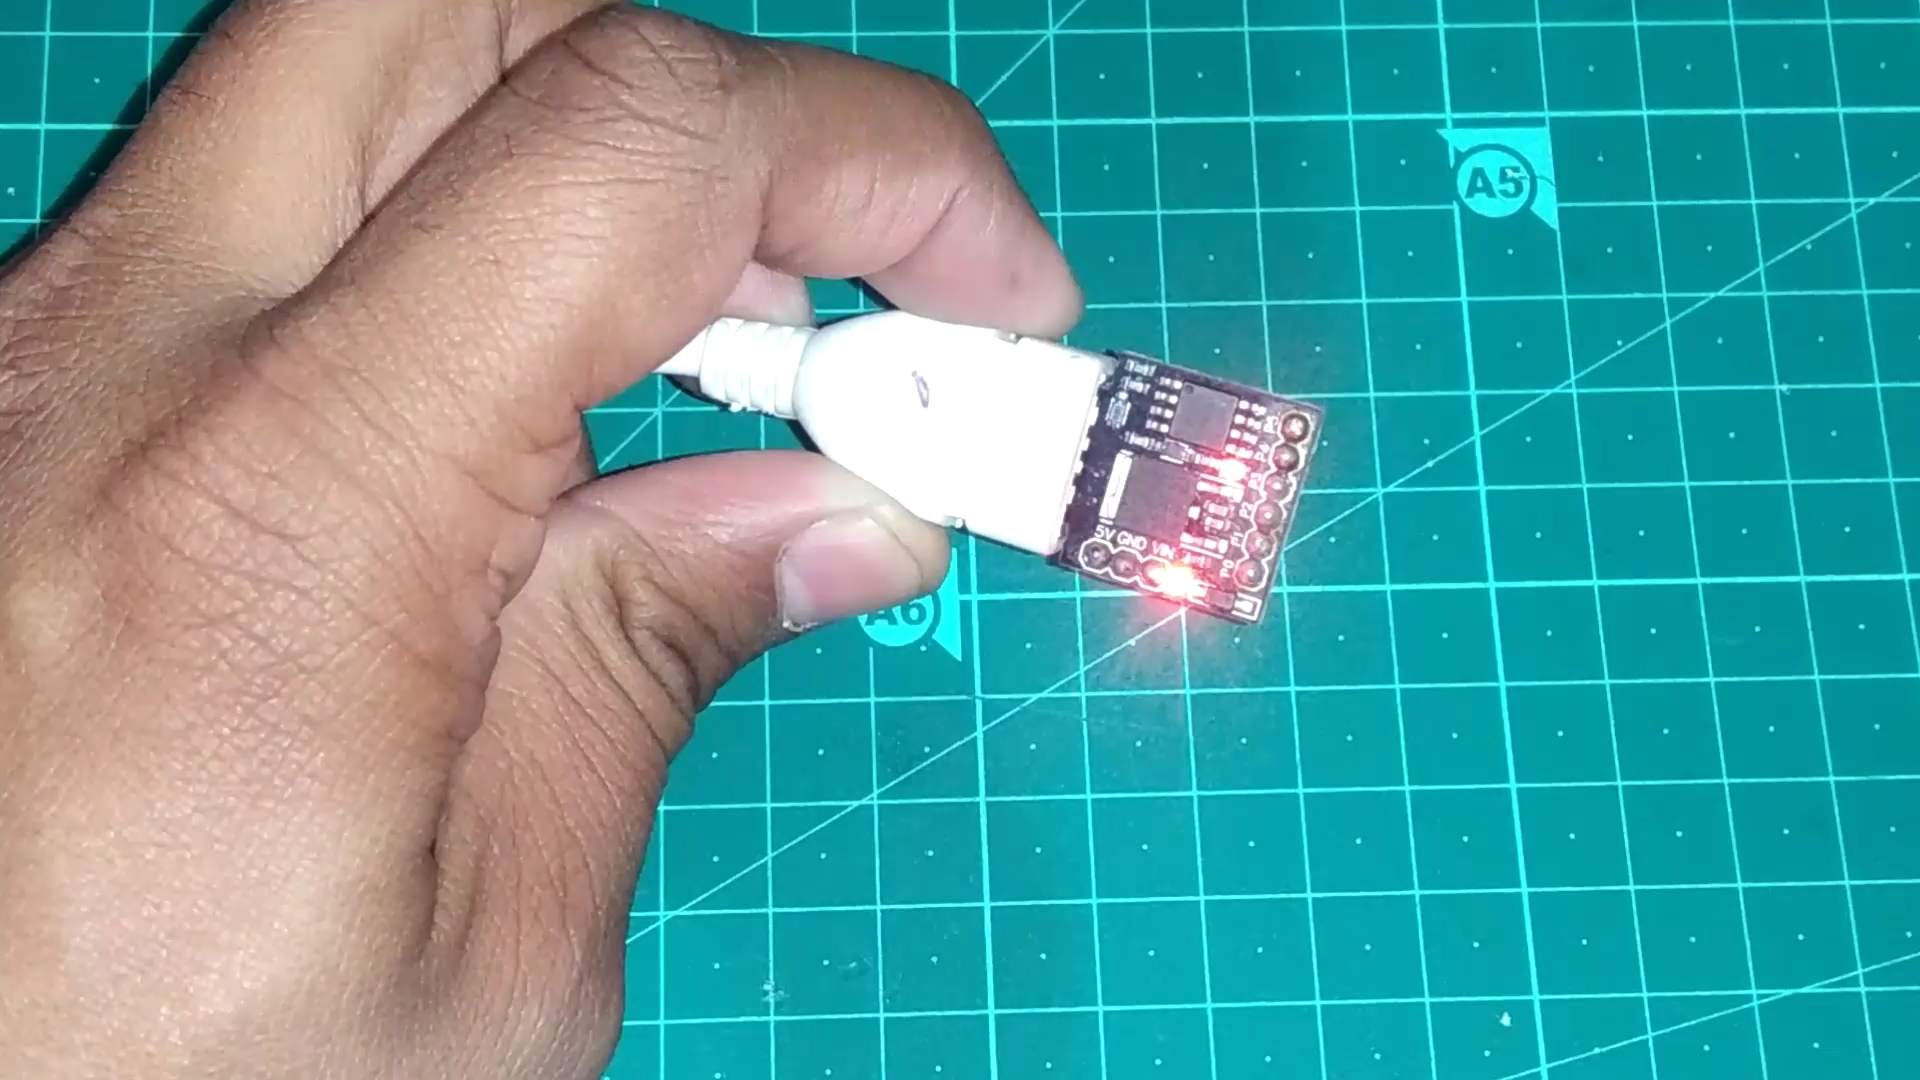
Digispark is a microcontroller board which has ATTINY 85 MCU as its heart and running with 16.5Mhz frequency with 8KB of memory and have 5 GPIO pins, this MCU board is cheapest and smallest Arduino Board available in the market good for wearables and small projects.
Get the Board

BUY PARTS:
BUY digispark:
https://www.utsource.net/itm/p/8673532.html
https://www.utsource.net/itm/p/8673787.html
BUY ATTINY85:
https://www.utsource.net/itm/p/1865399.html
///////////////////////////////////////////////////////
so first of all you need to buy a Digispark board and the affiliate links are in description:-
Install Boards
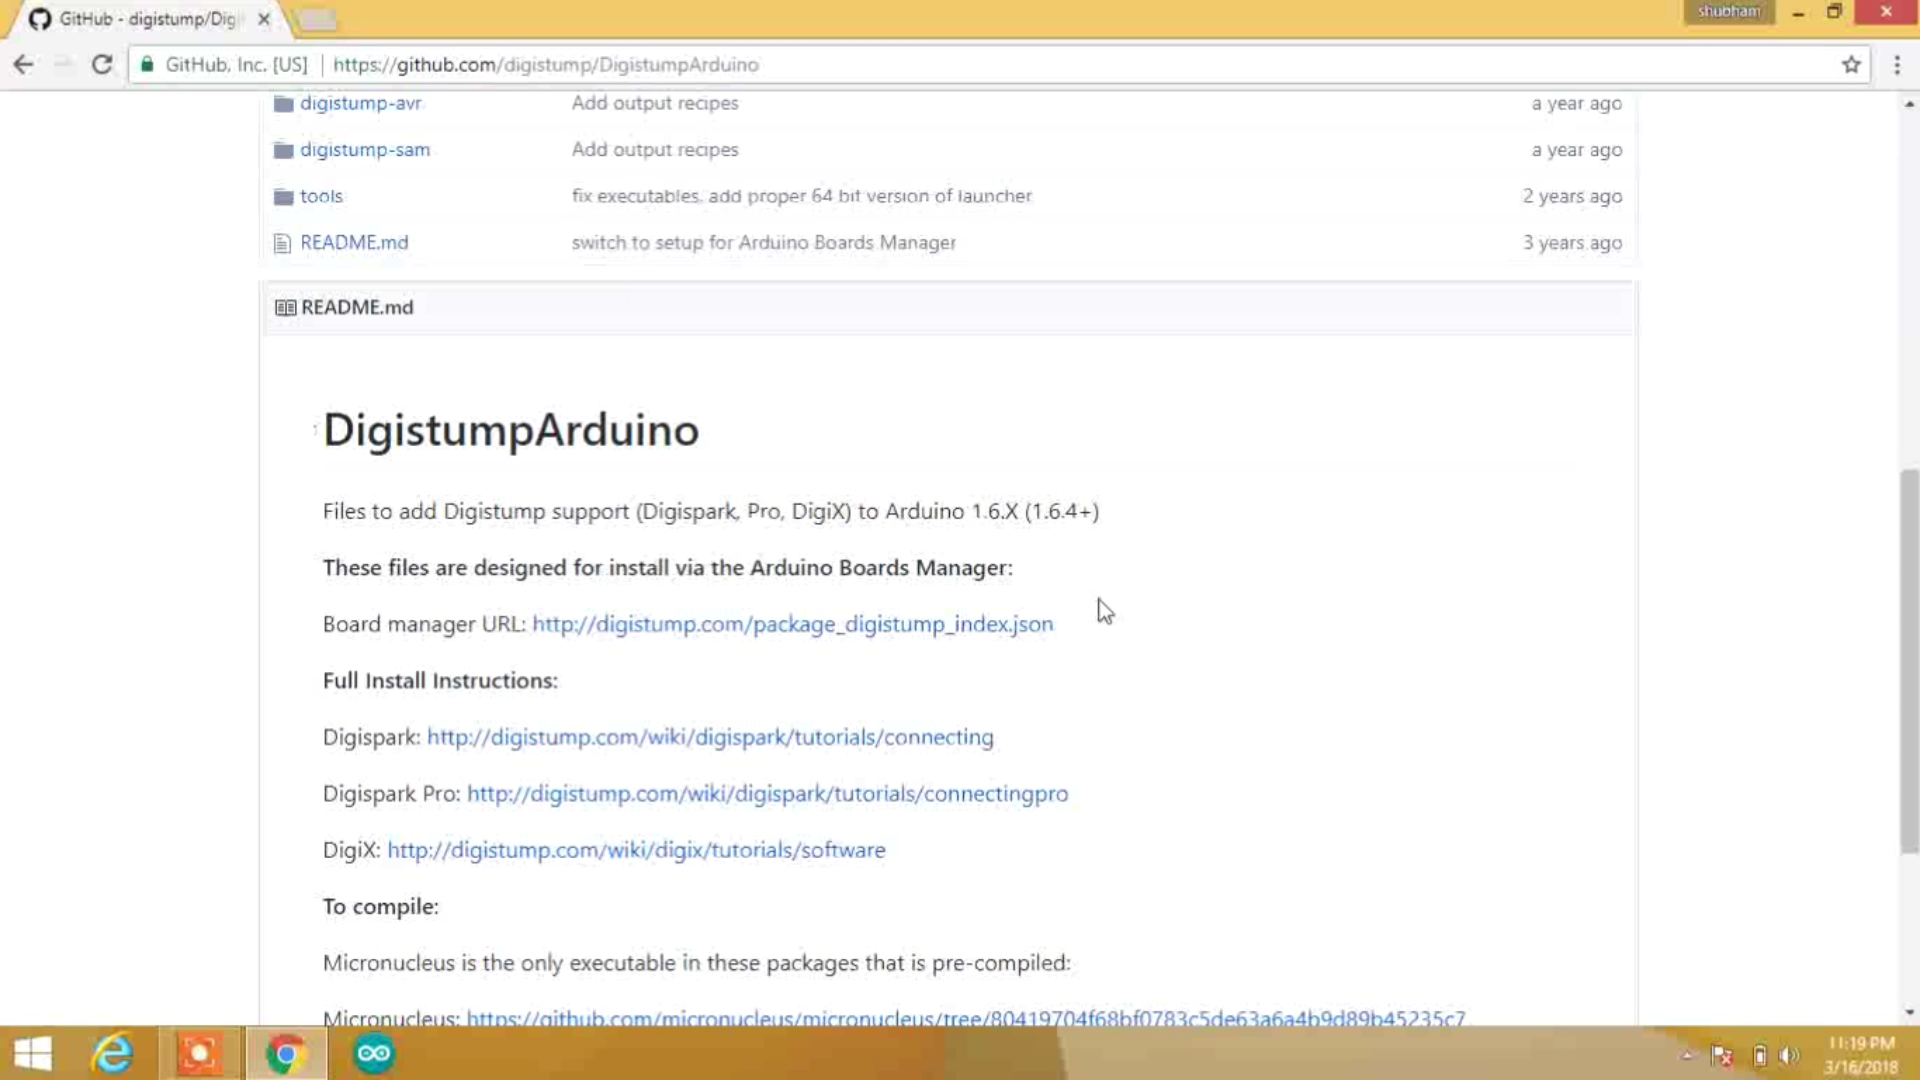
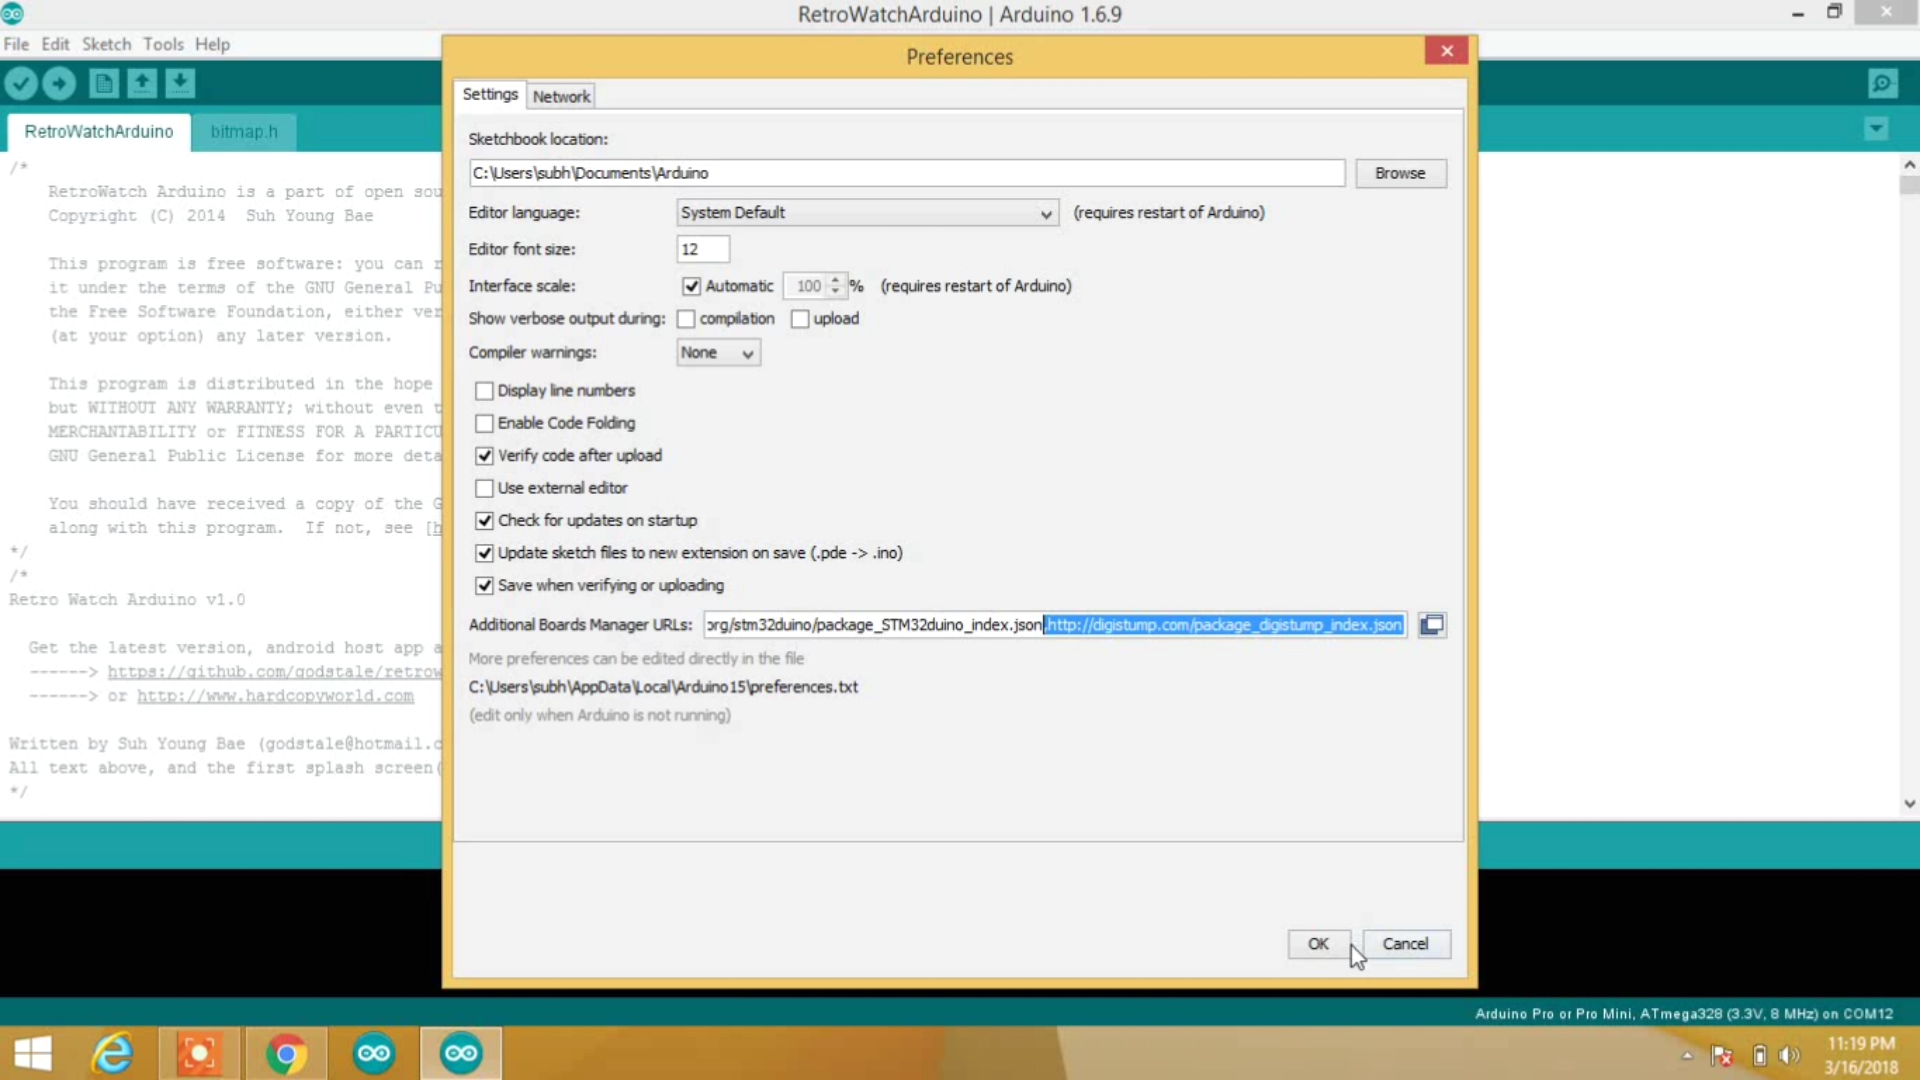
first of all open Arduino ide and then go to preferences and then in additional board magae url paste this given url for Digispark :-
http://digistump.com/package_digistump_index.json
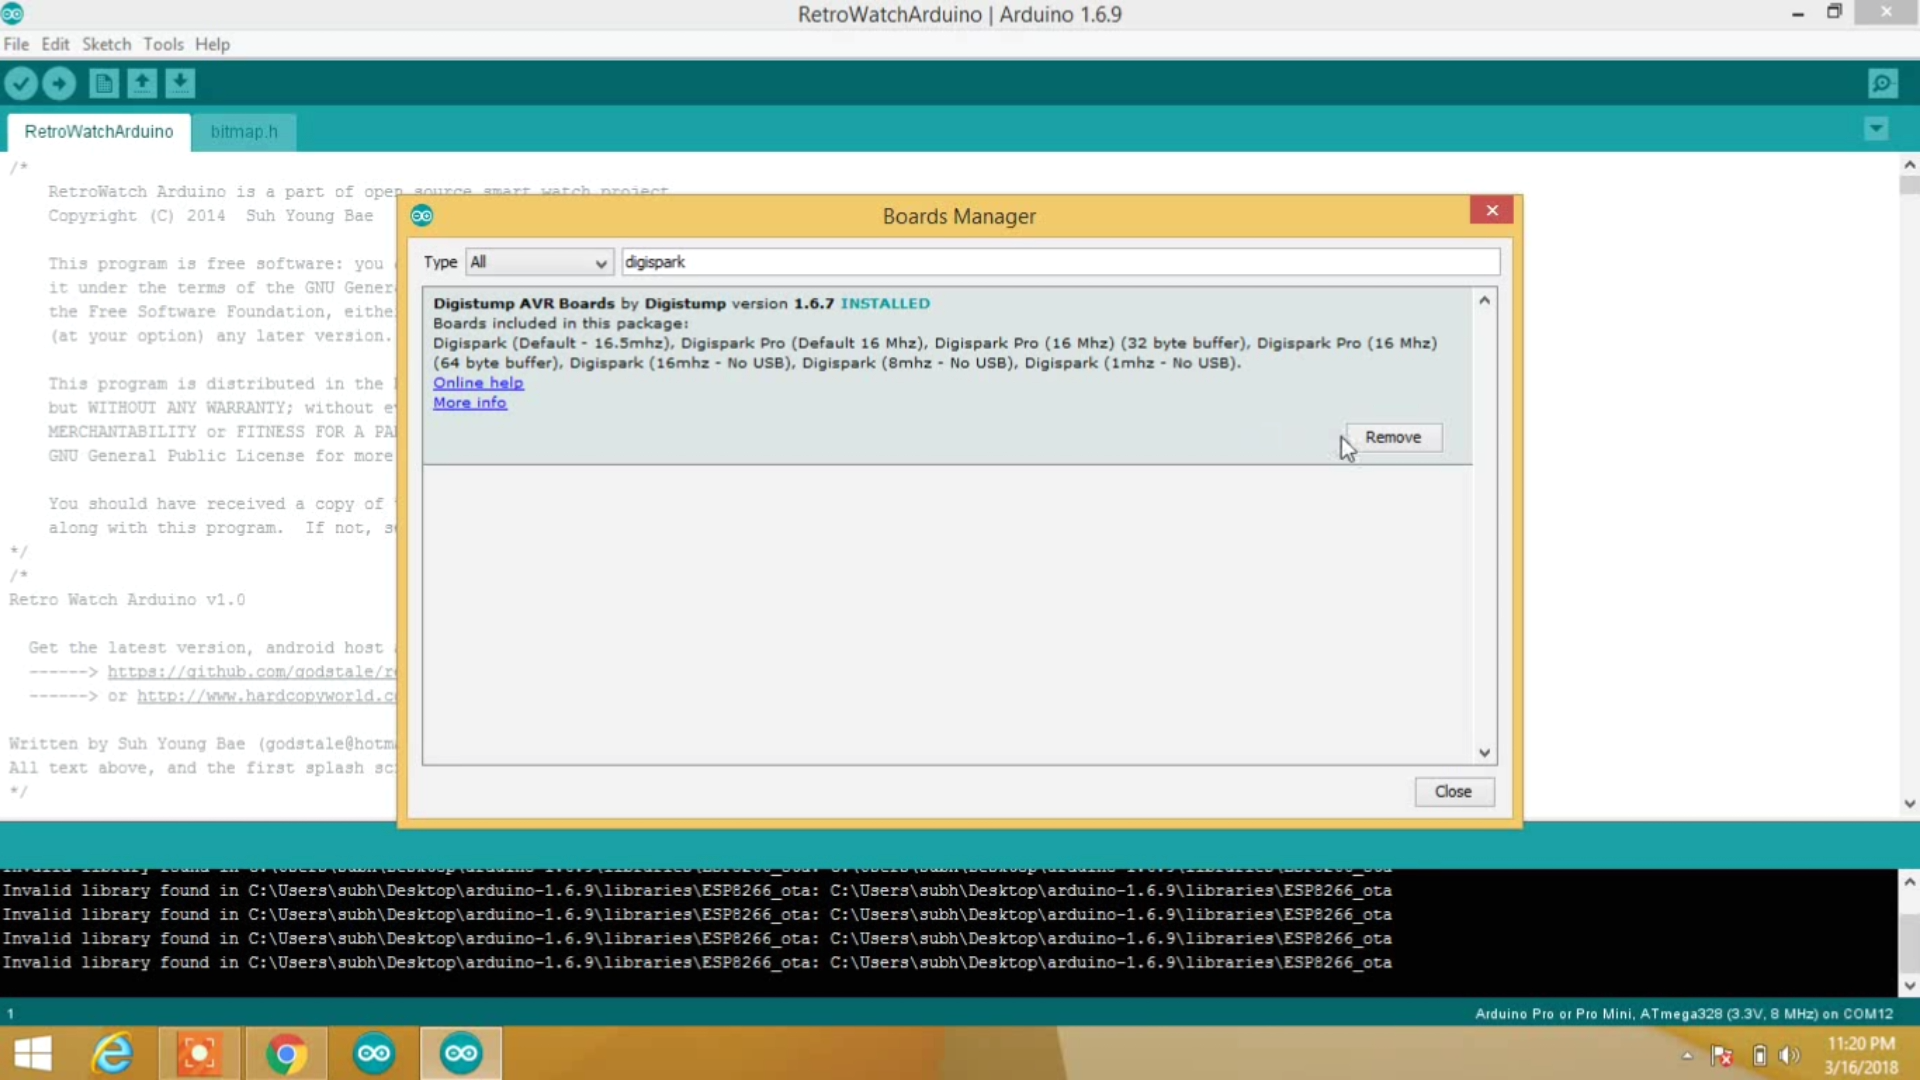
Now go to boards manager and download the Digispark boards.
Programming Board
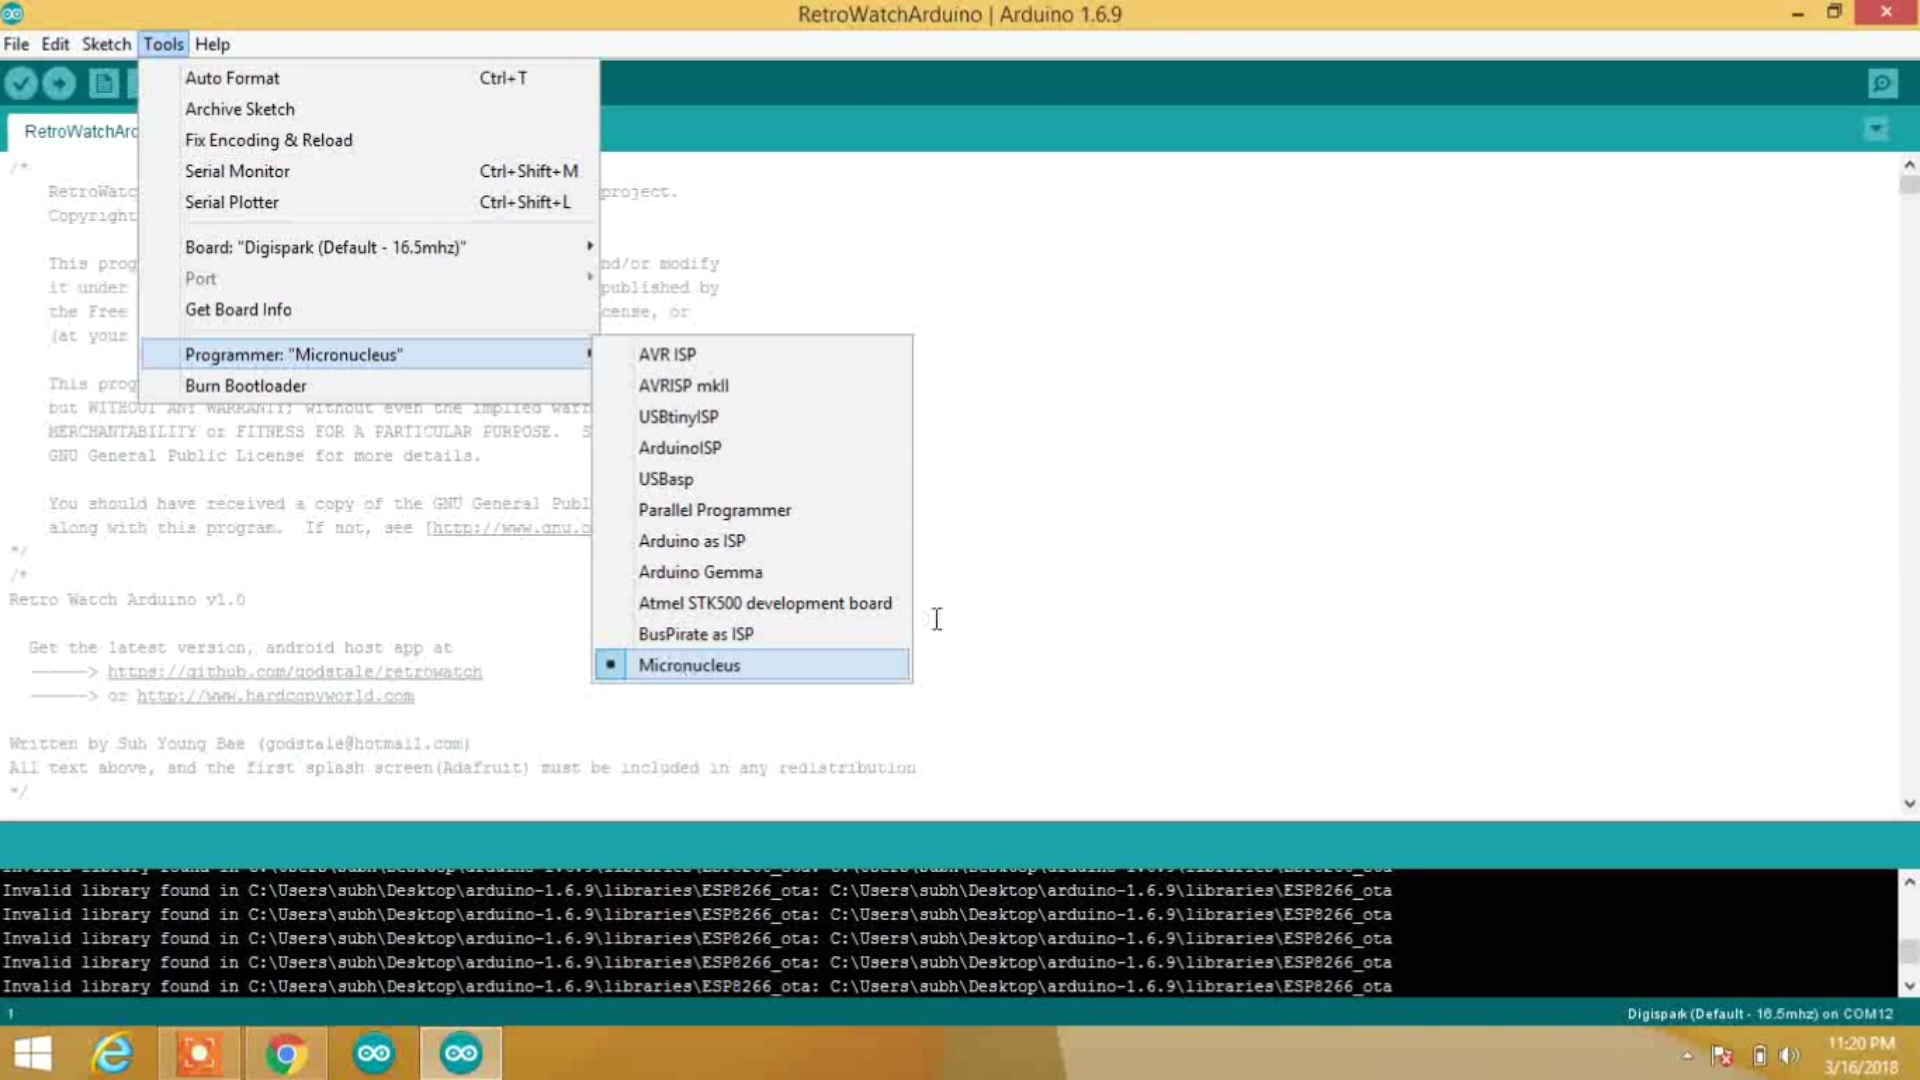

select the given settings
Board- Digispark Default 16.5mhz
Programmer - micronucleus
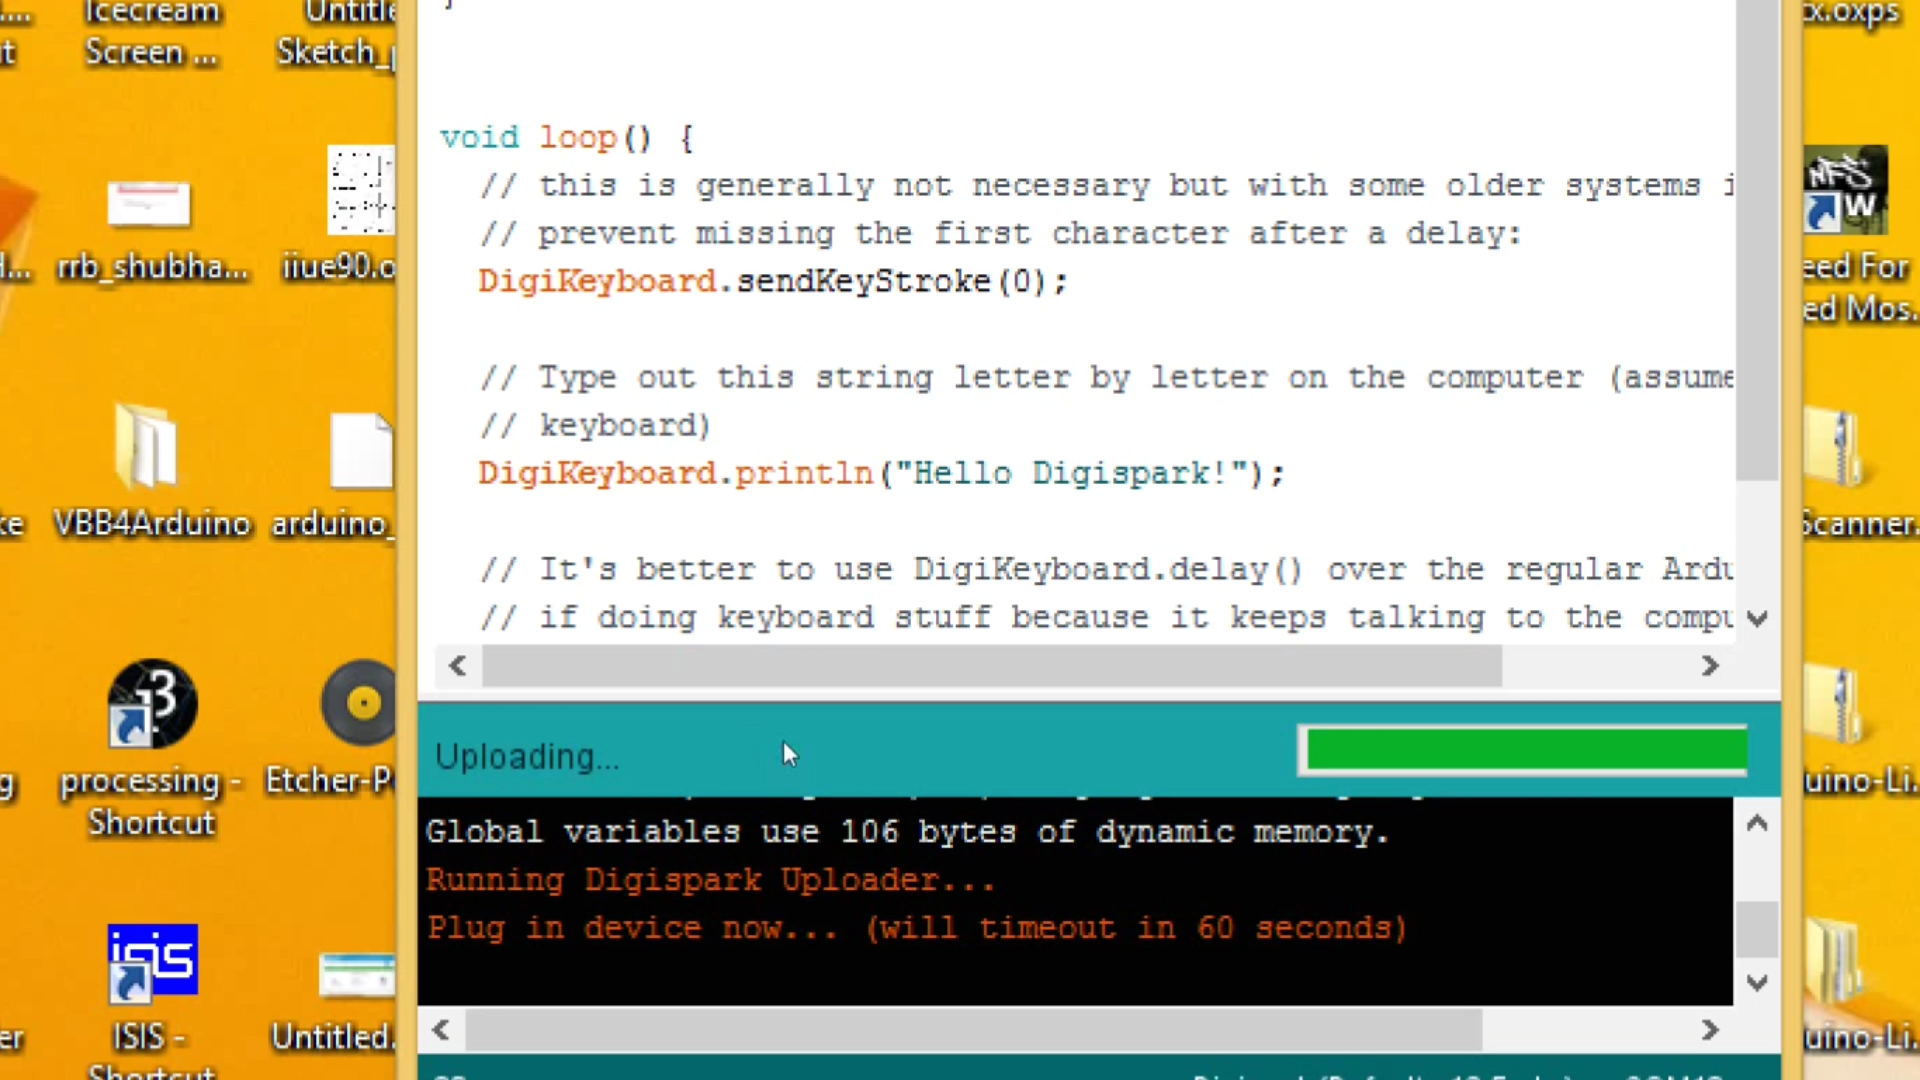
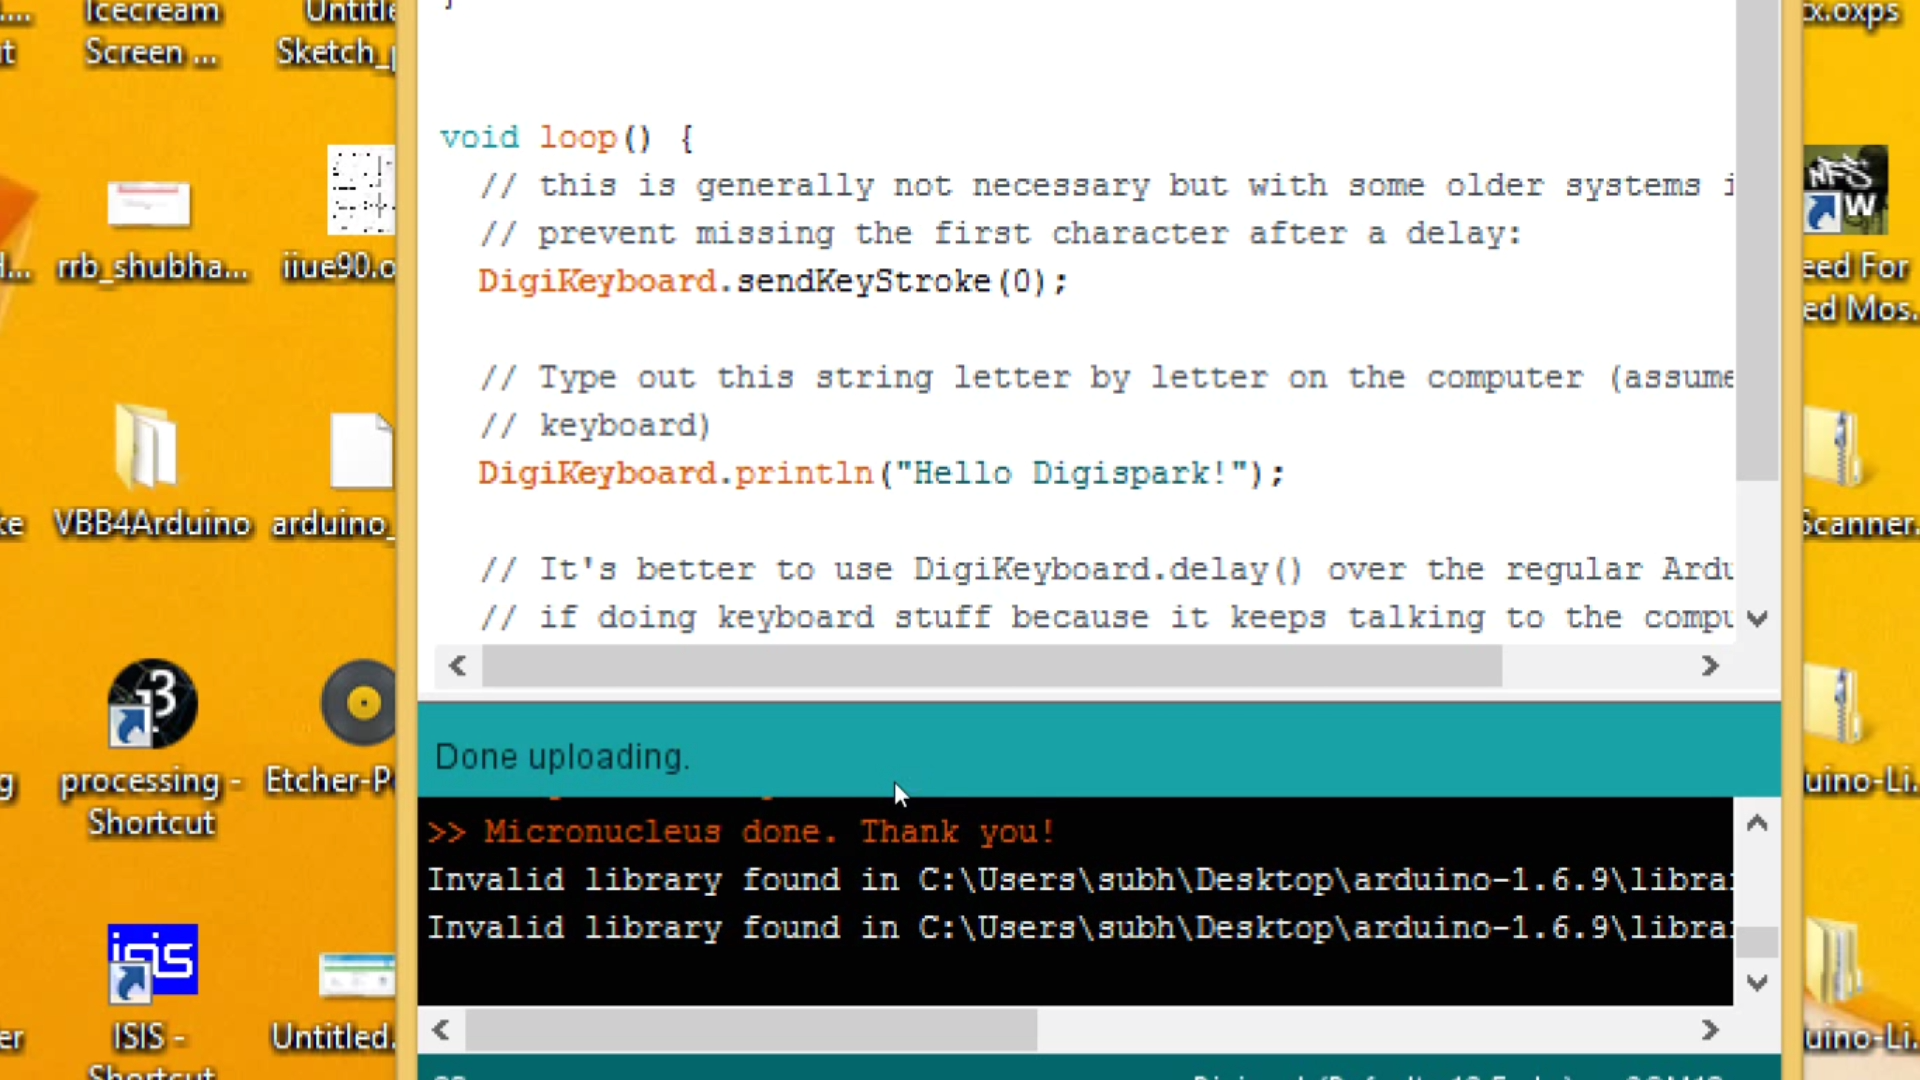
And hit upload button and you'll get a message at very bottom on arduino ide to plug the device within 60 sec then plug the device and if everything worked fine then you'll get a message micronucleus done thank you that means code has been uploaded and your led will start blinking.
Refer video if having problem.
Thank you