Diffuse Objects
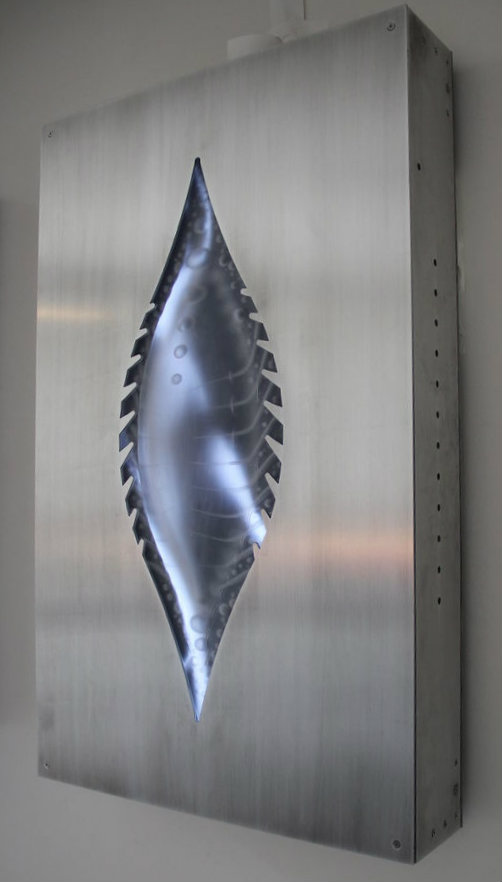
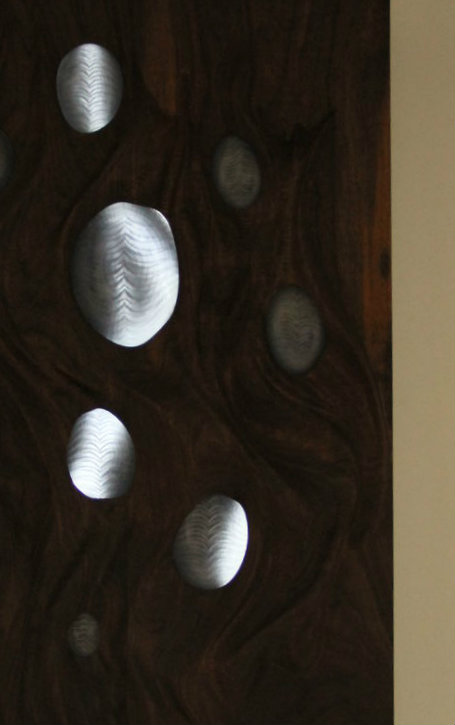
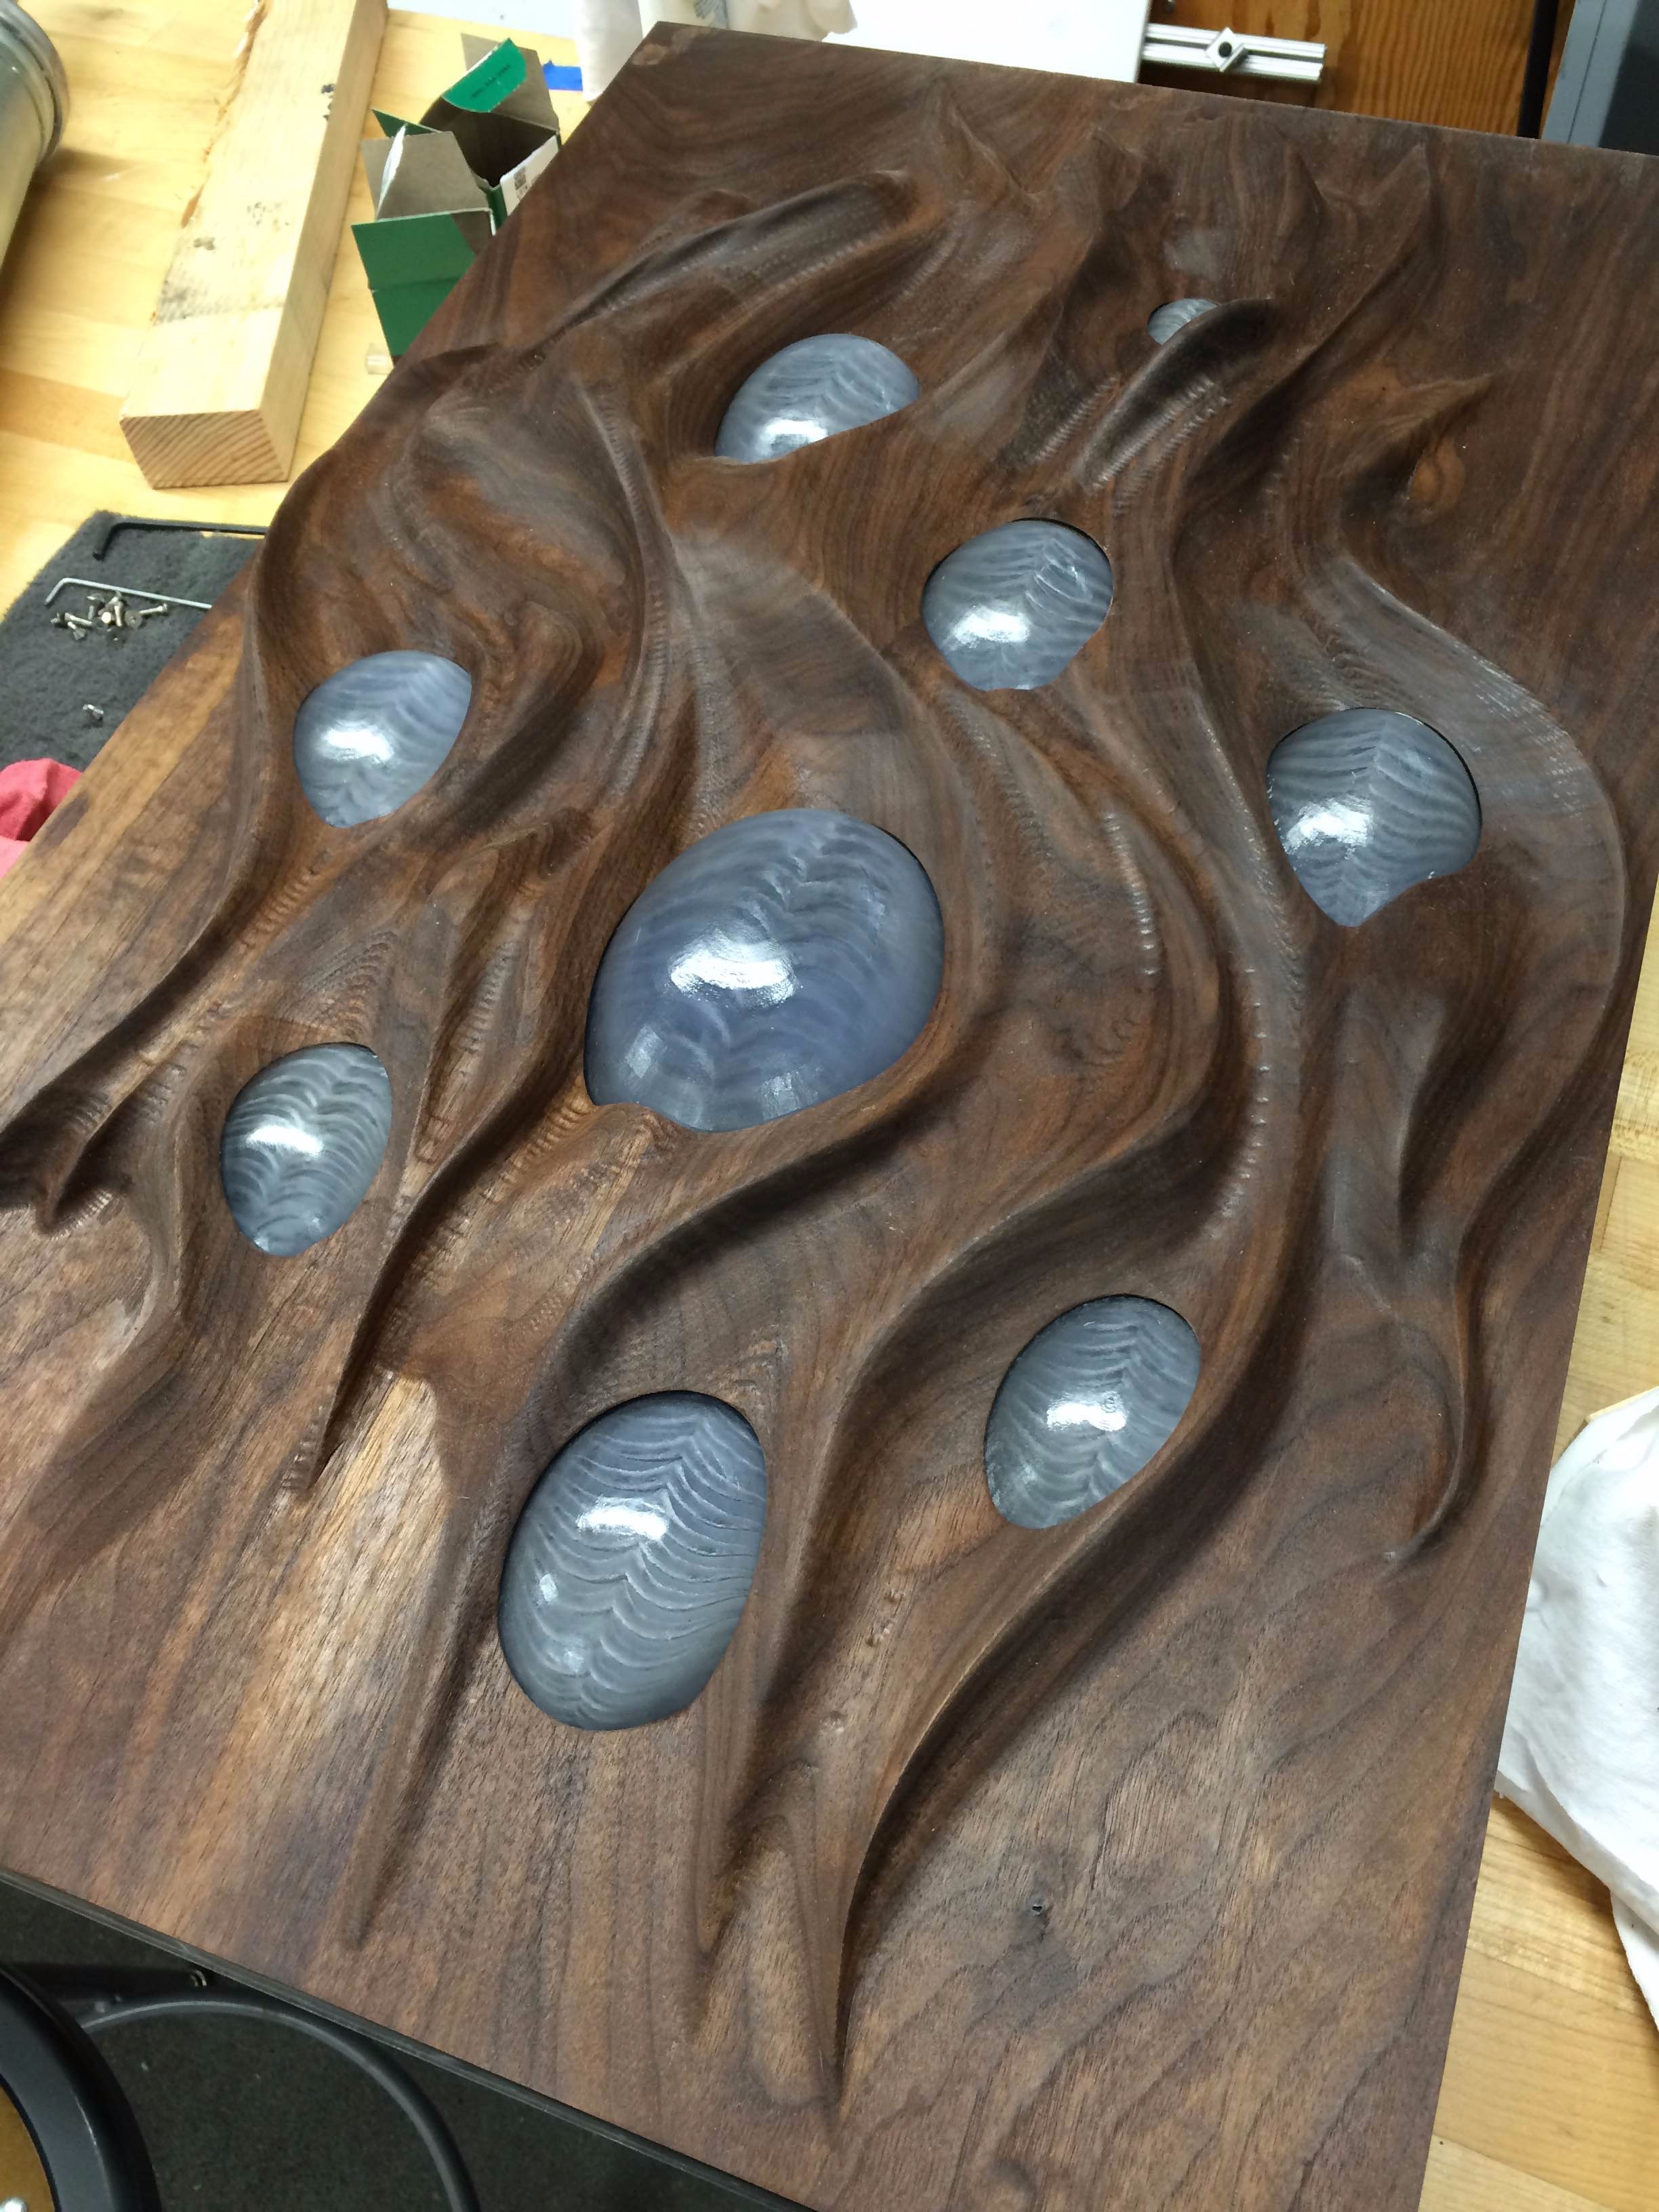
This is a project that combines digital video with digitally fabricated objects to create luminous, dynamic relief surfaces. It is an extension of a computational and organic aesthetic that I have developed over the last few years of making video work, rendered in the flesh. But rather than becoming fixed, immutable objects, the digital lighting keeps these works from being static, allowing them to continue shifting and animating.
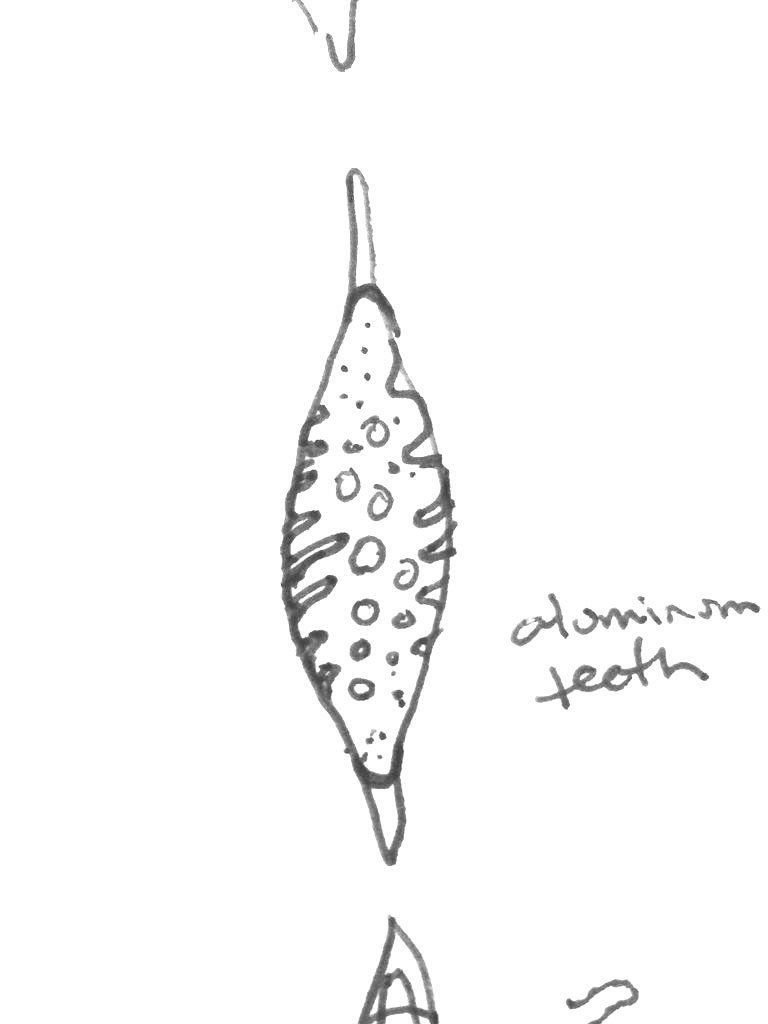
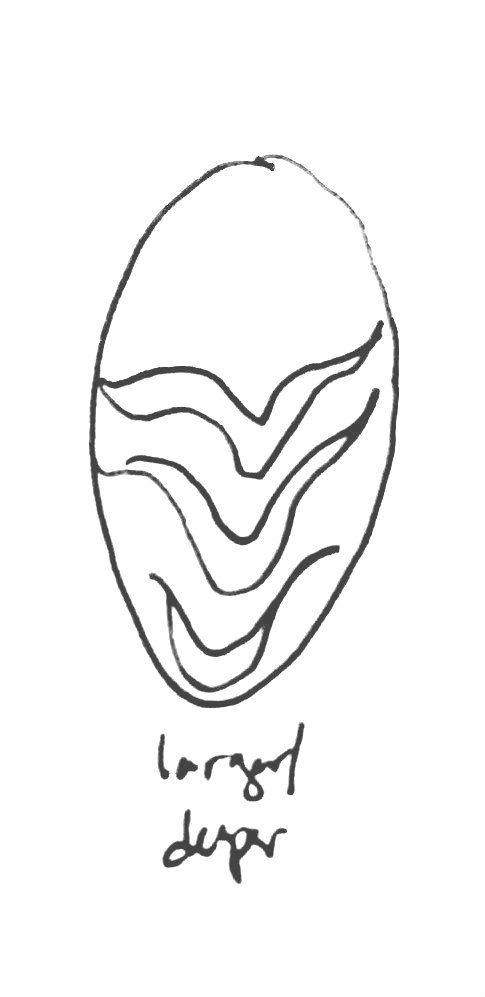
I've taken two related approaches to this idea, using an array of Pier 9's CNC tools to do so. Even when using the most sophisticated tools, I start my thinking by sketching.
Learning CAM
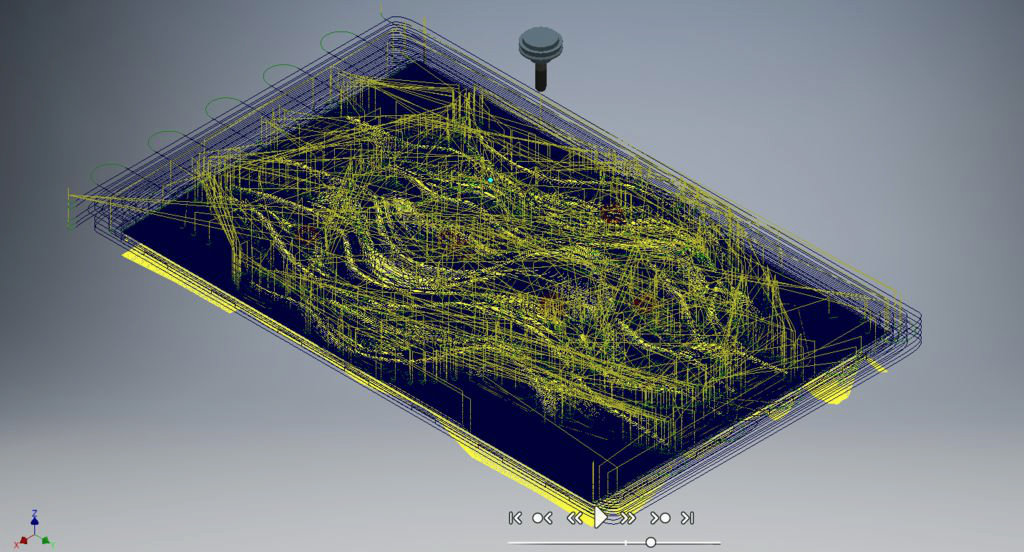
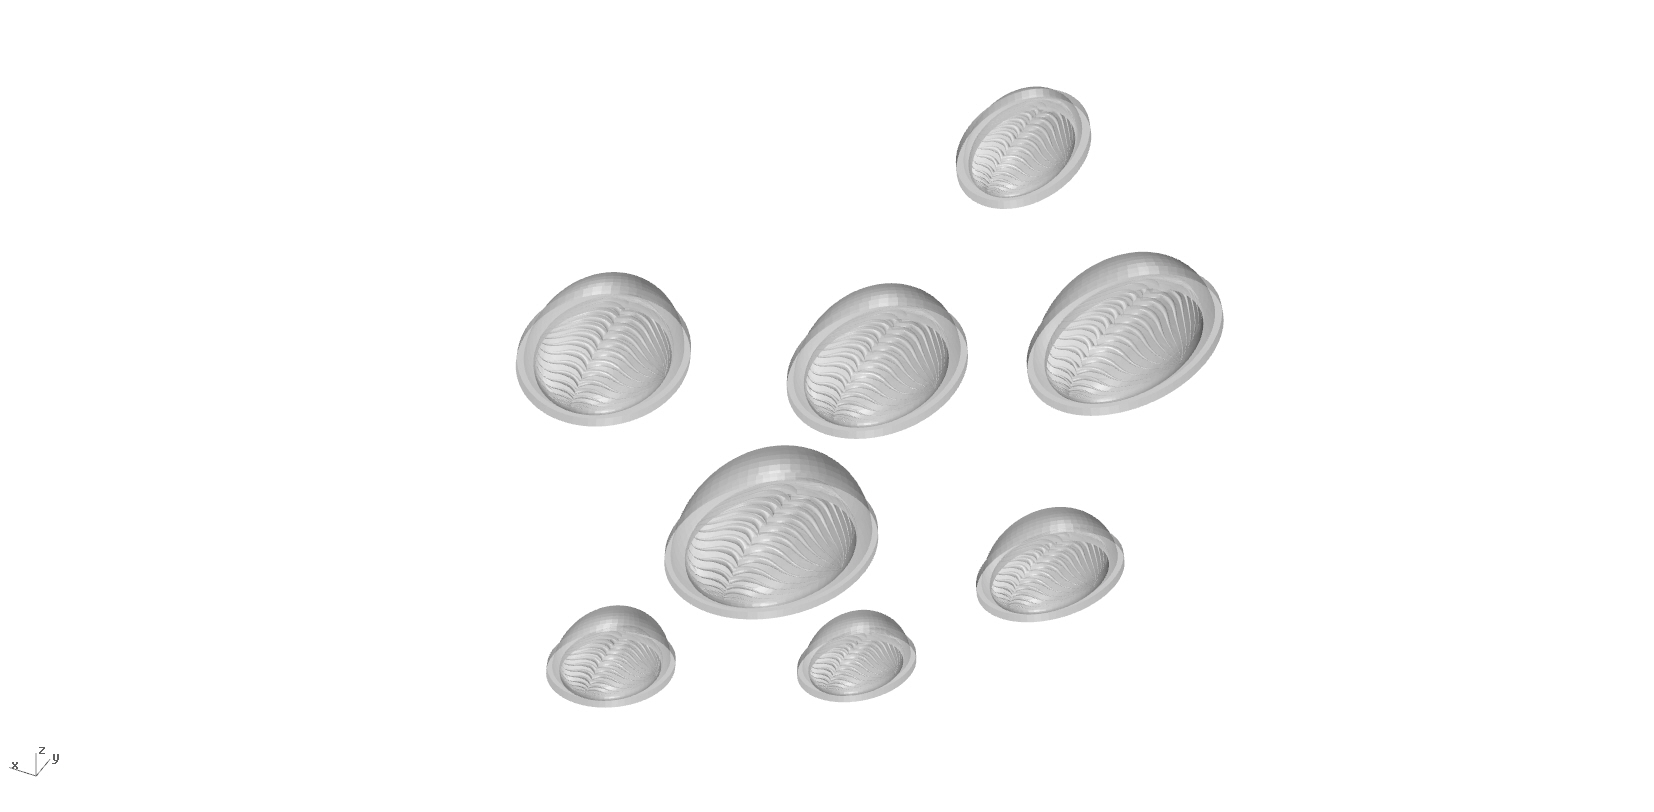
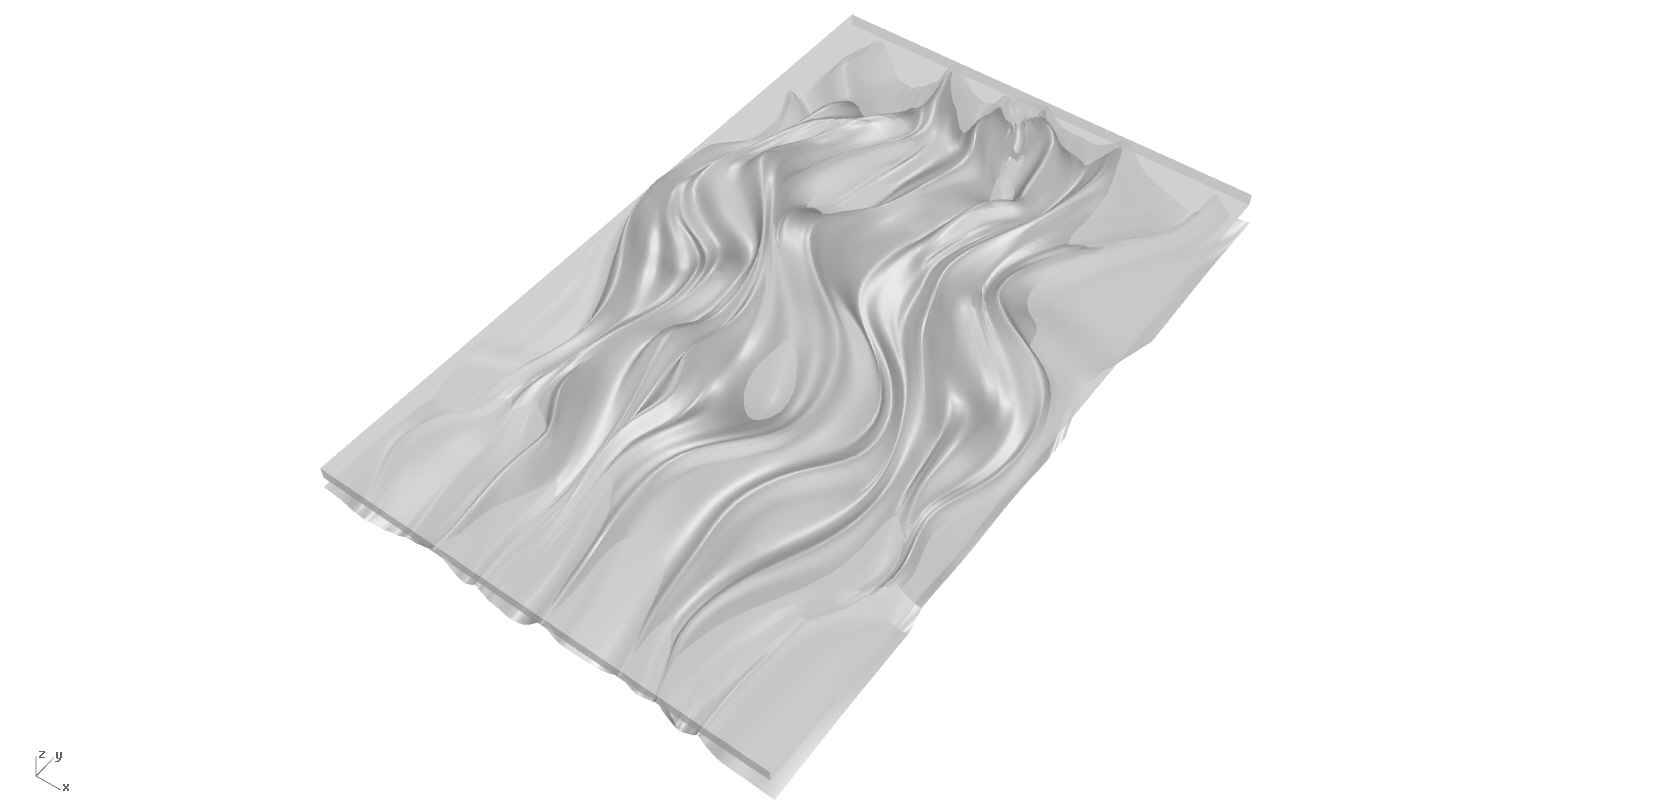
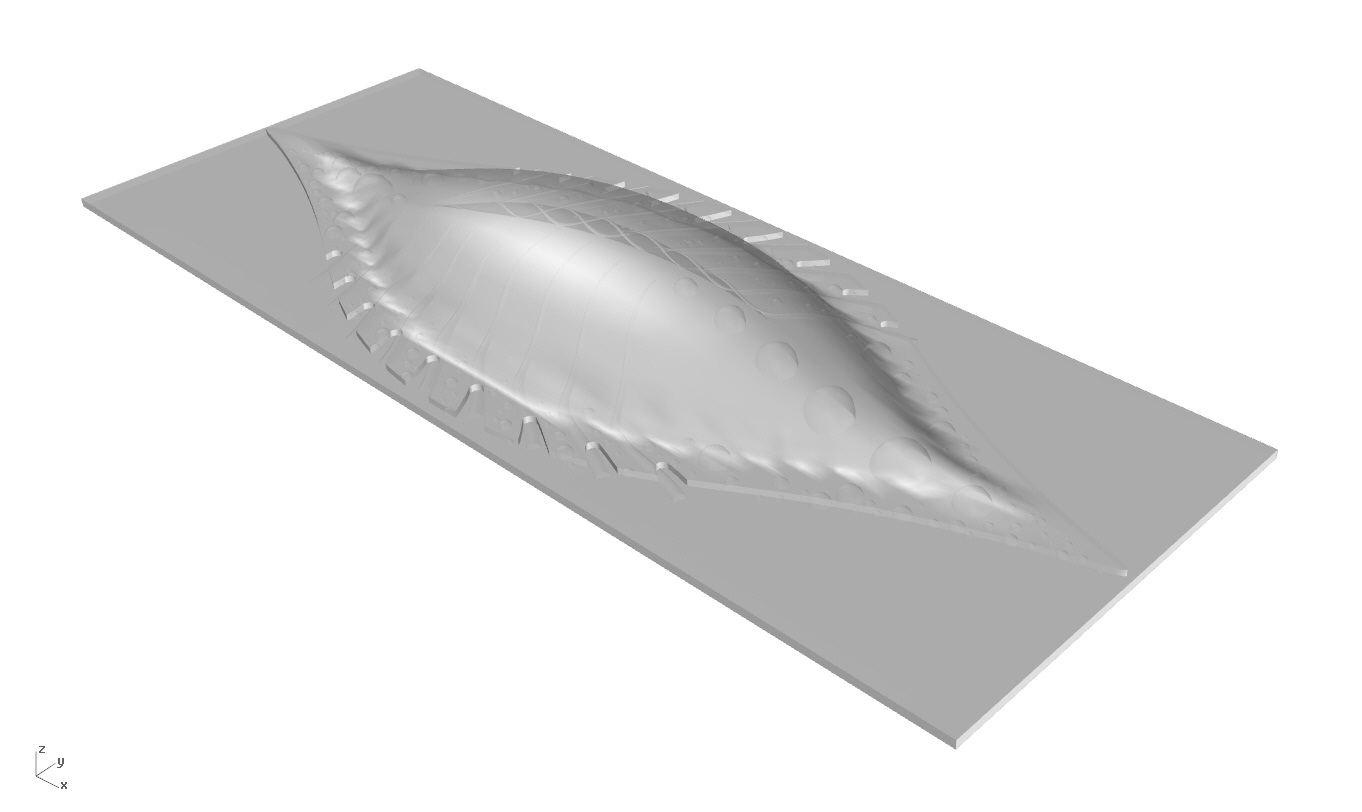
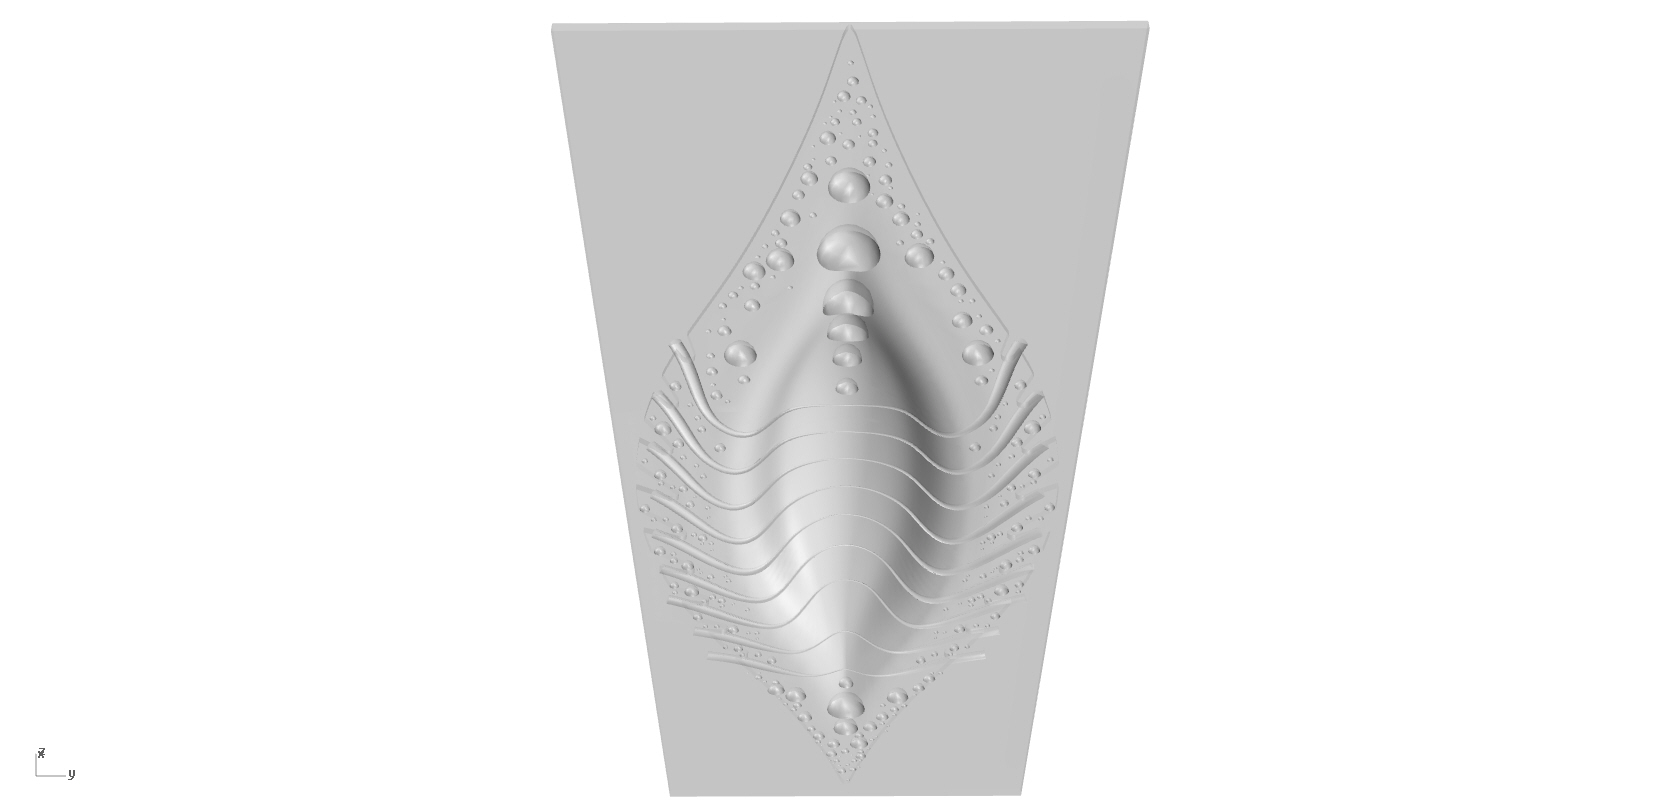
Coming to Pier 9, I felt comfortable using 3d modeling tools, and had had a taste of CNC fabrication—enough to know that I wanted more.
The CNC teachers at Pier 9 have put together an incredibly accessible training program. I went from someone who had never designed a toolpath to using the DMS 5-Axis CNC router in a total of about 4 or 5 days of training.
For this project, I used a few different modeling programs, then used Inventor to create the CAM setups and toolpaths.
CNC Routing... and All of the Other Tools
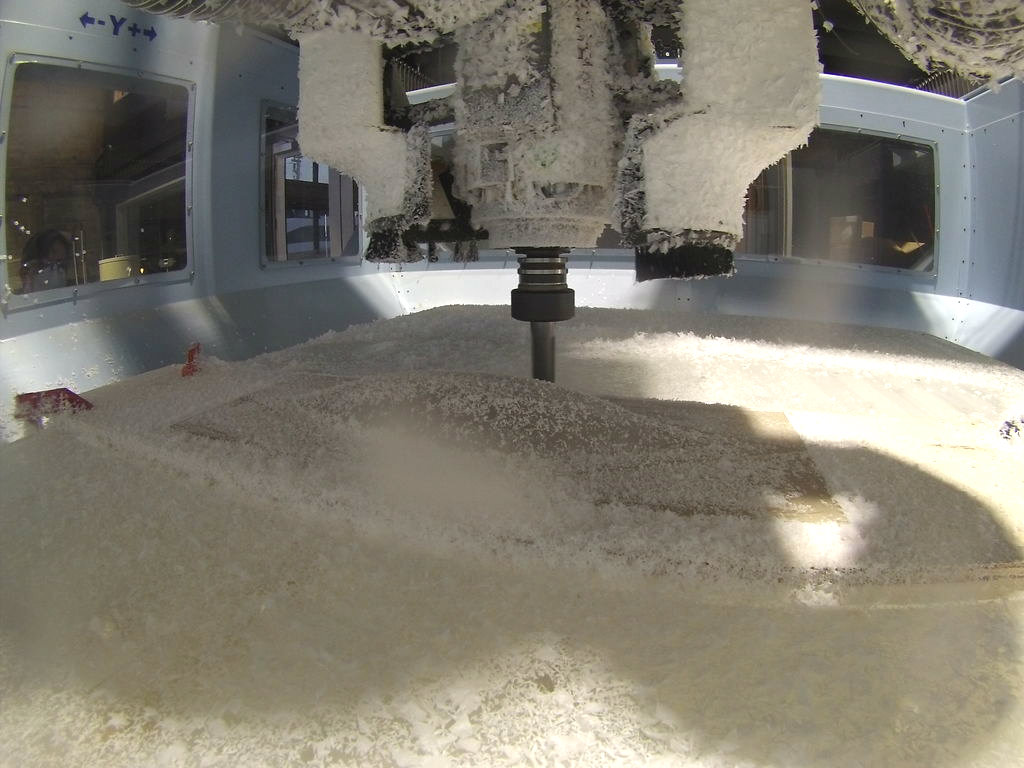
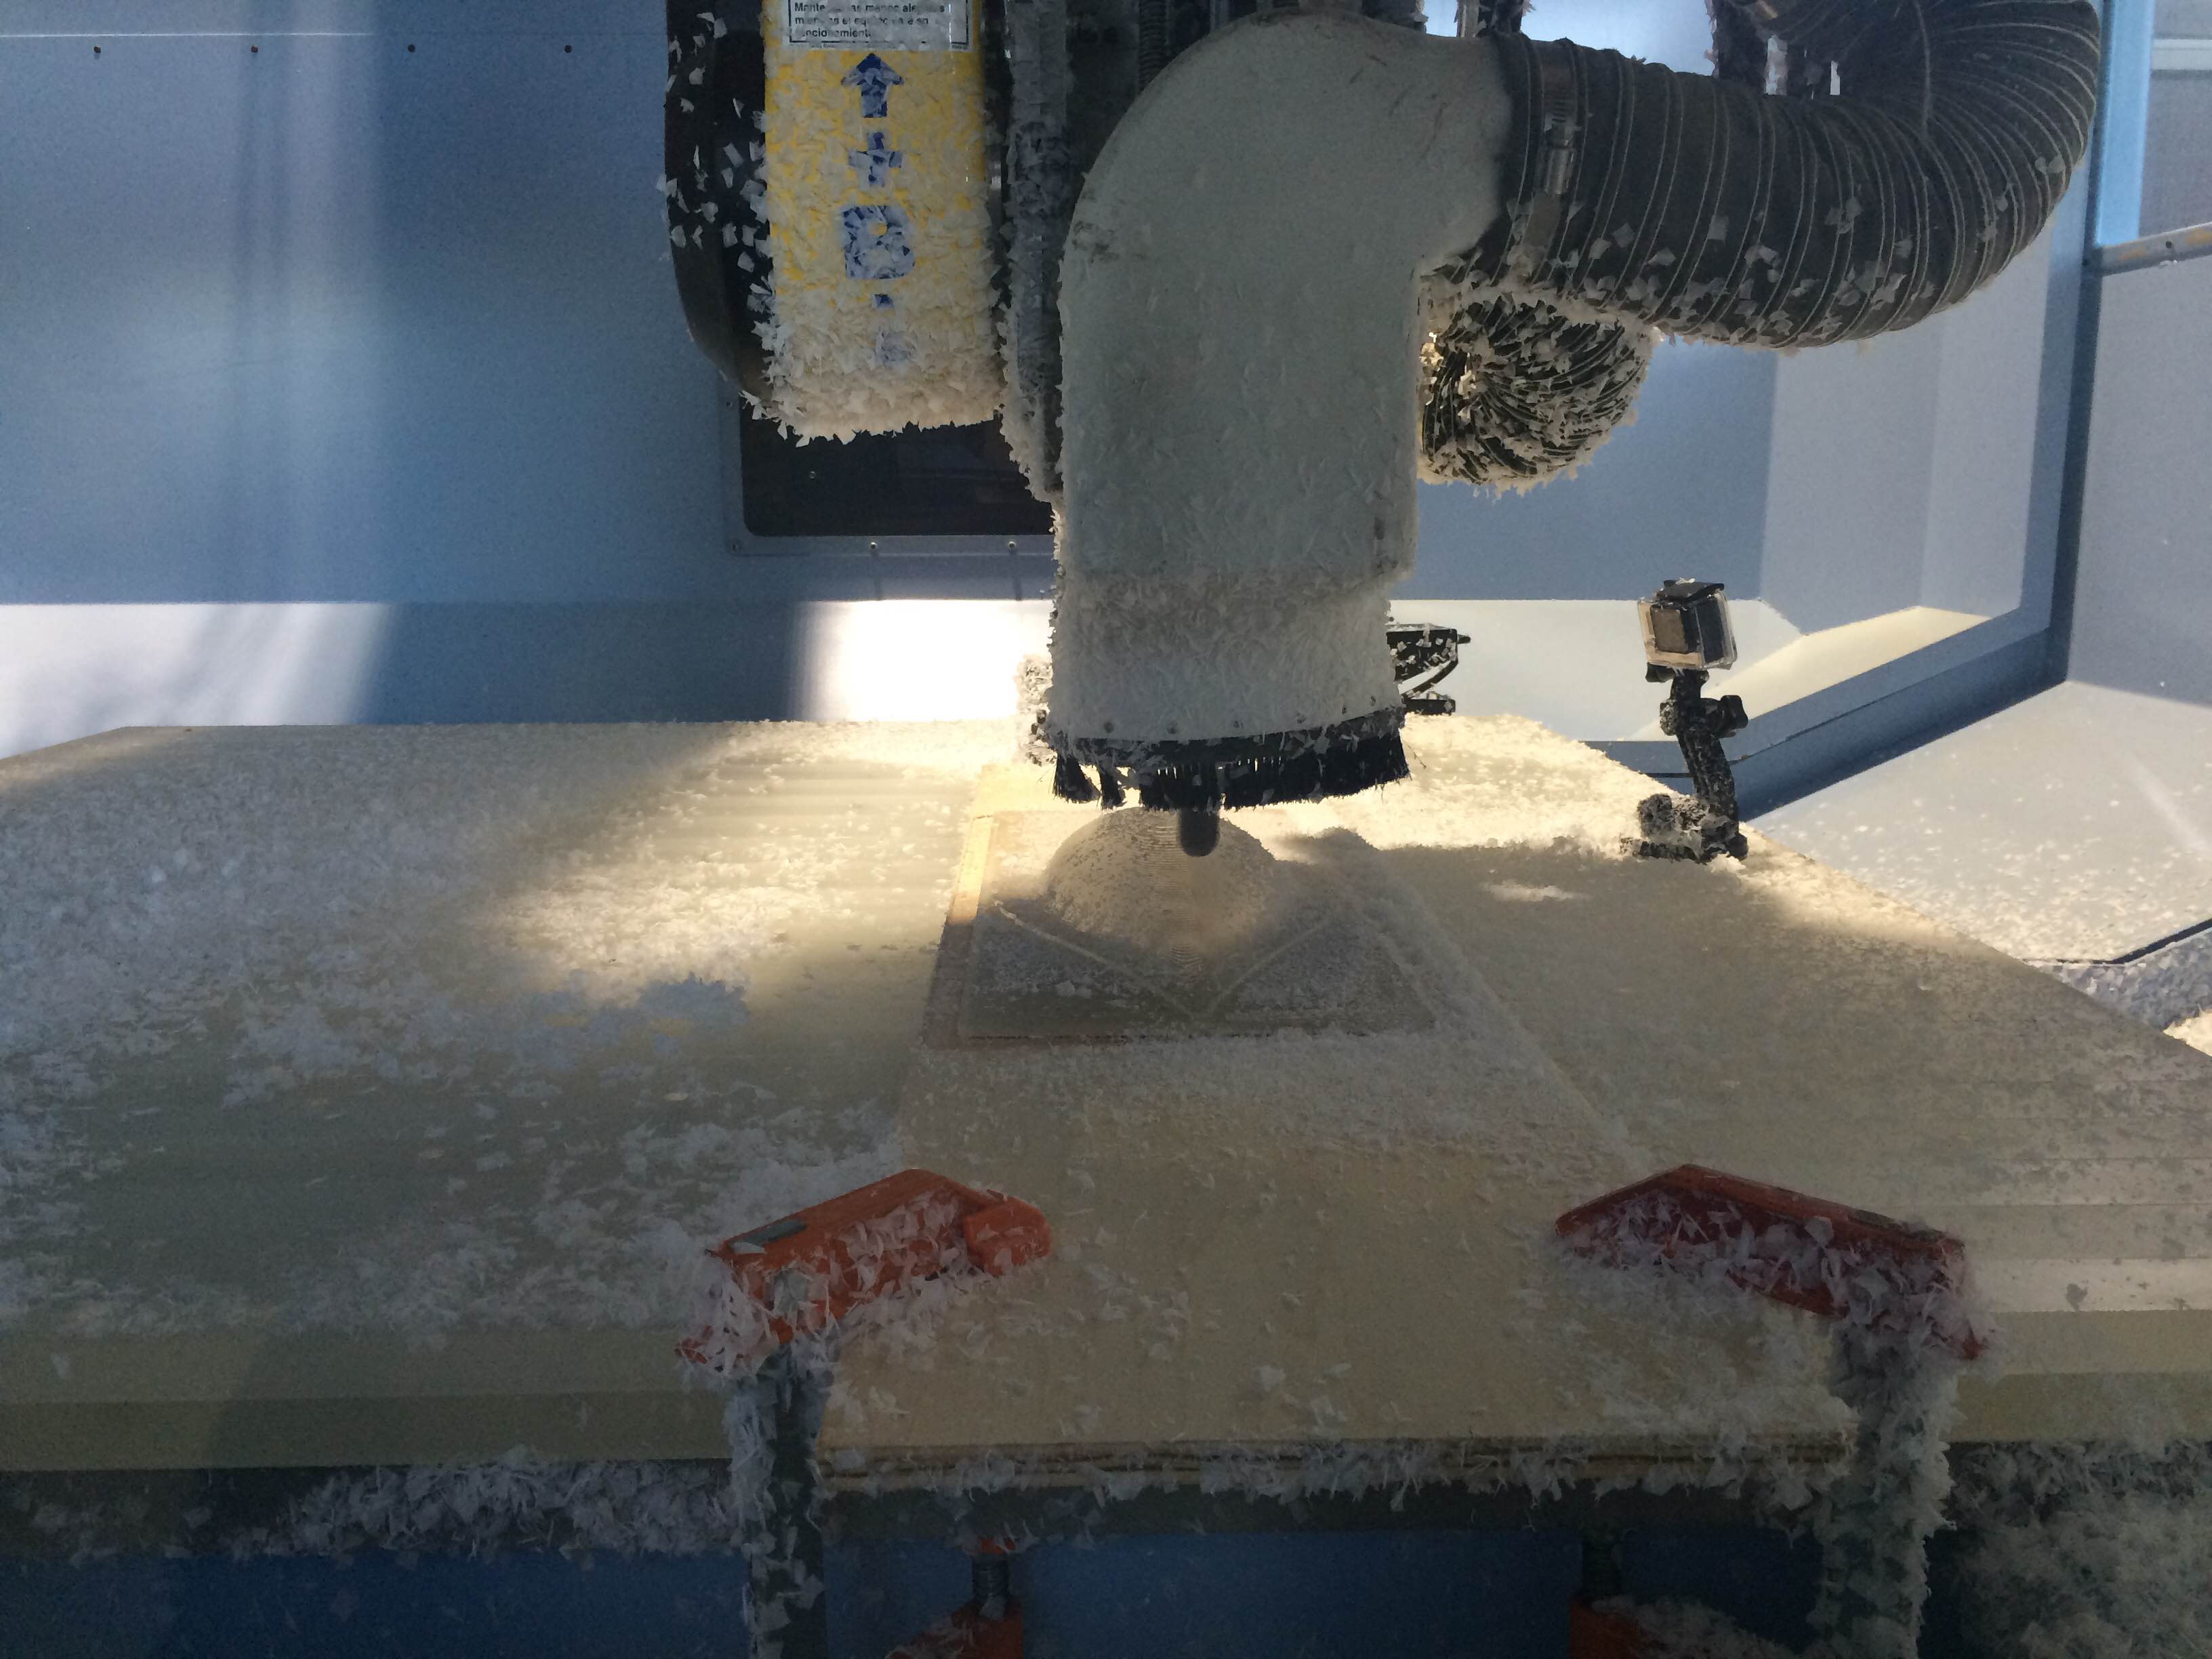
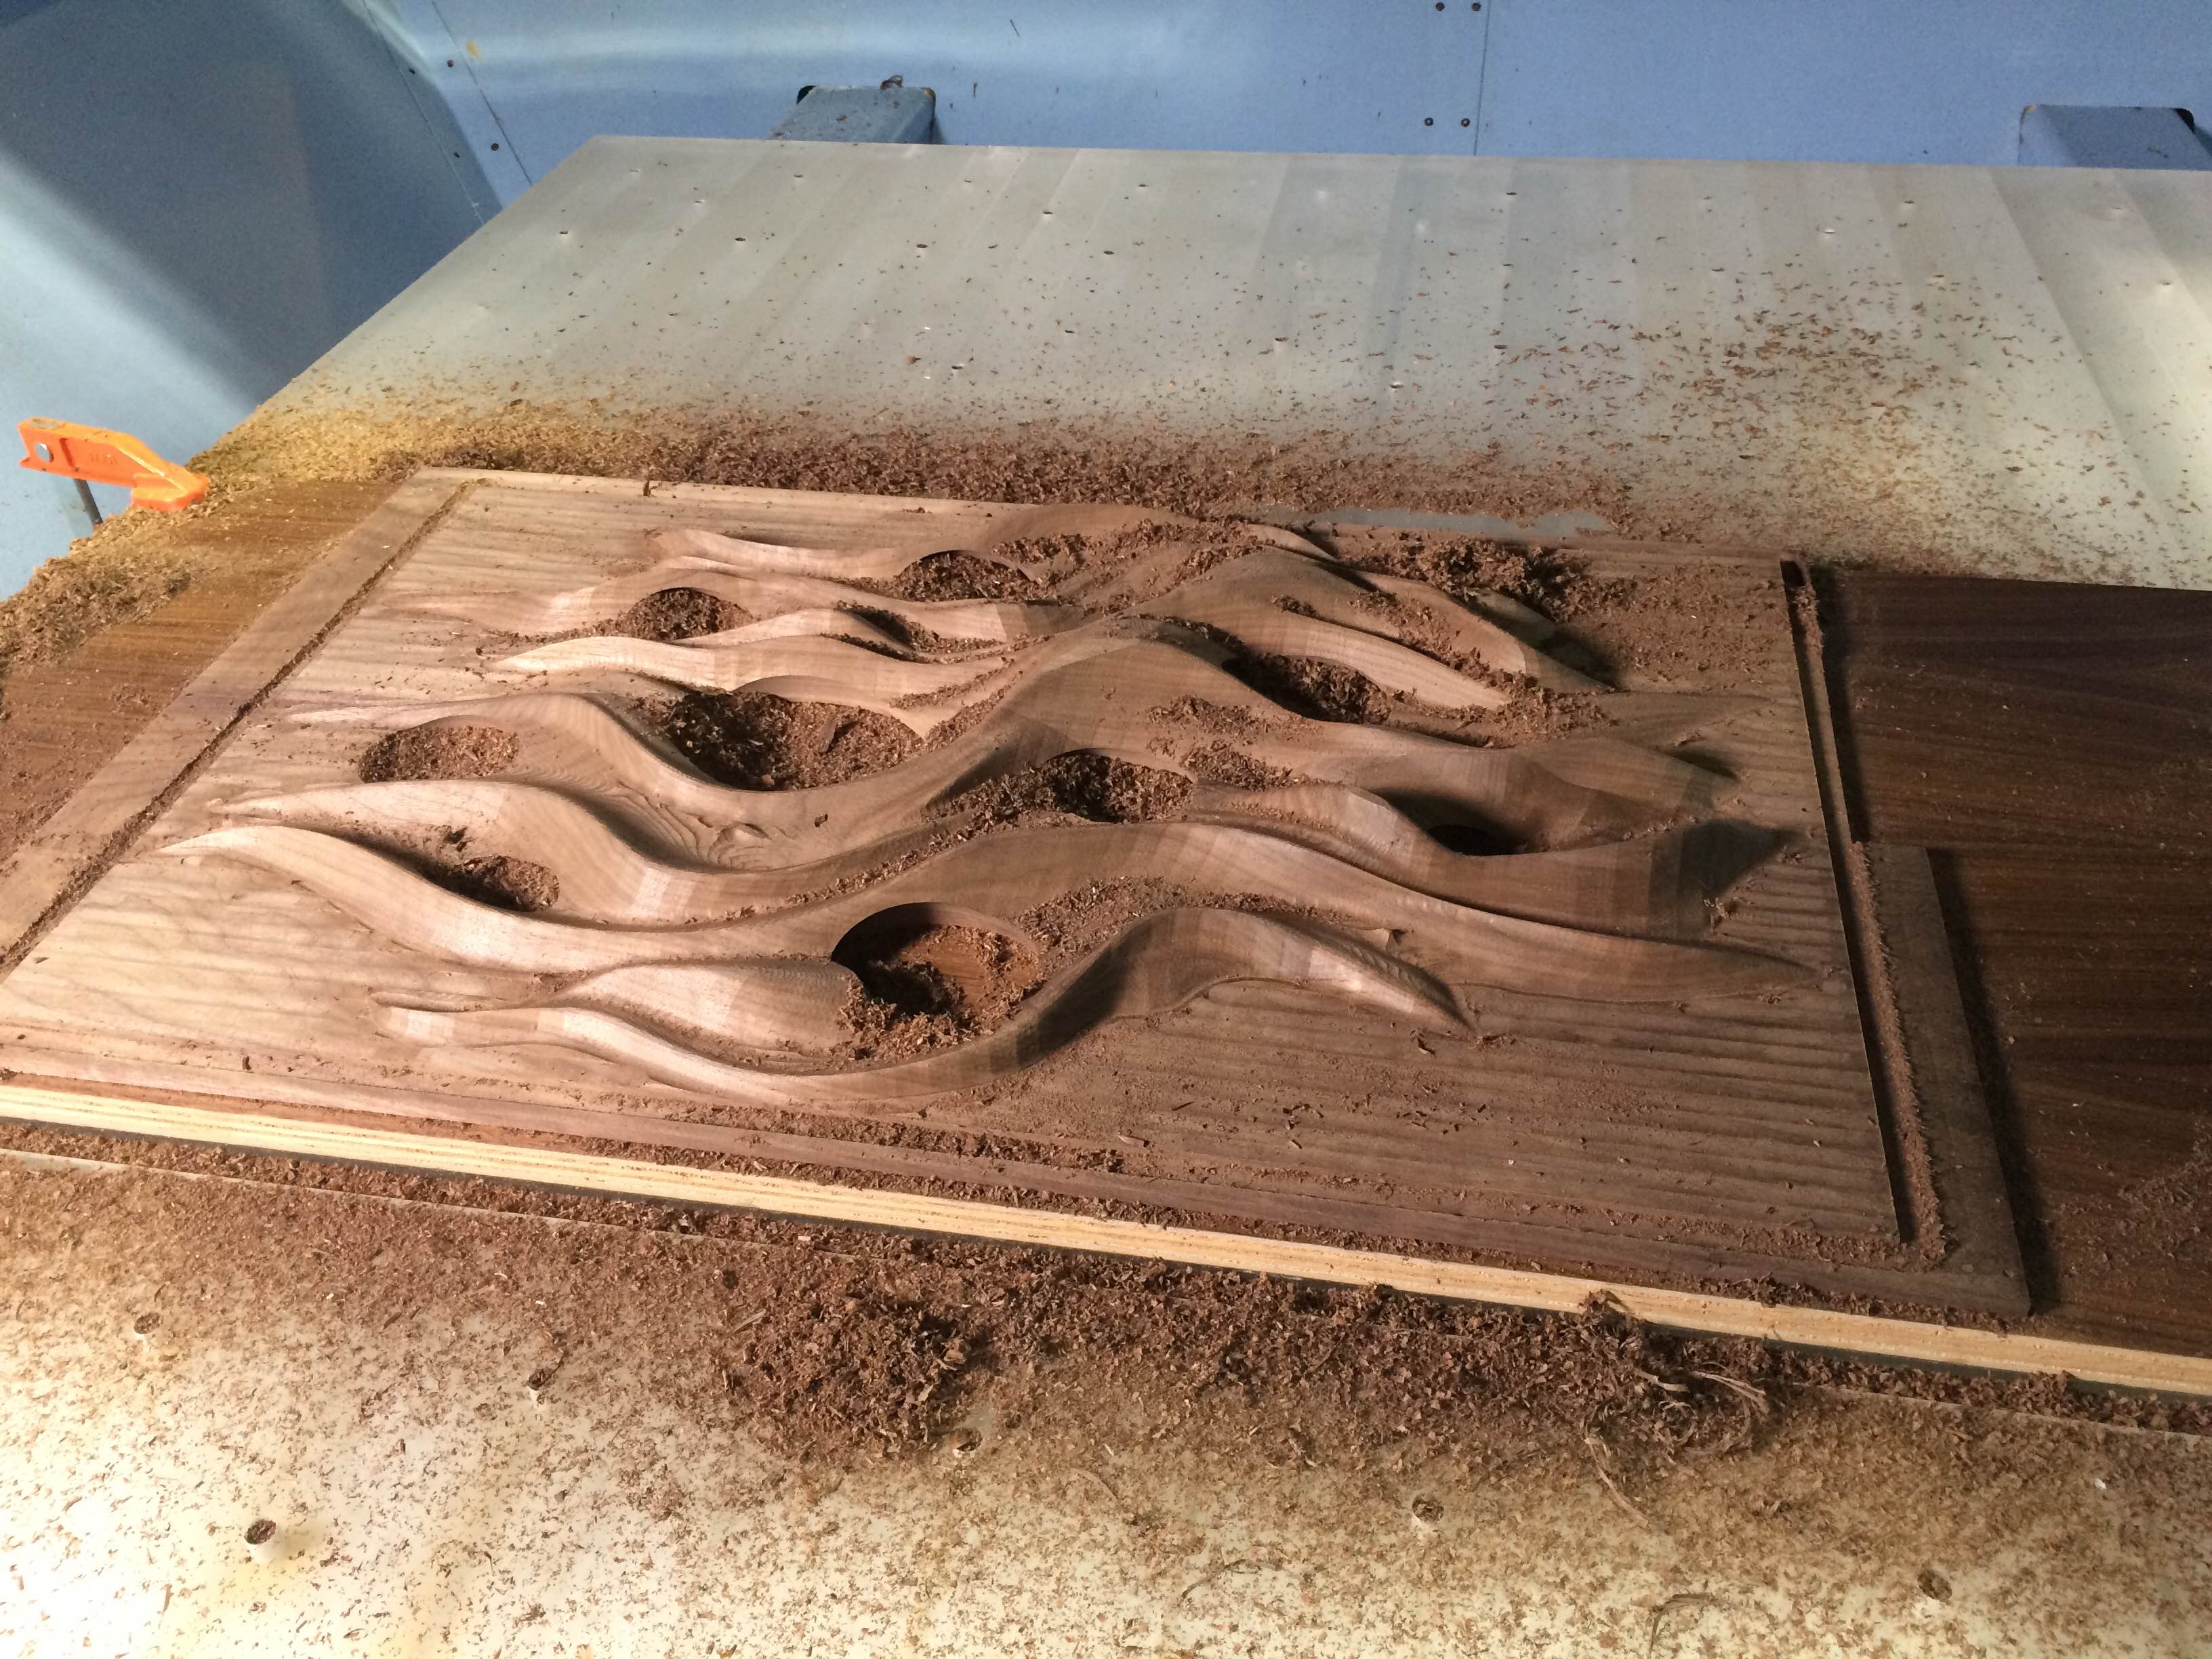
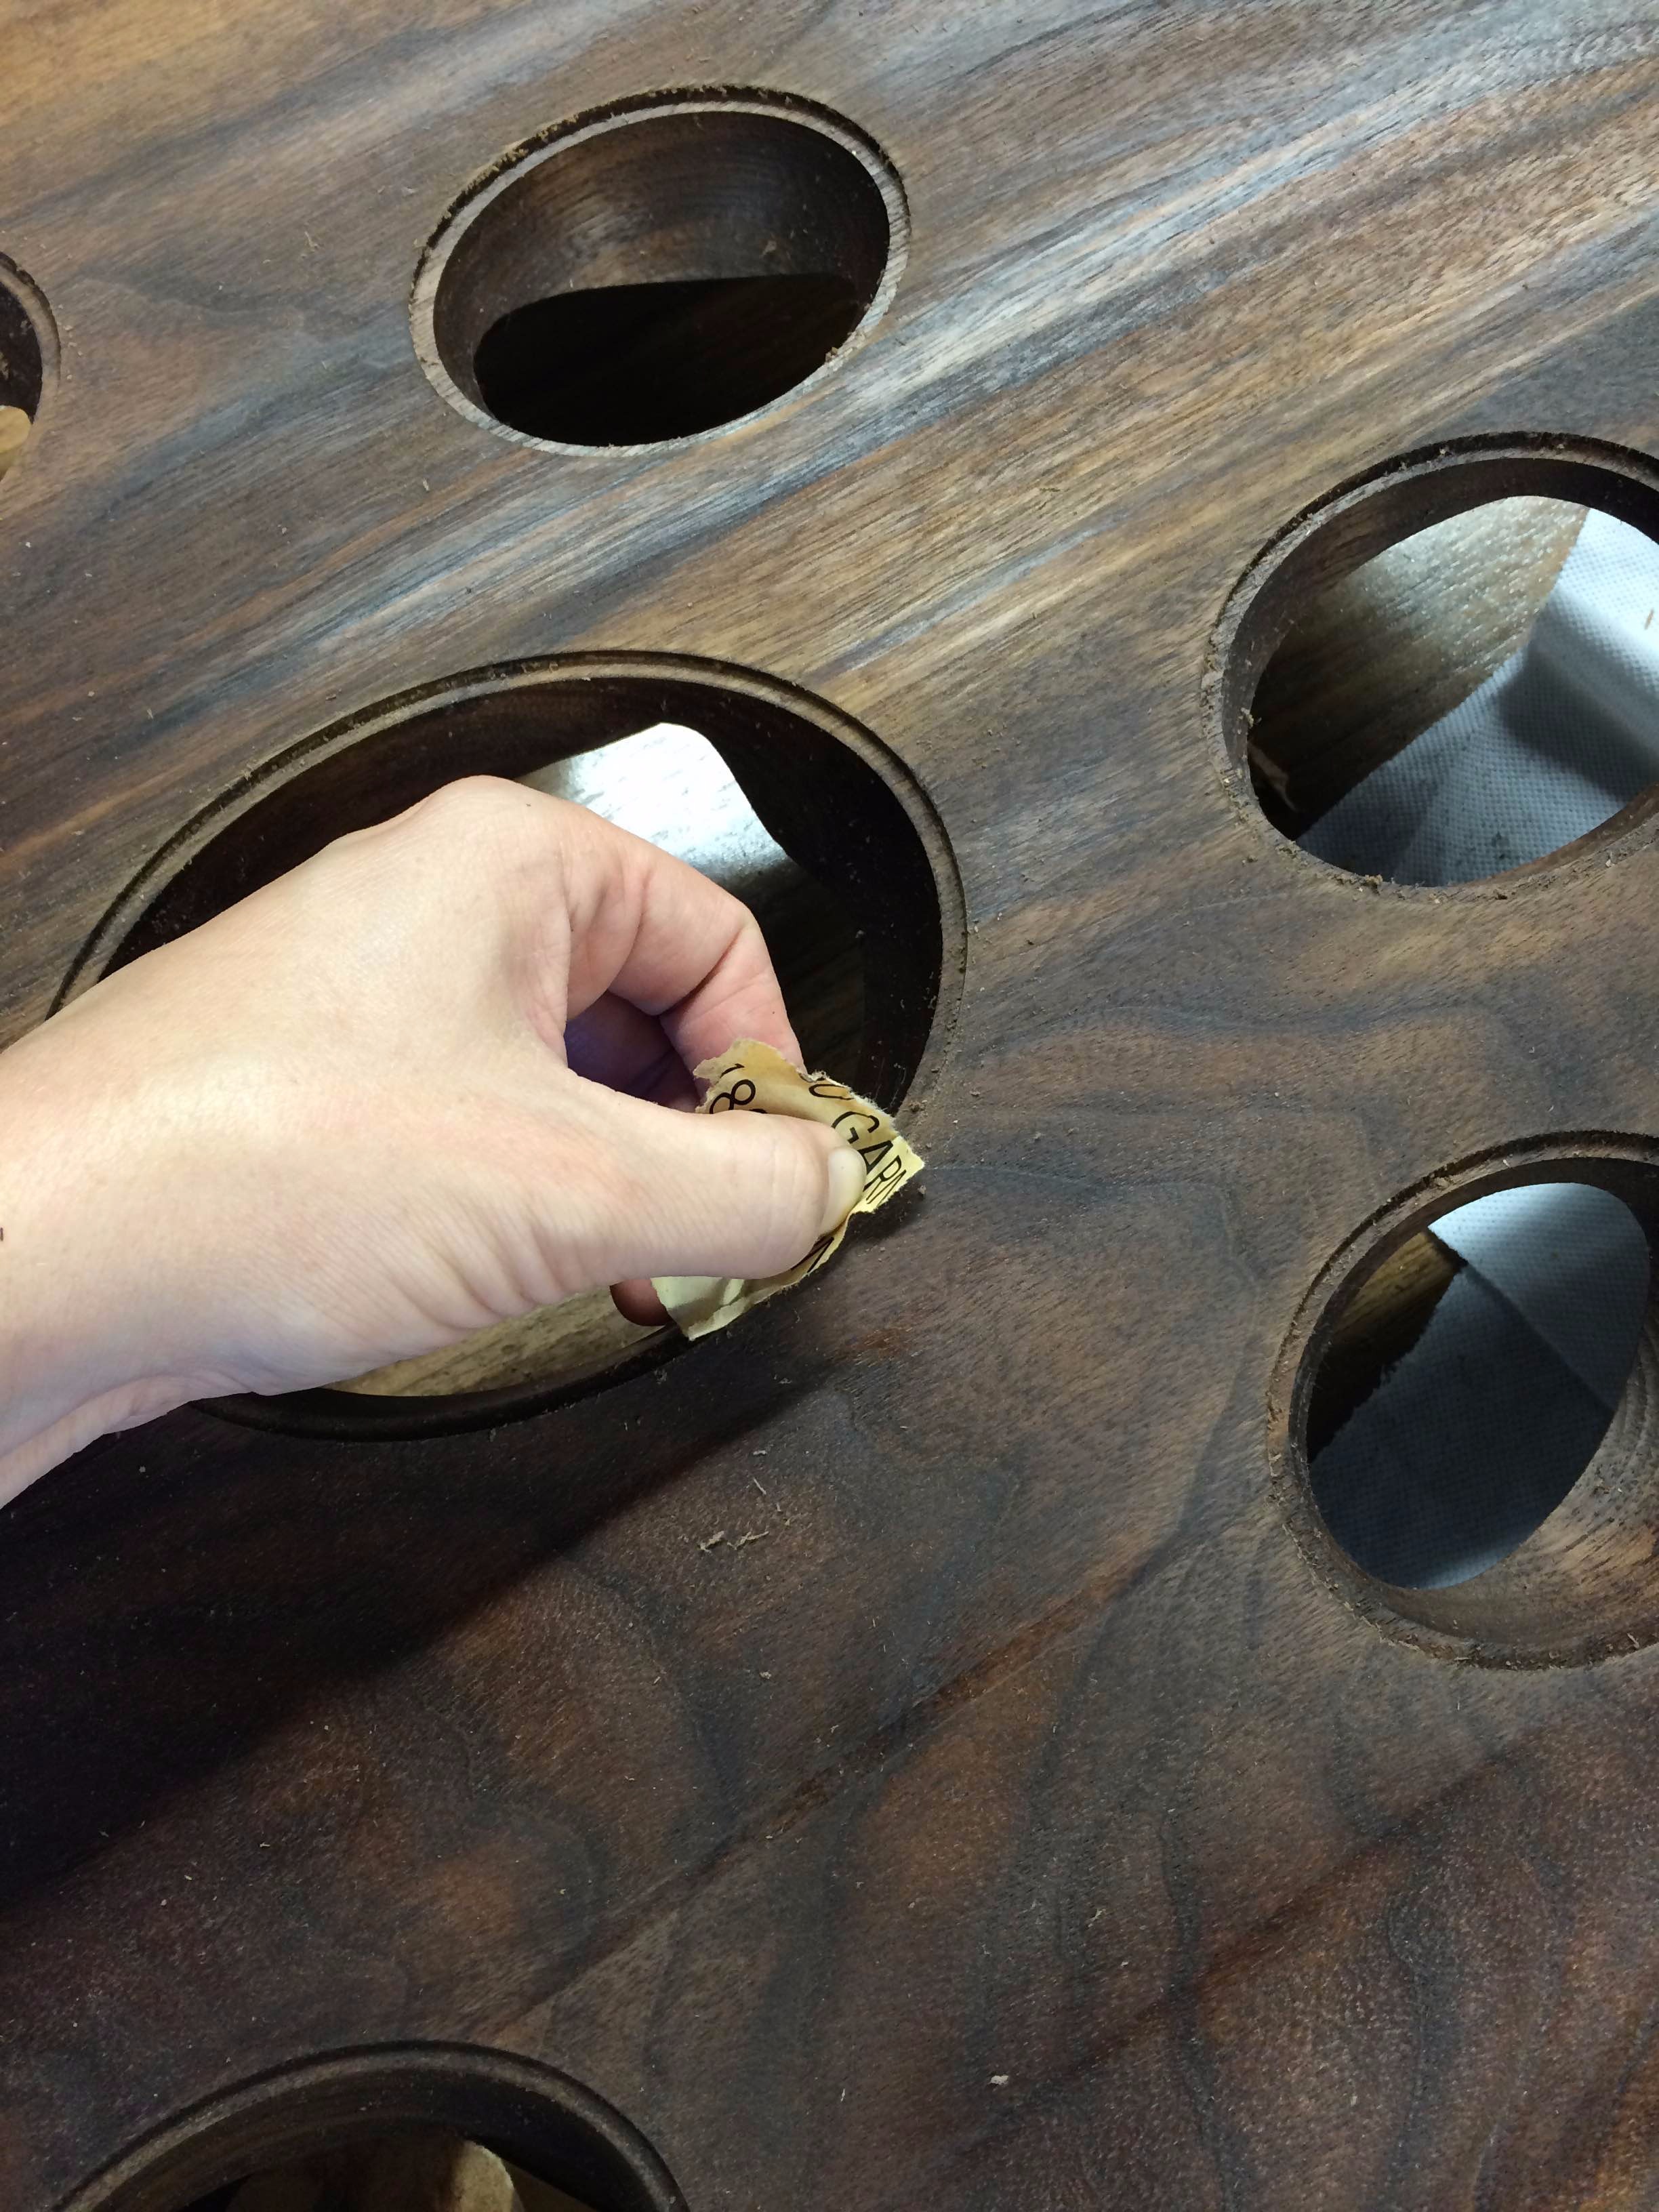
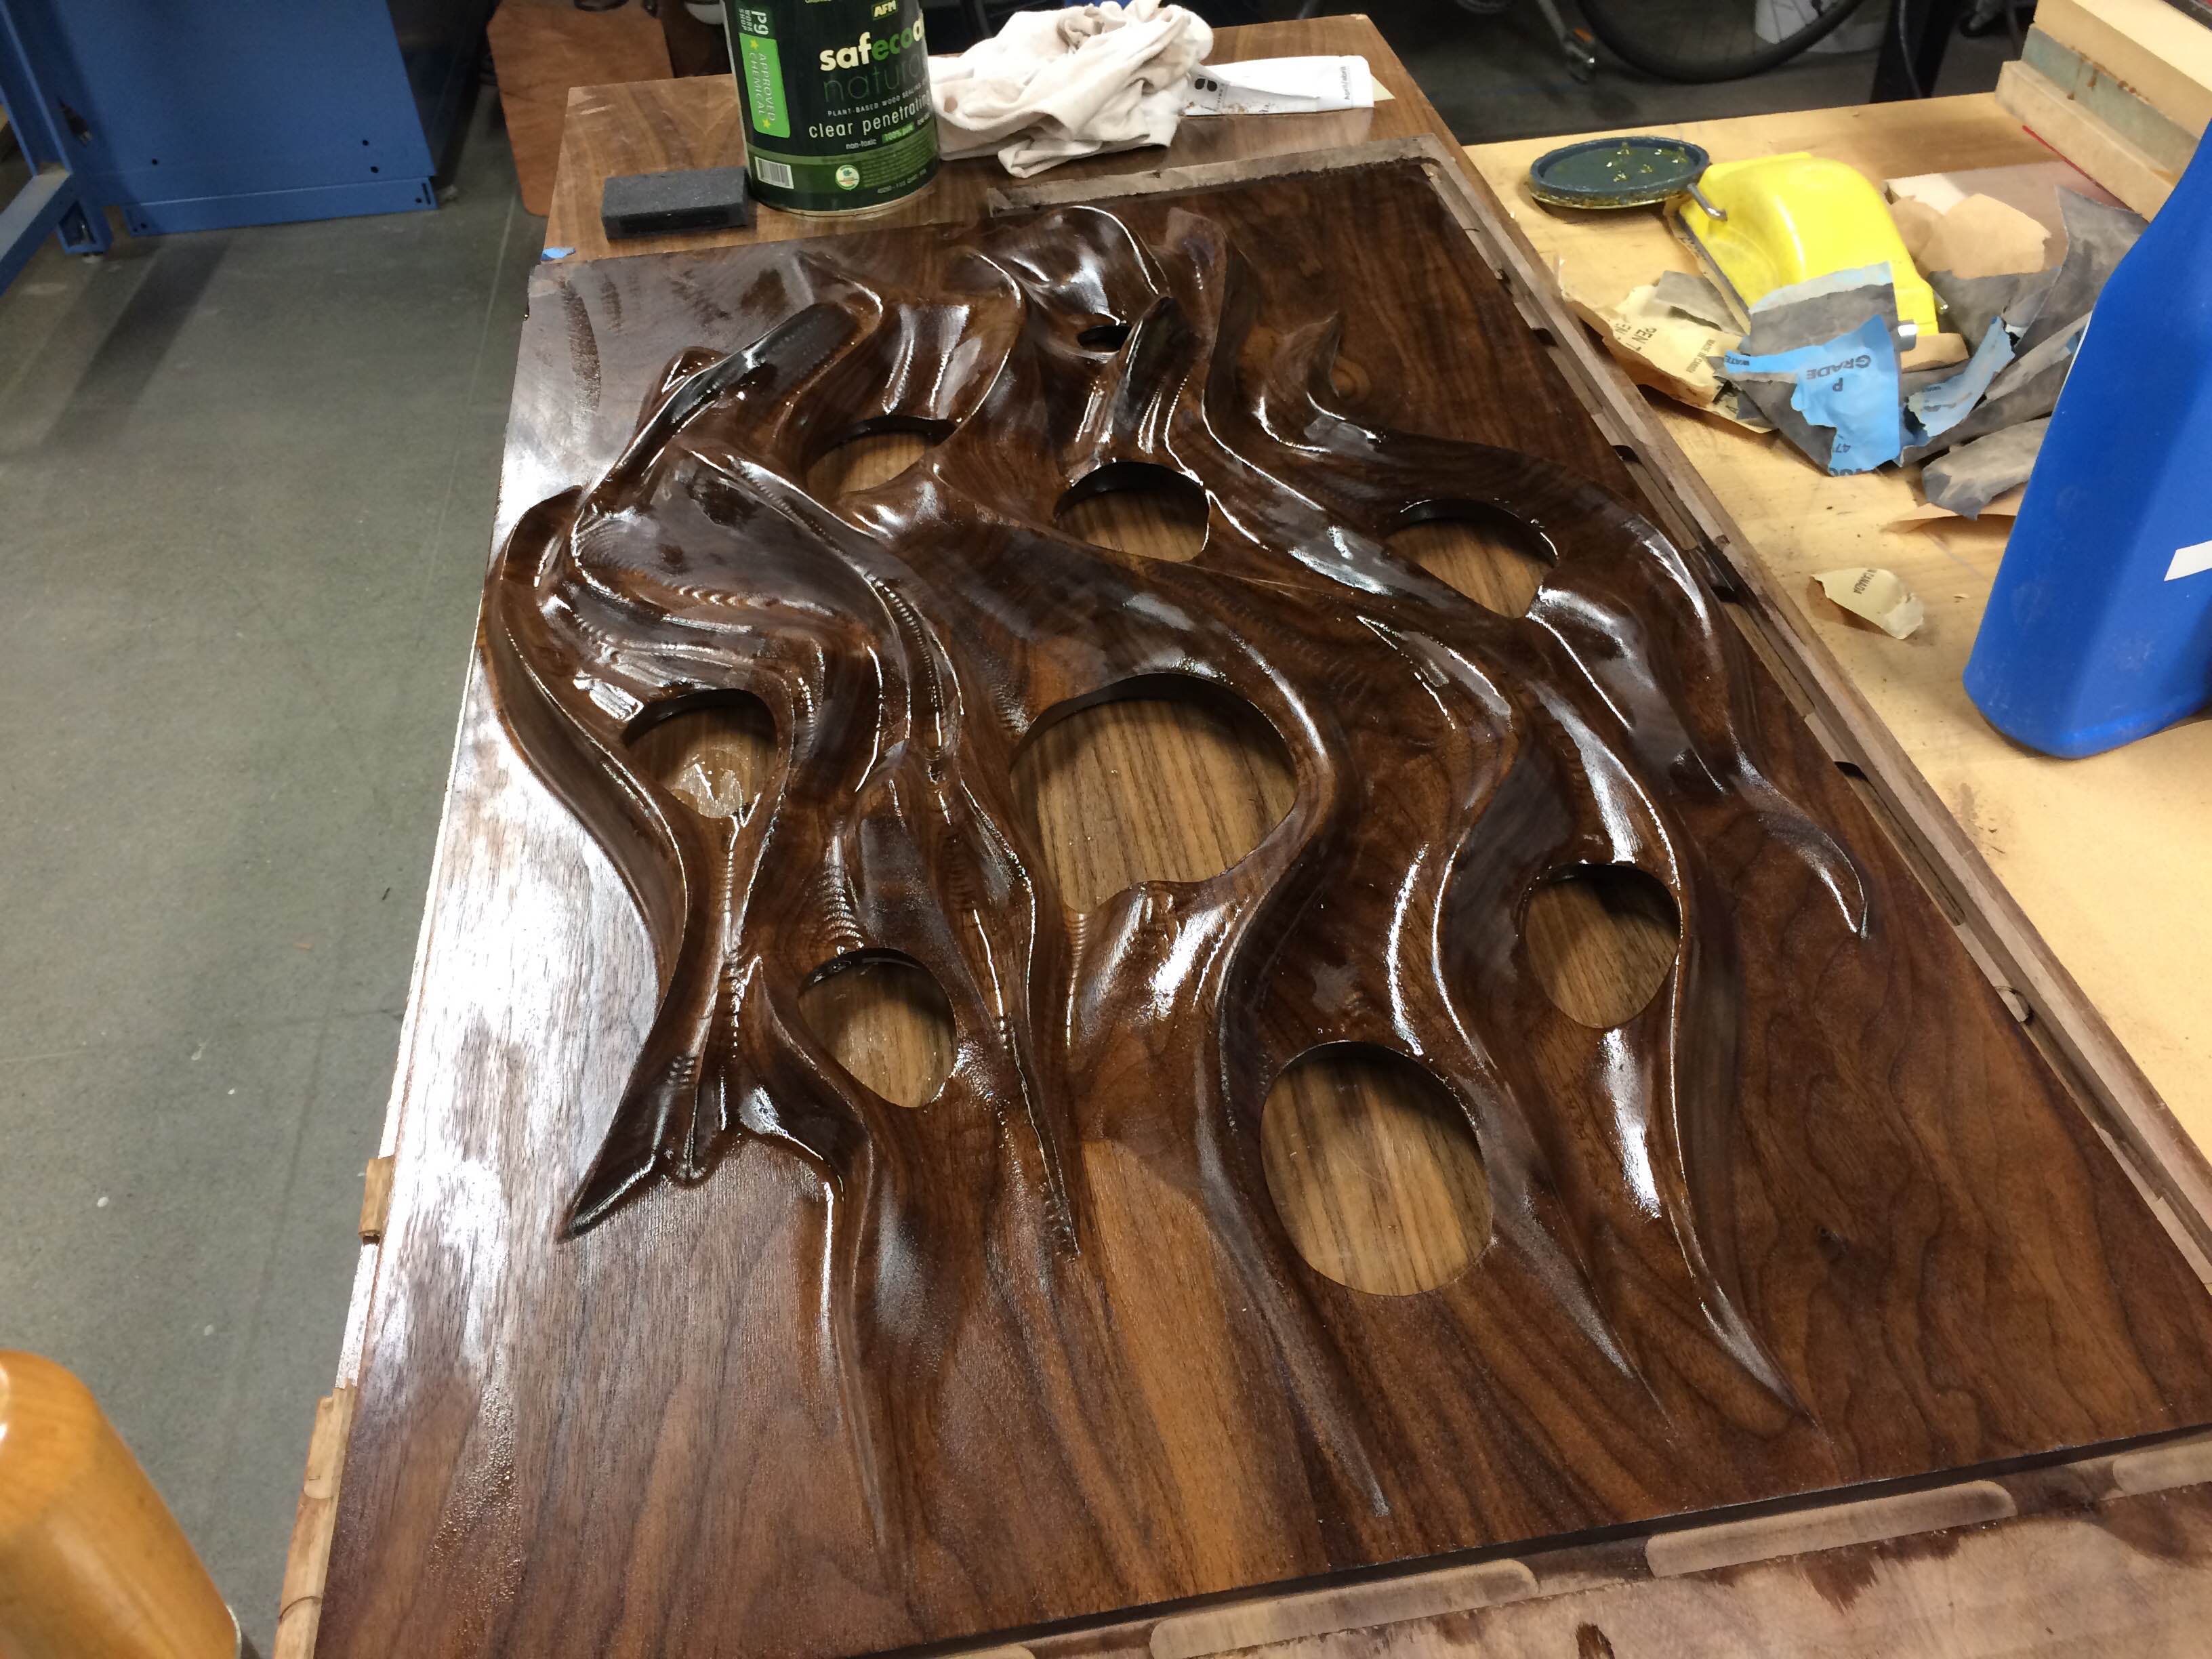
Just having huge CNC machines doth not a project make. You need a host of the other woodworking and manual tools as well.
To route acrylic I didn't need much other than the DMS itself, but to make the walnut surface I had to learn some basic woodworking as well: how to joint, plane, and laminate the hardwood.
I flip-milled both the walnut and the acrylic, routing the interior spherical details on one side, then the large external features on the other.
The work isn't done when you take the piece off the bed: it still needs to have the tabs removed, and to be sanded and finished. I chose a simple oil for the walnut.
Making the Enclosure
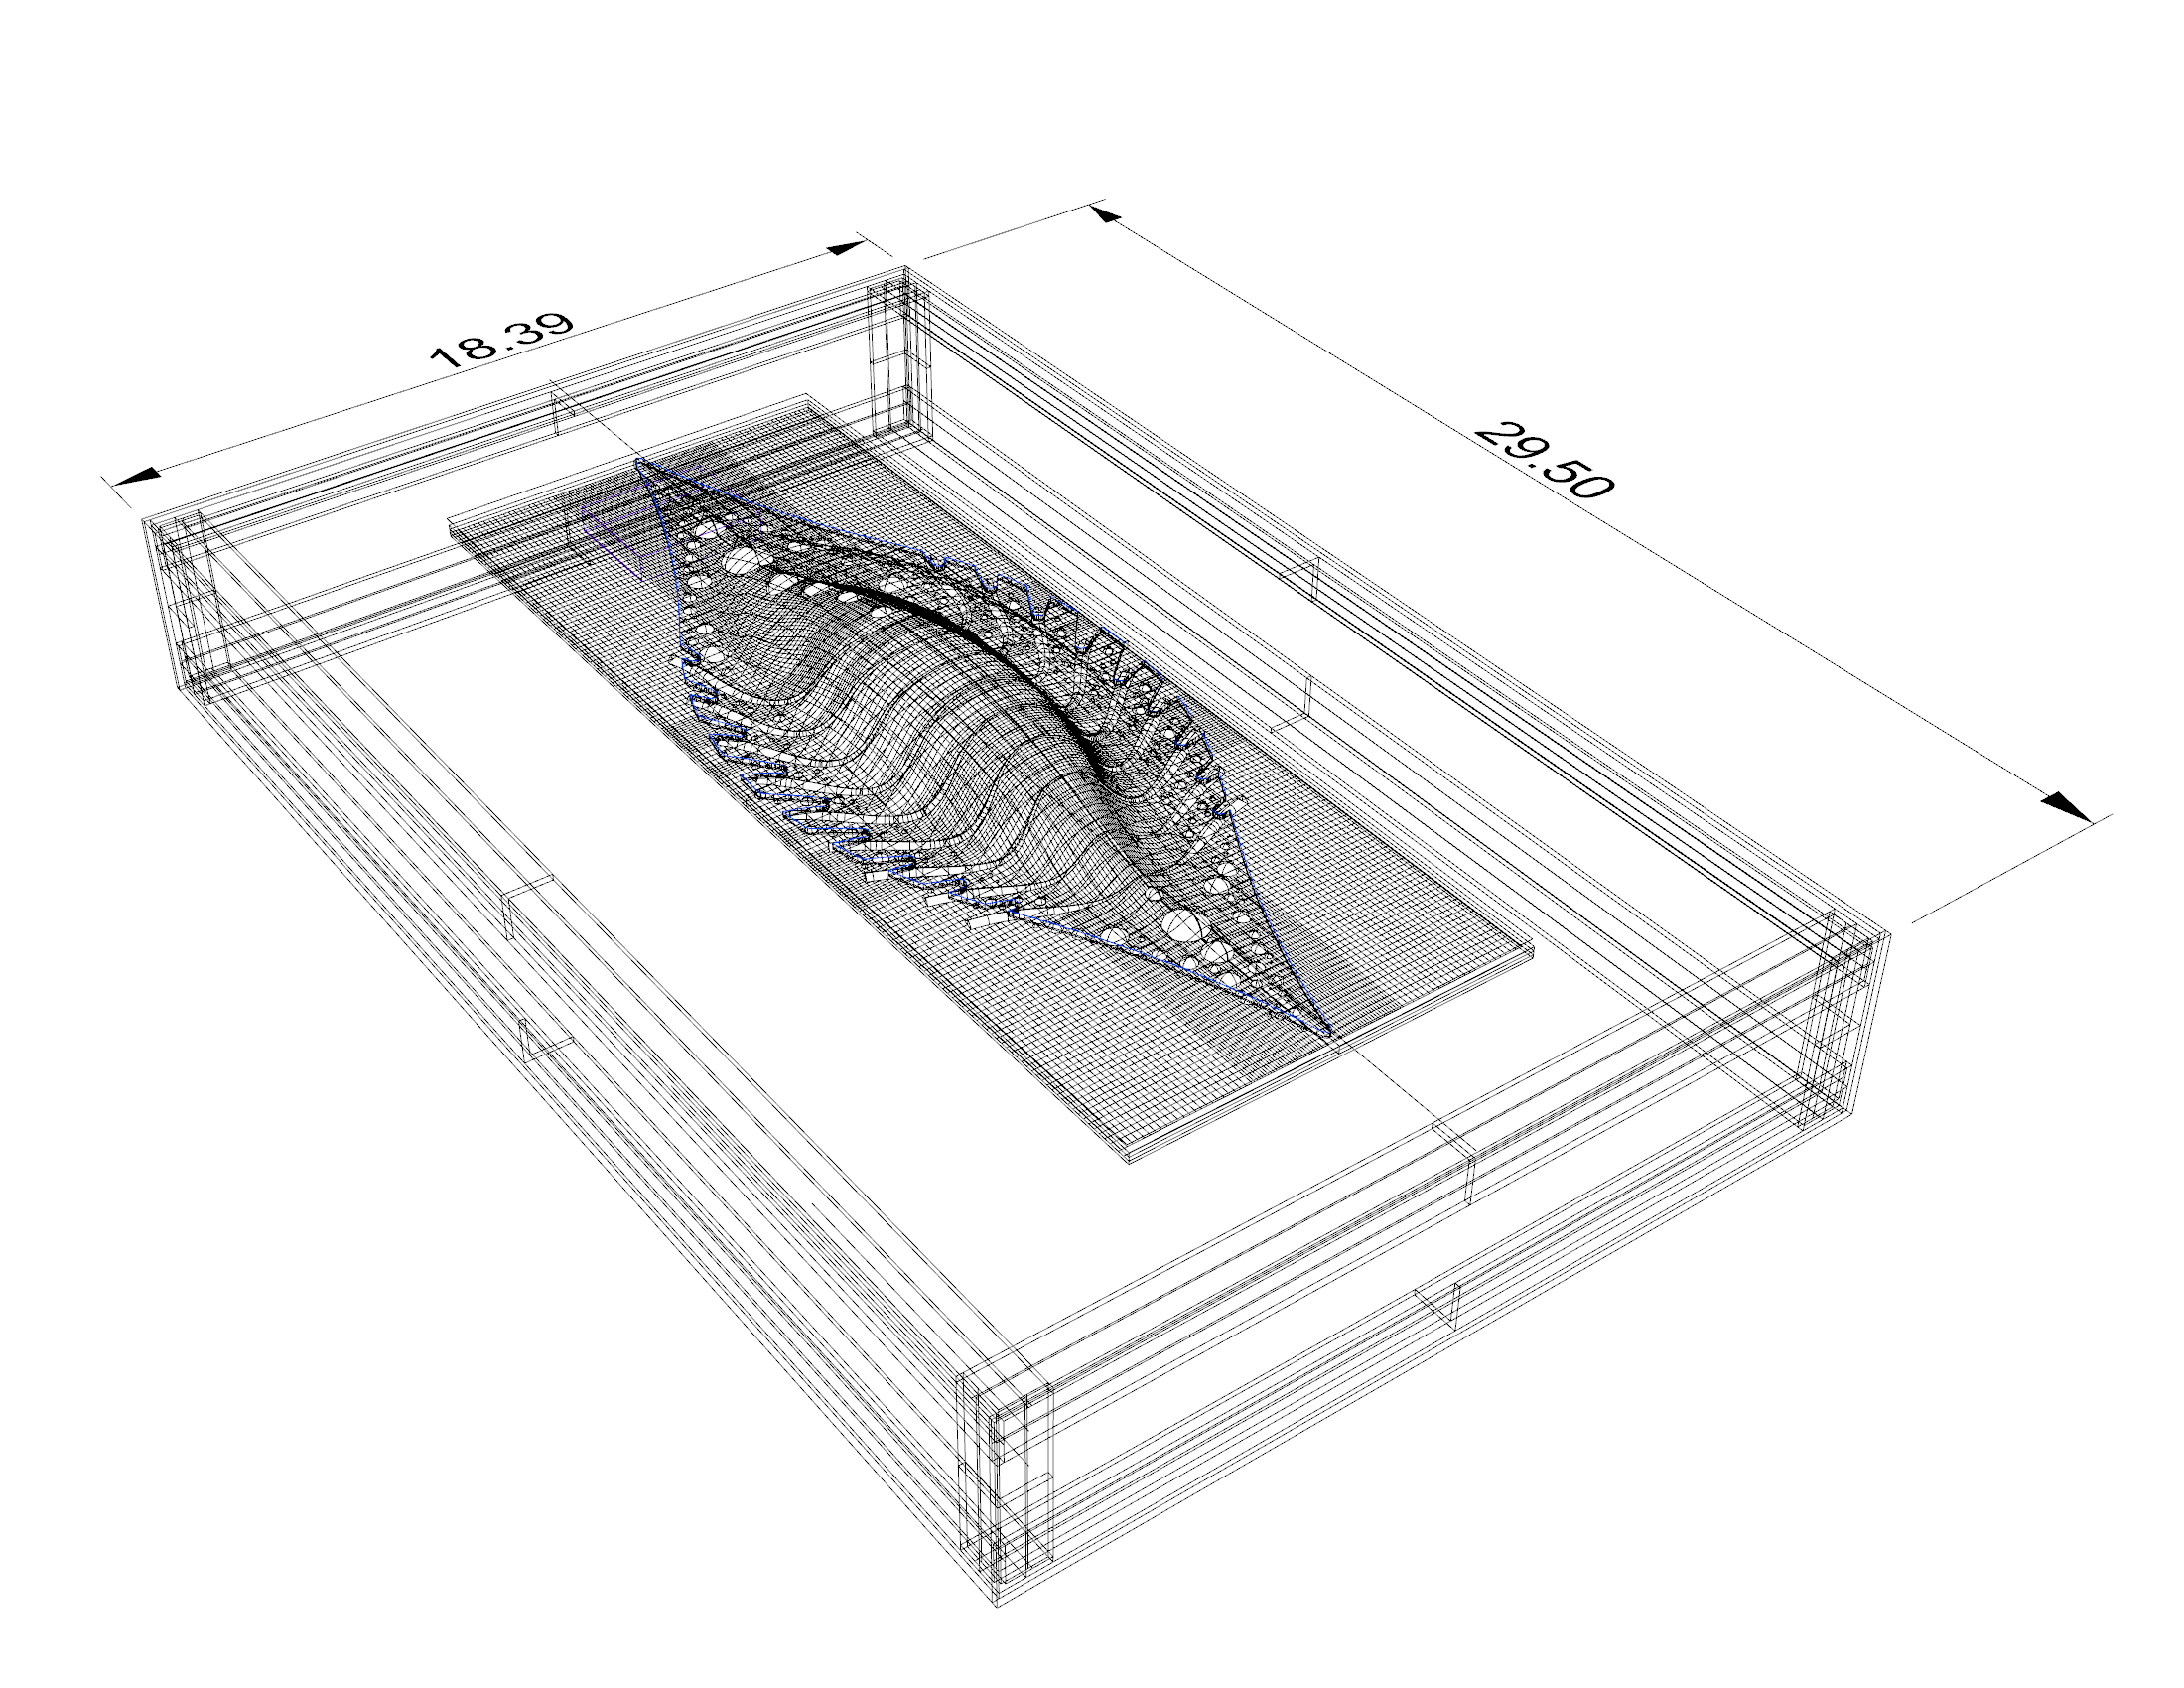
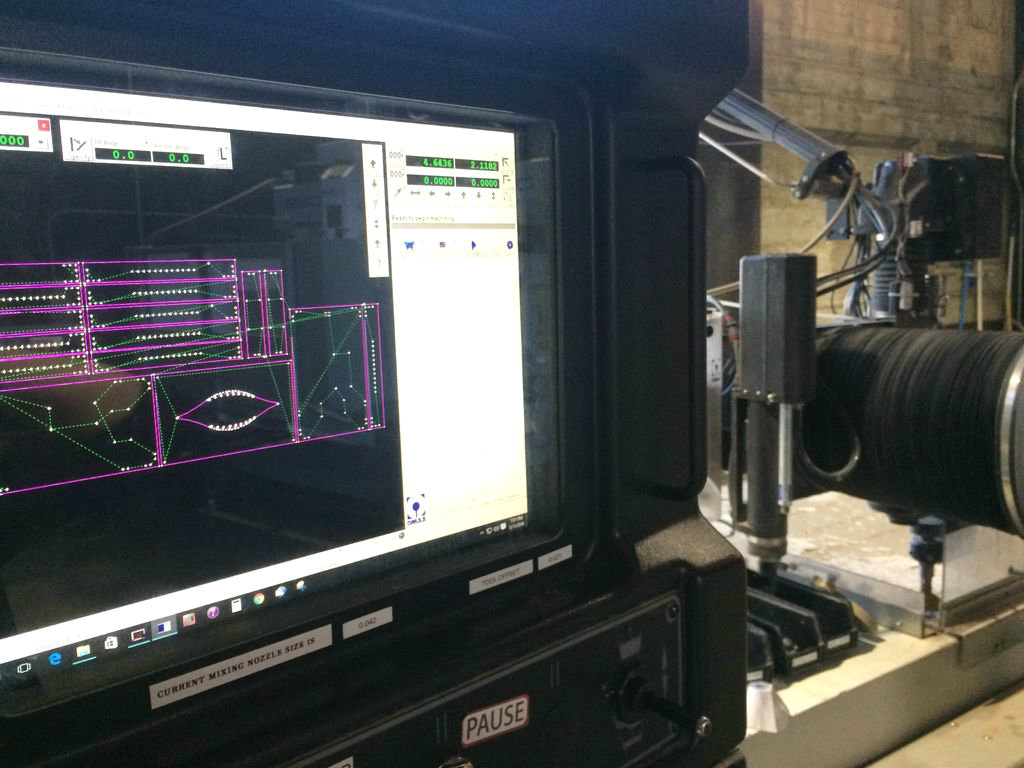
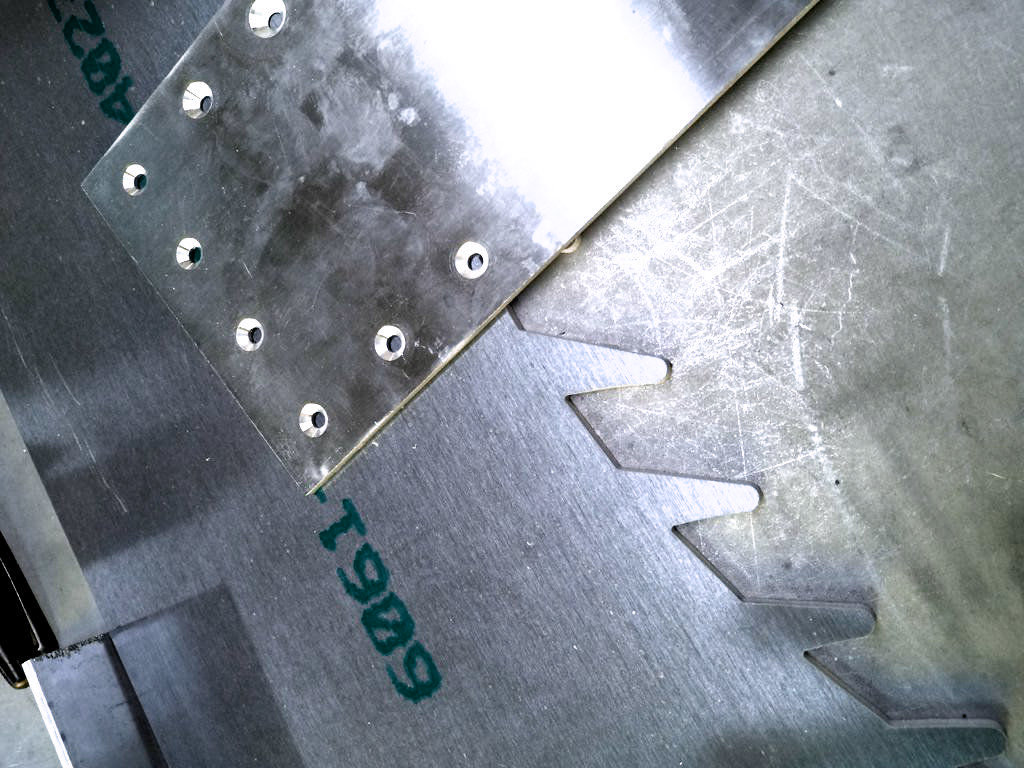
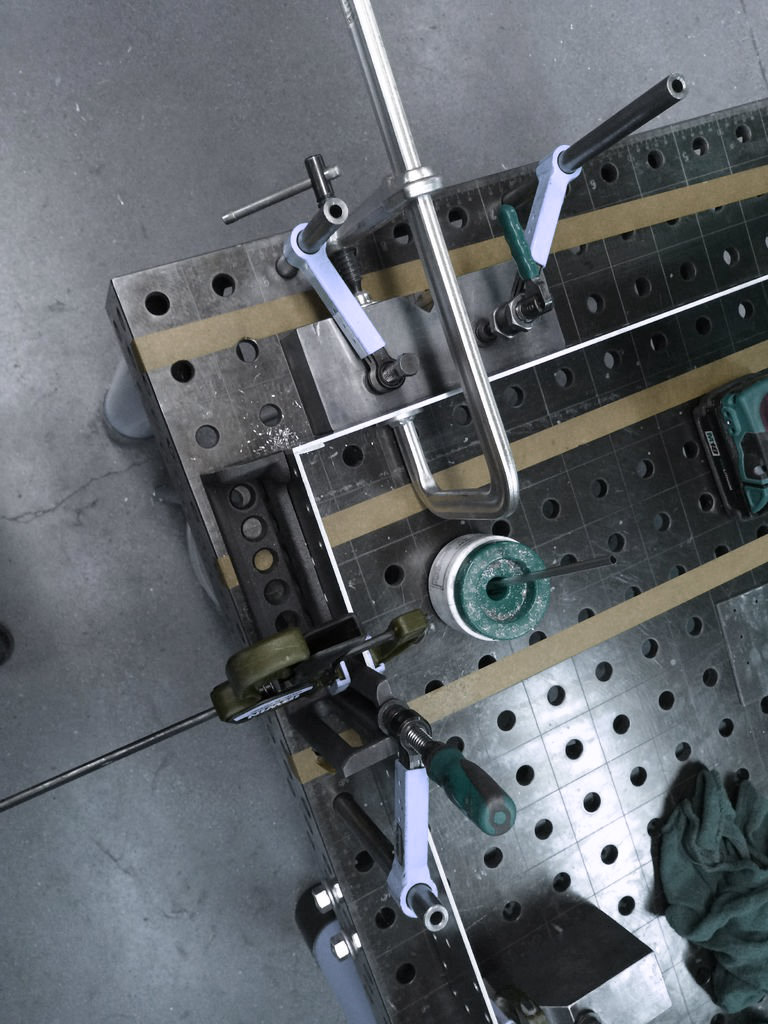
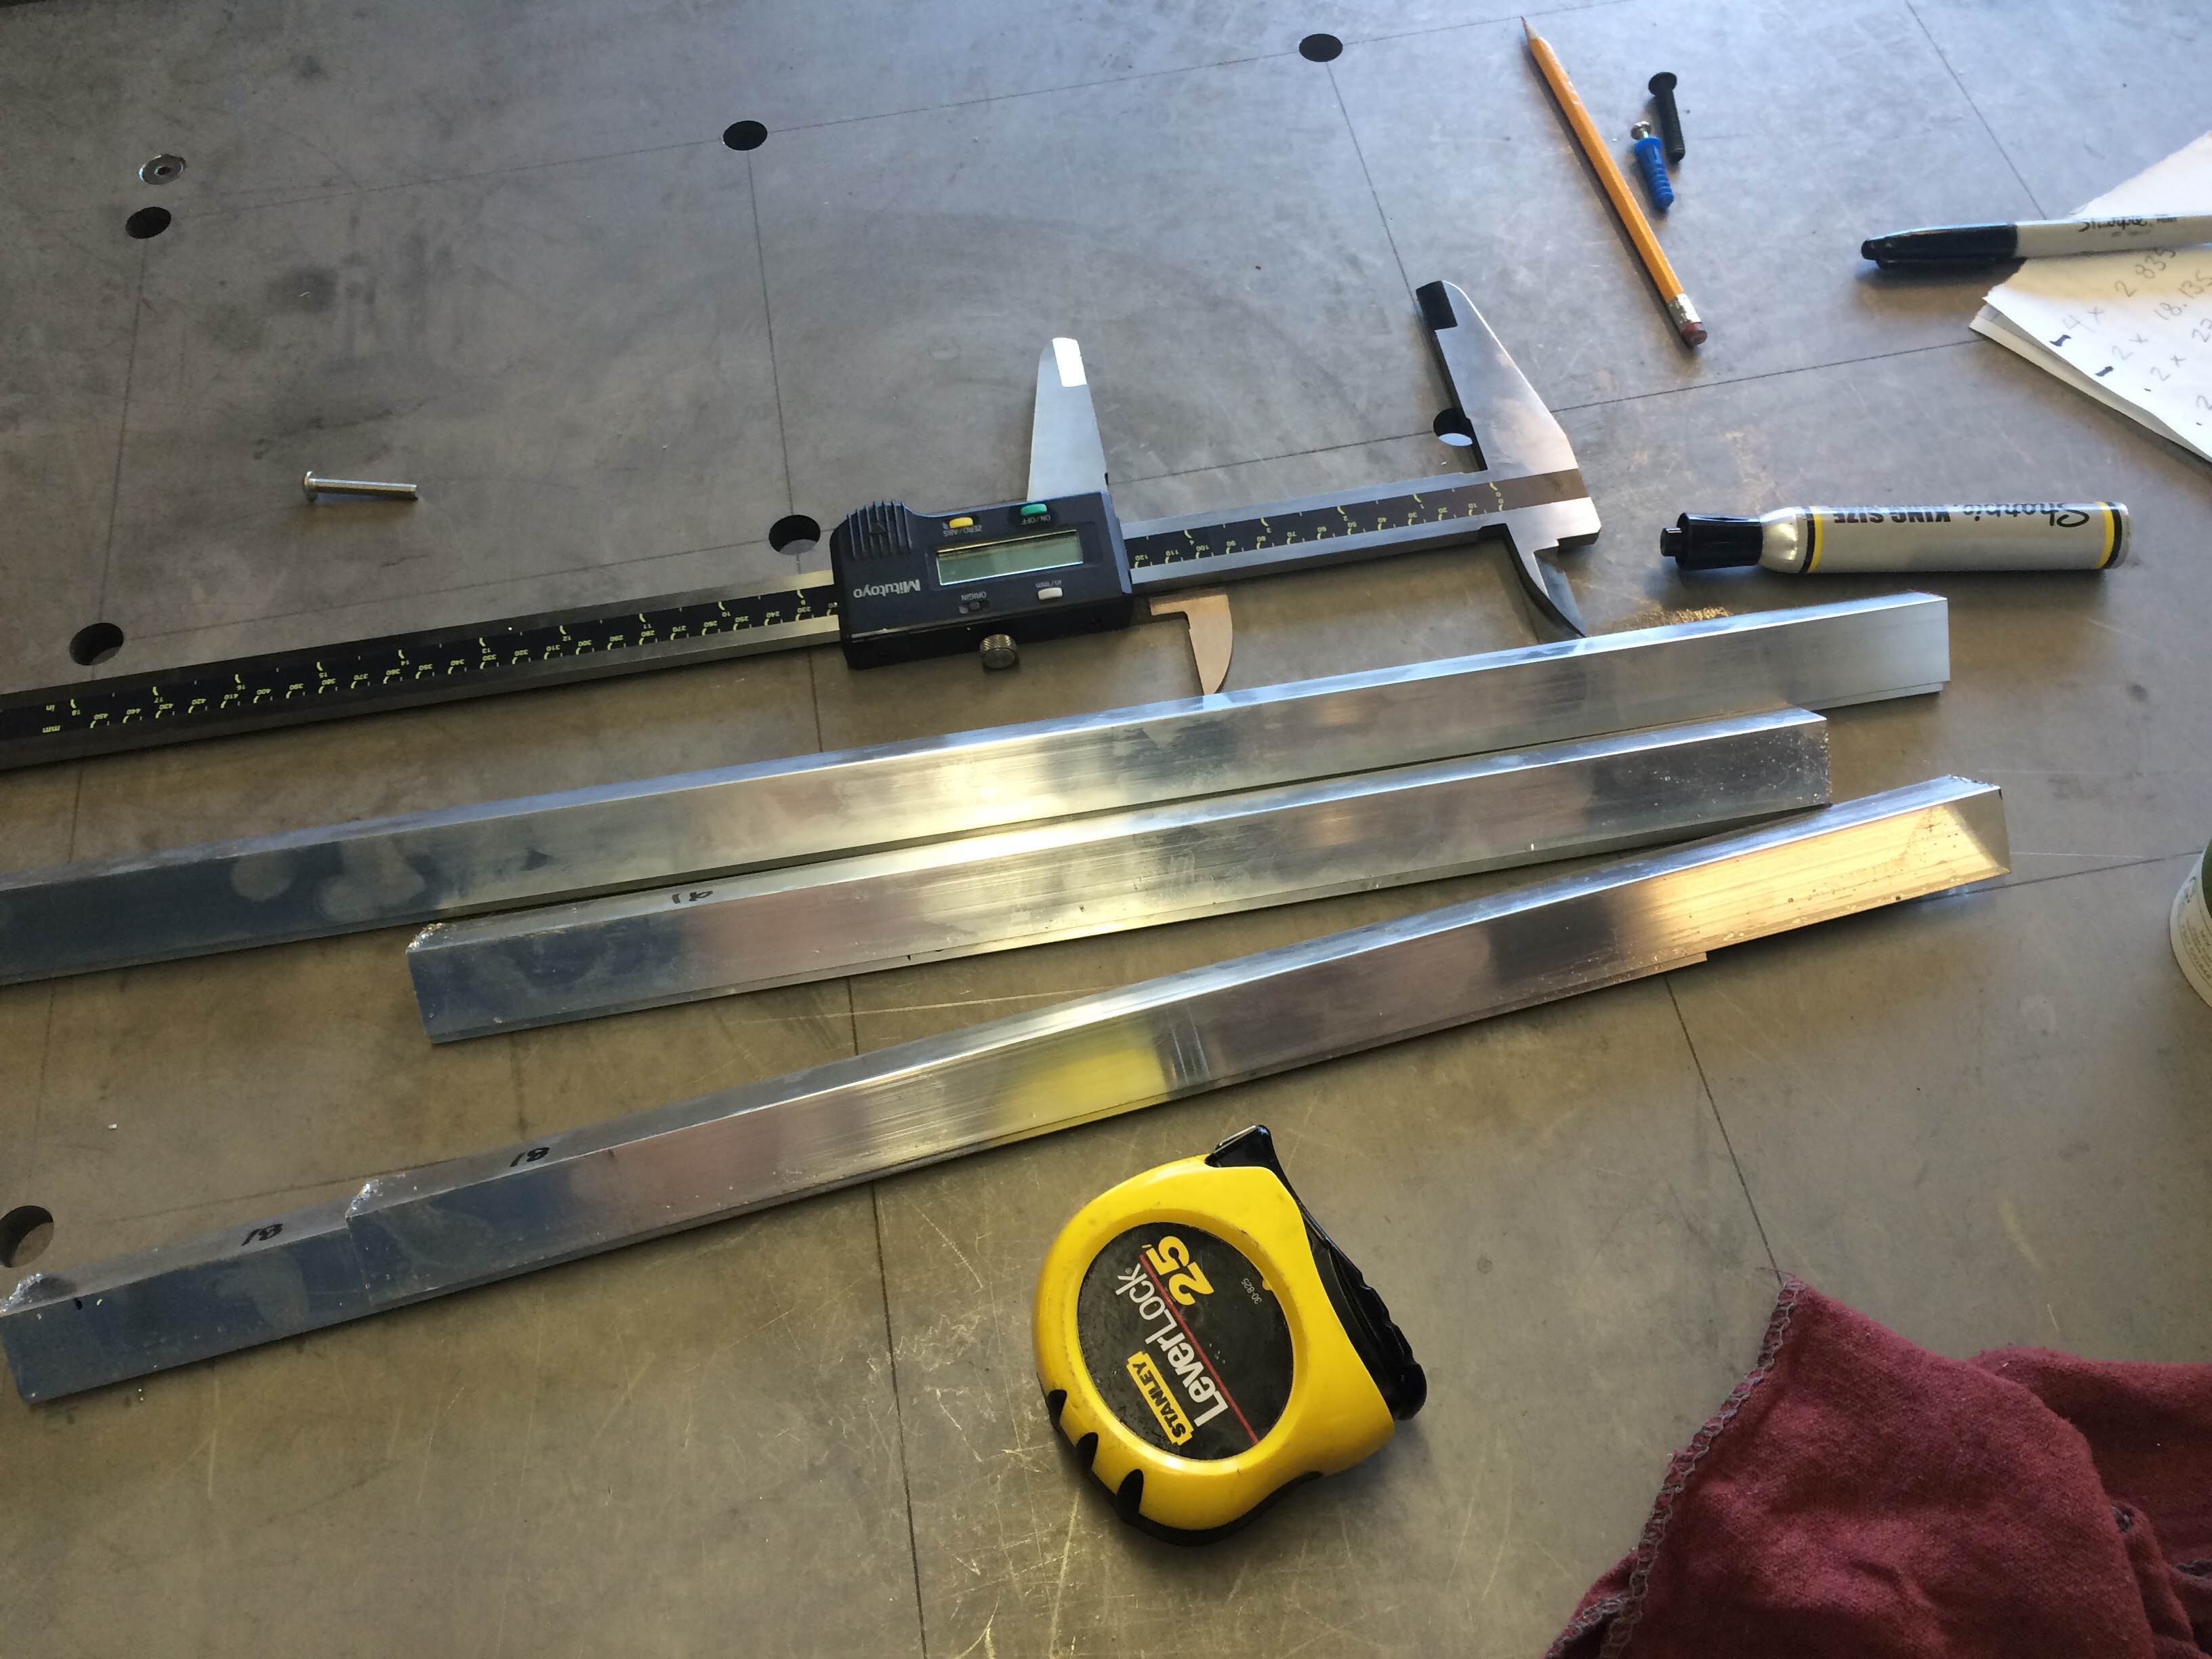
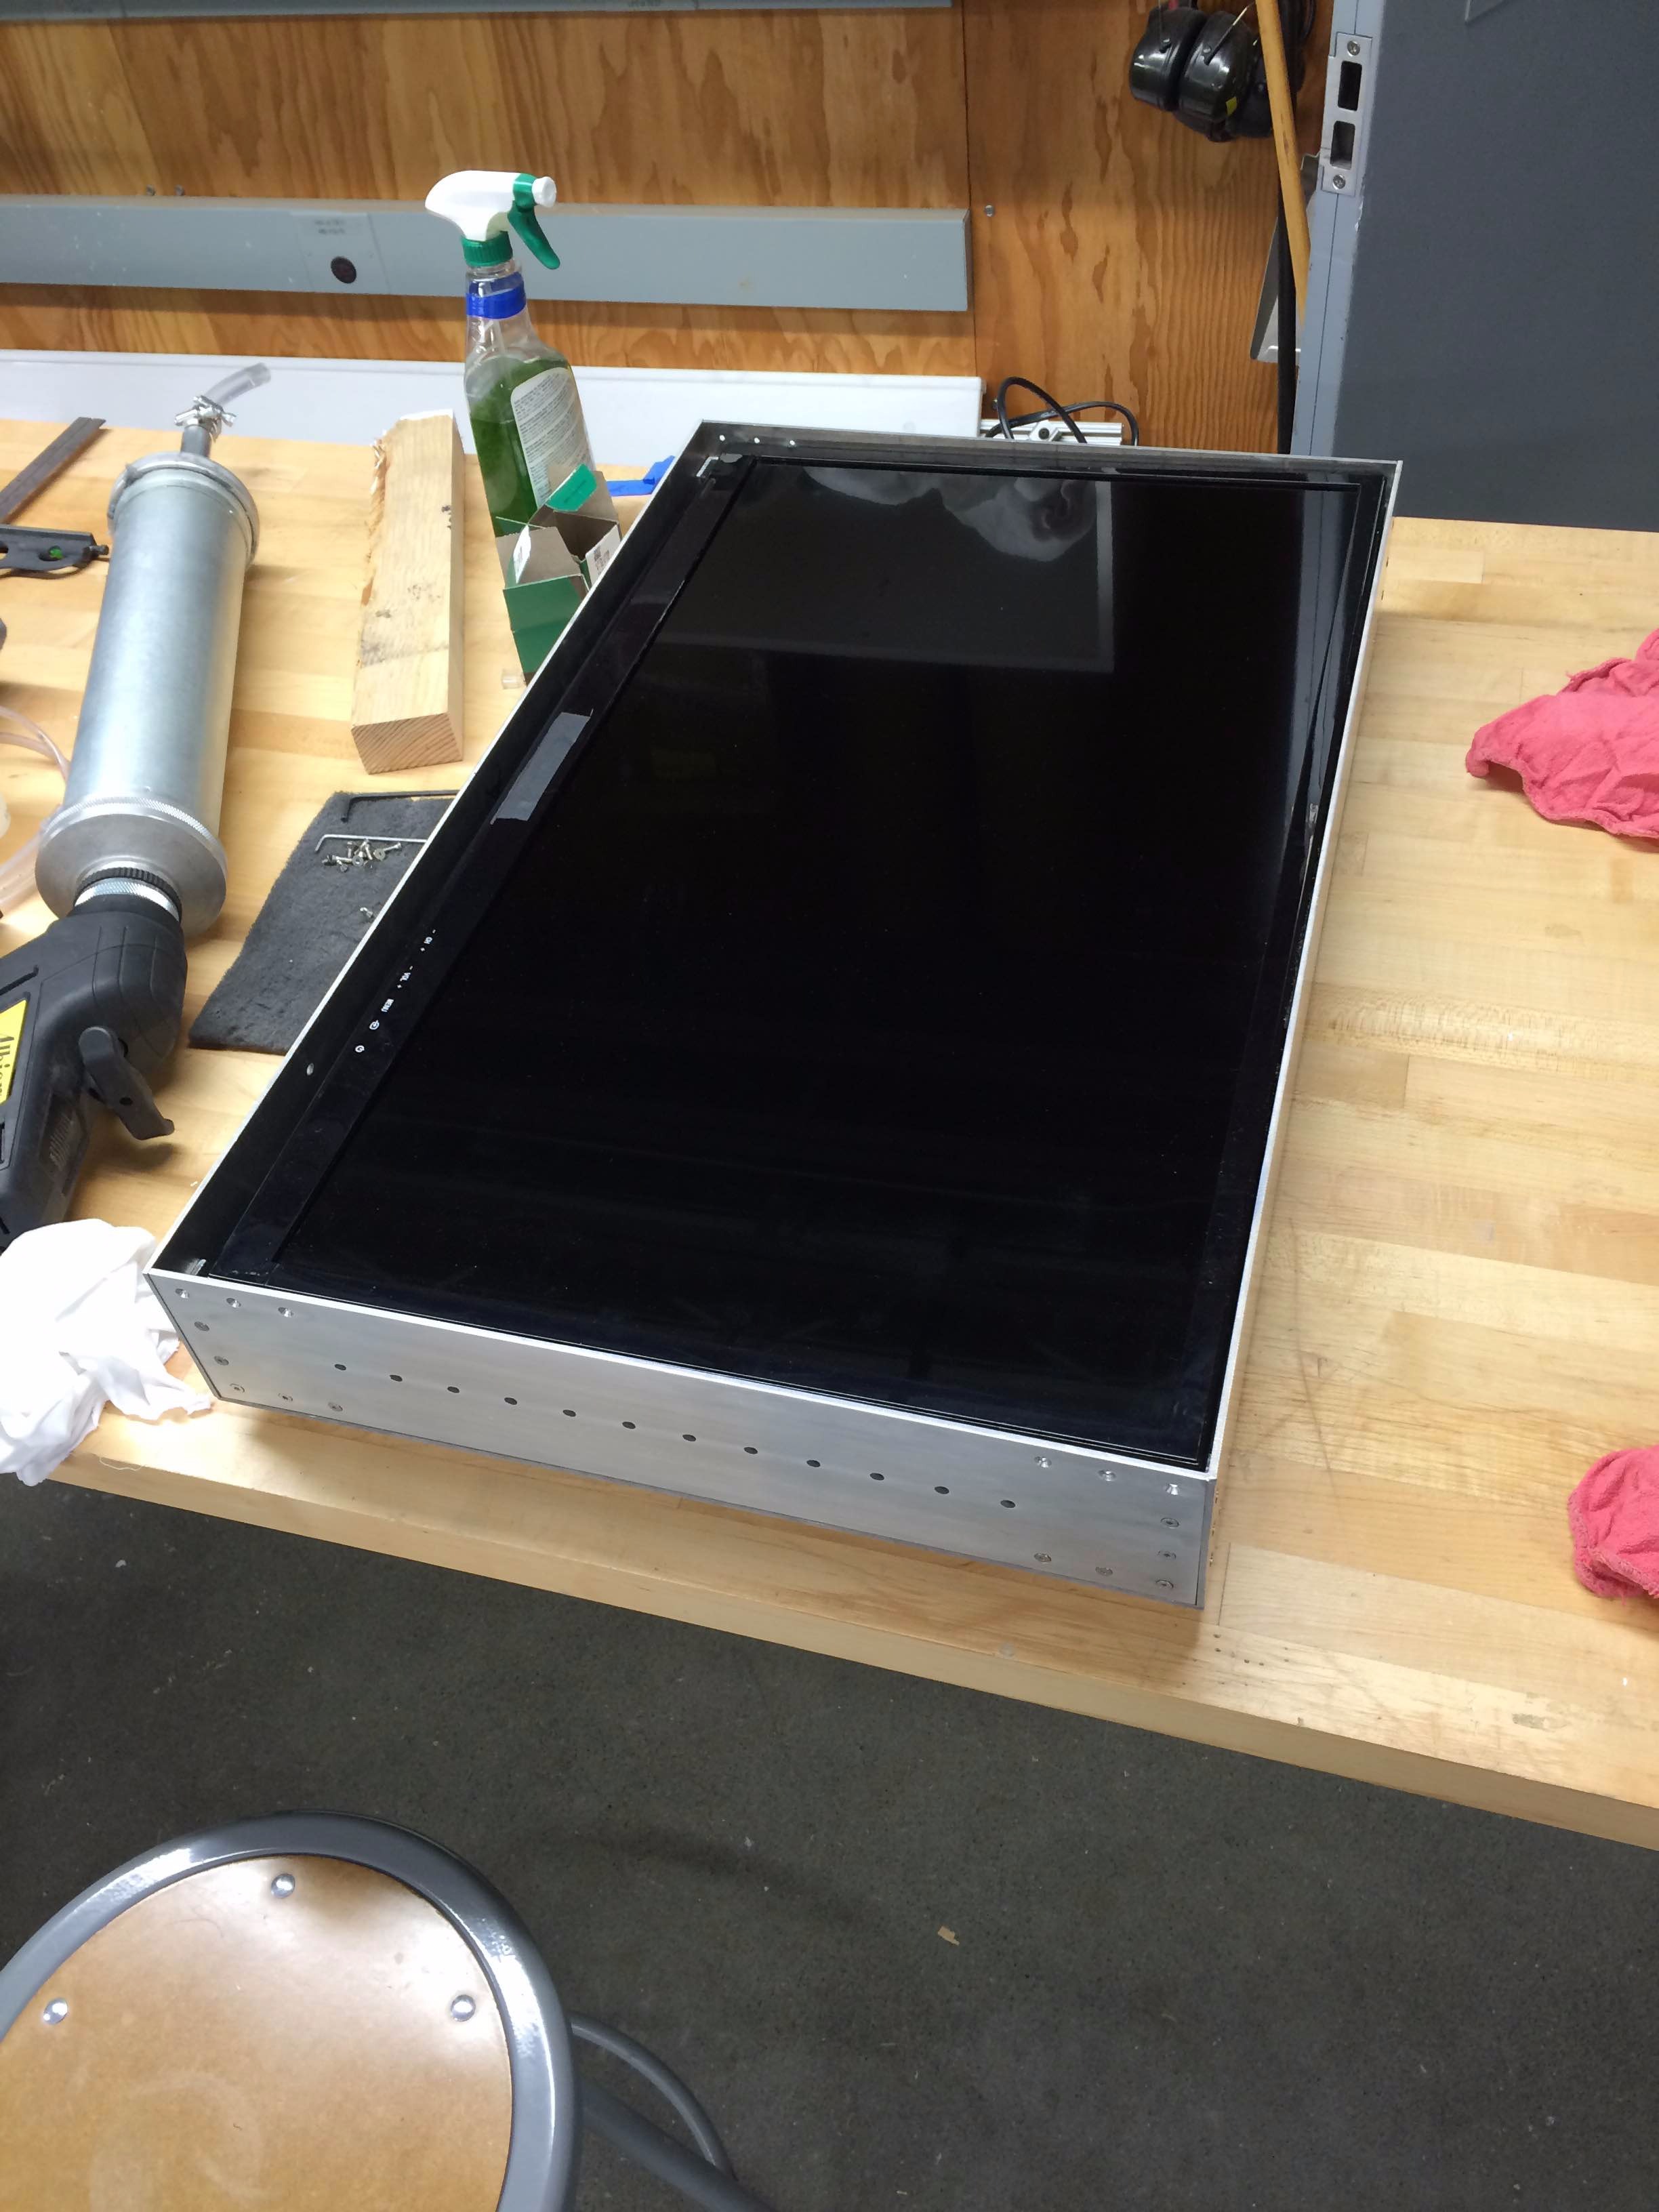
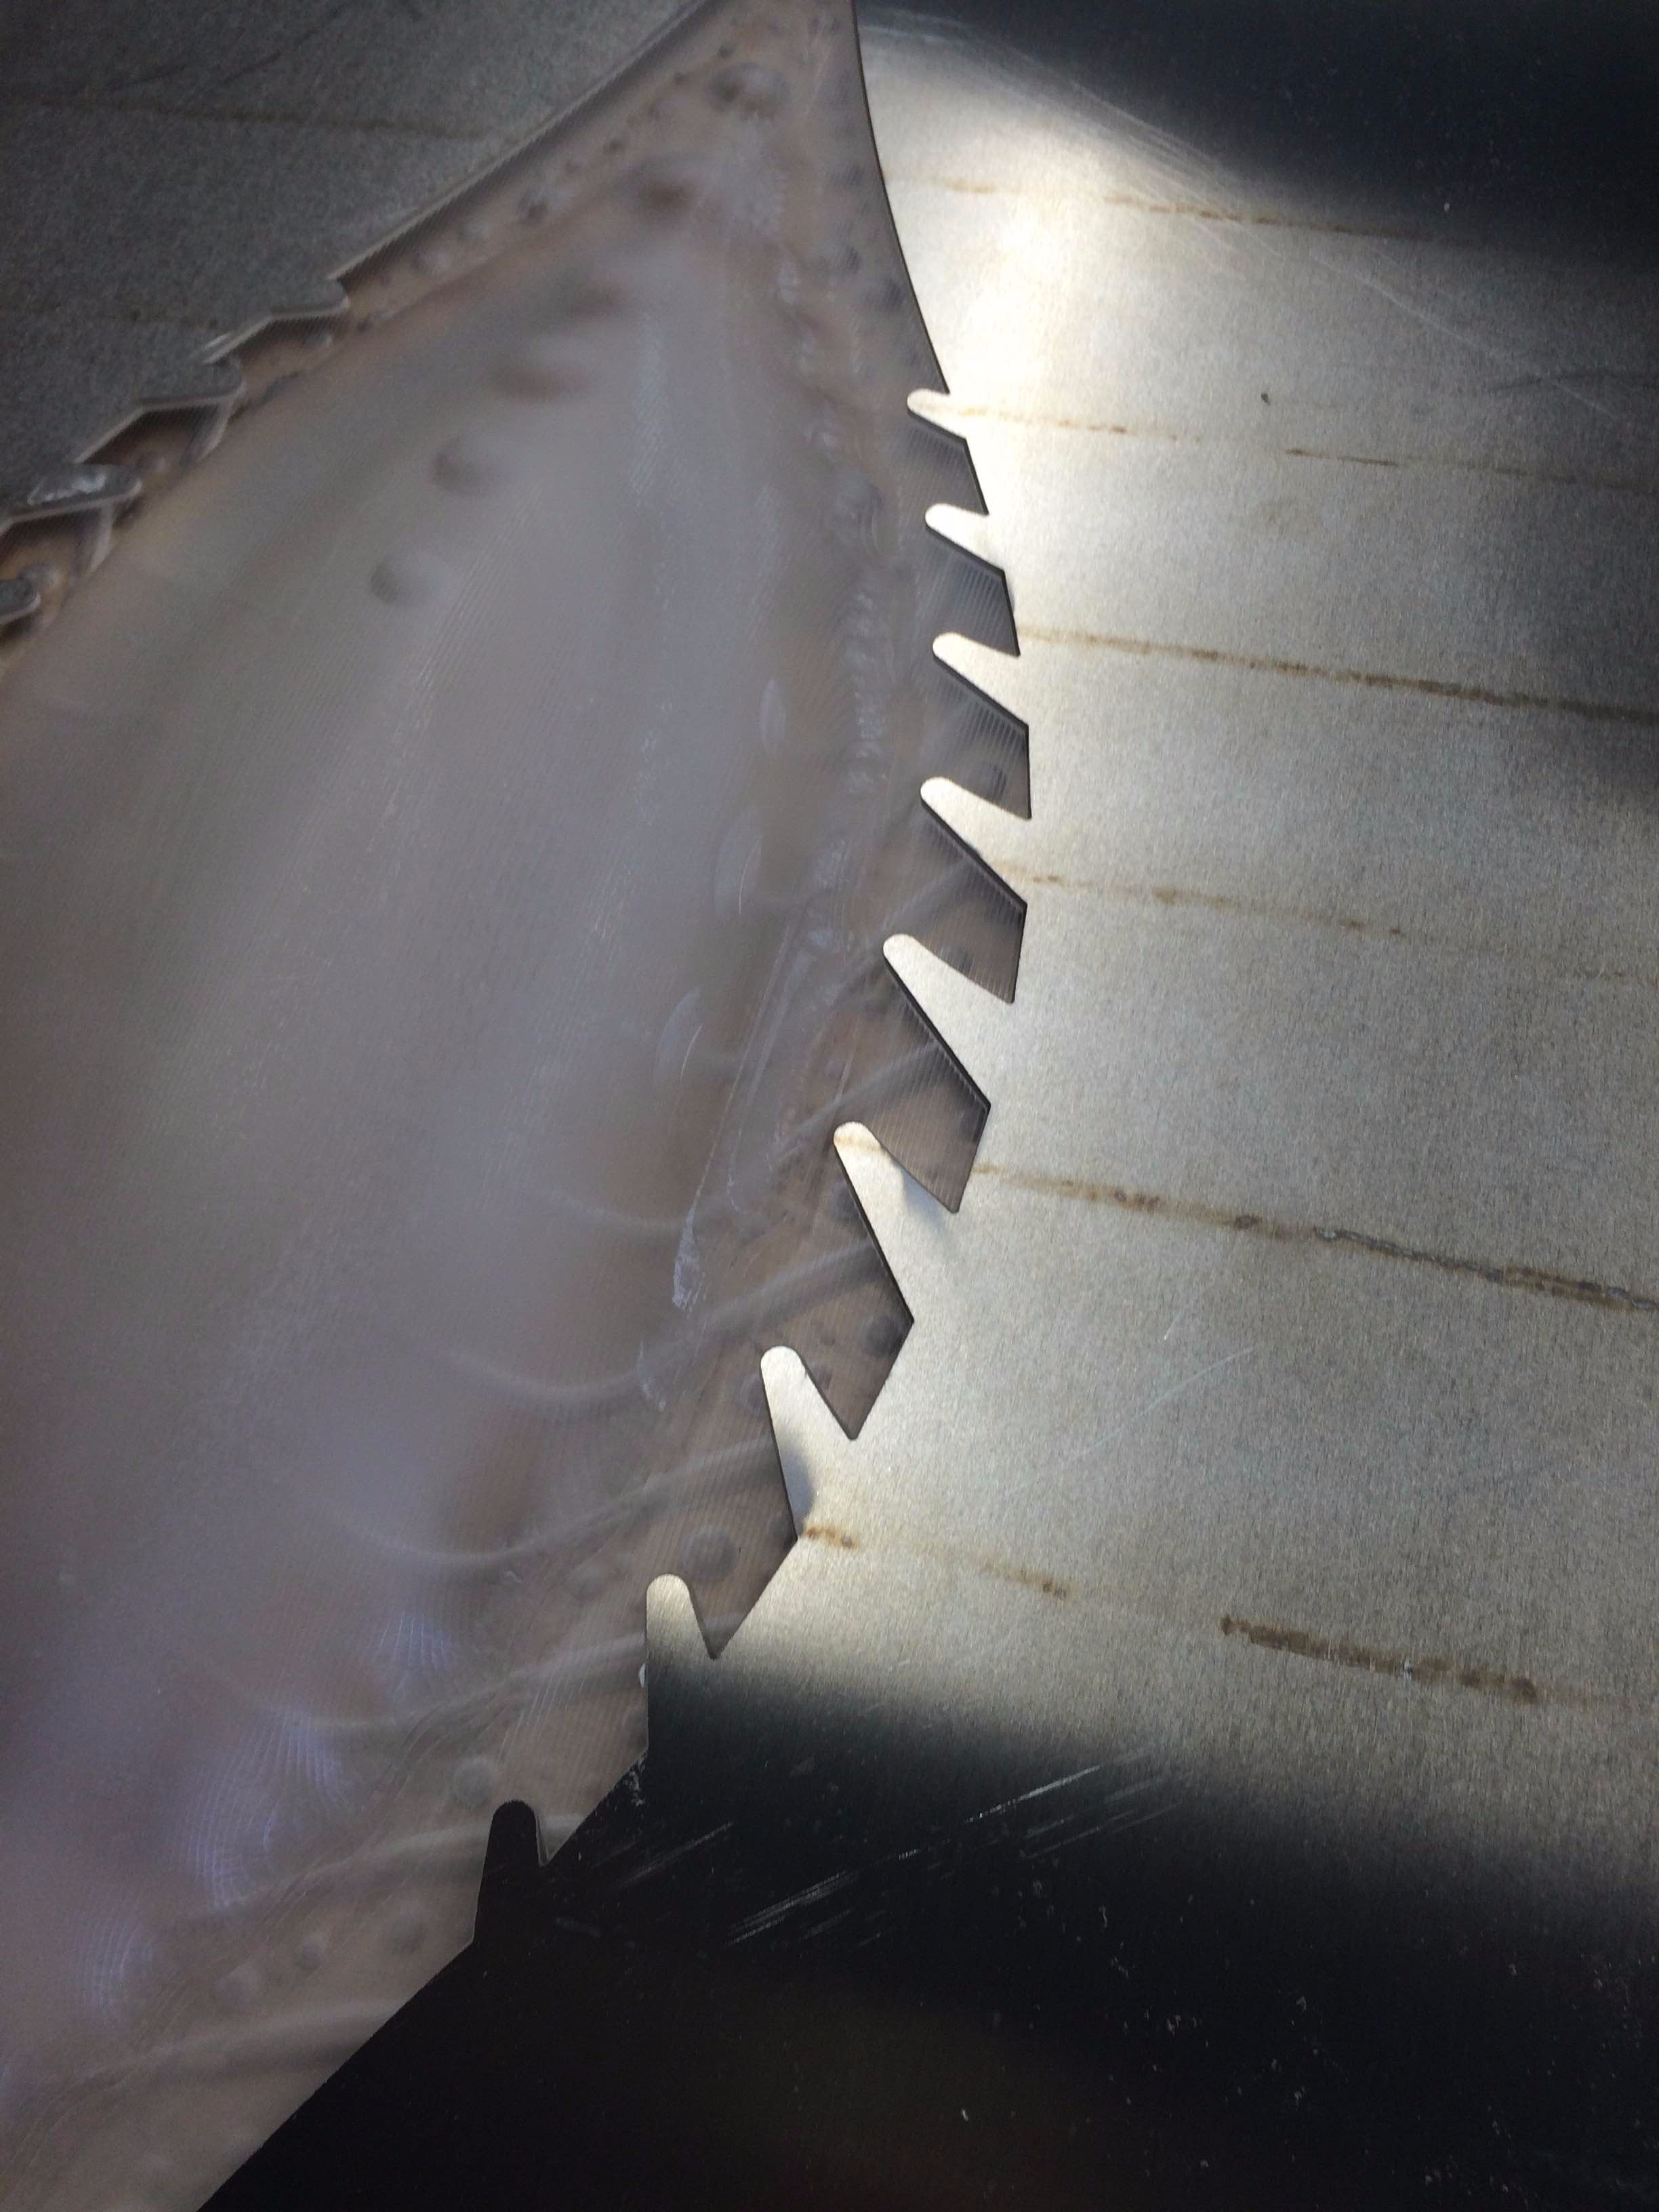
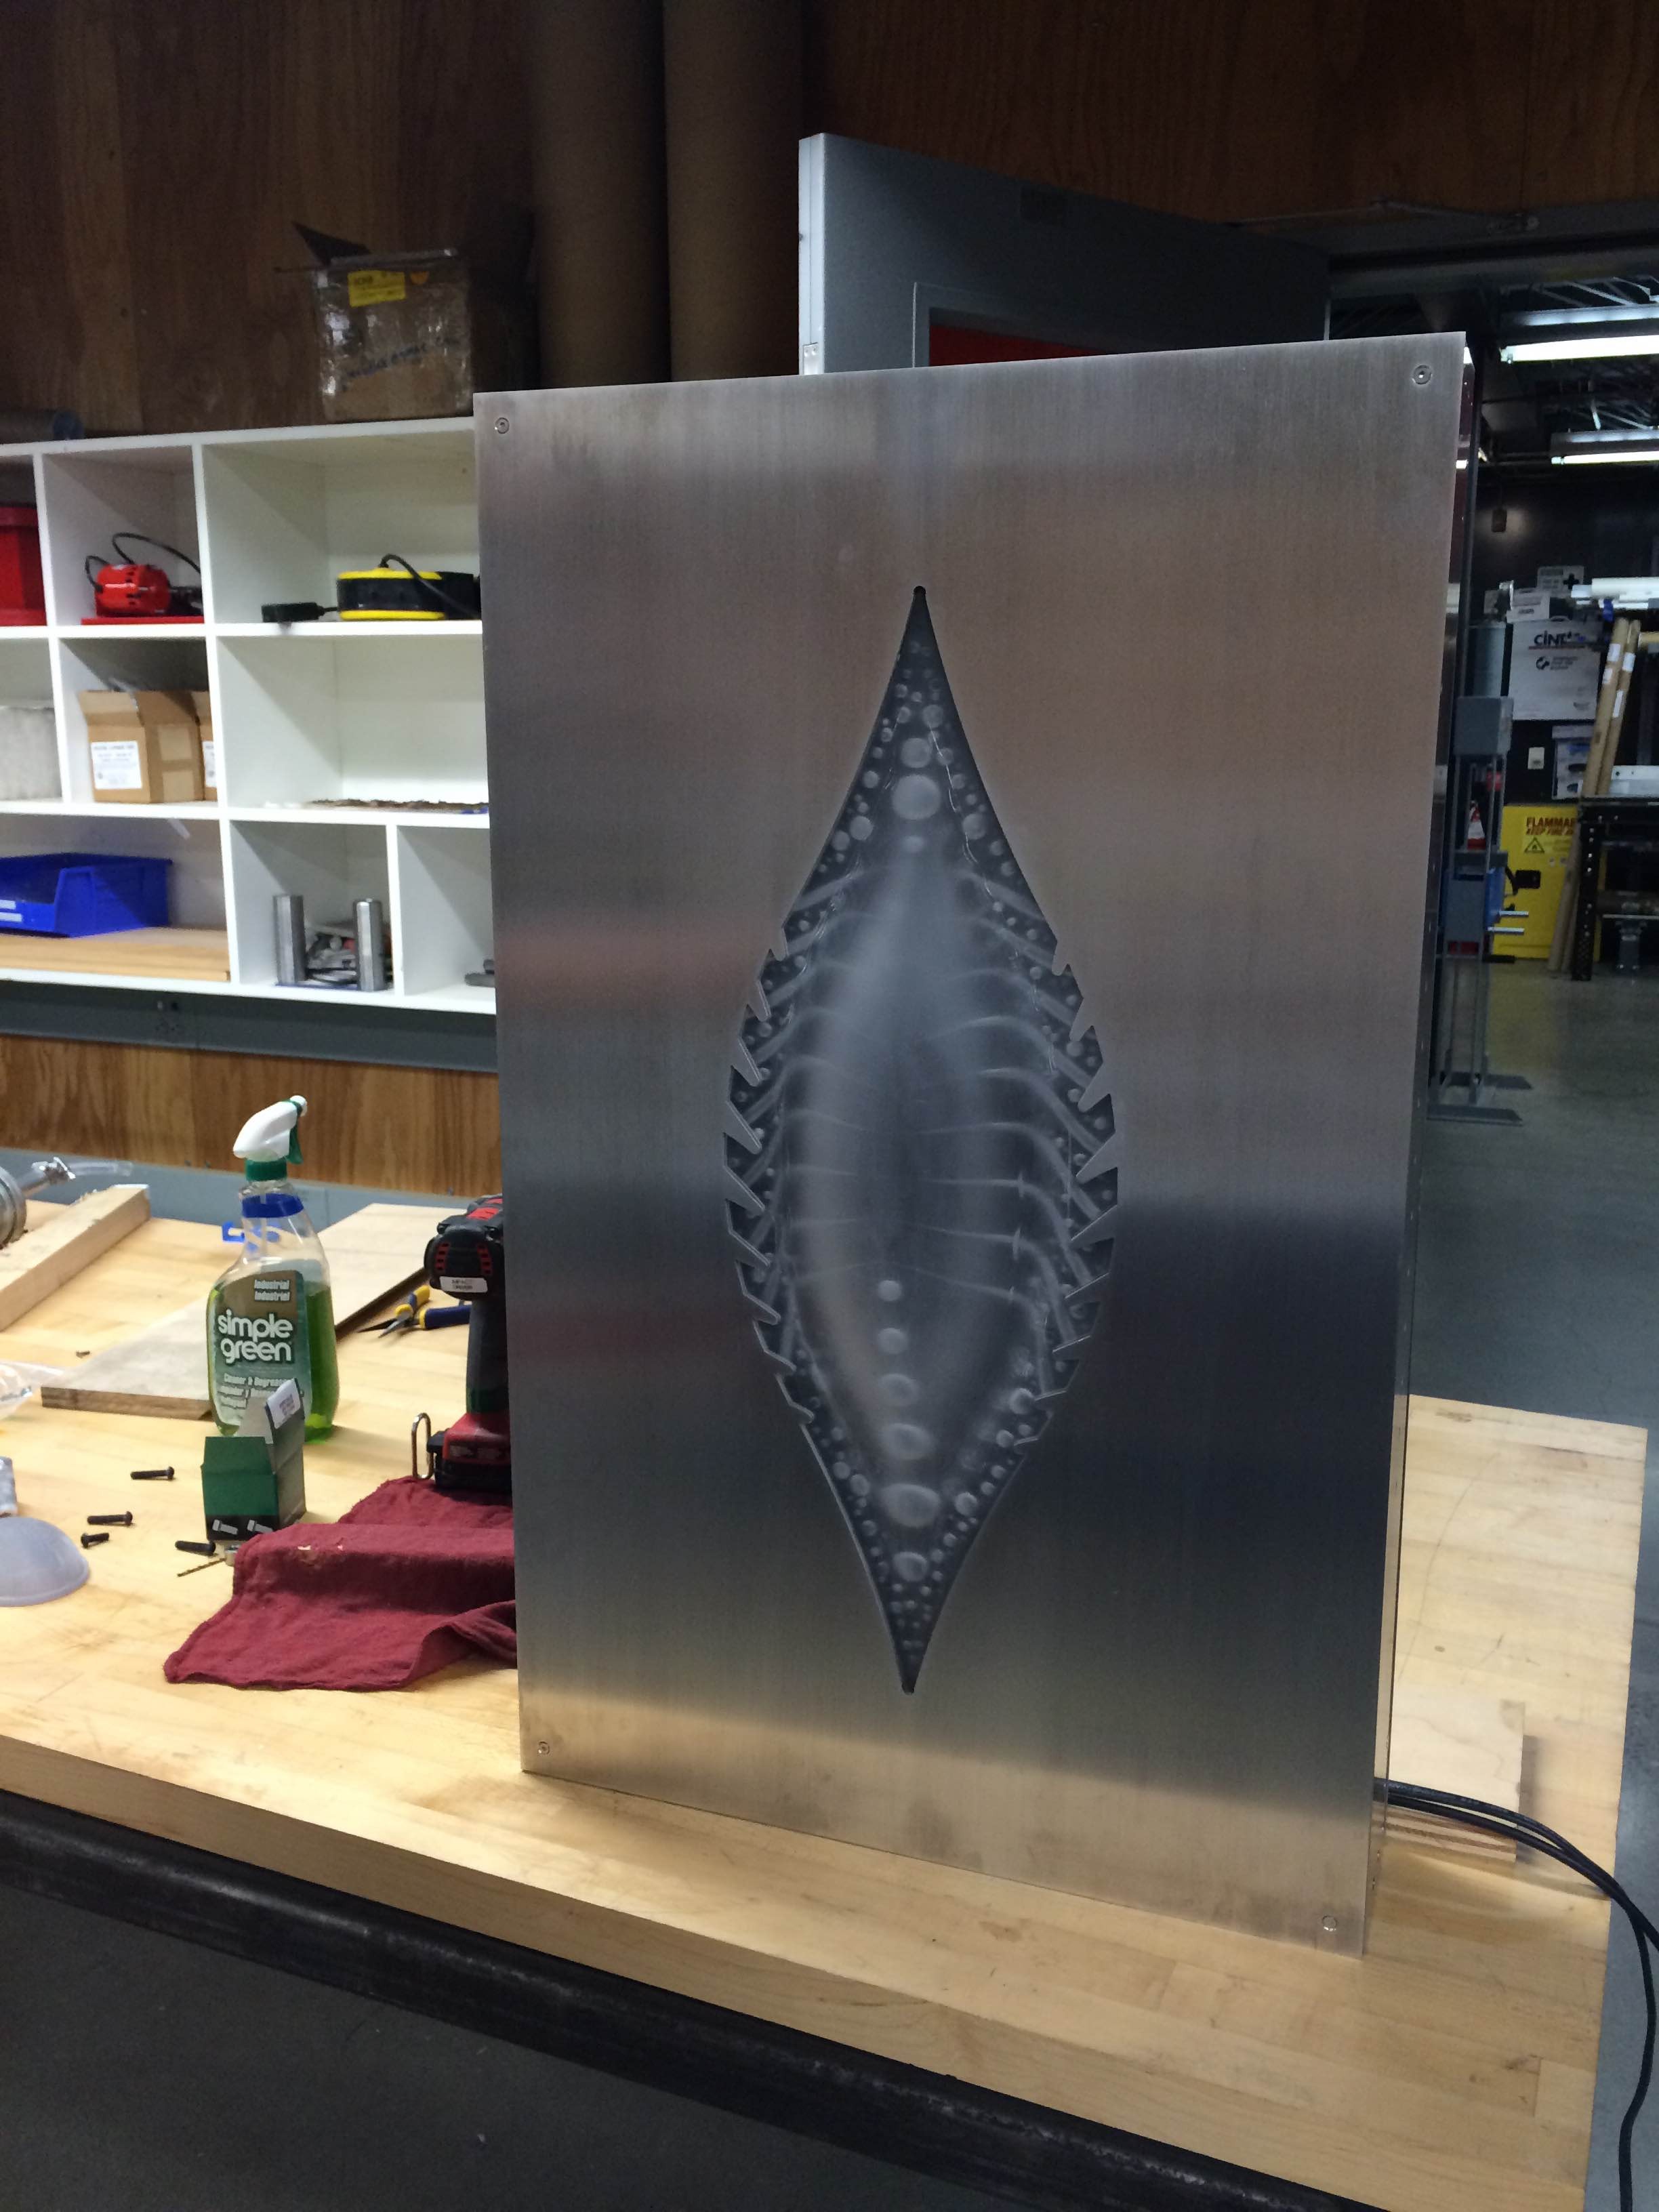
The aluminum frames act as both the support for the surfaces and as the enclosures for the television. It's the part of the project where all of the details have to come together. This was as much of a learning experience for me as the CNC classes: I had to research stock sizes, choose fasteners, and design with tolerances. Once again CNC made accessible a process that would otherwise have been out of my reach: I used the OMax A-Jet waterjet to cut precise faces for my boxes with pilot, mounting, and ventilation holes. Where the aluminum face meets the acrylic, I added 0.02" of tolerance.
I cut the design from a 4' x 10' sheet of 1/8" aluminum, which shop staff helped me load on the OMax with a forklift!
That still left plenty to do in the metal shop: counter-sinking; drilling and threading the angle that connects the faces and brushing the aluminum. I came to appreciate clamps as the unsung heroes of the workshop.
3D Printing Inserts for the Walnut
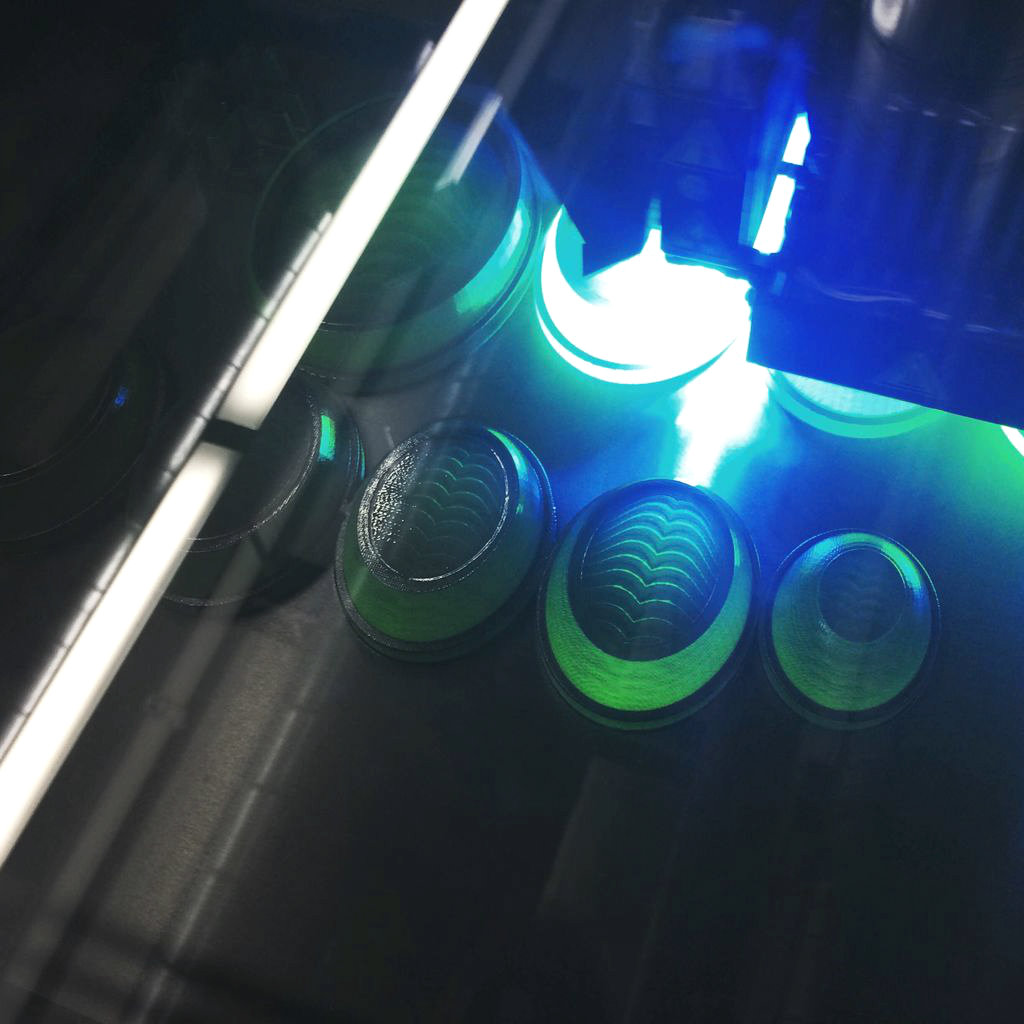
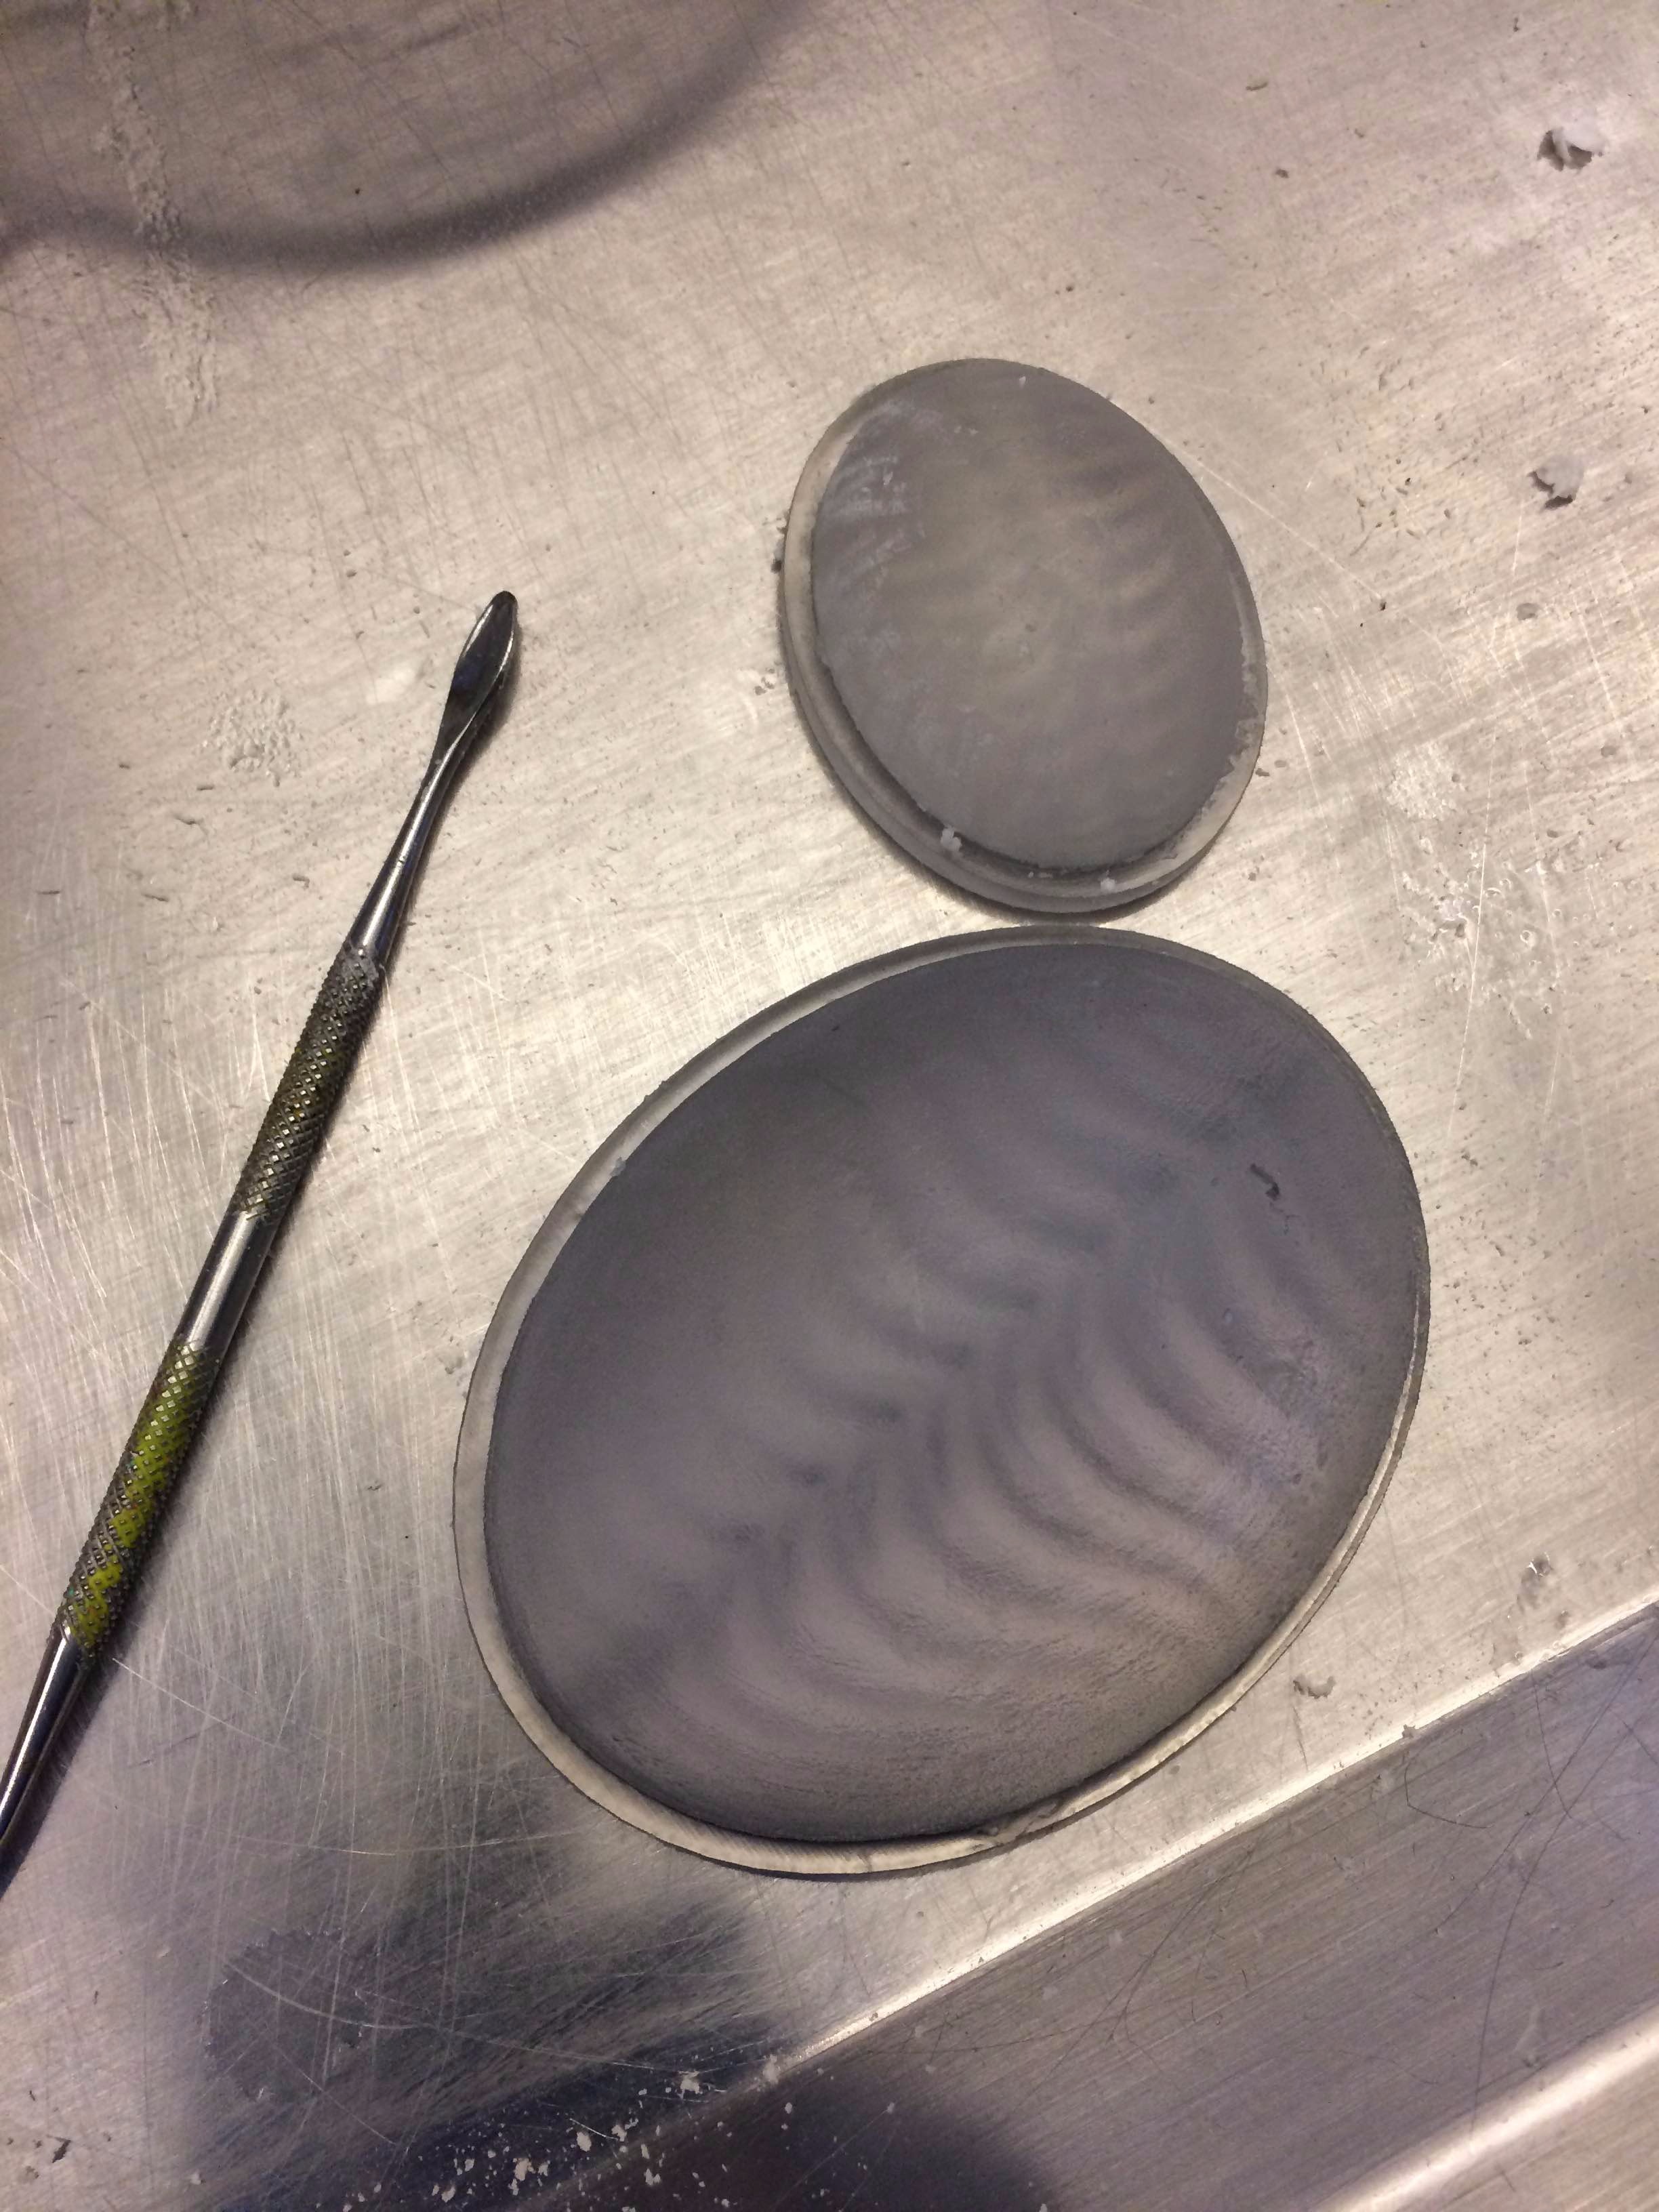
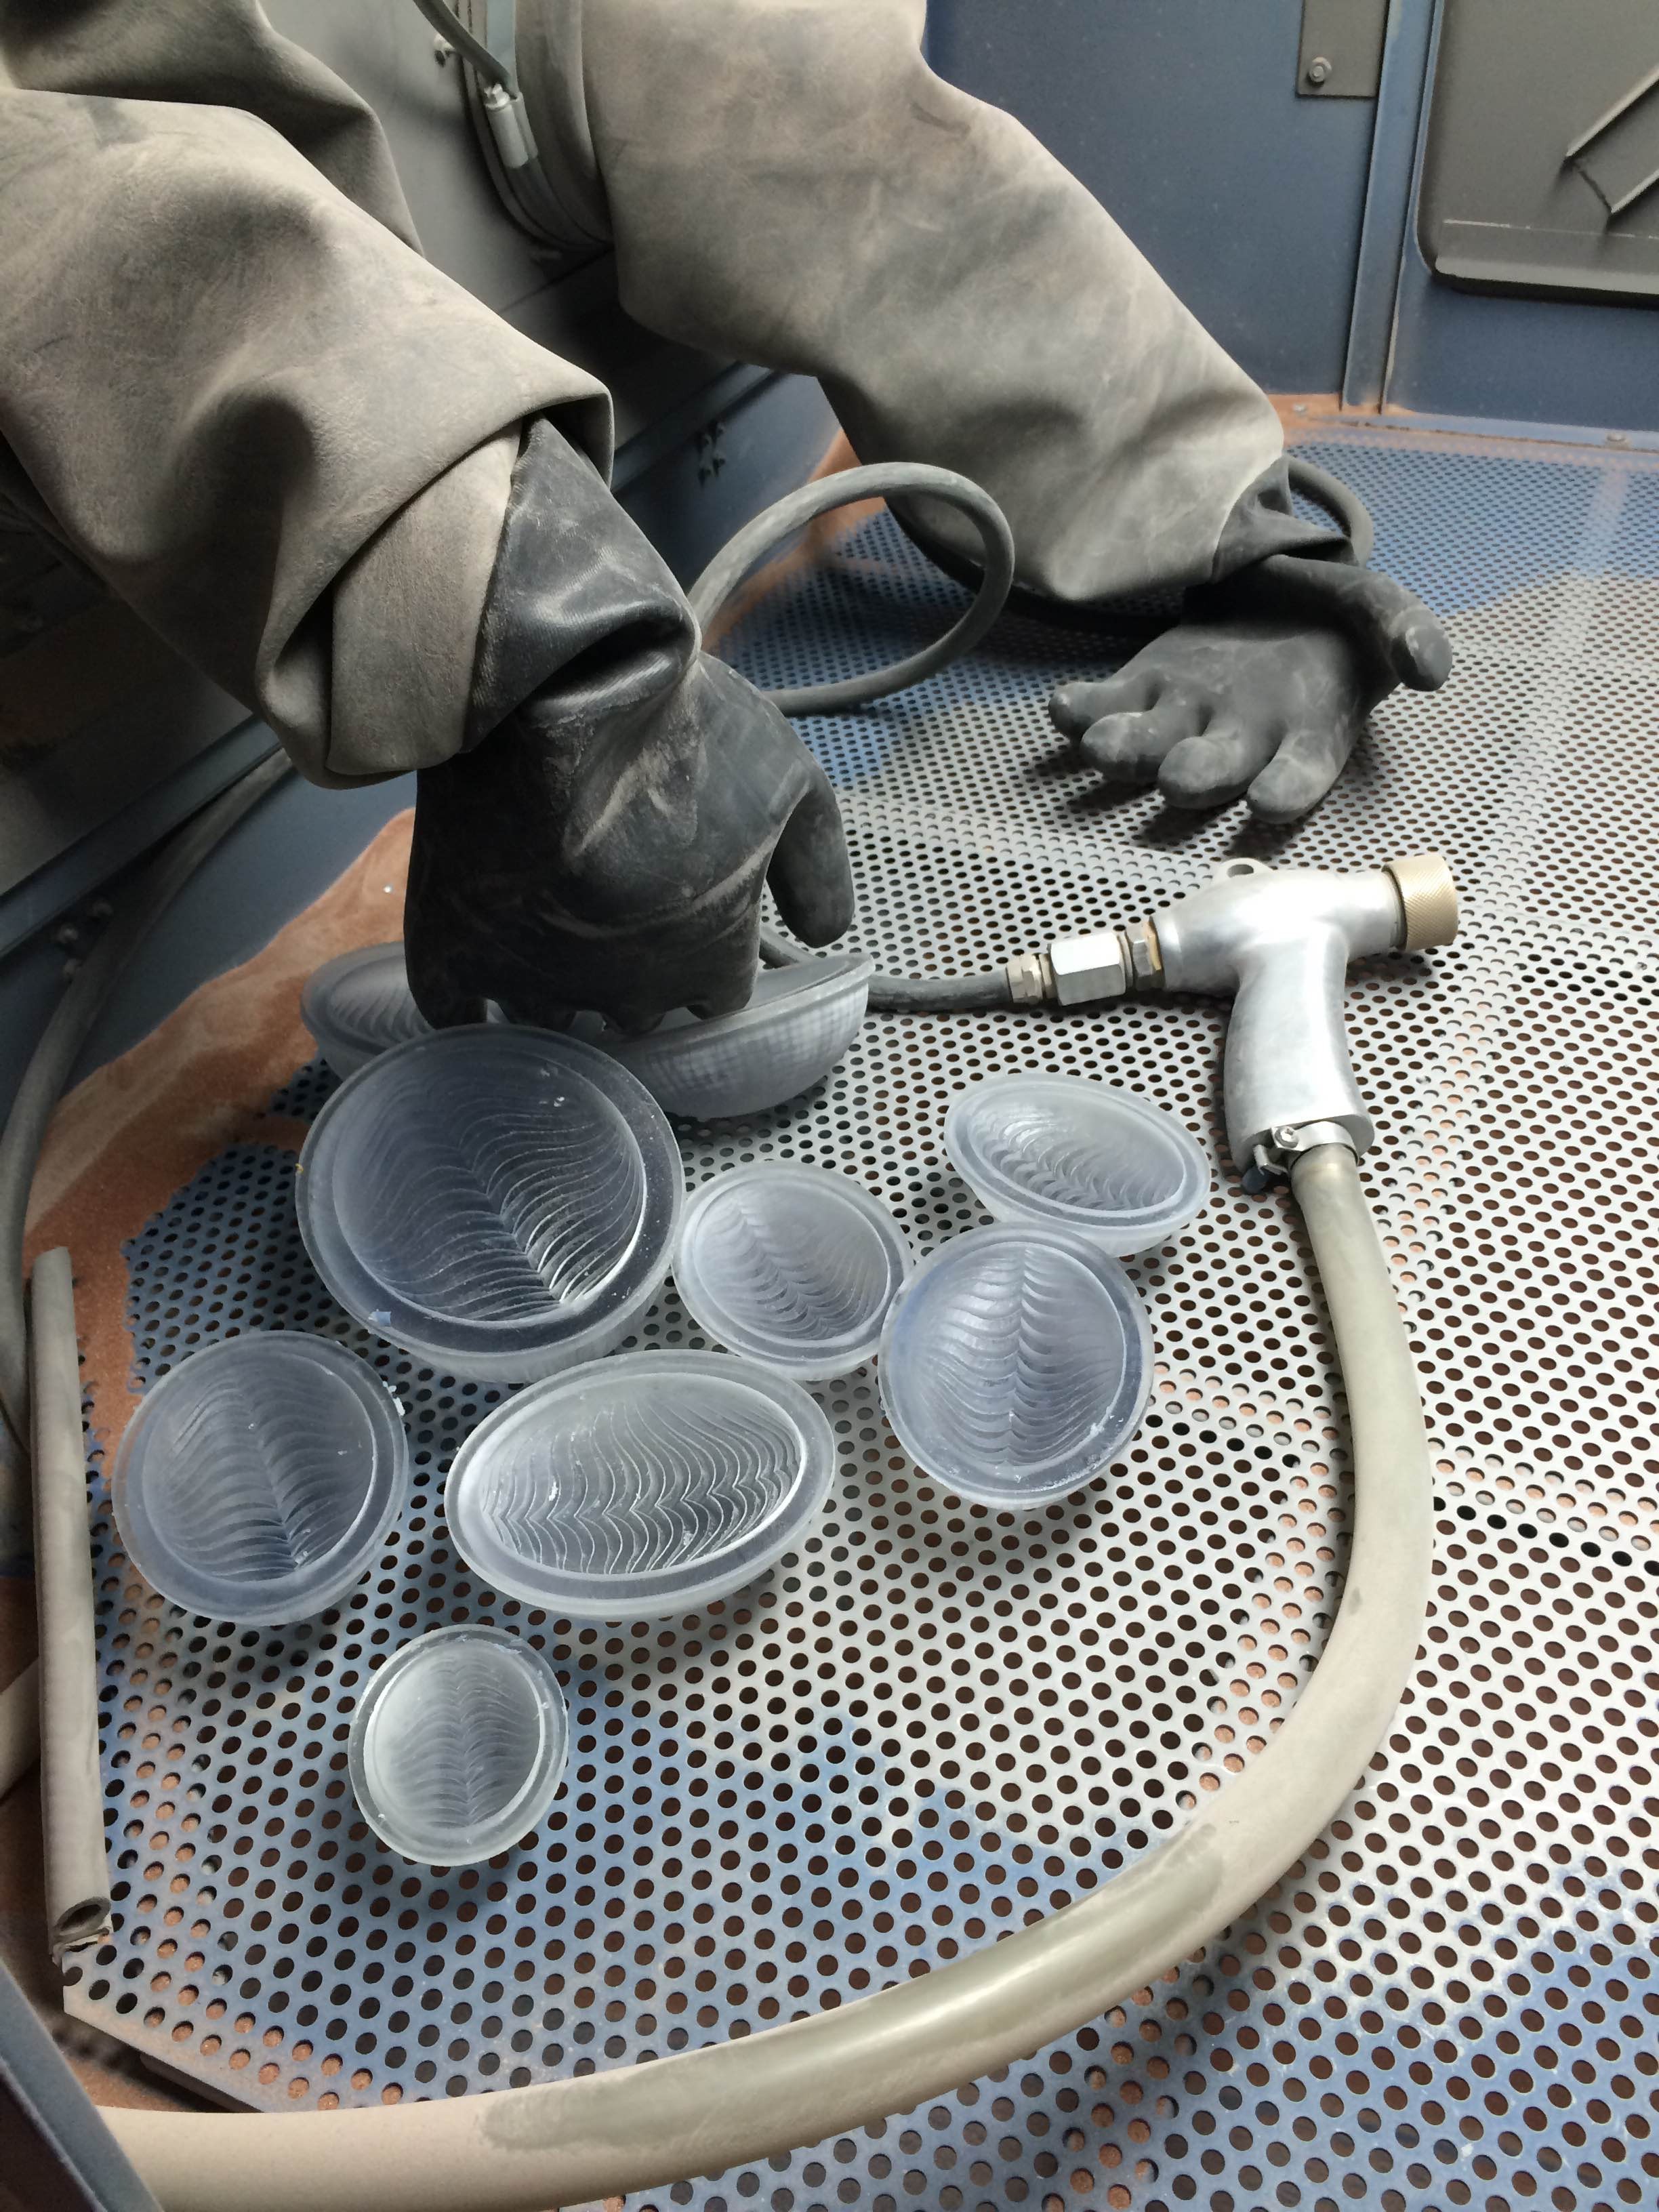
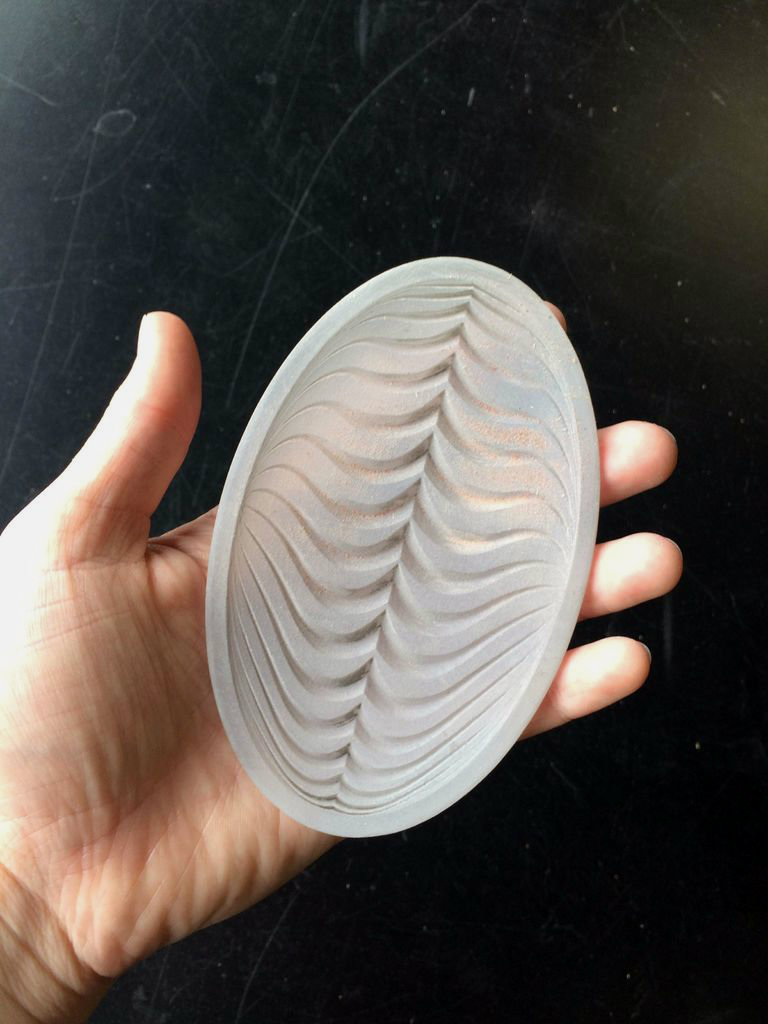
The DMS can do incredible detail with total precision, but that doesn't mean that it can be used to make any design: the finest bit in the Pier 9 DMS tool library is 1/8". For acute interior angles, that means that those angles will effectively be filleted. To get the kind of sharp detail that I wanted for these elements, I turned to the Objet resin 3d printer. The Object uses the same print head technology as an inkjet printer, but sprays tiny drops of resin instead of ink and exposes those droplets. It prints both support material and the model material to create the finished print. Removing the support material requires a little post-processing. To frost the interior of the prints, I used the sandblaster.
That Feeling When It All Comes Together
It's strangely startling to see the thing you have stared at on the computer for so long actually existing as an object. It has been amazing to be able to bring all of these techniques together and further my thinking around form and image.