Detachable Face Mask for Hat
by ProperFit Clothing in Craft > Sewing
2700 Views, 10 Favorites, 0 Comments
Detachable Face Mask for Hat


This is a detachable face mask with PM2.5 filter pocket. Work with your hat backwards or forwards.
Supplies
-LINK to Pattern: https://www.properfitclothing.com/product-page/ha...
-LINK to Bias Tape: https://goo.gl/rtMLte
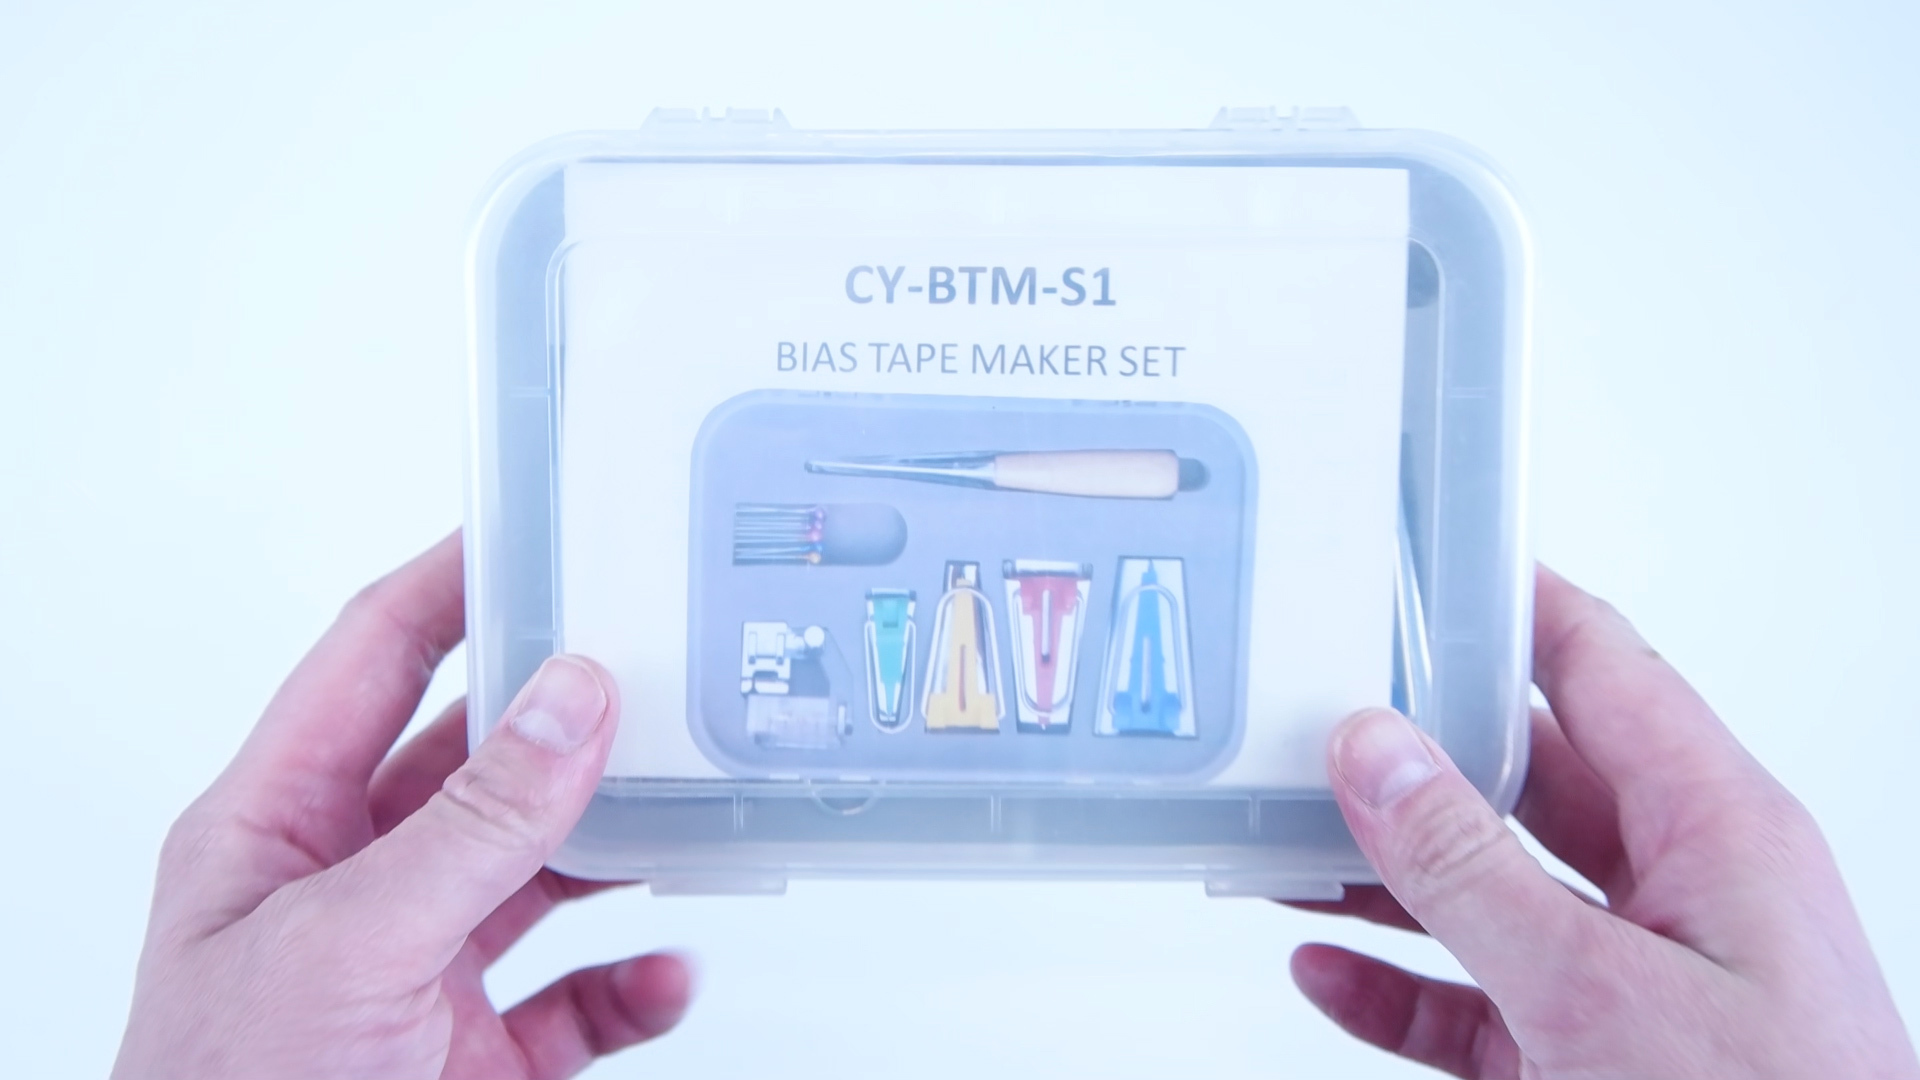
-LINK to Bias tape folder kit: https://amzn.to/2ynuhnw
-LINK to Industrial Bias Tape Attachment: https://amzn.to/2Ua3It3
-LINK to Fabric: https://amzn.to/2lNrnly
-LINK to Lining: https://amzn.to/2QkCcb8
-LINK to Velcro: https://amzn.to/3cPICZ5
-LINK to PM2.5 Filter: https://amzn.to/2Sp5FSg
-LINK to Twist Ties: https://amzn.to/2V81bB8
Gathering Supplies


-Fabric outer layer: .25 yards (canvas, twill, cotton, or any fabric that is tightly woven)
-Fabric lining: .25 yards (non stretch soft cotton)
-Extra wide bias tape
-PM2.5 filter
-Velcro: 10 inches
-Twist tie/coated wire: 1
-Pattern: Available at properfitclothing.com :)
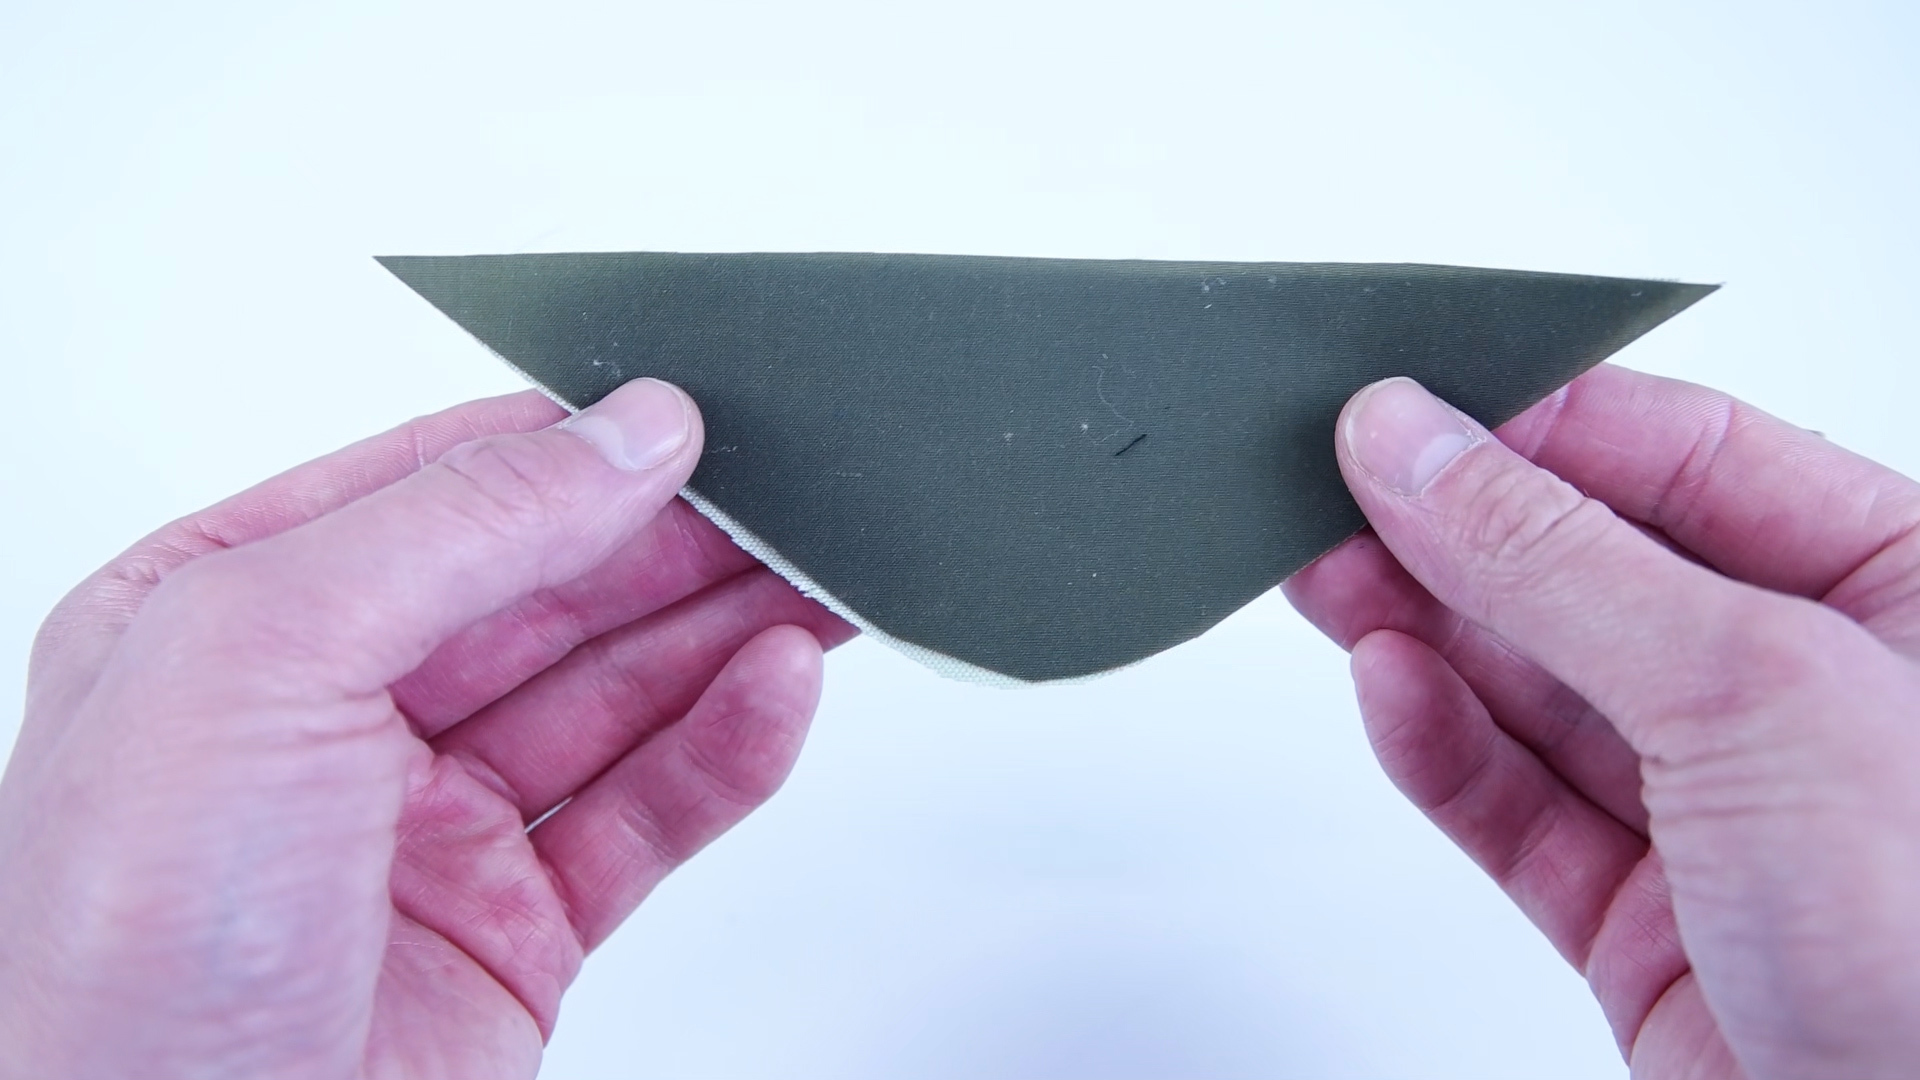
Cut Pattern


-Front main panel: Cut 1 on the fold.
-Front and lining chin panel: Cut 1 outer layer fabric. Cut 1 lining fabric.
-Front and lining nose panel: Cut 1 outer layer fabric. Cut 1 lining fabric.
-Center lining panel: Cut 1 lining fabric.
Hem Center Lining Panel


-Mark the hem lines onto the lining panels.
-Roll over and pin edge. -Sew at .25 inch seam allowance.
Attach Lining Chin Panel


-Line up notch points on bottom lining and center lining panels.
-Pin bottom in to position.
-Sew at .25 inch seam allowance.
Attach Chin Panel (outer Layer)


-Line up notches.
-Pin.
-Sew with .25 inch seam allowance.
-This step is done the same way as lining.
Add Bias Tape to Nose Panel
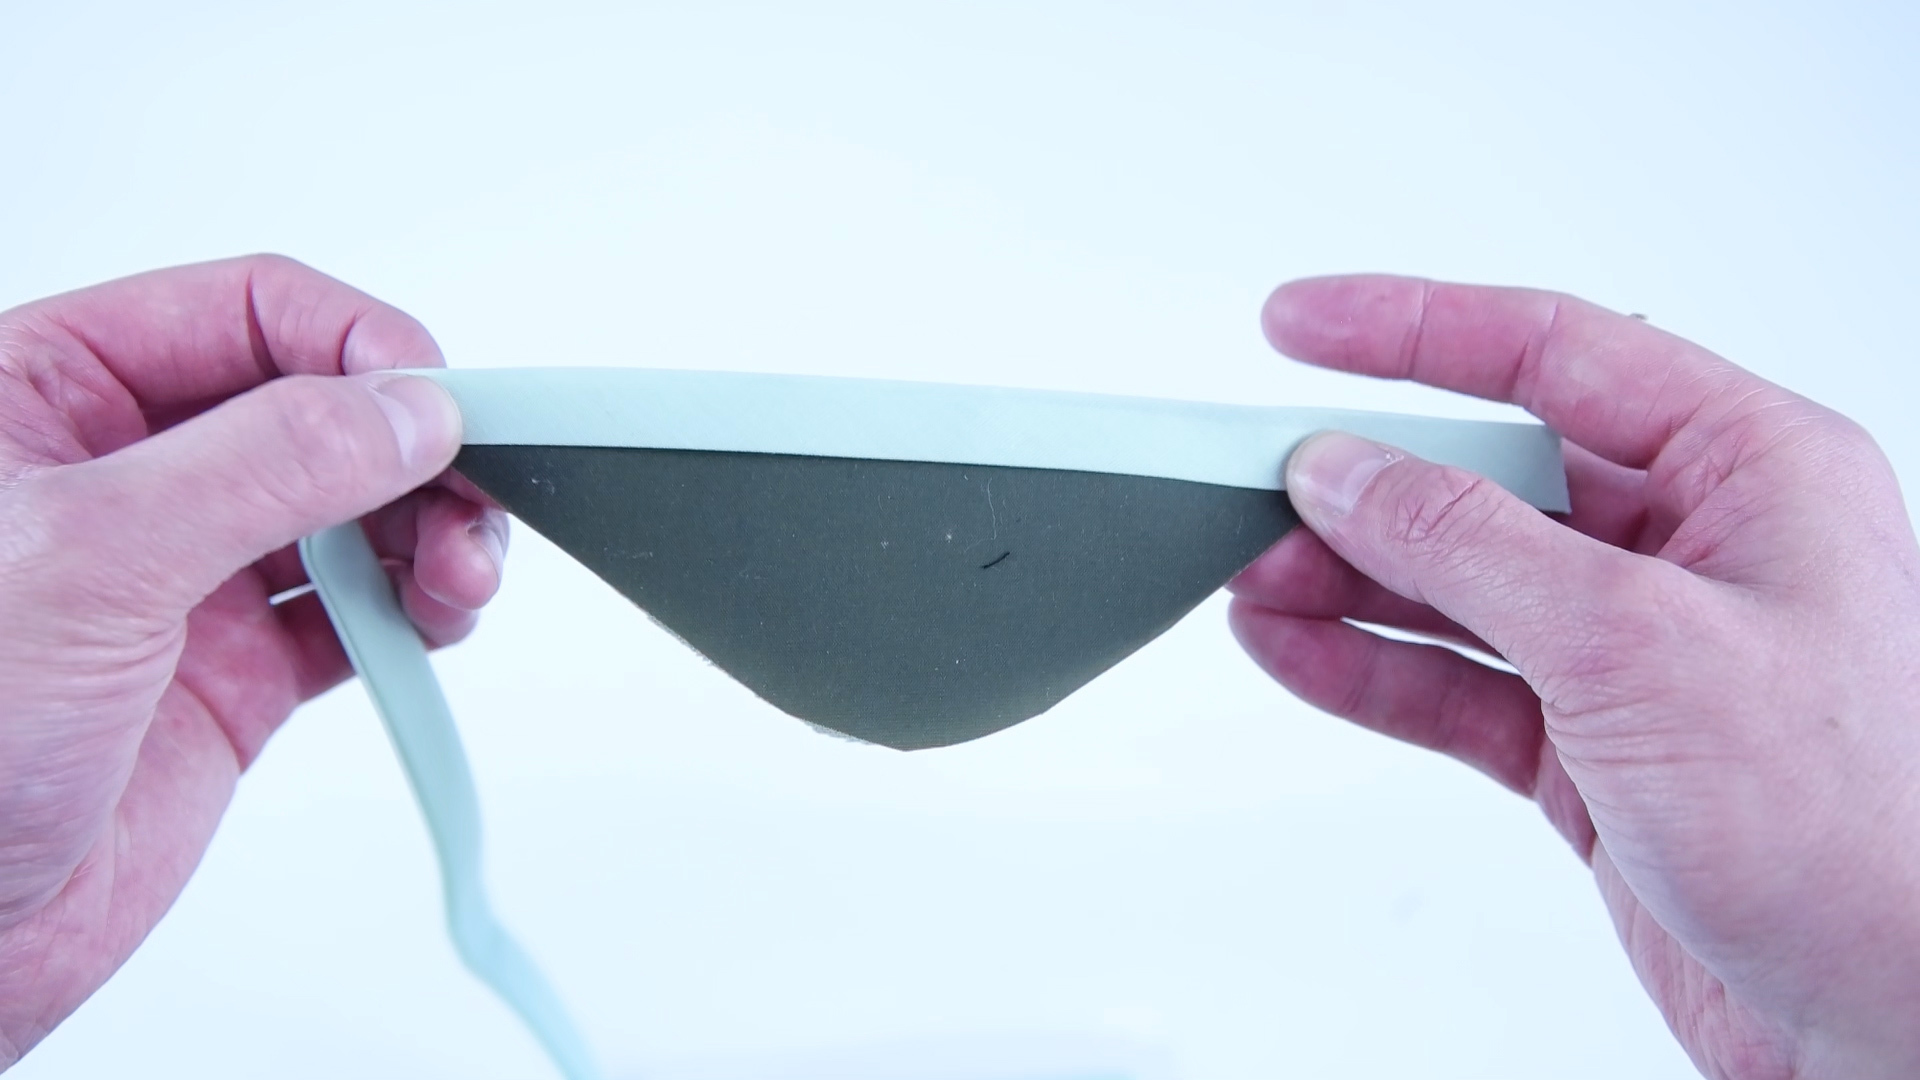
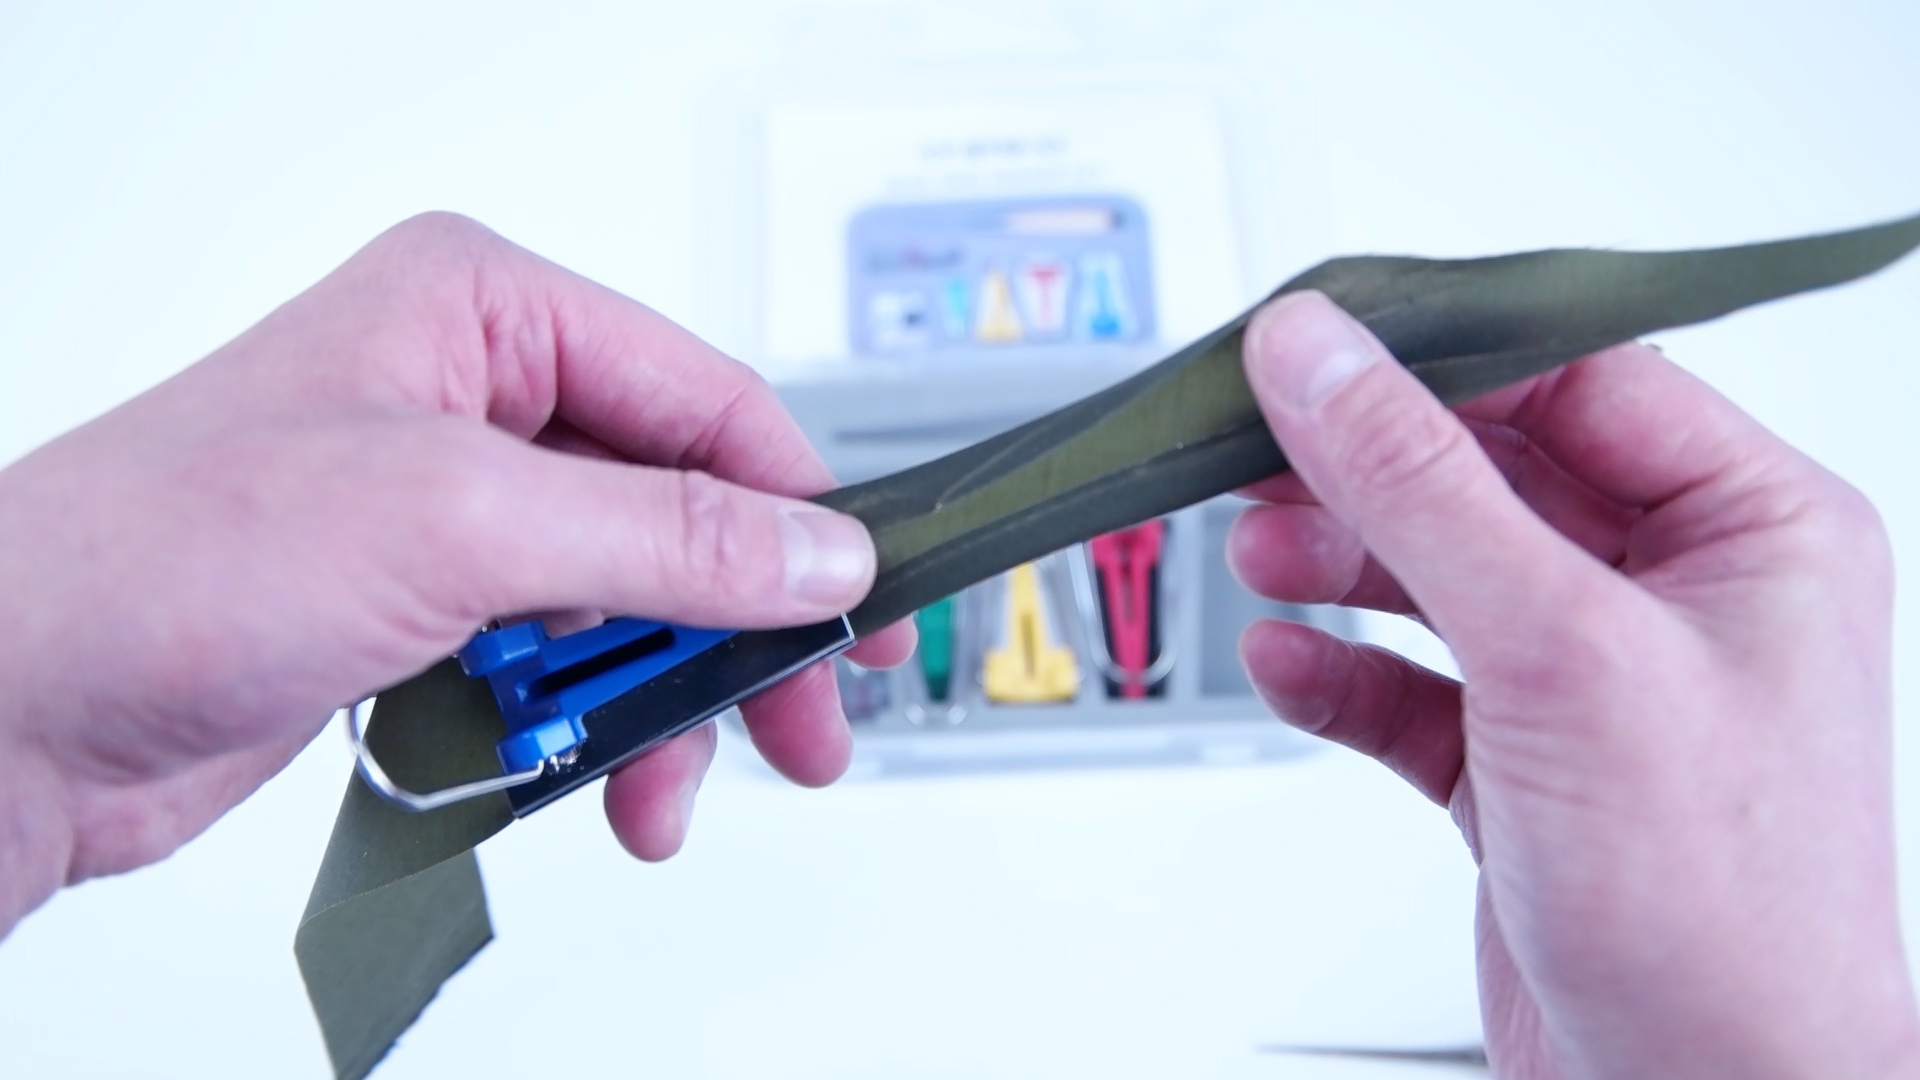
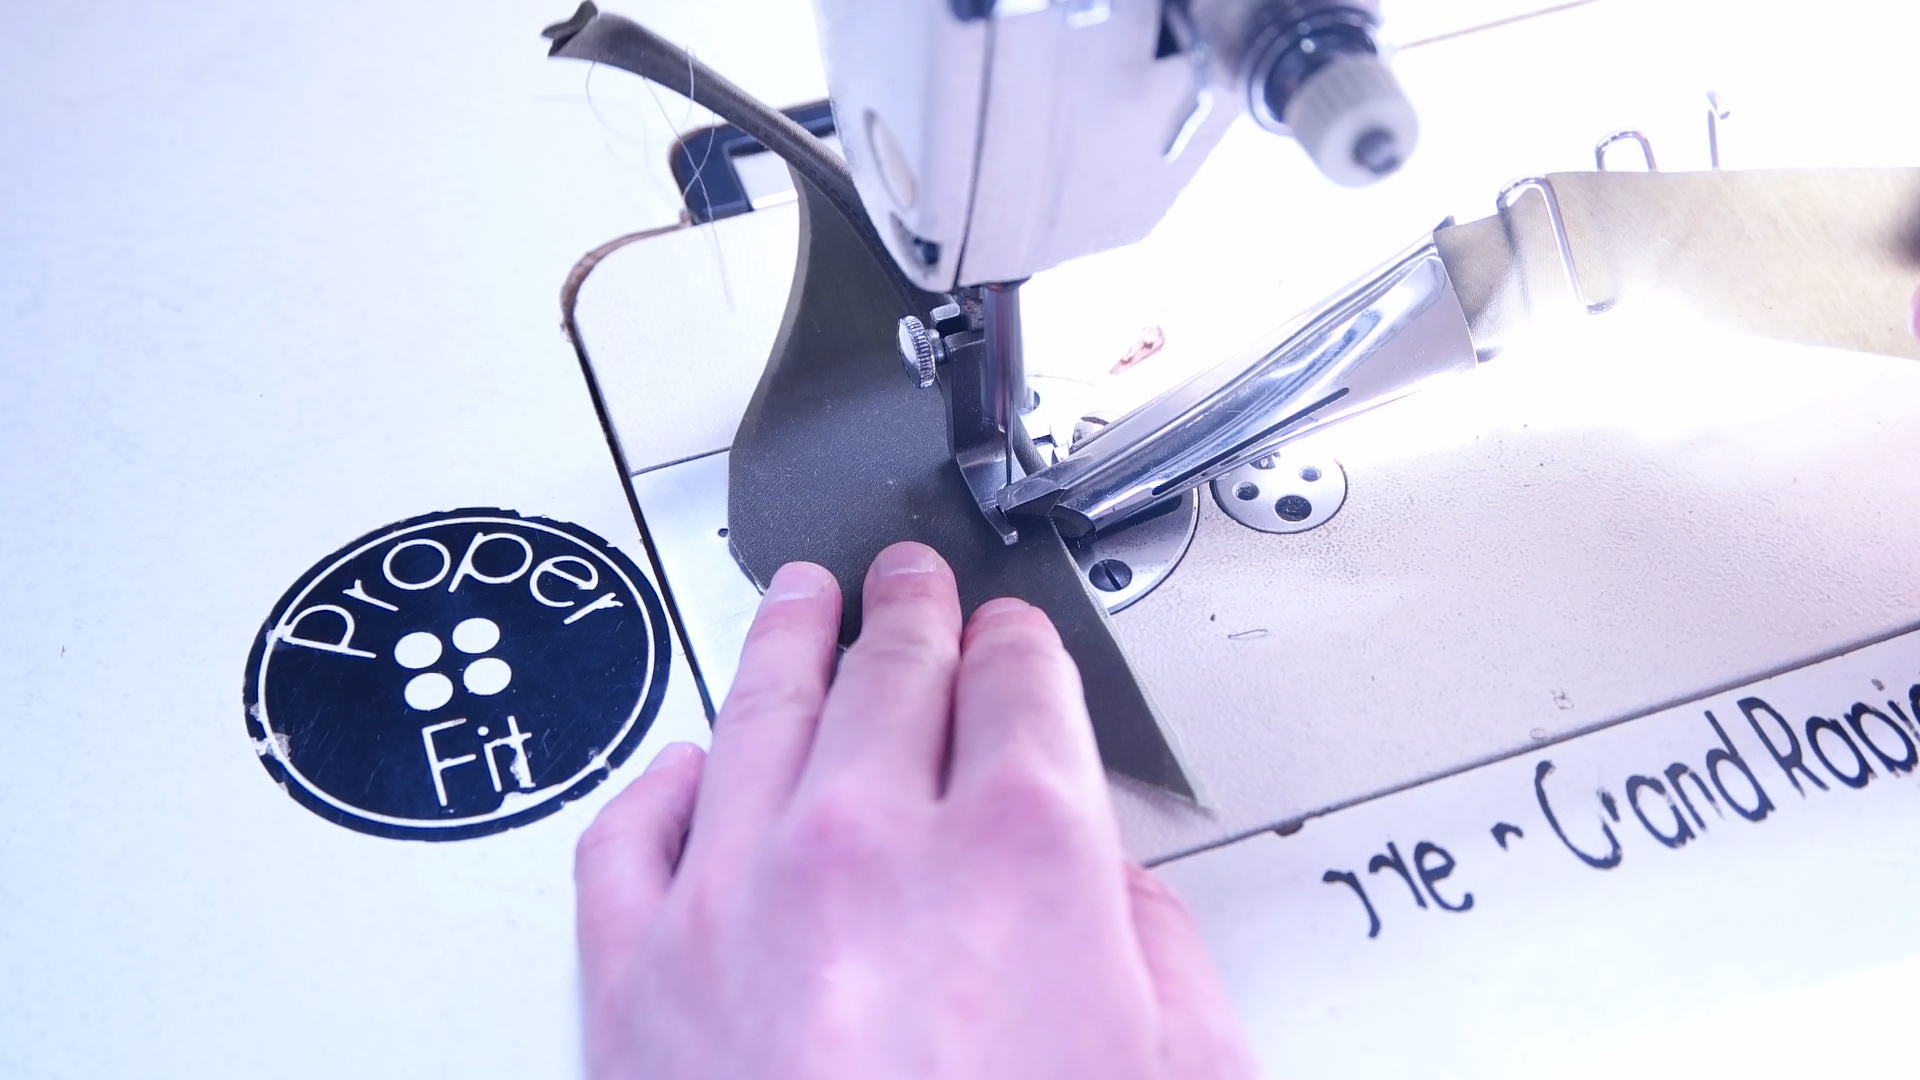
-You can use made bias tape, make your own bias tape, or bias tape attachment. All methods work.
-Place the wrong sides of the outer layer and lining together.
-Add bias tape to the top straight edge of the bottom main panel.
Add Twist Tie
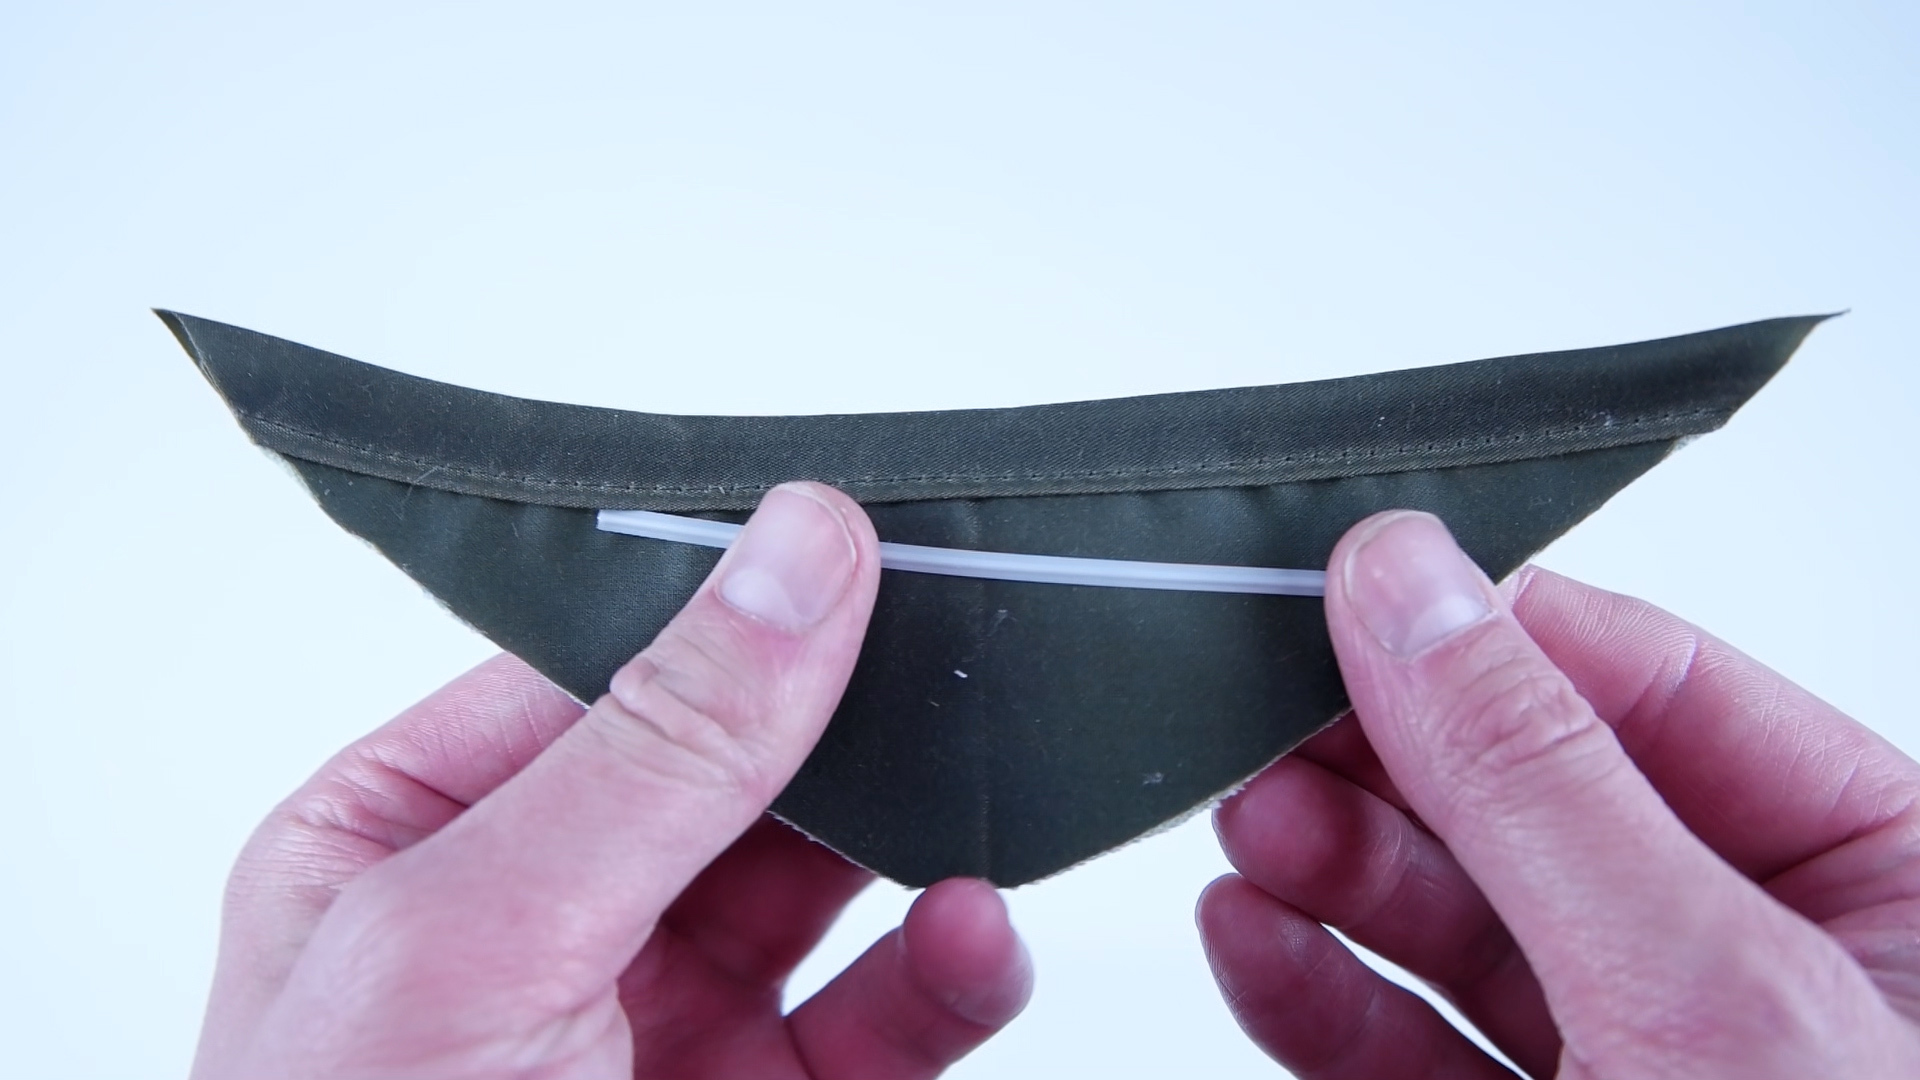
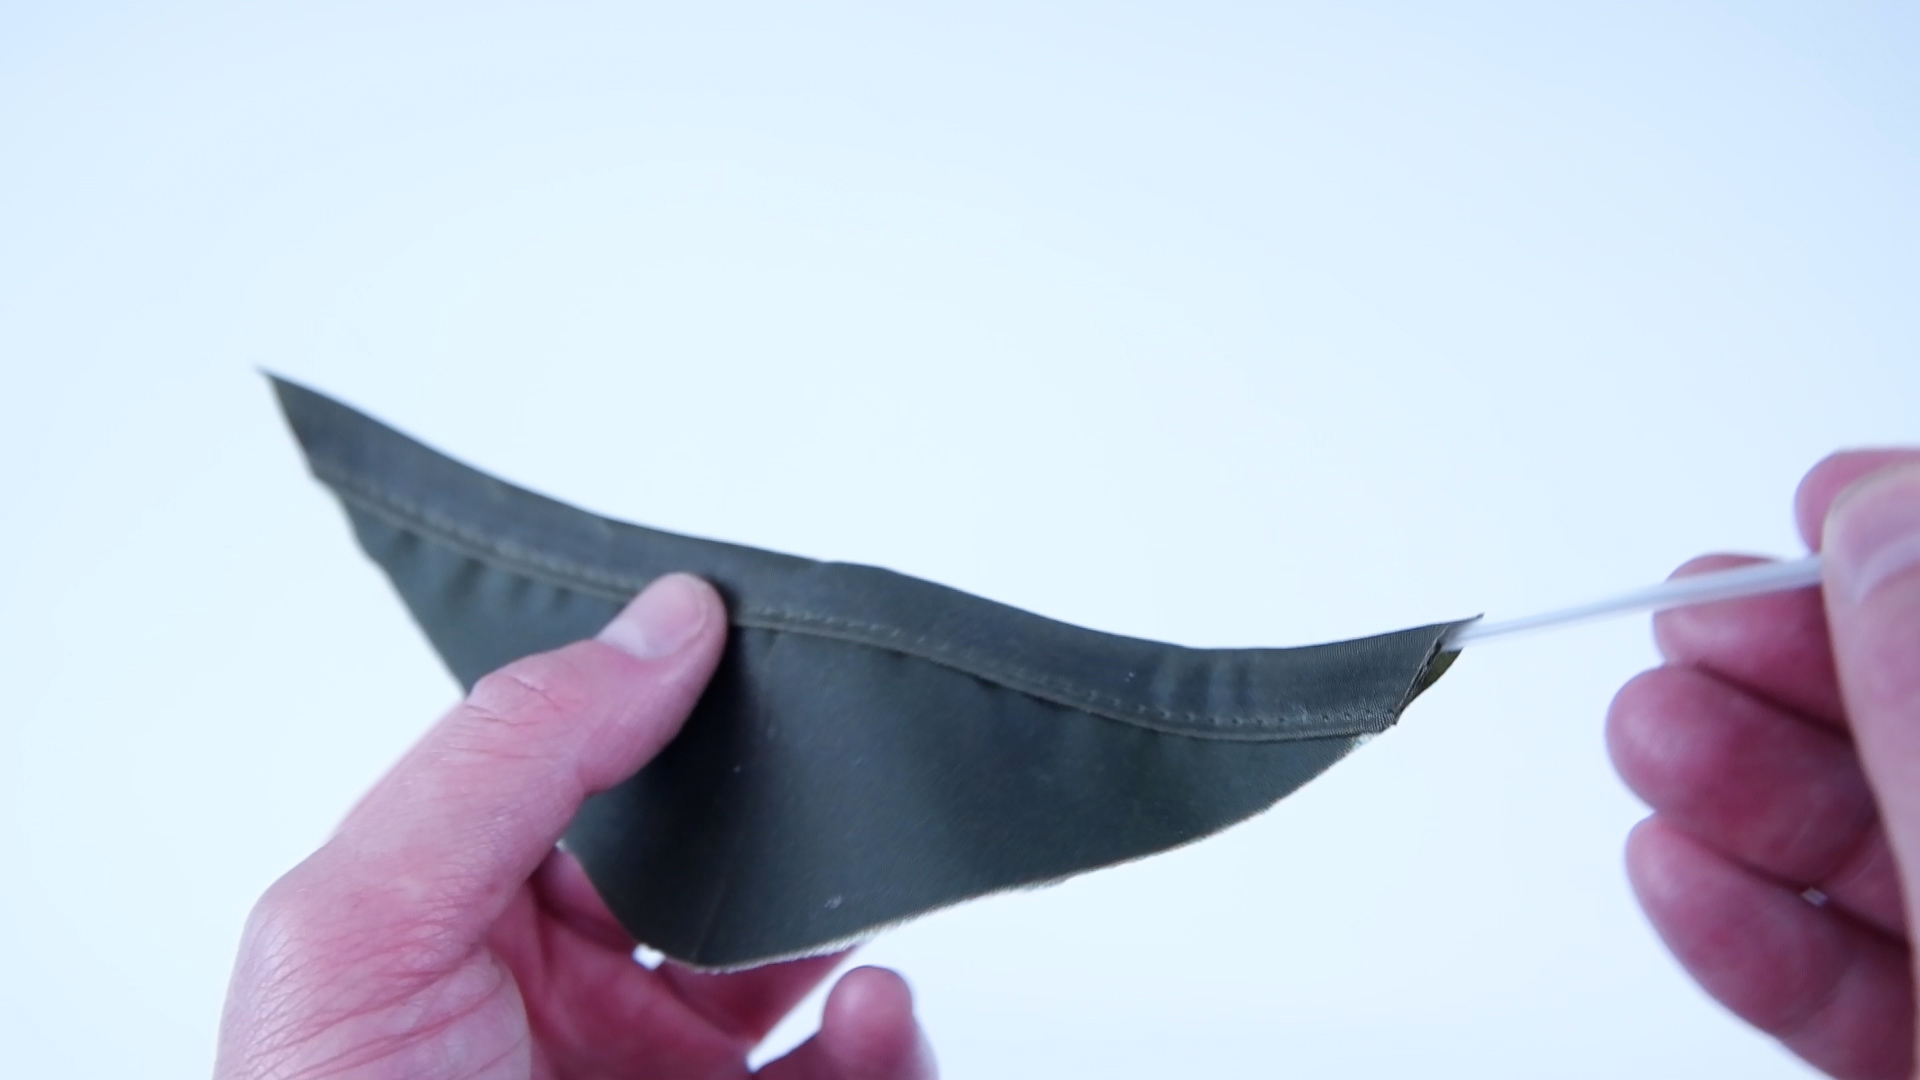
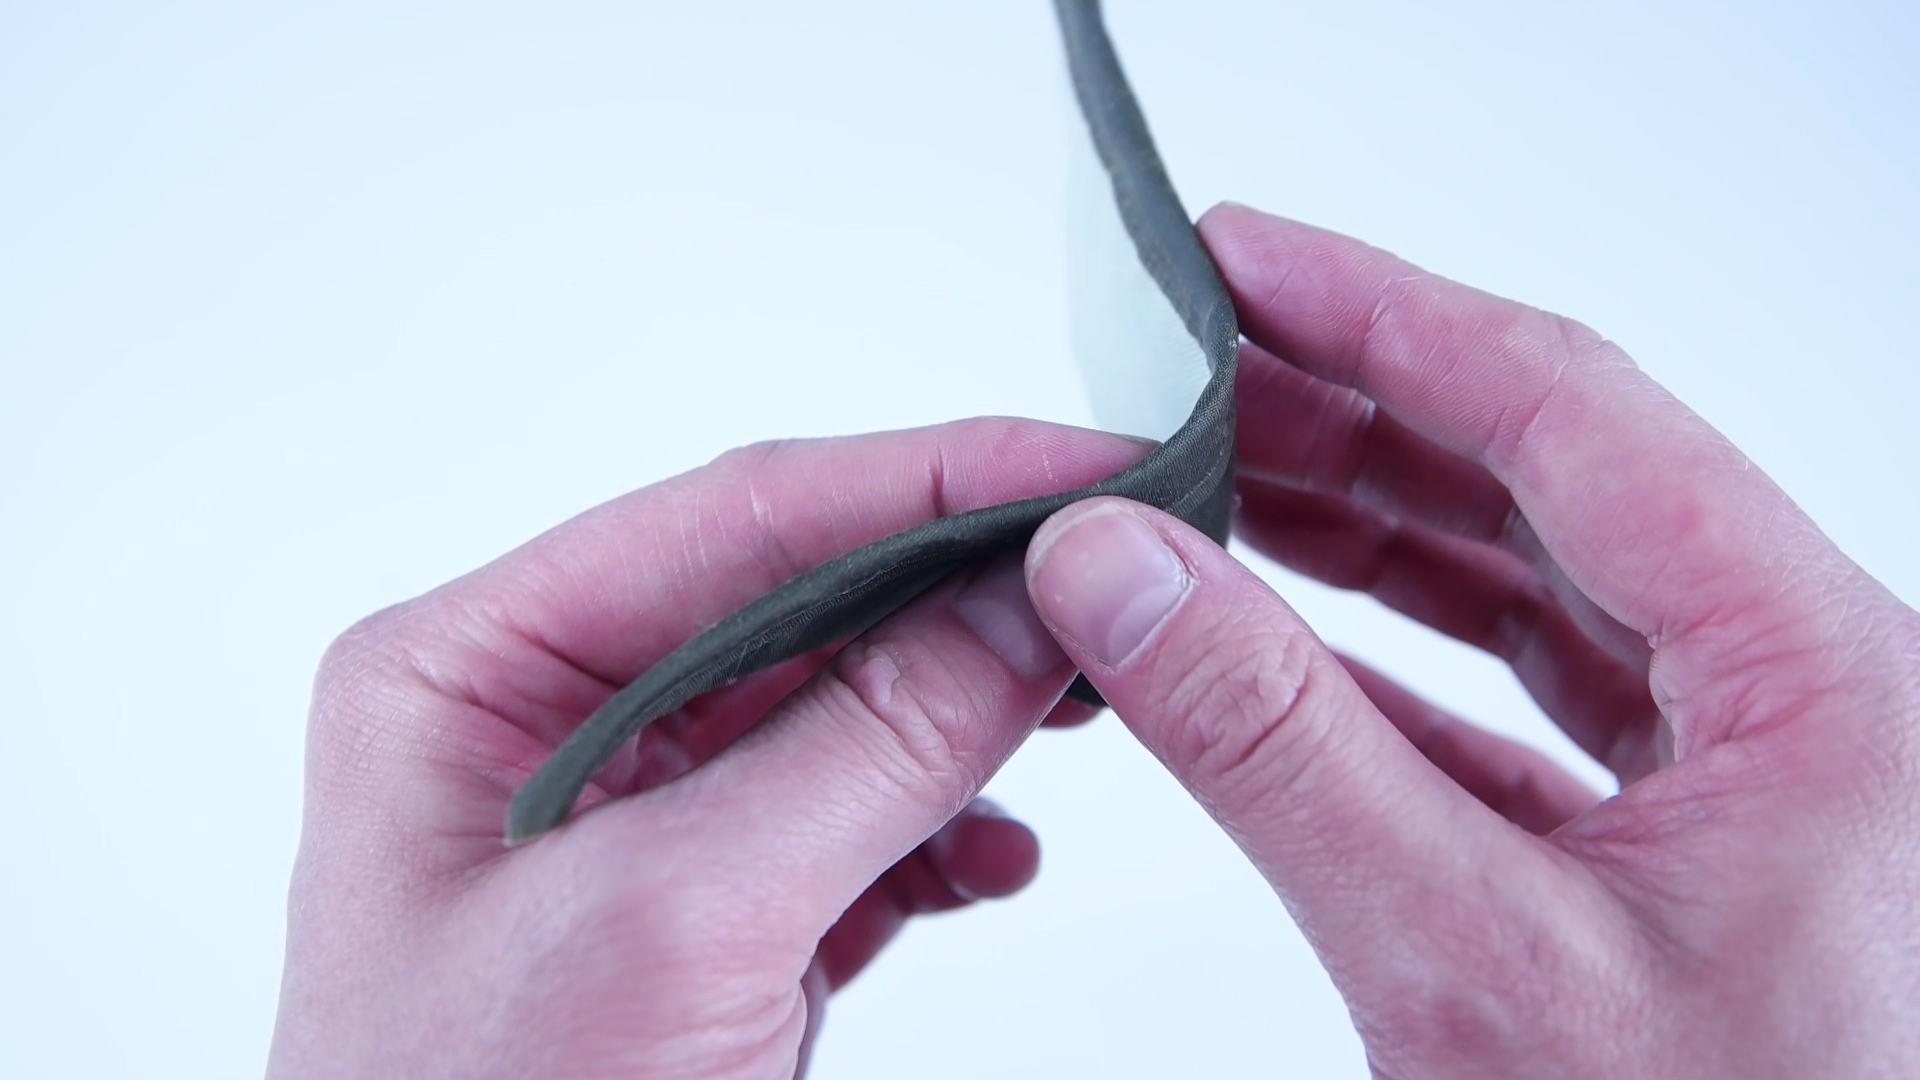
-Slide the twist tie or other bendy metal object into the bias tape.
-Make sure the twist tie is centered in the bias tape.
Assembling Panels


-Place the wrong sides of the Center Lining and Front Main Panel together.
-Line up the bottom seams and top notch.
-Place the Bottom Main panel on top of the lining with right sides together.
-Sew as close as you can to the edge.
Bias Tape Top and Bottom Edge


-Add bias tape to the top and bottom edge.
Velcro Cover Panel


-Cut corners to the hem line.
-Roll over sides on hem line and place over Velcro.
-Stitch around the outside edge. Leave one long edge unstitched.
Attached Velcro Covers


-Sandwich face mask side in the open end of the Velcro cover.
-Stitch along edge securing the mask to the cover.
Leather Method


-This is a different method.
-Cut leather to Velcro width.
-Stitch Velcro to mask first.
-Glue on leather to Velcro.
-If you cut the leather long enough it can act as tabs to detach the mask from the hat.
Attaching Velcro to Hat


-Cut Velcro same length as piece on mask.
-Place Velcro .25-.5 inches away from the brim.
-Fold sweatband flat.
-Stitch along the outside edges of the Velcro.
-Repeat for other side.
-Note: Make sure you line the Velcro strips up even so the mask is centered on your face.
All Done!


Hope you have fun with this project!
Video Instructions

If you are having trouble figuring out any steps. I recommend checking out the detailed video. I go through every step :)