Desk With Built-in Computer and Laptop Height Stand
by ArthurB24 in Workshop > Furniture
11483 Views, 114 Favorites, 0 Comments
Desk With Built-in Computer and Laptop Height Stand


The most elegant way to own a computer isn't necessary inside a case at the bottom of your desk. You can also build your own desktop-showcase to save space and let the world know about your passion (#pcmasterrace) !
To start this project, I first estimated global dimensions, and imagine how it will fit in my room. I wanted to build it in two parts in the case where, in my next appartement, both parts couldn't fit in the same room next to each other.
I will kept in the main part my computer components and a built-in laptop height stand. In the other part, I will build a large drawer to store things like games controllers, cables, computer spare parts,...
For the computer itself, I own a desktop computer composed of :
- a motherboard (atx format)
- a CPU
- some RAM
- a (way to massive) ventirad
- GTX 970 graphic card
- an SSD
- 3 HDD
- some fans
- a power supply unit
In order to fit all of that in the thickness of a desk, I had to replace some parts. About the motherboard and the CPU, their times had not come, they will be in the final assembly, so as the power supply. I could keep the graphic card but I not in this position. My ventirad was really too big to fit in the desk, I had two options : Find another one "low profile" or use a watercooled system. I choosed the second solution for personal conveniences. Fans will be too large to fit, I will let them in the original case and buy some 80mm fans. The thickness of the desk has been determined by the thickest component I couldn't remove : the power supply.
Supplies
Finally, the computer parts I bought was :
- a new cooling system (NZXT Kraken x62)
- a PCIe riser to move my graphic card away
- 6 brand new 80mm fans (BeQuiet 2 Pure wings 2)
- a rheobus to control all of those fans (NZXT Grid+ V3)
- and last but not least, I had to leave my power switch on the original case so I bought a control panel
For the desk, I had nothing so I bought every parts :
- 2 pieces of beech kitchen worktop (2500mm long, 650mm wide, 26mm depth)
- 9 table feet from IKEA (they can be adjusted from 600mm to 900mm)
- a kitchen drawer without face
- those special hinges for the part with the glass
- The glass itself
- those special hinges for the laptop support
- To fix the computer parts to the desk, I used L shaped, aluminium parts (20x20x2) and pop rivets
- This mesh for the bottom of the desk
- This mesh to set in the front of the fans
Building the Frame


I got my kitchen worktop cut by the work shop where I ordered them. They let me with :
- Two large pieces (~1250mm x 650mm) one for the table, the other one for the main part of the desk.
- A smaller piece (~550mm x 650mm) for the other part of the desk
- 6 long planks (100mm x ~1250mm)
- 4 short planks (100mm x 650mm)
I had to adjust the length of the planks to fit with the exact dimensions of top pieces. Planks are glued and screwed between them. The desk top will be fixed with angle brackets.
For the desk part I used 4 long planks and 2 short ones (one of the long will be cut in half).
For the table part I used 1 long plank and 2 short ones. The remaining long plank will be used for the drawer face.
Cutting the Hood


I brought a really special attention to that part for two reasons. I wanted to order the glass only after the cut is finished to be sure it will fit perfectly. The cut should have been clean enough to allow me to keep the excess part and reuse it as the height stand for the laptop.
Unfortunately, during this step, my jigsaw broked down and damaged the piece of wood. The only solution from here was to build a wooden frame to host the glass. I cut 4 pieces of wood to build it and I adjusted them to fit perfectly with the desk frame.
I used a router to dig the glass shape. 8mm in depth and 10mm around the initial shape. My idea was to fix the glass with transparent silicone so I dived to 2mm more at sides center. Like this, my 8mm thick glass fit and lies on corners and between corners there is 2mm of transparent silicone to glue it.
Buidling the Computer


The first step was to completely disassemble my original computer. Then I used 4 L shaped aluminium bar and rivets to create a frame. On this frame, from back to front, I created 3 rack/row :
- The first one to hold the HDDs and the PSU
- The middle one for the watercooling radiator and the tiny rheobus
- The last one to hold the motherboard and the graphic card.
Fans will be included in the thickness of the side wooden parts.
Rear row :
I set the PSU at the rear left corner. It will supply every other components from here. To hold it, I just attached two small L shaped aluminium bar to the main frame to prevent the PSU from sliding to the right or the left. Just next to the PSU, I wanted to mount my HDDs. I wanted the 4 of them to be easily reachable. So, I build a rack-like support to allow me to store two rows of two HDDs. I cut two pieces of L-shaped aluminium bar, then I cut two 90° angle on one side in order to bend them in a shape of a 'U'. I drilled holes to fix 3.5" drives and 2.5" as well (in case of an evolution of my configuration). I added 4 feet to place those U shaped rack one on top of the other and to fix is on the main frame.
Middle row :
In front of my PSU, I put the watercooling system radiator and fans. In order to do some further cable management, I raised the radiator by few centimeters. With this configuration, power cables will be under the radiator and will not be visible anymore. On this middle row, I also added two small L shaped aluminium bar to hold a small piece of steel. It allowed me to fix rheobus on its magnetic feet .
Front row :
To raise the motherboard of 2 cm, I cut 5 pieces of aluminium pipes to create spacers. With those spacers, I/O ports all around the motherboard are reachable. Next to the motherboard, I built a small support to fix the PCIe raiser with 3 parts of L shaped aluminium. Once done, I added one more part at the front to fix the graphic card using the standard hole and a tiny other one at the back, to prevent the card weight's to damage itself.
Then I added a mesh sheet for the bottom of my frame. This piece is fixed with screws. I can remove them easily to do some maintenance.
Cooling System and IO Installation


I was sure that the aluminium frame and the components will fit in the 100mm thickness of the desk but I also had to cut out some shapes to handle the power switch and the fans in the wooden frame, under the worktop.
The power switch positioning was quit easy : I cut the shape (using a brand new jigsaw) and fixed it with dedicated screws. Then I plugged it on the motherboard to control switch on/reset, and to be able to use the front USB ports.
About the air-cooling : every people I've met during this project warned me about the heat. Finding the best way to set my fan was a real pain. I changed the configuration, like 10 times and I'm still not sure about the final one.
I started to put two 80mm fans just below the graphic card. Like this, it will never miss cool air. Watercooling fans blow air from the top, through the radiator and the mesh, to the bottom.
For the 4 remaining fans, after weeks of reflexion, I decided to put 2 80mm fans for the air intake on the left, under the desk, just next to the motherboard. The 2 other for air extraction, in front of the desk, near the other end of the motherboard and the graphic card. Those two are visible and hot air is blew on the person in front of the desk but i's the best (I think) for components.
I managed to cut a wide shape near the PSU to let the heat leaving the desk this way. This is the same hole I use to let some cables in (screen, mouse, keyboard, speakers,...)
The weak point of this layout is the proximity between the PSU and the radiator of the watercooling radiator but I didn't find a better pattern regarding my components size.
I added mesh to protect fan from the outside and a dust filter on the intake fans to prevent my setup to be dusty too quickly. In order to make the mesh "disapear", I added 3 small pieces of wood near fans. I screwed the mesh on those pieces in order to keep them "inside" the 100mm thickness.
I used a Dremel to cut some curves into the aluminium frame in order to let the widest possible area for the air flow.
Laptop Height Stand
.jpg)


Directly on the worktop, I cut with a jigsaw a shape about 50cm wide and 50cm long.
I was really careful during this cut to preserve a maximum of the wood. I've made a "patch" to restore the only corner that was damaged by the hole drilled to let the jigsaw blade pass through.
Then I added the coffee-table hinges. Just like that, the stand couldn't close perfectly. The back of the stand was touching the worktable top. I had to cut the back at 45° to allow the part to move. Even with this cut, the opening/closing was rough. I gently sanded the part of the worktop where the stand touched it and voilà ! As smooth as possible !
I used a router to cut the same kind of handle I've made on the computer hood.
I also added two tiny pieces of L-shaped aluminium bar to prevent the back of the stand from falling inside of the case.
To add a "bottom" to this case, I cut 4 more pieces of aluminium bar and I attached them with screws. The bottom is a medium board of 5mm thick.
Happy Feet


At this point of my project, the desk was heavy (like waaaay too much).
Initially I didn't wanted to add feet between the desk part and the table part. Or just one at the rear of the desk and fixed it with large screws and nuts. But it appears that the weight of my construction will rip off these kind of assembly.
So I added more feet to be sure everything will stay up even with my stuff on my desk.
For the two feet under the computer, I cut two triangles in a 3mm thick aluminium sheet in order to support the feet's fixation system. But doing that, I had to cut the mesh to be able to remove it, even when everything will be in place. The fact that this mesh should be removable is mandatory to set up all my components on the aluminium frame.
Table With Drawer


For this part, I used my last wide piece of worktop. I used angle brackets to fix the left, right and bottom sides.
I assembled the drawer (the most easy part of the desk) and I used two more pieces of wood to attached the drawer's slides under the table. The drawer face is made of the exact same worktop as the rest of the desktop.
Computer Setup


After few layers of paint, I brought the whole thing into my room. Time was finally come to re assemble my computer.
I first started by set the fans and the power switch into the wooden frame. Then I set the PSU to dispatch power cables. HDDs, motherboard and graphic card came in place with no problem. Then I just dropped the water cooling system over everything ! Cable management was a small issue but everything fit right in place.
I can now press the power switch and look my computer starts as this project ends :')
LED There Be Light


After a month of showing off my new desk, most people ask me why I didn't add lights inside. I wasn't able to find an answer and they convinced me (without effort) to add a glowing touch inside the computer case.
Technically, at this moment, I ran out of USB 2.0 header on my mother board. I bought an internal USB hub to power the LED controller. (USB hub, LED Controller). Cable management at this step was a bit painful but it managed to do some clean stuff.
I wanted to let the LED ribbon all around the case but in height, in order to light my component "from the top". In this way, I will not have the LED lights straight in my eyes neither. To do this, I drew and I printed small parts to hold the ribbon. I printed 2 angles and 8 straight line. I use double side tape to fix them.
All of my customization component are from the same manufacturer NZXT. It allow me to drive fans, lights, atc from the same software interface.
The result is super clean !
On top of all that, I also added two RGB light behind my screen to display the same colors that are displayed on the screen. I could have use another NZXT product but I wanted those lights to work even if my computer is turned off, so I bought two Philips Hue Play. A software from Philips allow me to sync my display with light color. It's really nice during video session or video games !
To attach those lamps behind my screen, I used wire to build 4 pieces loop + hook. The loop is used to 'grab' the light and the hook to suspend it using vents of my screen.
Inspiration Links (thanks for Reading)
I thought about this project for a very long time. The first time I heard about those kind of desk it was in 2011, it was about the L3P desk. I fall deeply in love of this concept. Ever since, I followed a lot of similar projects (and a lot from instructables ;) ).
If you are reading those lines, asking if you will be able to do similar thing, don't be shy and go on ! It wasn't really hard but it was quit long (I spend weeks to prepare this project and about 25 full days to build it). You can find every picture I took during my project here.
Here are some ideas for yours :
From Instructables :
https://www.instructables.com/id/Computer-Drawer/
https://www.instructables.com/id/Building-a-Computer-Desk-DIY-Desk-PC/
(There are many others of course, but those two were my favorites)
From the rest of the internet :
L3P desk
L3P desk's similar builds
Yet Another Tech Channel : a youtuber that builds computer from incredible stuff. All of his projects are awesome. I love this guy !
A french topic of a guy building its own desk-computer
Nice build with secret room for a laptop
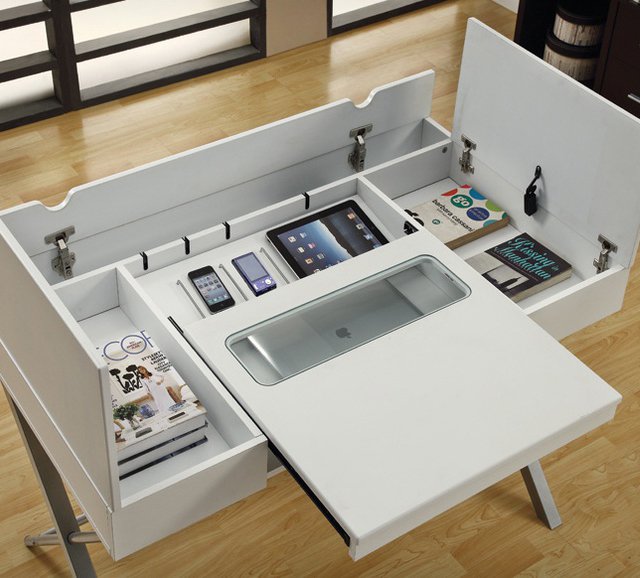
Some storage ideas I didn't know how to integrate into my build
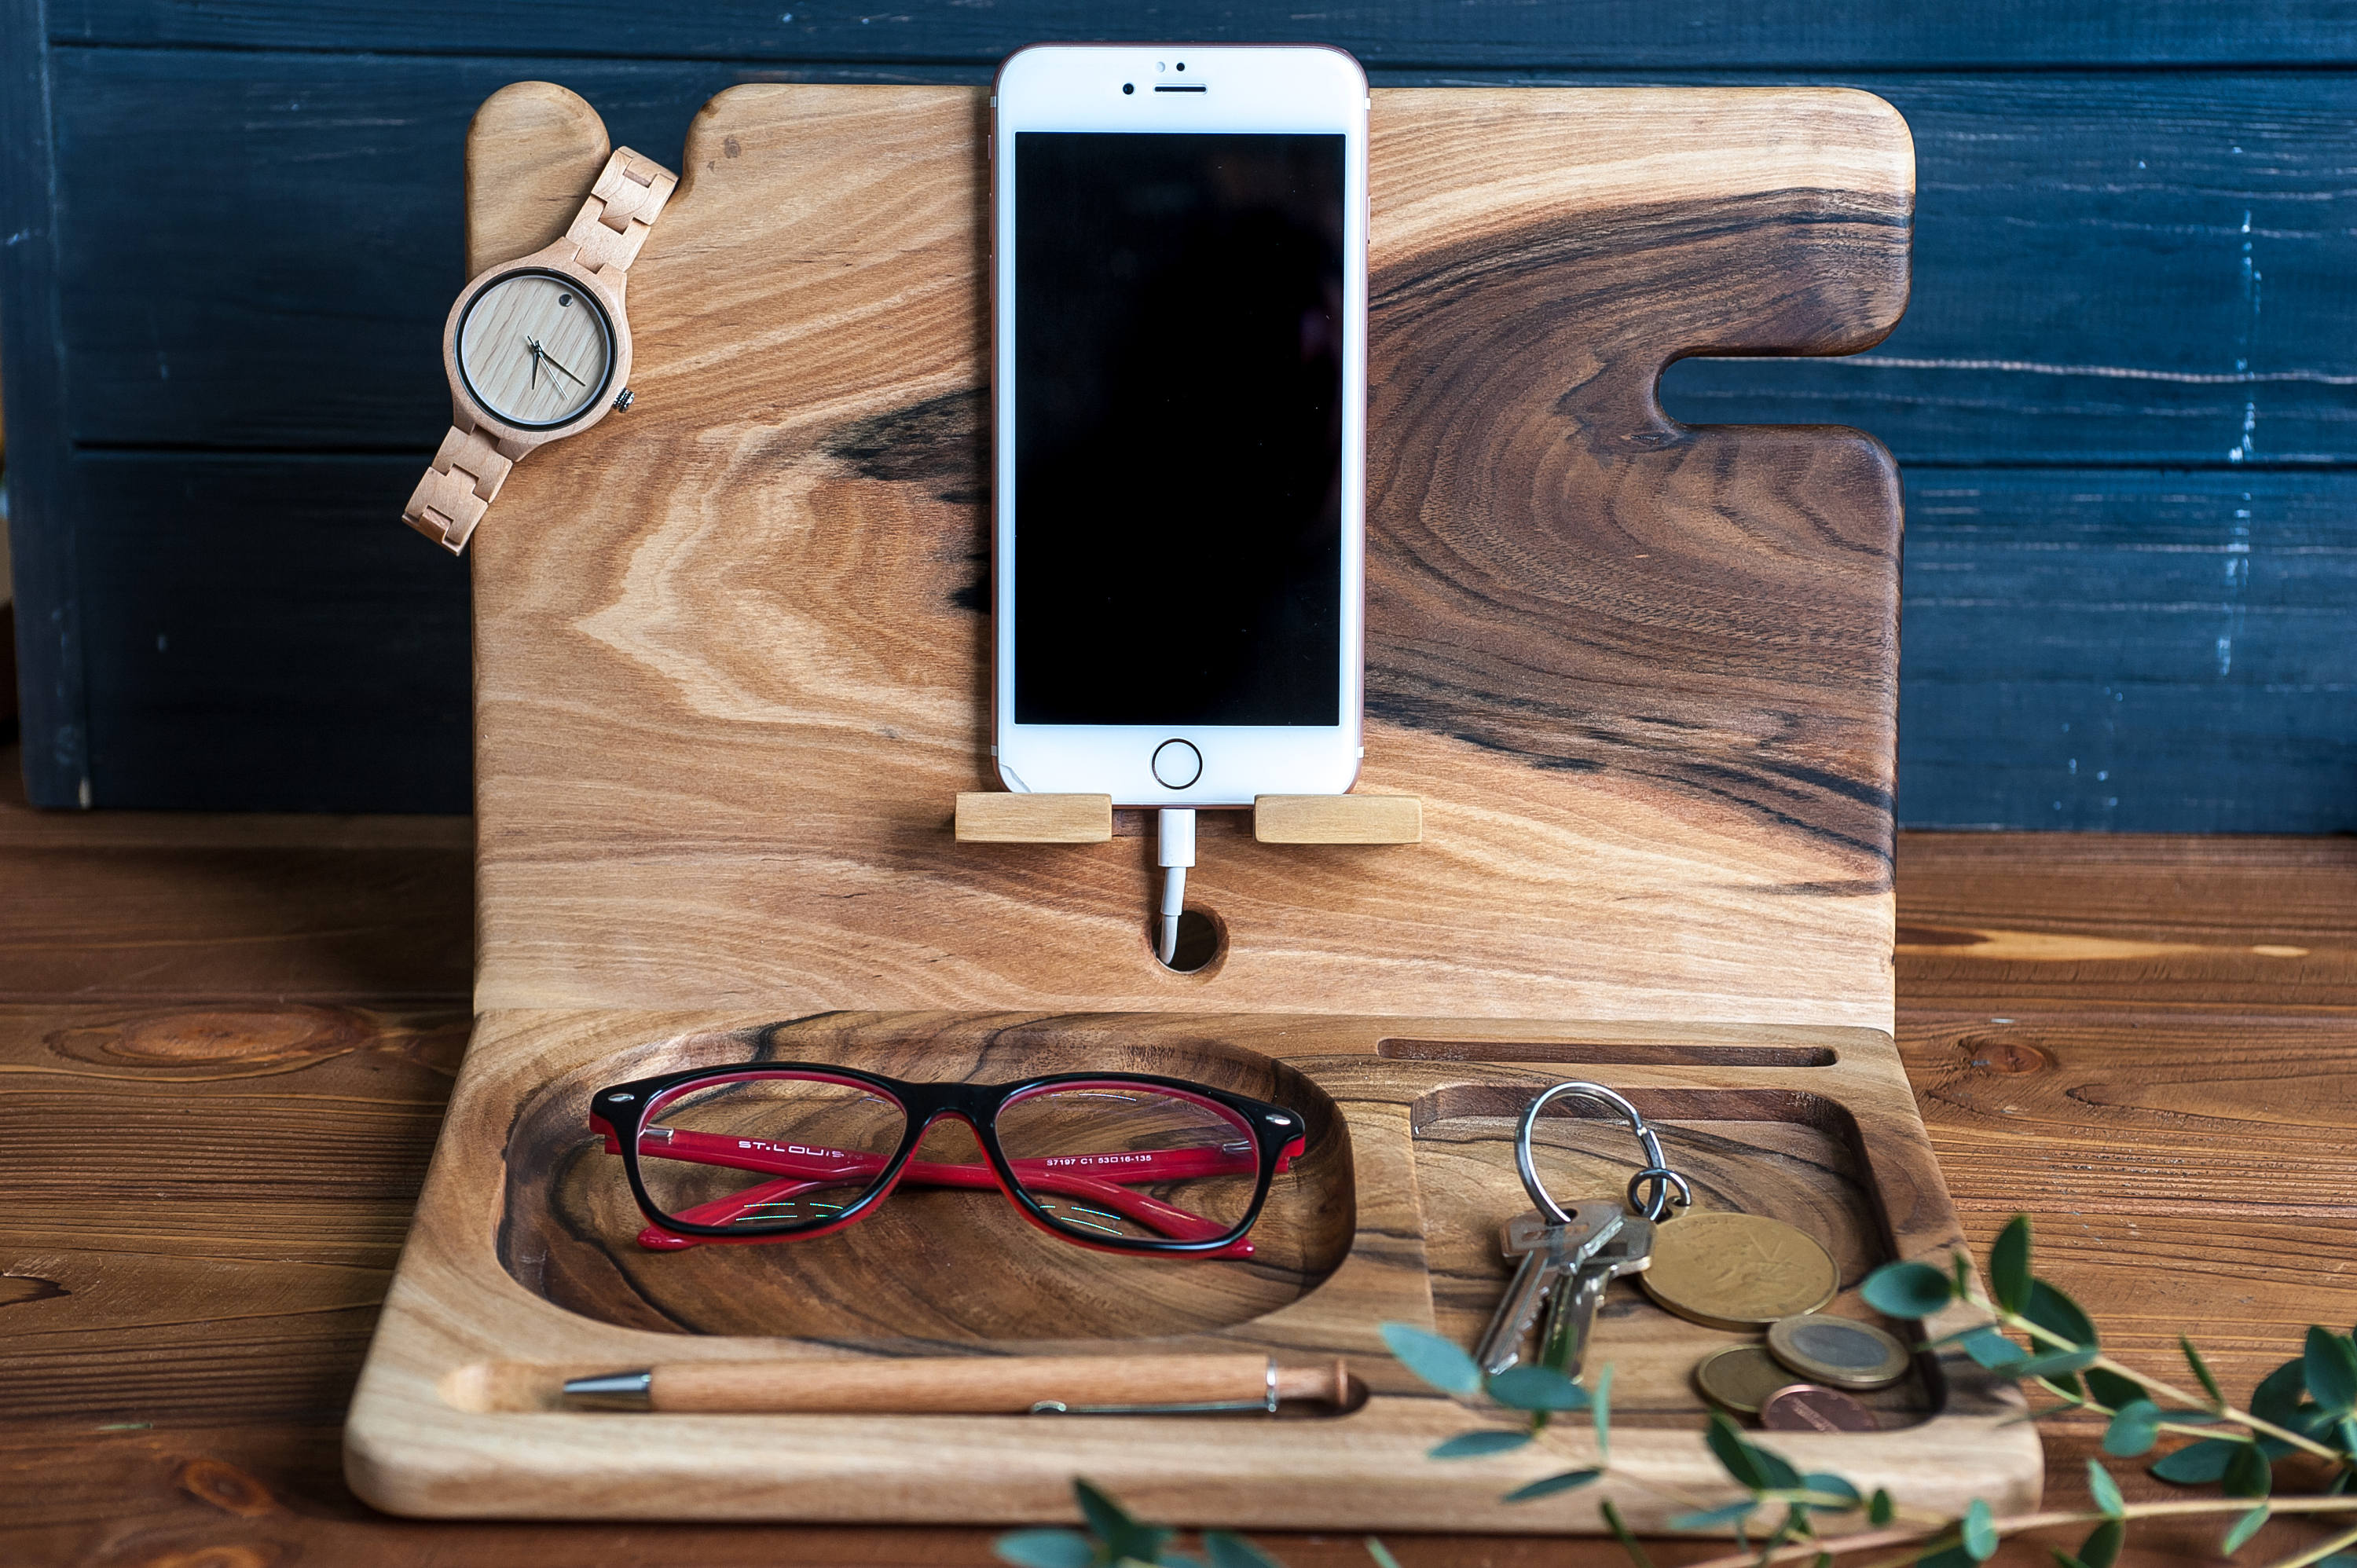
Some ideas to store item and dispaly them