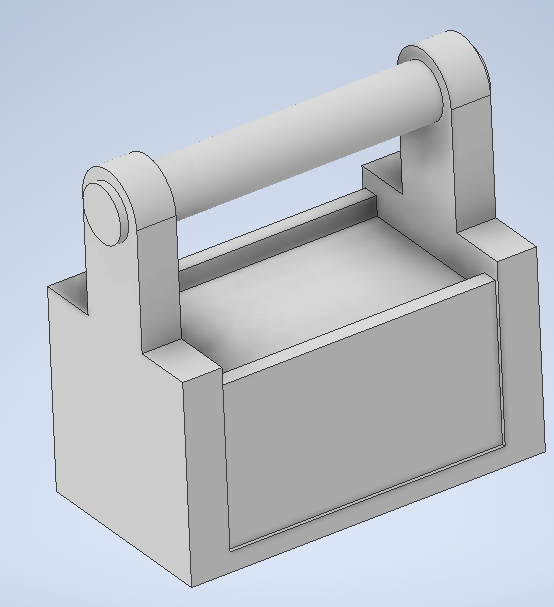
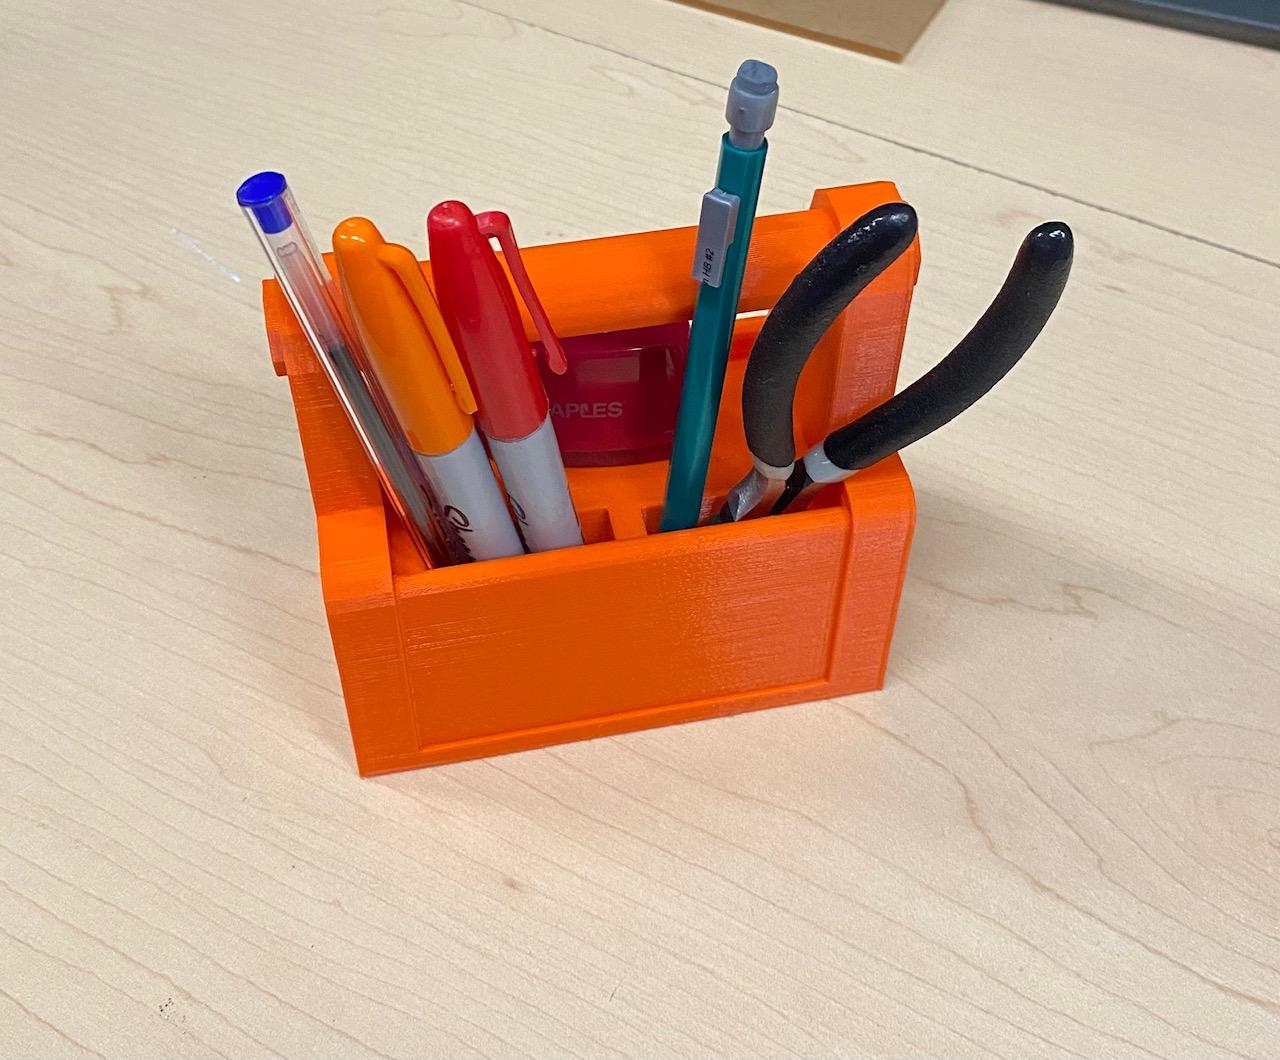
Desk Toolbox

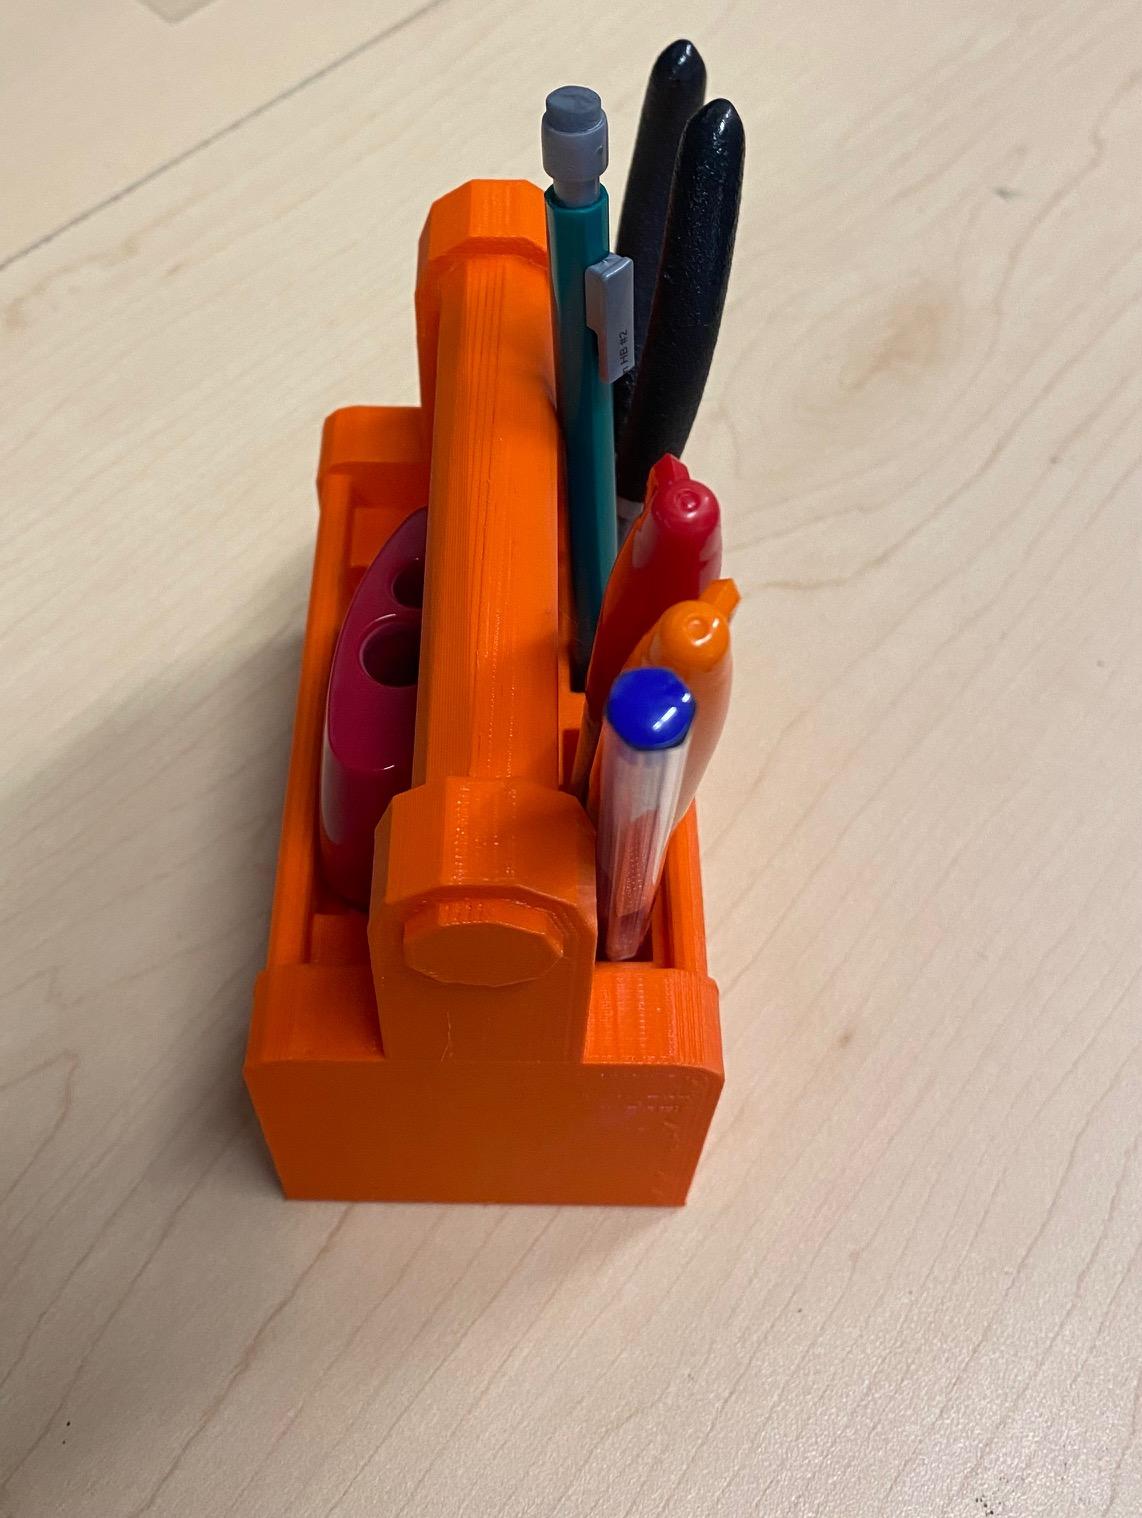
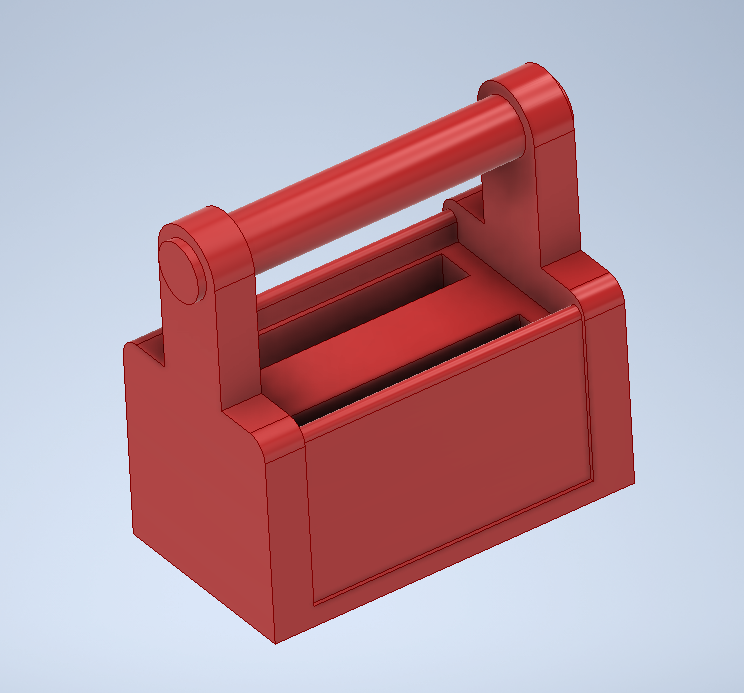
A toolbox is used for keeping all your tools nice and organized, but what about the tools you use at your desk? This project is a nifty way to hold all your writing utensils and anything else you keep at your desk.
Supplies
- Inventor software
- 3D-Printer
- PLA plastic (any color)
Create the Base
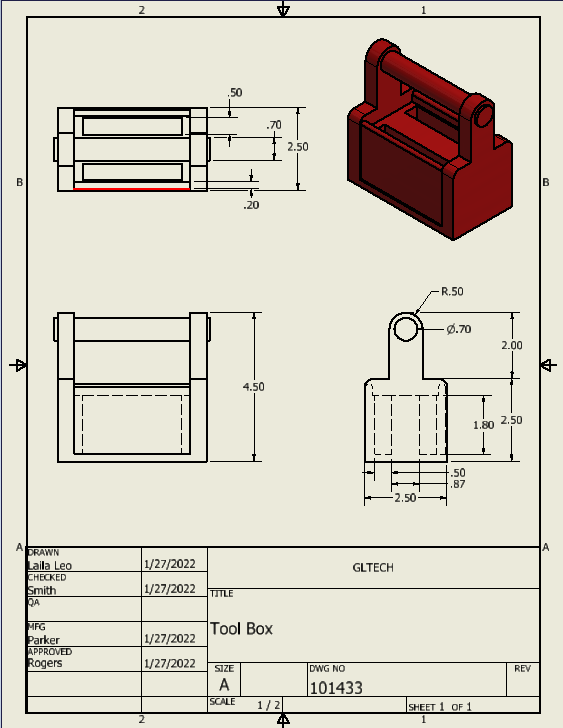
Dimension and extrude the base of the toolbox. This base will be edited in the next few steps to create the final product.
Remove Excess Material
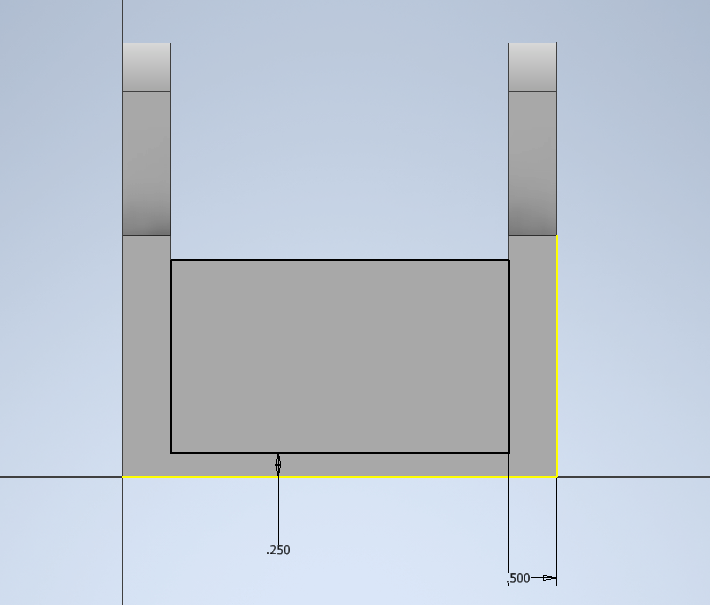
Next make an extruded cut through the middle of the toolbox base.
Start the Inside
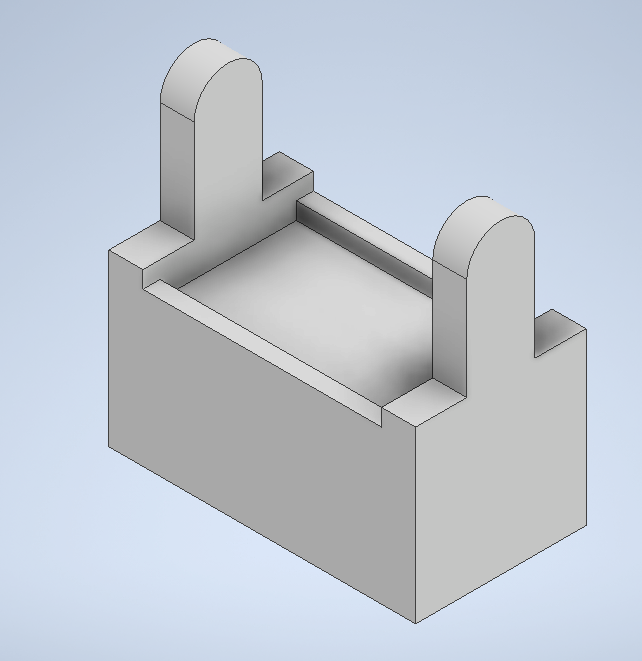
Make an extruded cut on the inside of the toolbox base to make it so the side become longer than the inside.
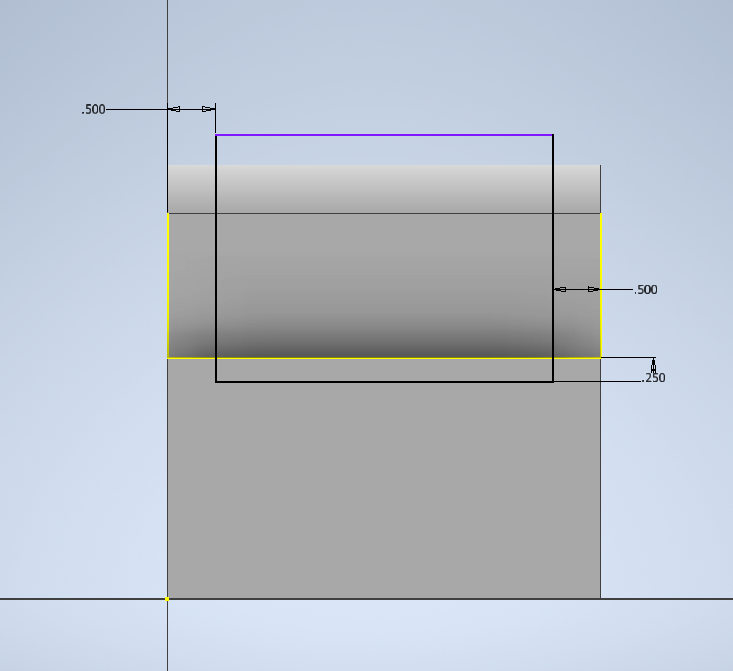
Detail the Outsisde
Make an extruded cut to both sides of the toolbox base. This will create detail to outside of the toolbox.
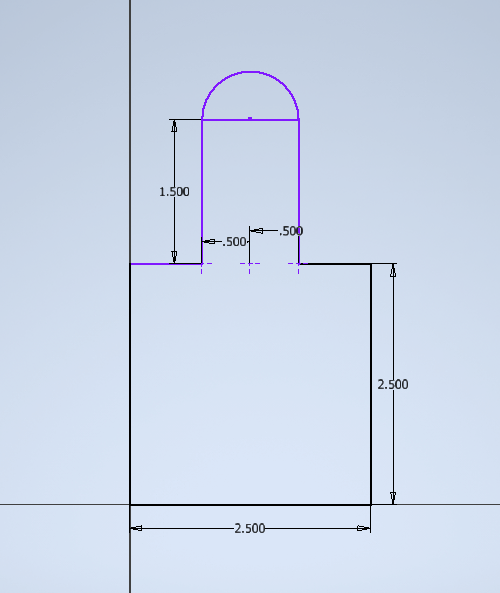
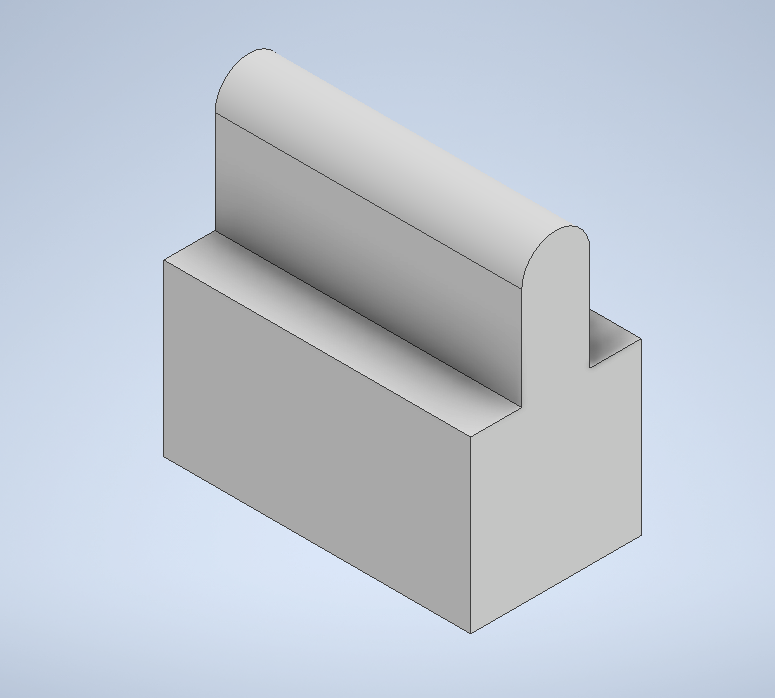
Create the Handle
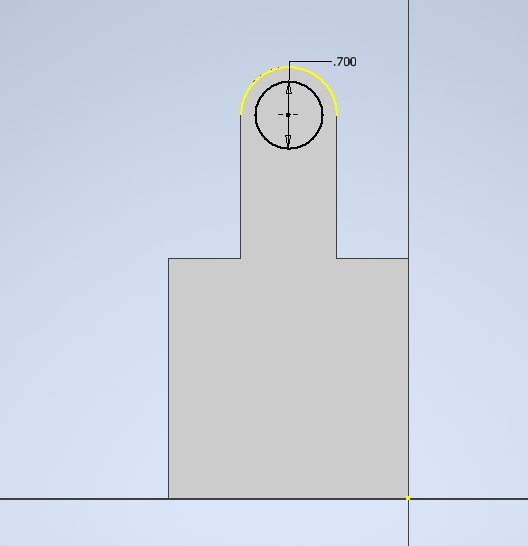
Next extrude a circle through the whole toolbox and have there be a small amount extra on the sides as detail.
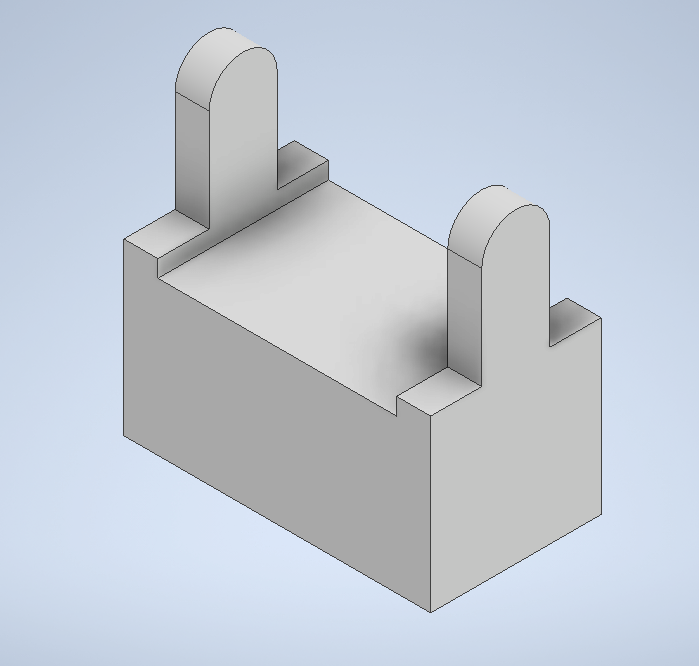
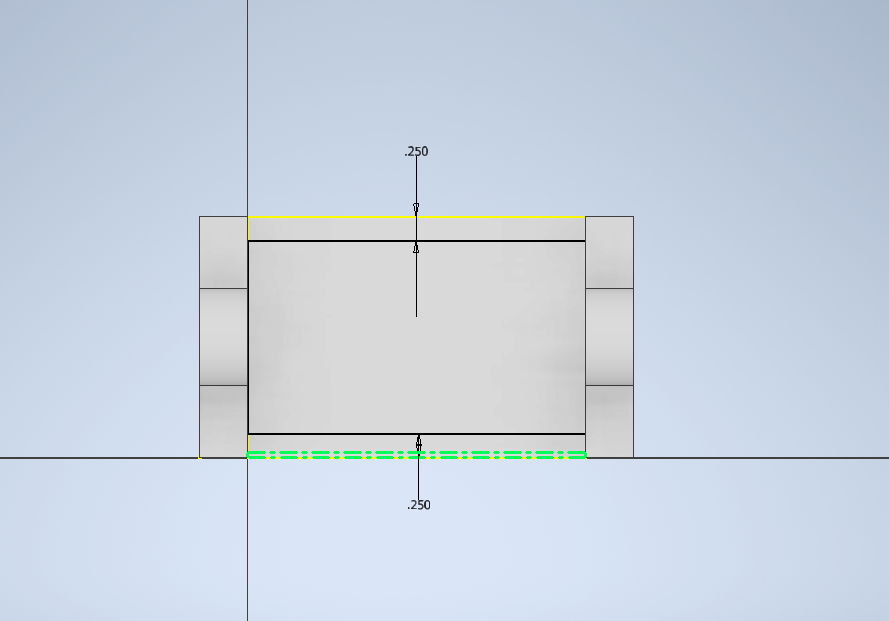
Finish the Interior
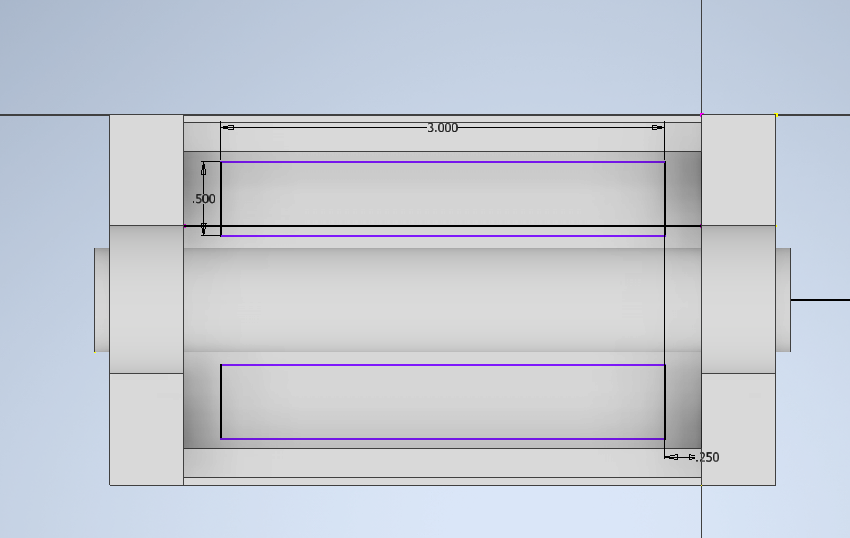
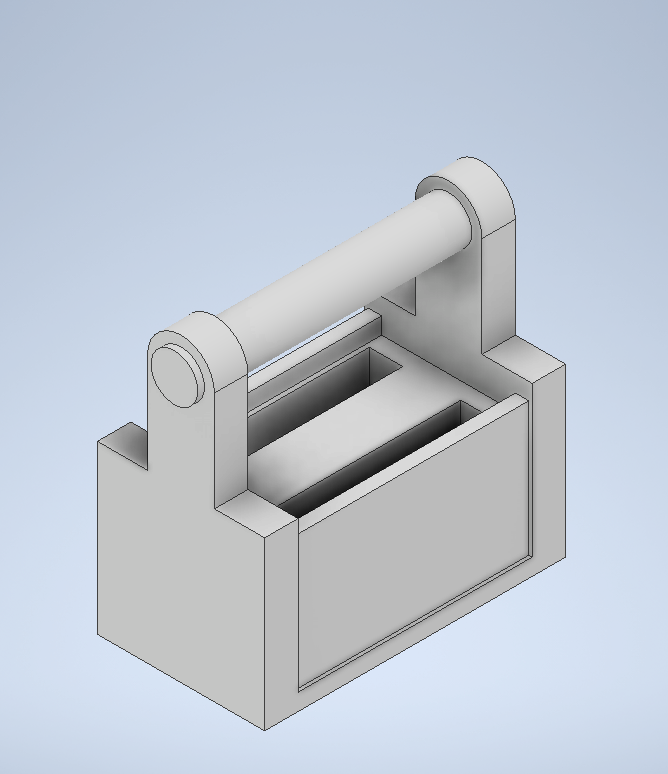
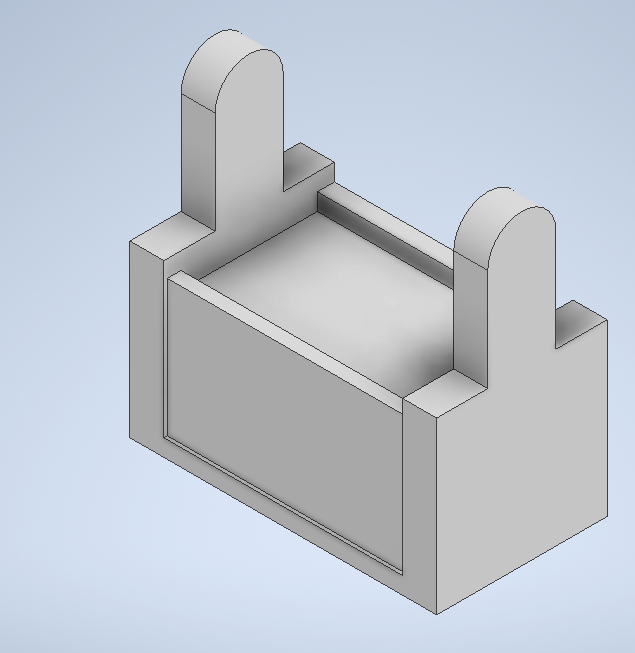
Extrude cuts into the middle of the toolbox. You can personalize the size and shape of the hole/s based upon what you plan to put inside your toolbox.
Round the Edges
Filet the top four corners to create a sleek rounded siding.
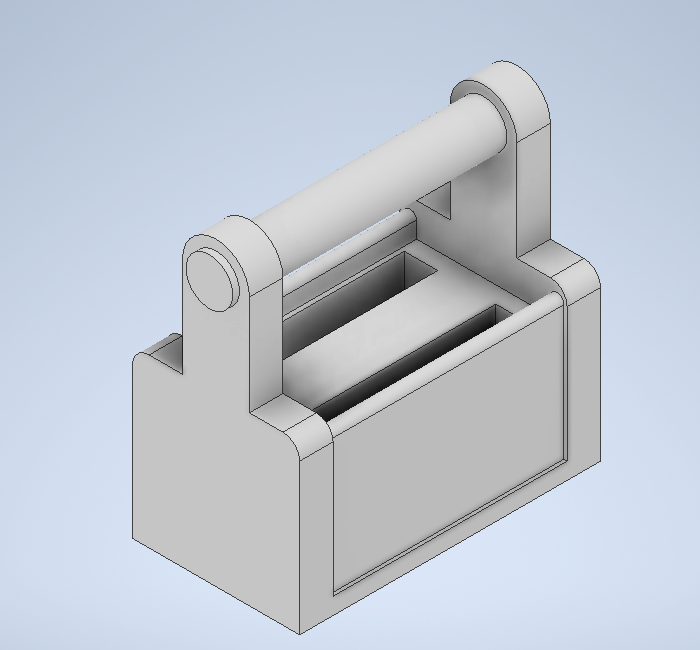
Print & Enjoy
Setup your file based upon your 3D-Printer and print!