Desk Organizer Cube Using TINKERCAD!
by GabbytheLizard in Living > Organizing
1219 Views, 0 Favorites, 0 Comments
Desk Organizer Cube Using TINKERCAD!


It's been really hard to organize my school supplies this year. I usually just throw everything in my backpack and try to find it later. :P This is a little organizer that you can put on your desk or in your locker or anywhere else you want. This one is especially made for school supplies, but feel free to alter it for whatever you need to organize.
*This is NOT a scale model, pencils and stuff will probably not fit into it, just for the purpose of showing you how to do it. You can alter if you want
Supplies
Tinkercad Account
Wifi
The Base

First drag out a cube and resize it to be 150 mm on each side. Then change the color.
Pencil Cutouts

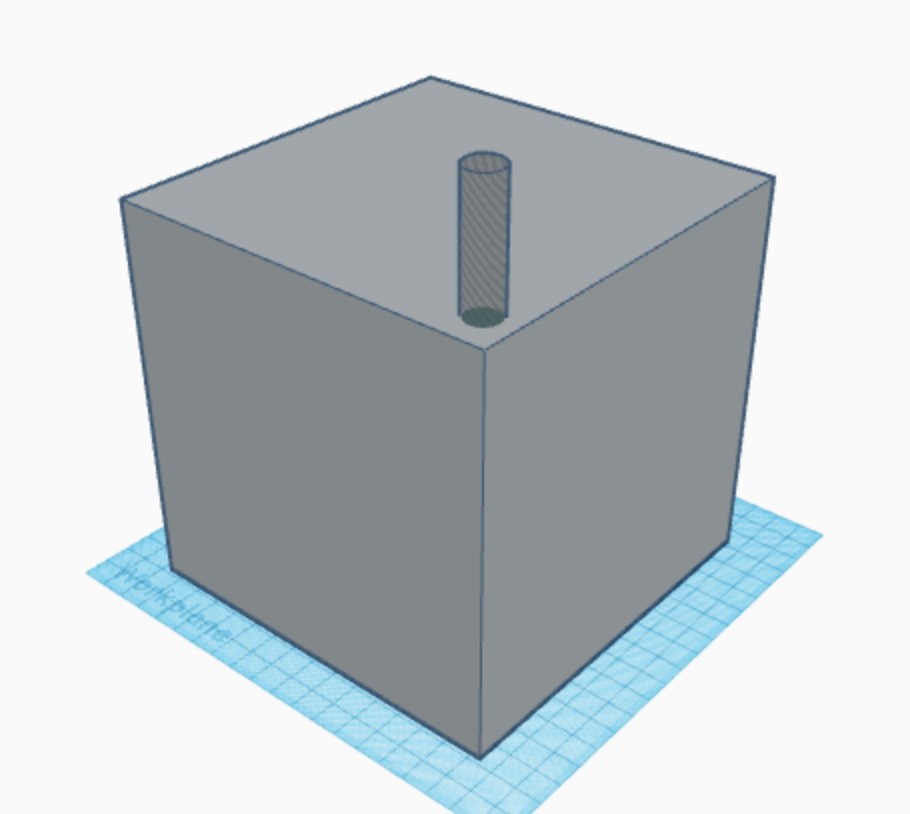


Drag out a cylinder hole. Resize it to be 12x12 on the bottom, and then make it as tall as you want. Put it in the corner of the cube, and use the little black triangle on top of the cylinder to drag the shape up 3 mm. Then duplicate the shape and move it over to the side. Move them as far apart as you want, depending on how many pencil holders you want. I did 5 of them. Then group the shapes and you have your pencil holders!
*I didn't measure the dimensions of any specific pencil, so if you want to, you can, but I didn't feel like it :P
Eraser Cutouts


First drag out a hole cube. Then resize the bottom to 25x45 mm. Make it as tall as you want, I made mine 120 mm. Then move it so that it is 75 mm off of the ground. Then move it to where you want on the organizer, and group the objects. You can do two if you want, I just only have one good eraser.
*I didn't measure the dimensions of these either. Sorrrrrrrrrry :D
Sticky Note Cutouts


First drag out a hole box. I changed it to inches to make sure I got the right dimensions for the square sticky notes. I made it 3x3 inches on the sides, and 1 inch tall. Then I switched it back to mm and put the hole box behind the eraser slot. Then group the two shapes and you've got the sticky note cutout.
Pen Cutout


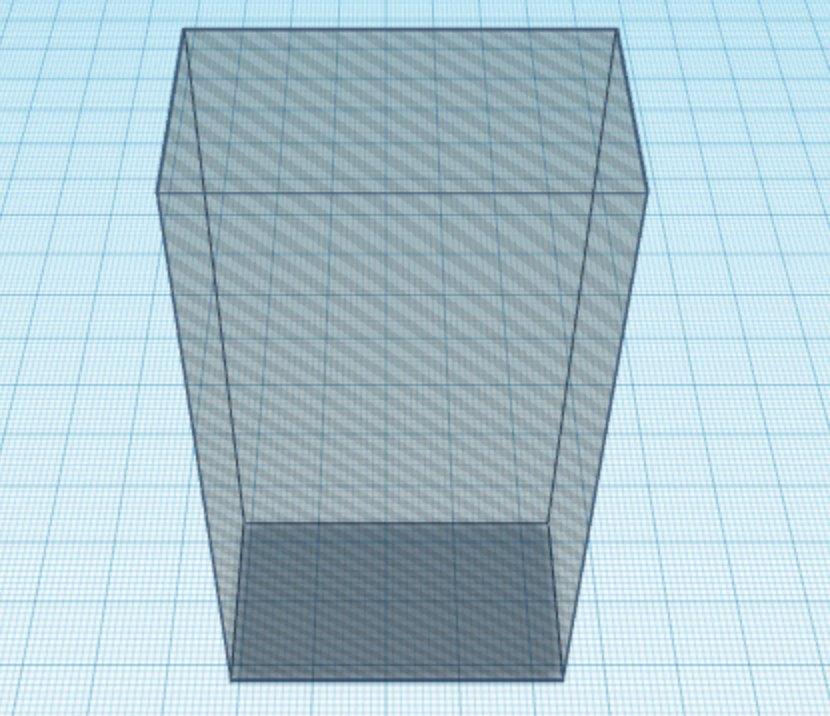
Okay, so I realize that some specialty pens do not fit in pencil cutouts, so I'm gonna make a square cutout where you can put a couple pens like the one above. Drag out a hole box and resize it to about 65x65 on the bottom and 90 mm high. Drag it to the box and I put it next to the sticky note cutout. Then I changed the size of the bottom to 55x75, because it fit better. Group the objects, and you've got a pen cutout.
Scissor Cutout


You got to have the scissors to cut the little fuzzies off of your shorts or socks, or to chop some paper up. Or you could keep other stuff in this section, or just skip it. Your choice! So first drag out a hole box, and resize it to 40x85 on the bottom, and 60 mm high. Then drag it up onto the organizer and I put it in the empty space next to the eraser cutout. Group them, and then only one more step, and you're done!
A Place to Put Your PHONEEEEEEEE

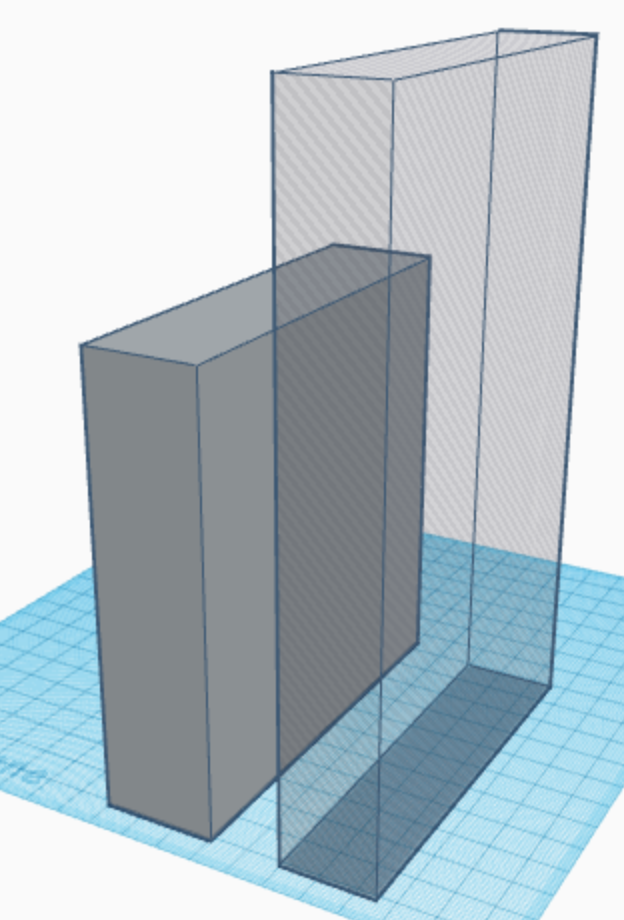


Everybody needs a place to put their phone while they're doing their homework or office work. So, as there is no more room on the actual organizer, I'm doing an add-on for the back. I'm going to scale it for the smartphone available on Tinkercad, but you can change it for your specific phone dimensions. So first drag out a box and resize it to 30x115 on the bottom, and 120 mm high. Then drag out a hole box and make it 25x110 on the bottom and however tall you want, just taller than 120 mm. Then center it with the align tool and drag it up about 2 mm. Then group the shapes and you have a perfect little phone holder. Drag it to the side of your organizer and fuse the two objects.
You Are Done!!!!

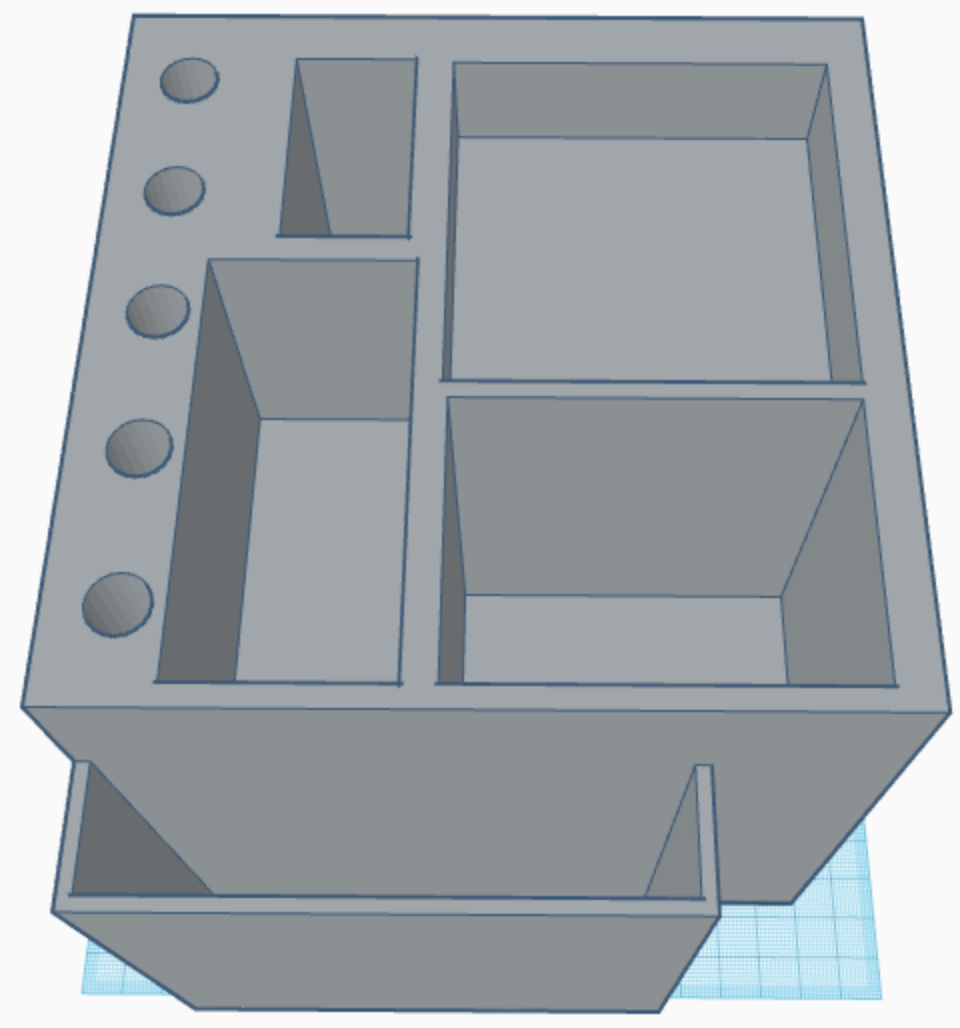
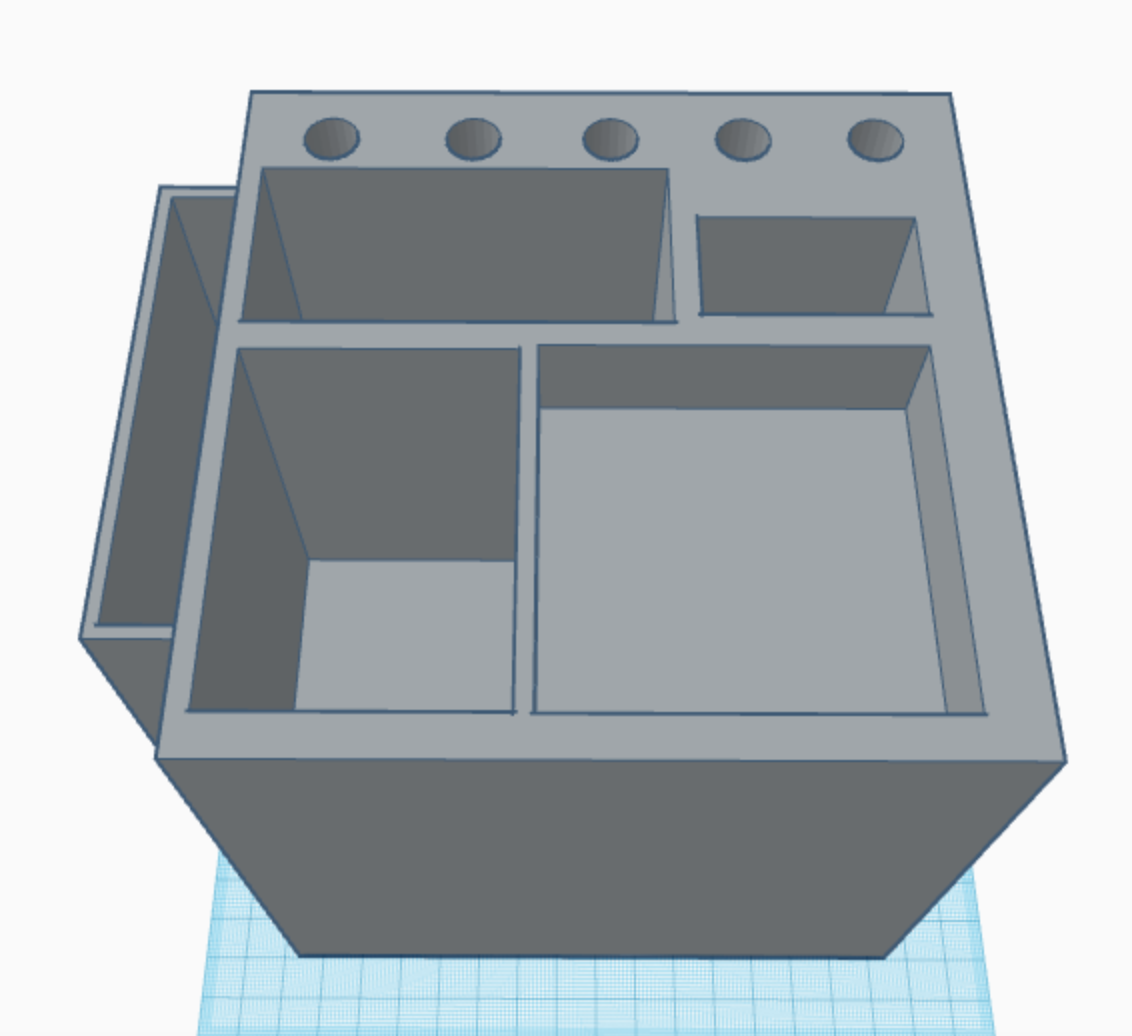


You did it! You created a one of a kind, 3d organizer to hold all of your stuff. Congrats! Also, I don't have a 3d printer, so if you do print it, please post a pic in the comments or something. I'd love to see it. See you next time!! Byeeeeeeeeeeeeeeee!