Desk Drawer Divider in Fusion 360
by KarlR32 in Living > Organizing
2980 Views, 44 Favorites, 0 Comments
Desk Drawer Divider in Fusion 360
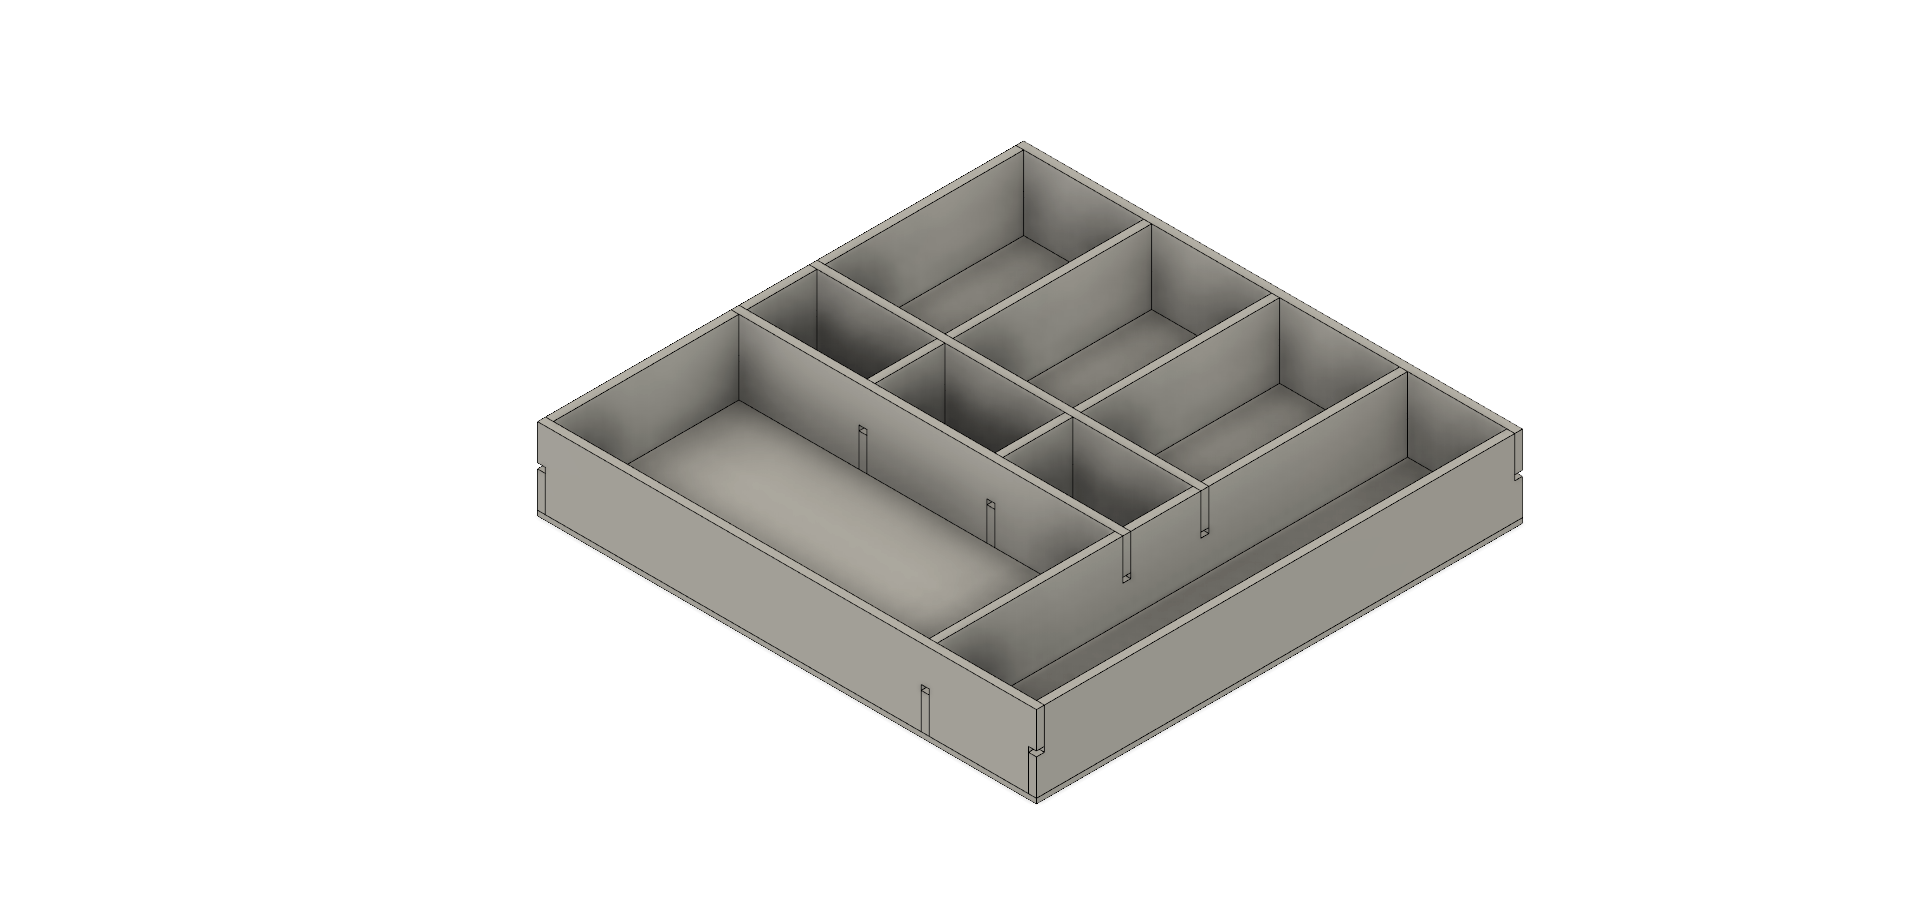
Drawer divider can be a fun and very useful project and one that won't take to much time.
I used a CNC router to do all my cutting but it could be all cut on a table saw.
This article is not on how to use Fusion 360 but there will be some helpful tips along the way.
Step 1: Measure
Take the measurement of the draw, allowing a clearance of 0.5mm.
For my project 390x380x64
Next, take the measurement of the material in my case its 6mm MDF board.
Next, work out any tolerances I have access to a CNC router but this project could just as well be made with a table saw.
My Tolerance is for the channel in the base that the dividers sit in 0.2 mm this allow the dividers to sit in nice and snug the other tolerance is where the dividers cross and I'm allowing a 2mm tolerance in both top and bottom, this is because the Router is using a 6mm cutter that can't cut in to corners.
Don't worry about the tolerance at this stage I will point them out in the following steps.
Step 2: Set Up Fusion
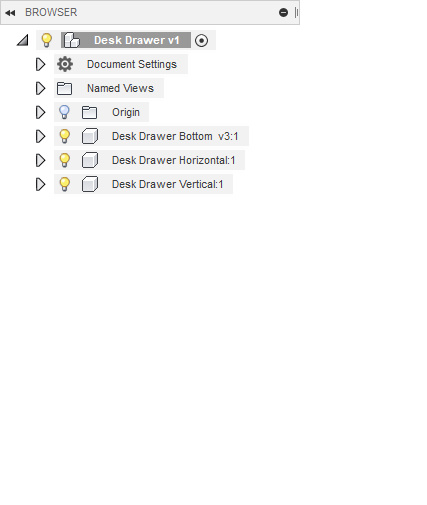
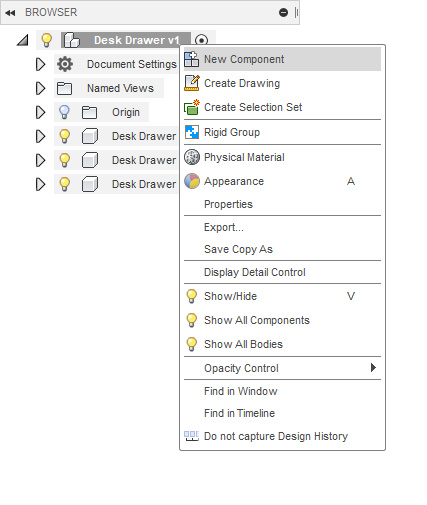
Load Fusion and save your design this drawer divider was for my desk.
Next, create three New Component the Bottom, upright Vertical and upright Horizontal. This will make it a lot easy to work with the different parts.
Step 3: Drawing the Base
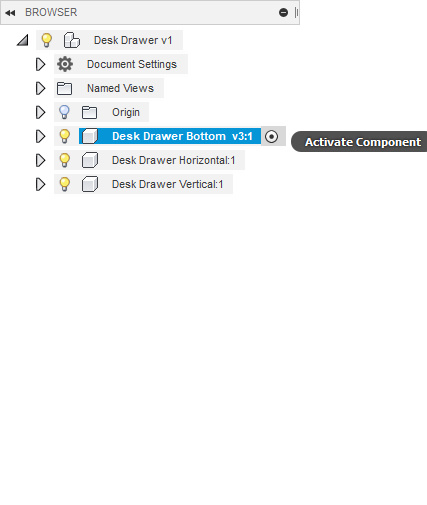
Activate component by clicking on the round button at the end of the component name as in the photo.
As we are drawing the bottom this the component that we need active.
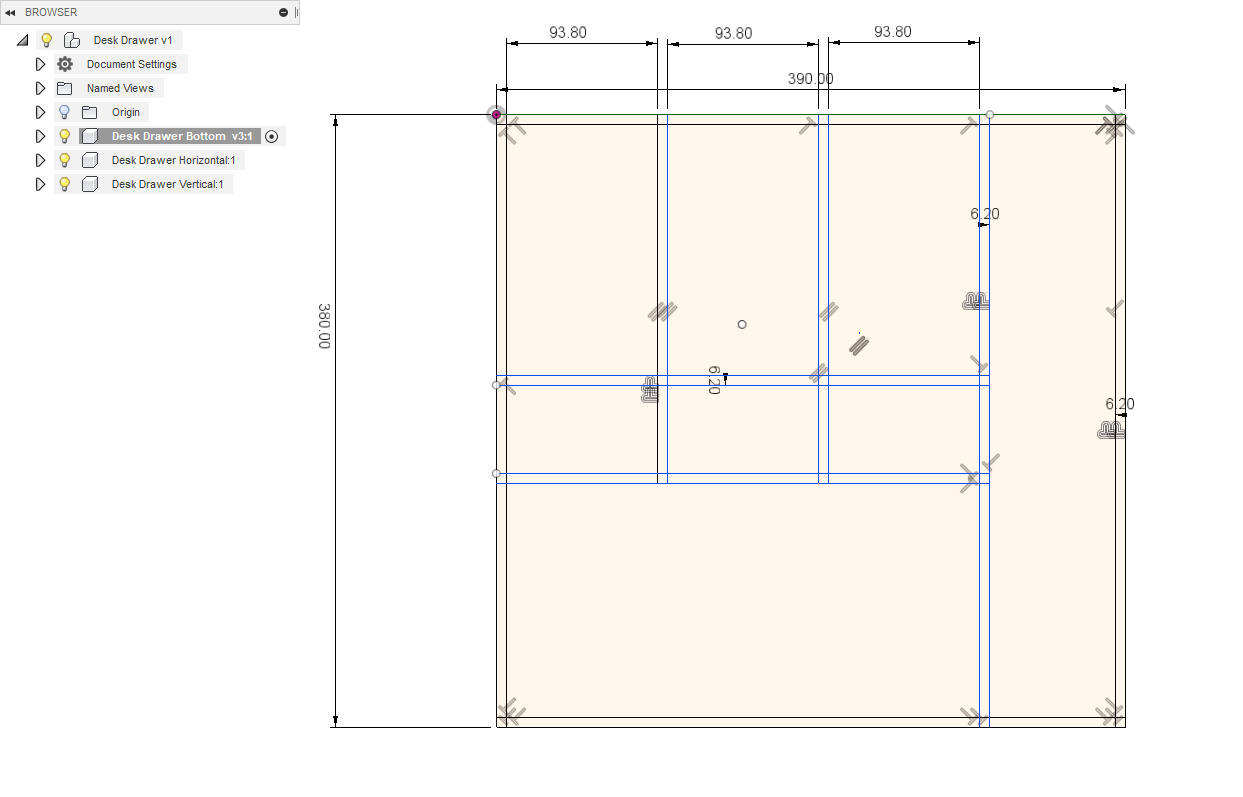
The easiest way to draw the channels is to draw all the channels with single lines then using the offset tool (shortcut key O) this will make parallel lines with all the lines that are selected, this is where the first tolerance come into play 6mm MDF with a tolerance of 0.2mm will make the channels 6.2mm wide as in the photo.
you may need to add some lines to close off the channel.
Step 4: Vertical Dividers
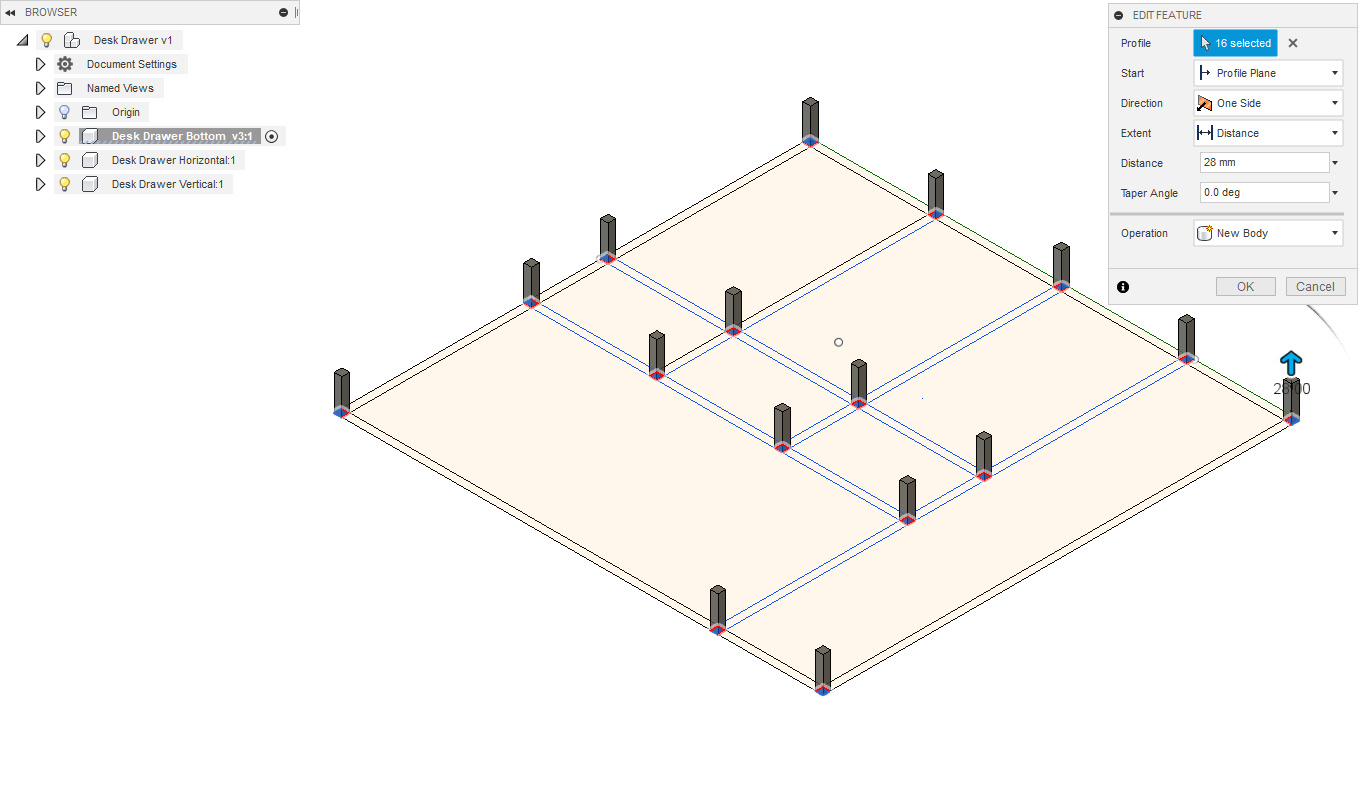
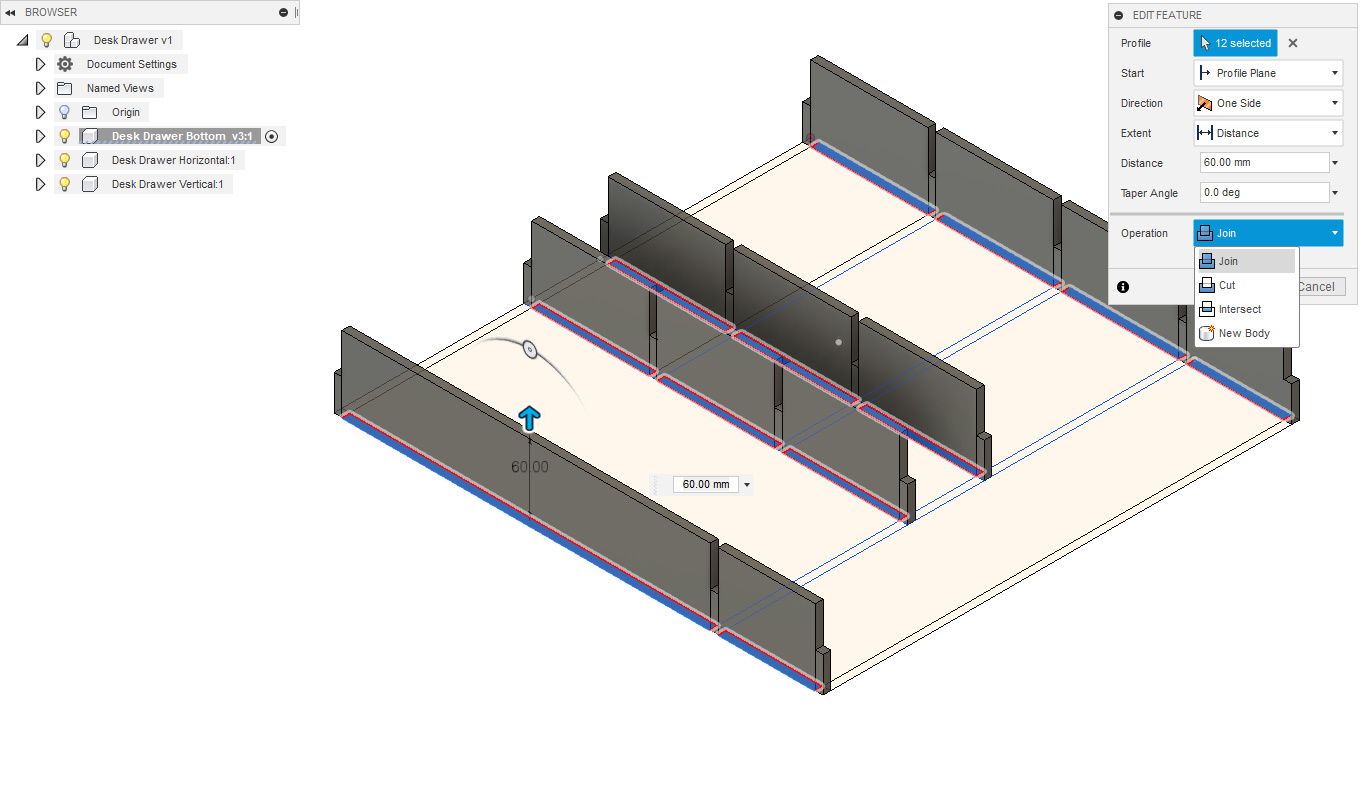
Use the Extend tool (Shortcut Key E) to extend all the square cross over point (where the vertical cross the horizontal dividers) to 28mm shown by the photo
Why 28mm total height is 60mm / 2 = 30mm mines then the tolerance of 2mm to give us 28mm, if you are using a table saw or drop saw then you will not need to worry about the tolerance.
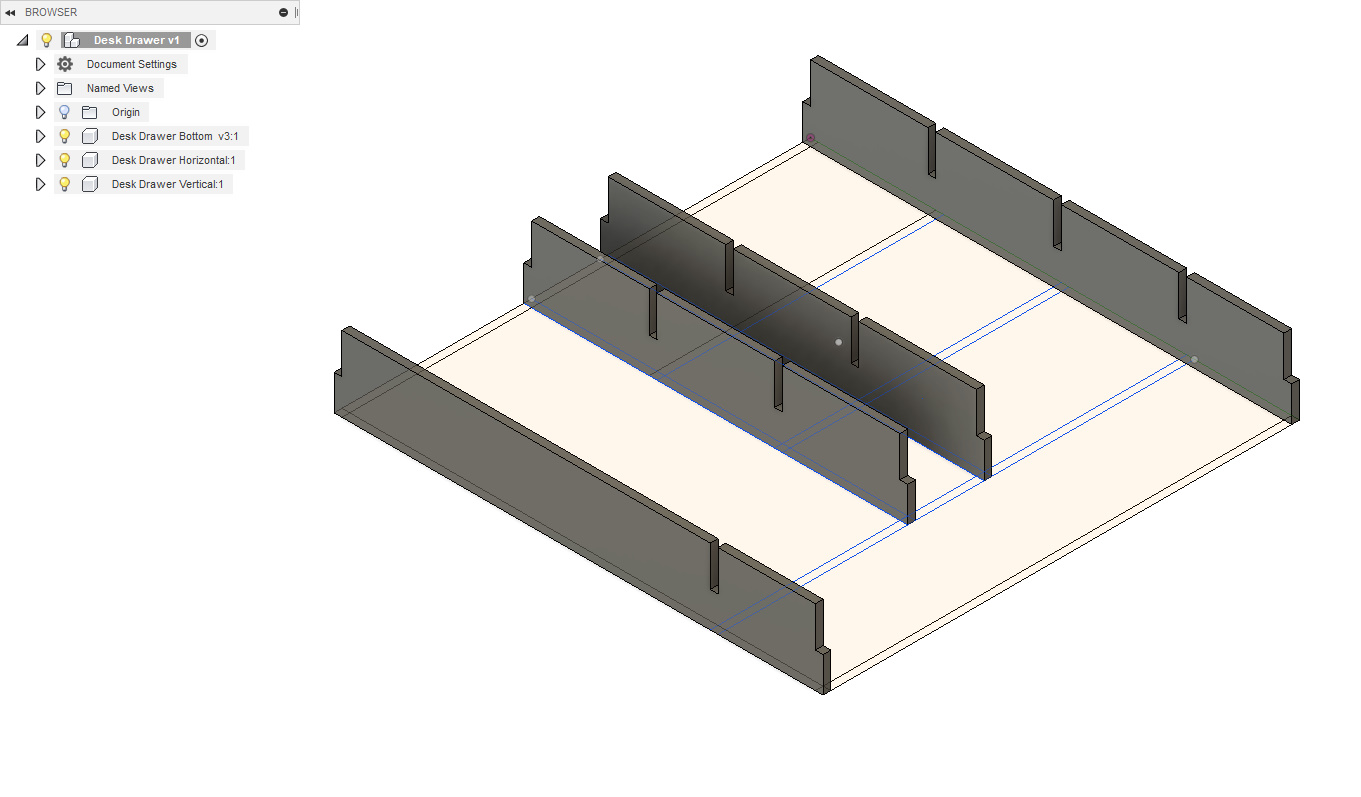
Next, use the extend tool again and select the rest of the channels between the cross over point take care not to select the cross over points, extend to 60mm make sure the Operation is on Join as shown by the photo, this will join the 28mm cross over point with the 60mm to make one face.
Step 5: Moving the Vertical Out of the Way
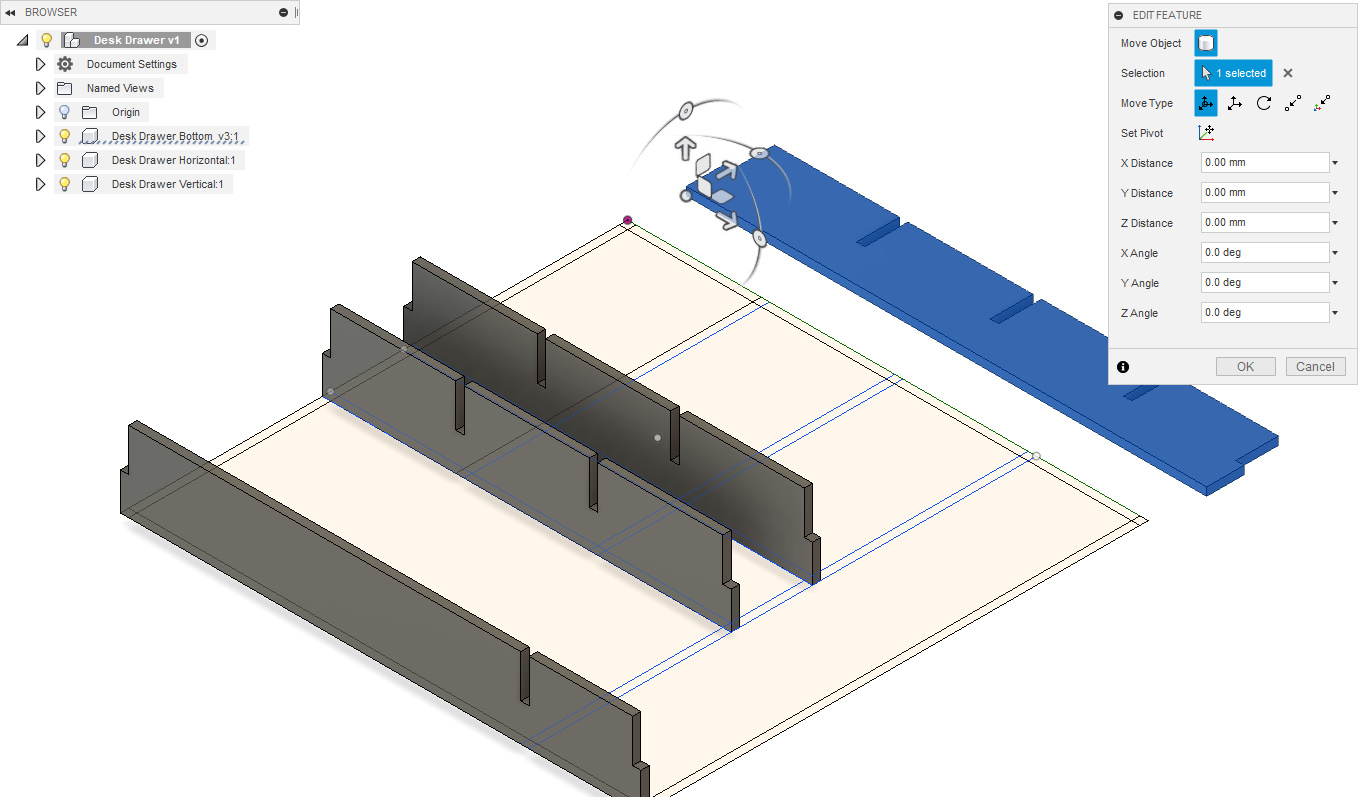
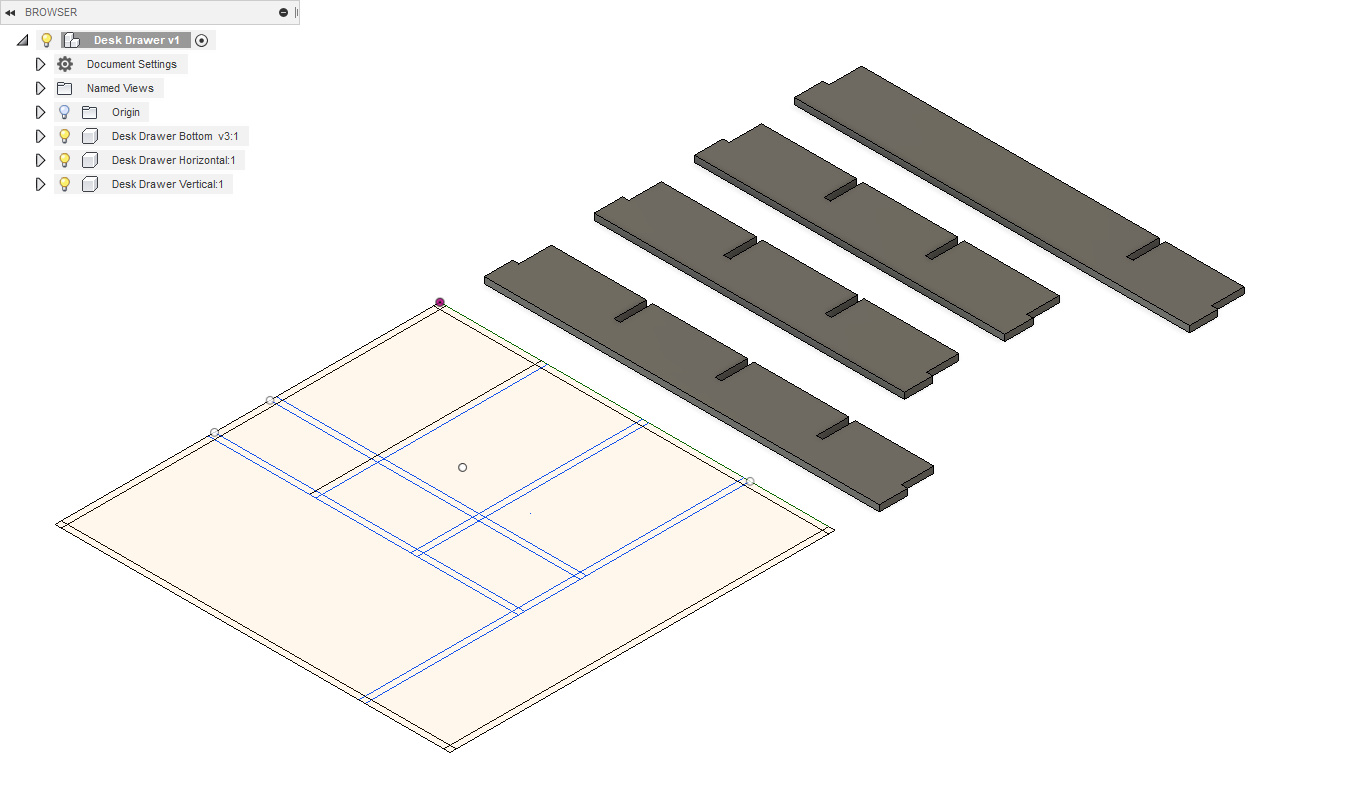
By using the Move Tool (shortcut key M) Rotate the vertical dividers 90° and move so they are no longer above the sketch.
Step 6: Horizontal Dividers
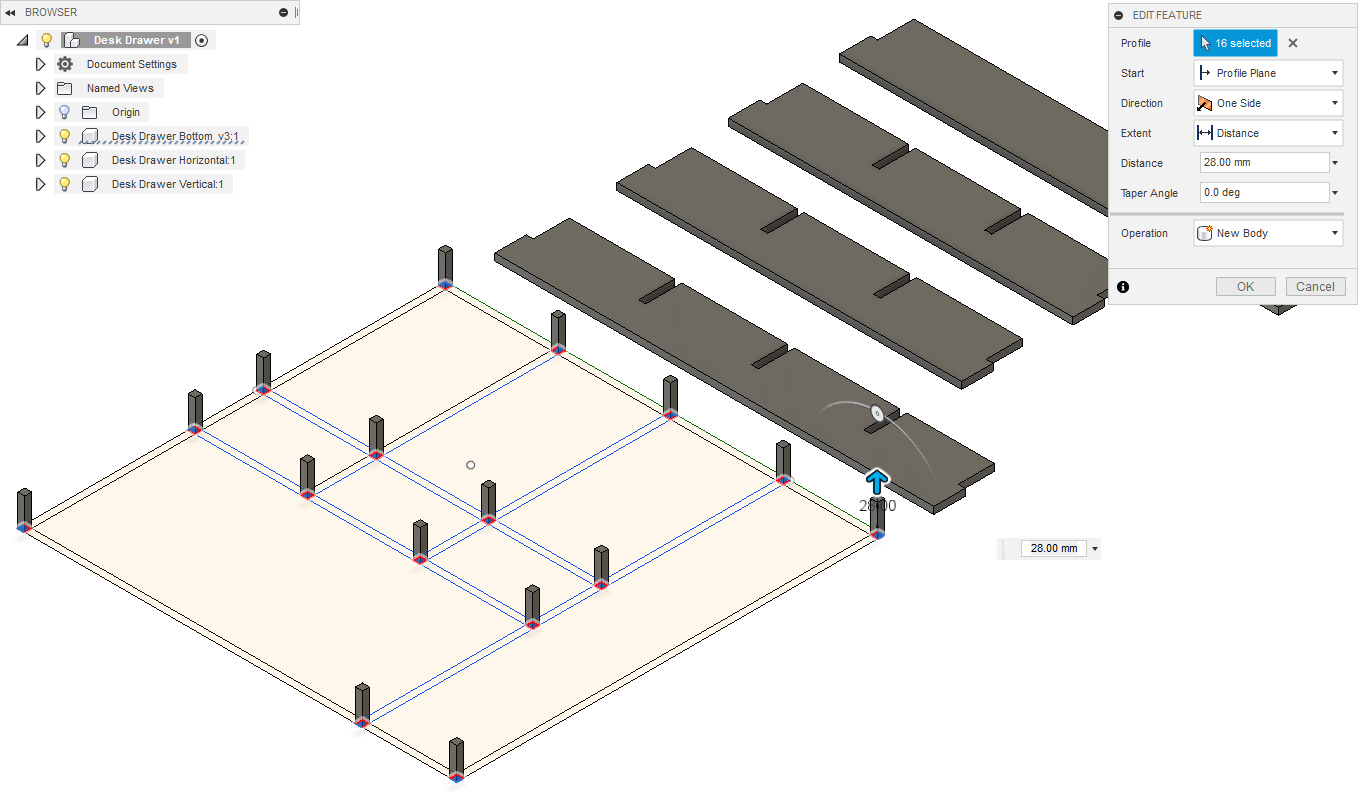
Use the Extend tool (Shortcut Key E) to extend all the square cross over point (where the vertical cross the horizontal dividers) to 28mm shown by the photo
Why 28mm total height is 60mm / 2 = 30mm mines then the tolerance of 2mm to give us 28mm, if you are using a table saw or drop saw then you will not need to worry about the tolerance.
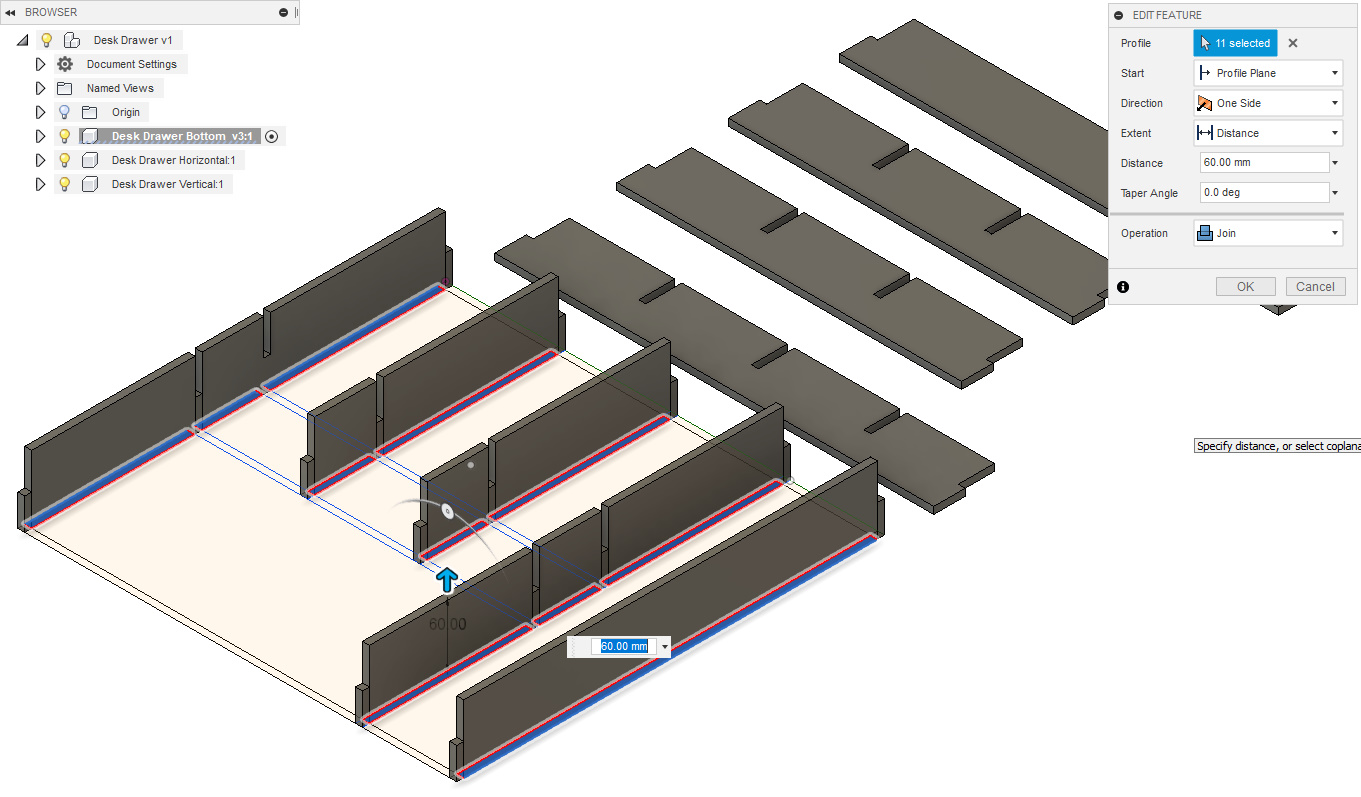
Next, use the extend tool again and select the rest of the channels between the cross over point take care not to select the cross over points, extend to 60mm make sure the Operation is on Join.
Now you may be thinking this is the same way we did the vertical dividers and you are right, you also may be thinking that by doing it this way the dividers will not join up as the gape is a the top of both the vertical and horizontal dividers and yes that is how they have been drawn, on assembly you will need to turn on set upside down and the will slot in perfectly.
Step 7: Moving the Horizontal Out of the Way
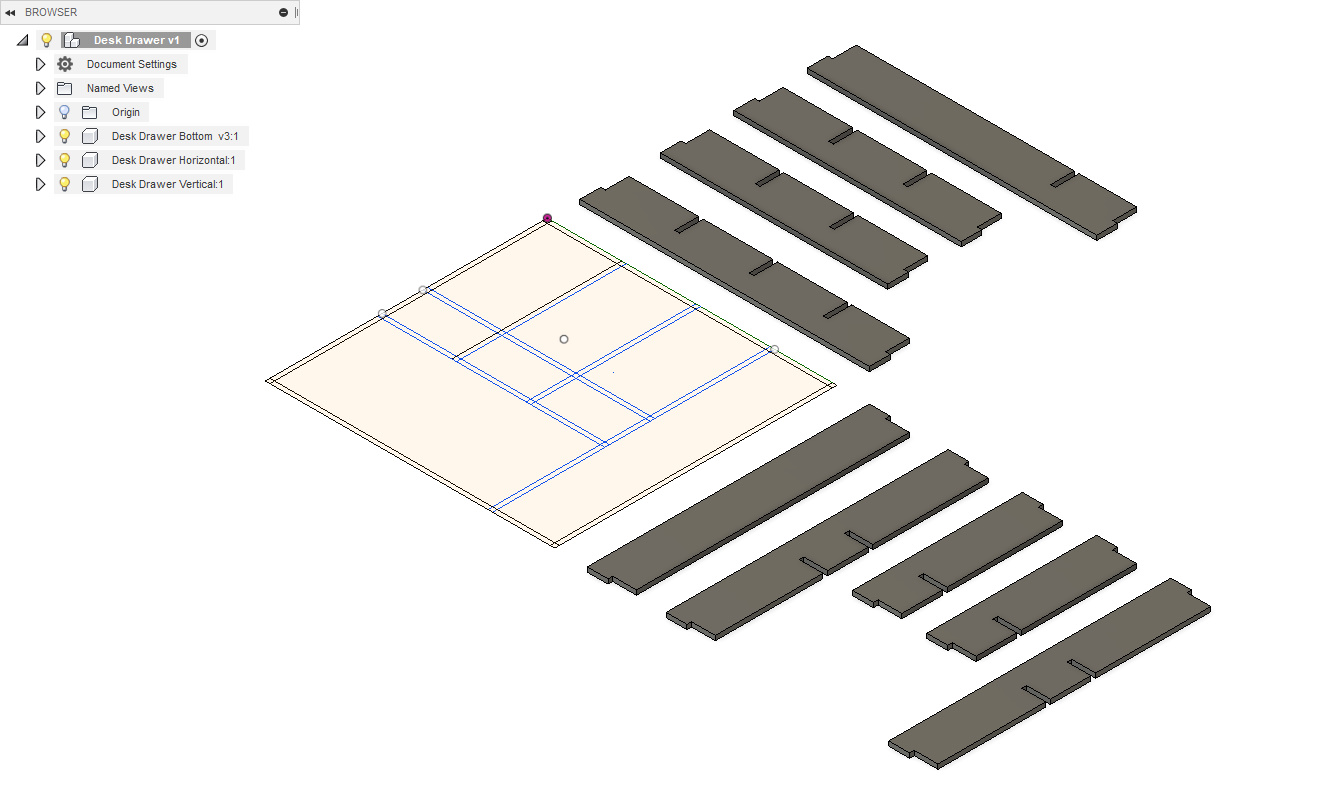
By using the Move Tool (shortcut key M) Rotate the vertical dividers 90° and move so they are no longer above the sketch.
It is important that all the dividers are rotated exactly 90° for the last step.
Step 8: Base
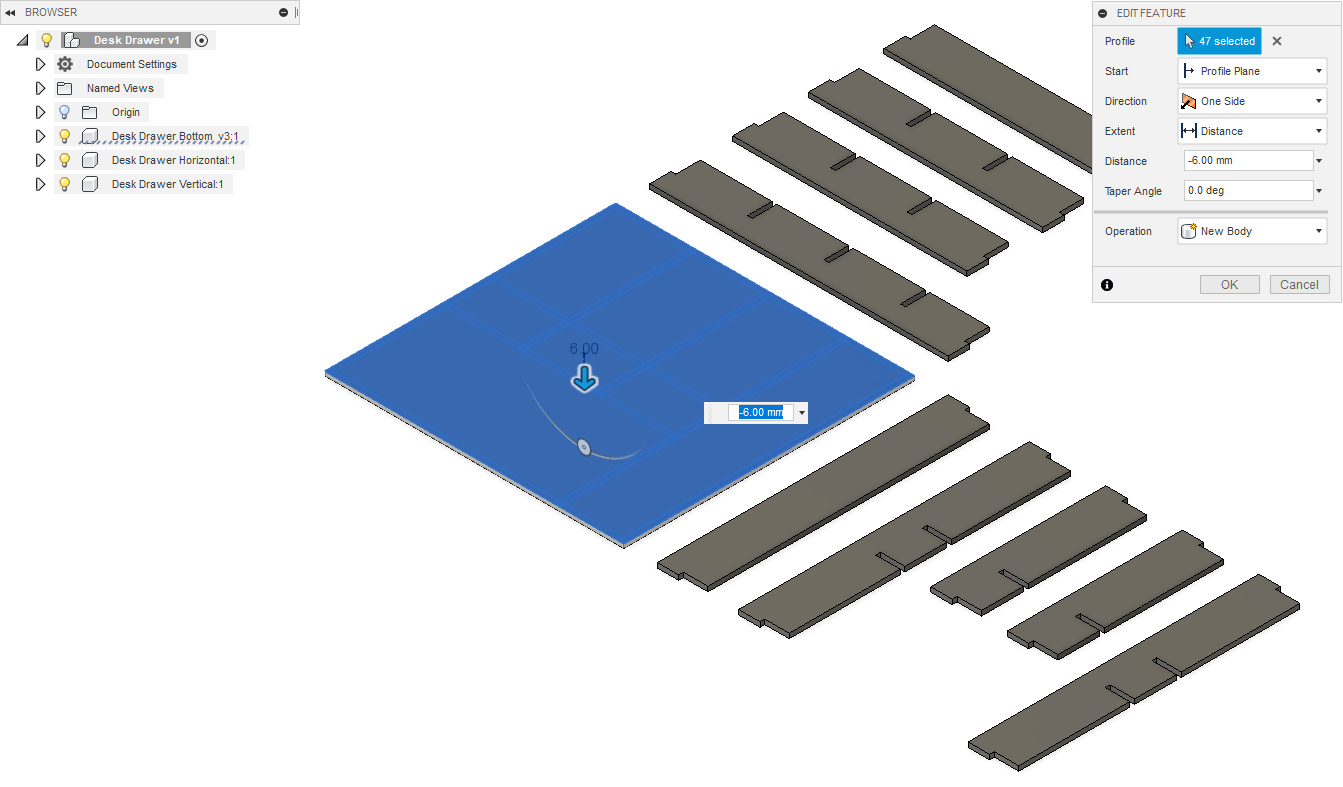
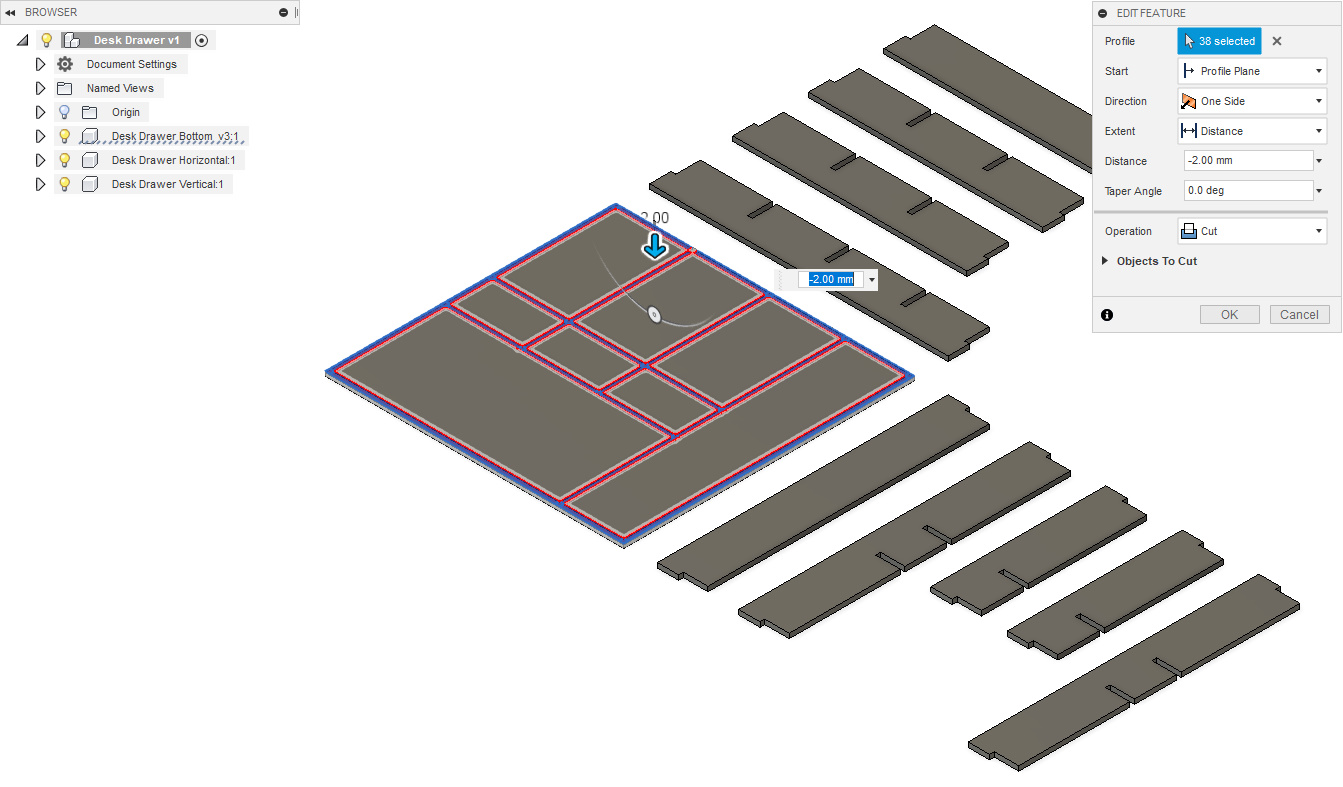
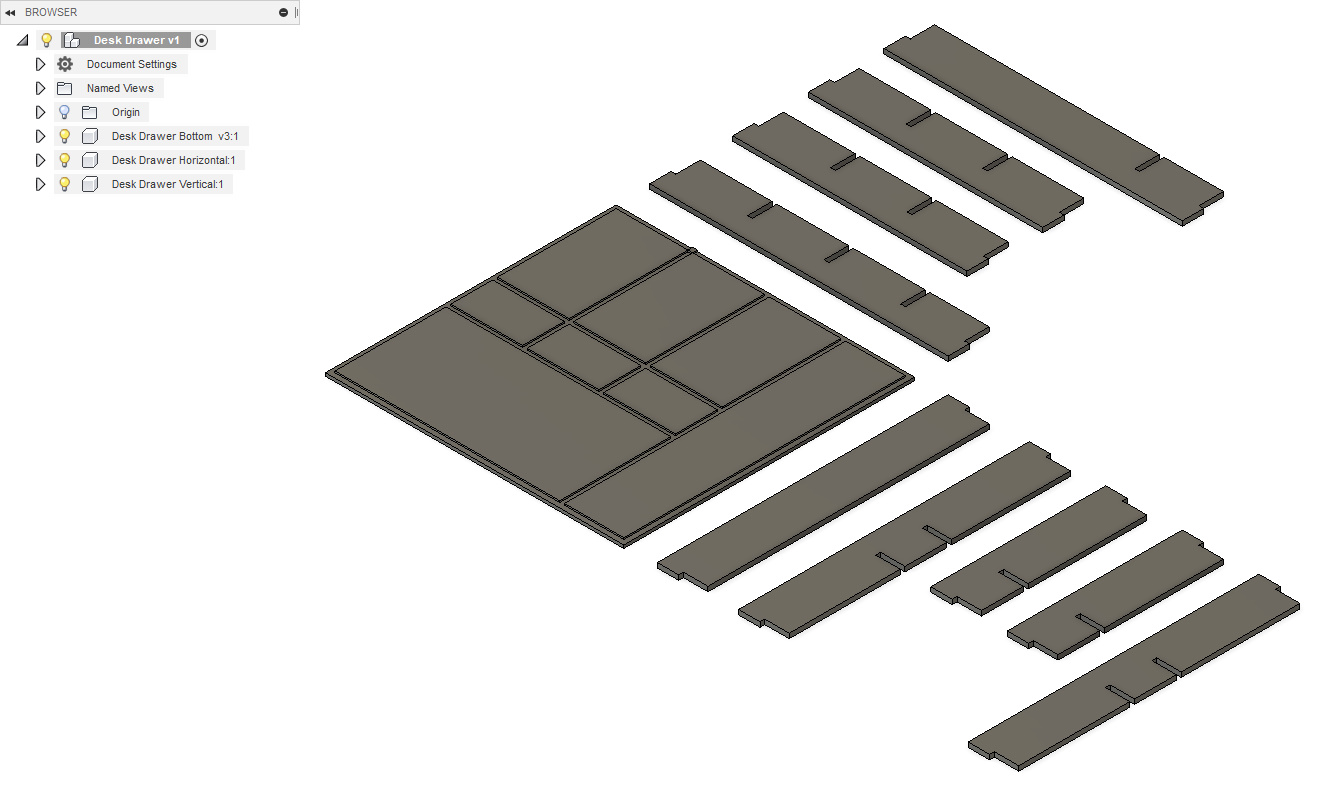
Using the extend tool select the outside of the base and extend it down 6mm shown in the photo, the reason we want to extend it down is sketch will stay on top where we want it for the next step.
Next. use the extend tool to select the channel then cut down 2mm shown in the photo.
Step 9: Ready for Cutting
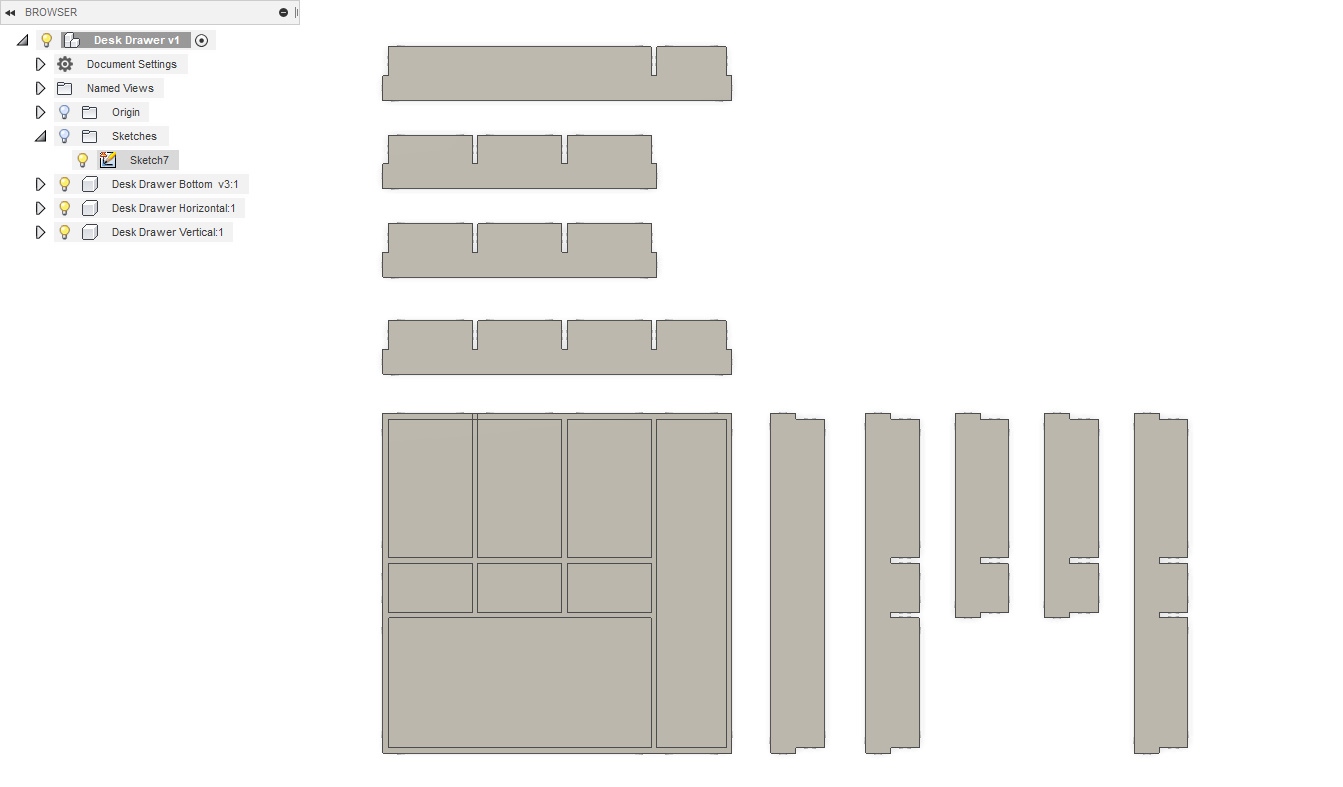
If you are going to use a table saw then it is all ready to be put into the drawing mode.
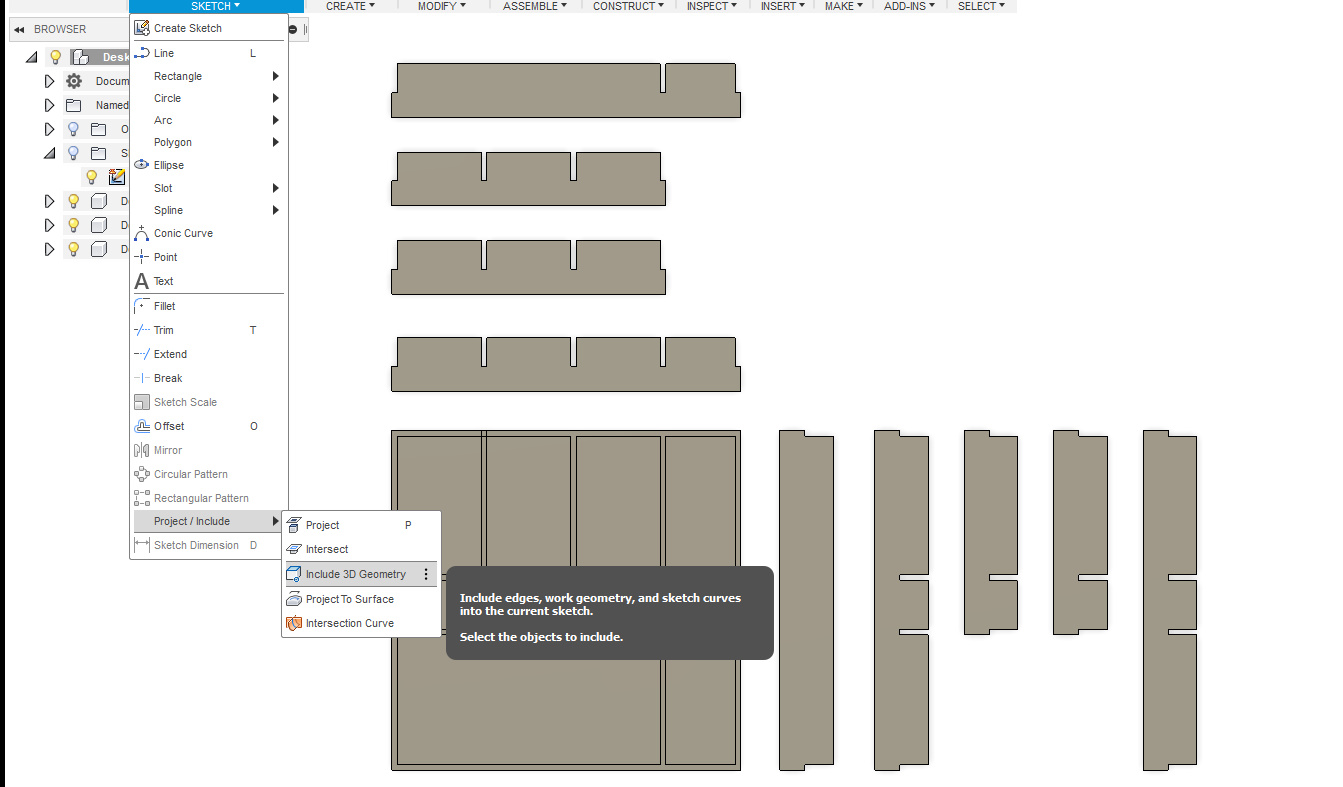
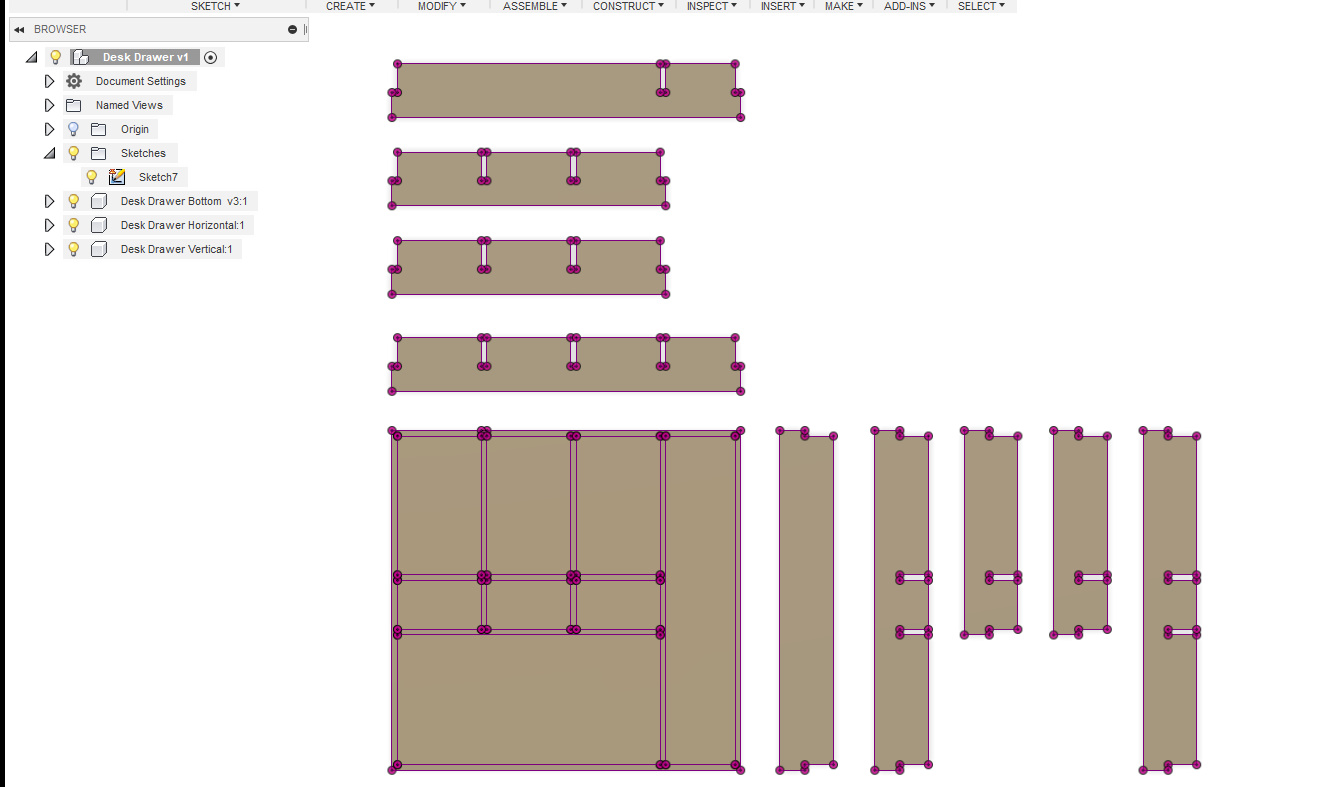
If you are going to get a CNC machine to cut it out you will need to produce a DFX file the easiest way to do this is create a new sketch then go to the drop-down menu for the sketch and find Include 3D Geometry as shown in the photo, select all the parts once selected they will turn purple as in the photo.
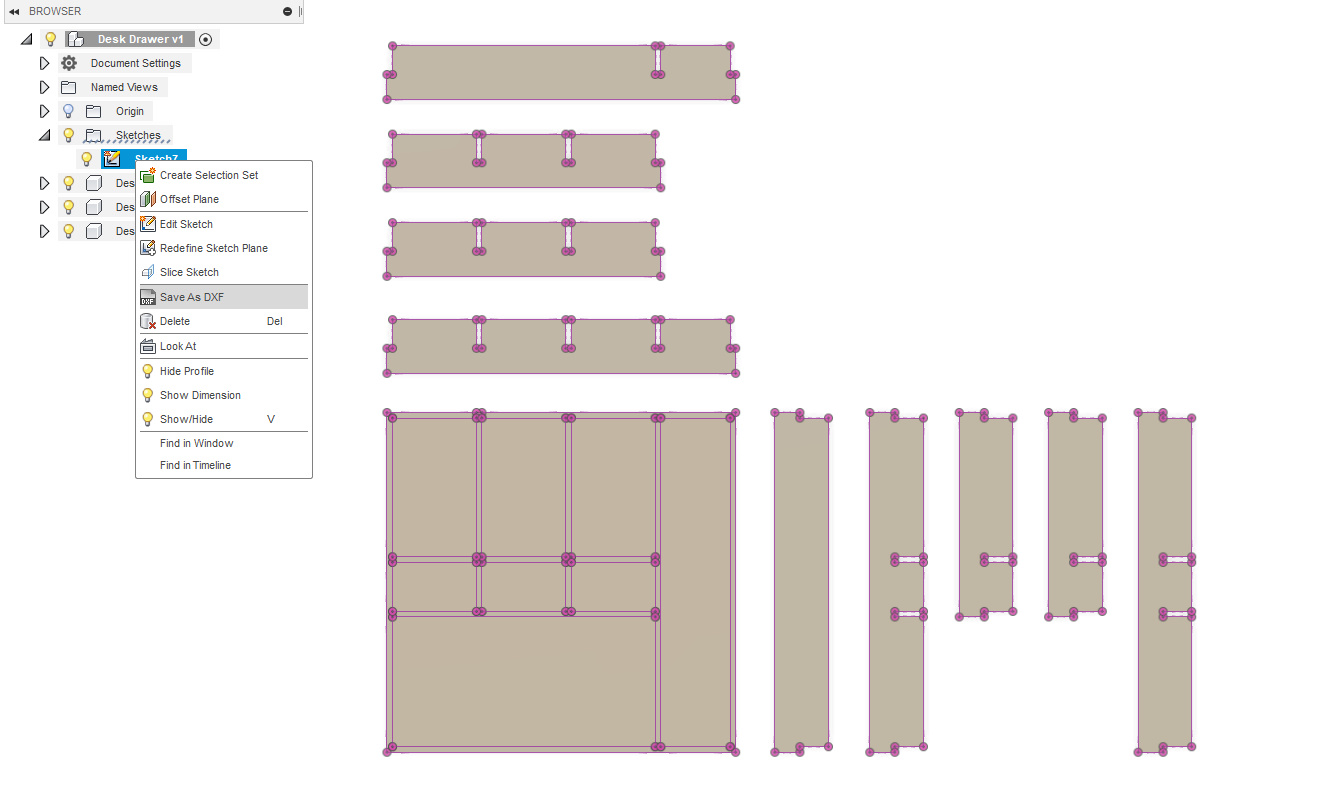
Next, right click on the sketch and save as DXF, this file can then be put into any CNC G code generator to be set up for cutting.
Or you could use Fusion 360 Manurfaueing workspace.
Step 10: Glue and Full
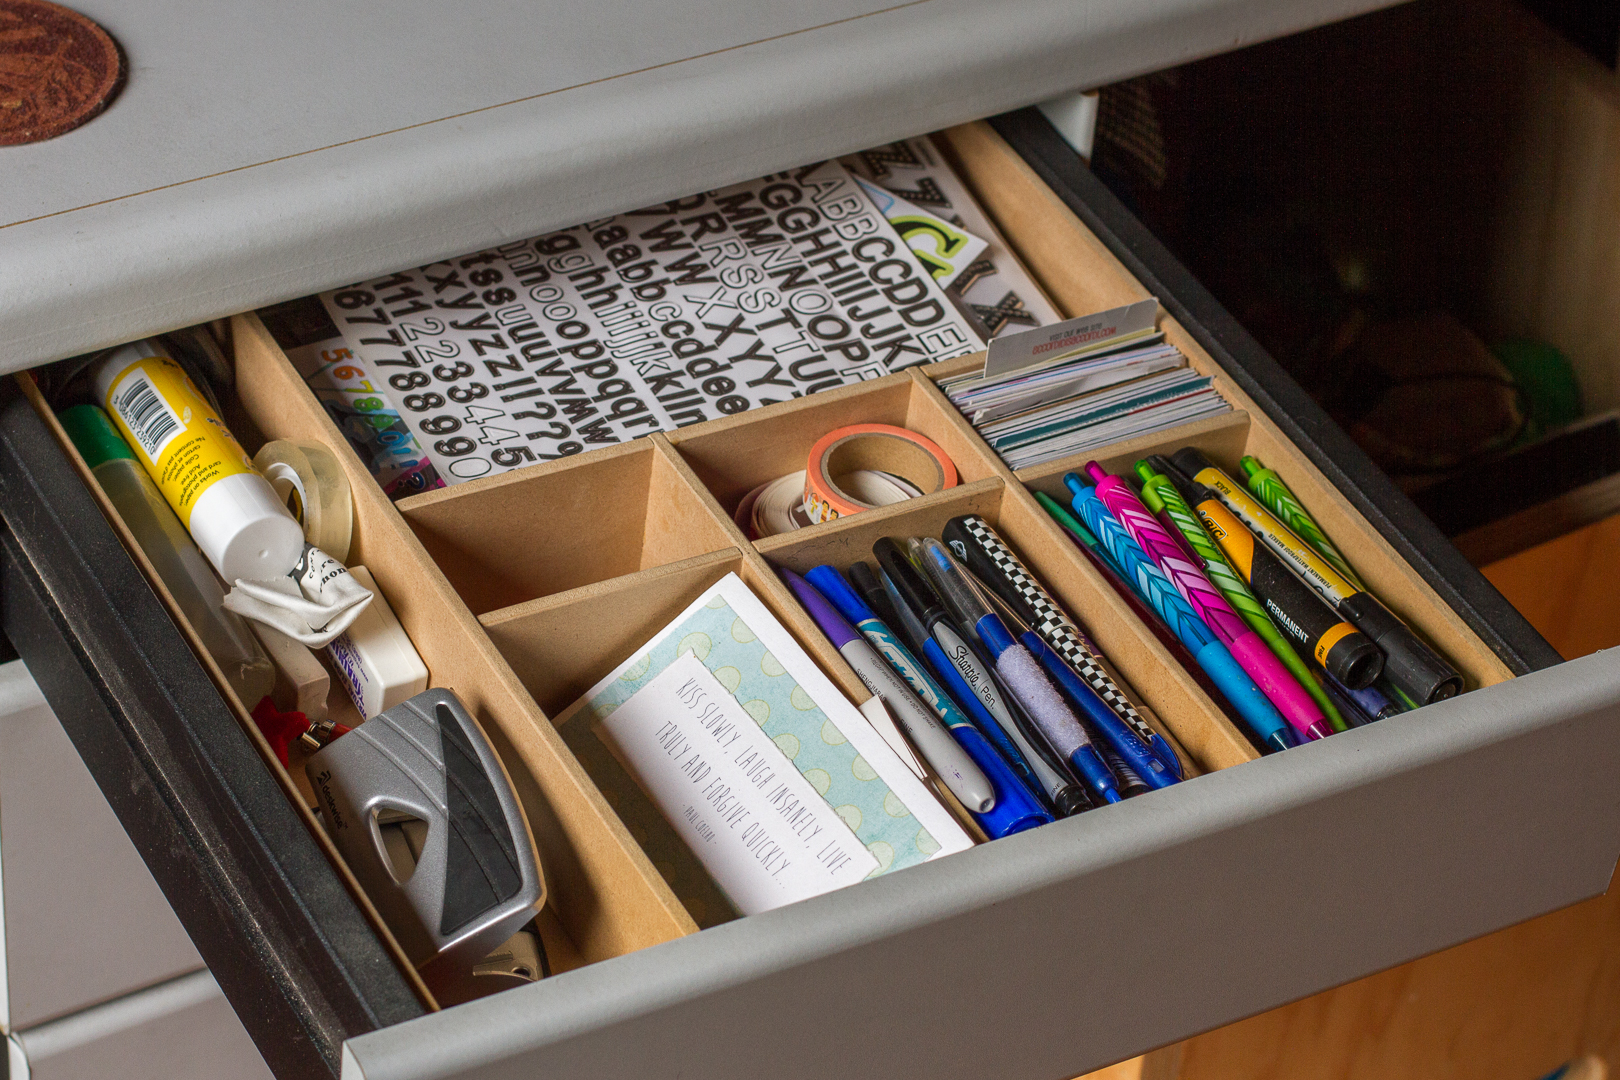
Lightly glue all the channel and cross over point and press together
Have fun fulling it up.
Thanks