Designing a Mercedes Benz 3D Logo Using 3D CAD Software
by Julie80 in Design > 3D Design
46 Views, 0 Favorites, 0 Comments
Designing a Mercedes Benz 3D Logo Using 3D CAD Software

Learn Designing a Mercedes Benz 3D Logo Using 3D CAD Software with the help of this article
Designing a Mercedes Benz 3D Logo Using 3D CAD Software
Logos are the visual cornerstone of brand identity, and few are as iconic as the three-pointed star of Mercedes-Benz. Sleek, minimalist, and instantly recognizable, this emblem symbolizes luxury, innovation, and engineering excellence. Recreating such a timeless design in 3D presents both a creative and technical challenge, one that can be met with the powerful modeling tools of SelfCAD. In this article, we’ll walk through the process of designing a detailed 3D version of the Mercedes-Benz logo, using SelfCAD to model, refine, and render the emblem with precision. Whether you’re a design student, a 3D enthusiast, or simply a fan of automotive branding, this guide will show you how to bring an iconic logo into the third dimension, step by step
To access the interactive tutorial to this article, check out; https://www.selfcad.com/tutorials/3p3ke194p3h4f1p584r672m2sr2y3s5d4k3l
Once you’ve launched the editor;
From the 3D Shapes category on the toolbar choose star; Set inner radius to 15, segment to 3
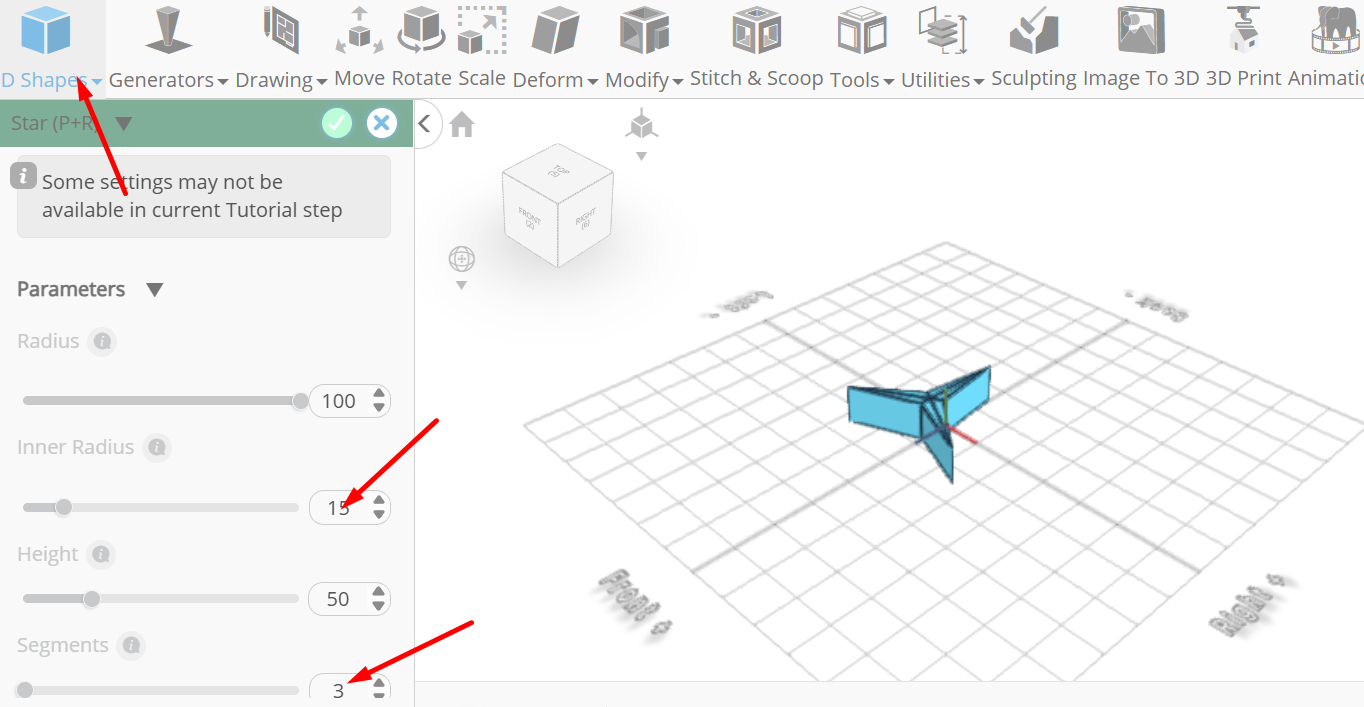
Tick the checkmark to finalize star
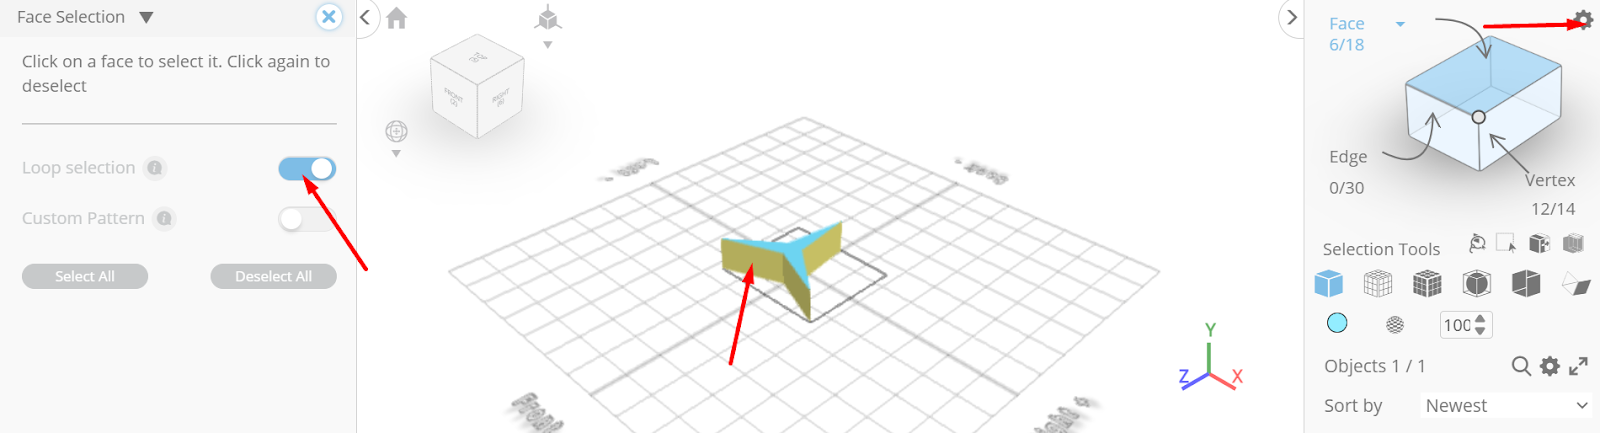
Click to activate face selection; Click on the gear icon to open advanced selection tools, set loop selection to true, click on highlighted face to select loop from the object.
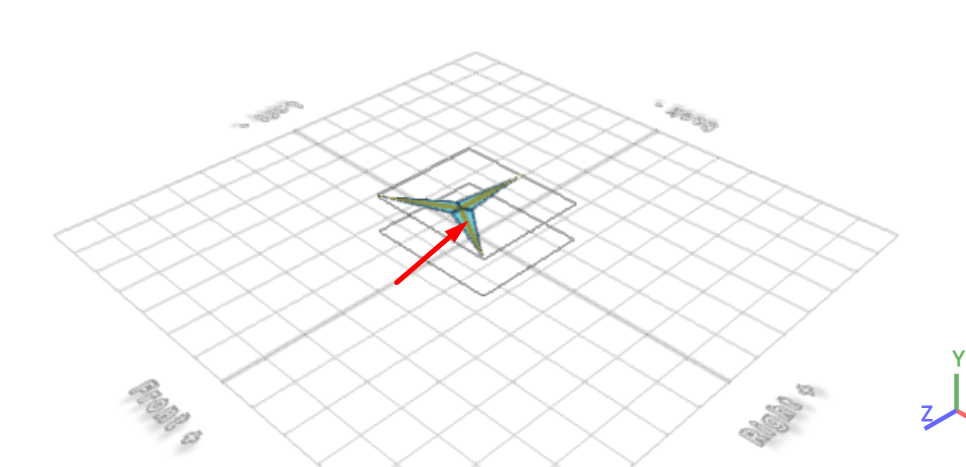
Click delete button to delete selected objects

Click ‘x’ to close selection settings panel
Click solid+wireframe button to set rendering mode

Click to activate edge selection; Click on highlighted region to select it
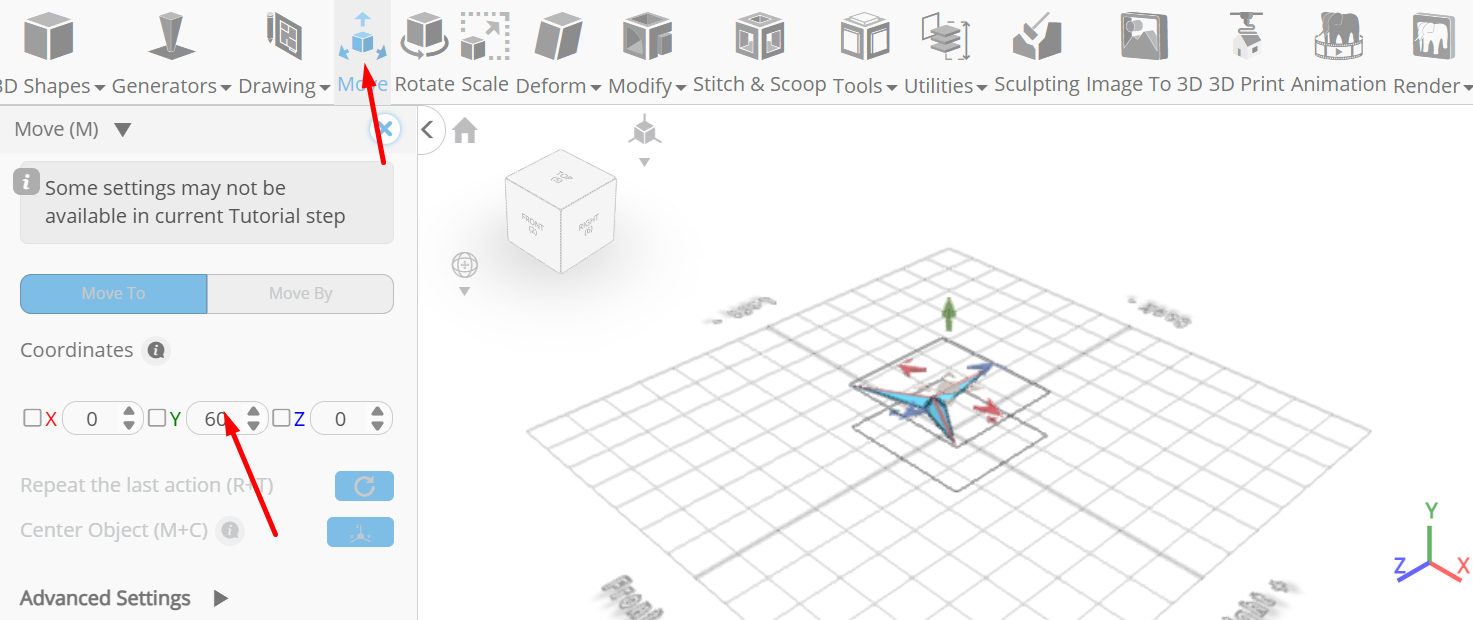
Click move on the toolbar; Set y to 60
Click on highlighted region to deselect it
From the deform category on the toolbar choose bend; Set plane to back/front, y to -55

Click ‘x’ to close transformation panel
From the 3D Shapes category on the toolbar choose torus; Set ring radius to 100, tube radius to 5, tubular segments to 20, radial segments to 62, position y to 37, position z to 21,

Tick the checkmark to finalize torus
Click highlighted part on selection cube to turn off region selection
Click on mesh 4 to select it; Click stitch & scoop on the toolbar; From the tool panel choose union.
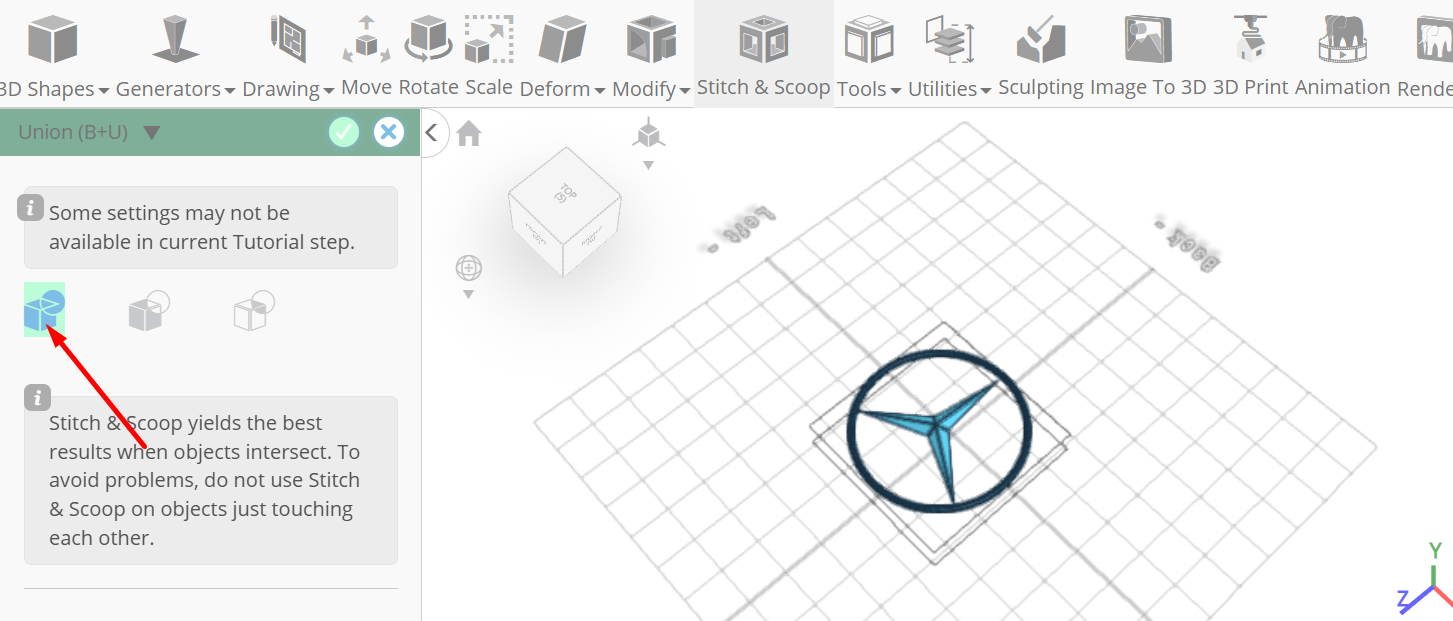
Tick the checkmark to finalize union
As you continue honing your design skills, remember that SelfCAD offers a wealth of resources to support your learning journey. To deepen your understanding and explore more advanced features, consider checking out the interactive tutorials (https://www.selfcad.com/tutorials) available on the SelfCAD website. The tutorials page provides a treasure trove of guides, tips, and tricks that cater to designers of all levels.
More structured learning experience can also be accessed at the SelfCAD Academy (https://www.selfcad.com/academy/curriculum/), https://www.youtube.com/@3dmodeling101, and 3D Modeling 101 series (https://www.youtube.com/playlist?list=PL74nFNT8yS9DcE1UlUUdiR1wFGv9DDfTB). This comprehensive resource offers in-depth courses taught by industry experts, allowing you to master the intricacies of SelfCAD at your own pace