Designer Reading Lamp
by Johannes Prettenthaler in Living > Decorating
1119 Views, 11 Favorites, 0 Comments
Designer Reading Lamp
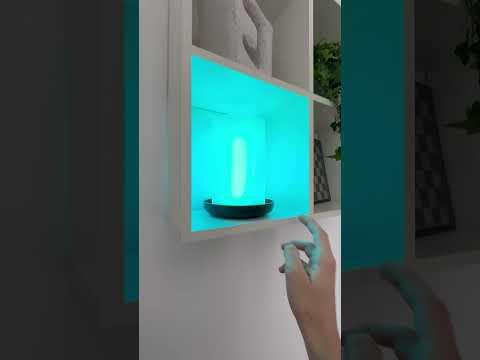
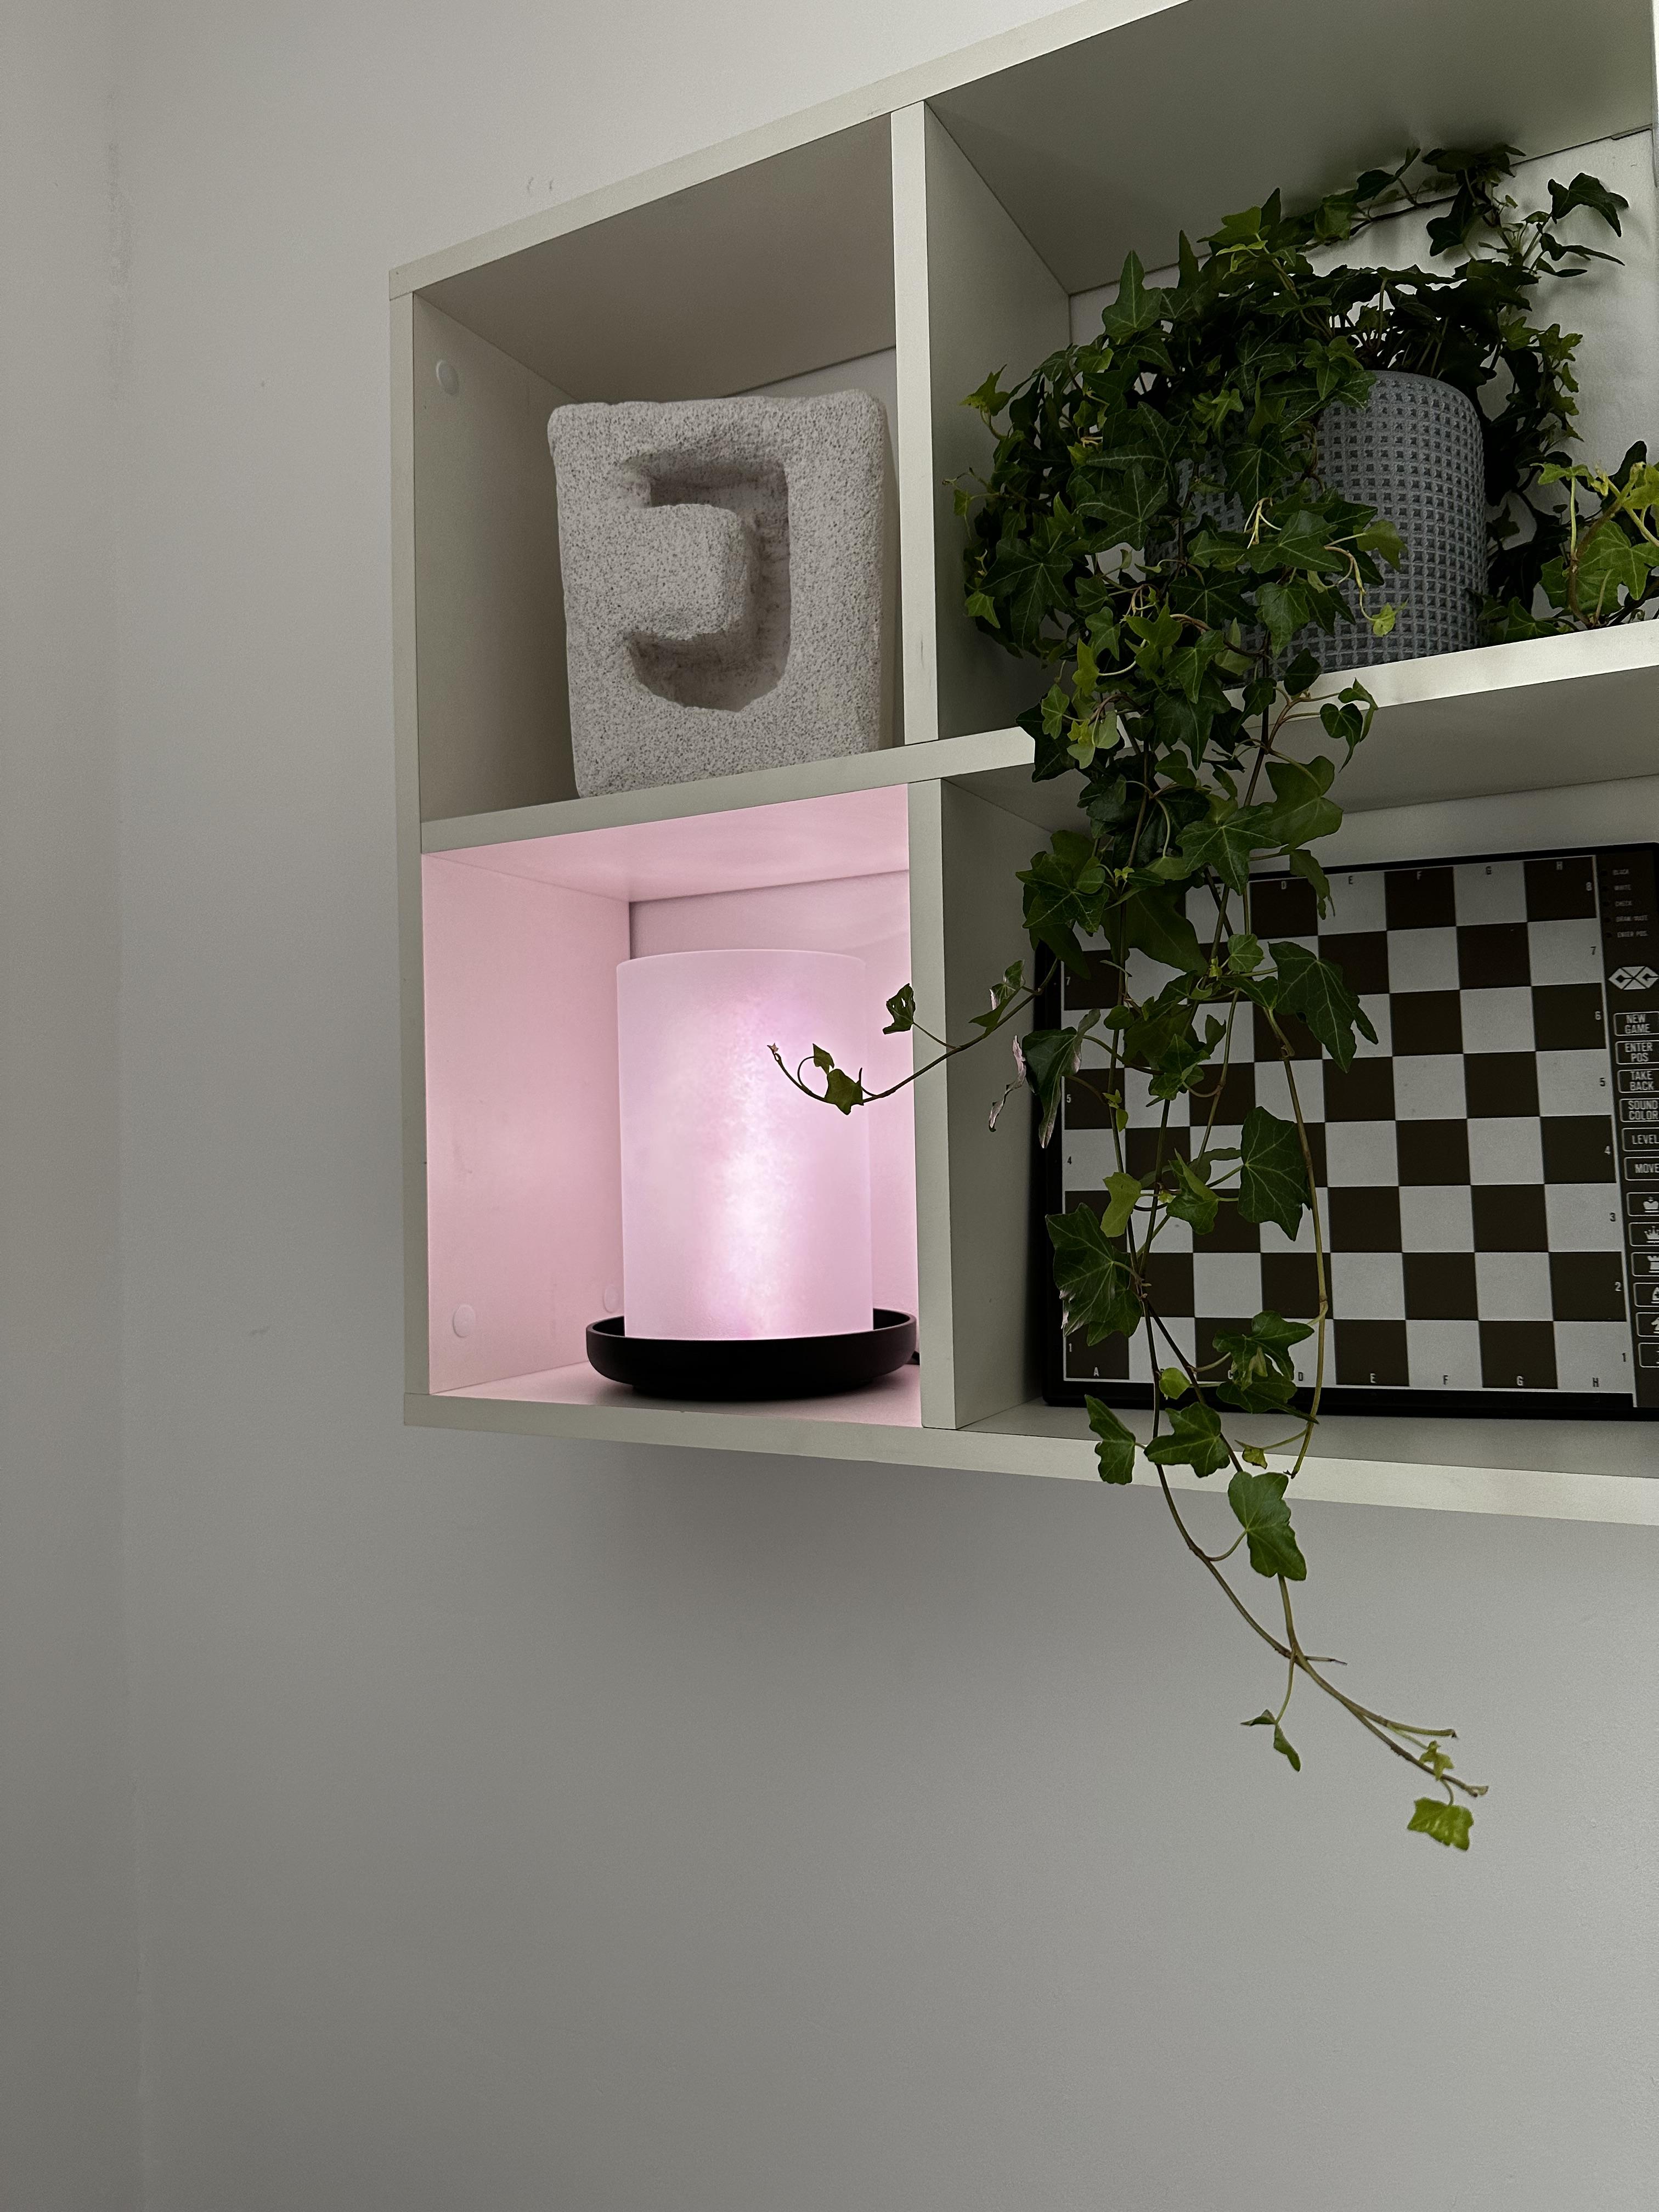
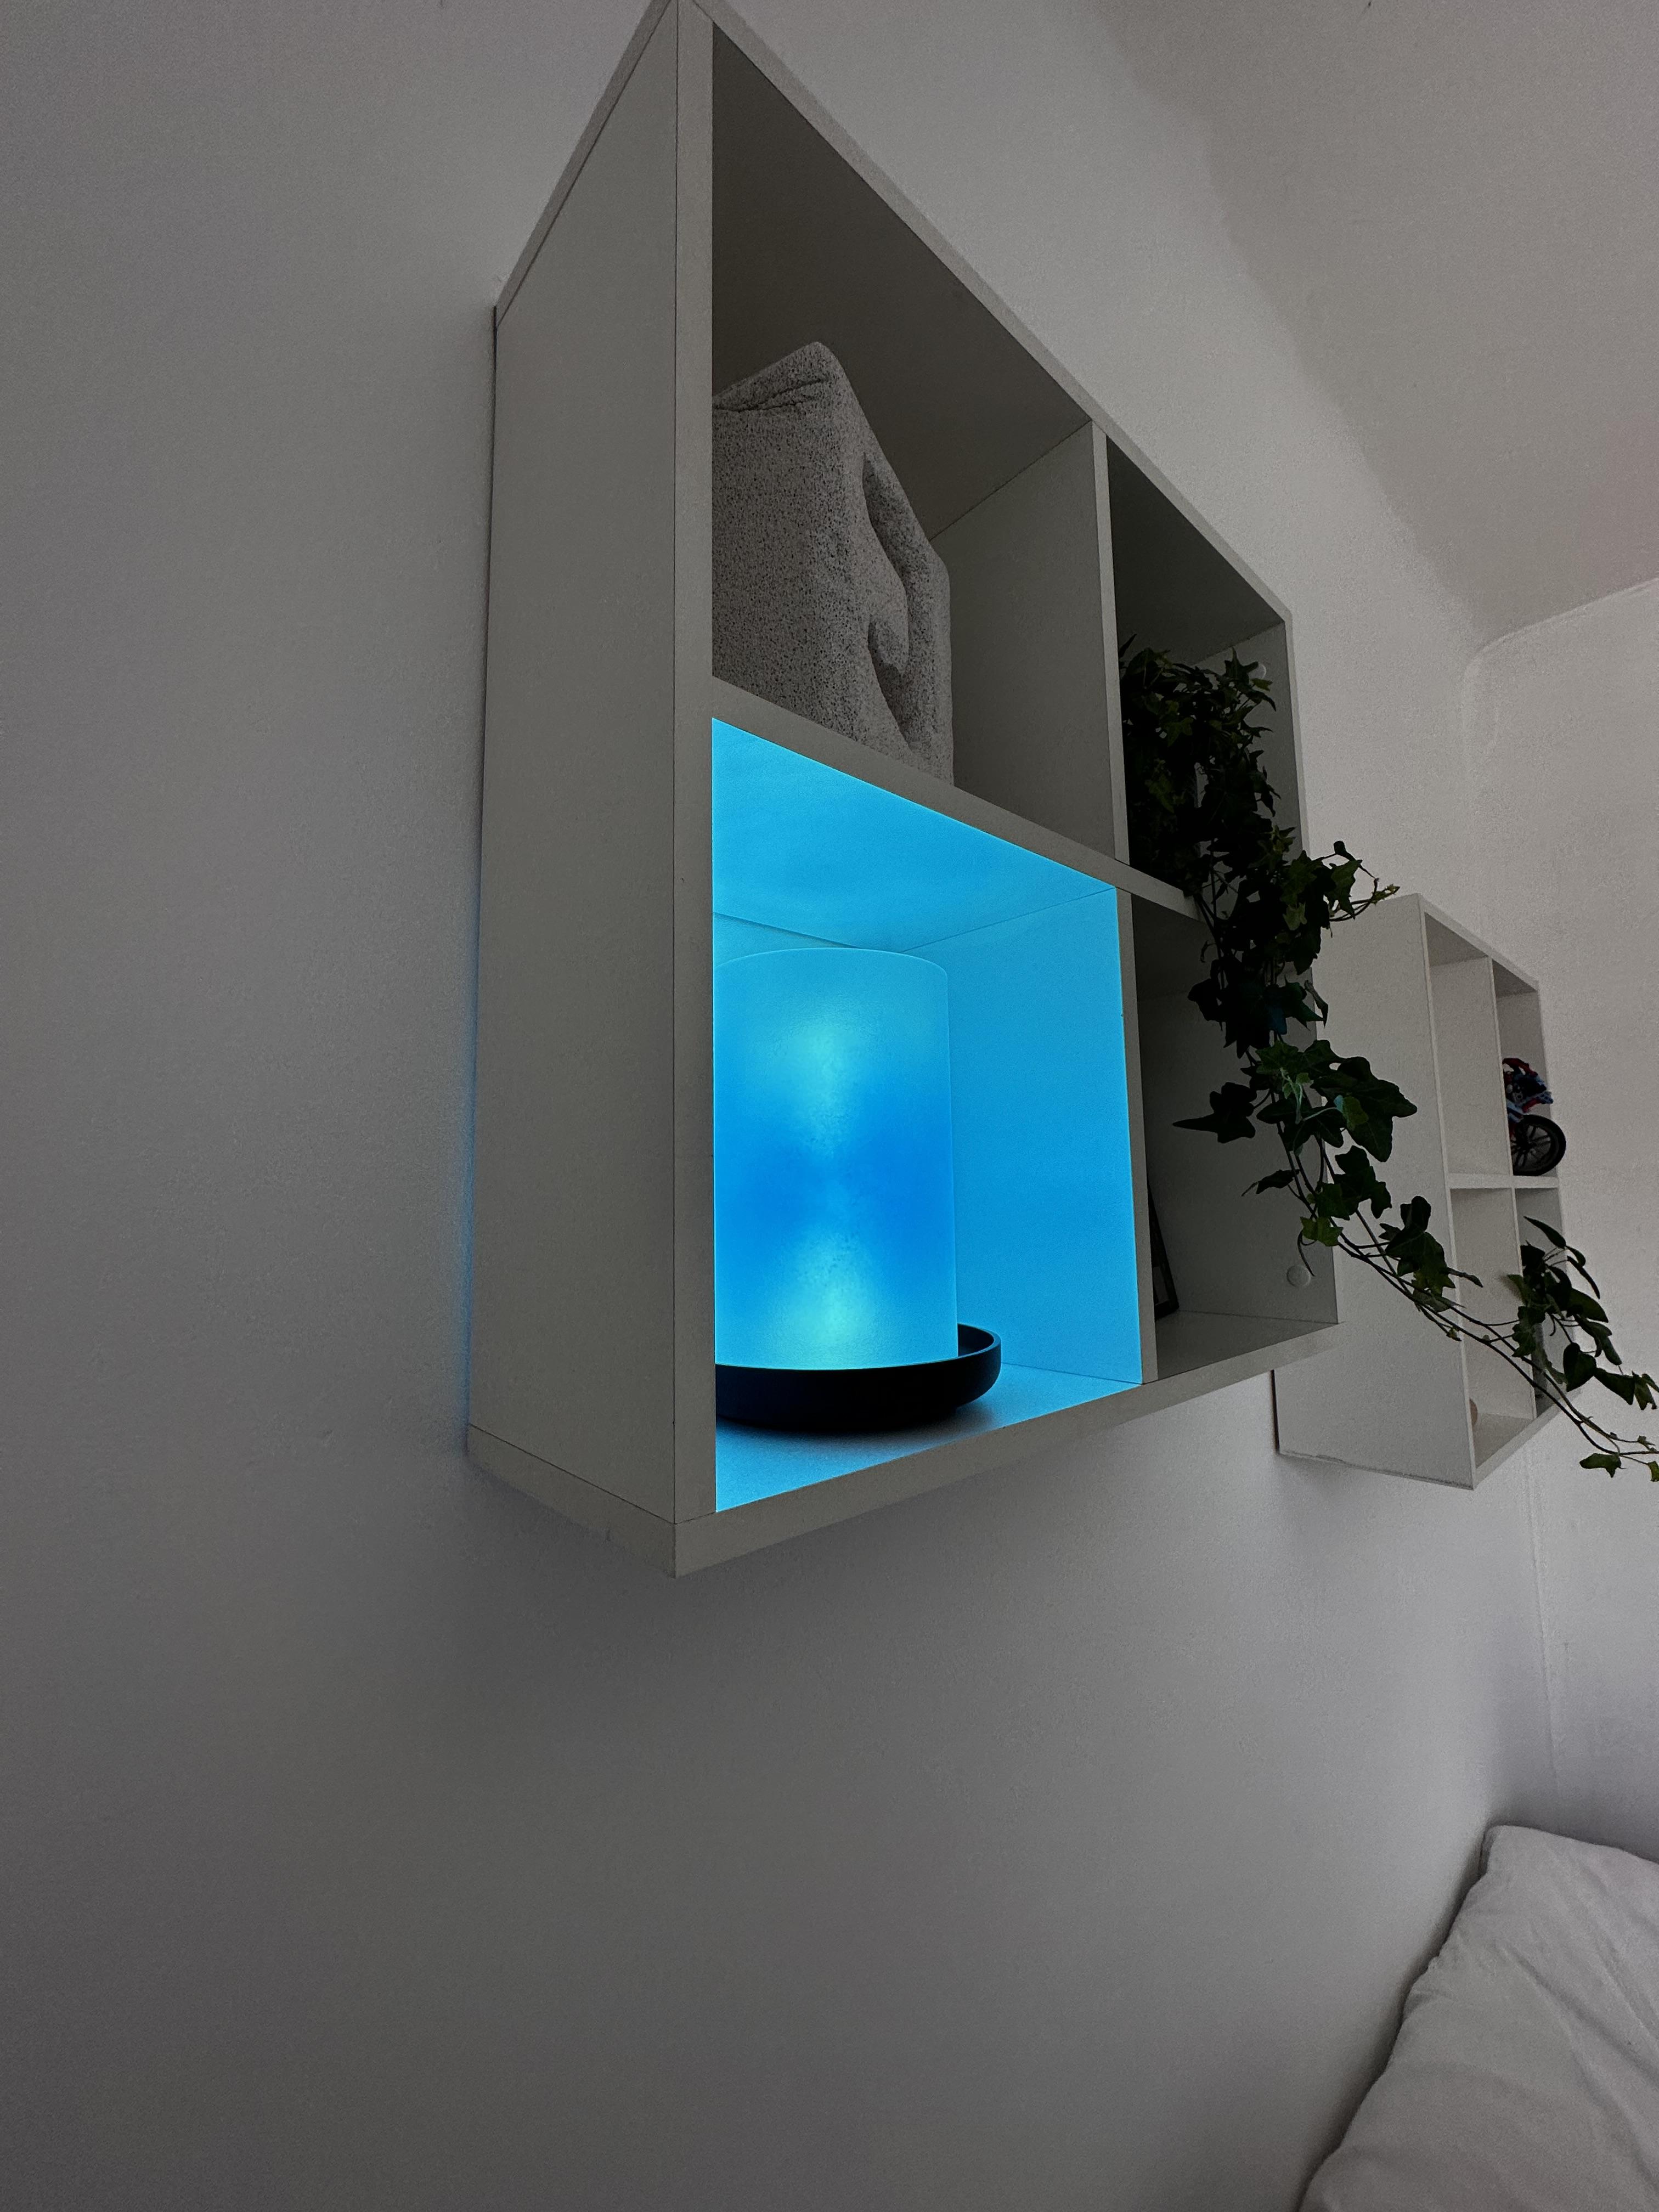
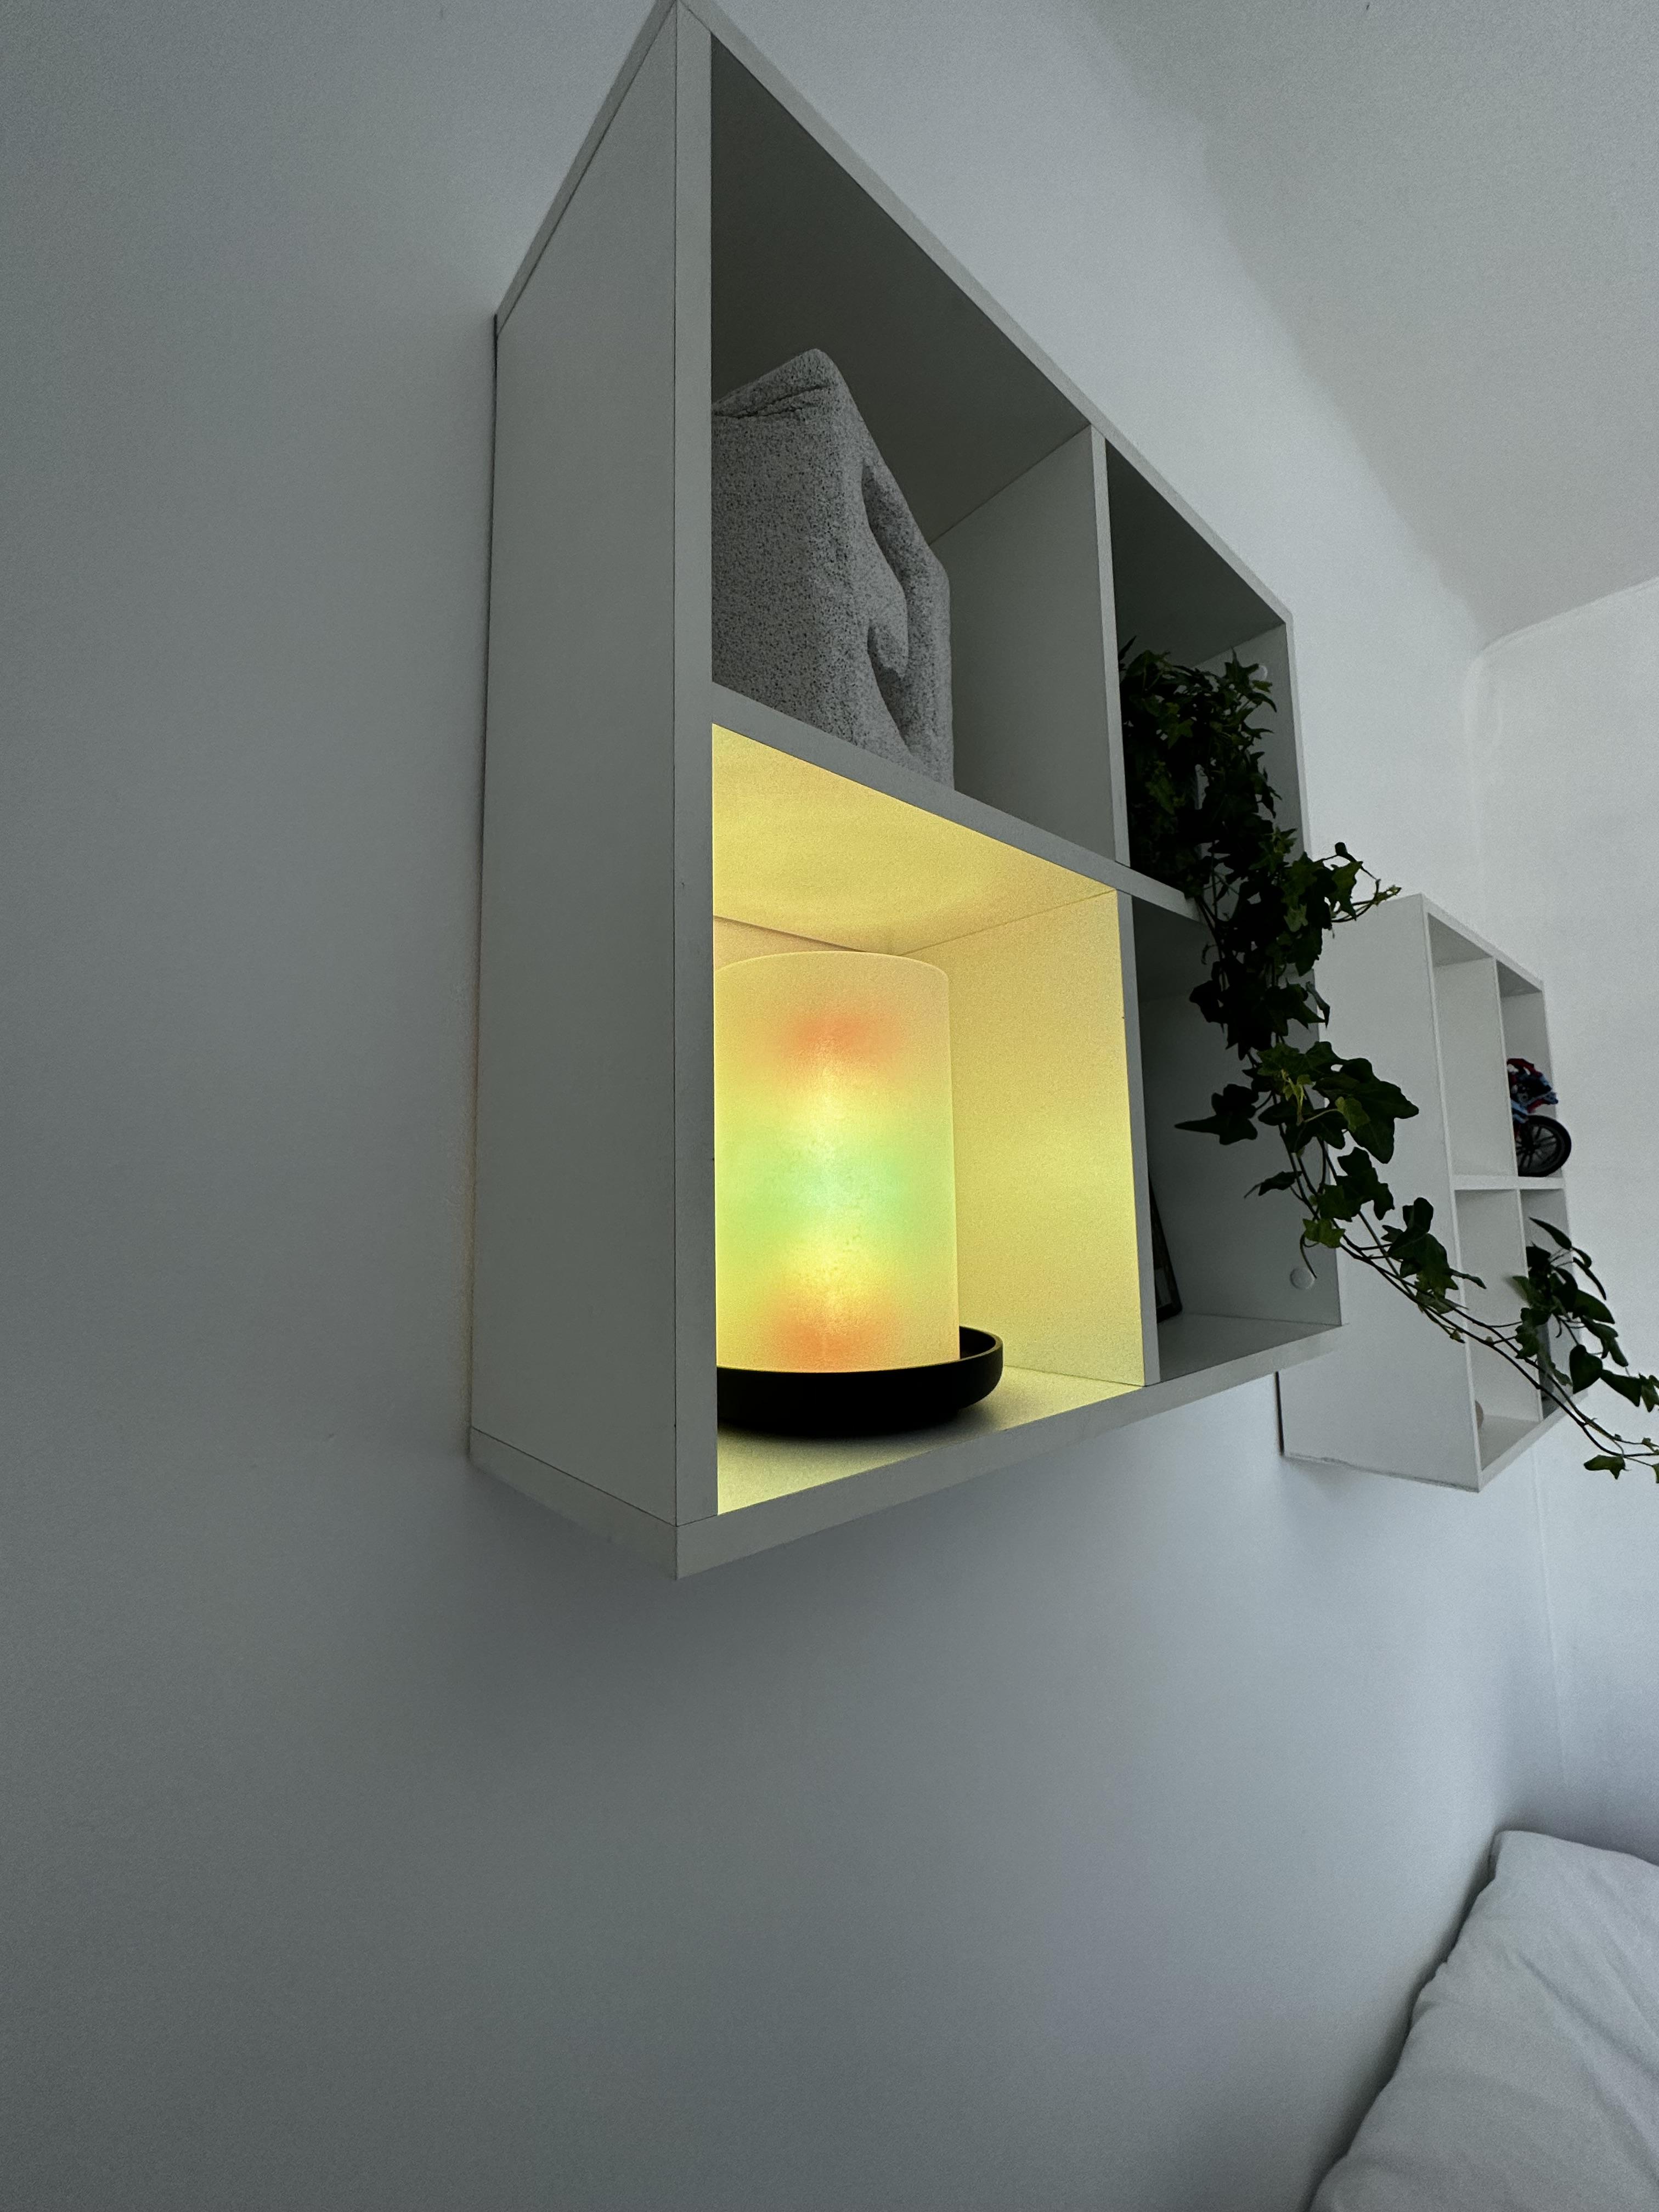
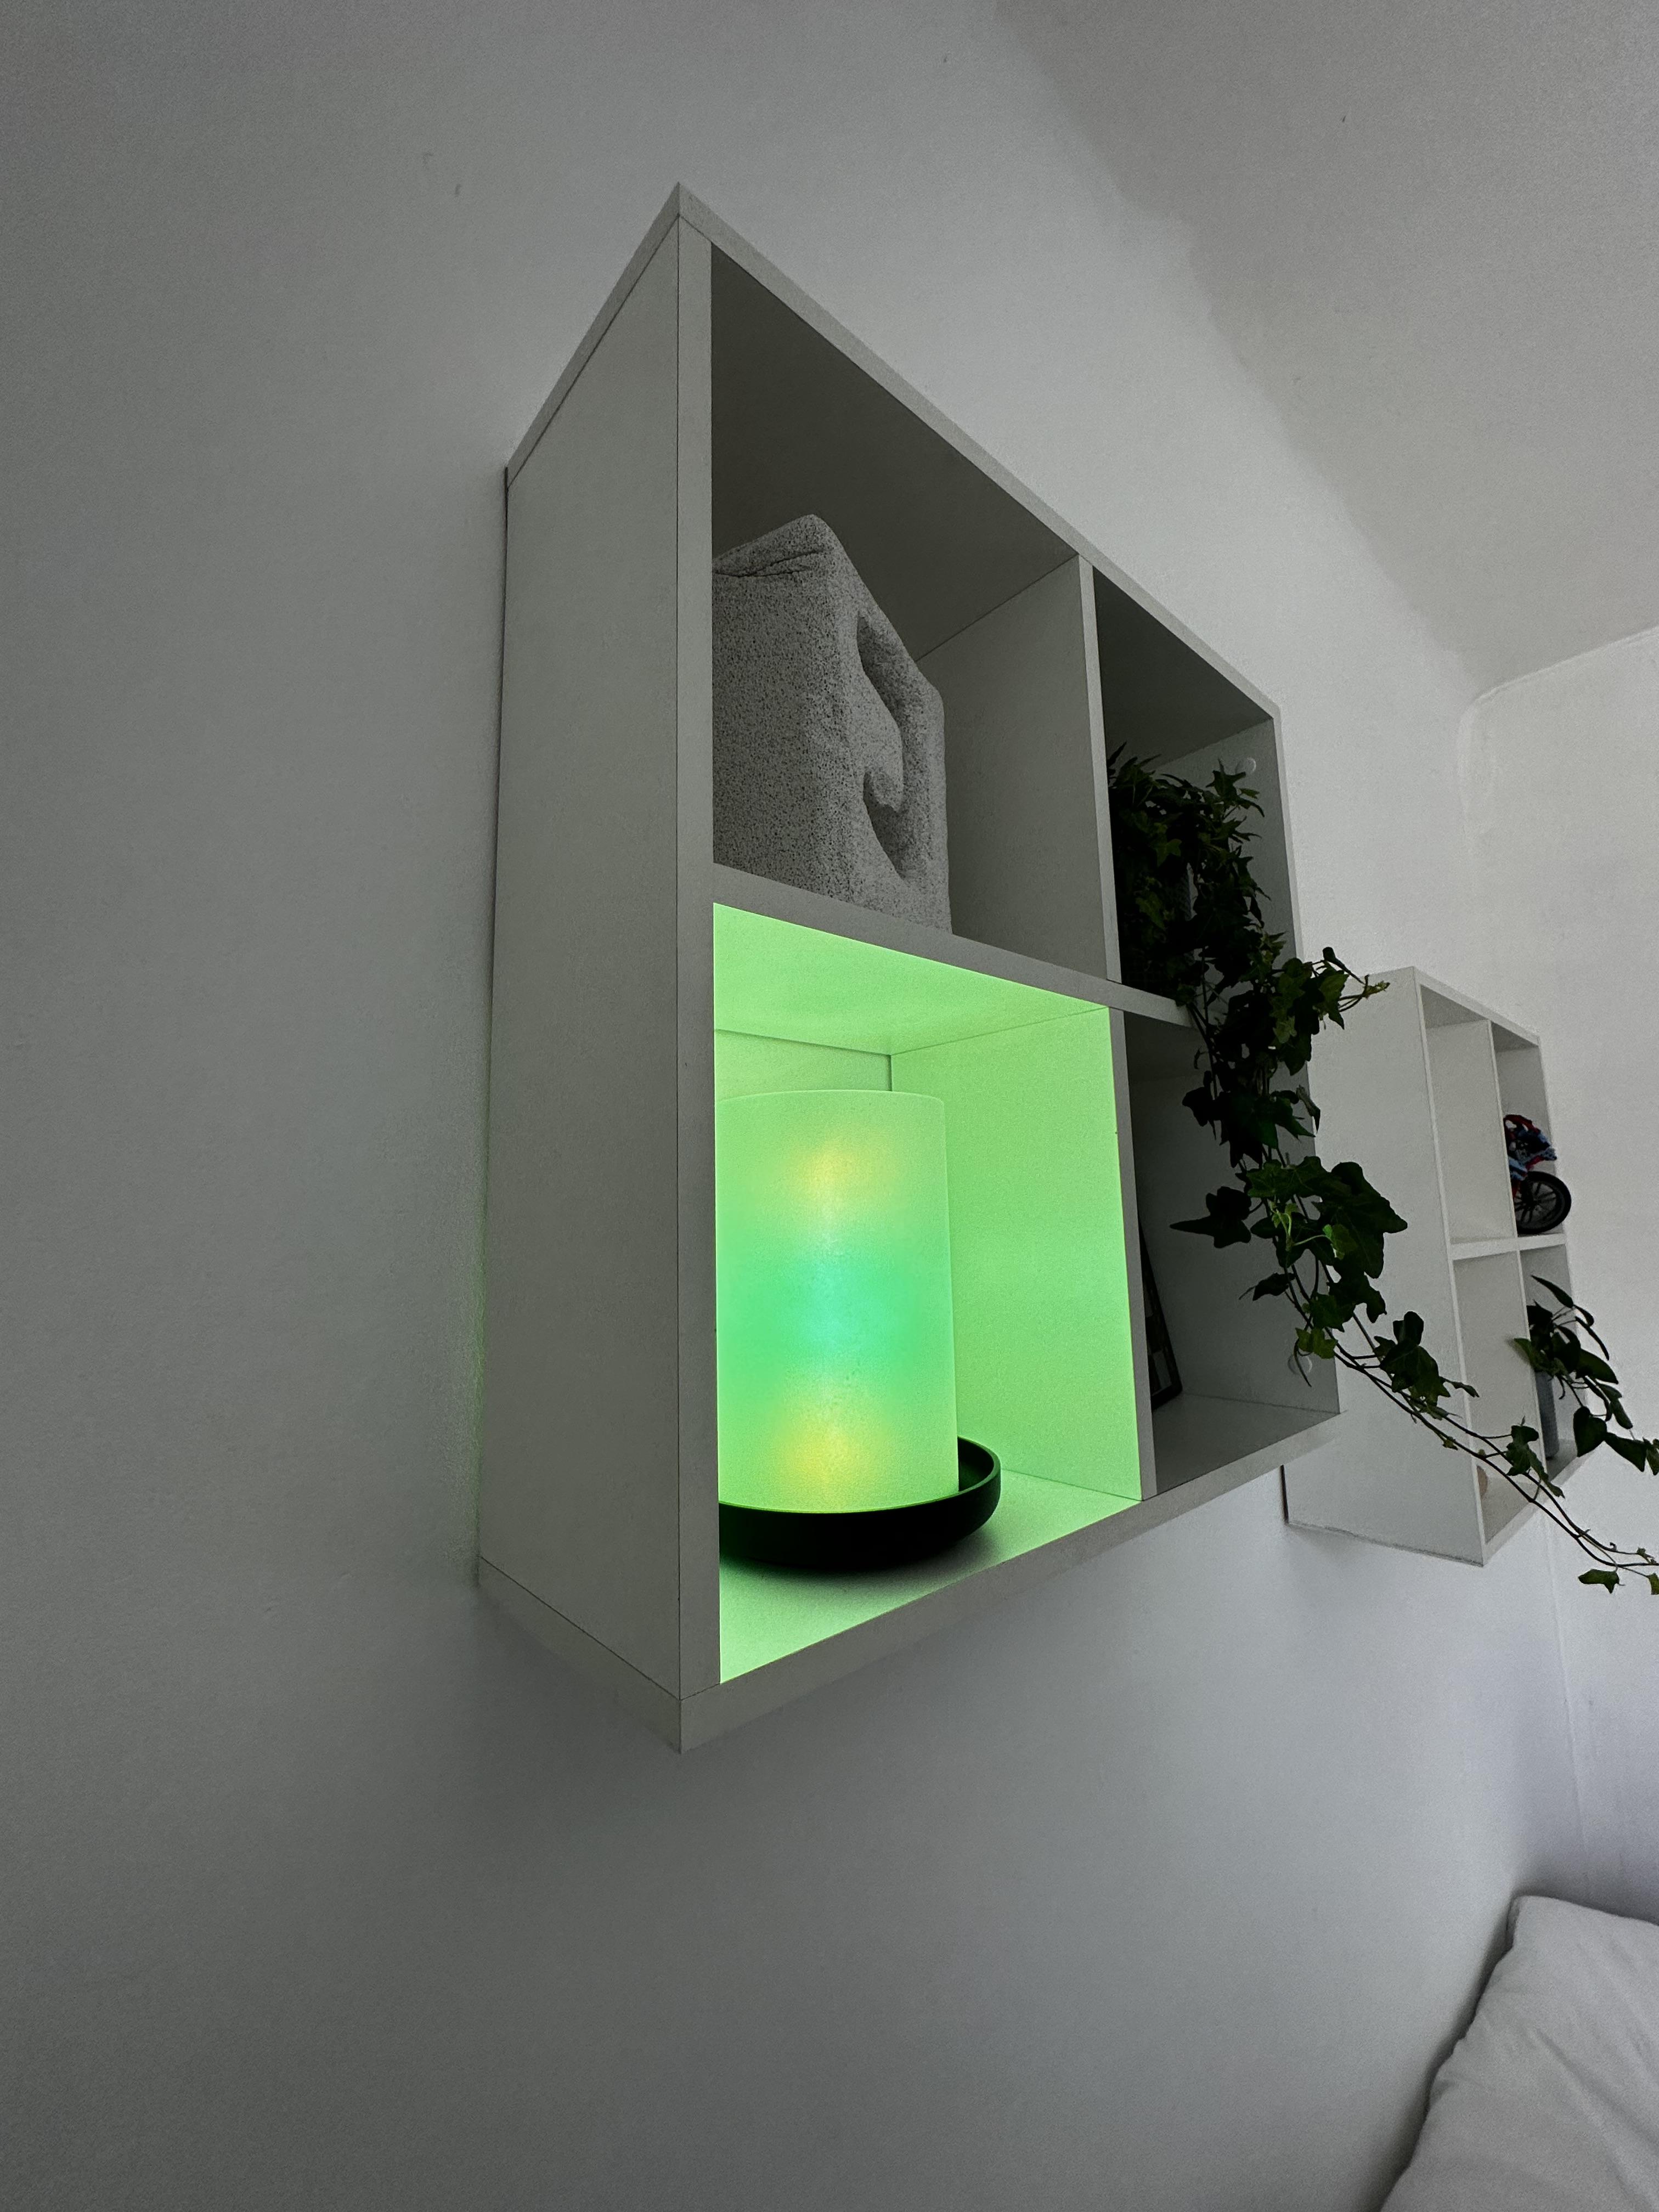
So I recently was shopping at a very recognisable, swedish furniture store and came across a candle shade which I thought would make a great, stylish reading lamp so I decided to make one.
The lamp features:
- Wifi connectivity
- Controllable via Smartphone App and Web Interface
- Adressable RGB Leds
- Capacitive Touch button
- Pretty design :D
Supplies
Supplies needed:
5V USB powersupply (at least 2A recommended)
ESP8266 Wemos D1 mini (any ESP8266 or ESP32 should do but I used those because they're the cheapest option)
Tools needed:
Soldering Iron
Hot glue gun
3D-printer (optional)
Install WLED on ESP
Go to https://install.wled.me/, connect your ESP to your Computer and hit Install.
For a more detailed instruction on how to install WLED click here.
Connecting the Electronics
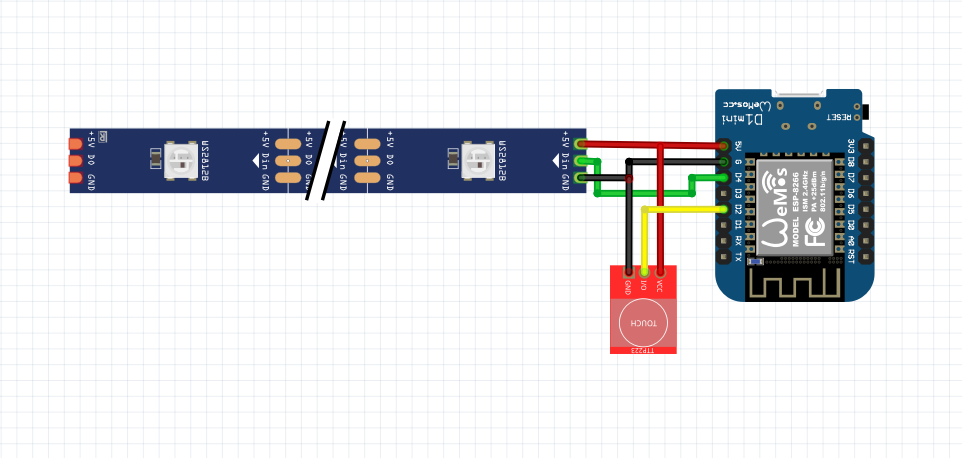
Connect the electronics as shown above. I used a little perf board to tidy it up but you can also just solder the wires together.
ESP pin -> LED strip
5v -> 5v
G(Ground) -> GND
D4 -> Din
ESP pin -> TTP223
5v -> Vcc
G(Ground) -> GND
D2 -> I/O (Any ESP pin can be used and conifgured later)
After Soldering everything I would recommend to insulate the whole chip using electrical tape to prevent short circuits.
Find a Suitable Rod
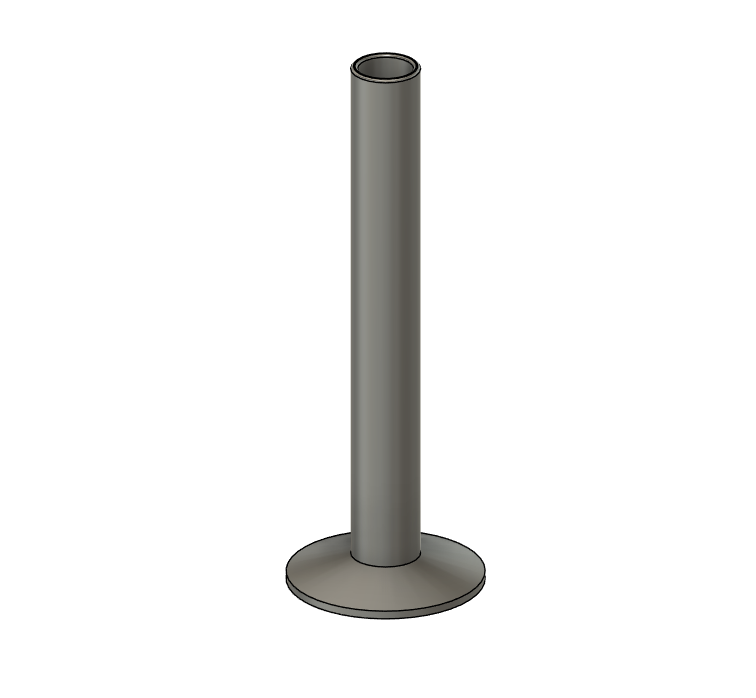
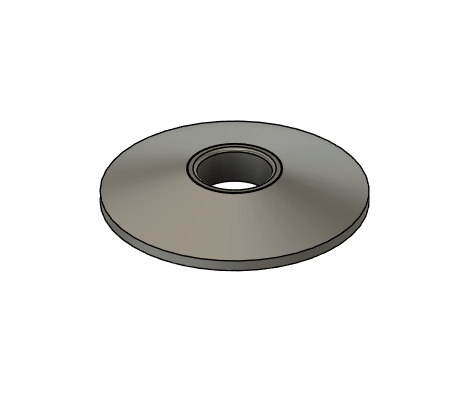
I found a wooden rod with a diameter of 25mm at home so I used that, but you can also either buy a suitable rod (also available at the hardware store) or 3D-print it. Cut it to roughly 20cm length.
I used Fusion 360 to design a disc which holds the pole but if you don't have acces to a 3D-printer you can also just glue it onto the surface.
Assemble
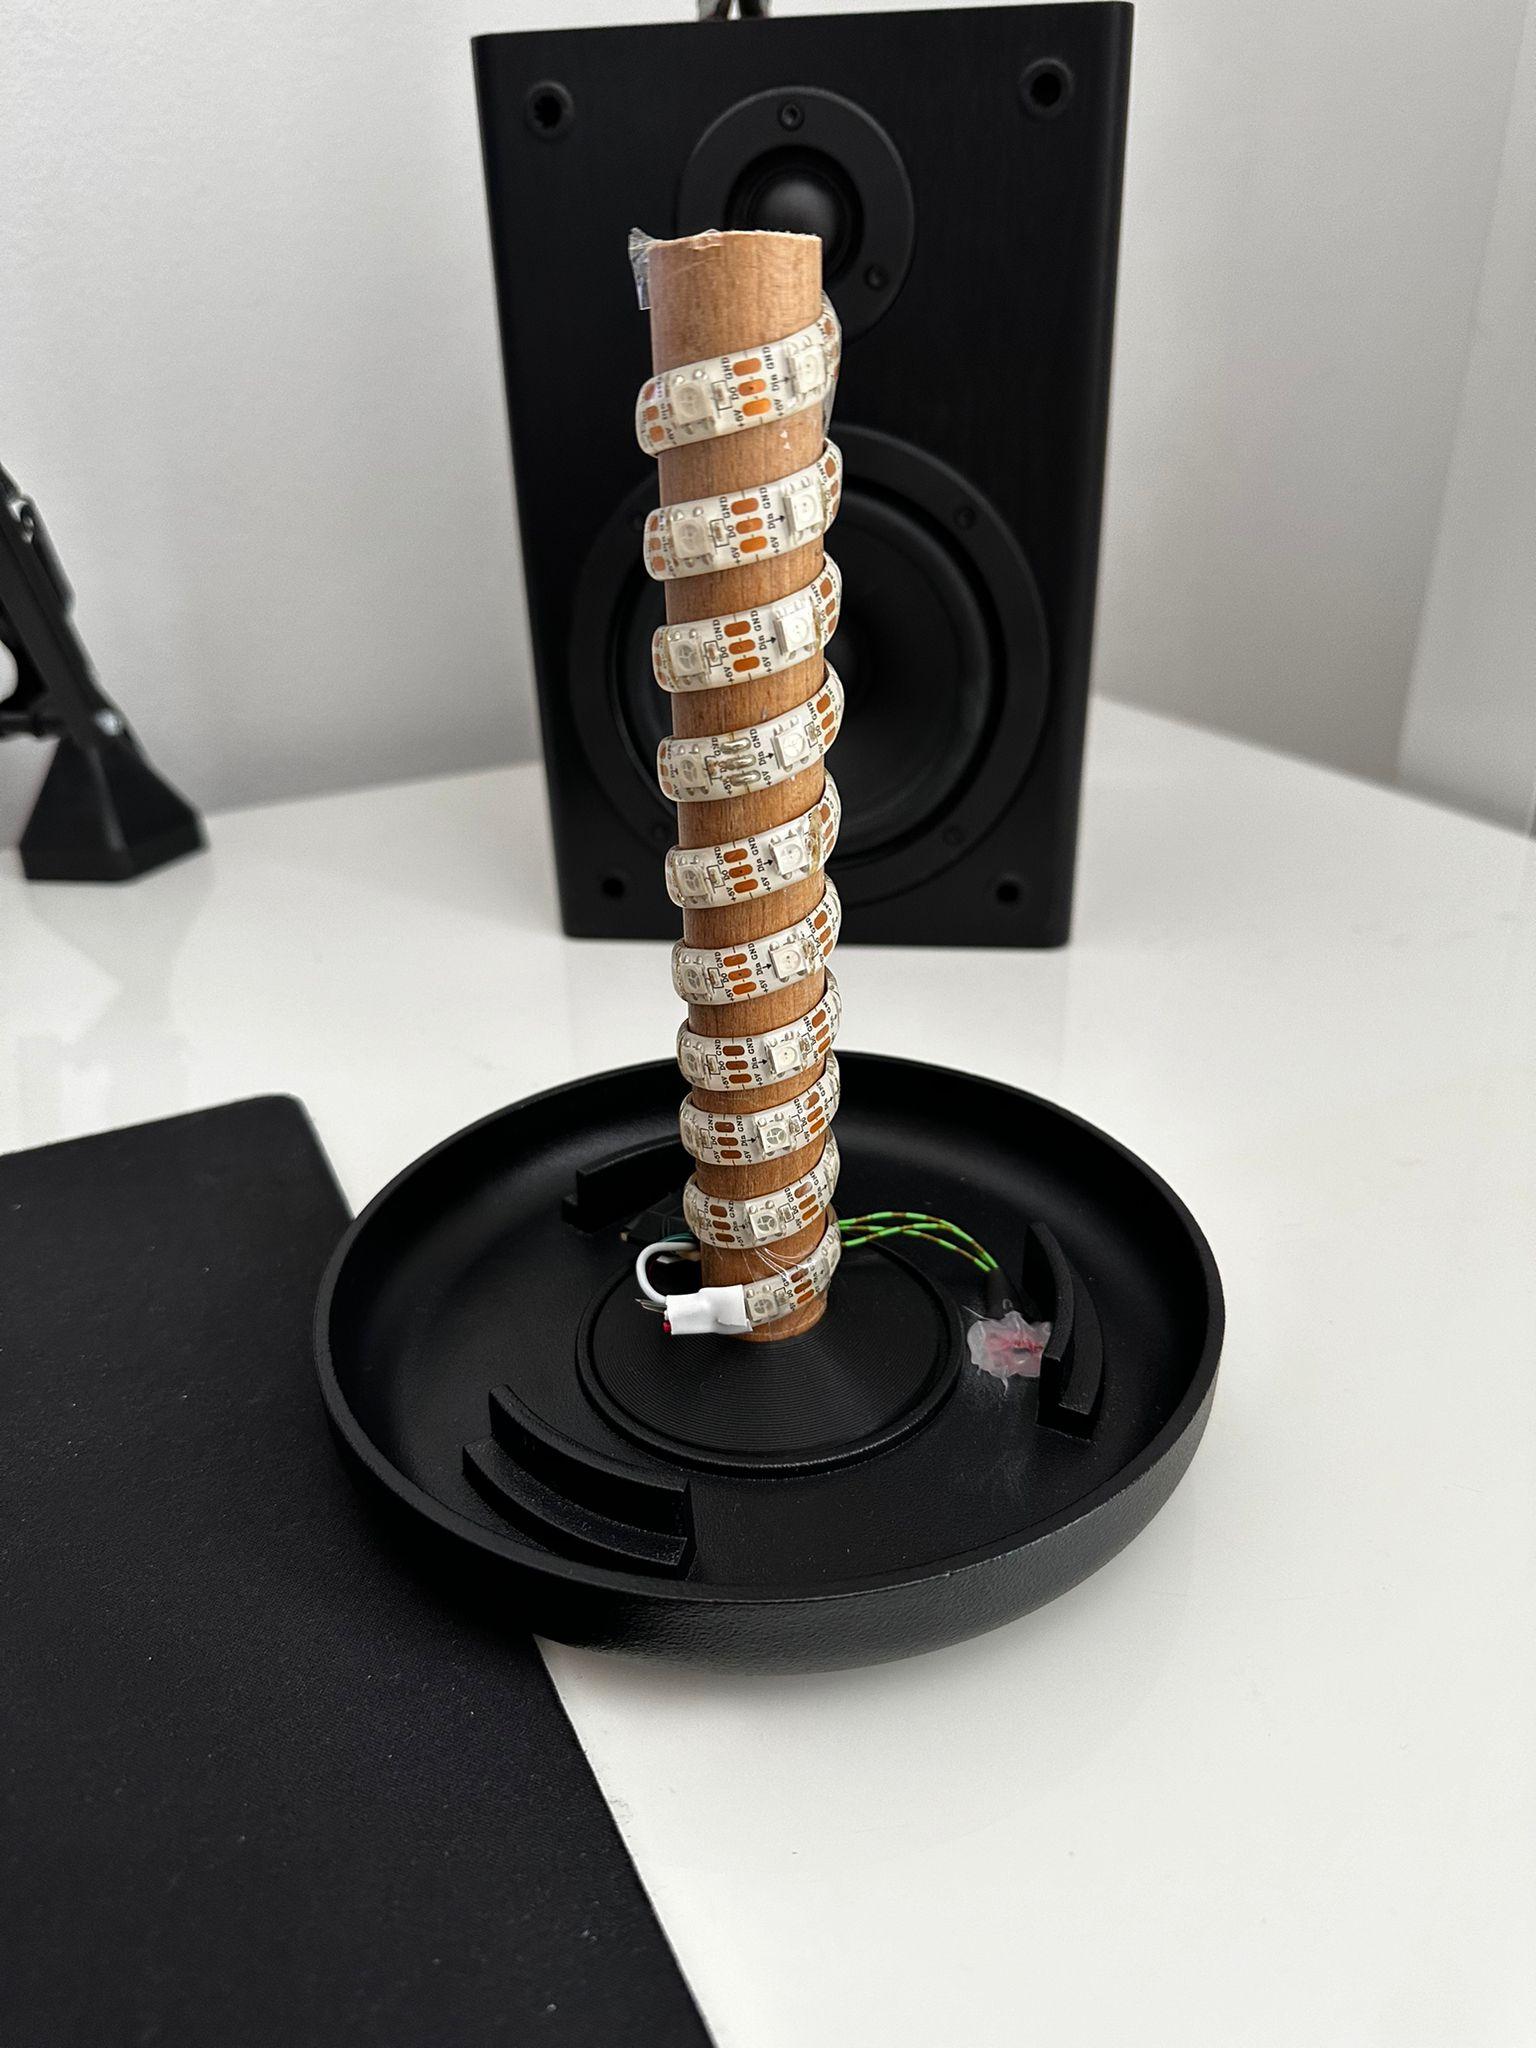
Assemble the lamp by taking the rod and connecting it to the printed disc. After doing that you can start sticking your LEDs onto the pole like shown in the picture. You can secure the Chip using some double sided tape.
For the Capacitive touch sensor I sanded down a small spot on the metallic base. Then I sandwiched a small piece of aluminum foil, which I folded a few times, between the base and the sensor to ensure better conductivity and then glued it down with some hot glue. Make sure the pins on the front side of the sensor are properly insulated.
Configure the Button in WLED
.png)
.png)
.png)
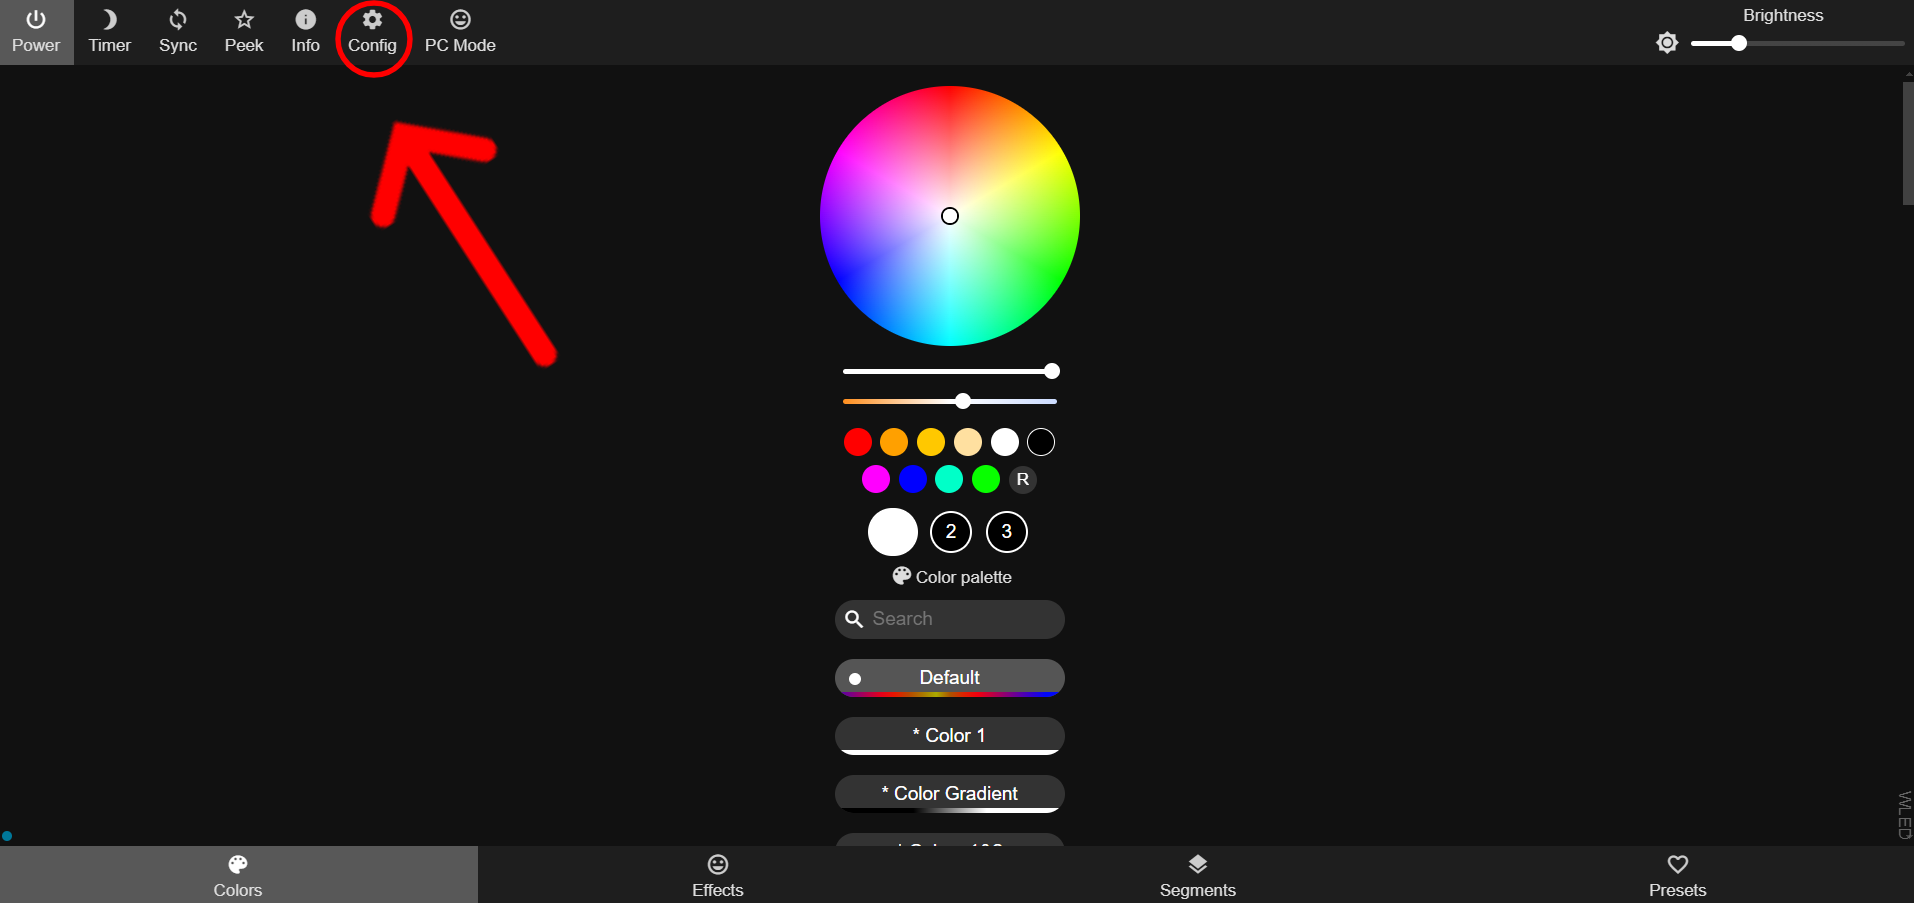
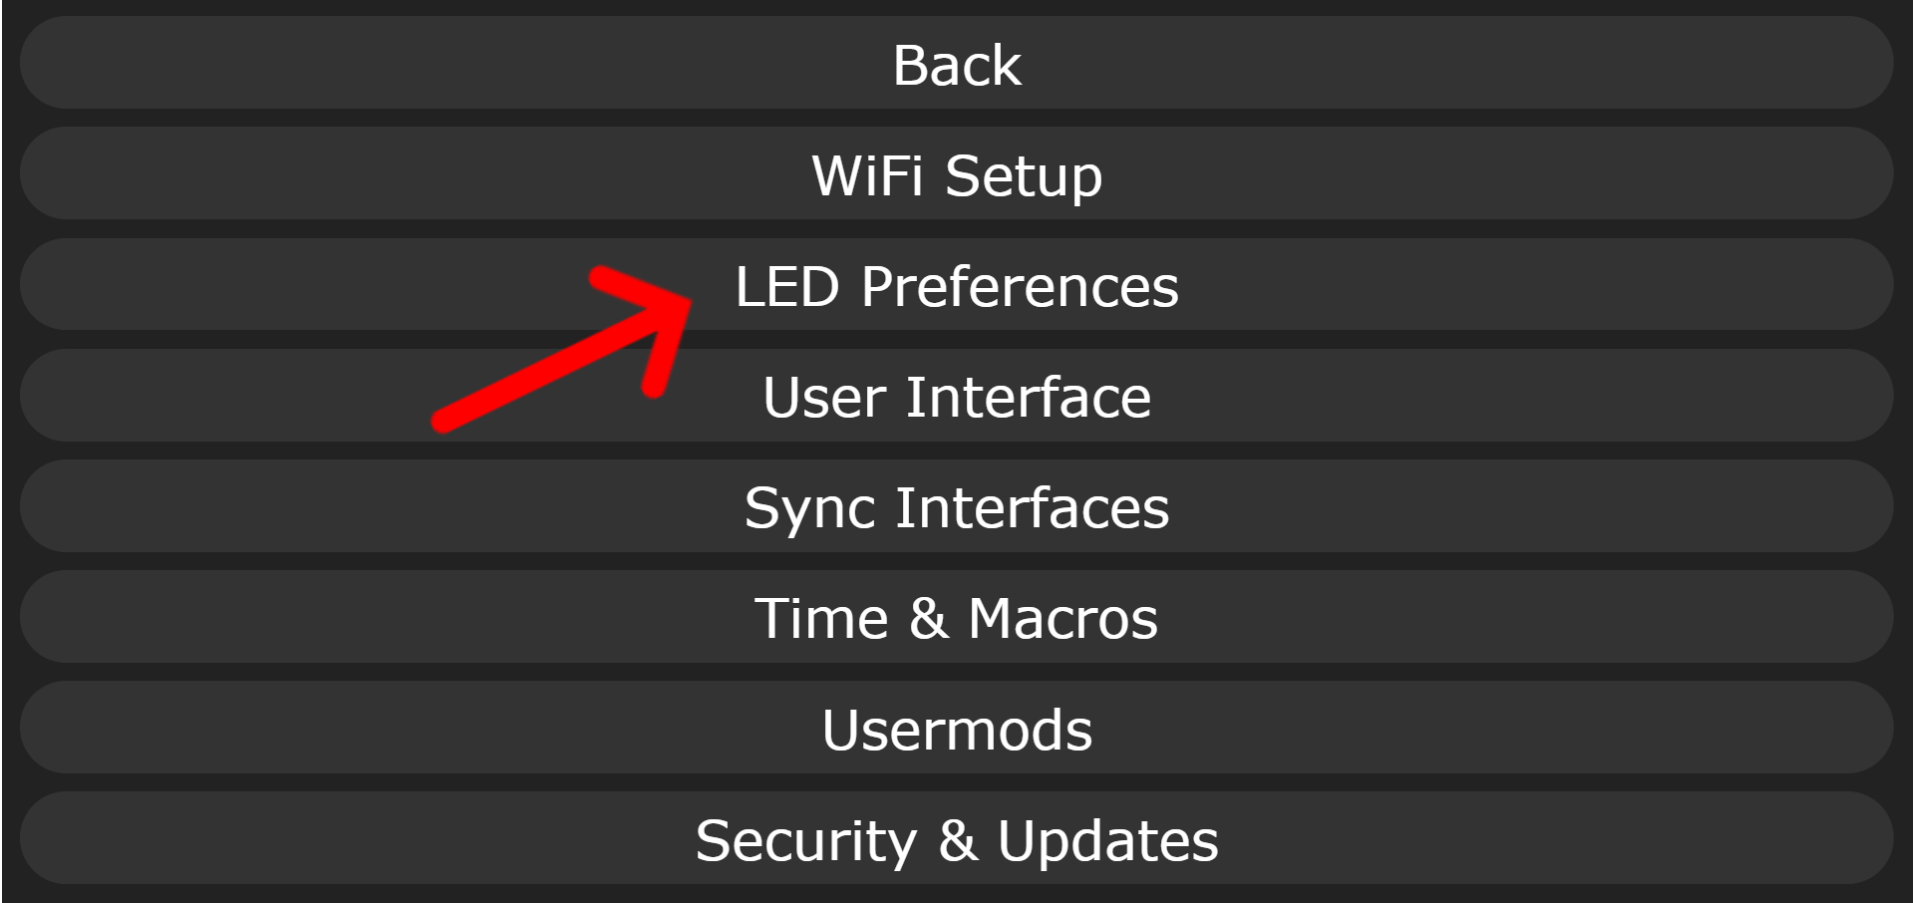
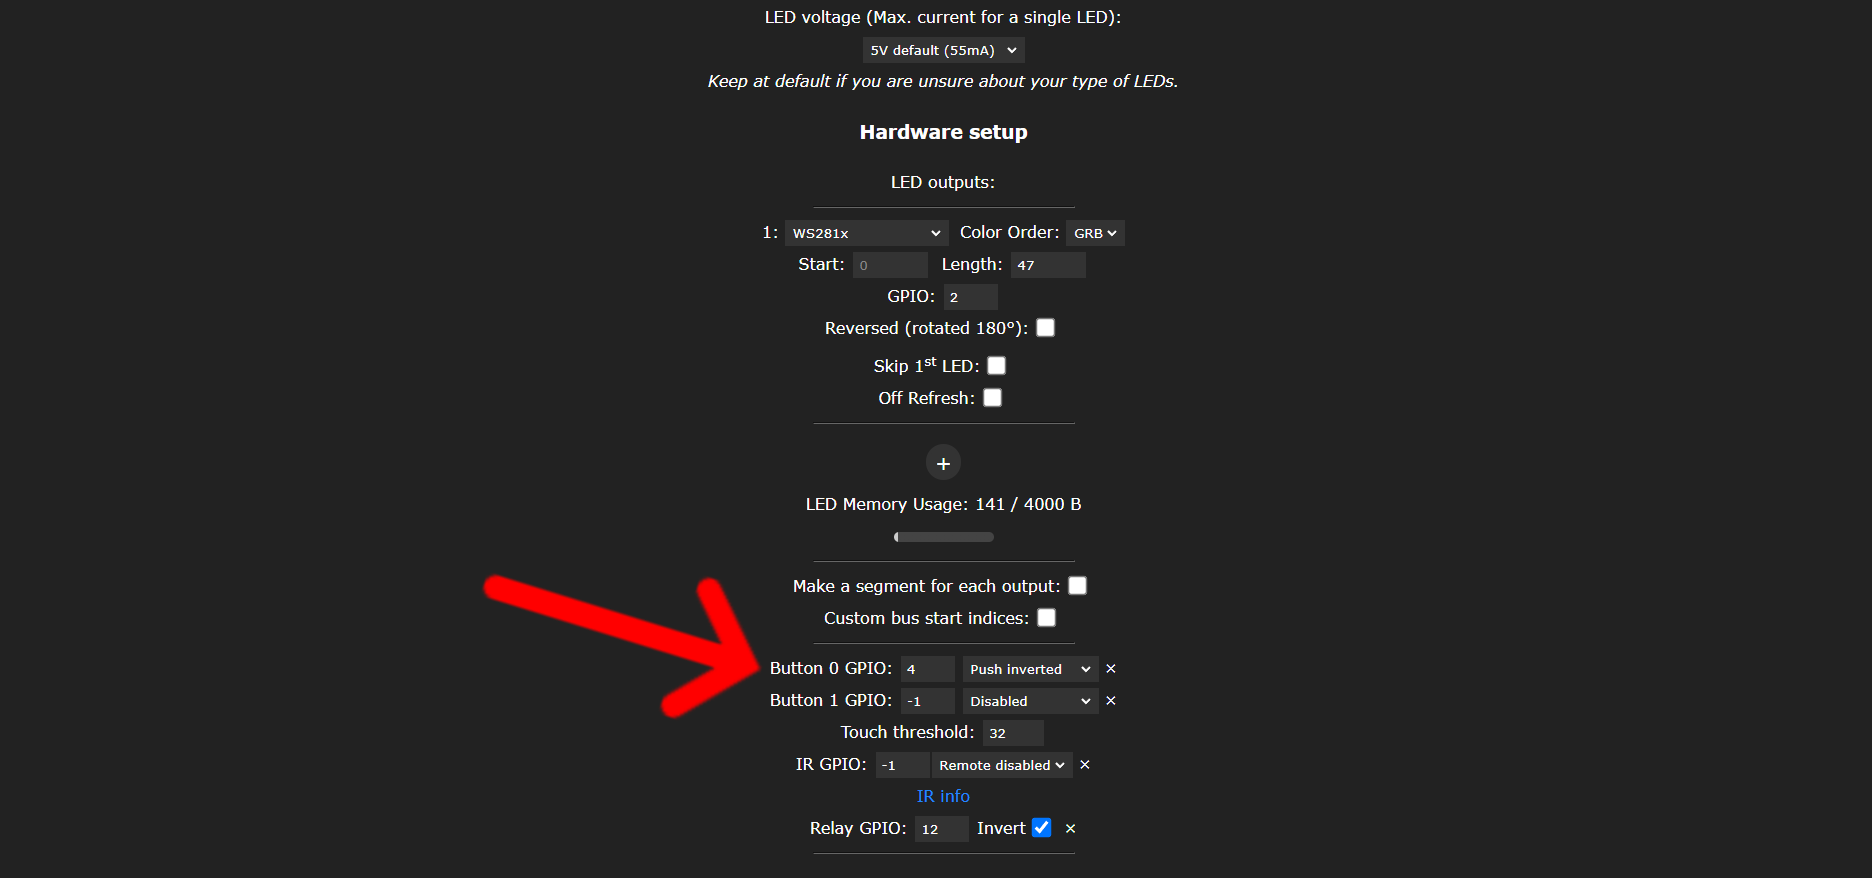
Go to Config, LED Preferences and search for the Button options. There you can enter the GPIO Pin you chose before and select the "Push Inverted" option. After you've succesfully set up the button you can go to the Time&Macros section and configure what it should do by entering a preset ID.
You can find a more detailed guide and some possiblities here.
Admire Your New Bedside Lamp
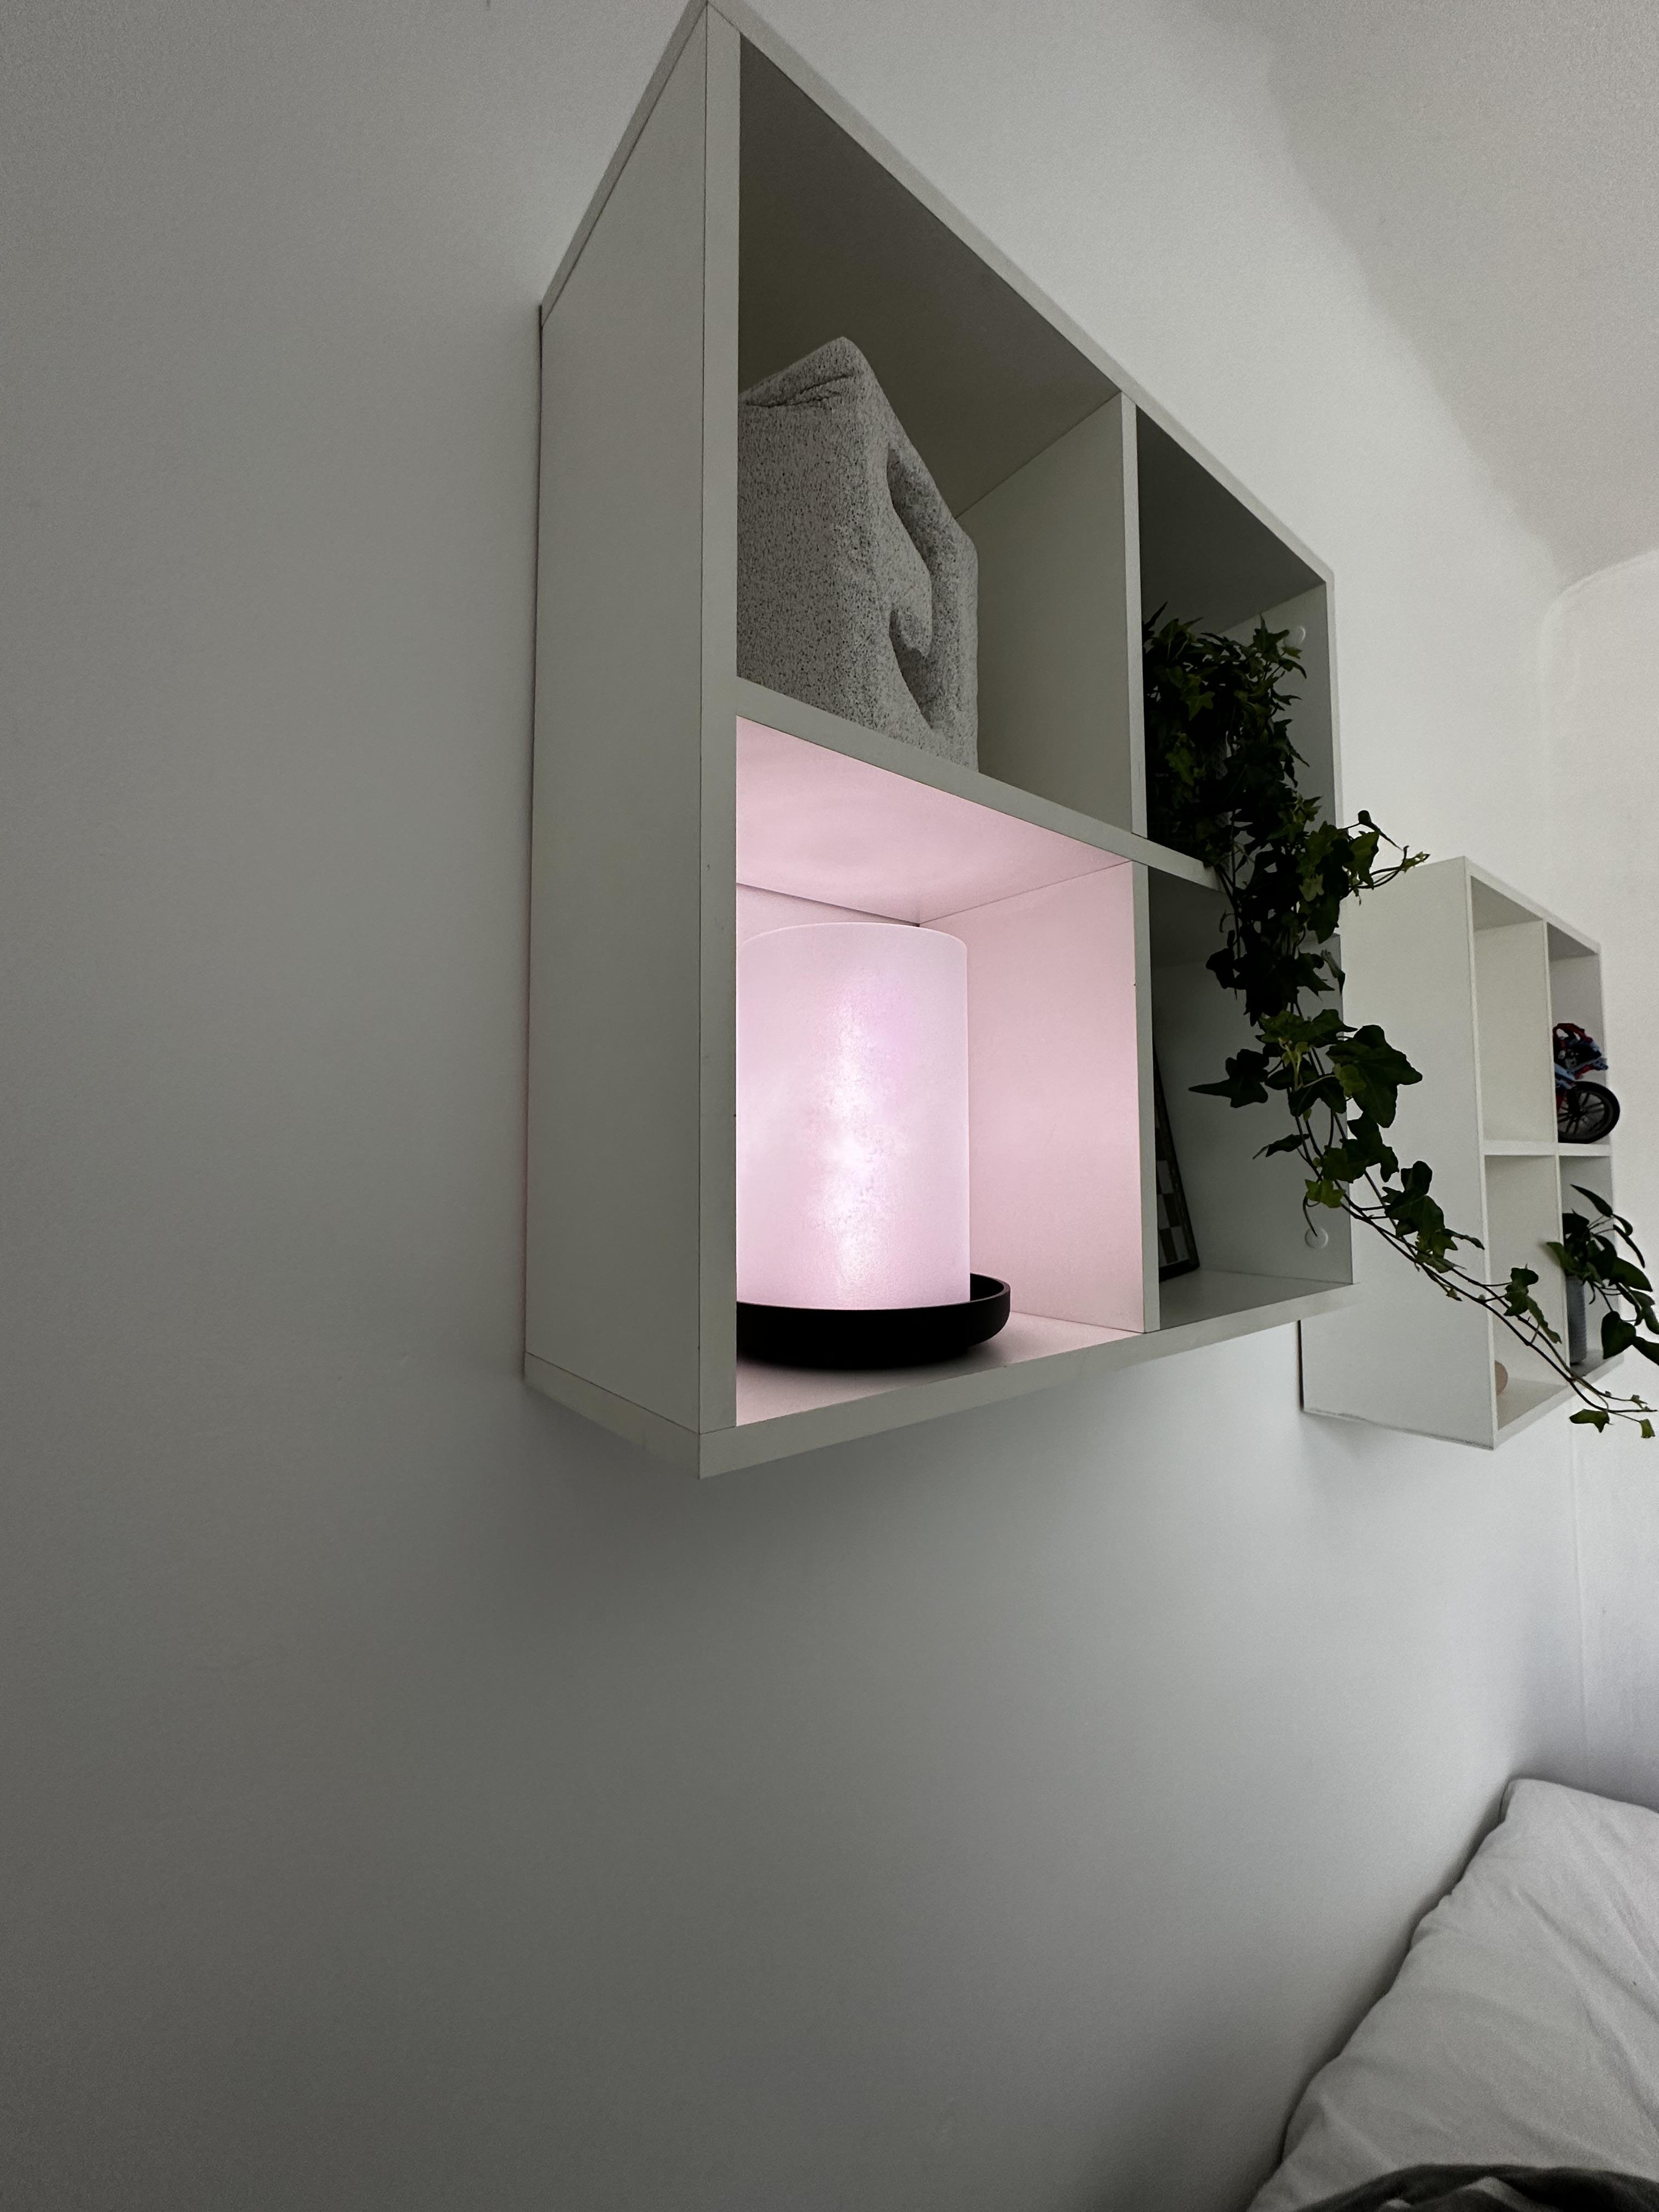
Finally you just have to connect your ESP to a 5V USB powersupply (2A recommended) and admire your new lamp.
If you have any questions please feel free to ask in the comments.