Design Your Own Rune's... and Carve Them Into CGI Stone!
by the lego guy 14 in Design > Art
3421 Views, 7 Favorites, 0 Comments
Design Your Own Rune's... and Carve Them Into CGI Stone!
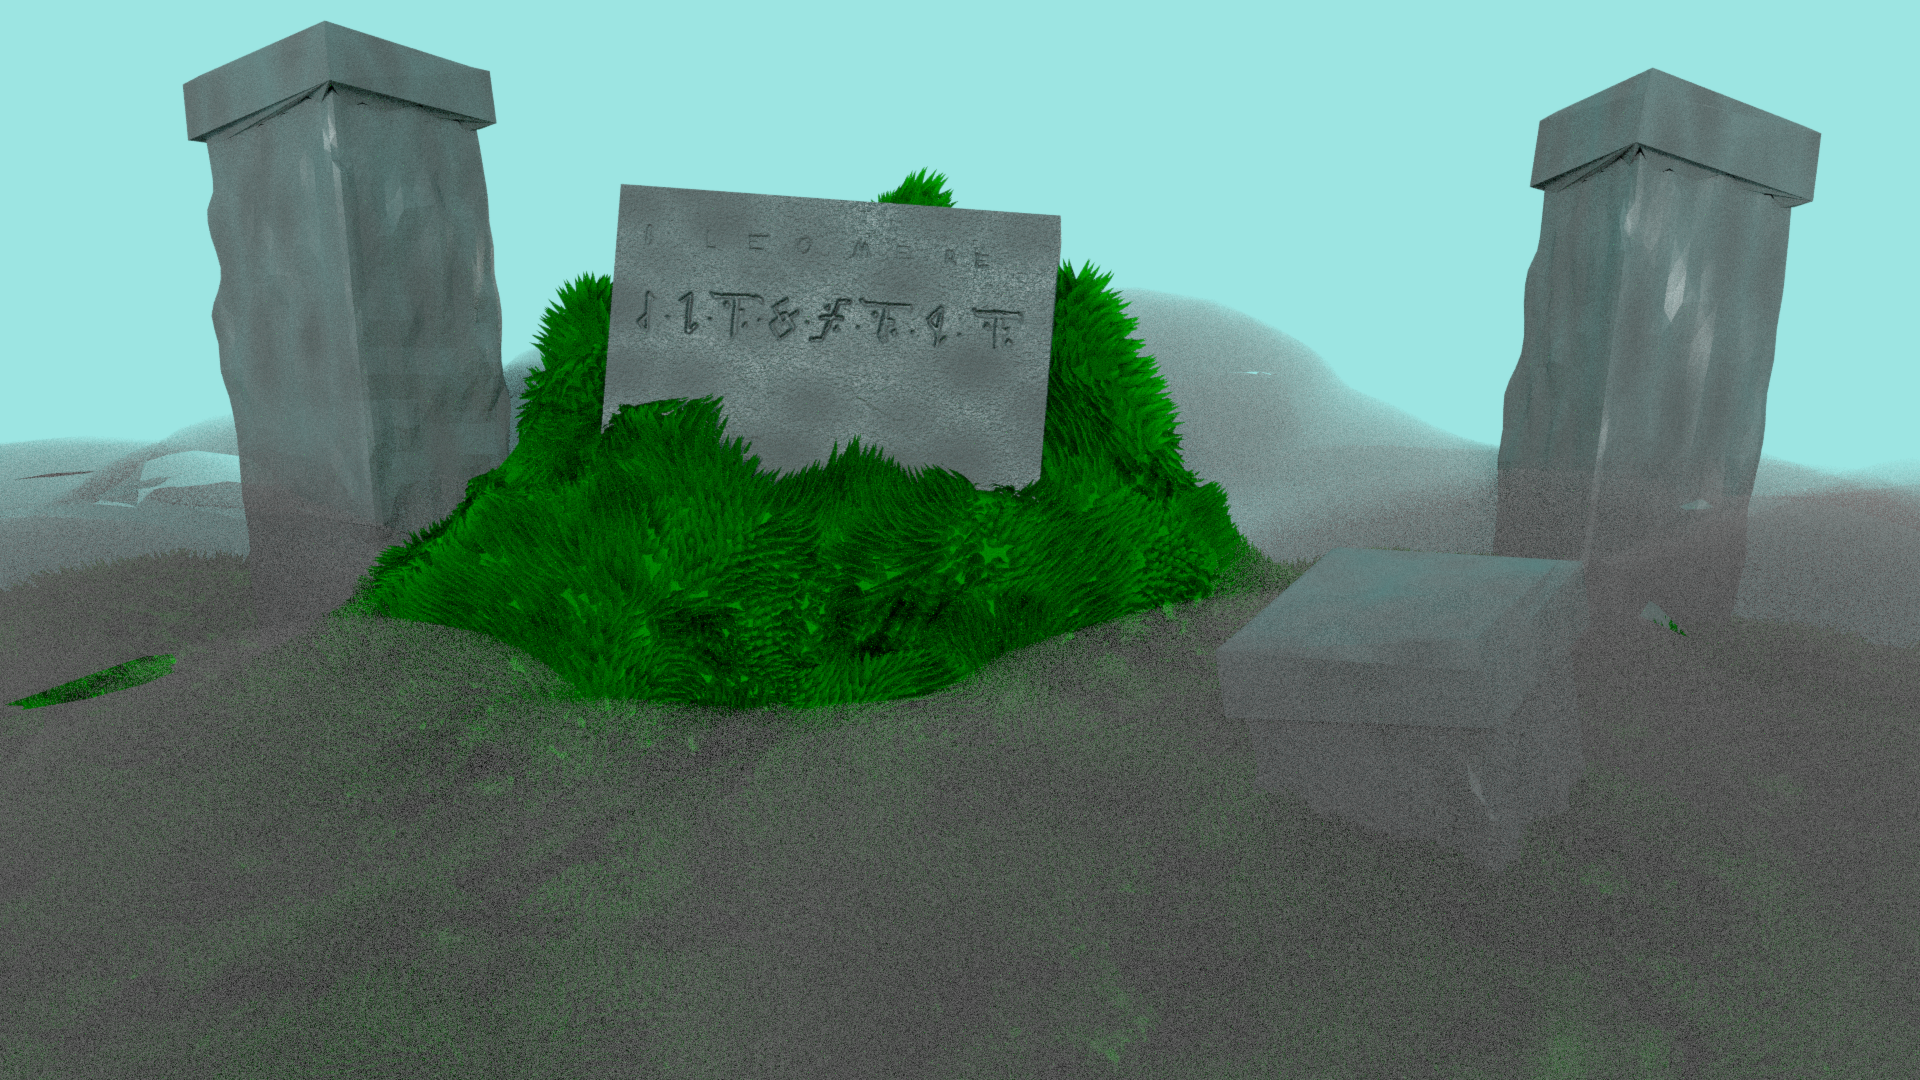
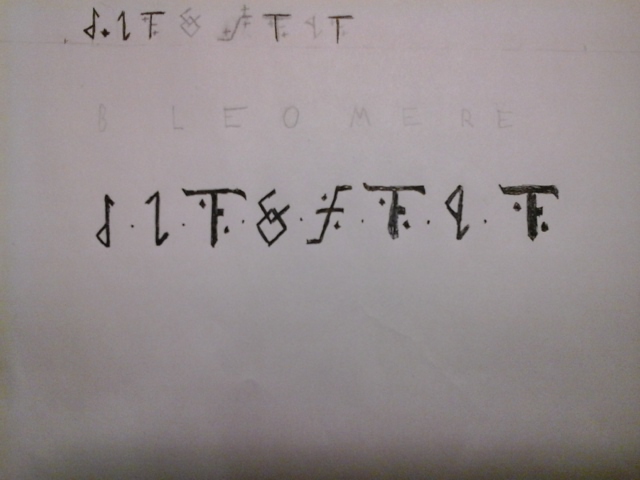
A couple of years I wrote a novel. Then I decided to write a sequel to it. While I was writing the second novel I thought it would be fun to create my own version of the Dwarf language. So during class while I was kind of taking notes and was partly writing poetry I created my own Dwarven dialect. For me the hardest part of this instructable was actually finding the paper I had recreated the dwarf language on. Eventually I gave up and decided to create a new rune alphabet word thing.
The procedure that we will take to do this is simple. First we will create our letters then write a word with Black pen on a white piece of paper. Then we will take a picture of the paper and email to ourselves, (or use dropbox etc.) Using Blender we will create a stone, maybe a fallen arch or something. Finally with the power of the node editor we will make the word we wrote be engraved into the stone, making an epic scene!
Supplies
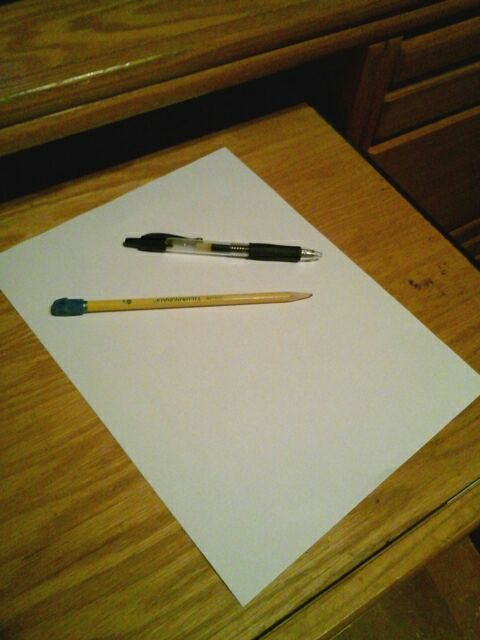
For this project you will need:
~ A white piece of paper
~ A Pencil and a Black or Dark pen
~ A camera or photocopier
~ Blender 2.74 (at least that is what I am using)
~ And obviously your intense reading skills
Designing Your Rune(s)
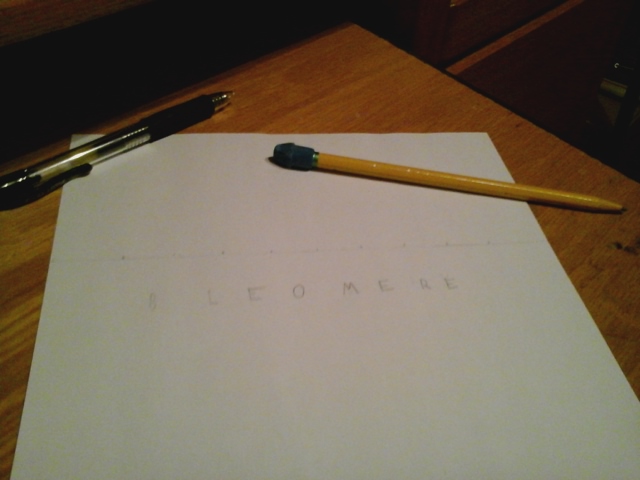
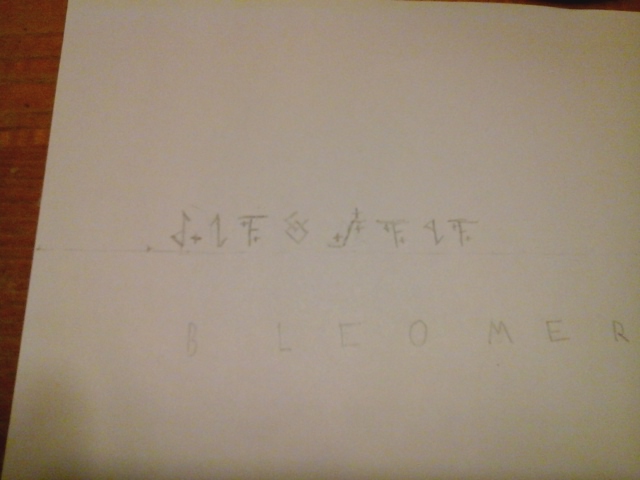
I decided to just create enough runes for the word that I am going to wright, instead of making a new complete alphabet. I made up a word just now. It is "Bleomere" which in this new language will mean "Strong One." First design the letters for the word in pencil. Make sure you draw LIGHTLY. Then go over it with the black pen. Make sure the black is bold.
Nodes Formation
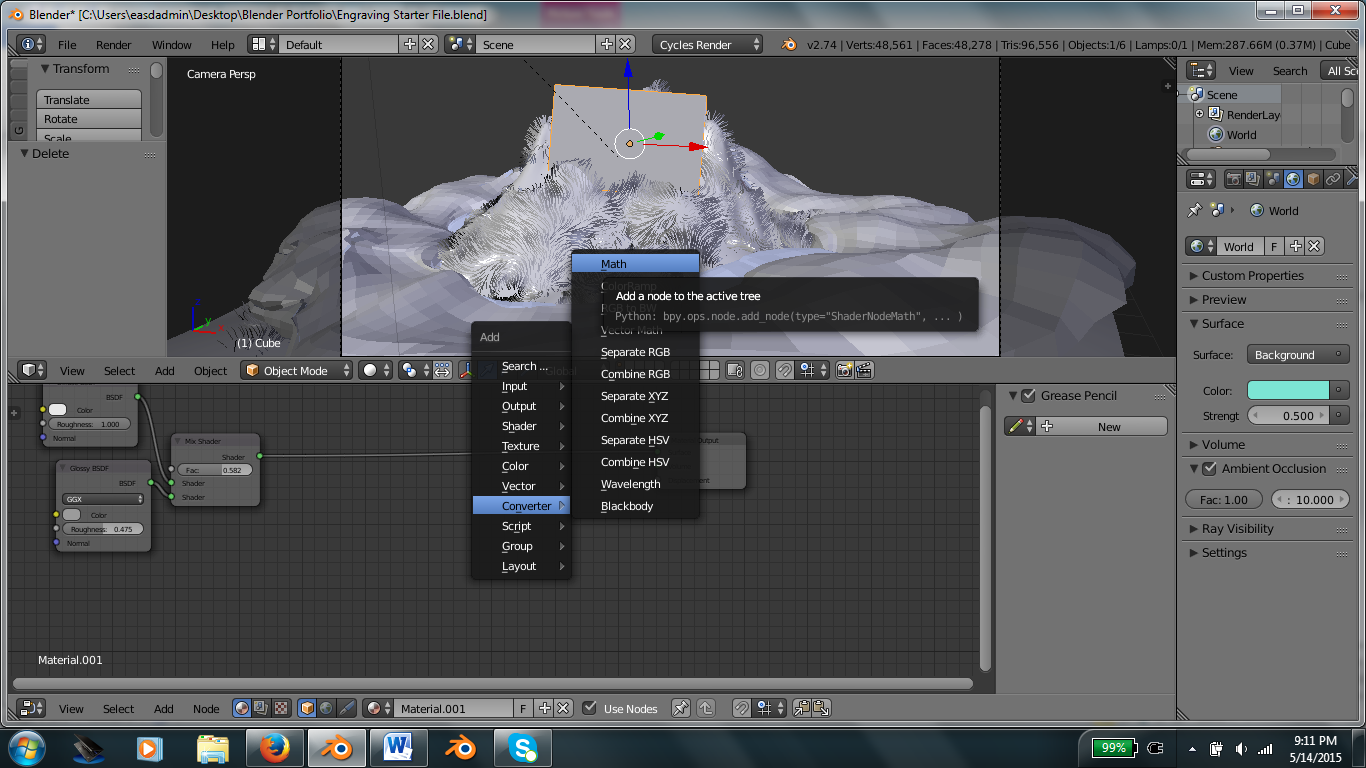
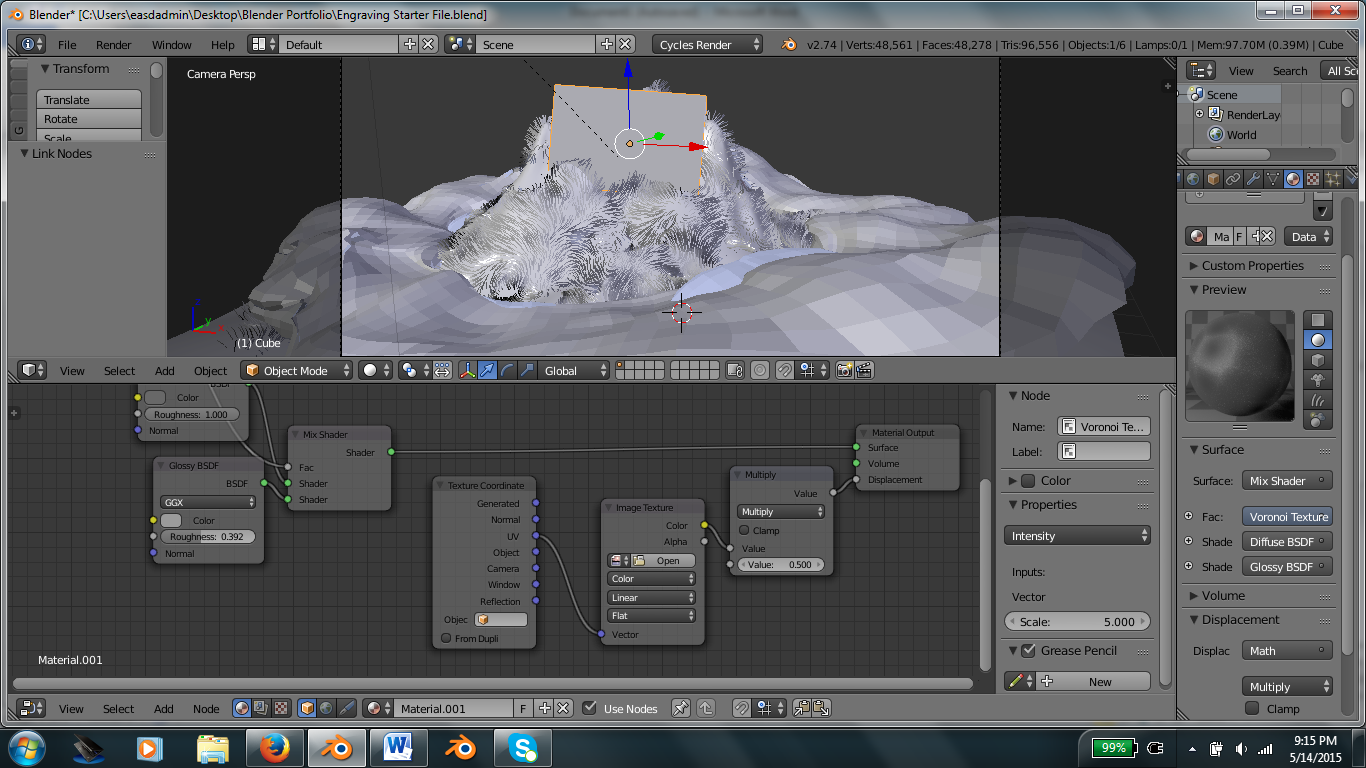
Email yourself the picture of the bold writing. Then open blender. If you want to use the starter file please feel free. Otherwise you want to create your own stone or obelisk or whatever it is you want to engrave. Most of our work is going to be done in the "Node Editor."
First open the node editor. I just changed the timeline from the "Timeline" to the "Node Editor." (I changed the second value to 5 so that the Inscription is more visible.)
Add a "Math" node. You can find the "Math" node in the "Converter" section. Change the math node to "Multiply" instead of "Add."
Then add an "Image Texture" node and select the picture that you took of your bold design.
After that access the "Input" menu and add a "Texture Coordinate" and connect the UV to the Vector on the "Image Texture."
P.S. = I learned this method from the tutorial on "How to make the One Ring."
Downloads
UV Unwrapping and Finishing Up
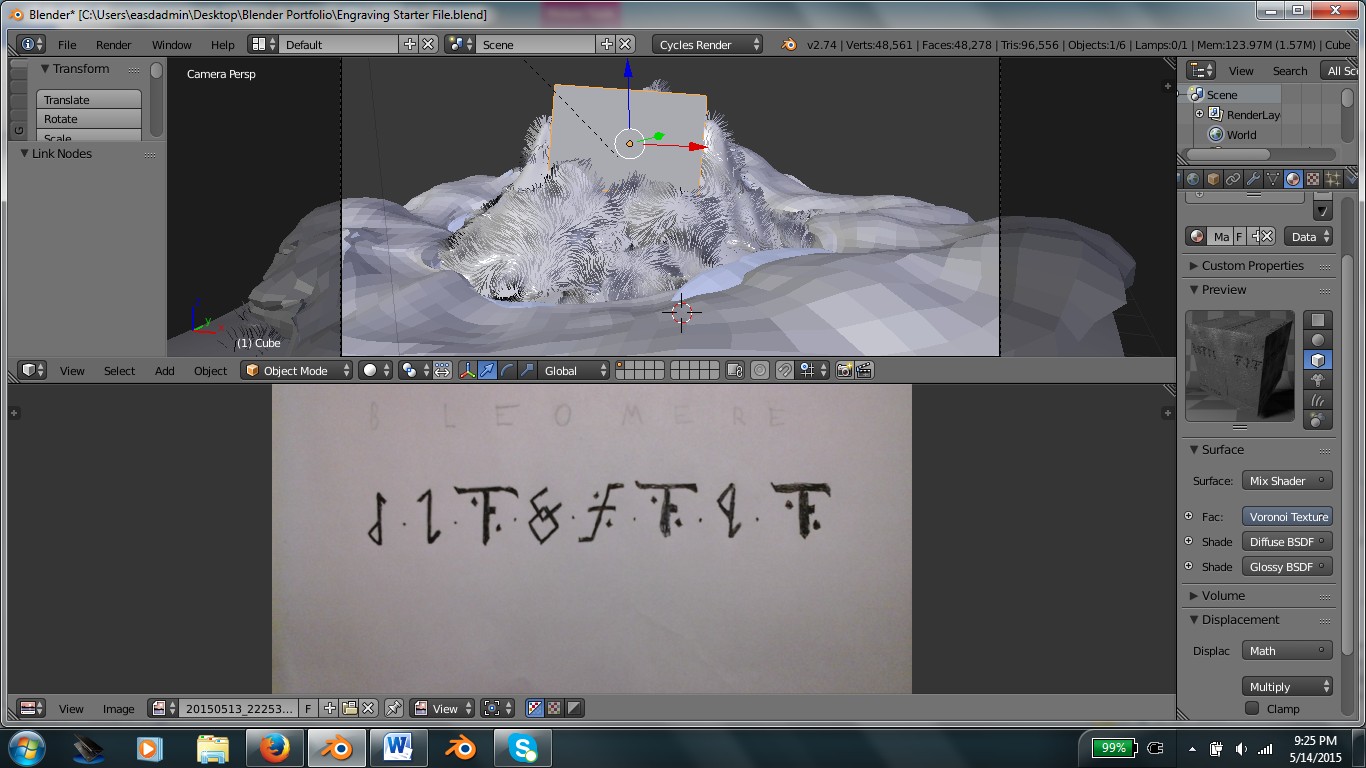
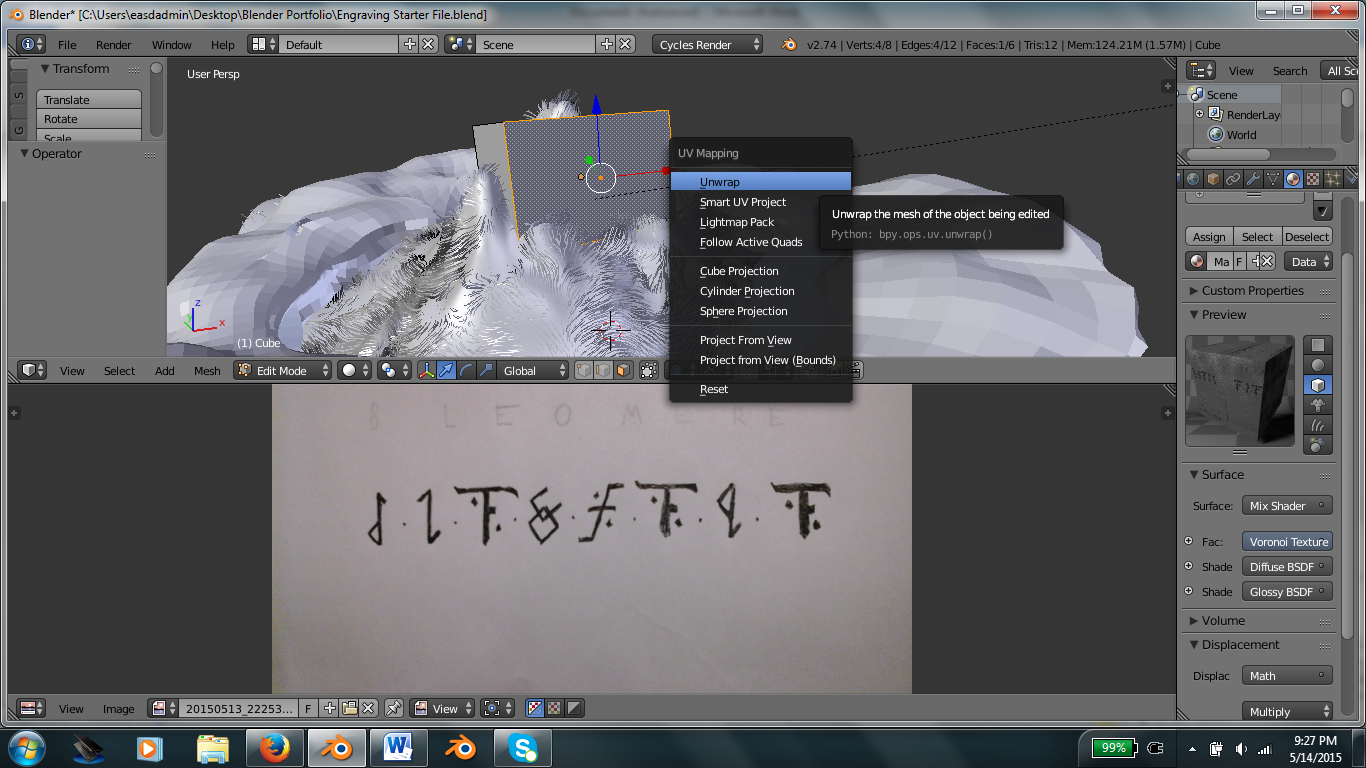
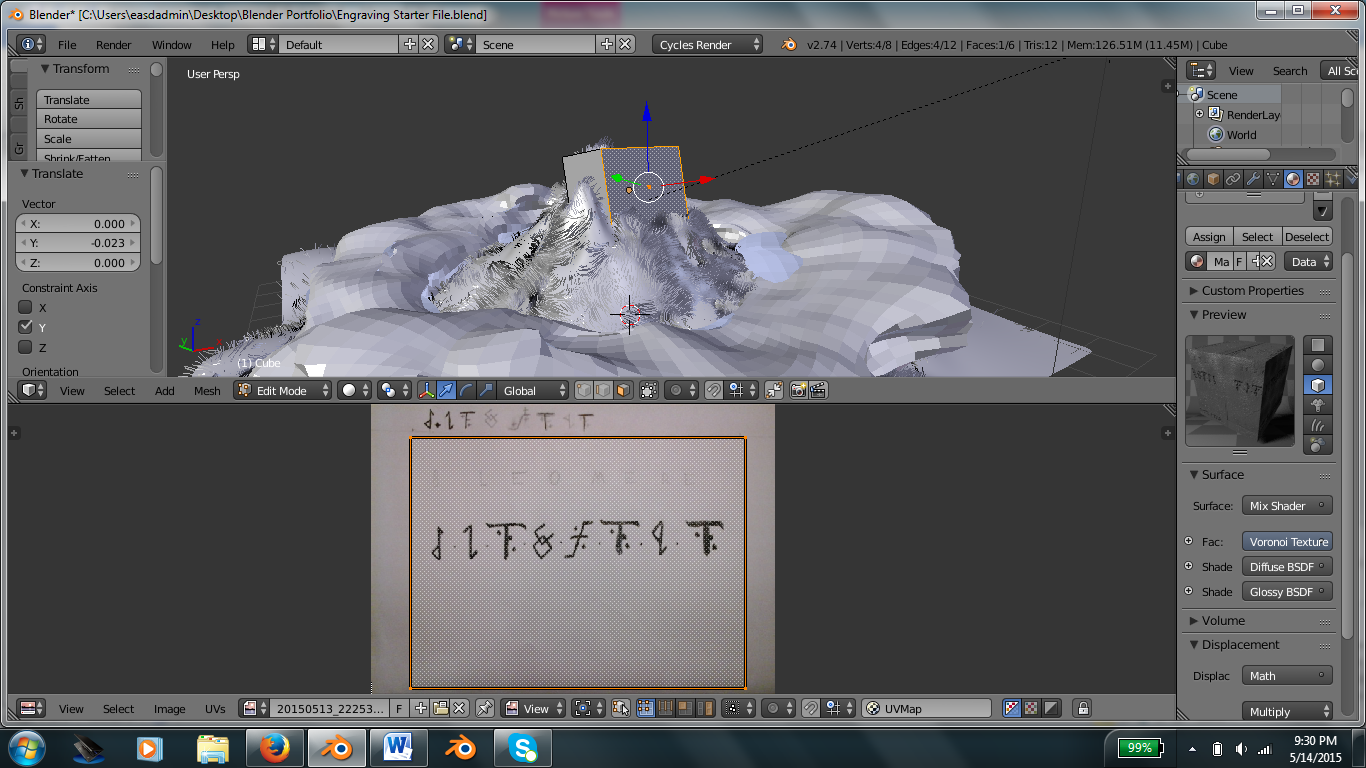

Now change the "Node" window to "UV" and open the image you used. Then you need to select the stone and access "Edit Mode" by pressing "Tab." Select the front face and press "U" and select "Unwrap"
Then render it and add some finishing touches and you have your engraved stone.
I probably should have erased the writing above the bold word as you can tell it shows up faintly. But that is how to design your own lettering for a language or code and set it in stone!