Design Your Own Jack-O-Lantern With Photoshop
by JTAAUSTEX in Living > Halloween
17114 Views, 188 Favorites, 0 Comments
Design Your Own Jack-O-Lantern With Photoshop
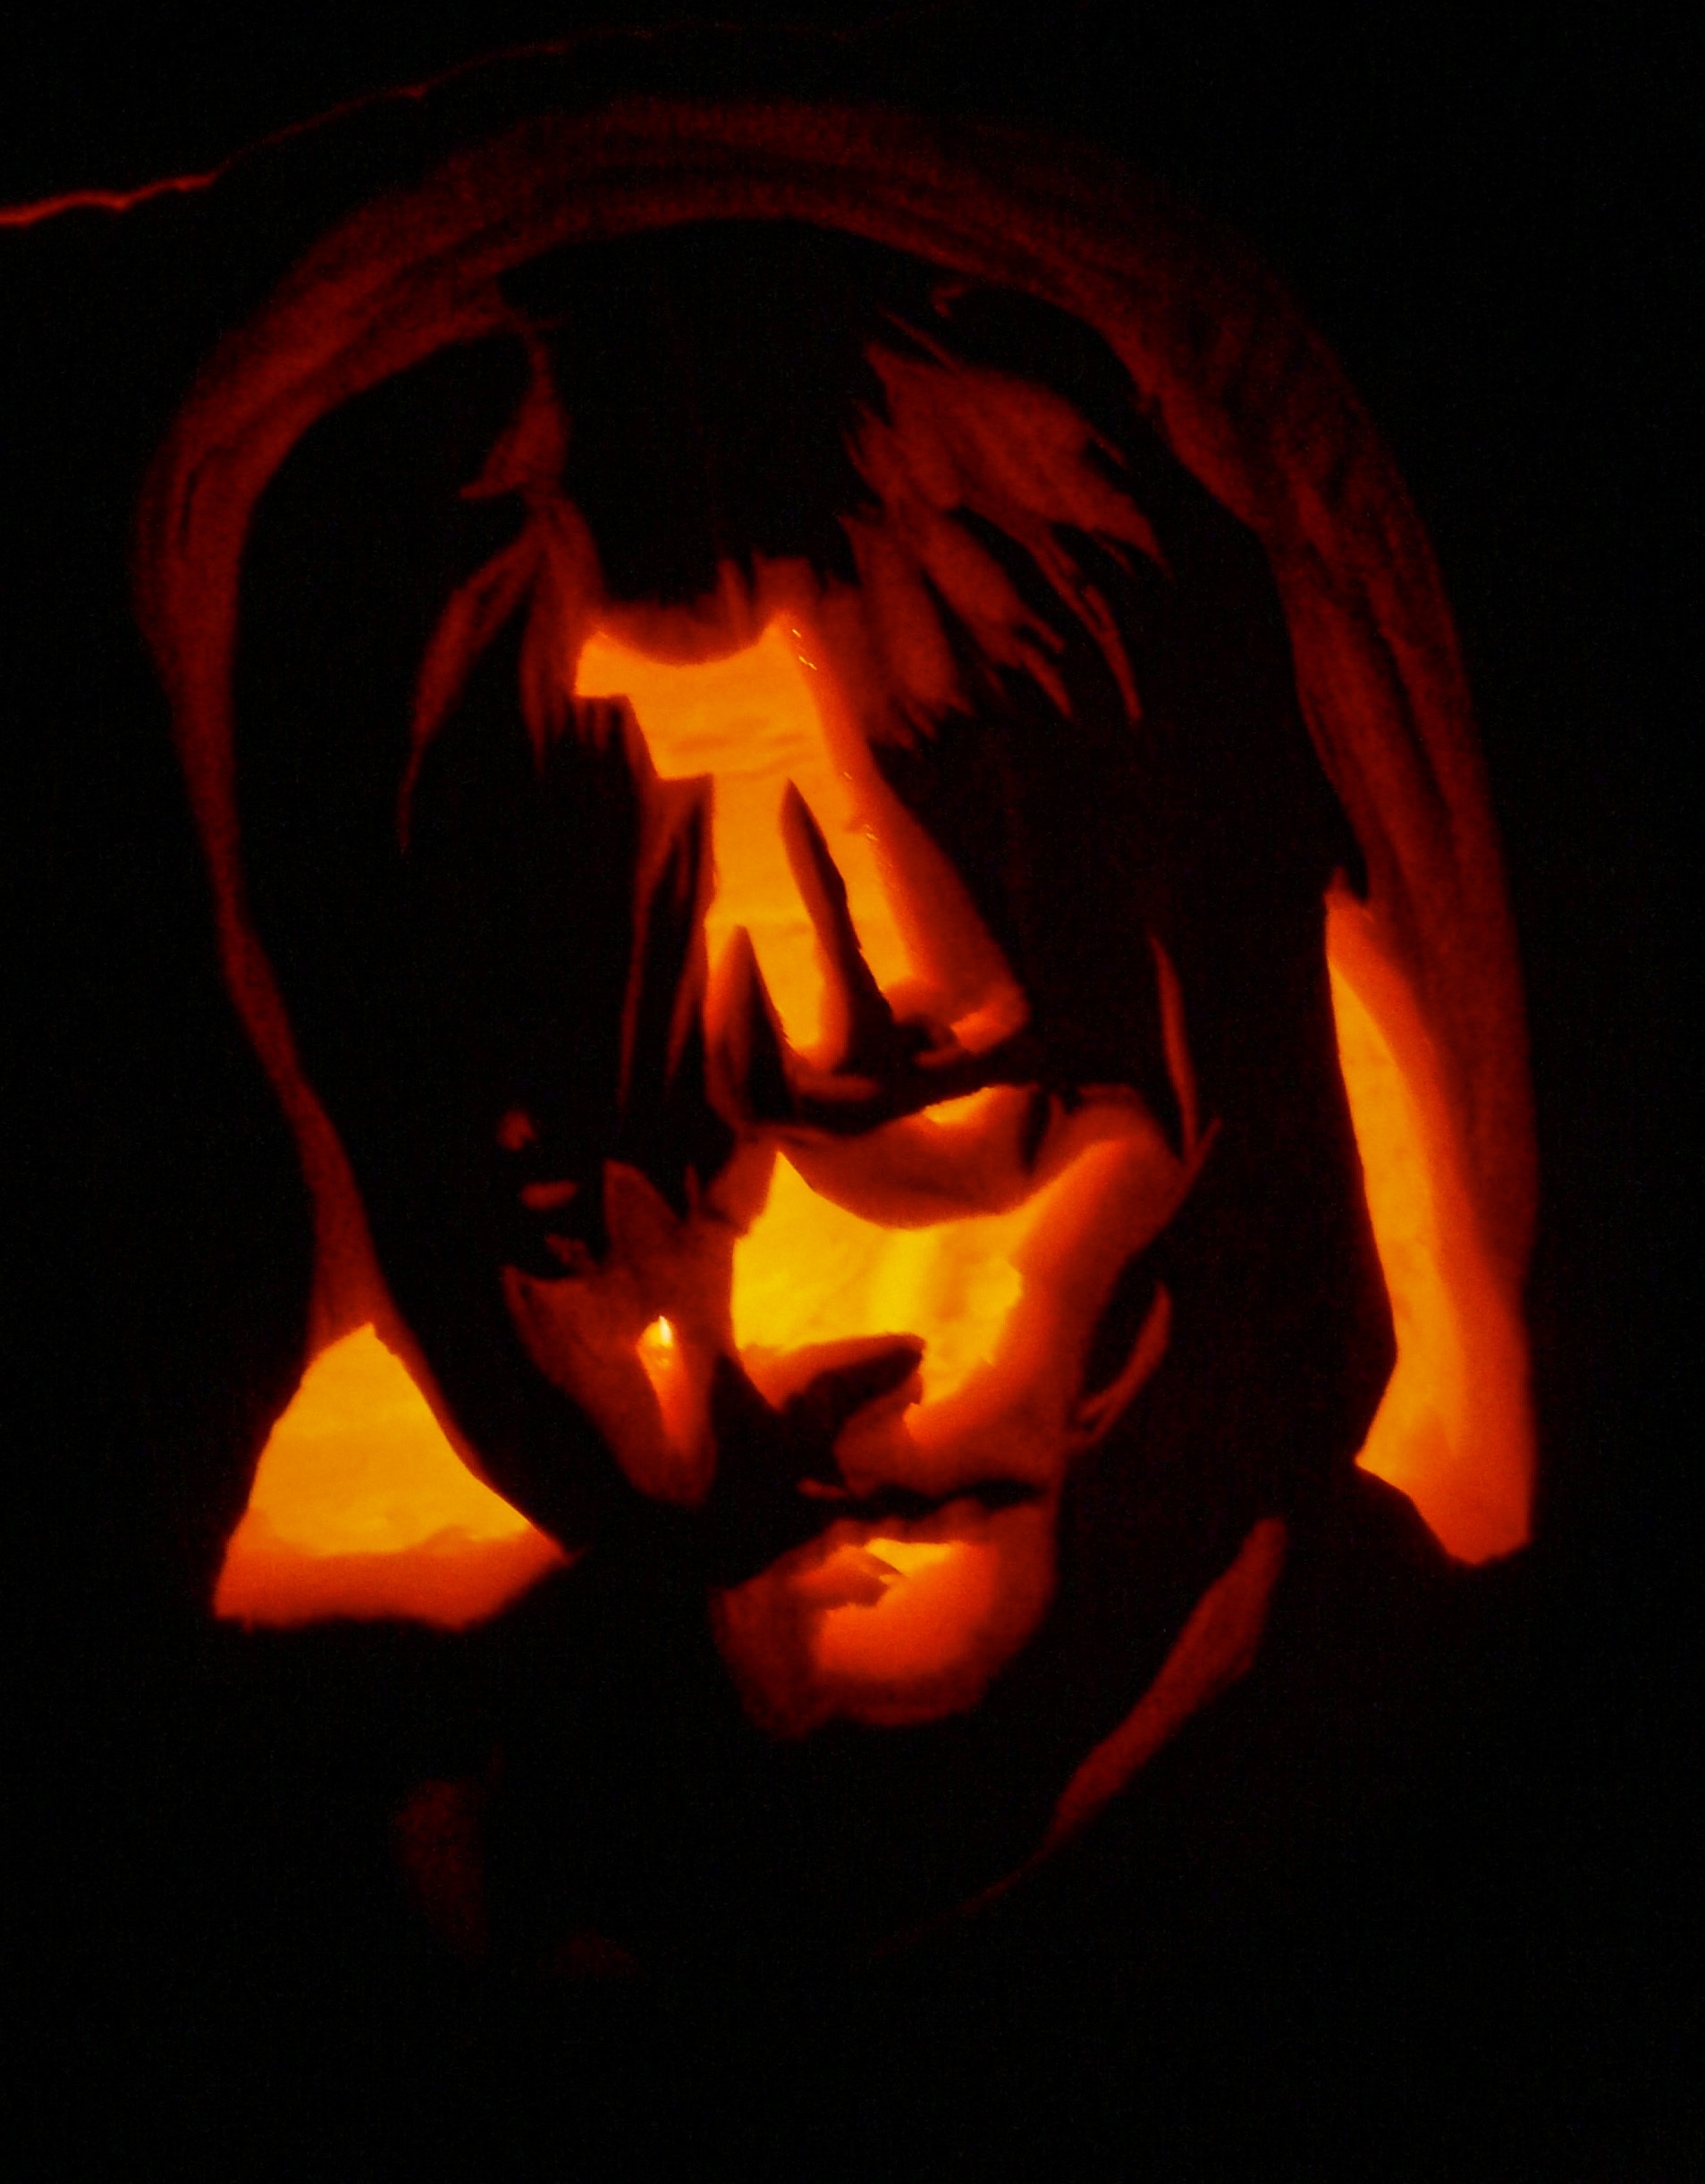
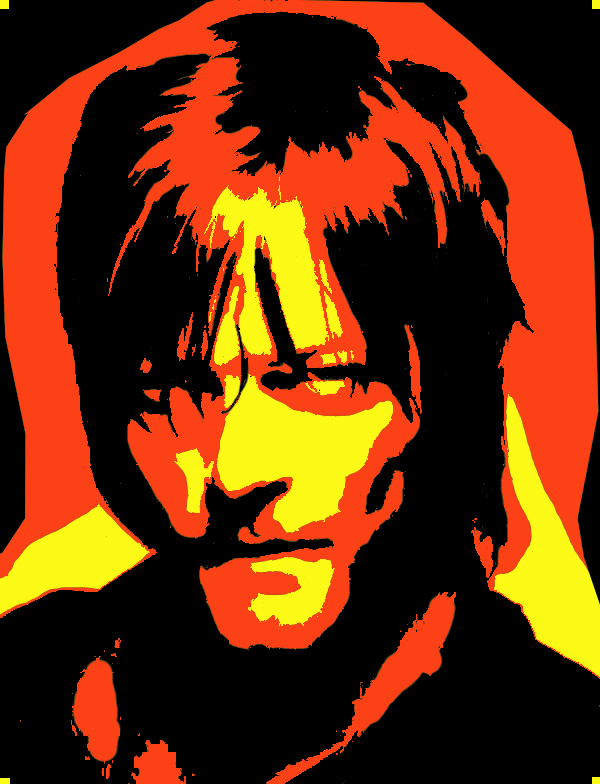
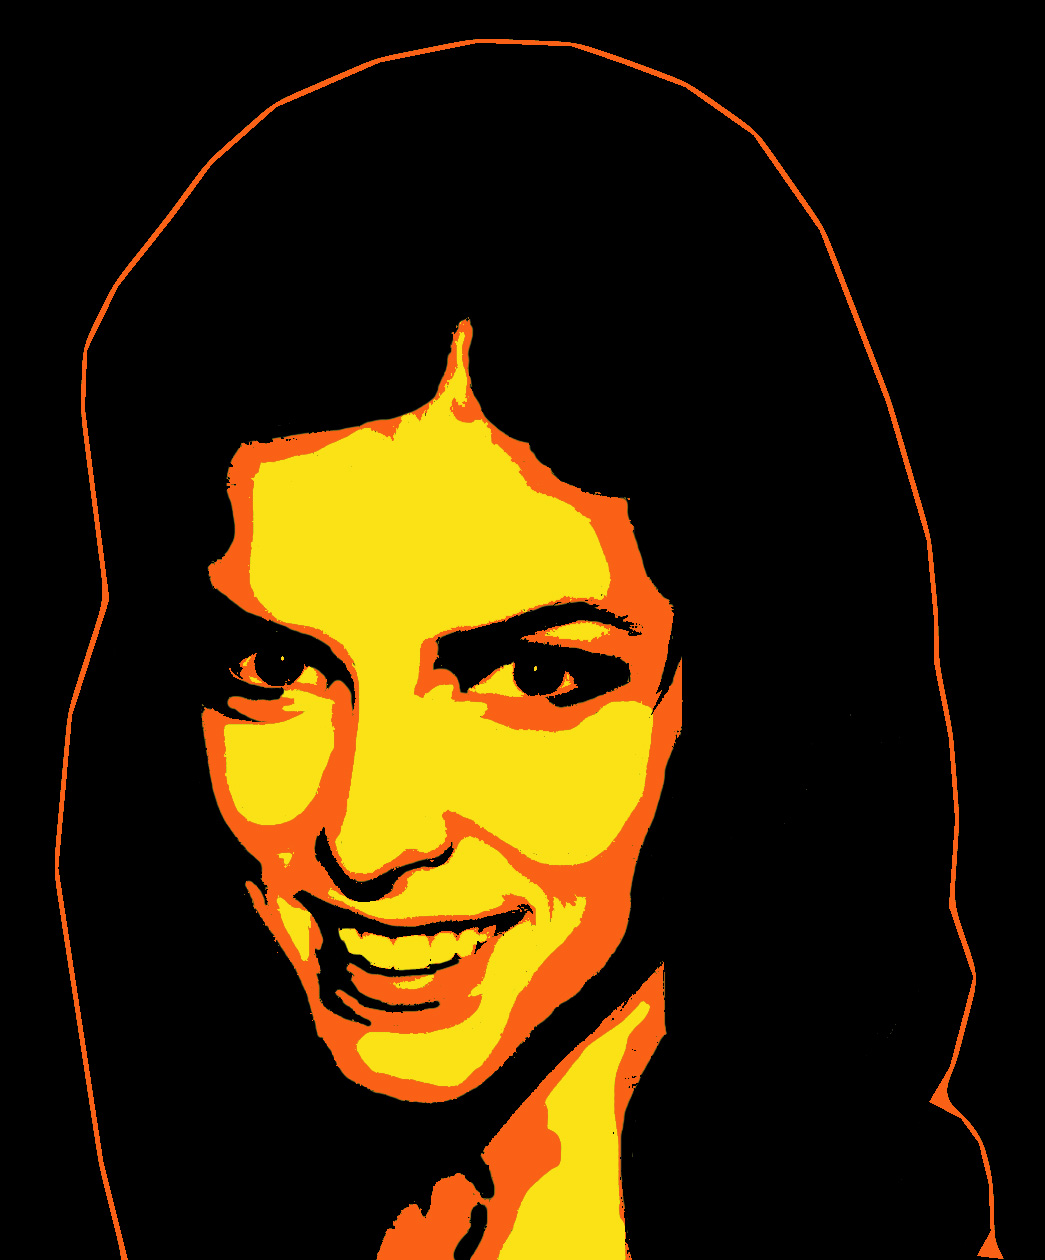
Is carving Jack-O-Lanterns for the kids getting boring? Maybe it's because you do the same "old triangles for eyes and jagged mouth" every year. If you are a little more adventurous, there are more complex patterns to be had on the web, and they can be more fun and more challenging.
Why stop there, though? This Instructable describes how to design your own custom Jack-O-Lantern pattern with Photoshop (or just about any other raster graphics package with layer adjustments). Use your own picture, or a favorite from the web. Do a portrait. The possibilities are endless, and it's not nearly as hard as it sounds. In fact, it's pretty easy, if you know the tricks and have the right software. While you can approximate the same effect with Photoshop's "Posterize" filter, this method gives you much more control of your final design.
Pick Your Subject
The subject should be a photograph or graphic with strong contrasts. Particularly if you are doing a portrait, try to pick a photo where the light on your subject is from one side, and the other side has shadows. It doesn't have to be a strong difference, but light right from your point of view (e.g., a flash photo) is harder to deal with. The background should either be dark, or it should be amenable to removal (by blackening everything behind the subject), or you should resign yourself to having an abrupt border--they can be cool, too.
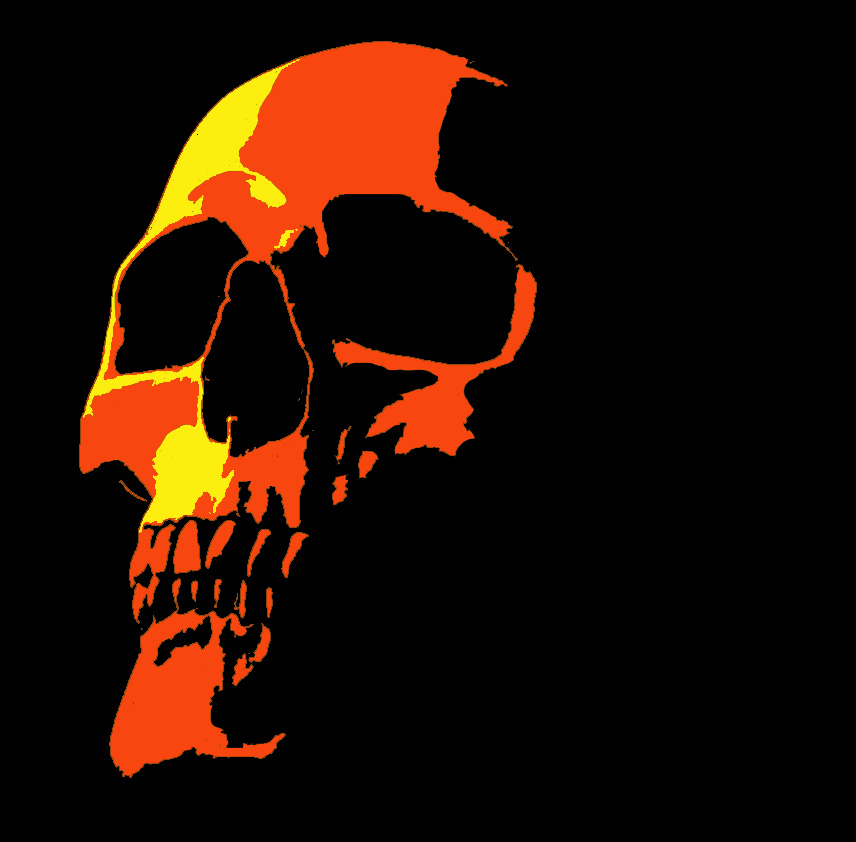
That said, do whatever you want. This is supposed to be fun. For this demo, I'm going to be working with a skull photograph that I got off the web (thank you, whoever...).
Before we start, a caution:
CAUTION: This should go without saying, but be very careful with sharp knives (and dull ones, for that matter). If you are under about 30, have your Mom or Dad help you. I am not responsible for your self-mutilation.
Downloads
What You Need
A subject photo.
A computer with Photoshop or similar raster-based, multi-layer graphic program (e.g., GIMP).
A printer.
A cutting mat (not essential) and hobby (X-acto) knife.
A sharpie to transfer the design to the pumpkin.
Four push pins.
A pumpkin and carving tools (I use a hobby knife for carving, a large spoon and a large knife for hollowing and thinning the pumpkin, and the pointed end of a potato peeler for removing the rind after I cut).
A candle to illuminate your finished Jack-O-Lantern.
A modicum of patience and a can-do attitude.
Although this is largely a Photoshop tutorial, I'm assuming you have some facility with the program, so I'll say things like "edit the photo to remove unnecessary background" rather than walk you through that process step by step.
First Things First...
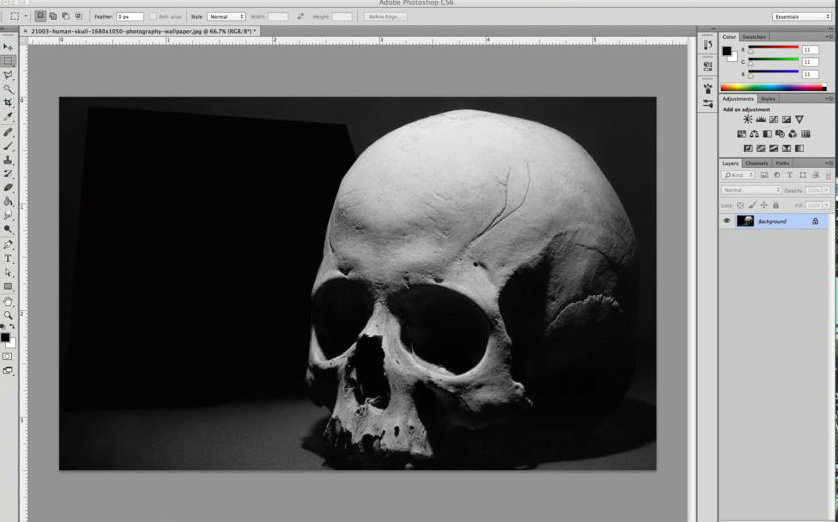
Load your image into Photoshop and edit it to remove backgrounds (make them black). If it's a color image, convert it to grayscale or desaturate it so it's black and white. Scale it so it fits on your pumpkin canvas.
Make Two Duplicate Layers
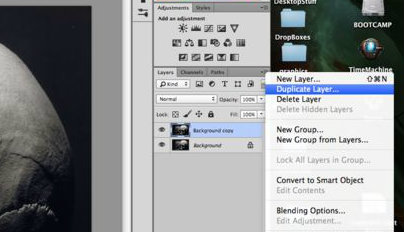
Once you have the artwork the way you like, make two copies of the original on two different layers.
A Word About the Concept
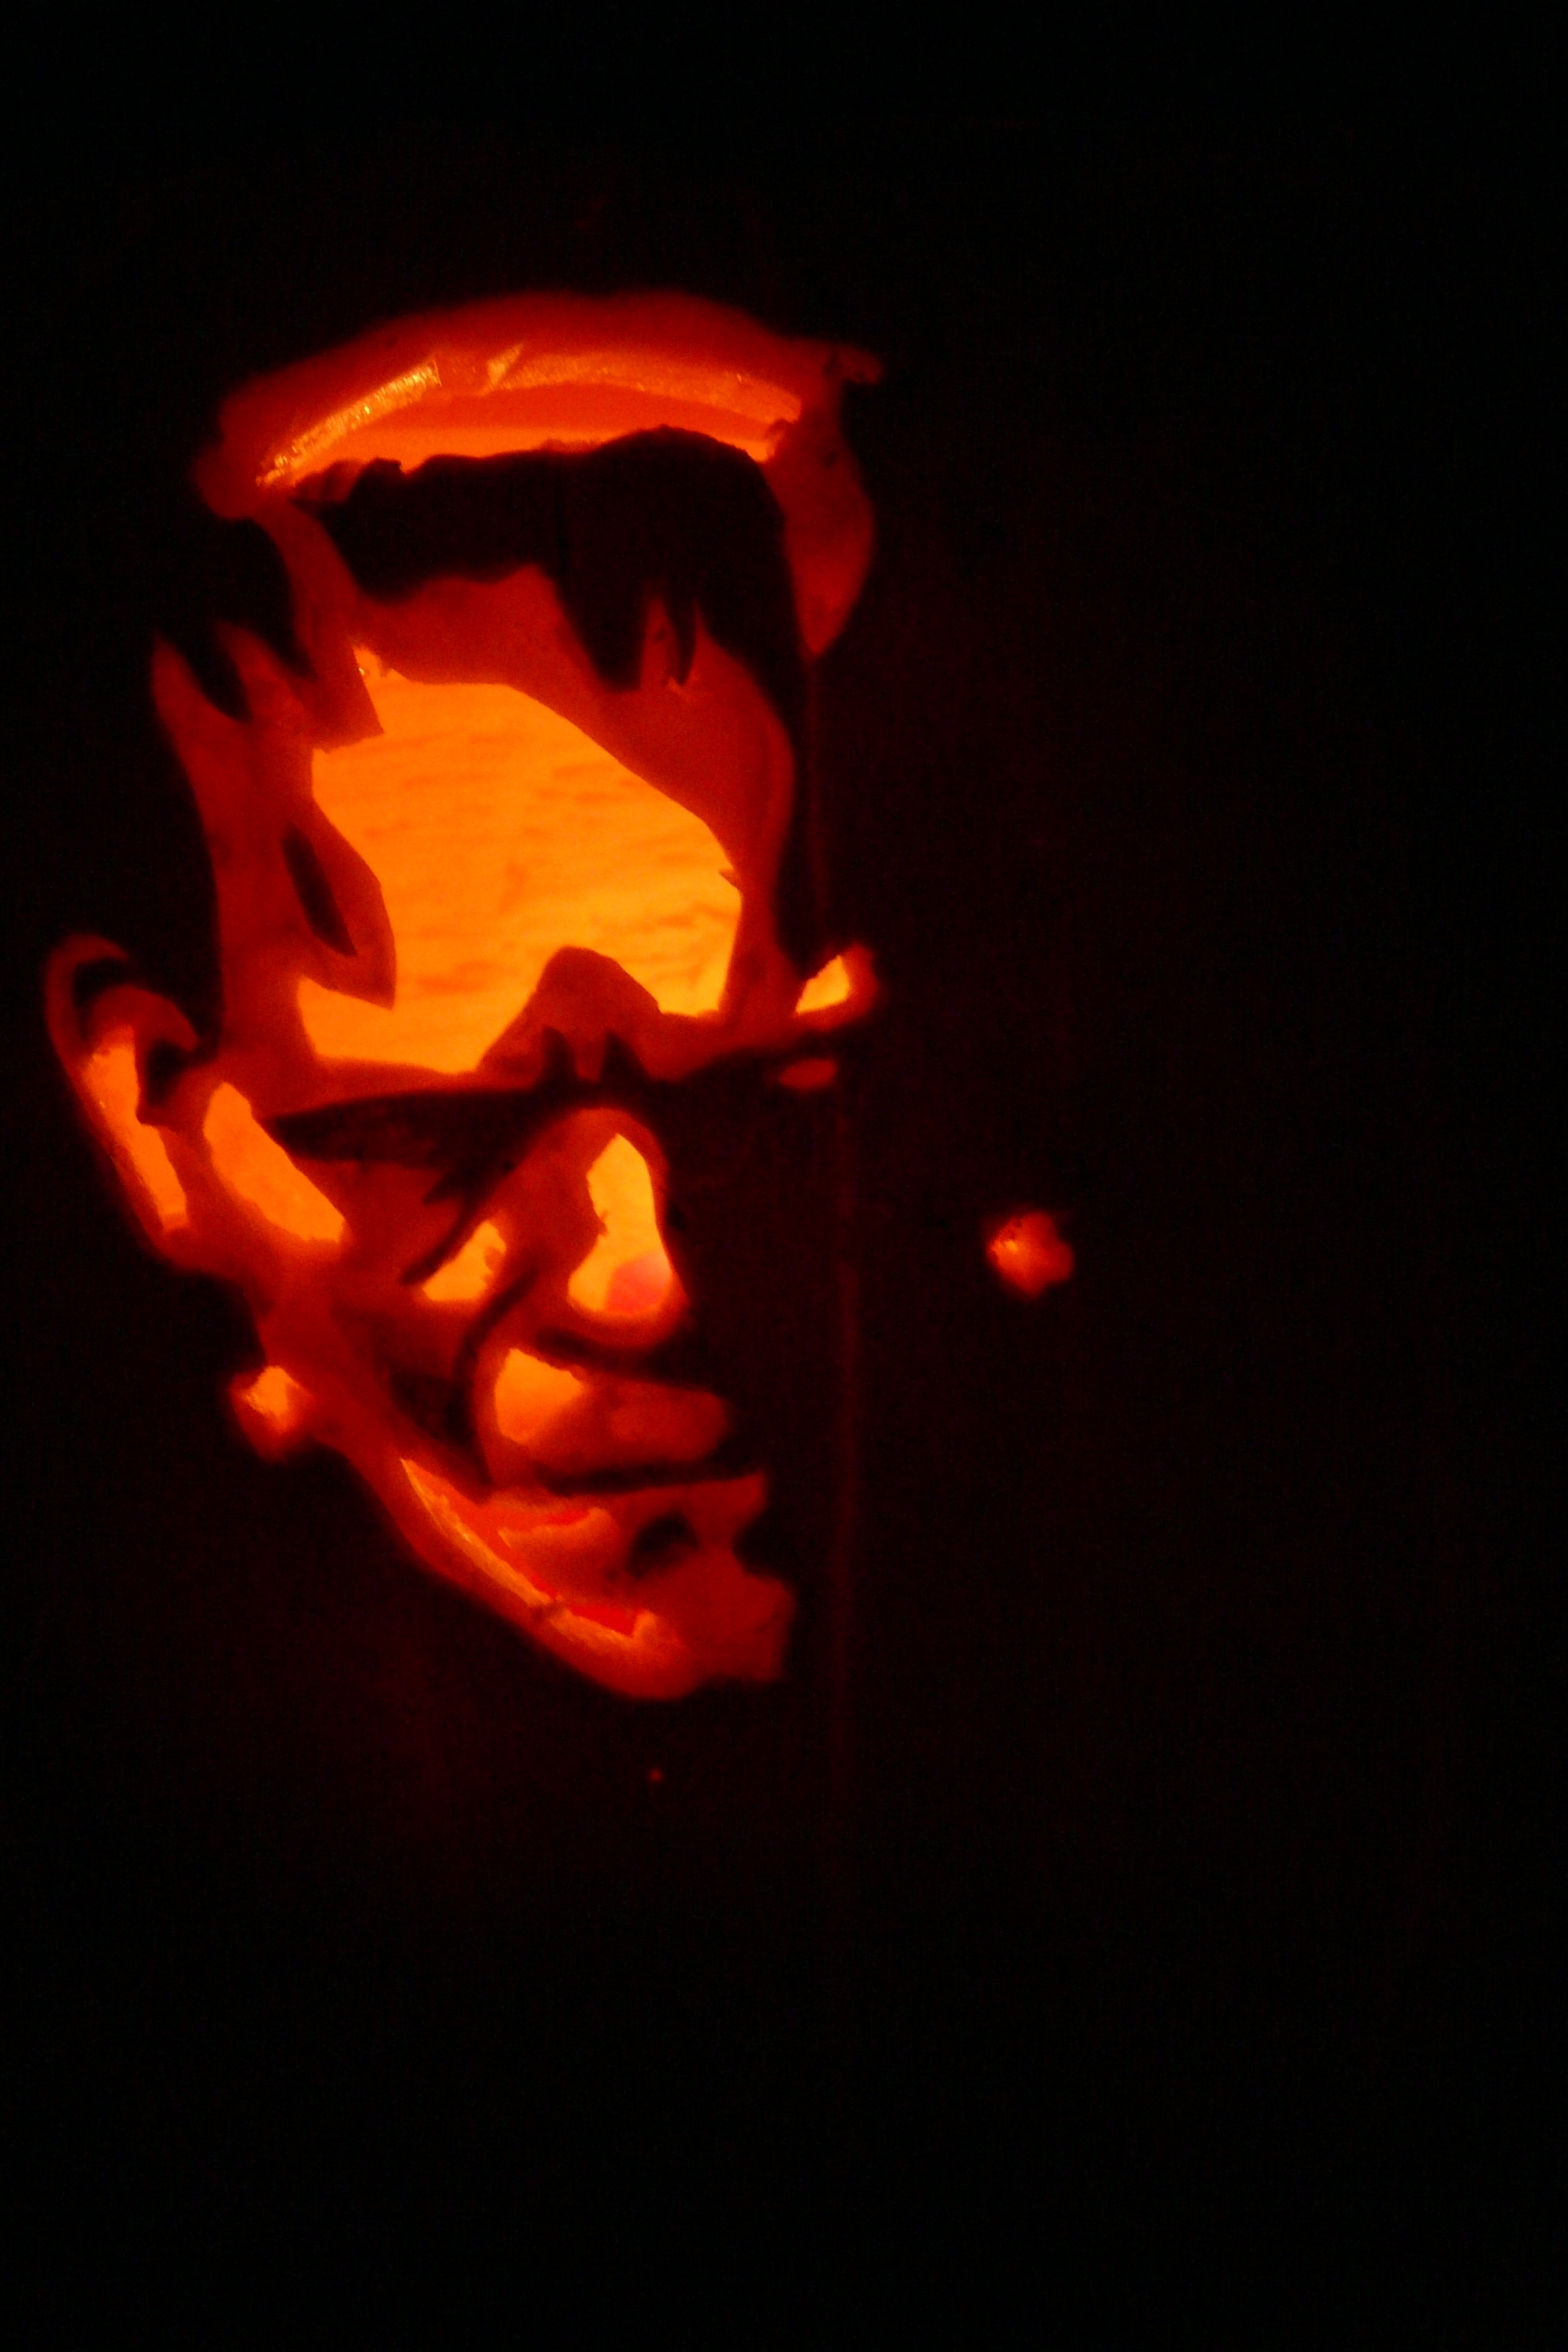
The idea here is to reduce your photograph to two different black and white images where the break points between black and white are at different places along the original gray scale, so that when they are combined they create a three-stage image (dark-moderate-bright). The brightest parts of the image are where the pumpkin will be cut through completely, while the dark parts are where the rind will remain, blocking the light. The moderate part of the image is where you will remove the rind, but leave some of the pumpkin pulp. Unlike the rind, the pulp is translucent, and glows a ghostly orange when a candle is inside.
The photo above is my Jack-O-Lantern, but I got the pattern from the web. When I was done, I thought "I can do this myself", and I have been doing my own designs ever since. You can too.
Build the Moderate Layer...
Select the top layer and open the "Levels" dialog under the "Adjustments" submenu. Drag the slider arrows (one black, one gray, and one white) under the input levels histogram together until they meet at a point somewhere left of center (usually) under the histogram. Where they actually meet is going to depend on the nature of your image.
This is an important choice because it is going to dictate how your Jack-O-Lantern comes out, so drag the sliders around to find what you like. Is it creating a black-white pattern that grabs you? Are you getting big zones of black and white, and minimizing areas where there are lots of small pixels? If you are doing a portrait, does it capture their essence--do you recognize them?
When you are happy, click "OK".
Downloads
Edit the Pattern
No matter what, if you are working from a black and white image, there are bound to be a lot of stray pixels to clean up. Edit the layer with the paintbrush tool to get rid of them. Try to retain the essential shape as much as possible, but eliminate the extraneous detail. Remember you are going to have to carve the shapes, so don't get too ambitious. However, remember that for this layer you are only going to strip the opaque skin off the pumpkin rather than cut through it, so if you want detail this is the place for it.
Downloads
Repeat...
Now select the middle layer and do the same thing, but move the arrows farther right on the histogram. This isolates the brightest spots. Play with it until you are happy and click "OK". However, remember that you are going to cut completely through the pumpkin to make these shapes, so make sure every shape is a "hole" and not a "donut". In other words, the white should not surround black anywhere on your layer except where you are going to edit it away in the cleanup stage.
Now use the brush tool to edit away extraneous pixels, retaining the essential shape of the areas.
Preview
To preview your image, select the black part of your middle layer and fill it with orange. Add a new layer beneath it and fill it with yellow. Set the blending mode for the top layer (moderate) and the second (orange) layer to "darken". Your image should look similar to the above, and the other examples on the front page.
If you are happy with your pattern, move on. If you want to adjust it now is the time.
Downloads
Make a Pattern for Carving
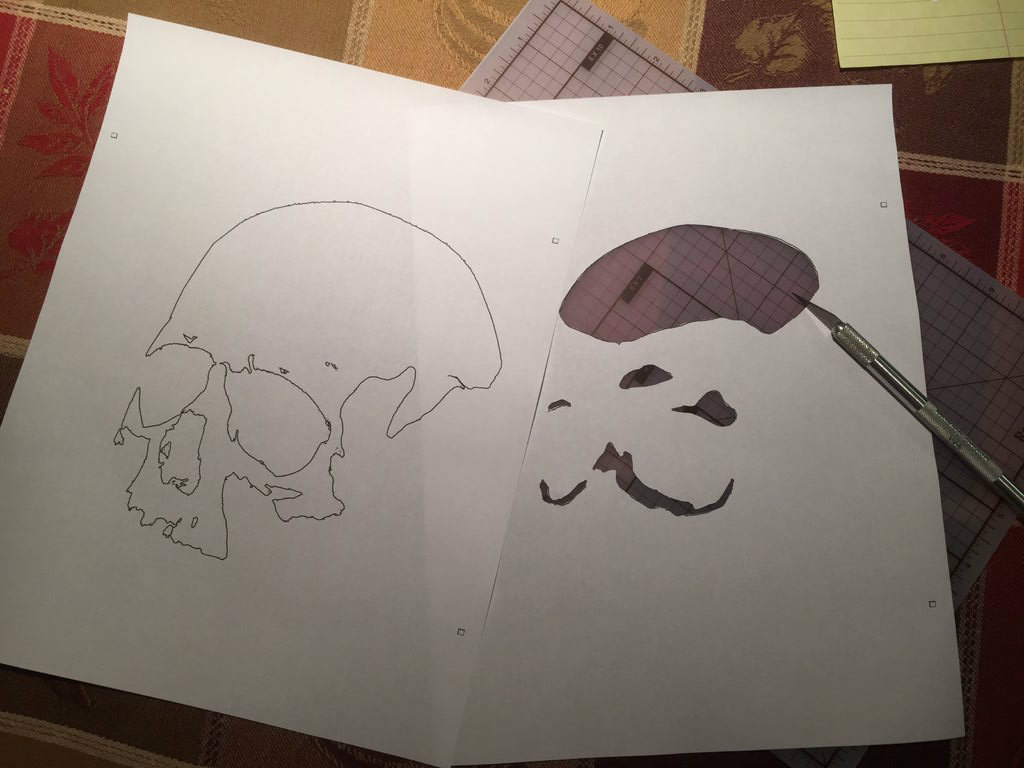
Select the top layer and click on the white (hollow) part with the magic wand tool. Now go to the "Select" menu and choose "Similar". The boundary between the black and white parts of the image should be selected. Add a new layer, select it, and choose "Stroke" from the edit menu. Now do the same process with the orange layer (hiding the black layer helps). You should now have outlines for both parts of your carving on separate layers.
To provide for registration of your pattern, use the rectangular selection tool to make a very small (~1 mm) box in the corner of your image. Select each of your outline layers in turn, and select "Stroke". Repeat for the other three corners. This provides registration marks to help align the pattern.
When done, print your two outline sheets by hiding the other layers in turn. These are the patterns you are going to transfer to the pumpkin to guide cutting.
Cut Out the Pattern
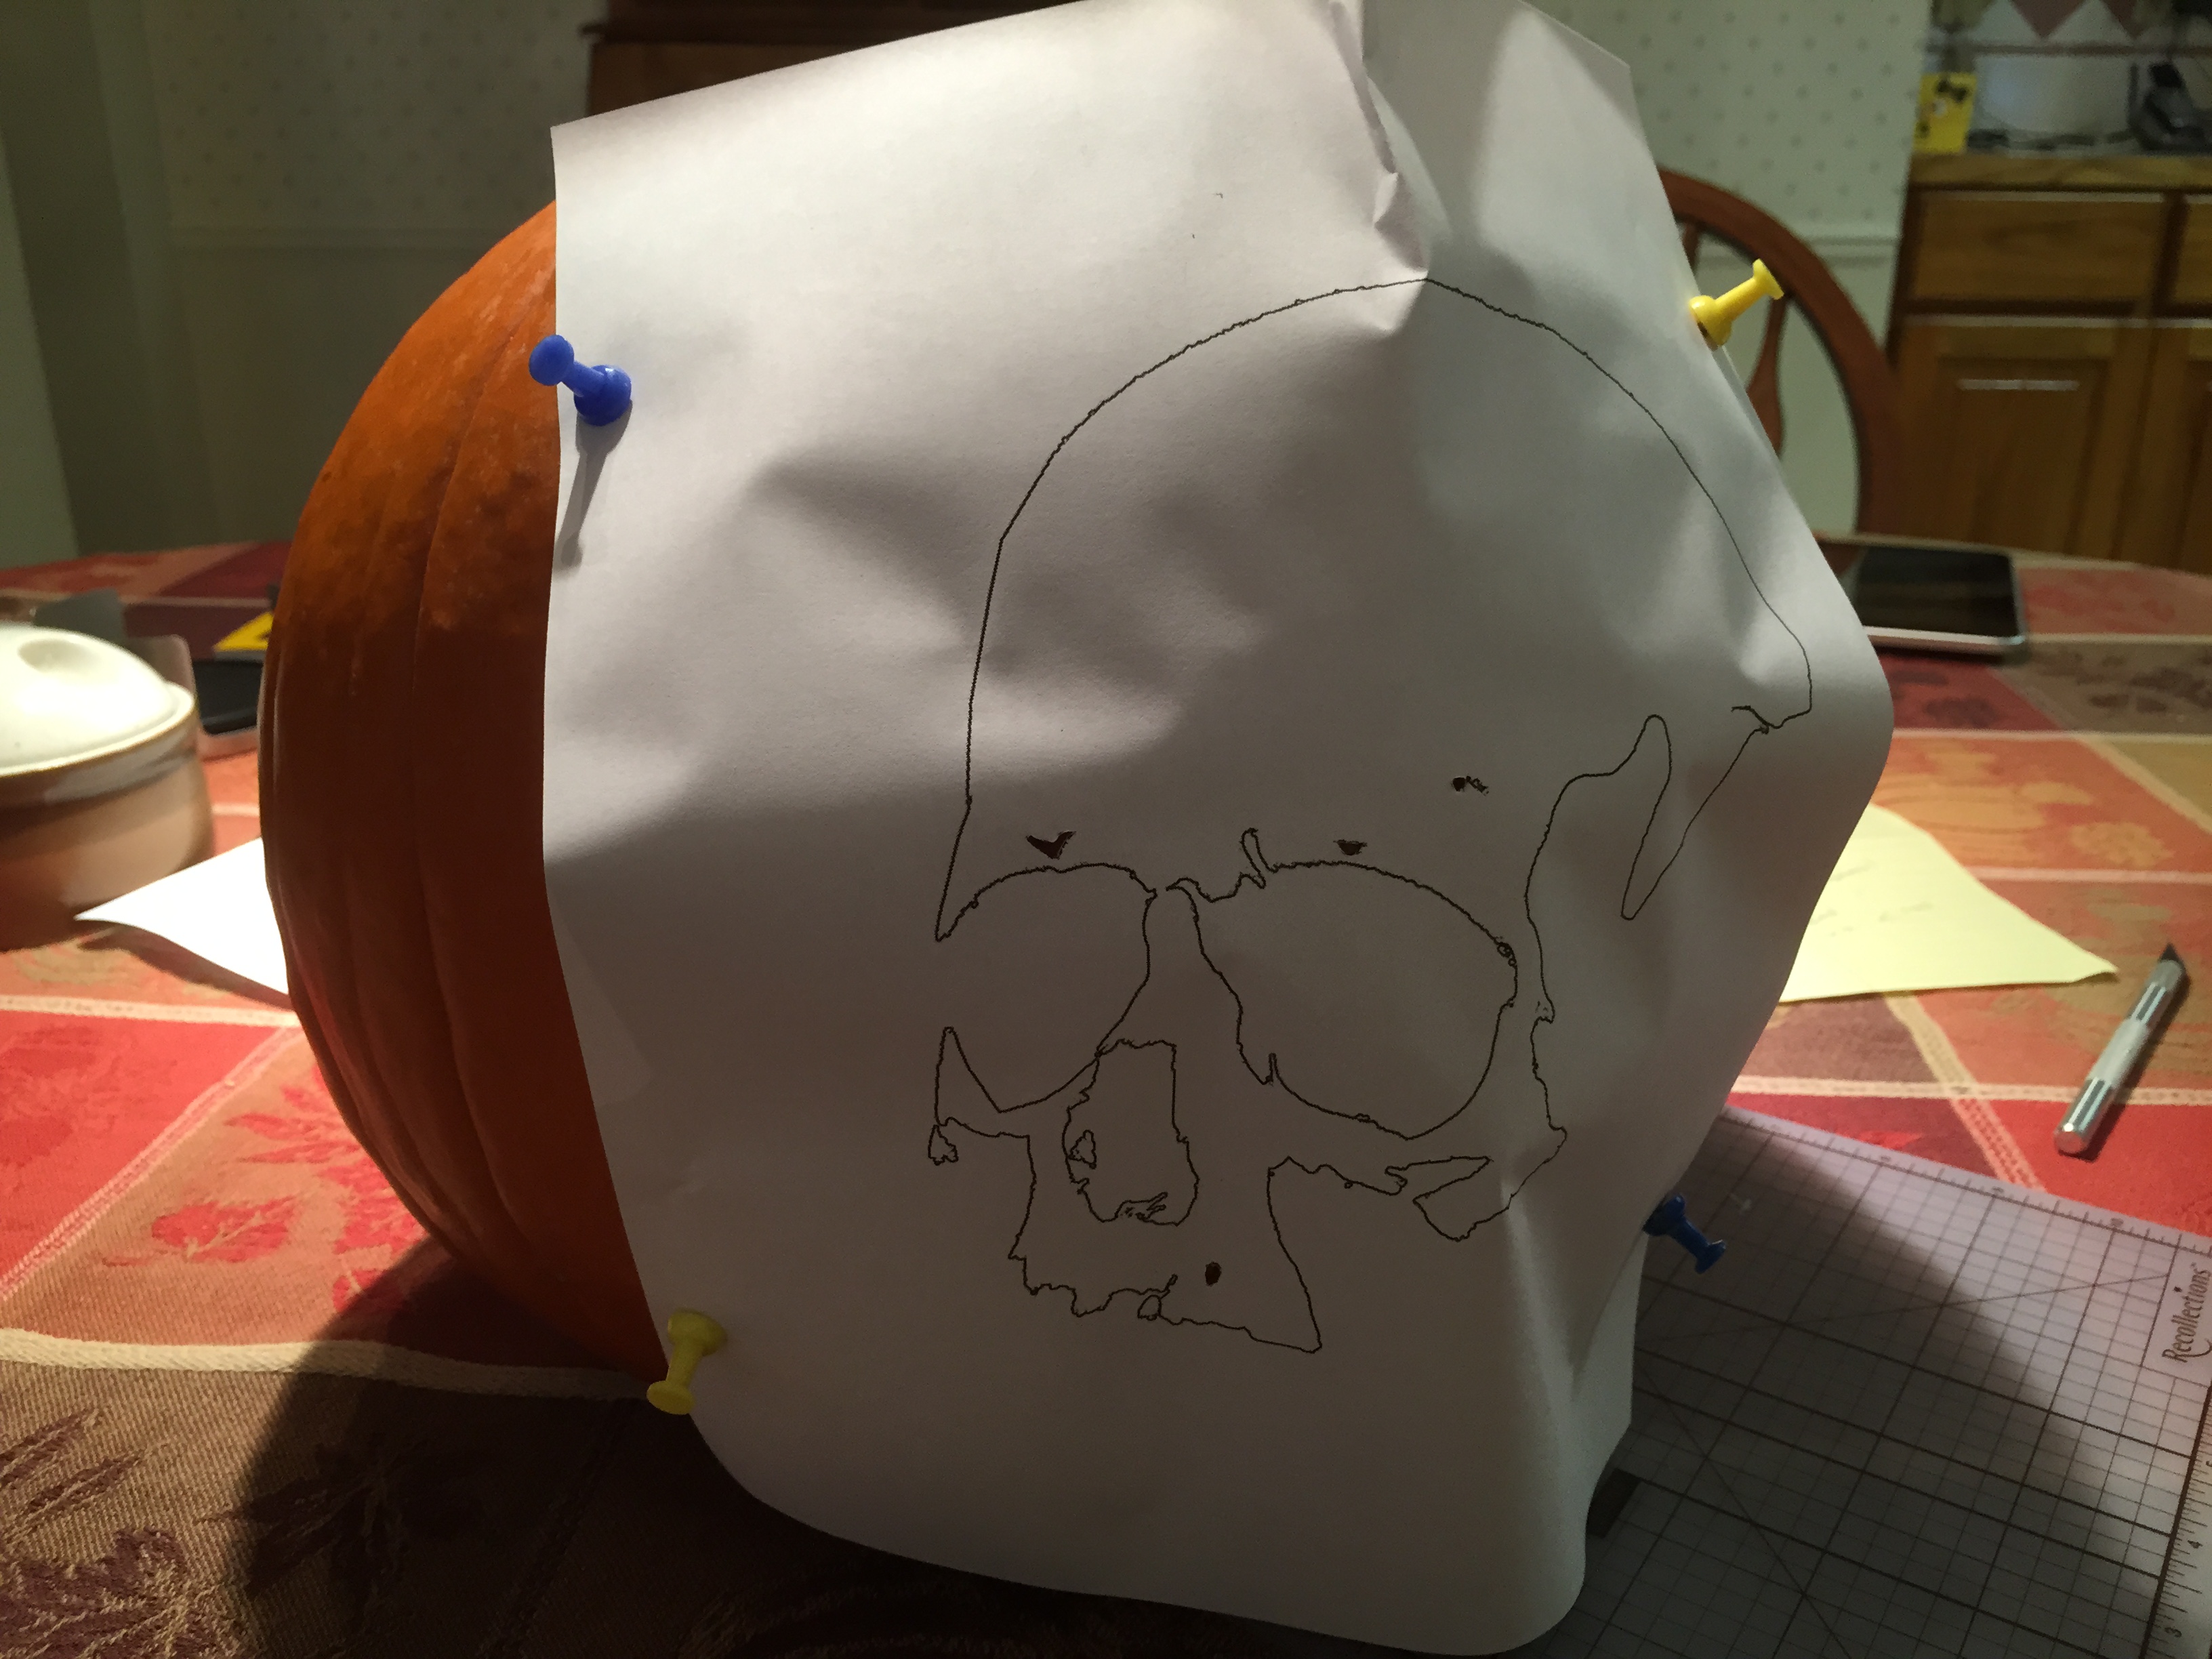
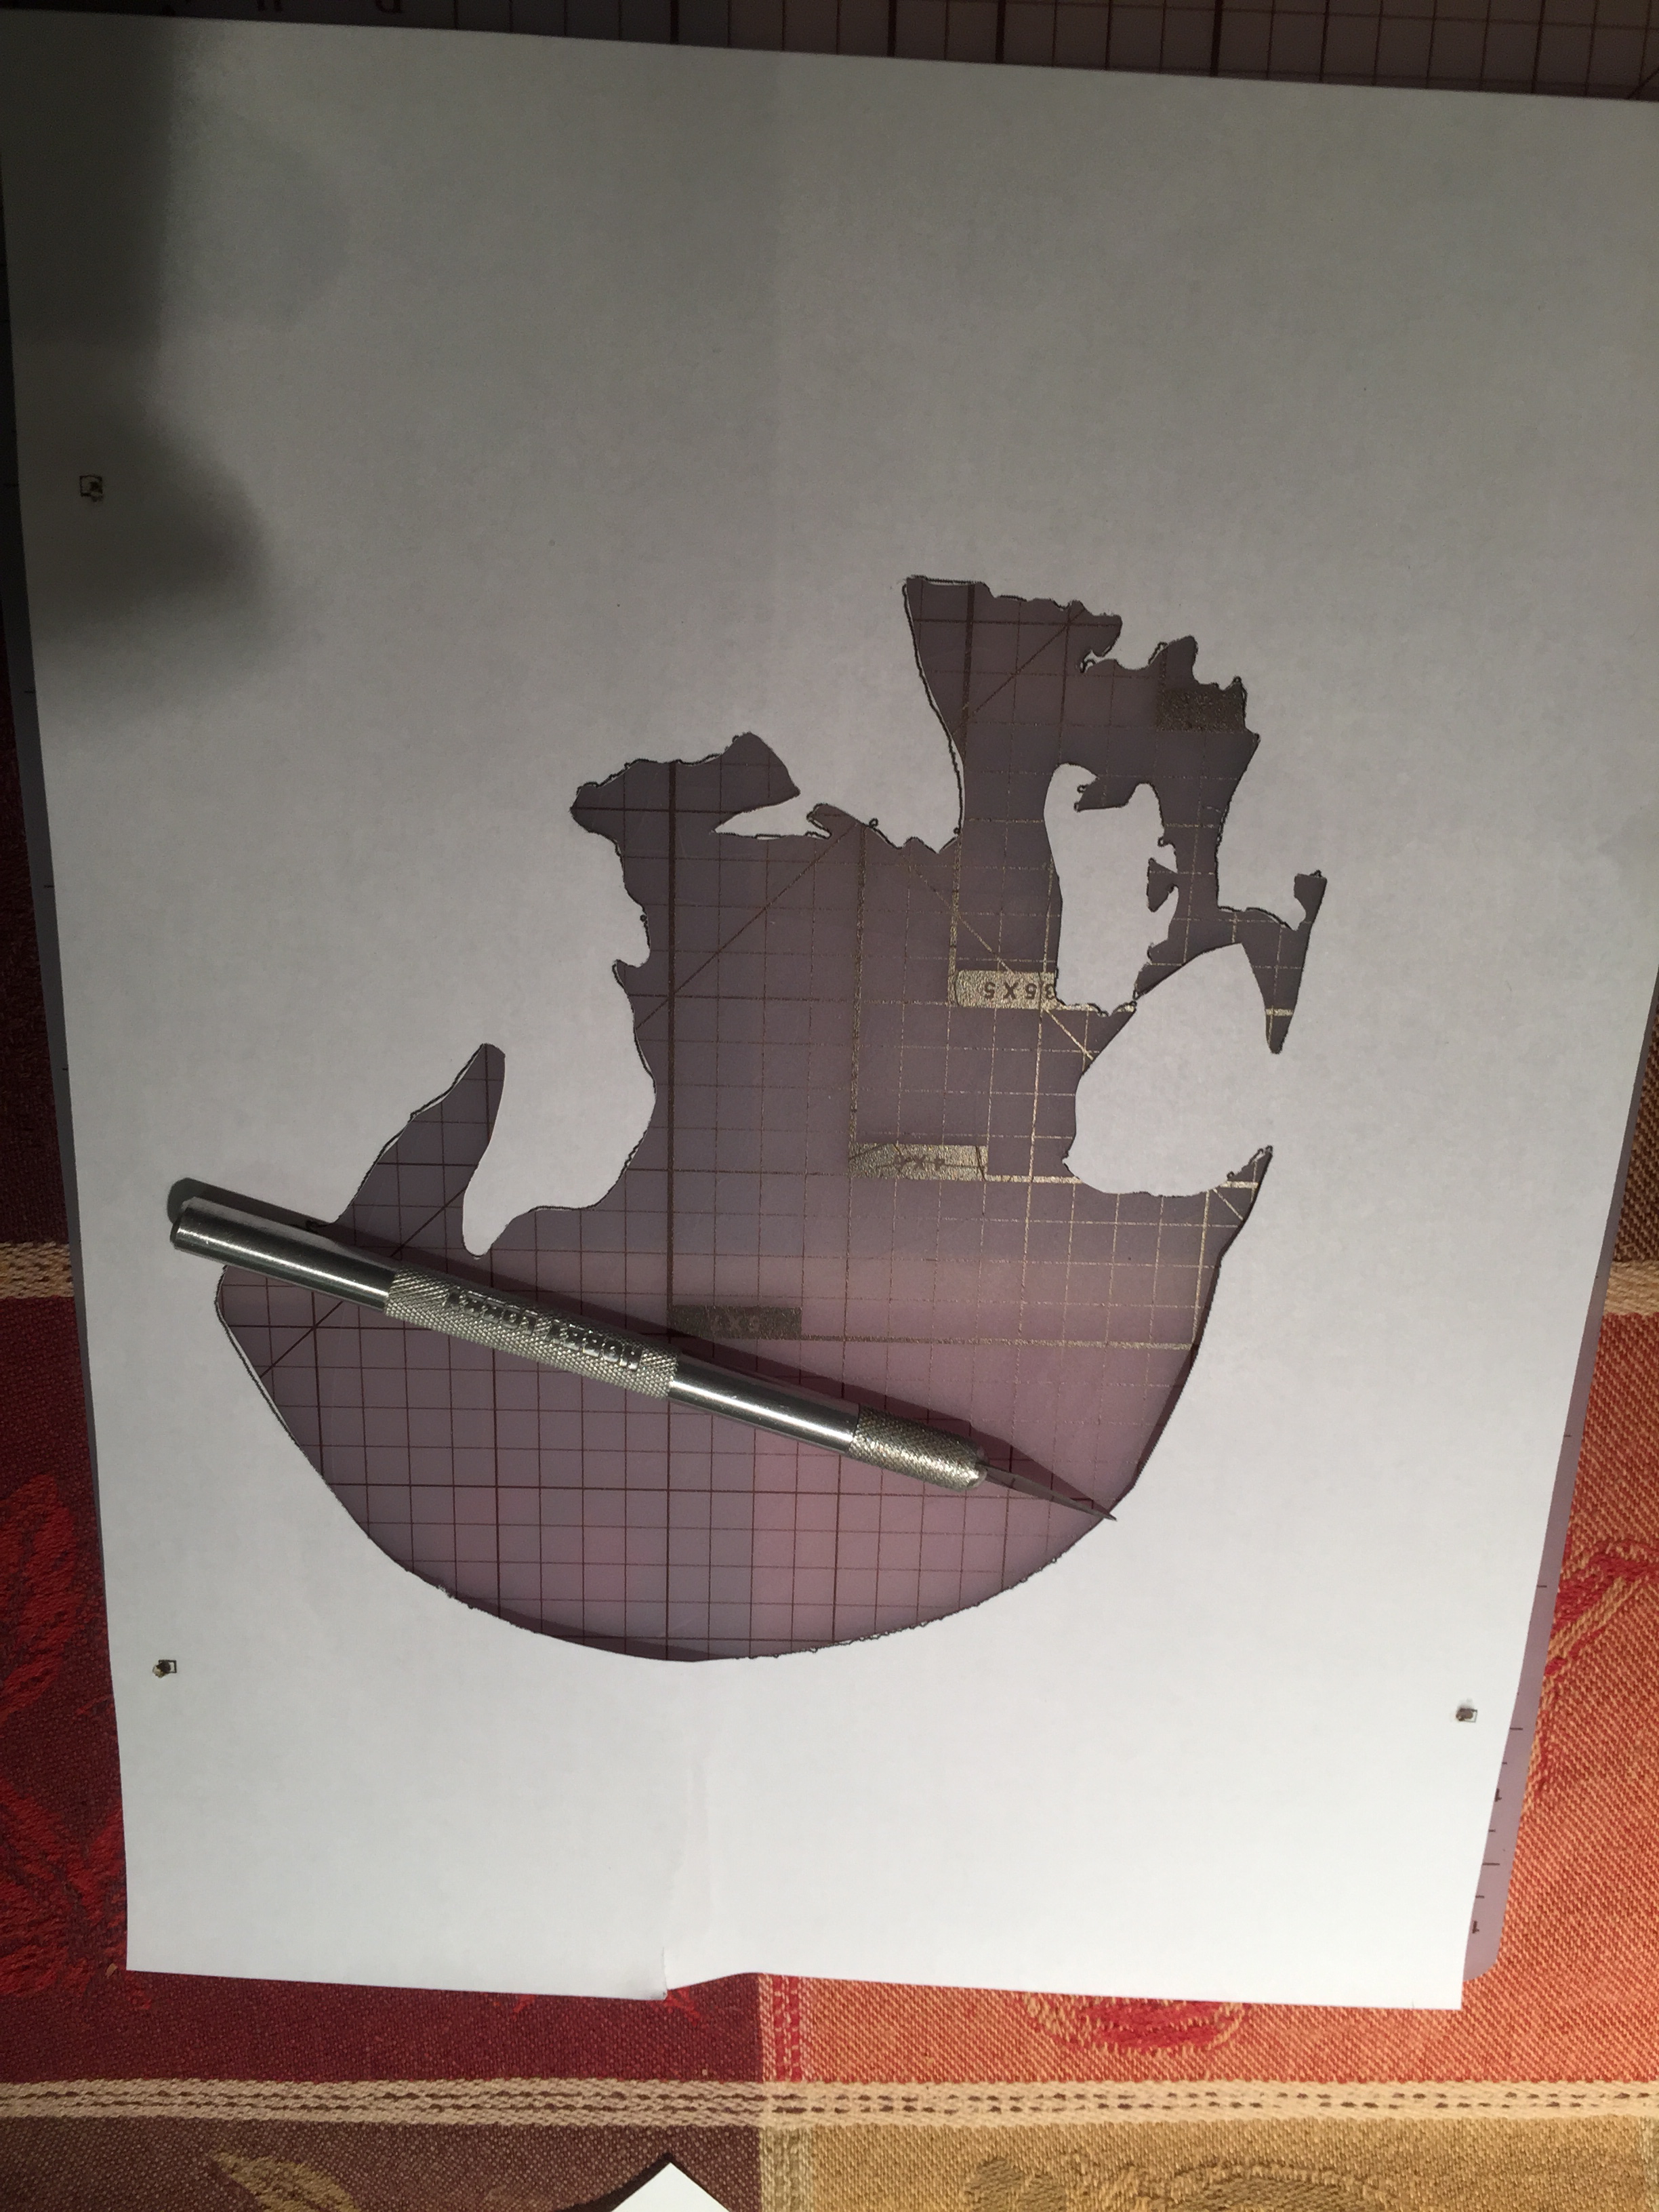
There are a number of different ways to transfer the pattern to the pumpkin--carbon paper, an overhead projector, punch-through dot tools such as come with some carving kits, freehand (if you are good)--but the way I do it is to turn the patterns into stencils by cutting them out with a hobby knife. The highlights pattern should be straightforward--holes only, remember?--but the midtones pattern might have to be done in stages, or even using several print-outs to address different parts of the image at a time. For example, in the image above the isolated eye socket was cut out and traced onto the pumpkin first, then the rest of the pattern was cut out and transferred.
To register the image properly, pin the pattern to the pumpkin through your registration marks, then trace the outline. When you want to trace the next pattern, simply put the pushpins through the equivalent marks into the same holes in the pumpkin and viola!
Prepare the Pumpkin
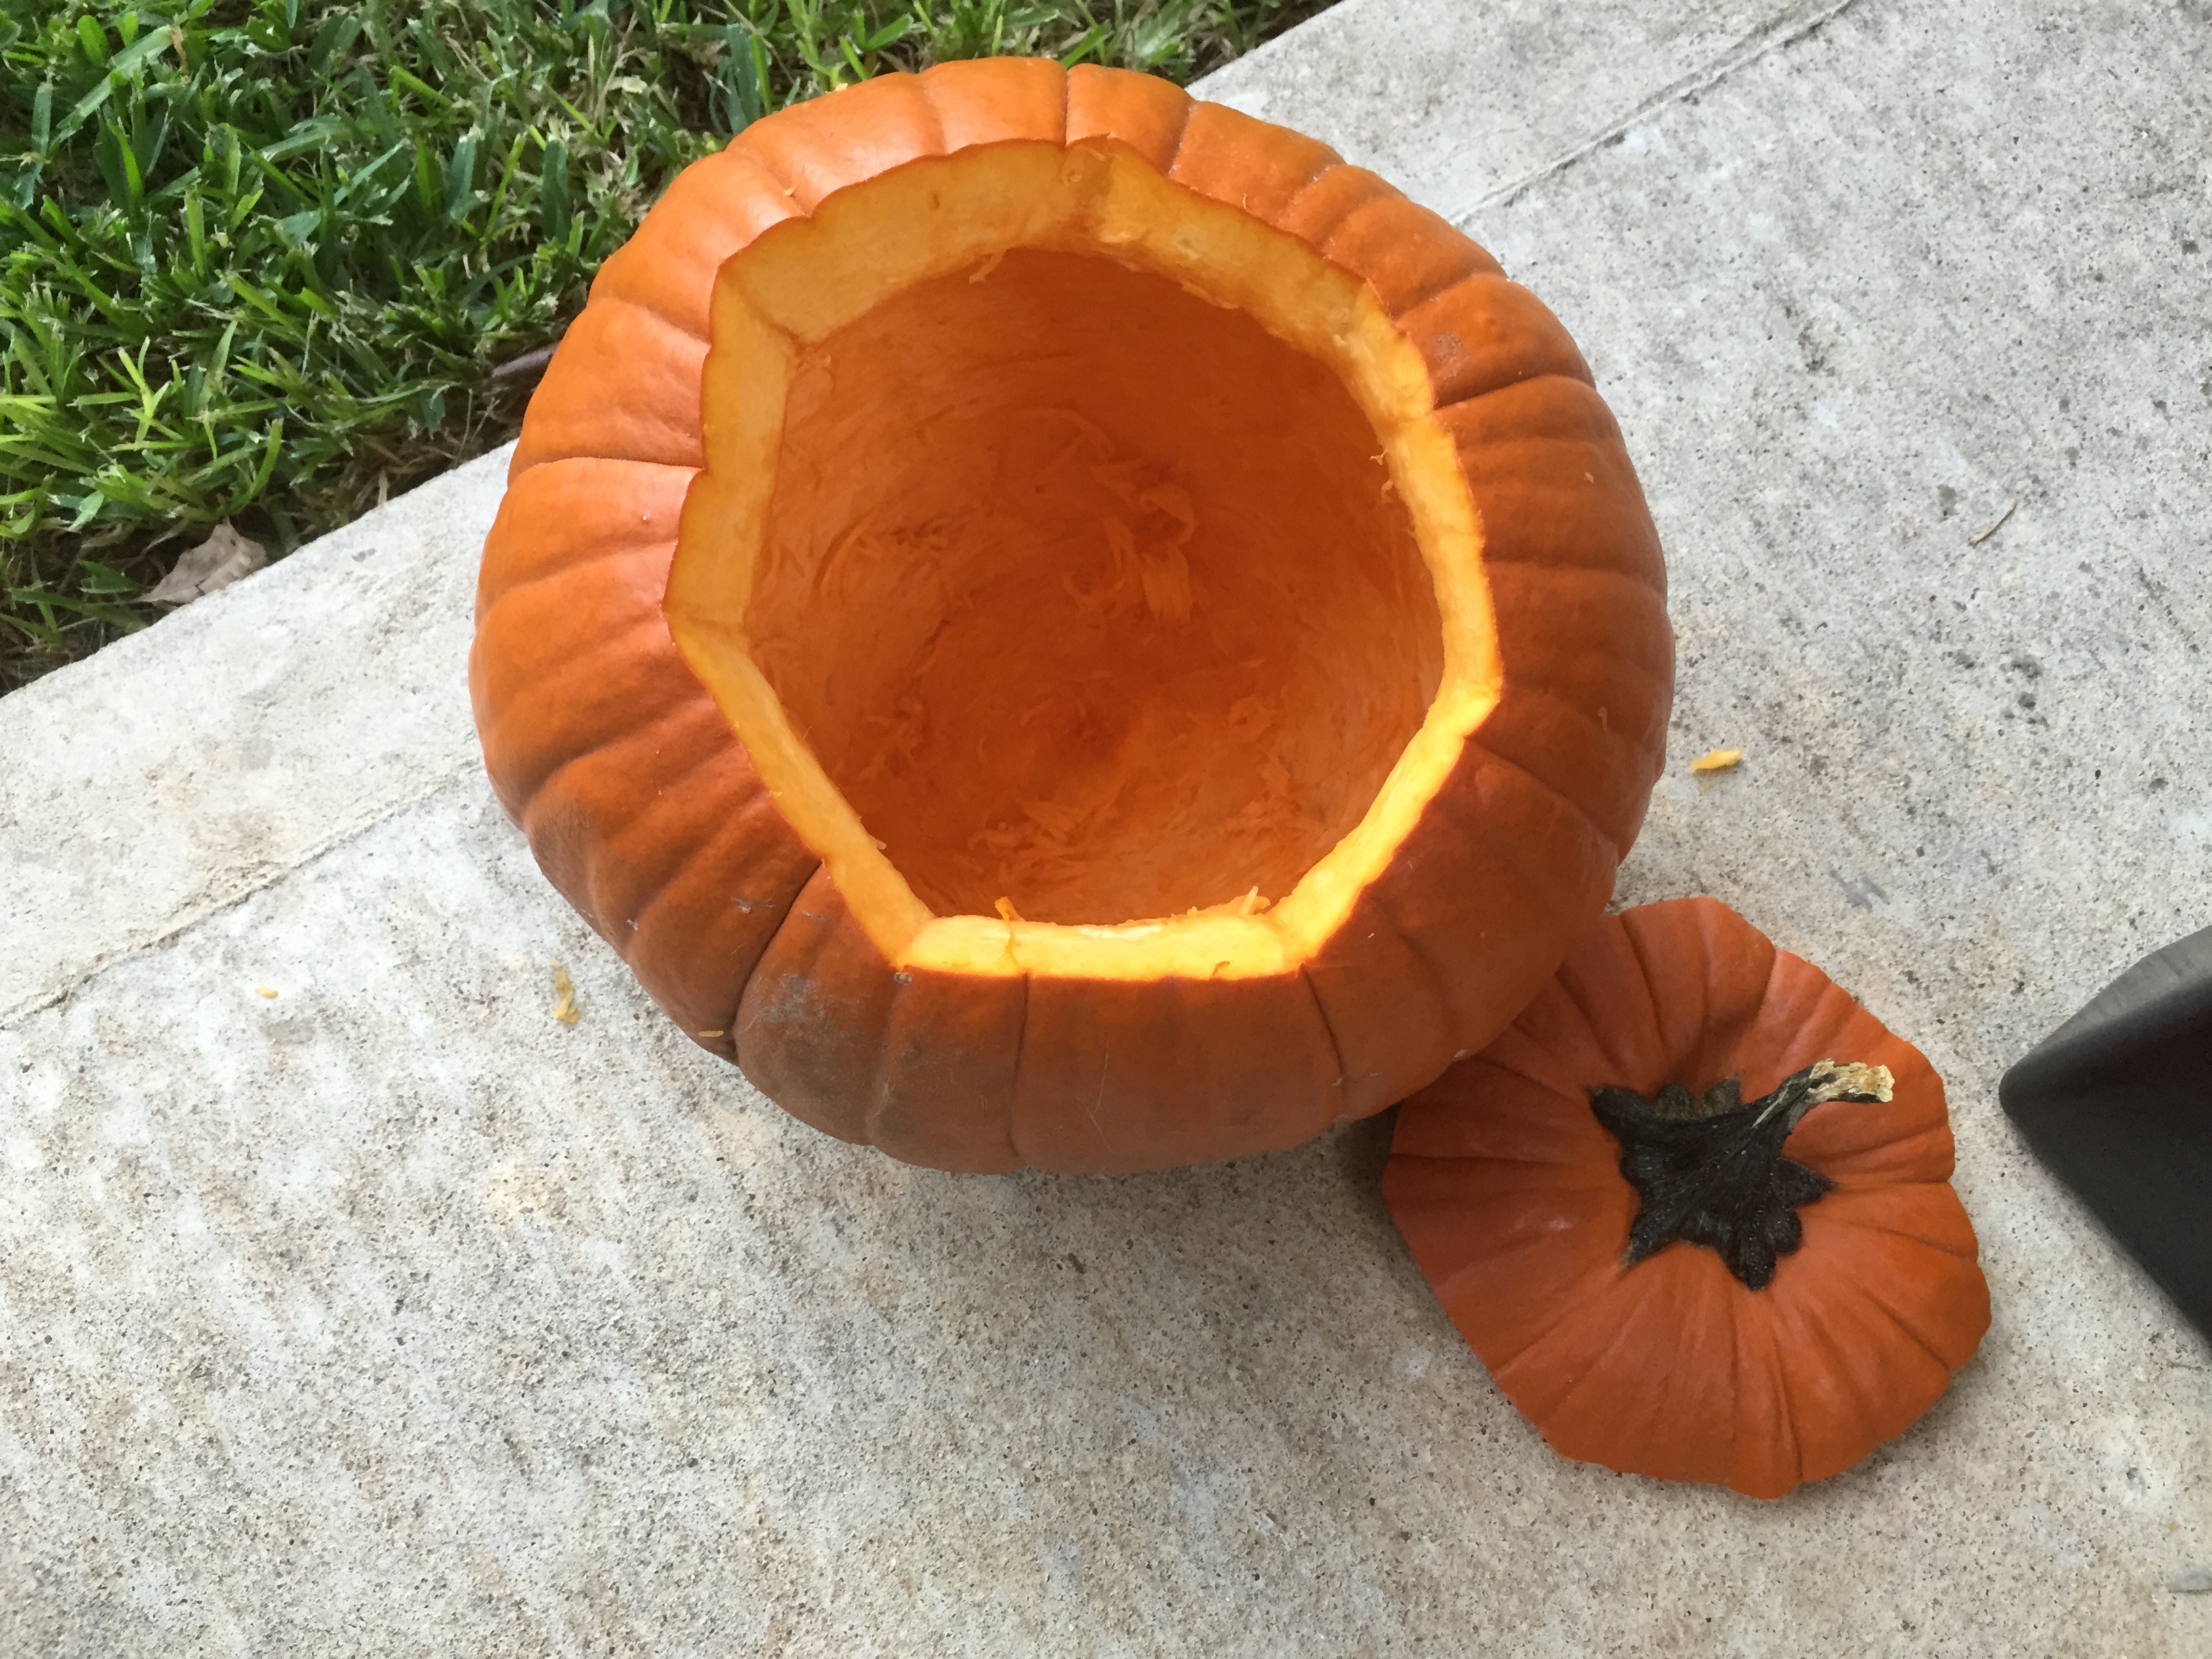
Carve the lid and scoop out the splooge. Use the side of the spoon to scrape the inside wall where your pattern is to thin it. Thinner is brighter but also more delicate, so use your judgement. You can control the brightness somewhat by controlling how deep you go when you remove the rind.
Carve Away...
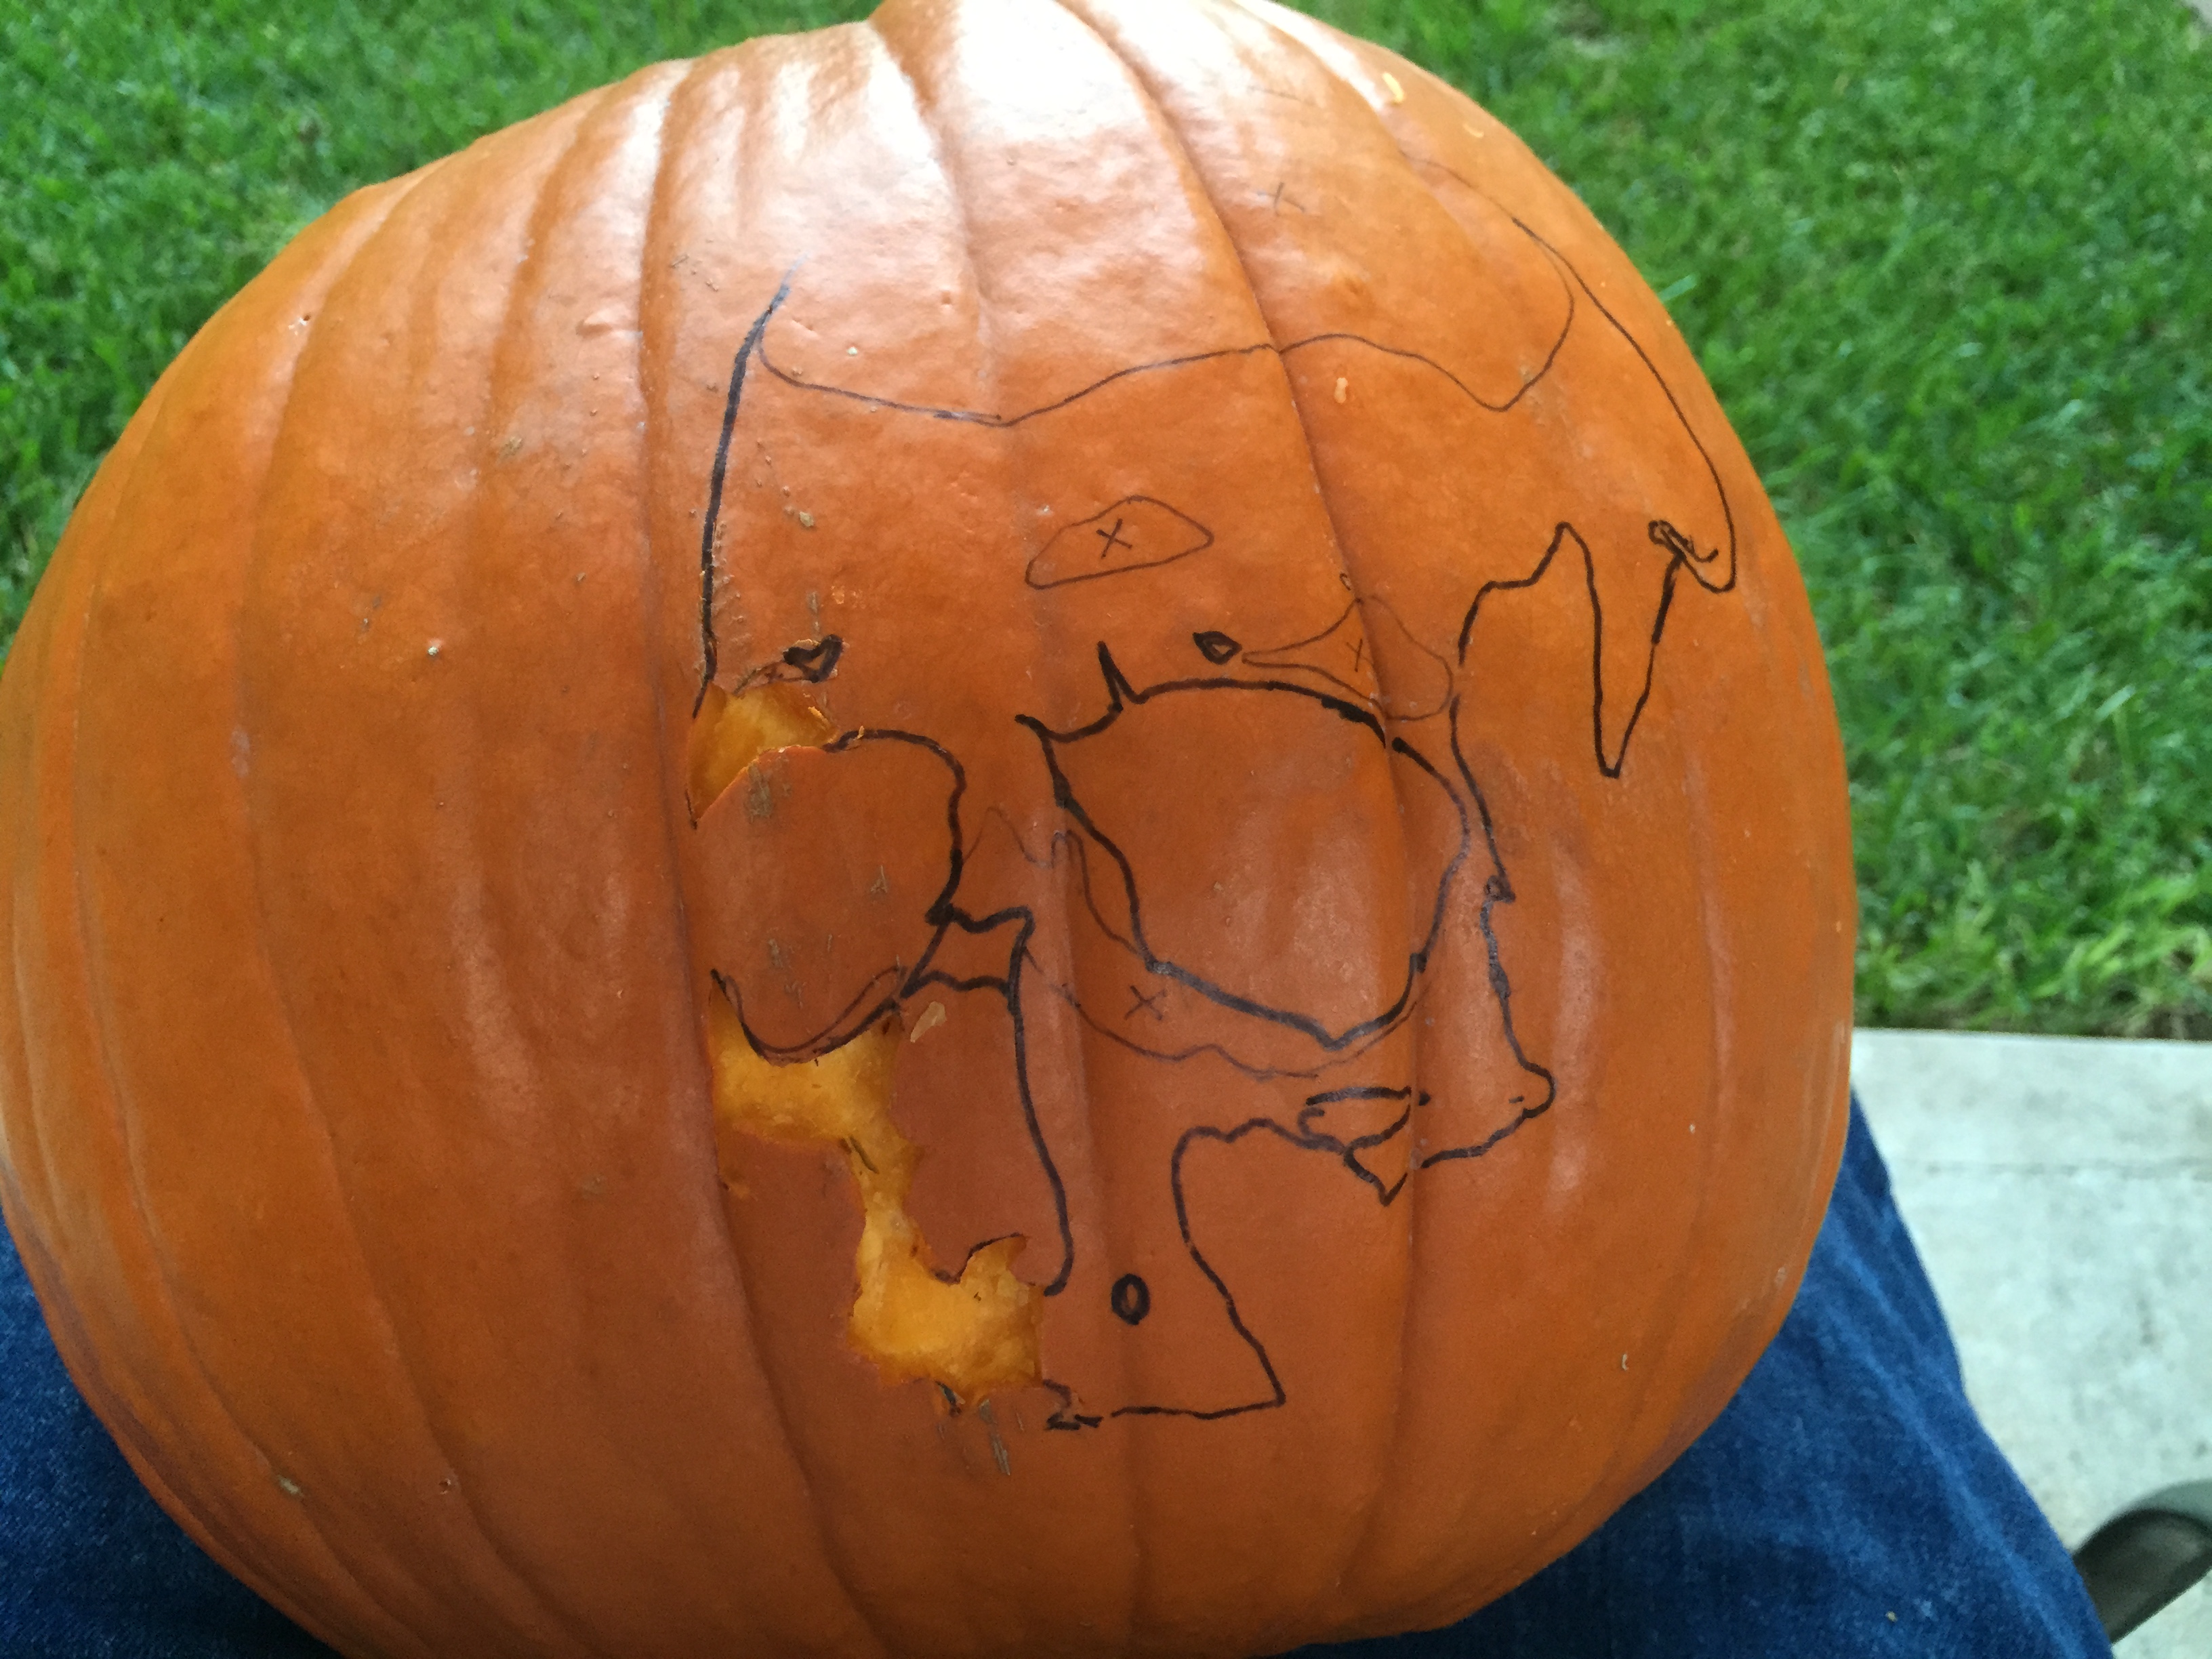
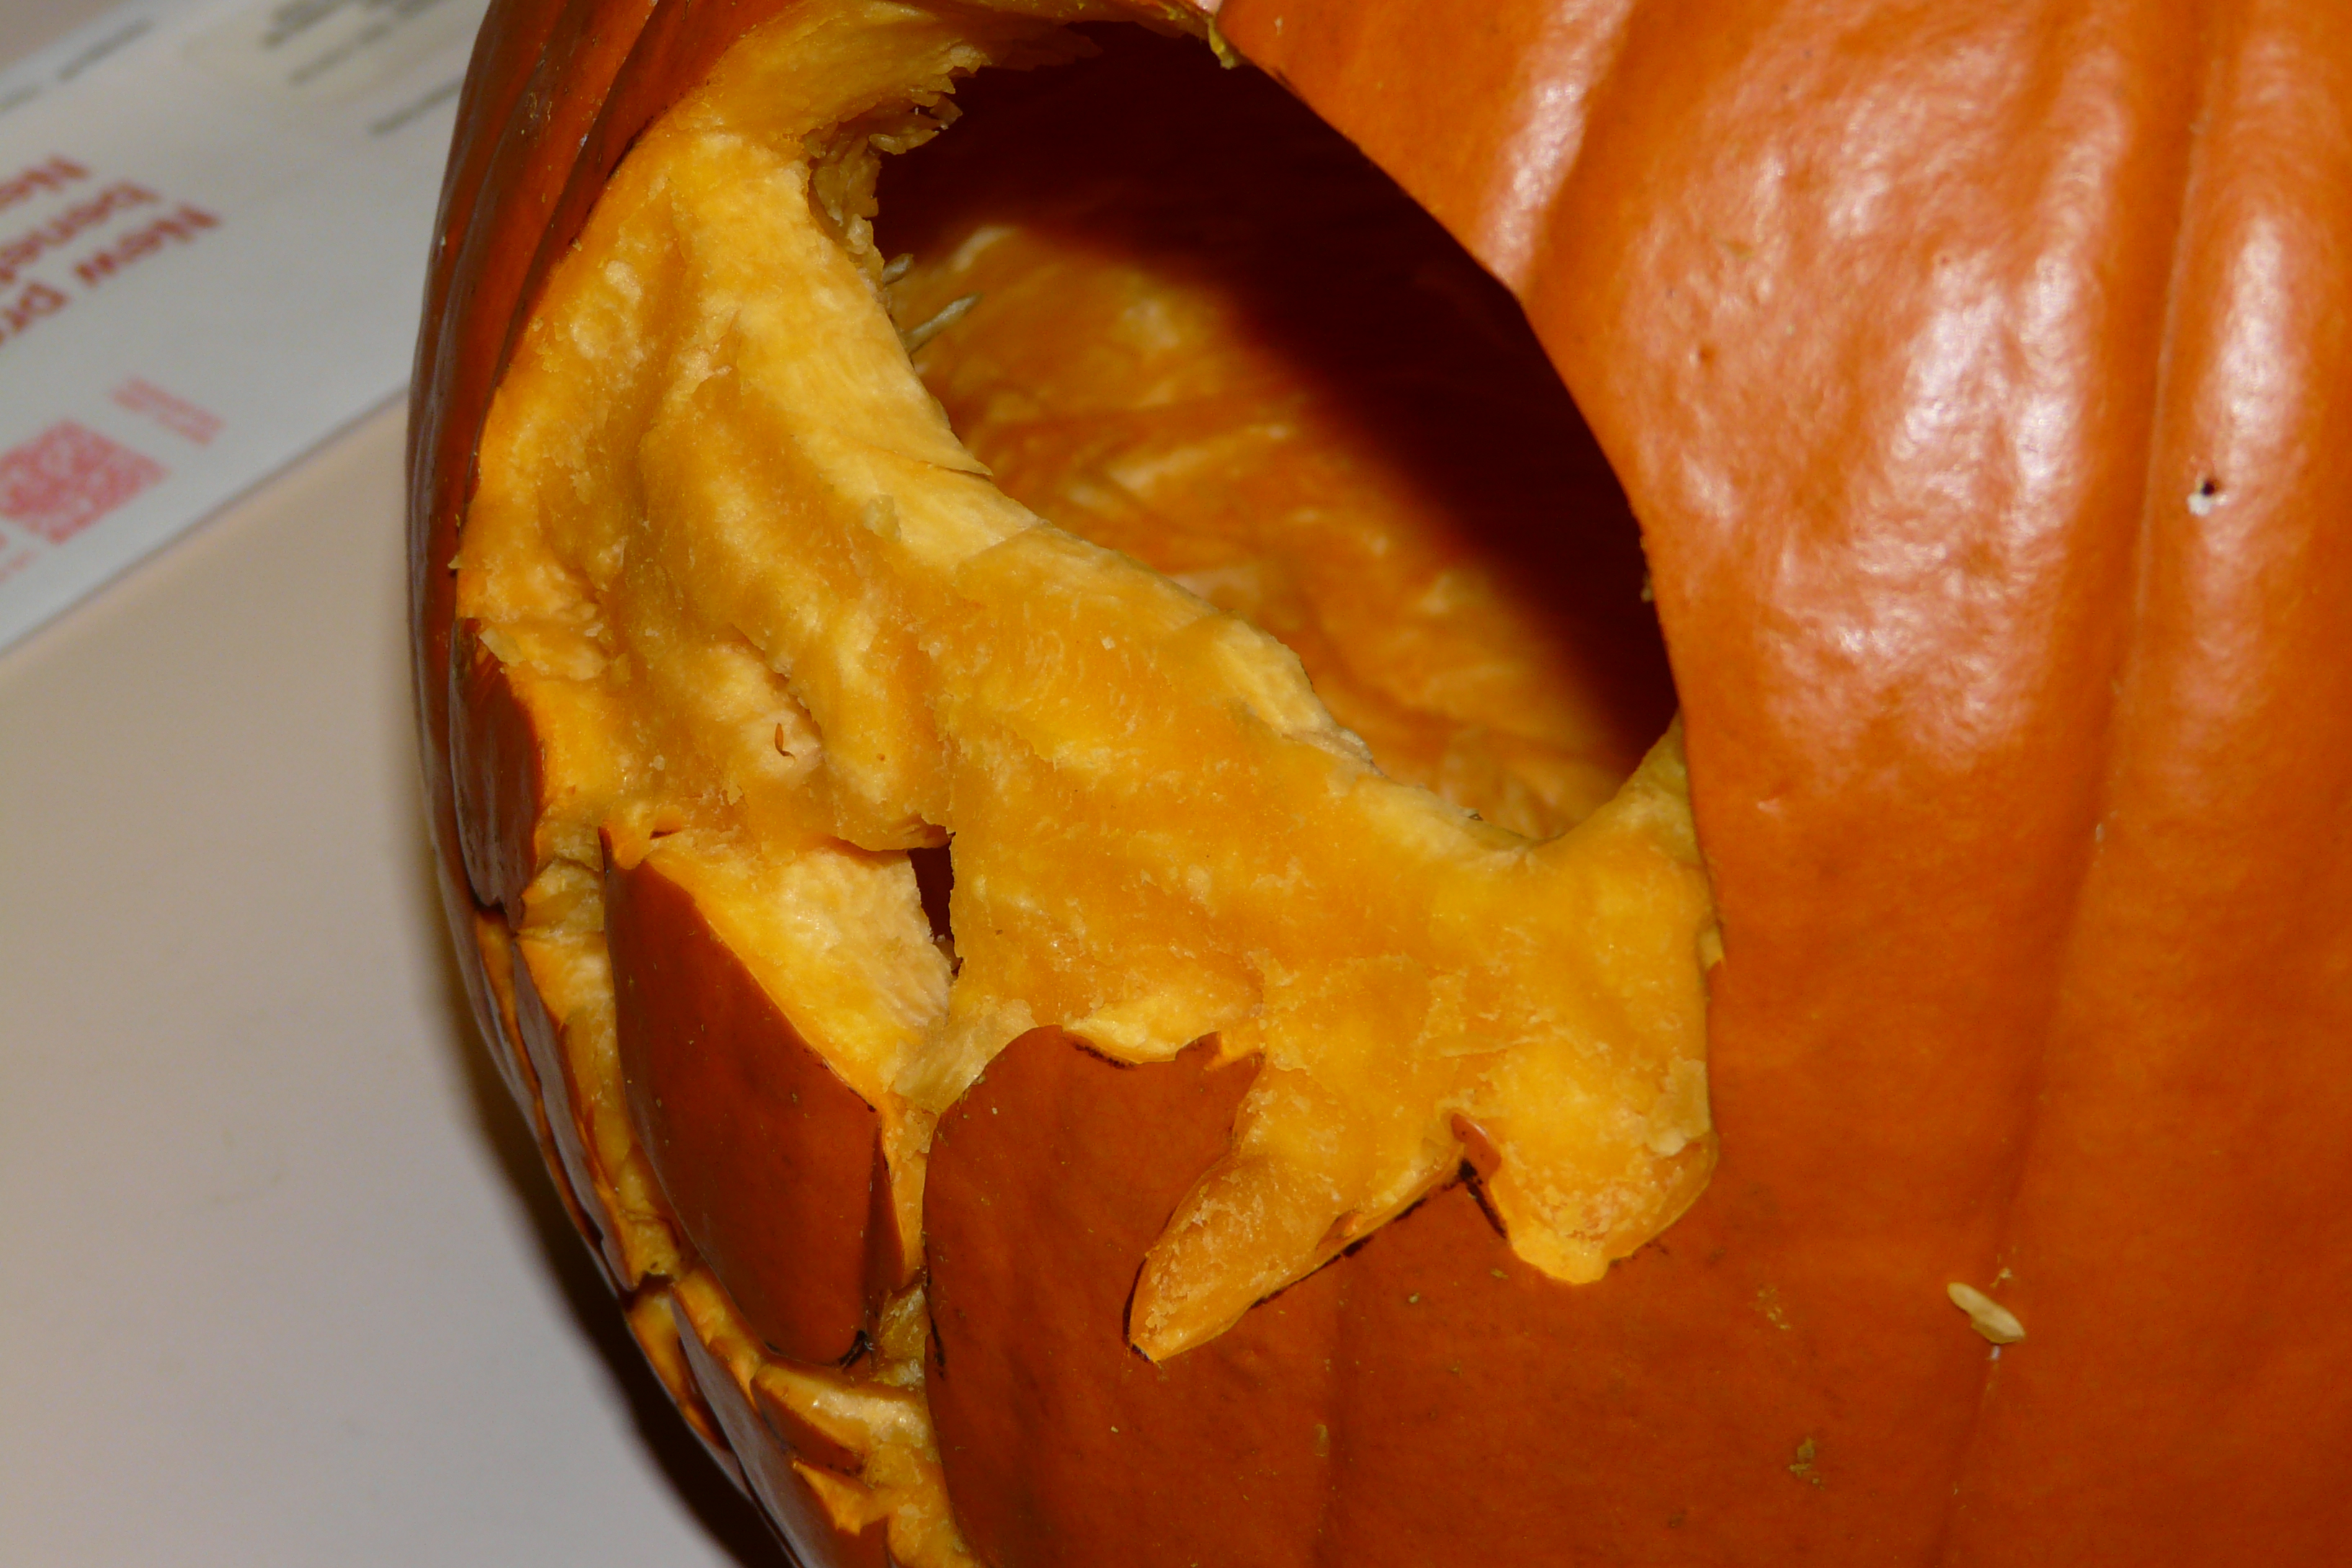
Strip the skin off the moderate areas and cut through the bright areas. Careful with that knife!
Add Candle
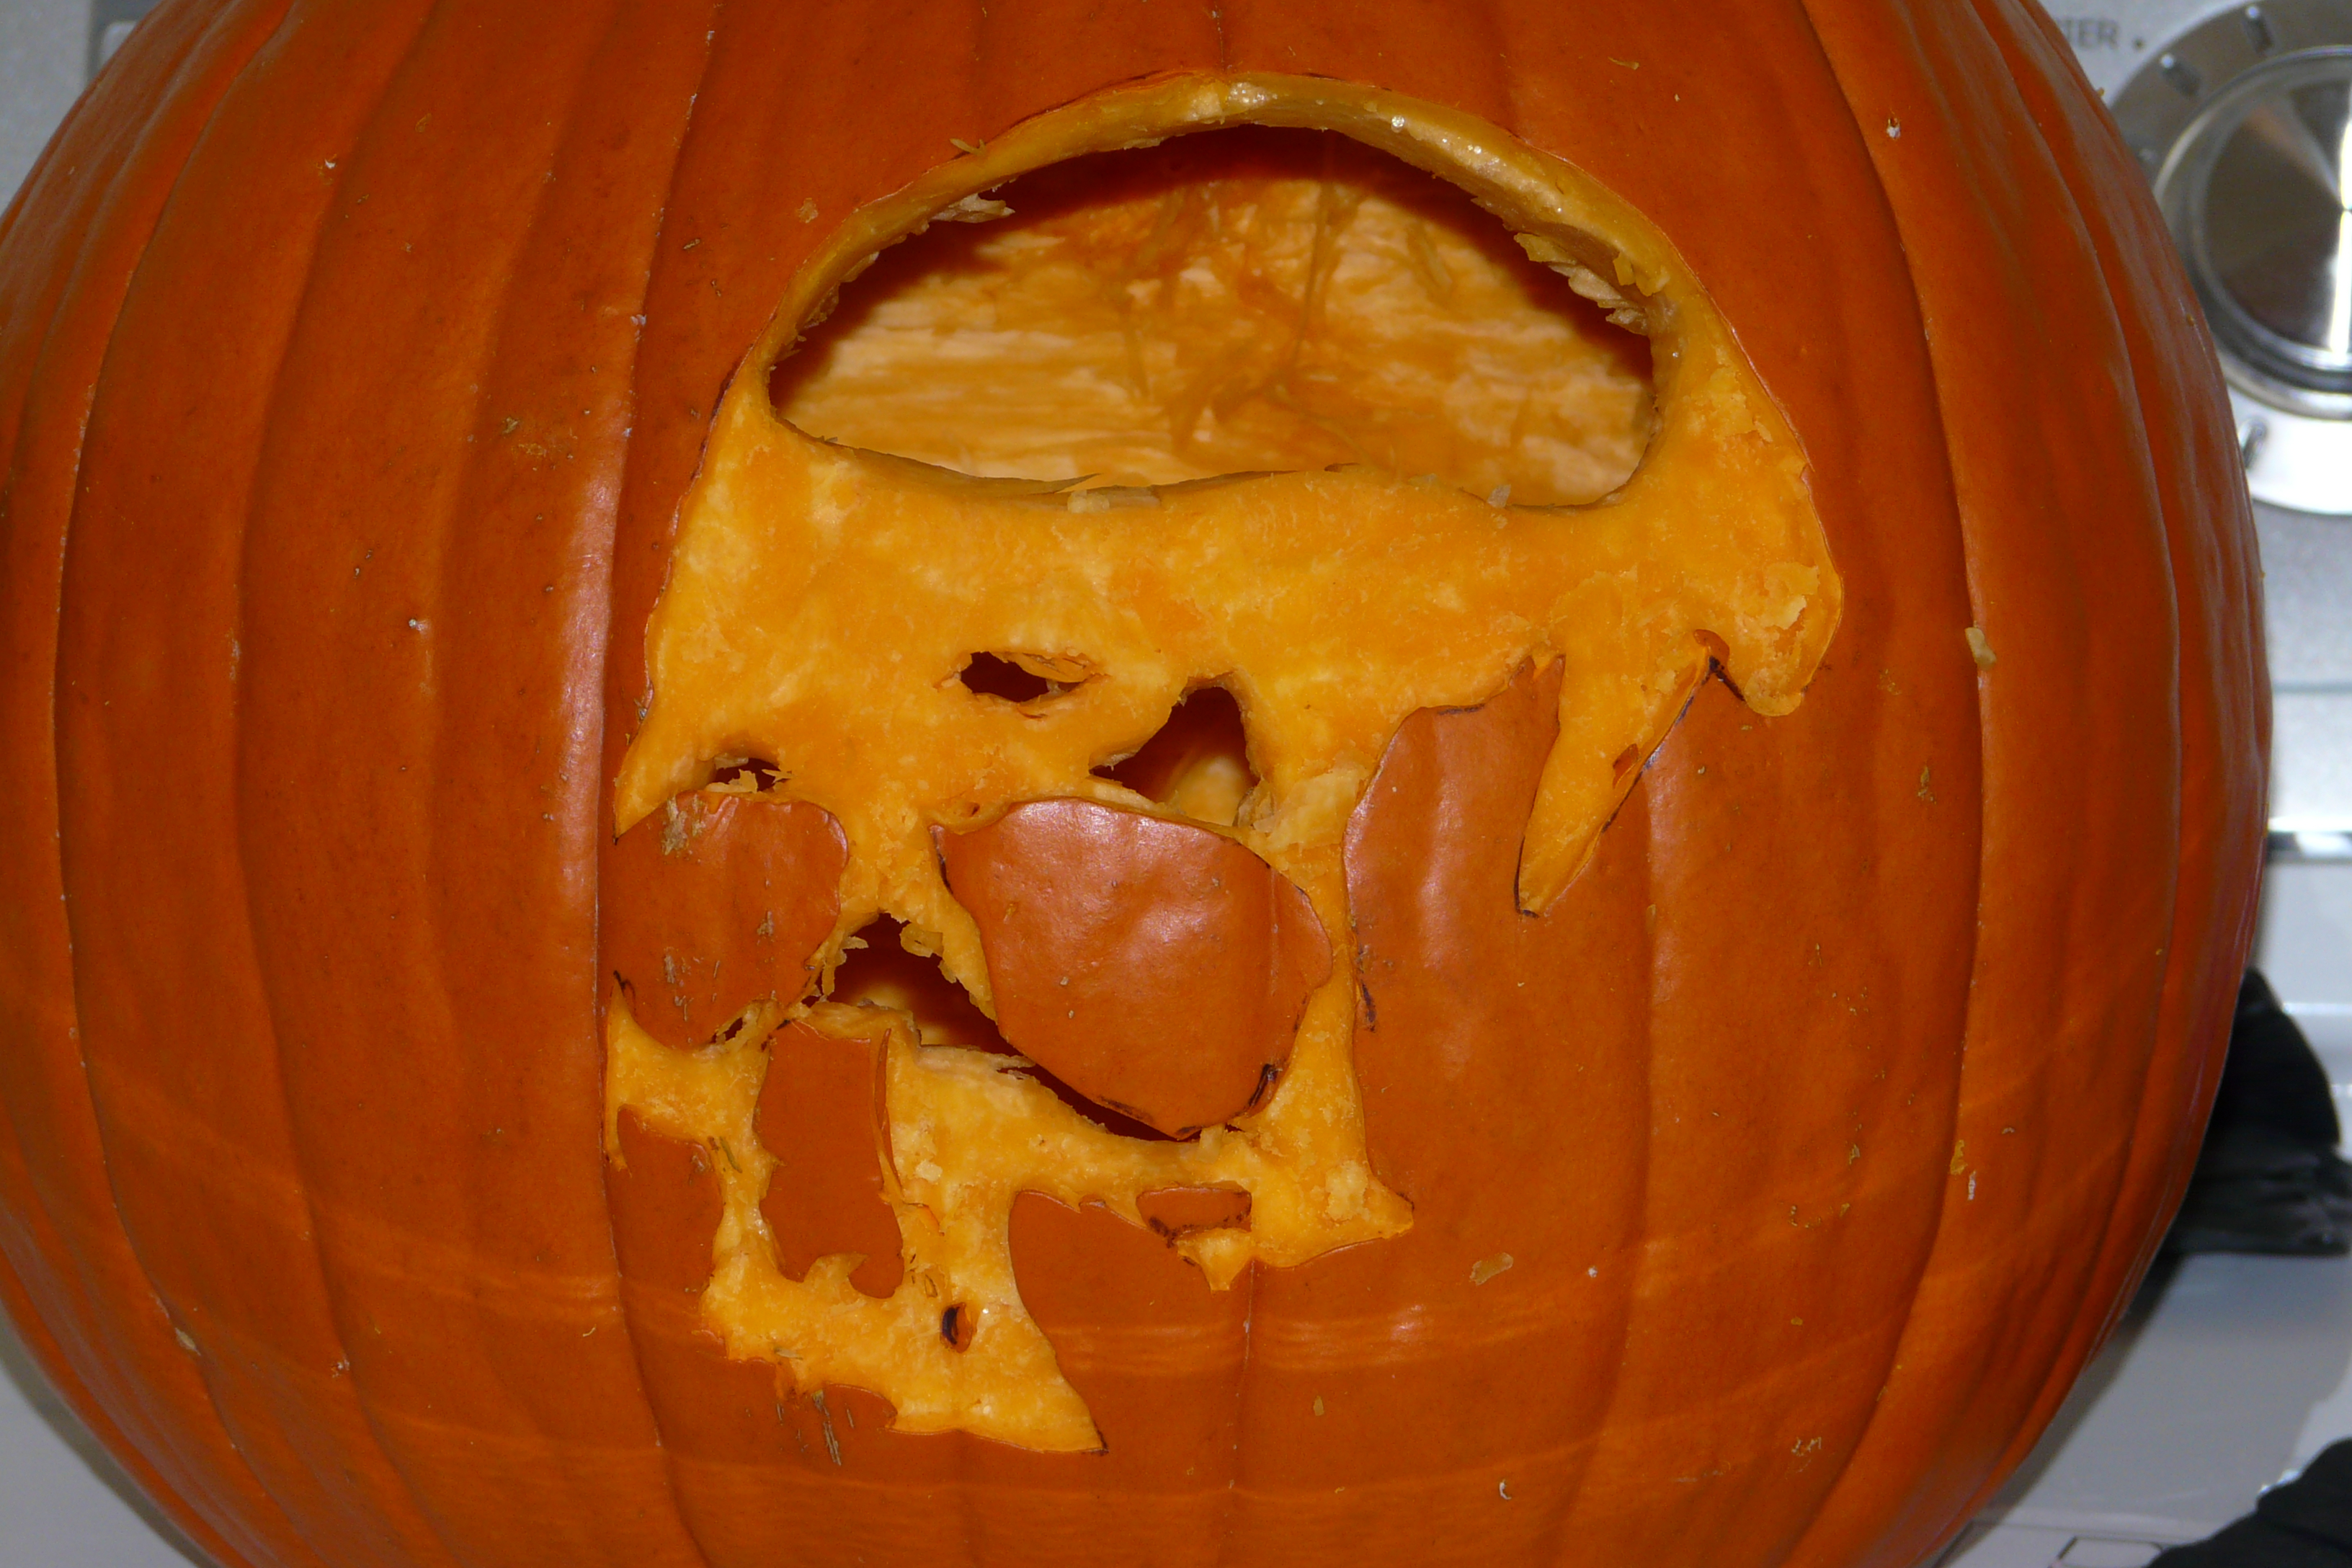
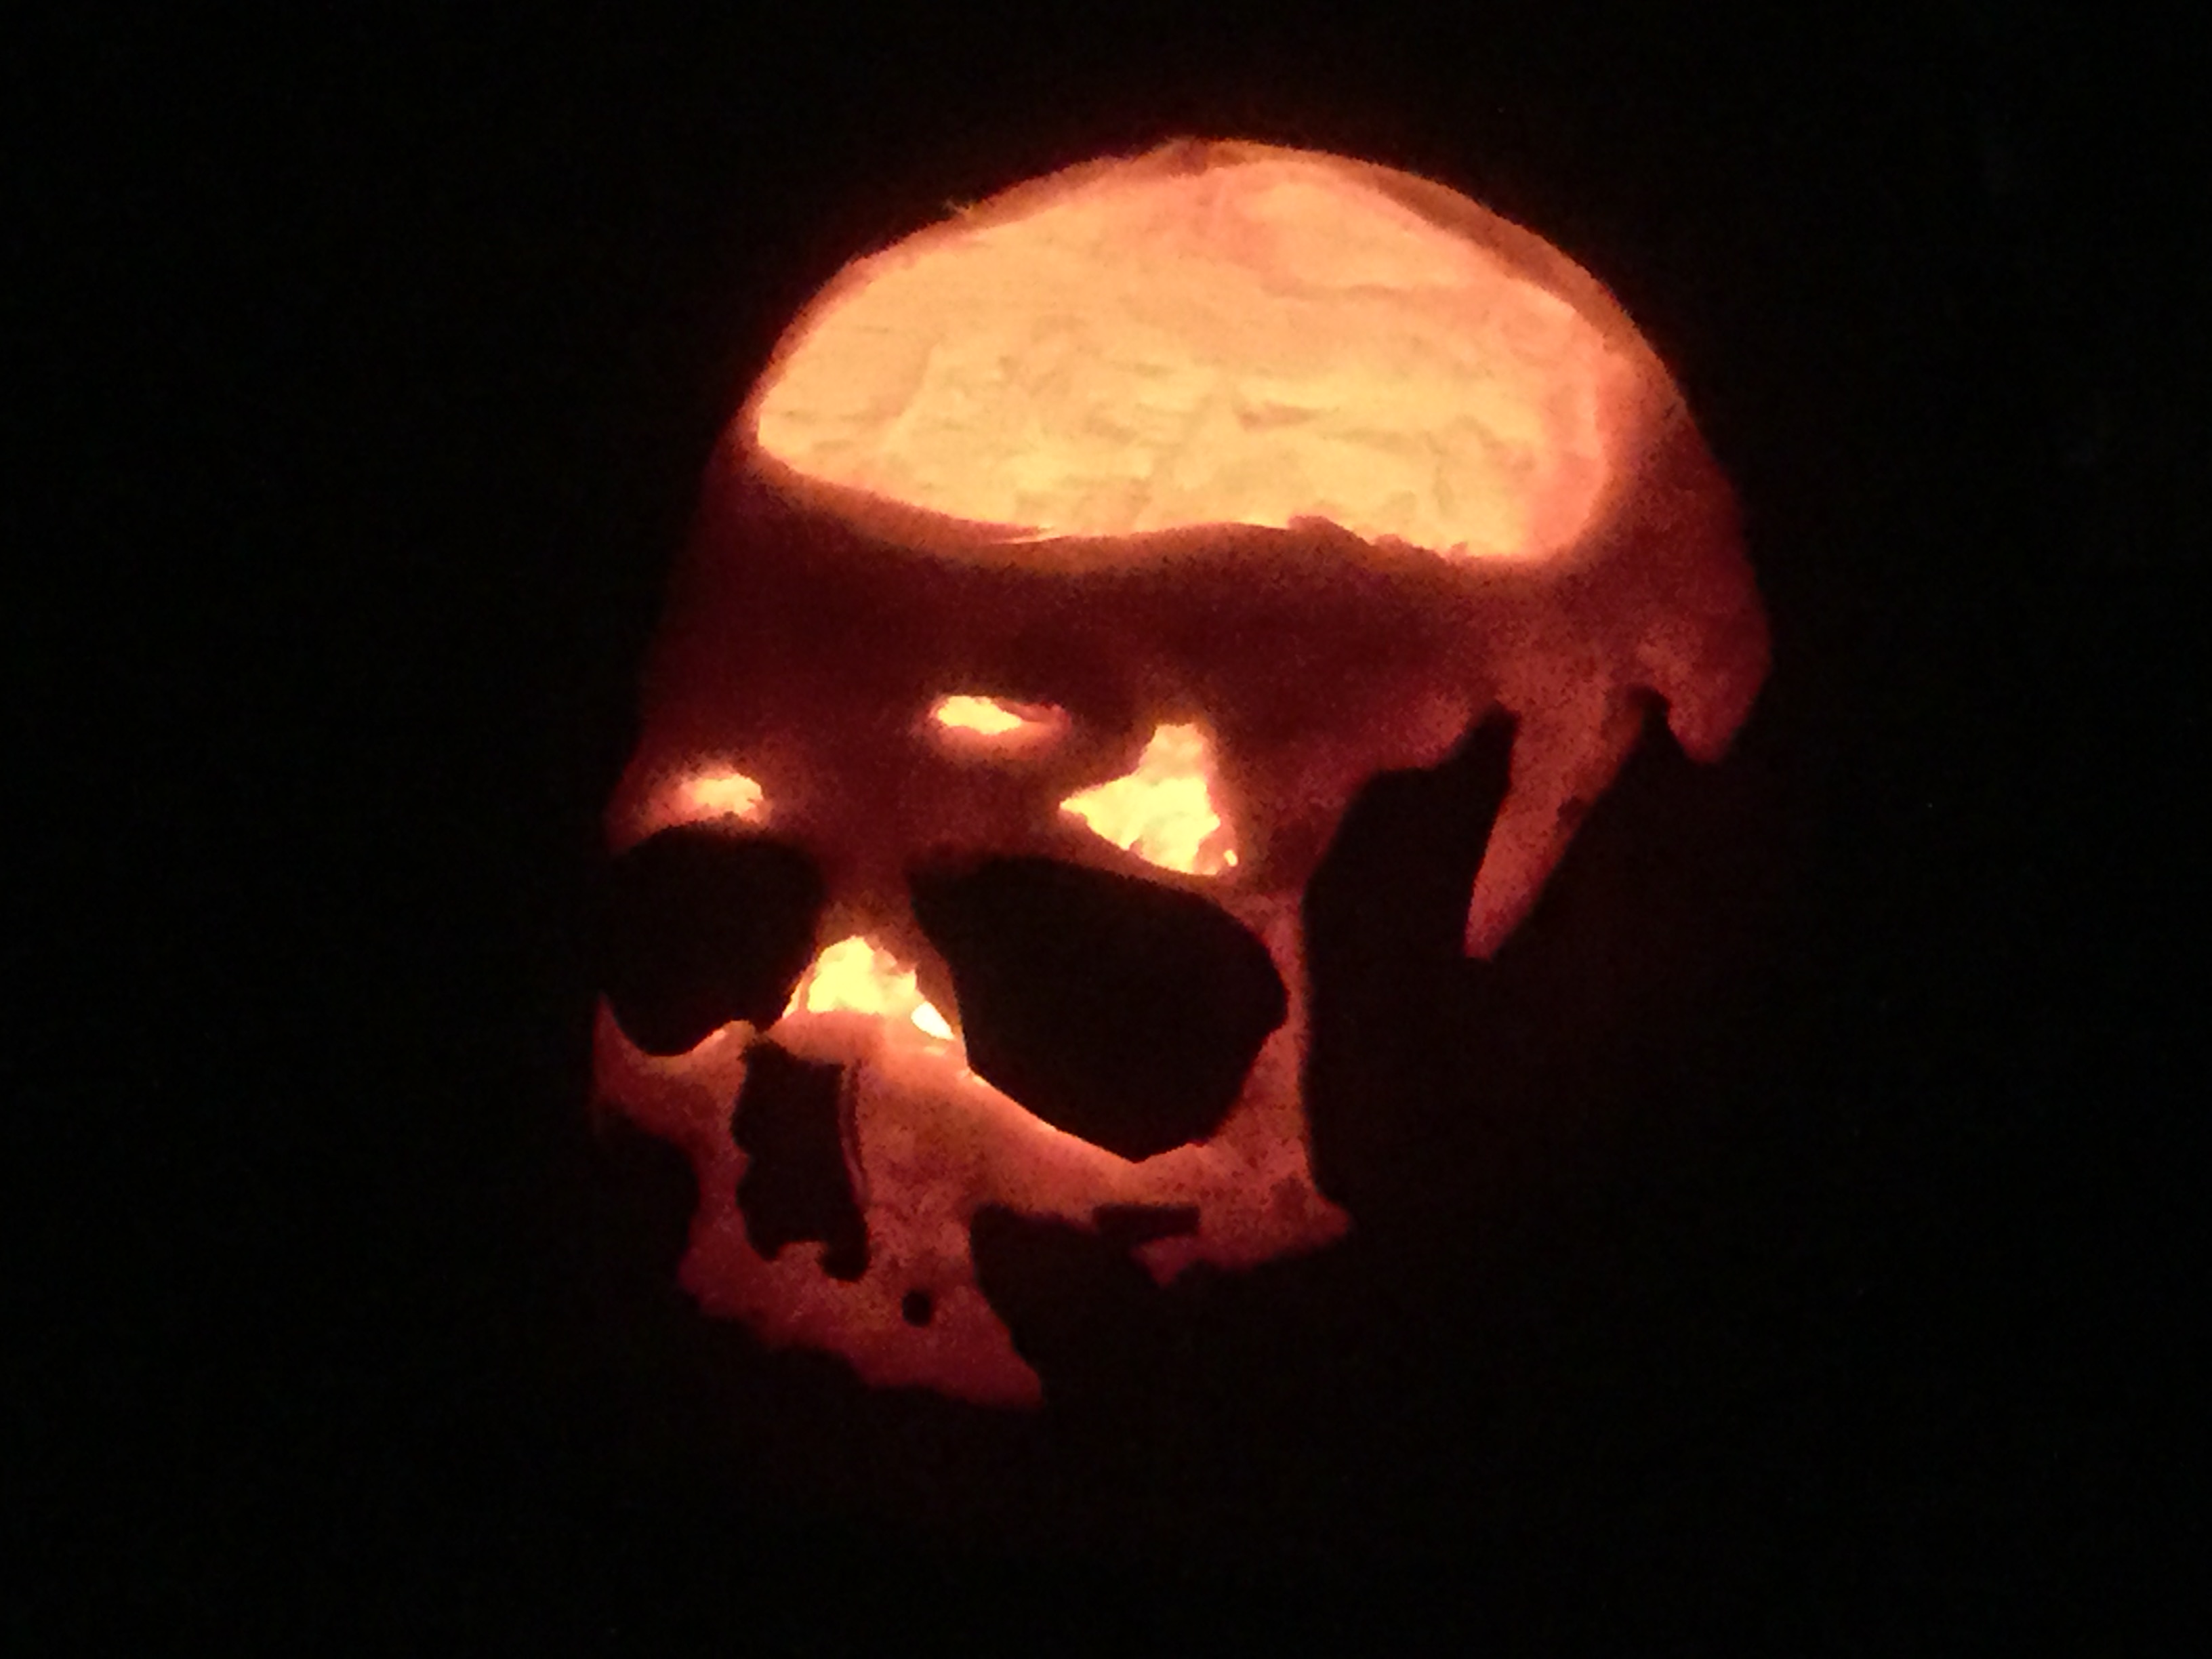
Doesn't look like much until you get a candle in it and get in a dark place. Now, just add Halloween. Enjoy knowing that you have a one of a kind Jack-O-Lantern for your ghouls and goblins to enjoy.
Happy Halloween!