Design the Wedding Invite of Your Dreams
by Eberg2020 in Craft > Digital Graphics
352 Views, 0 Favorites, 0 Comments
Design the Wedding Invite of Your Dreams

You’ve gotten yourself a fiancé, you’ve broken the news to both sets of parents, and you’ve even booked a venue. All your wedding plans are coming together at last! There’s just one last hurdle, and it’s a big one—the invites.
After all, your invites will be the first glimpse a lot of your friends and family get of the wedding, and you want that glimpse to be perfect. Before you get a headache just thinking about it, relax. Designing your dream wedding invite is simpler than you think. From elegant and reserved to casual and bright, the instructions below will give you and your fiancé all the tools you need to design the absolute best wedding invite for your personal style. And in just a few steps, you’ll be able to introduce the world to your big day in the perfect way!
Supplies
This Instructable requires Adobe Illustrator to complete. You can purchase the program or download a free trial HERE.
Determine Information to Include
However beautiful your invite will be in the end, the most important part on the page will always be the text. Make sure you and your fiancée sit down and finalize what you want your invite to say together.
One of the most important things to talk about is whether you plan to include parents’ names, stepparents’ names, or the names of other meaningful people in your lives on the invite or if you’d prefer to just include your own. Both methods are common. Traditionally, parents’ names are included if they are the ones paying for the wedding and reception or if invites will go out to a large number of their friends. But a more modern approach puts only the bride’s and groom’s names on the page. If you worry your decision to include or not include someone’s name could hurt their feelings, consider reaching out to that person and talking things over with them before you proceed. Hearing you explain your plan before they see the invitation can prevent a perceived slight.
Other Things to Discuss
- What registry information you’d like to include.
- How guests should RSVP.
- If other driving instructions are needed in addition to the venue’s address.
- If all dates and times are finalized.
Once you’ve decided what you’d like your invite to say, it’s time to move on to the fun part!
Decide How to Incorporate Your Wedding Colors
Since so many people live in information overload, you want to be extra sure your invites will stand out to your guests. Incorporating your wedding colors into your invite is a great way to make it more visually appealing.
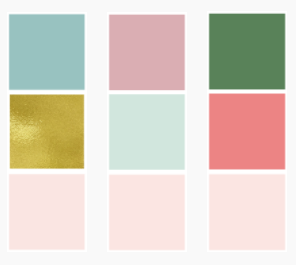
Your colors can be included in the text, in the images or borders on the page, or even in the paper itself. It can be helpful to come to this step prepared with a color palette for your wedding colors so you know what tones and shades will work well together. If you still need a color palette, online tools like coolors.co or canva.com can help you generate one.
Find Photos and Graphics
Photos
Many couples incorporate engagement photos on their invitation, which is a great way to introduce your fiancé to your relatives. A tip for choosing photos—make sure to pick at least one photo where both your faces are clearly visible. It’s fun to include some more artsy shots, but people will want to see your faces! The invitation examples on this page don’t include photographs, but you could insert a photograph onto the back of the invitation or include a separate photo in the envelope.
Graphics
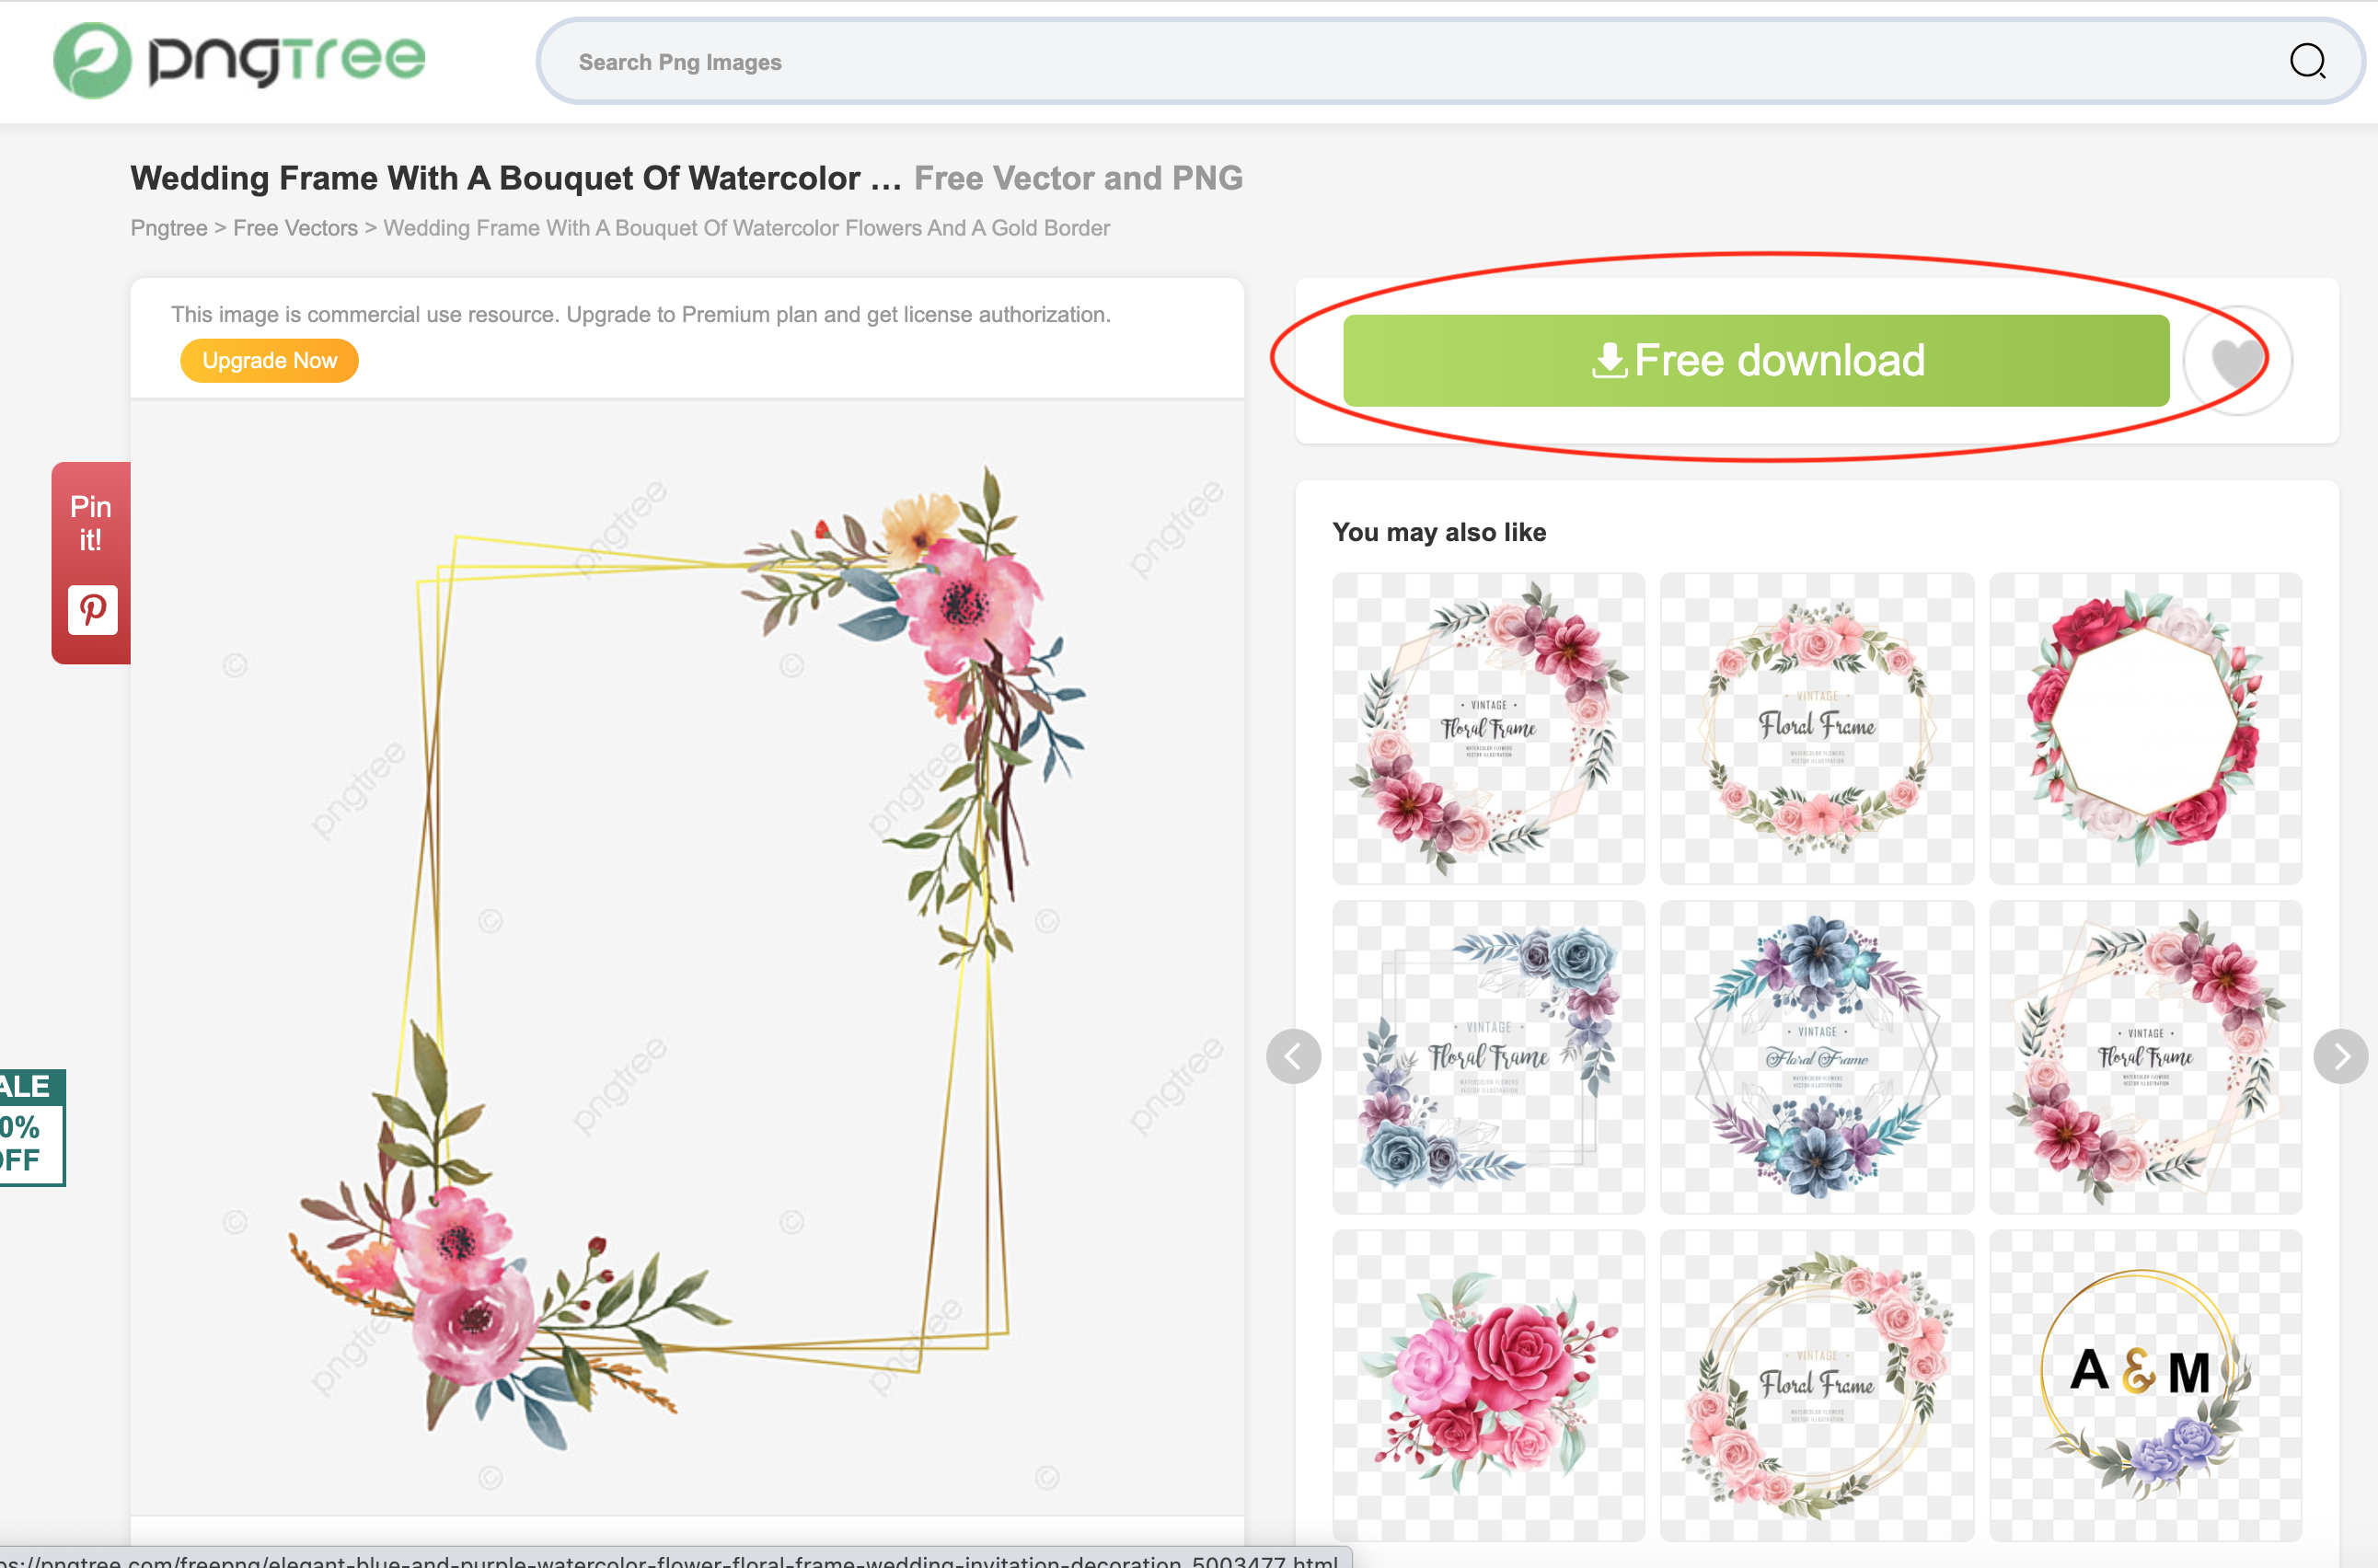
If you want to include flowers or some other design element on your invitation, there are websites where you can download free PNG images. This type of image has a transparent background, so it's easy to manipulate in Adobe Illustrator. If you choose to incorporate a design element, try finding designs that include your wedding colors.
Resources
Our favorite resources for finding PNG images are pngtree.com and favpng.com. Use a search term that matches your idea (you can even include colors to narrow your search). Then click on the image and download.
Choose Your Fonts

Picking a font for your wedding invitation can be deceptively tricky. The font helps set the tone for the invitation. We recommend using two different fonts, one for the bulk of the information on the card and one for the names of the bride and groom. Although the fonts will be different, they should work together to reflect the mood you want for your invitation.
Traditional Fonts
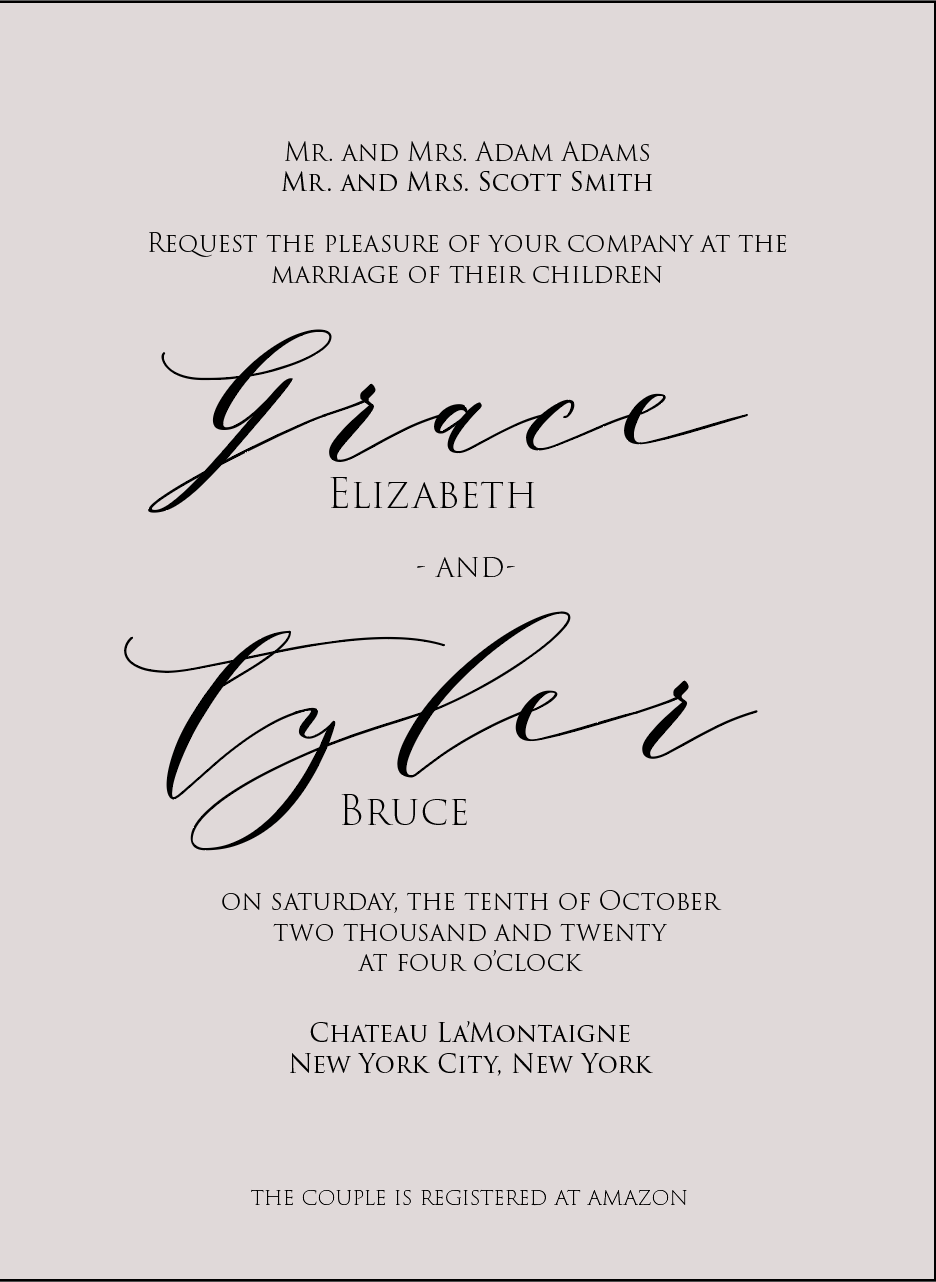
If you want to do something more traditional, go for a cursive or calligraphy font for the names of the bride and groom. These fonts usually pair well with blocky fonts that are in capital letters (see Example #1). You could also pair a cursive or calligraphy font with a thin, classy font like the one used in Example #2.
Modern Fonts
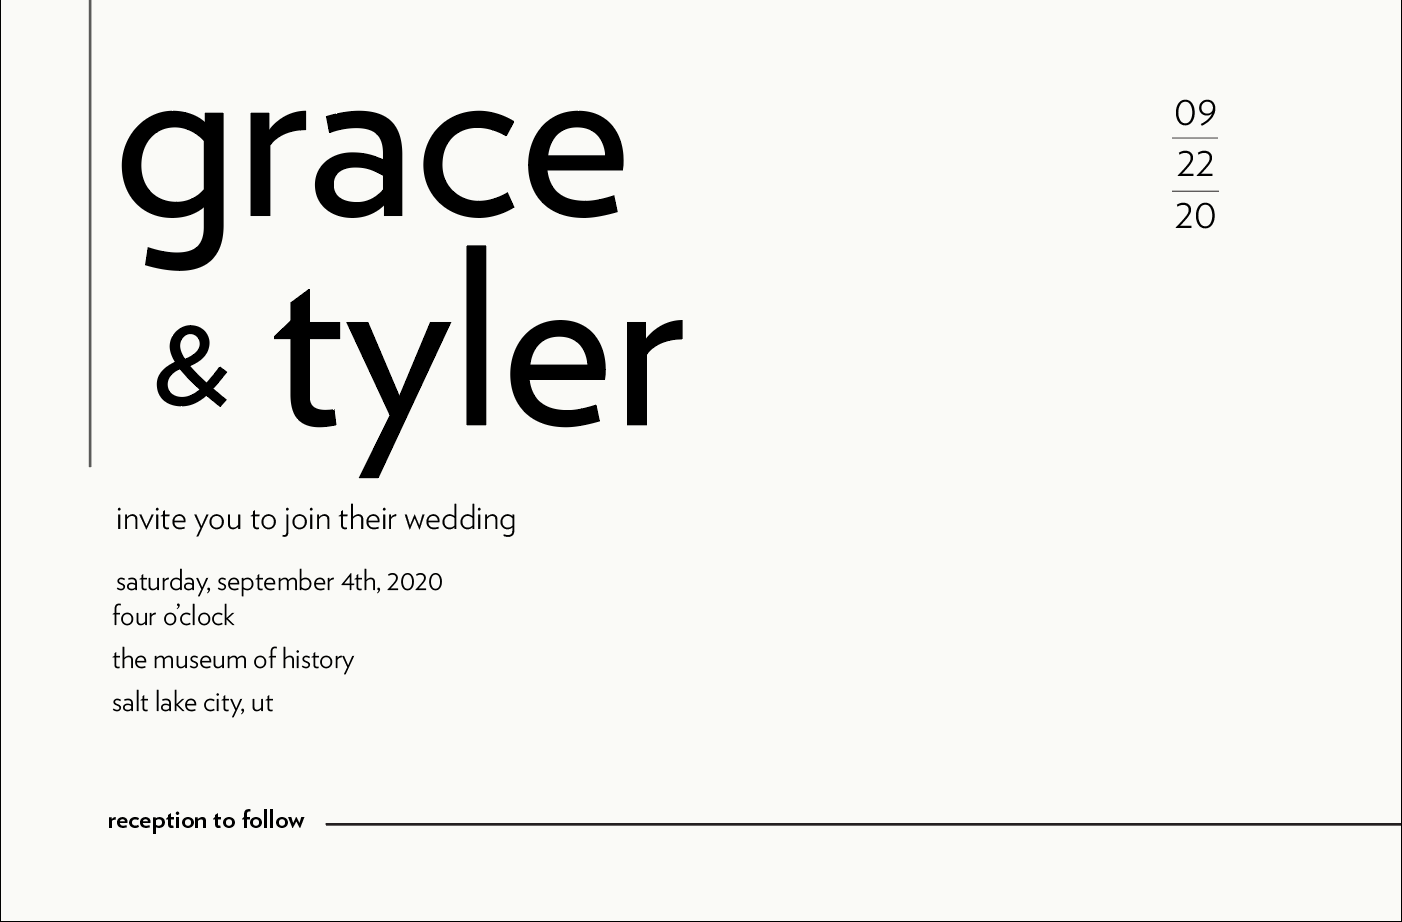
If you decide to go for something more modern, try playing around with sans-serif fonts (these are fonts that don’t have the little tick marks on the ends of the letters). Try out a thick and chunky font with an all-caps pairing (see Example #3). Or, you could keep it simple and use the same font for the names and the information but use different weights—such as in Example #4, which uses the Verlag font in both Book and Light to create differentiation between the names and the information. (Most, but not all, font families come with different weights, so you might want to check your preferred font to make sure it has these options.)
Where to Find Fonts
If you want to use a font that isn’t available on Adobe, you can search for free, downloadable fonts on google fonts, dafont.com, or allyourfonts.com. All the fonts in our examples came from google fonts except for Verlag, which we downloaded from allyourfonts.com.
Downloading Fonts
Search for a downloadable version of your font on one of the websites suggested above. Click Download. When the file appears in your computer downloads, make sure to double click it and then follow your computer’s prompts to install the font. Then, it will show up in your Illustrator font menu! This process works for both Macs and PCs.
Create Your Invite in Illustrator
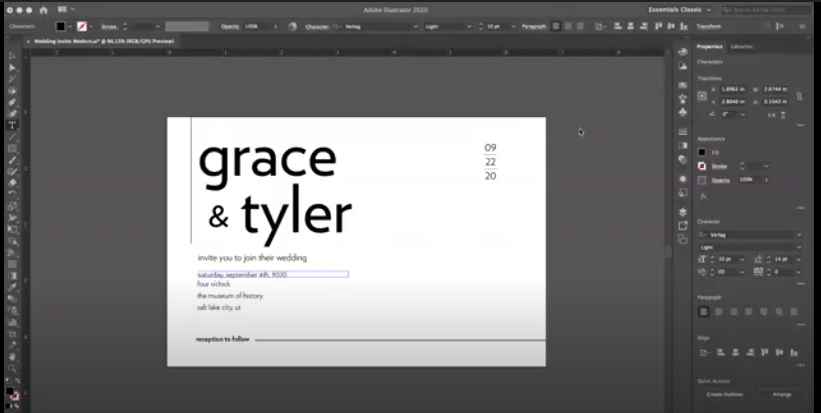
Follow the steps below to create your invite. The video included will walk you through the steps visually while showing extra design options and troubleshooting. If Adobe Illustrator gives you problems that the video doesn't address, check out Adobe's tutorial page for detailed problem-solving instructions.
- Launch Illustrator and choose File > New. From the category tabs at the top, select Print and select a blank document preset below. In the Preset Details panel on the right, click on the dropdown menu next to Width and make sure Inches is selected. Change the Width to 4.5 and the Height to 6.25. These are fairly standard dimensions for a wedding invitation, but you can orient these dimensions either vertically or horizontally by clicking on the icons under Orientation.
- Click Create.
- If the Properties tab is not open, choose Window > Properties to open it.
- To insert text, select the Type Tool on the left hand side of the screen. Click and drag to create a text box on your project. It’s a good idea to create a new text box for each separate piece of text you’d like on your invite.
- Type the information you’d like in your text boxes.
- To change the font, highlight your text and go to the Properties panel and click on the dropdown menu under Character. Click on your desired font. Change the font size by changing the number in the dropdown menu next to the font size icon. Adjust the space between lines, or the line leading, by changing the number in the dropdown menu next to the line leading symbol.
- To rearrange your text boxes, select the Pointer tool on the top left of the page. Drag and drop you boxes until they are arranged the way you’d like them.
- To add a graphic to your invite, open the folder where the desired PNG is saved. Drag and drop the file onto your Illustrator project.
- Once your graphic is added, resize it by pressing Shift and using your cursor to click and drag the corner of the image until it is sized the way you’d like. Drag and drop the image to the right location on your invite and press Enter to place. To edit the image’s size or placement again, simply click on it.
- When your invite looks the way you’d like it to, click File > Save As. Choose Adobe PDF from the Format dropdown menu. Click Save.
Choose Your Paper and Print

Choosing what paper you want and where to print go hand in hand, since often the location you choose to print out your invites will have their own selection of papers. But there are some common types of paper that you can expect to find almost anywhere you go.
- Glossy photo paper—Picture the sheen of a photograph. Your invitations will be just as shiny.
- Matte paper—If shiny is not your style, keep things simple with a basic flat finish.
- Cardstock—Choose this one for a thicker, sturdier, and more traditional feel.
Of course, if you choose to print your invitations somewhere that specializes in weddings or celebrations, your paper options will be far more varied (we’re talking cotton, linen finish, vellum, glassine, board, pearlescent—the list goes on!). But if you’re feeling overwhelmed, consider sticking to just these three options. We promise your invitation will look great. To find a place to print near you, run a search through Google for “print wedding invitations.” Pricing typical runs around $0.70 per card for cheaper invitations and can be as much as $3.00 per card for more involved printings. Average pricing is around $1.00 per card.
Finish
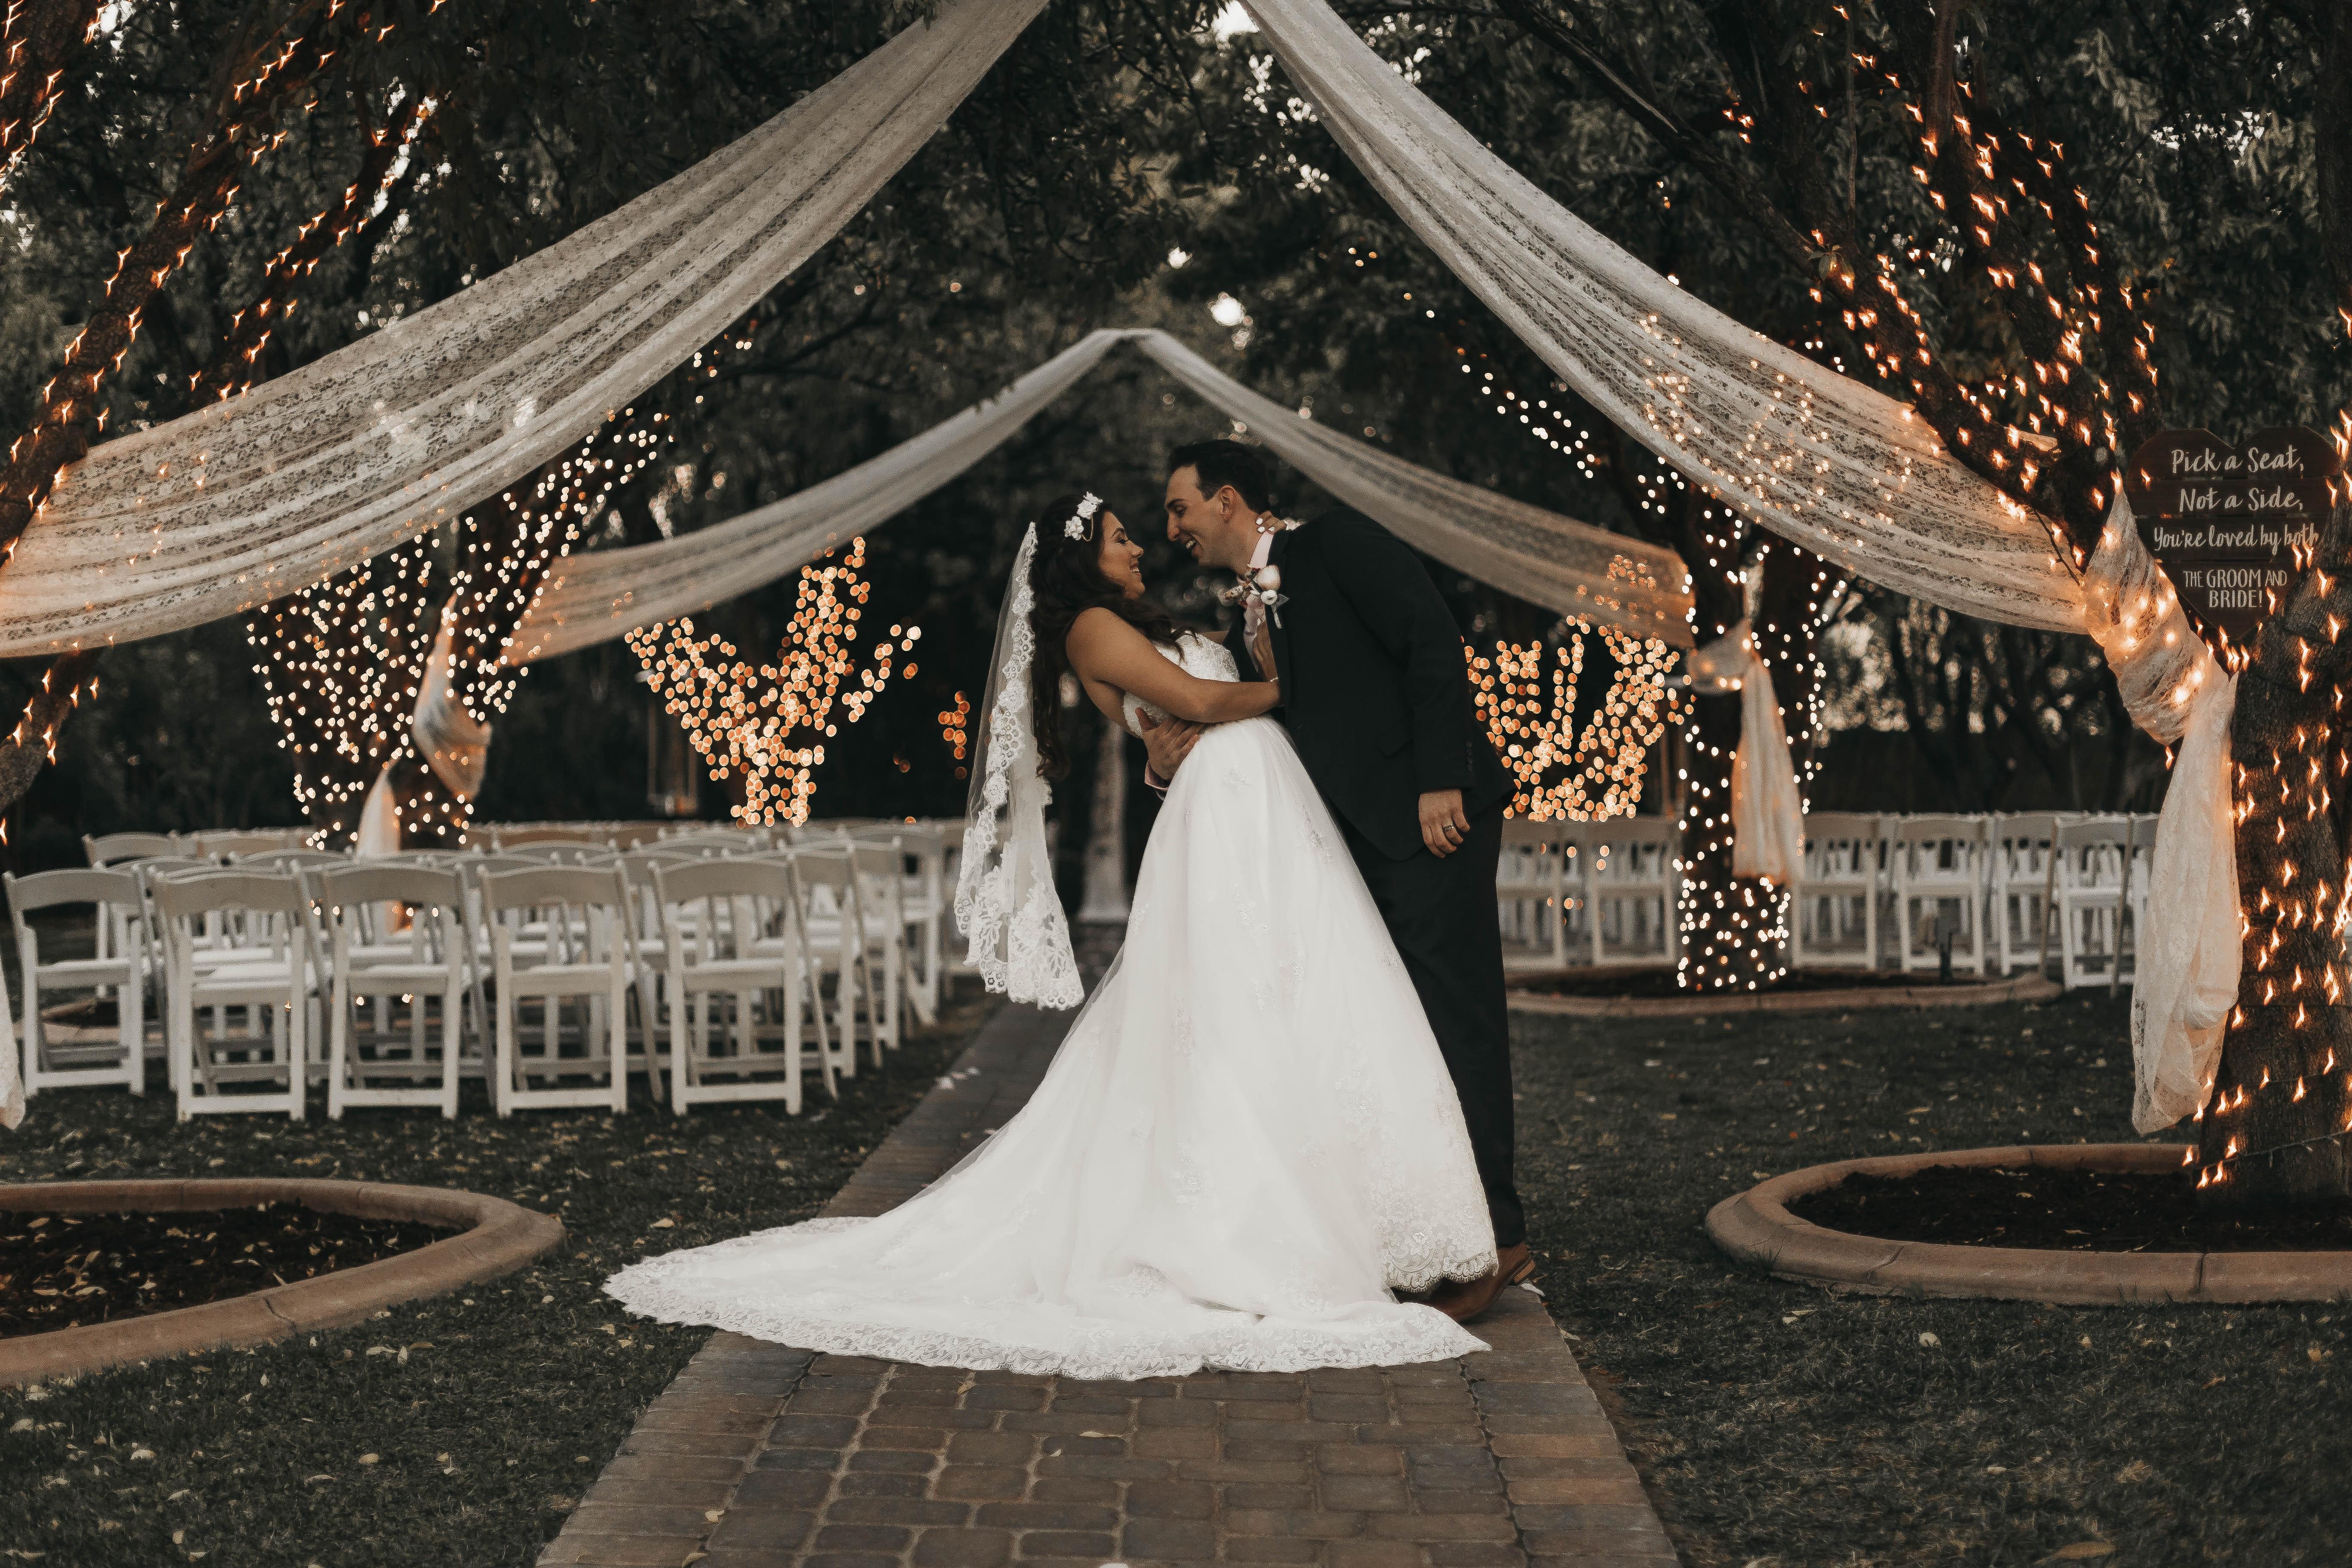
Once you have your invitations in hand, take a minute to revel in their beauty. Now send those puppies off in the mail and relax! The hard work is done, and your wedding’s on its way!