Design and Print a Wire Guide
by MikeTheMaker in Workshop > 3D Printing
1374 Views, 3 Favorites, 0 Comments
Design and Print a Wire Guide
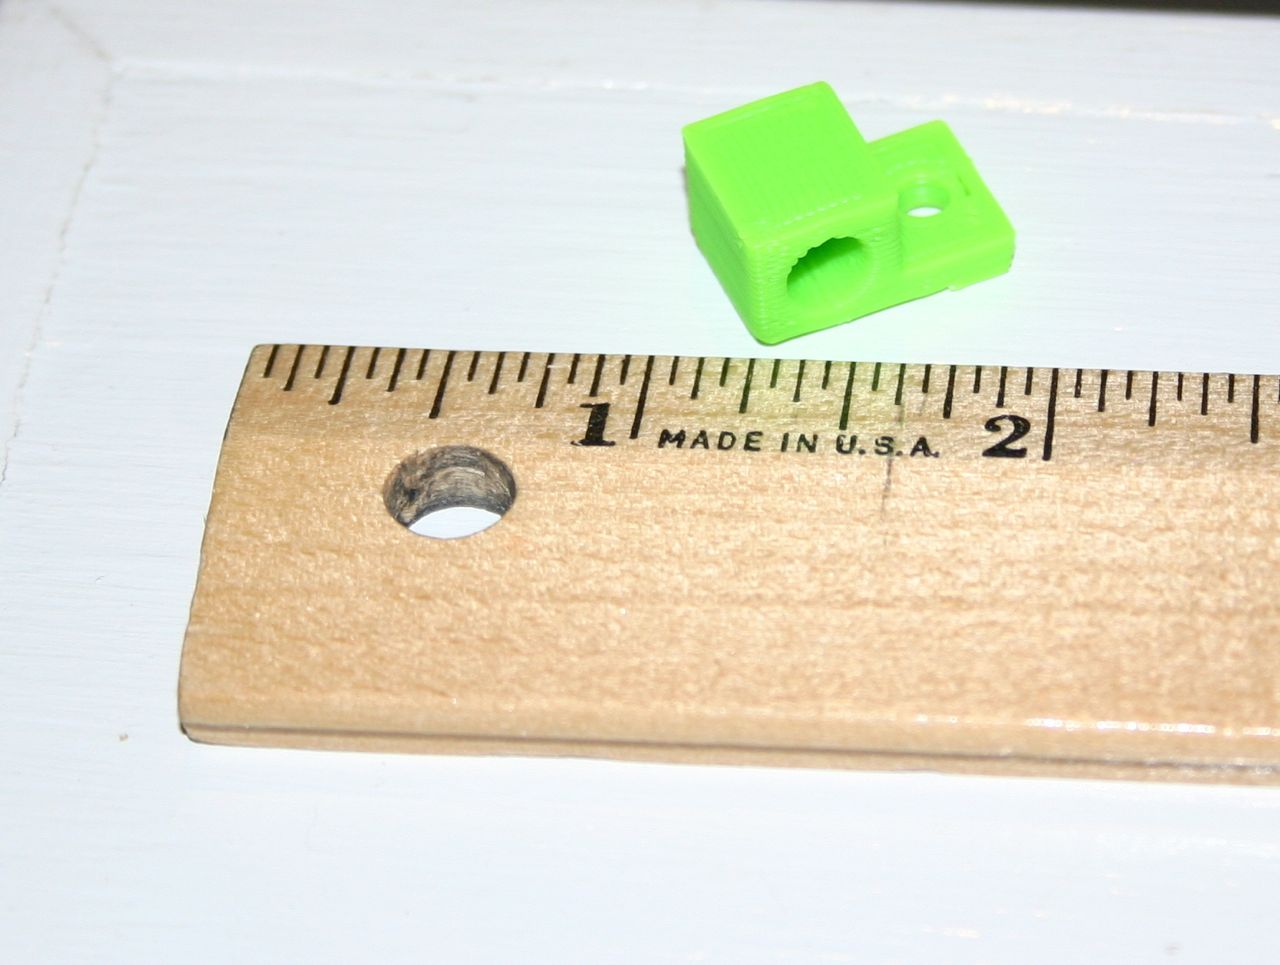
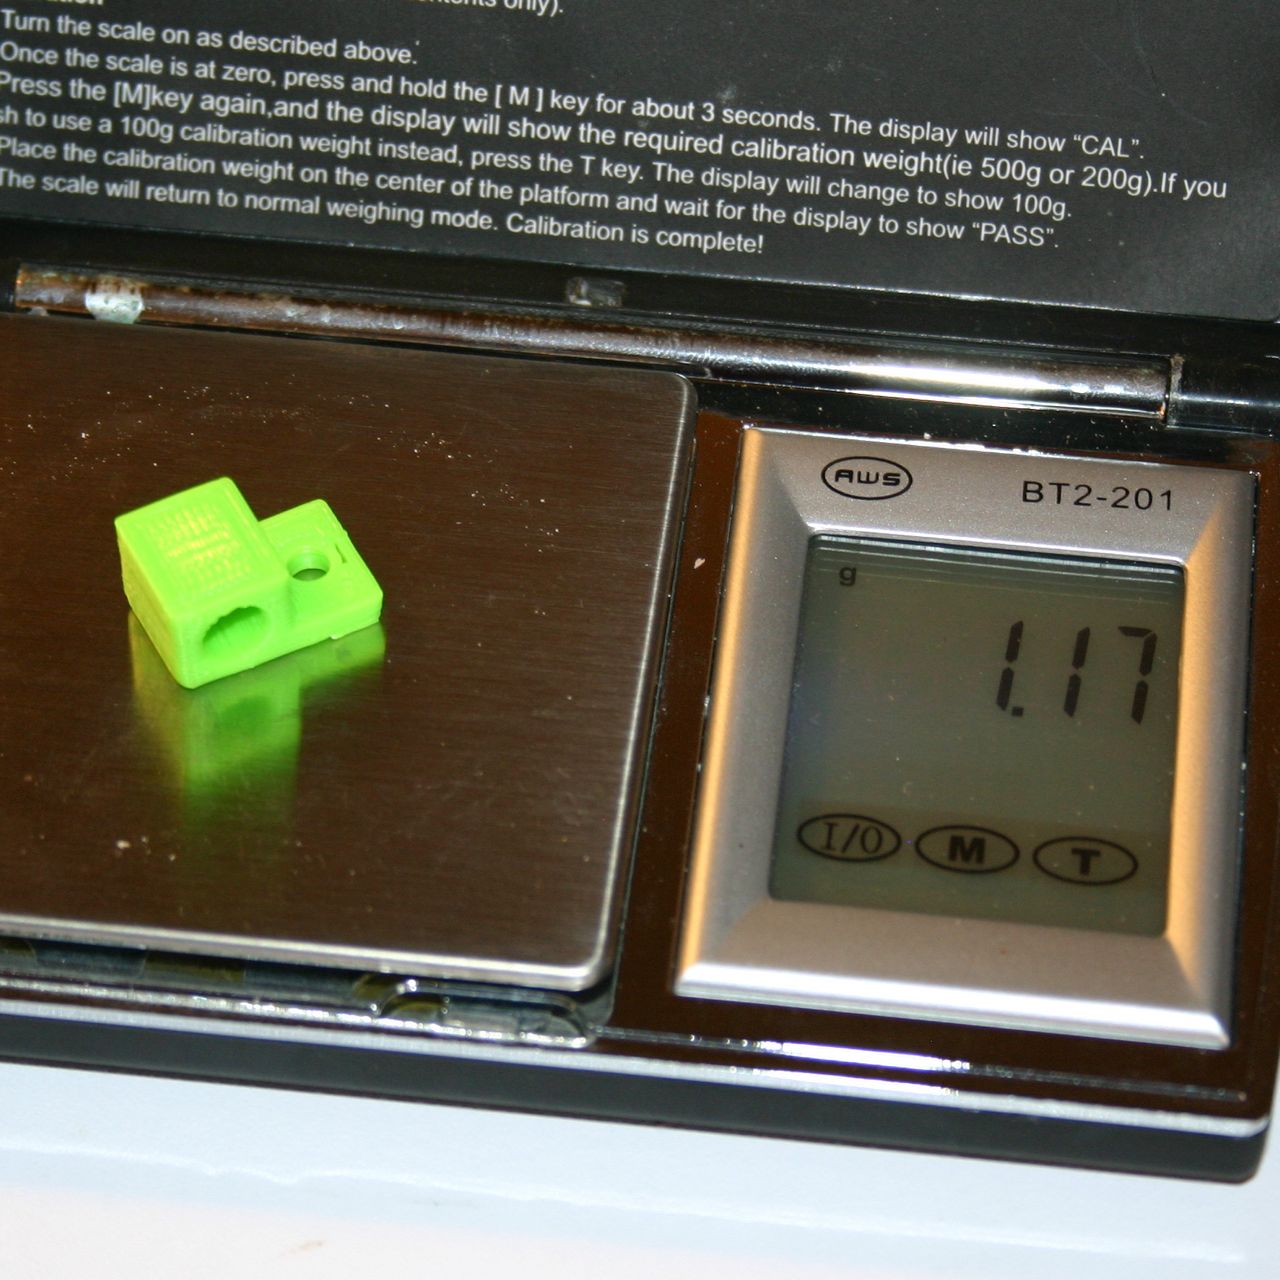
I needed wire guides to make a project look more clean. I designed my own (less than $.05 in plastic and six minutes print time) and can print them in colors and sizes to suit my needs.
In this instructable, I will show how I used Autodesk 123D (free) to design a part.
What I do is "start with a box" and remove everything that is not a wire guide.
Follow along--you'll see that it's easy.
Design files available here:
http://www.thingiverse.com/thing:42894
In this instructable, I will show how I used Autodesk 123D (free) to design a part.
What I do is "start with a box" and remove everything that is not a wire guide.
Follow along--you'll see that it's easy.
Design files available here:
http://www.thingiverse.com/thing:42894
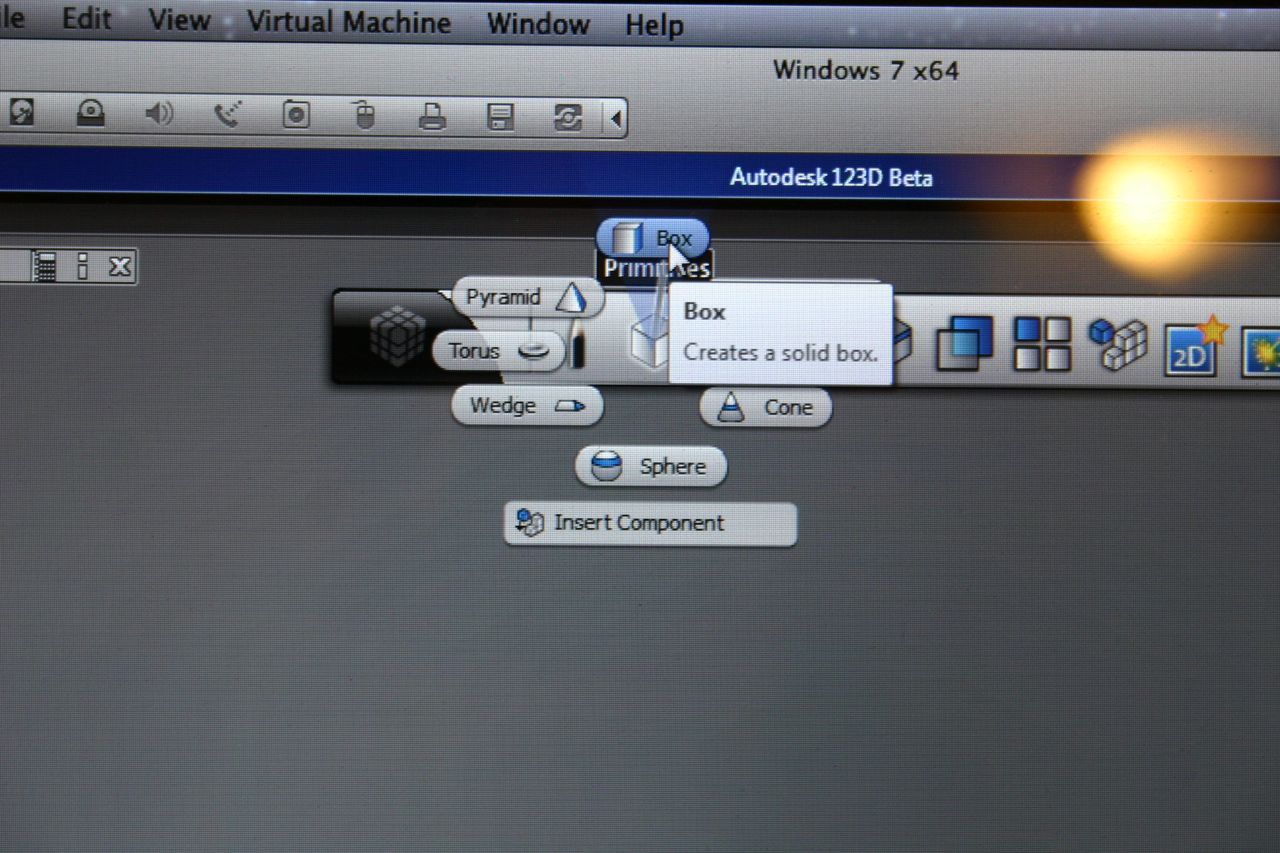
First, go to "Primitives" and select "Box."
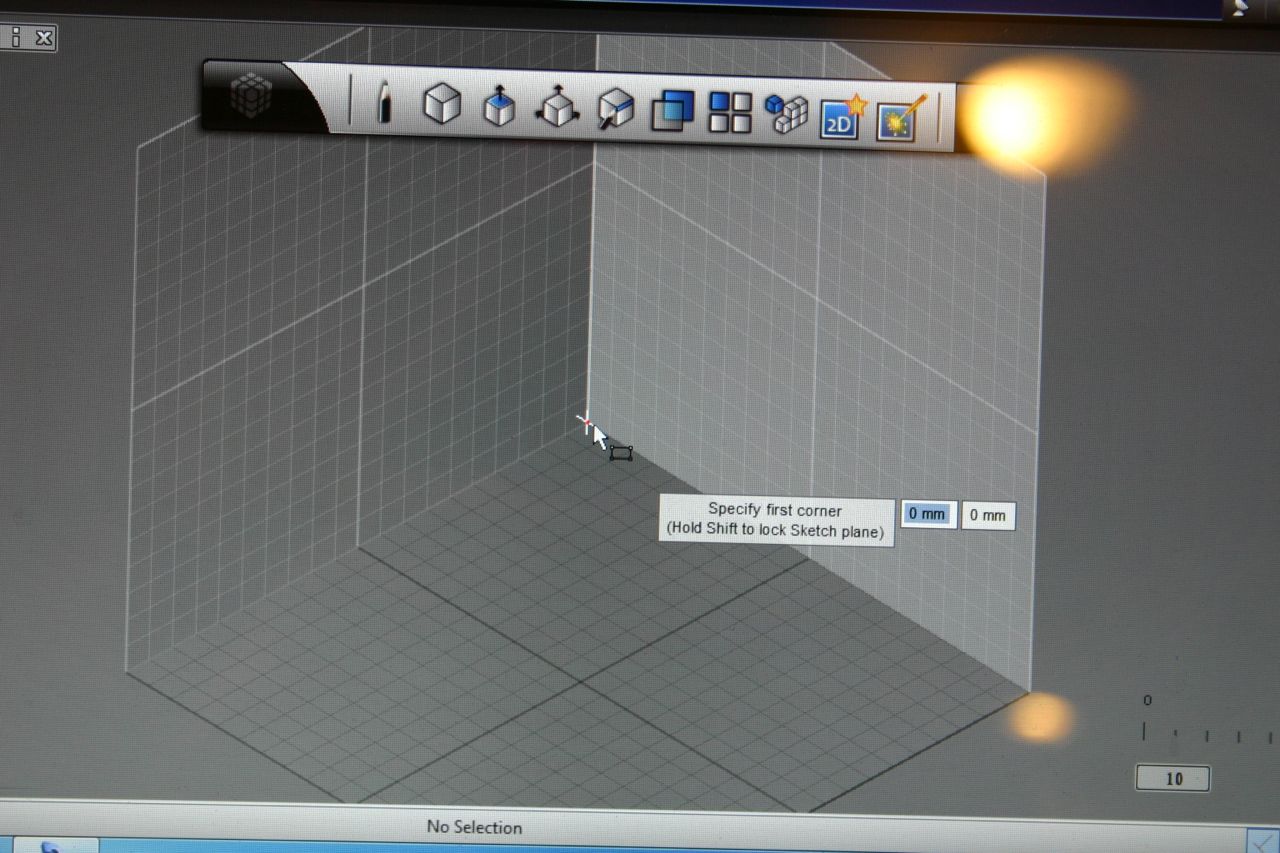
Select the first corner, (0,0) on the back plane.
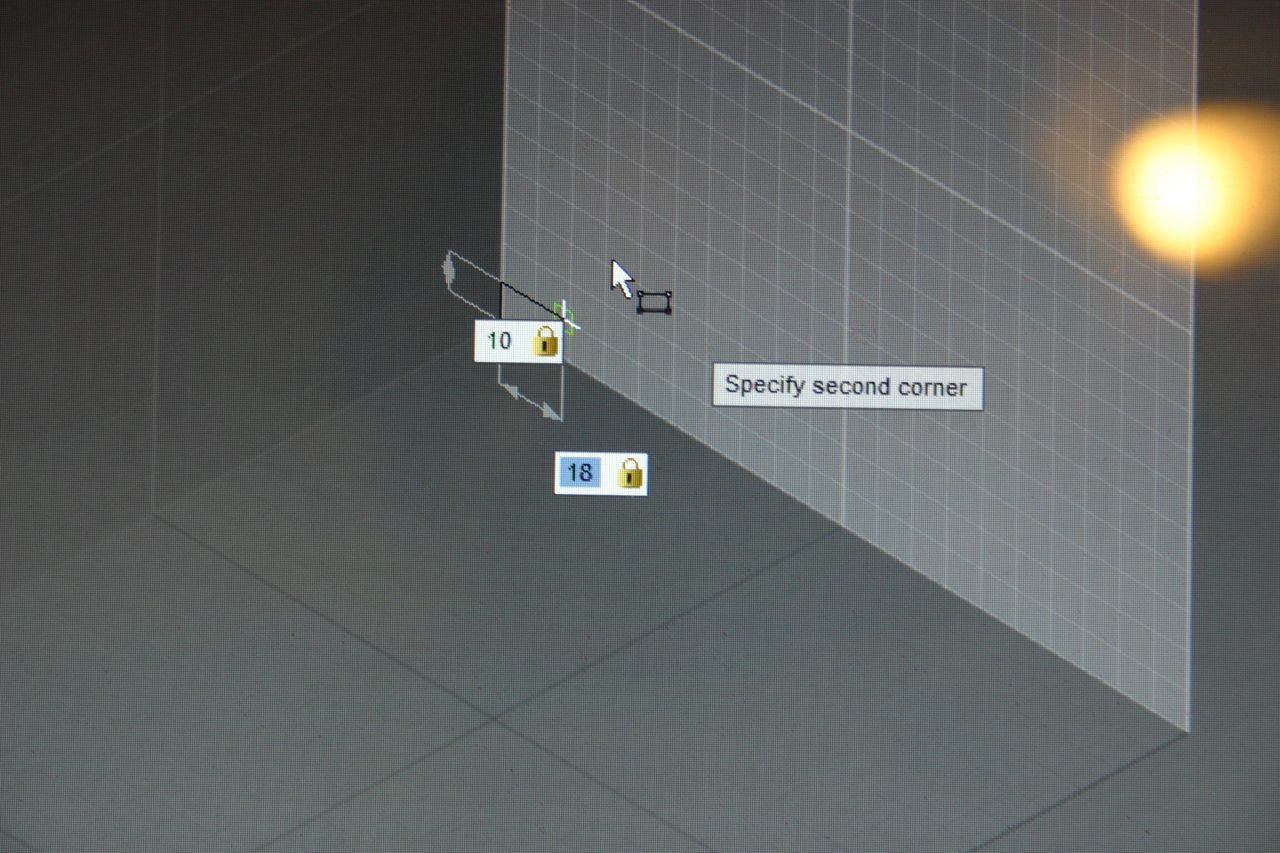
Select the second corner (18,10).
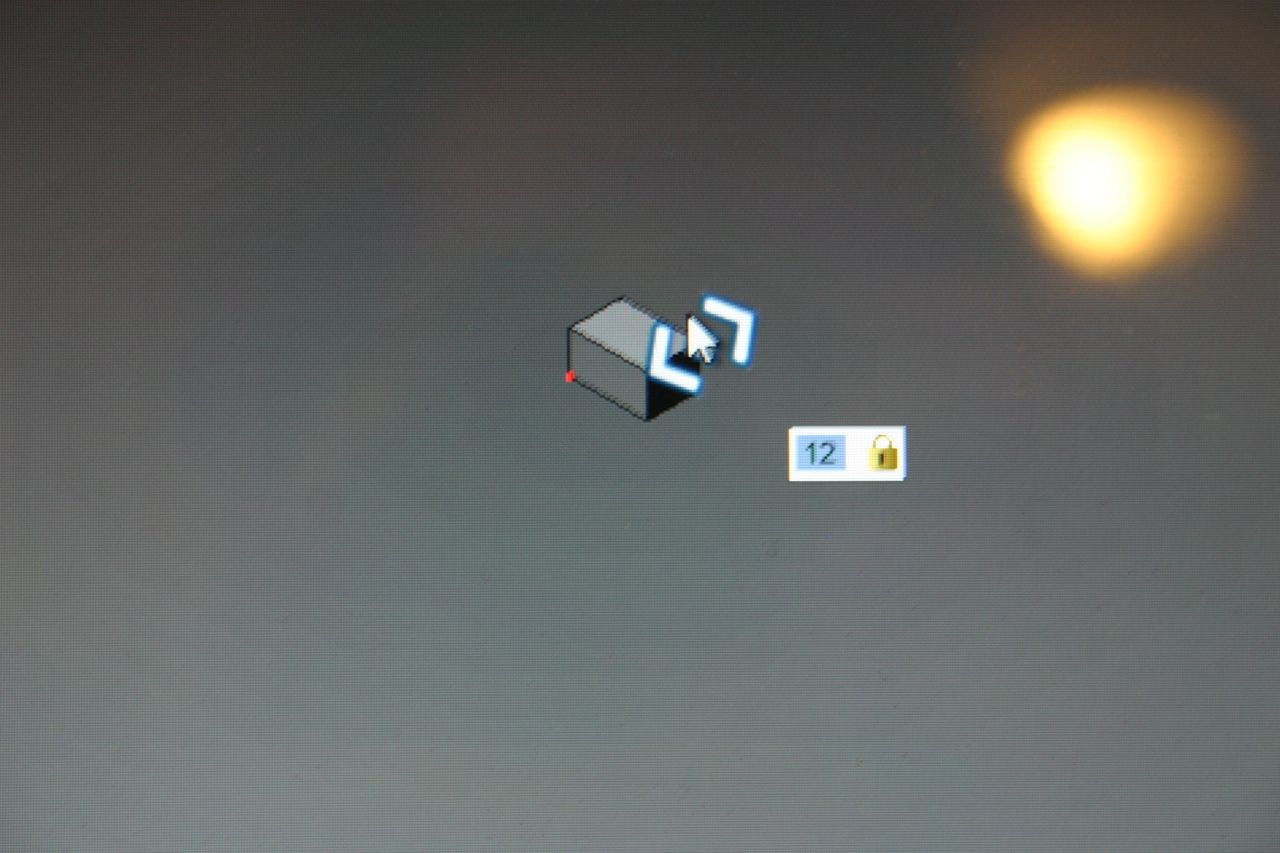
Choose a depth of "12."
I now have a box that is 18mm by 10mm by 12mm deep.
I now have a box that is 18mm by 10mm by 12mm deep.
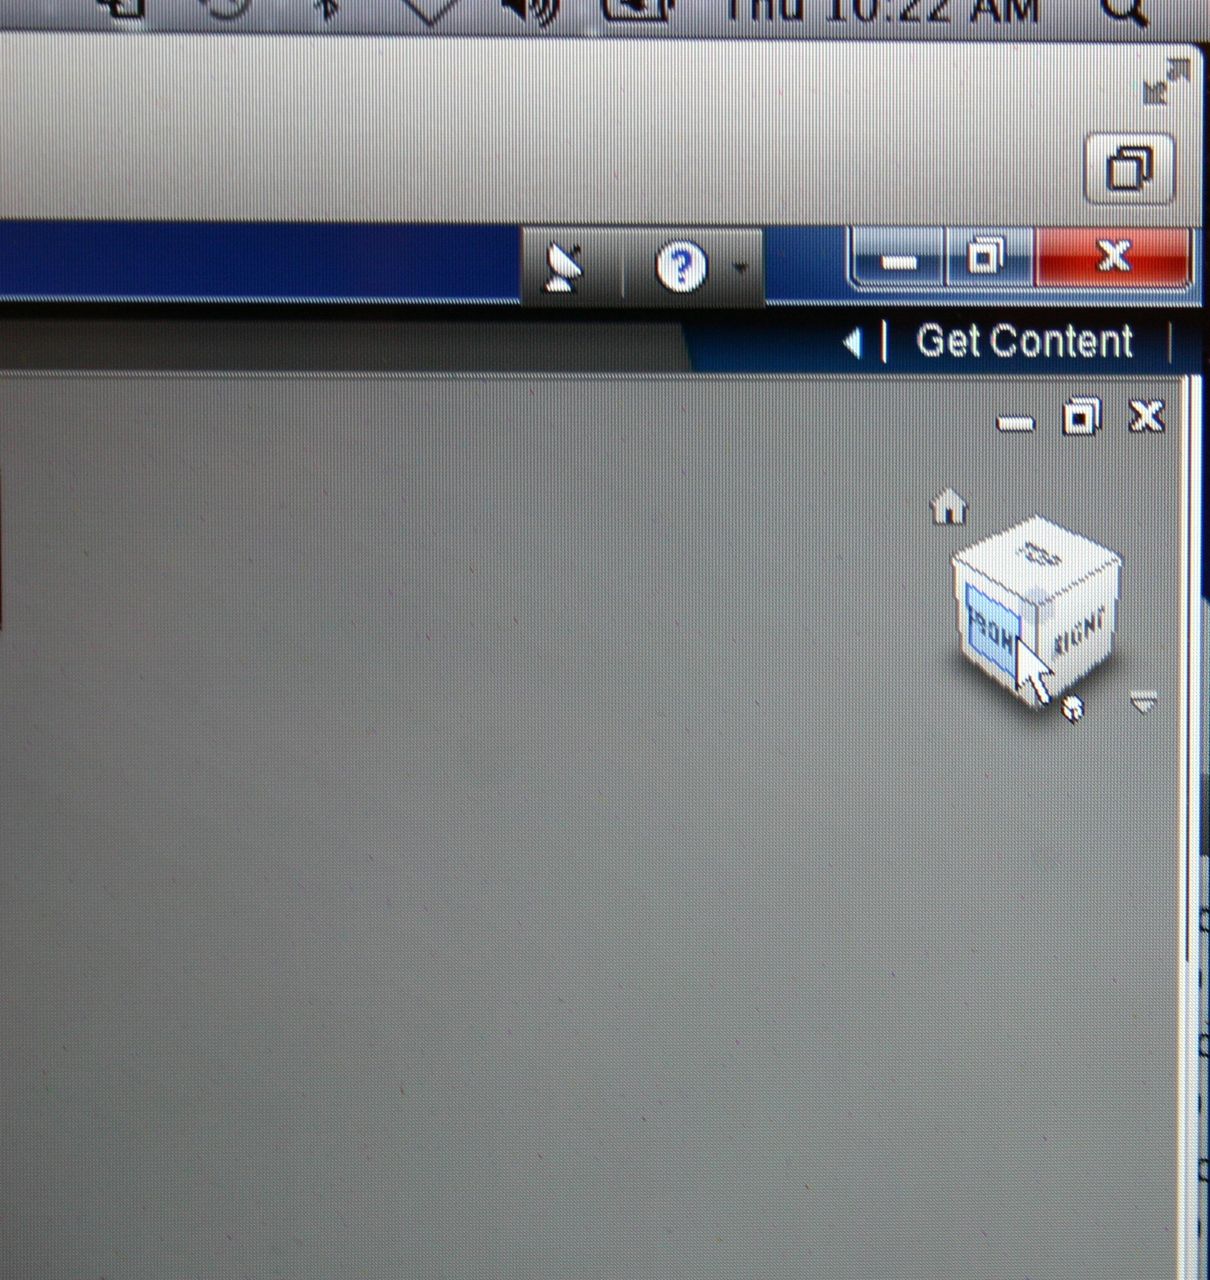
Select the "front" view to work on.
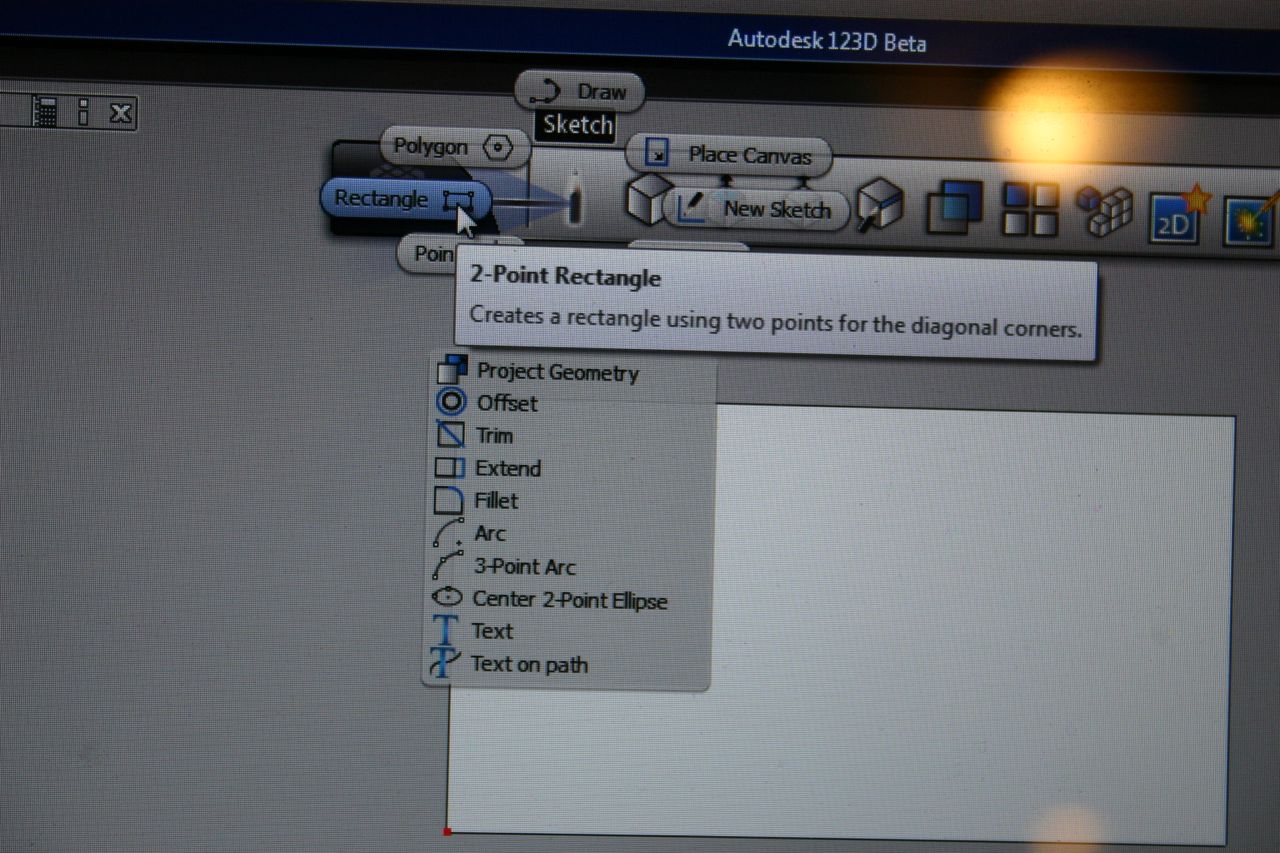
In "Sketch" choose "Rectangle."
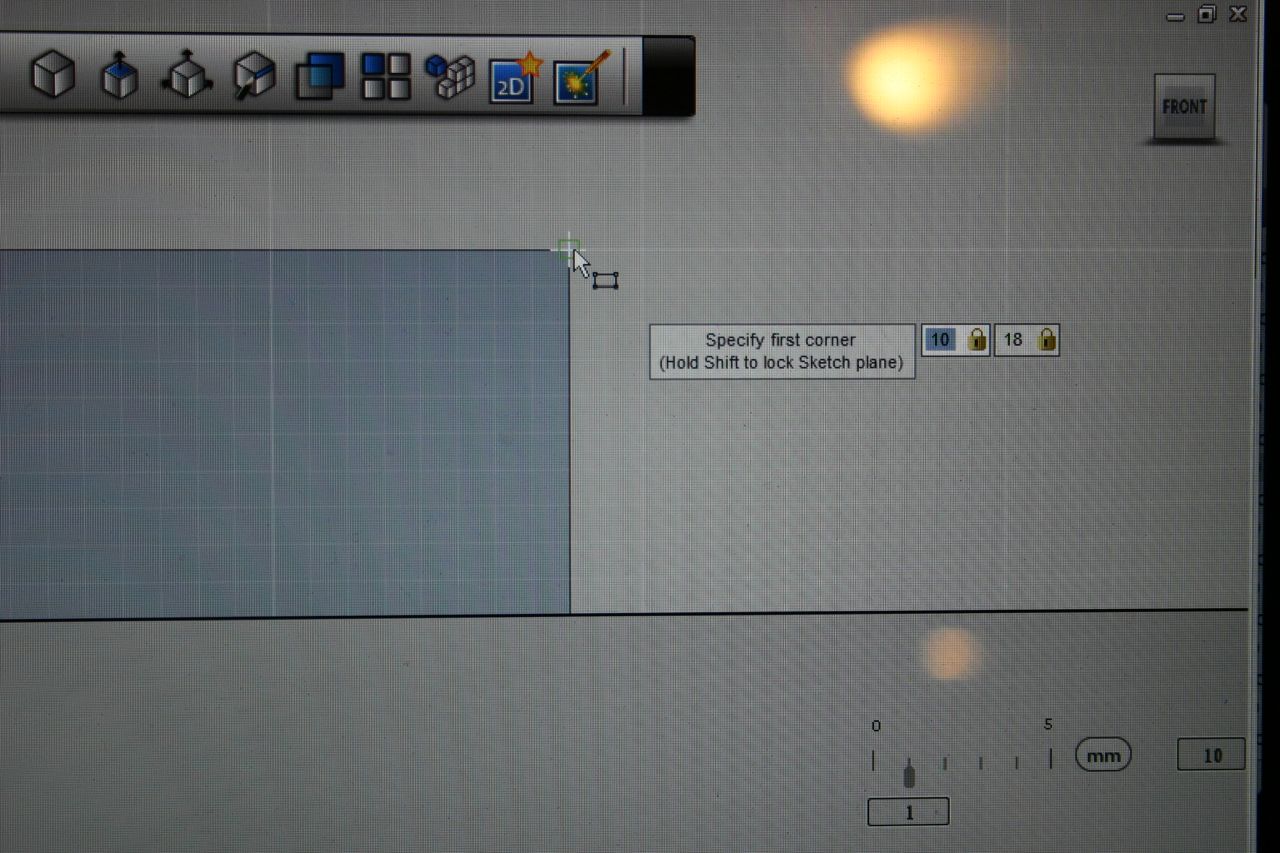
Select the first point of your rectangle, the upper right corner (10,18).
In the highlighted box, type the number you want then press the "tab" key to move to the other box. Click when you are done with a step.
In the highlighted box, type the number you want then press the "tab" key to move to the other box. Click when you are done with a step.
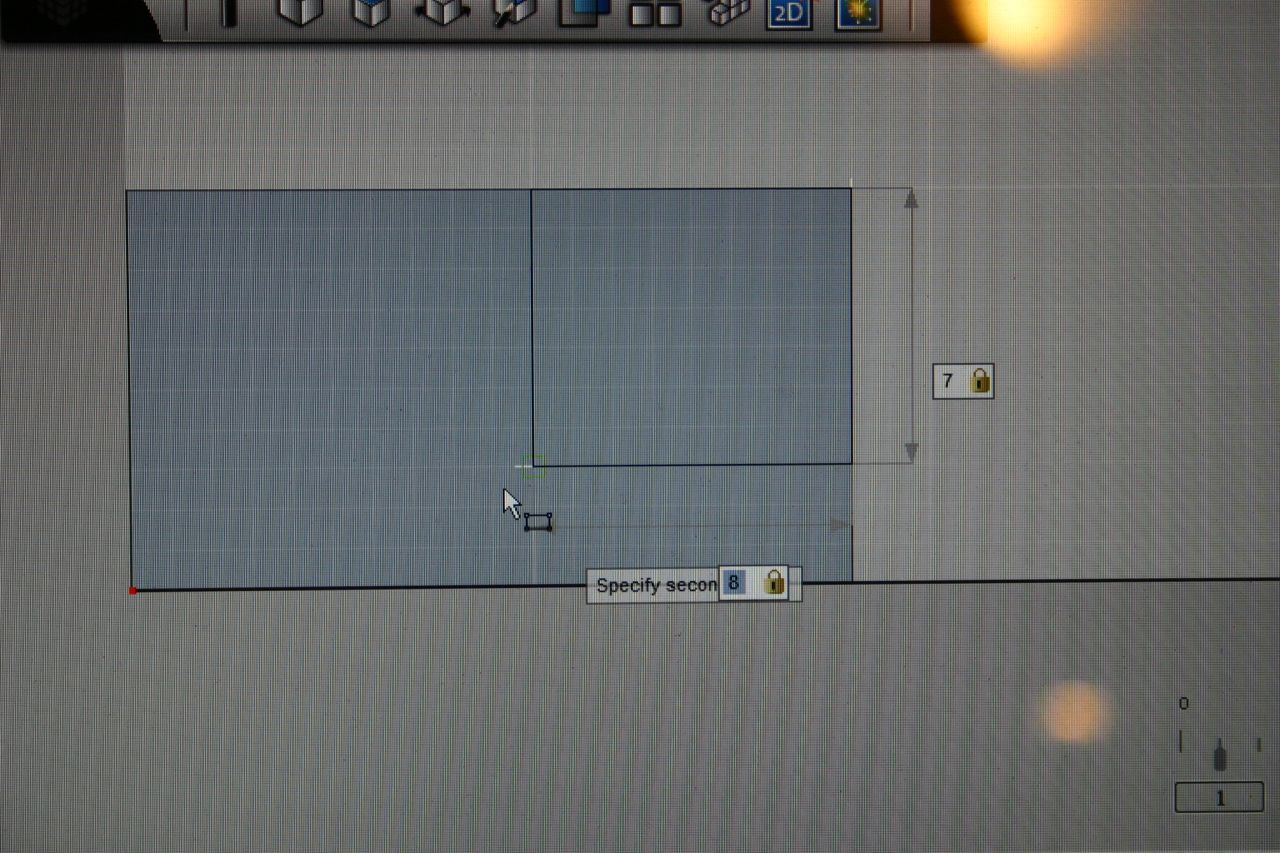
Choose the other corner of the rectangle (7 down and 8 to the left of the starting point).
Click on this--it defines a rectangle.
Click on this--it defines a rectangle.
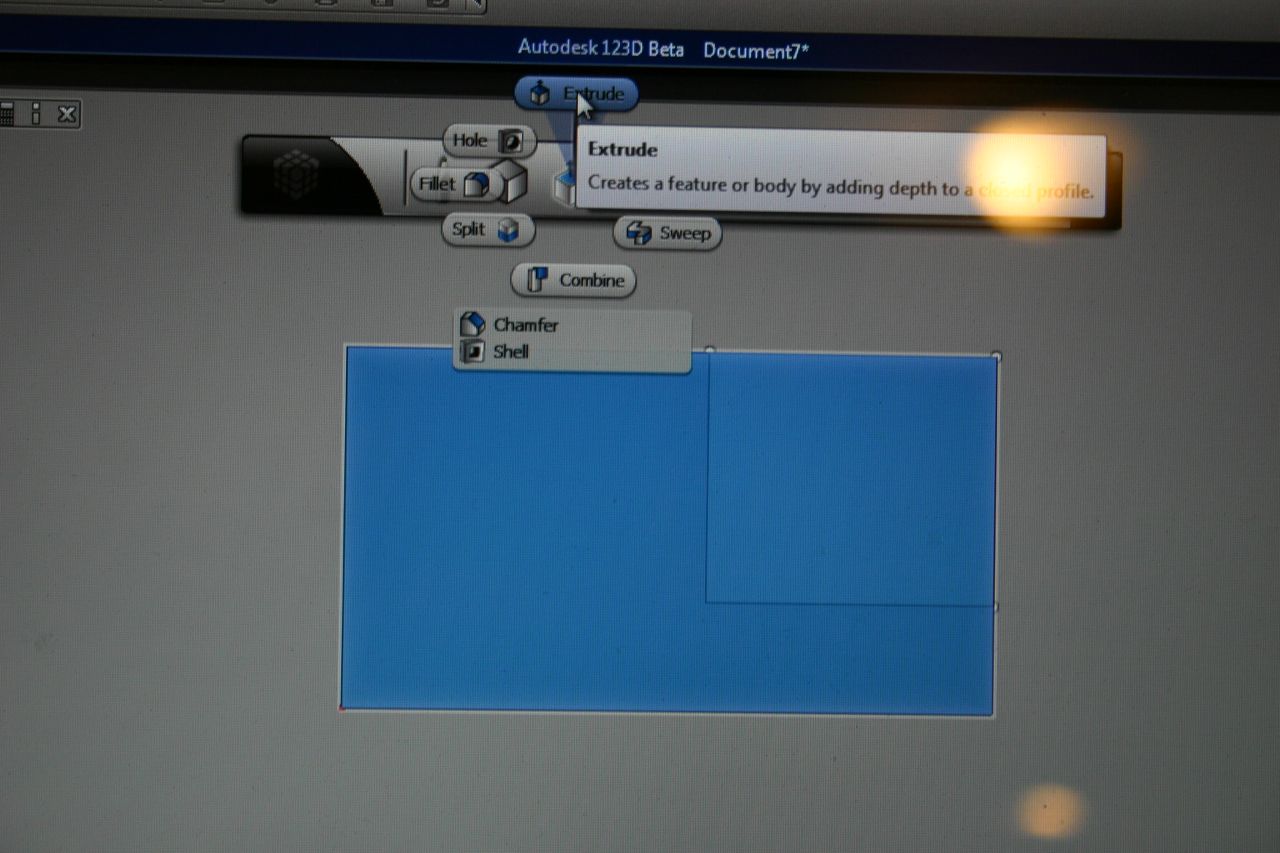
Go to "Create" and choose "Extrude," then select the rectangle you want to eliminate.
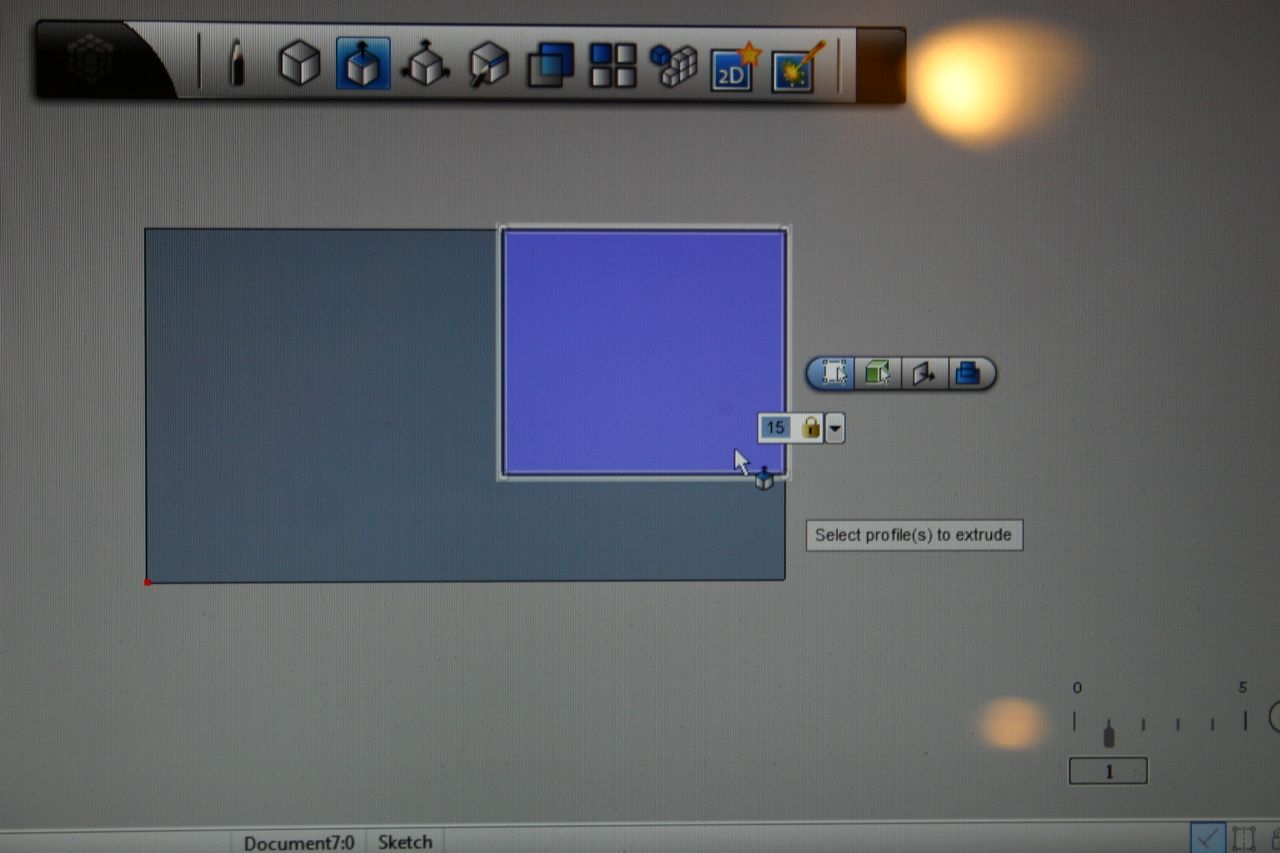
Type (15) for the depth to extrude (12 would be enough, but I like to go a little deeper to be sure I cut everything out).
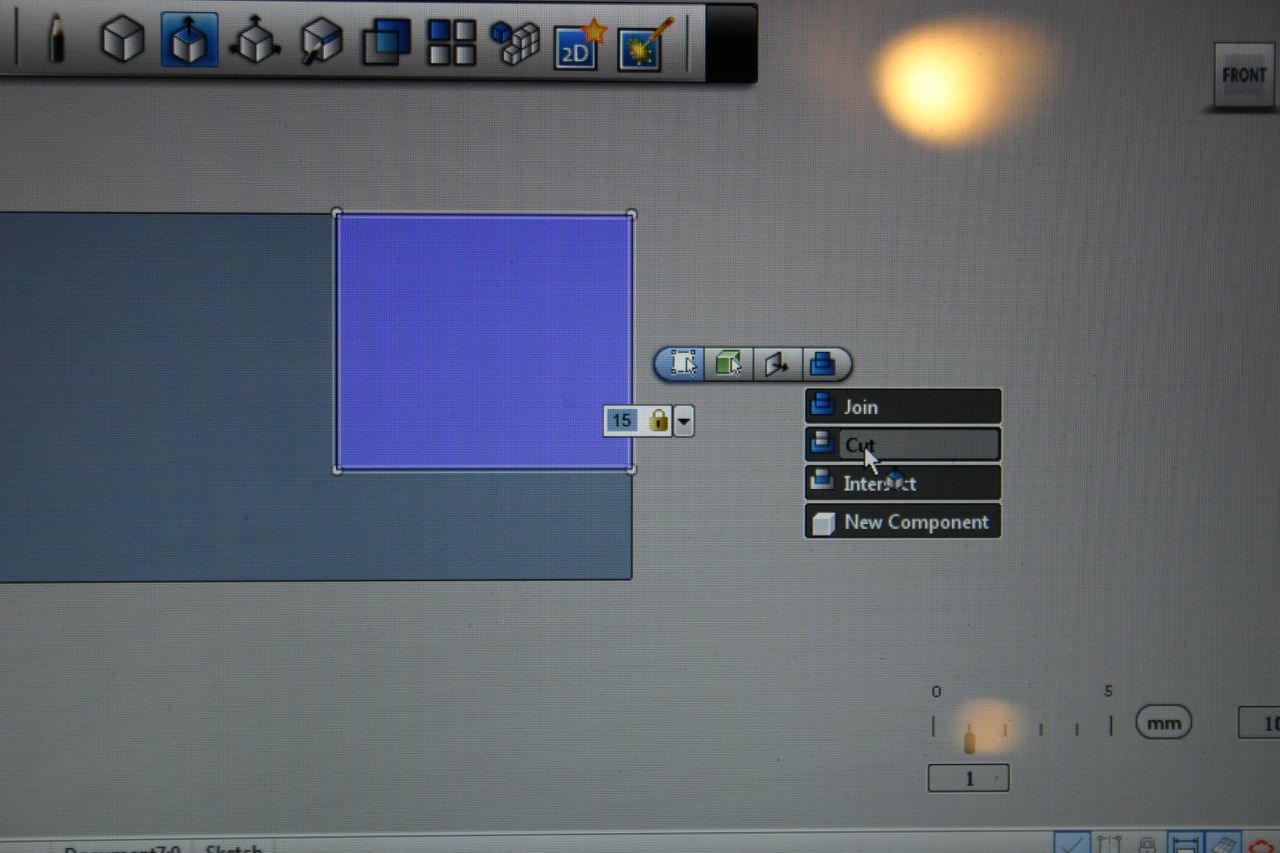
Now choose "cut" in the drop down box.
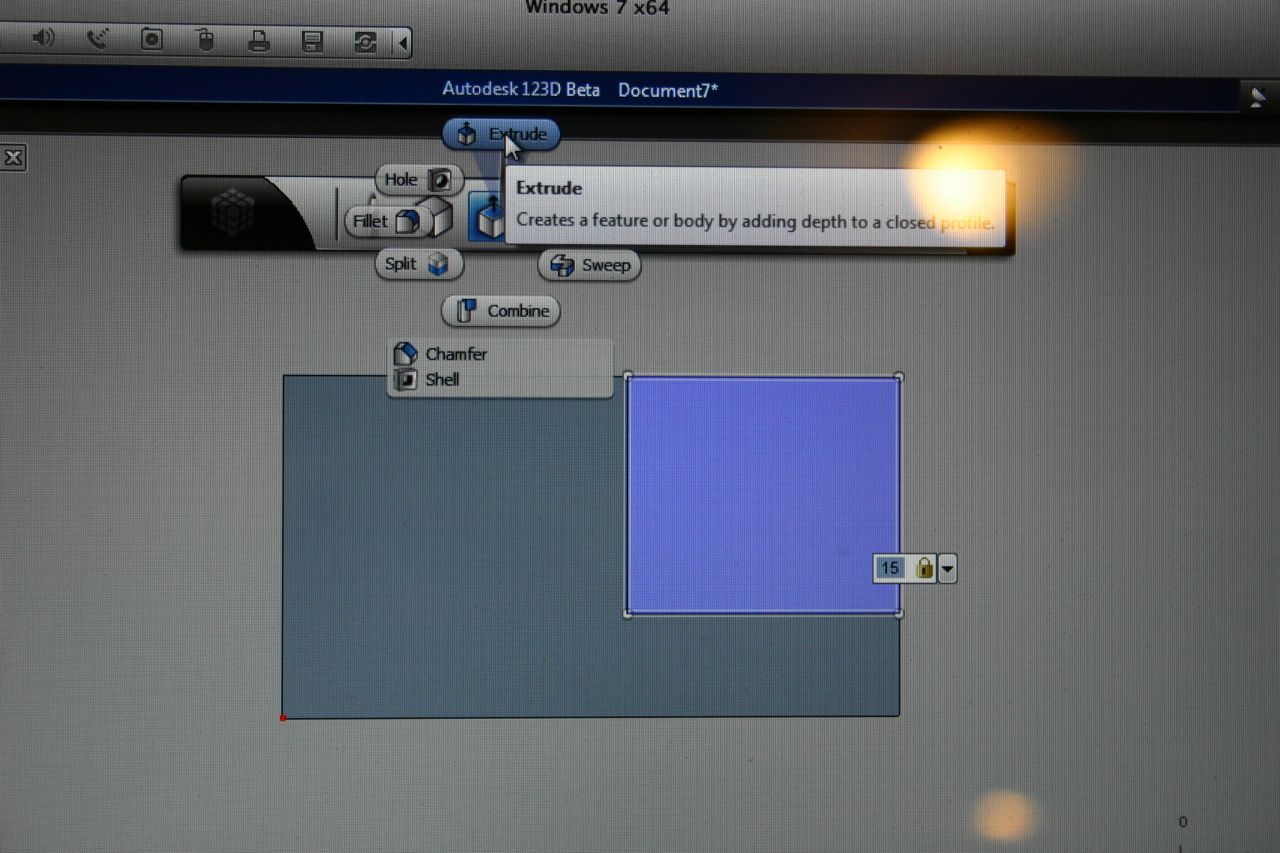
Go back to "Create" and "Extrude" again and click.
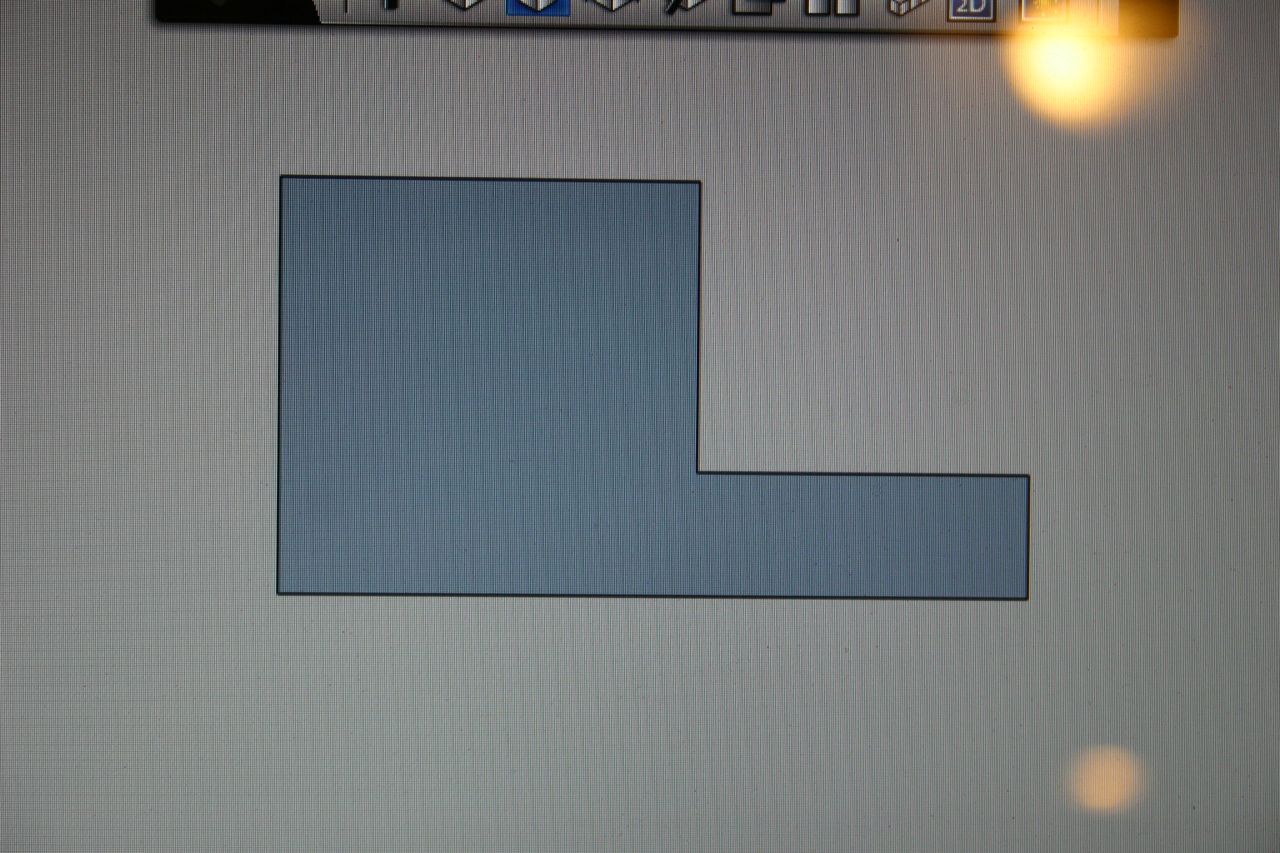
Now, we're getting something that starts to look like a wire guide.
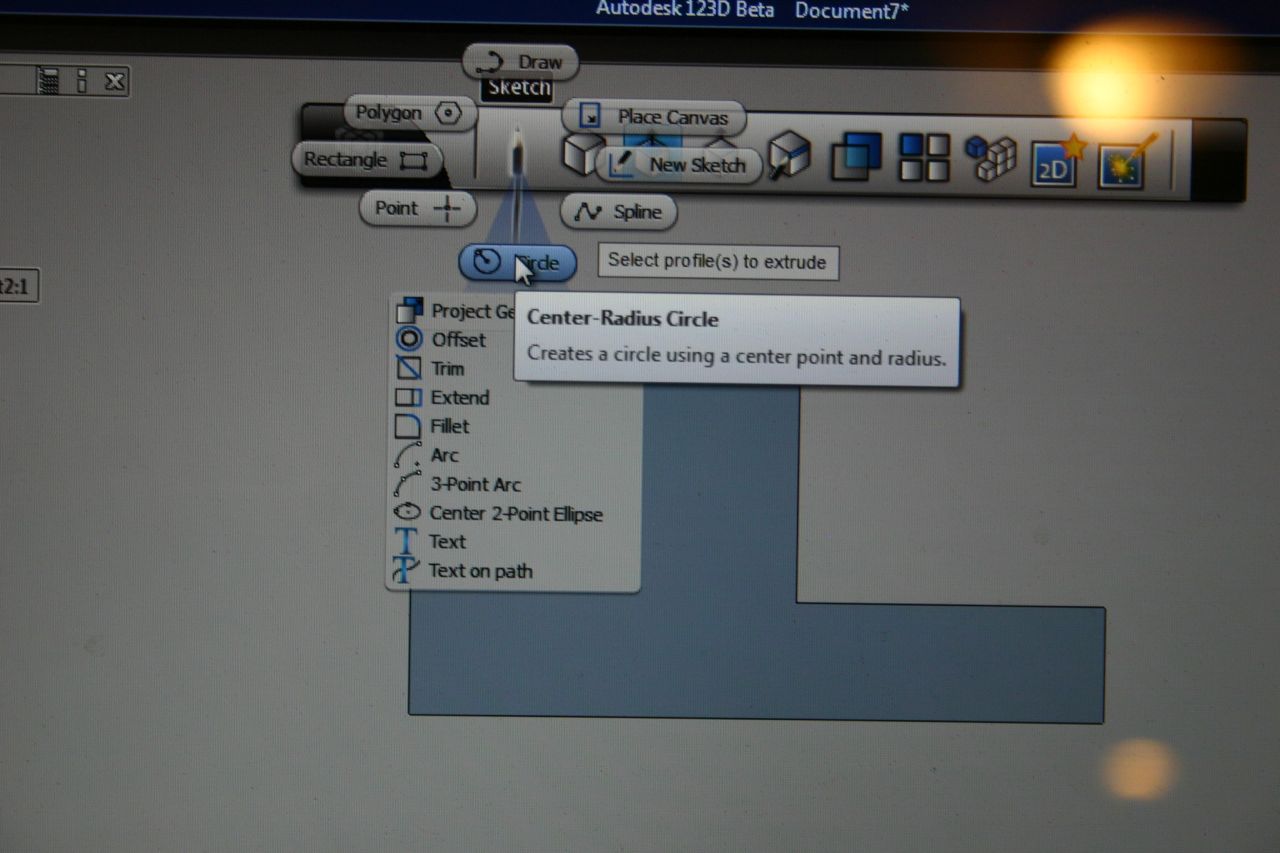
Go to "Sketch" and choose "Circle."
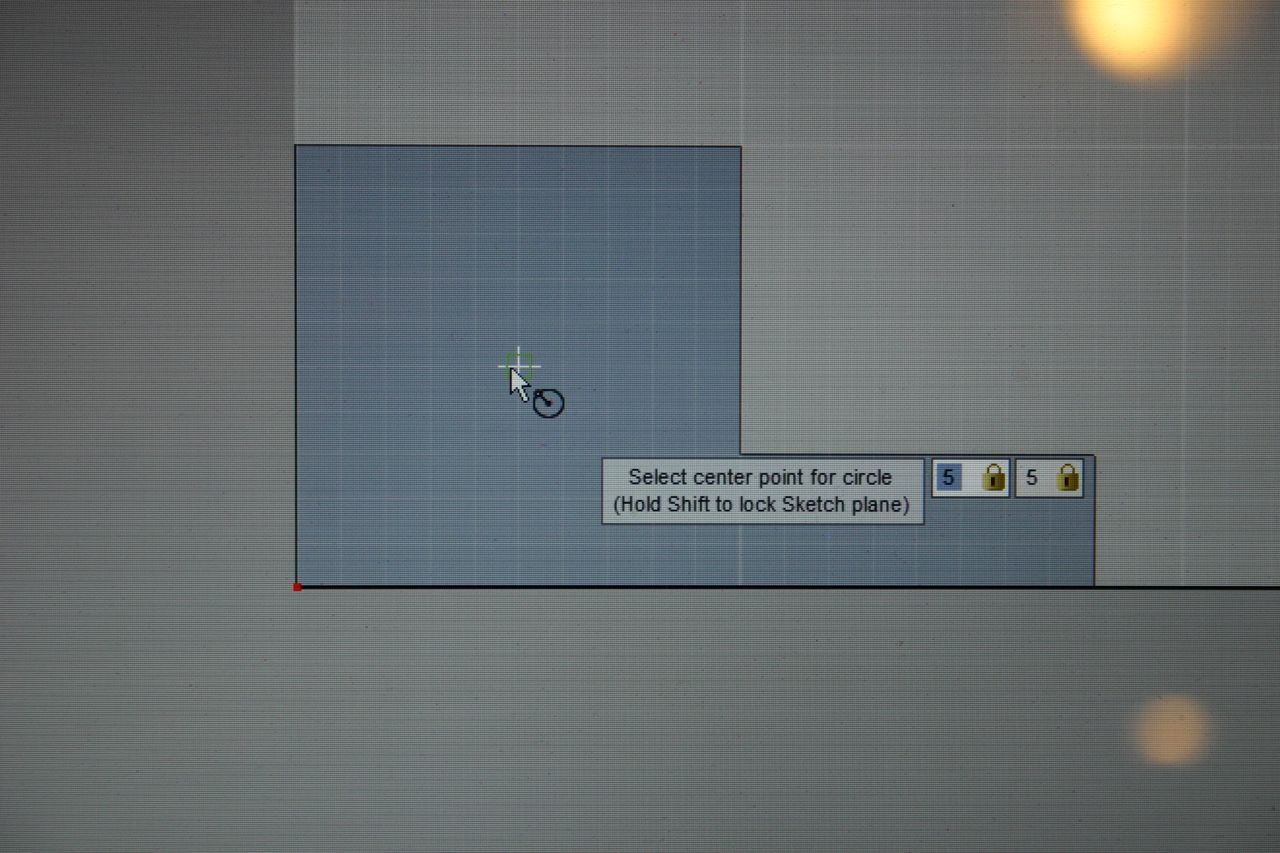
Select the center point for the circle (5,5).
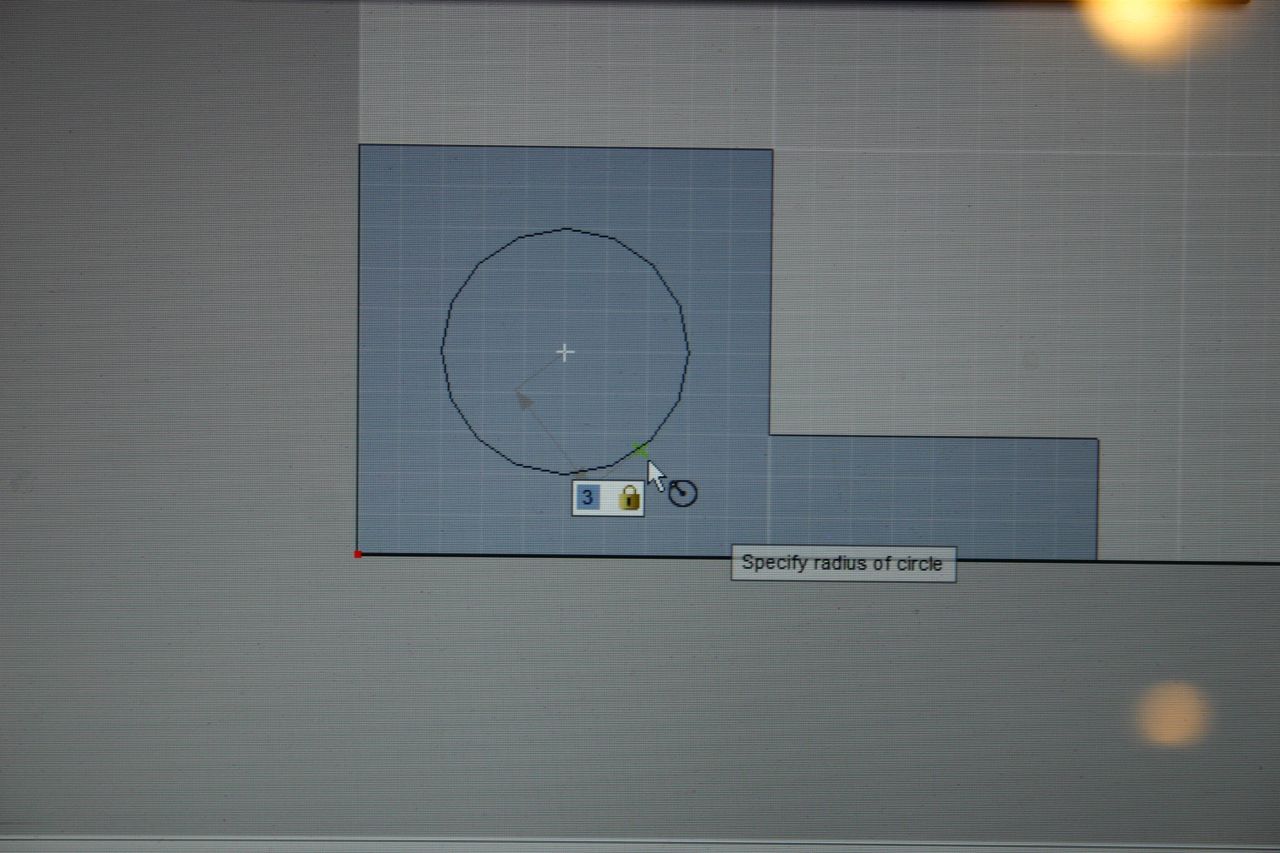
Type in a radius of "3" and click.
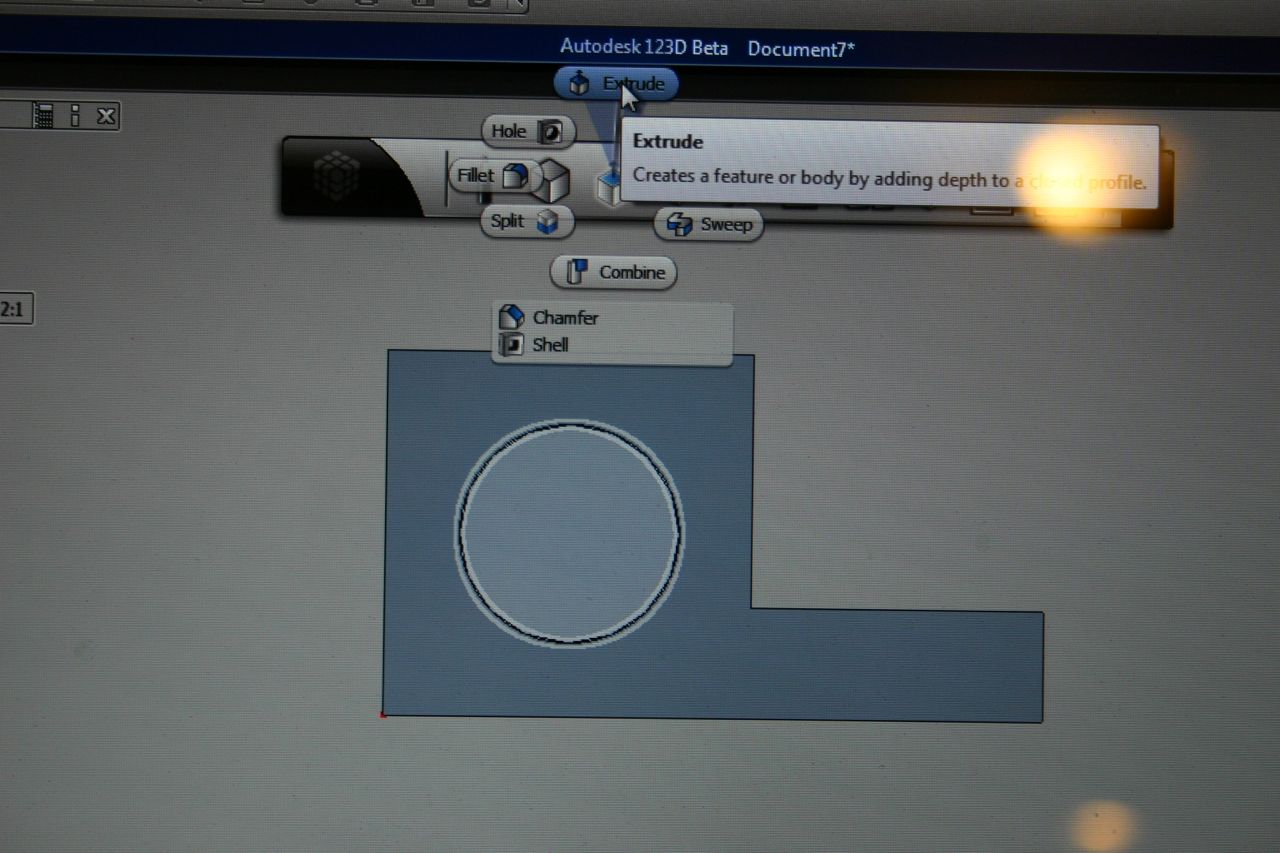
Go to "Create" then "Extrude" then choose the circle.
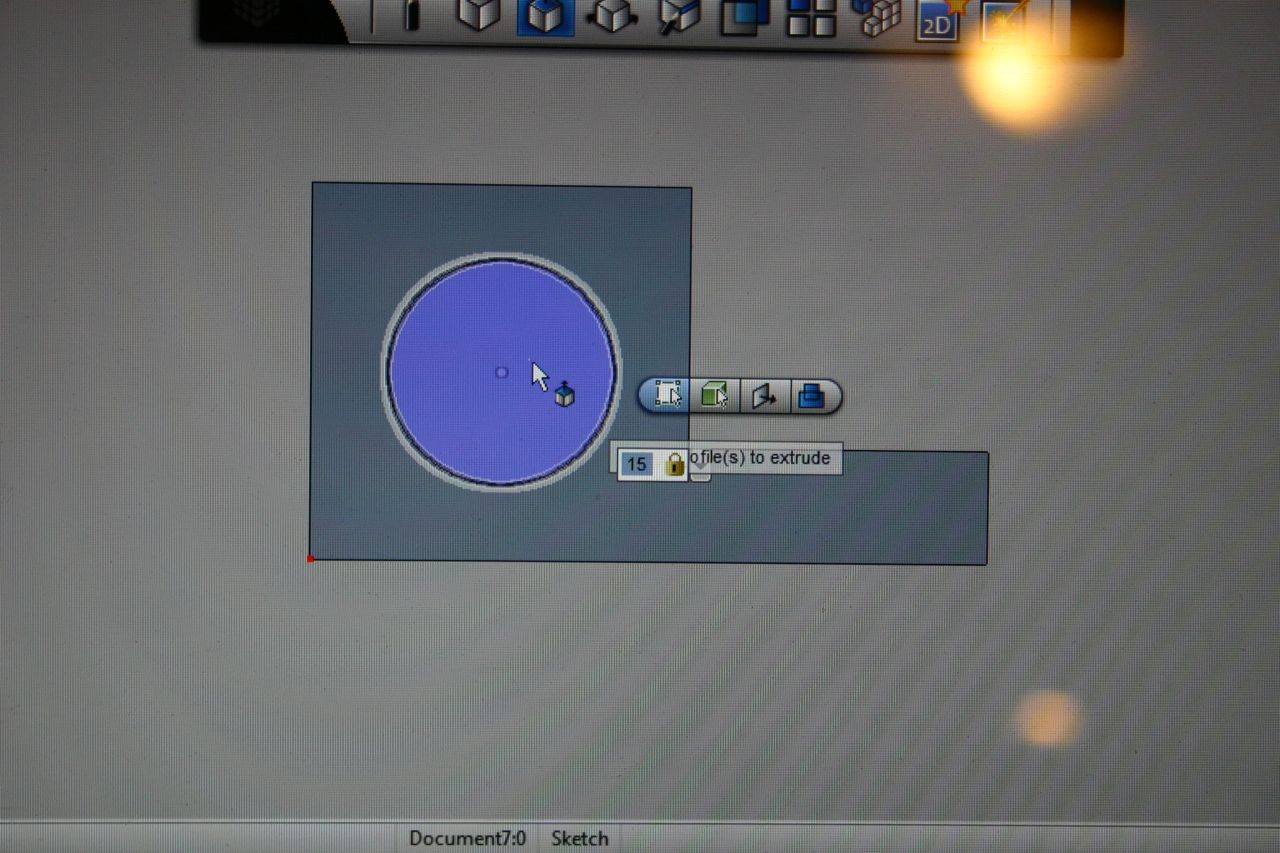
Type in a depth of "15."
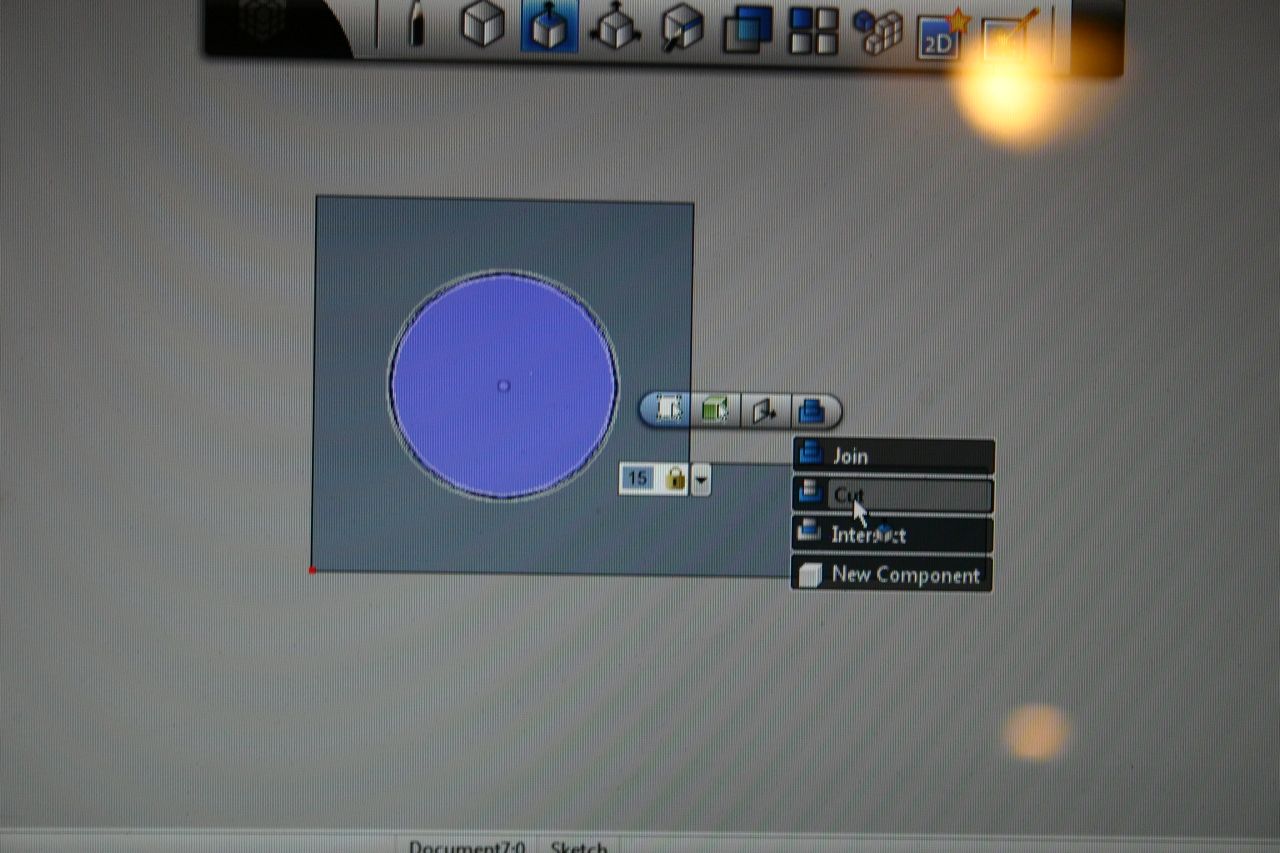
Choose "Cut' from the drop down menu.
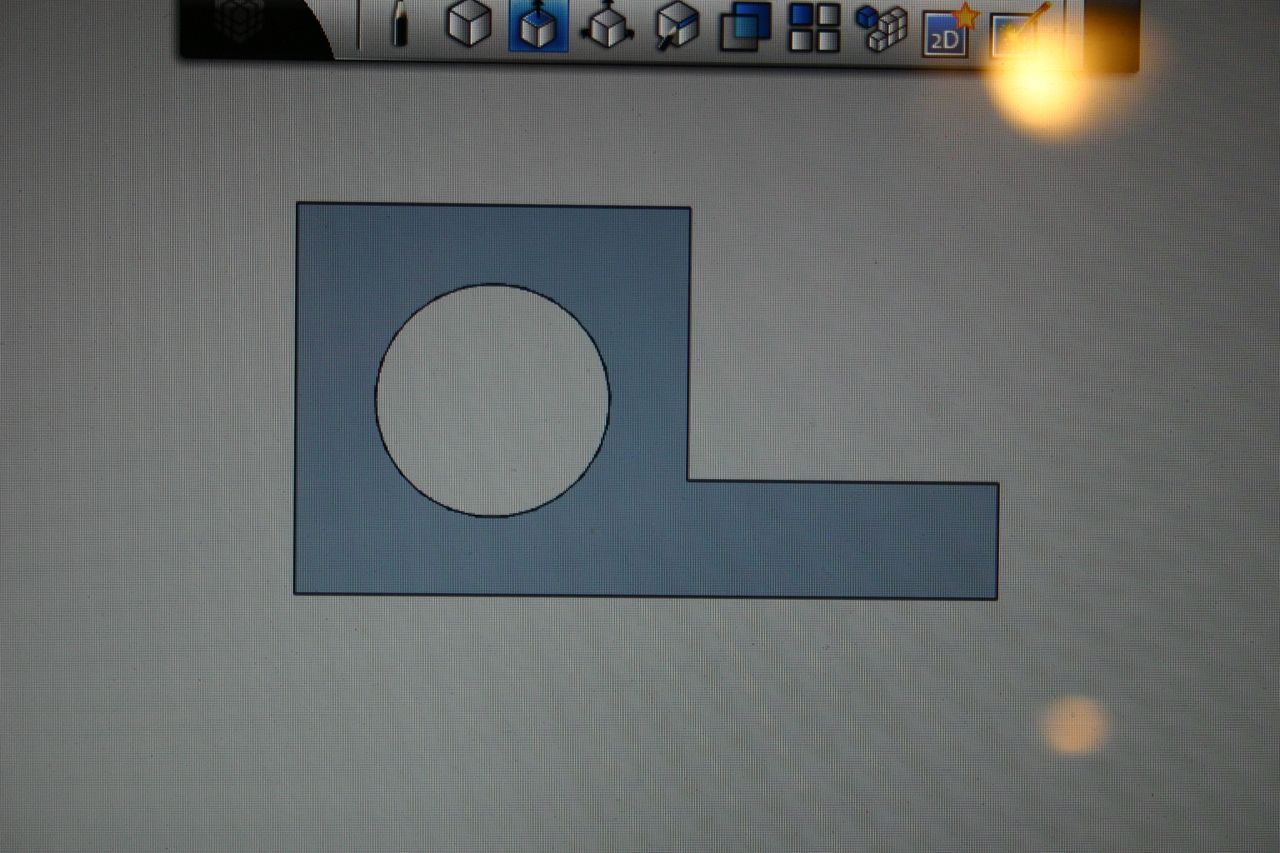
Go to "Create," choose "Extrude" and click. The hole should appear.
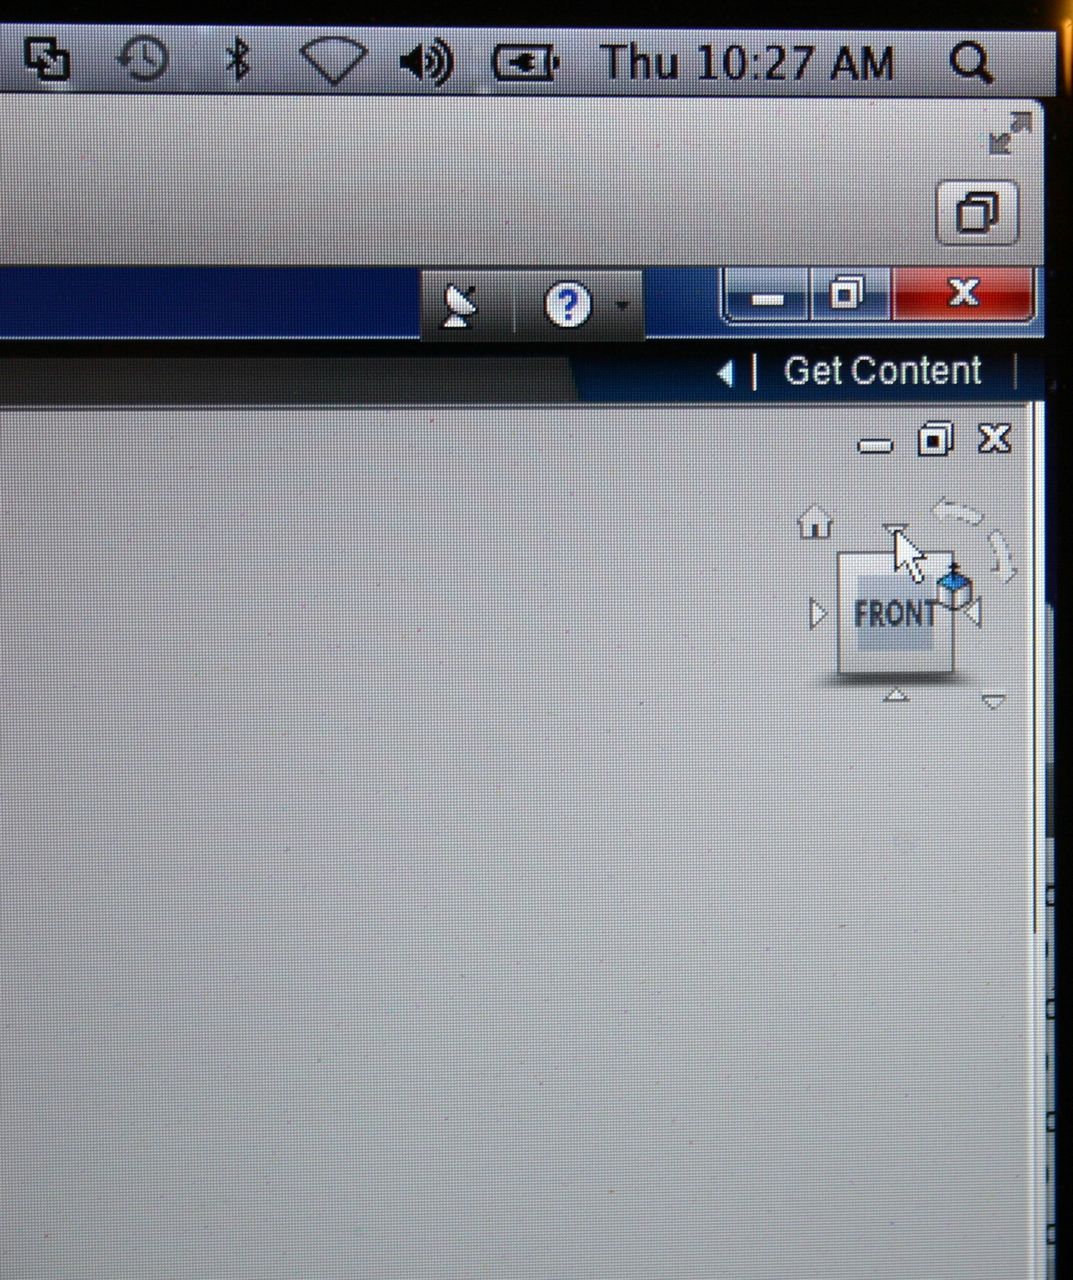
We want to turn the box over, so we select the "top" arrow on the orientation cube (upper right corner).
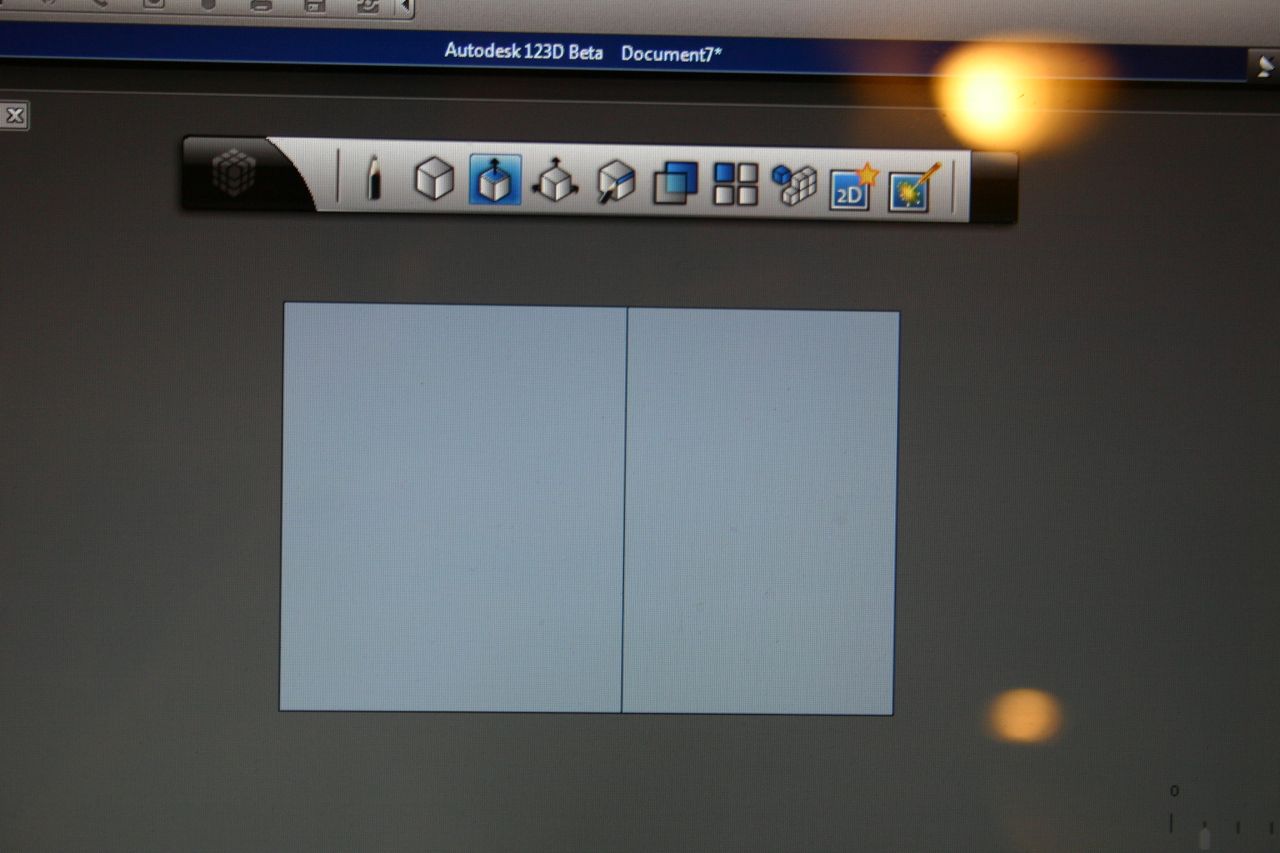
This is the top view.
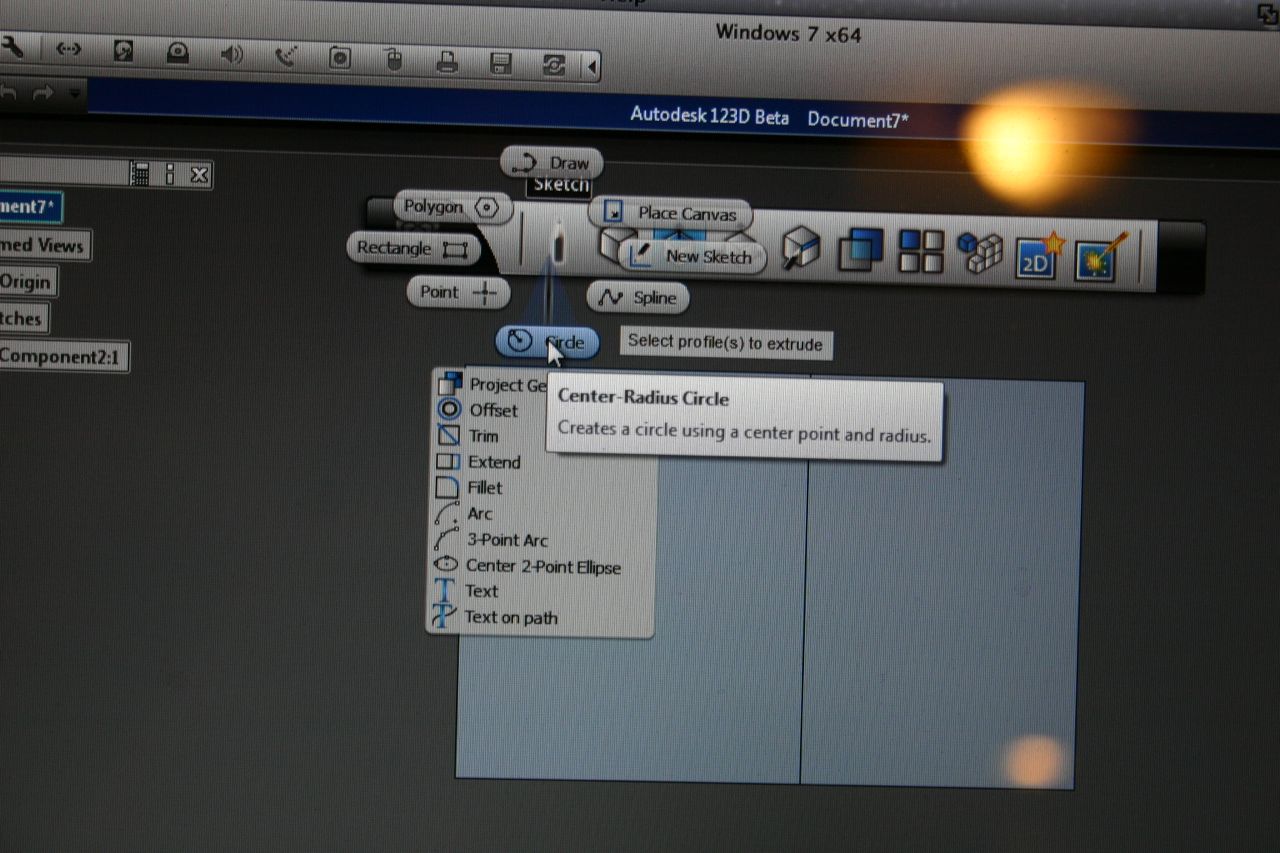
Go to "Sketch" and choose "Circle."
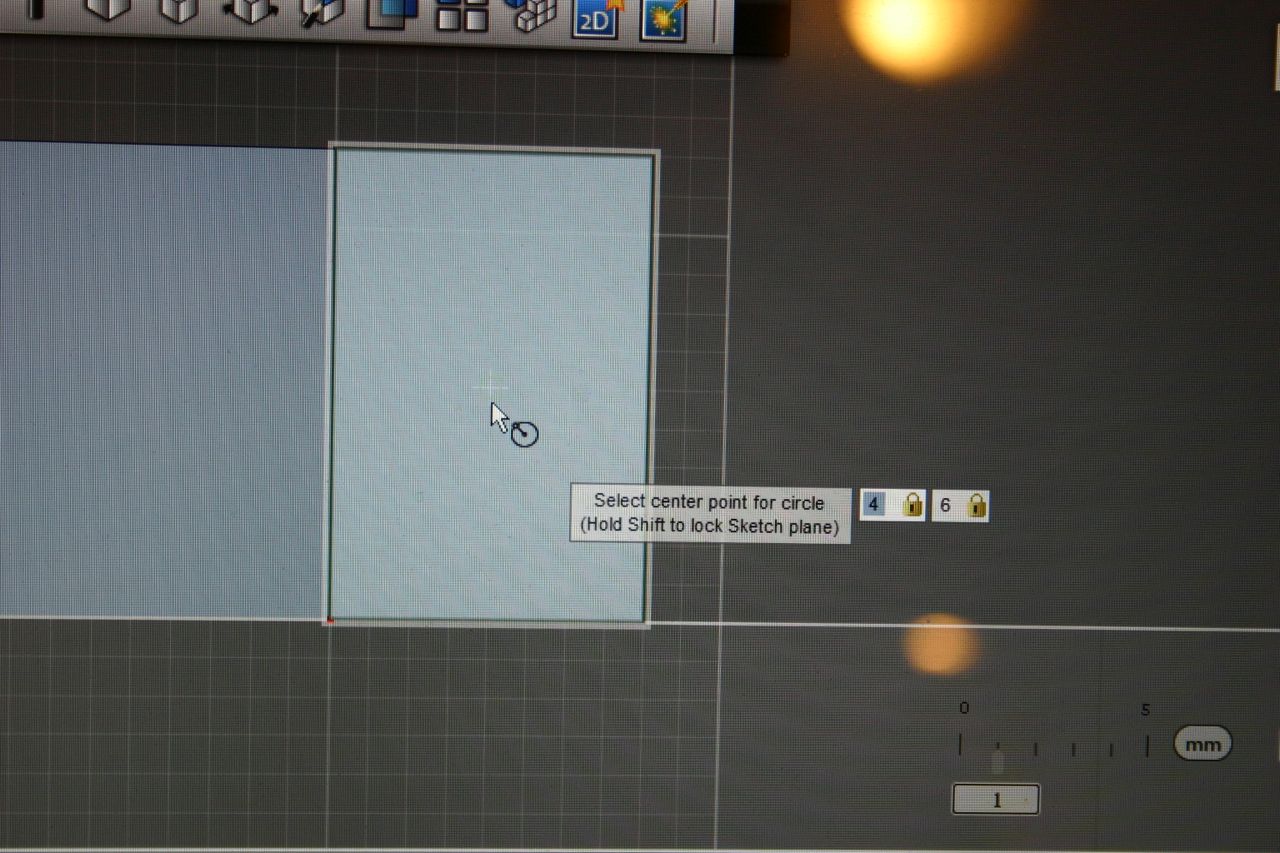
Select the center of the circle (4,6). Remember, you type the number then tab to get to the other one. Click when you are done.
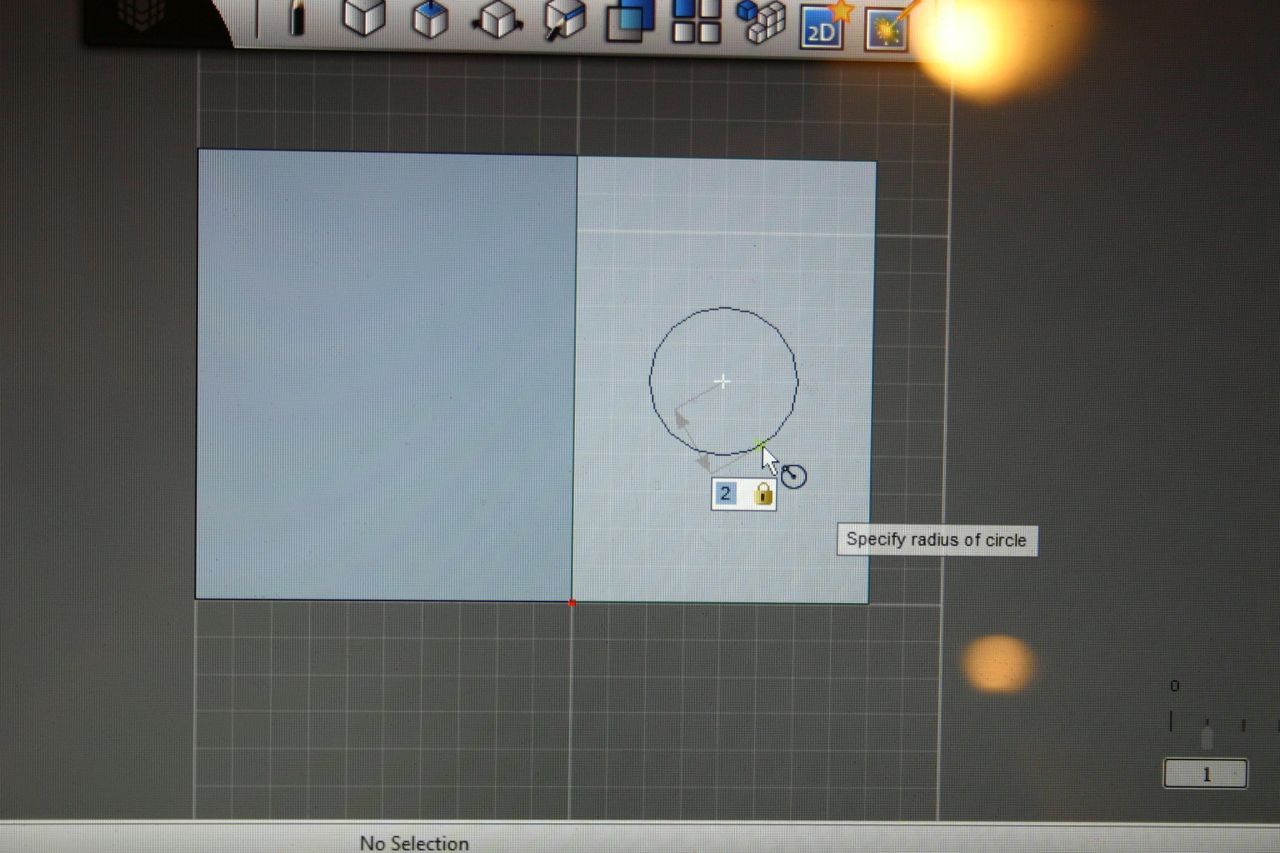
Specify the radius of the circle (2).
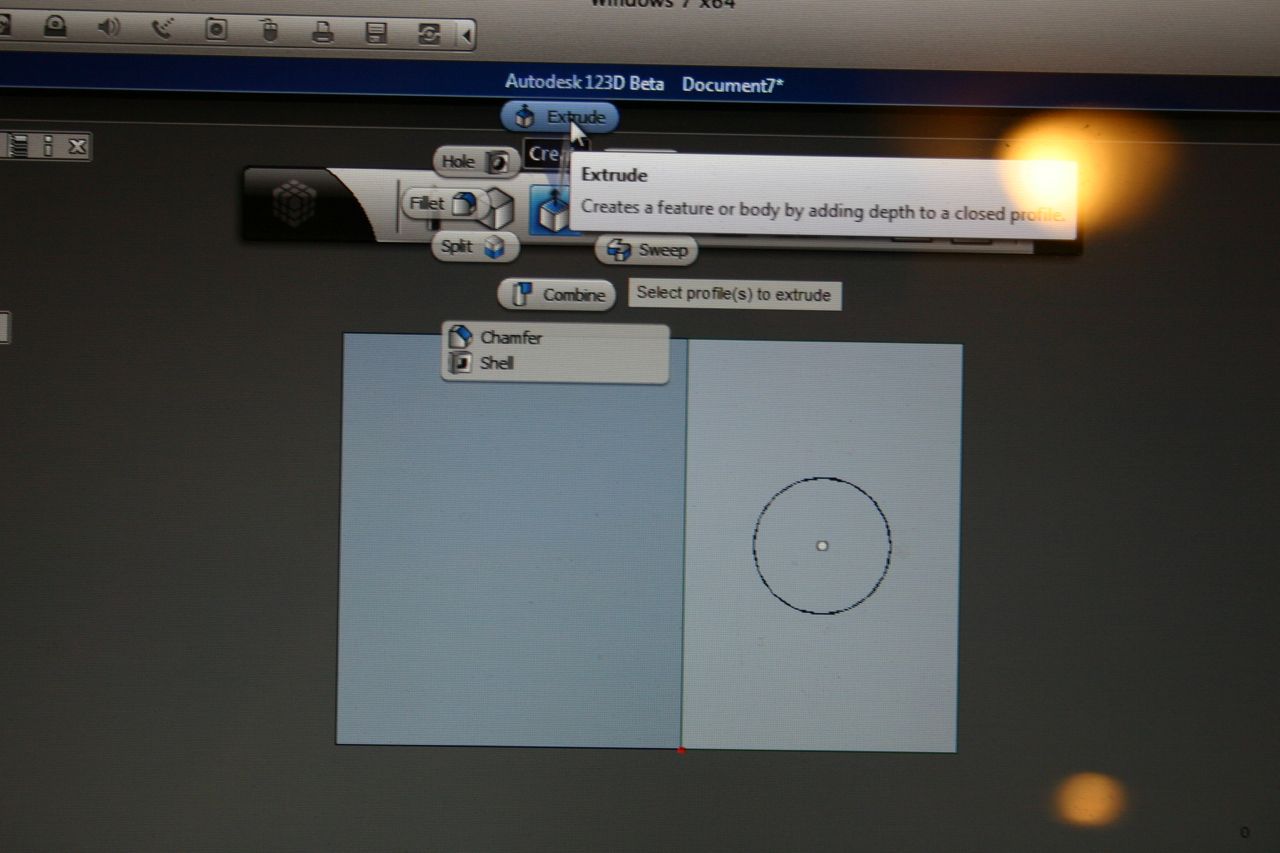
Go to "Create" then "Extrude."
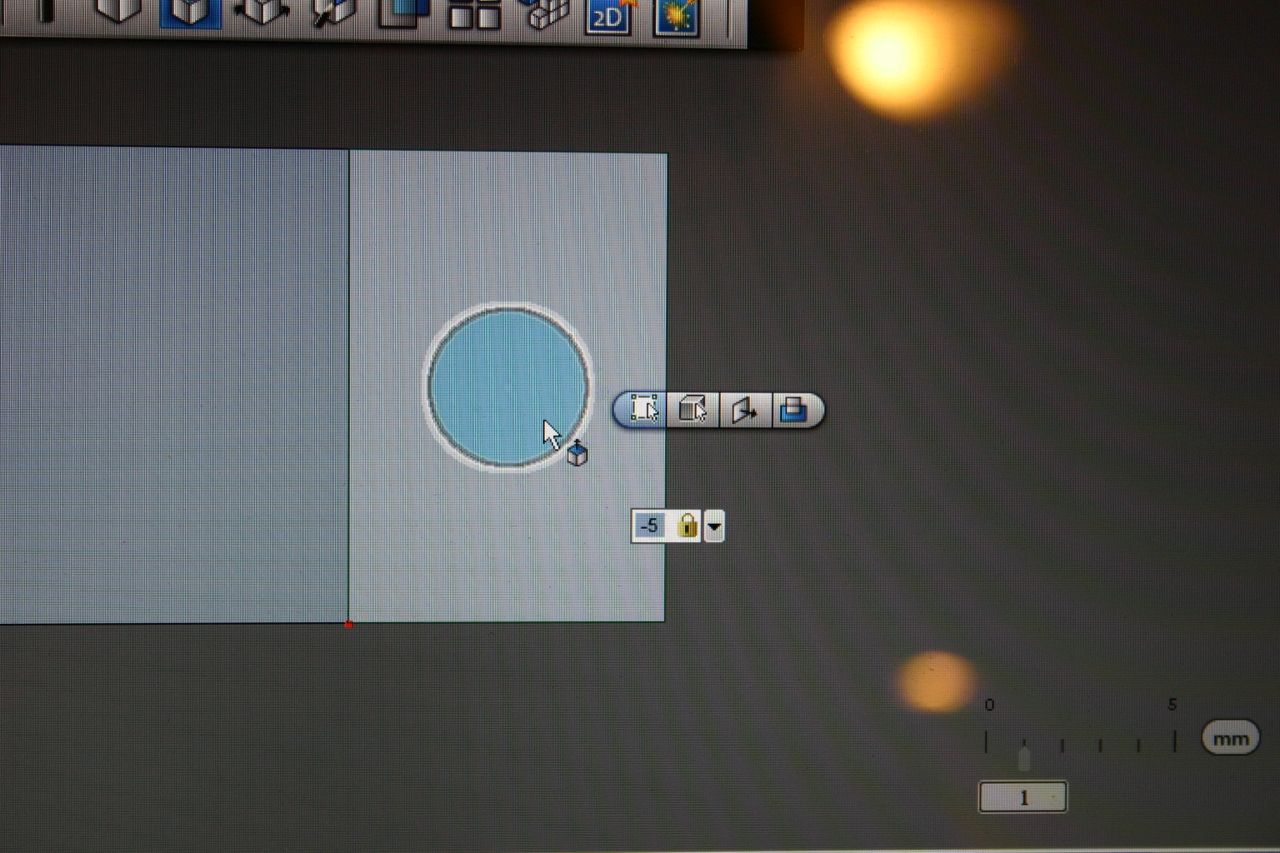
Select the circle and choose the depth (-5). The downward direction is minus.
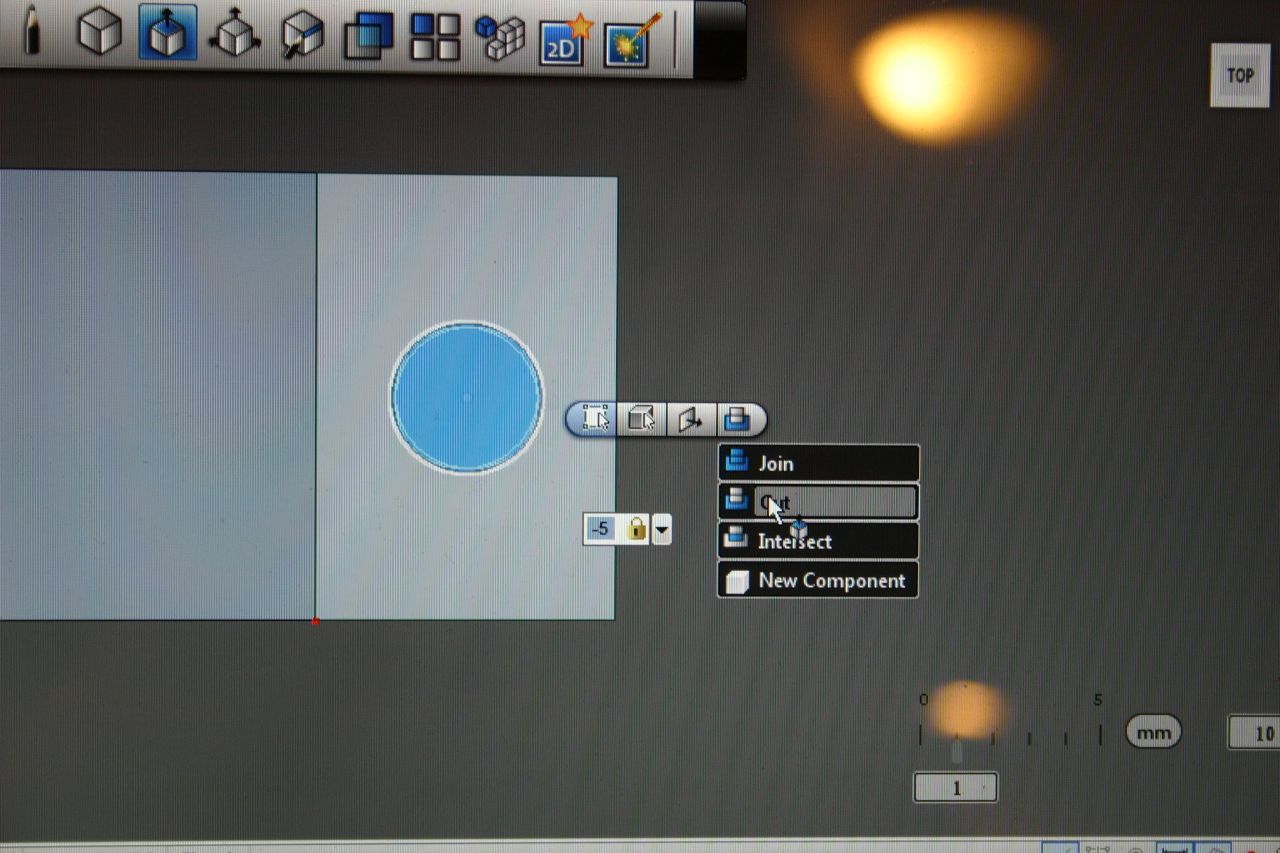
Choose "Cut" from the drop down menu.
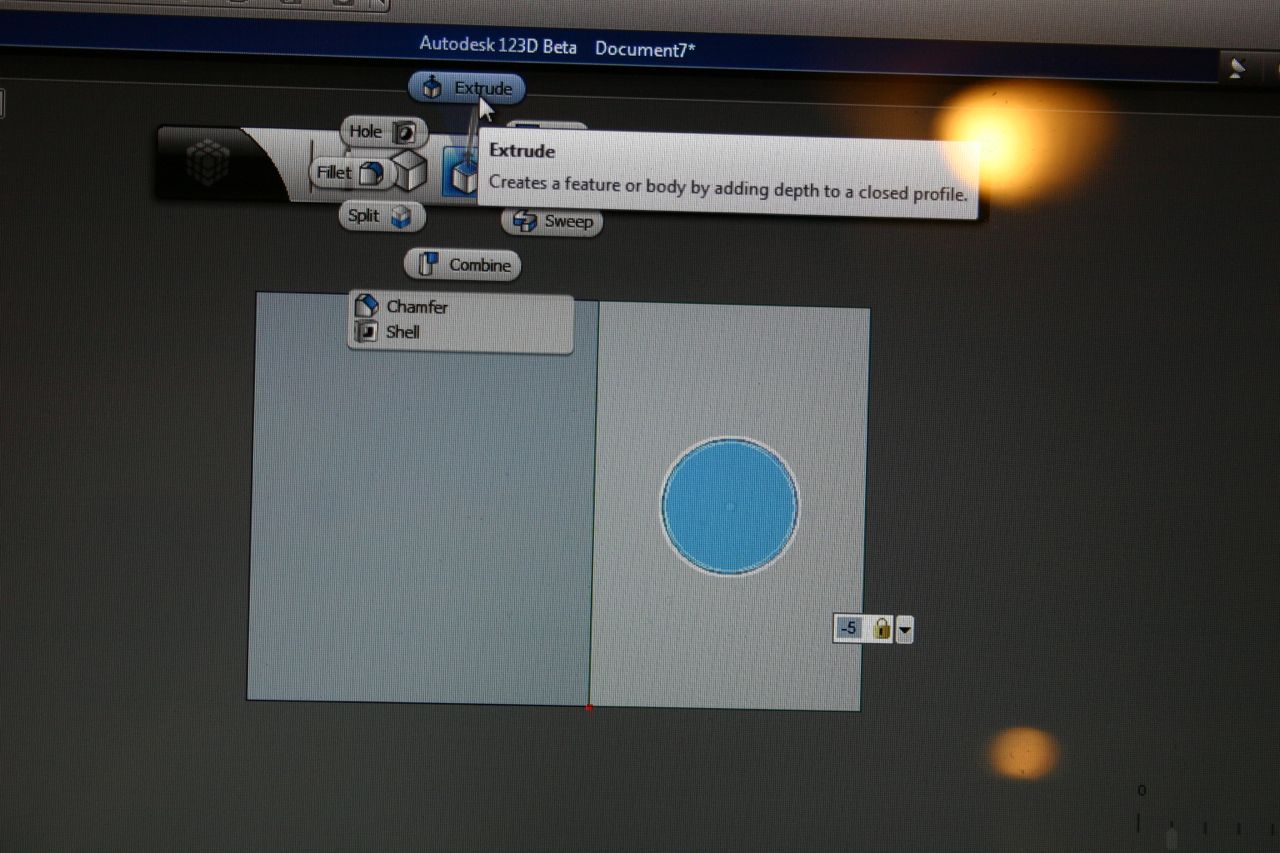
Go to "Create," then "Extrude" then click.
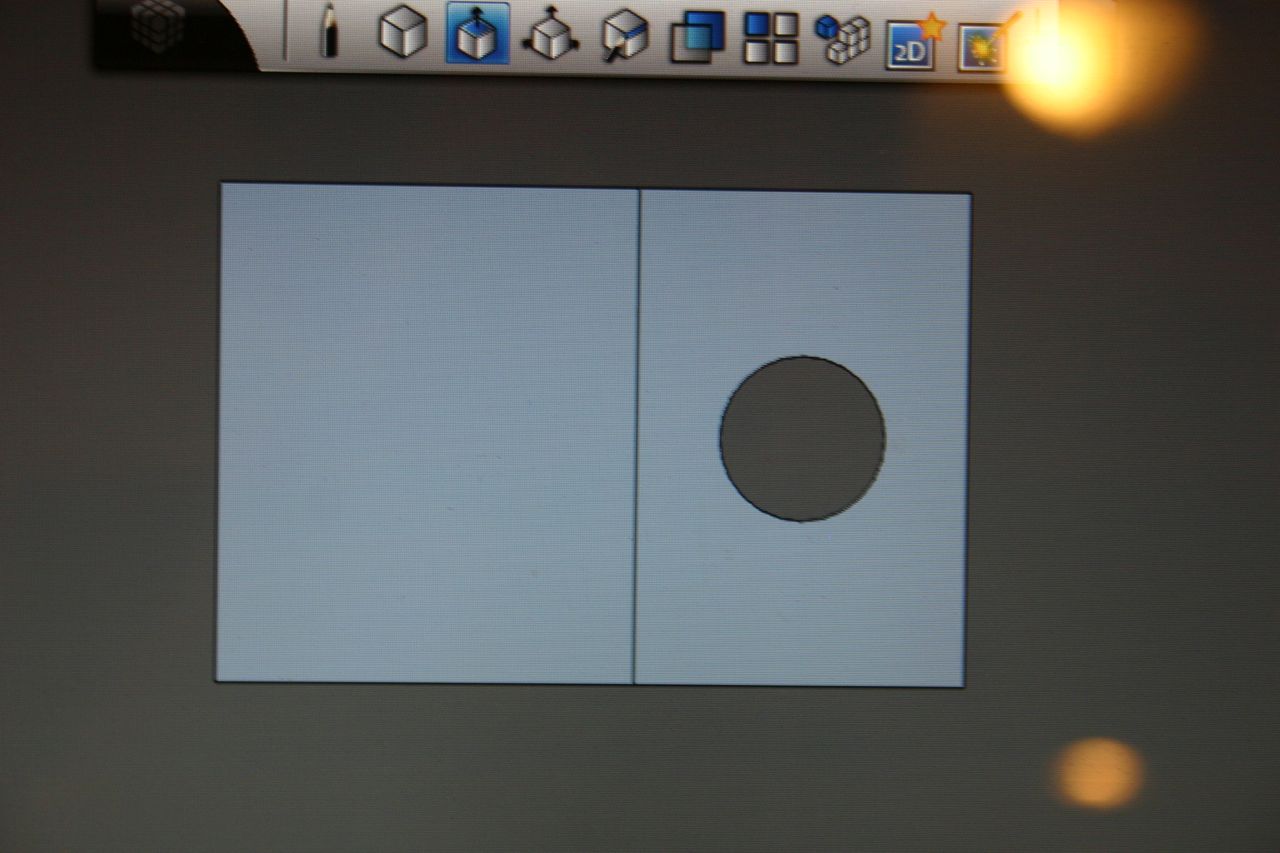
The hole should appear.
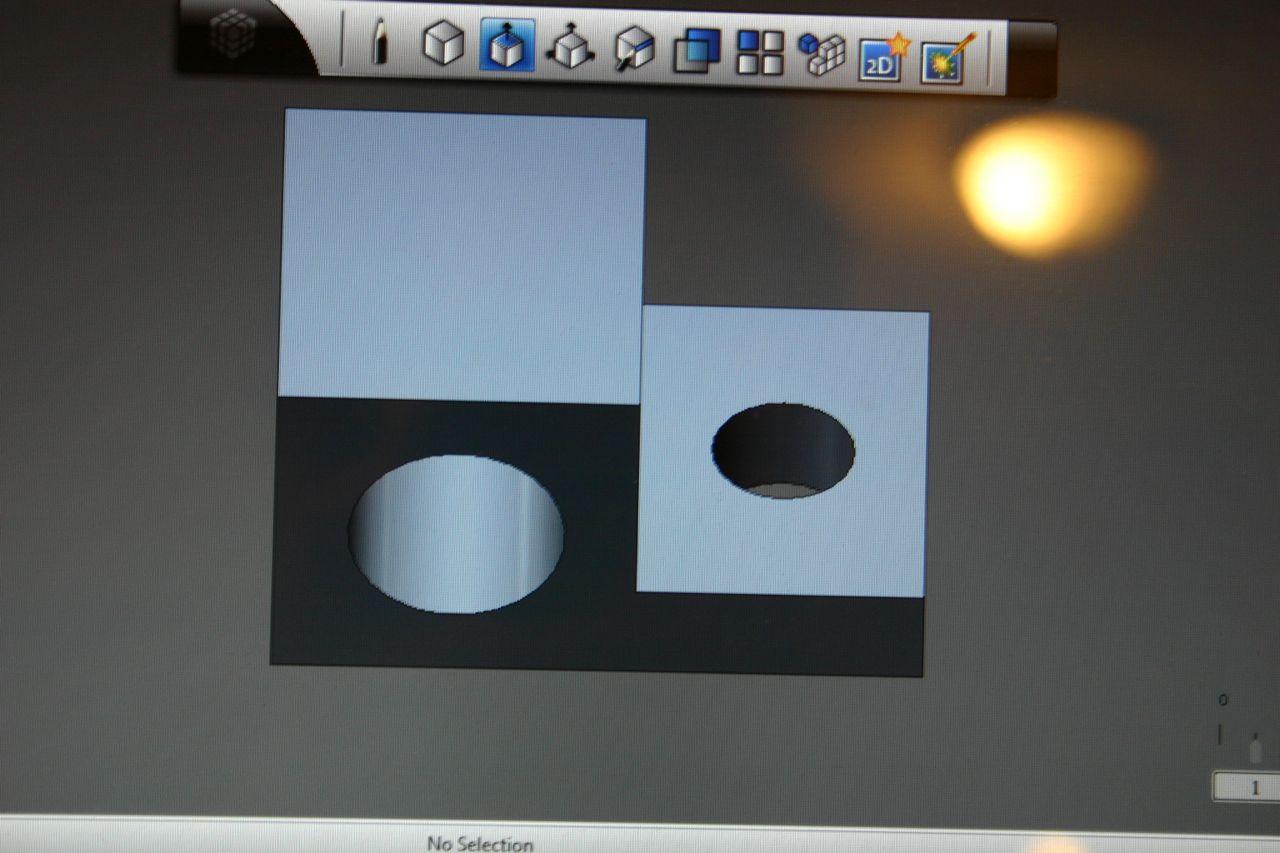
I used the cube in the upper right corner to drag between the top and front views. This is not necessary--I just wanted to see what it looks like.
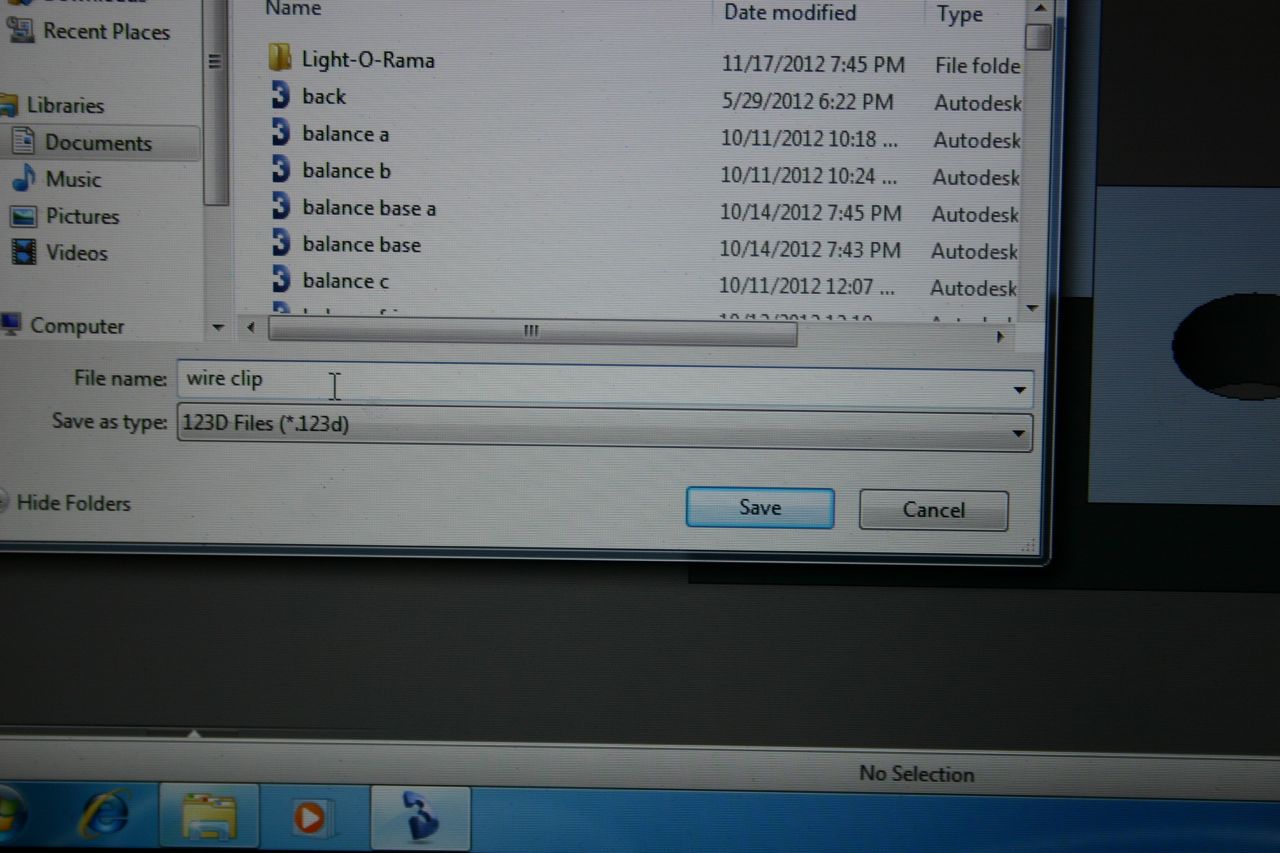
Save the file as a ".123d" file; design file in case you want to come back and change it.
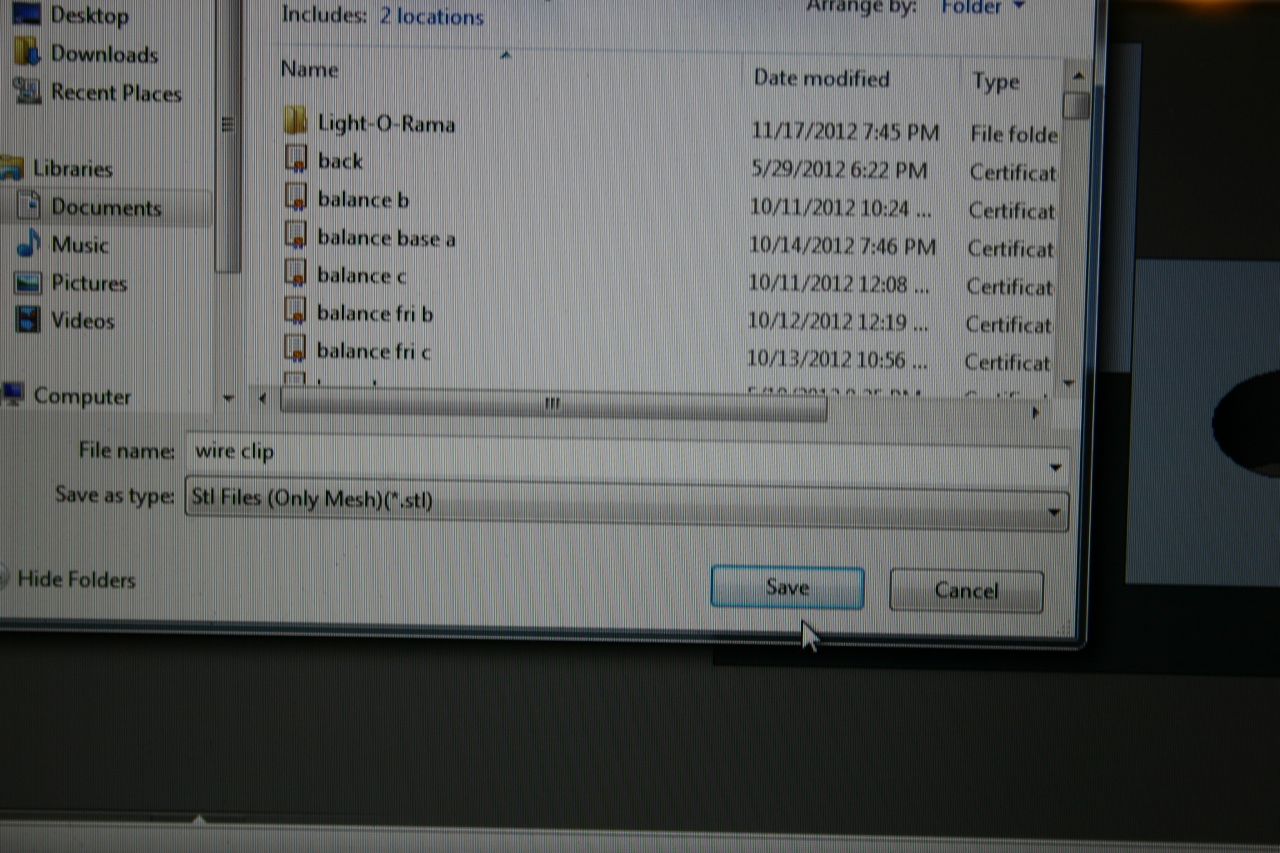
Save as a ".stl" file--this is what the 3D printer will want.

That's it. Printed with 100% infill, this weighs slightly more than one gram.
You could round corners, "fillet" edges and use less infill to save plastic.
Using the printer, you can "scale" this up or down; remember that both holes will grow or shrink if you do this.
Have fun!
You could round corners, "fillet" edges and use less infill to save plastic.
Using the printer, you can "scale" this up or down; remember that both holes will grow or shrink if you do this.
Have fun!