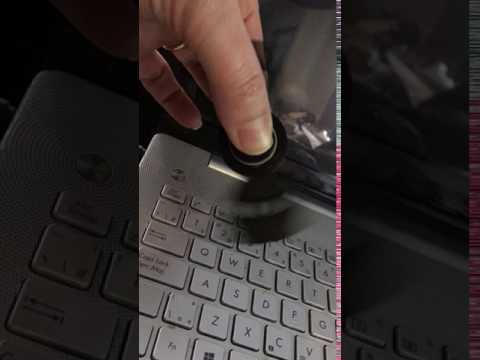
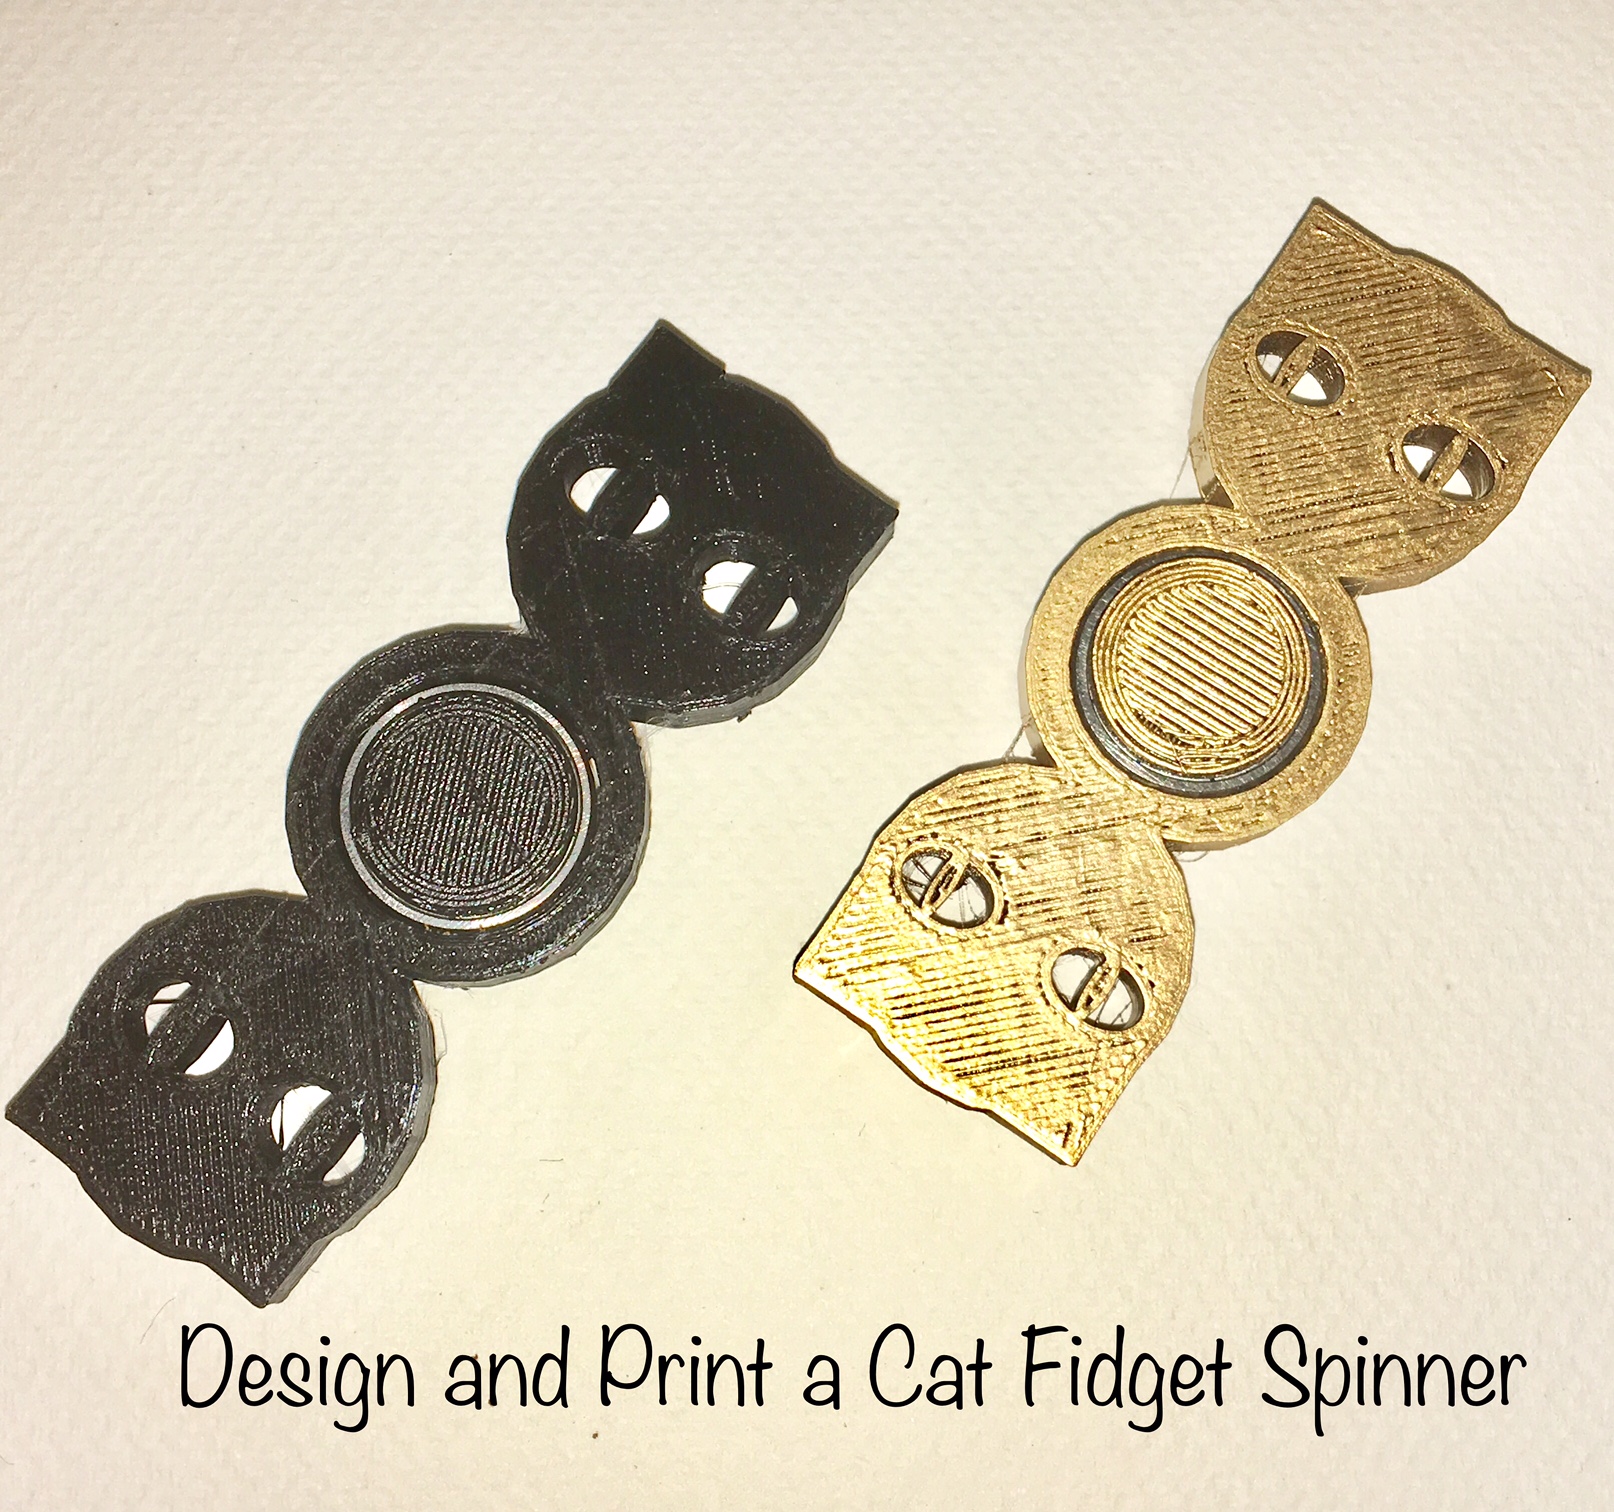
Design and Print a Cat Fidget Spinner
by MakerQueen in Workshop > 3D Printing
1316 Views, 1 Favorites, 0 Comments
Design and Print a Cat Fidget Spinner
.jpg)
Fidget spinners are everywhere, but making your own is always more satisfying than buying one. This instructable will lead you through the design process for a simple double cat spinner in Tinkercad, a completely free online CAD tool that I use in my makerspace and curriculum.
Your Materials
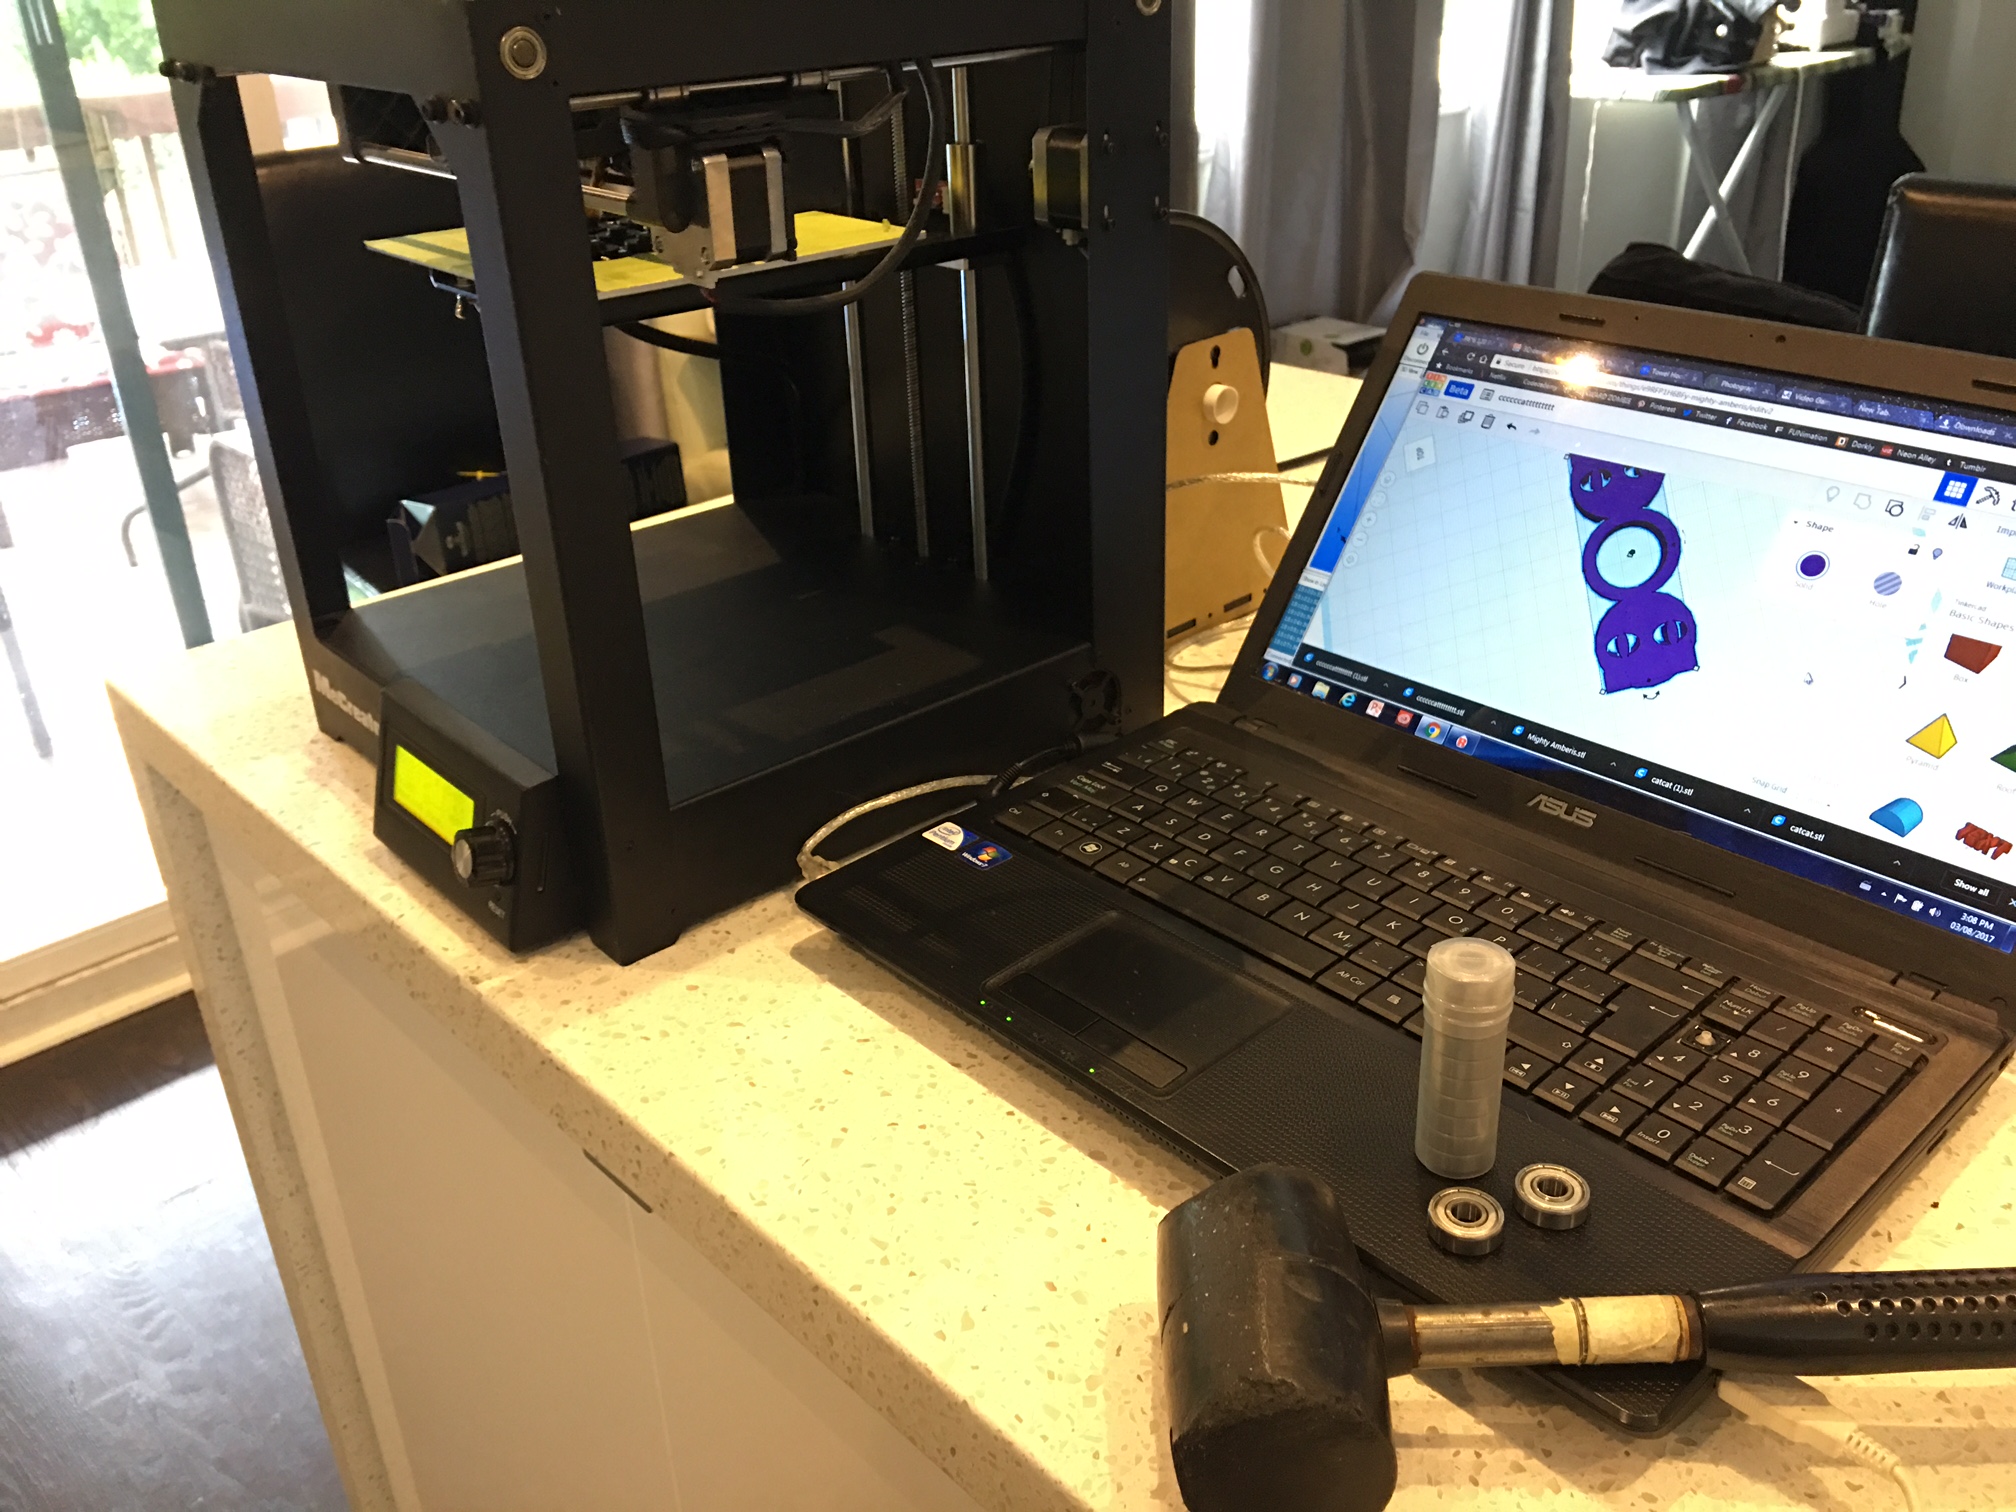
Your materials for this project are very simple:
- A computer that can connect to the internet.
- A Tinkercad account - free! http://www.tinkercad.com.
- 1 Bearing (I use 8mmx22mmx7mm shielded greased miniature ball bearings that I buy in bulk).
- A rubber mallet to help the bearing in.
- Paint and Mod Podge (optional).
- 3D printer - you may just use the order print button from Tinkercad if you do not have a 3D printer.
Create New Design
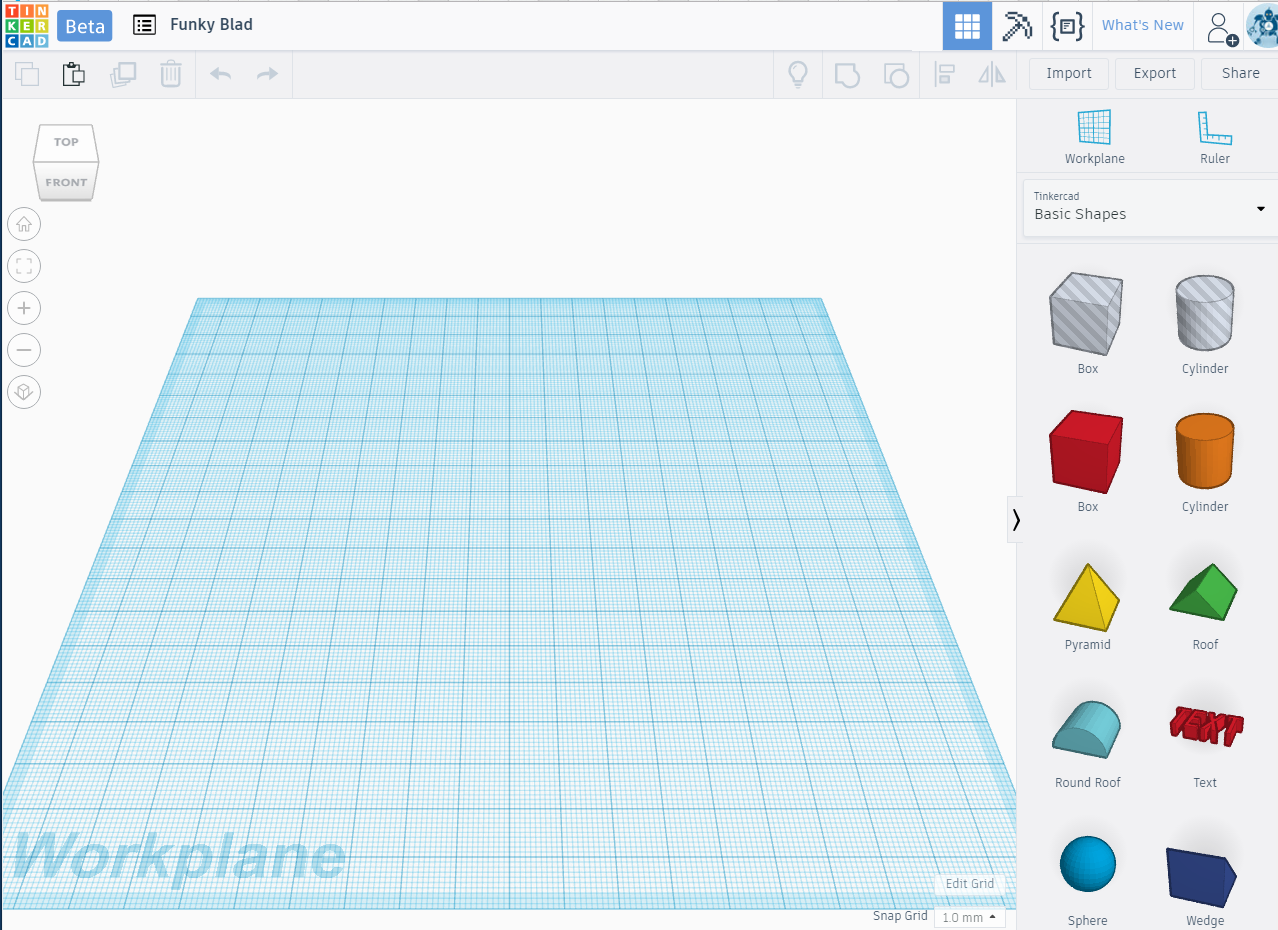
After logging in, click the 'Create New Design' button. This will open a new blank design ready for you to begin creating!
Name Your Design
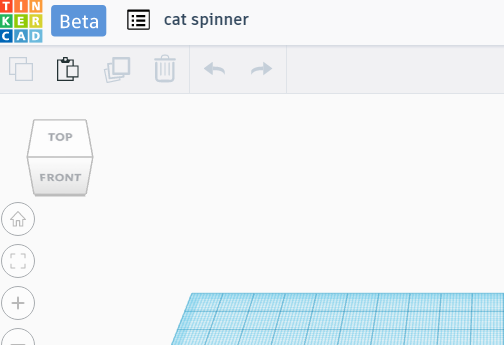
Click on the excellent name generated by Tinkercad in the top right corner and name your design something that is meaningful. I chose Cat Spinner (not very inventive but efficient). Press enter and you are ready to go.
Add and Size a Tube
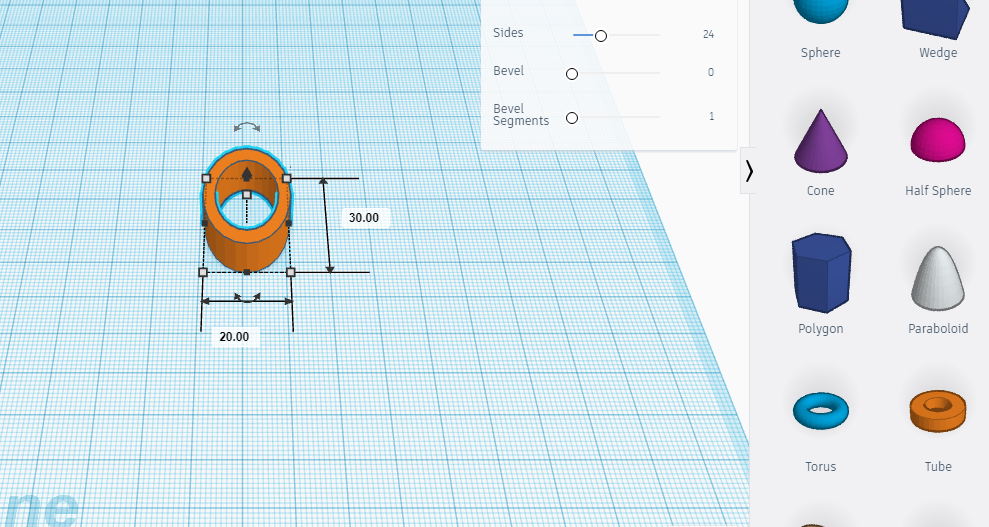
Select a tube from the basic shapes along the right side of the screen. Select the bottom corner of the shape to bring up the numbers representing the horizontal and vertical diameter of the tube. Change both of these numbers to 30. Select the small white square in the middle of the tube that represents the height and change the number from 10 to 7.
Add and Size a Cylinder.
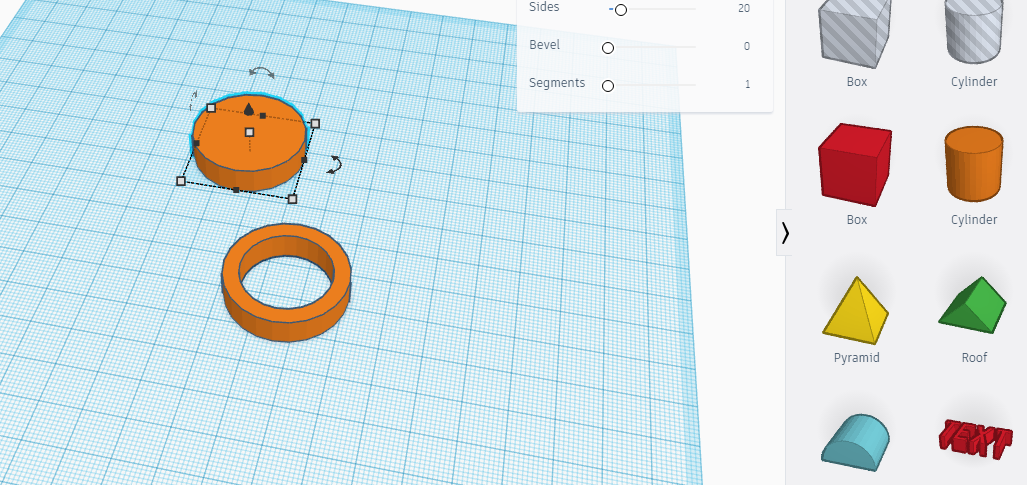
Select a cylinder from the basic shapes along the right side of the screen. Select the bottom corner of the shape to bring up the numbers representing the horizontal and vertical diameter of the cylinder. Change both of these numbers to 30. Select the small white square in the middle of the cylinder that represents the height and change the number from 20 to 7.
Add, Rotate and Lift a Roof
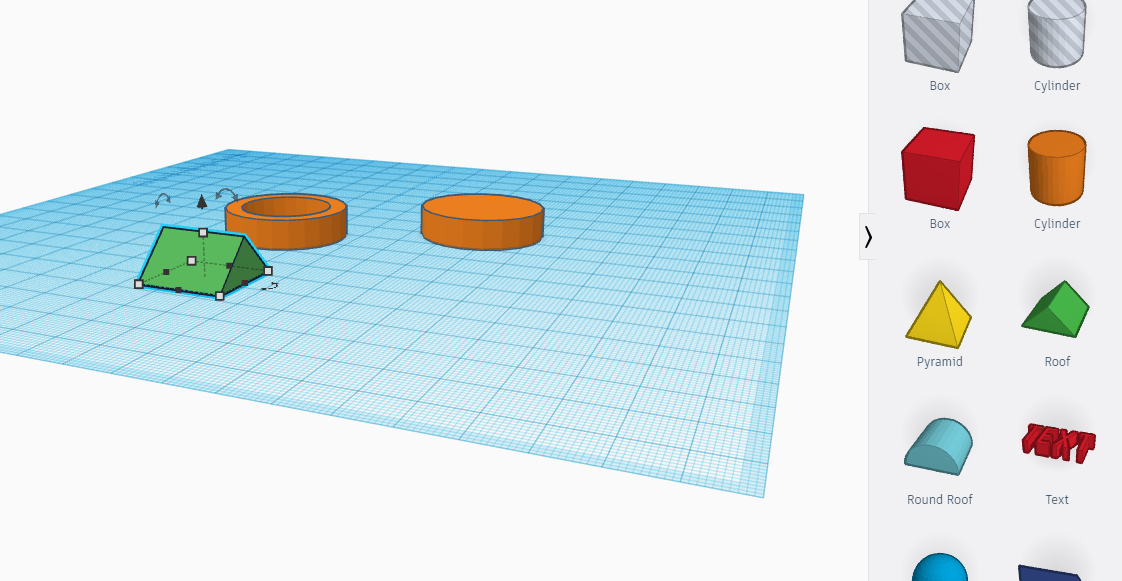
Add a roof. The small curved arrow above the roof will orient it in the direction we need for our cat's ears. Select the small arrow and change the 0 to -90 degrees. Then select the small black pyramid to bring the whole shape up to sit on top of the workplane.
Size and Rotate the Roof to Create an Ear
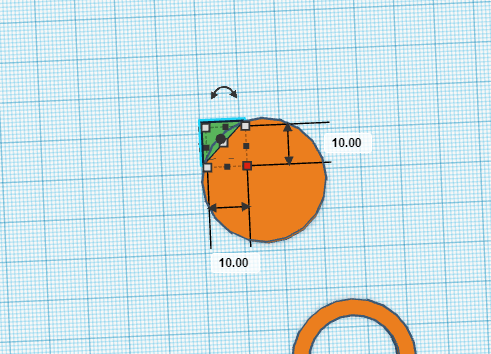
Select the curved arrow at the bottom of your roof and change the angle from 0 to -40 degrees. Select the bottom white box and change both numbers to 10. Select the white box in the middle and change the height from 20 to 7. Move your ear until it is in the right position.
Create and Position Your Other Ear
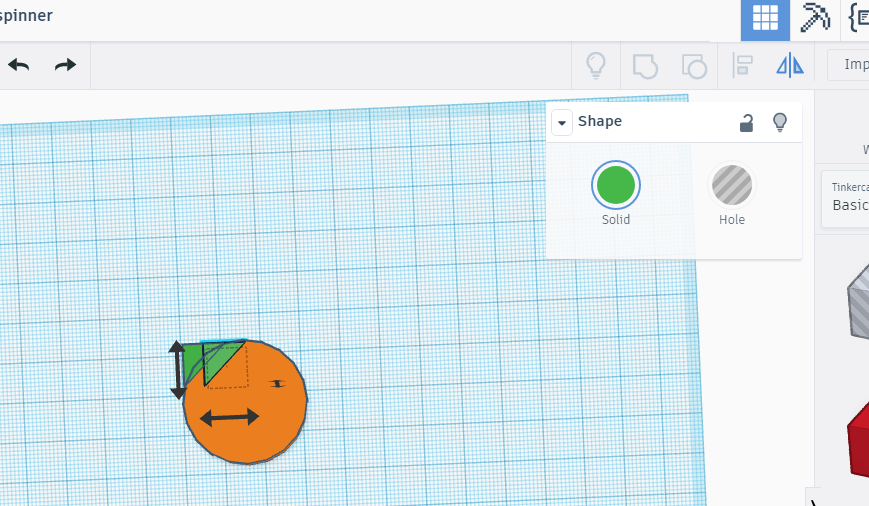
Press ctrl+c and then ctrl+v to copy and paste another ear with the same dimensions as the first. Select your new ear. Press the Flip tool. The Flip tool is the two triangles separated by a line in the top right beside the 'Import' button. After you press it, there will be a horizontal and a vertical arrow. Press the horizontal arrow and move your new ear into position.
Group Your Cat's Head Shapes
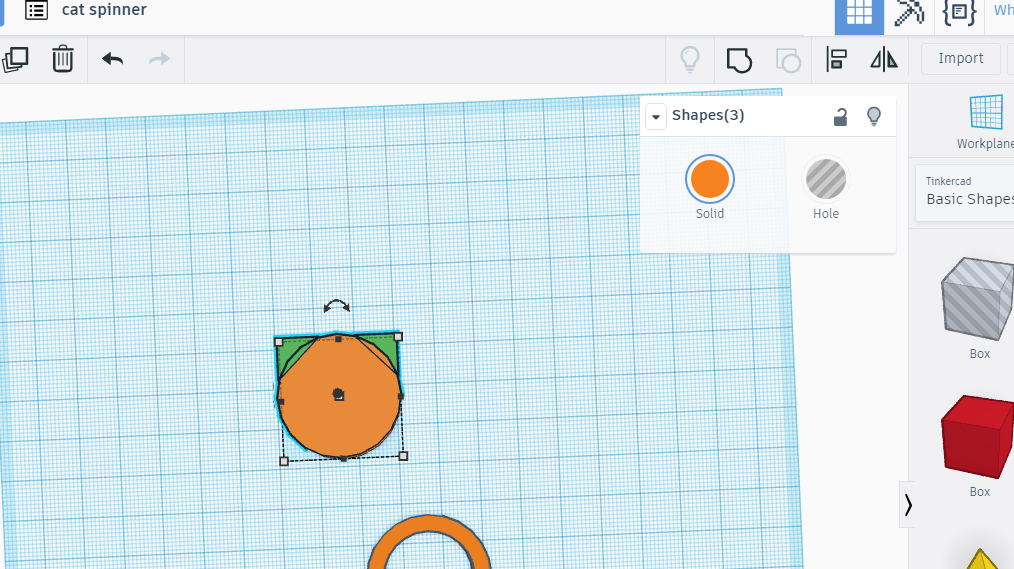
Select the head and ears. Press the Group tool (in the picture it is right above the (3) where it says Shapes(3). You will know that your shapes are grouped when they all turn the same colour.
Add Holes for Eyes
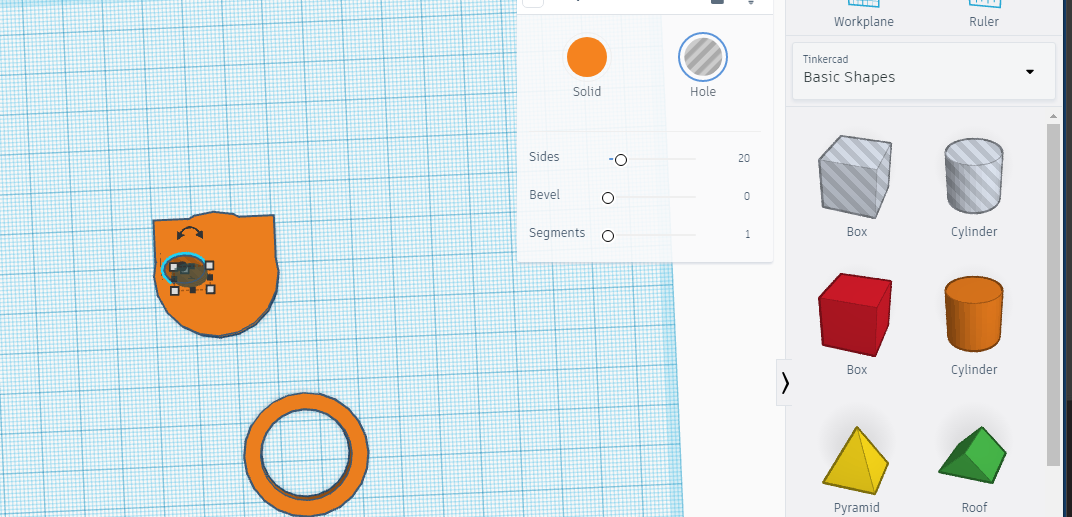
Get a cylinder hole. Select the bottom white square and make the horizontal diameter 9 and the vertical 6. Drag it to the spot on the head where you want your eye and copy it by pressing ctrl+c. Press ctrl+v to paste and move your second eye to where you want it.
Align Your Eyes
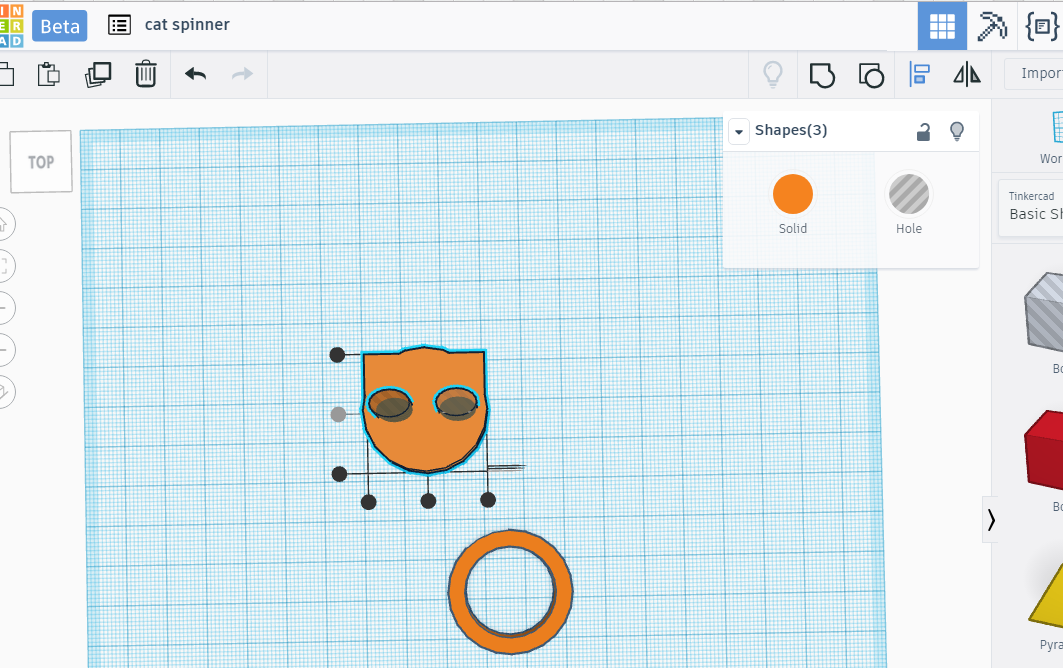
Select your cat's head and both eye holes. With all three selected press the align tool. The align tool is the line with a larger rectangle on top of a smaller rectangle. Select the dot that is grayed out in the picture. This will put our eyes and head in alignment. Now press Group.
Add Your Pupils
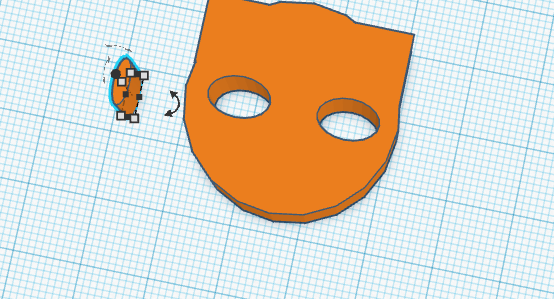
Add a cylinder and change it's dimensions to 2mm in the x direction, 6.5mm in the y, and 7mm in the z. Move this into place as a pupil. Copy, paste and move a second pupil into place. Select your head and pupils and press the Group tool.
Copy and Flip Your Head
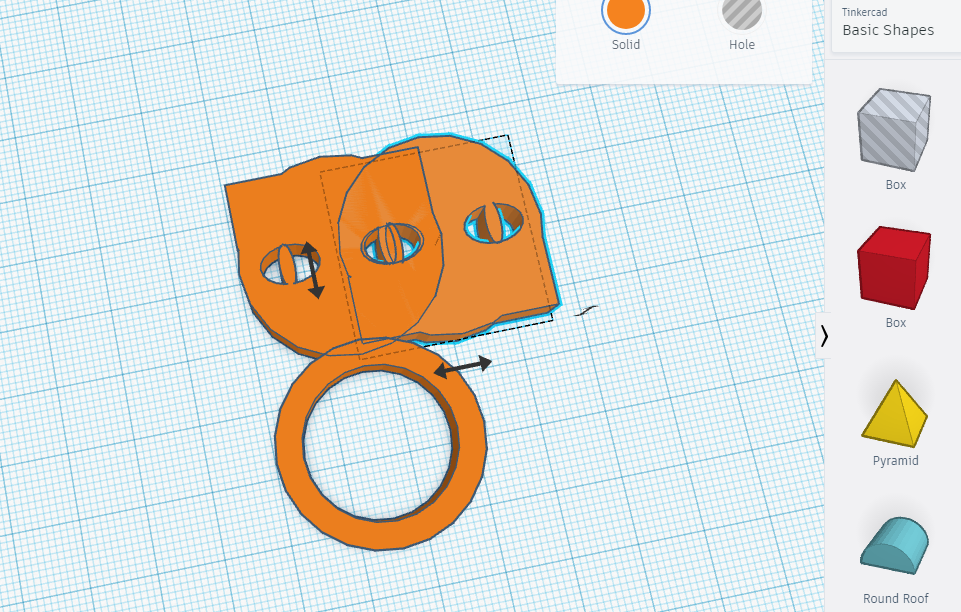
Select your head. Copy it, paste it, and flip it vertically. Position your heads at either end of your tube.
Align Your Spinner
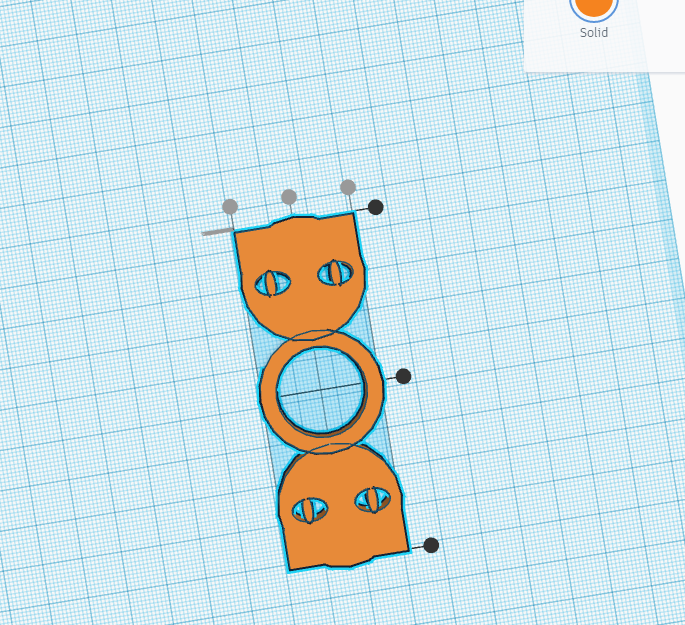
Select everything and ensure that your three pieces are lined up. If this step is skipped it can affect the balance of your spinner. Group your shapes. I like to change the colour to something I like here as well.
Download for Printing or Order Your Print
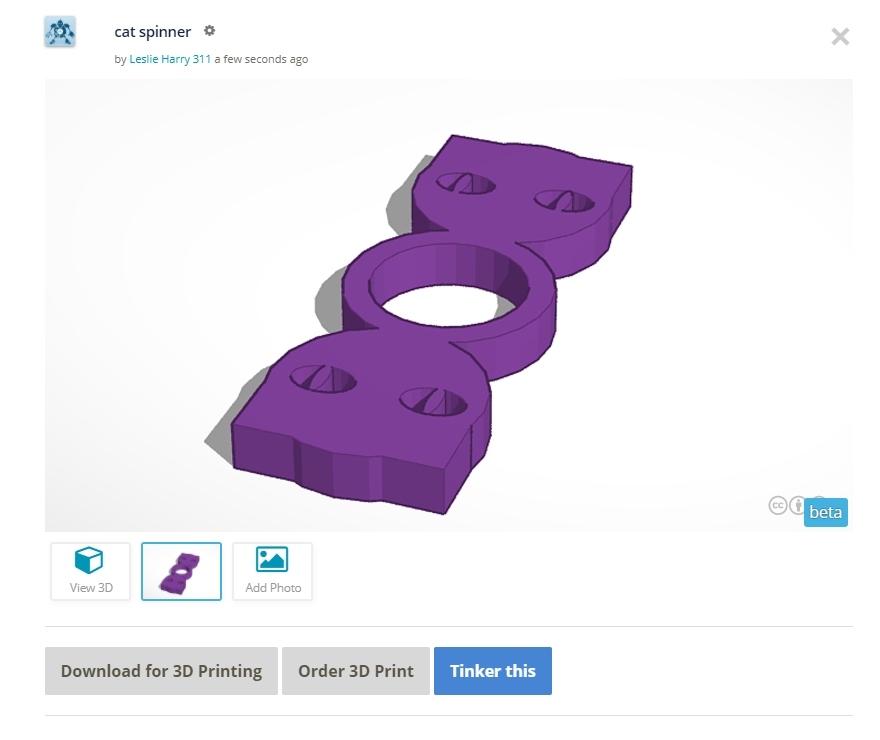
Tinkercad has a handy built in printing service selection! If you do not have access to a 3D printer you can order your file printed.
Printing Services
Pictured here are the services available for printing.
Download the File and Print Your Spinner
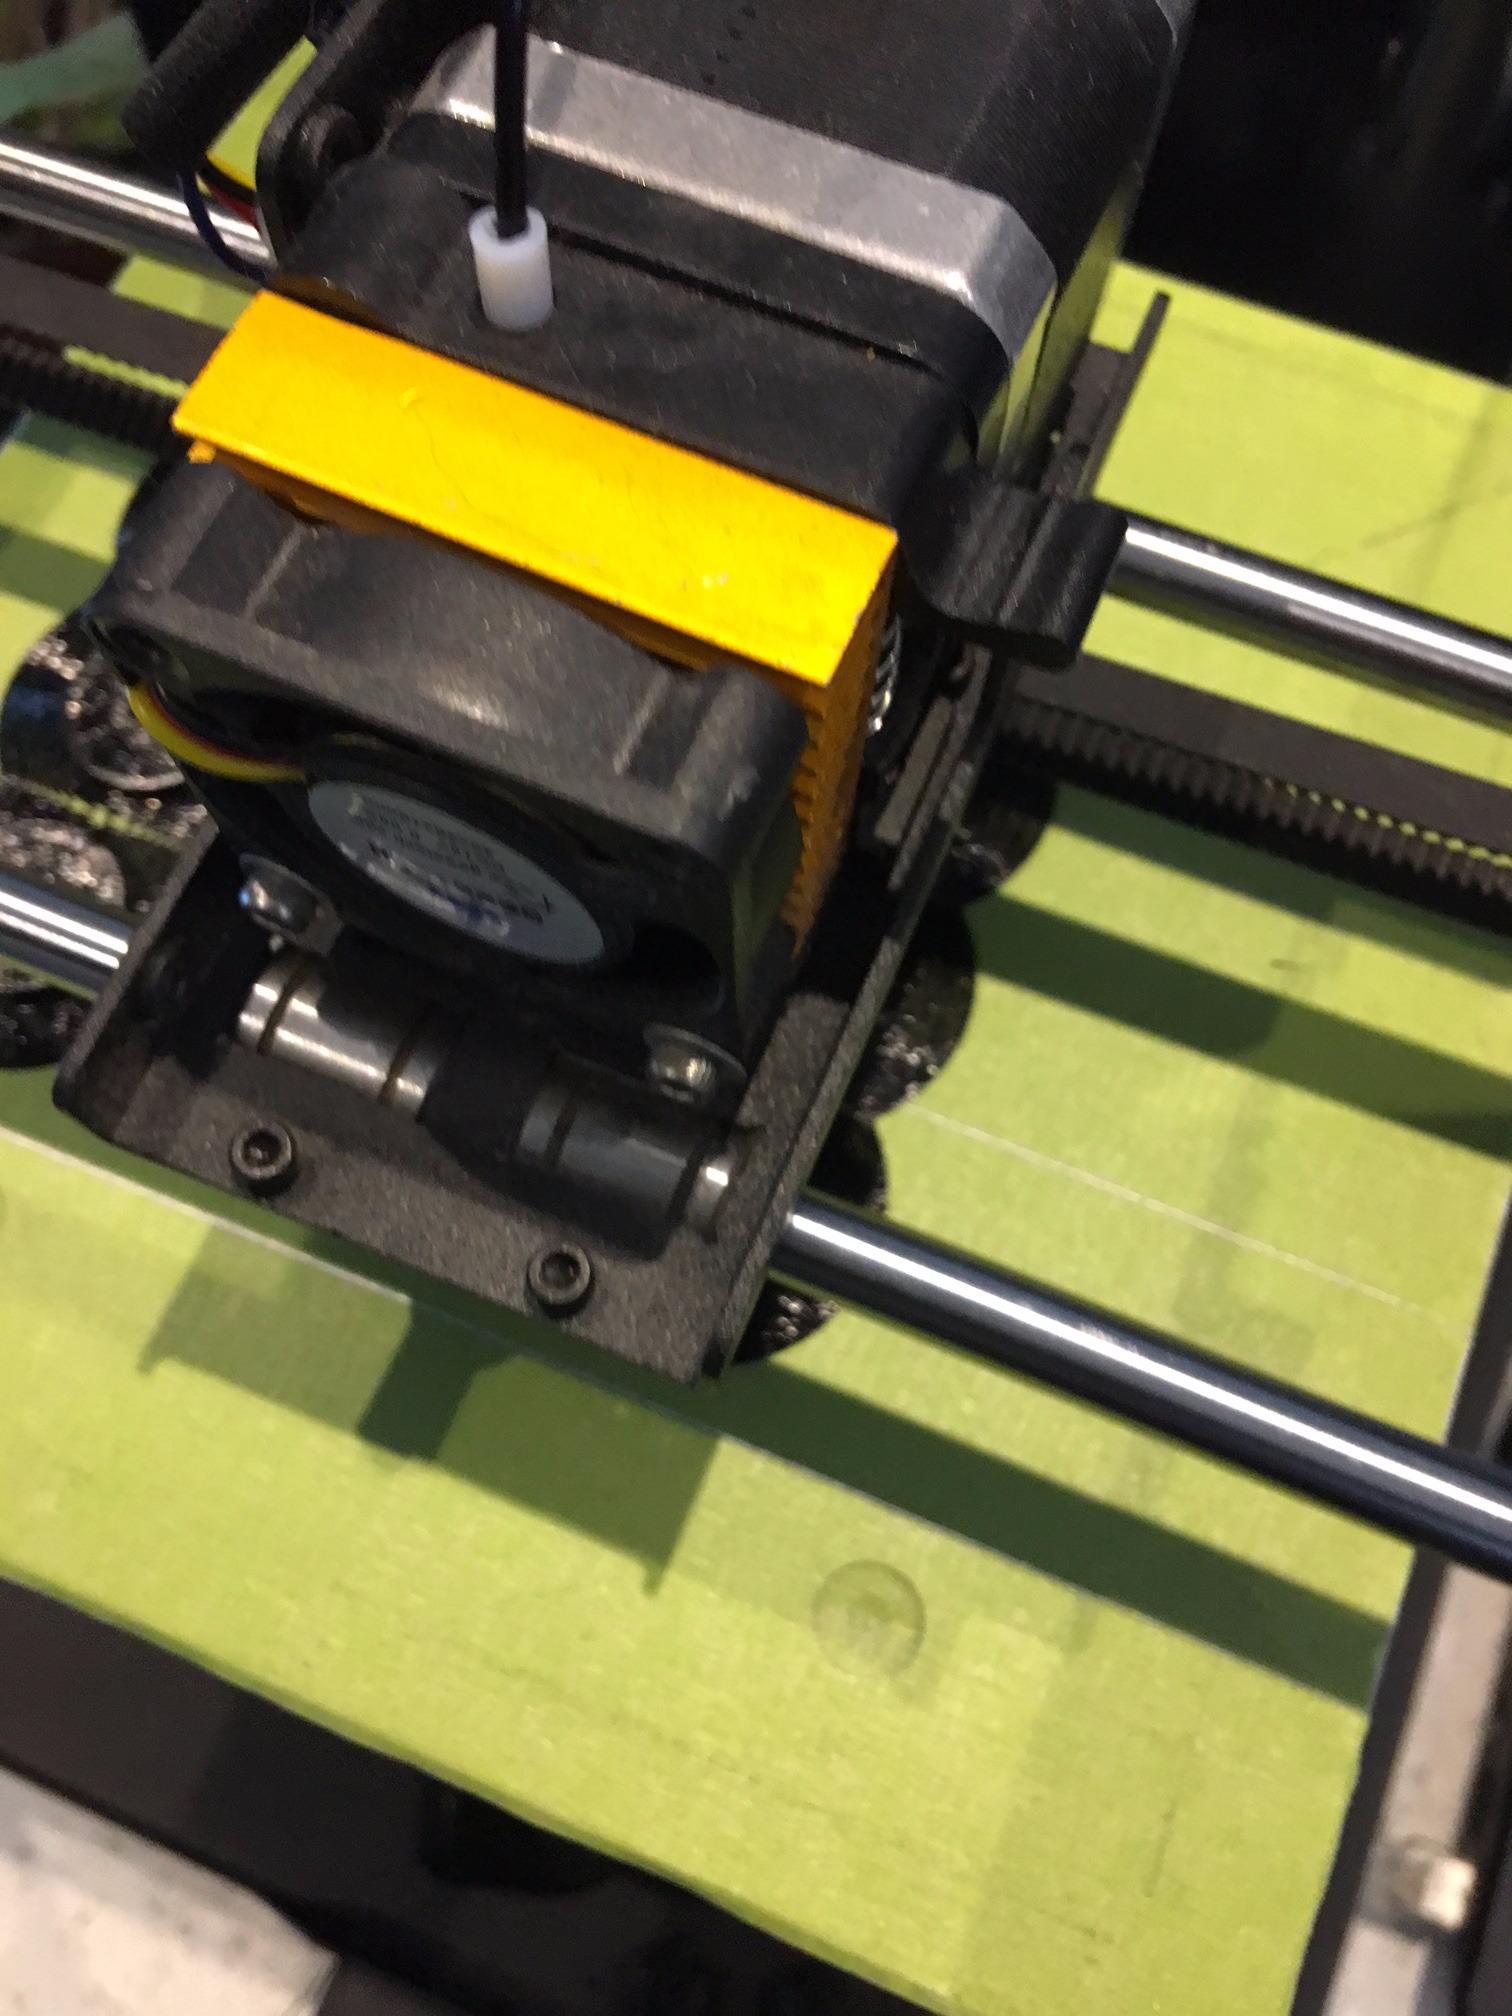
I won't get into details of 3D printing here, I know there are many amazing instructables for that!
Paint Your Spinner
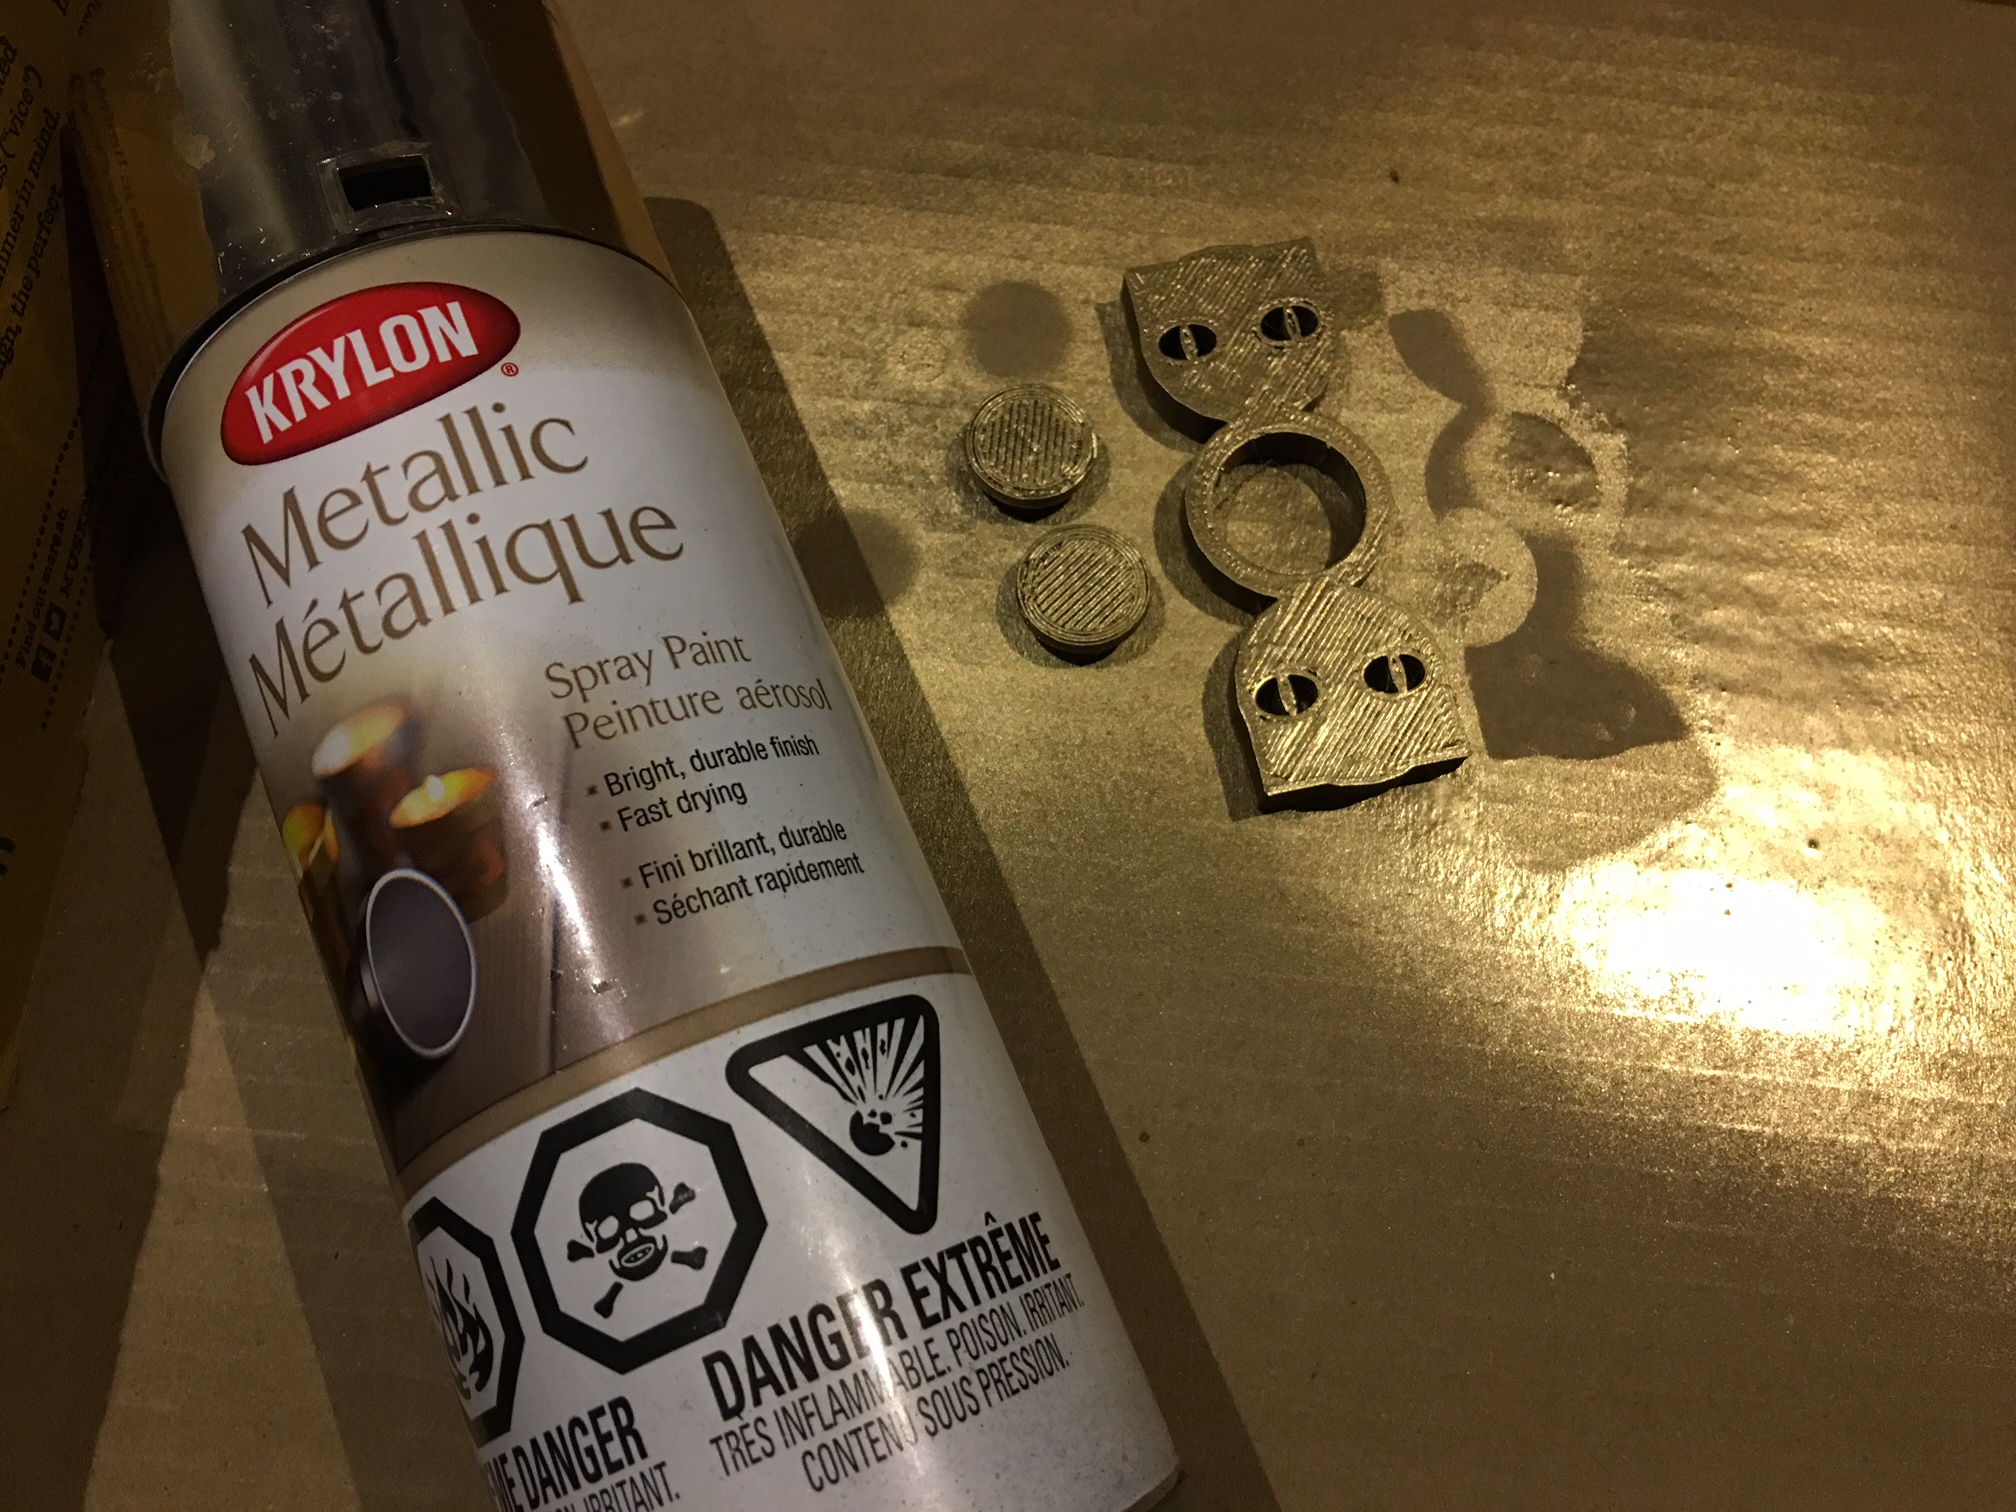
This is an optional step. I decided to paint one of the spinners gold. Make sure you wear a mask when spray painting.
Add Your Bearing and Caps
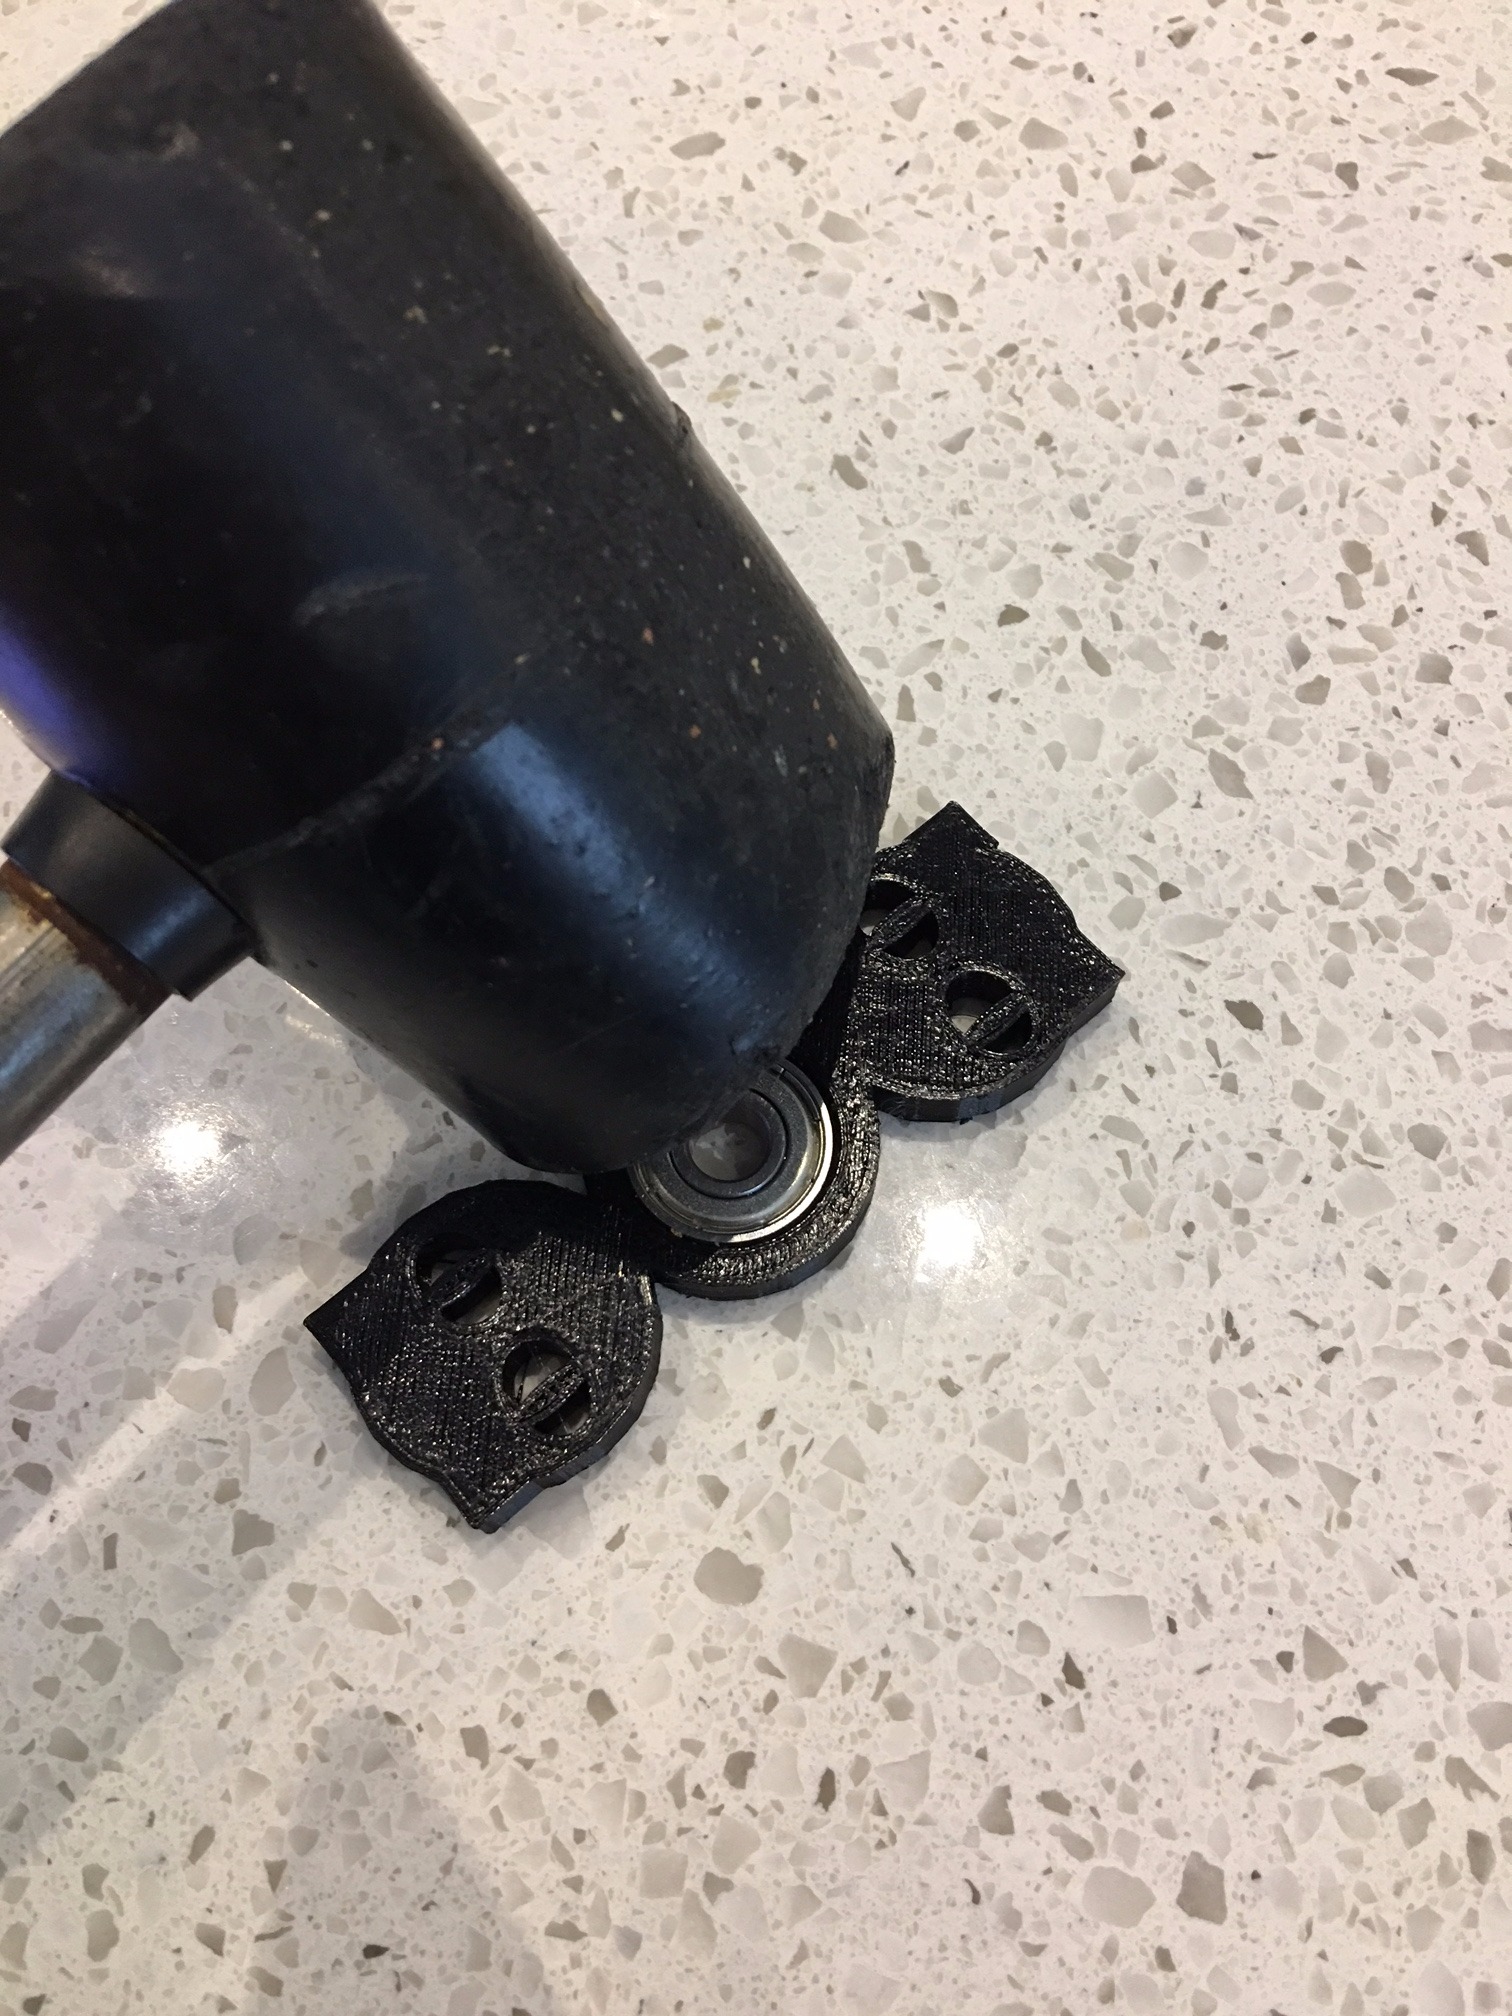
Hammer in your bearing, snap in your caps and you are ready to spin!
Enjoy Your Cat Spinner!
