Design and Make a Table in a Day: Assembly
by Adam.Kenvarg in Workshop > Furniture
18648 Views, 130 Favorites, 0 Comments
Design and Make a Table in a Day: Assembly
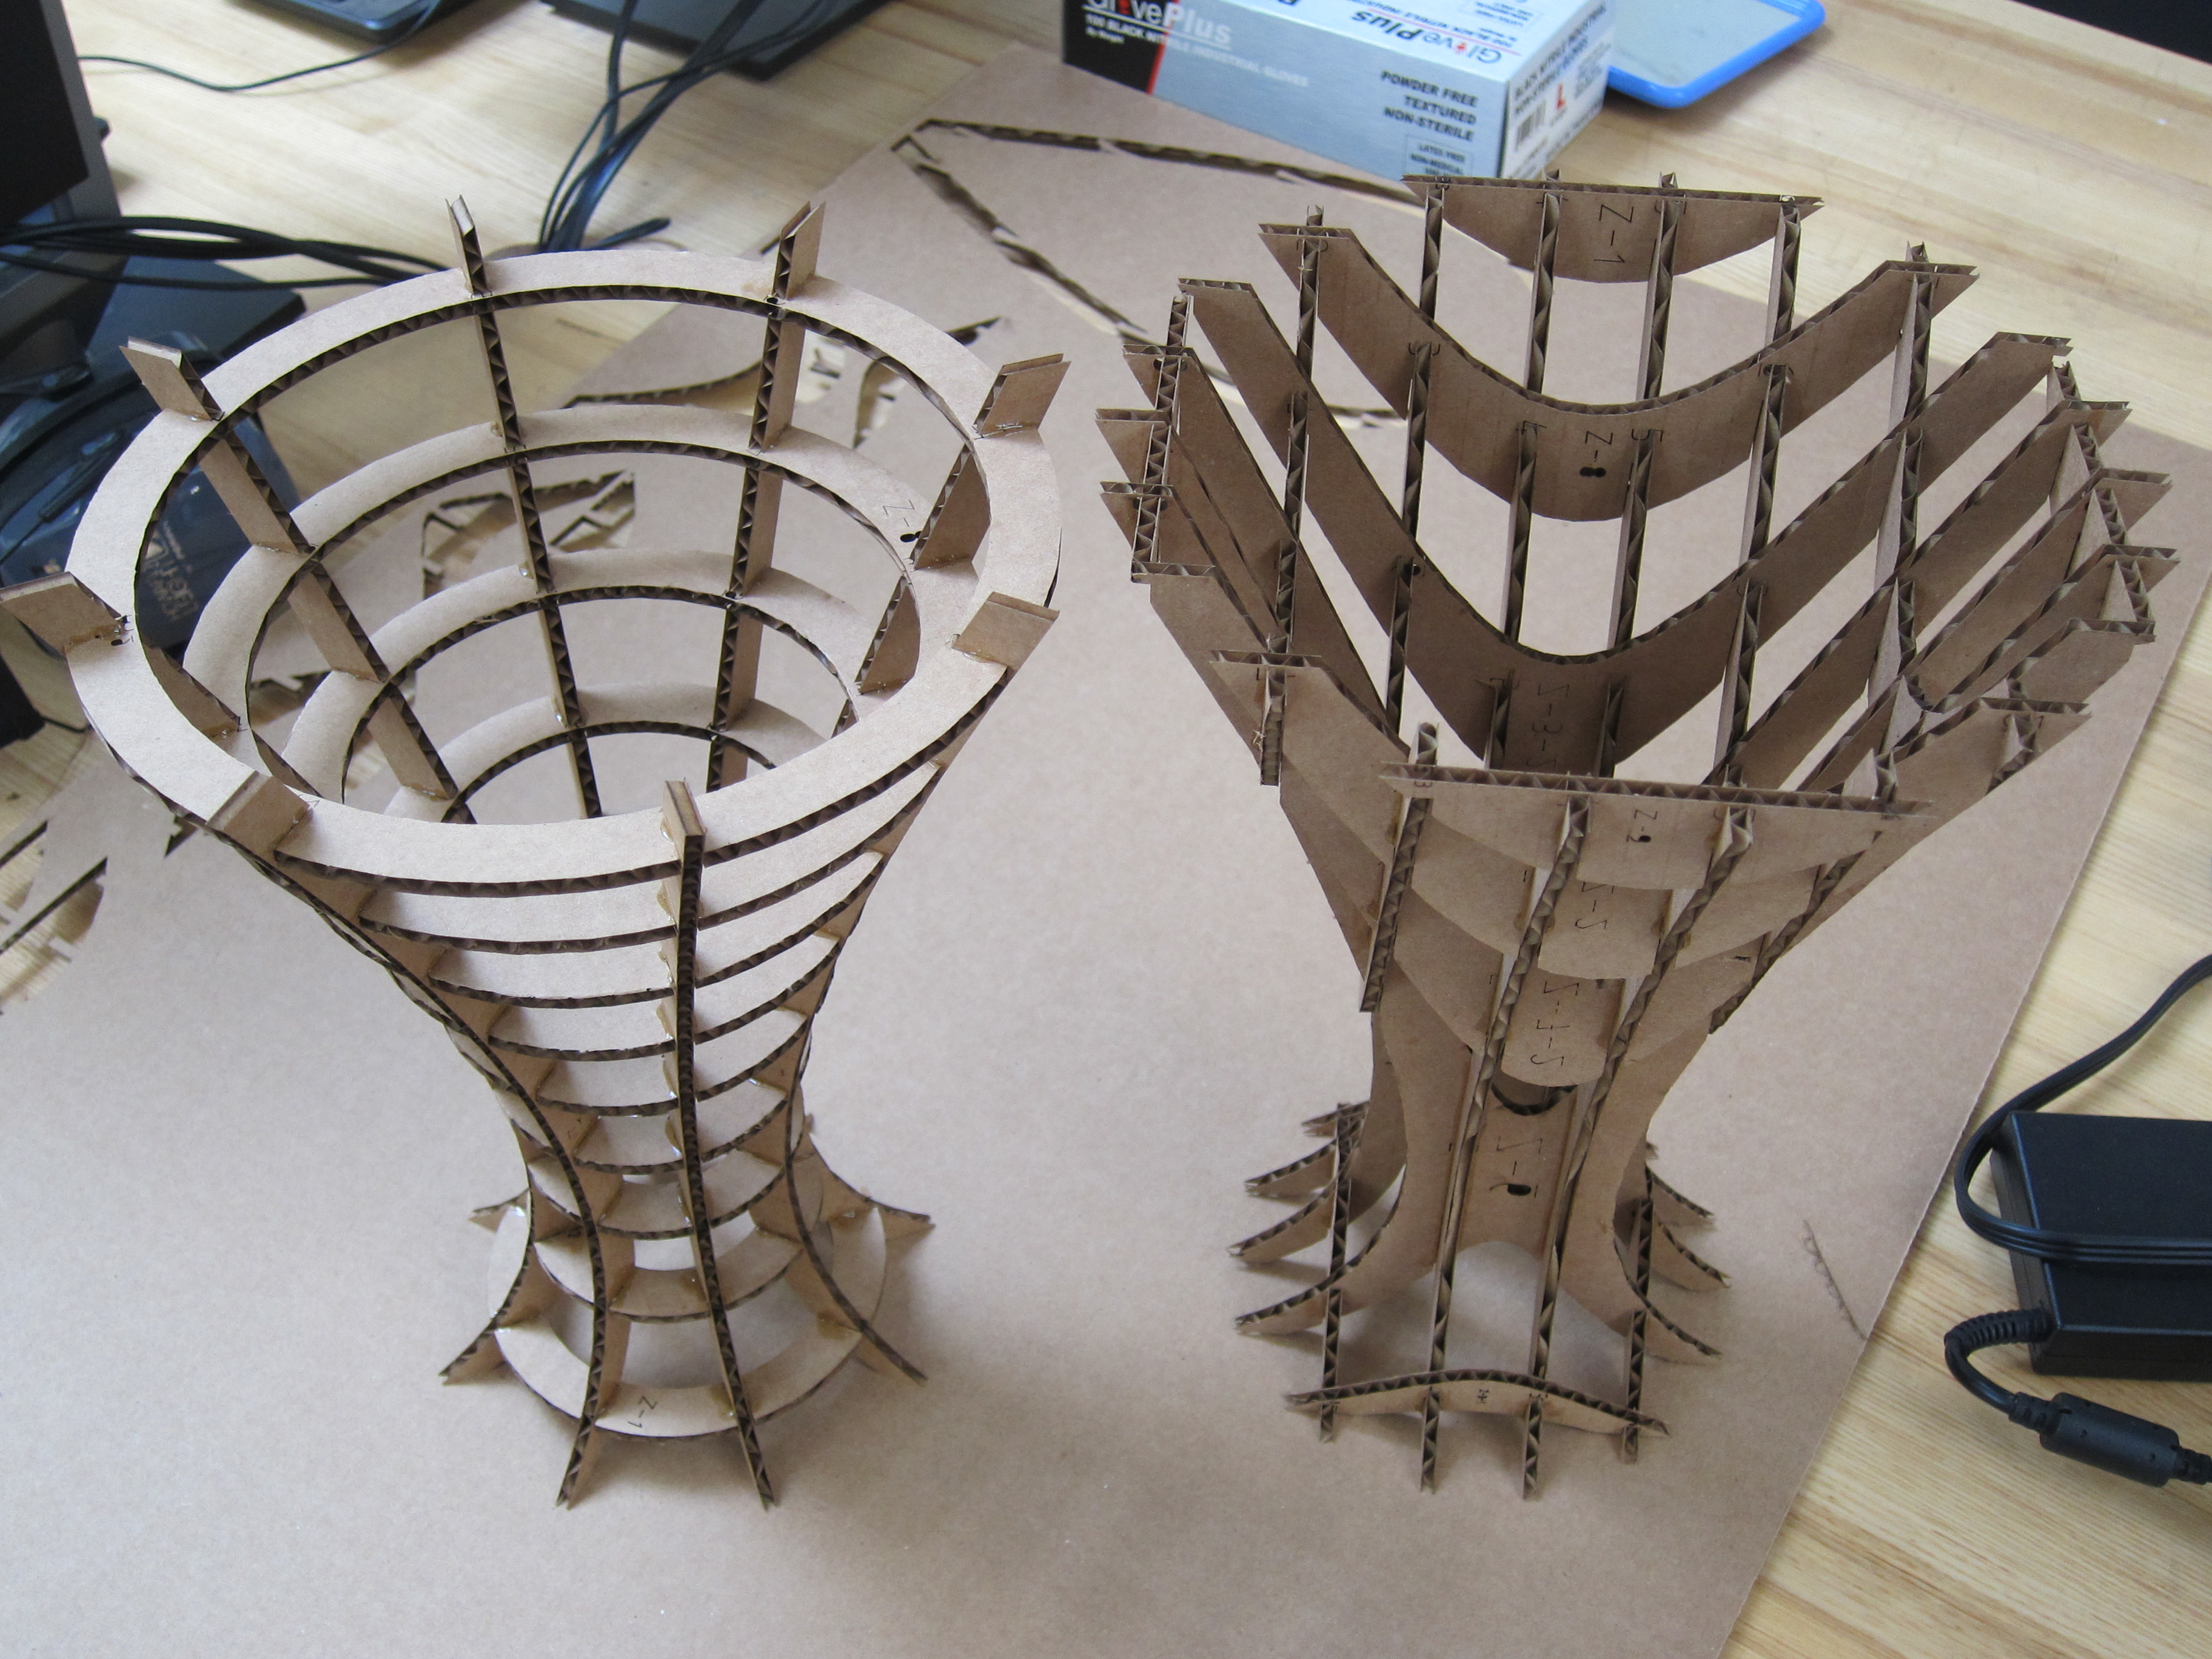
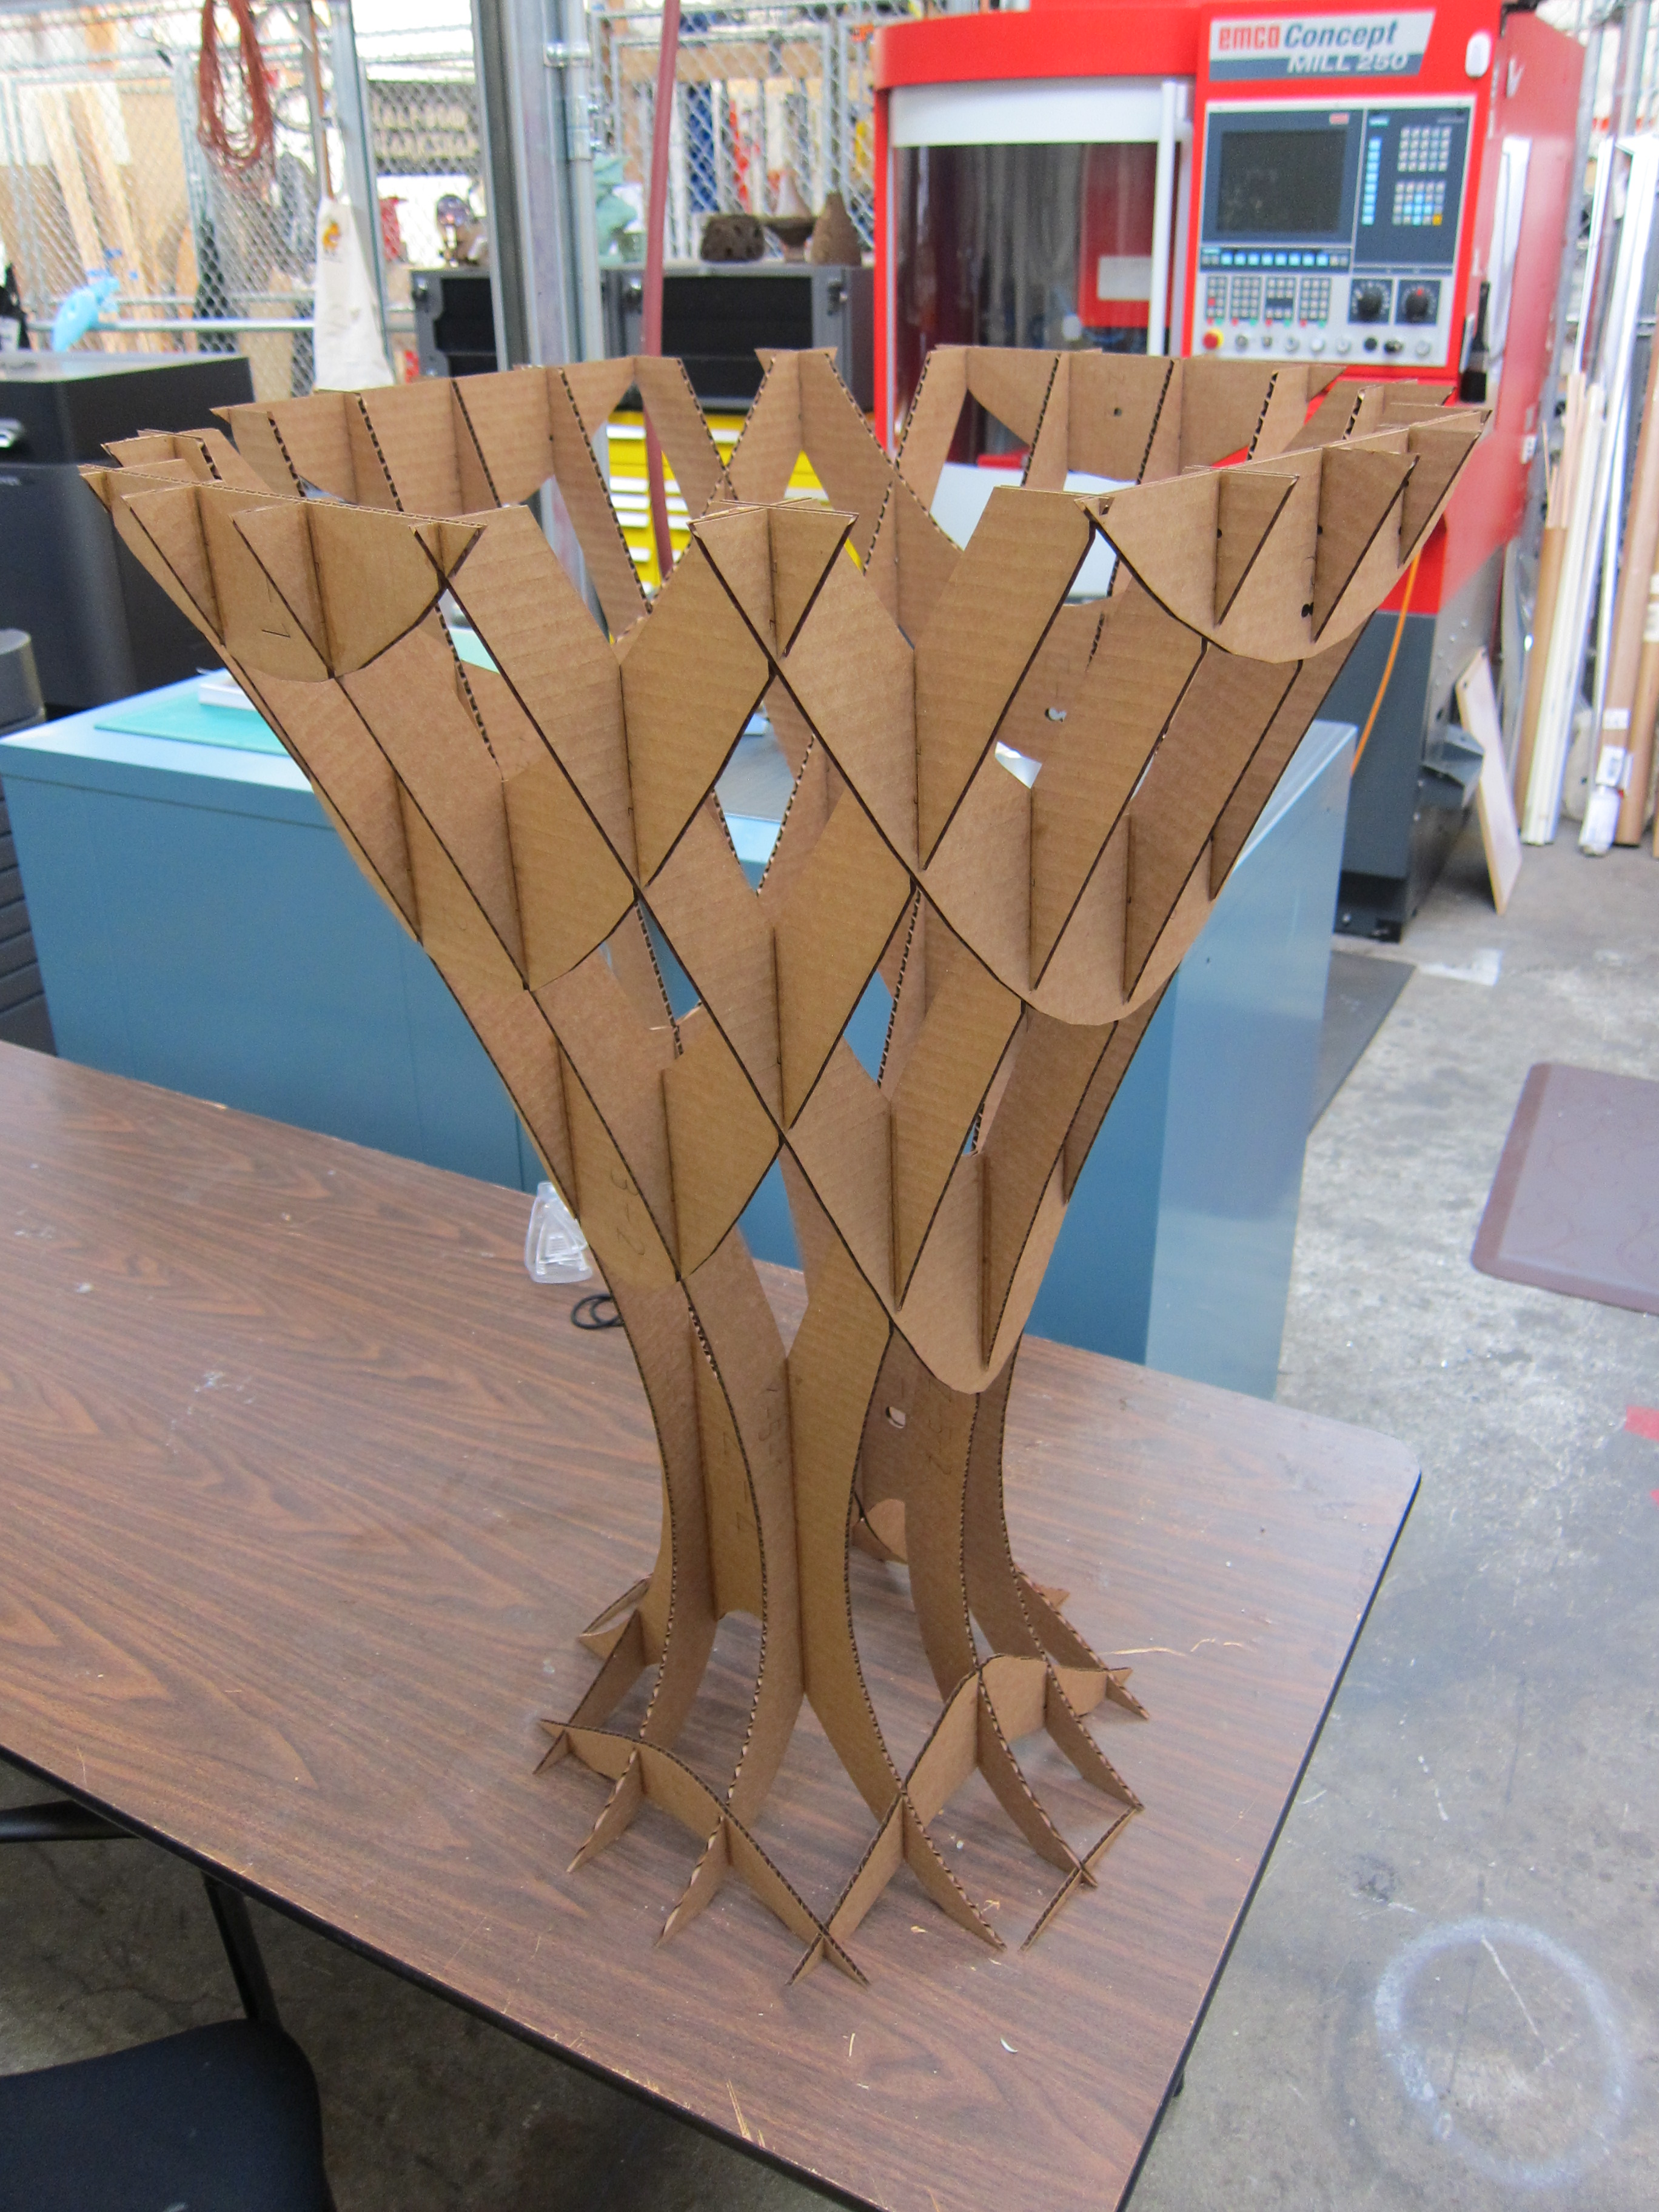
This is a two part Instructable detailing how to design and build a table using 123D Design and 123D Make. In this part I will cover the 123D Make step, in which you cut out your design and assemble it. I started with two small-scale models to test out my assembly method and test their strengths. Once I determined how best to assemble them and decided on my favorite I scaled it up to the size of a bedside table. All together it took less than a day, even waiting for the glue to dry. Not too bad, I think.
In Part 1 of this Instructable I cover how to create the original models of the table you'd like to make.
So far I've just made a large scale cardboard version but I'll be moving into wood soon for the finished product. I'm thinking of doing a glass top, and I'll probably end up altering the dimensions a bit to make it look better. I'll post updates as they happen.
[NOTE: I've also included the 123D Make files used to make the smaller tables. They will create the two tables shown in the intro step that are 12 inches tall, but can easily be altered to be any height you'd like.]
Downloads
Slice It Up
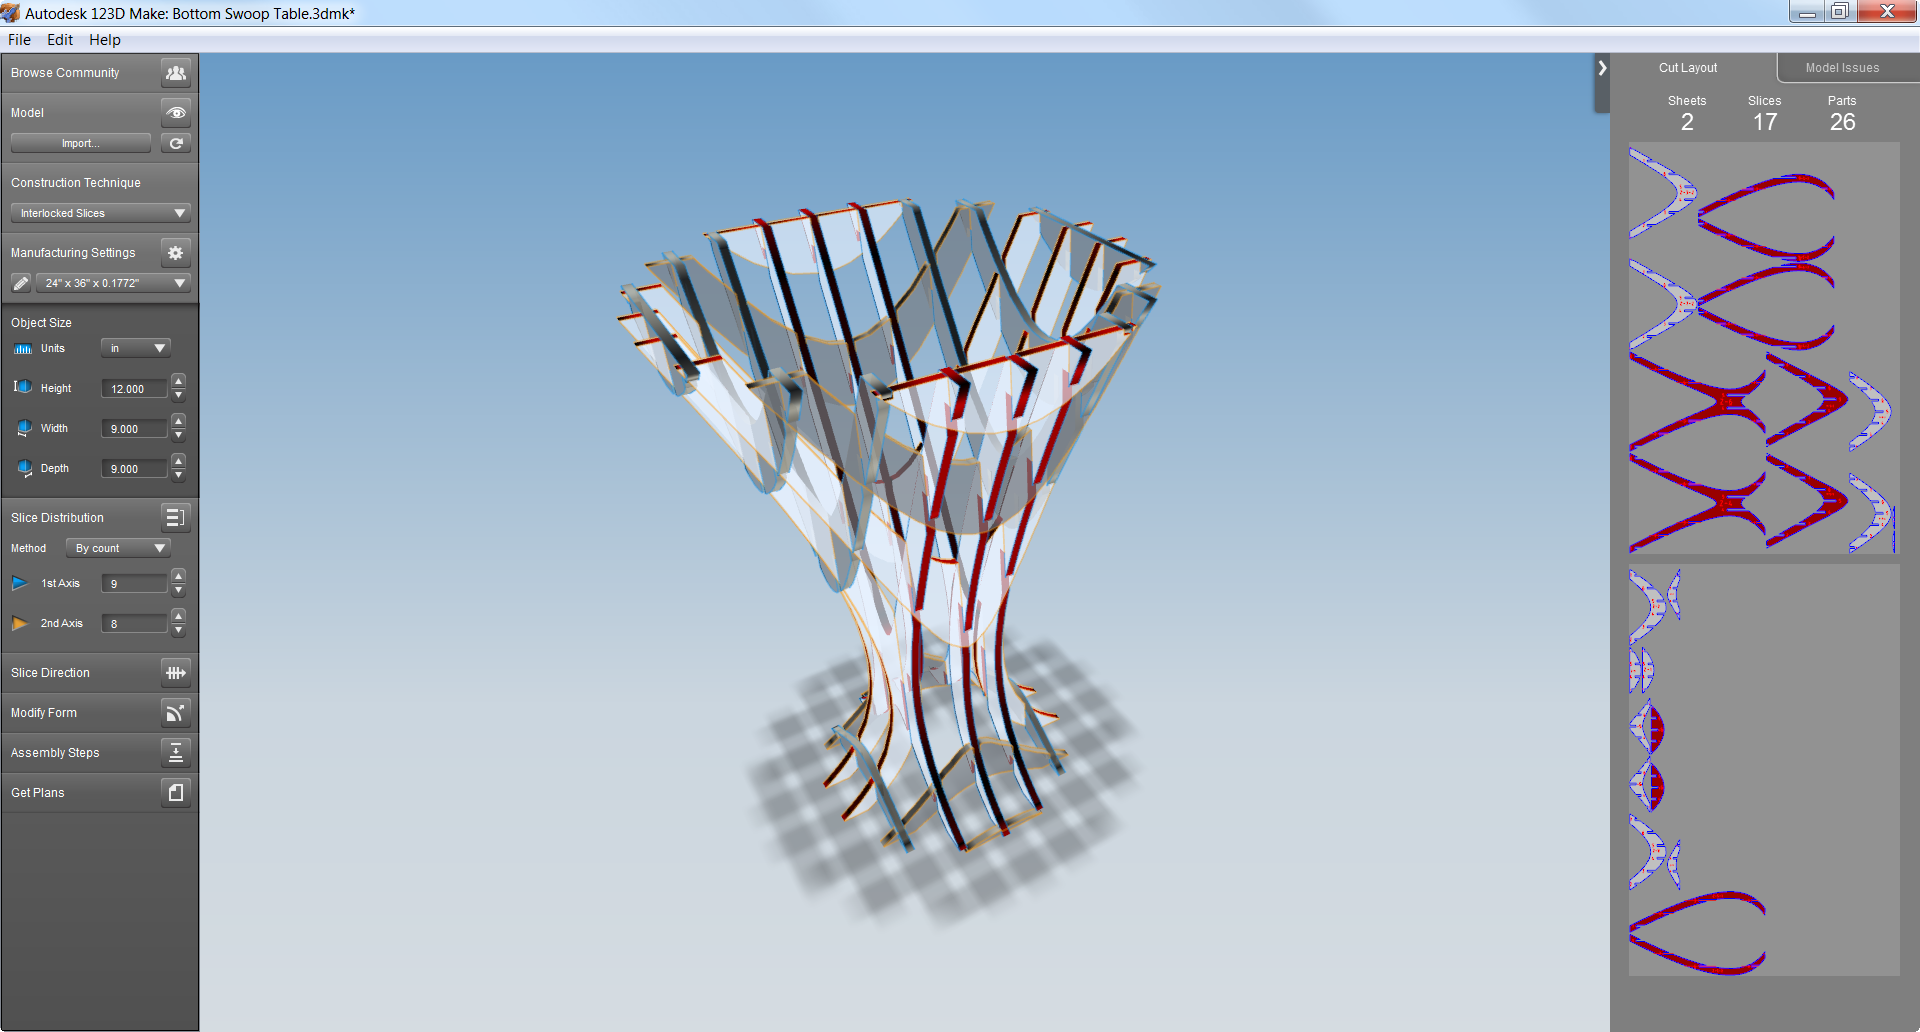
Once you have created your 123D Design model, import it into 123D Make. I like to do this by uploading the model to my 123D account and then downloading it into 123D Make (note: this takes a bit of time since the files have to do some conversion magic first). To import you just click the "Browse Community" button in the upper left of the screen, sign into your account, go to "My Corner," and open the file you want.
Once you have your model open in Make you have to select a construction technique. In this first example I used interlocked slices.
At this point, there are a few options that you'll need to fill in to get your table to turn out right, even before you make it look the way you'd like.
- The first is to make sure that your table is the size you'd like. To do this, just change the height to what you'd like and the program will scale the the table to fit.
- Next, you want to pick the right manufacturing settings. If you're using a laser cutter (Lucky you!) select the dimensions of the machine bed. If you're using a utility knife select the dimensions of the paper you'll be printing the design out on (you can also tape a bunch of paper together to get a bigger effective size, but you'll need to figure out how to print across multiple pages).
- Finally, make sure that the last dimension, the thickness, is the same as your material. I used cardboard, but you could make your table out of plywood, or glass, or anything else, as long as you have the ability to cut it.
Once you have your properties correct it's time to make your design look good. Depending on how your model imported you'll likely want to change the slice direction. You do this by moving around the blue arrow and yellow circle to get it to slice the way you'd like. Honestly, I have no idea how exactly these controls work, so you might have to play around with it for a second, but you should be able to get it right pretty quickly. The controls will snap to 90 degree increments from where they were previously, so if you want perfectly vertical slices just try those points until you get it right. You can also slice at weird angles to get interesting looks, but I was going for strength, stability, and ease of assembly with these.
Another important aspect of how your table looks and works (in terms of not collapsing and being generally table-like) is how many slices you have in each direction. You can alter that in the slice distribution box. You can also click and drag on slices to move them if you want.
You'll want to do a quick check to make sure you can actually assemble your table. Make likes to throw out warnings at you about problematic parts. Sometimes these are good, and sometimes they are not helpful. Going through the assembly steps process can help you see if some parts just won't work. If this is the case changing the number of slices might help, or you might need to slightly alter your design. Use your head, and probably a small-scale prototype to see if it'll work.
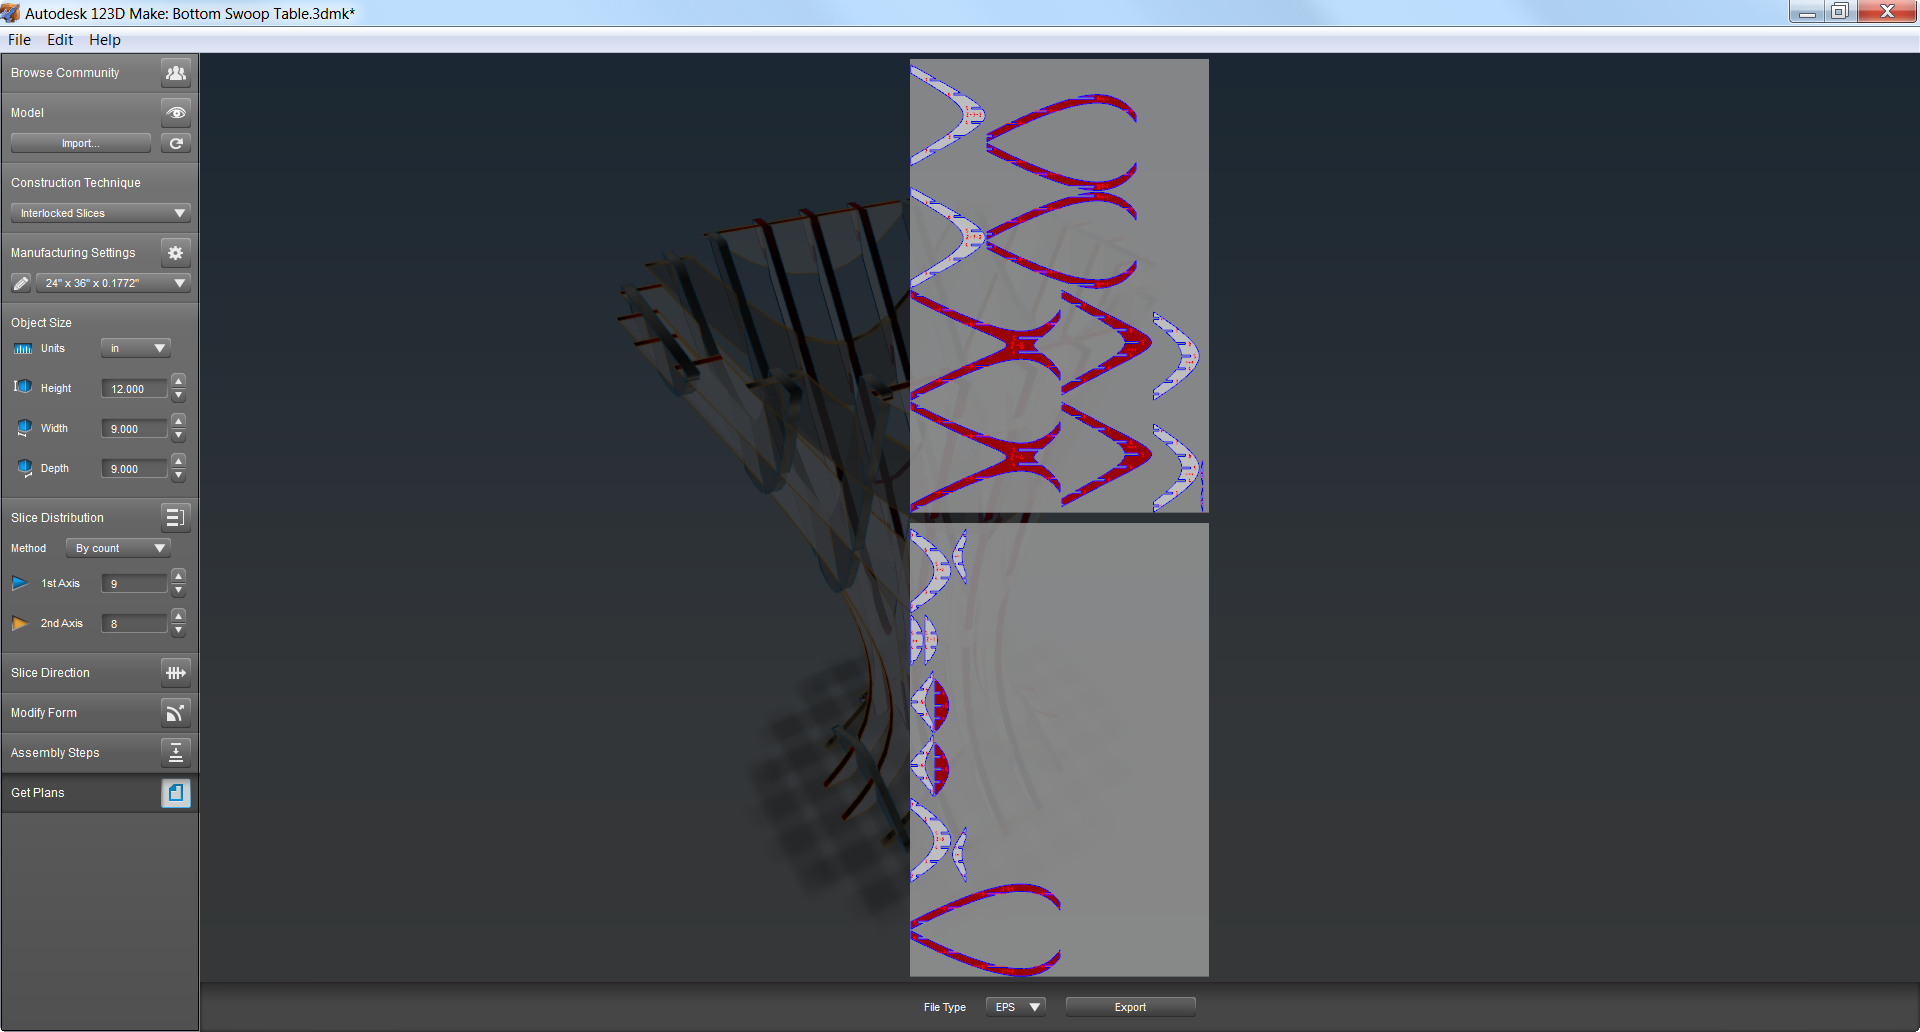
Finally, hit "Get Plans" to, you know, get the plans. You can get them as PDF files or EPS. It just depends on what you're trying to do.
Getting Ready to Cut
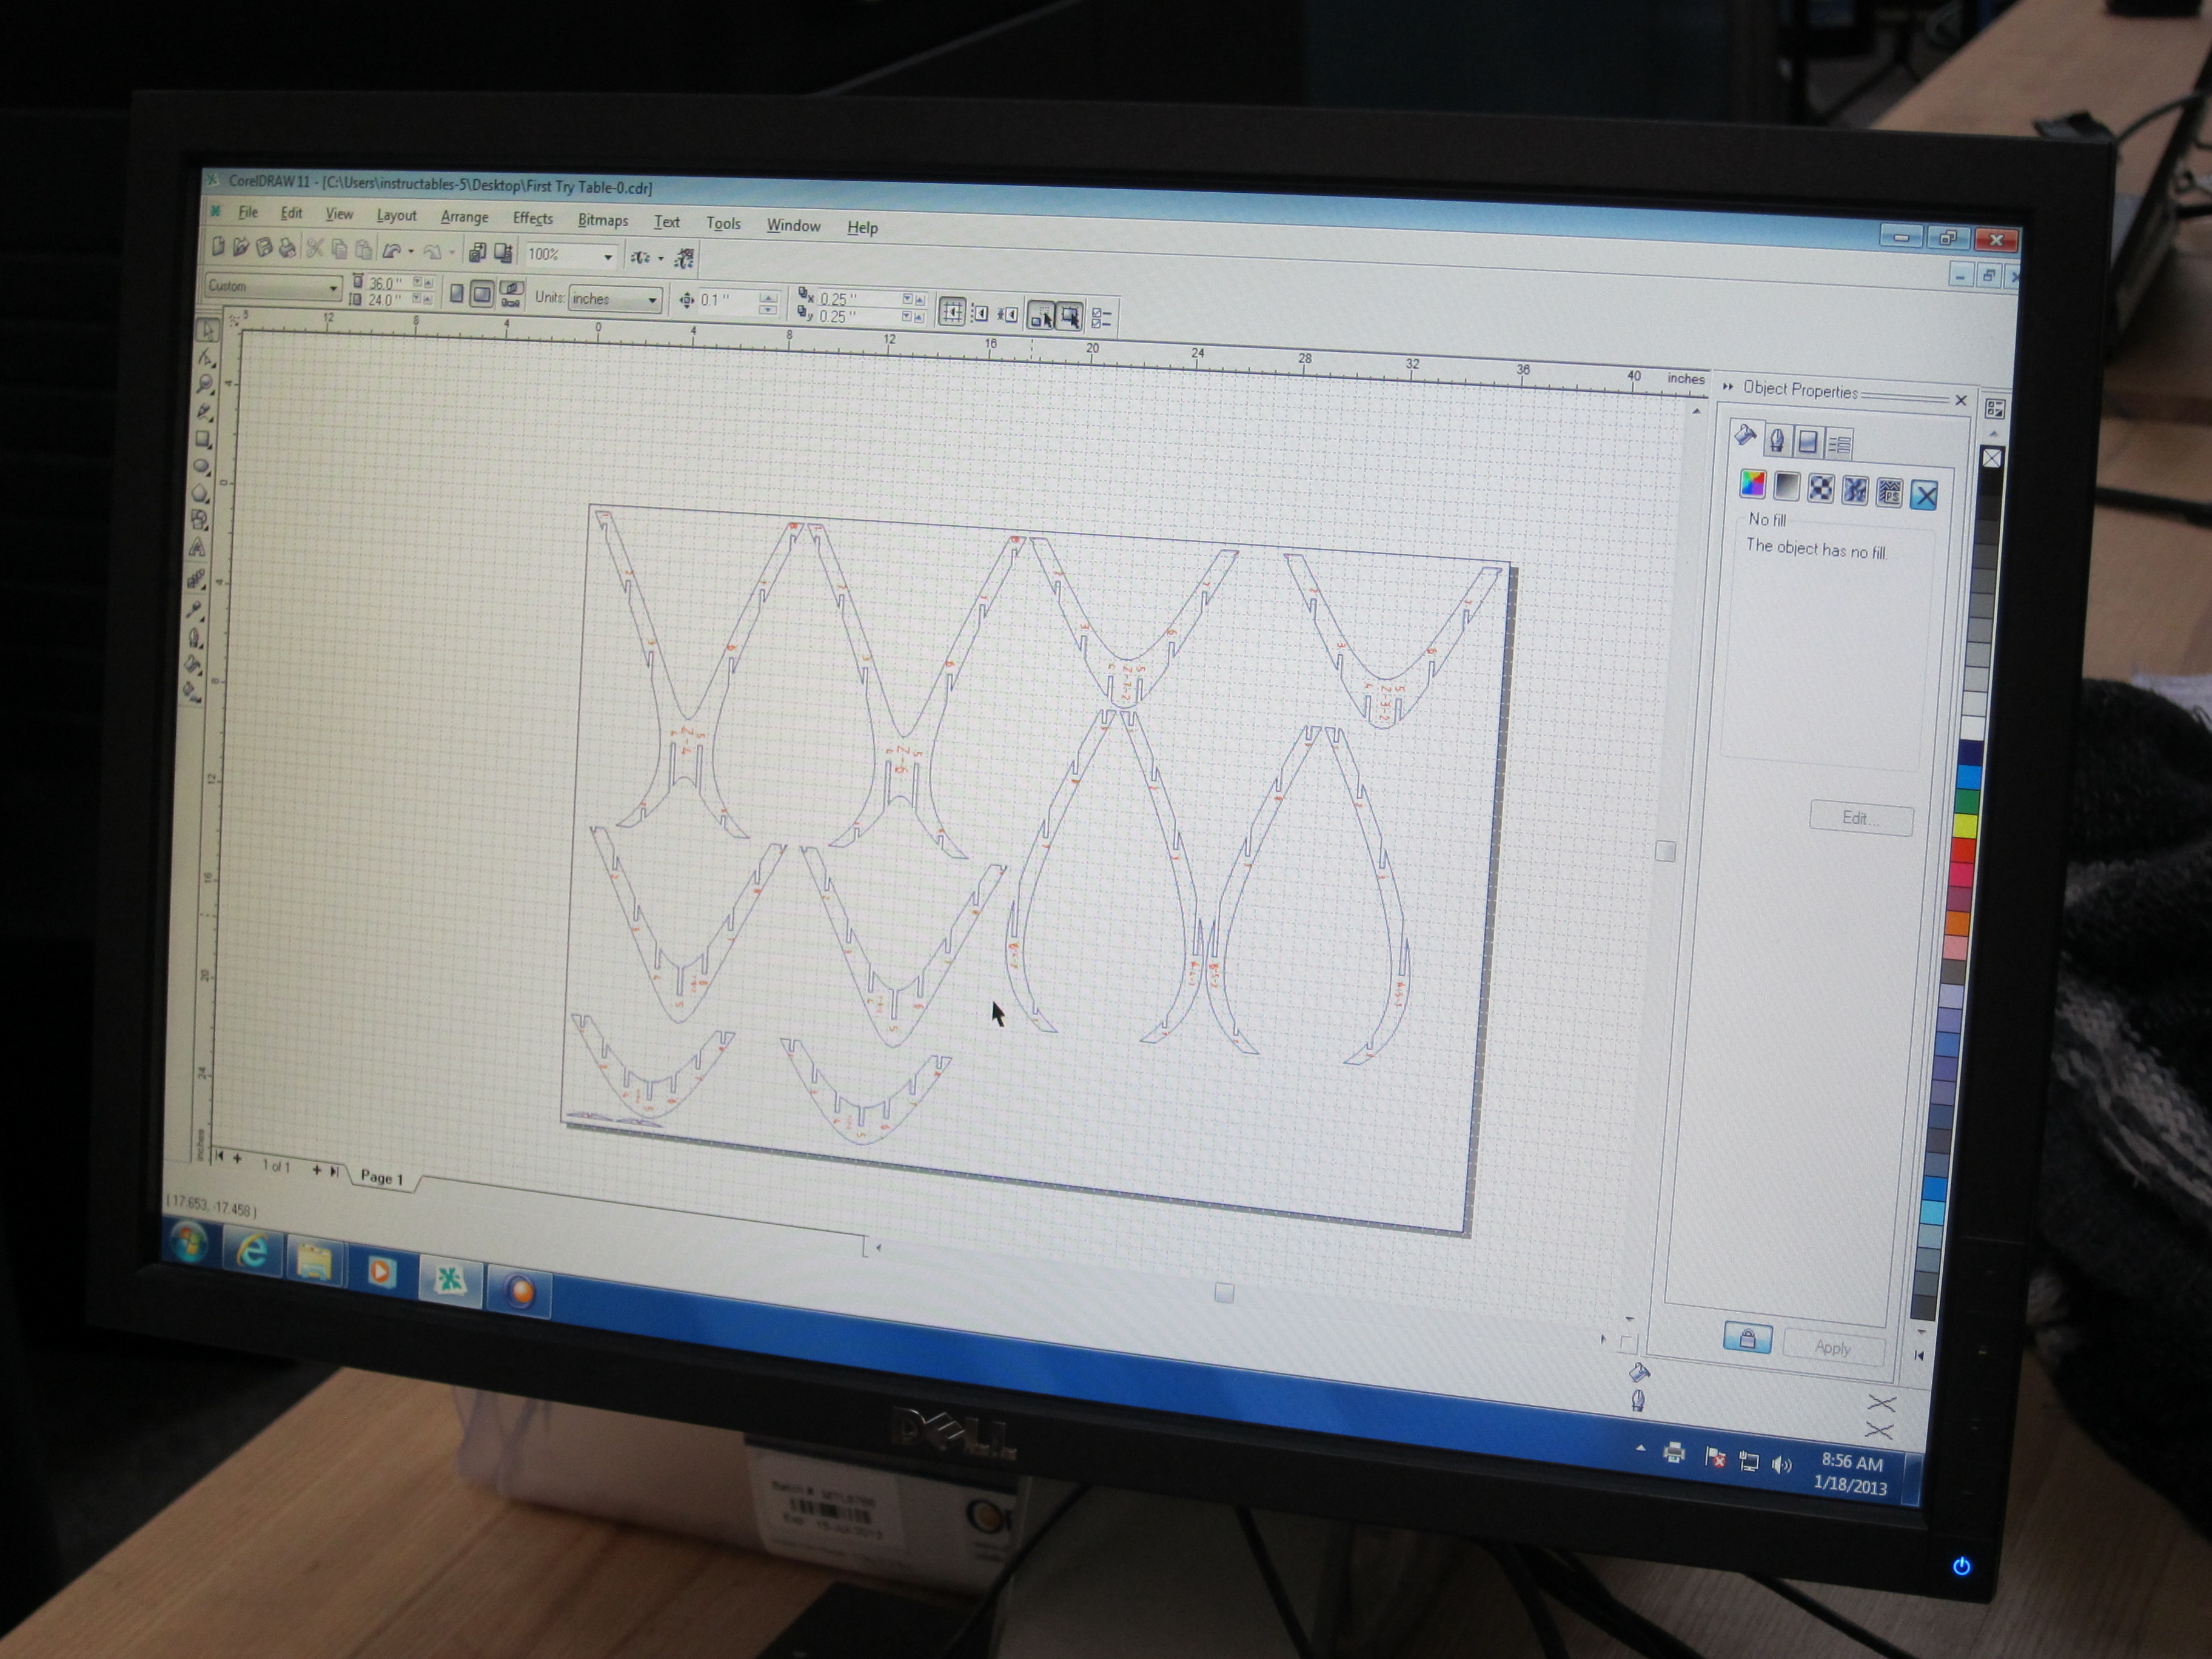
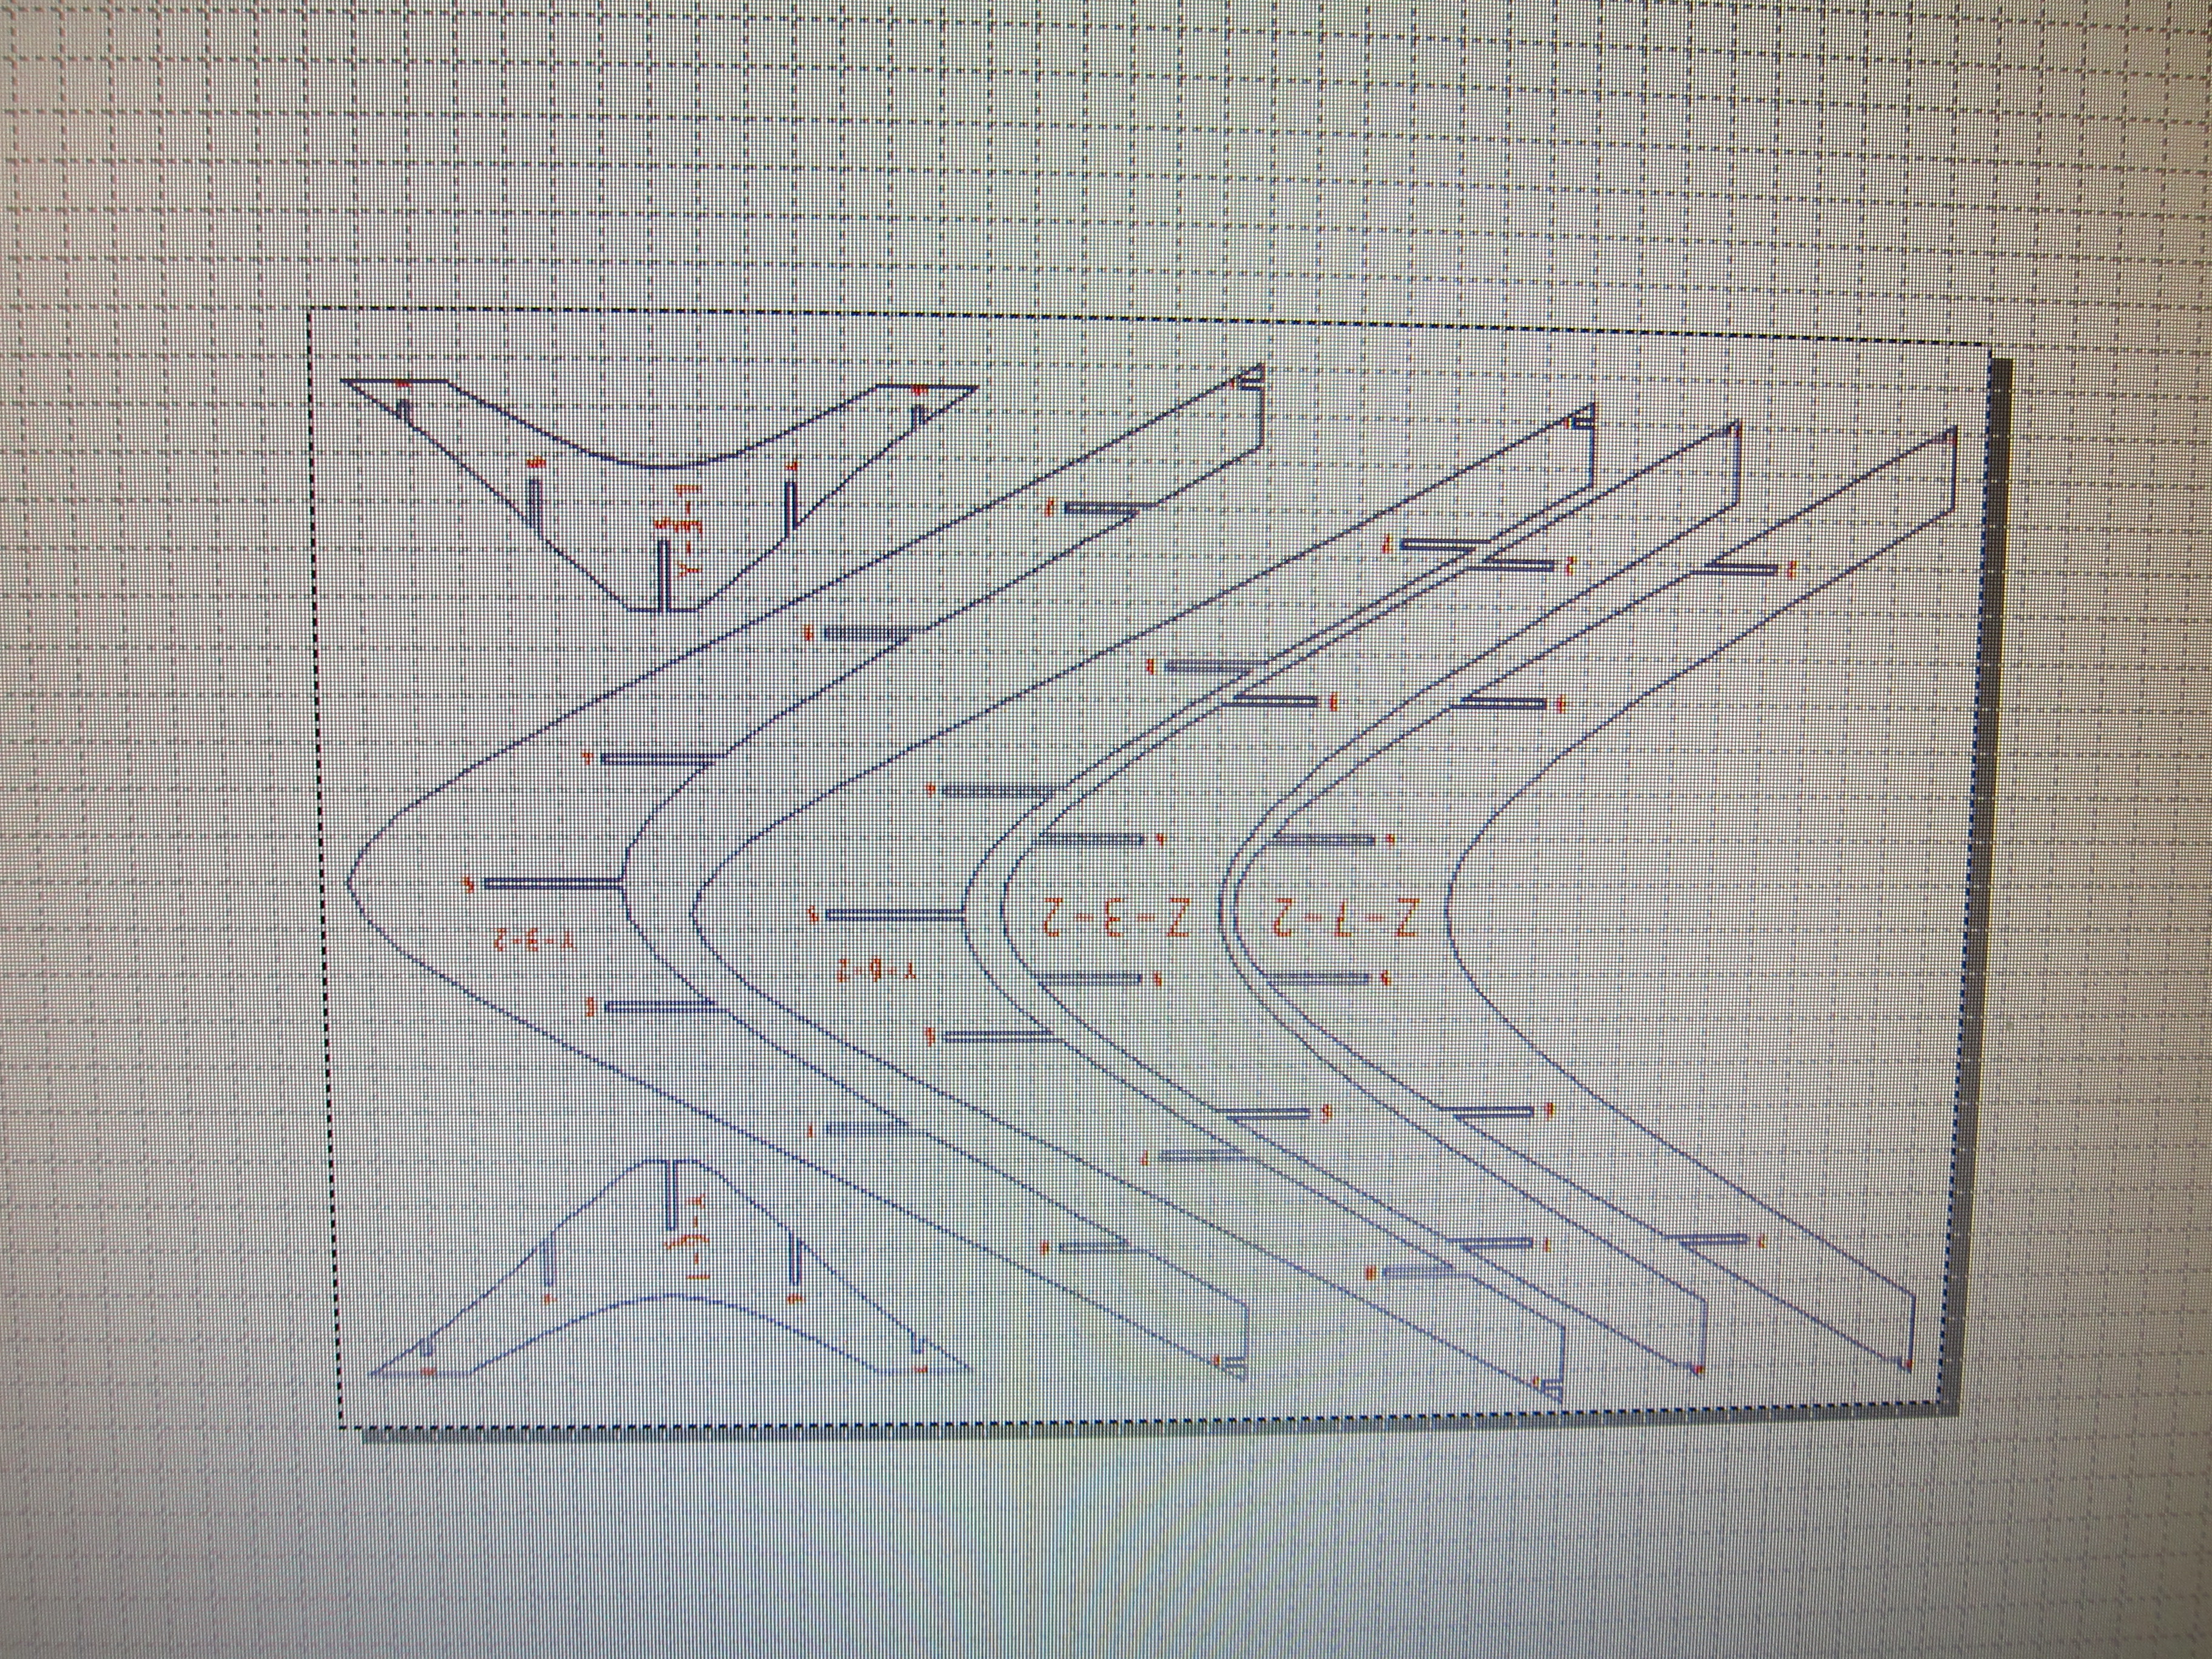
The next thing you'll want to do is open your files in some picture editing software. This is helpful for optimizing the use of your material. The more you can cram your pieces together the less material you'll end up wasting. If you're using a laser cutter use the settings recommended for your specific cutter and material. If you're cutting your parts by hand you'll want to print out on paper and stick it to your material. In the past I've done this using spray adhesive for sticking the printouts to cardboard, although it can be hard to remove afterward. Experiment and find out what works best for you.
Cut Your Pieces
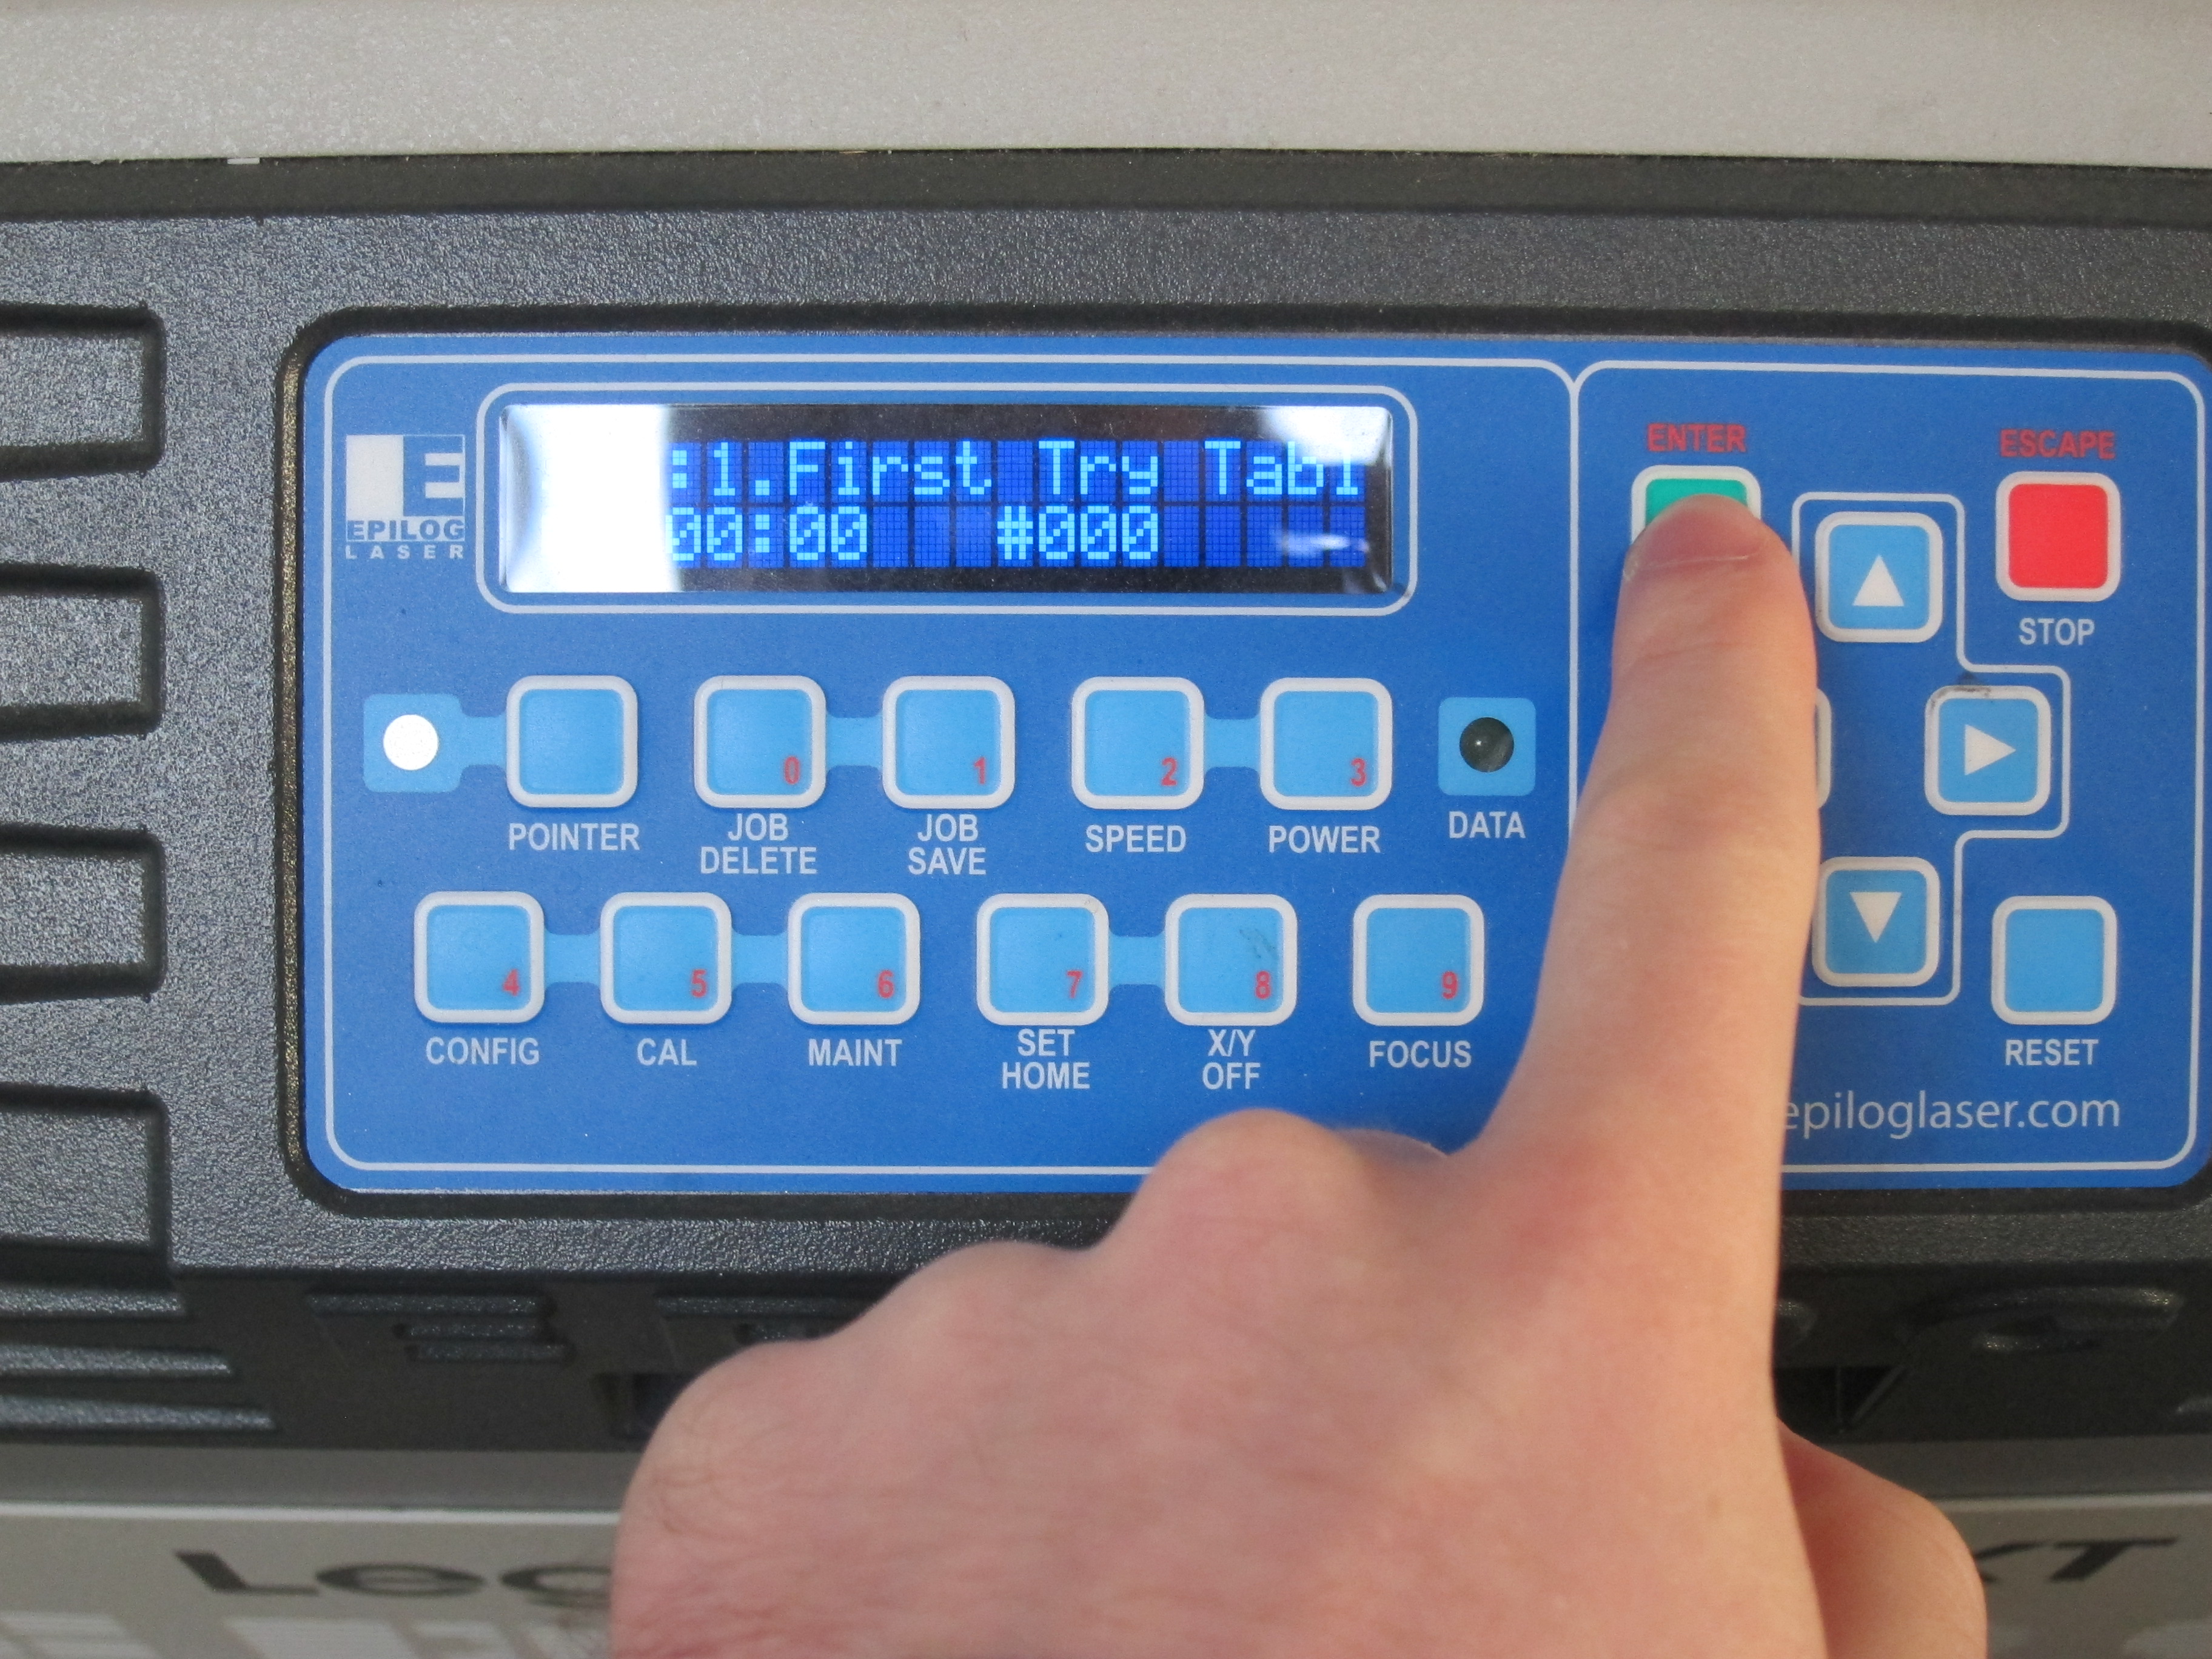
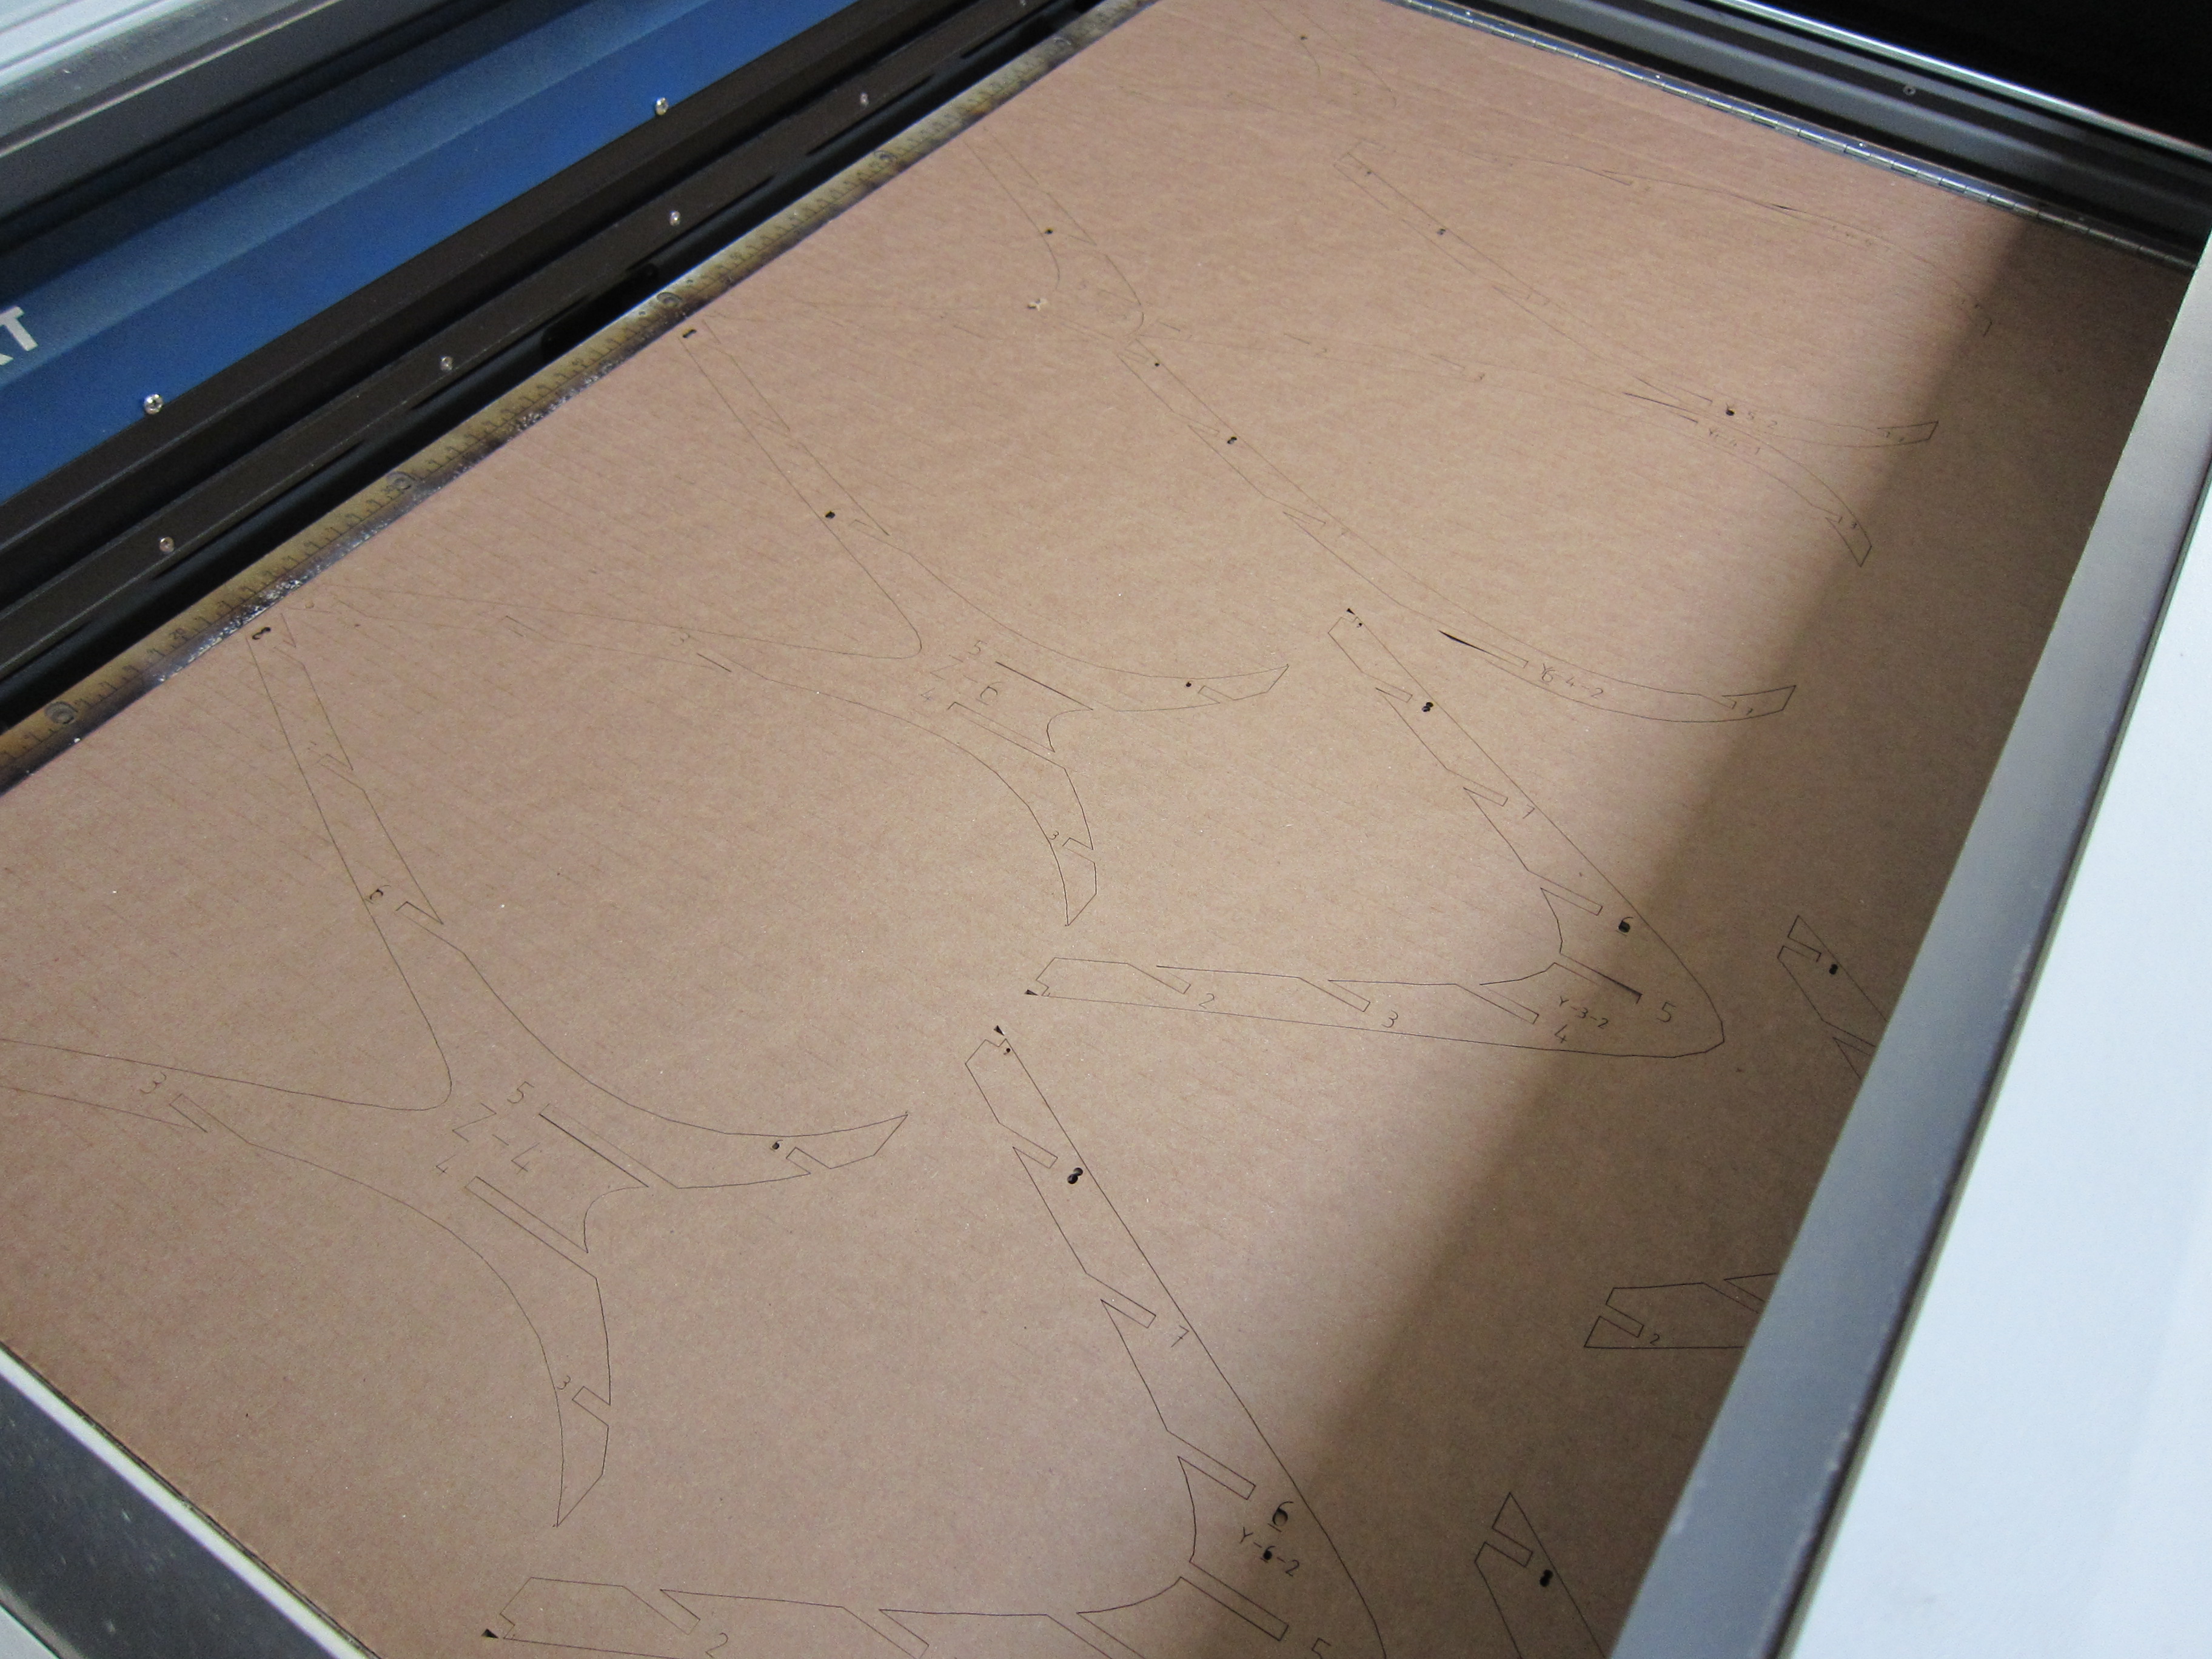
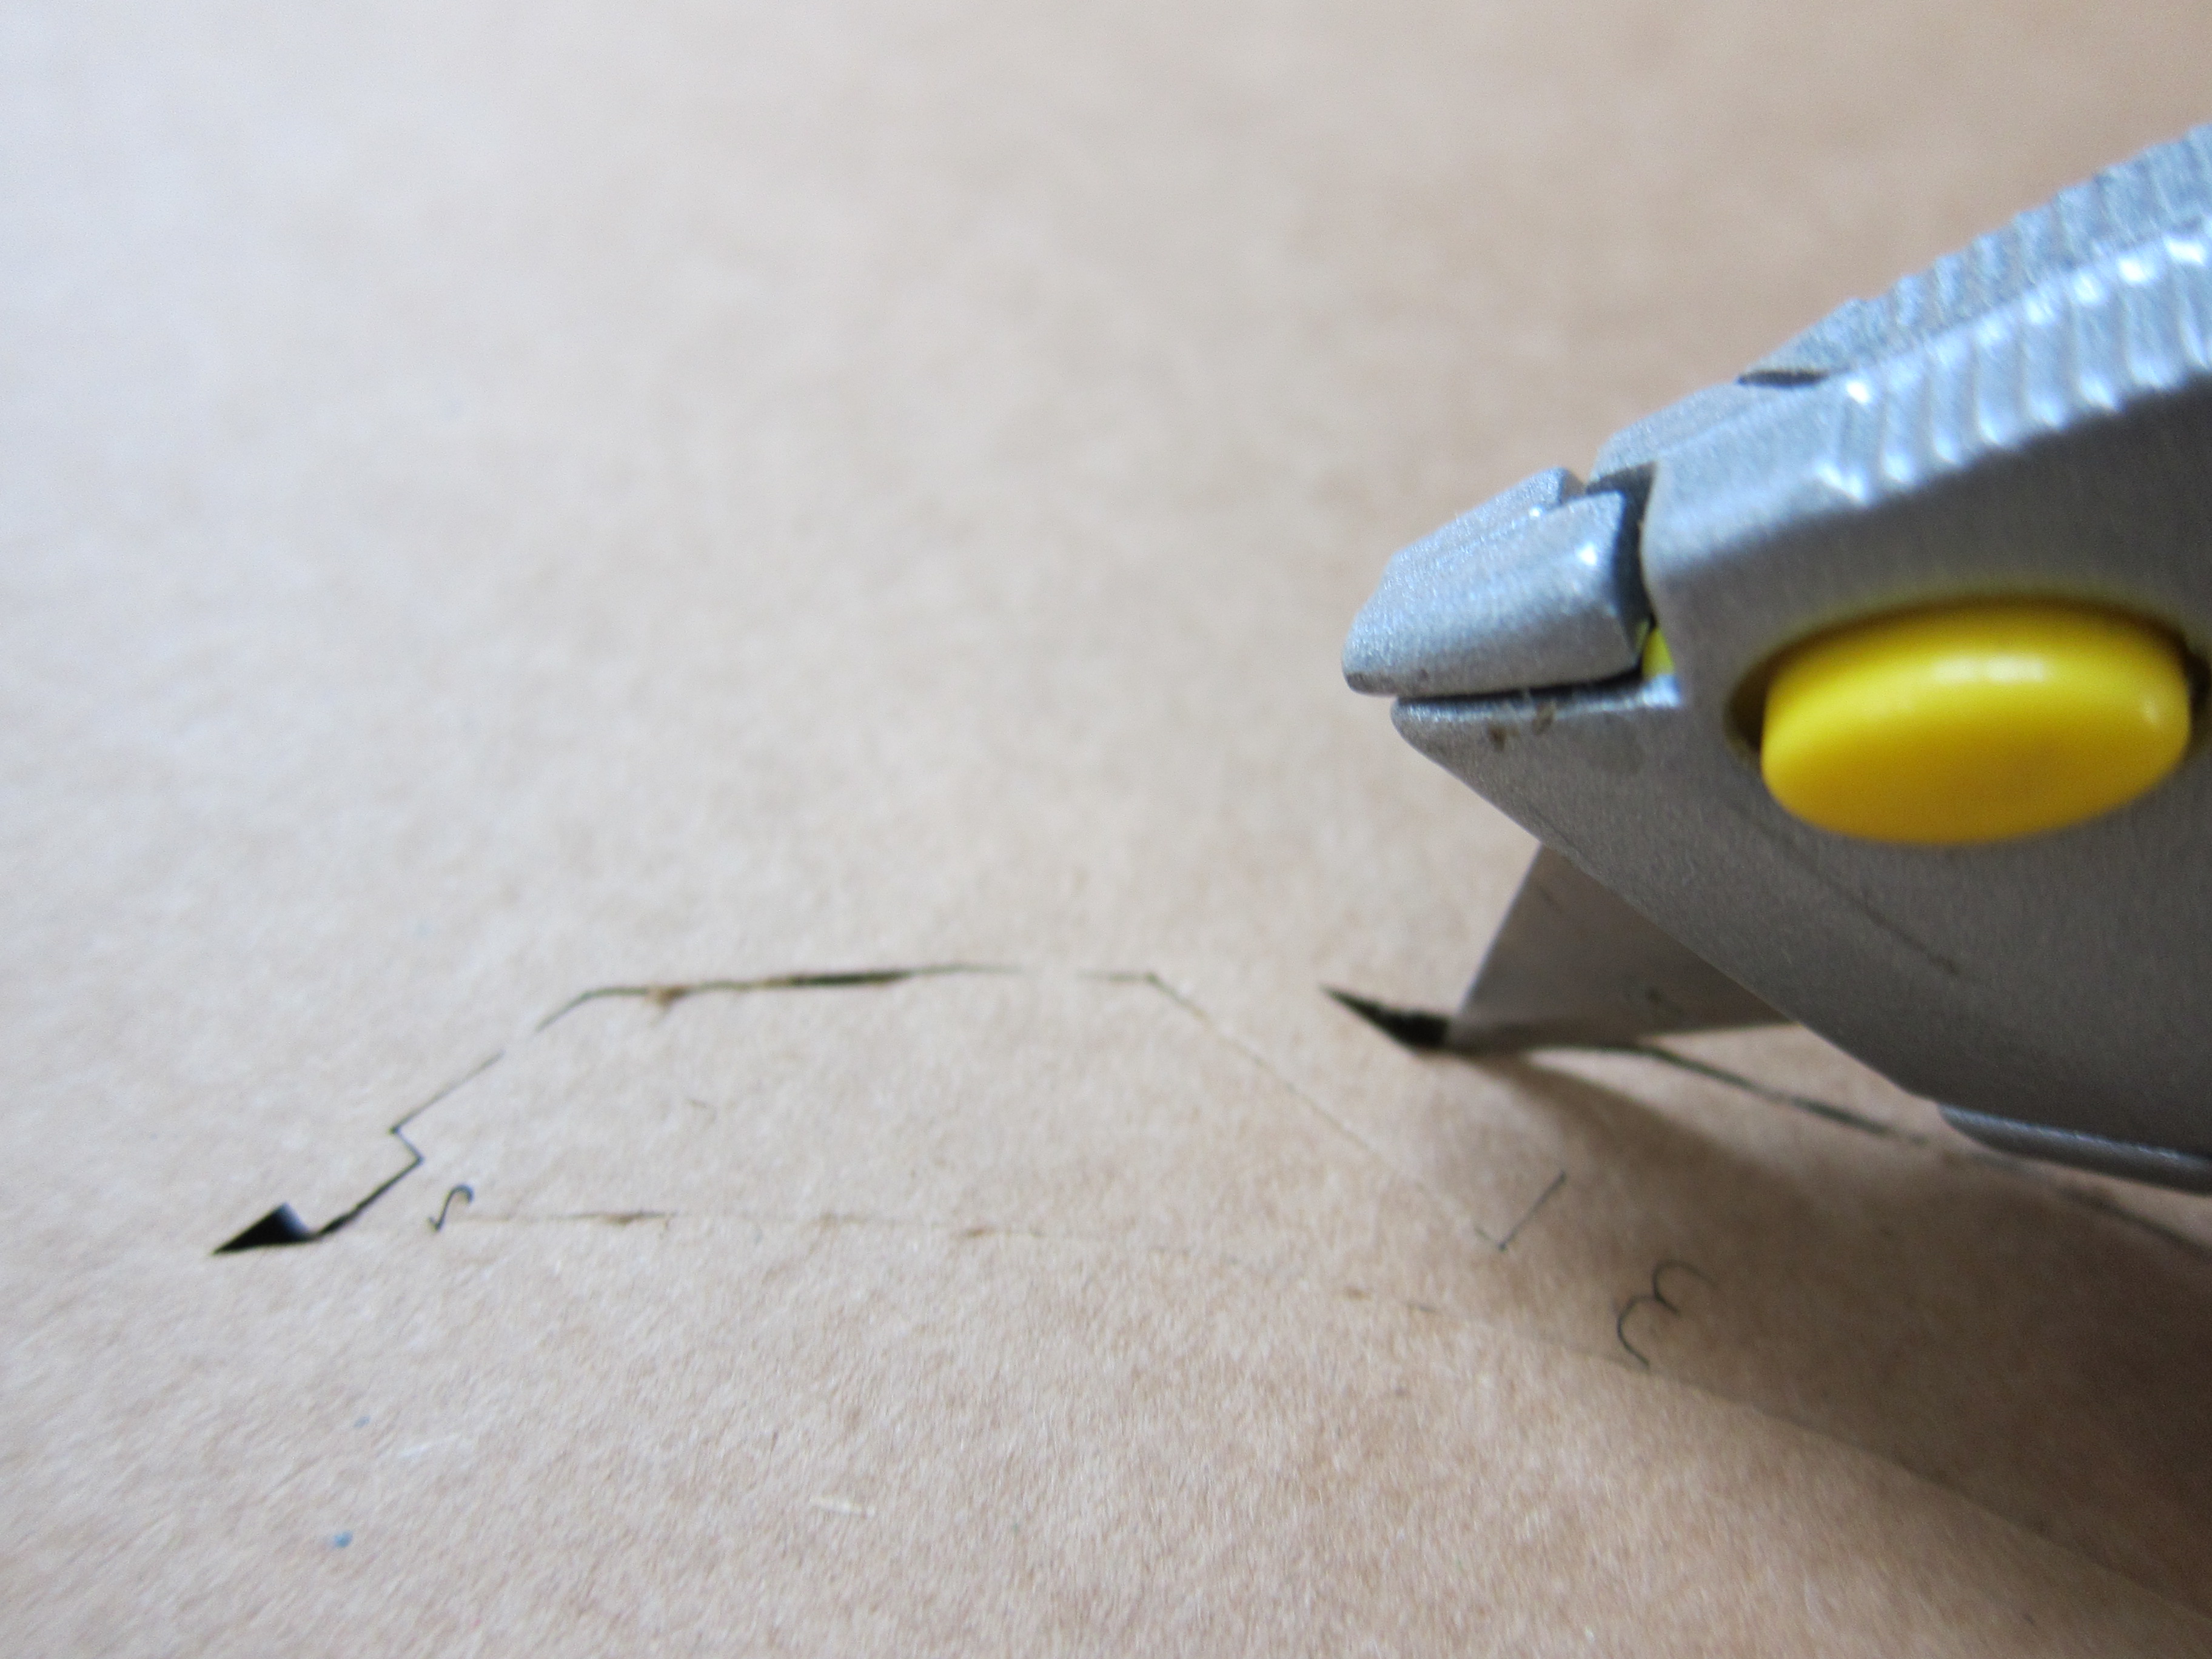
Now for the fun part (especially if you have access to a laser cutter!). I used an Epilog 120W laser for this project, which left me with a huge smile, but a sharp blade will get the job done too.
Unfortunately, on my first try my settings were a bit off, which left me doing a lot of cleanup on the backside of the cardboard to get the parts to come out. Test out your settings first and you'll avoid that headache.
Unfortunately, on my first try my settings were a bit off, which left me doing a lot of cleanup on the backside of the cardboard to get the parts to come out. Test out your settings first and you'll avoid that headache.
Put It Together!
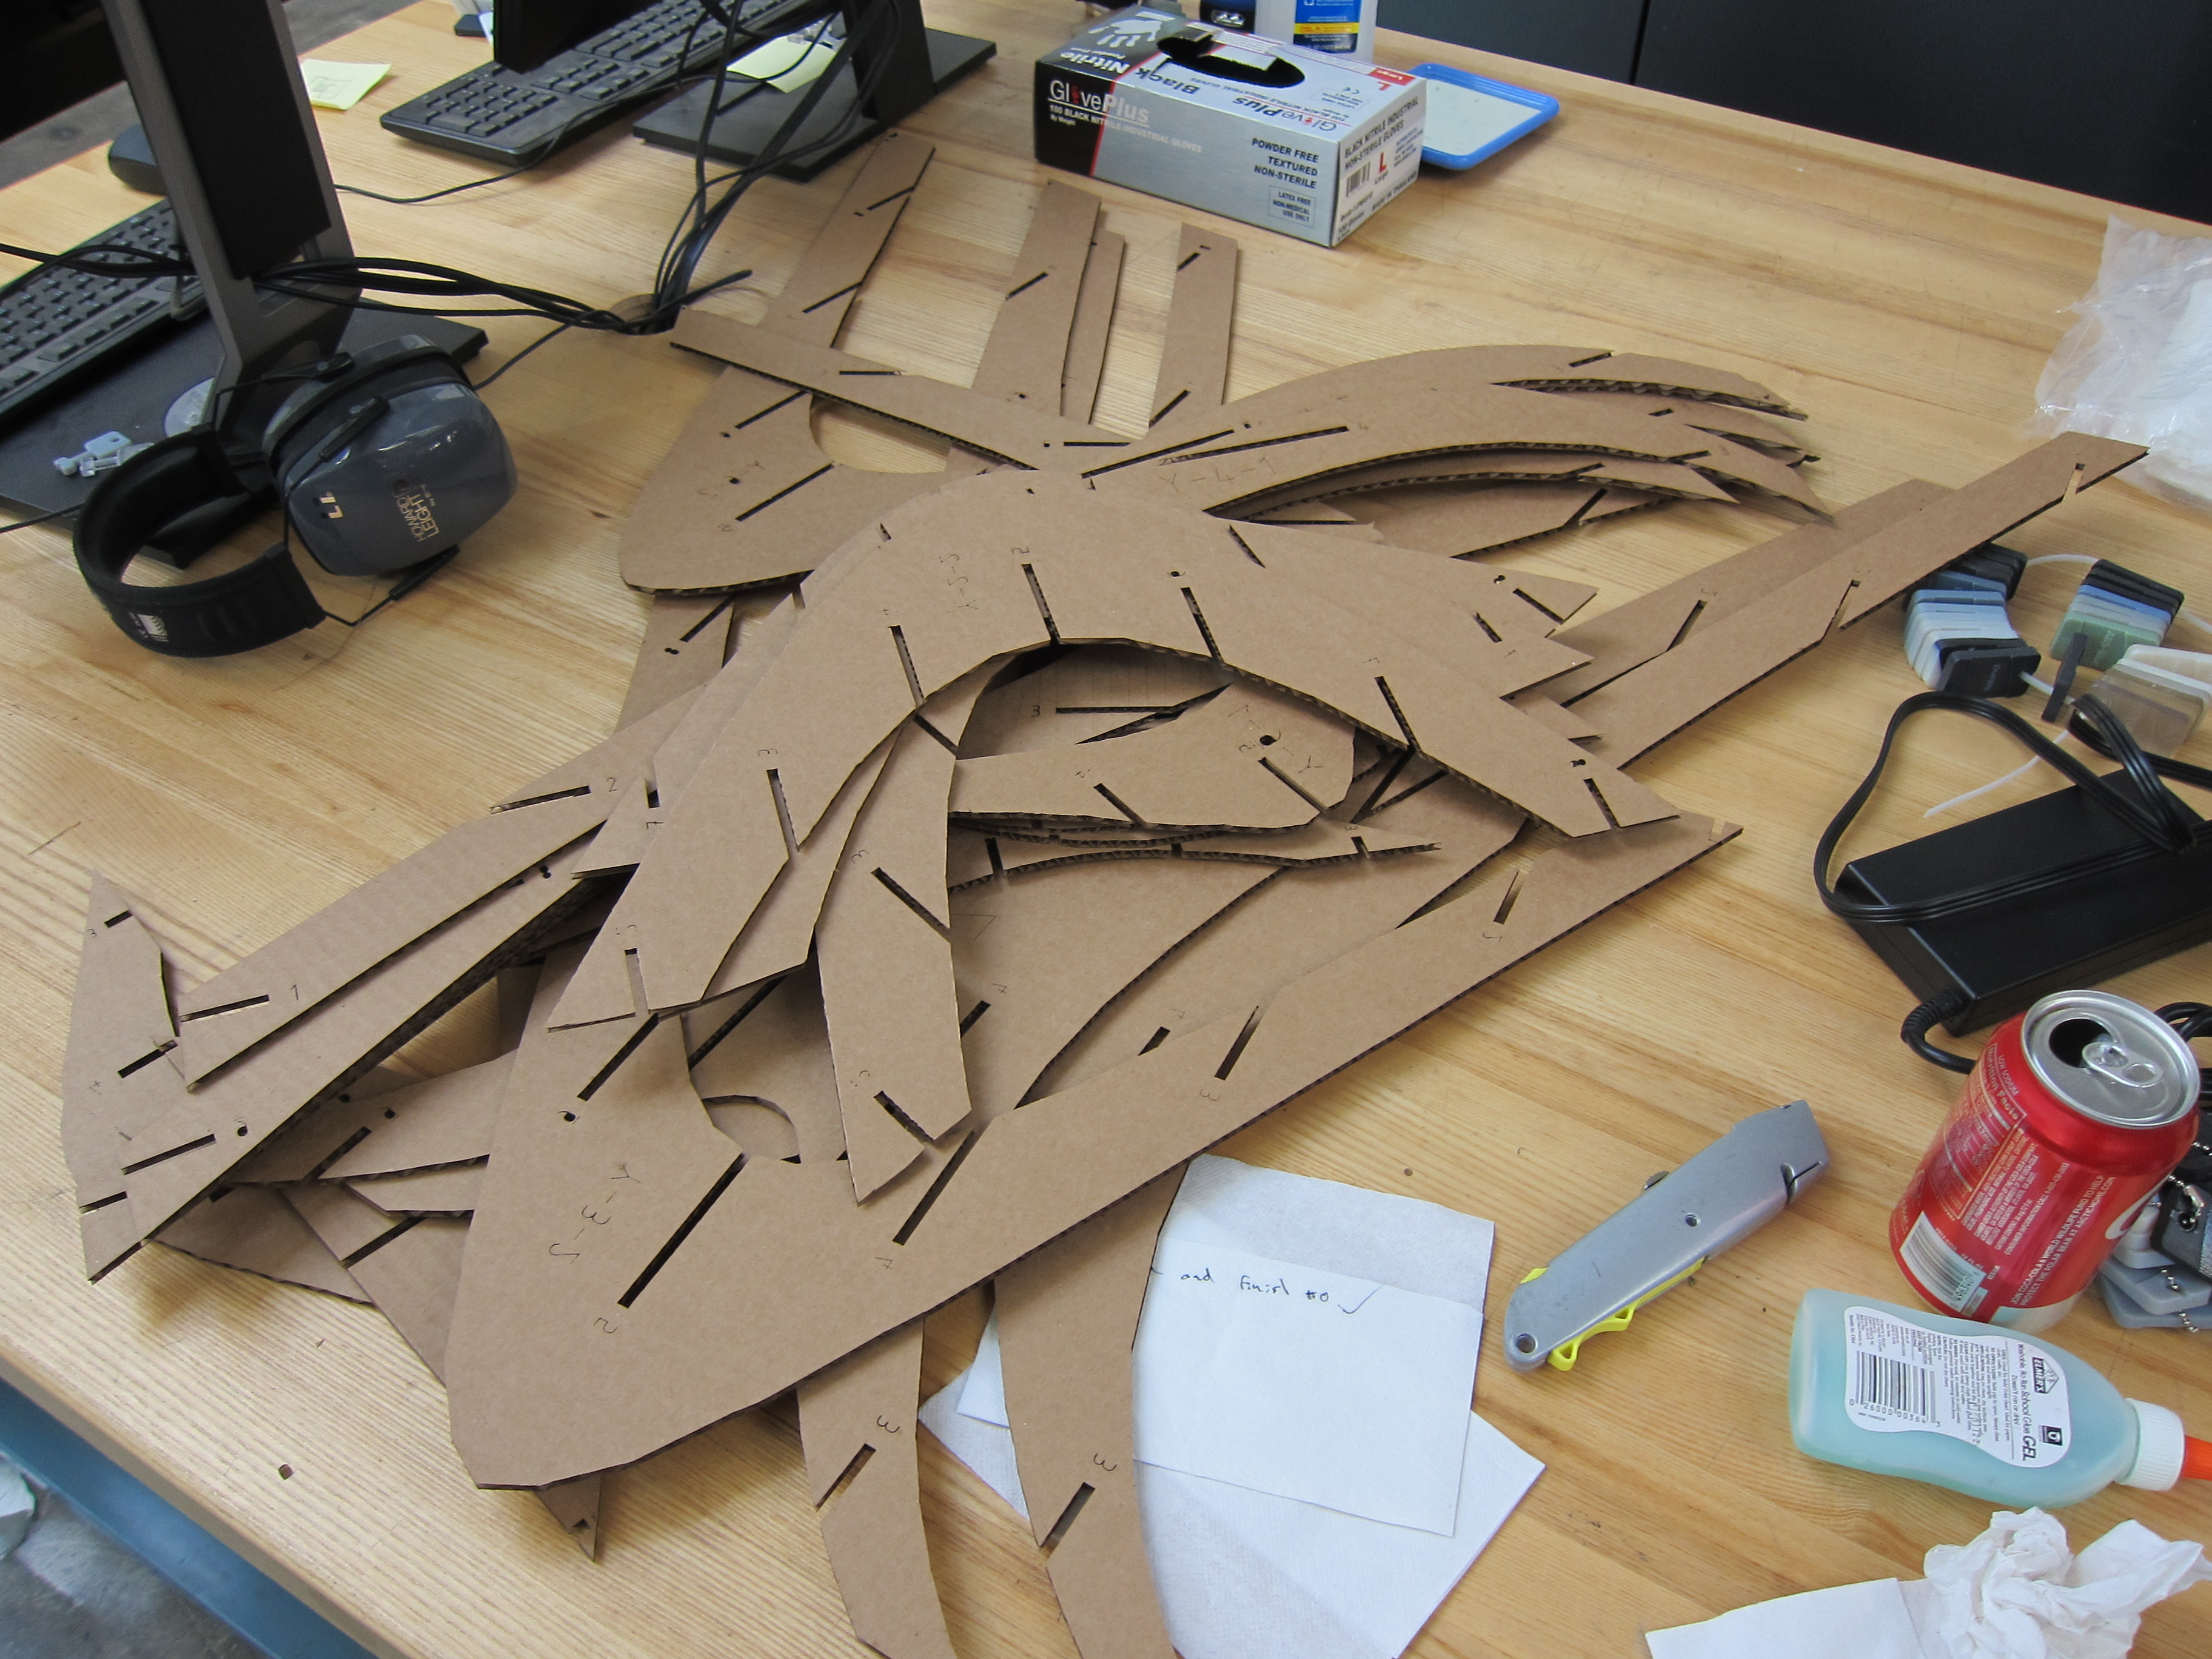
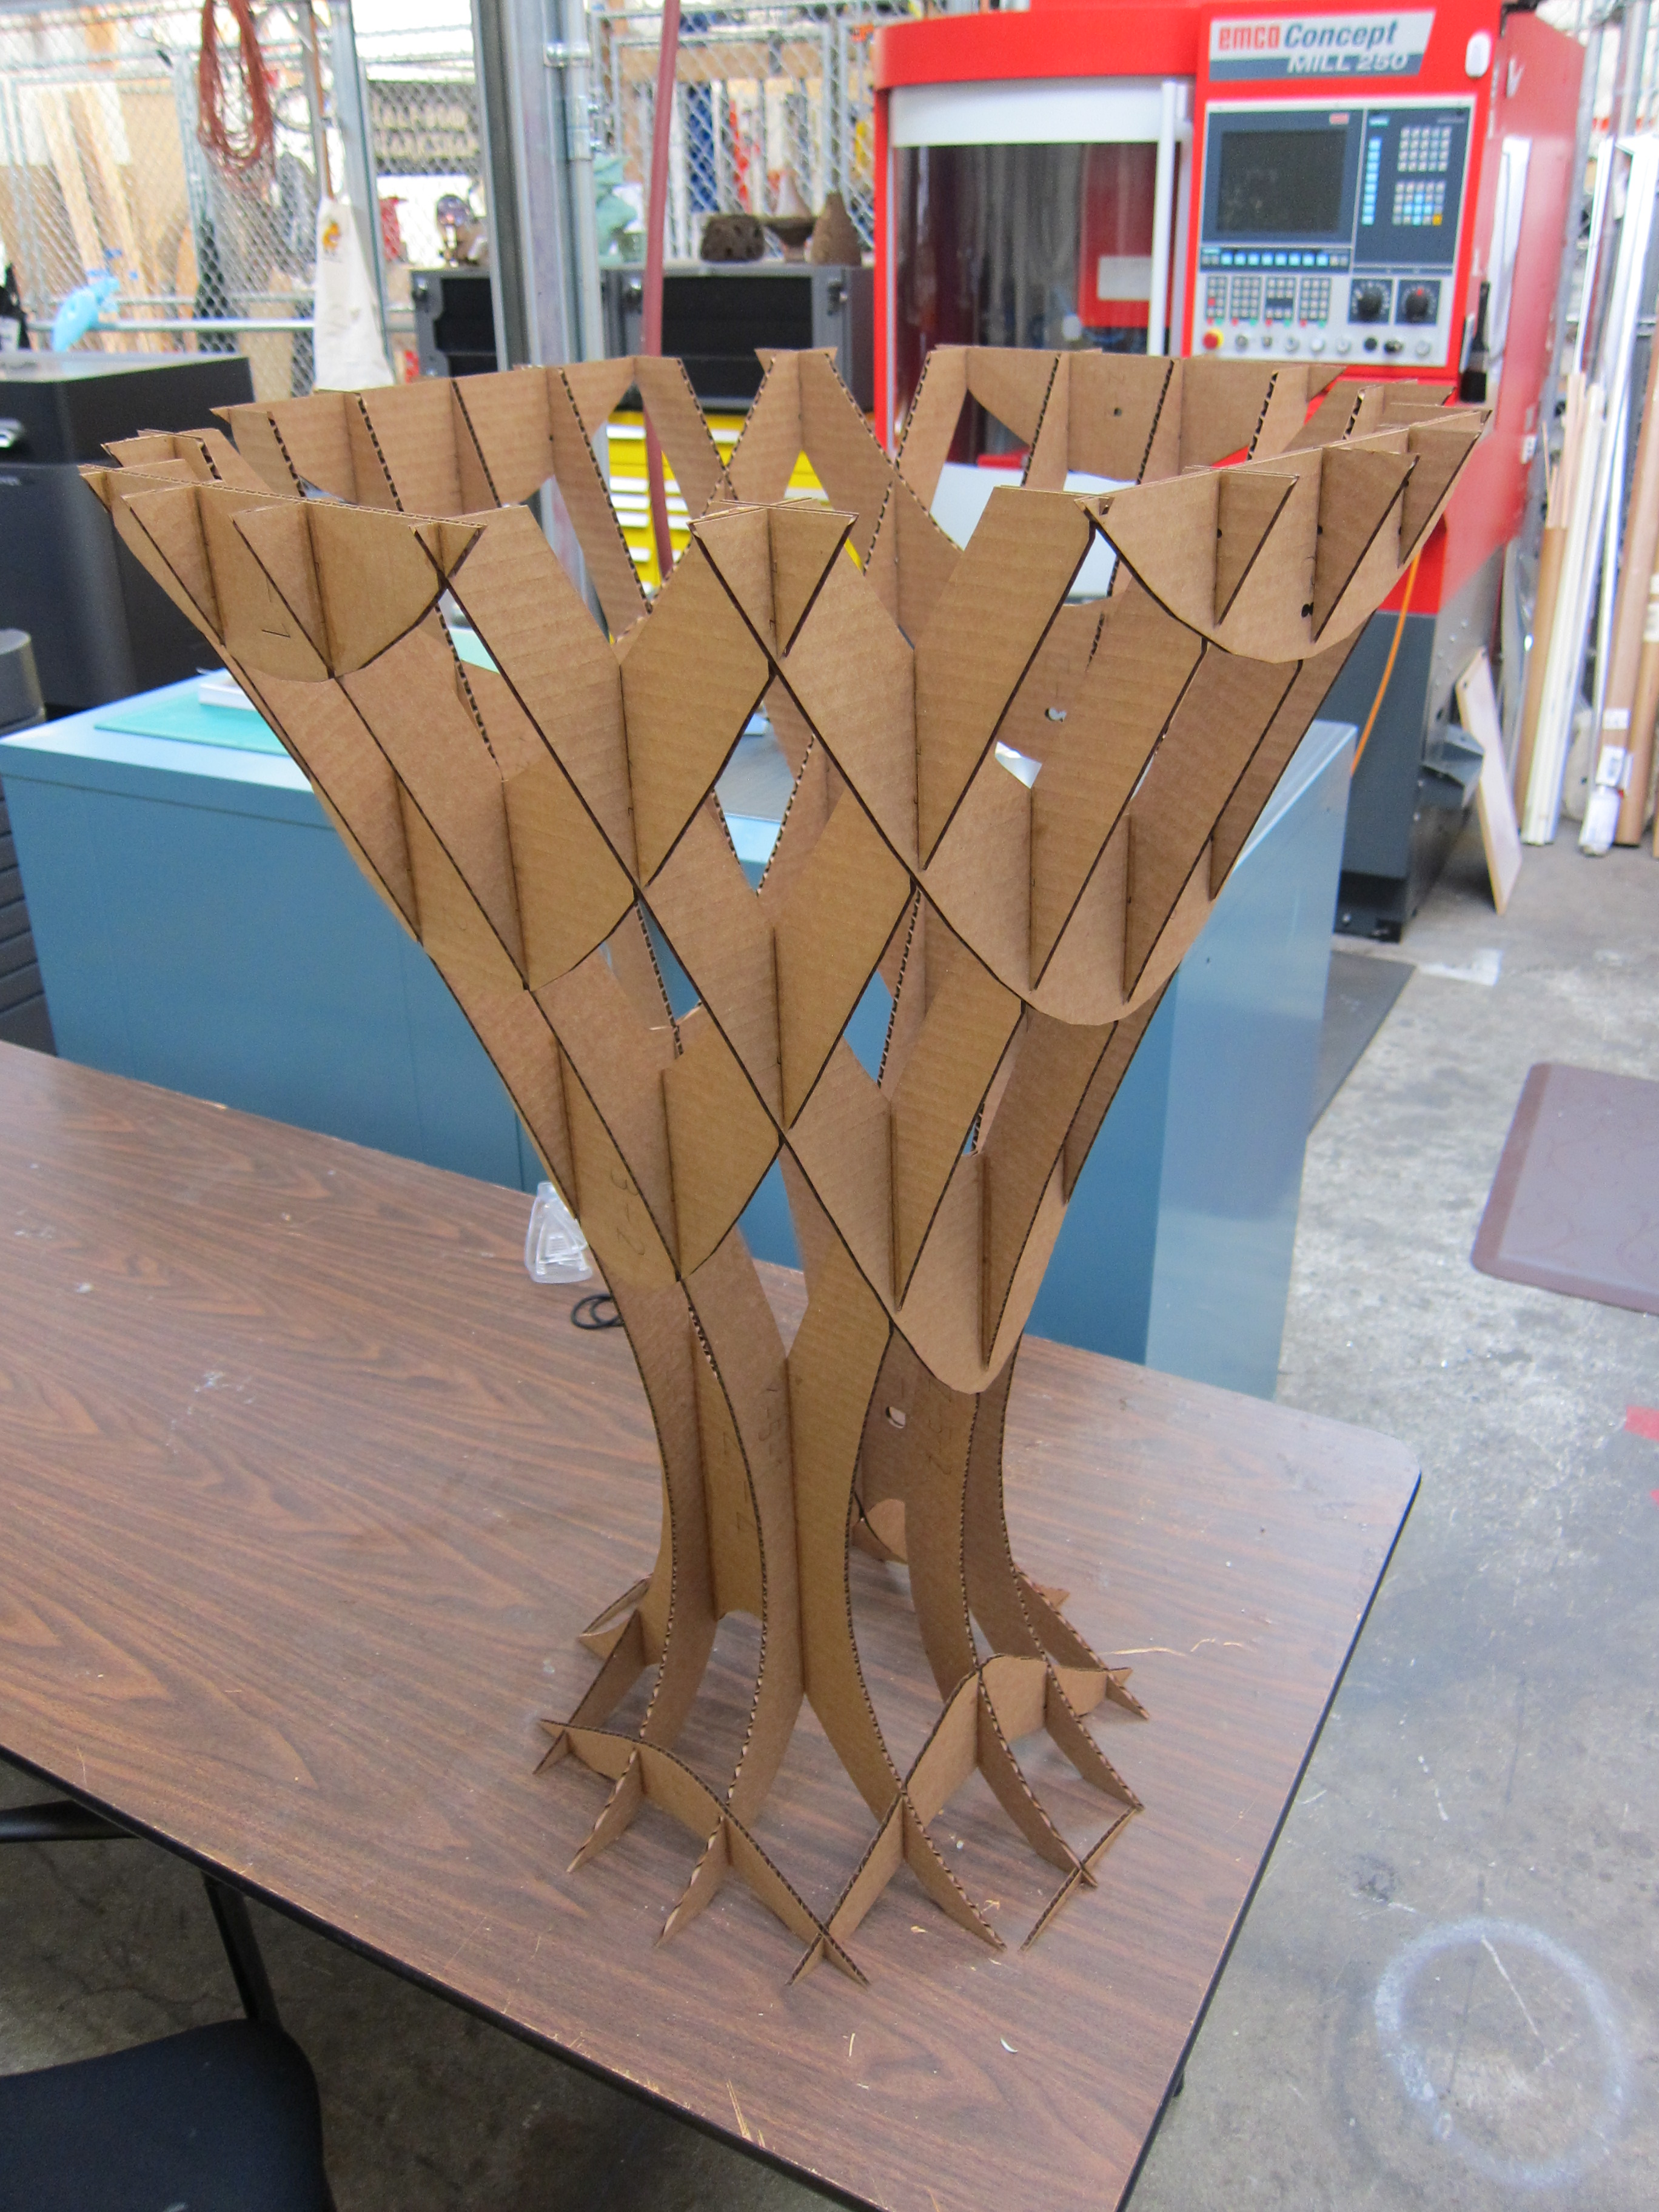
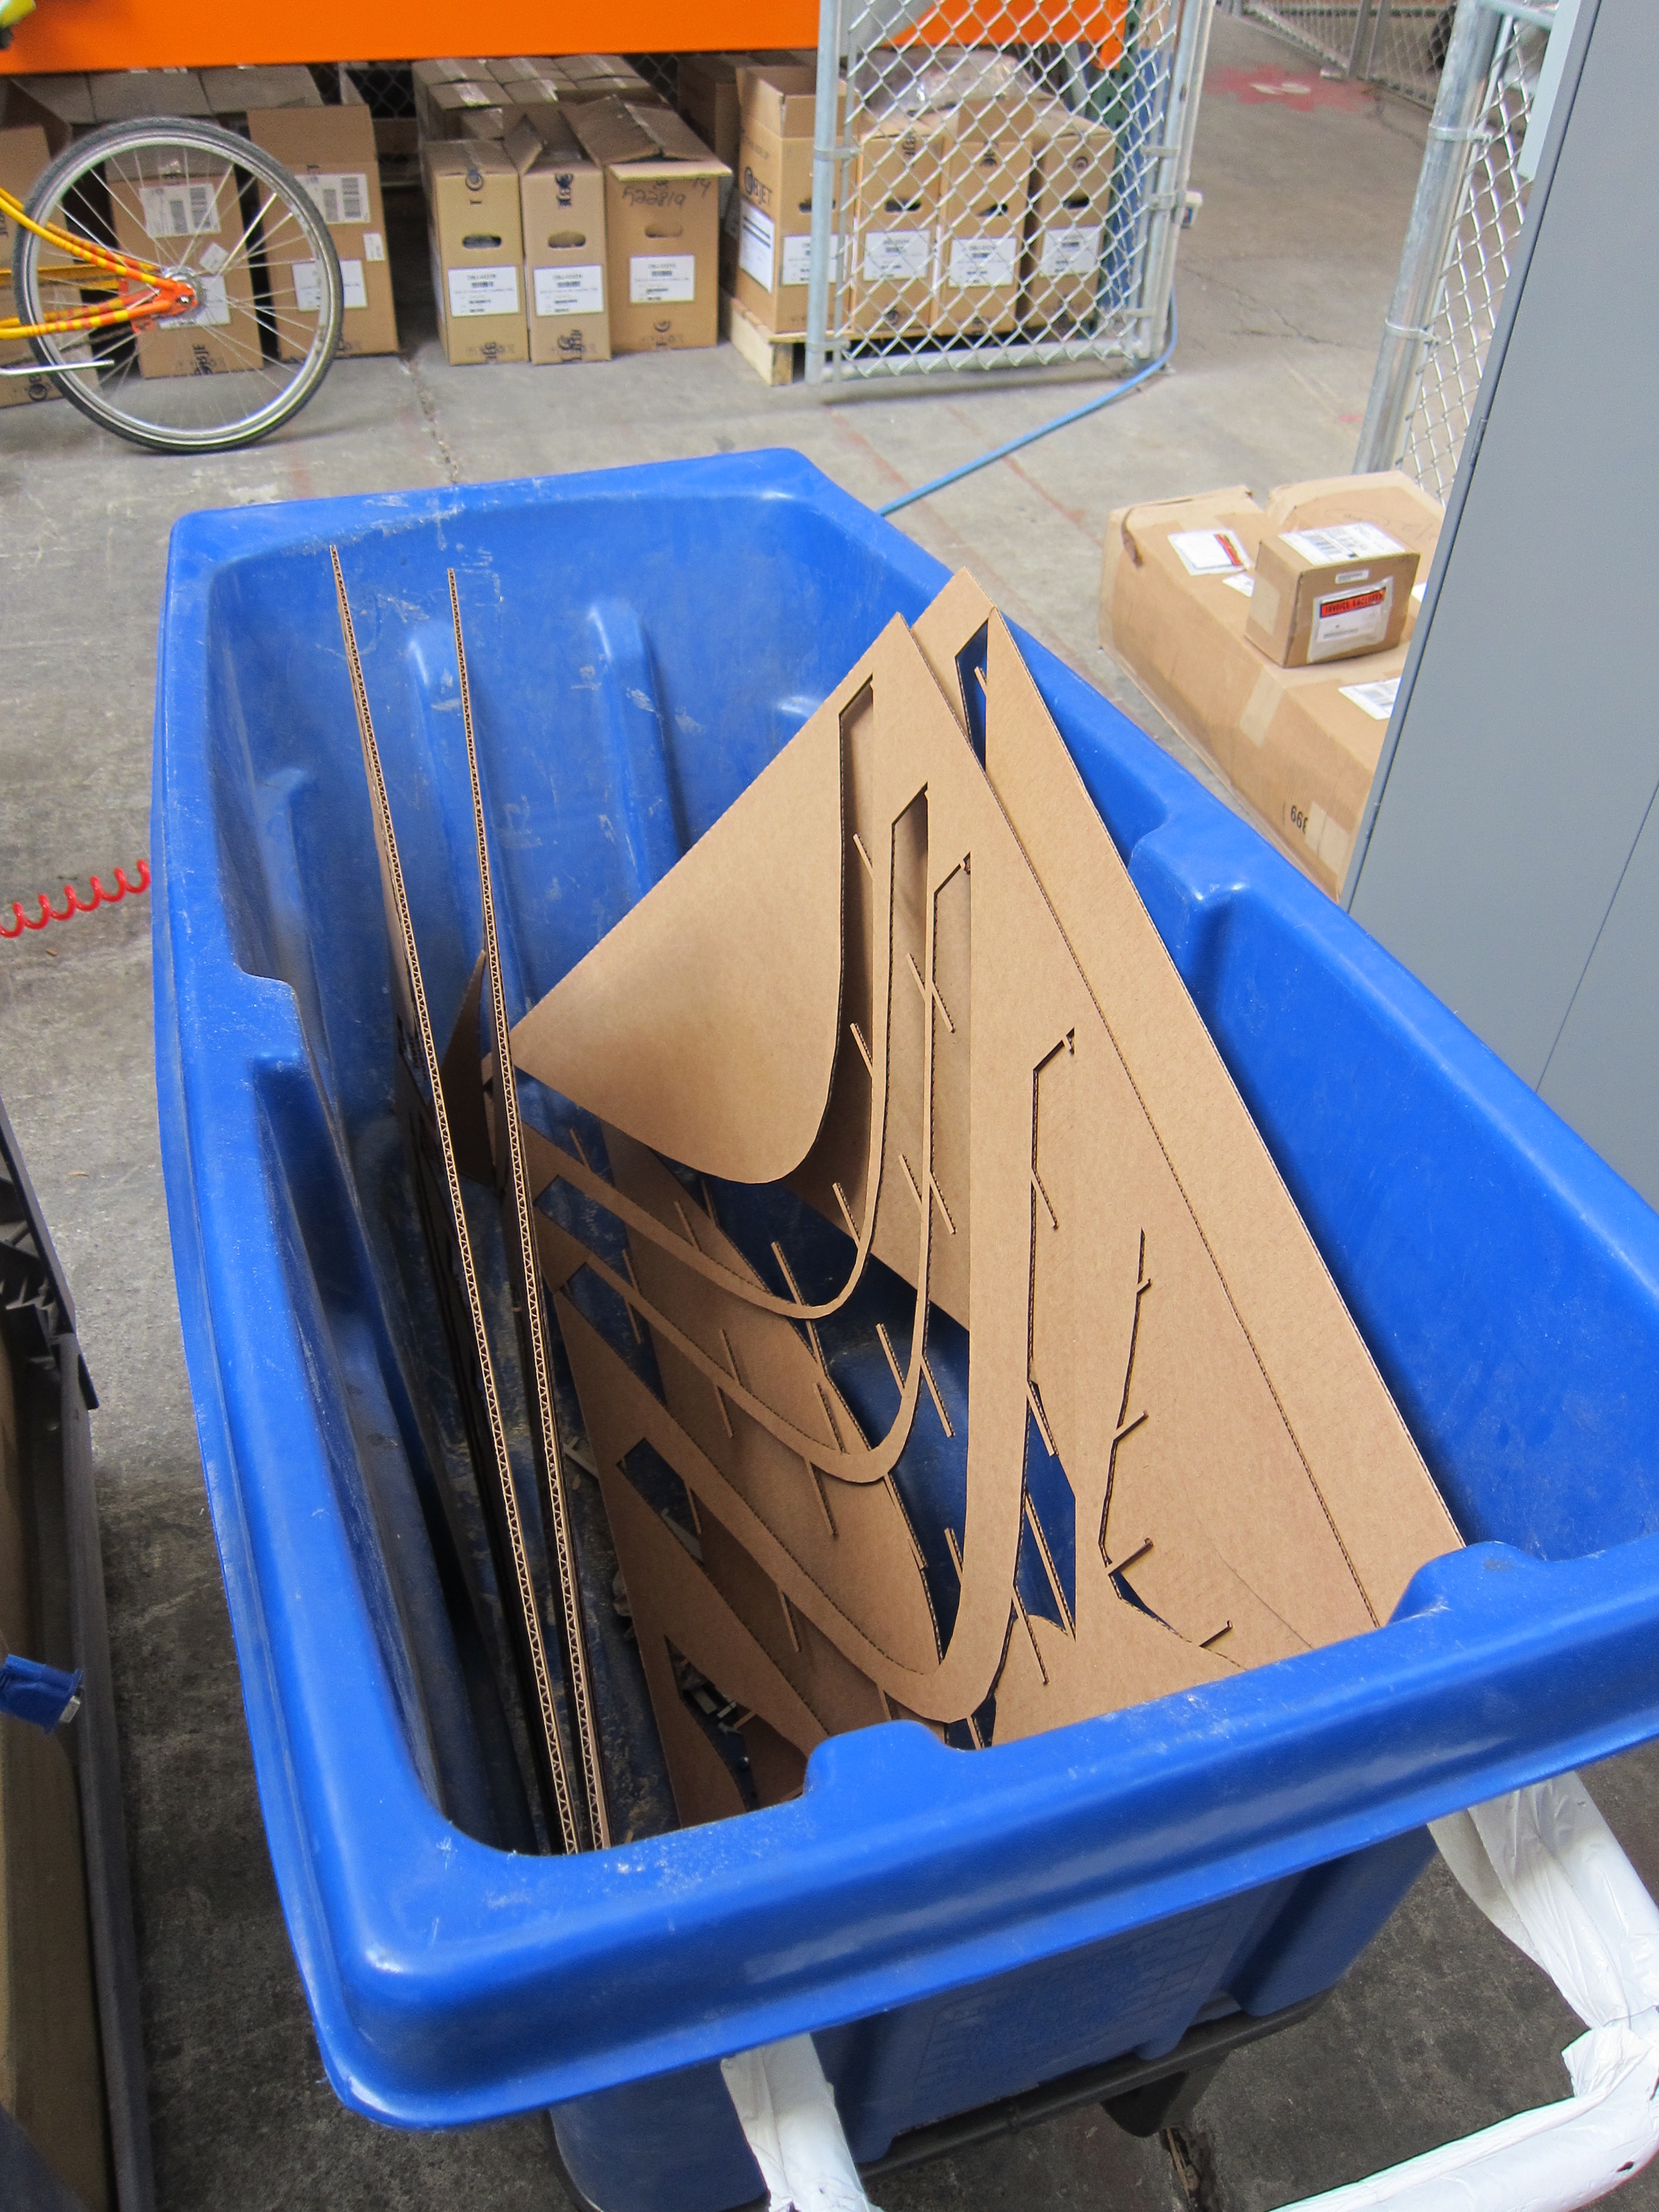
Now that you have all of your pieces it's time to assemble. I found it was best to get a good stable core and then add to that. It also helps to glue the joints as you go, taking occasional breaks to let the glue dry. If you're using vertical slices I recommend orienting your table so that the pieces you're adding "fall" into place, which helps keep them in the right place while the glue dries. Again, trial and error with the small scale models will save you a ton of time and frustration when you scale up.