Design and 3D Print a Phone Case
by Autodesk Gallery Workshop in Workshop > 3D Printing
16188 Views, 79 Favorites, 0 Comments
Design and 3D Print a Phone Case
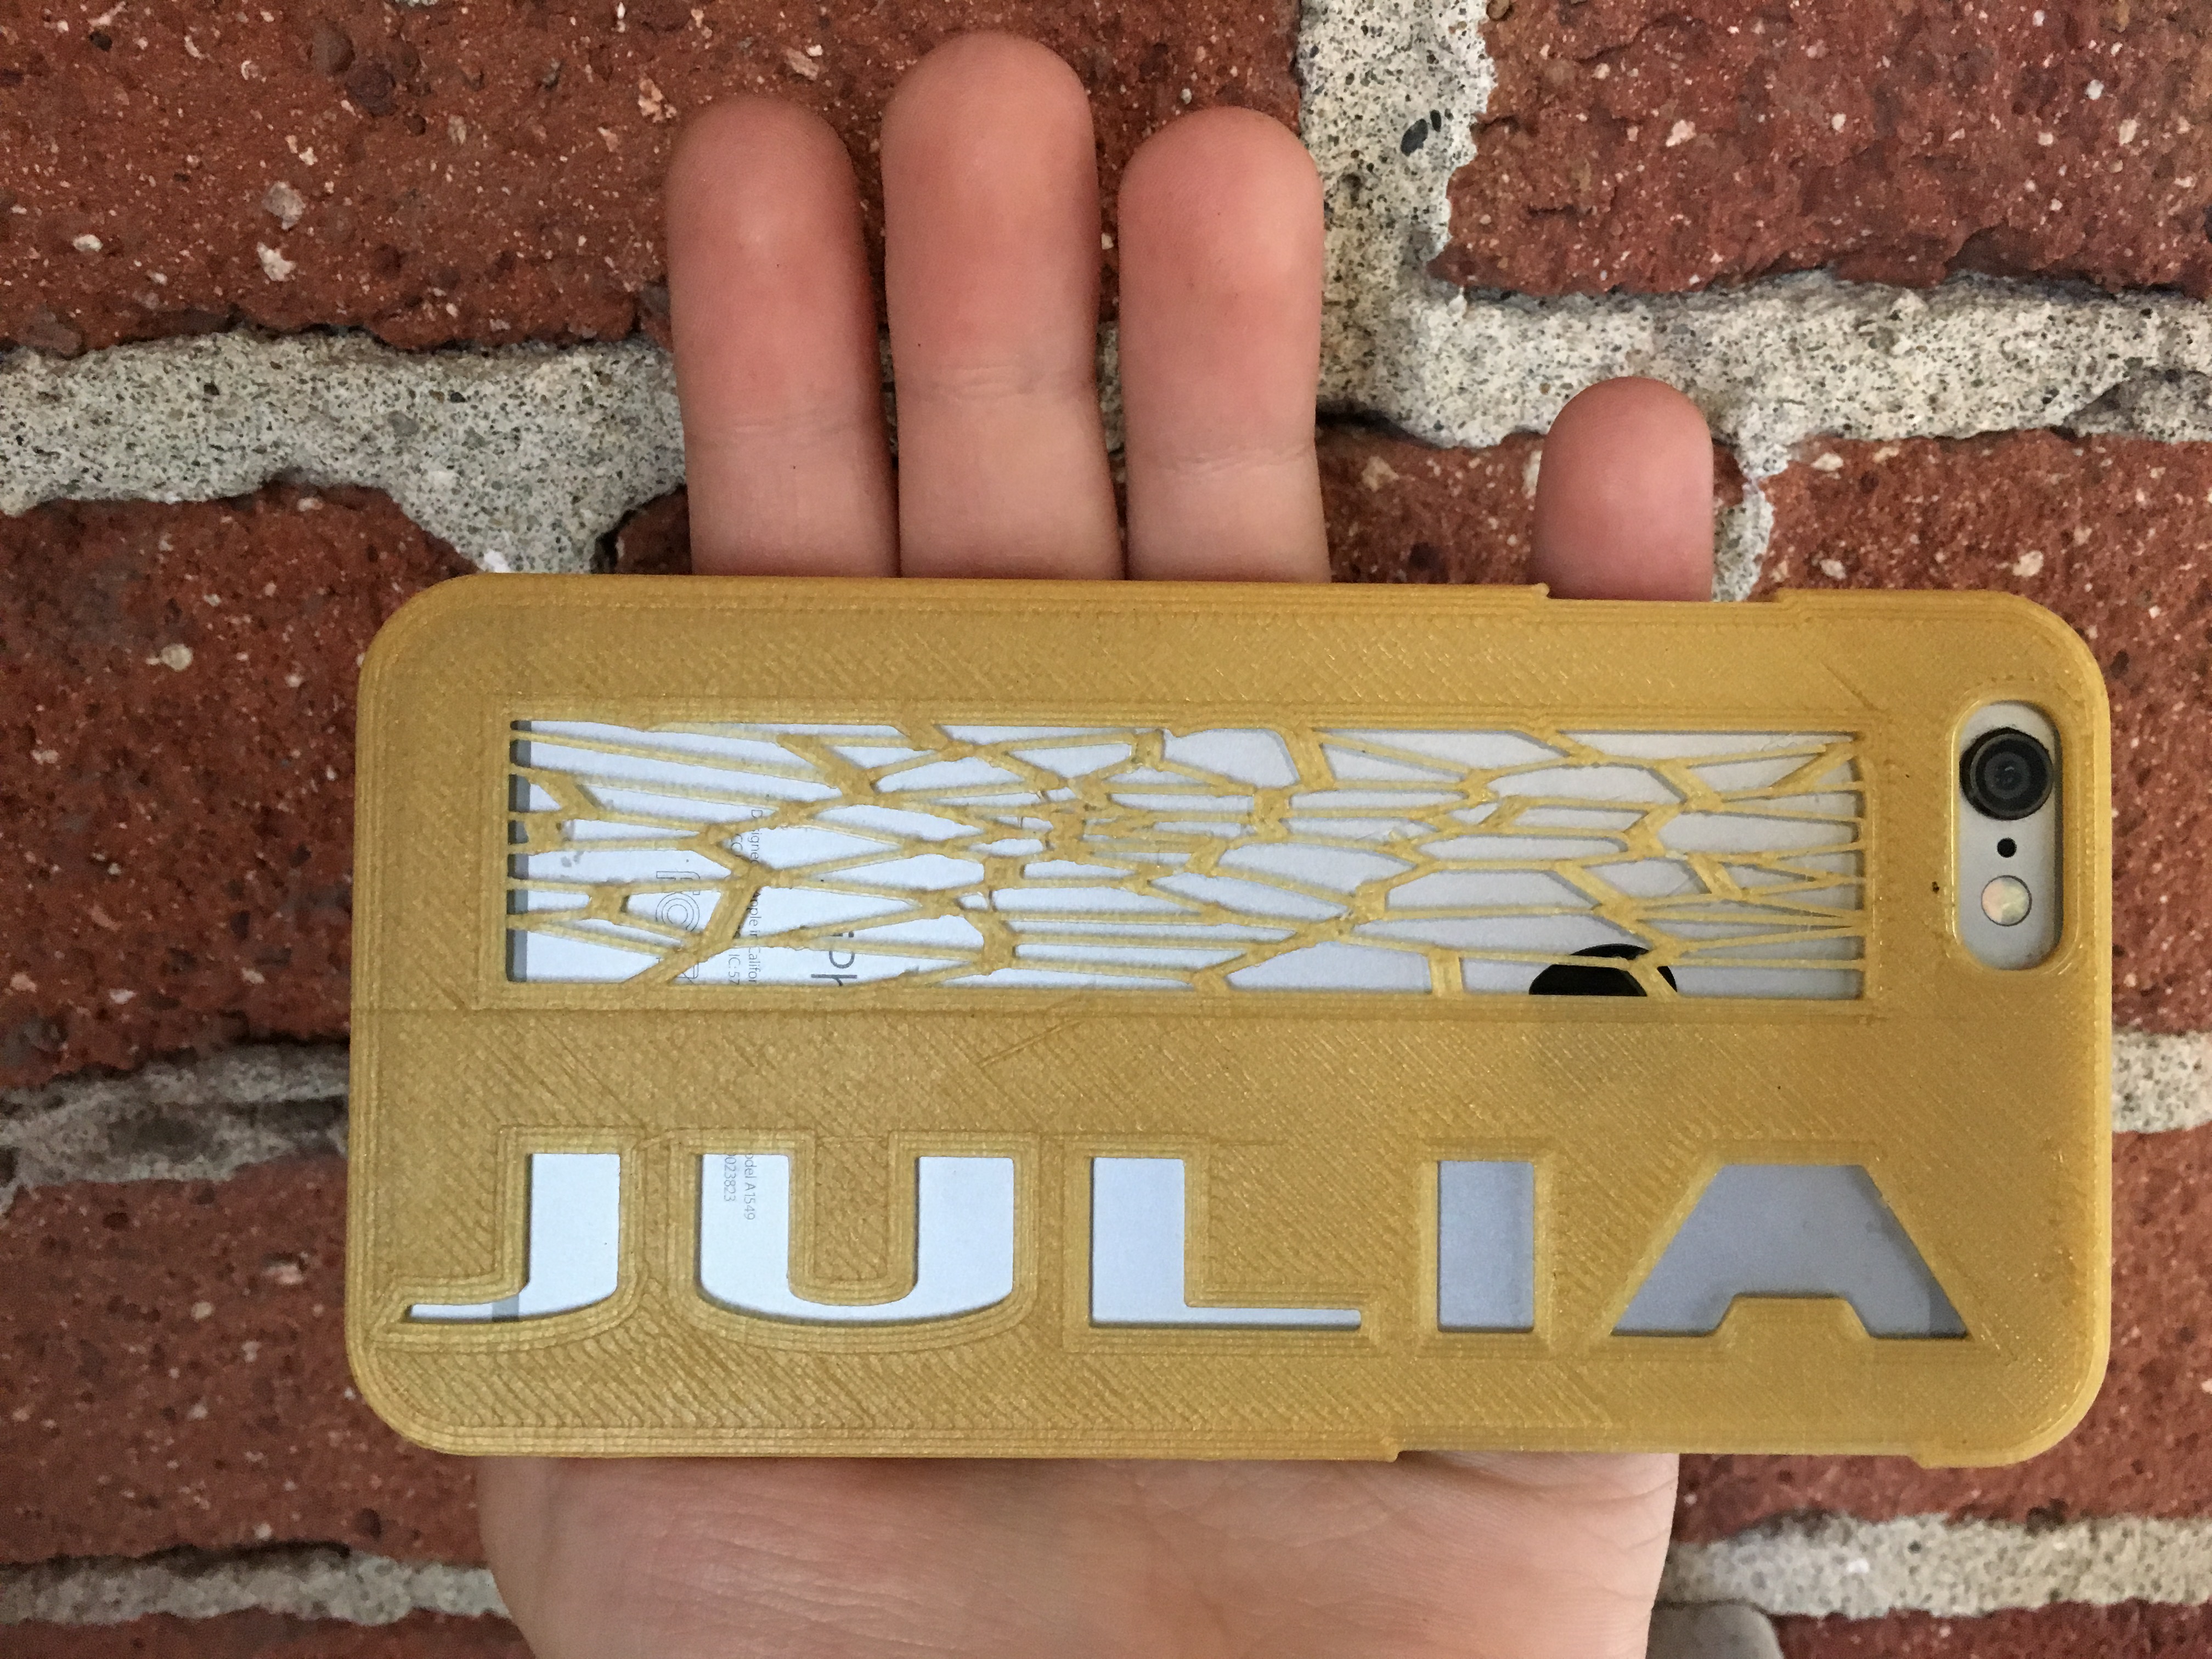
These step-by-step instructions will guide you through the basics of creating a custom phone case using Tinkercad and preparing it for 3D printing. Attached is the file for an iPhone 6 case.
Tinkercad is a free web based CAD program: www.tinkercad.com
Downloads
Import or Find Template File

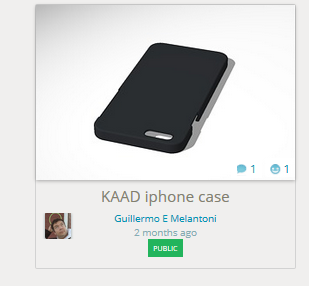
The introduction has the iPhone 6 case template file attached. It can also be found on Tinkercad.
Importing:
1. Select import in the top right corner
2. Open iPhone6Case.STL file
Finding in Tinkercad:
1. Go to the your Tinkercad home page
2. Search kaad in the search bar located in the top right corner
3. Select the kaad design and select tinker this
Customize
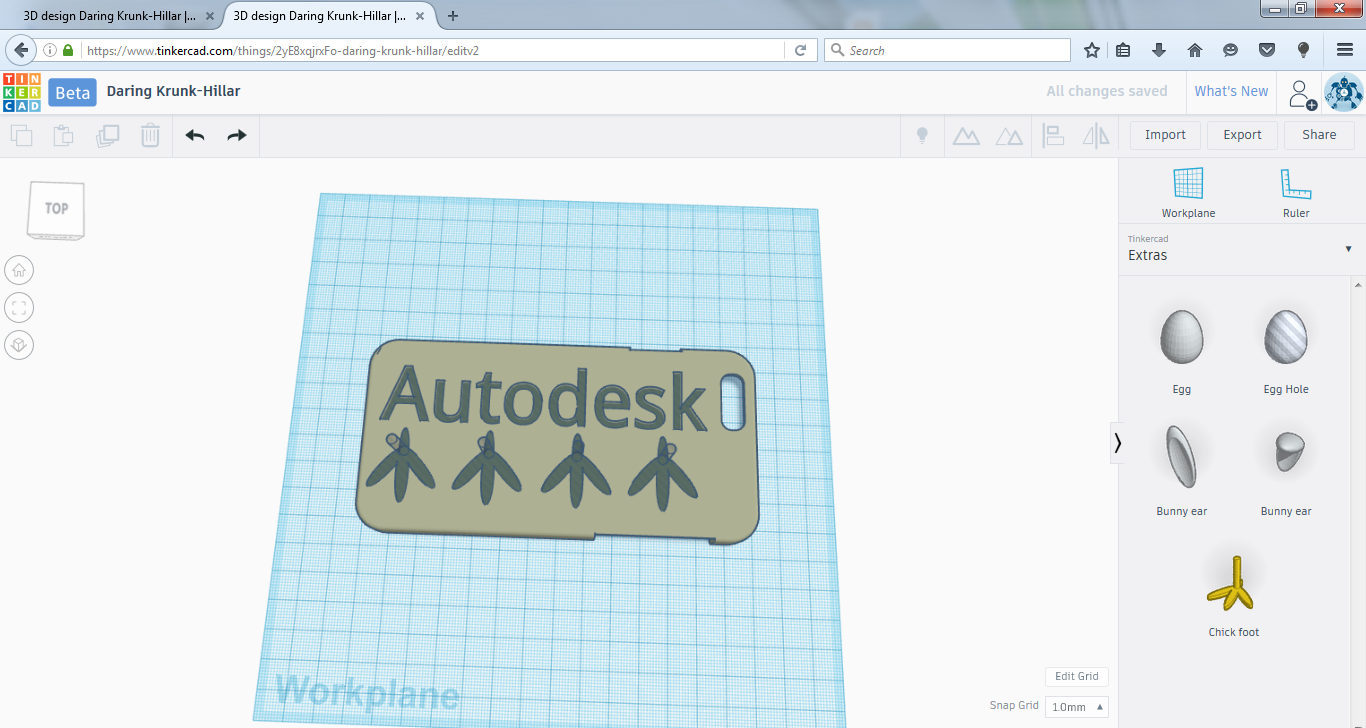
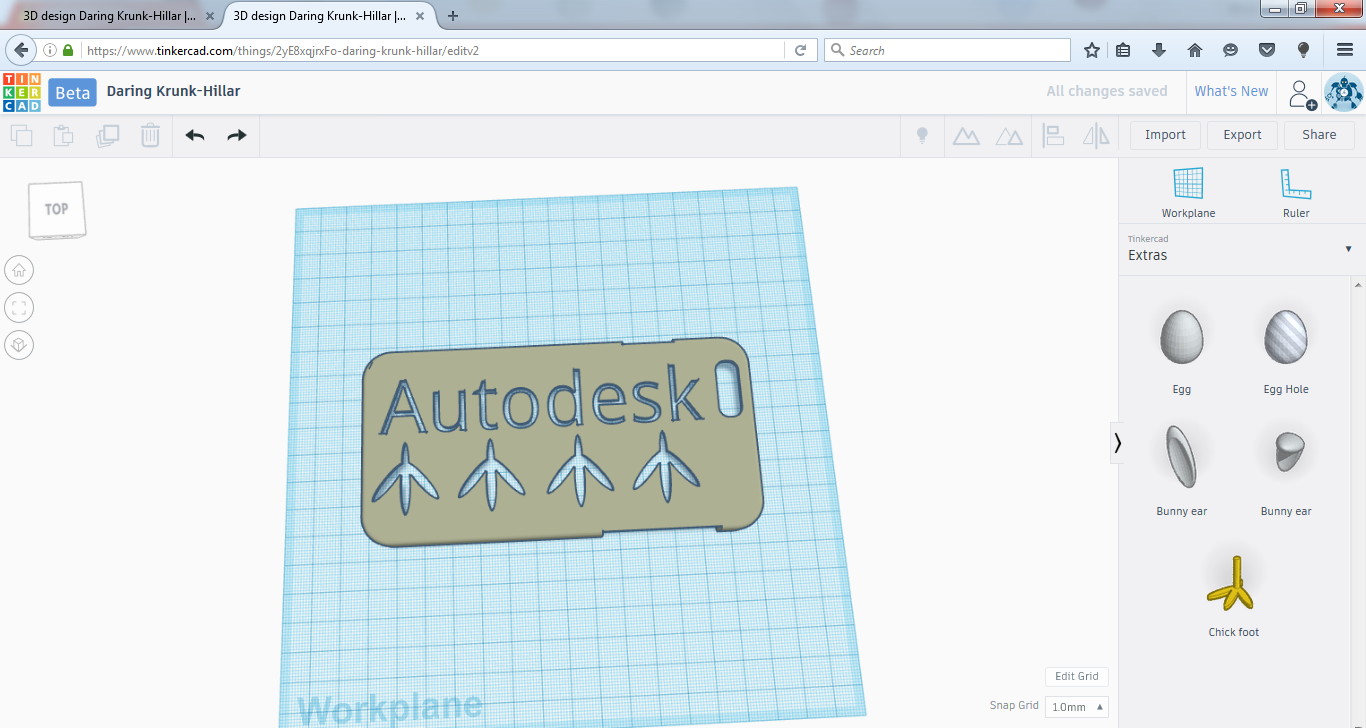
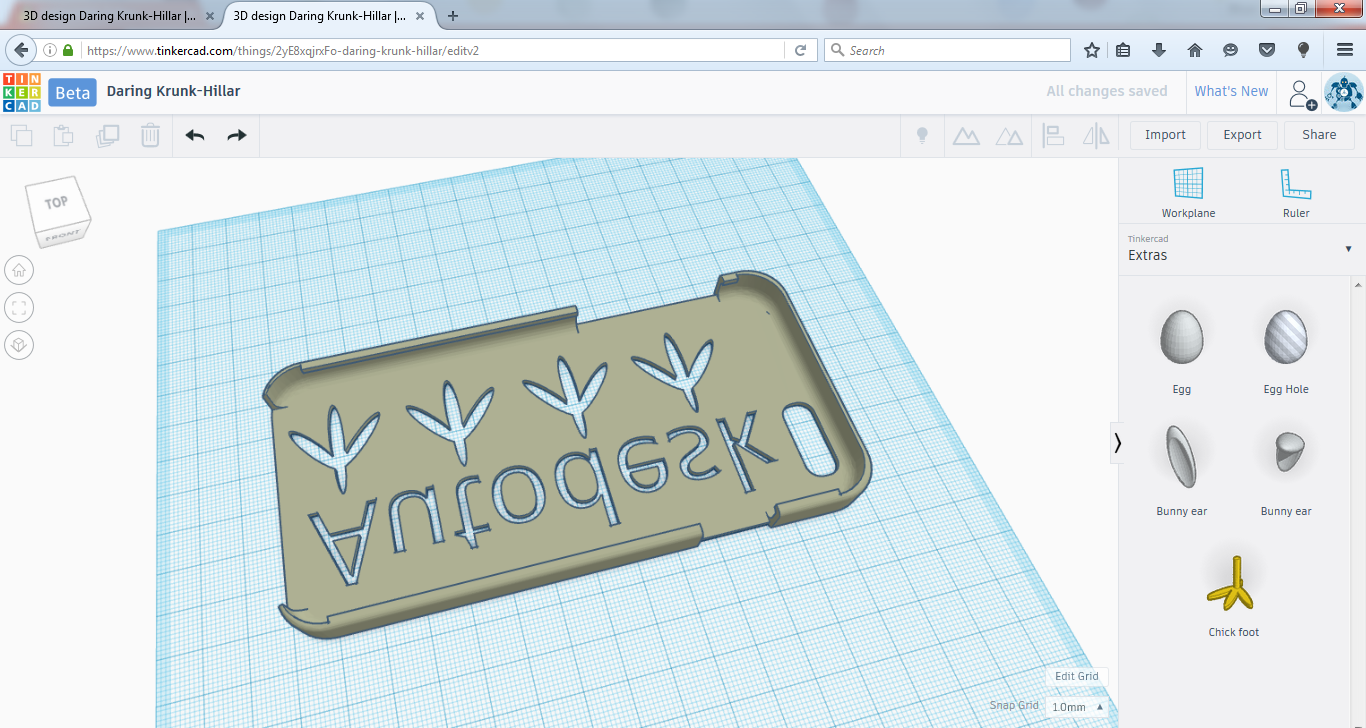
Once you have the iPhone case template on your workplane begin customizing your design.
Design with holes
1. Drag and drop a shape onto the workplane
2. While the shape is selected click hole in the top right corner
3. Place, scale, and align shape on desired location on phone case
4. Select all shapes and holes (ctrl+a) and press group in the top right corner
5. For increased success rotate phone case 180 degrees such that it is laying flat
3D Print
1. Select export in the top right corner
2. Download as an .STL
3. Upload .STL into a 3D printing software such as Print Studio