Design and 3D Print a Drink Stirrer
by Autodesk Gallery Workshop in Workshop > 3D Printing
3071 Views, 2 Favorites, 0 Comments
Design and 3D Print a Drink Stirrer
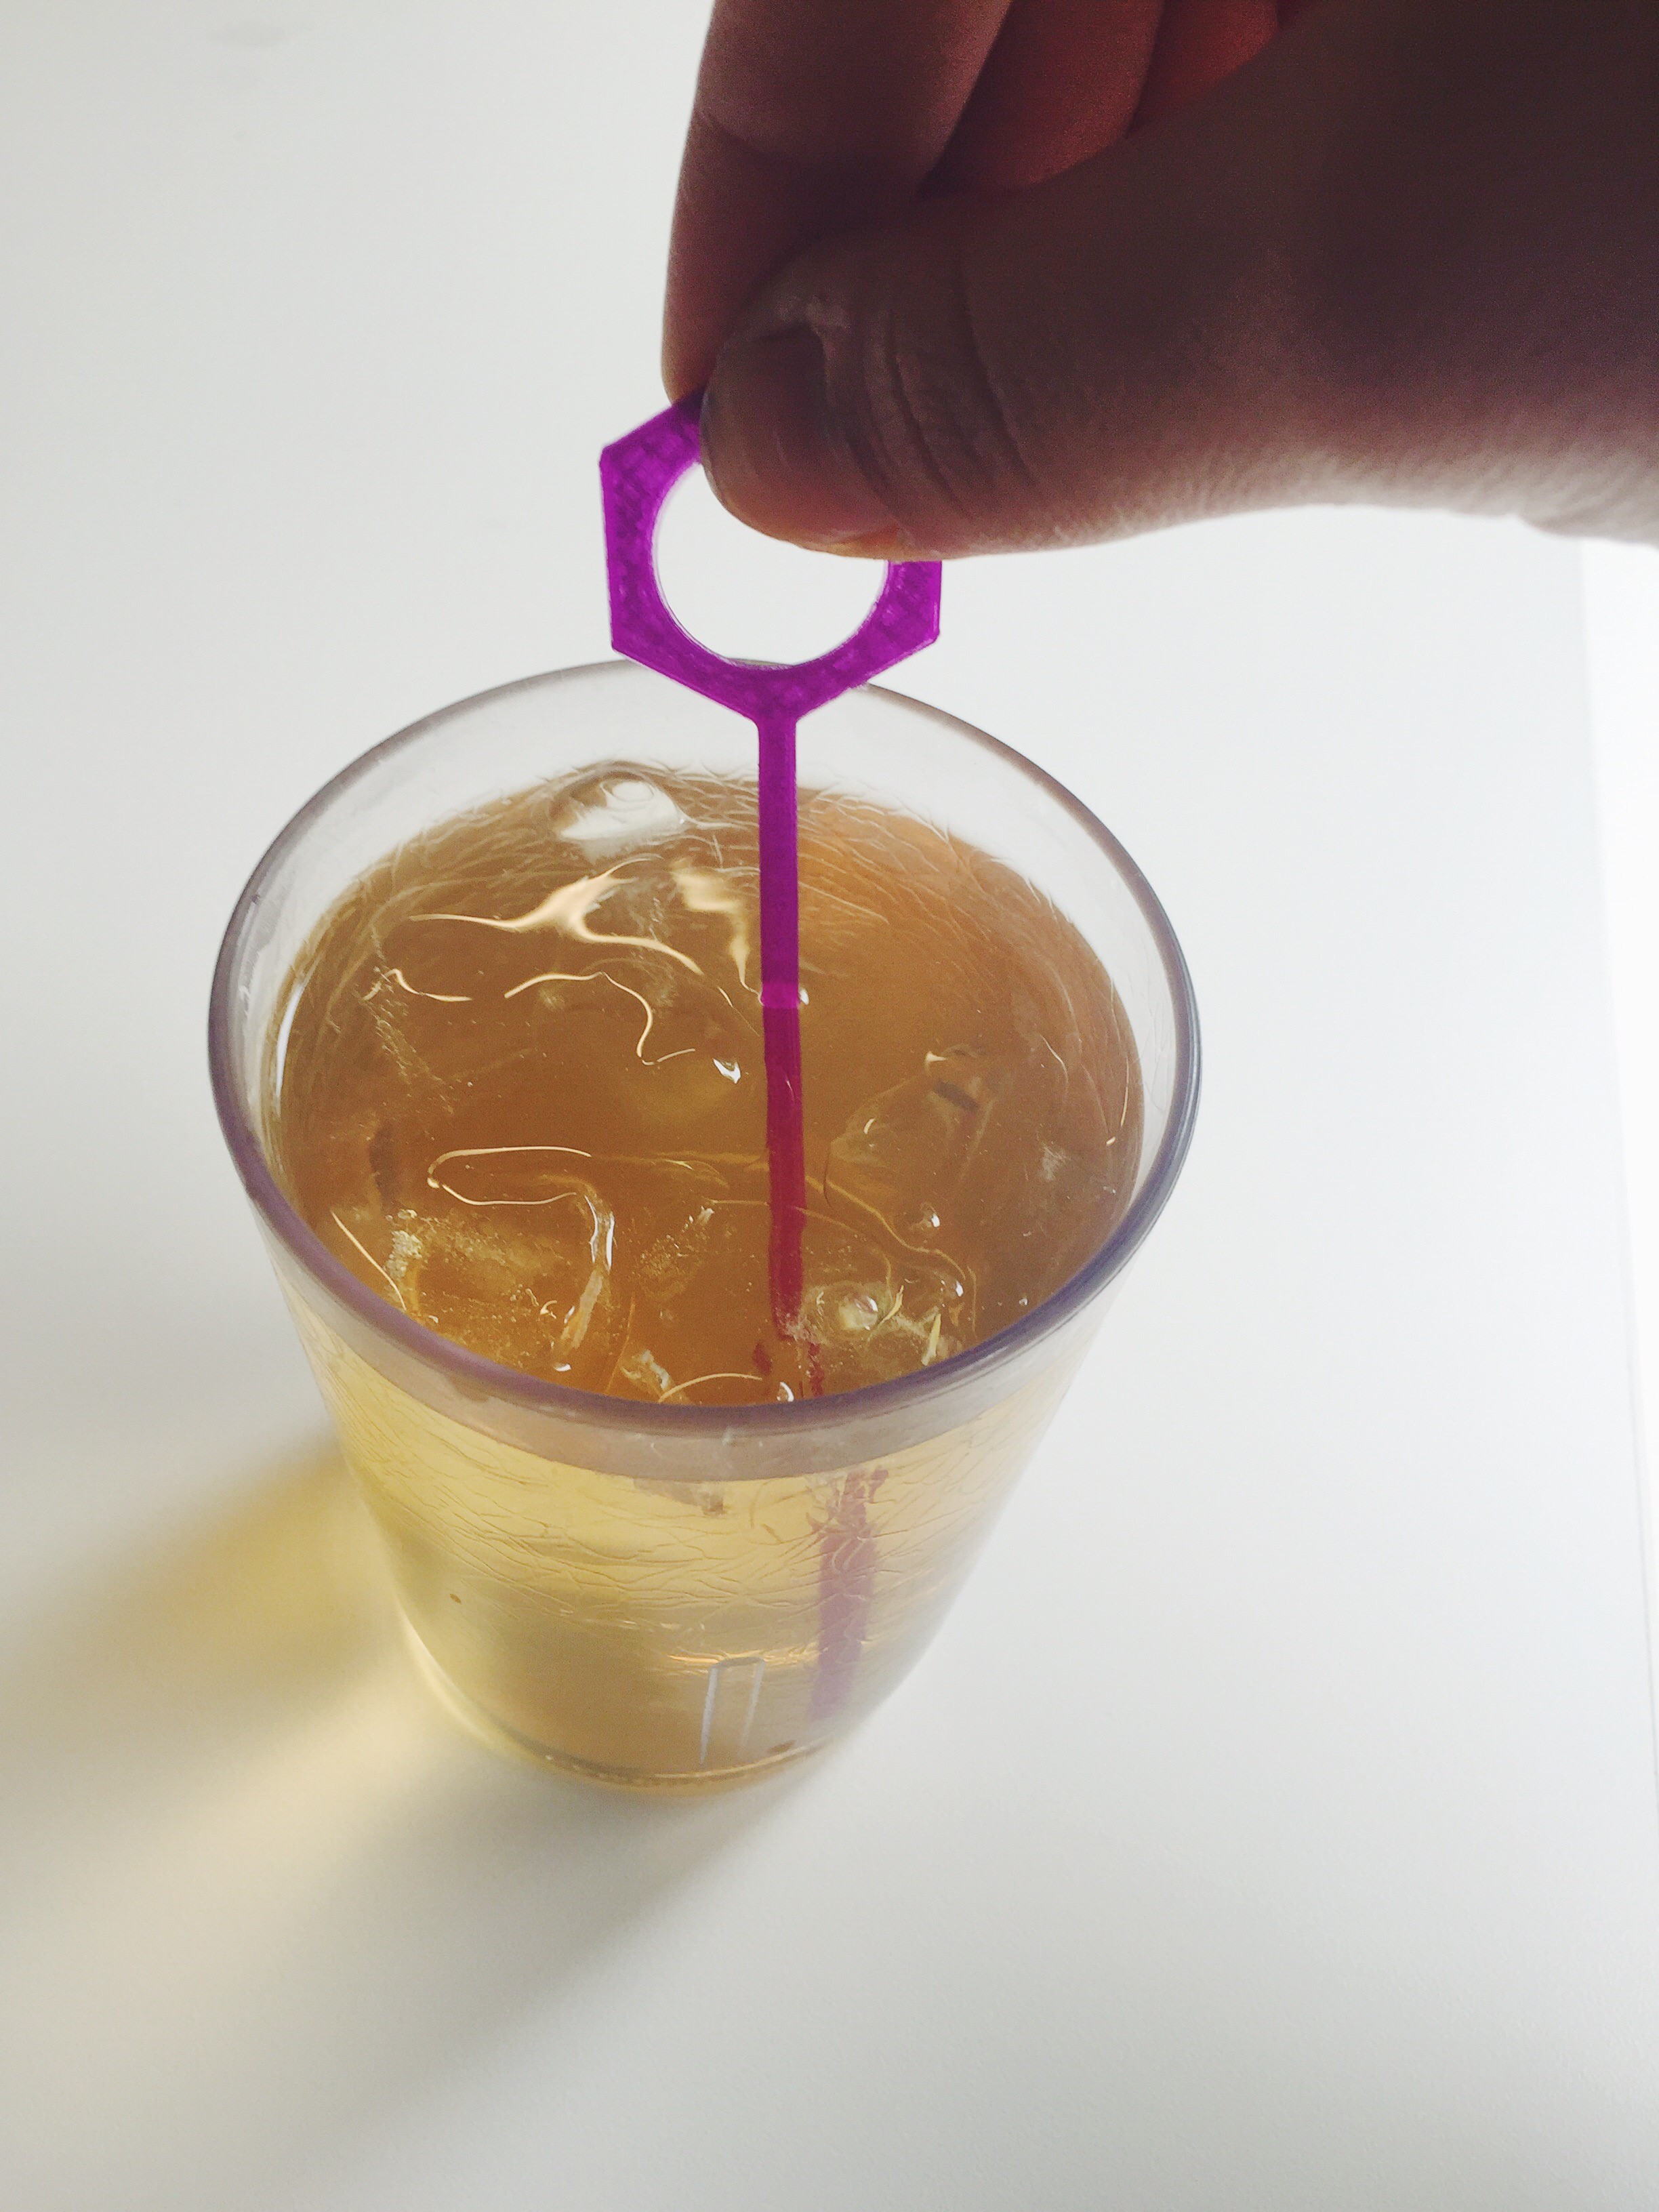
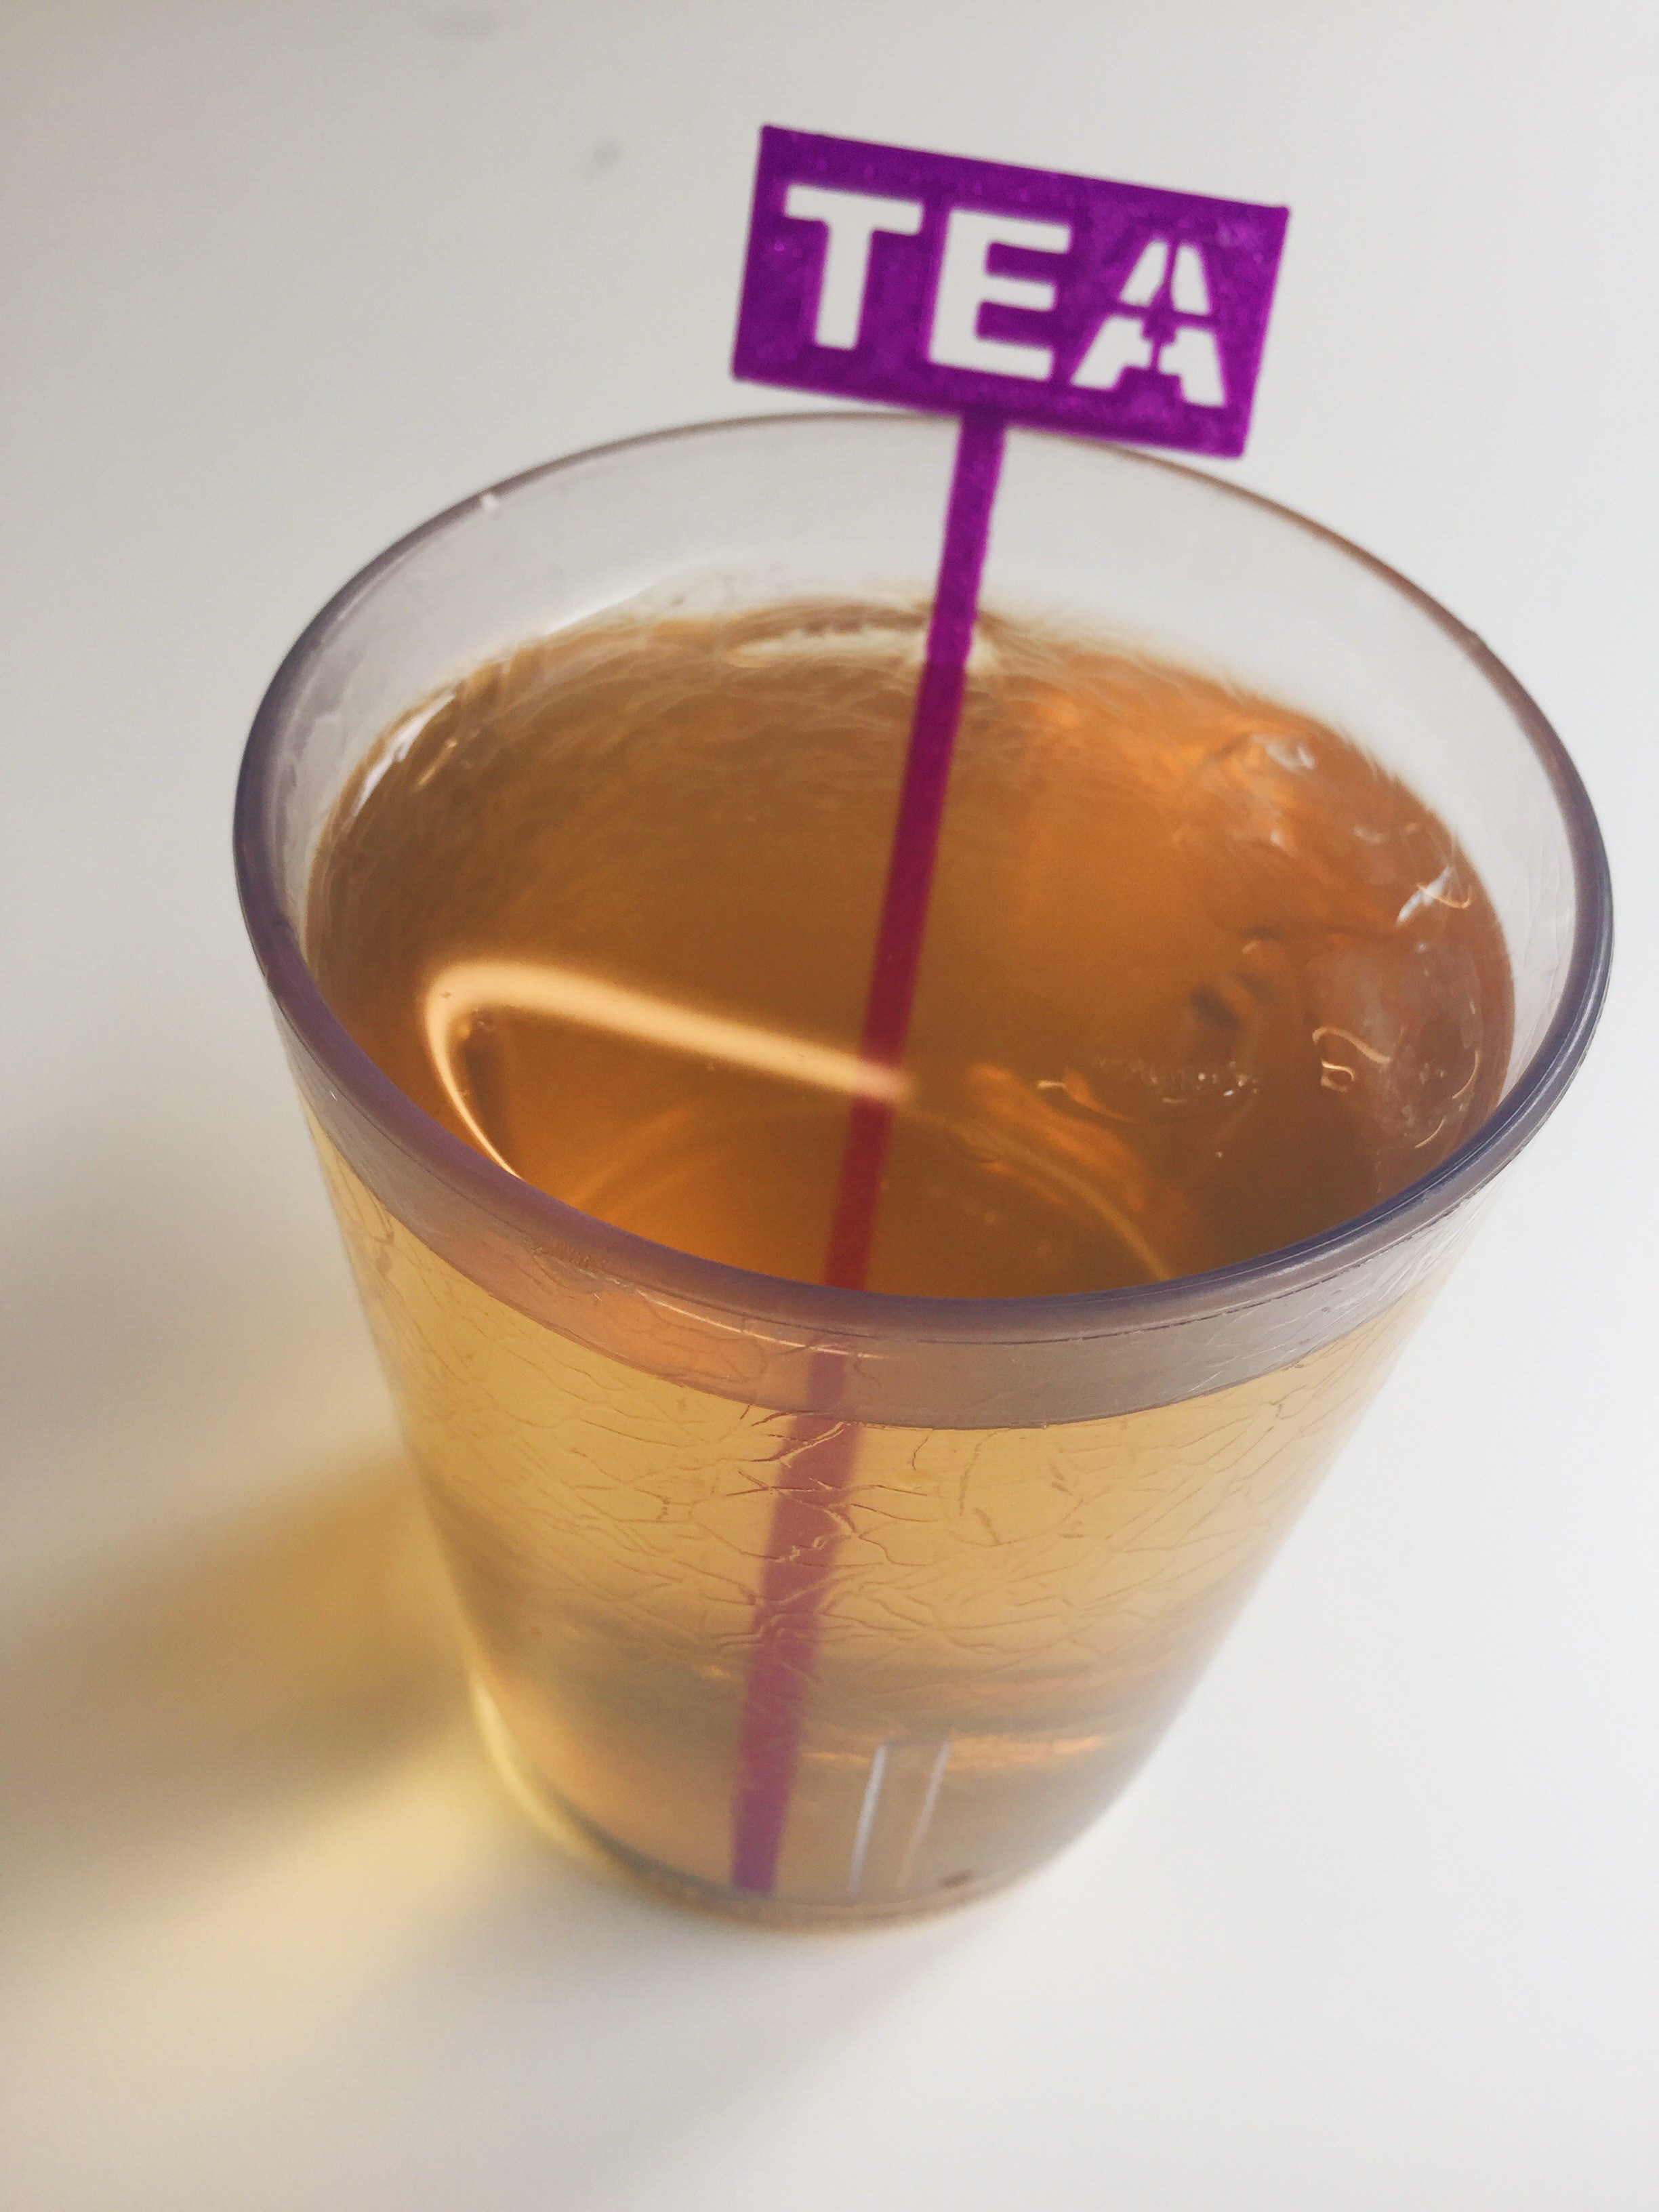
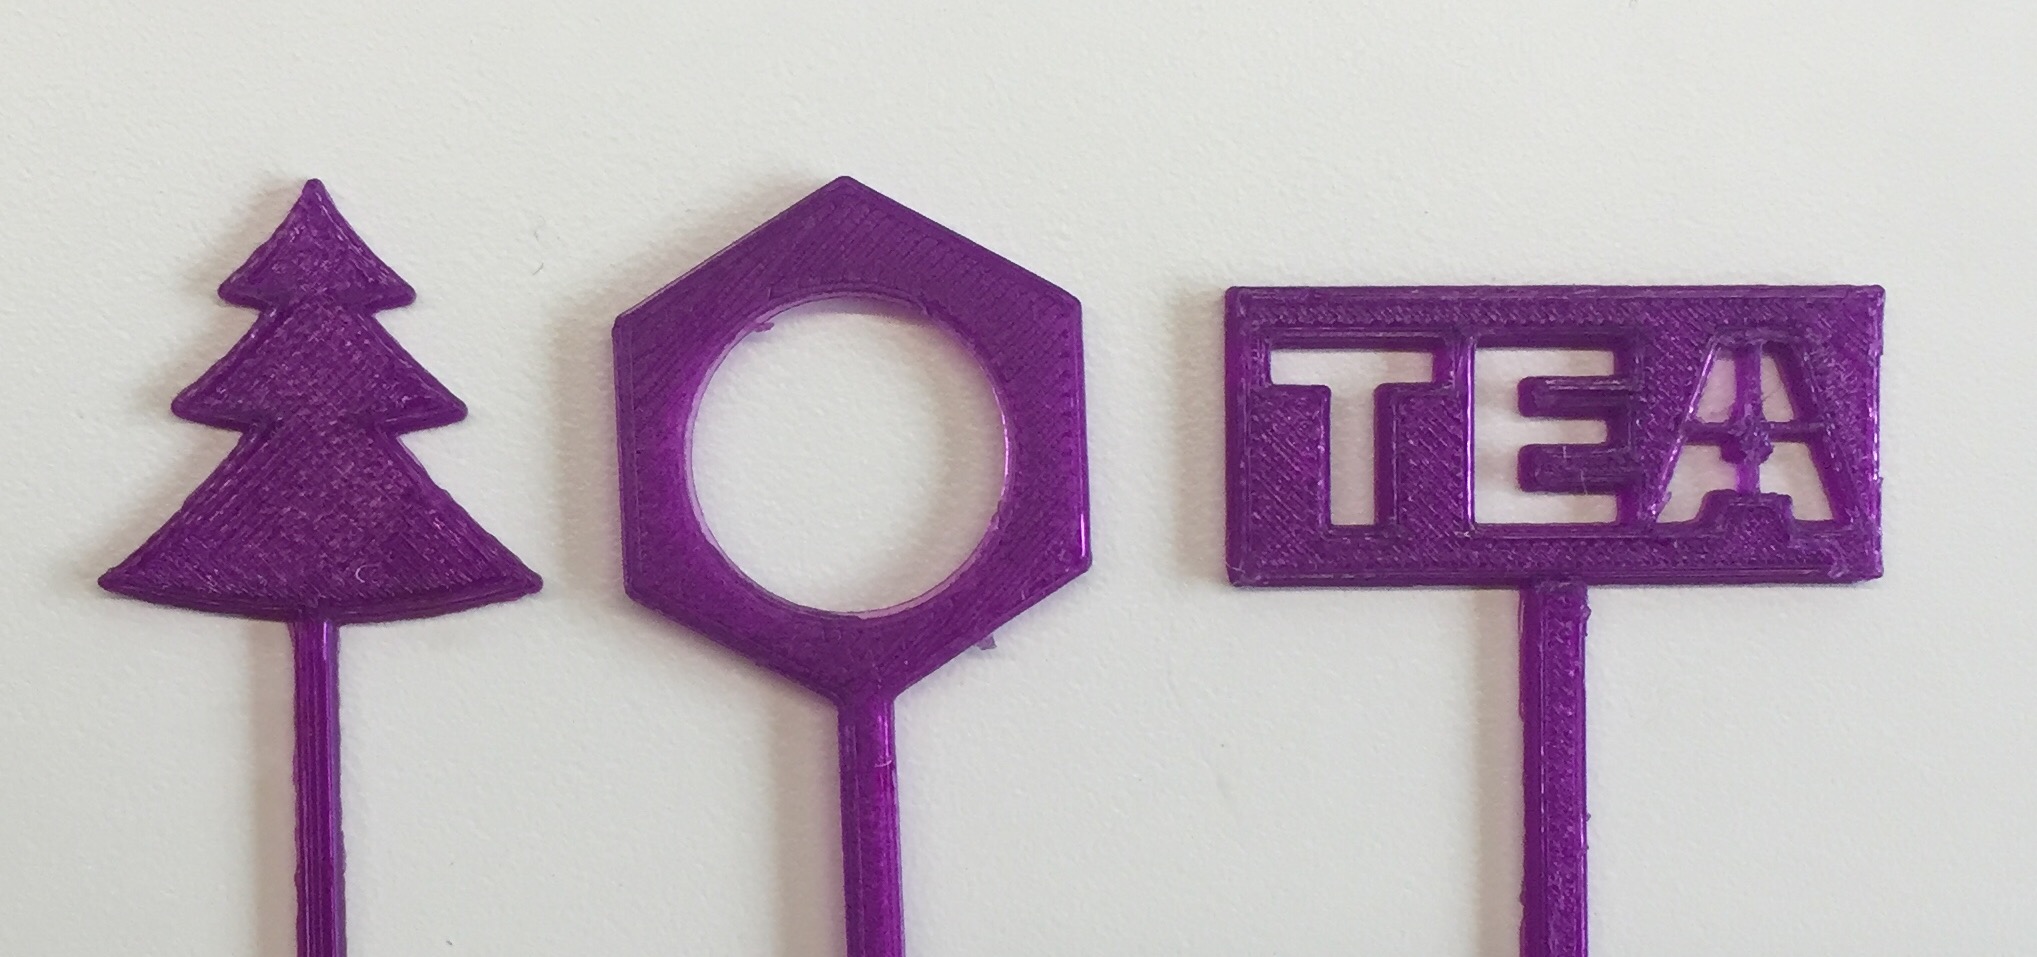
These step-by-step instructions will guide you through the basics of creating a drink stirrer using Tinkercad and preparing it for 3D printing. The 3D Printed Drink Stirrers are for stirring cold beverages.
Tinkercad is a free web based CAD program: www.tinkercad.com
Create Base
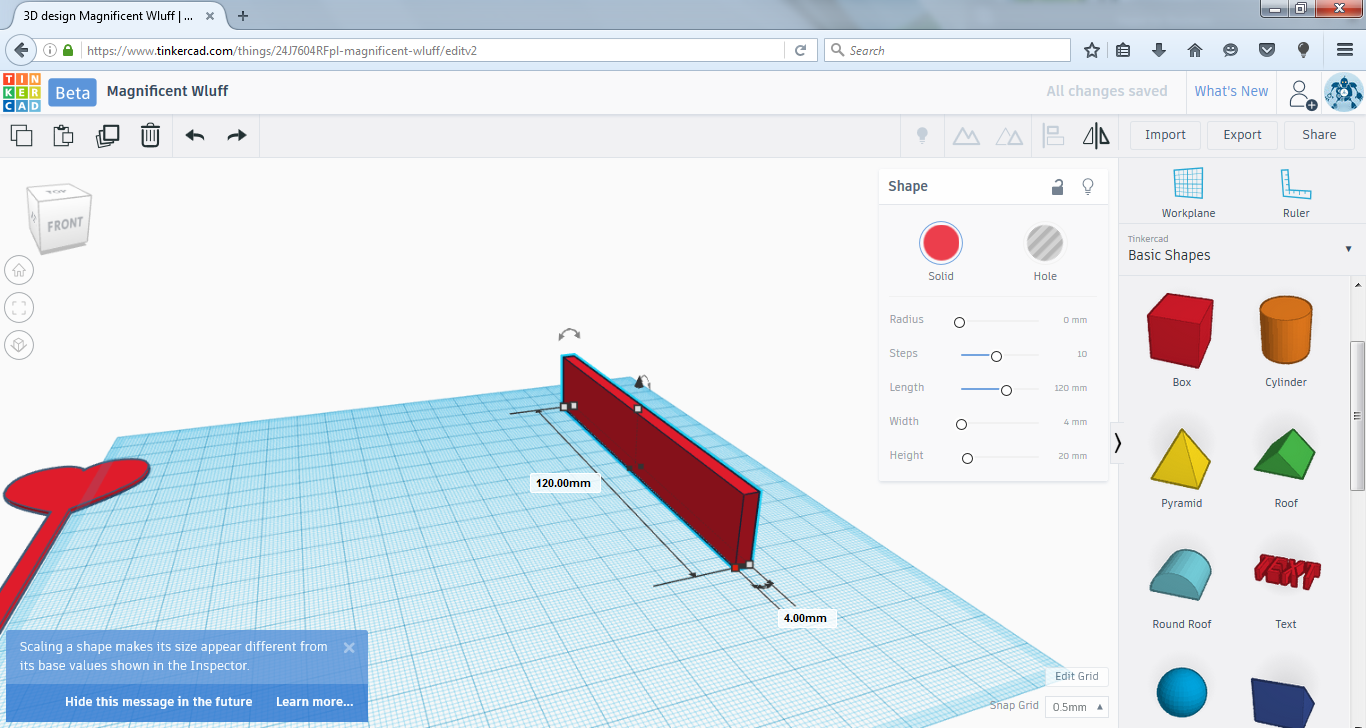
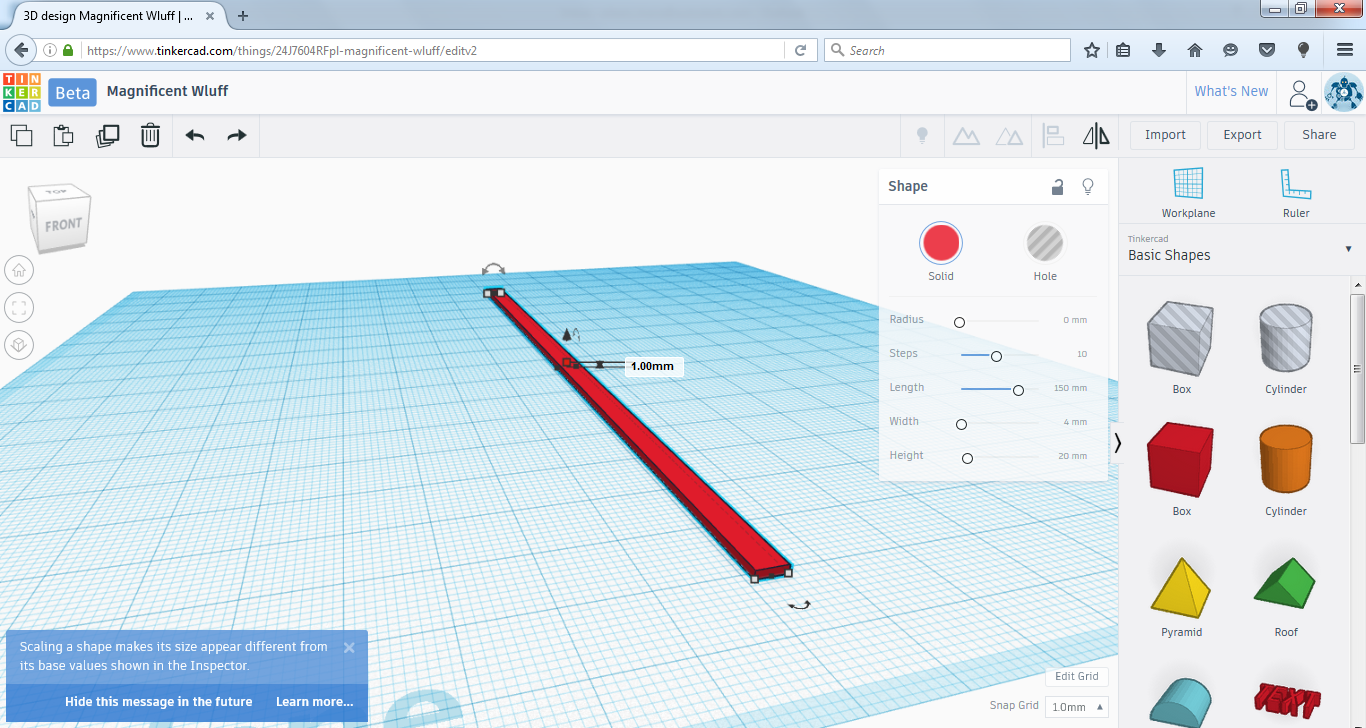
1. Drag and drop a box onto the workplane
2. Scale the box to about 120mm x 4mm
3. Adjust the height of the box to 1mm
Create Top
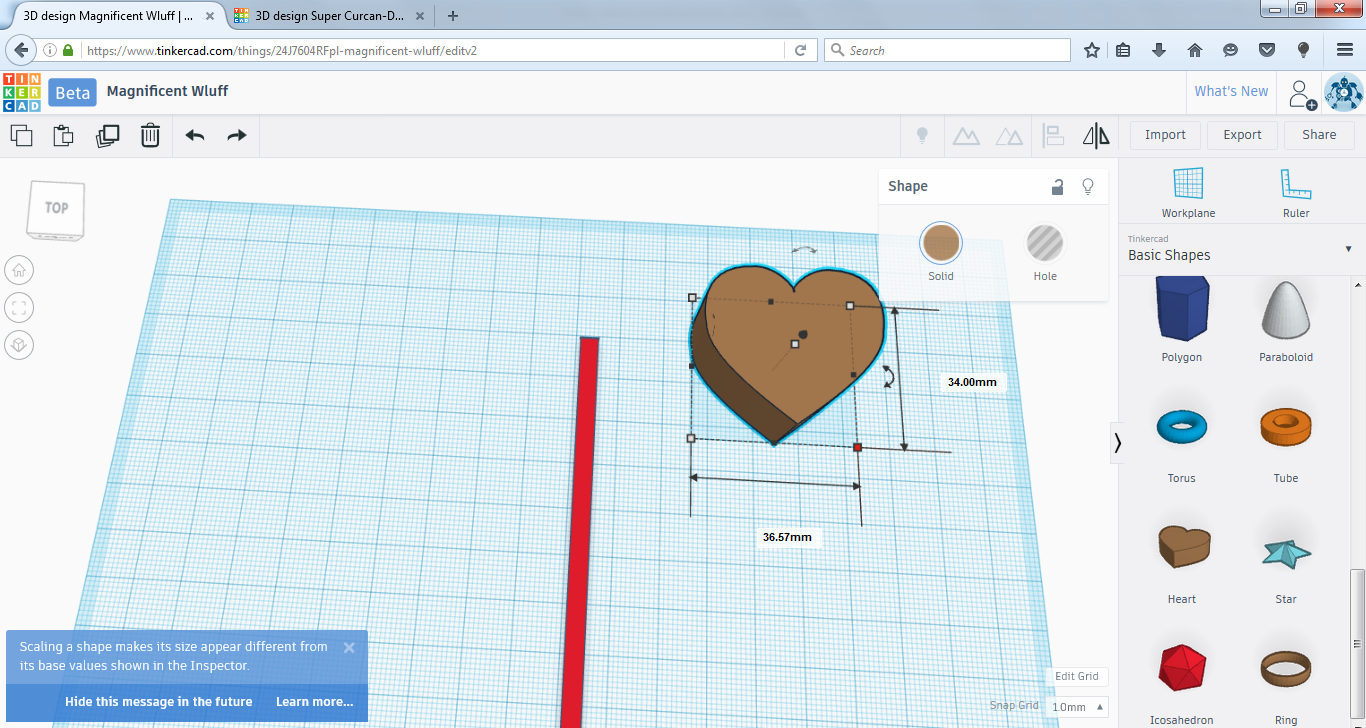
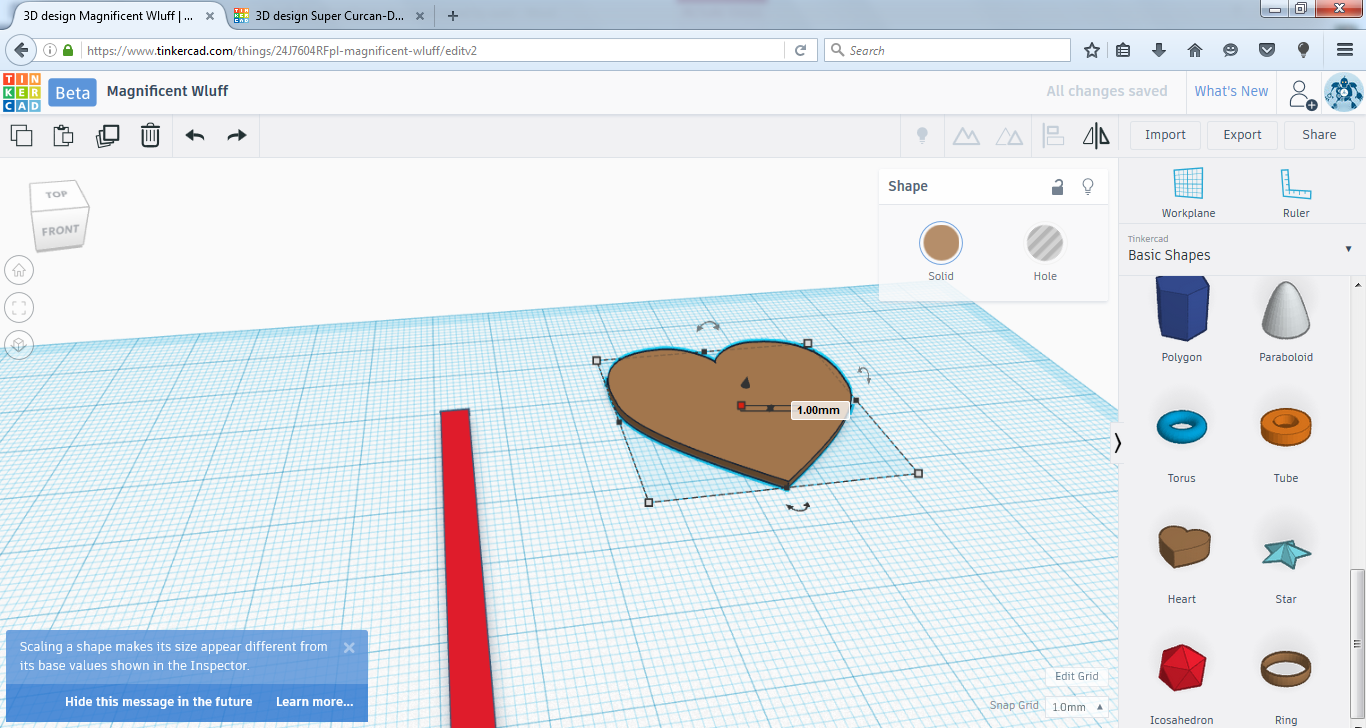
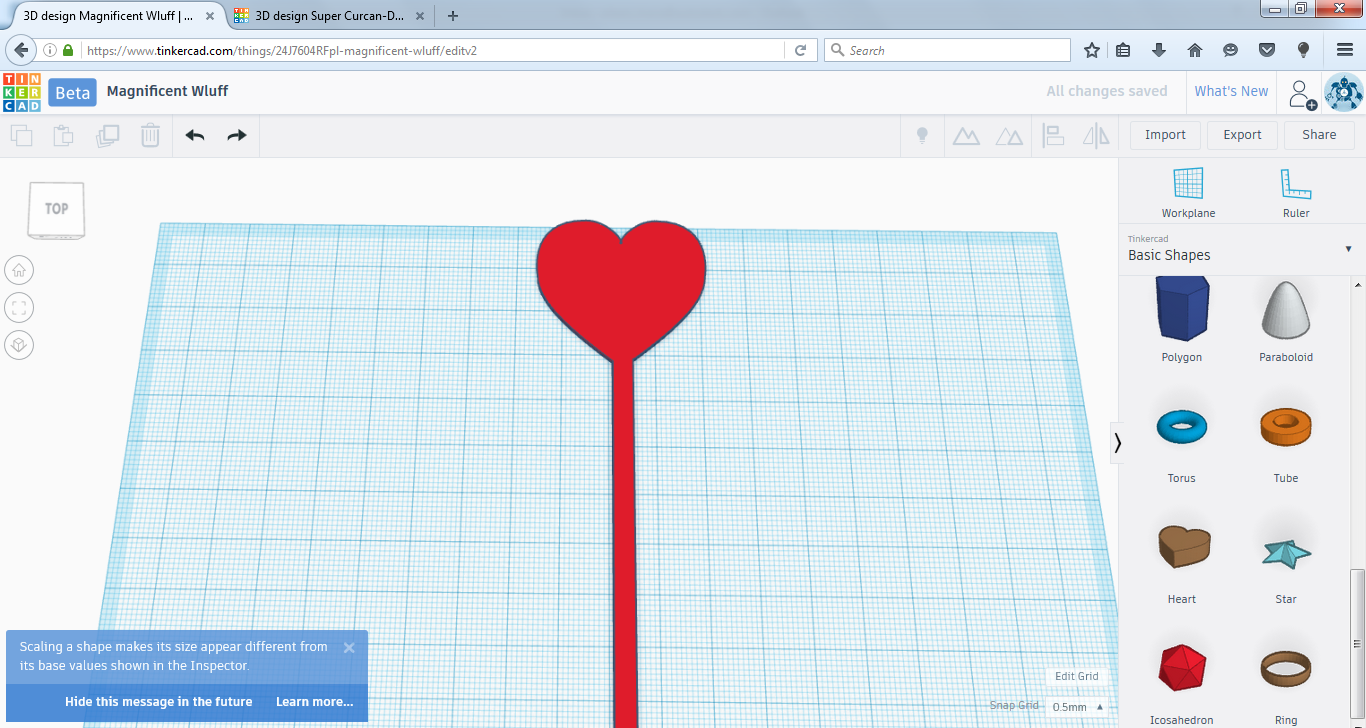
1. Drag and drop a shape onto the workplane to be the decorative top of drink stirrer
2. Scale the shape to about 35mm x 35mm
3. Adjust the height of the shape to 1mm
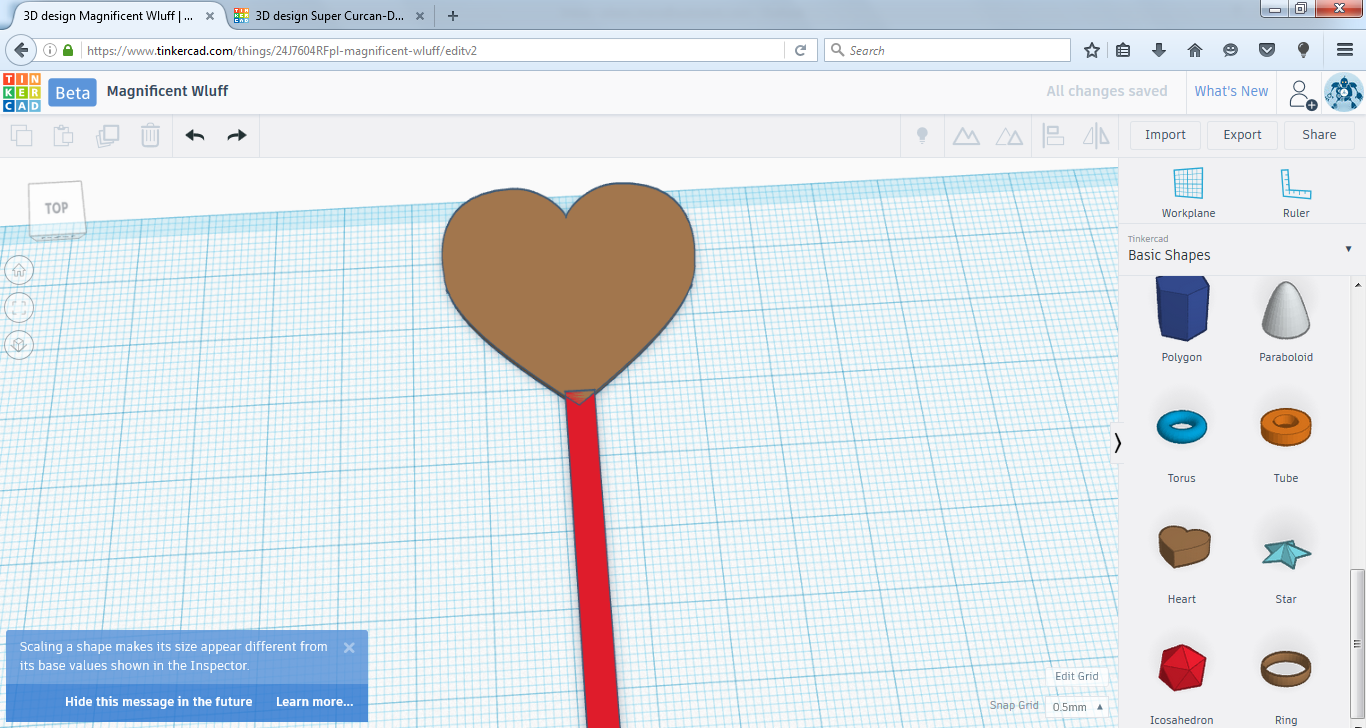
4. Place the shape on one end of the base
5. To ensure perfect alignment use the align tool
6. When complete select the shape and base (ctrl + a) and press group in the top right corner
You now have a drink stirrer. Have fun, get creative, and customize your design!
3D Print
1. Select export in the top right corner
2. Download as an .STL
3. Upload .STL into a 3D printing software such as Print Studio
Test and Enjoy
1. Make a cold beverage such as lemonade and mix it up with your drink stirrer
2. Enjoy beverage
*It is advised against using the drink stirrer for warm beverages and recommended to print with food safe plastic