Design and 3D Print Your Own Phone Case (in Fusion 360)
by BadMonkeyEdd in Workshop > 3D Printing
24035 Views, 102 Favorites, 0 Comments
Design and 3D Print Your Own Phone Case (in Fusion 360)
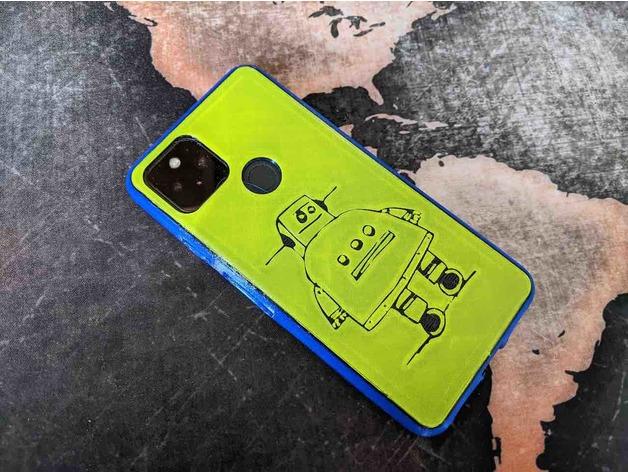
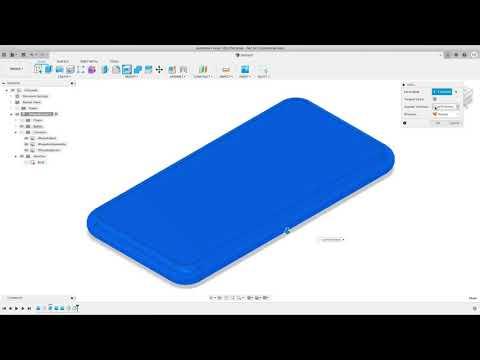
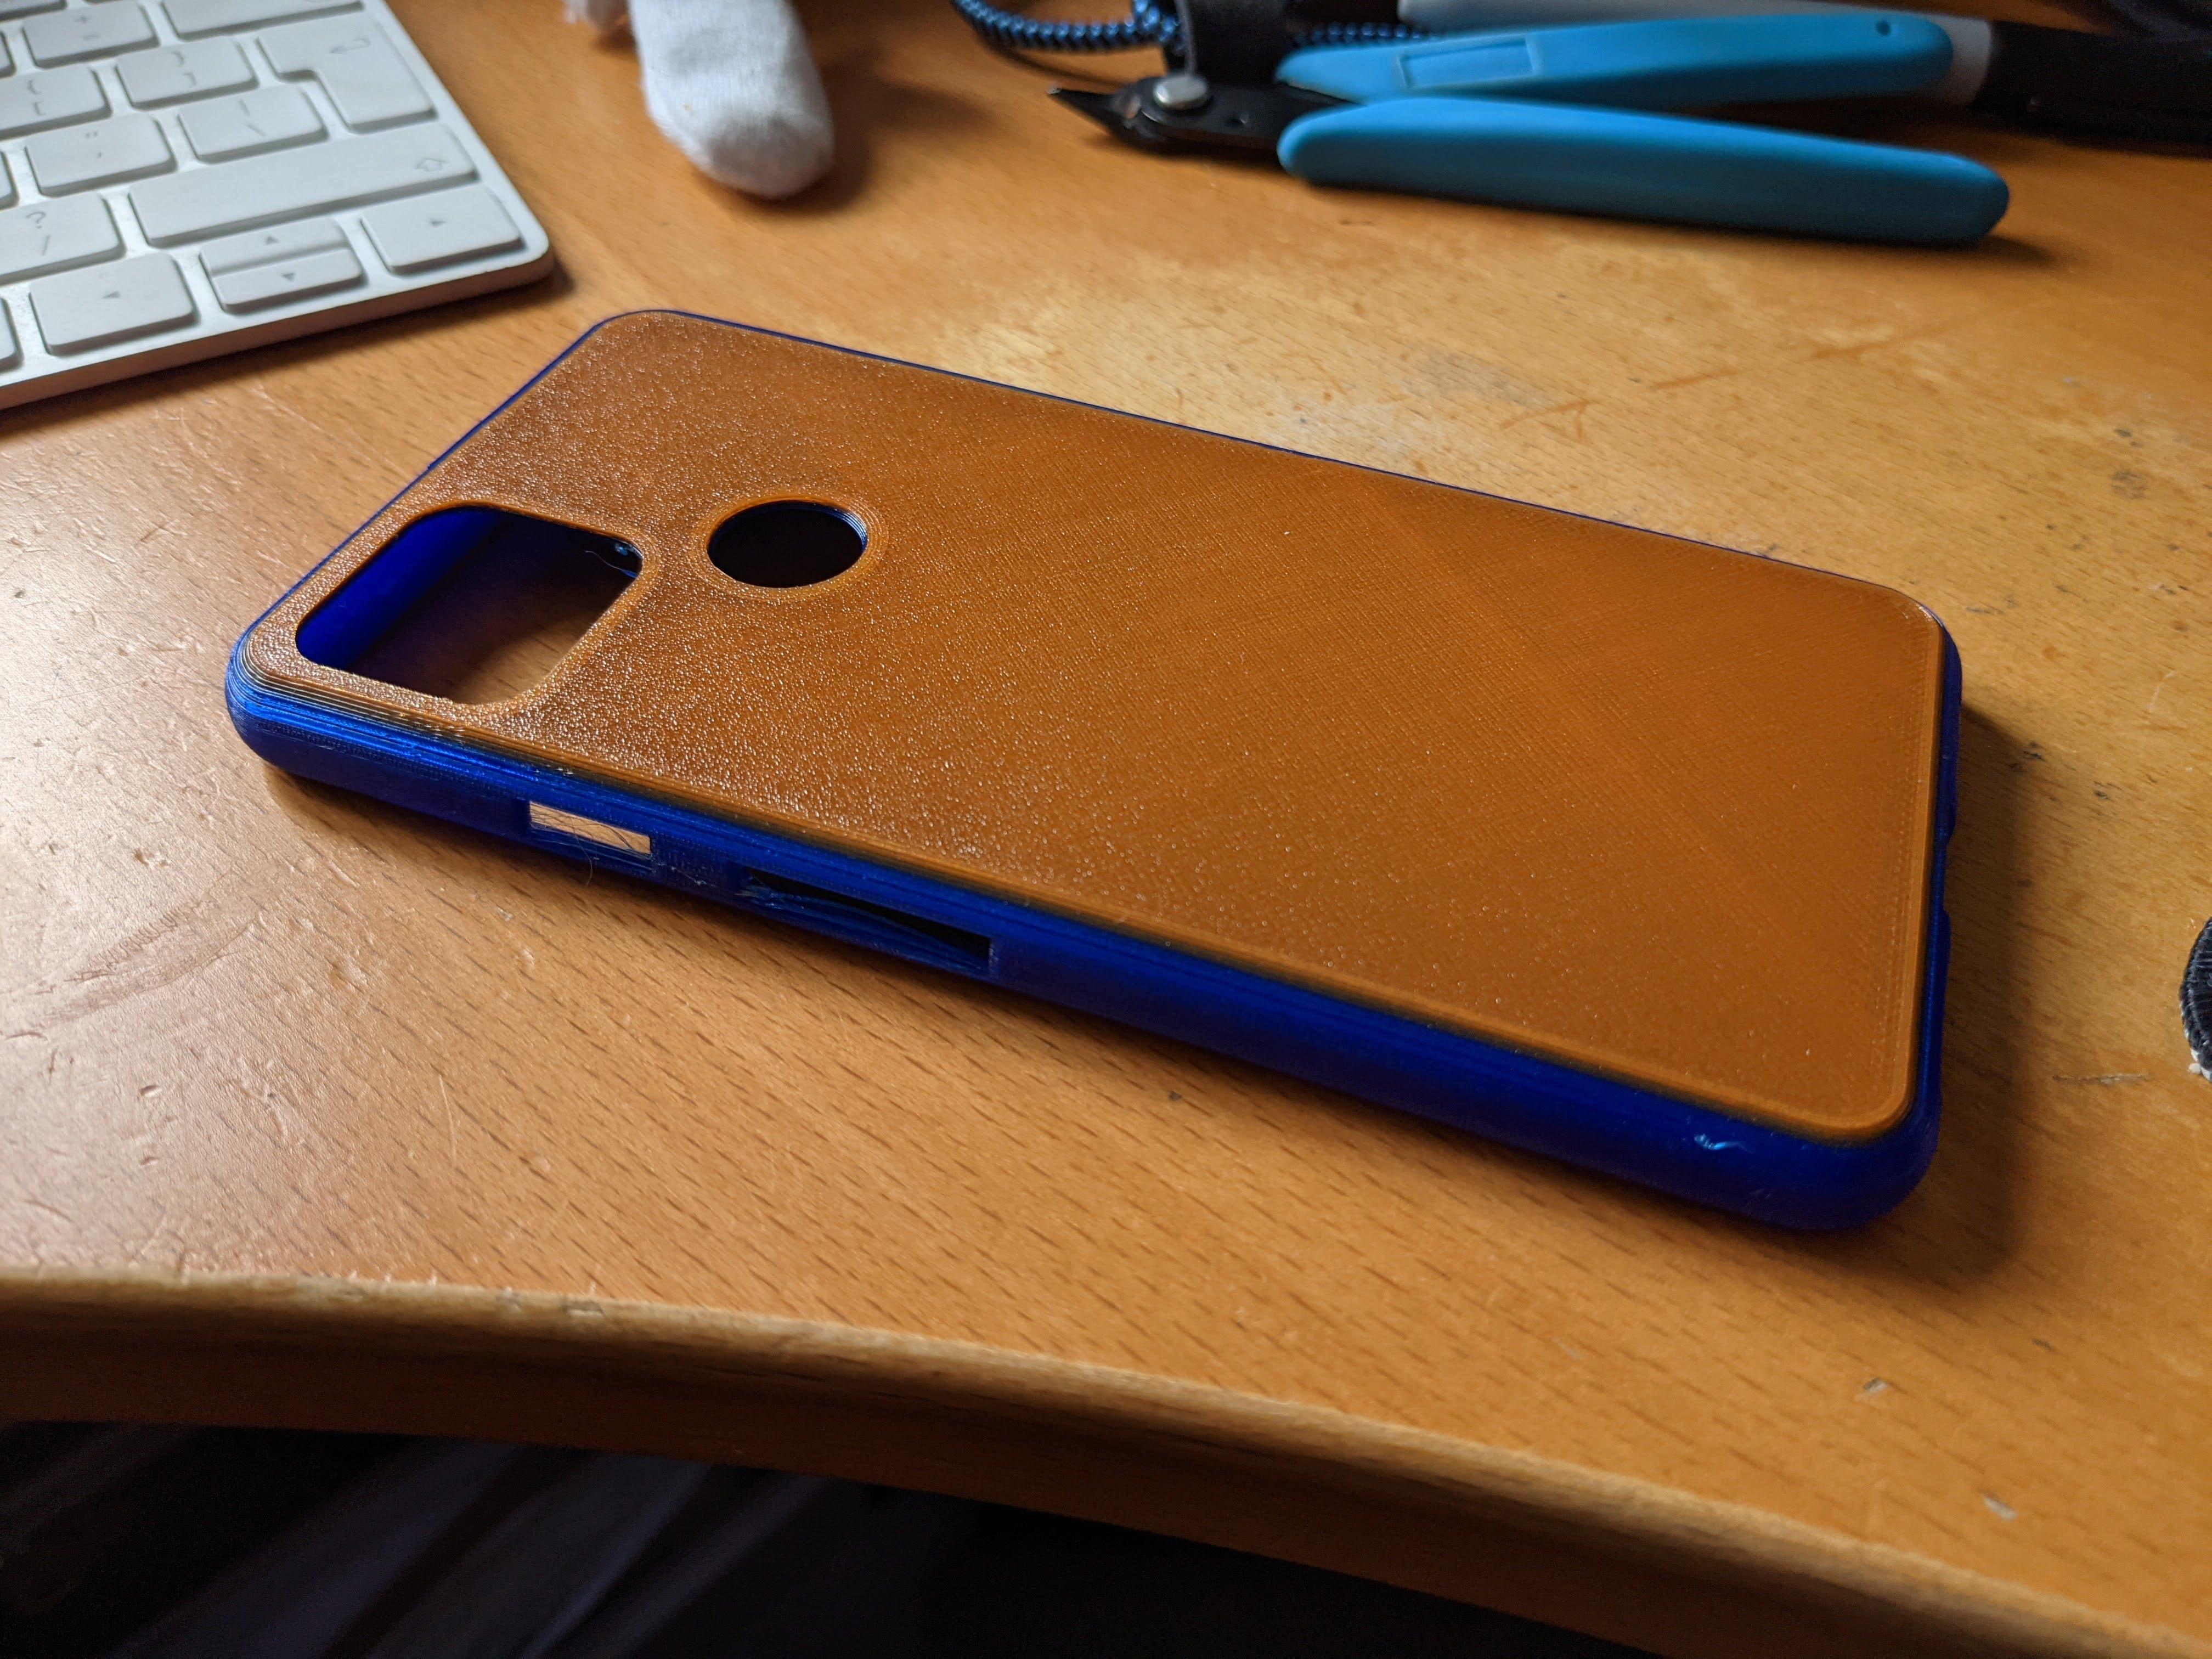
This Instructable is to help people design and 3D print your own phone case.
I have been slowly learning how to use Fusion 360 through trial and error, and a fair few YouTube videos. From that I have managed to get the steps together to easily model a new phone, generate a case, add a logo if required and then 3D print.
With this Instructable, you can make the cheapest or most expensive phone case possible, depending on what tools that are available to you!
- 3D Printer - I'm using a Prusa Mk3s
- Fusion 360 - Sign up for a free hobbyist license
- Filament - I'm using PETG for the base and protection, and NinjaFlex TPU for the protection and side 'bumper'
Signup for Fusion 360
As a hobbyist, I have signed up for the free version of Fusion 360. You are limited on what can be done as a hobbyist, but for a project like this, the missing items are not required.
Get Stock Photos of the Phone
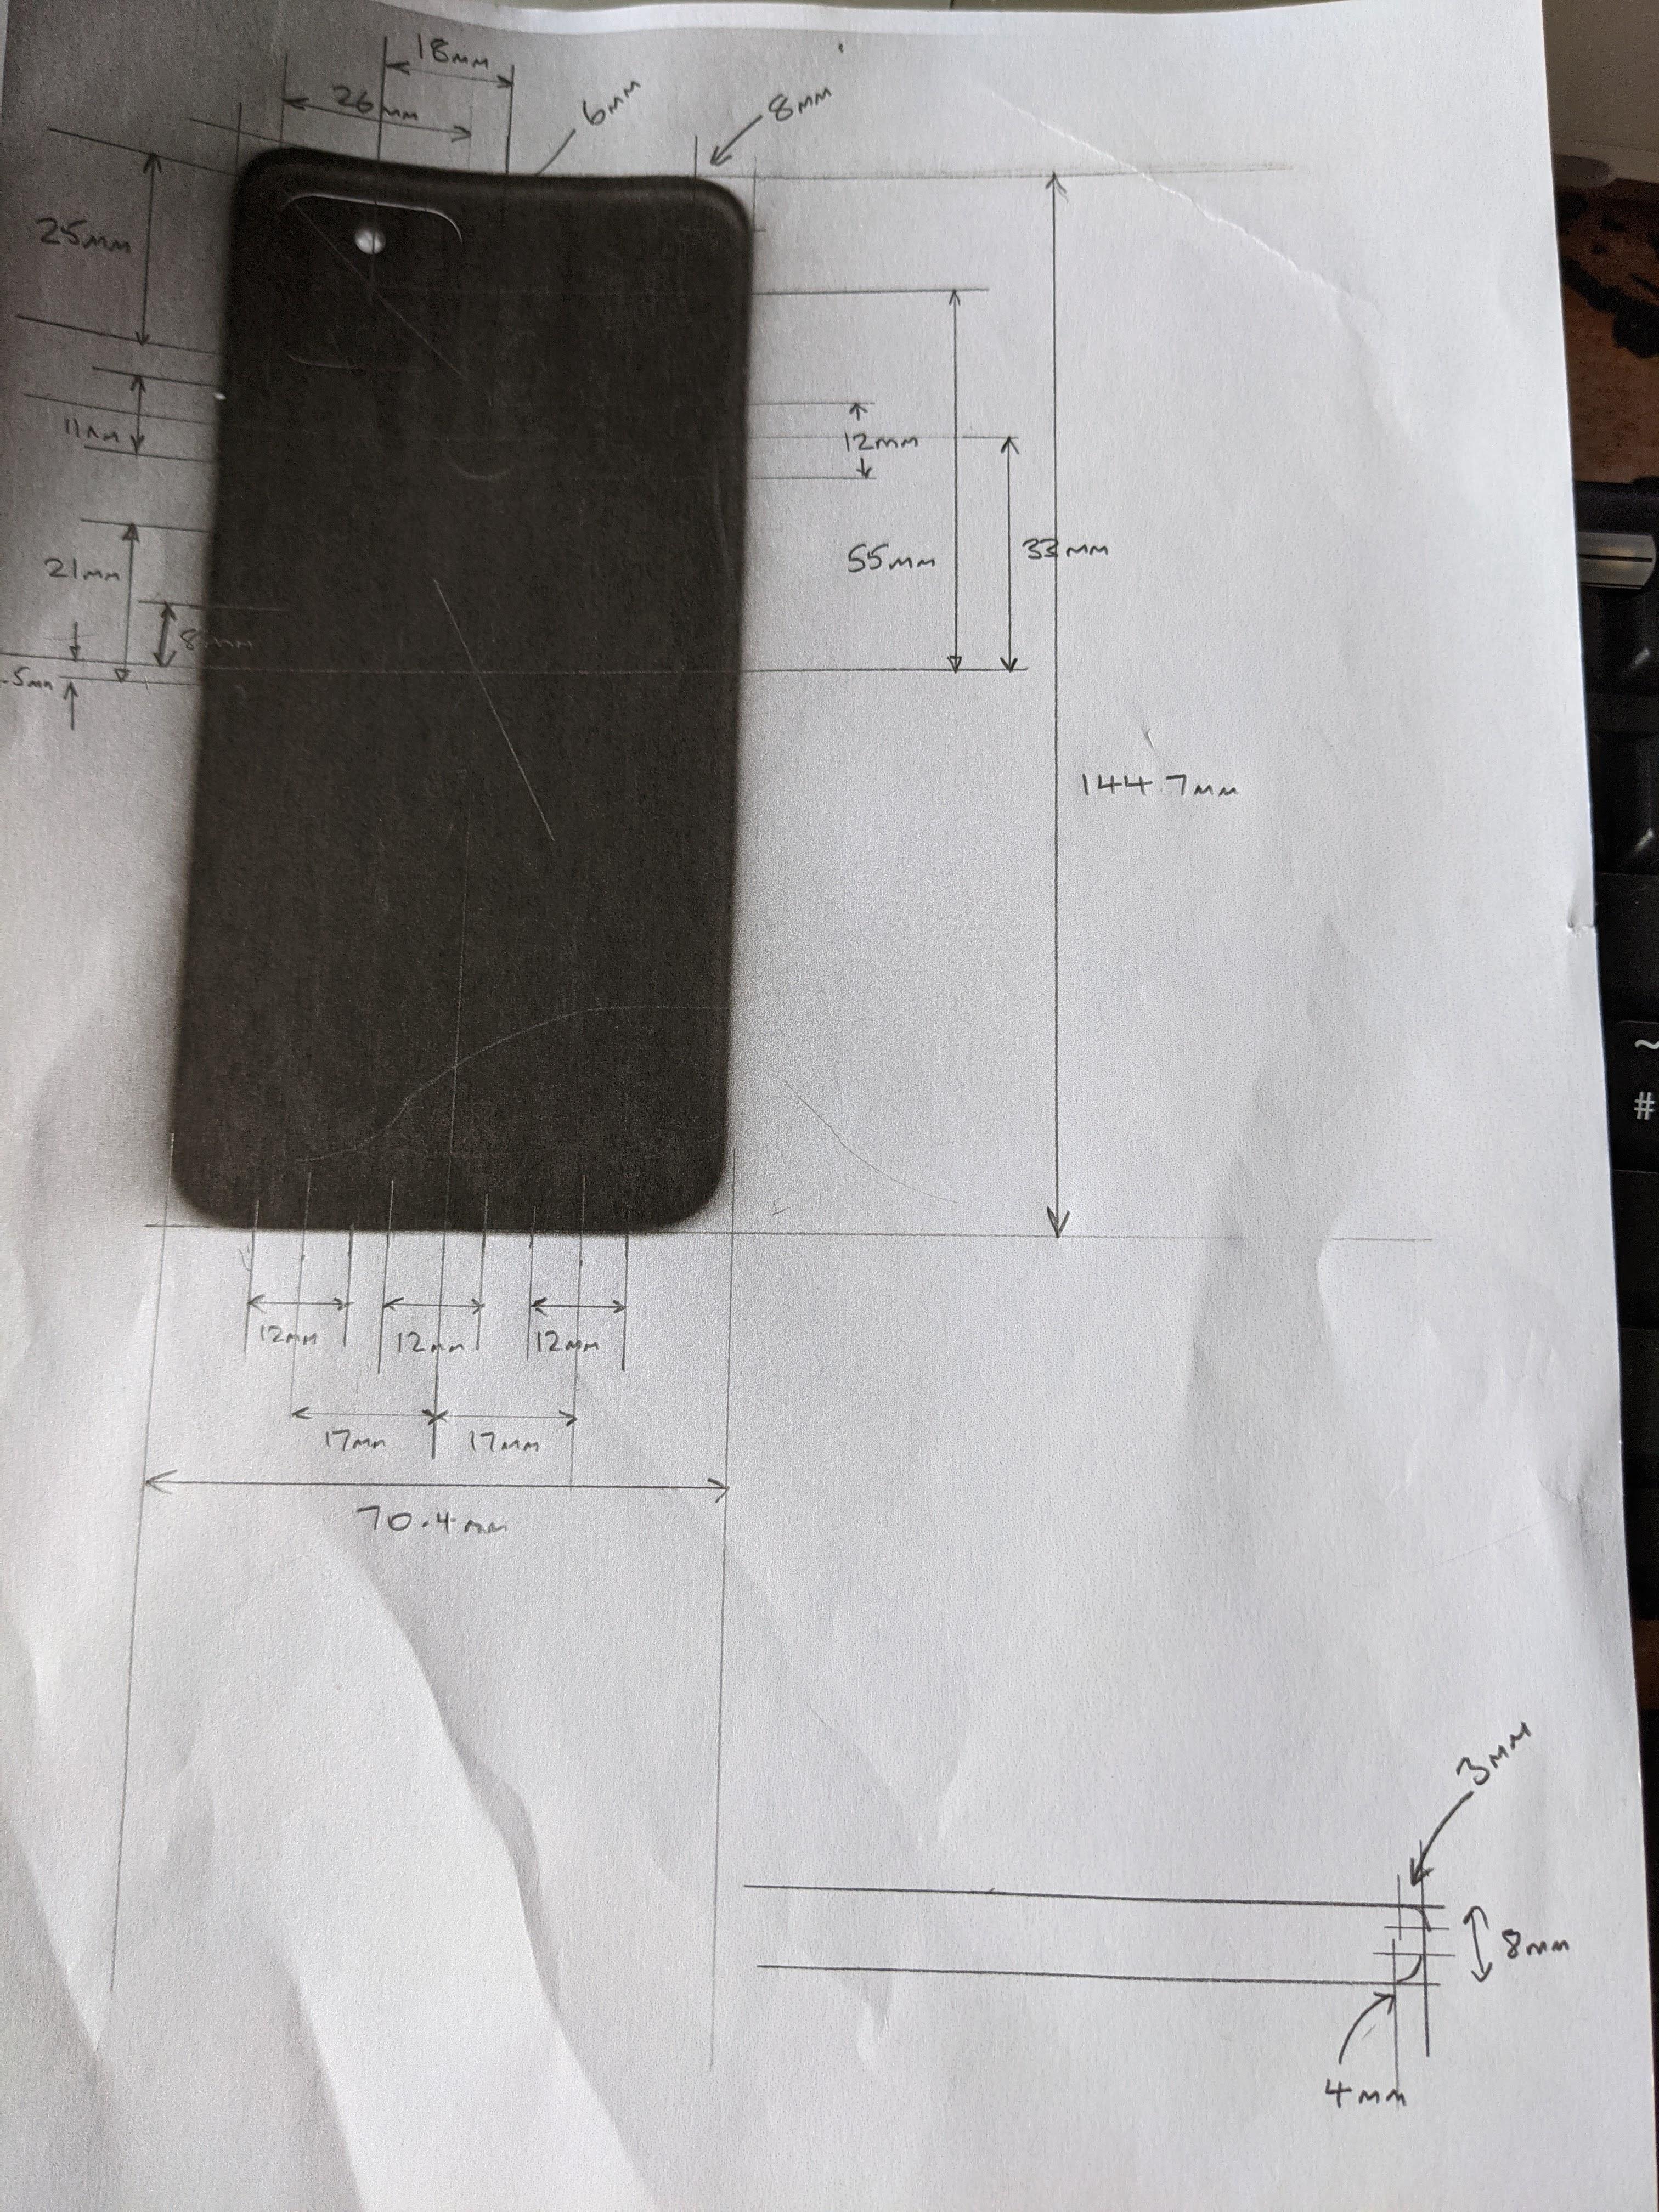
Originally I photocopied the phone, and using a pair of digital callipers I made all the measurements on a piece of paper, however it is easier (and probably more accurate) to get pictures of all sides of the phone from the internet.
The official measurements are also required to get a good fit. These official measurements should be easy to find on the manufacturers website.
Model the Phone
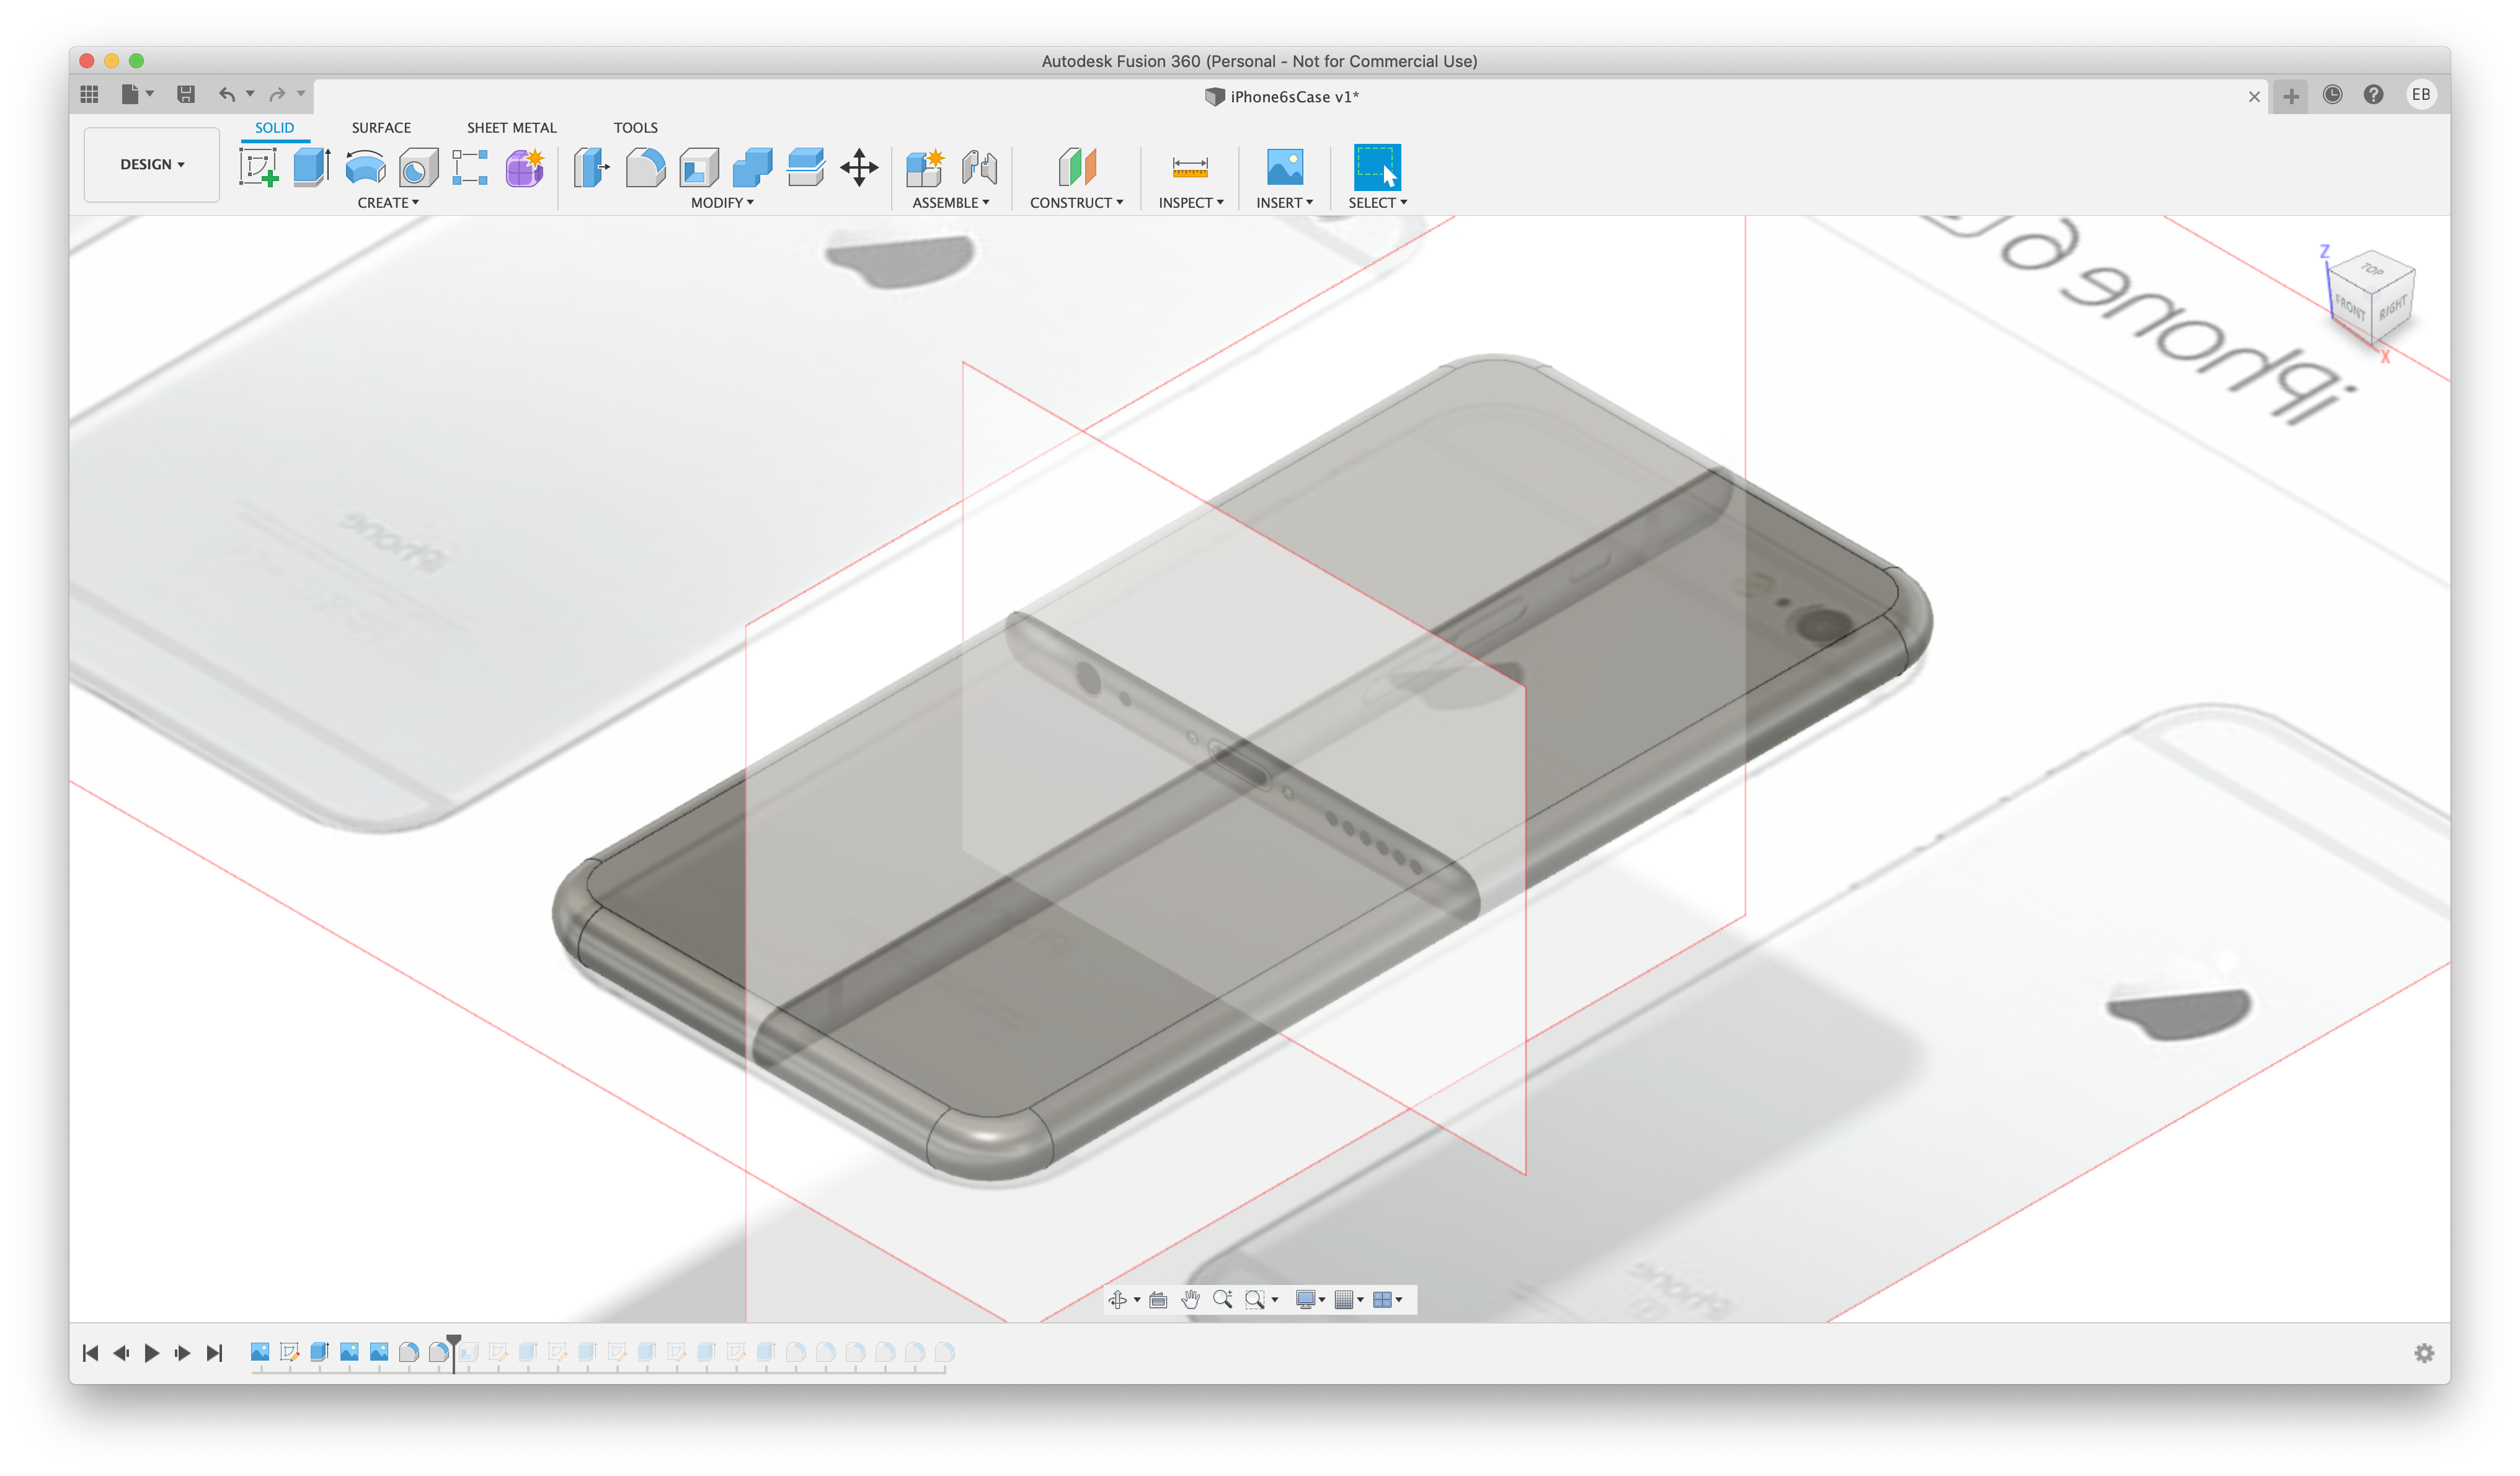
When building a case, the first thing to complete is to model the phone itself within Fusion 360. This is done with the following steps:
- Add some basic parameters to make the rest of the process easier
- Select MODIFY --> Change Parameters
- Select the + next to 'User Parameters'
- Add separate entries for Height, Width and Depth of the phone. This will make all subsequent steps easier
- Create the basic rectangle for the phone
- Create a new Sketch by selecting the 'Create Sketch' icon at the top of the screen
- Select the same plane as the image from step 2
- Select CREATE --> Rectangle --> Center Rectangle
- Click the centre point of the screen, and move the cursor slightly to start drawing the rectangle
- In the Height and Width boxes, use the user parameters 'Height' and 'Width' that you created in step 1
- This will draw a rectangle to the size of the phone
- You may need to zoom in or out to correctly see the drawn rectangle
- Select 'Finish Sketch' in the Sketch Palette
- Extrude the rectangle to make a solid
- Select the SOLID tab at the top, then select Extrude
- Select the rectangle and add in the dimension of 'Depth'
- Import the back image into Fusion 360
- Select from the top of the screen INSERT --> Canvas
- Select 'Insert from my computer ...'
- Find and select the image of the back of the phoneSelect the appropriate 'plane' for the image to go on (I use the 'Top' plane so the image is lying down)
- Zoom in on the image to make sure that it is orientated correctly.
- IMPORTANT - Check that the image is in the correct orientation. Learn from my mistakes! I have completed a couple of my cases before realising that the camera was on the wrong side!!!
- Scale and position the image
- Right click on the image that was imported in the browser window
- Browser --> Component --> Canvases --> image
- Select 'Calibrate'
- Zoom in on the image and click on the left side of the phone, and click again on the right side of the phone. You will be prompted to enter a value. The value will be the user parameter 'Width'
- The image should now be the correct size, although maybe not in the correct location to match with the rectangle drawn in Step 3.
- Right click on the image that was imported in the browser window
- Browser --> Component --> Canvases --> image
- Select 'Edit Canvas'
- Move the image around until to exactly matches the rectangle that was drawn previously
- Right click on the image that was imported in the browser window
- Repeat steps 3 and 4 for the other appropriate sides of the phone. In the video, I only did this for one side and the base, but for other phones all sides may be required.
The actual shaping of the phone is very specific to the phone itself, but most should be covered with a few basic techniques:
- Two Tangent Circle - (When editing a sketch) A two tangent circle allows a circle to be drawn by clicking on two tangents and entering a radius of the circle. In the video, this technique is used for the corners
- Fillet - Select the Fillet icon under TOOLS, then select the edge to fillet. Enter a radius for the fillet. In the attached video, the iPhone 6s has a design where the top fillet and the bottom fillets make a half circle, so by adding the top fillet as 'Depth/2' and the same for the bottom fillet, this creates the correct shape.
Using these techniques, it should be possible to model the phone.
Create the Case
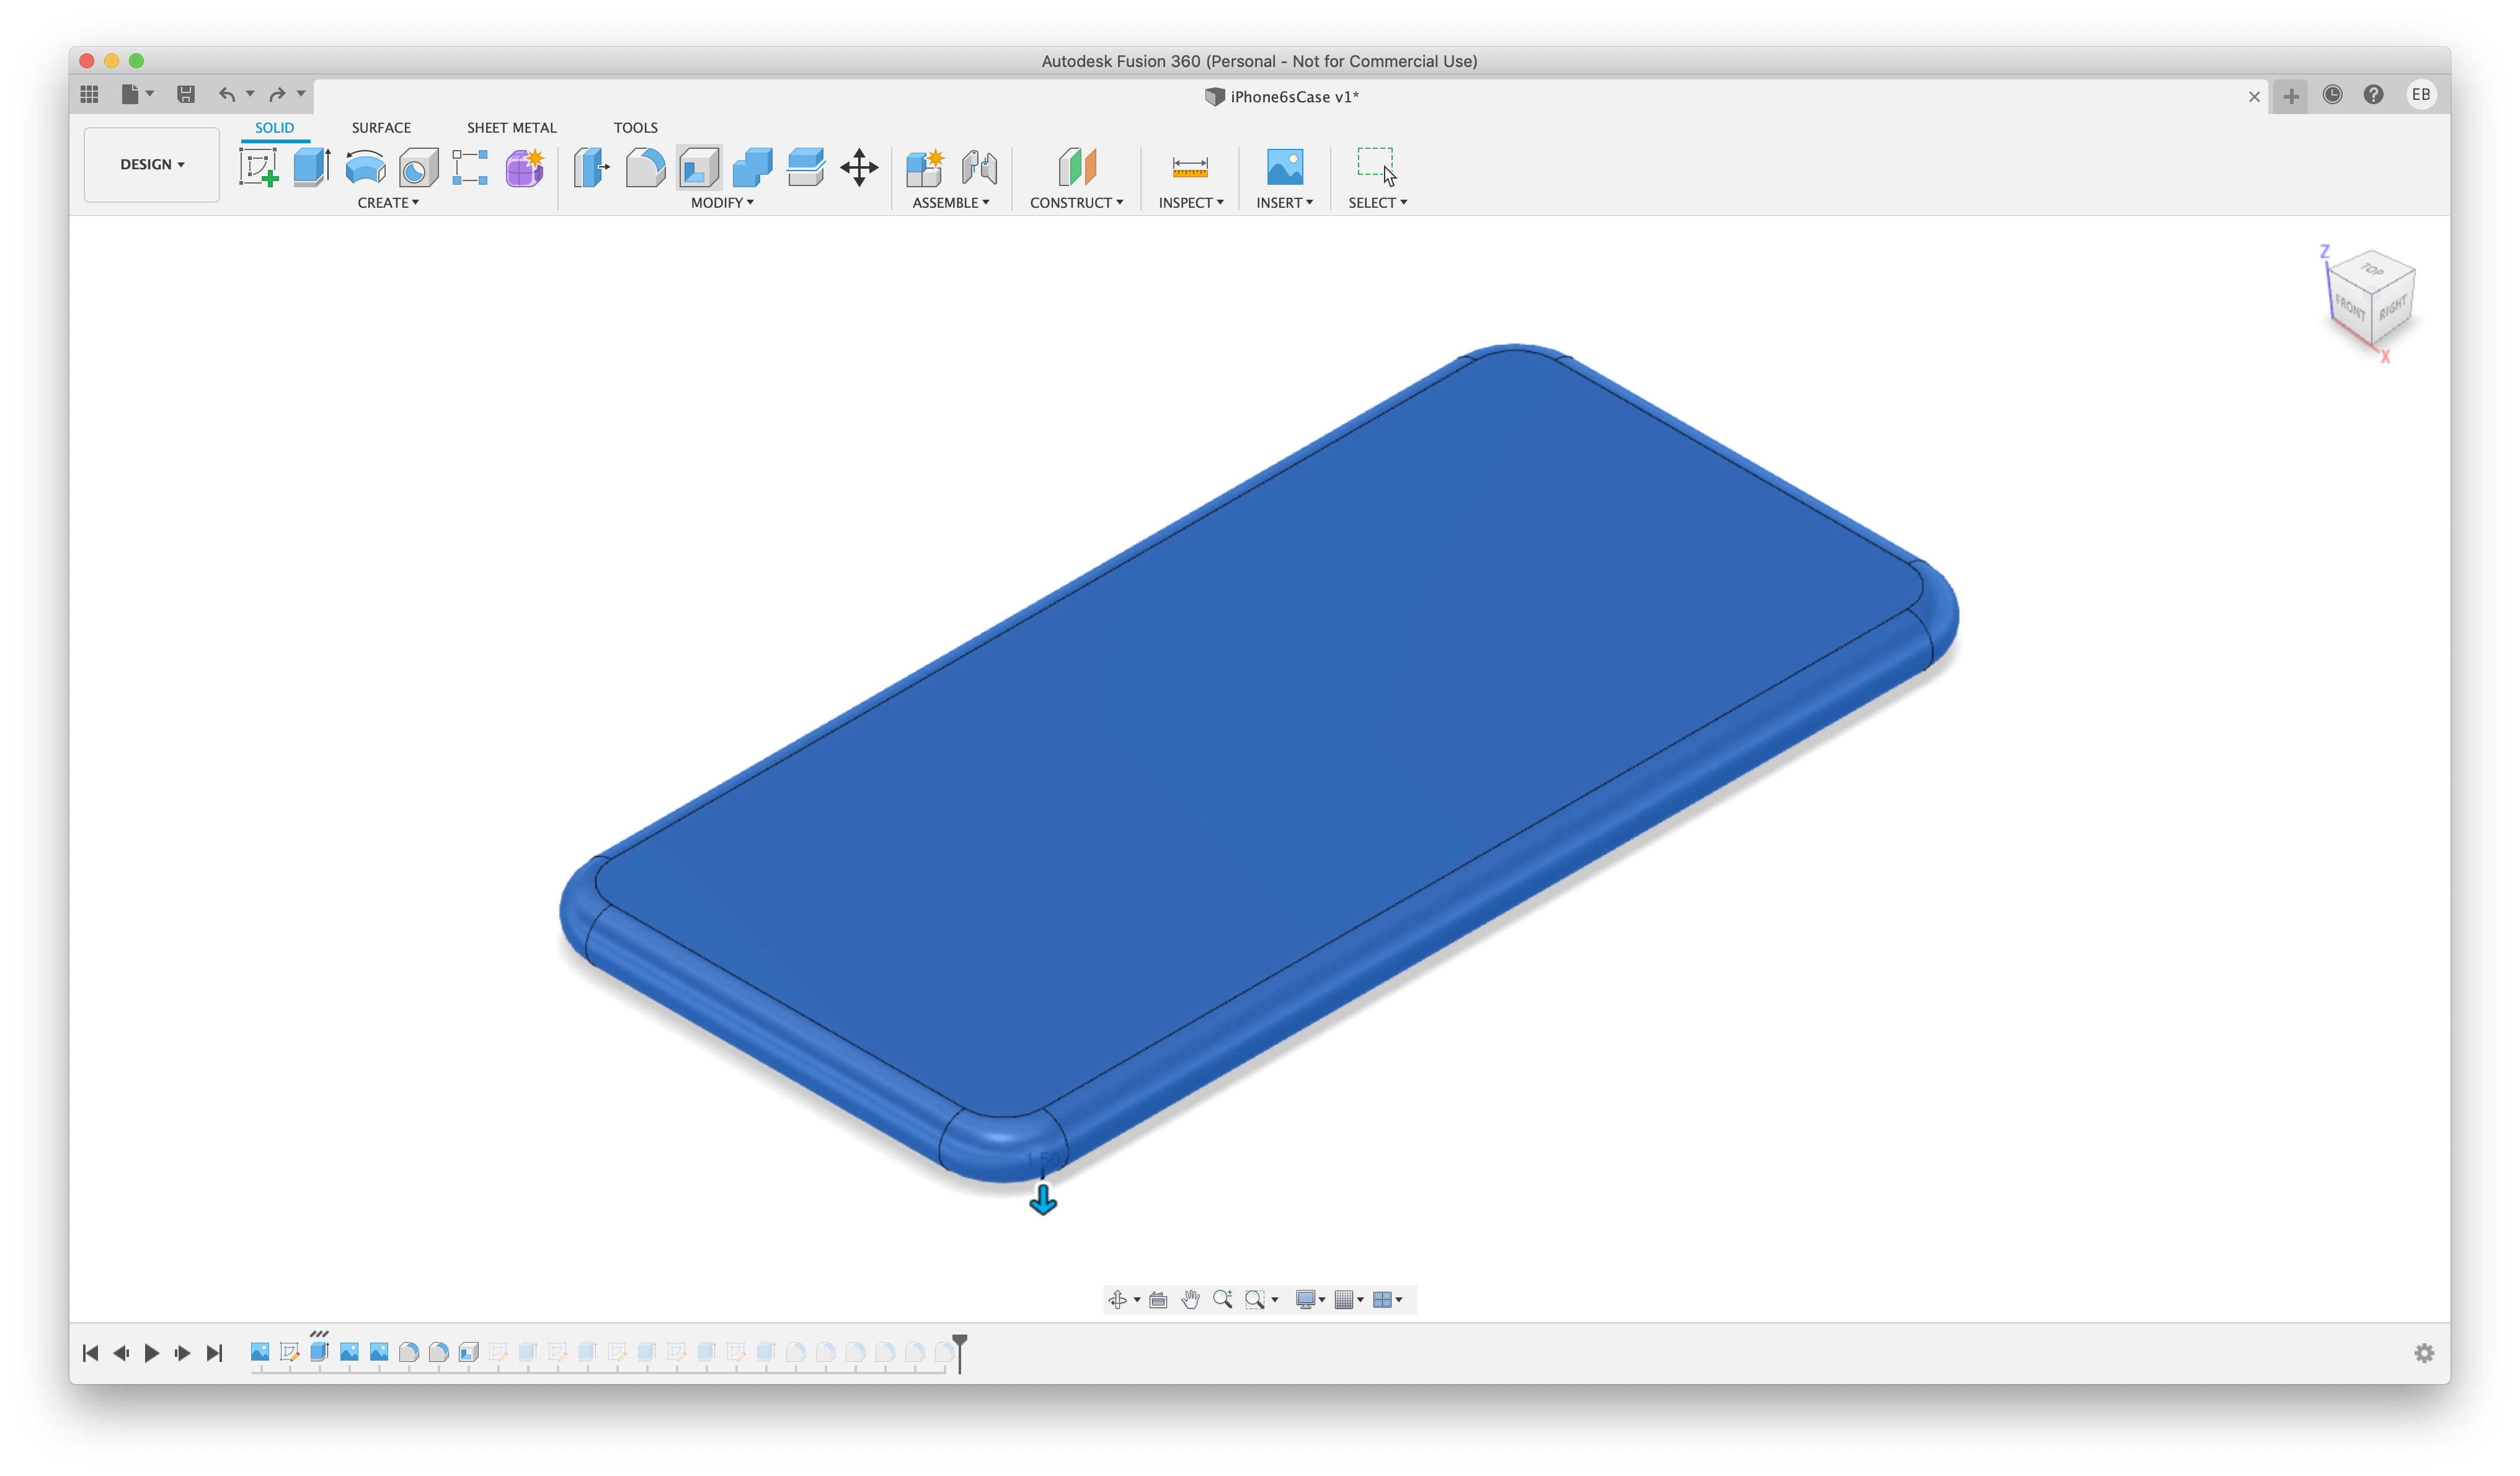
When the phone has been modelled correctly, the case needs to be modelled.
- Select the 'Shell' icon from the TOOLS section
- Select the phone body that has been generated in the previous step
- Change the 'Direction' to 'Outside' and enter the thickness of the case. I keep the case thickness as a user parameter, allowing me to adjust the case thickness if I need a thicker or thinner case.
The phone will look like it enlarges as the shell is added to the body.
Cut the Features
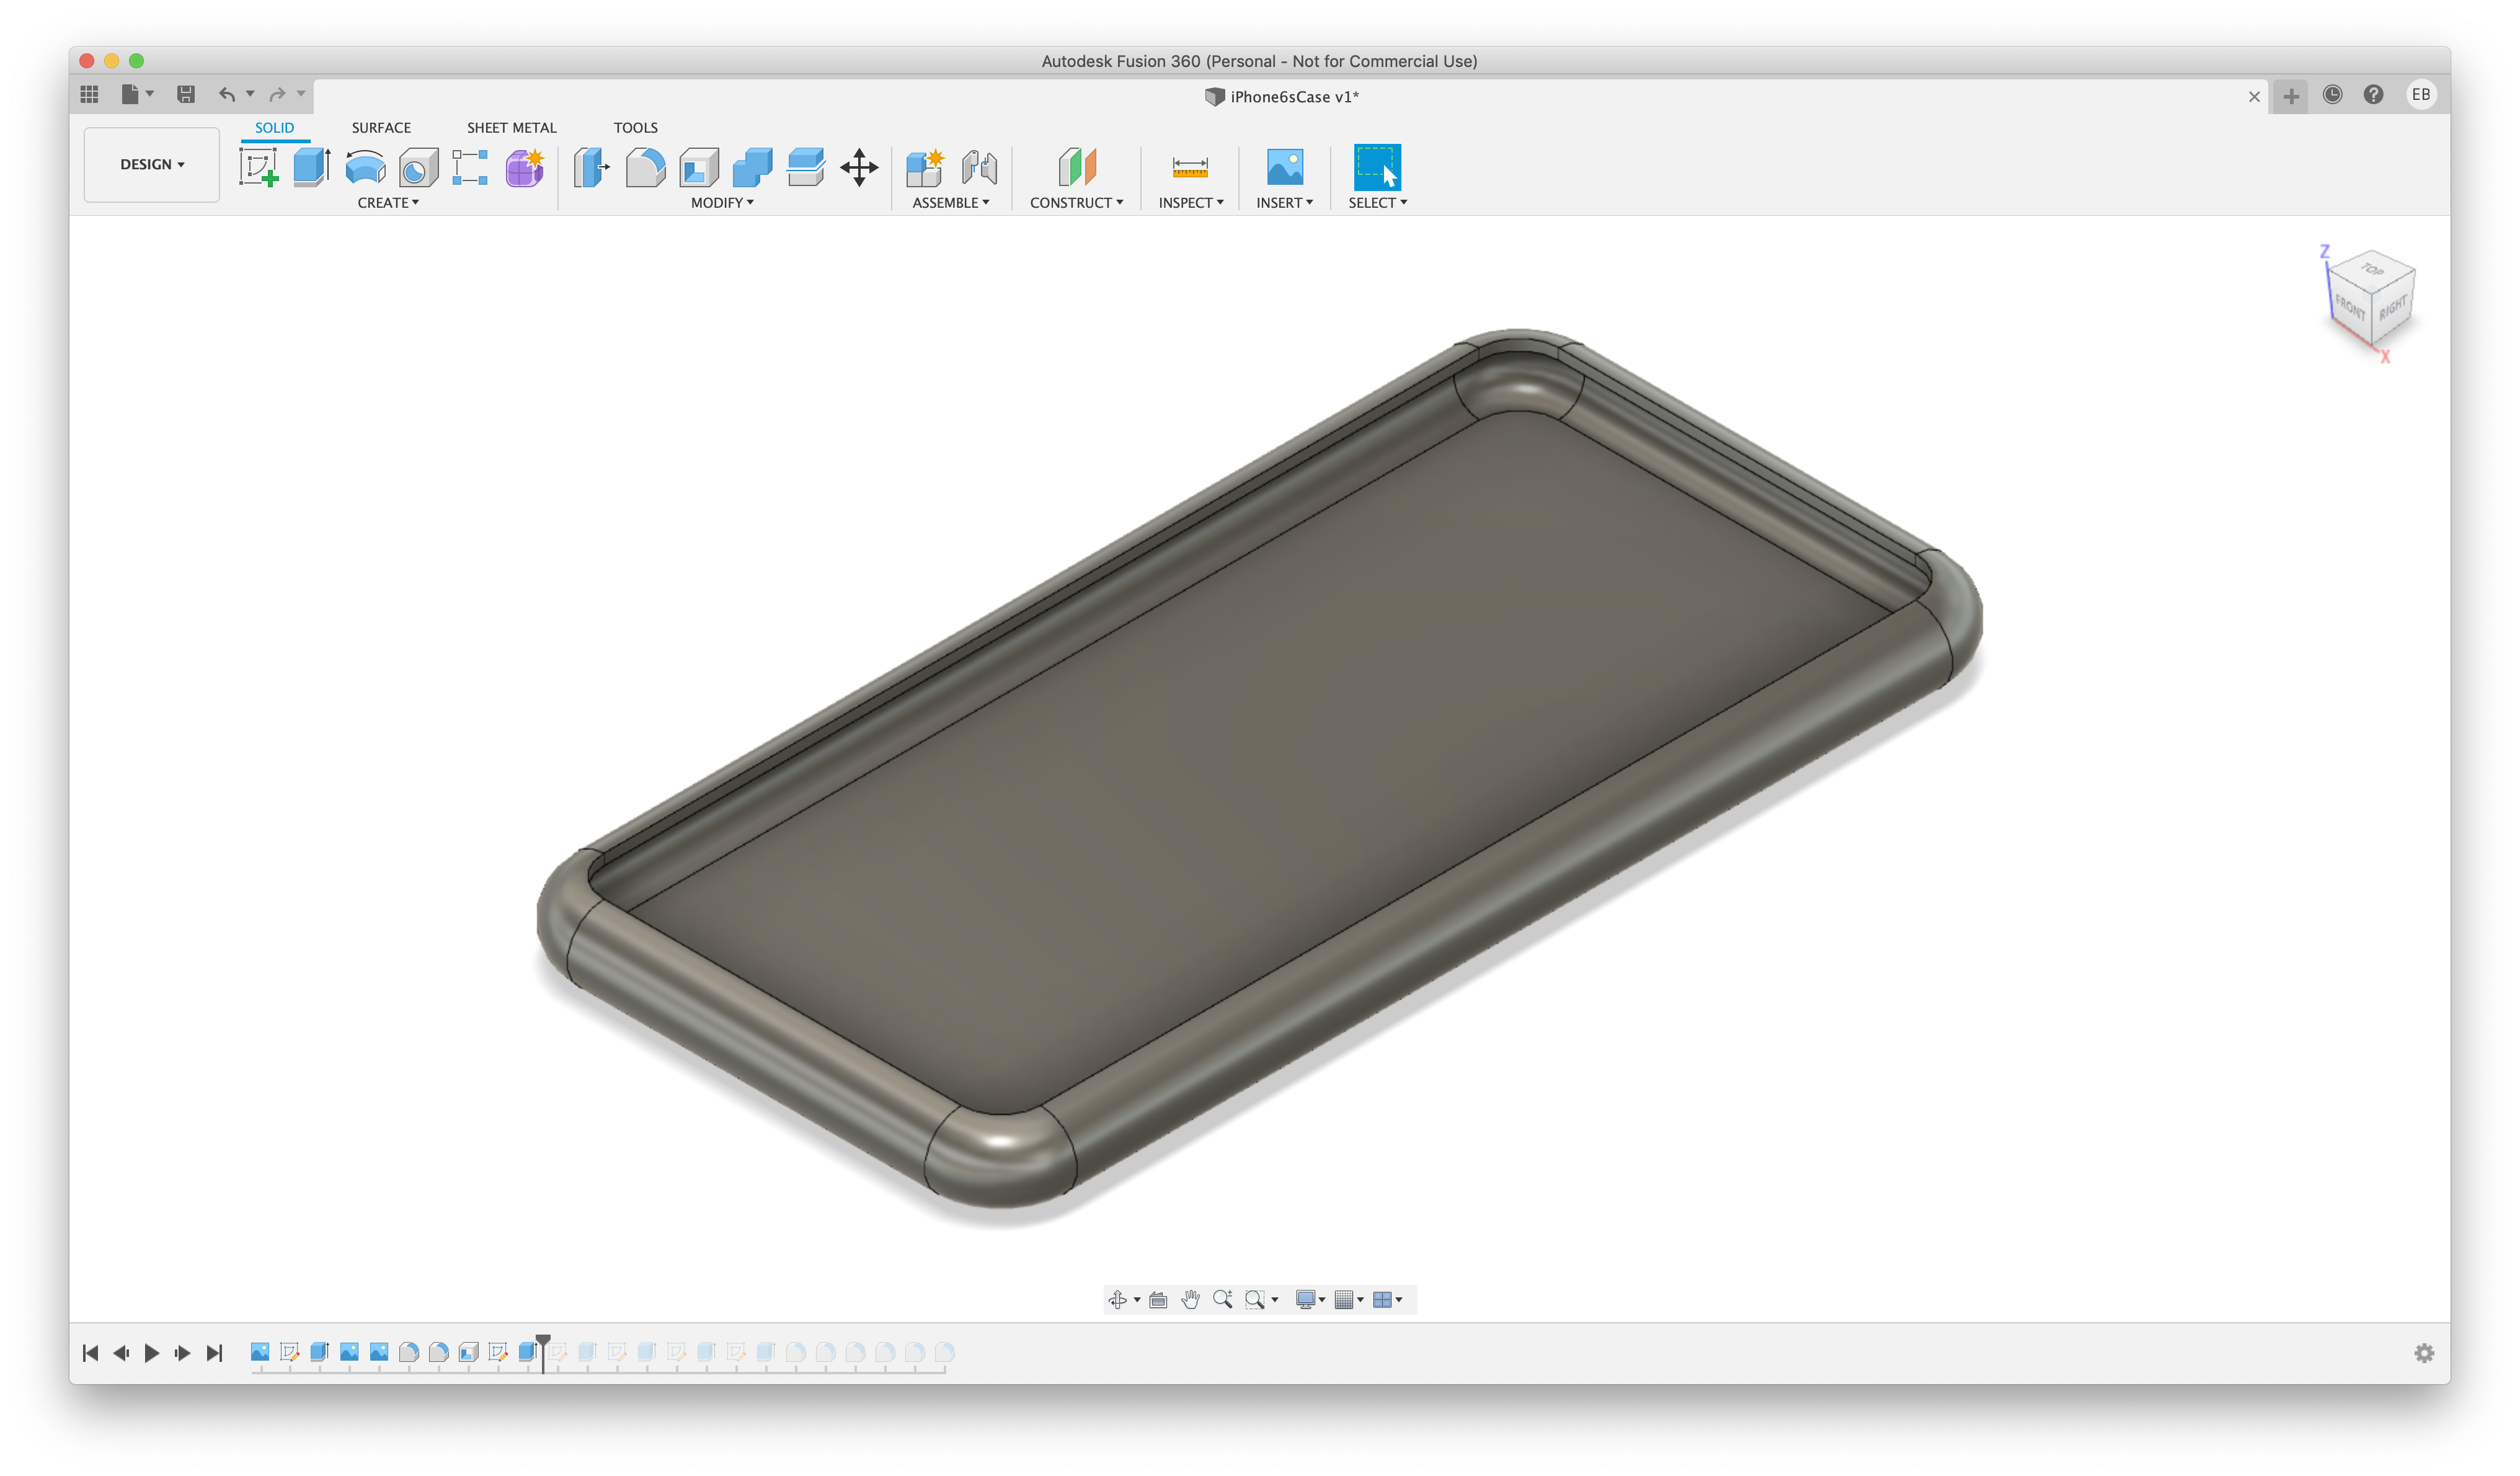

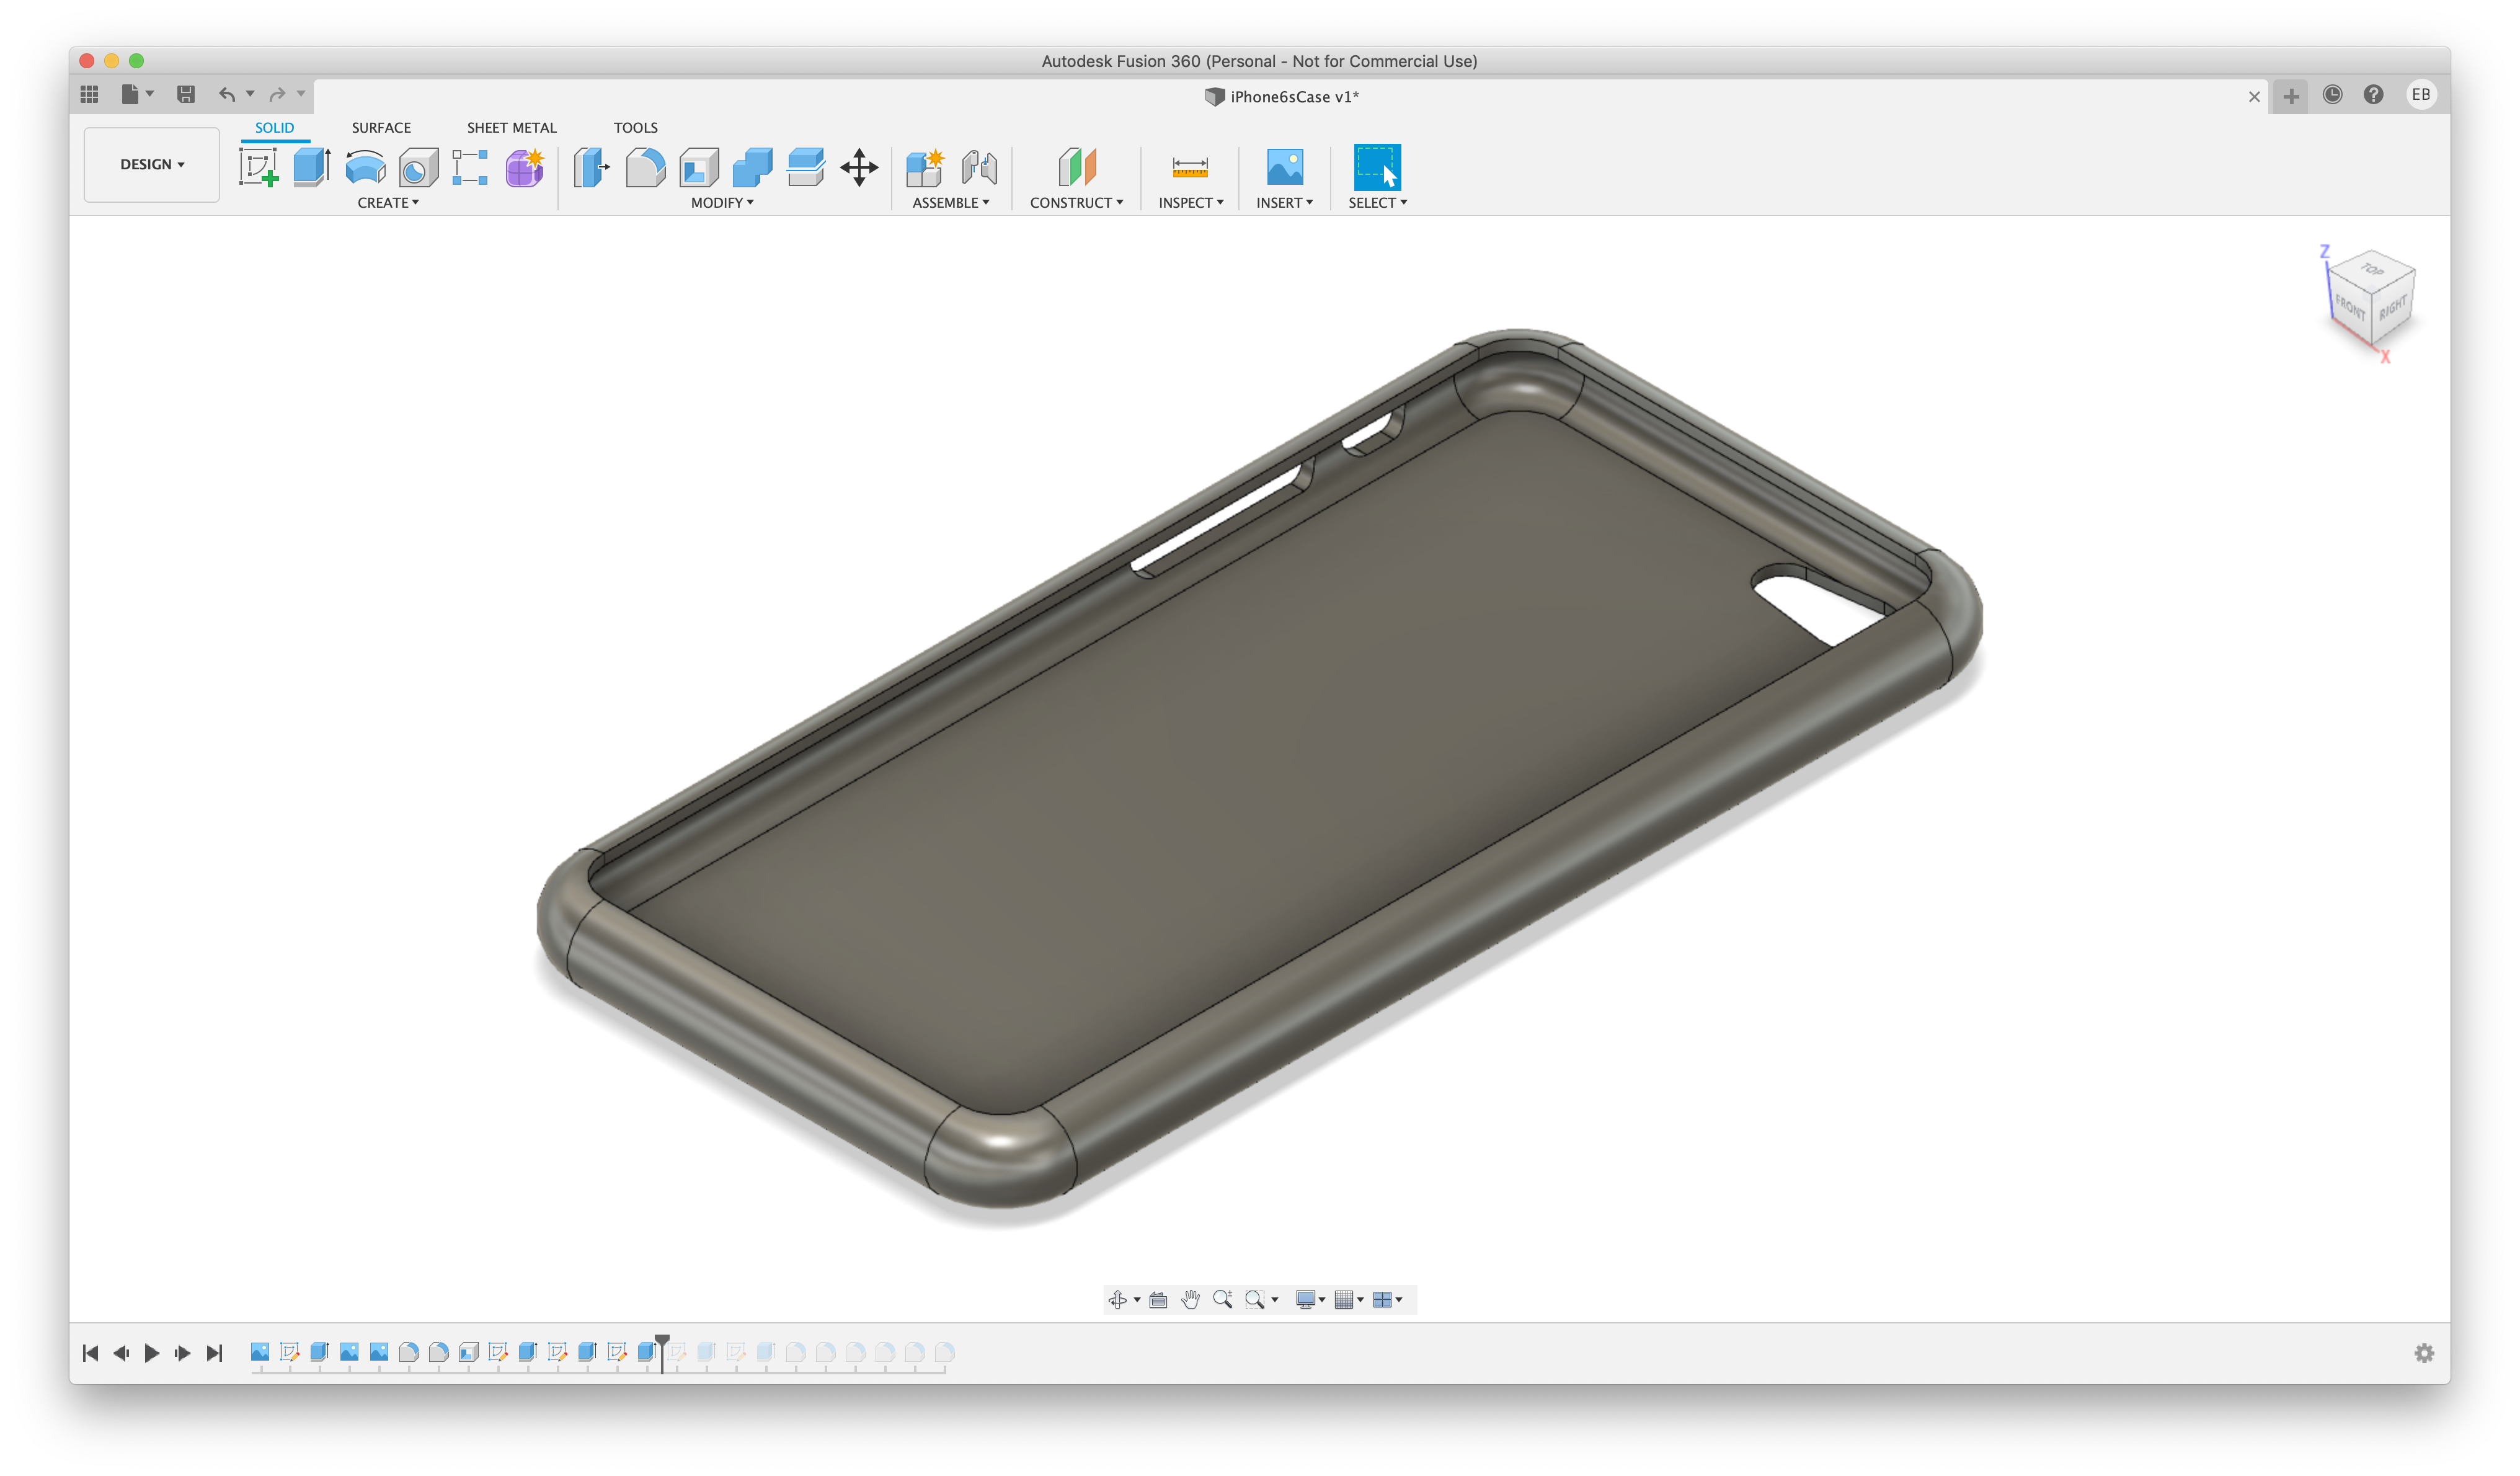
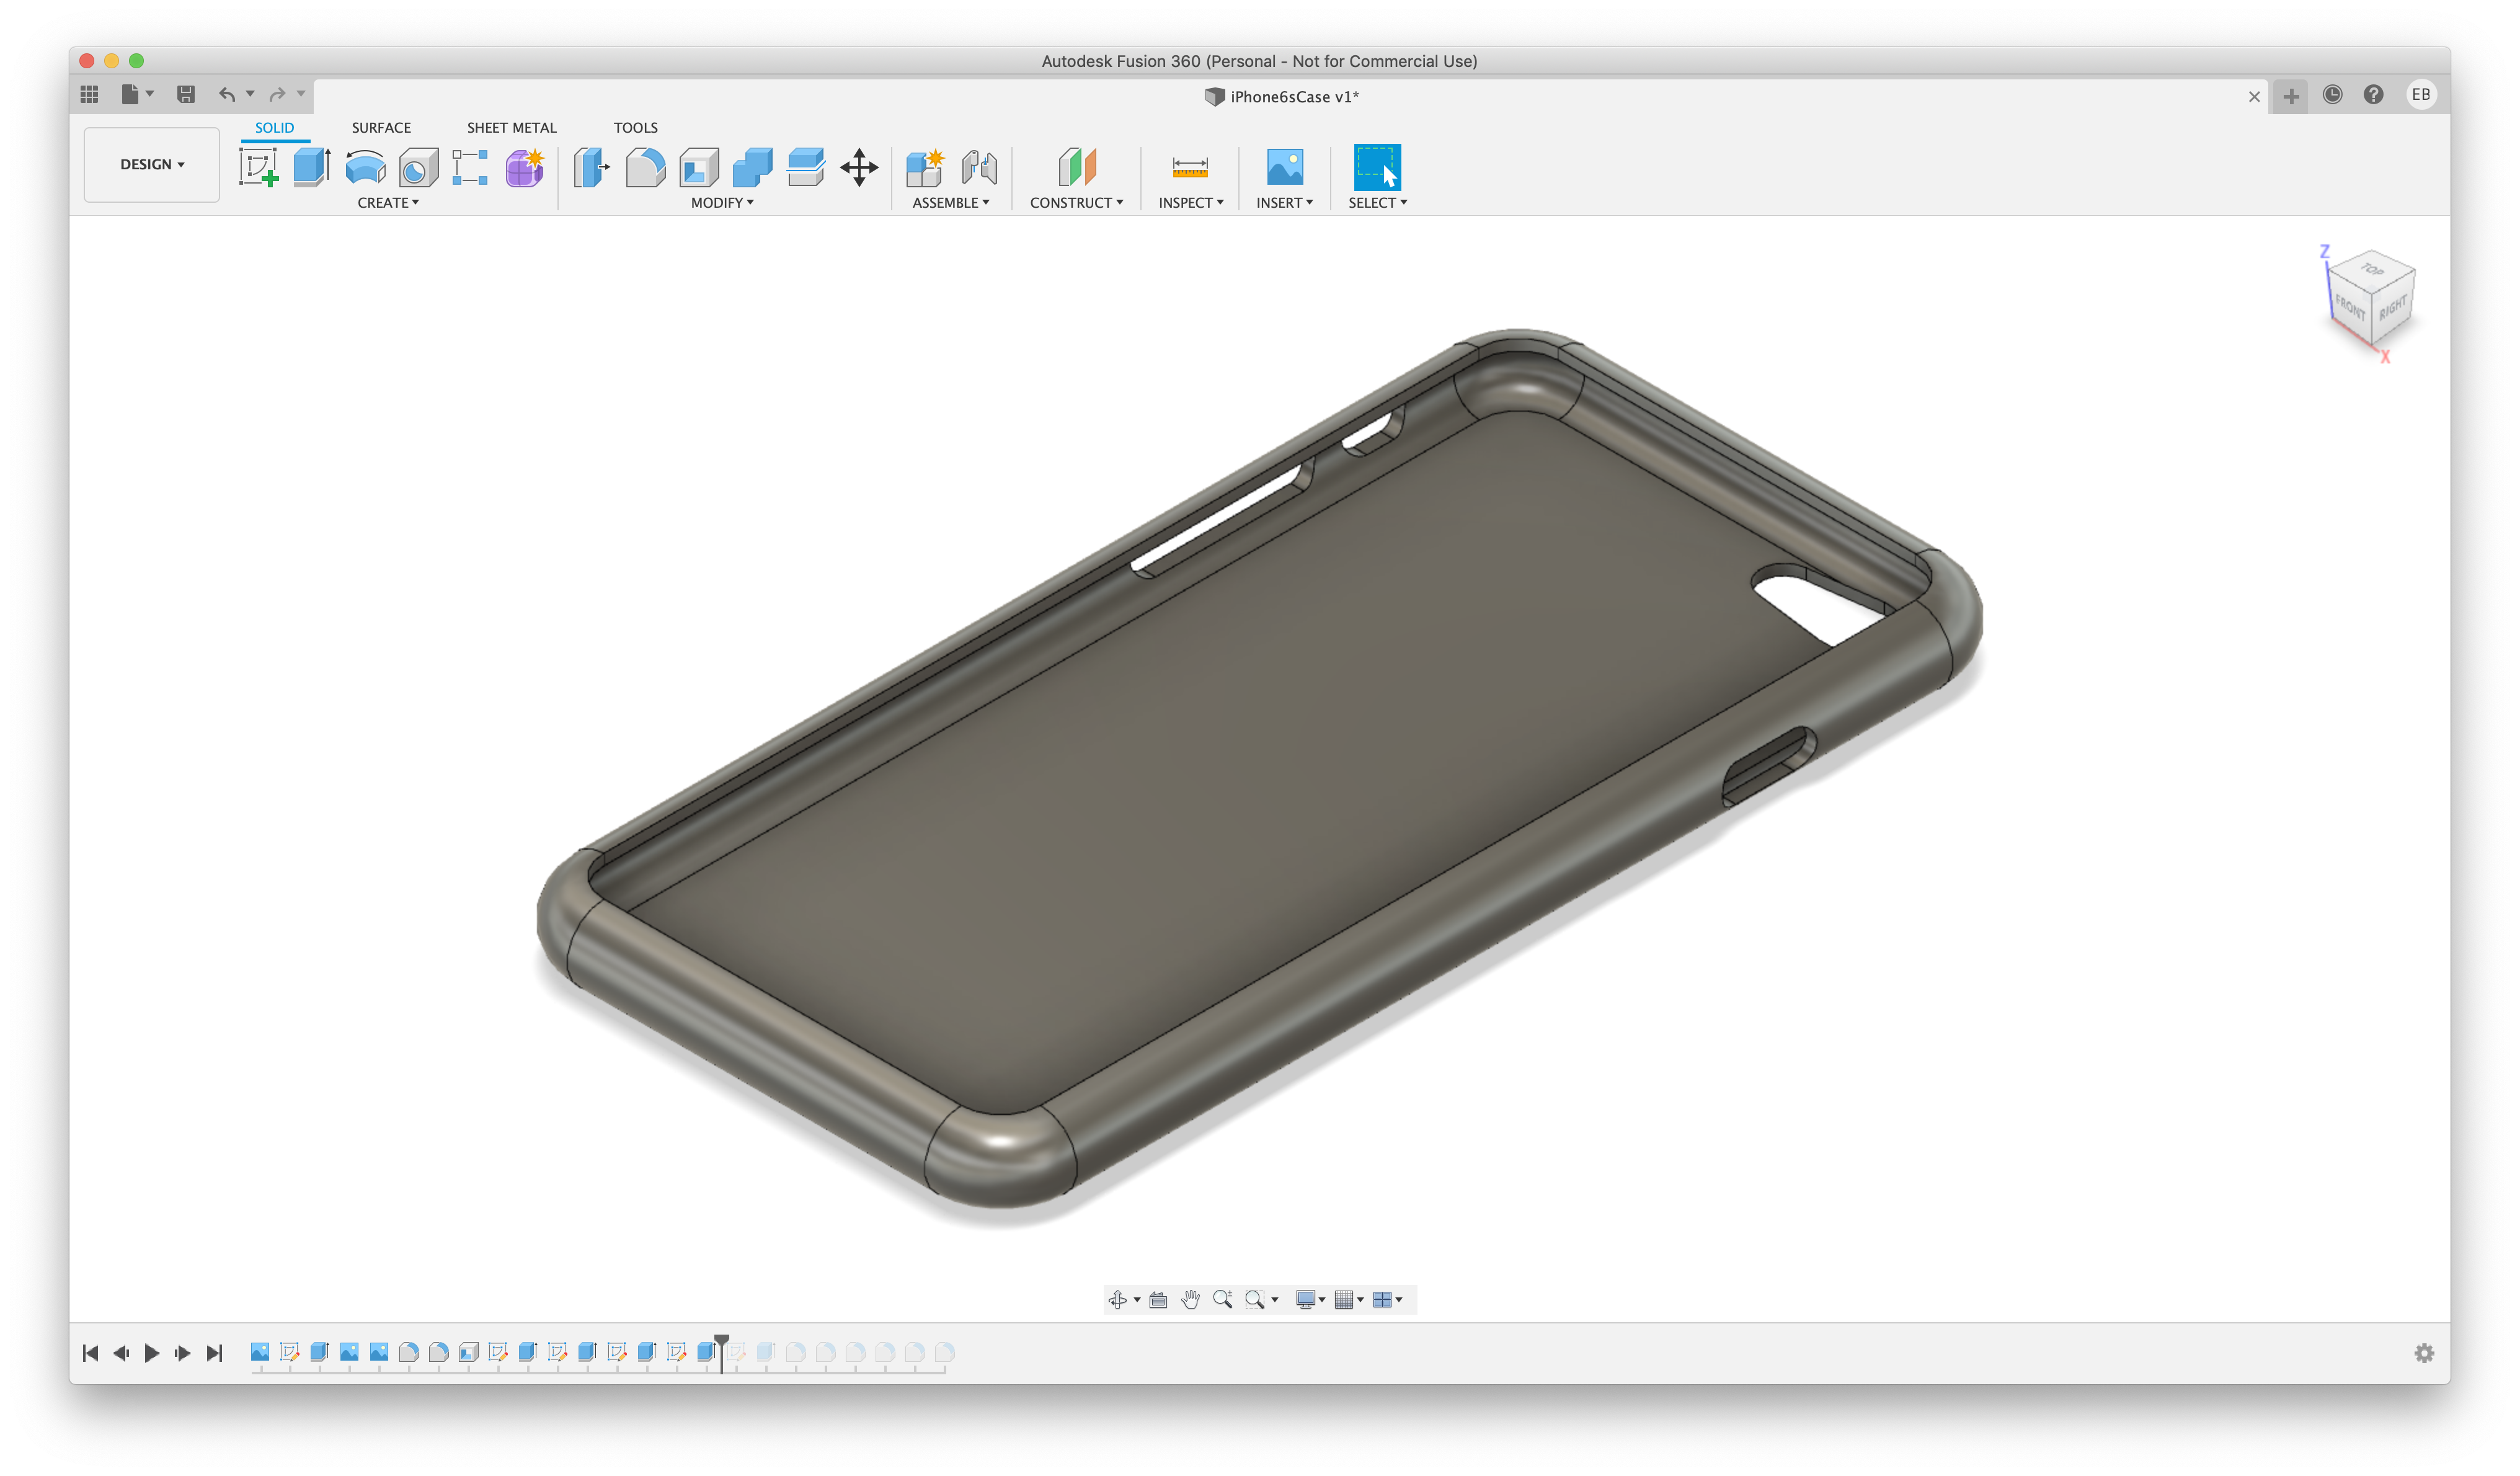
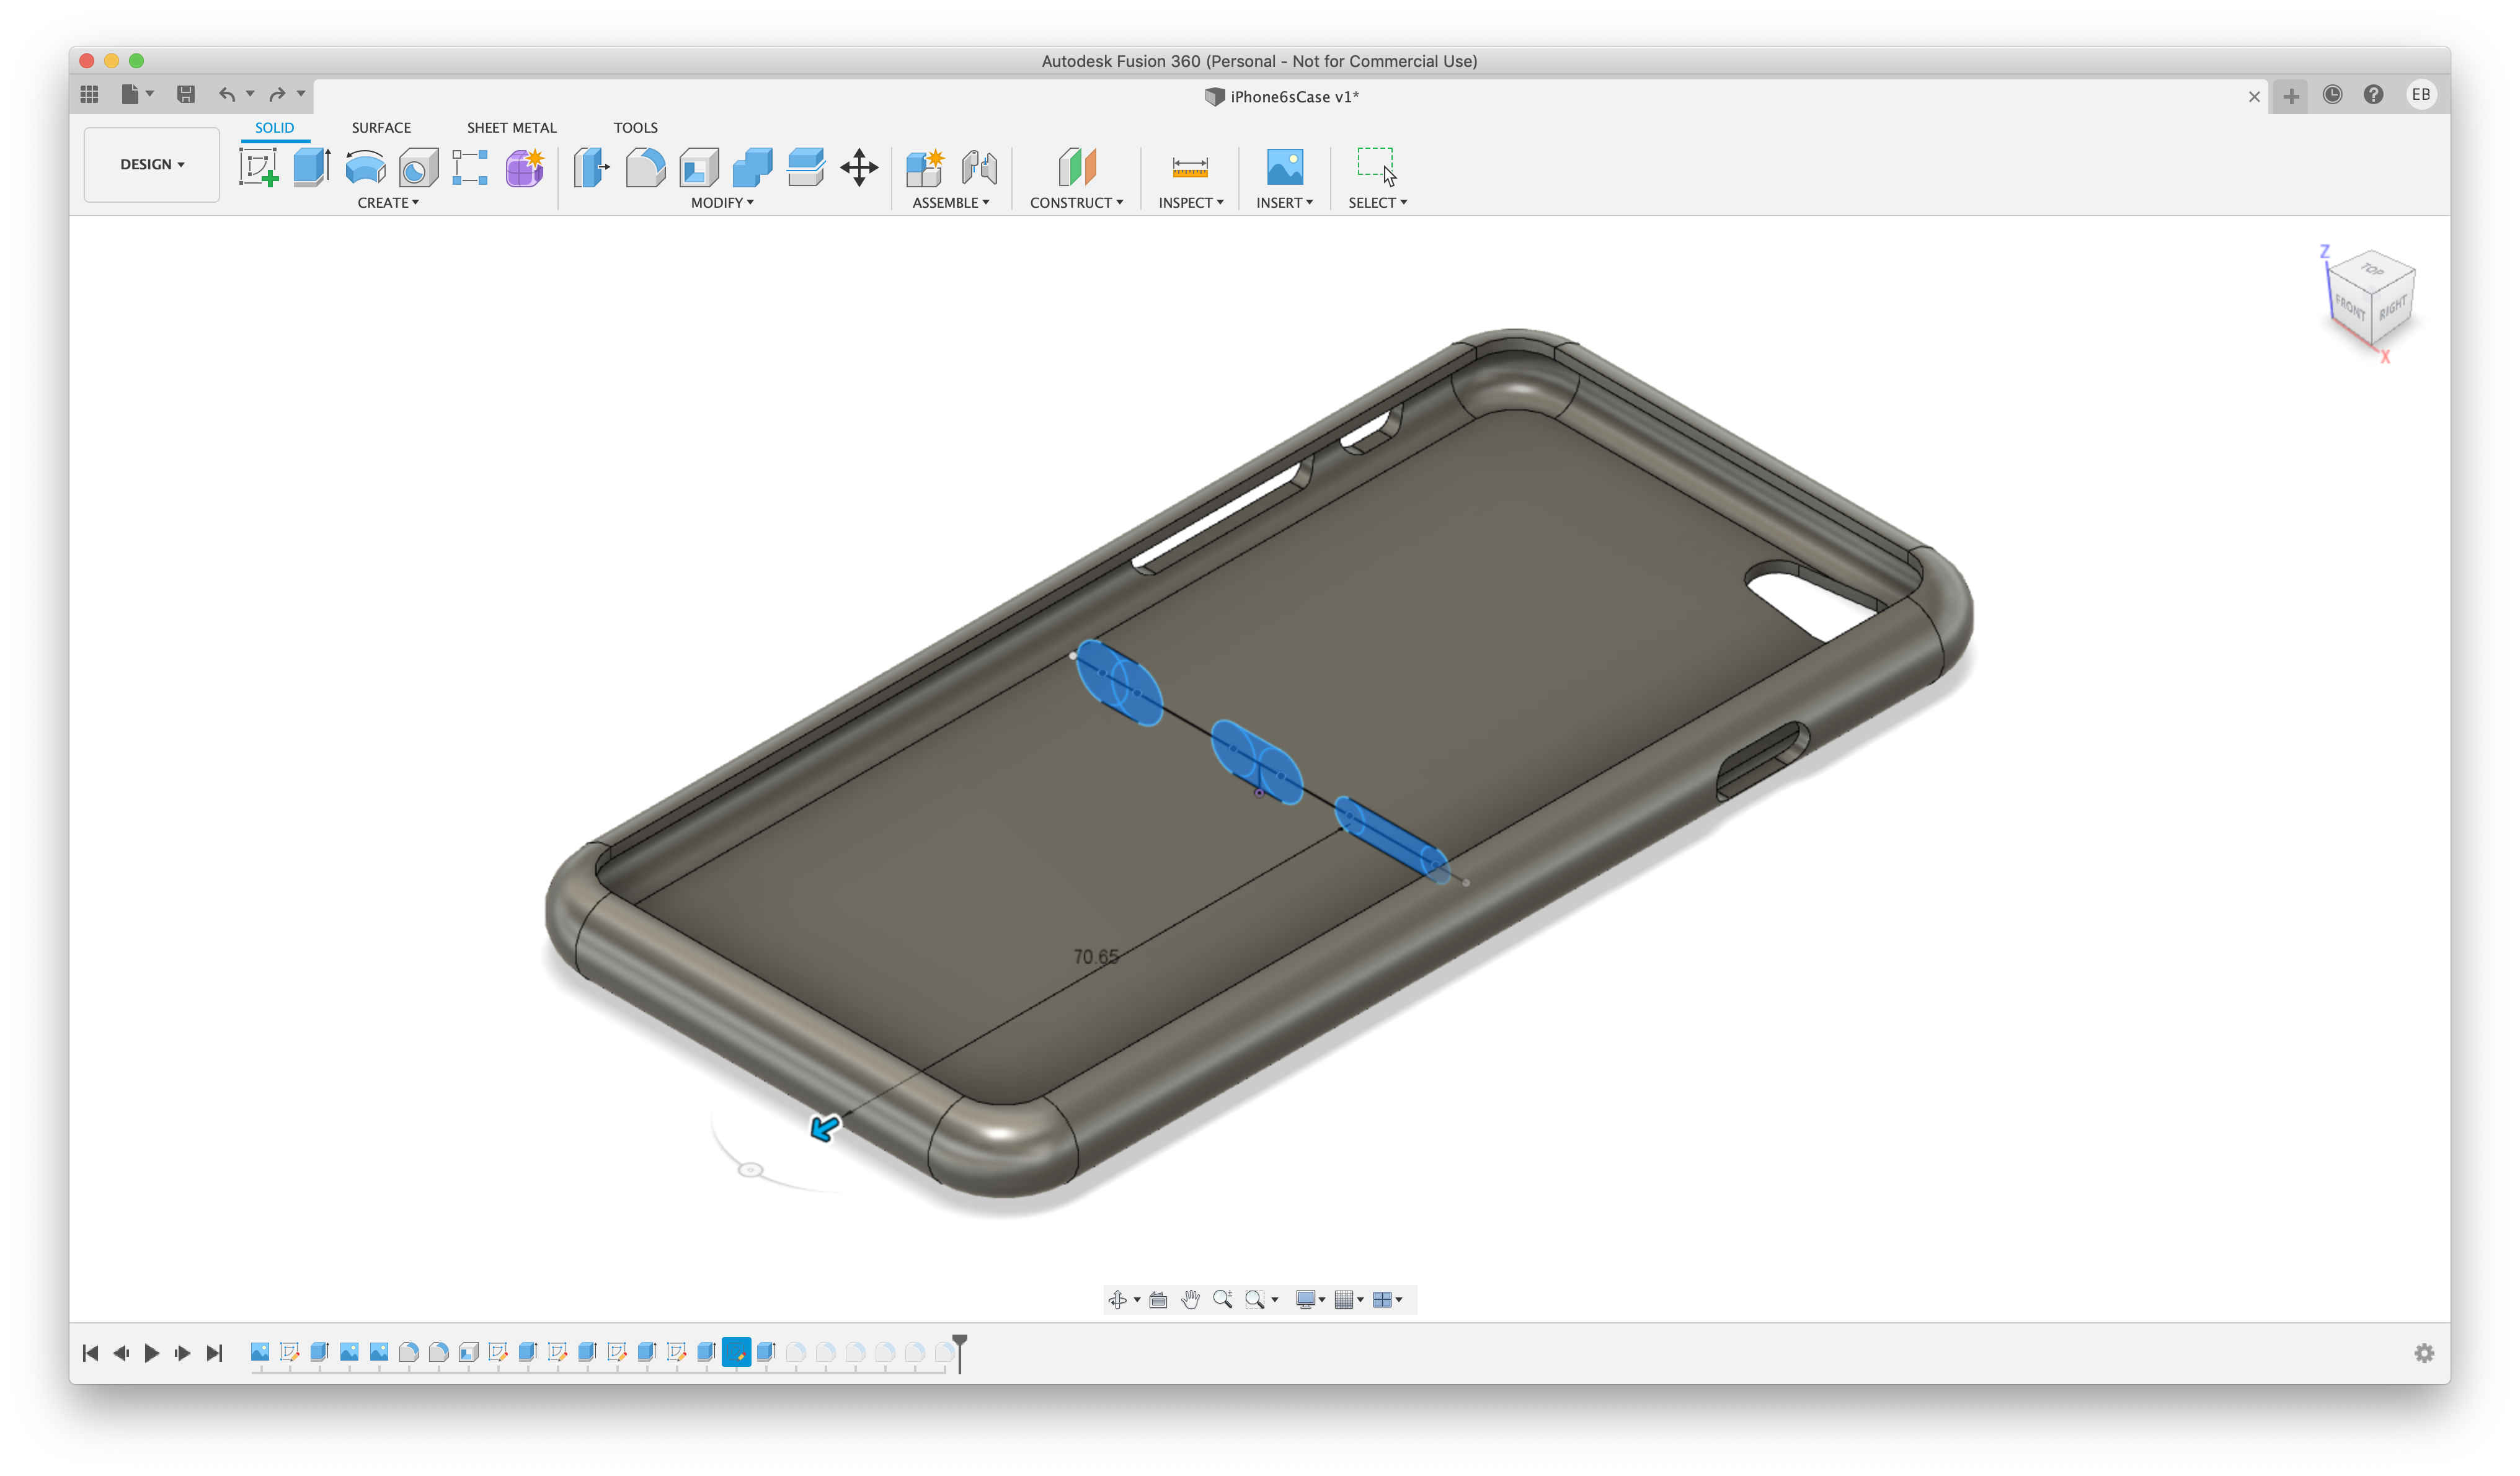
Now we have the case, we need to cut out all of the features of the phone. These features include:
- Front face
- Camera
- Volume buttons
- Lock button
- USB port
- Speakers
- Mic
- 3.5 mm jack
Not all phones have all of these features, but the techniques are the same for all of the items:
- Create a sketch on the appropriate plane
- Draw the cut out as required using lines, rectangles, circles
- Select the sketch shapes that need to be extruded
- Extrude the shape in the appropriate direction as a 'Cut' for the appropriate distance.
OPTIONAL - Add a Logo
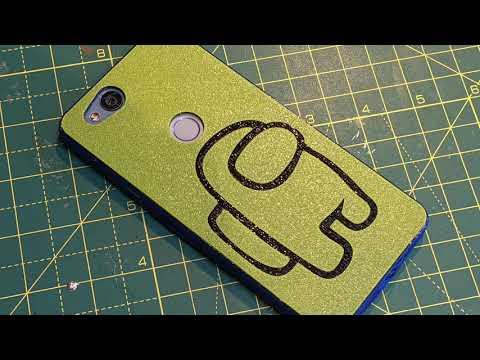
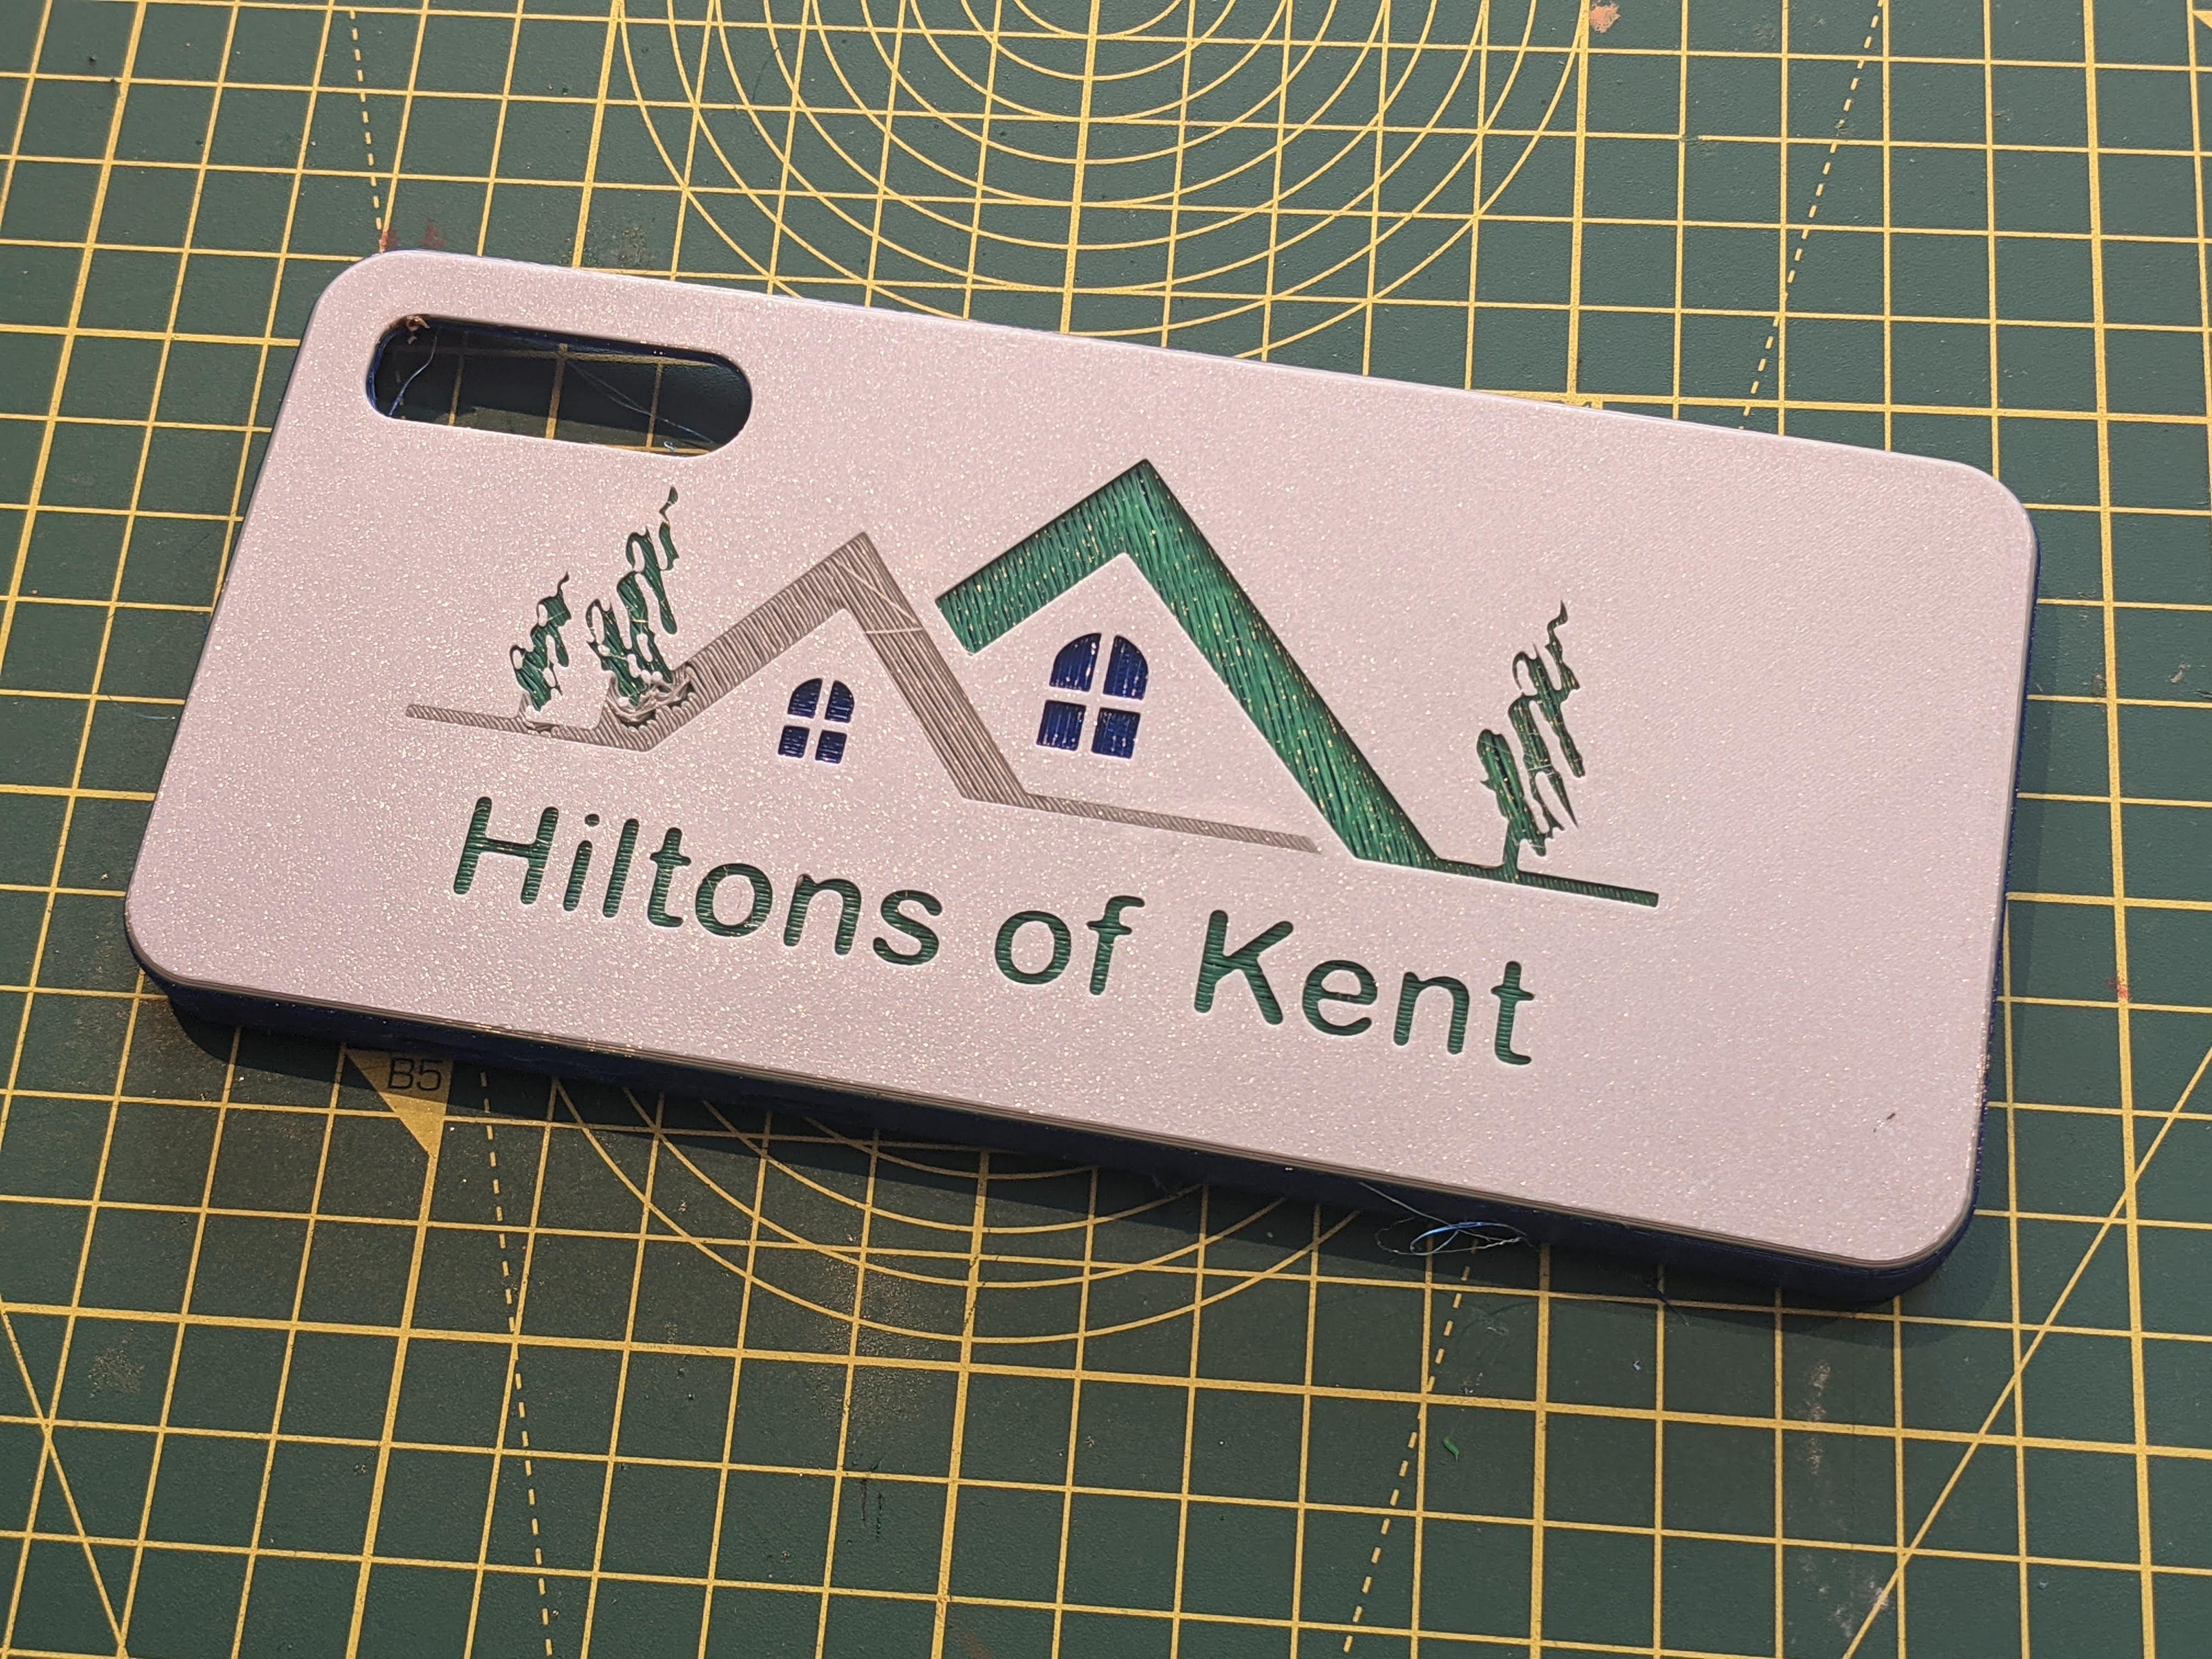
If the phone is flipped over so the bottom is shown, it is possible to add a custom logo.
- Create a new sketch and use the bottom of the phone as the plane
- Optionally, import an image with the logo
- Using the sketch functions, trace or design the image
- Extrude the sketch for a small amount (in multiples of 0.2mm for 3D printing) as a CUT into the model
3D Printing the Model
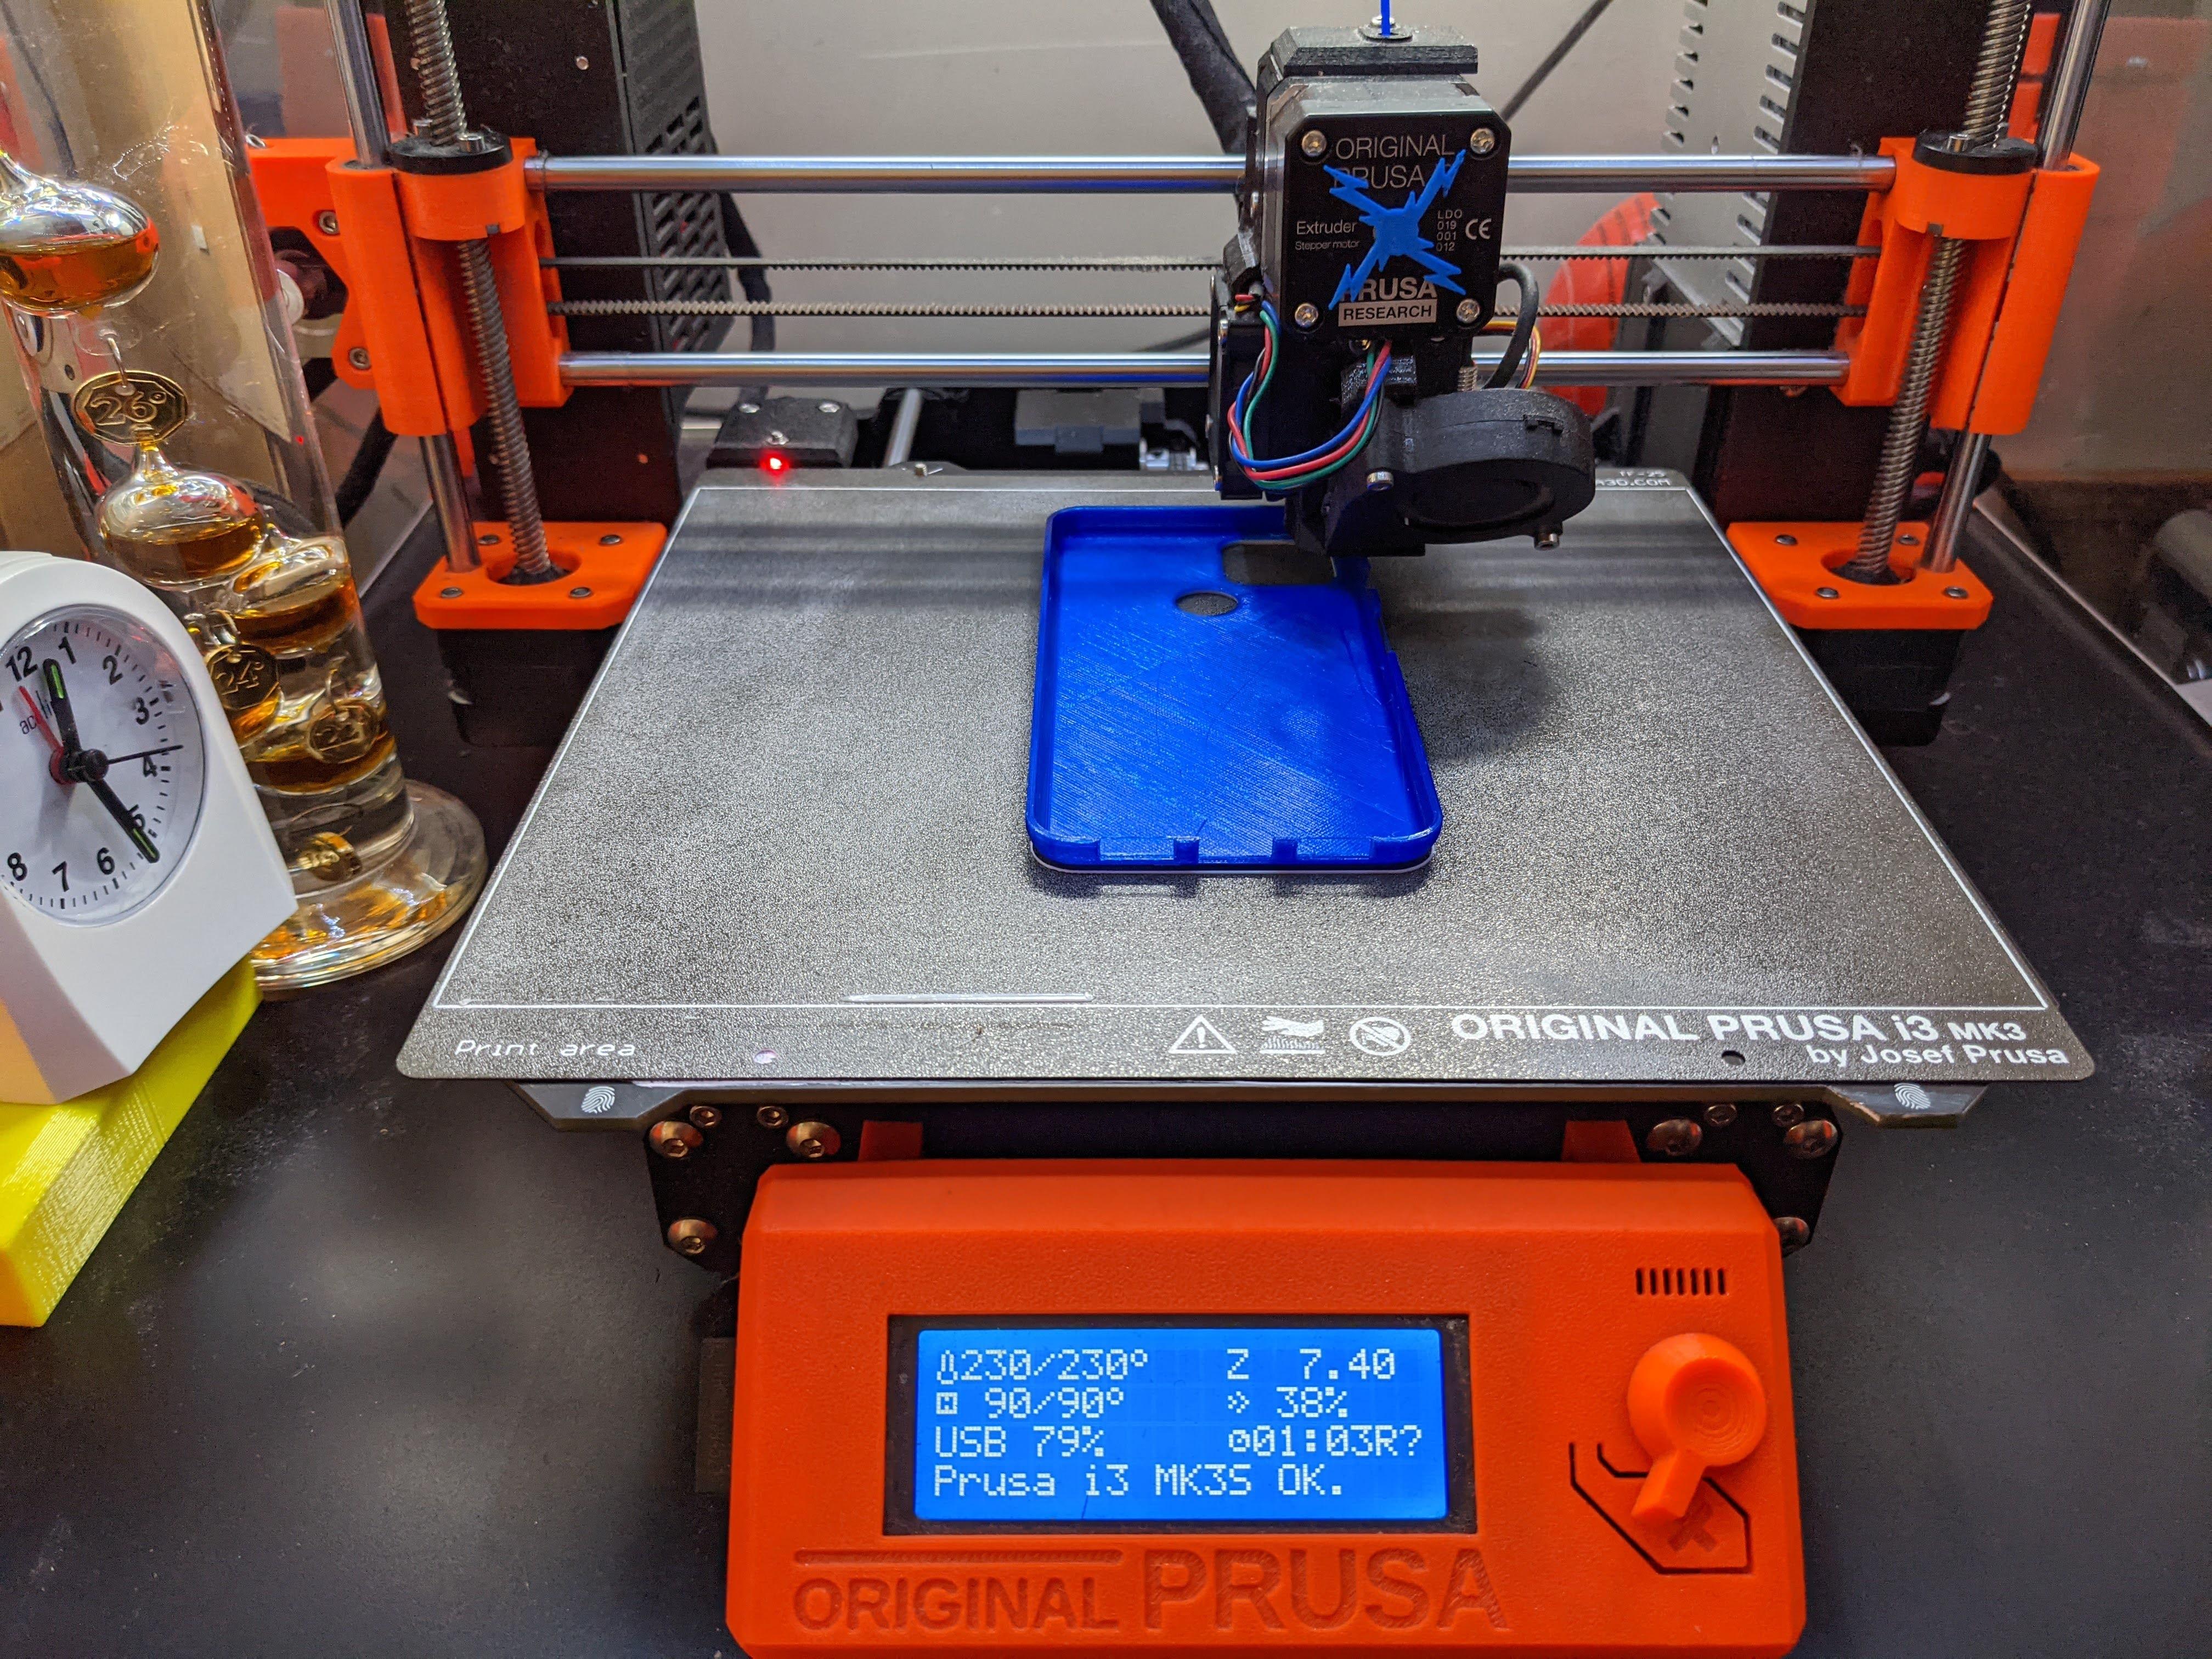
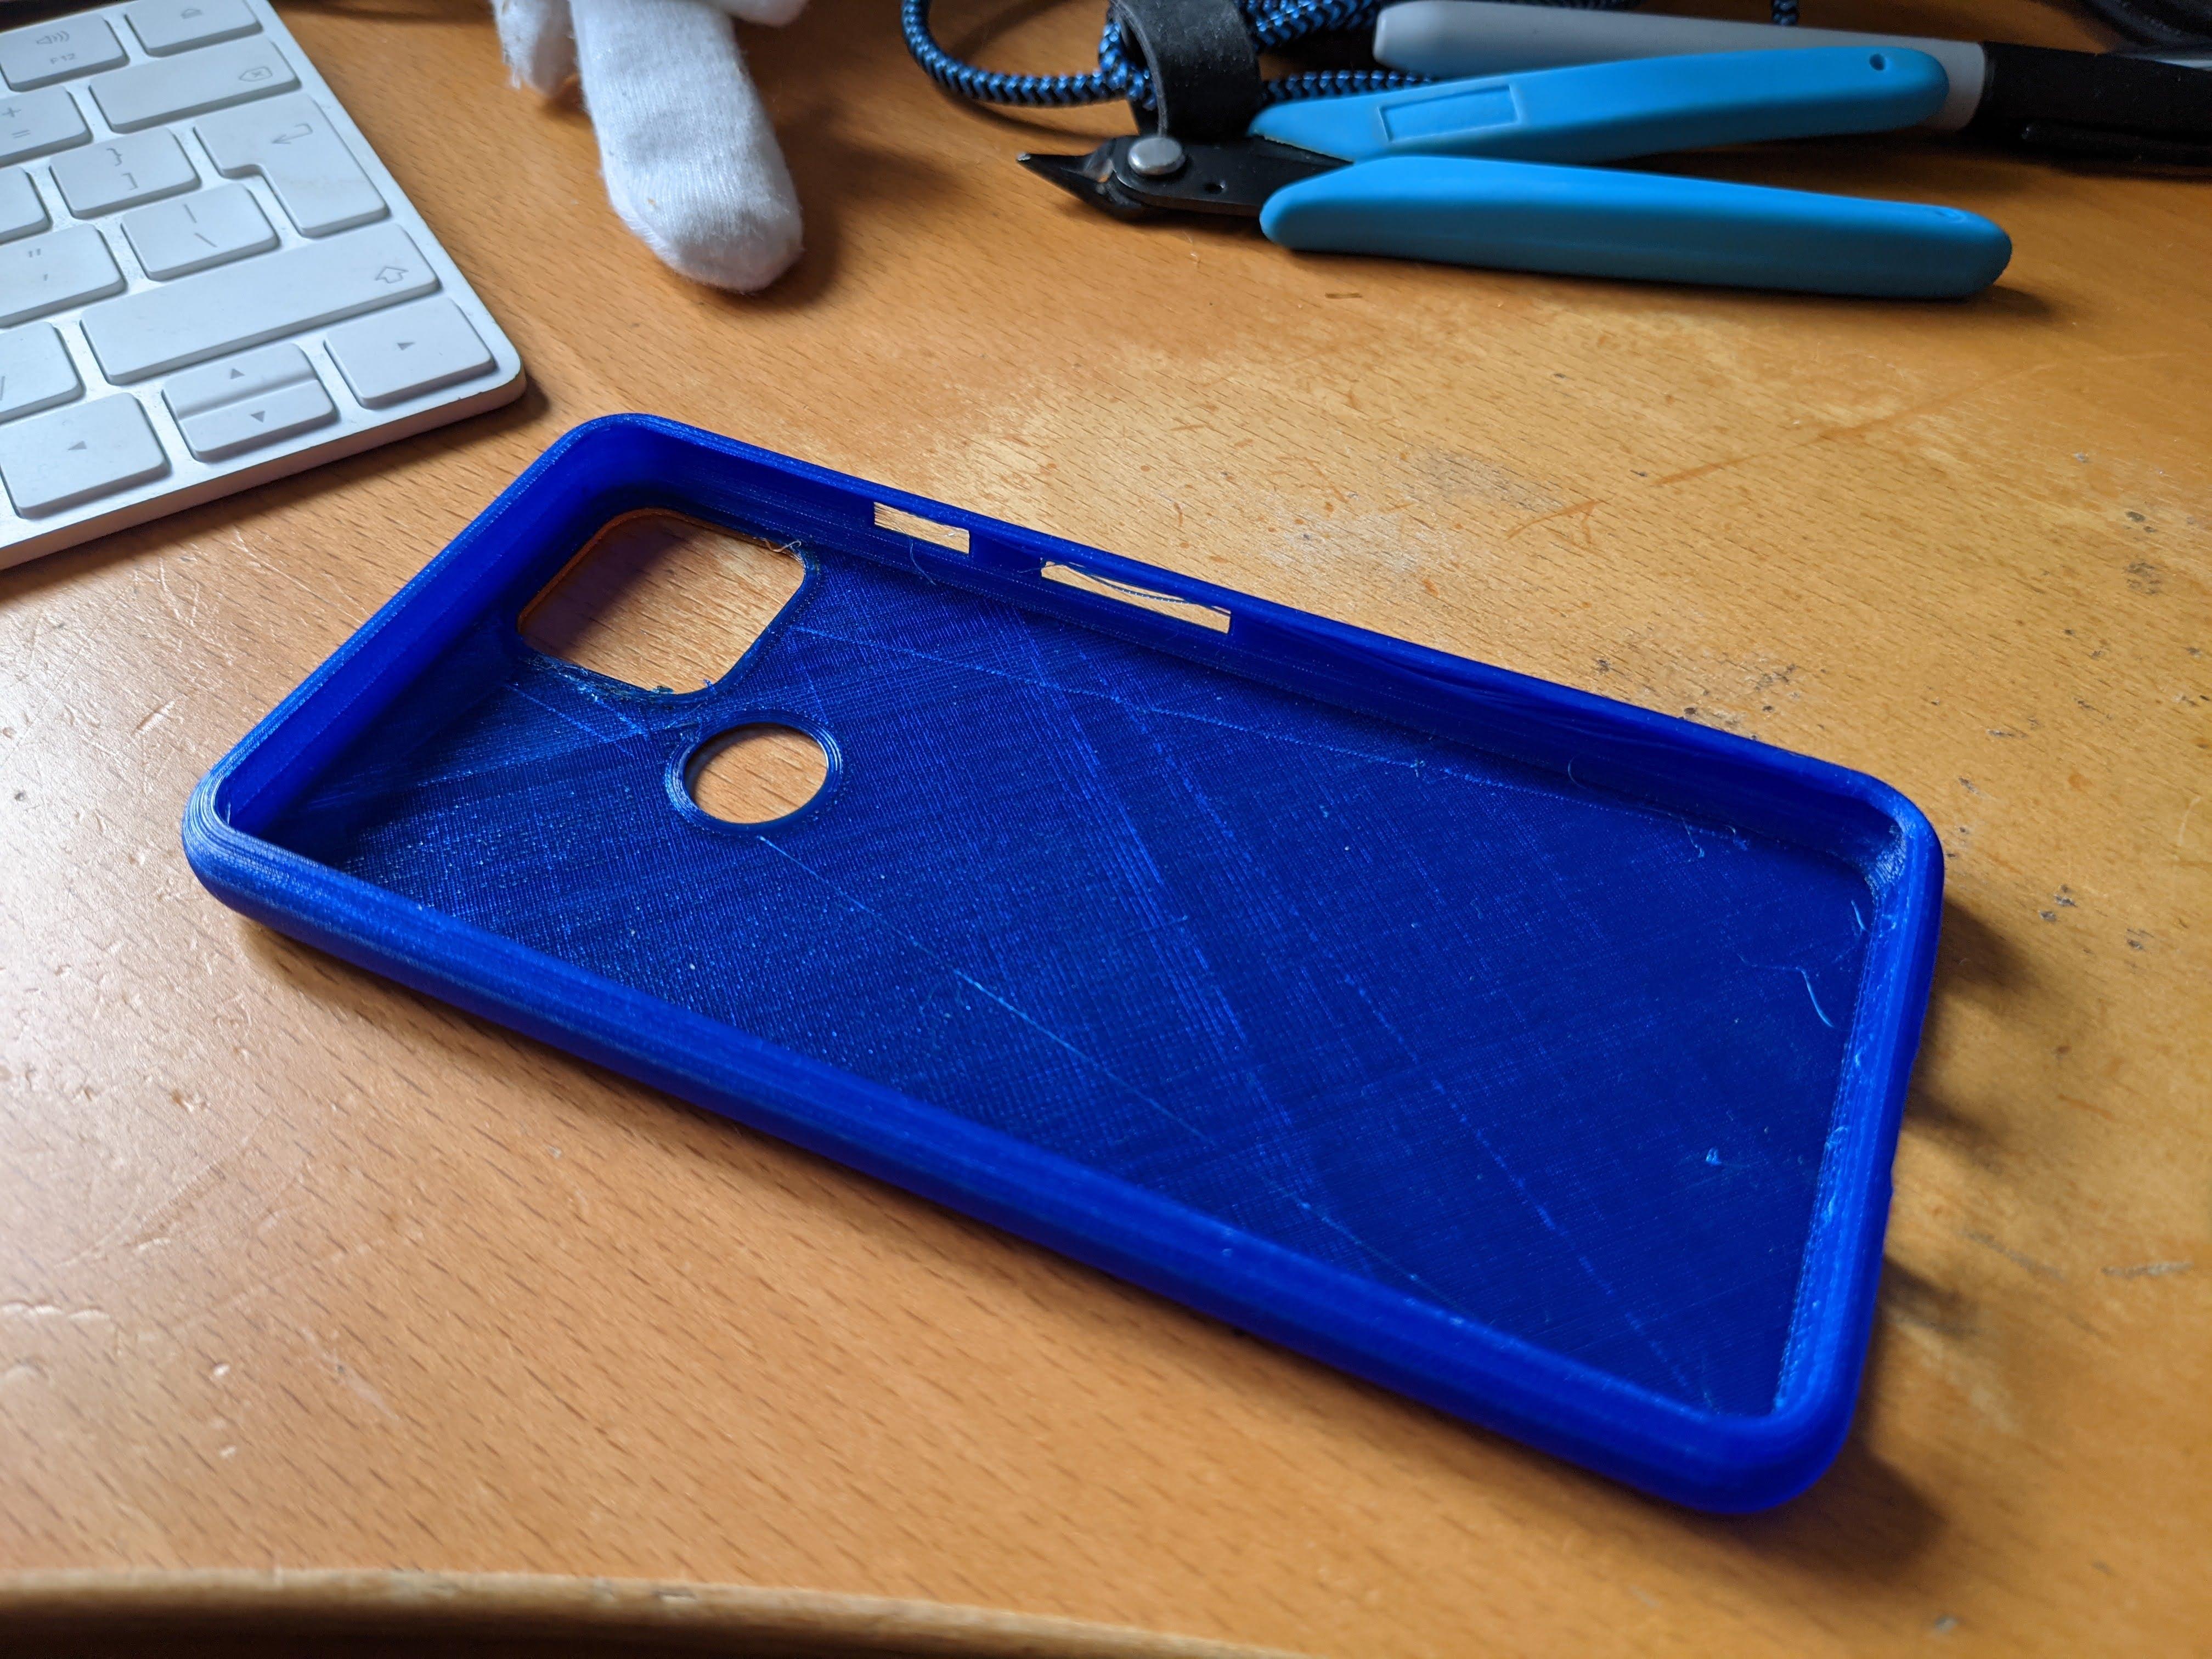
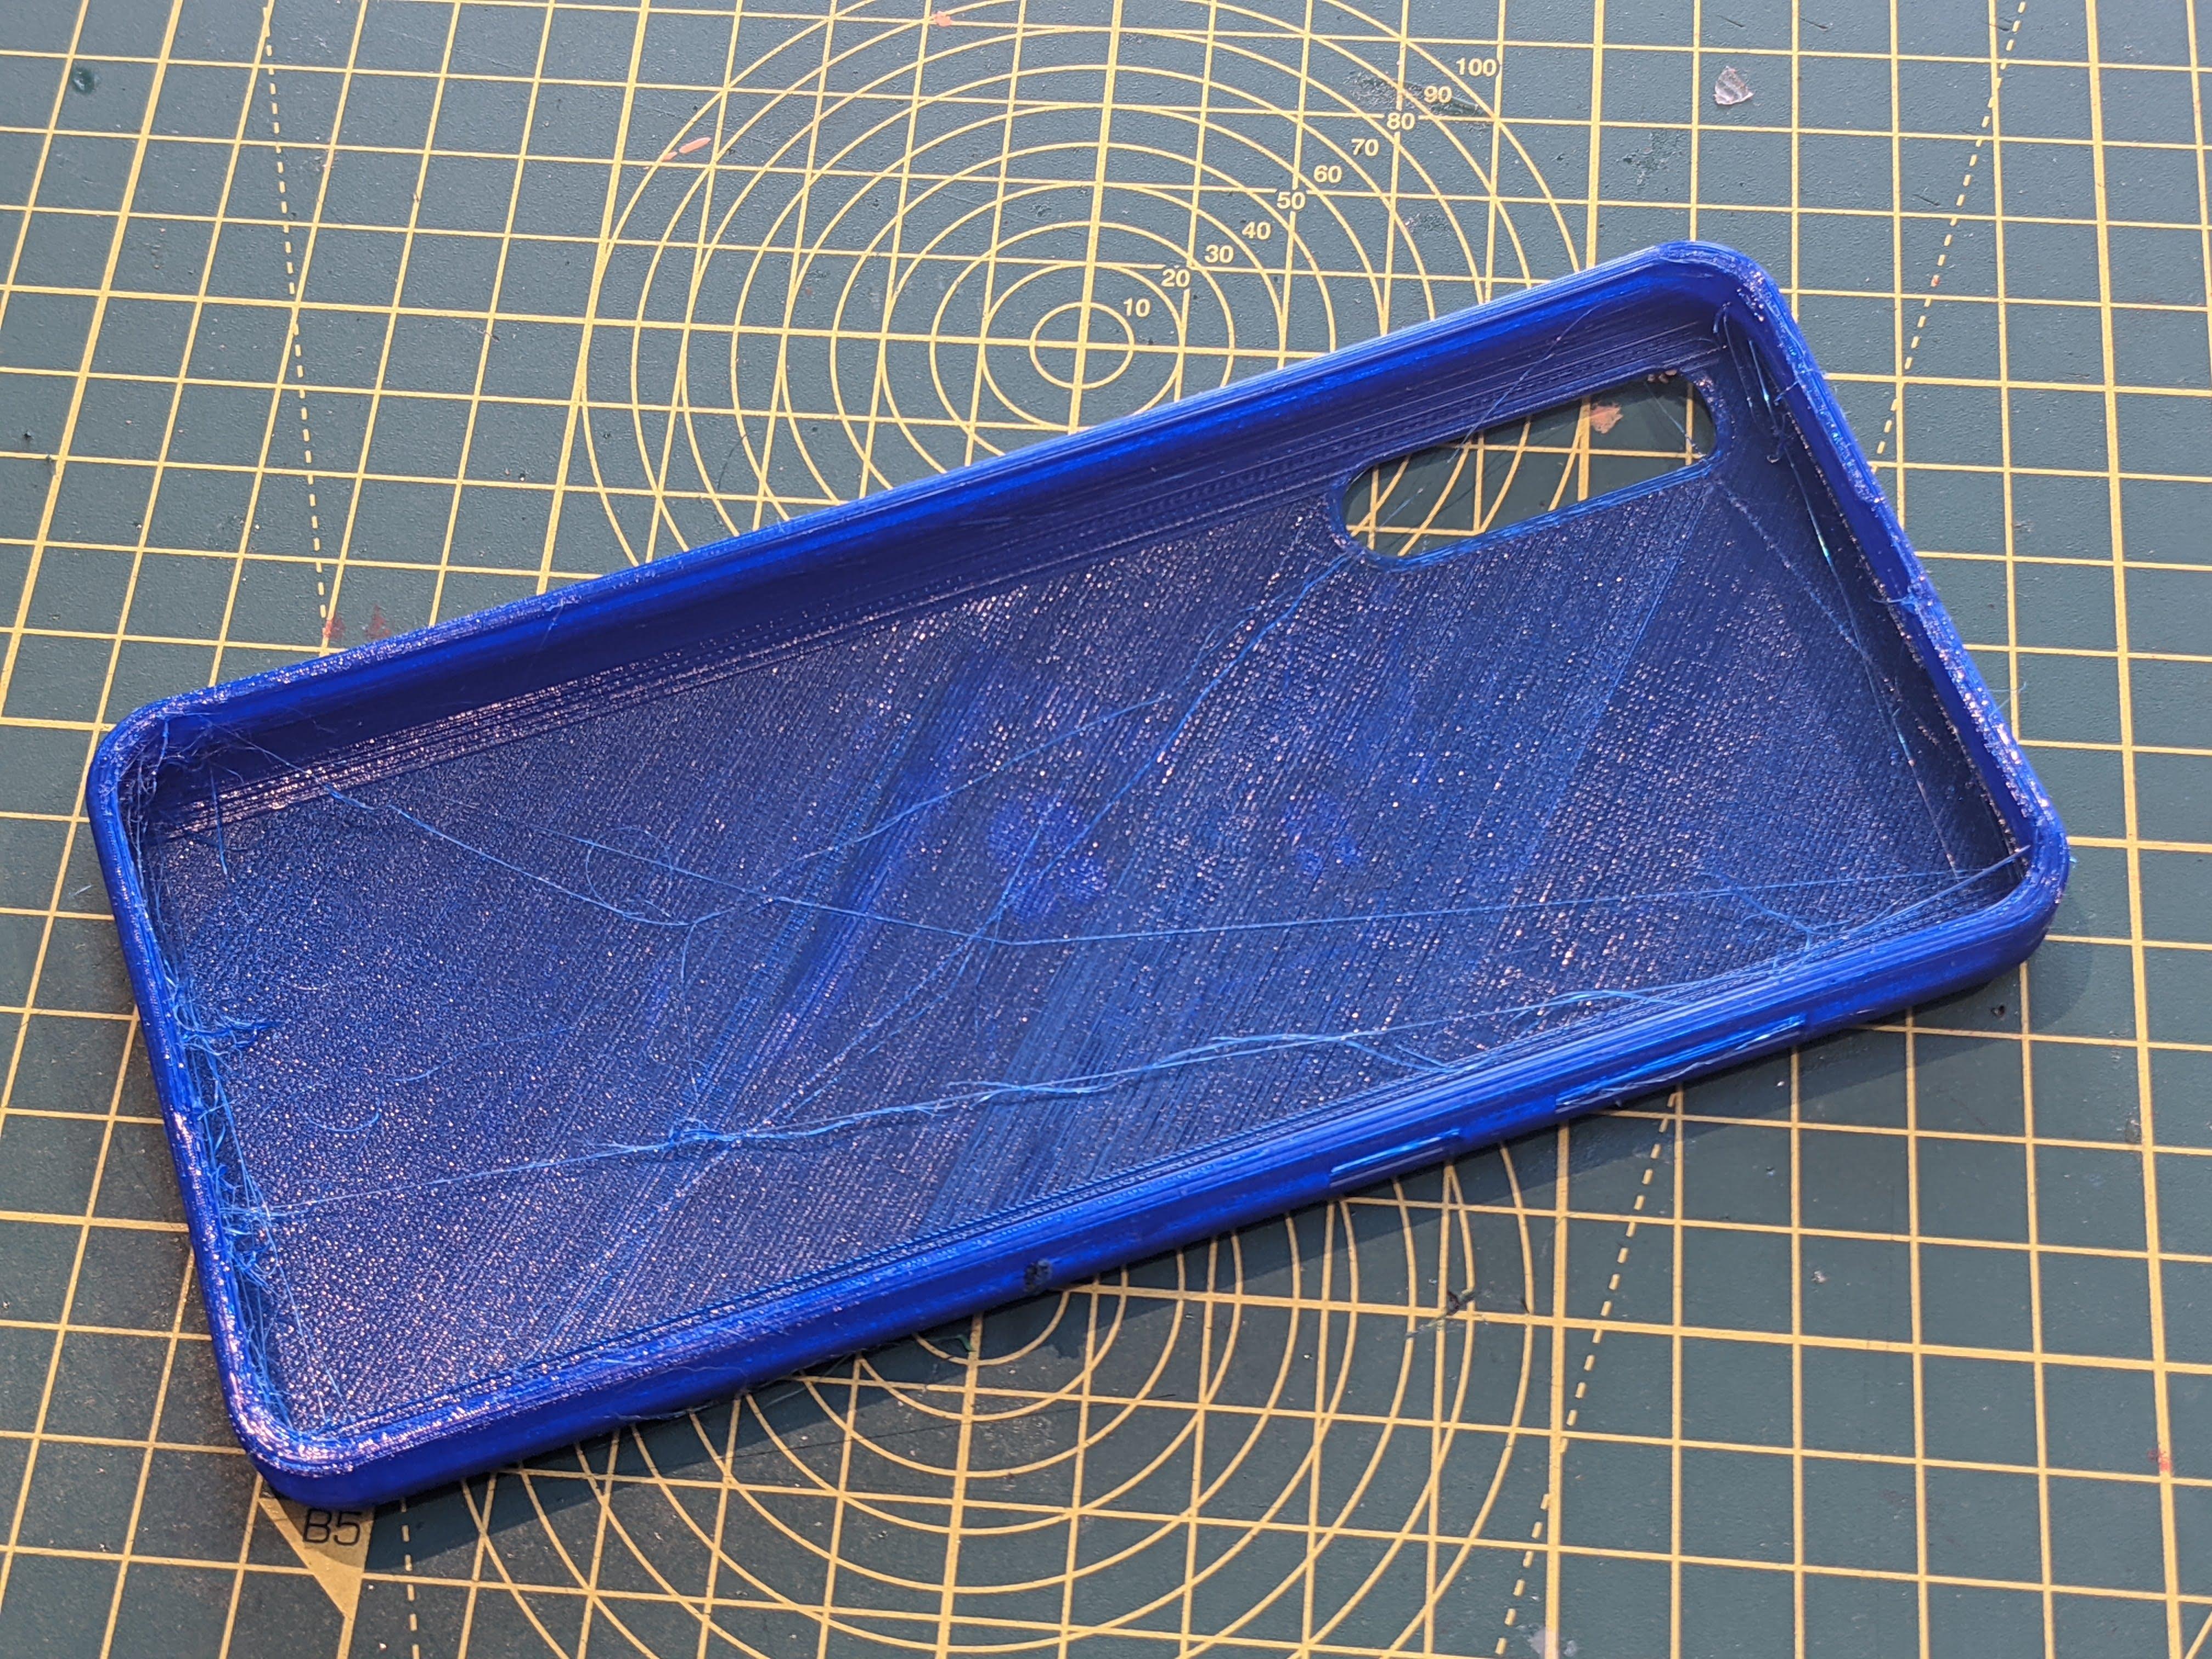
To 3D print the model, a number of steps are required:
- Export the STL
- Right click on the component in the Browser and select 'Save as STL'
- Click OK
- Select a name and Save
- Import into a slicer
- Slice the model according to the printer, adding a filament change to swap to TPU filament
For printing I use PETG for the back base to give stability (printed at 240C), then swap to NinjaFlex TPU (other TPU may be OK, but the NinjaFlex TPU is very flexible). When the time comes to change the filament (my Prusa Mks beeps), I drop the temperature to 230C, and slow down the printing speed to 30% or 40%. Any faster and the TPU doesn't print correctly.
By having the flexible filament for a couple of full layers, it really binds the TPU to the PETG, it protects the phone (less scratches), and allows easy inserting and removal of the phone from the case.
Thingiverse
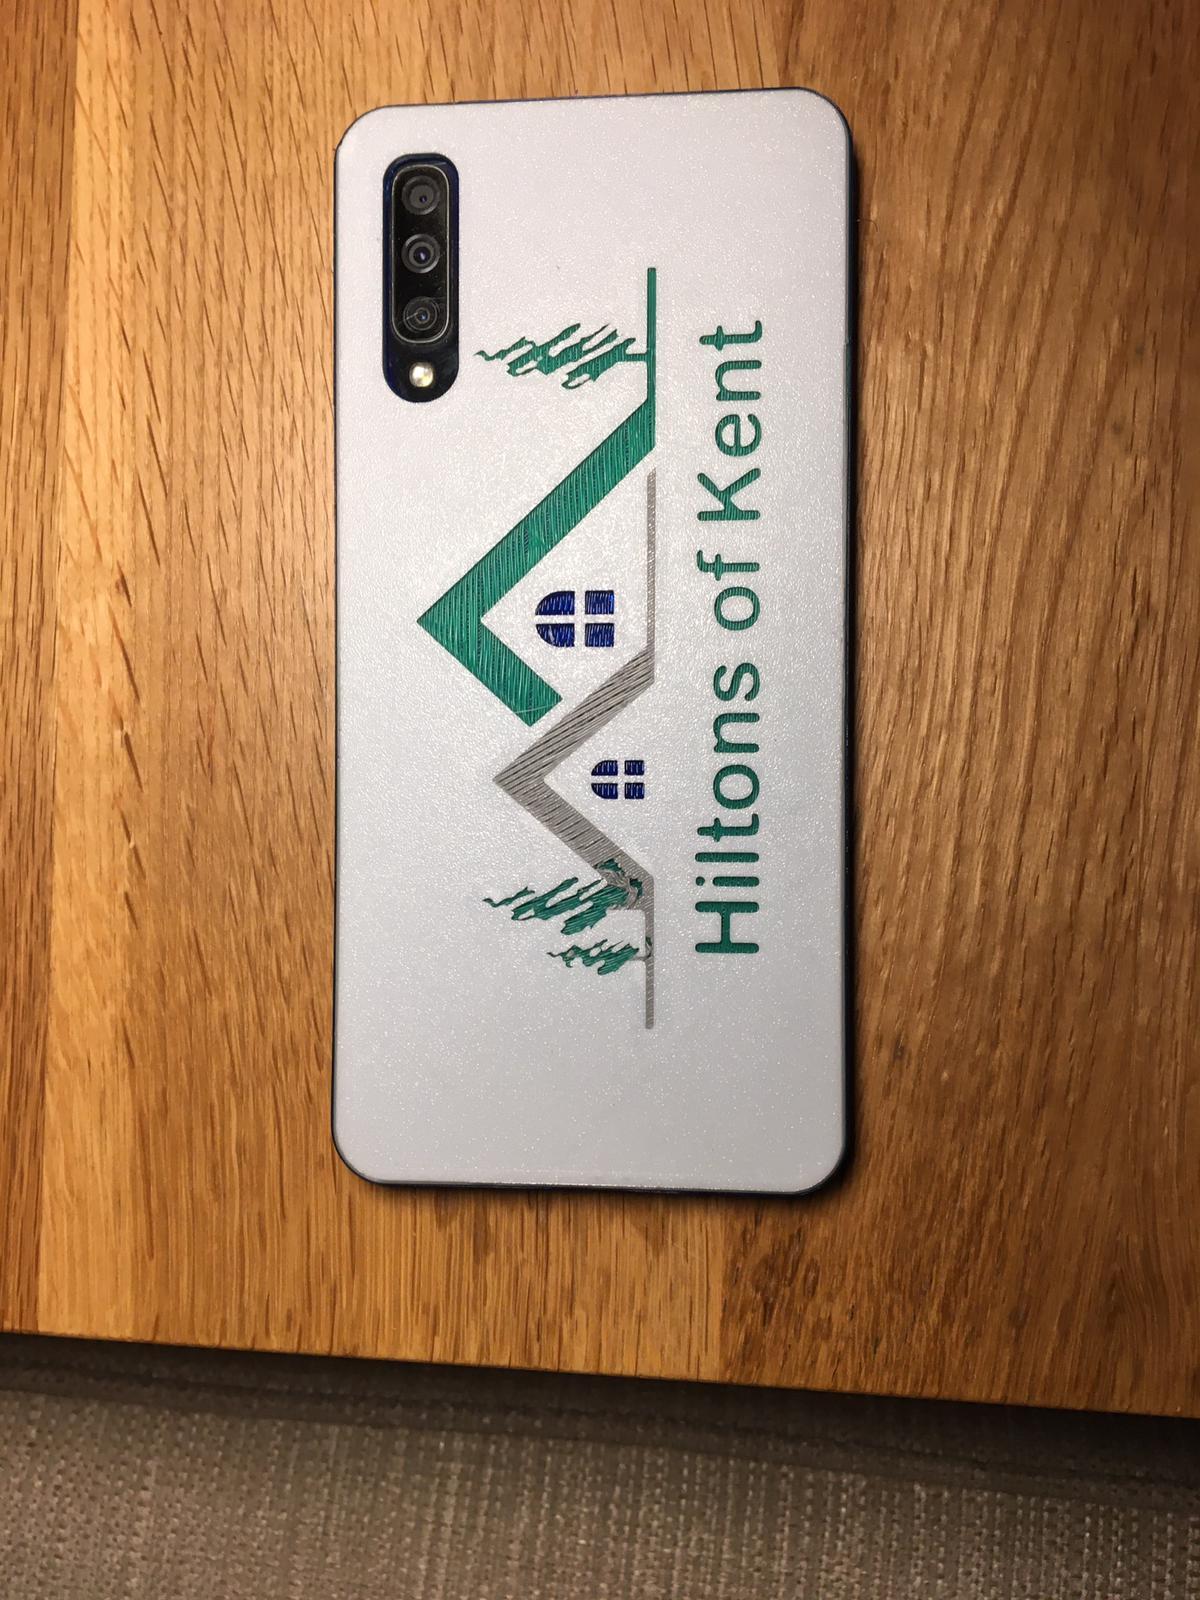
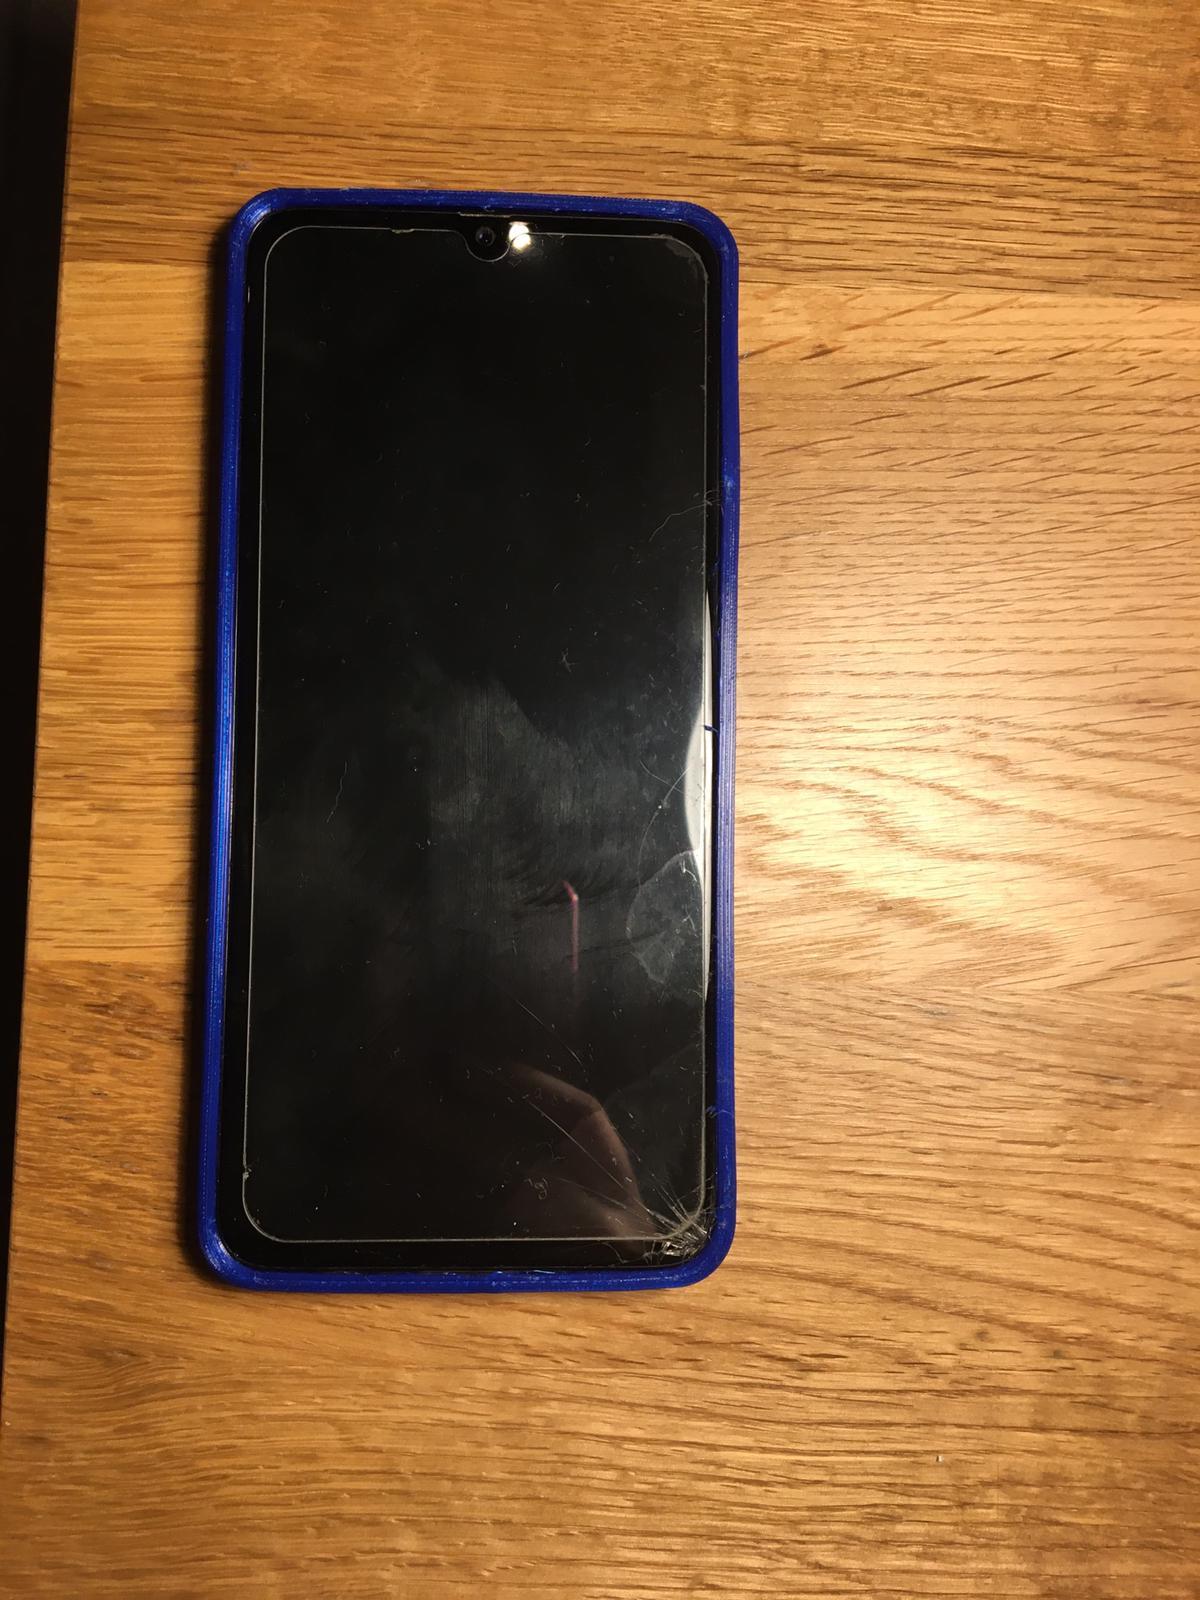

The example files that I have created for the following phones are available for free on Thingiverse. All designs contain a blank design and a version with the Instructables logo: