Design and 3D Print Your Own Flower Vase!
by Making Magic in Living > Decorating
858 Views, 6 Favorites, 0 Comments
Design and 3D Print Your Own Flower Vase!

Looking for the perfect home decoration to elevate your space or a gift for a loved one? Follow this tutorial to learn how to make a flower vase to bring nature indoors! This guide even includes recordings for how to do some of the more complex steps of this project.
Supplies
3D Printer (any kind will do, but I used an Ender 3)
PLA filament
A computer
Create a Free Onshape Account


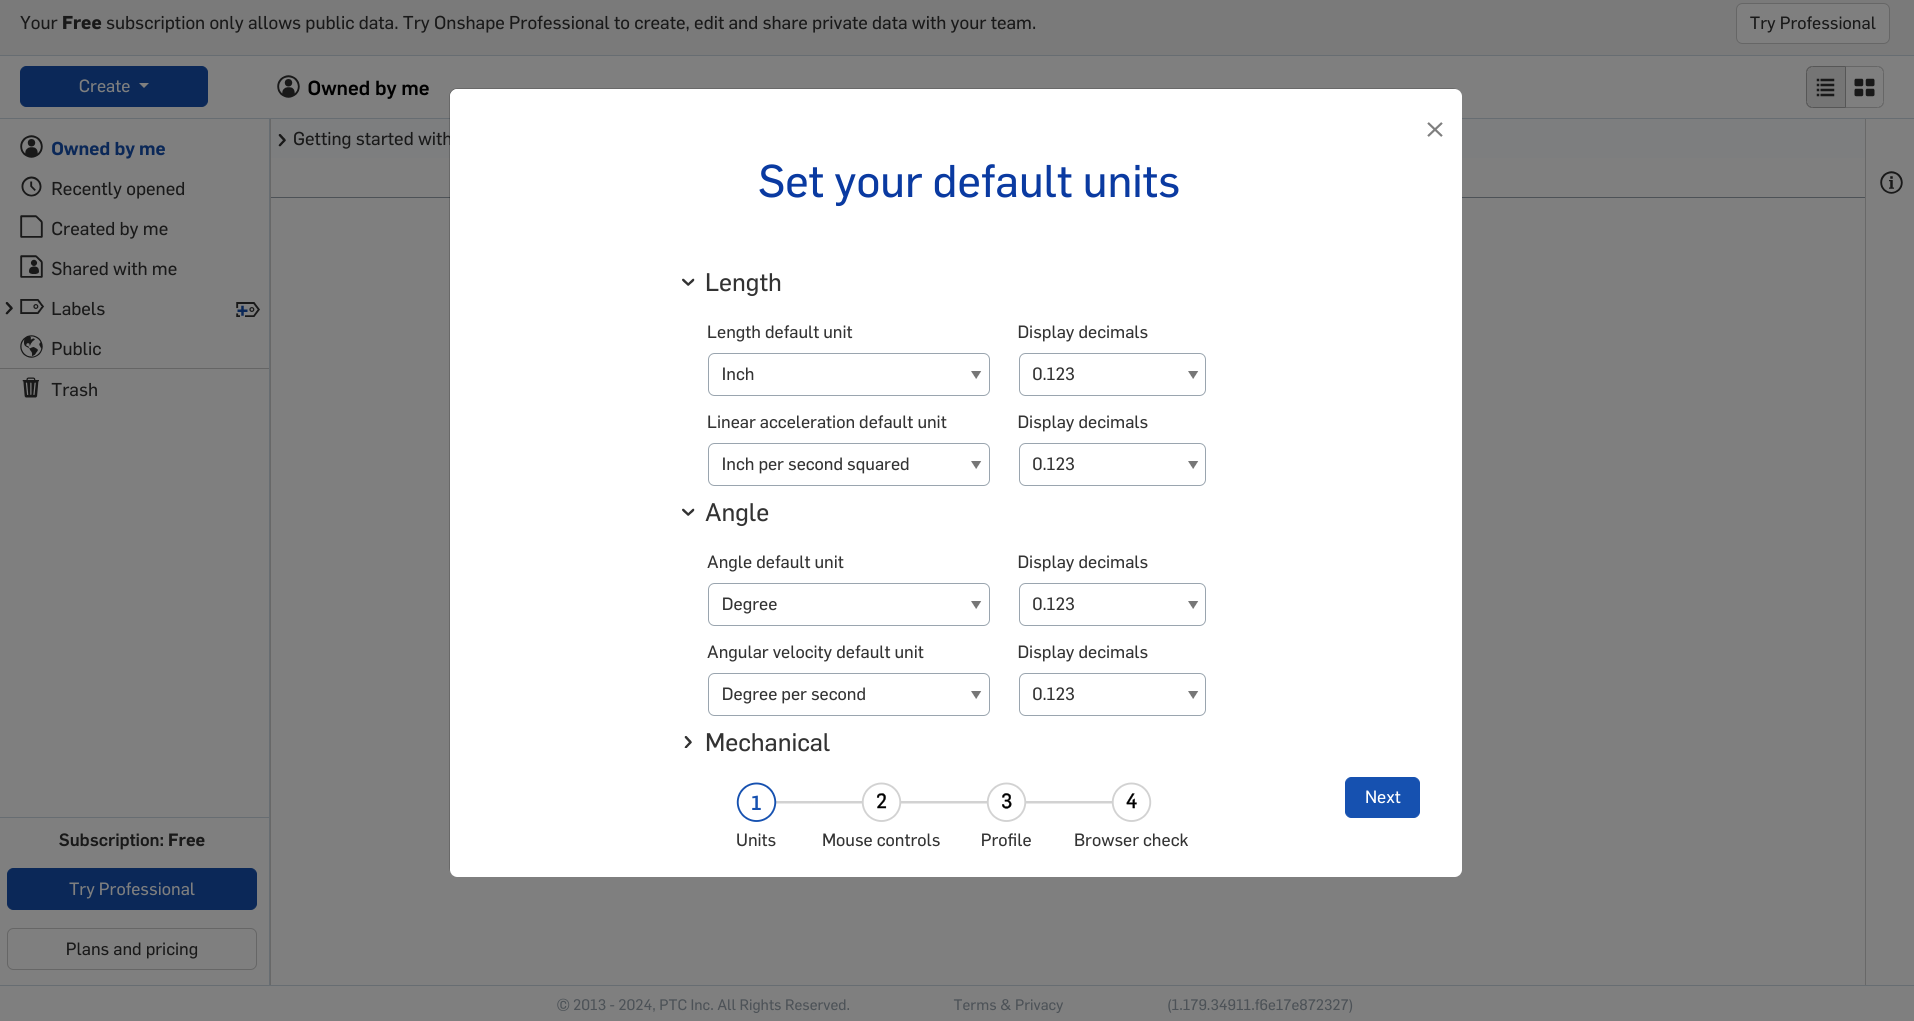
The software we'll be using today is the free, web-based 3D modeling platform Onshape.
- Go to this website: https://www.onshape.com/en/
- Click on "Pricing" at the top of the screen
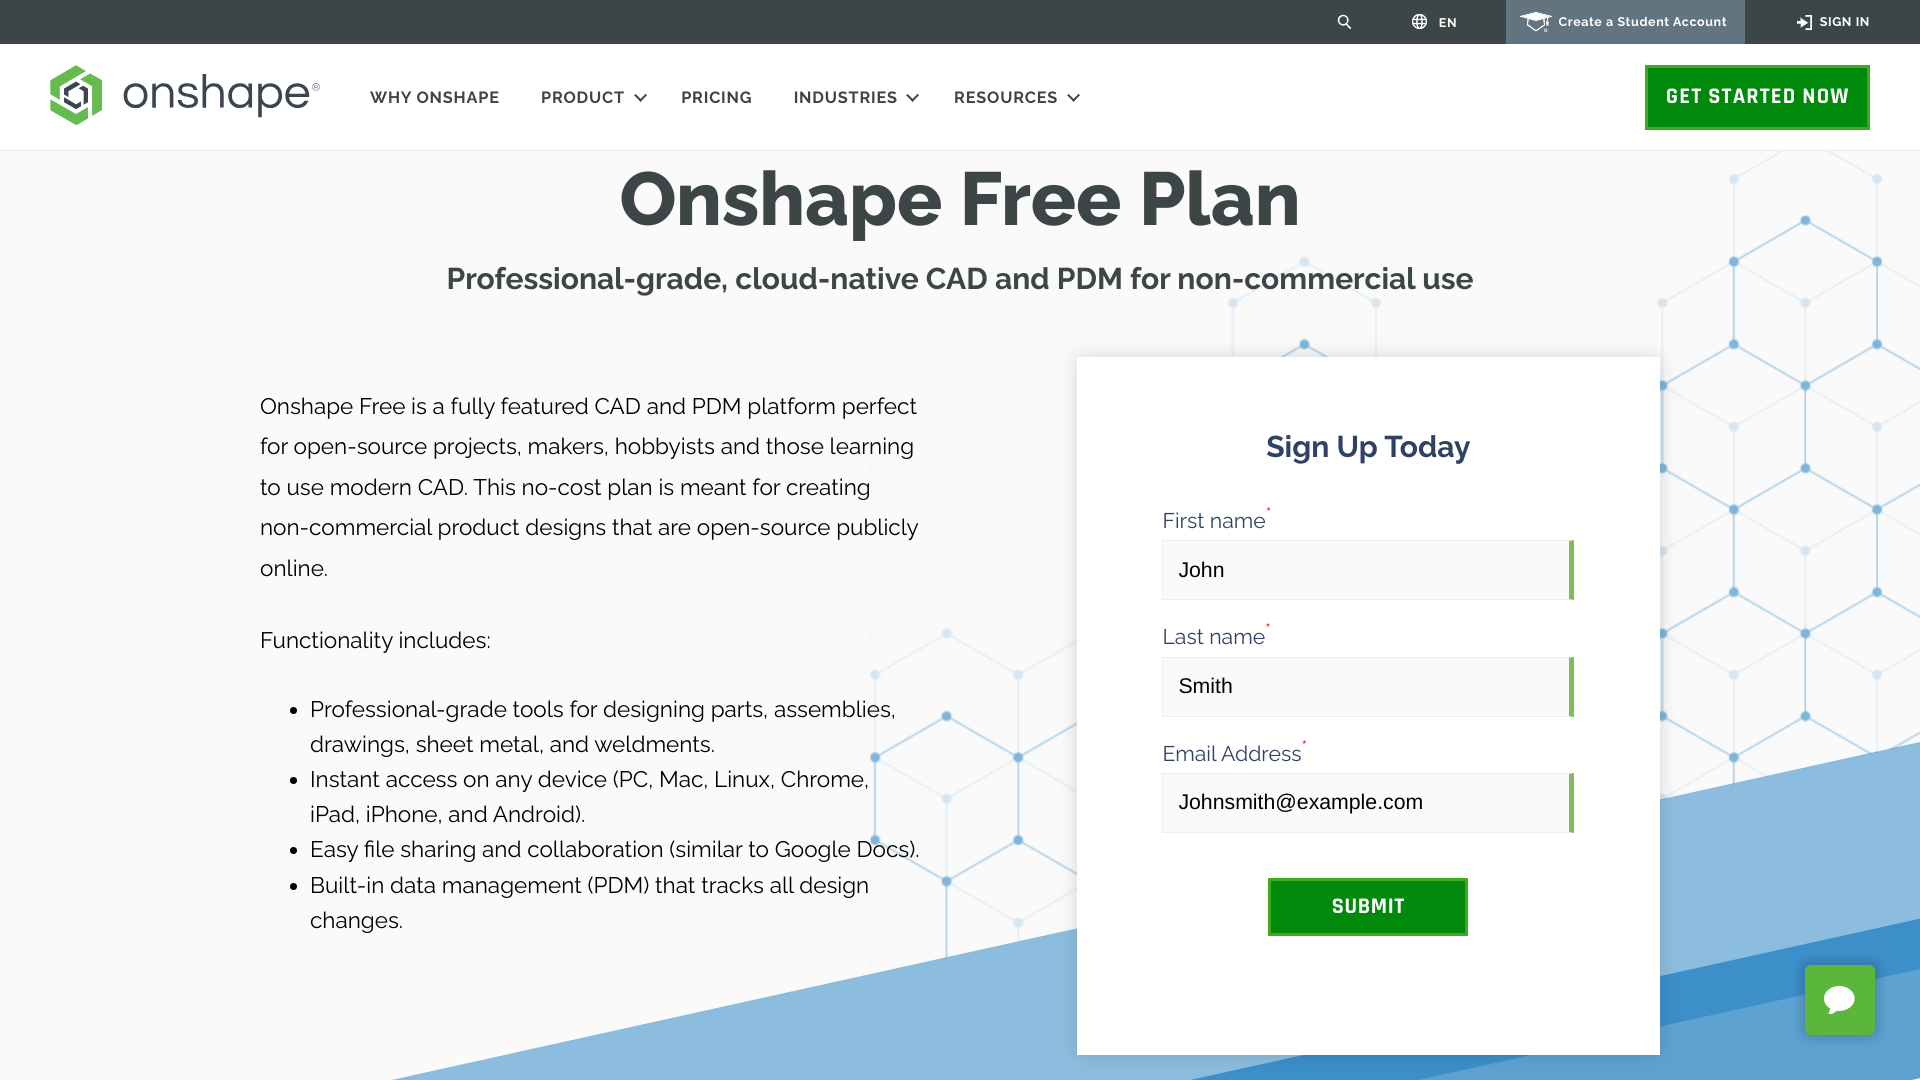
- Select "Sign up free" under the "Free" pricing plan
- Enter in name and email, then click "Submit"
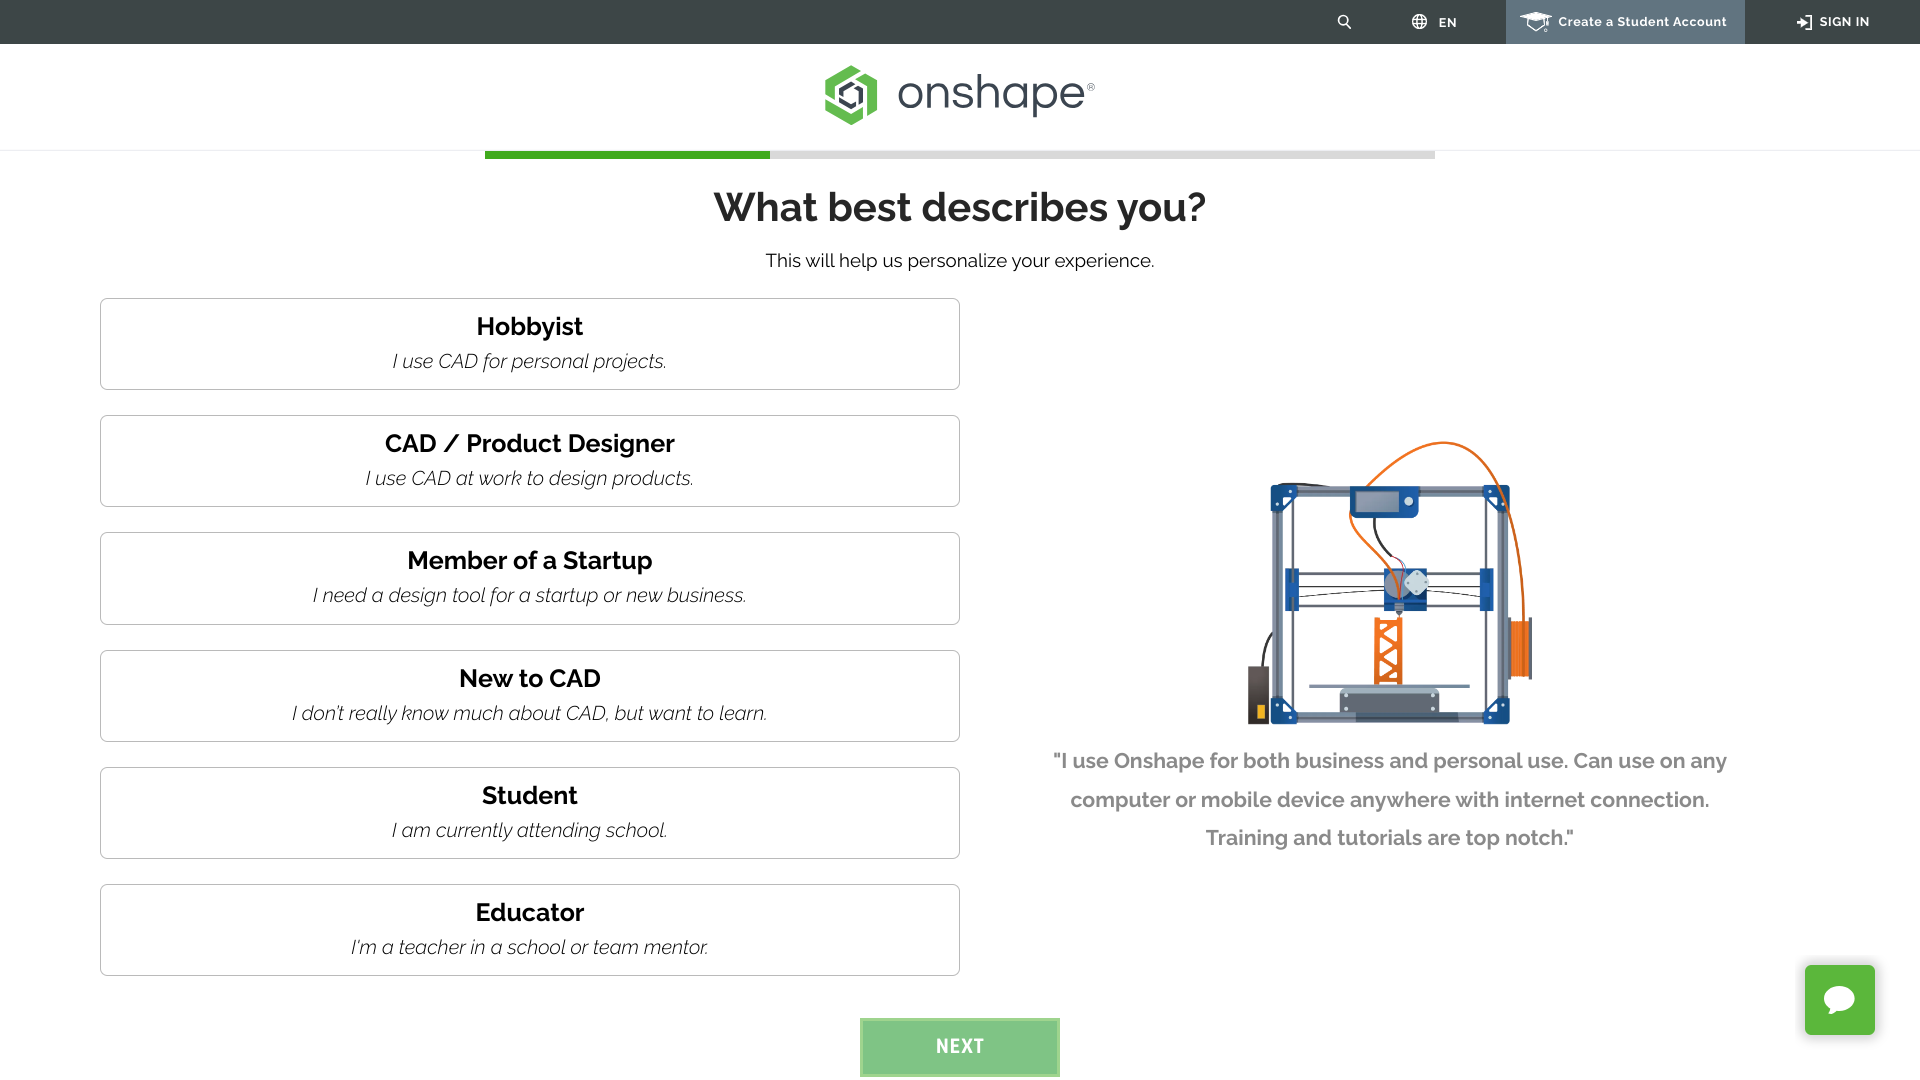
- Go through the personalization questions
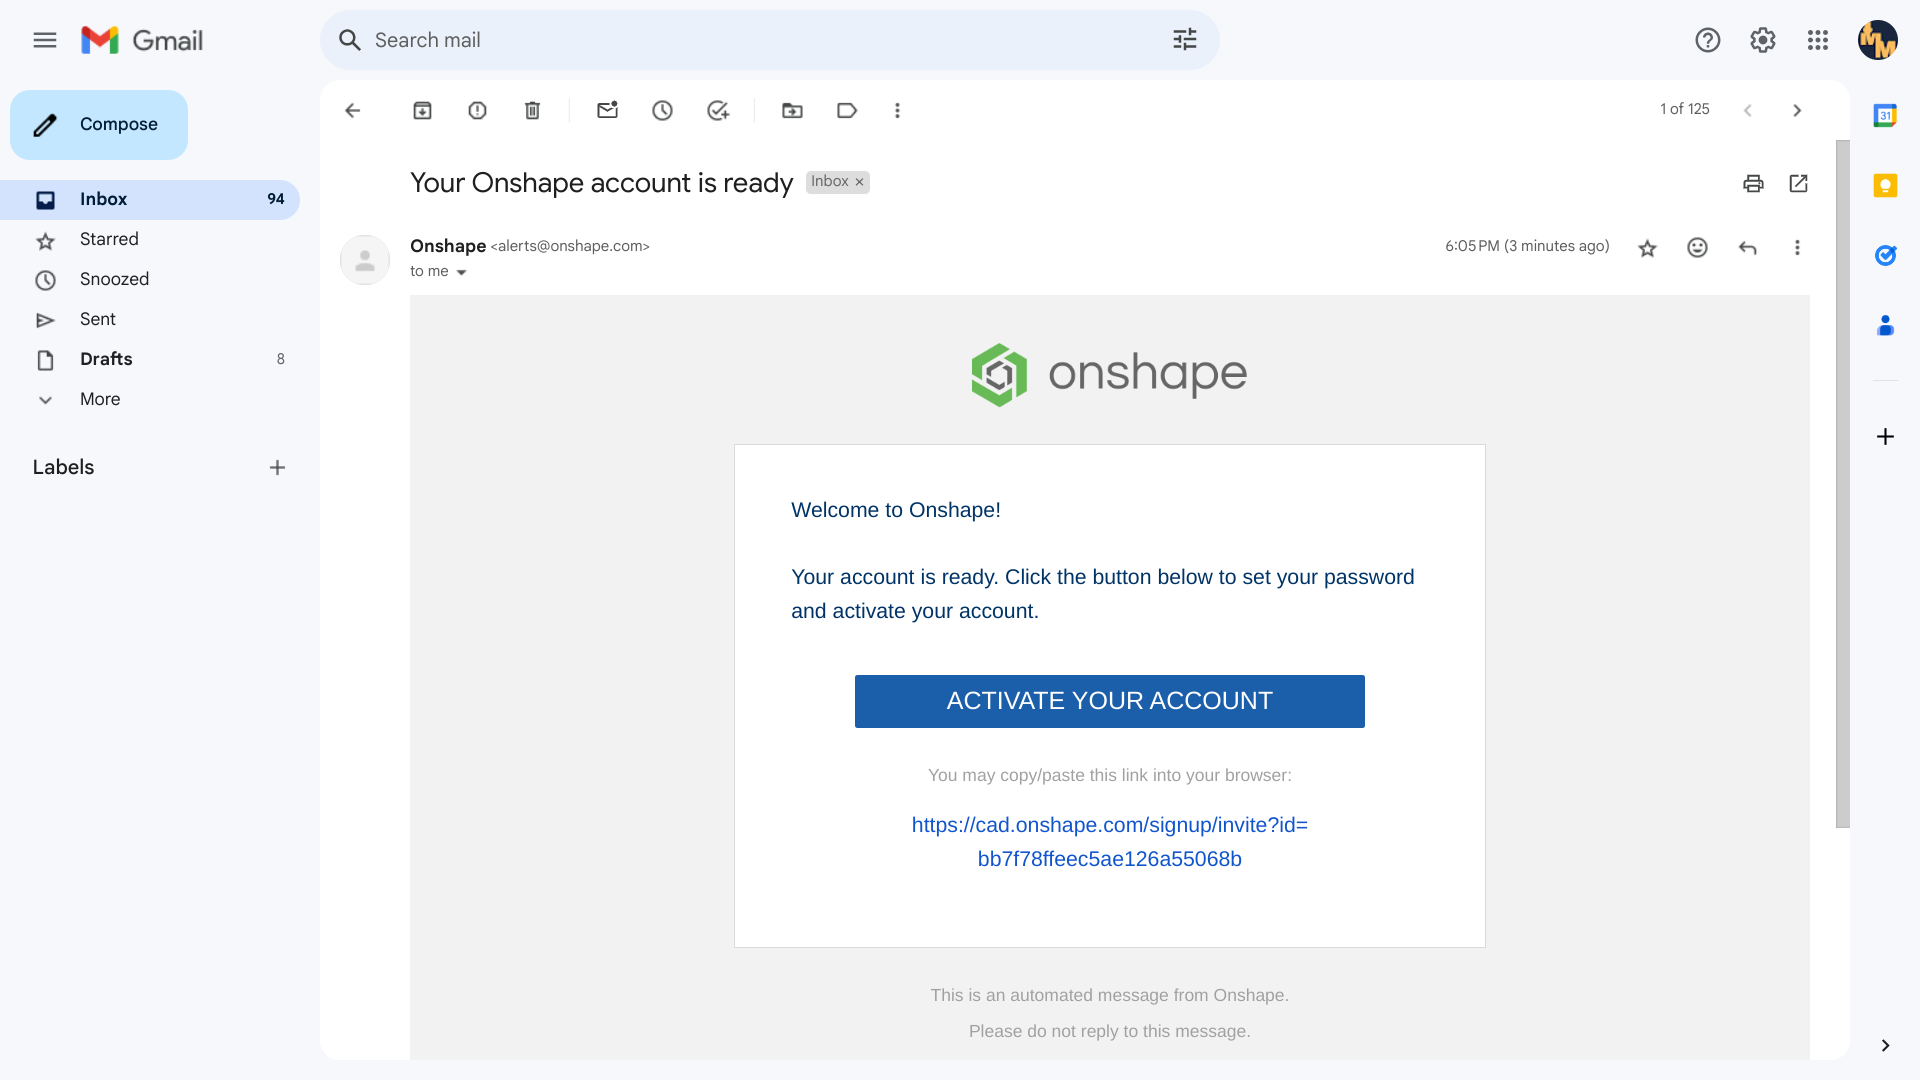
- Activate account through email
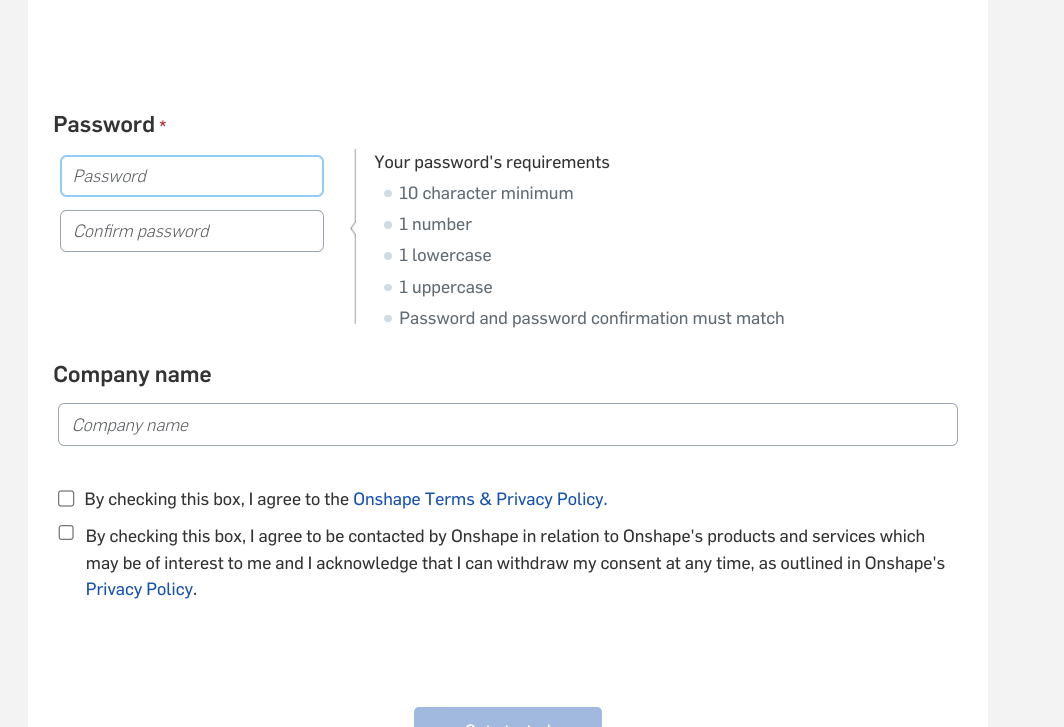
- Create a password and username for your new account
Congrats! Now let's get to the fun part.
Selecting Design Type
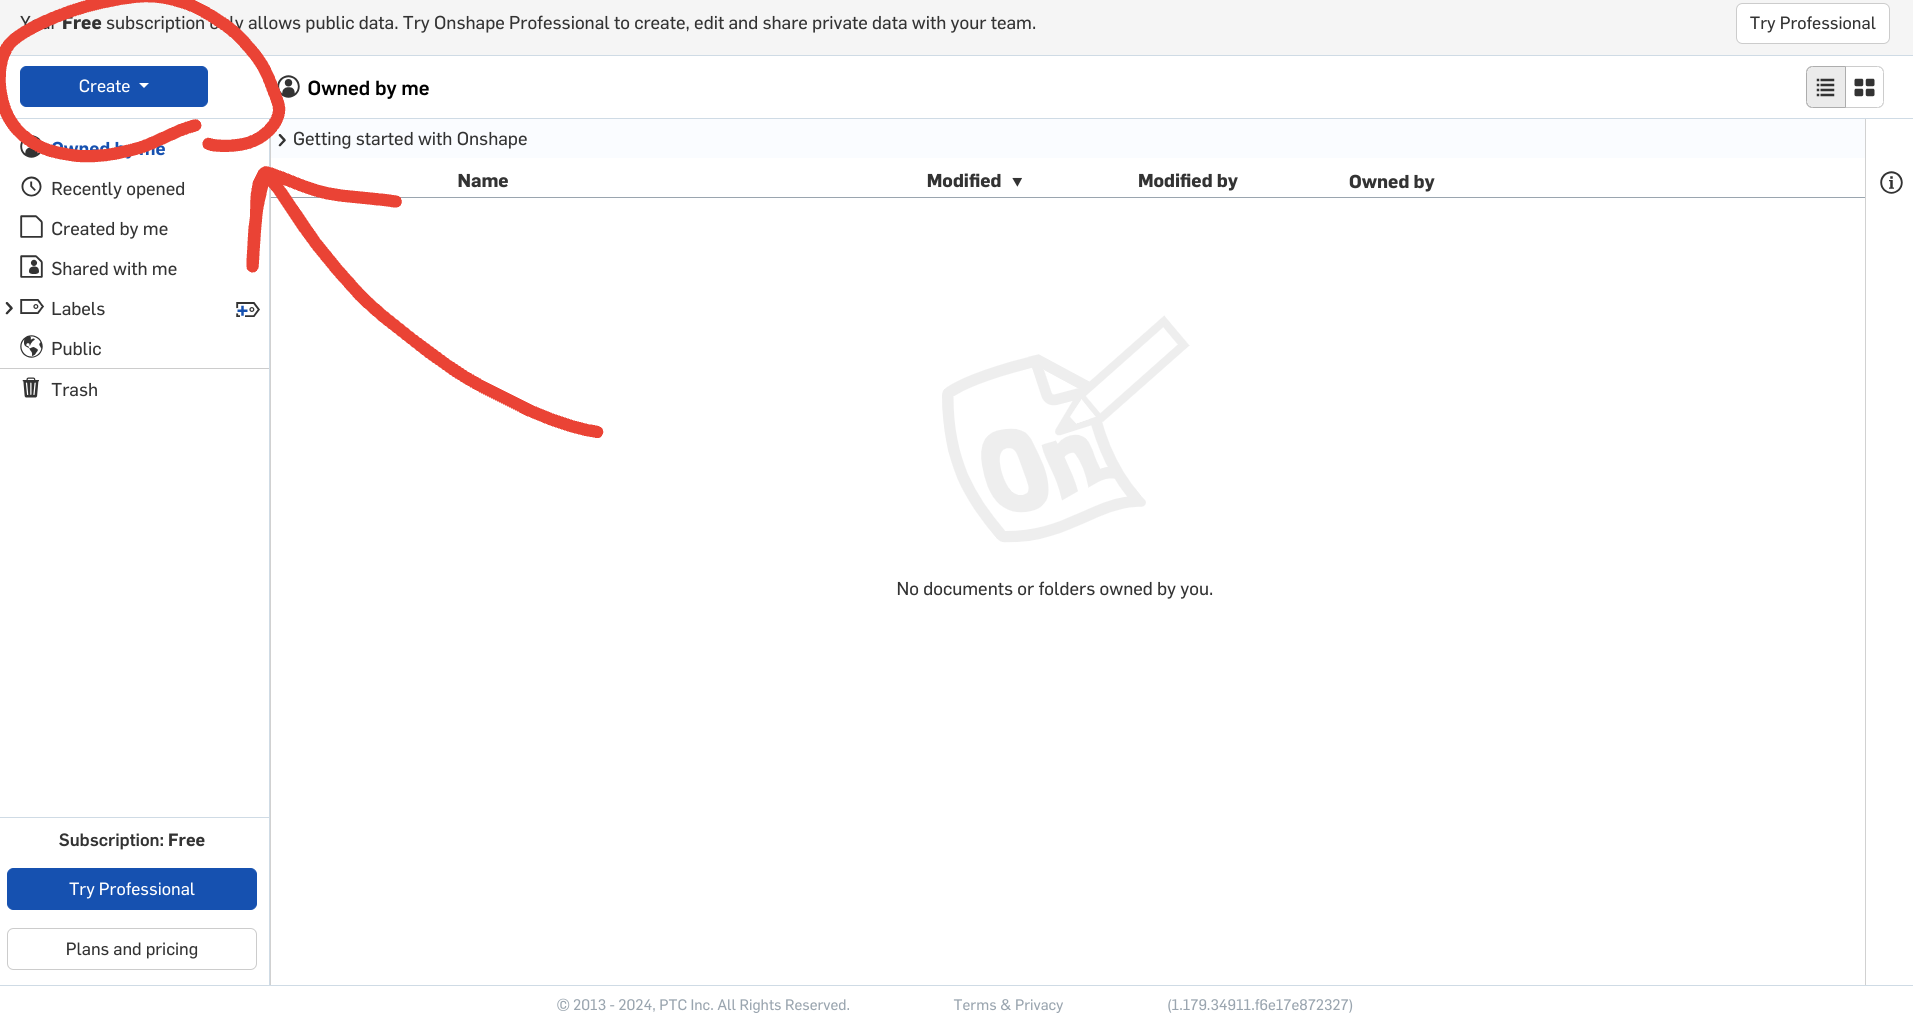
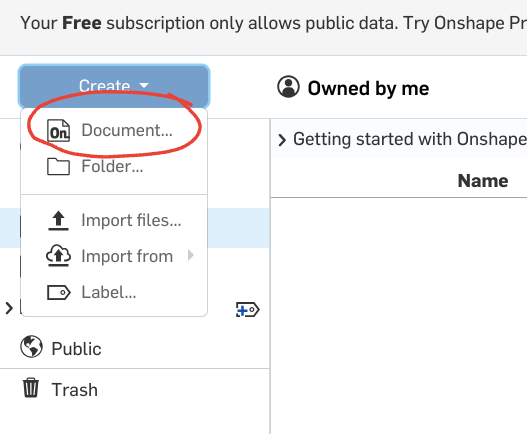
Click on the blue "Create" button at the top right of the screen and select "Document" from the drop-down menu.
Creating the Document
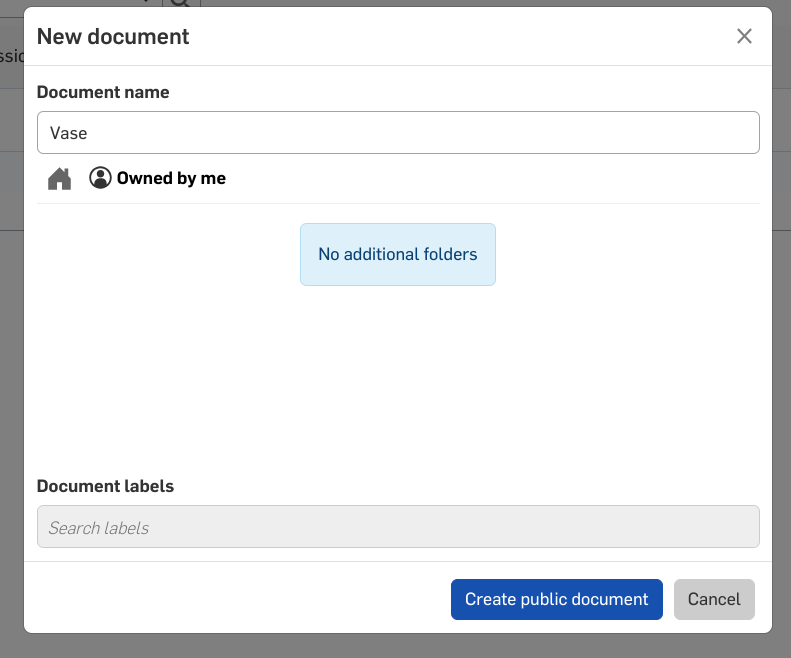
Name the document "Vase" (Very creative, I know). and select "Create public document".
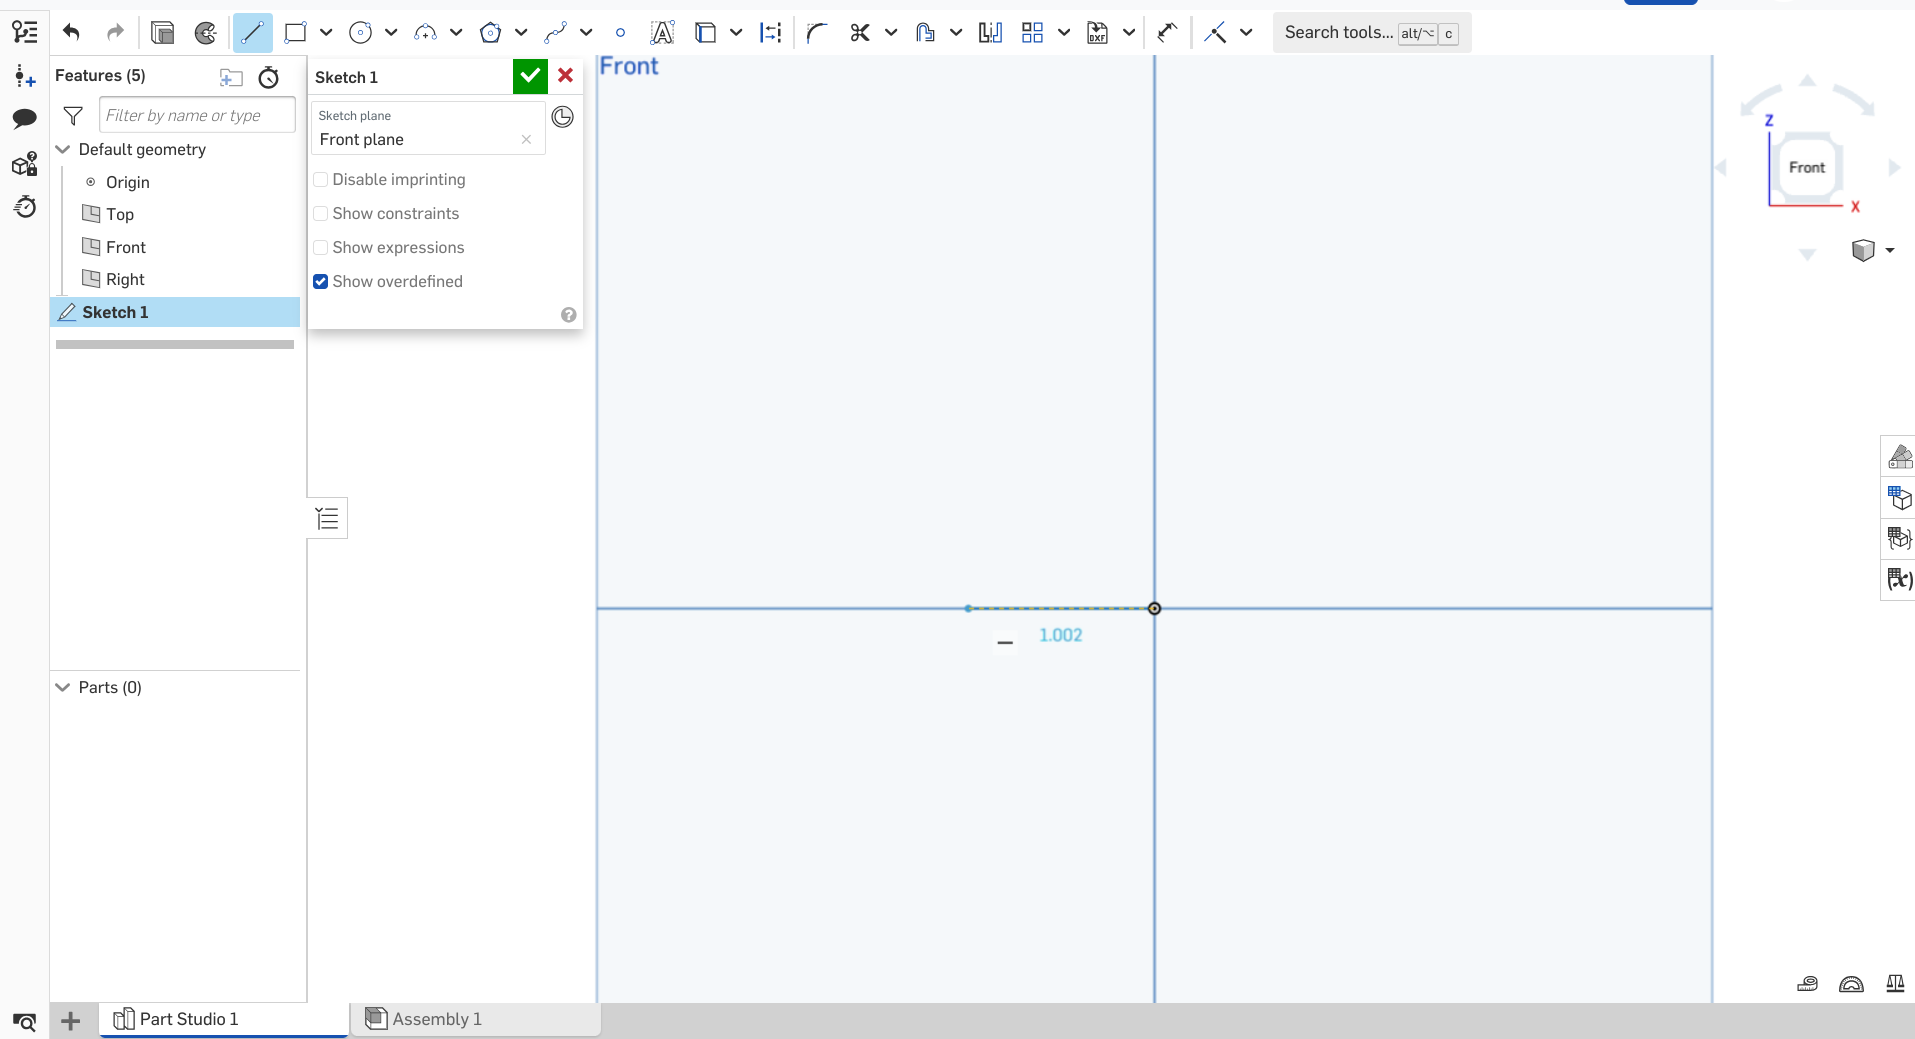
Creating a Sketch
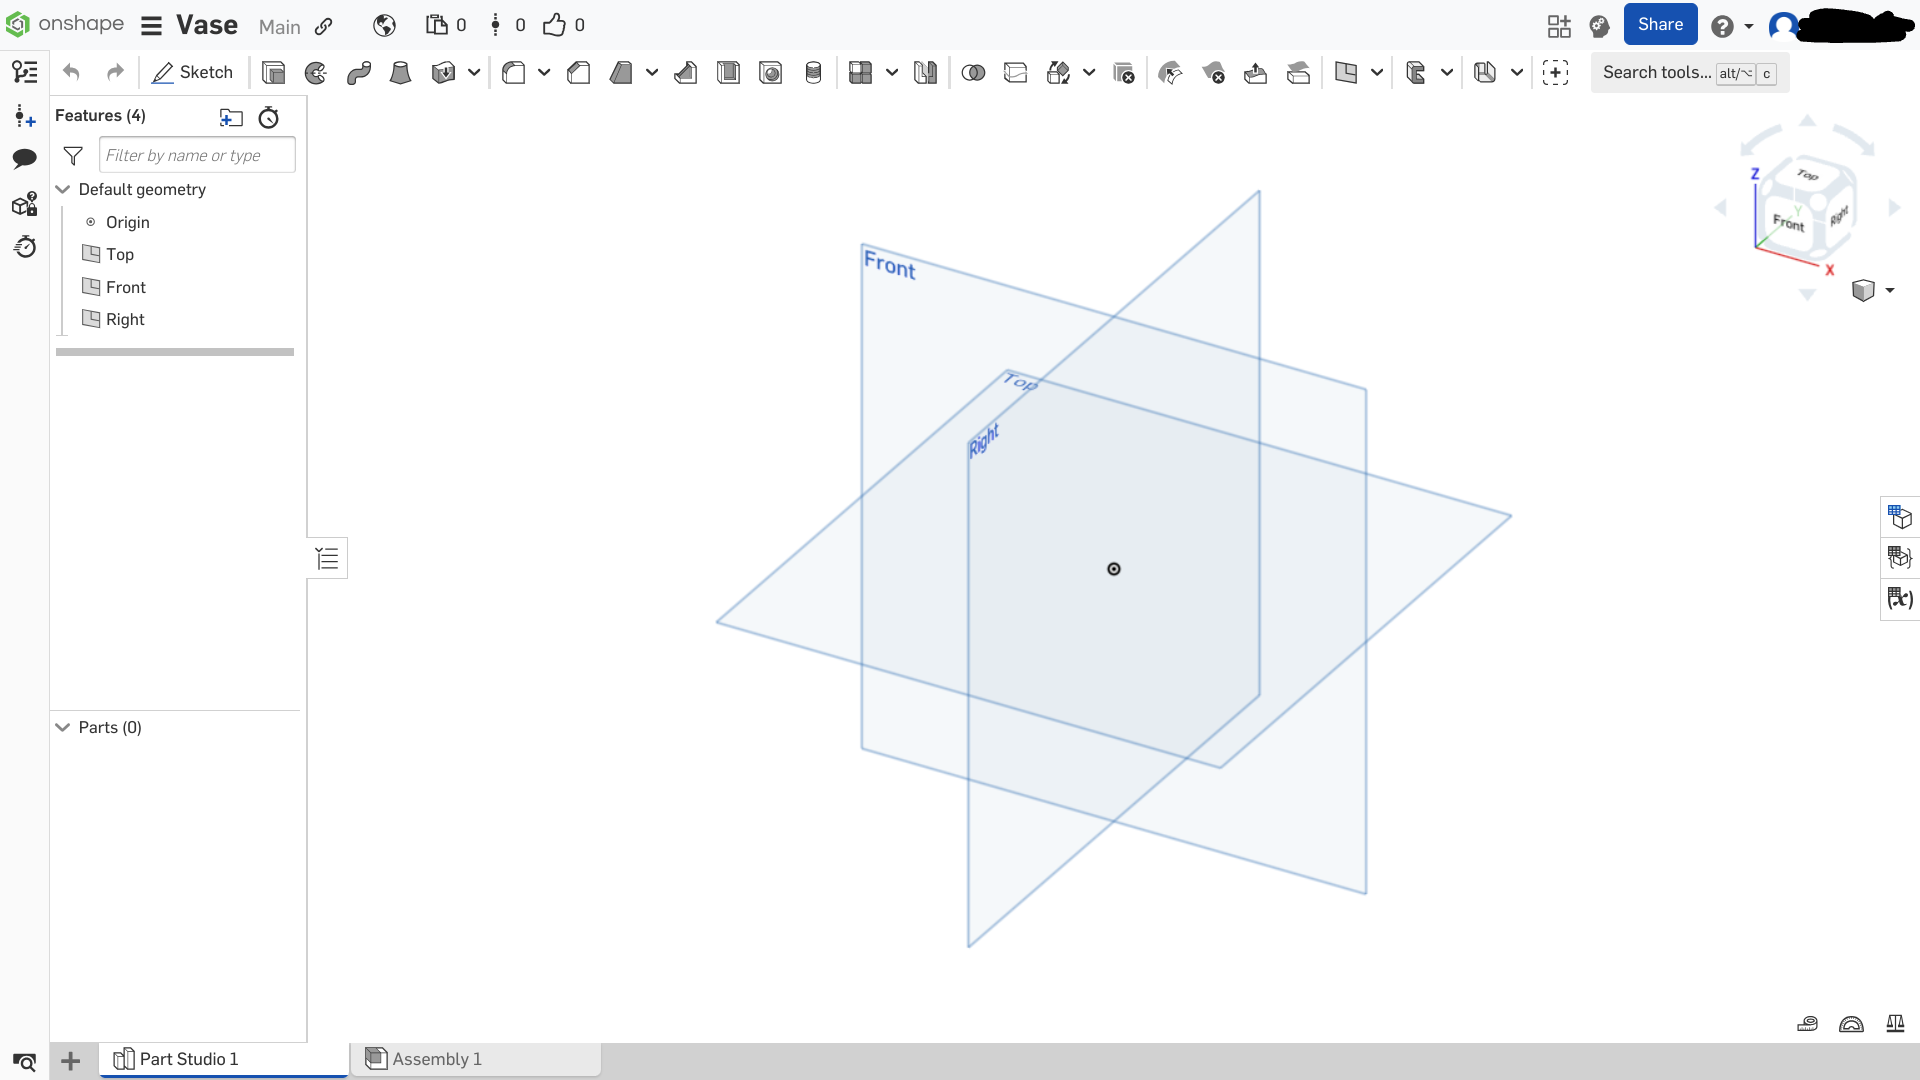
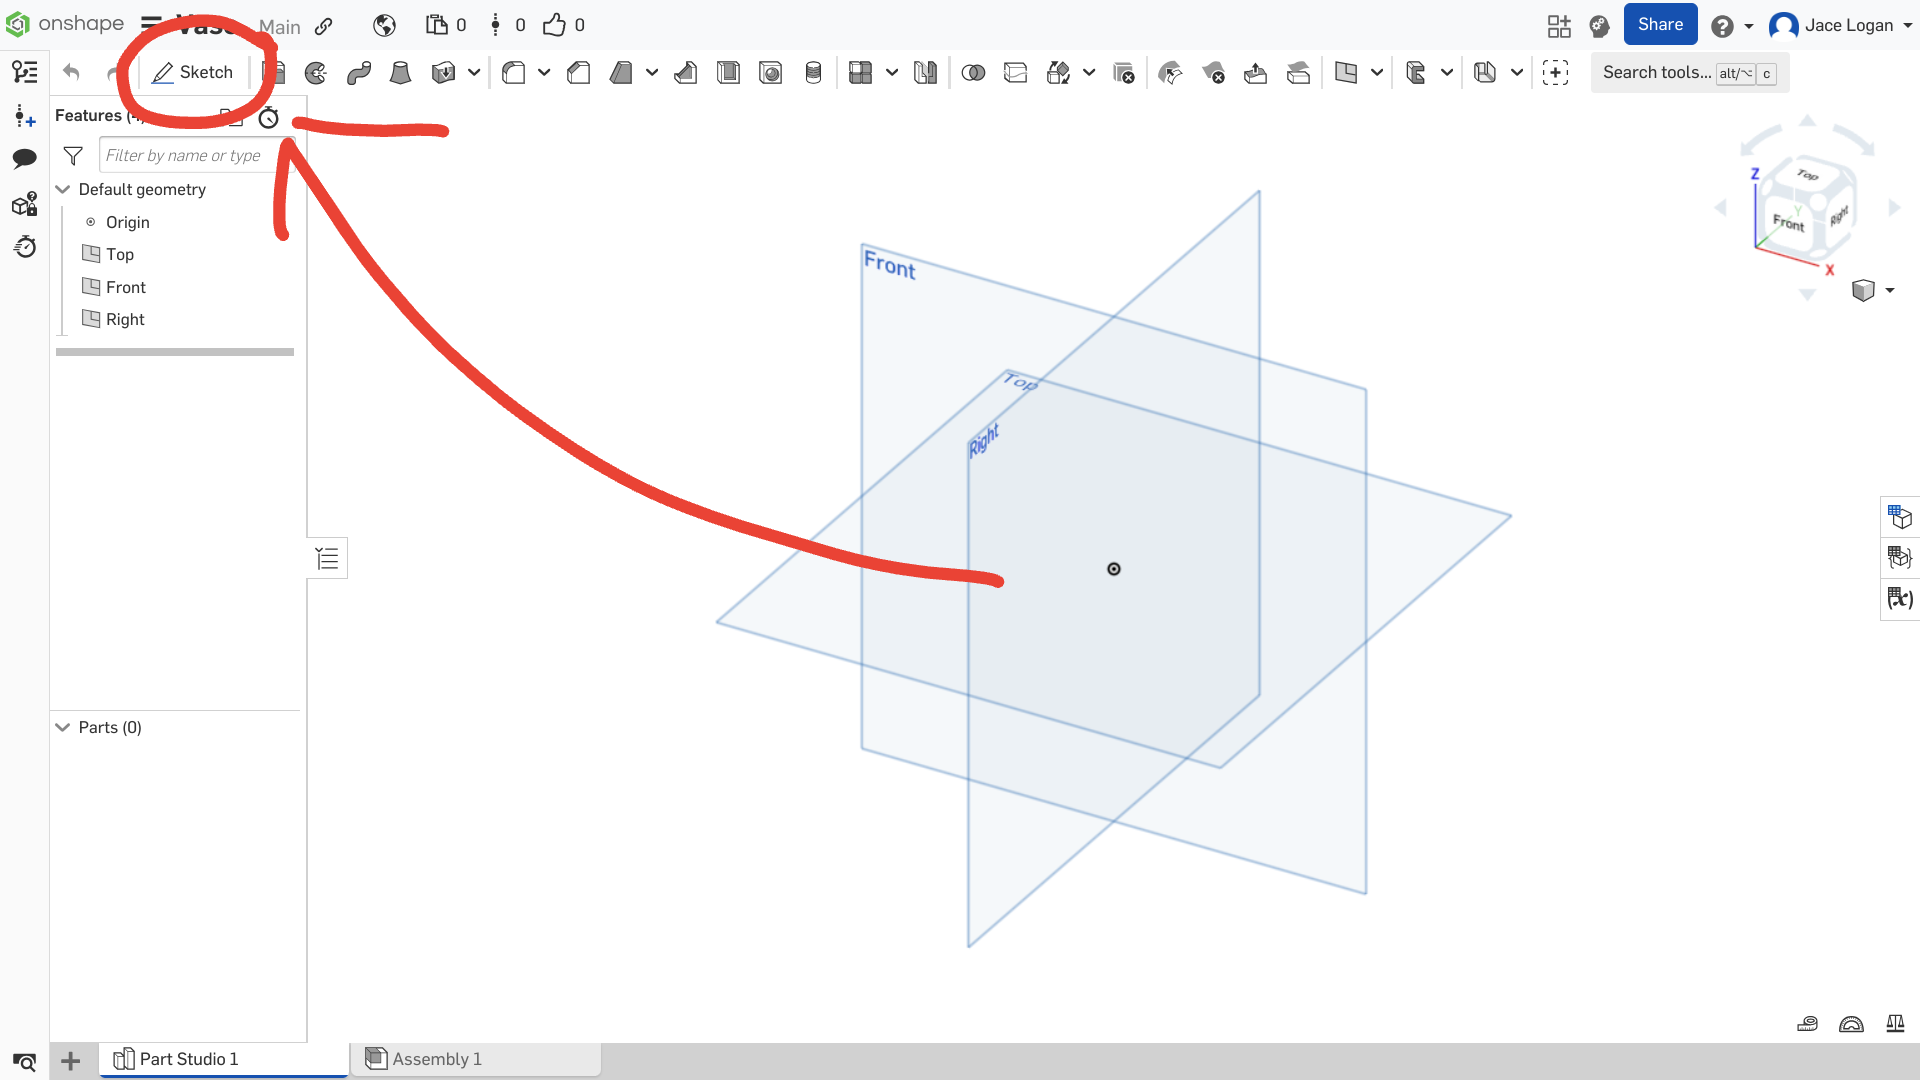
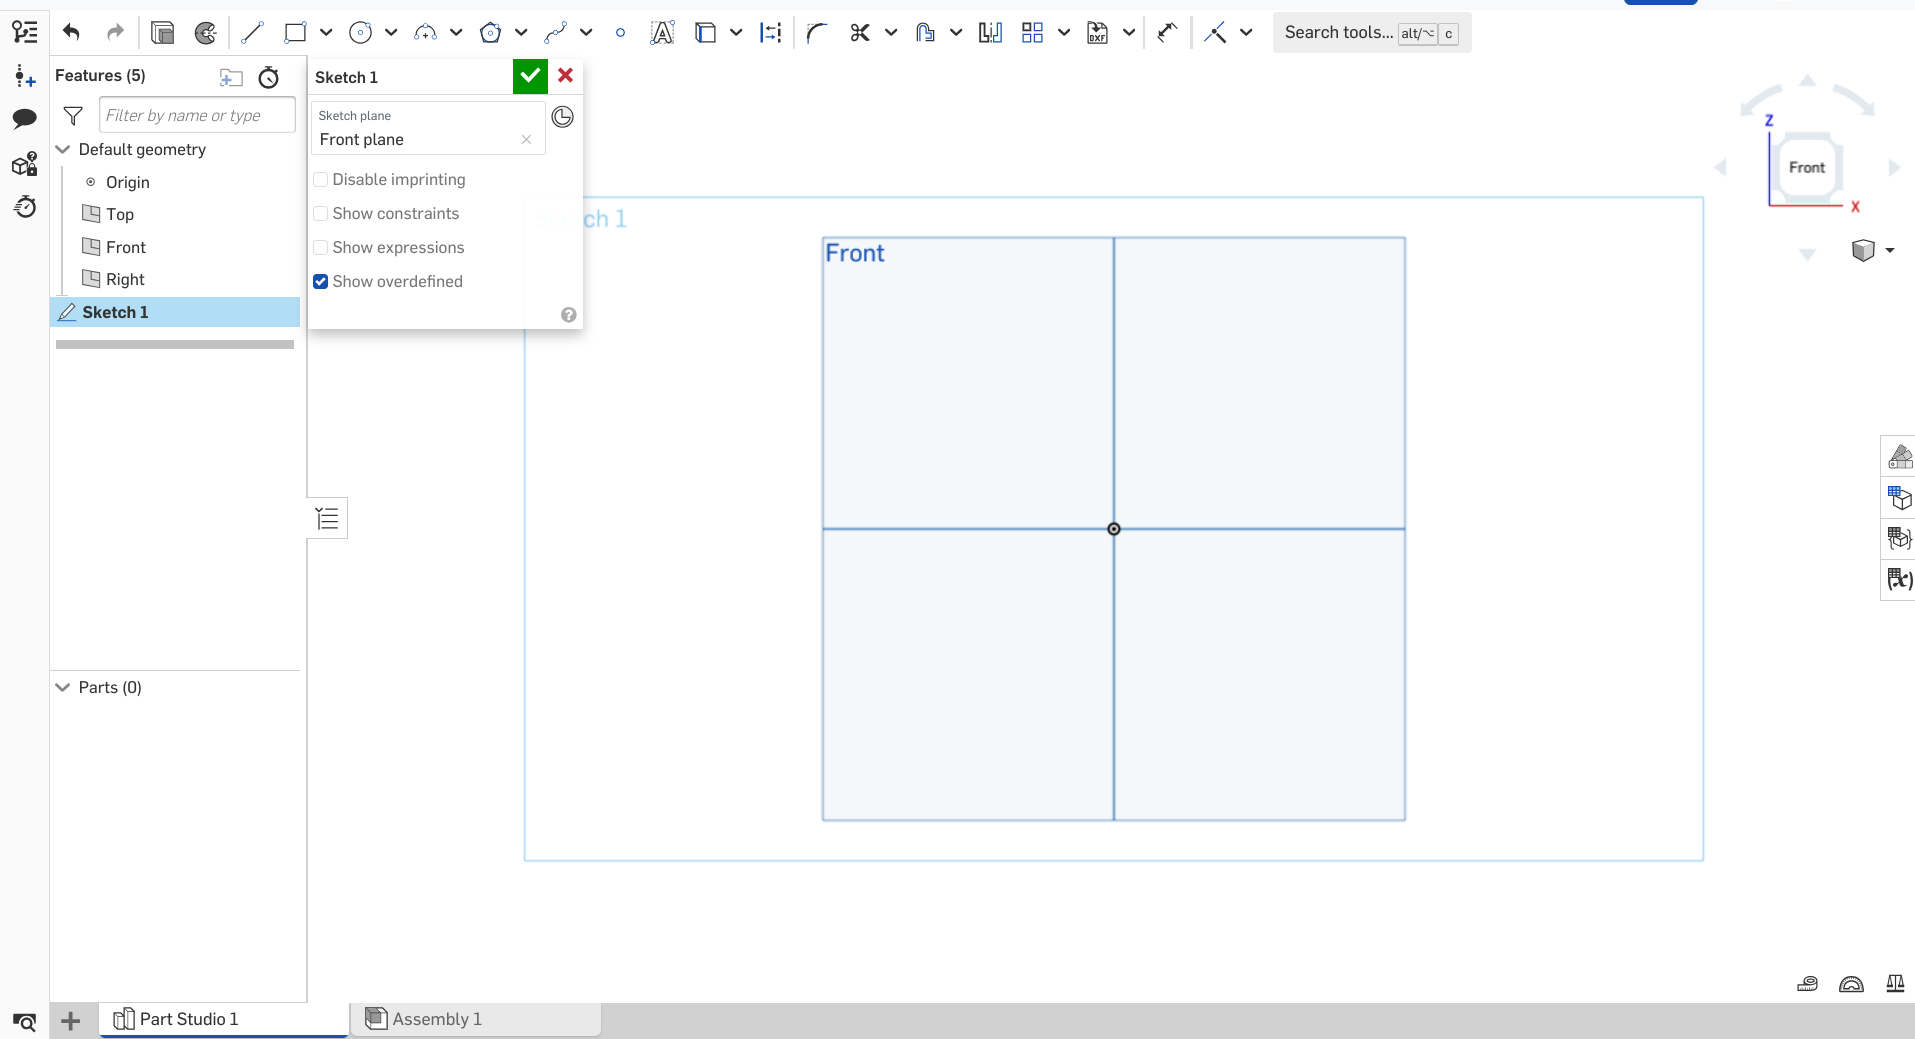
Once it finishes loading, your screen should look like the first picture attached. Select the "Sketch" button at the top left of the screen, then click the blue plane that says "Front". Finally, click the "N" key on your keyboard.
Drawing in the Sketch
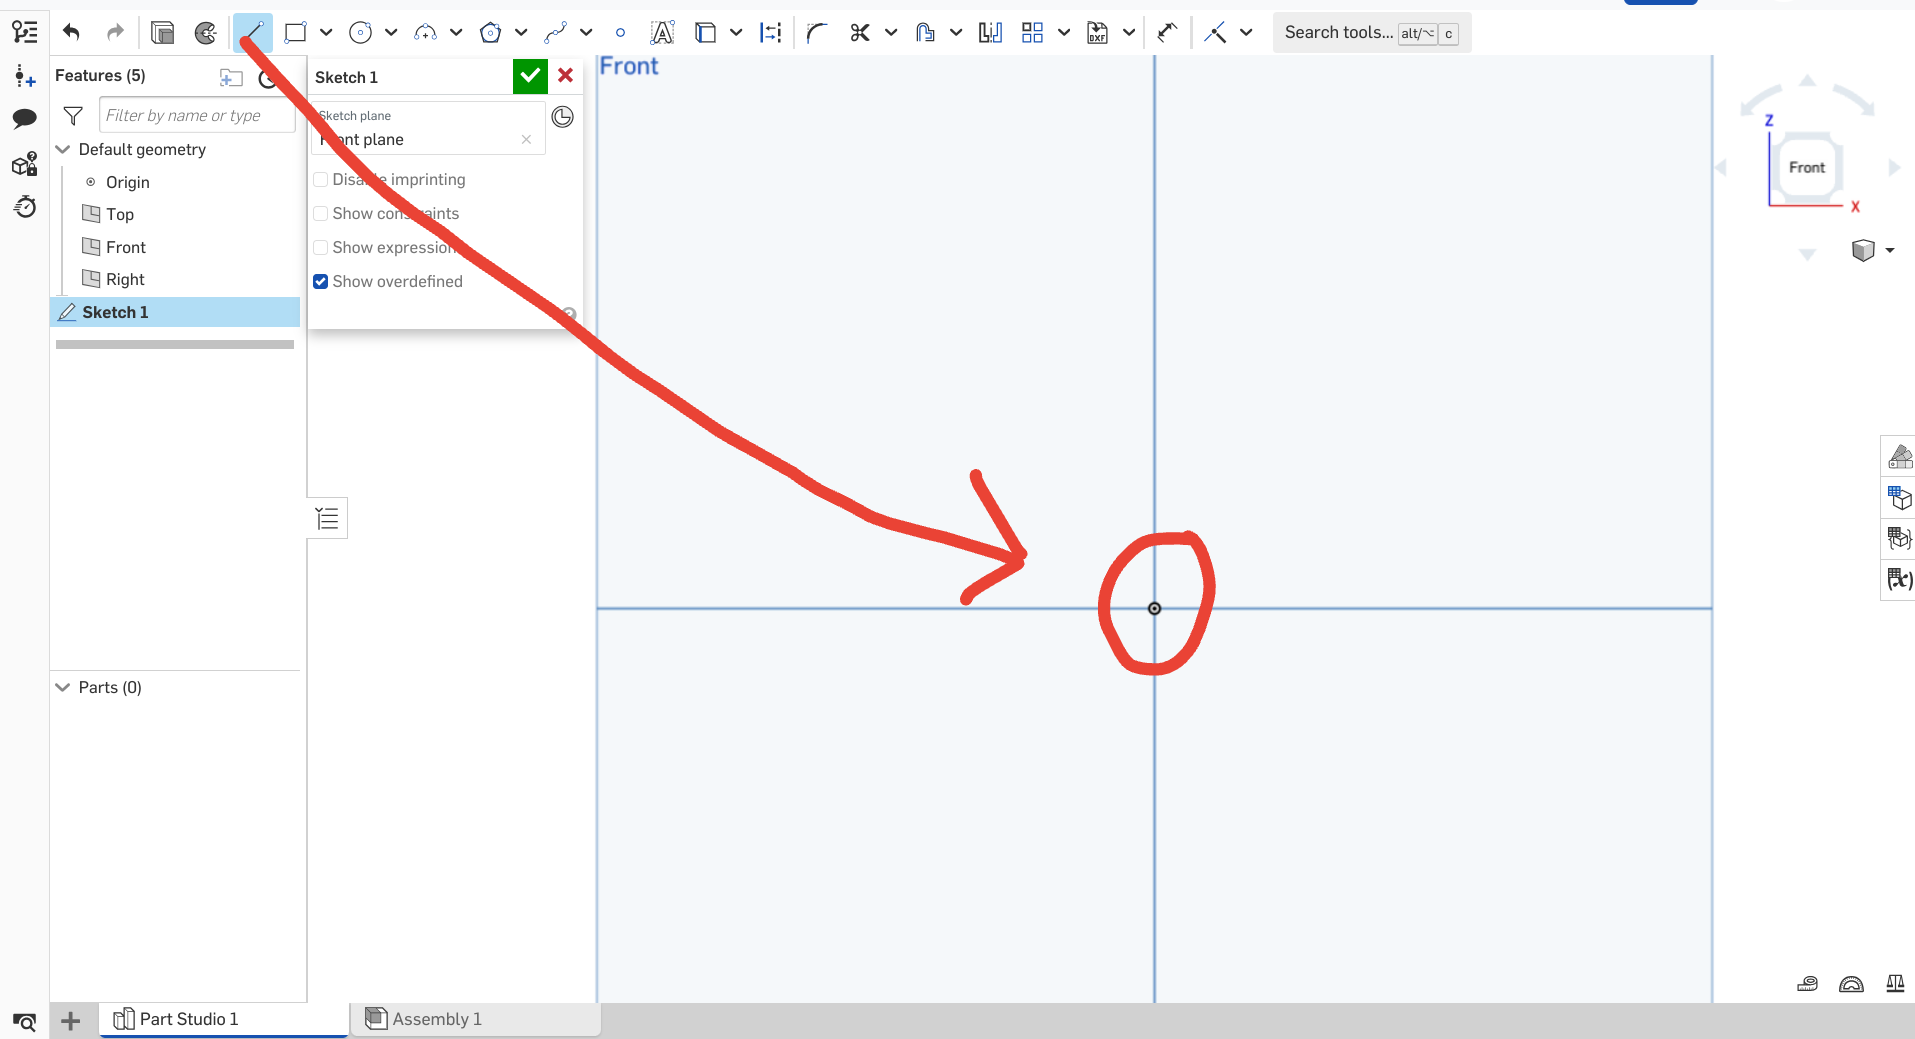
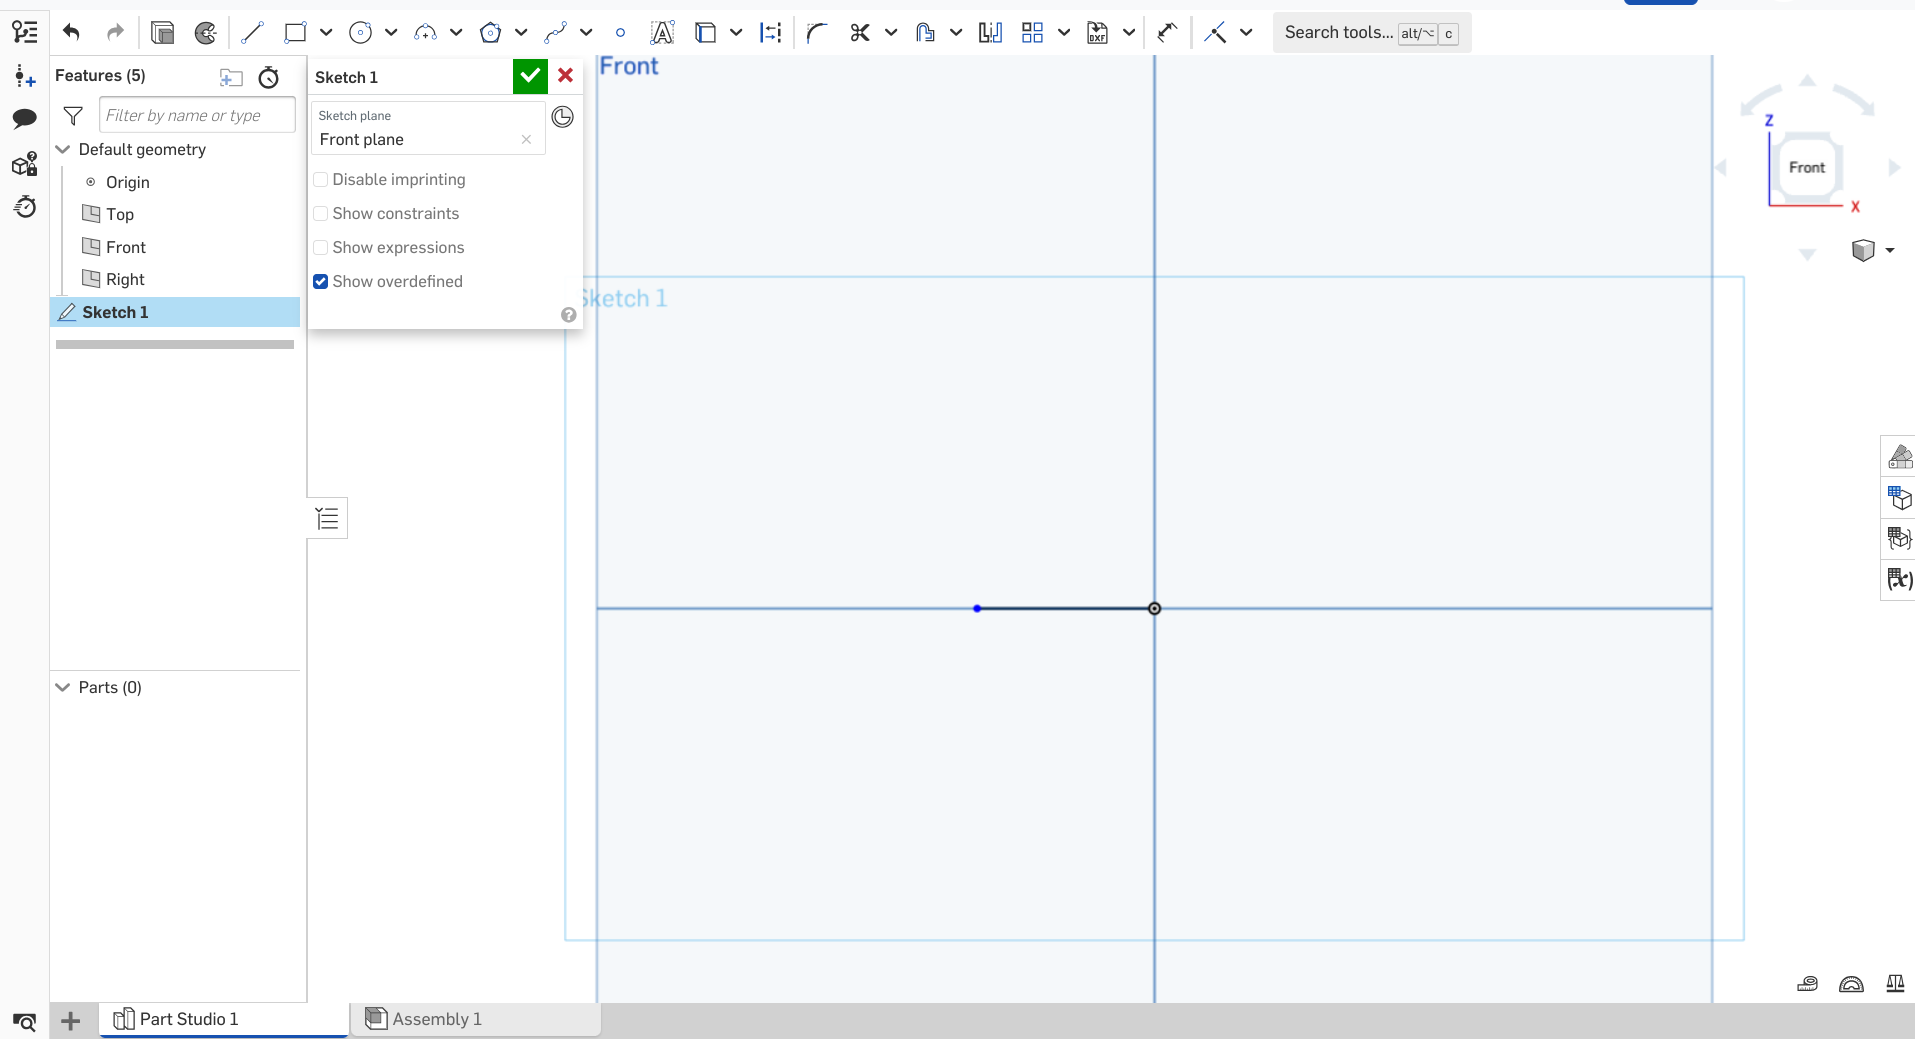
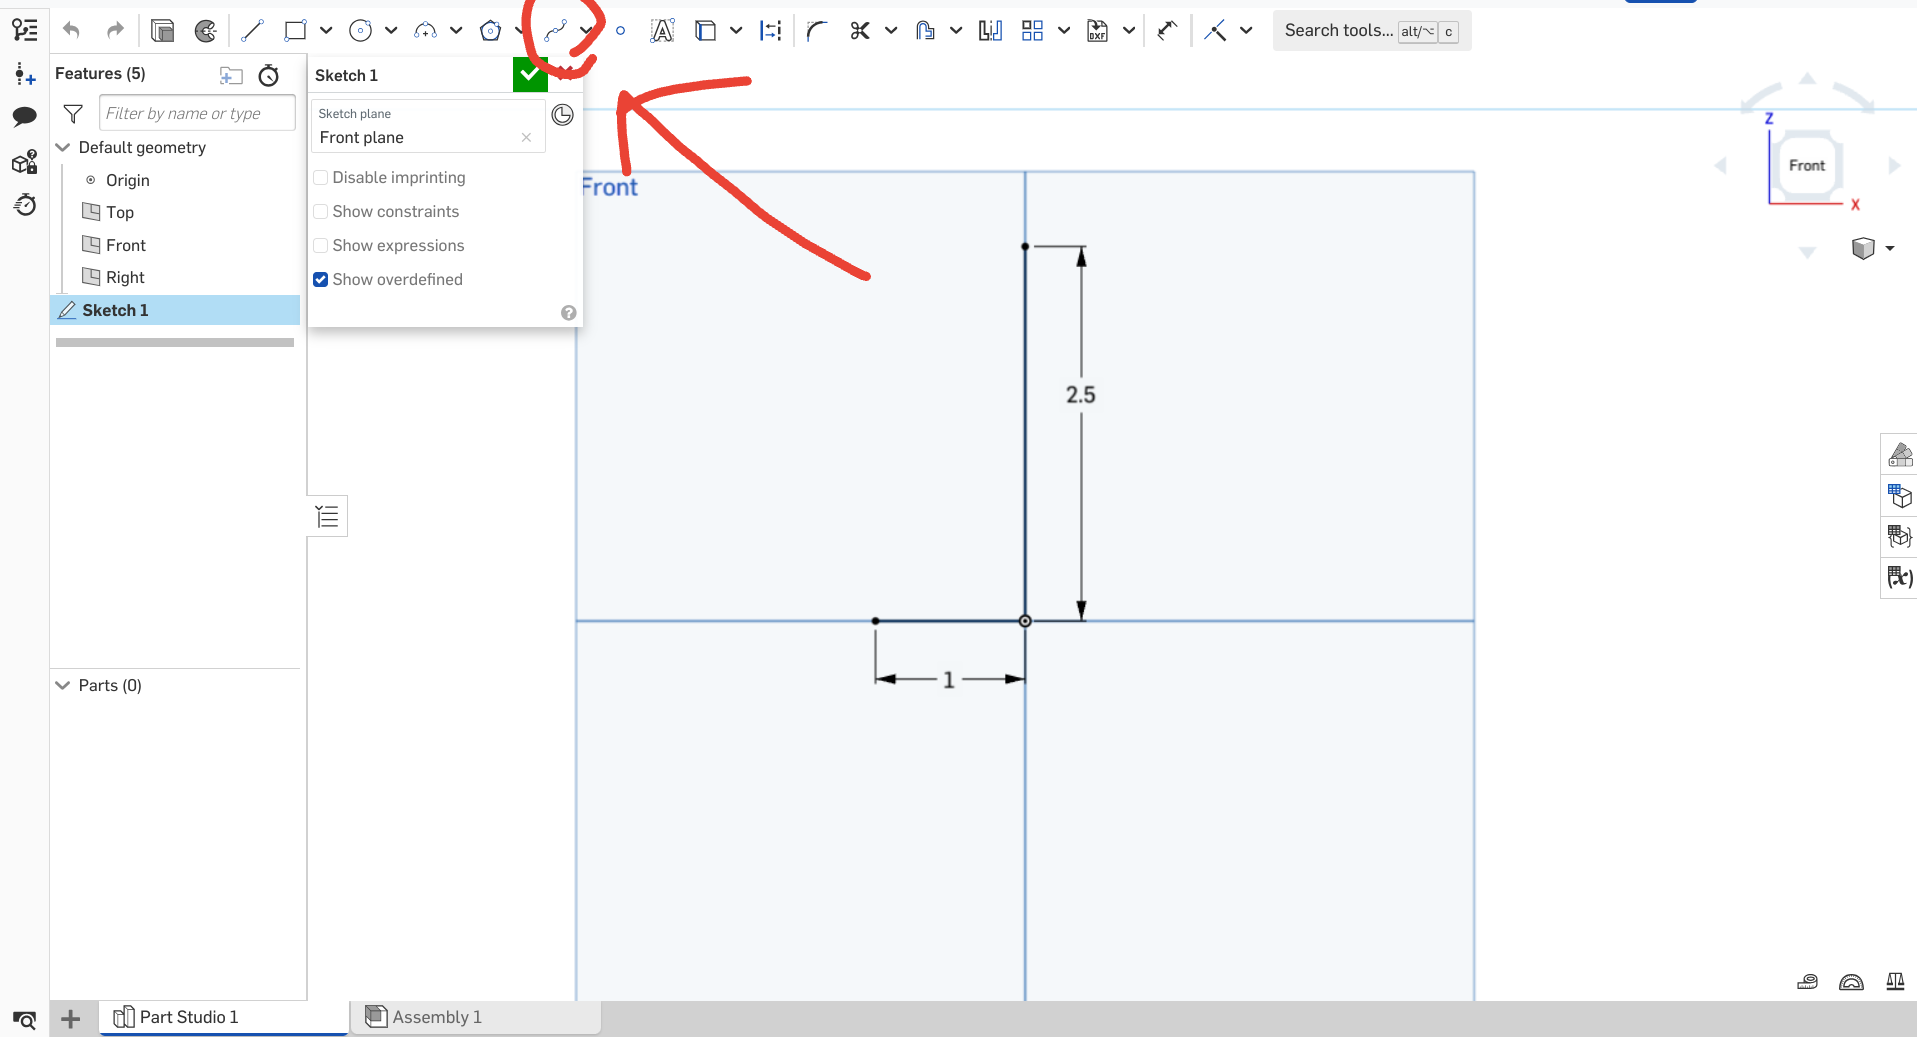
- Click the "L" key on your keyboard (this tells the Onshape that you want to make a line).
- Select the black and white point in the center of your screen.
- Drag your cursor straight to the left, making sure it snaps horizontally.
- Confirm the line by clicking the screen again. It should look like the third photo shown.
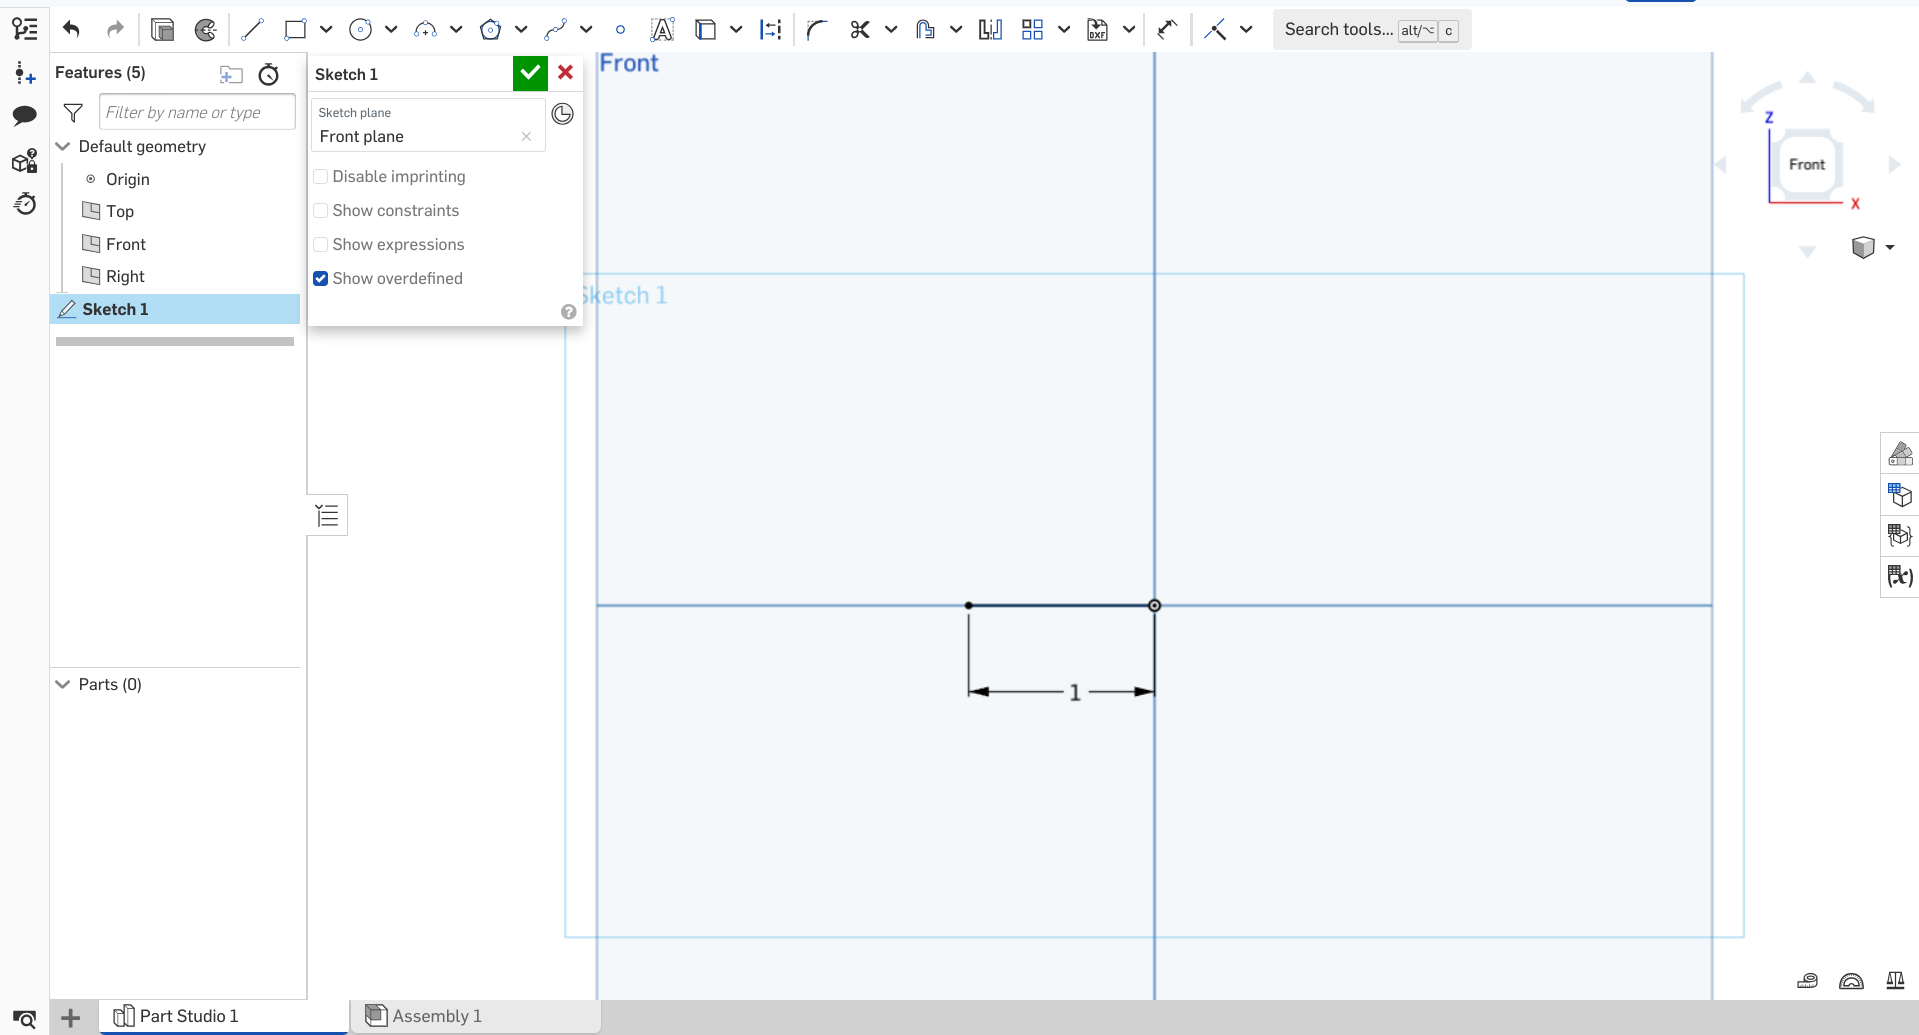
- After this, select the "D" key on your keyboard (this tells Onshape you want to dimension something), click the line, type in 1, and hit enter.
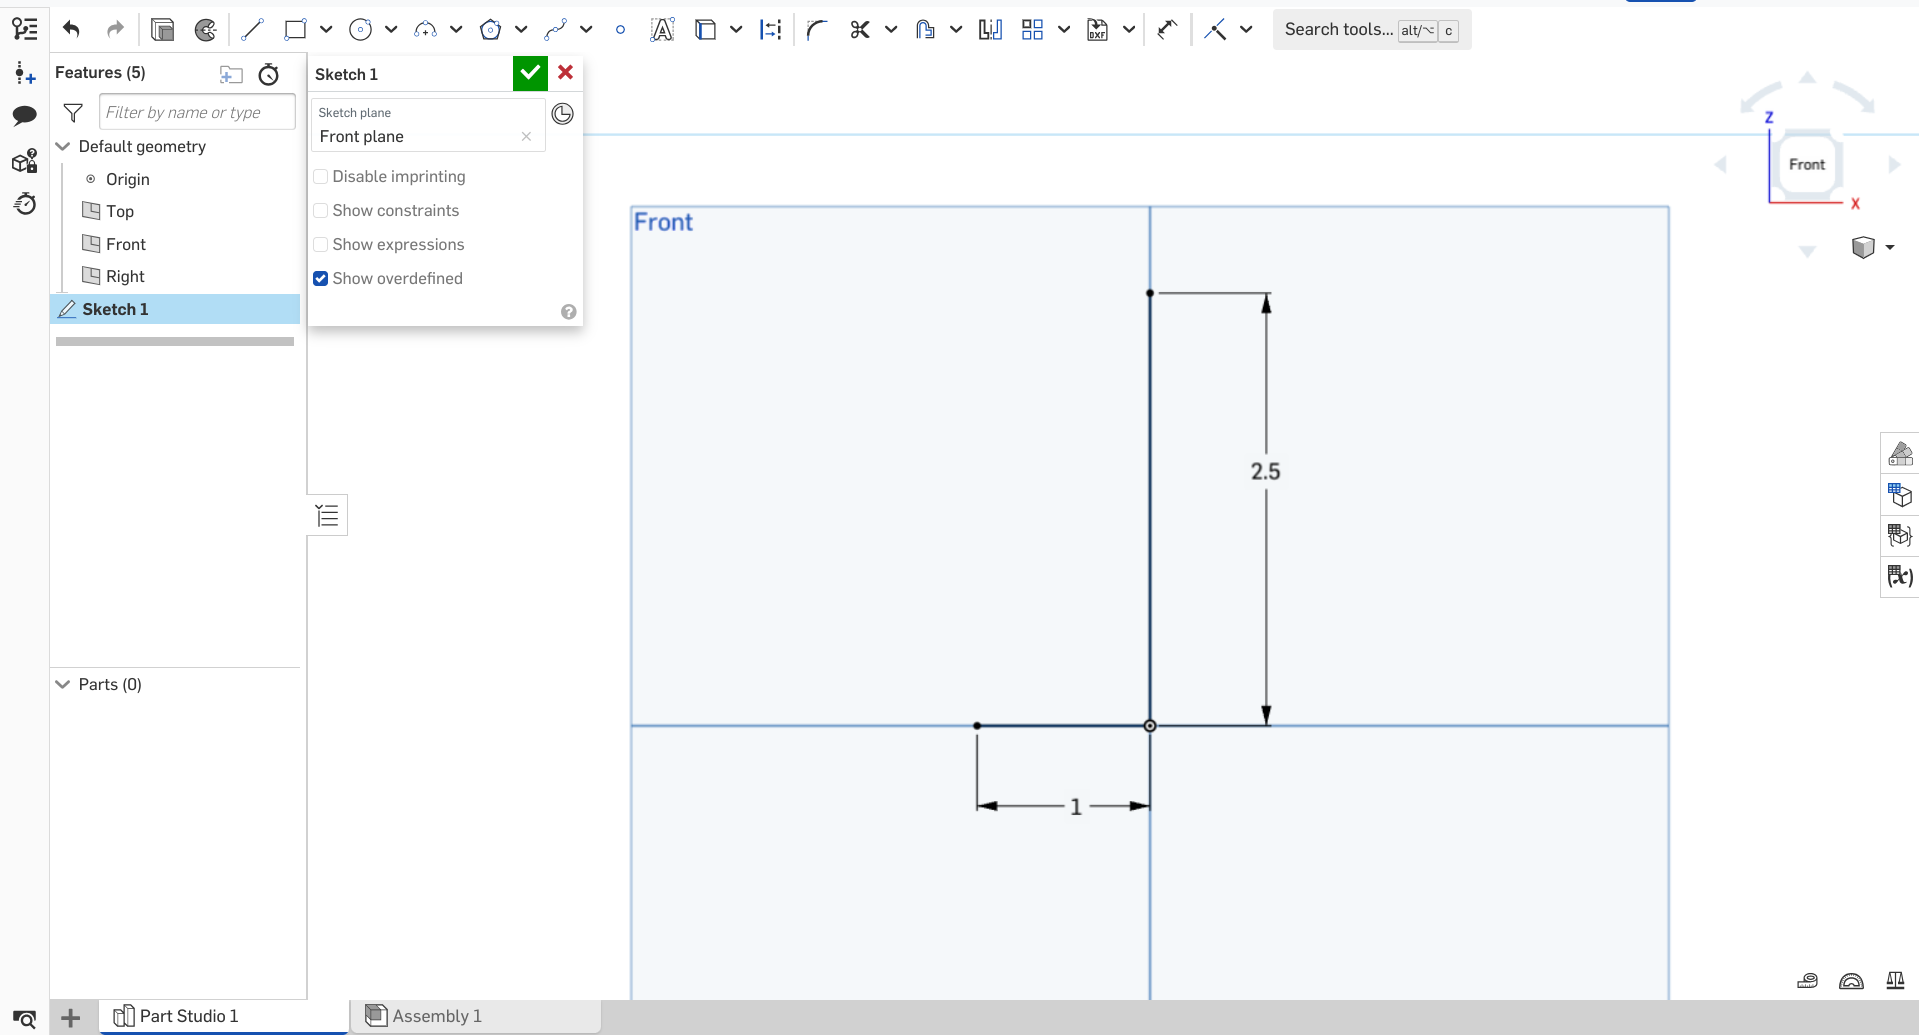
- Repeat this process, starting by clicking "L" again. However, draw a vertical line and type in 2.5 instead of 1.
- Congrats!! You just drew your first few lines in a professional 3D modelling software!
Optional Water Break
Stand up, stretch, get hydrated.
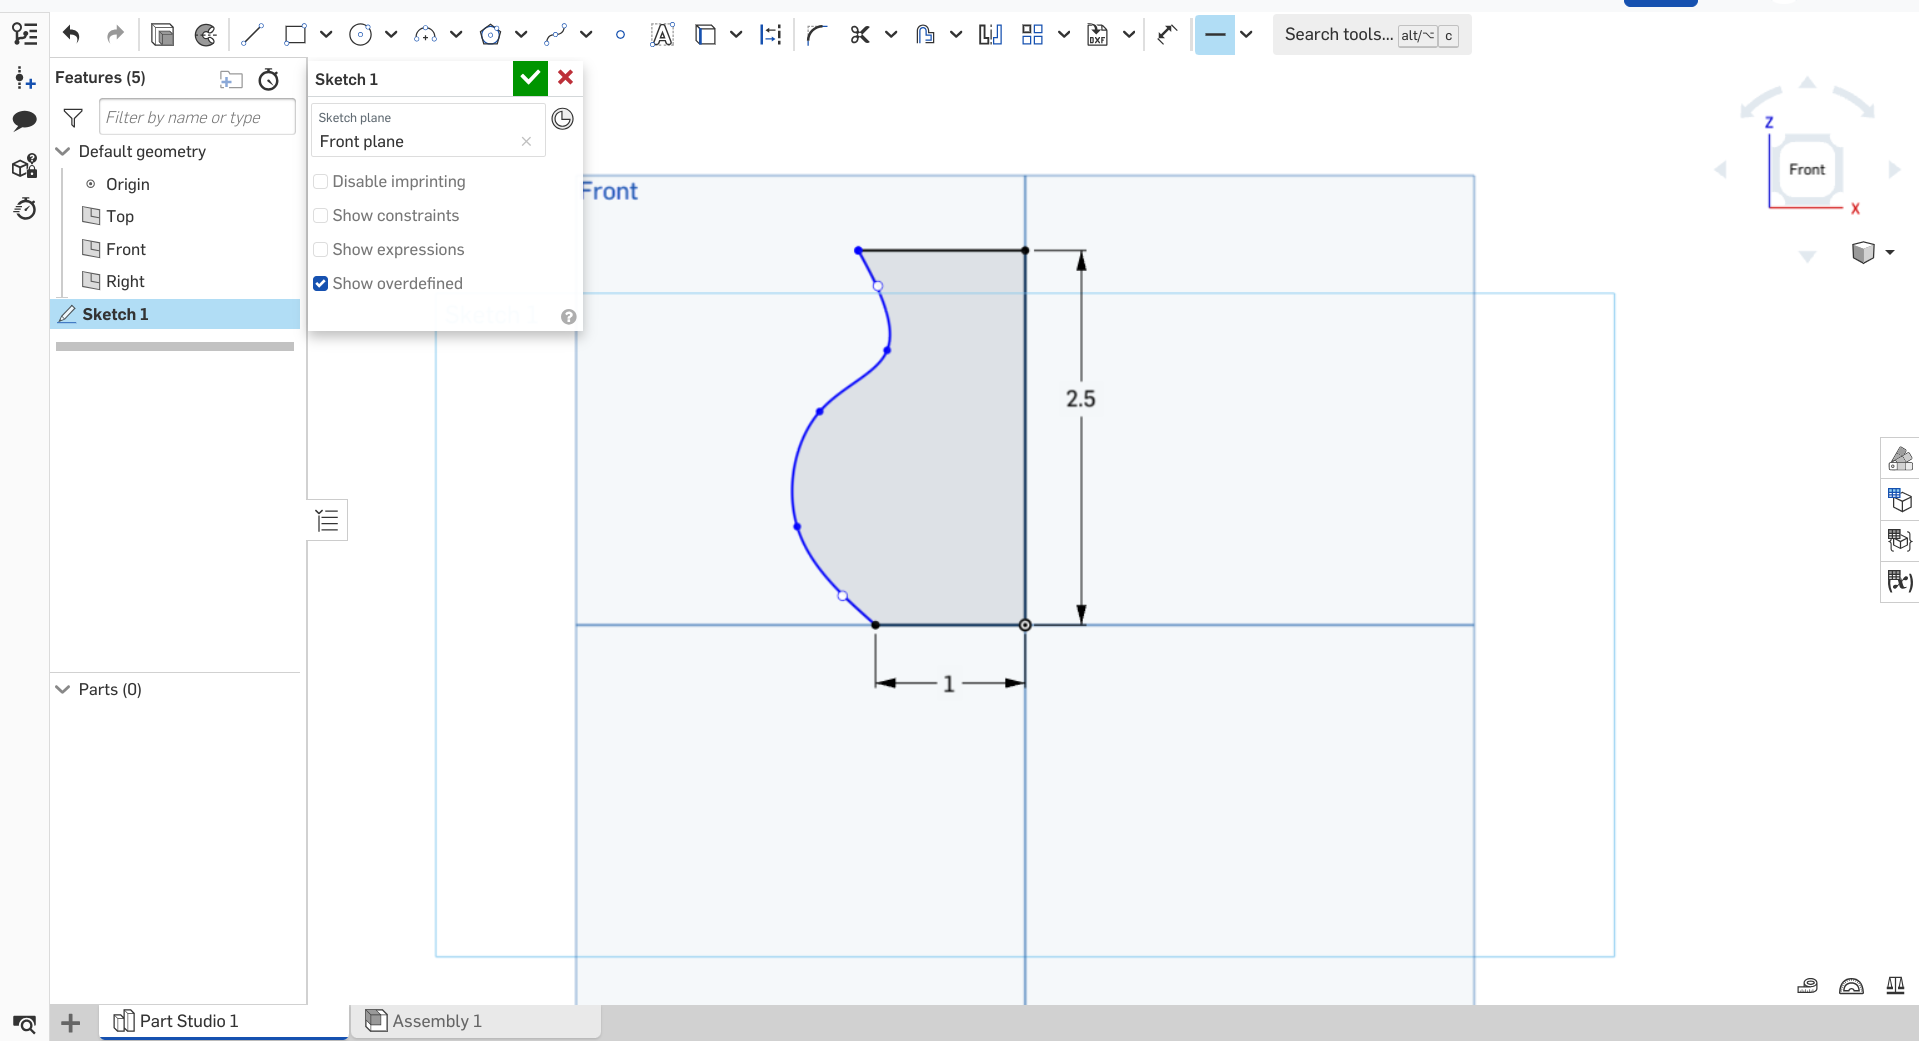
Draw Some Curves
Now you get to work on the part you've been waiting for: the actual shape of the vase!
For this one, I would watch the screen recording to save you some sanity. The tool we're using is called a spline, which is essentially a curve you control with many different points.
IMPORTANT NOTE:
You can customize the shape of the vase by changing the location and number of the points! Experiment to see how you like it best.
IMPORTANT NOTE #2:
I would recommend making the curves of the vase shallower to make it easier to print. I ended up slightly changing the final design so that the print turned out cleaner.
Finishing the Shape
This is one of the last steps in the design process! You almost made it!
This step is simple:
- If the spline tool is still active (if it still looks blue) click "escape" on your keyboard
- Click "L" on your keyboard
- Draw the line between the unconnected end of the vertical line and the end of the curve you drew (see photo)
- Click "H" on your keyboard and click the line you just drew
Making It 3D
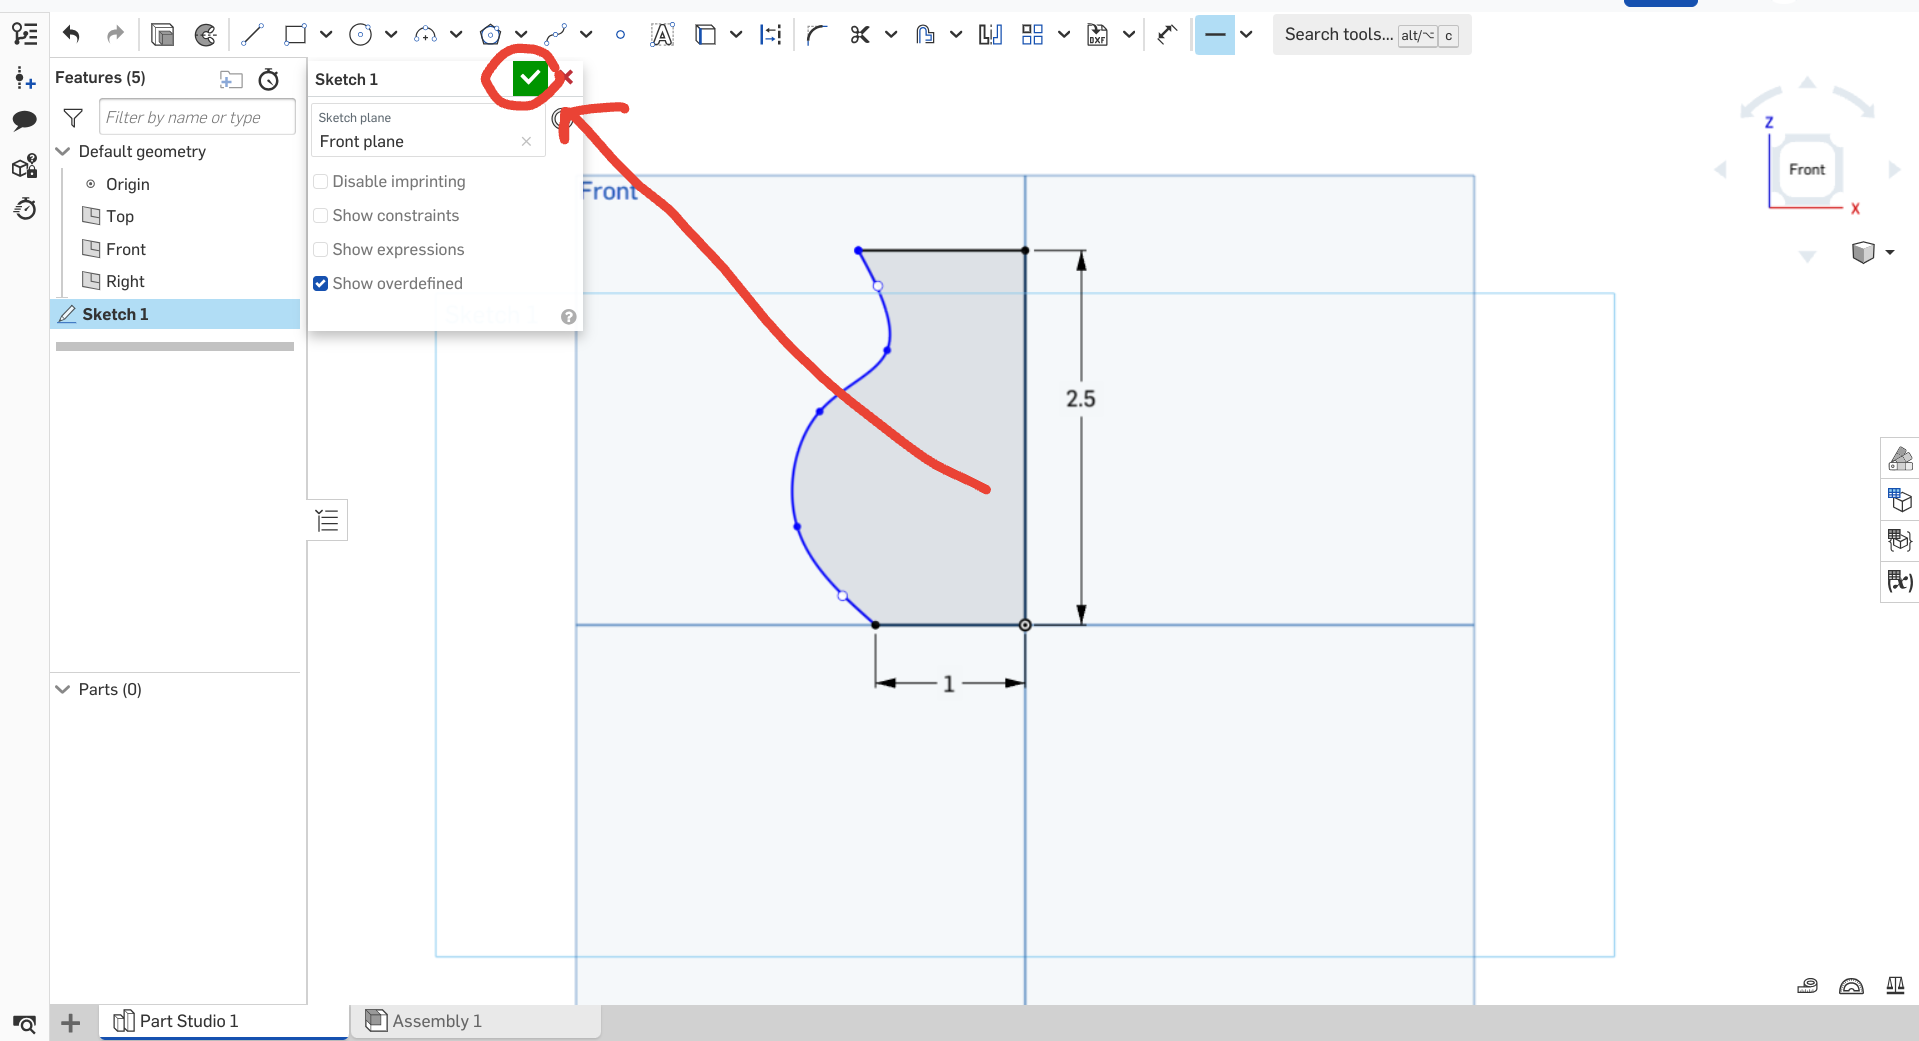
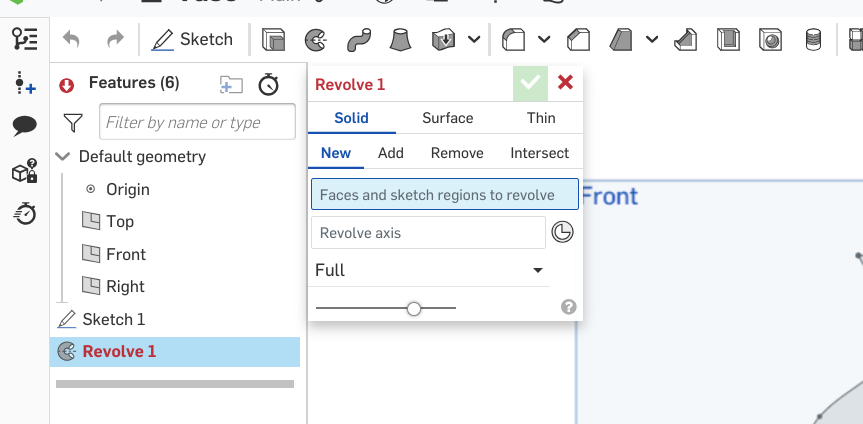
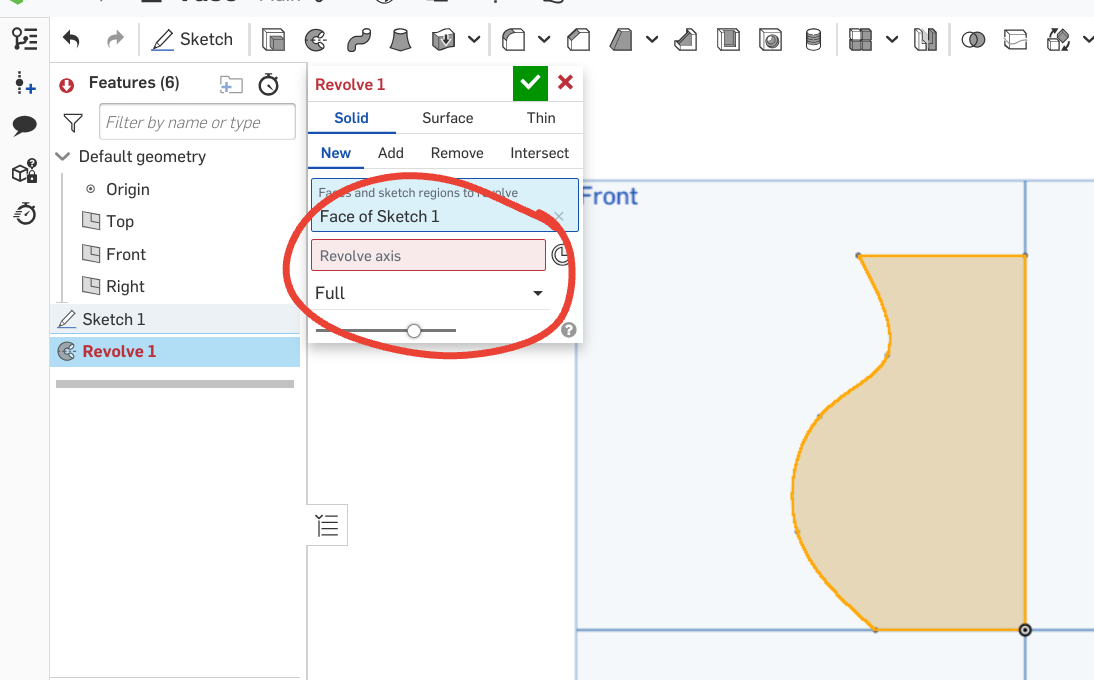
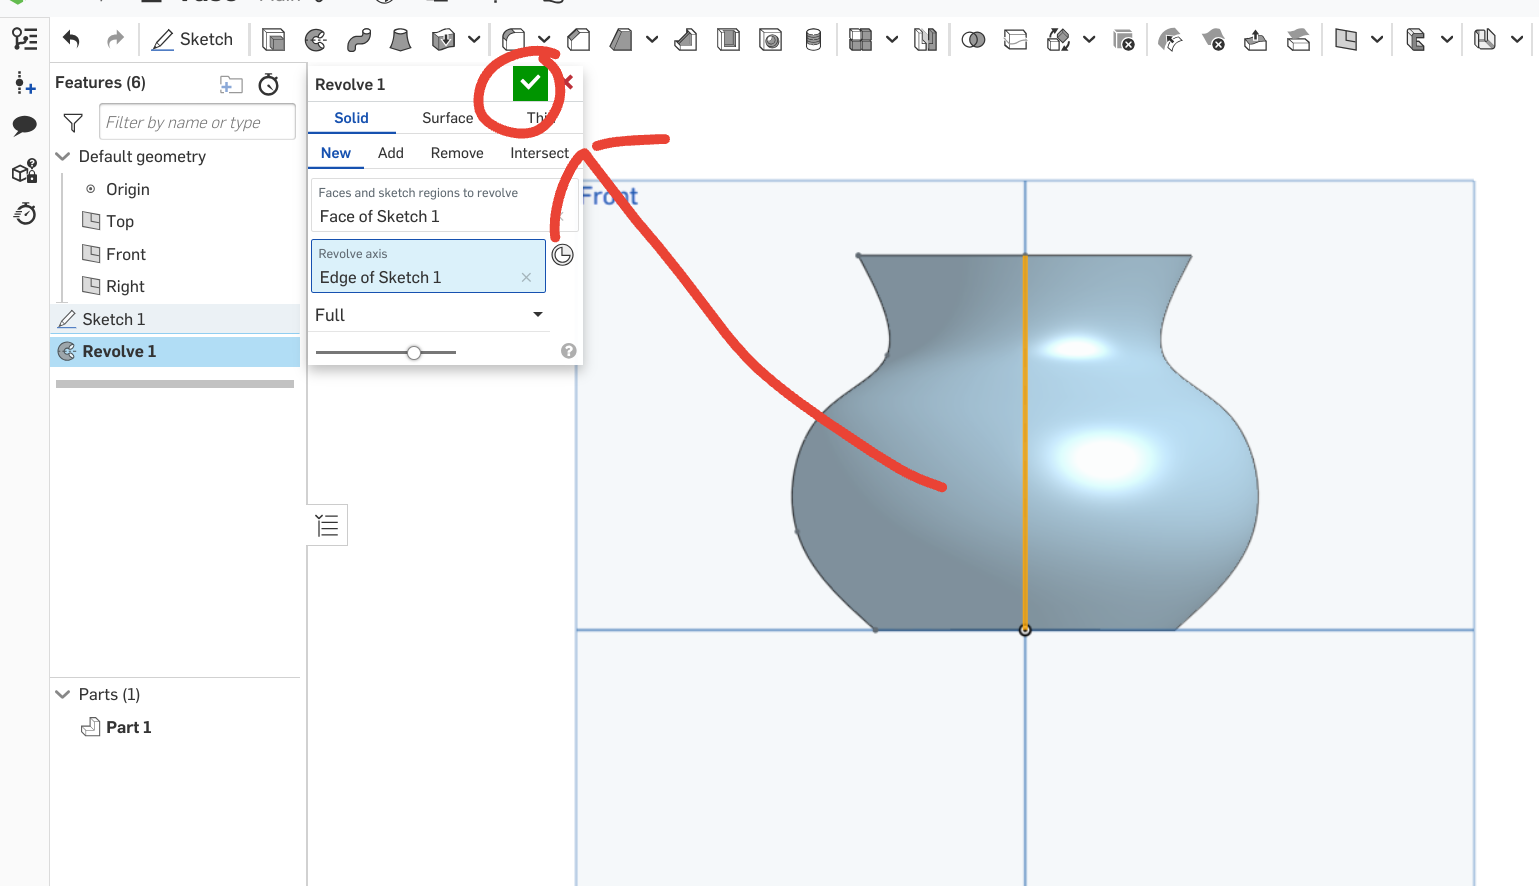
The Sketch is finished! Nice job. For this one, it might help to watch the video. (but here's steps just in case)
- Click on the green checkmark on the top left of the screen
- Click "Shift" and "W" at the same time on your keyboard (a pop-up should appear labelled "Revolve"
- Select the face of the sketch
- Select the red "Revolve axis" box at the top left of your screen
- Click the vertical line you drew in the sketch (You should see something similar to what is shown in the fourth image.)
- Select the green check box in the same location (top left of your screen)
Congratulations! You just designed a 3D model. You're now an (un)official 3D designer!
Exporting
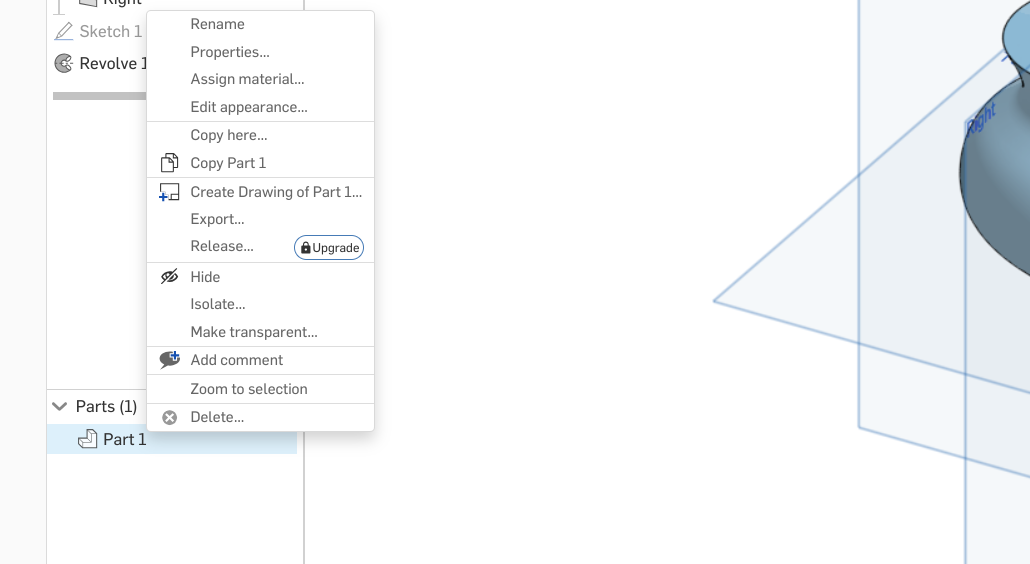
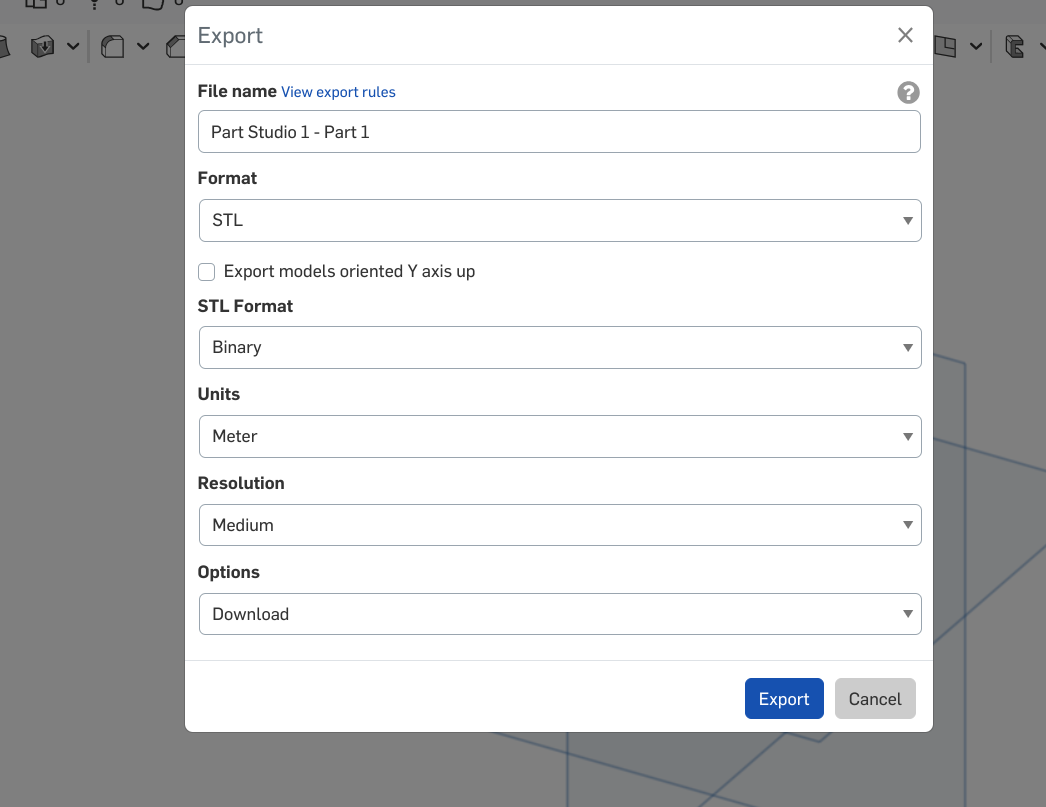
Now, we turn that 3D model into a language your 3D printer can understand.
- Right click (or click with two fingers) "Part 1" at the bottom left of your screen
- Choose the "export" option from the menu that shows up
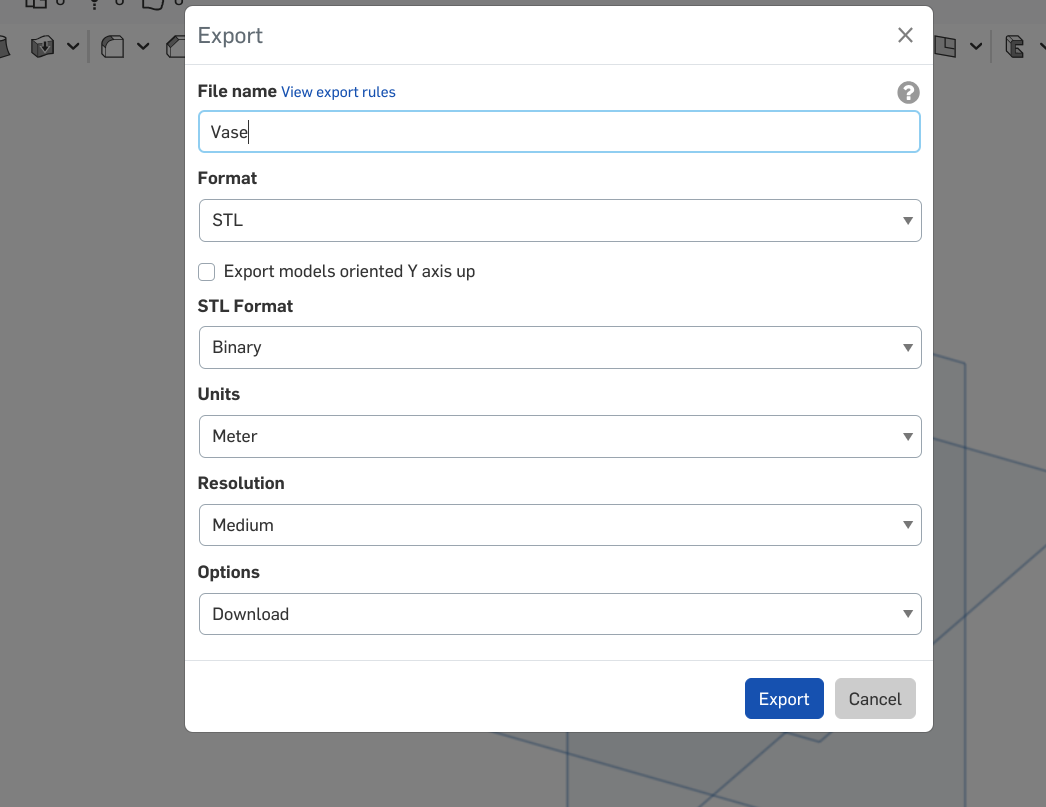
- A menu should show up in the center of the screen; Click on the box under "Format" and choose "STL" at the bottom of the menu
- Highlight the text under "File Name" and type "Vase"
- Click the blue "Export" button at the bottom of the menu
The file should install! Now, drag and drop this file into your 3D printer slicer.
Slicer Settings
For this step, you need to use a slicer for your 3D printer. The reason I'm not including steps for setting up your slicer is because this is something that everyone who has a 3D printer knows about. If you want to learn more, there are lots of very helpful YouTube videos out there! Anyways, here are the settings you should use for this print job:
0.3 mm layer height
3 walls
0% infill
0 top layers (Yes, you read that right)
After it's done printing, I would add a sealant like Mod Podge to the inside if you want to guarantee waterproof.
3D Printing
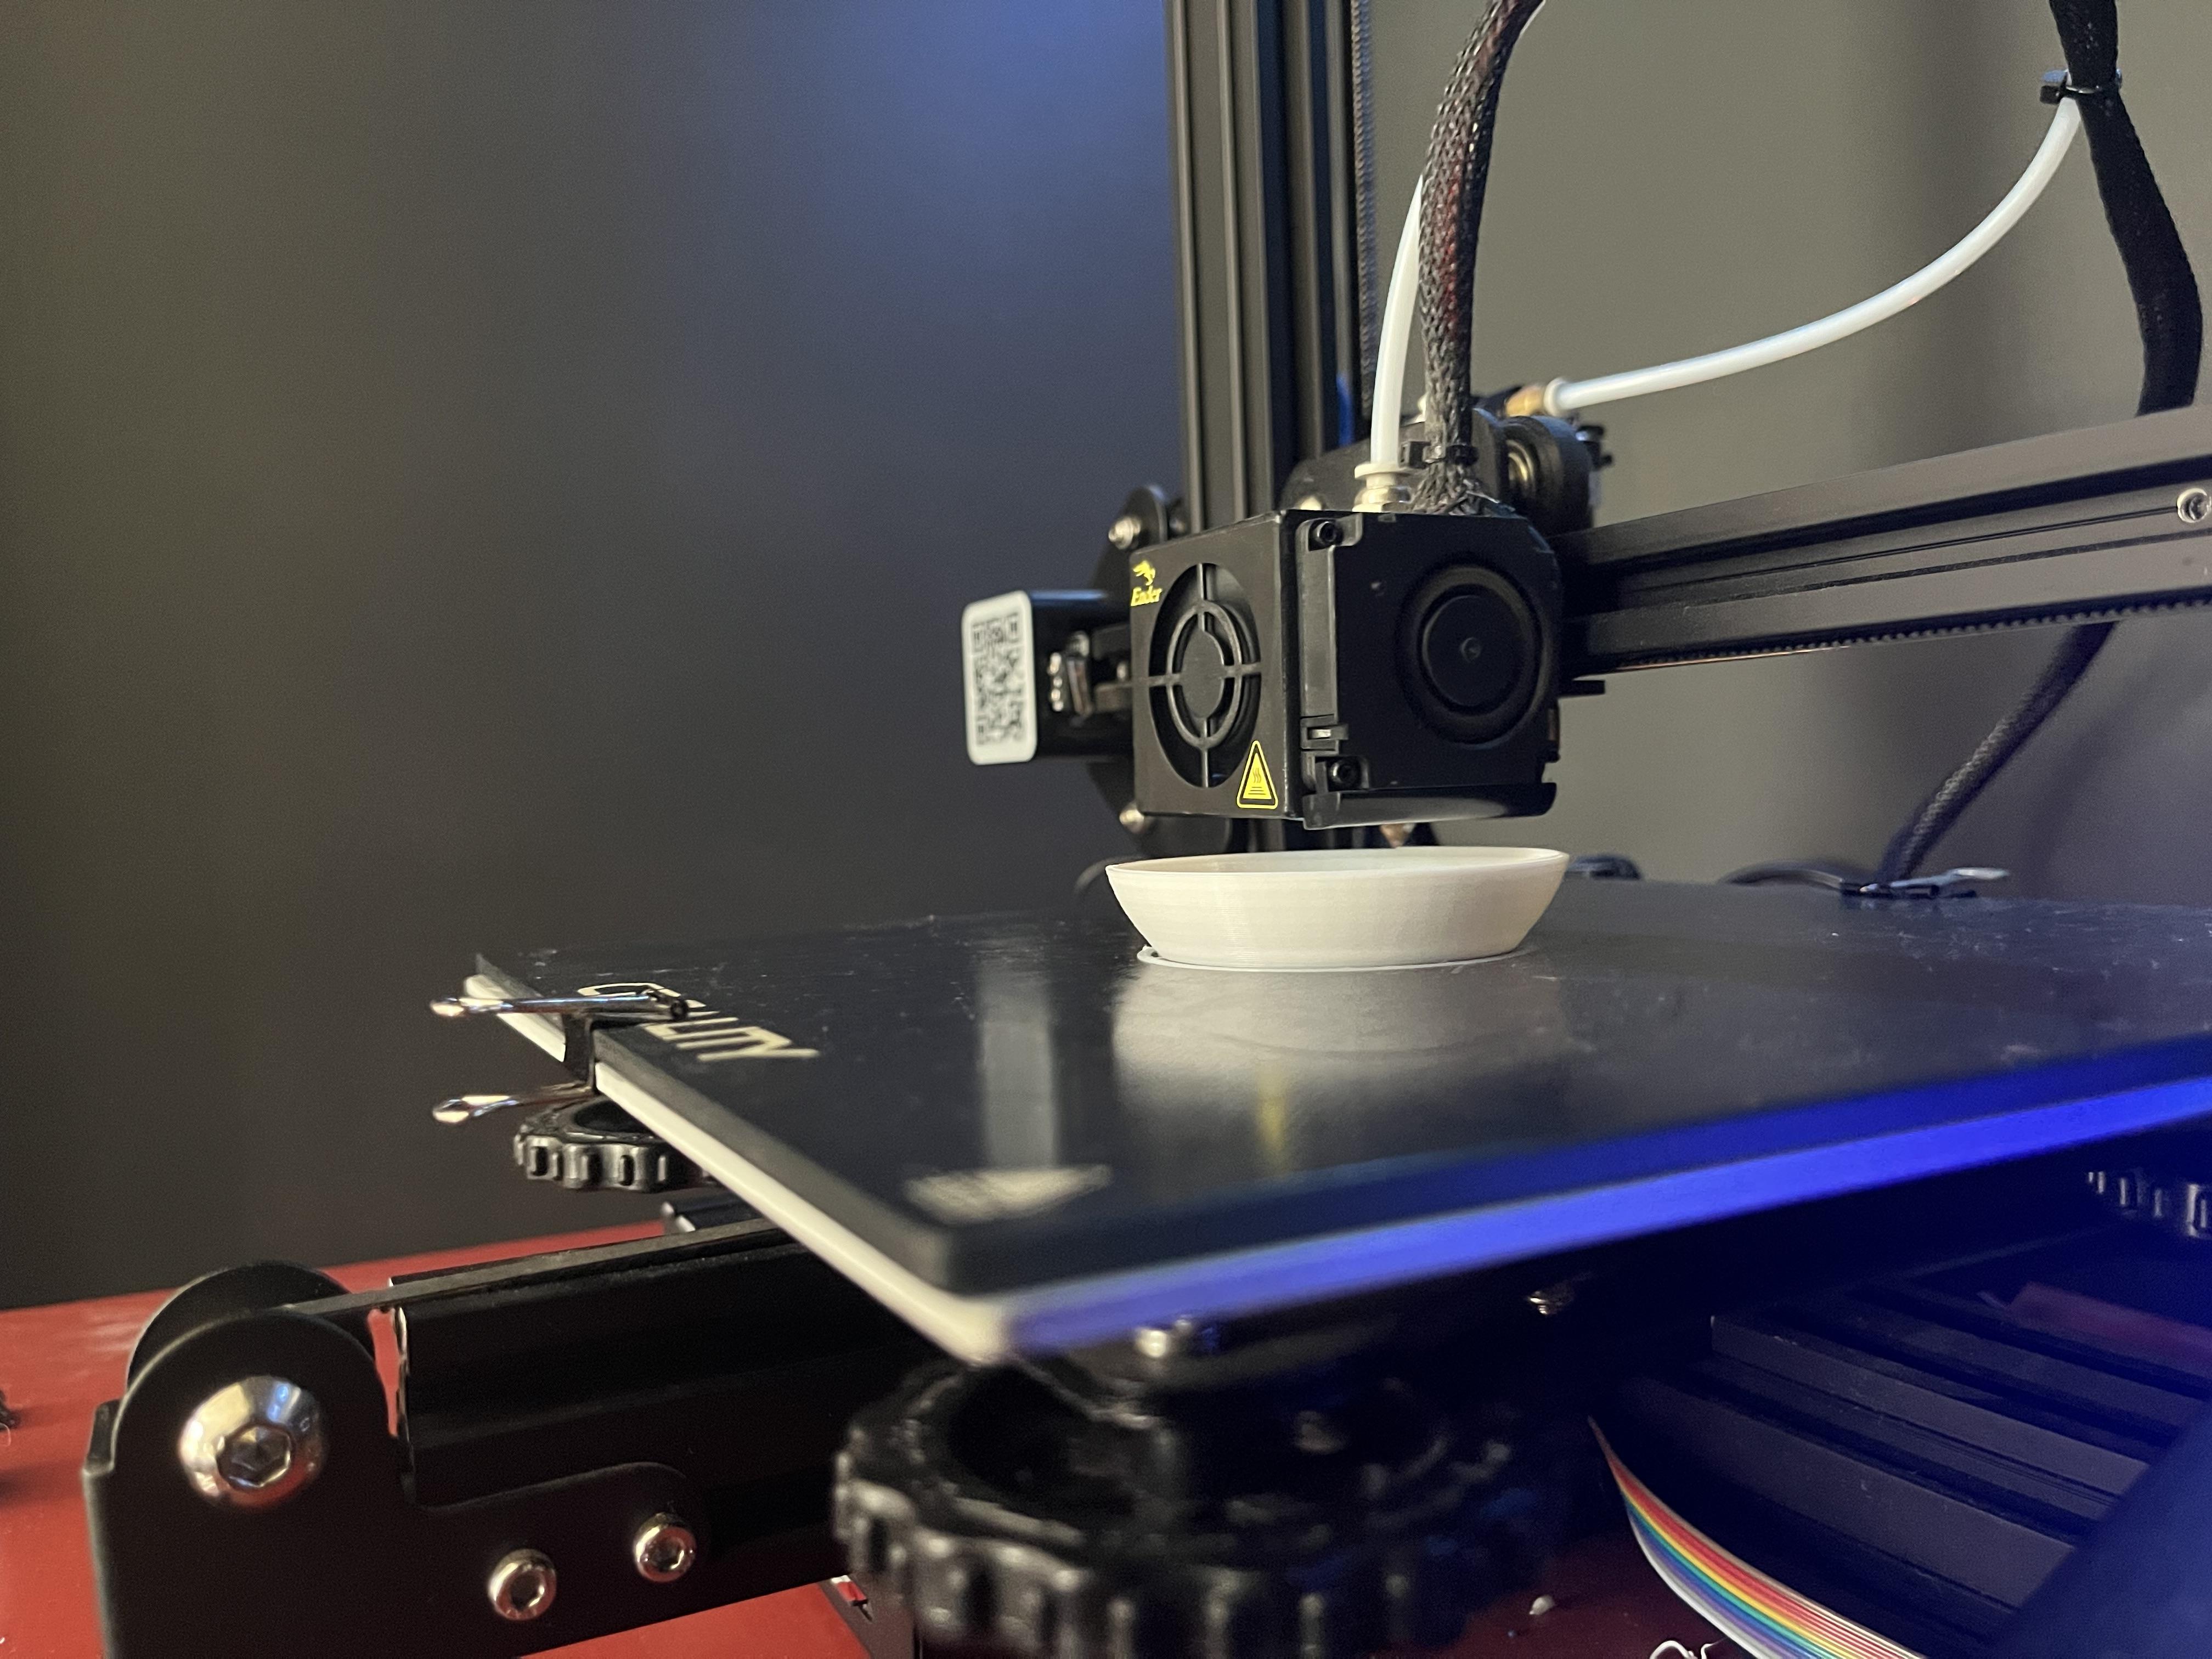
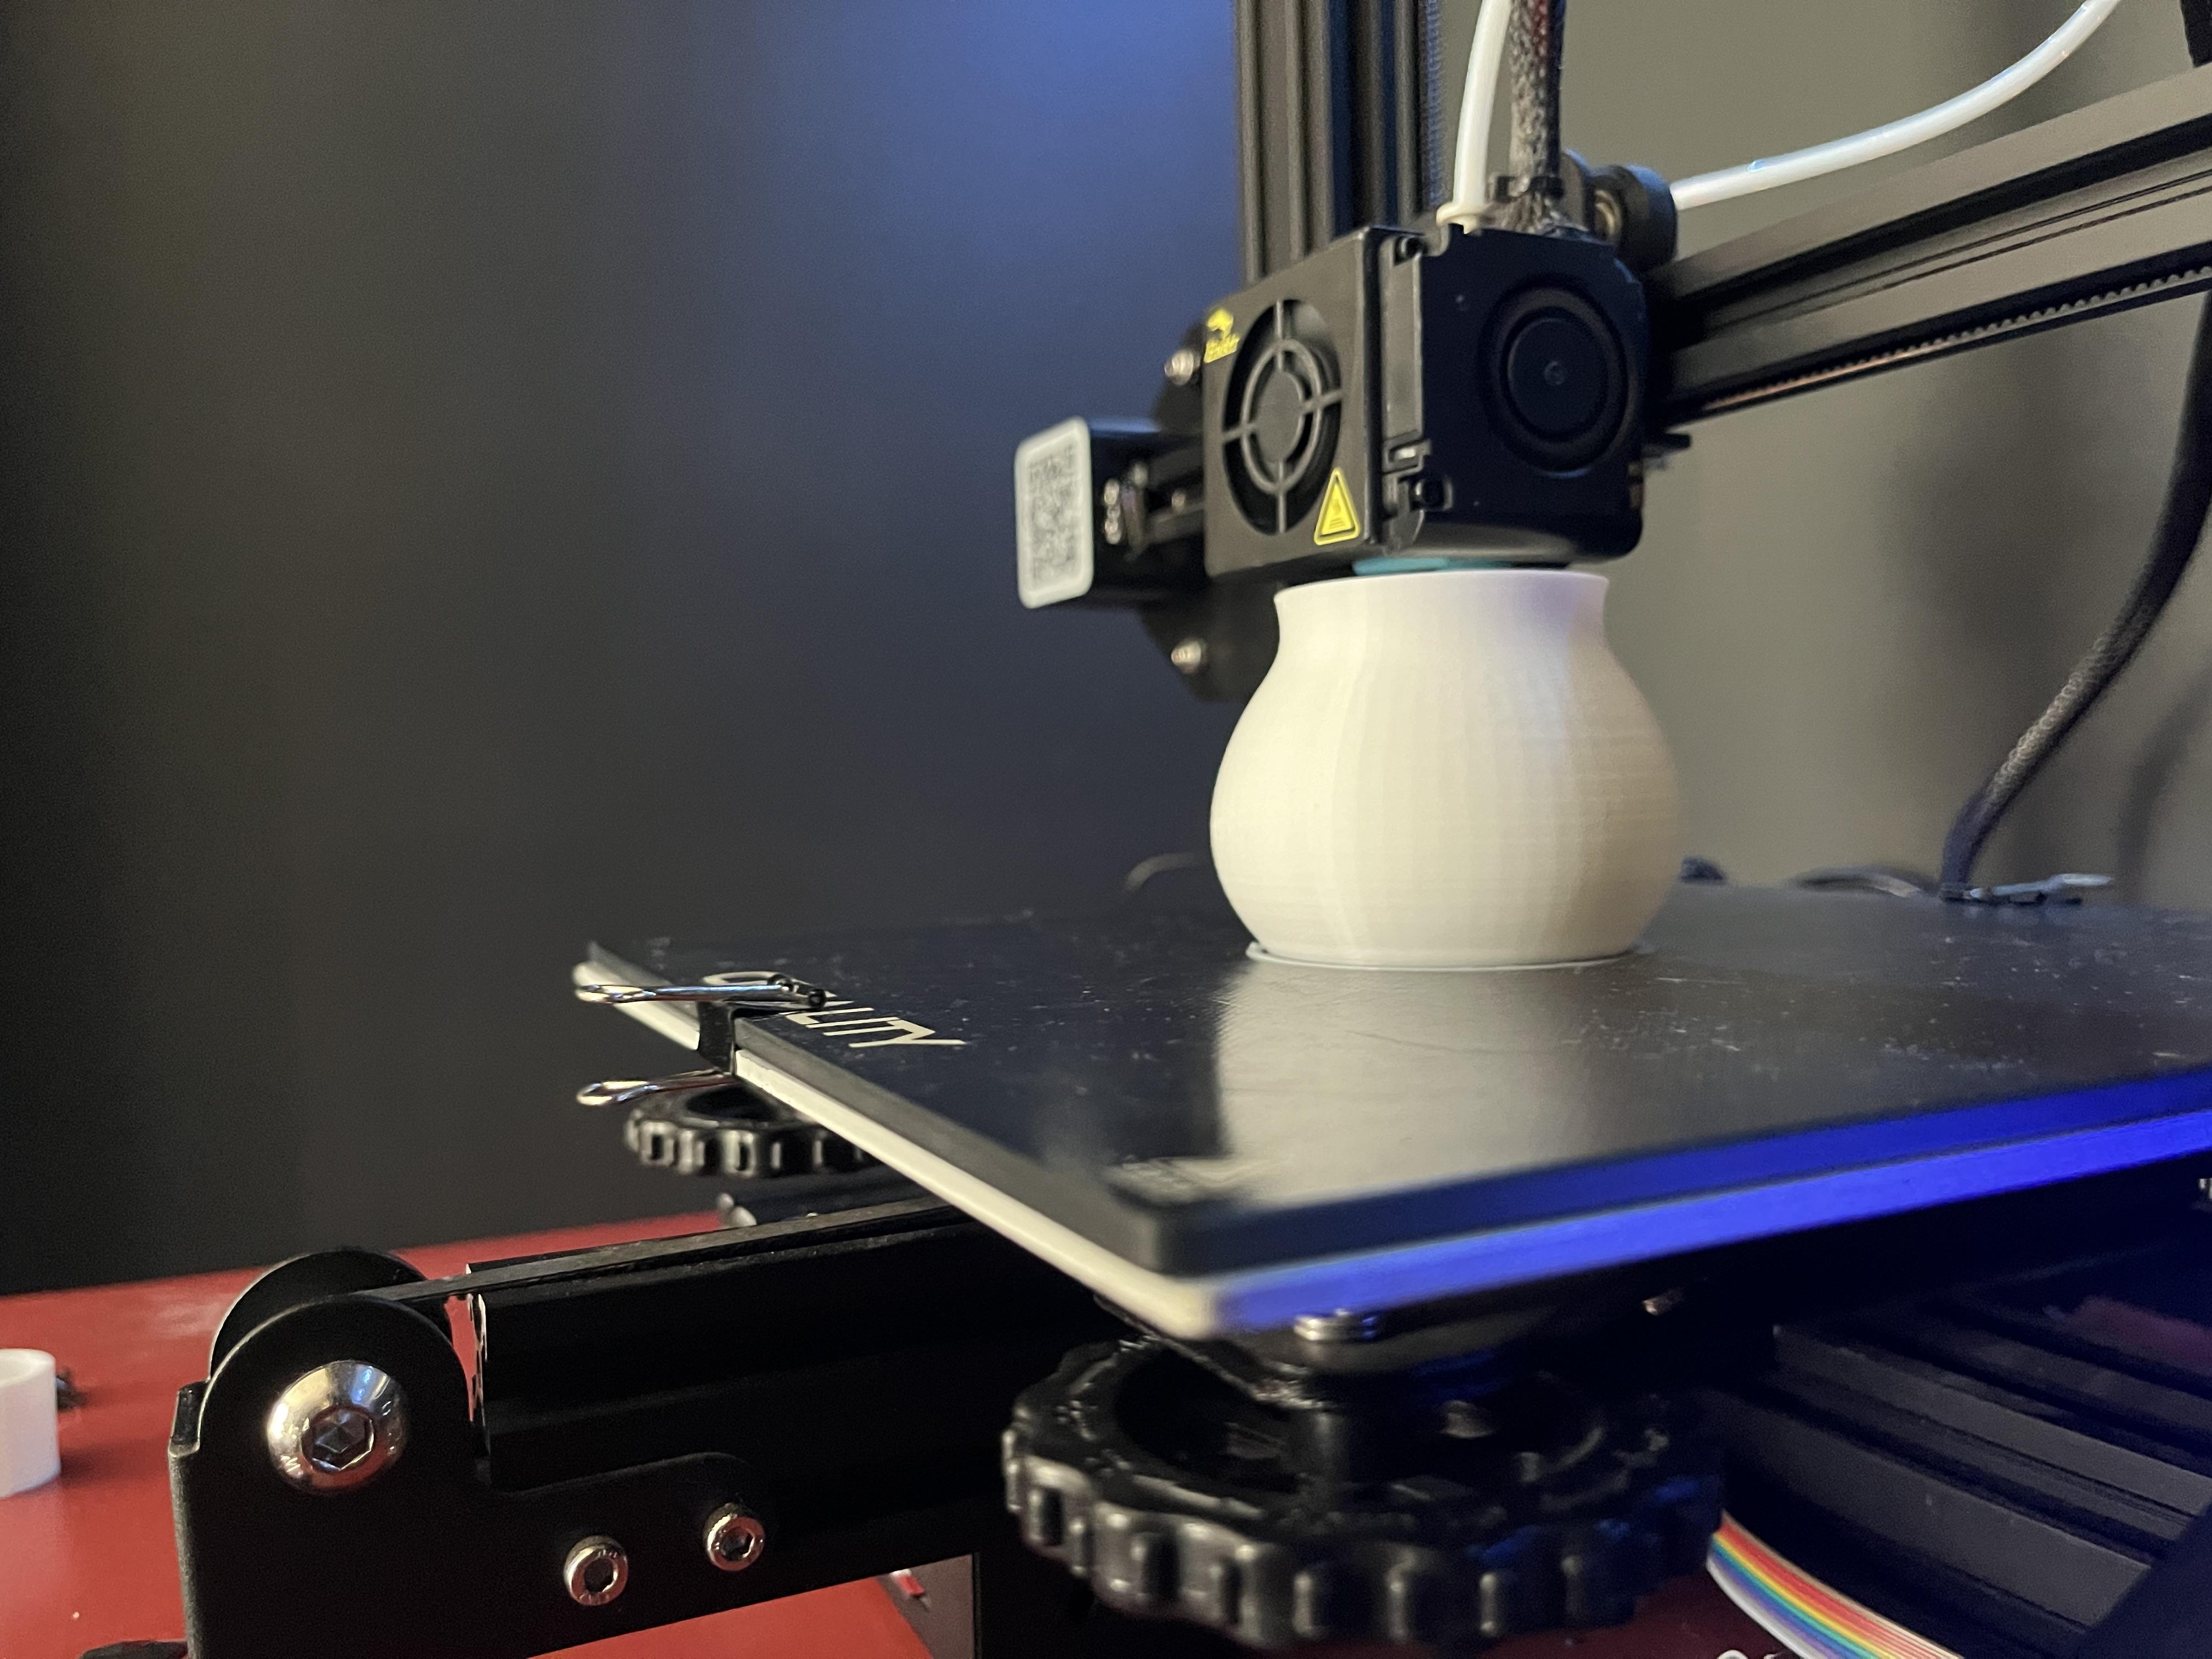
Now just export that sliced gcode (the language of 3D printers) file to your printer! The entire print job took about 1 hour to complete.
Optional Water-proofing
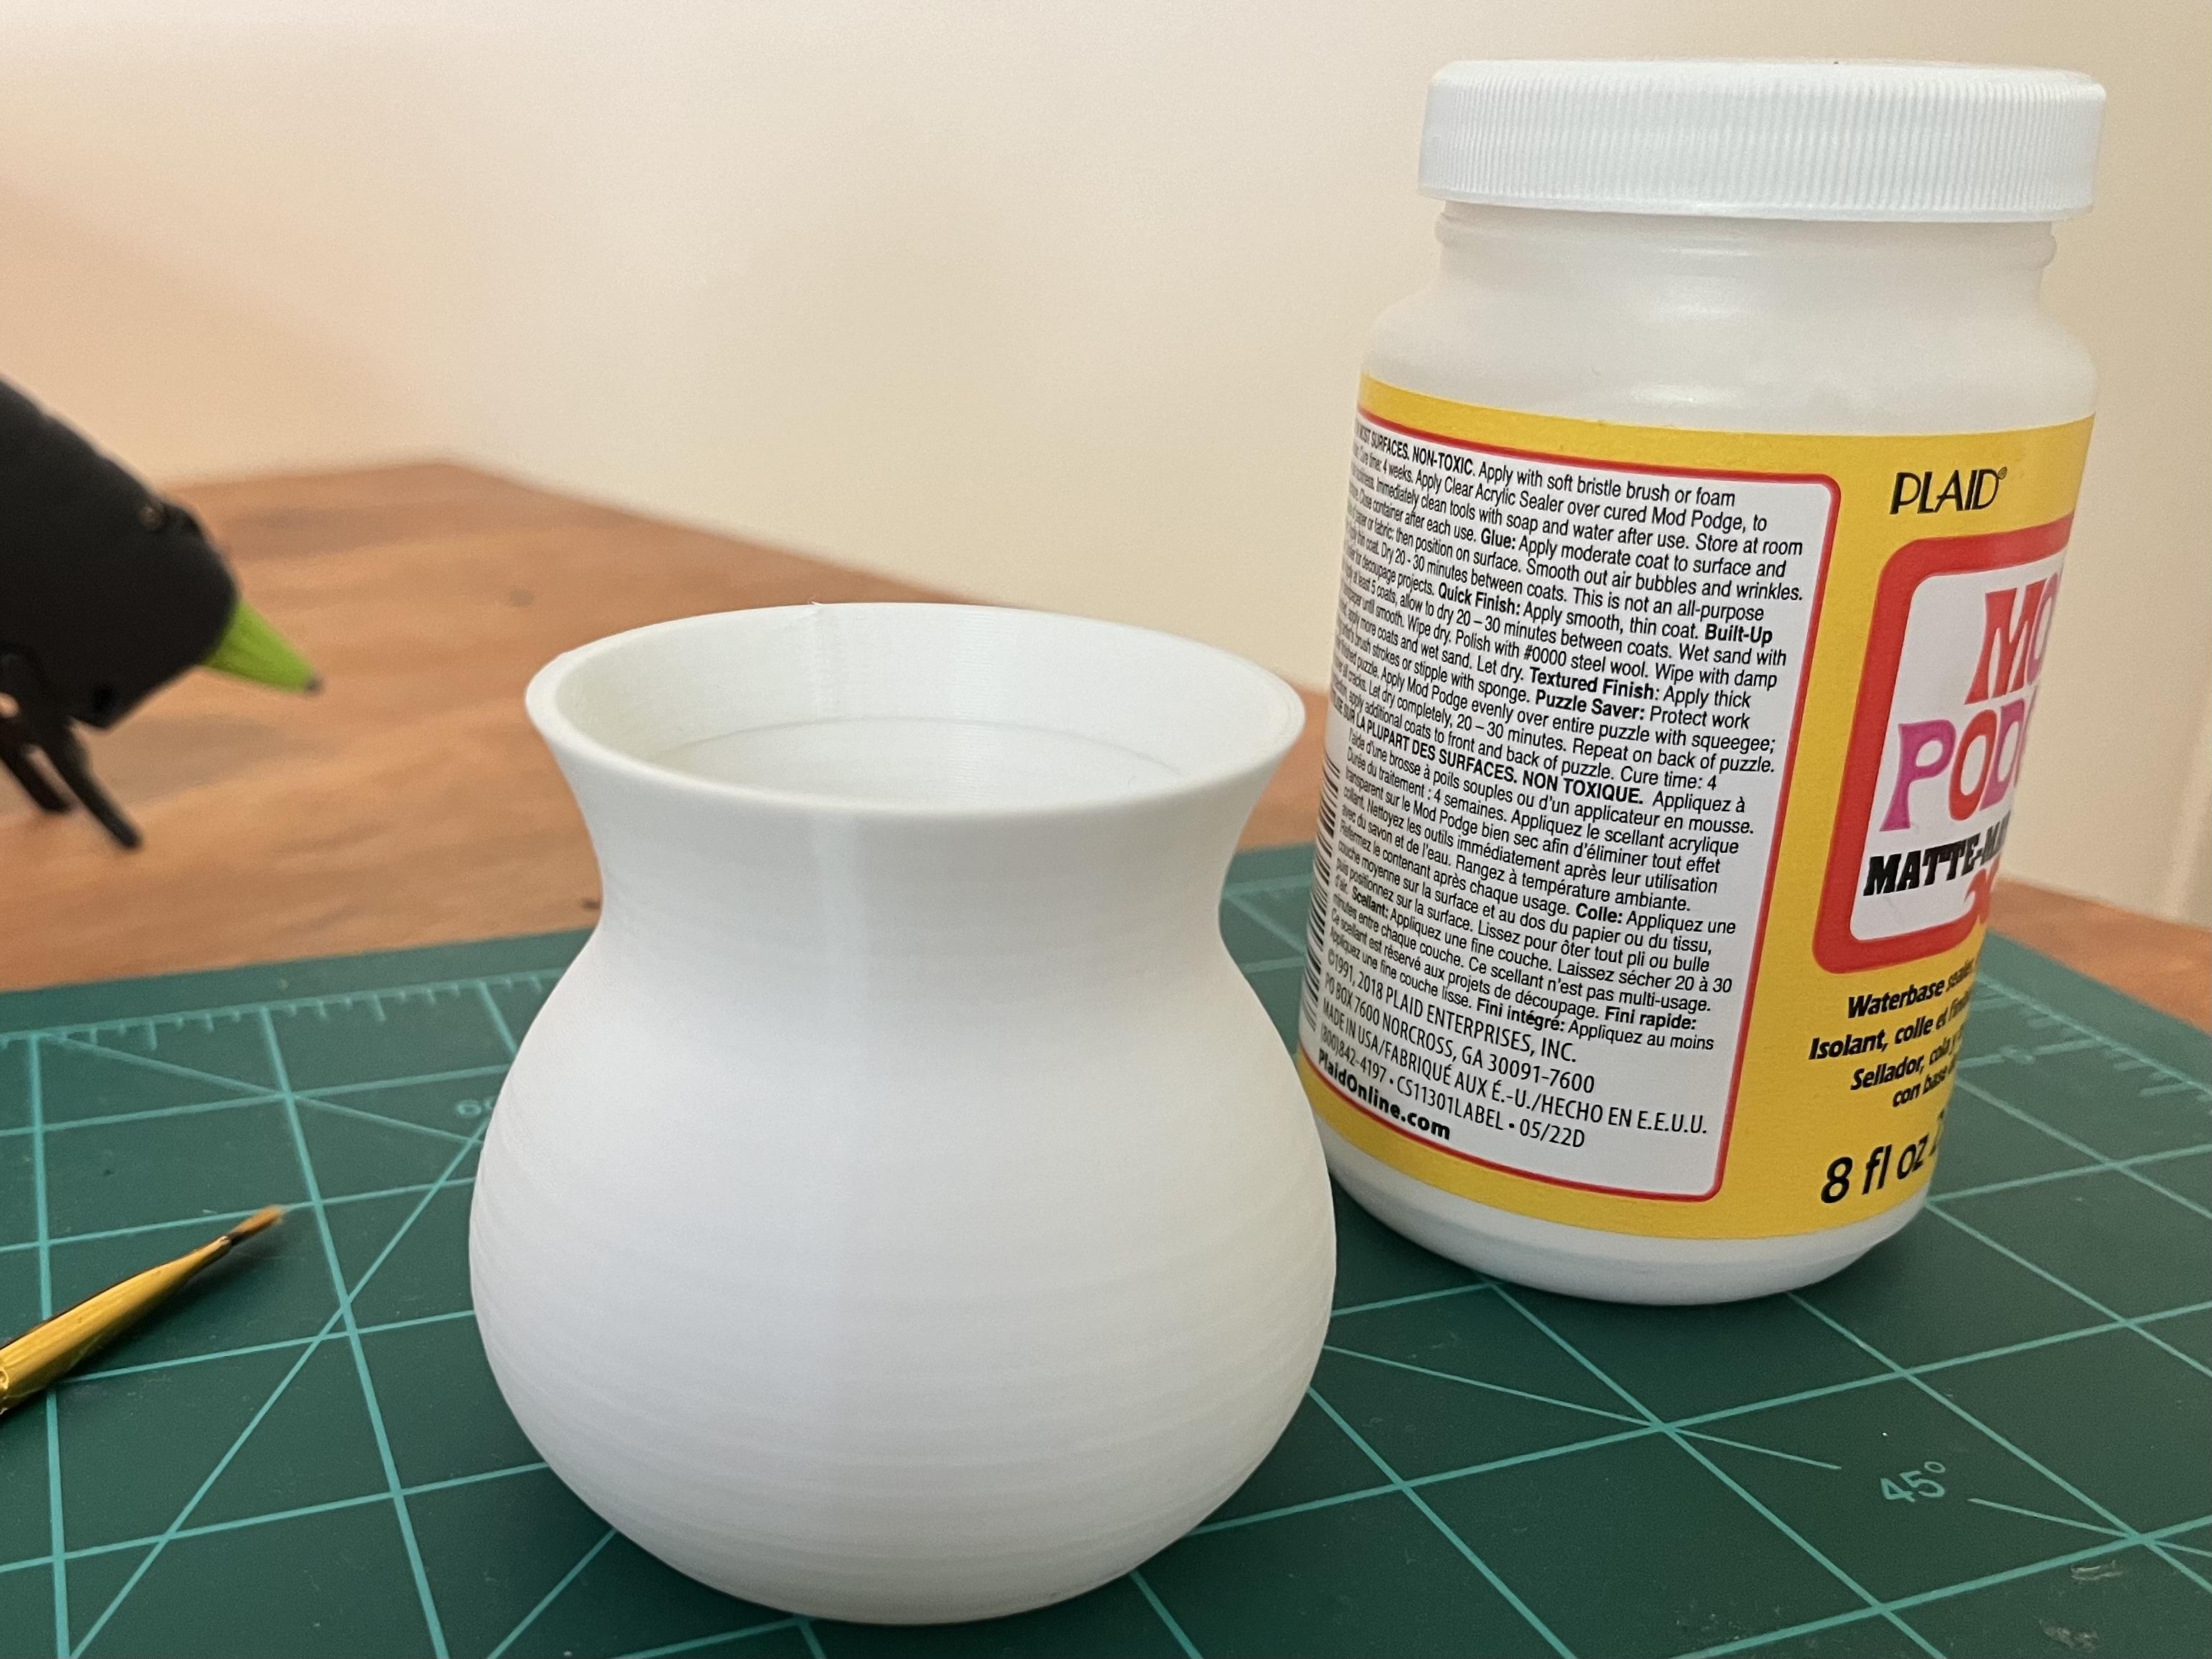
Use a brush to smear Mod Podge inside the vase to stop any leaks!
Add Flowers!
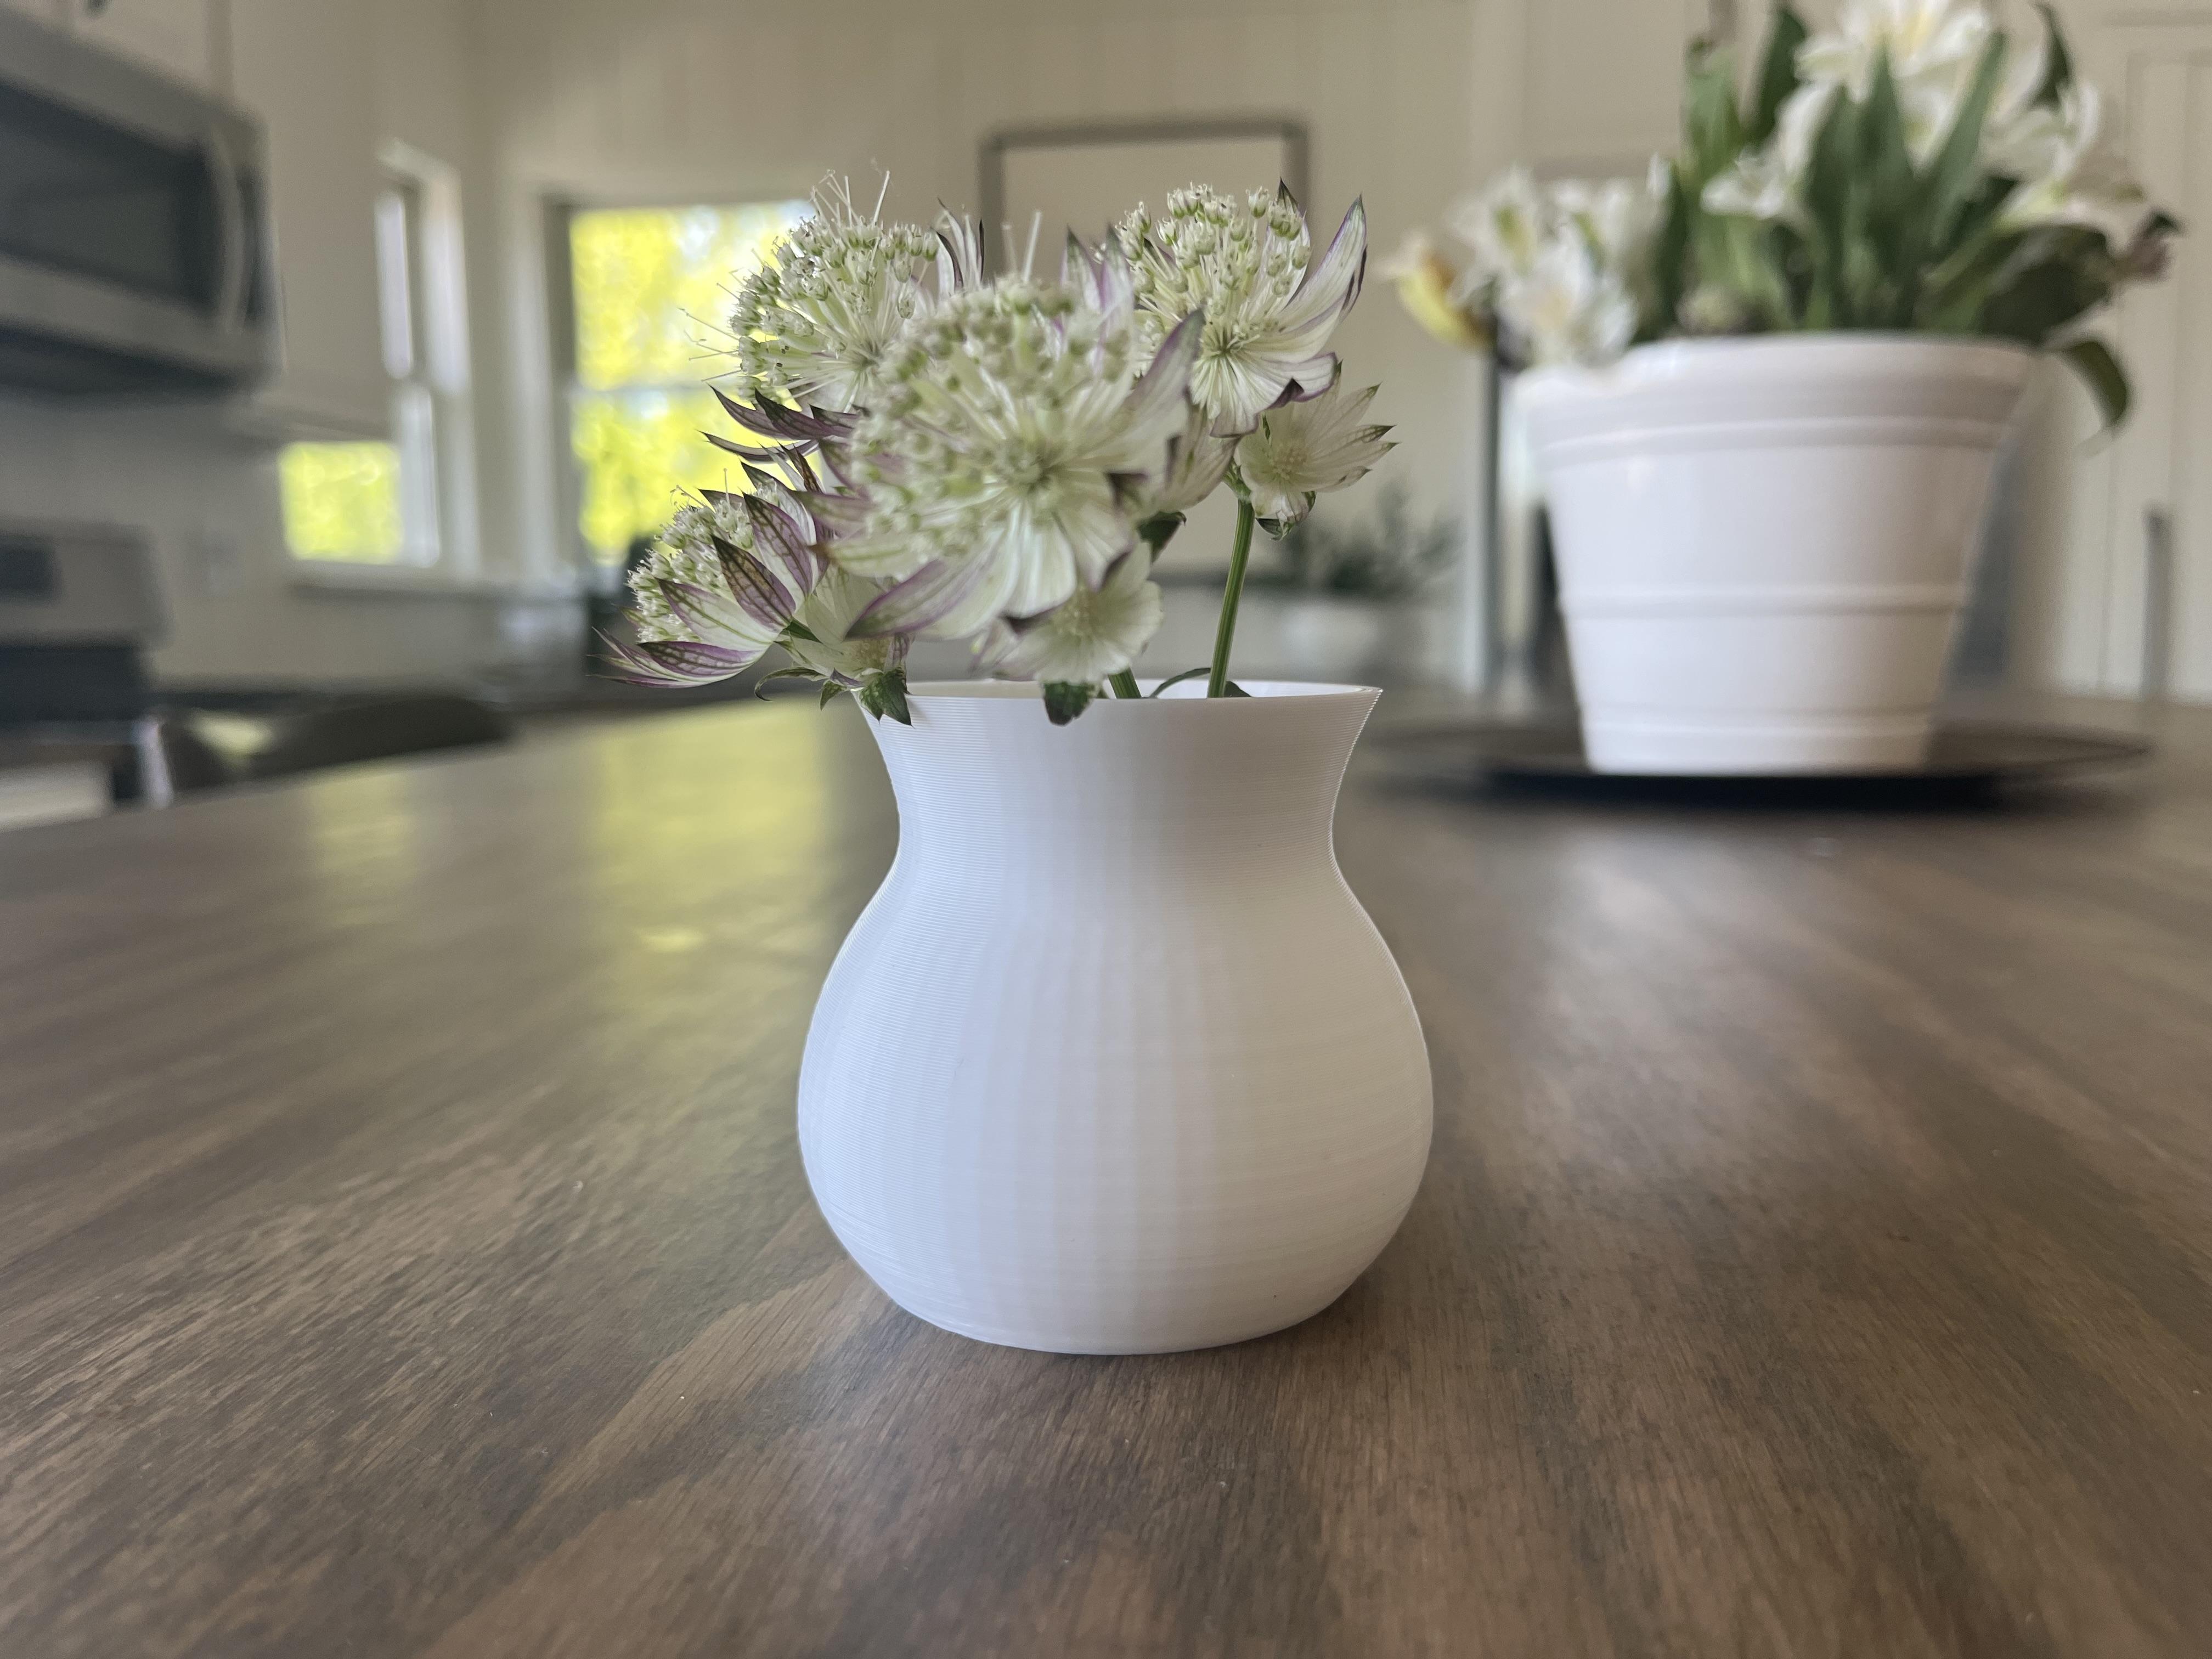
I hope you enjoyed this tutorial! Thanks for reading and have a great day!