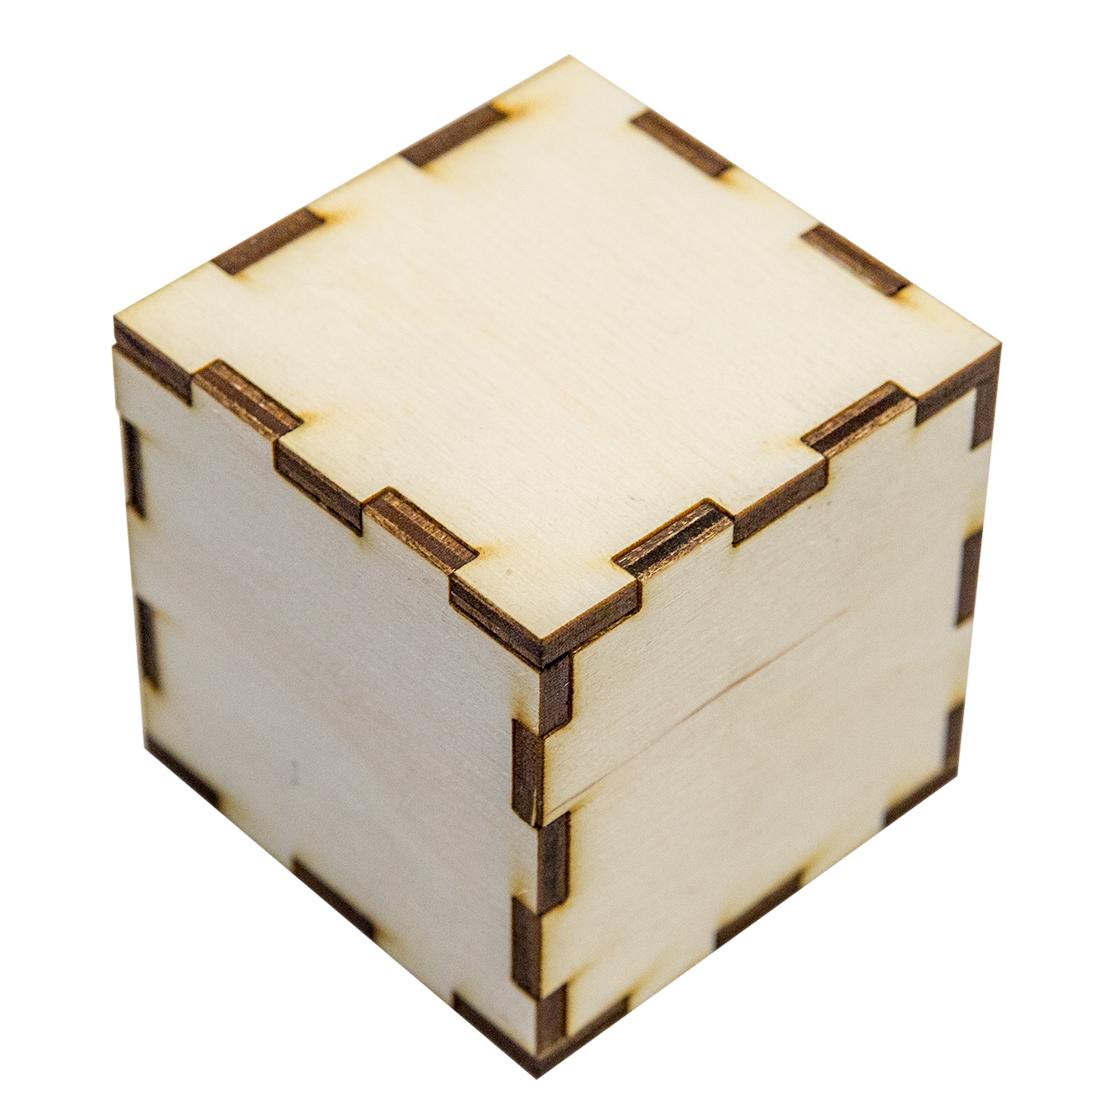
Design a Laser-Cut Box With 3D CAD
by mcpalmtag in Workshop > Laser Cutting
4454 Views, 3 Favorites, 0 Comments
Design a Laser-Cut Box With 3D CAD
This tutorial covers the following techniques:
- How to design a basic box for the laser cutter with the CAD software OnShape
- How to turn 3D CAD designs into 2D files for laser cutting
Supplies
- OnShape account (free education account) - beginner tutorial
- Plywood (1/8" or 1/4"), acrylic (1/16" or 1/8"), or cardboard
- Adobe Illustrator or other vector drawing tool
- Laser cutter
- Glue
Add Laser Joint Tool to Workspace
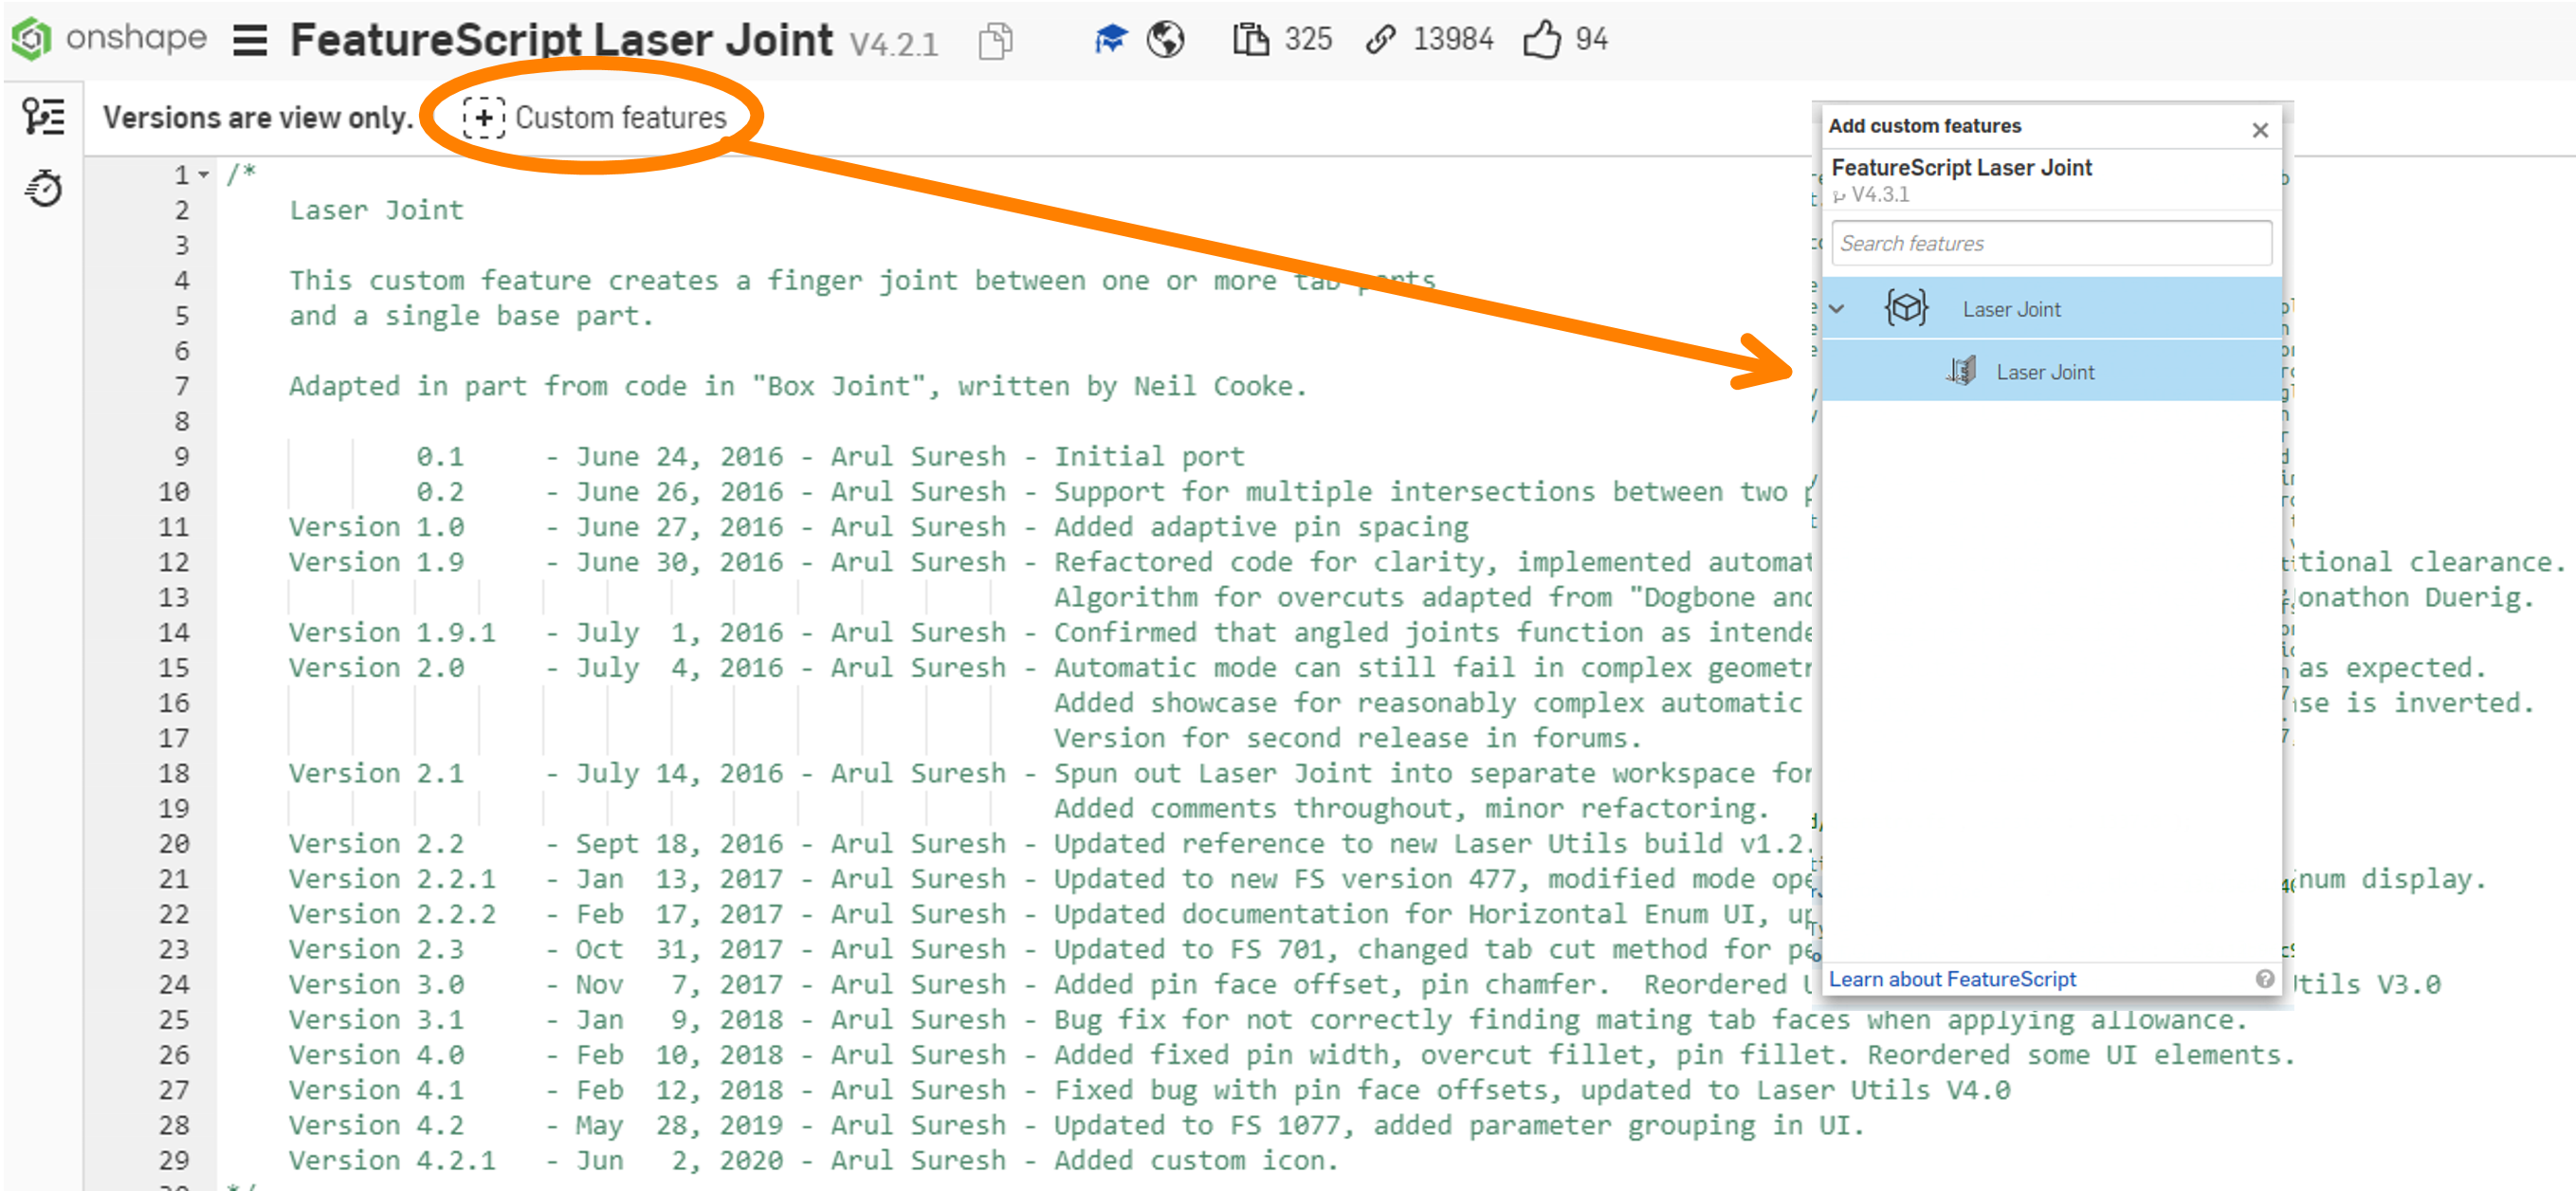
Navigate to this link to open the FeatureScript by Neil Cooke for the laser joint tool. Click on the 'Custom features' button, and then click 'Laser Joint' from the pop up menu.
Create Cube
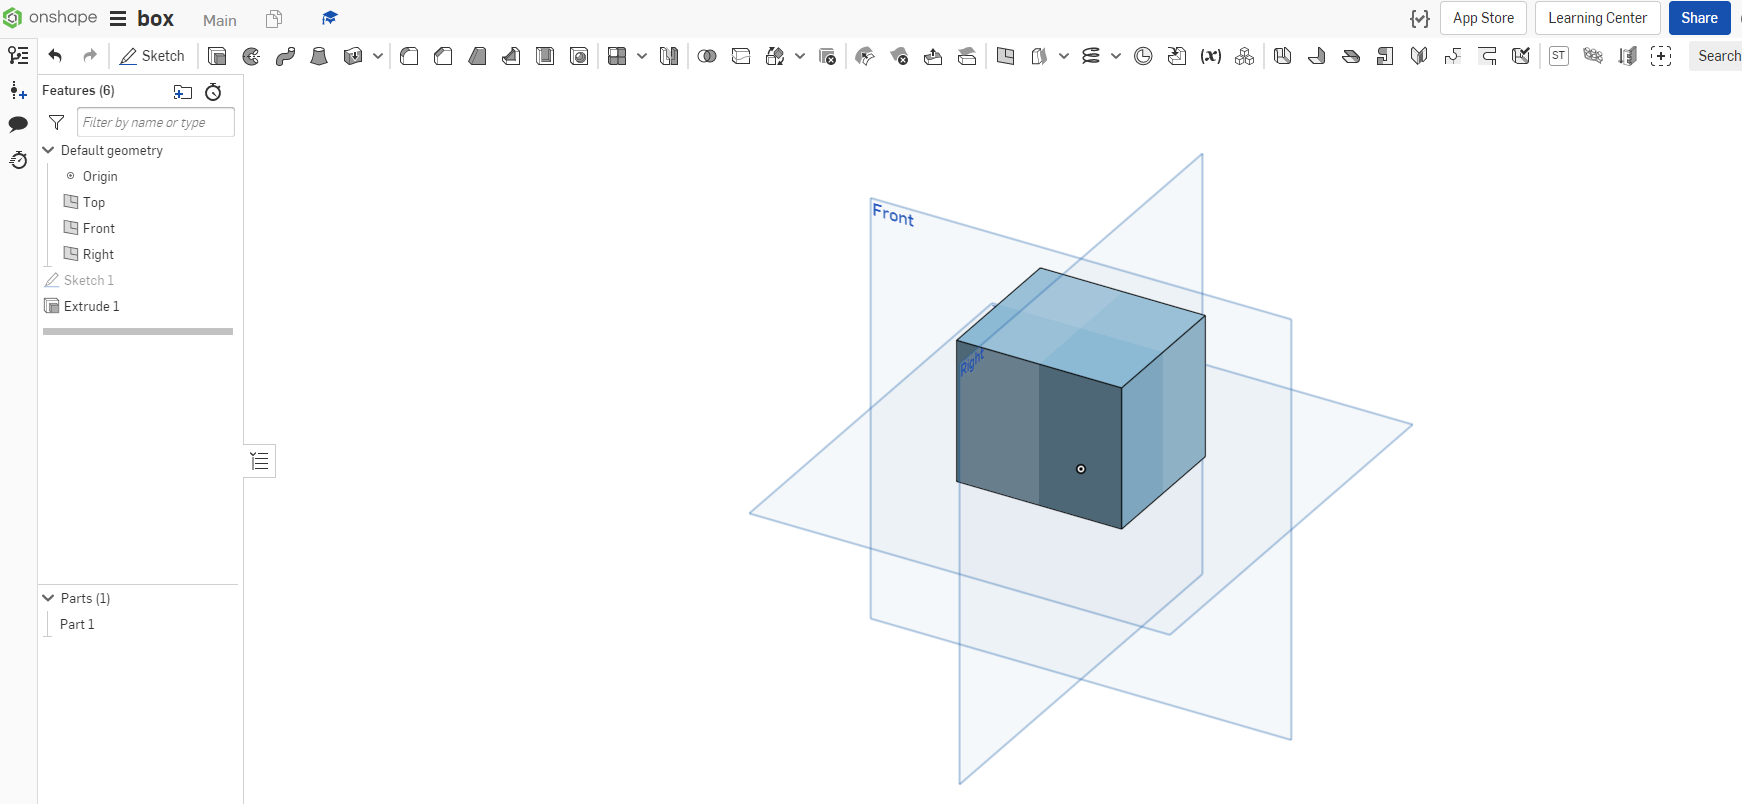
In a new OnShape design document, create a cube with the desired box dimensions.
Create Box Walls
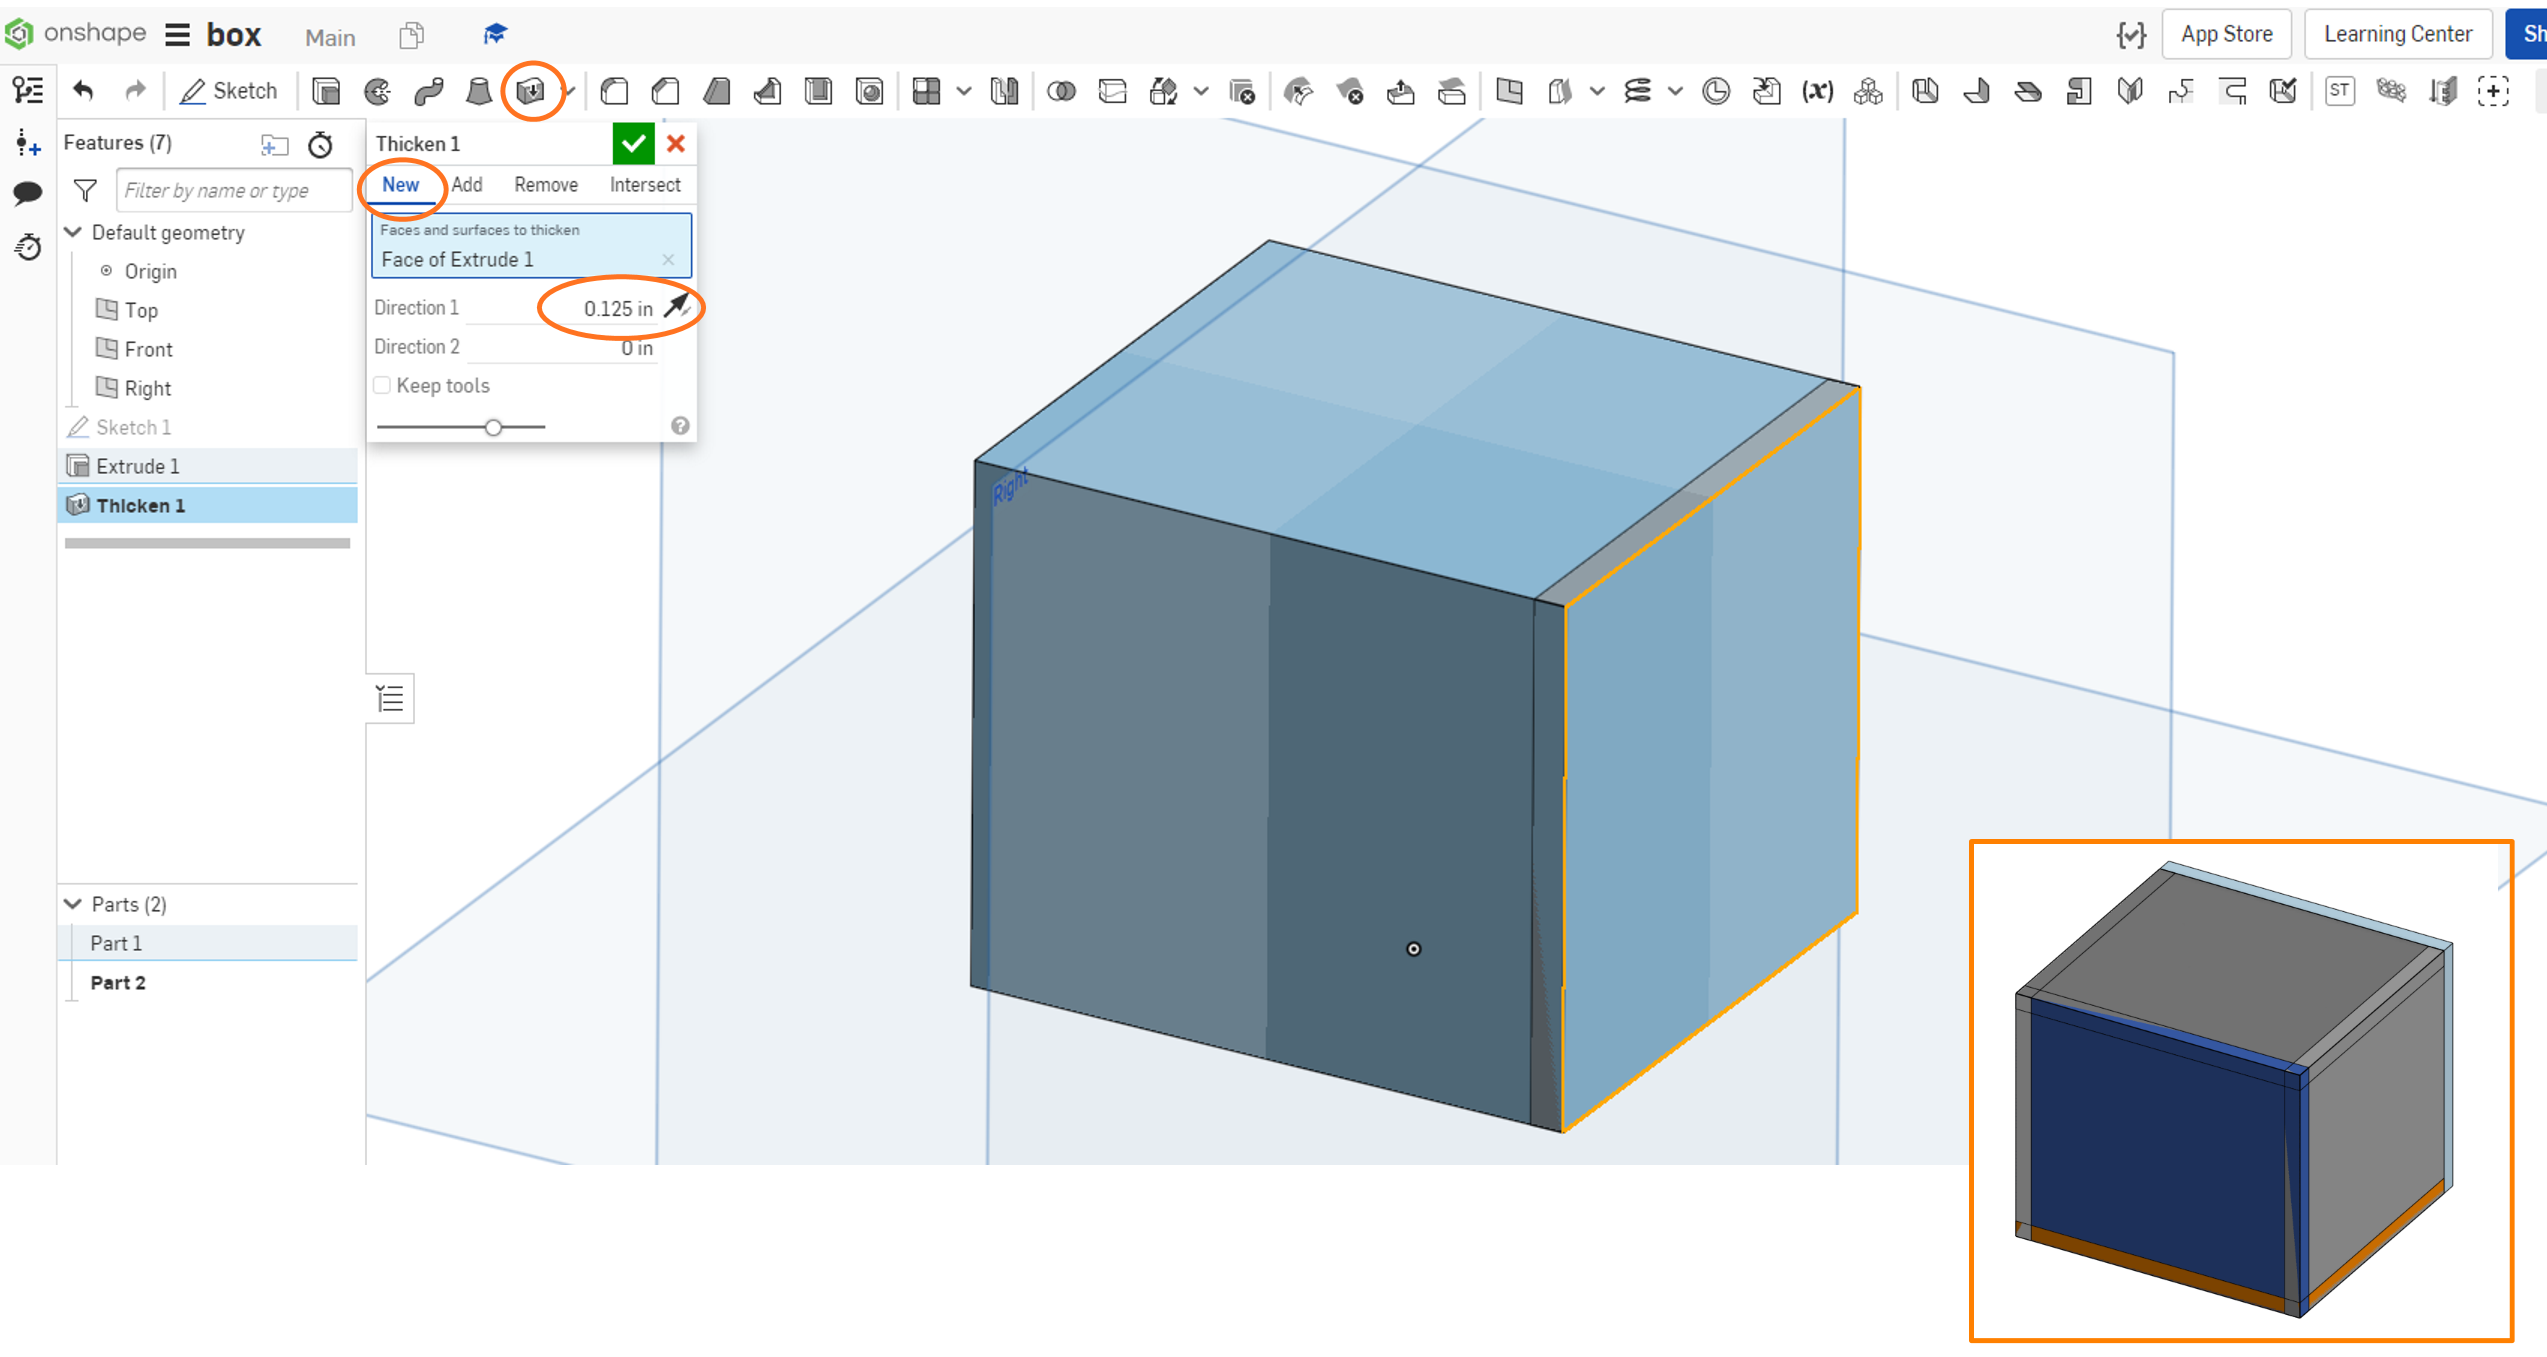
Using the 'Thicken' tool, thicken each desired face of the cube toward the interior. In the tool menu, select the 'New' tab to create a new part, and input the thickness of your physical material.
Generate Finger Joints
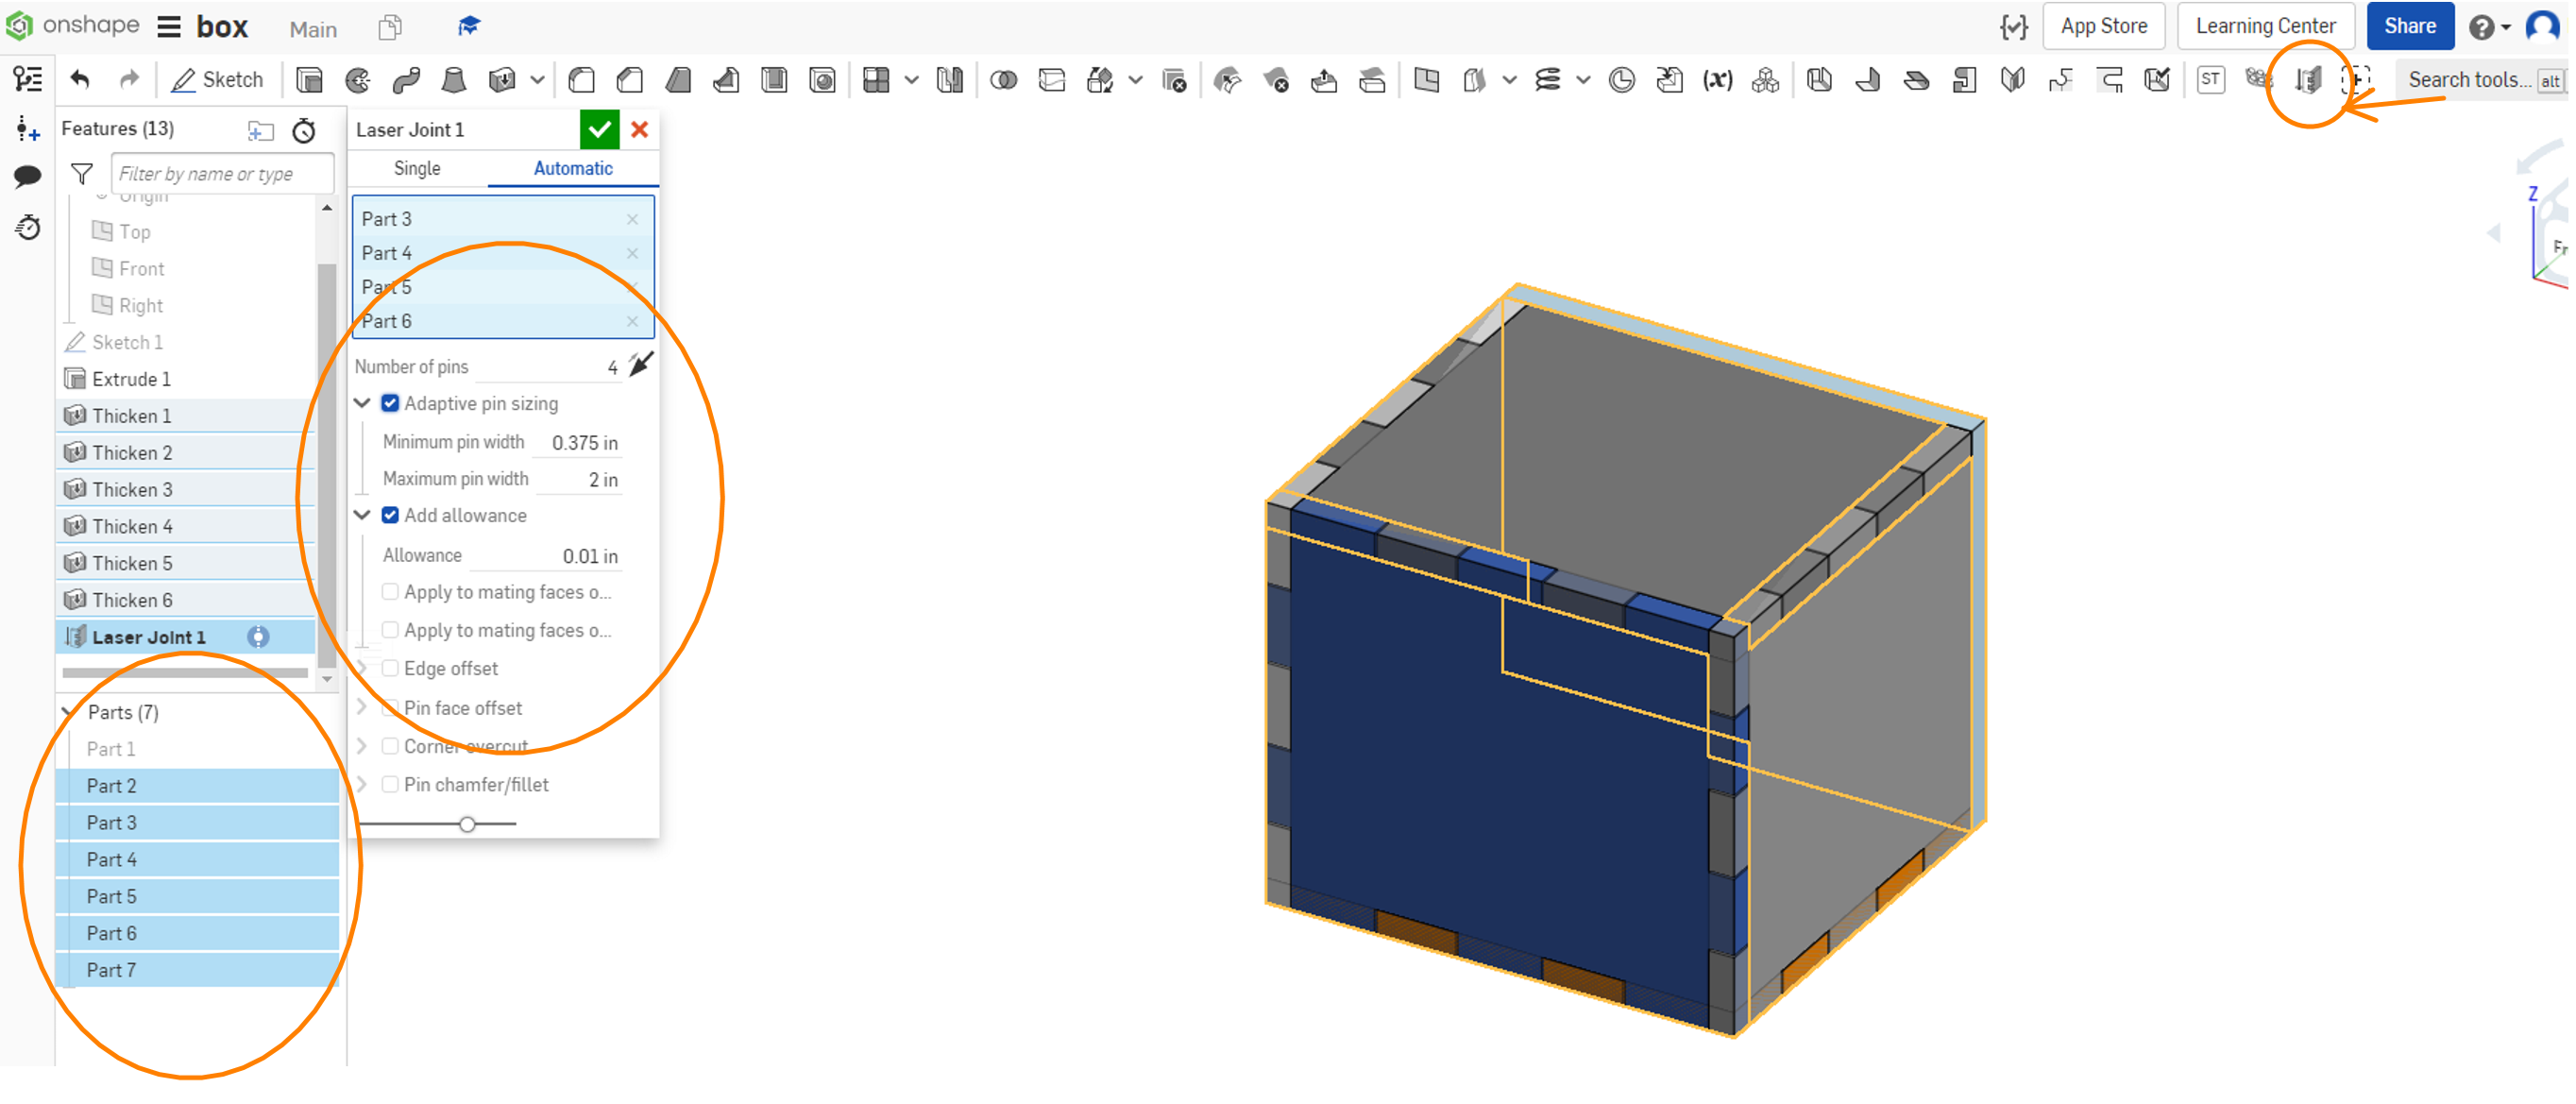
Use the OnShape search bar to find the 'Laser Joint' feature added in Step 1. Select the parts generated with the Thicken tool, and adjust the number of pins, allowance, and other available settings in the tool menu.
Convert to 2D Vector File
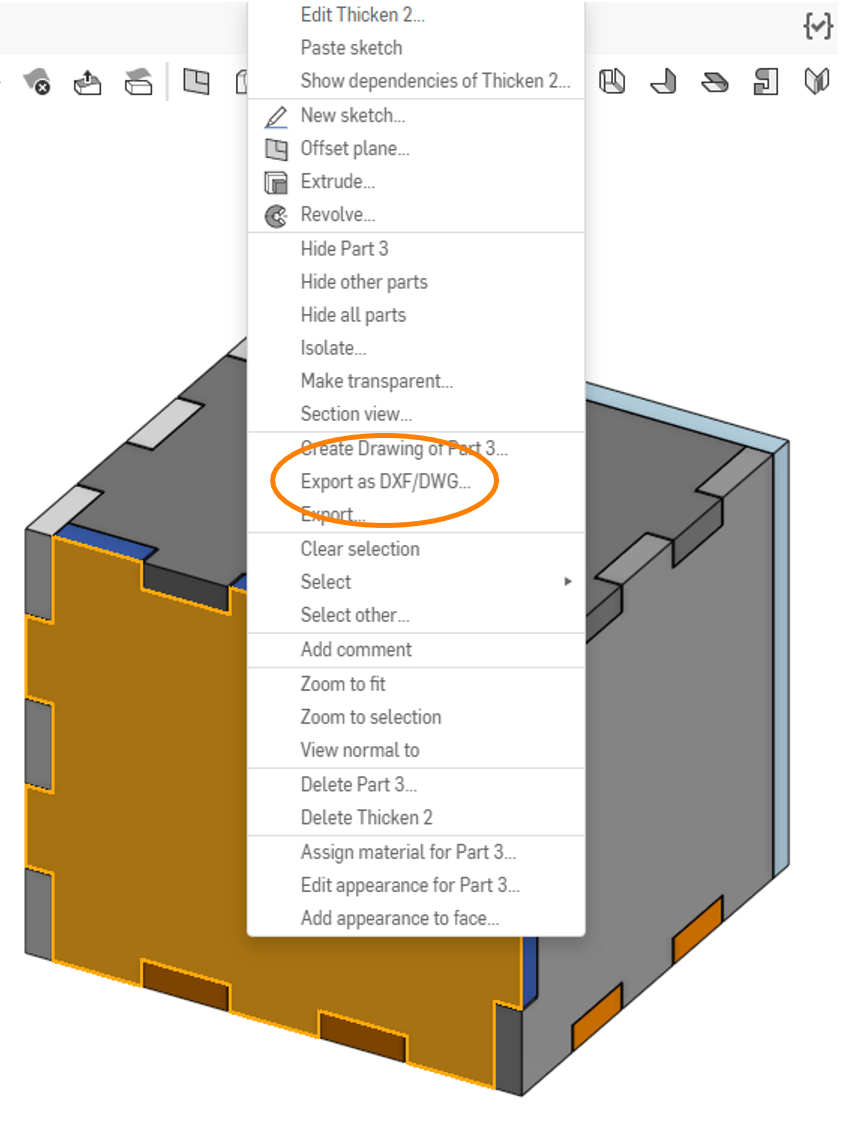
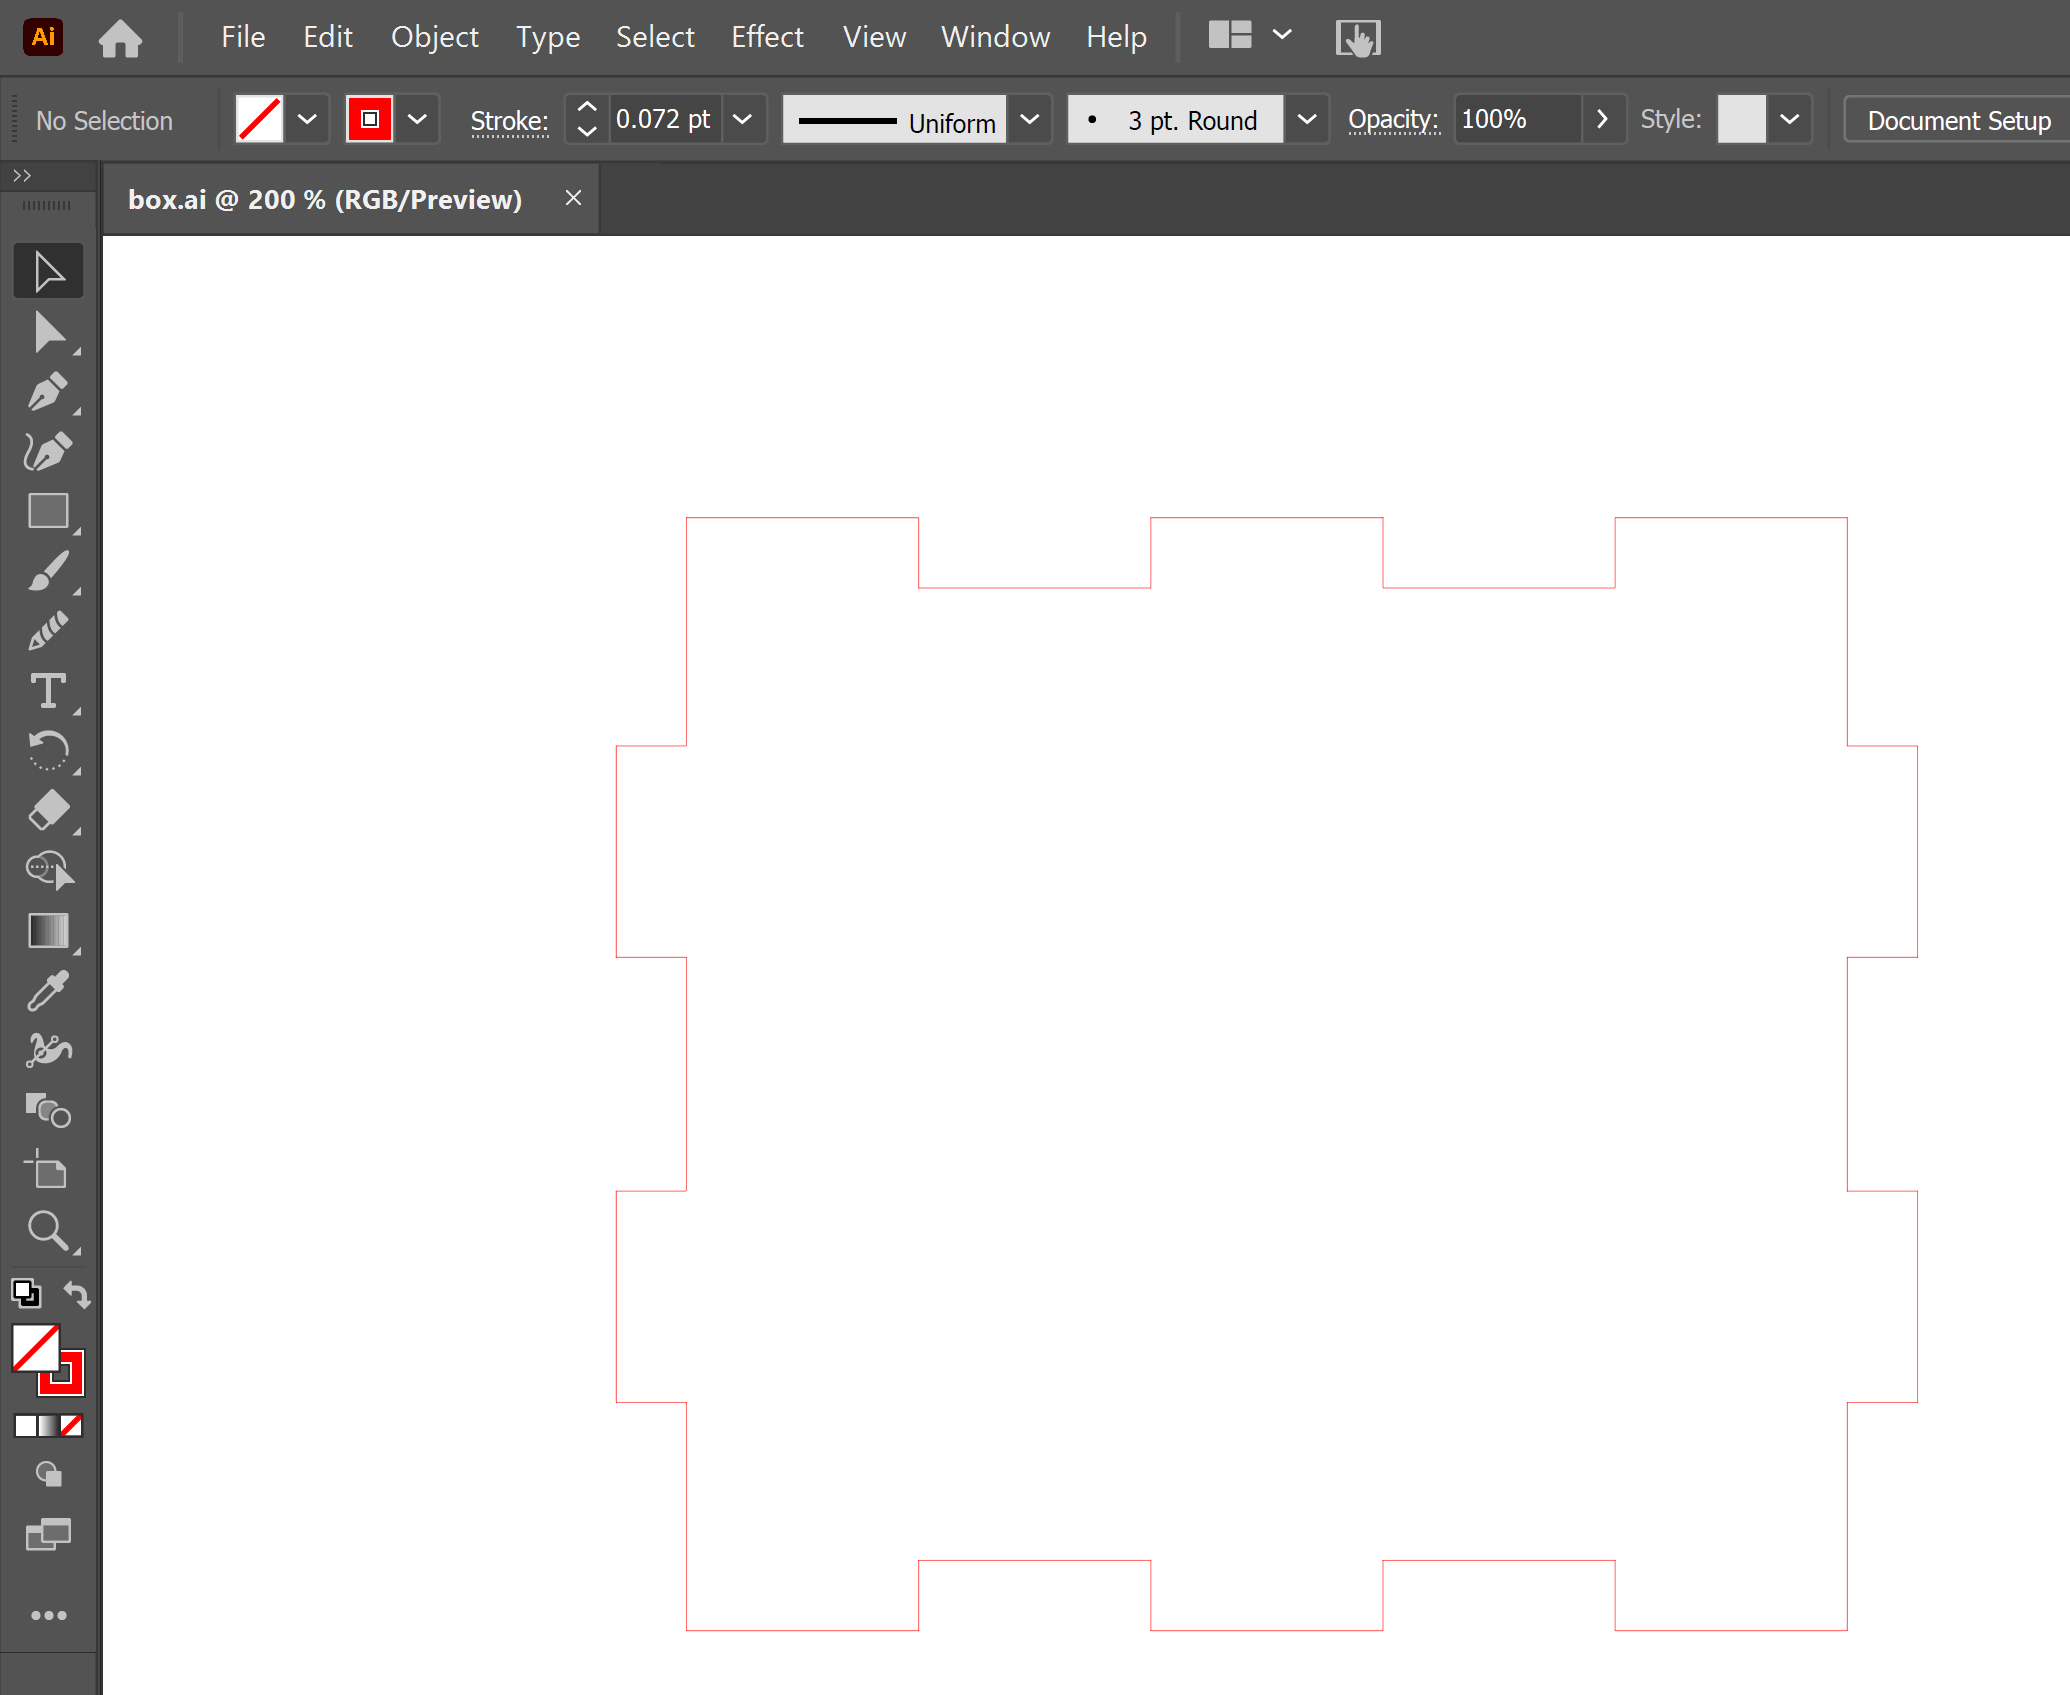
Right click on each face of the box and click 'Export as DXF.' In Adobe Illustrator or other vector drawing tool, use the 'Place' tool to import into a new document to prepare for laser cutting.
Laser Cut and Assemble!
