Design a Keychain With Fusion in 3 Steps
by Autodesk Gallery Workshop in Workshop > 3D Printing
8789 Views, 34 Favorites, 0 Comments
Design a Keychain With Fusion in 3 Steps

Design a custom keychain using these easy to follow step-by-step instructions .
We will guide you through designing a keychain in Fusion 360 and preparing it for 3D printing. Fusion is available for download atwww.autodesk.com/workshop
Upload Template


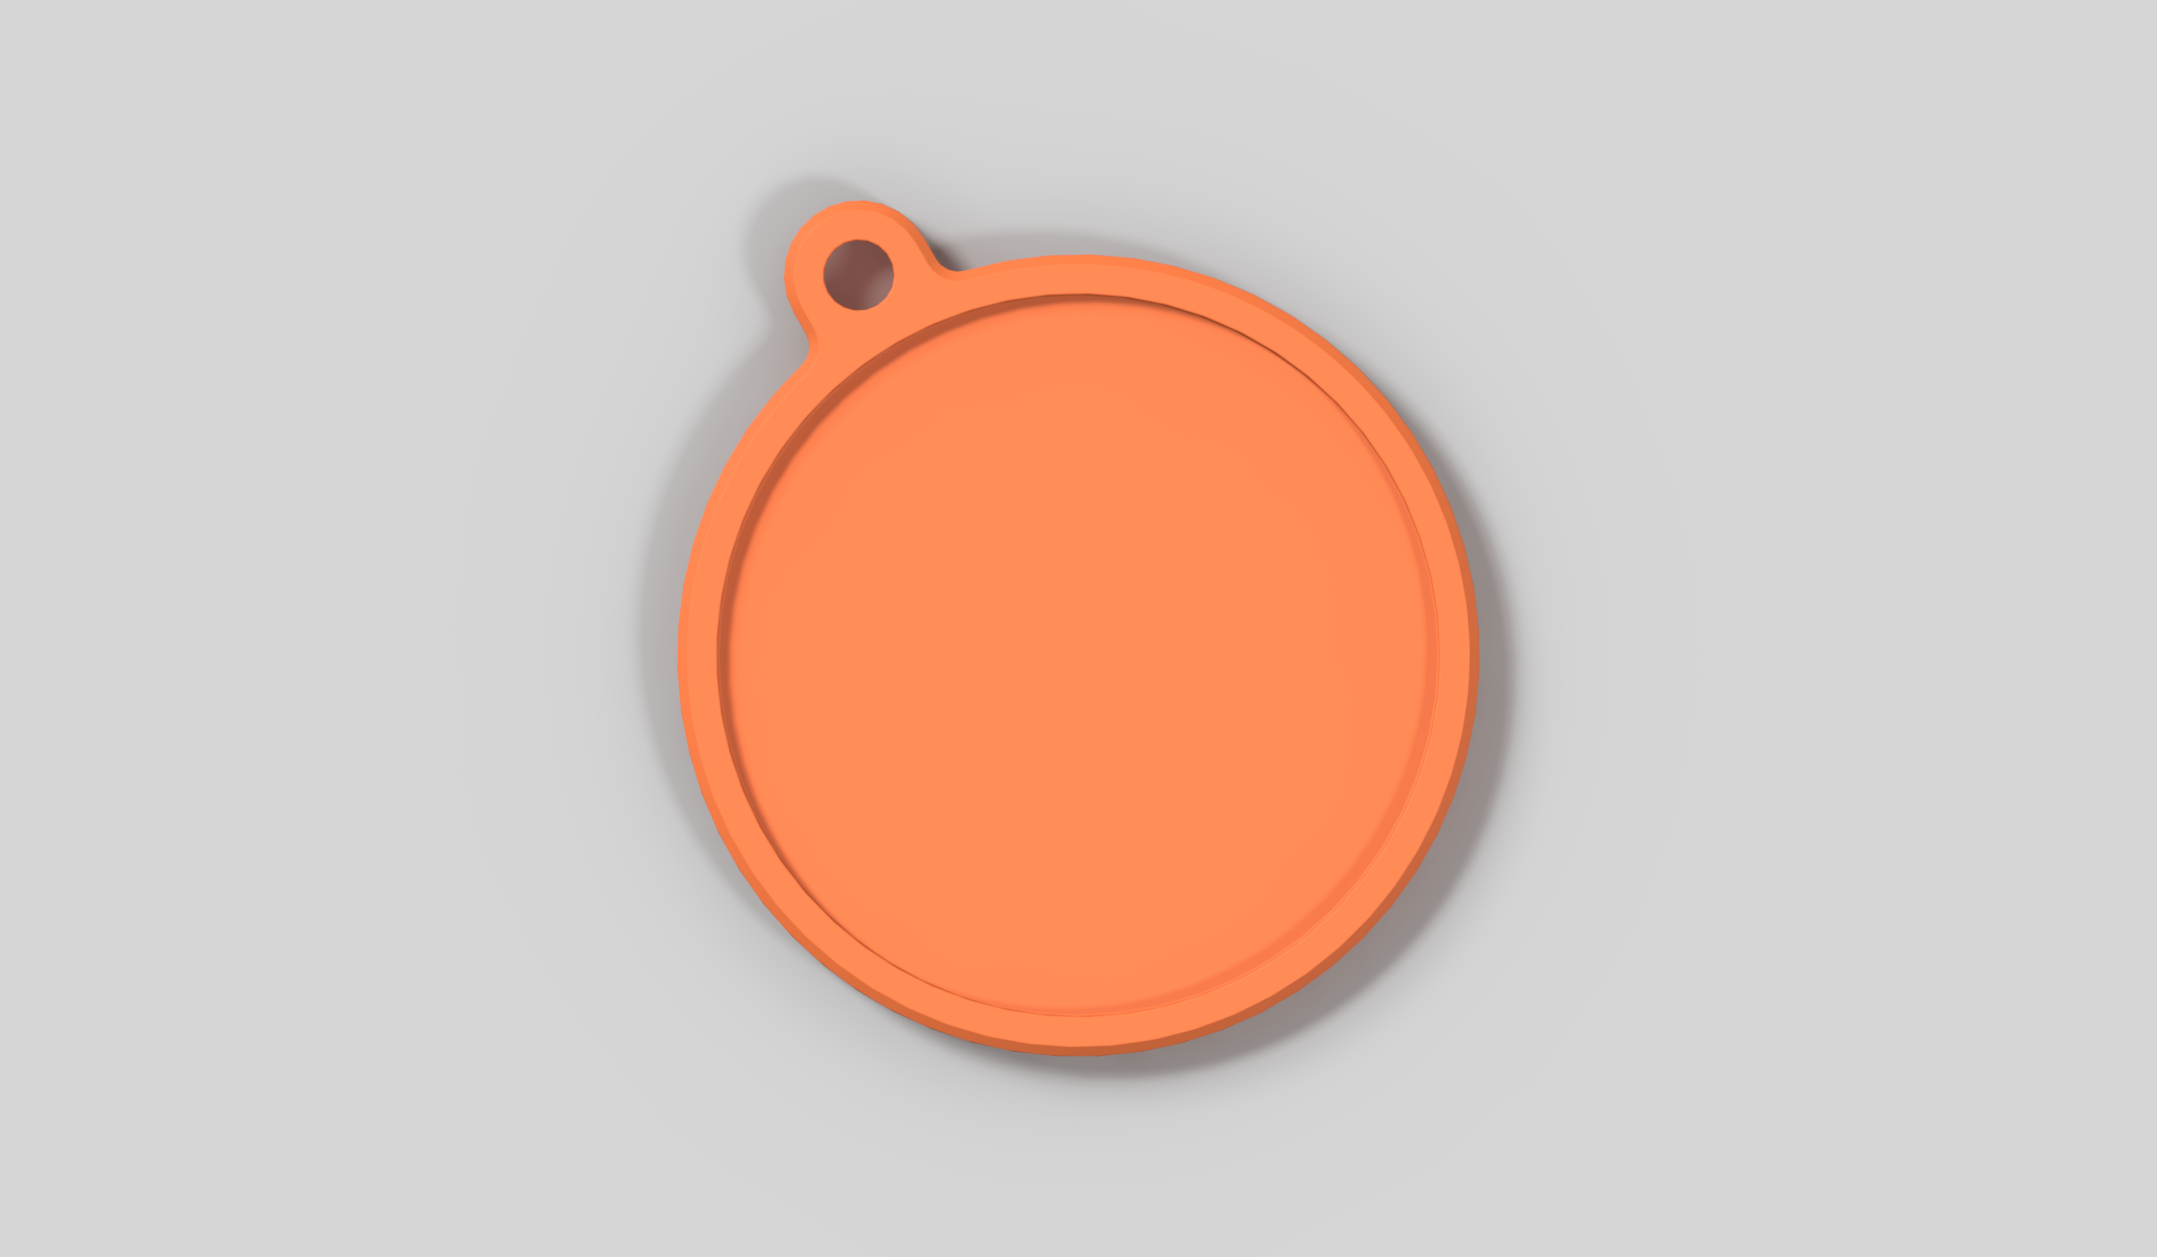
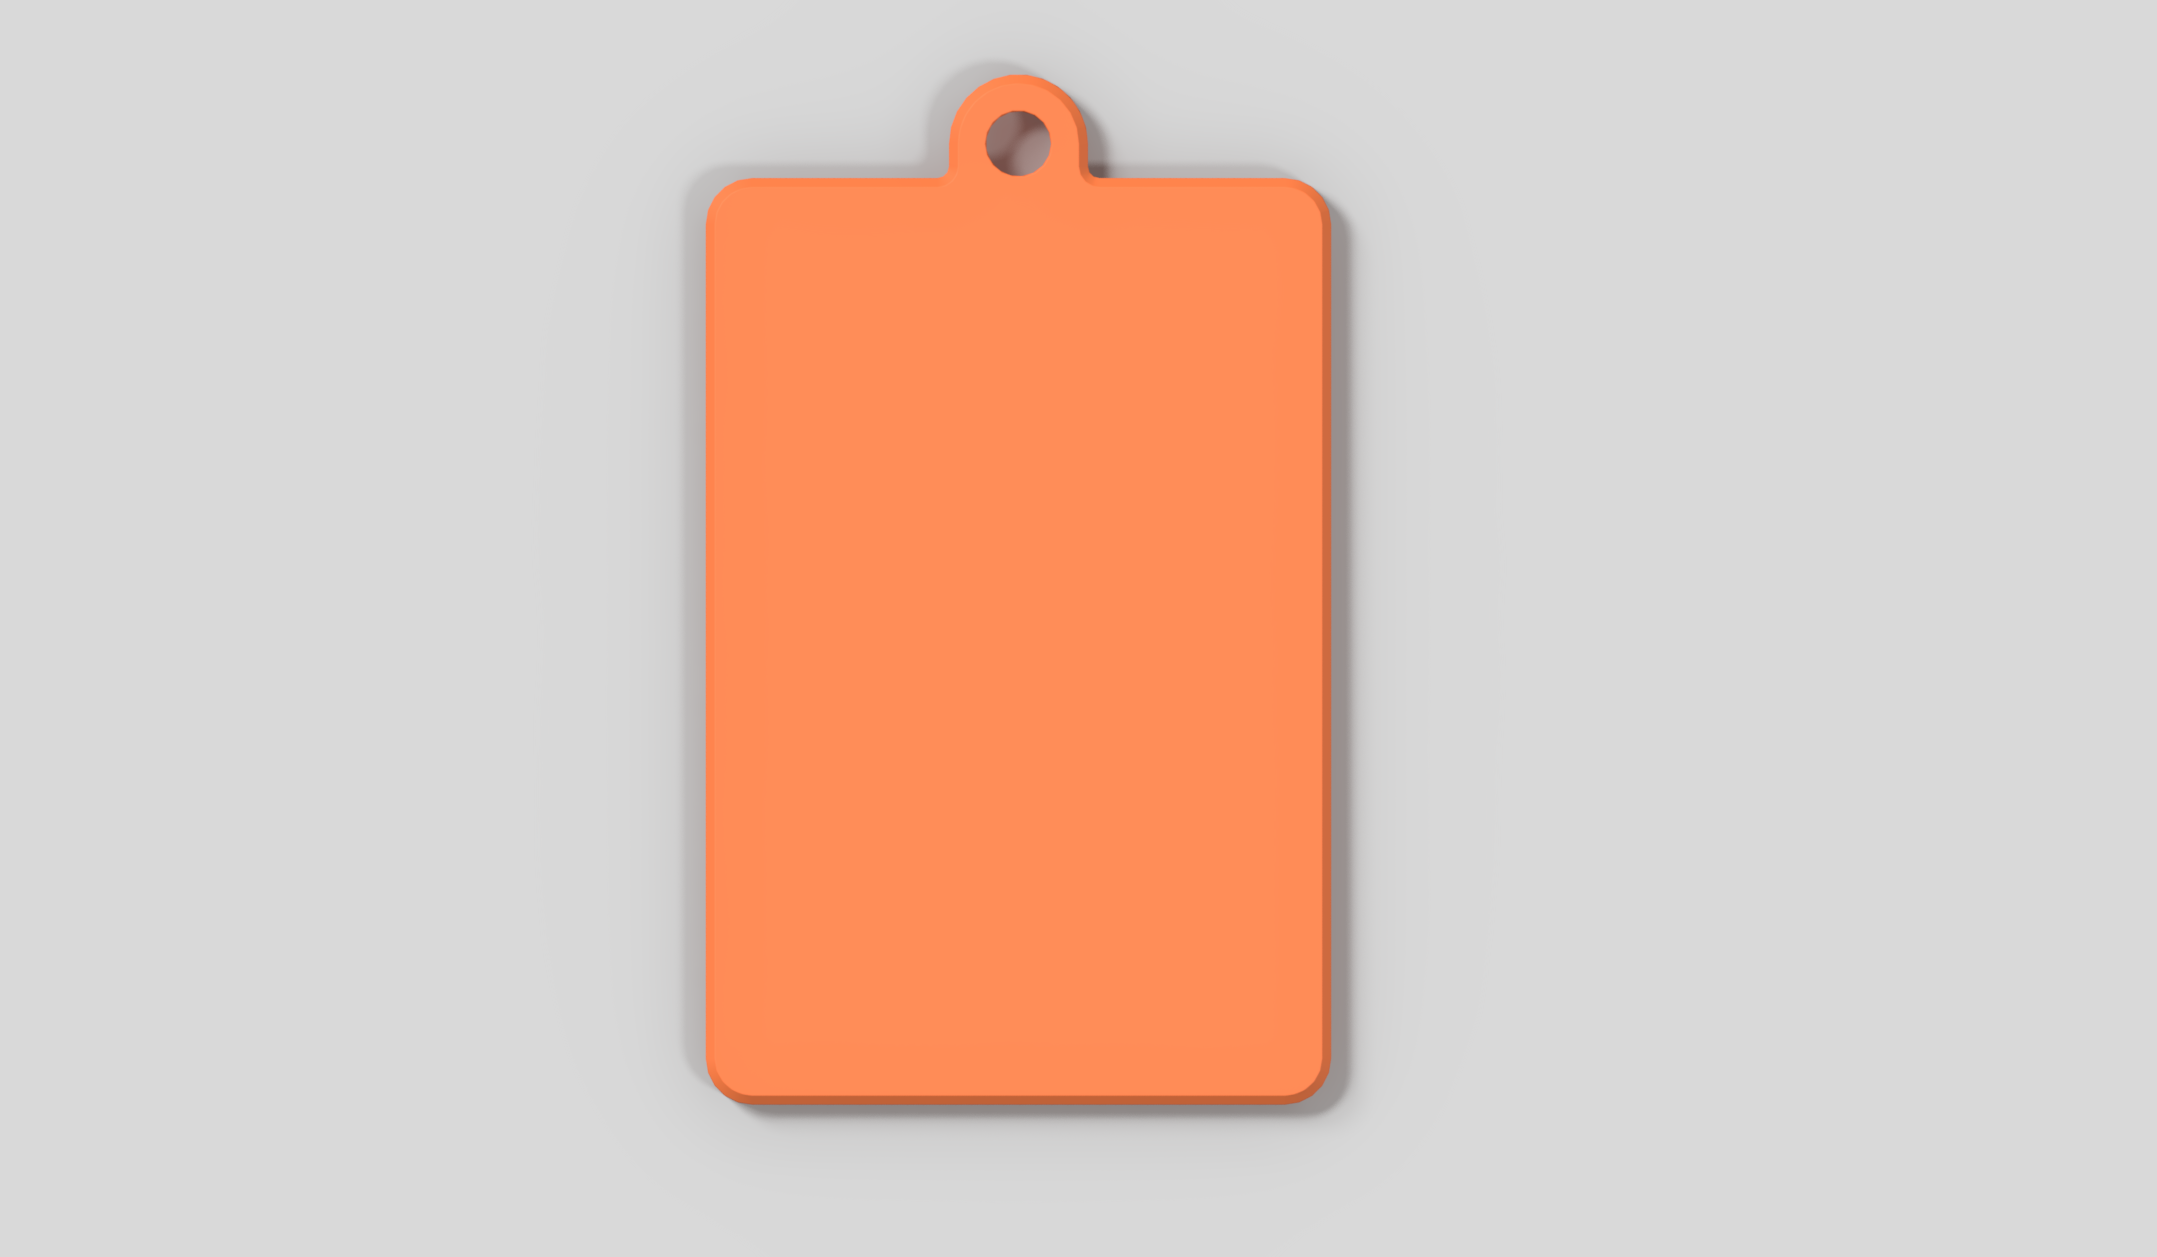
To ease the process of designing a key chain there are three base templates to start off with. The three templates are: circular, name, and square. You can begin with a template or create your own.
1. Click the Data Panel icon
2. Click Upload and select the desired template from the Desktop
3. After uploading, double-click on the keychain template in the Fusion 360 Data Panel to open it
Create Sketch

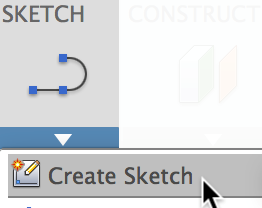
1. Select Create Sketch from within the Sketch menu and click on the primary top surface of the keychain.
a. This tells Fusion 360 the flat surface on which you’d like to start drawing!
2. Use any of the tools in the Sketch menu to make your own design. Make sure to have fully closed shapes for the next step!
Downloads
Extrude
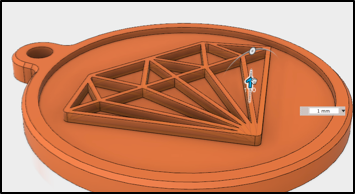
To finish sketching, click Stop Sketch Next, click Extrude from within the Create menu. Select the profiles you’d like to extrude, and pull them up about 1mm.
Lastly, in the Extrude dialog window make sure the Operation is set to Join. Click OK.
Right-click on Body 1 in the Browser and select Save as STL.