Design a Desk in Fusion 360
by 90308039 in Workshop > Woodworking
1270 Views, 0 Favorites, 0 Comments
Design a Desk in Fusion 360
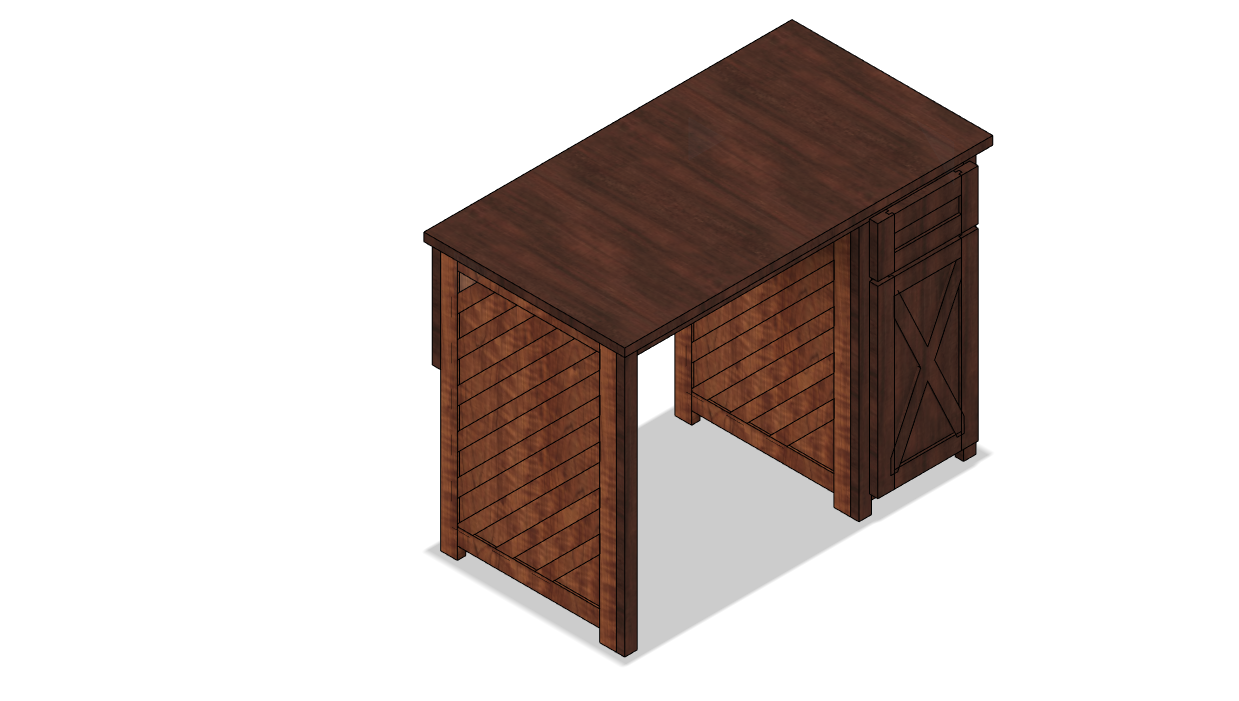
Hello! I'm Isaac a junior at Eden Prairie High School. In this instructable I'm gonna show you how to design a desk in Fusion 360 that you can use to help you make it!
Supplies
To design the desk you will need
-laptop/desktop
-fusion 360
If you would like to make the desk you will need
-wood(varies by how you would like to make it)
-1" wood screws
-wood glue
-2x drawer slides
-2x door hinges
-2x door handles
Create the Face Frame
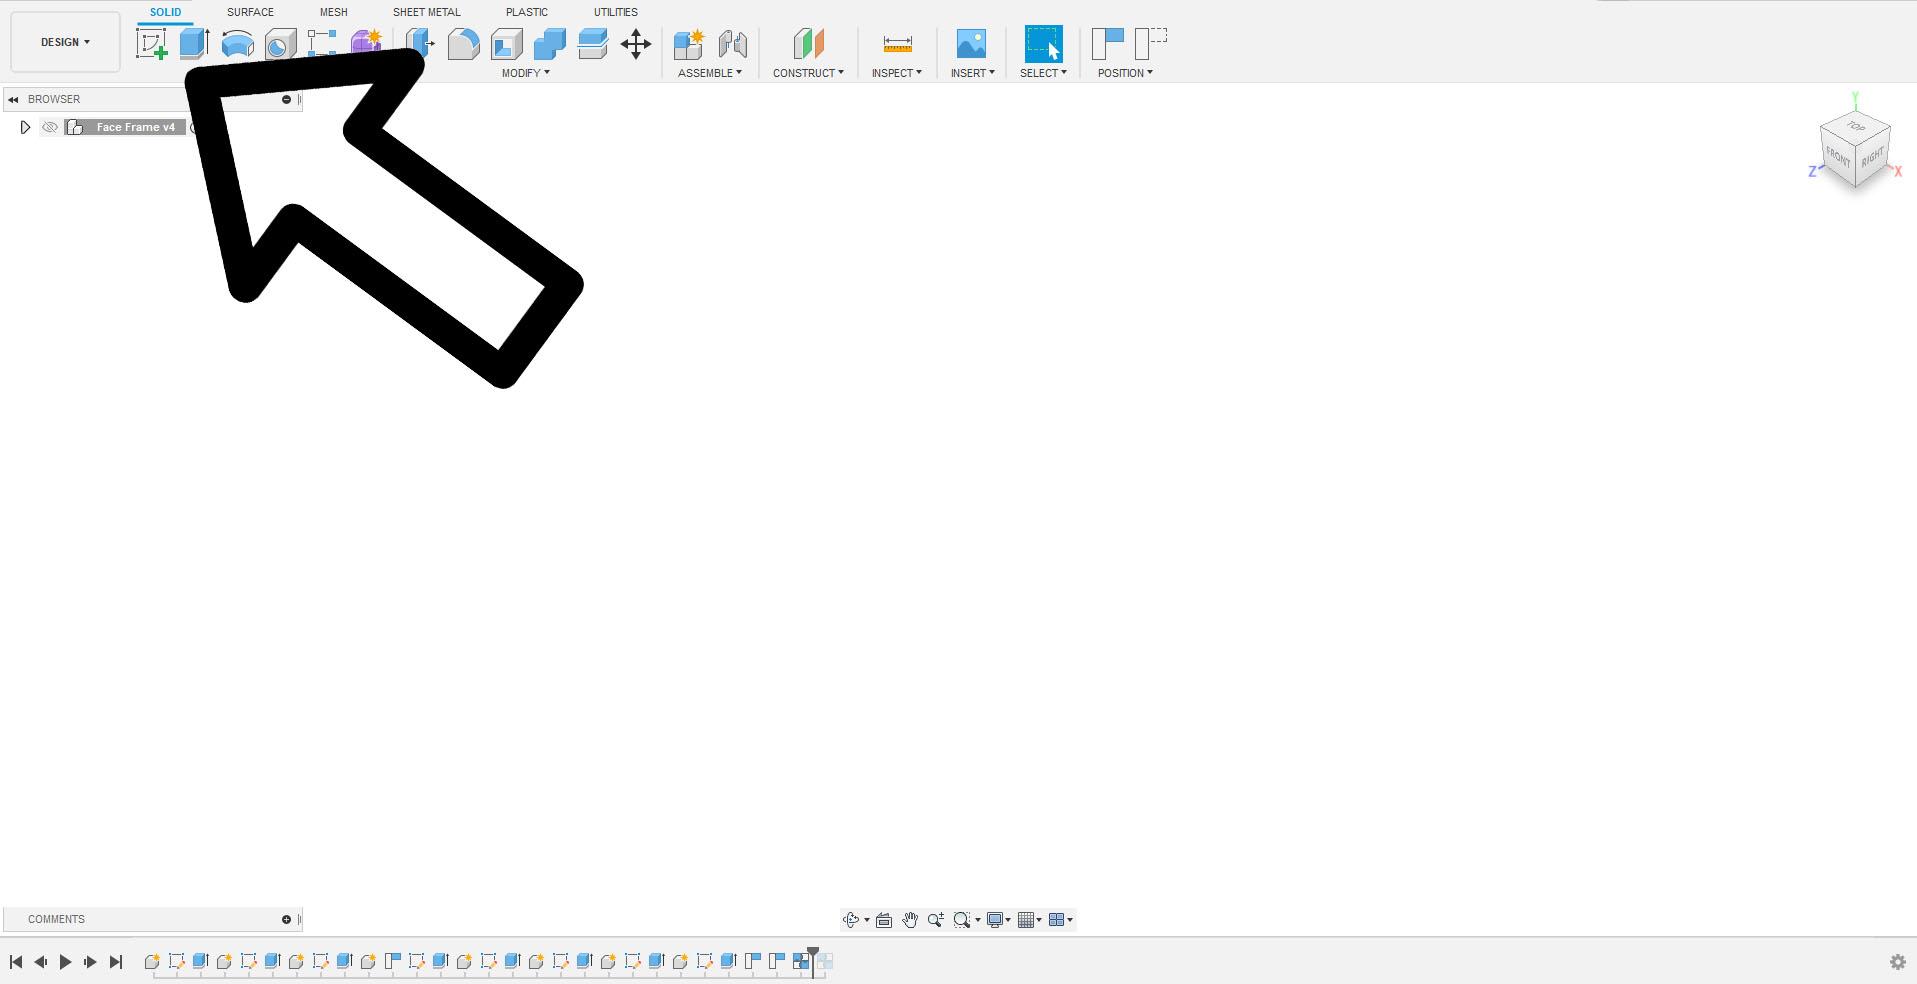
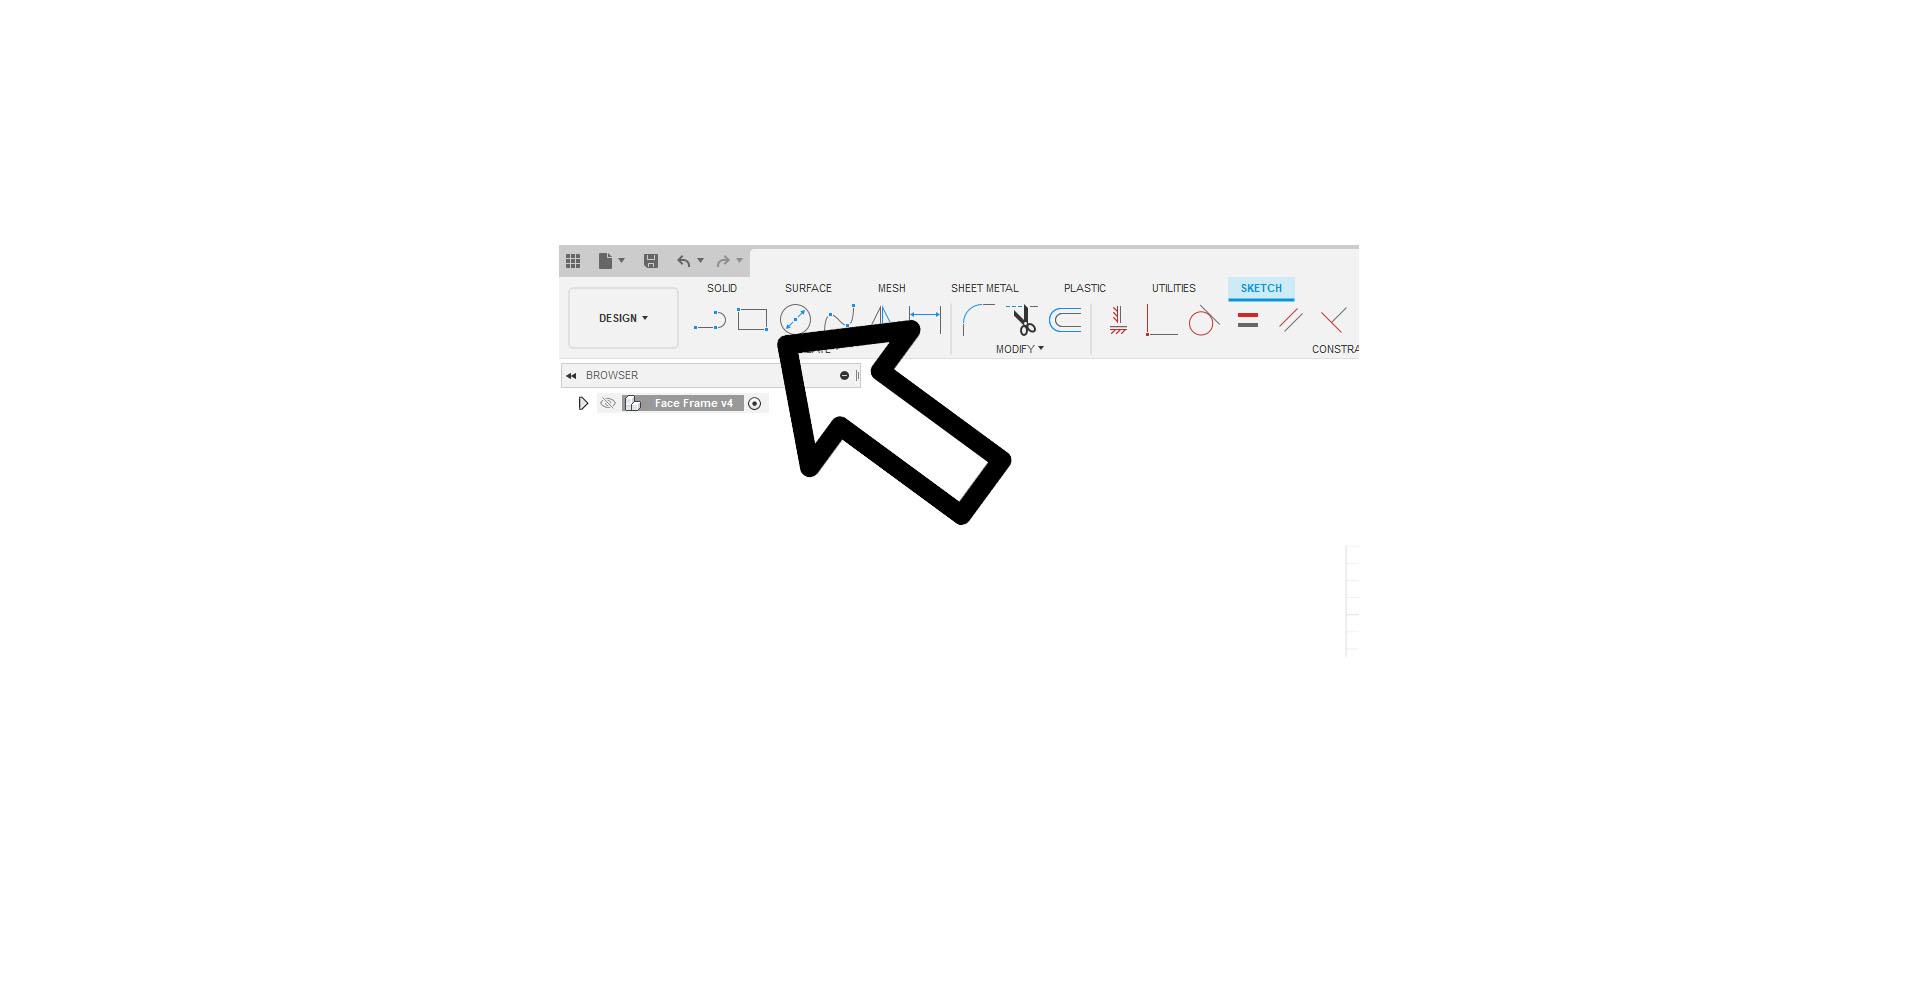
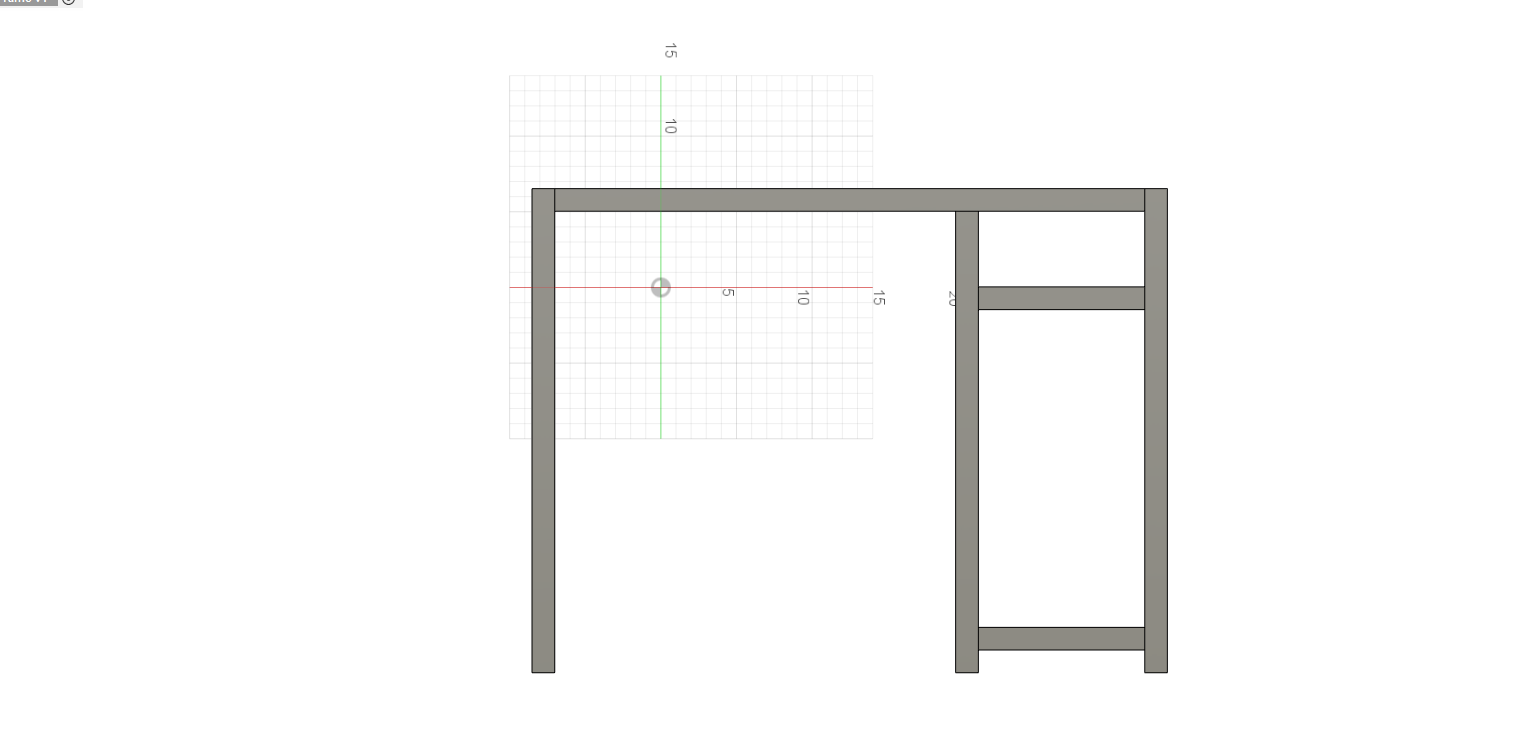
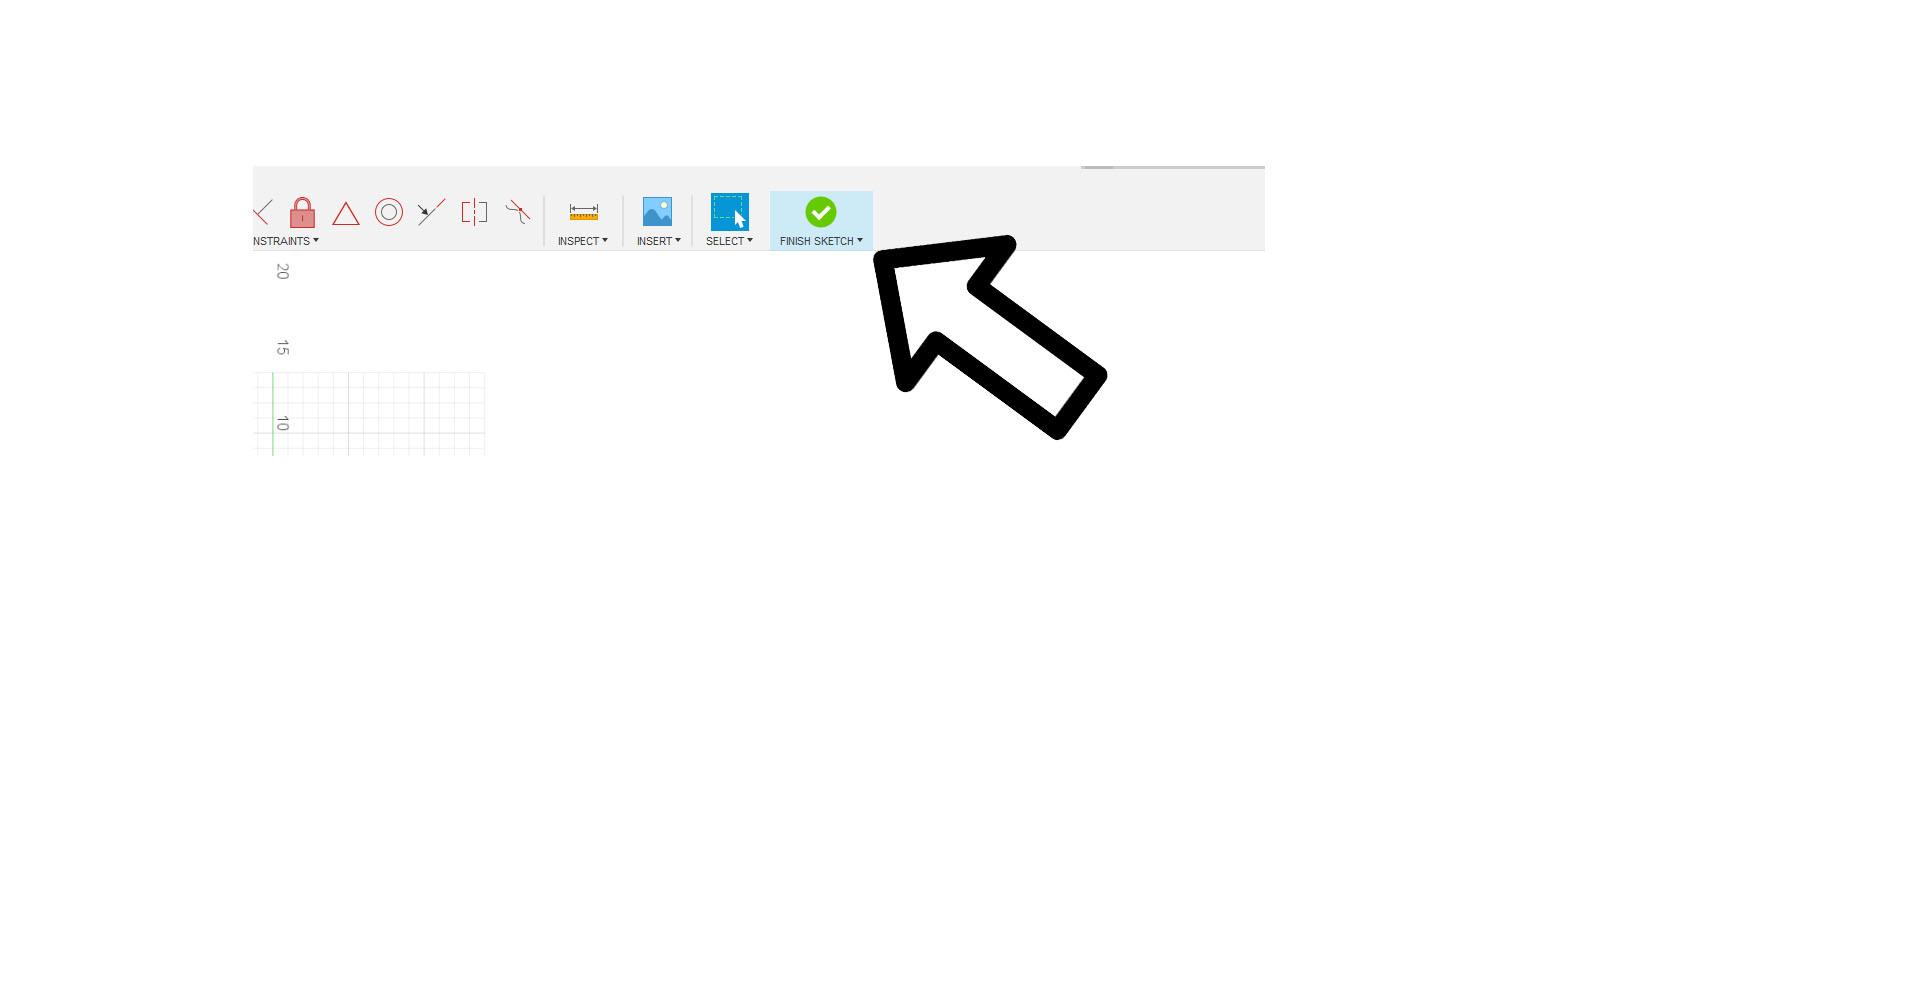
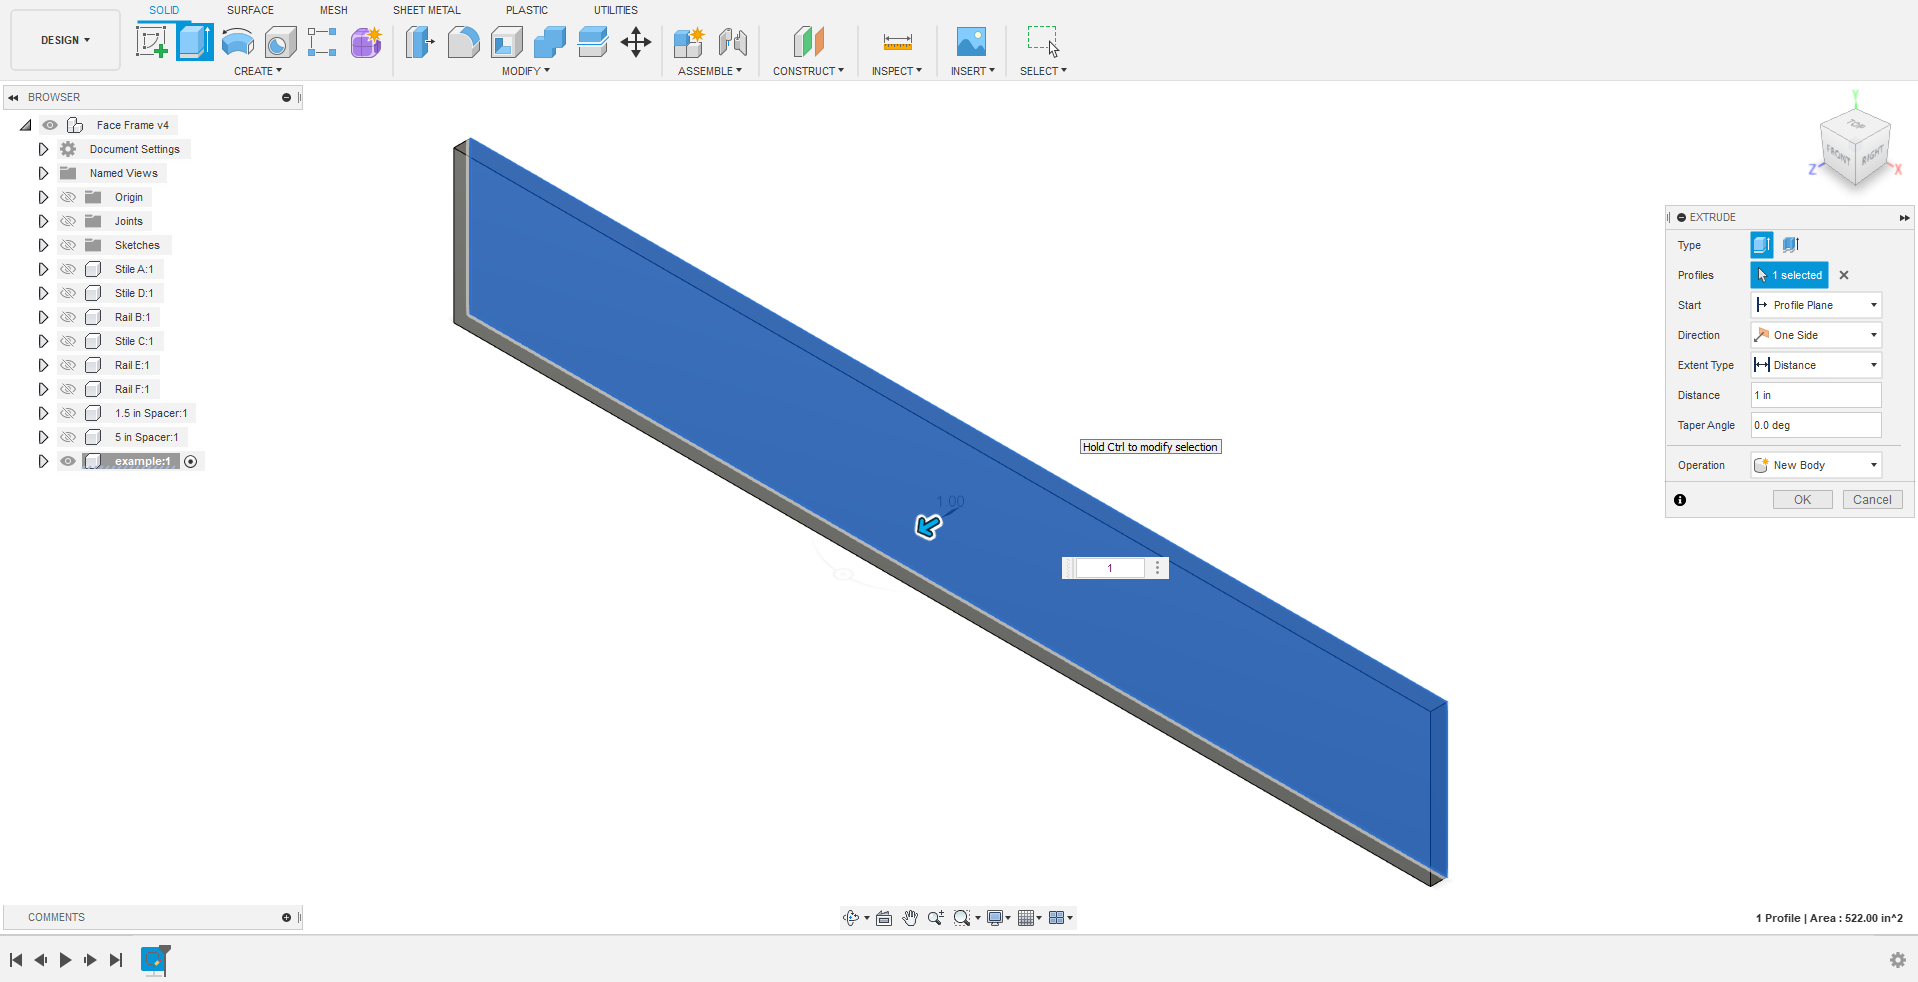
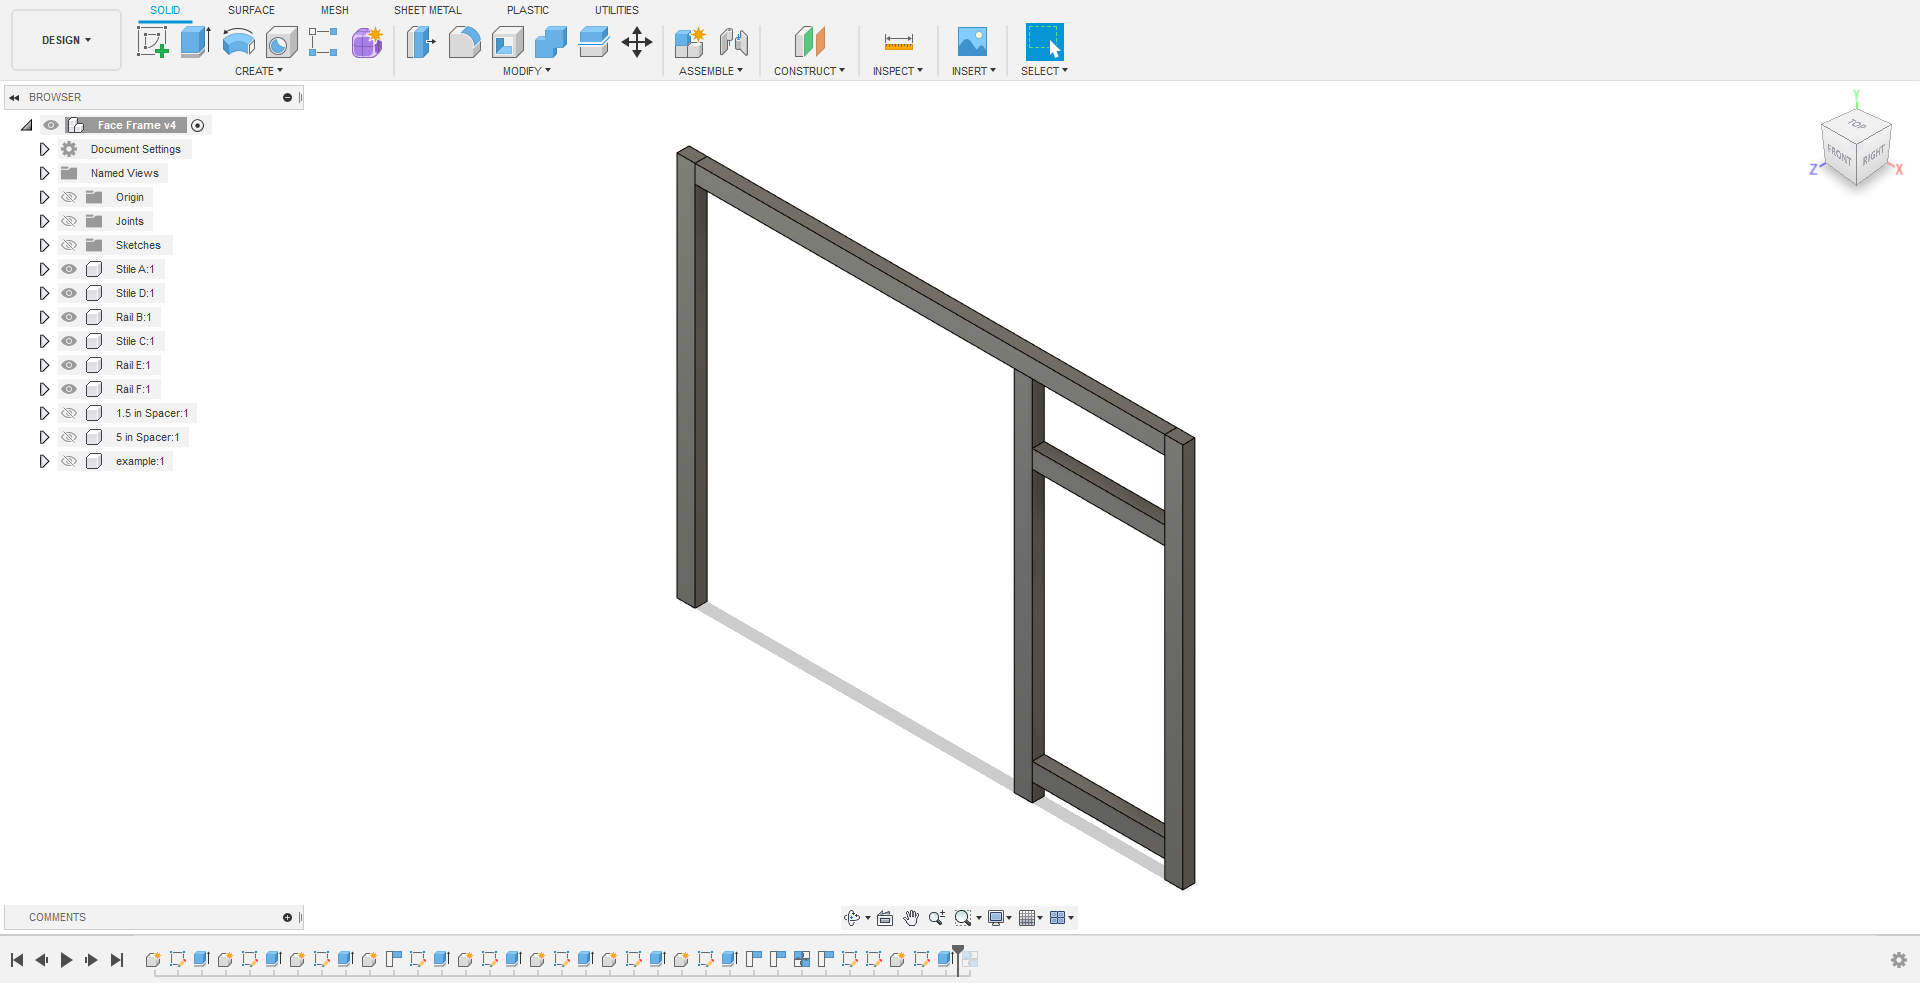
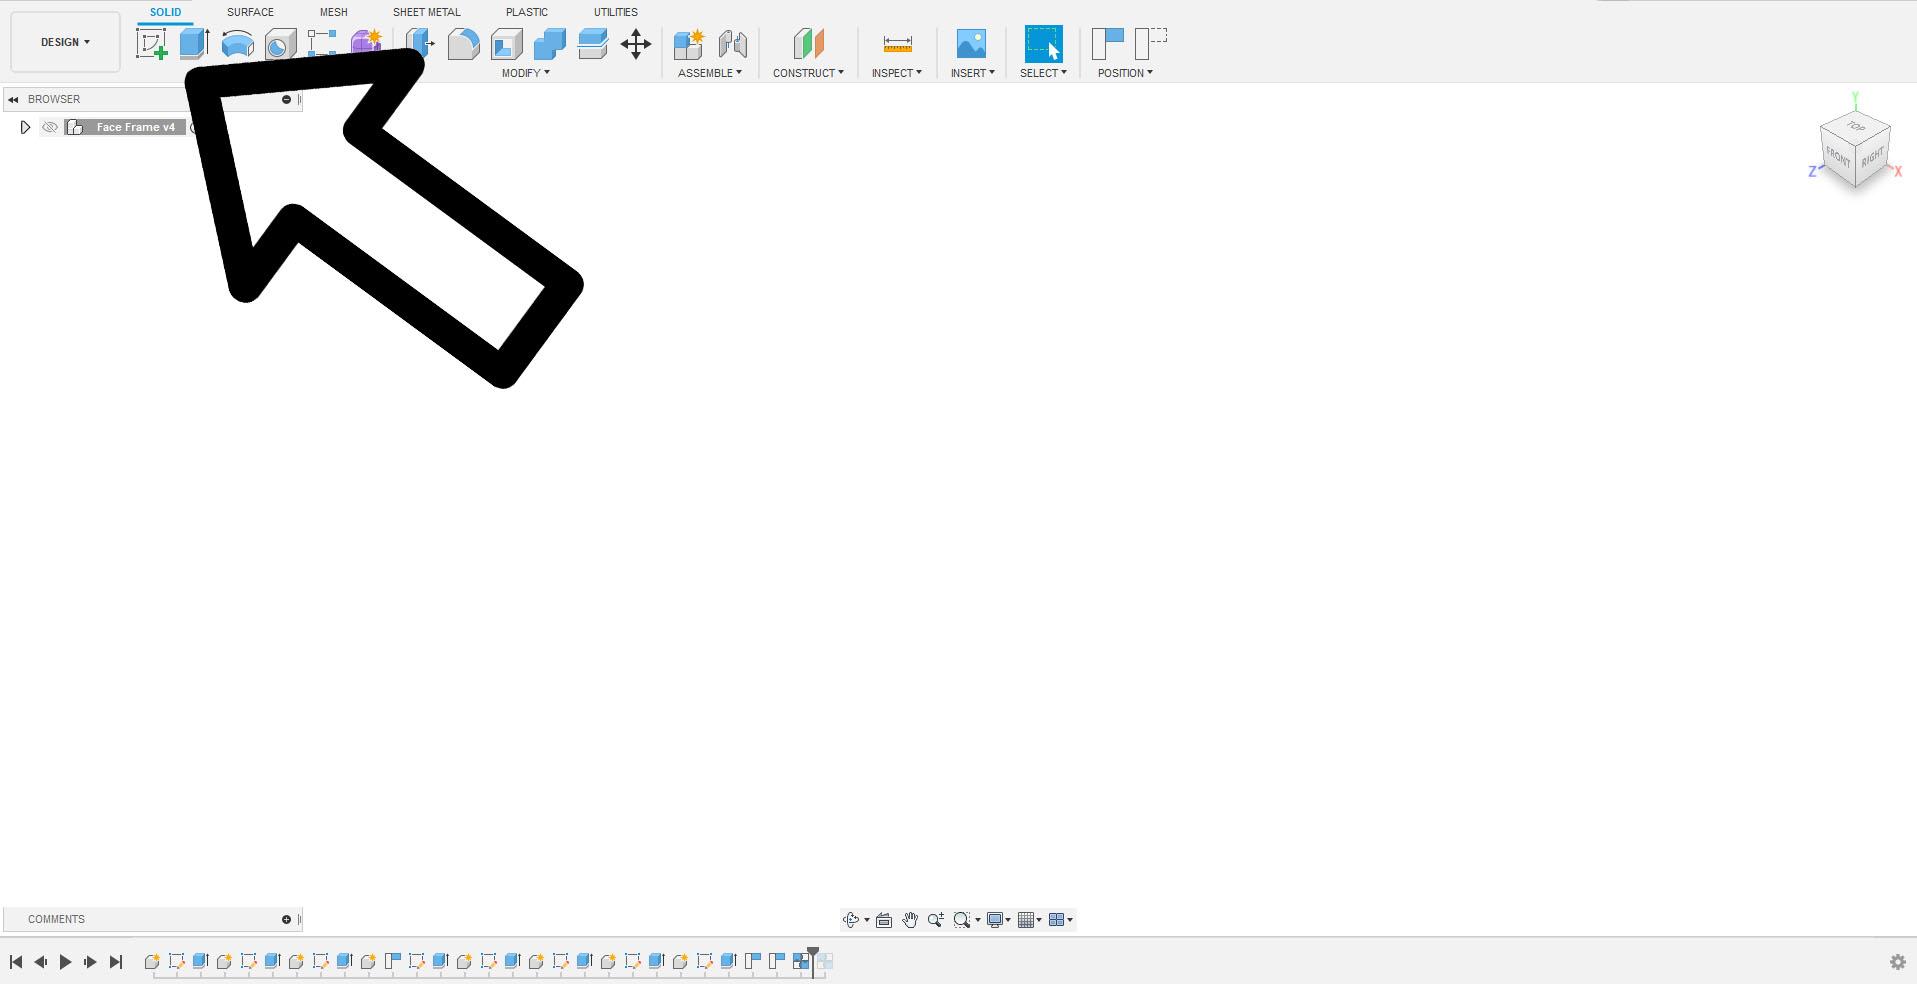
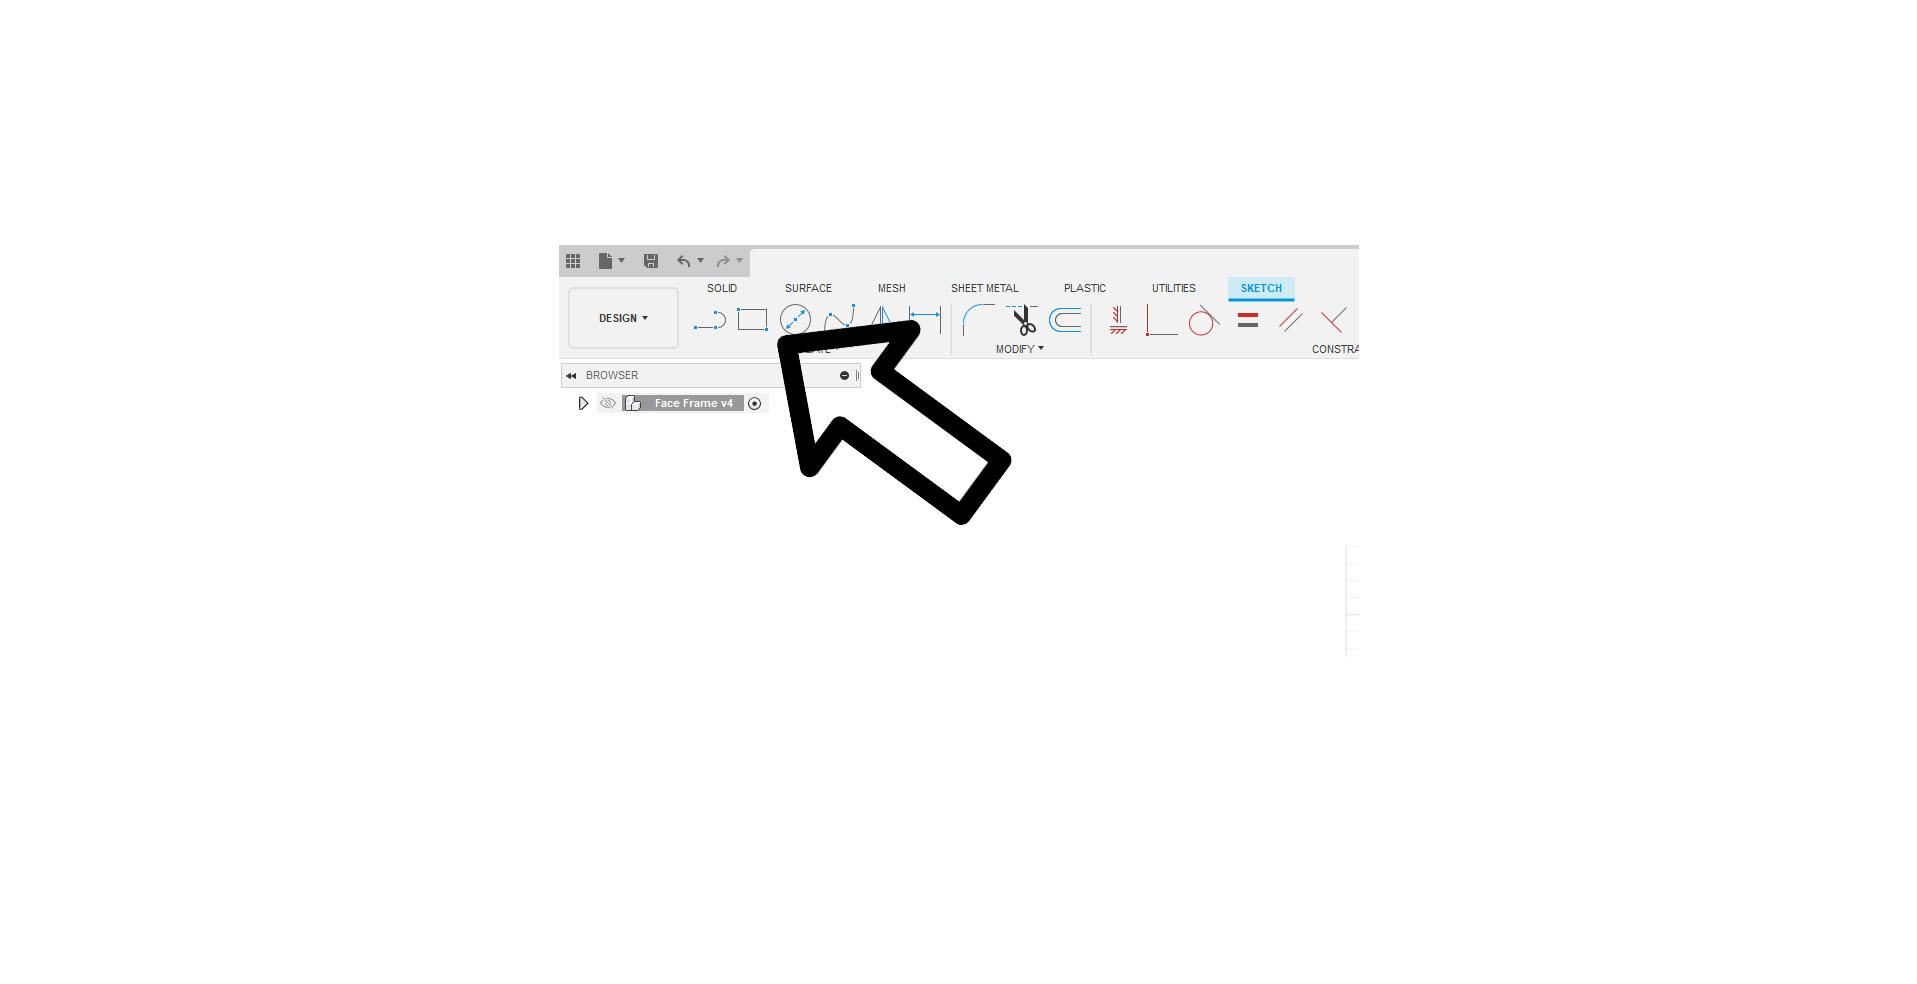
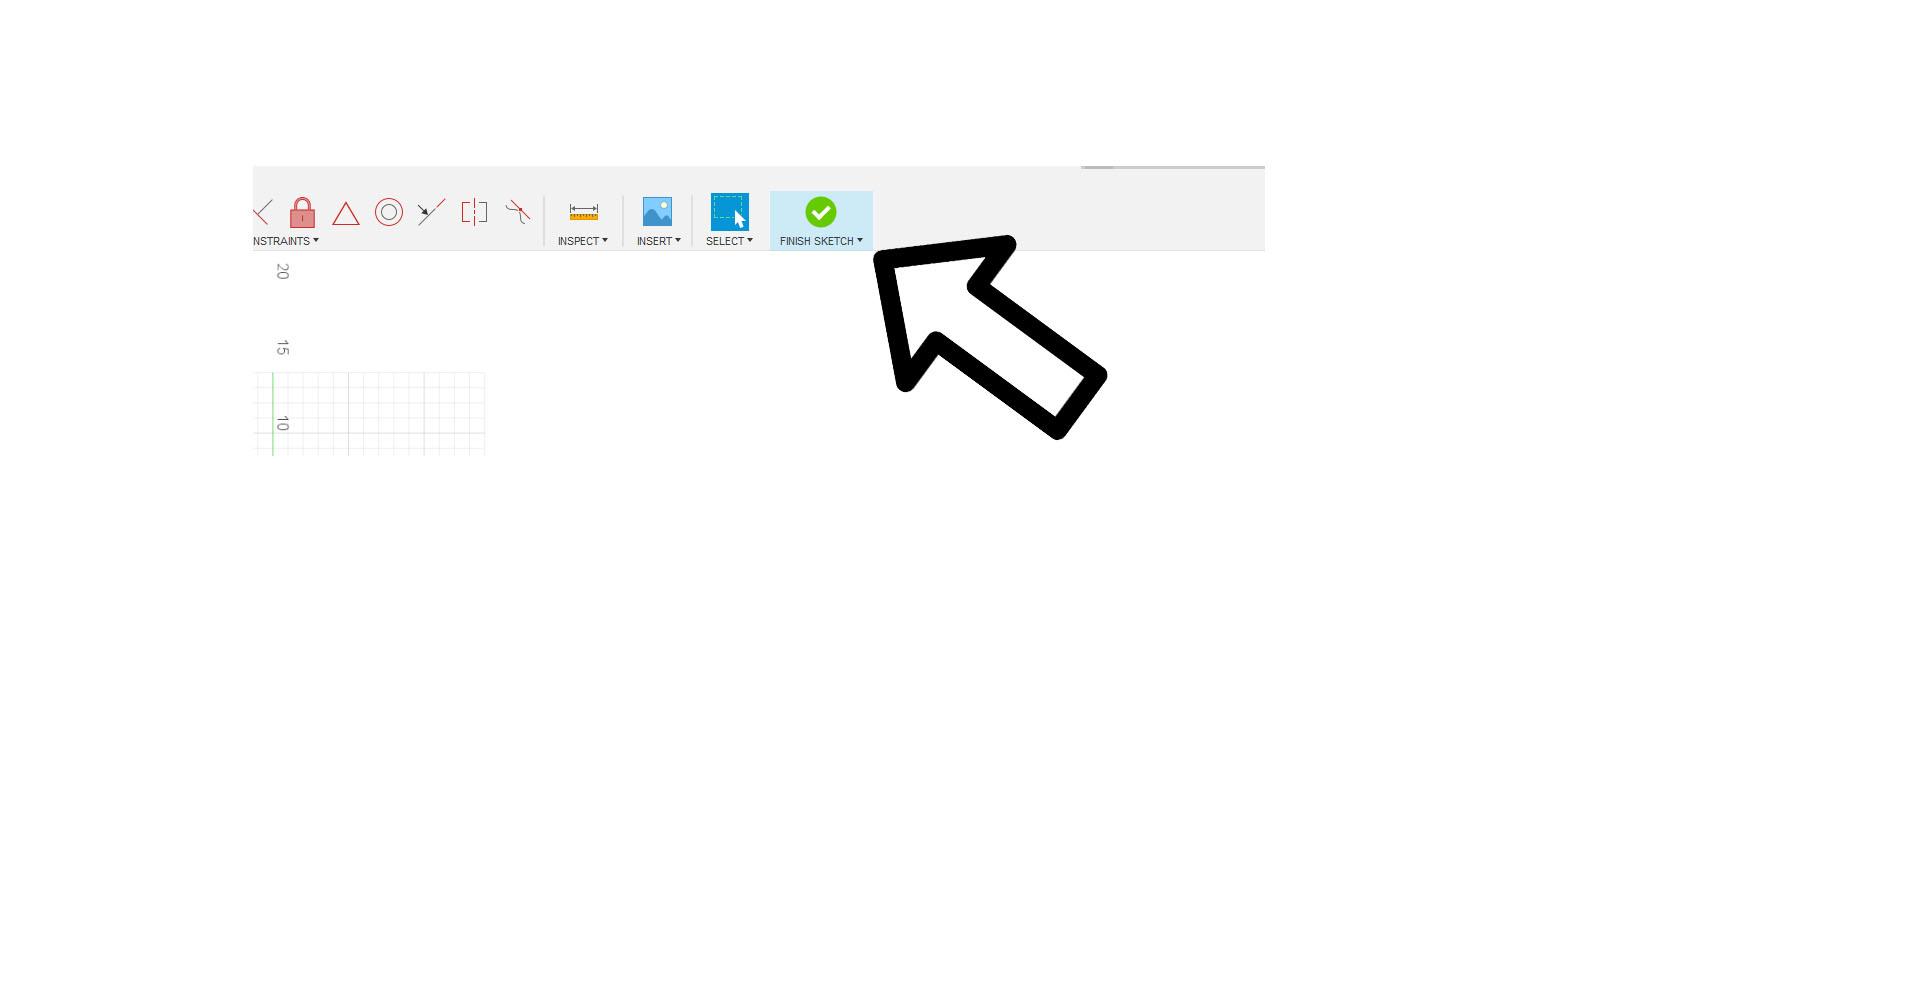
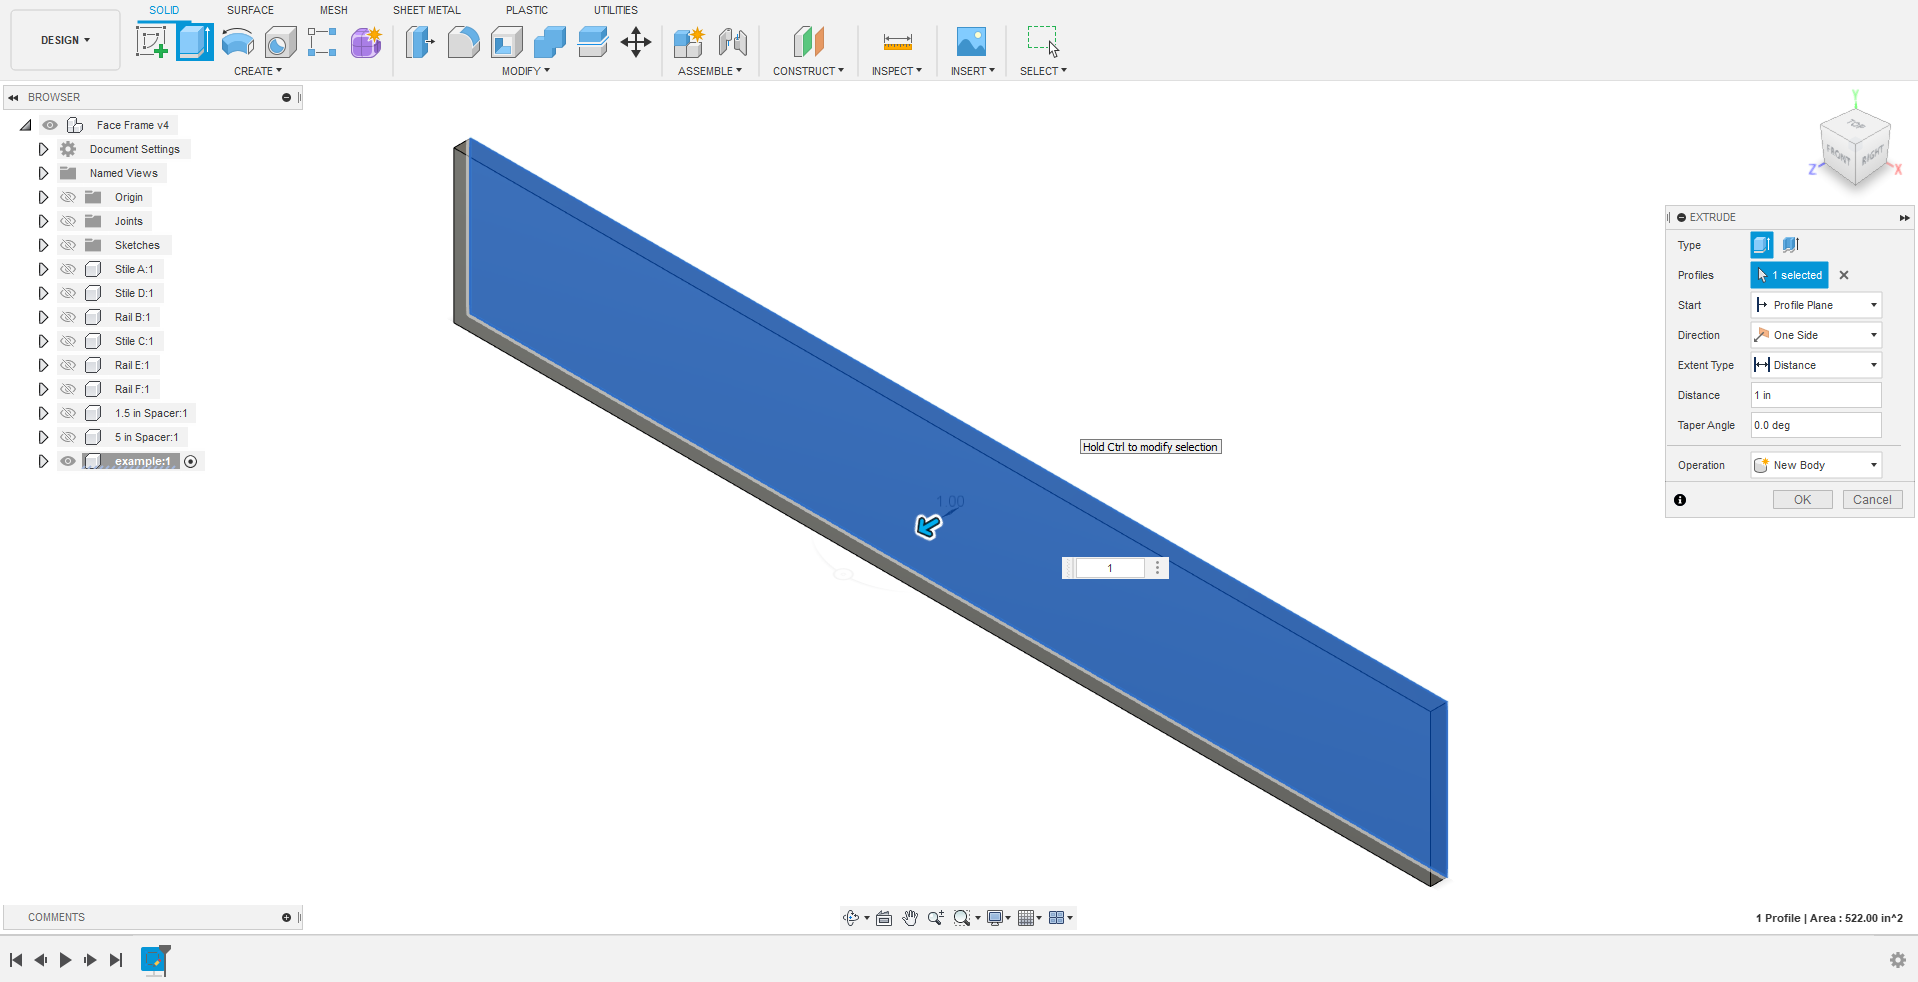
First you want to click on the Create Sketch button and select the front. Than you need to click on the rectangle tool. You now draw the rectangle to the size you want it to be. Repeat using the tool until you have created the size and design you want. I chose to to have a drawer and cabinet on the left side however you can configure it however you want! once to drew the design you like click finish sketch and than click on the extrude button, use can also use CTRL + E. Select everything you drew and type how think you would like it. Once you have done that your face frame is done!
Create the Sides
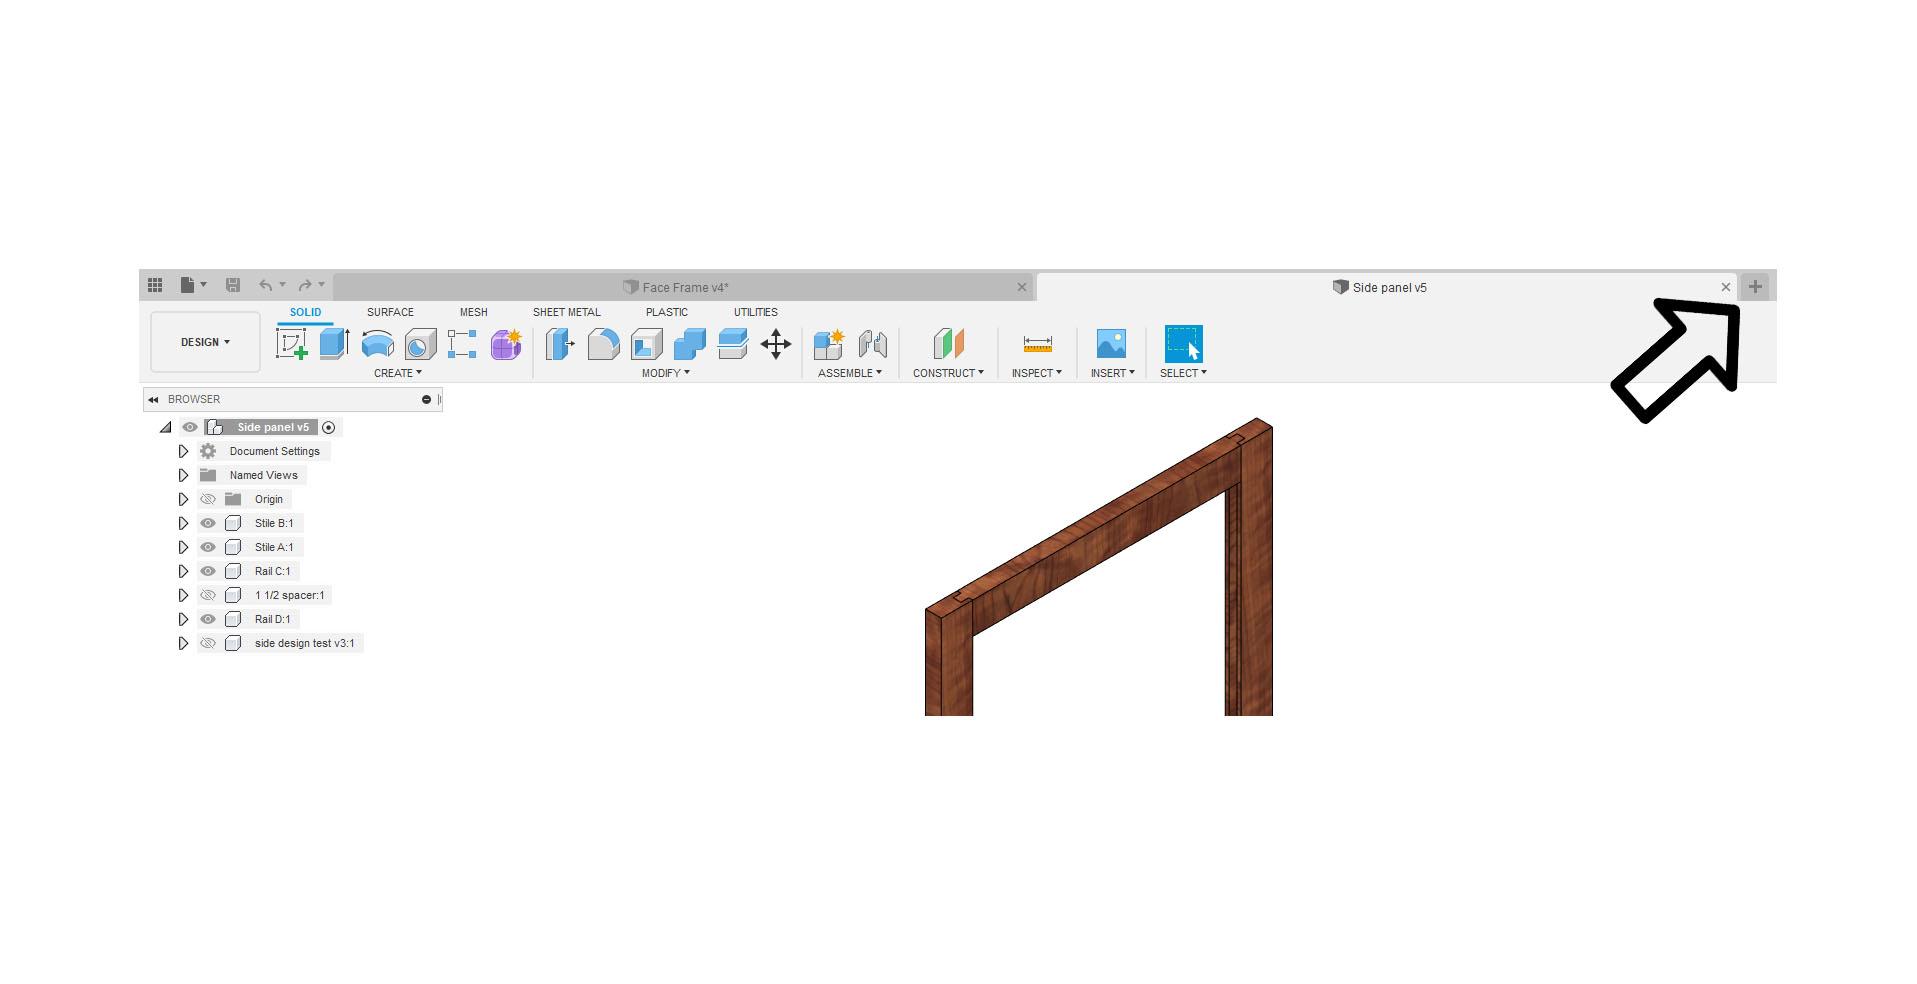
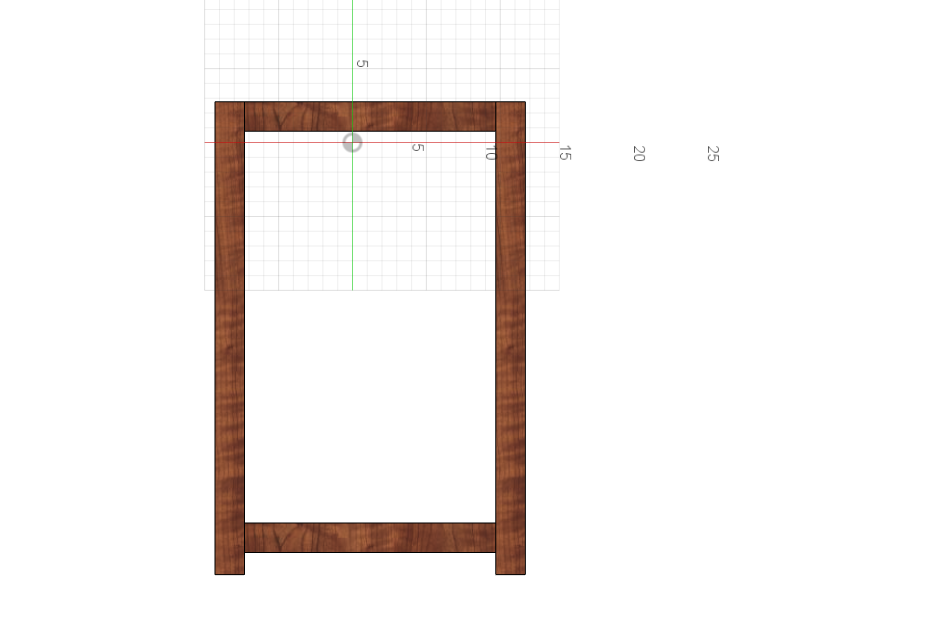
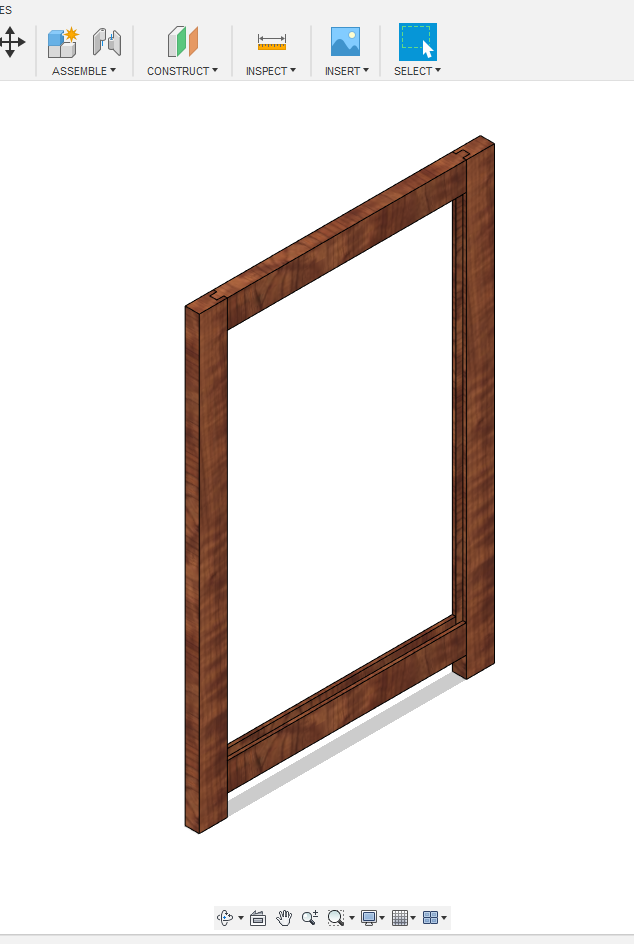
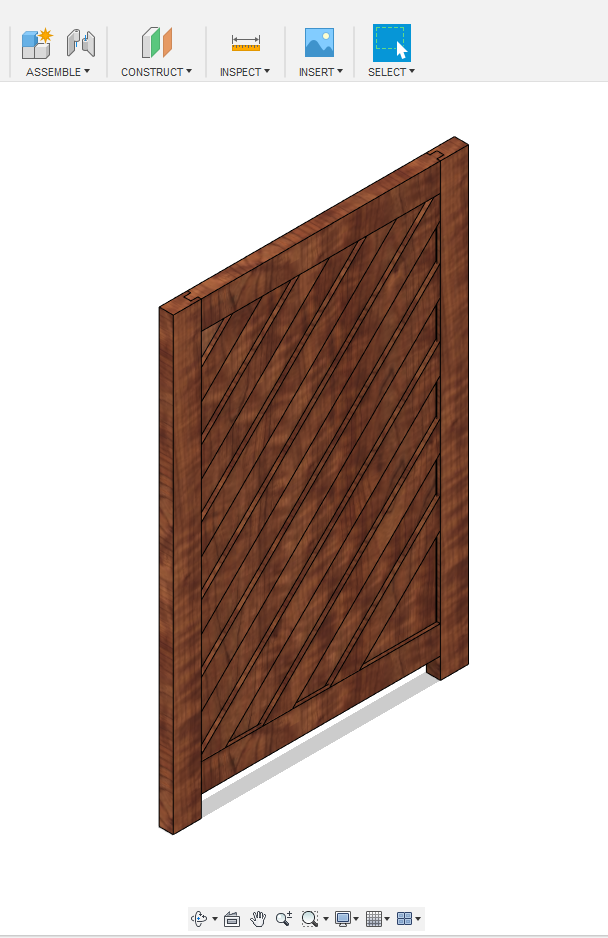
To create the Sides you need to start by first creating a new file than just as in the previous step you need to create a new sketch. This time instead of selecting the front, select the right or left side. Than create a new rectangle and create the side in whatever dimensions you want. Next click Finish sketch and extrude to your desired thickness. Finally, create the inside, you create create this however you would like with any design.
Create the Top
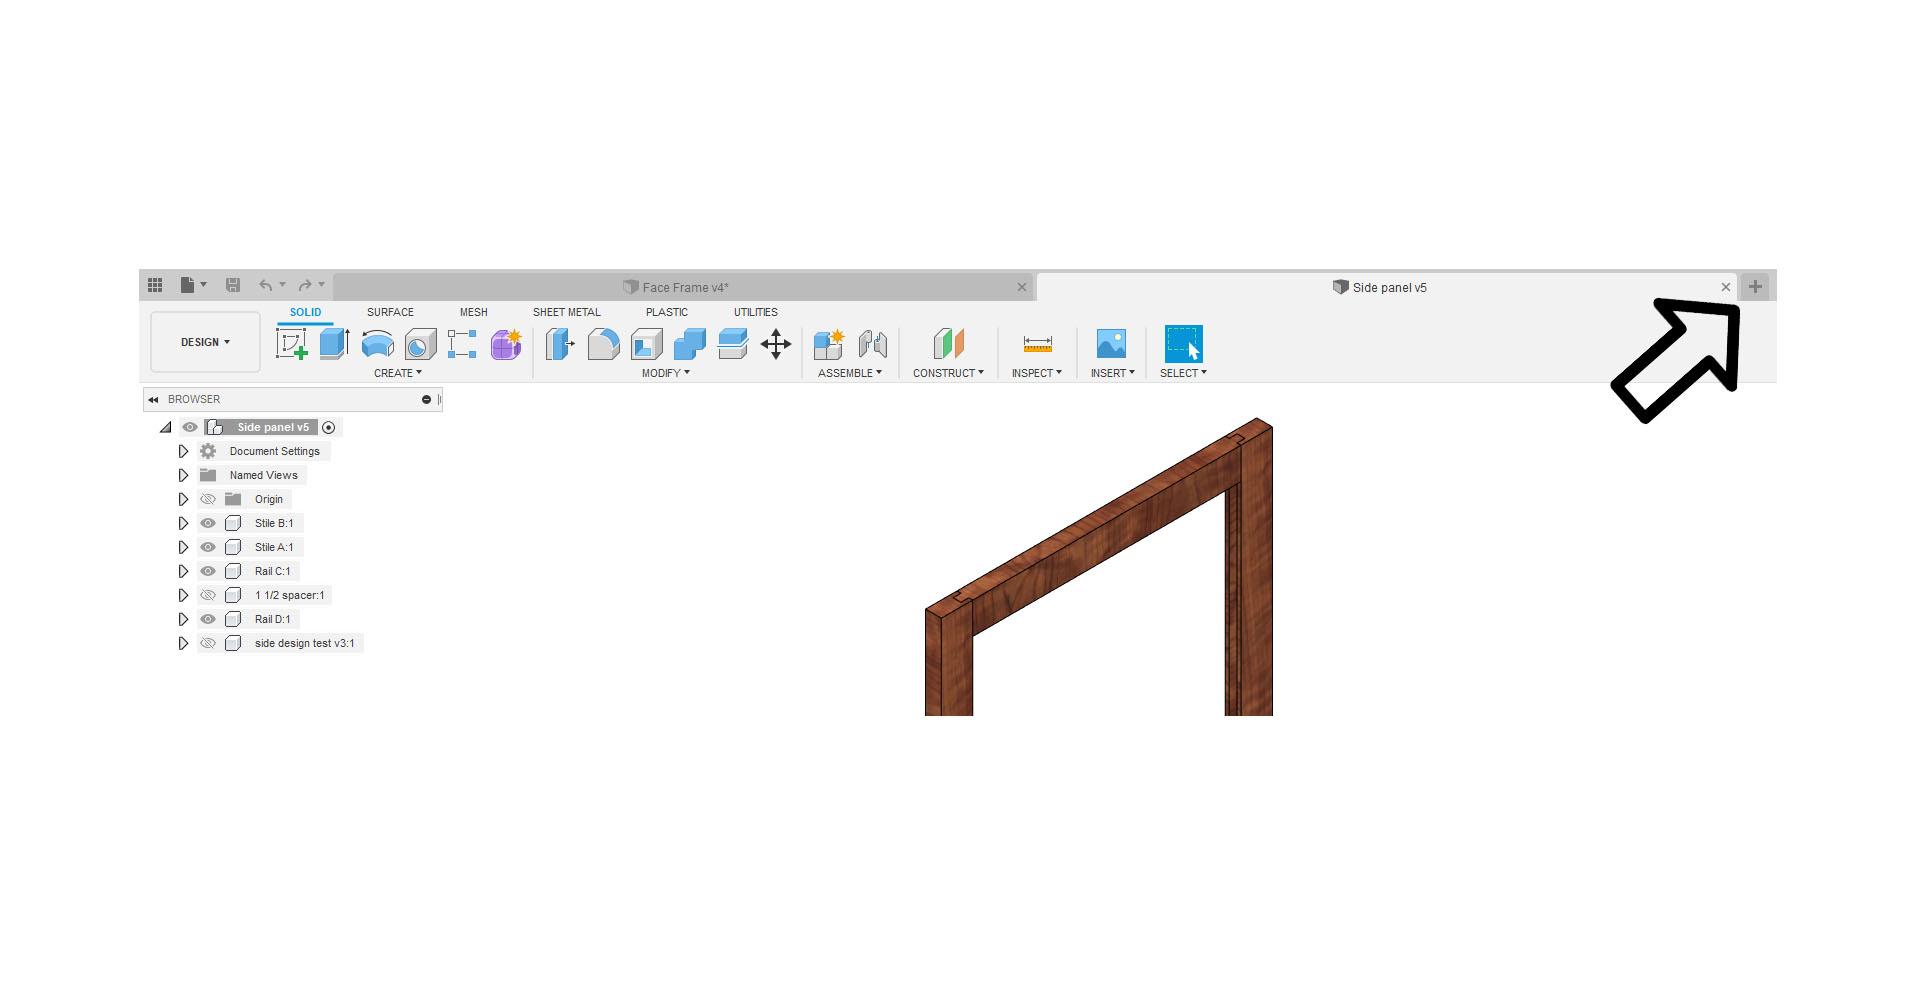
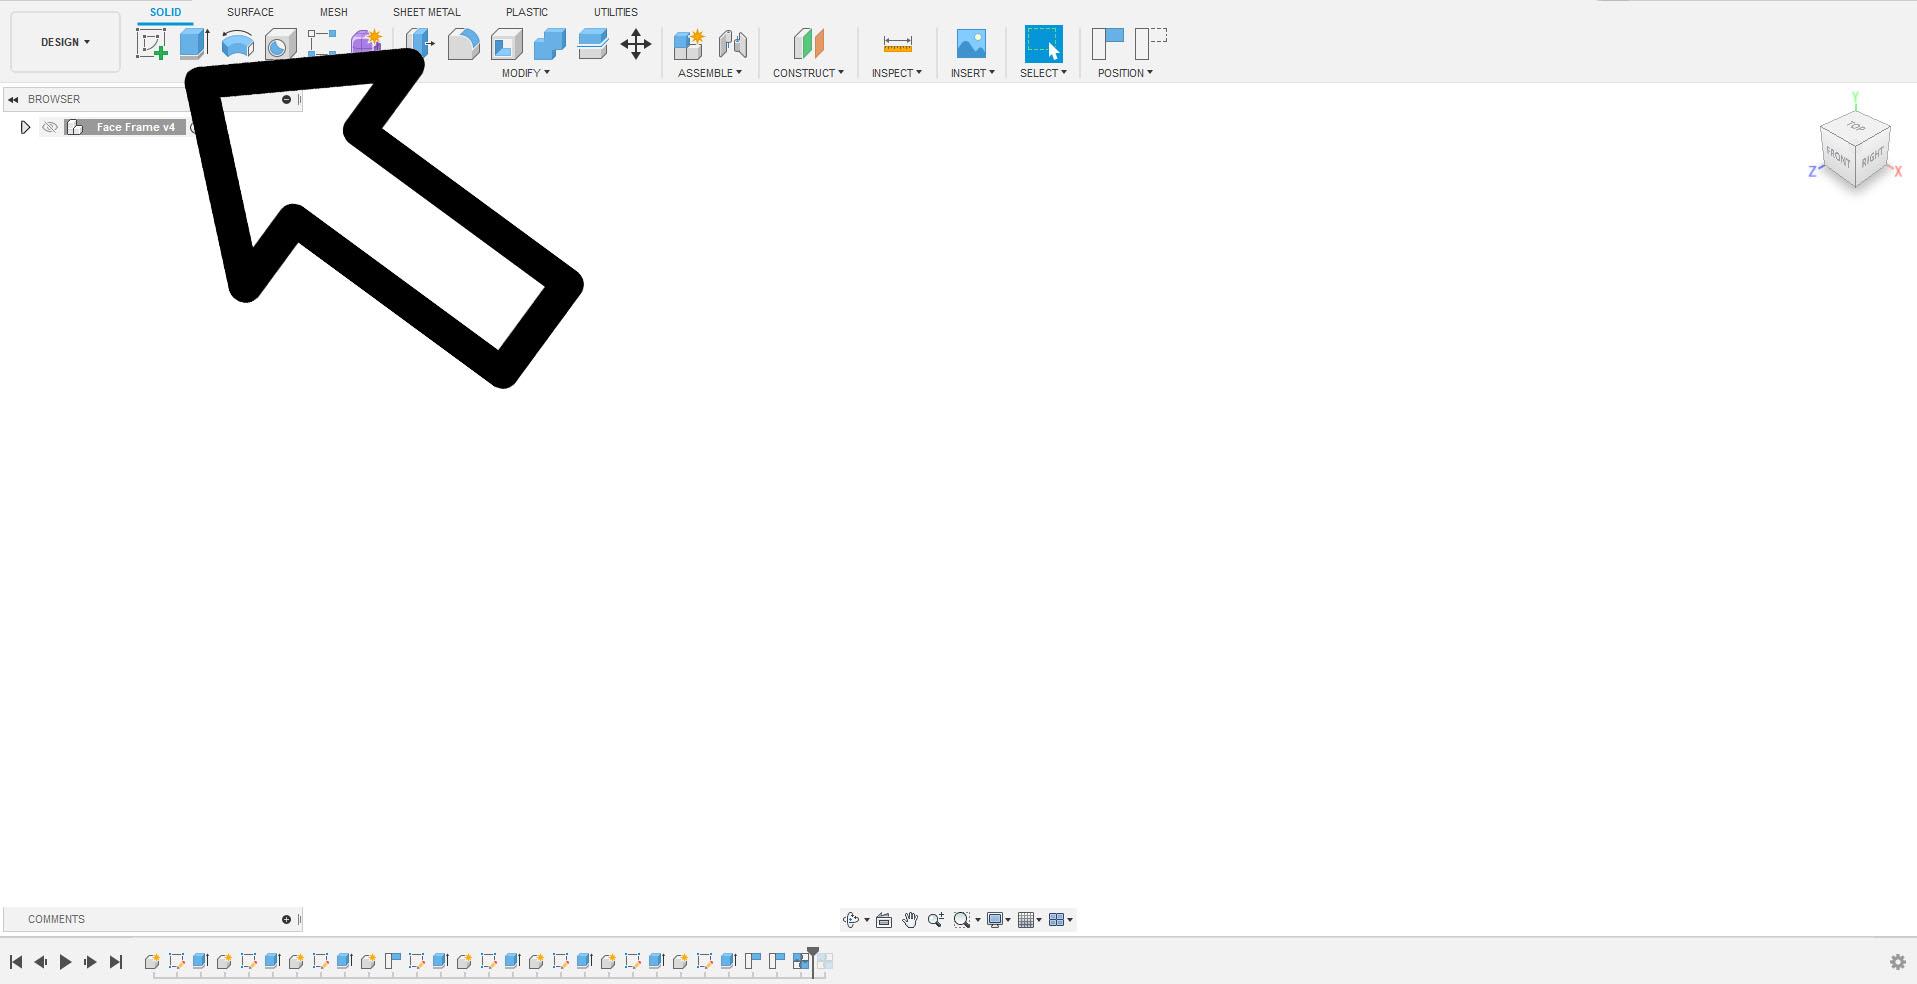
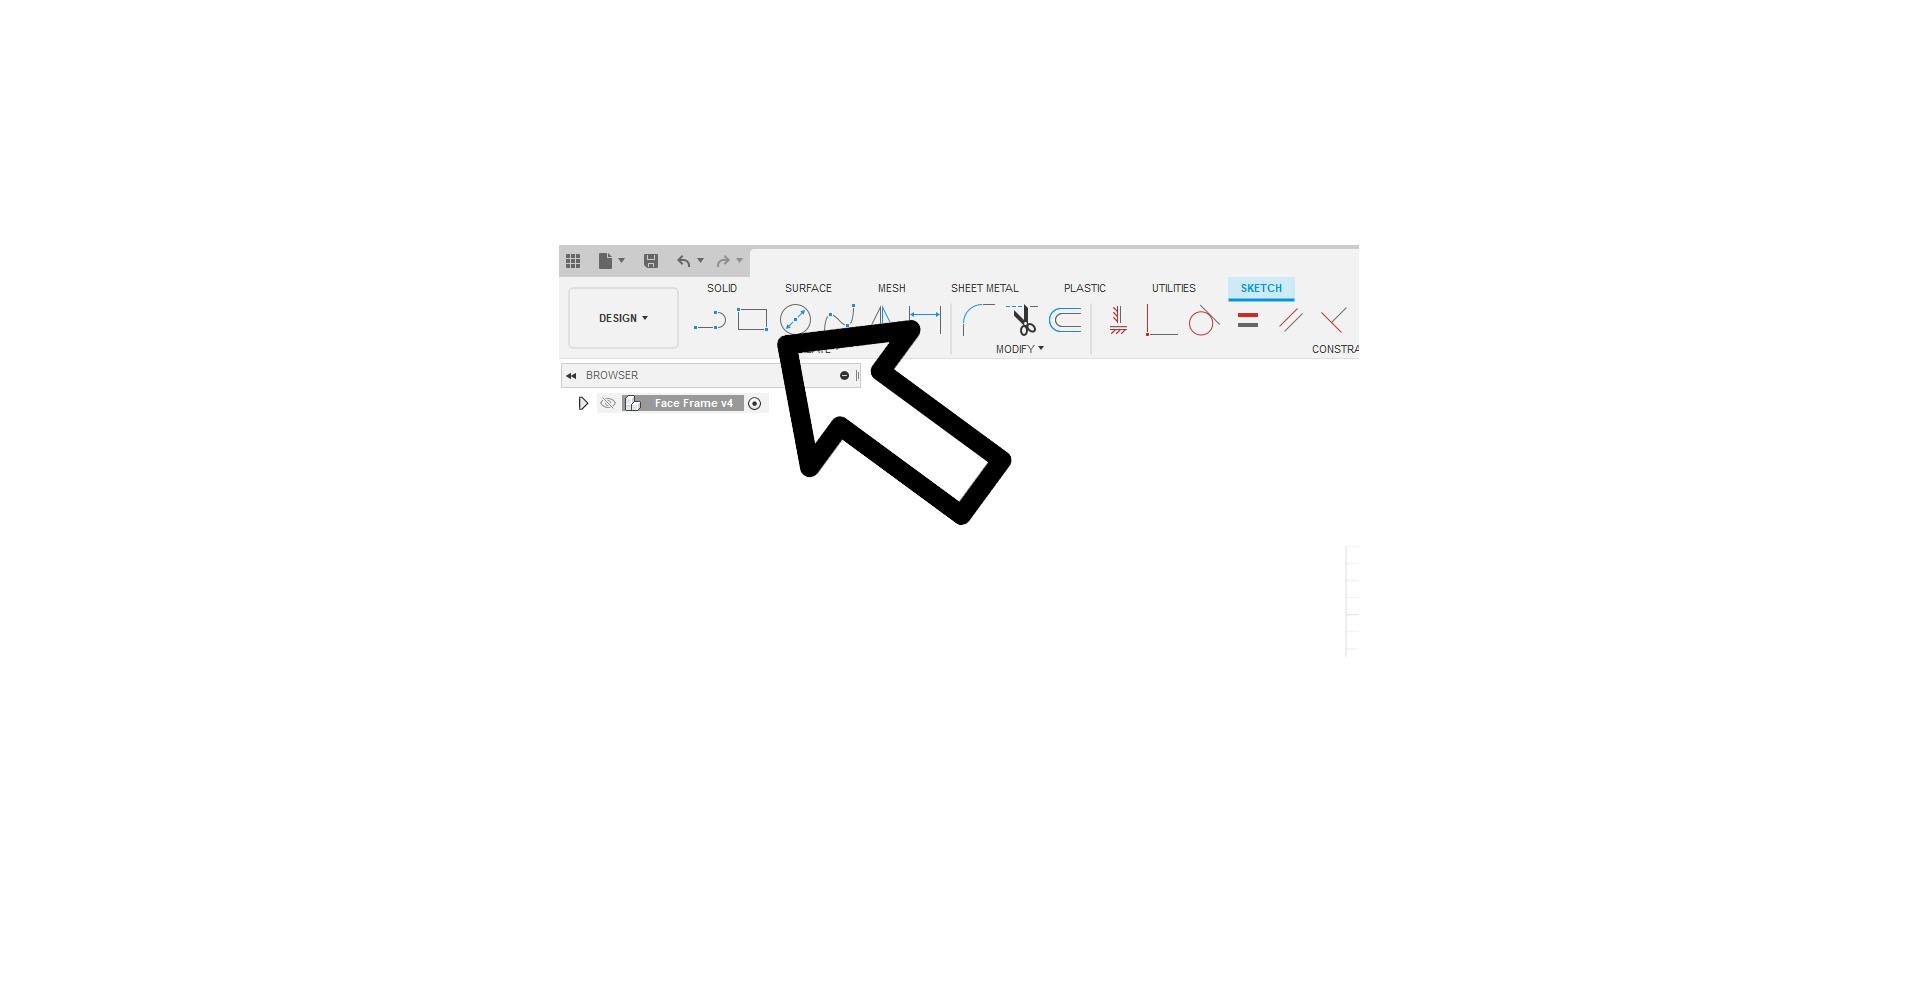
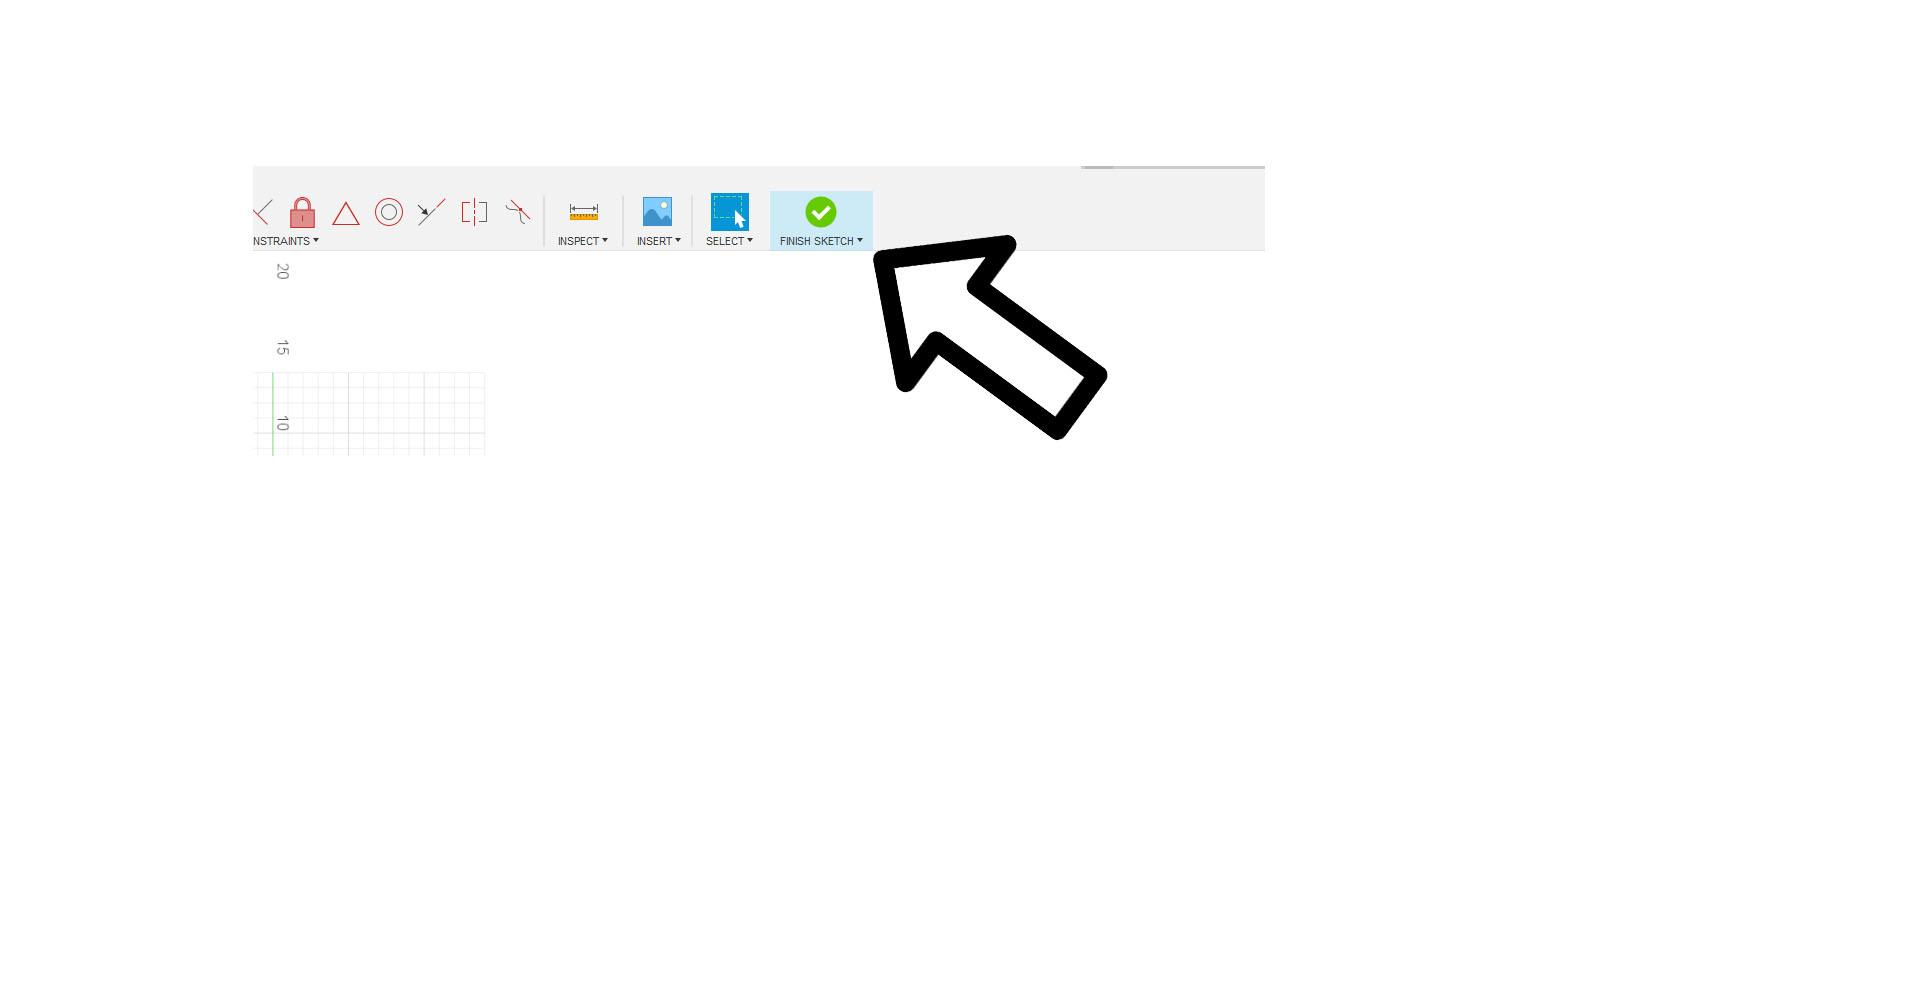
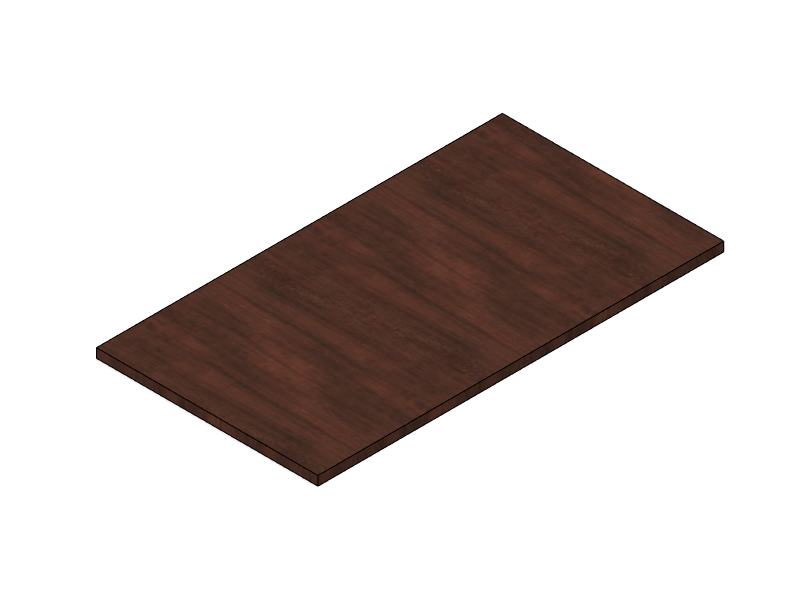
In this step it is super simple, first create a new file. Than, click the New Sketch button. You want to select the top plane this time. Than, click the rectangle tool and for the dimensions take the width of your face frame plus a two inch overhang for one side, the width of your side plus a the depth of your face frame and a one inch over hang. Once you finish that click Finish sketch and extrude to desired thickness and your top is done.
Create the Door
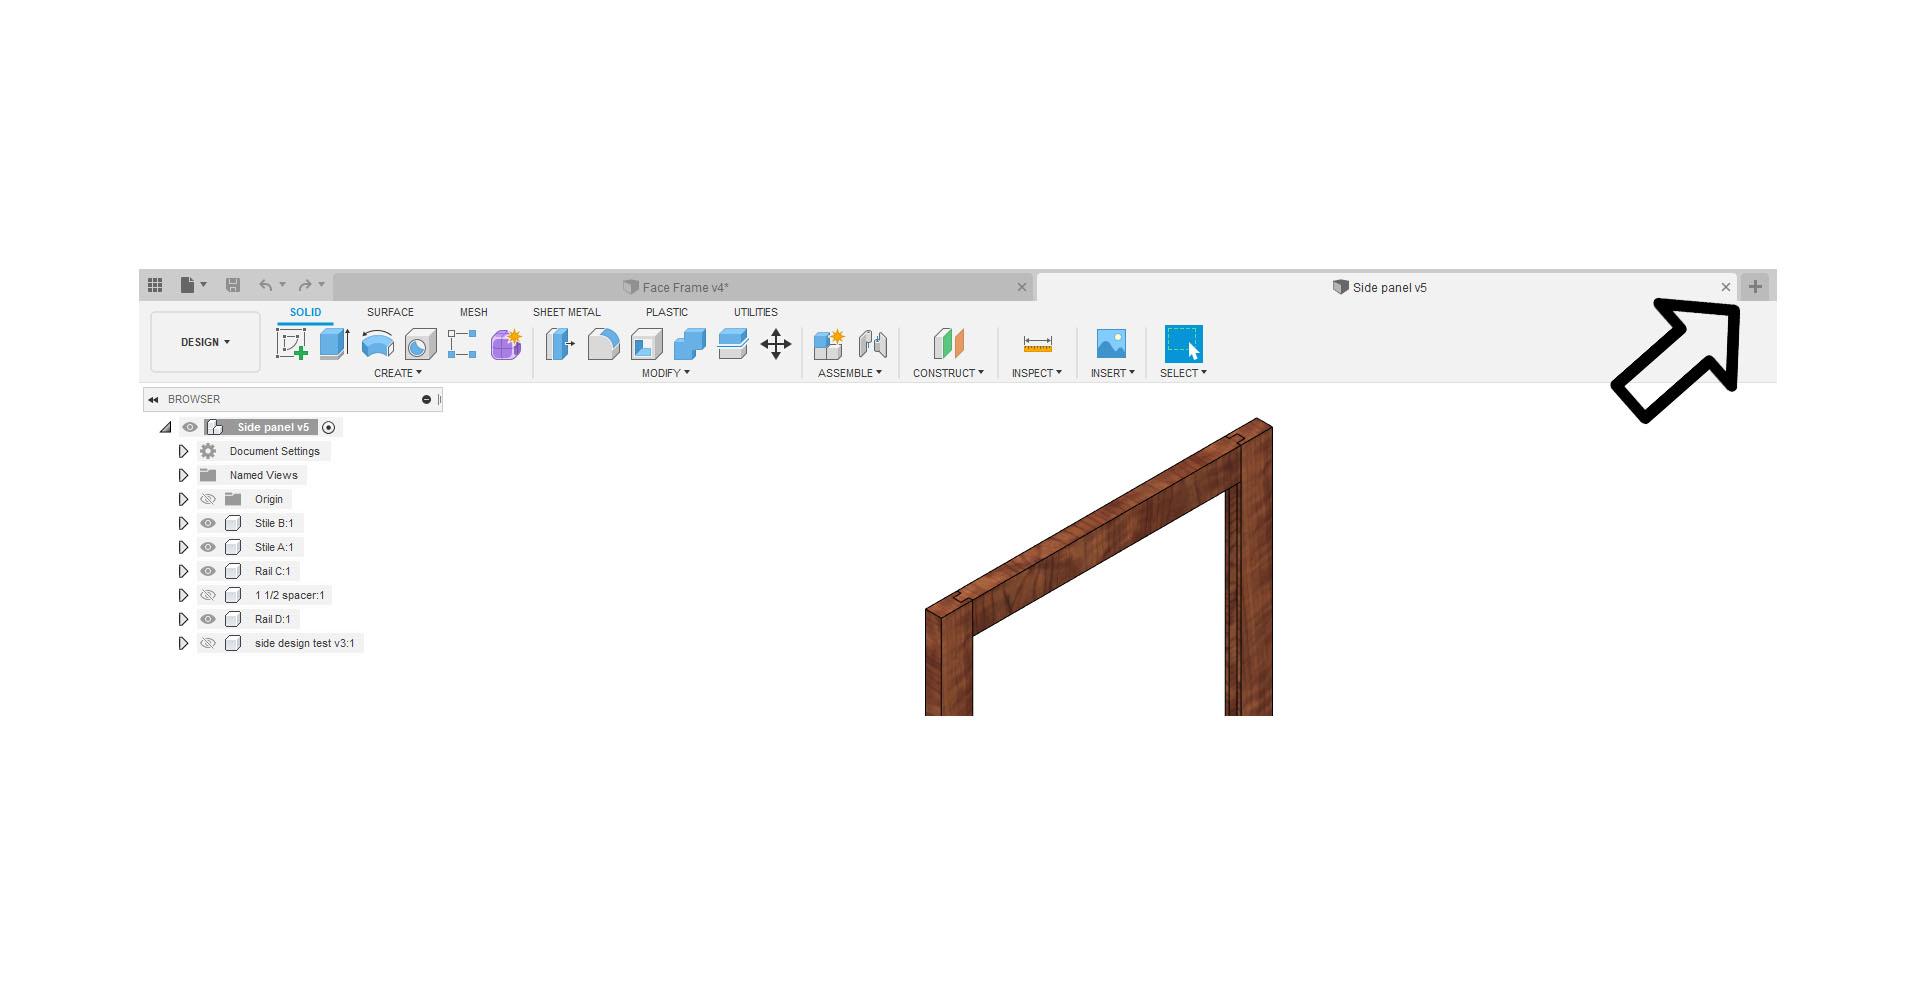
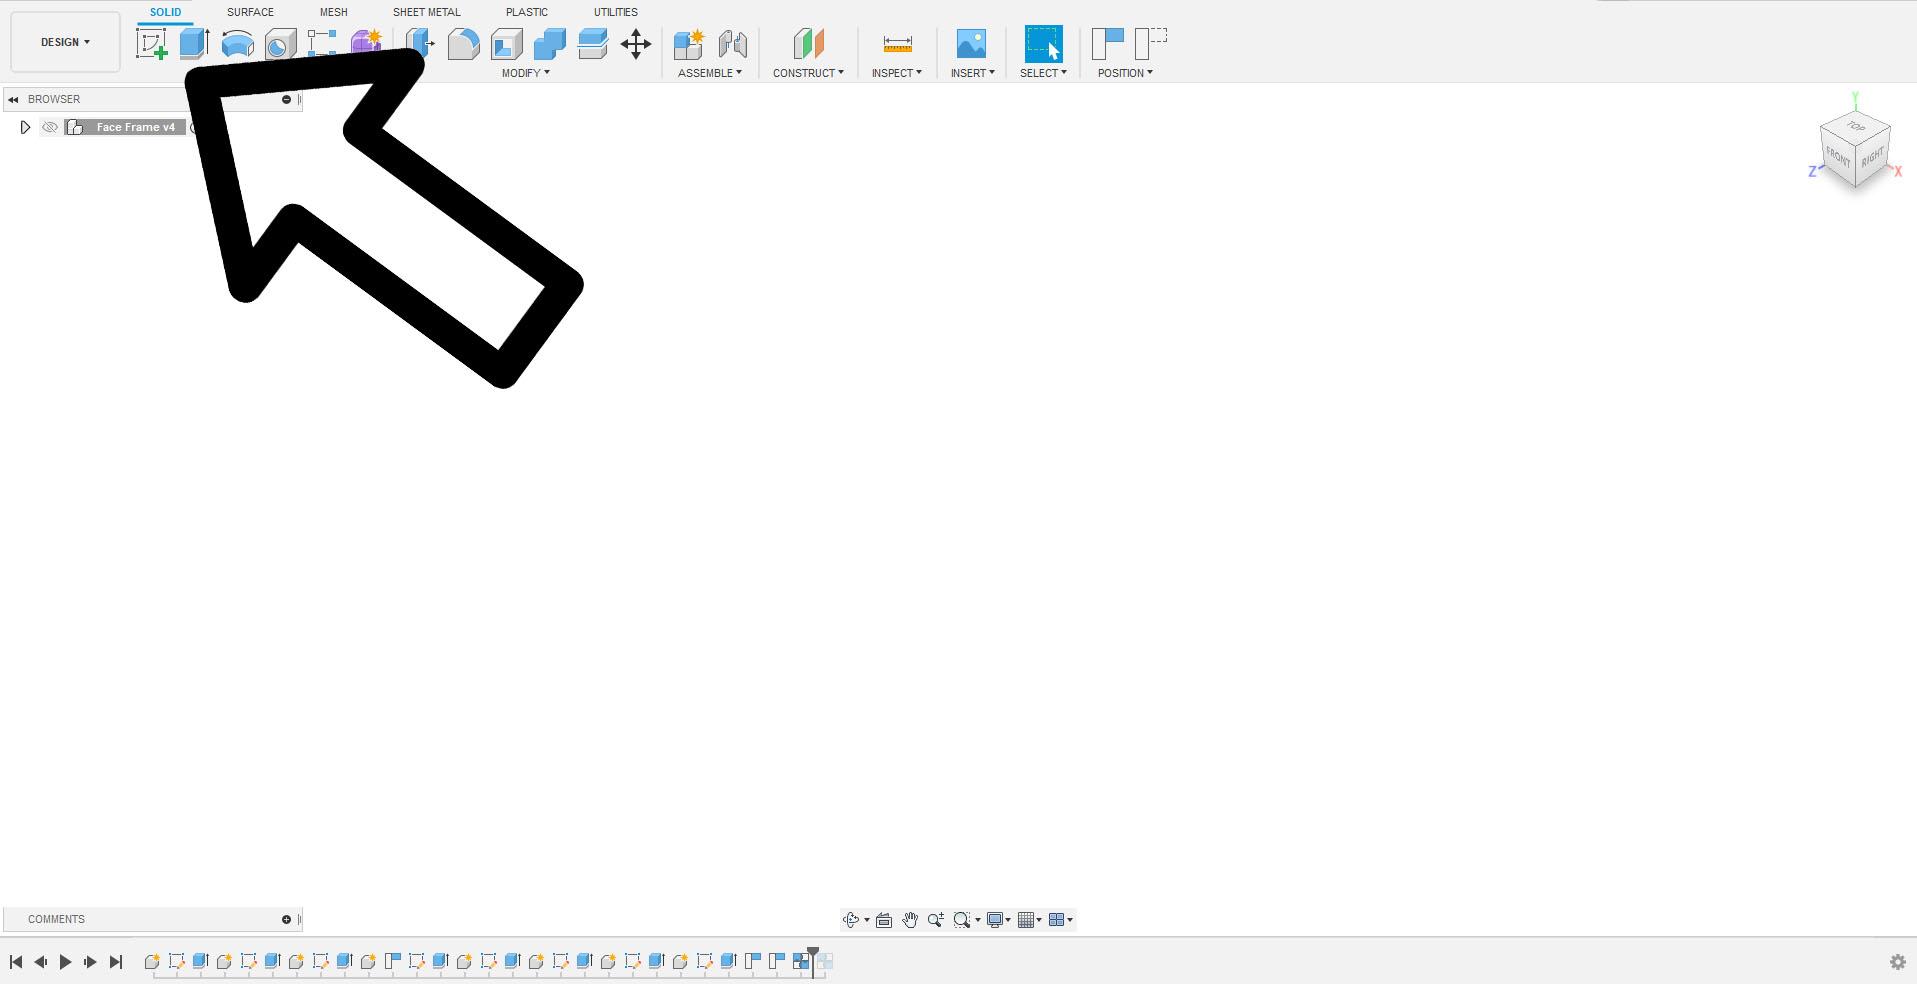
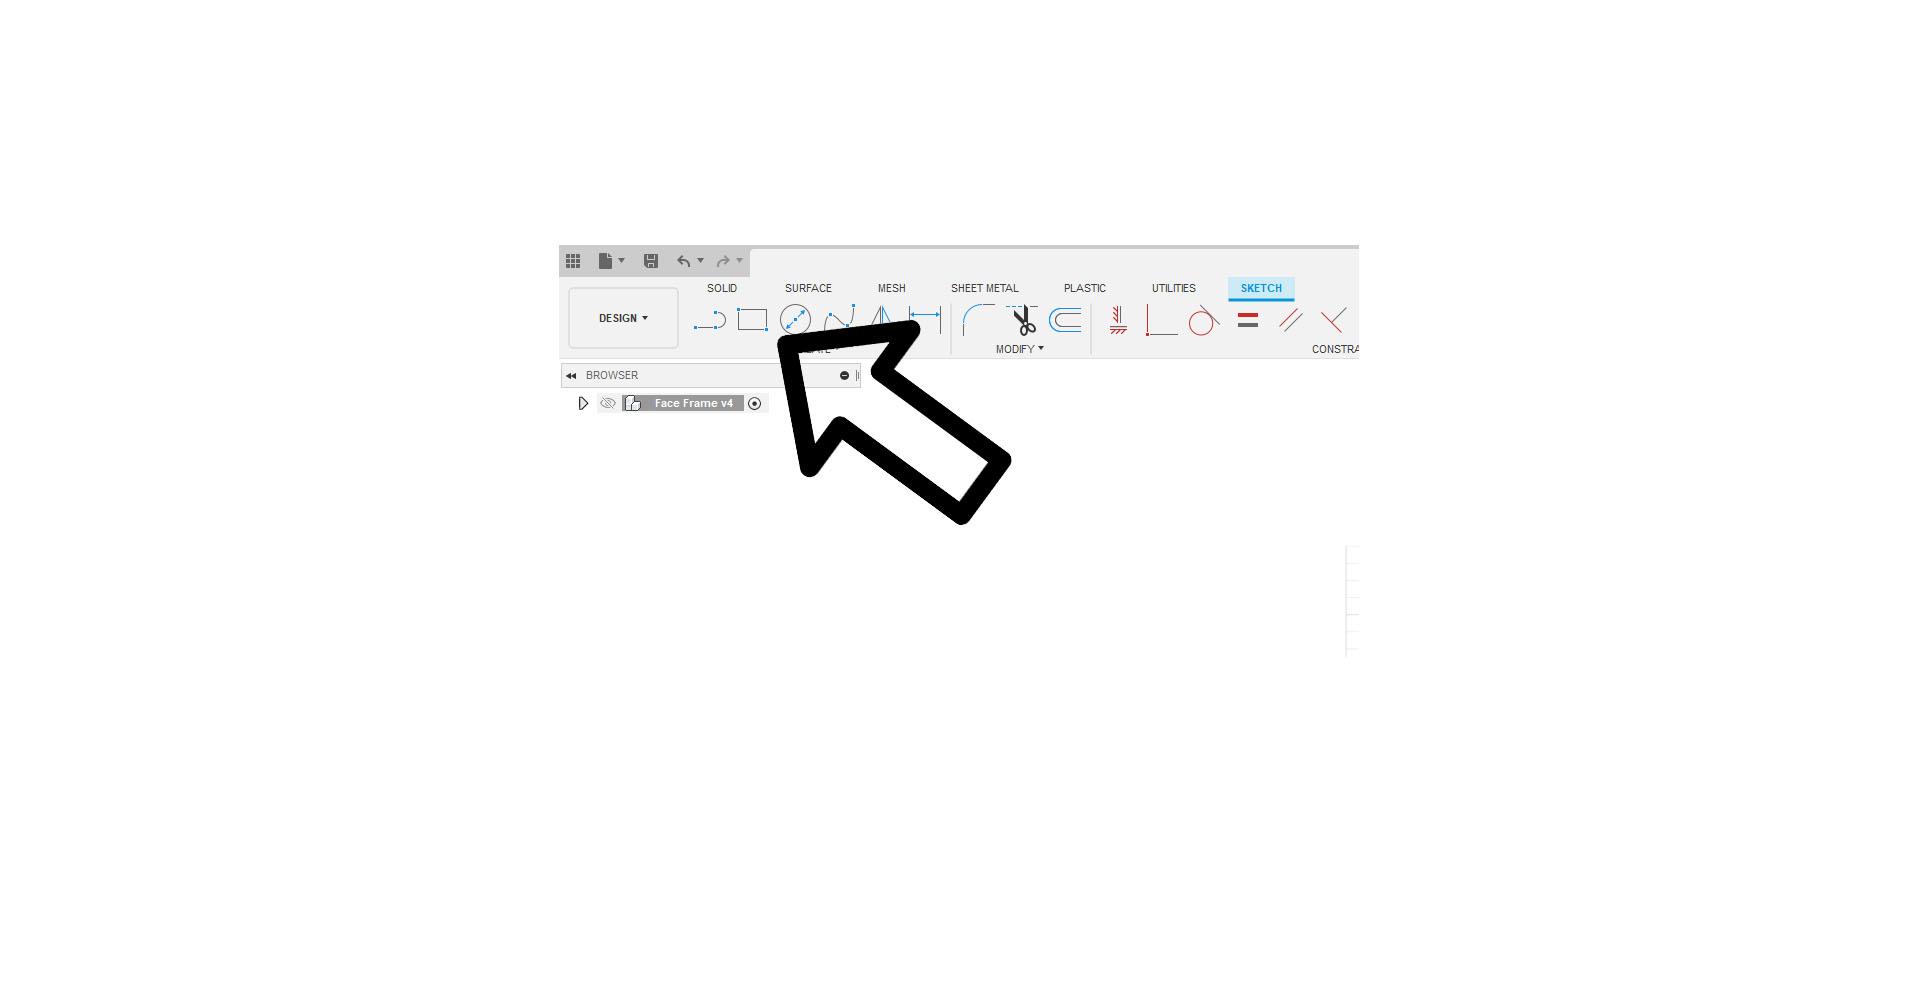
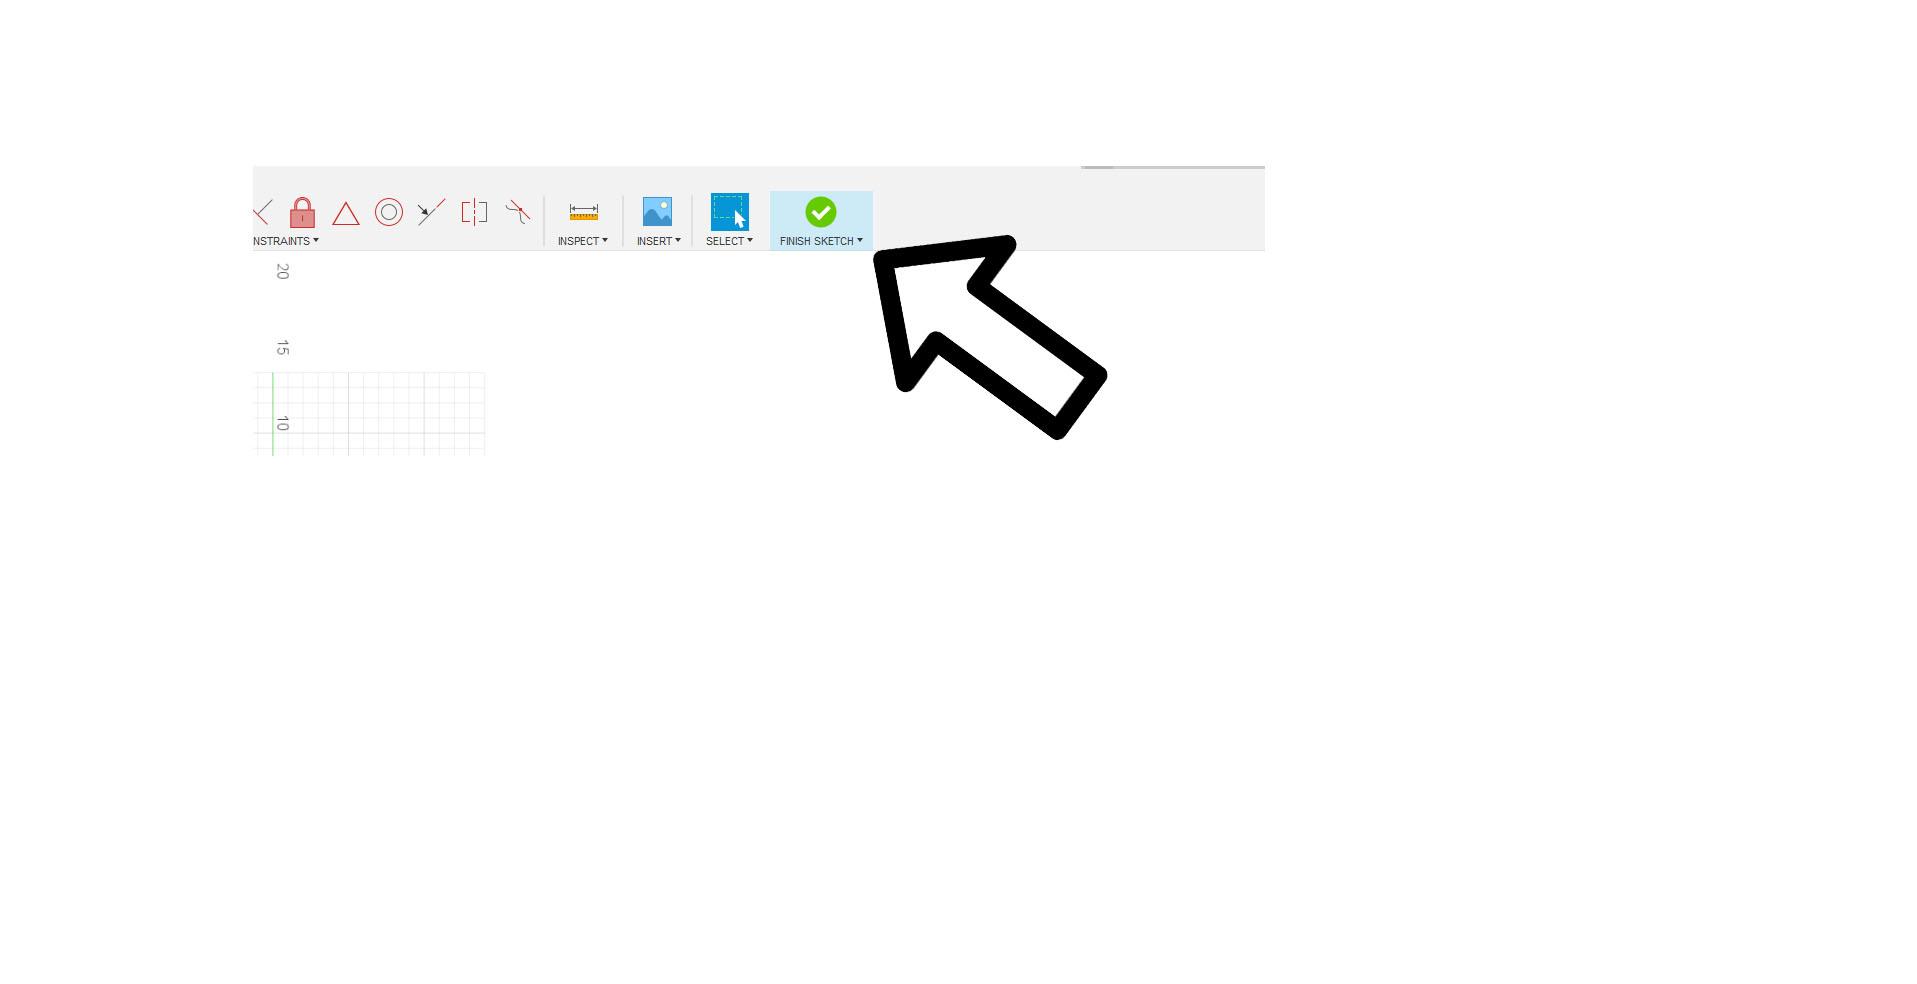
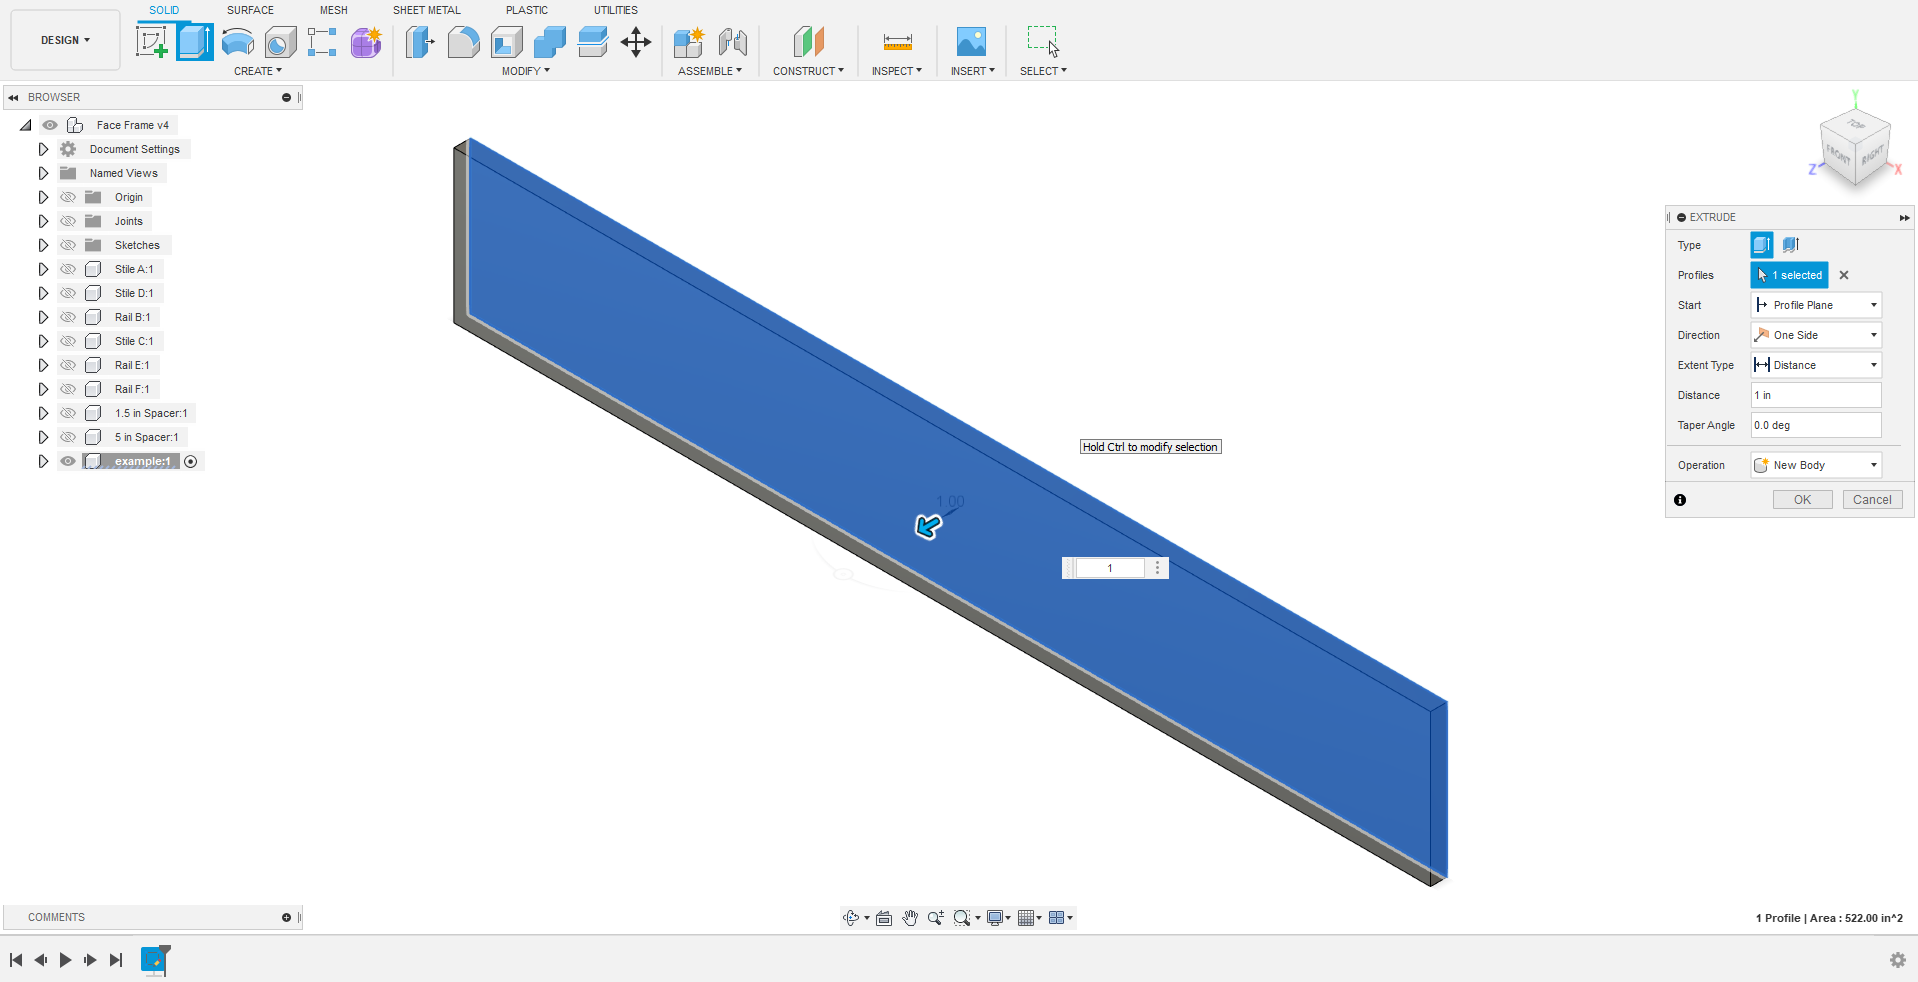
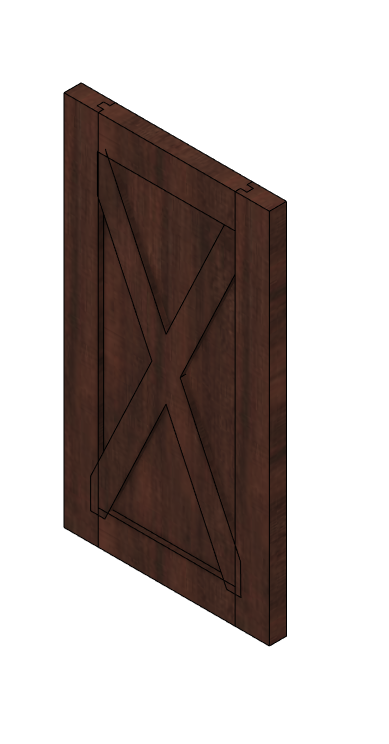
To create the door you need to start by first creating a new file than just as in the previous steps you need to create a new sketch. This time select the front. Than create a new rectangle and make it whatever dimensions you created for the face frame. Next click Finish sketch and extrude to your desired thickness. Finally, create the inside, just like with the sides you create create this however you would like with any design.
Create the Drawer
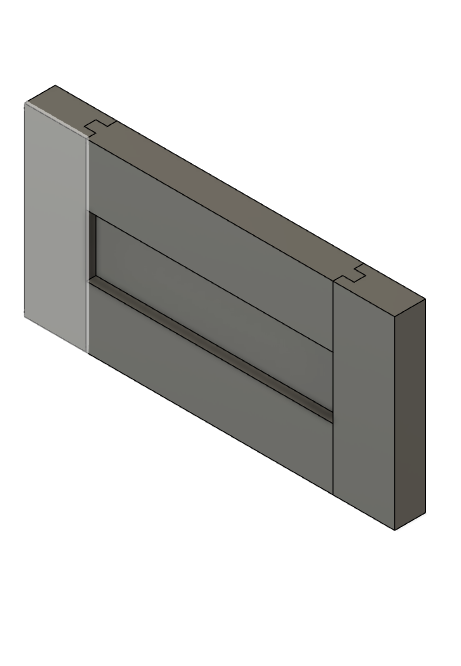
For this step it is exactly like the door except with different dimensions. You can do the exact same thing, just make sure you use the size the fits the face frame. You can create a design for the front however I would recommend leaving to blank so it is easier to mount the handle for it.
Final Assembly
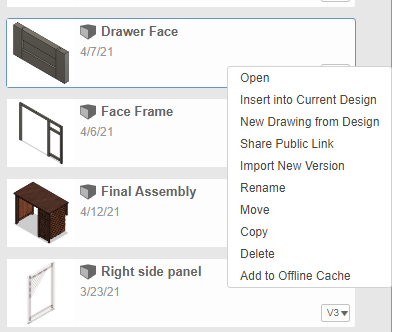
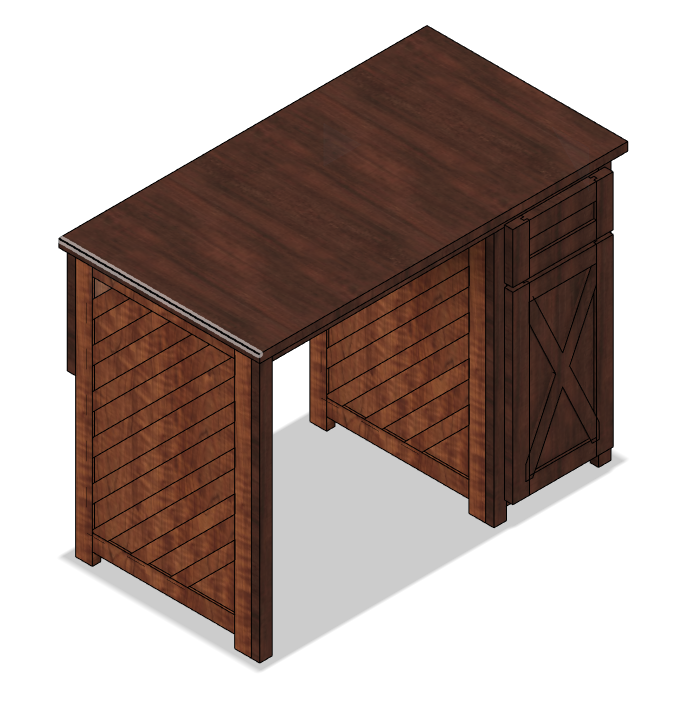
This is the last step in Fusion 360. Start by creating a new file. Than on the left select the files you previously created and right click and select "Insert Into Current Drawing". Do this for everything you have created and import the sides three times. once you have everything in the file use the Align tool under Modify to line everything up. Your all done. Once you finish all these steps you have designed a desk full in Fusion 360.
(Optional) Create the Desk Out of Wood
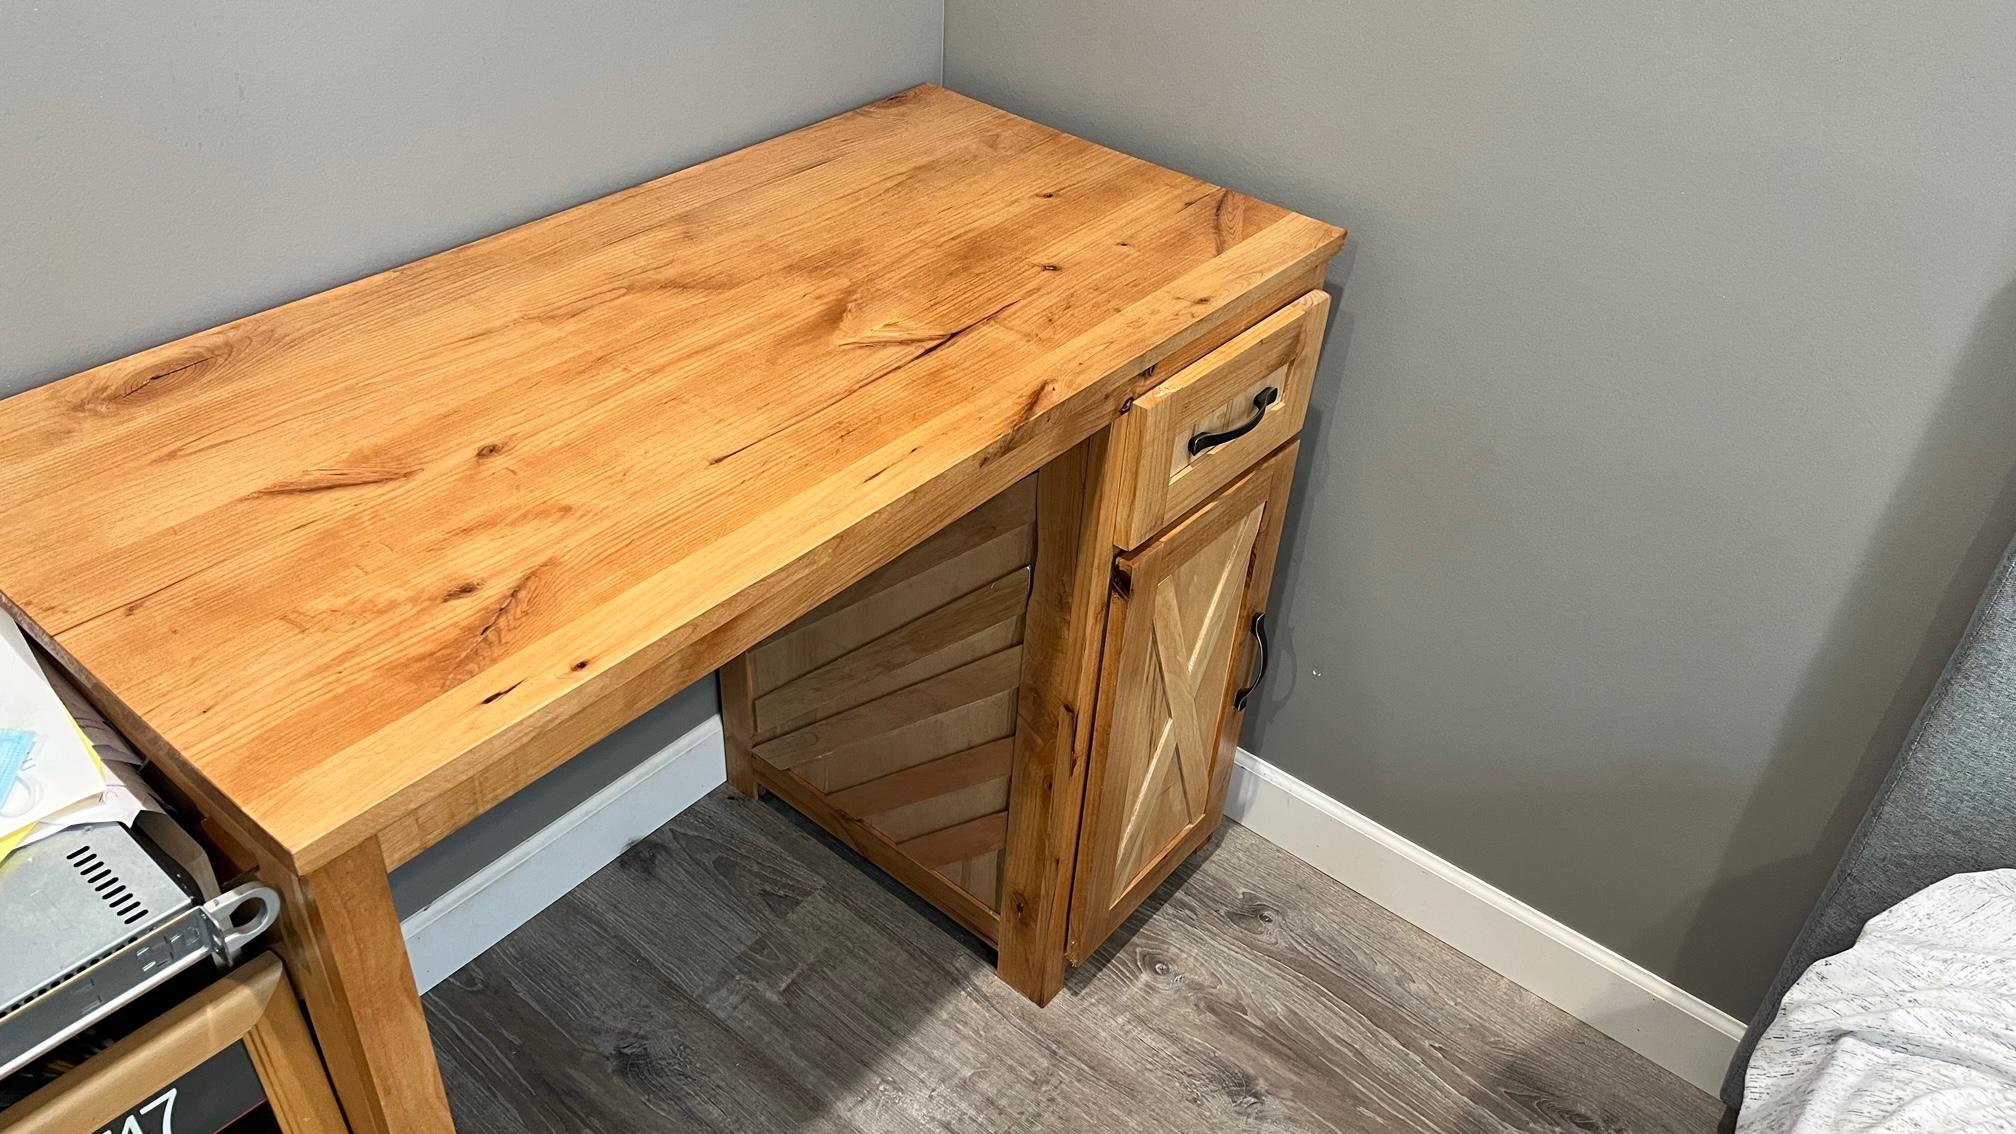
You can create the desk in real life and use the model you created as a reference! I wont go into the steps here, however if you follow the previous steps and use the same dimensions it should be fairly easy.