Design Your Personal Logo With Tinkercad
by Digijeunes in Design > 3D Design
8137 Views, 9 Favorites, 0 Comments
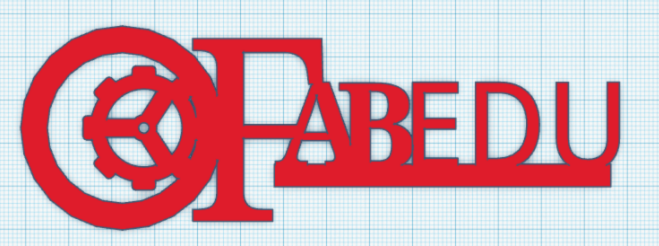
Design Your Personal Logo With Tinkercad

In this tutorial you will learn how to design personalized logos on Tinkercad. These items can then be lasercut or 3D printed.
Objectives
- Designing a logo that can be used to customize other projects, (e.g. the lasercut spyrograph or the stamp).
- Learn to design compound shapes
- Learn the difference between 2D and 3D design
- Learn the basics of designing for 3D printing
- Learn the basics of designing for laser cutting
- Master the basics of Tinkercad (a simple on-line software for 3D modeling)
Background knowledge and competences
The basic Tinkercad tutorials:
Getting Started
Open a new document in tinkercad
Select view TOP
Switch to Ortographic view Always use Shift plus Right-click to move the workplane. Use the Mouse-wheel to zoom-in zoom-out.
This tutorial aims to give suggestion on how to combine shapes, in order to create a logo using the tools that Tinkercad provides. Not technical drawing skill is required.
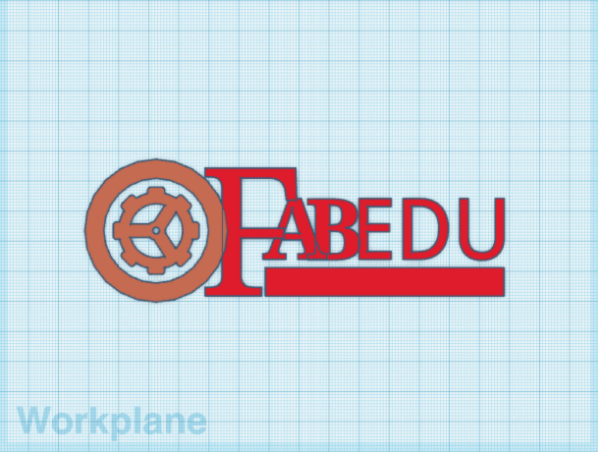
Designing the F
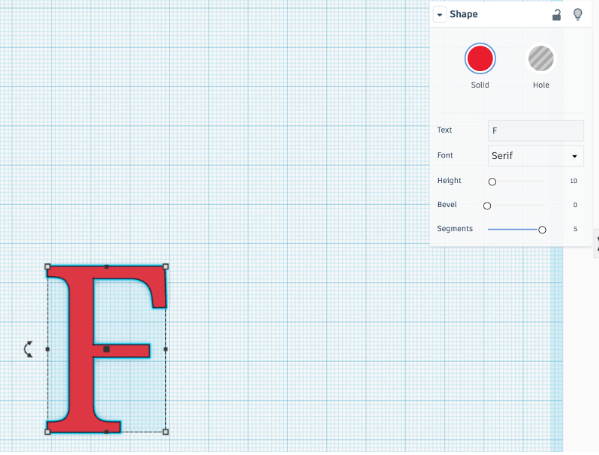
- In tinkercad choose the TEXT shape and type a F.
- Choose size 10 and the font Serif.
- Choose the maximum number of segments, in order to have a well defined shape.
Select the F and using the handles resize it, in order to make it larger. (Approximate height 45)
Designing a and B
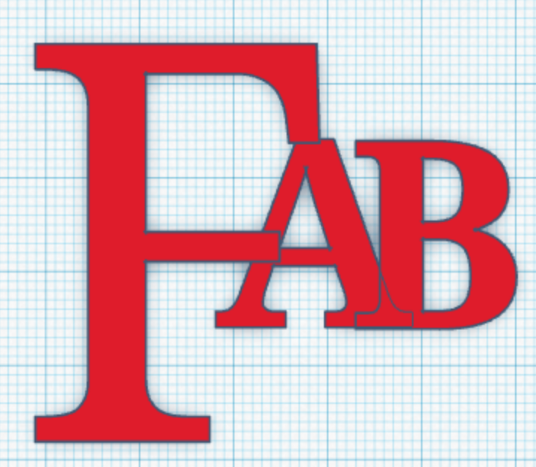
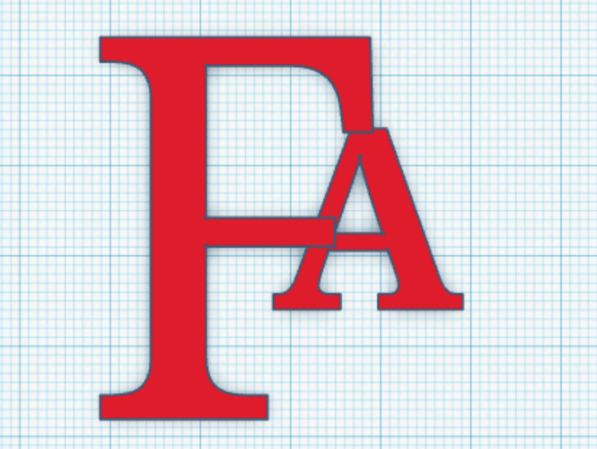
- Type A in the text tool
- Choose size 10 and Multilanguage font.
- Set the number of segments to 5
Move the A in order to overlap the F.
Repeat the same steps for B
Designing E D U
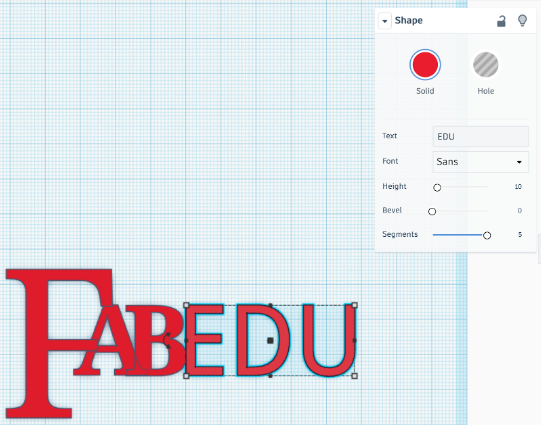
- Type A in the text tool
- Choose size 10 and Sans font.
- Set the number of segments to 5
Move the object next to A B.
Designing the Ring
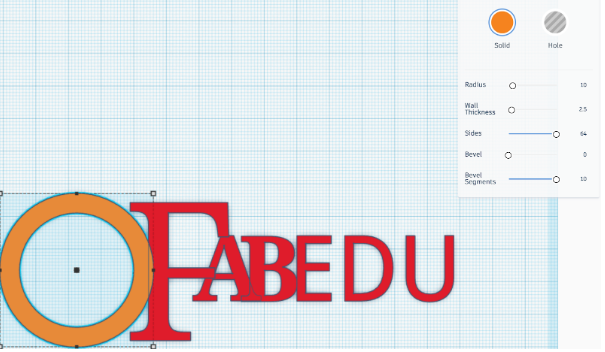
- Design a tube shape.
- Set to max the number of sides and bevel segments
- Set the ring next to the F
Importing a Graphic Element
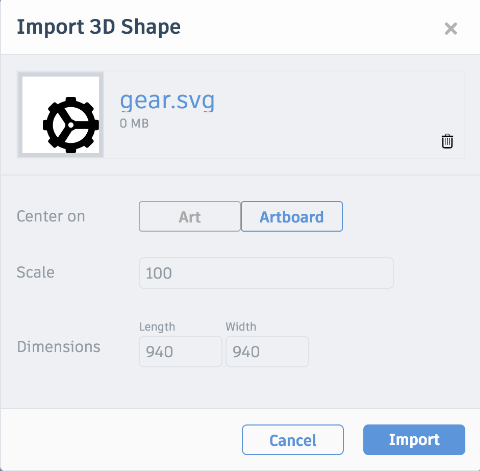
With tinkercad you can import not only 3D models, but also 2D .svg files.
You can import a logo or a graphic element from a .svg file.
There are a several libraries online where to find free or open source svg designs, for example:
https://thenounproject.com/
www.freepik.com limiting the search to “icons”
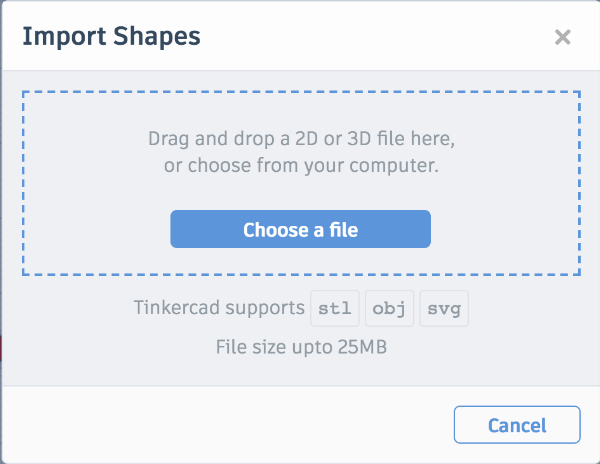
- Import an .svg file from your computer or device
- Leave the default options
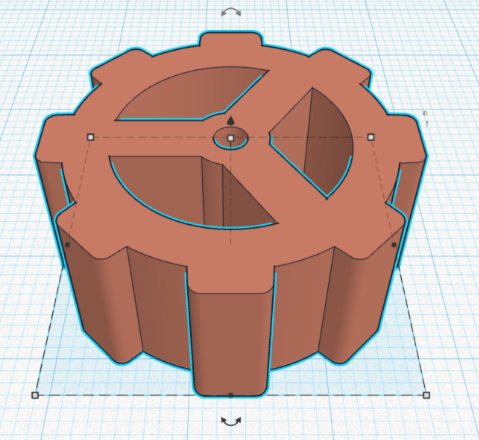
Once the item is on the artboard you can scale its size and give the desired height.
Move the graphic element (the gear) in the center of the circle.
- Select the graphic element and the circle
- Using the align command align the two object in the vertical center and horizontal center
Designing a Line
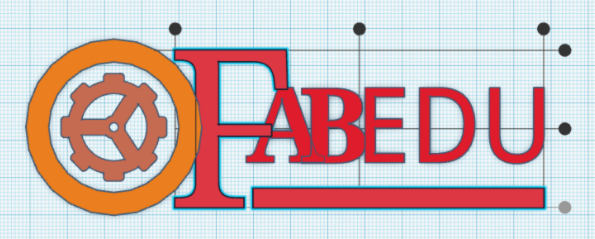
Design a thin, long box that has a length that goes from A to U.
Select the F and the line and align them to the bottom of the selection
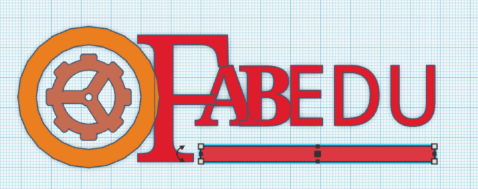
Levelling Your Design

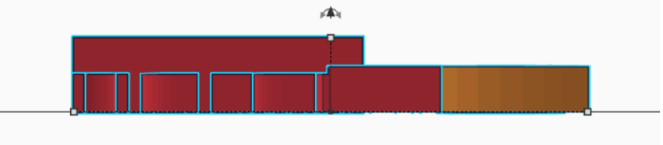
- Select the BACK view and be sure that all of the items have the same height
- Use the handles to change the height of the elements
- Select all the items and group them using the group command.
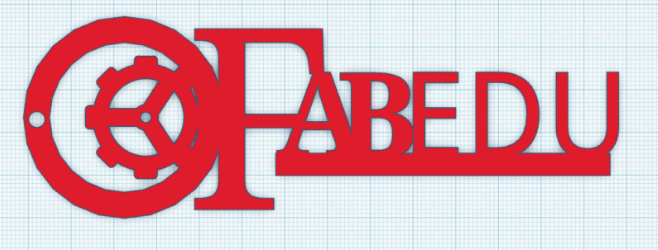
Now your design is ready, you can set its size and thickness according to the use you want to make of it.
Tip: if you want to design a logo to be lasercut, the advice is to keep it simple. And also don’t forget to put all of the items together if you want to create a standalone object.
For example, you can easily create a keychain with your logo (this is actually good to be lasercut or 3D printed!).
Note: It is possible to cut your personal logo on paper or similar material, via a vinyl cutter machine. To do so, just download the .svg file from Tinkercad.