Design Challenge: Game for Visually Impaired and Blind
by 7skyies in Teachers > 3D Design
1217 Views, 1 Favorites, 0 Comments
Design Challenge: Game for Visually Impaired and Blind


Staying at home due to these lockdowns is very difficult, especially for kids with special needs, visually impaired, and blind kids. With schools and parks shut down, these kids find themselves alone and bored. Last weekend I stumbled upon a documentary on Louis Braille and was deeply moved to see how difficult life is for them.
On weekends I usually engage my kids with some fun learning activities and design challenges. I decided to give them this Design Challenge to Develop or Adapt a Game for Visually Impaired using Tinkercad.
Total Time: 1 hour
Grade: 4th and above
Skills: Basic Tinkercad
Supplies
1) Handkerchief or scarf for blindfolding.
2) Notebook and pen/pencil
3) Computer or Laptop
4) Internet connection
Empathize, Define and Ideate

.jpg)
.jpg)
This is the first and important step in the design thinking process, through empathy, we are able to put ourselves in other people's shoes and connect with how they might be feeling about their problem, circumstance, or situation
Activity:
Time: 10 min
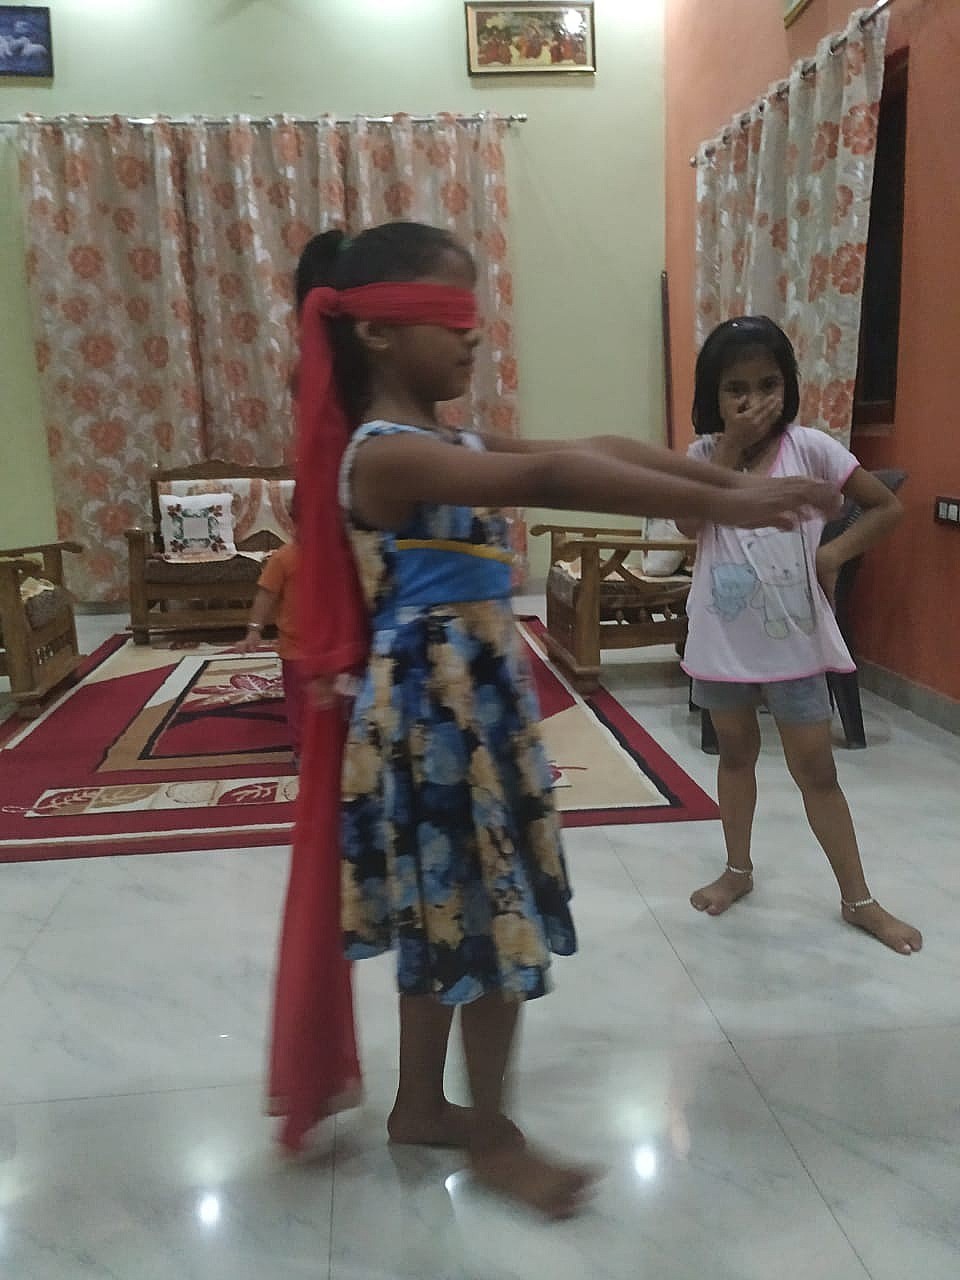
Blindfold the child and ask him to perform these activities:
1) Write his name or draw something on paper
2) Fetch water from the kitchen.
3) Try playing a card game.
The next step is to Define the above feelings and identify the main problem to be solved. Ask the kids about his feelings and difficulties he faced while performing the activity. Time: 10 min
Now you can as the kid to go through his stacks of toys and look if he can either modify/adapt any of his games to the needs of the visually impaired persons or develop a for them. Time: 15 min
Discuss and help the kid to Ideate and develop his idea through brainstorming, Sketchnotes, and Inquiry.
Time: 10 min
Braille Memory Matching Game


The idea is to adapt this traditional card game in which all of the cards are laid face down on a surface and two cards are flipped face up over each turn. The object of the game is to turn over pairs of matching cards.
This game would be best for the young Braille learners who had recently started learning braille and are familiarizing themselves with the braille alphabets.
THE RULES:
1) Mix up the blocks.
2) Lay them in rows, face down.
3) Turn over any two blocks. If the two blocks match, keep them.
4) If they don't match, turn them back over.
5) Remember what was on each block and where it was.
6) Watch and remember during the other player's turn.
7) The game is over when all the blocks have been matched.
8) The player with the most matches wins.
This game can be played fro easy 3x3 to much harder 12x12 or above, format. For any of this format, we will need to identical Braille alphabet blocks.
We will make 2 identical Braille blocks corresponding to alphabet letter P. Refer to the Braille alphabet chart above ab notice how letter P is written.
Signing in and Setting Up the Workspace


- Sign in to your Tinkercad account.
- Select 3D designs on the left side of your screen and then select Create New Design.
- Now, click on the Edit Grid button on the bottom right of your screen.
- This will open a dialogue box. Select Inchies as a unit from the drop-down menu. Then click on the Upgrade Grid button.
Braille Alphabet Block on Tinkercad: Making Base


I have used Heart shape for making the base of the Braille block. For This:
- Click and hold the left mouse button and drag the ruler to the workspace.
- Now, look for the Heart shape in the Basic shapes menu at the right of your screen and drag it to the workspace. Try to bring it as close to the origin of the ruler. (meeting point of the X-Y axis.
- Notice the dimensions of the Heart. Change it to the following dimensions:
Length: 2.250 inches
Breadth: 2.750 inches
Height: 0.500 inches
Braille Alphabet Block on Tinkercad: Making Letter Pattern


For making Letter P, we have to make 2 dots horizontally and 3 dots vertically. To give tactile feedback we will extrude these dots over the heart base. For this:
- Look for the hemisphere under the Basic Shapes menu at the right of your screen. Click n hold the left mouse button and drag Hemisphere shape to the workspace.
- Change its dimensions(refer to 2nd pic above) so that the hemisphere lands over the Heart Base.
- Now click on this hemisphere and then click on "Duplicate and Repeat" icon or press "ctrl+D". Point your mouse over the selected hemisphere dot and by clicking and holding the left mouse button drag the hemisphere 1 inch left.
- Repeat this and make sure that the dots are equally spaced in columns.
Now press ctrl+A to select all the shapes(total 5). Press ctrl+D to duplicate the Braille block.
Getting Ready for Printing


To download the file for printing, click "Export". A dialogue box will open. Select the file format that suits your 3D printer(my case it is .STL), click it and the file will download automatically.
Similarly, you can design and print different Braille letters and have An engaging game that will not only help them learn Braille in a fun way but also helps improve their improve concentration, memory, and attention to detail.