Design Cardboard Lights for Free With Fusion 360
by Angela11345 in Workshop > Lighting
2912 Views, 24 Favorites, 0 Comments
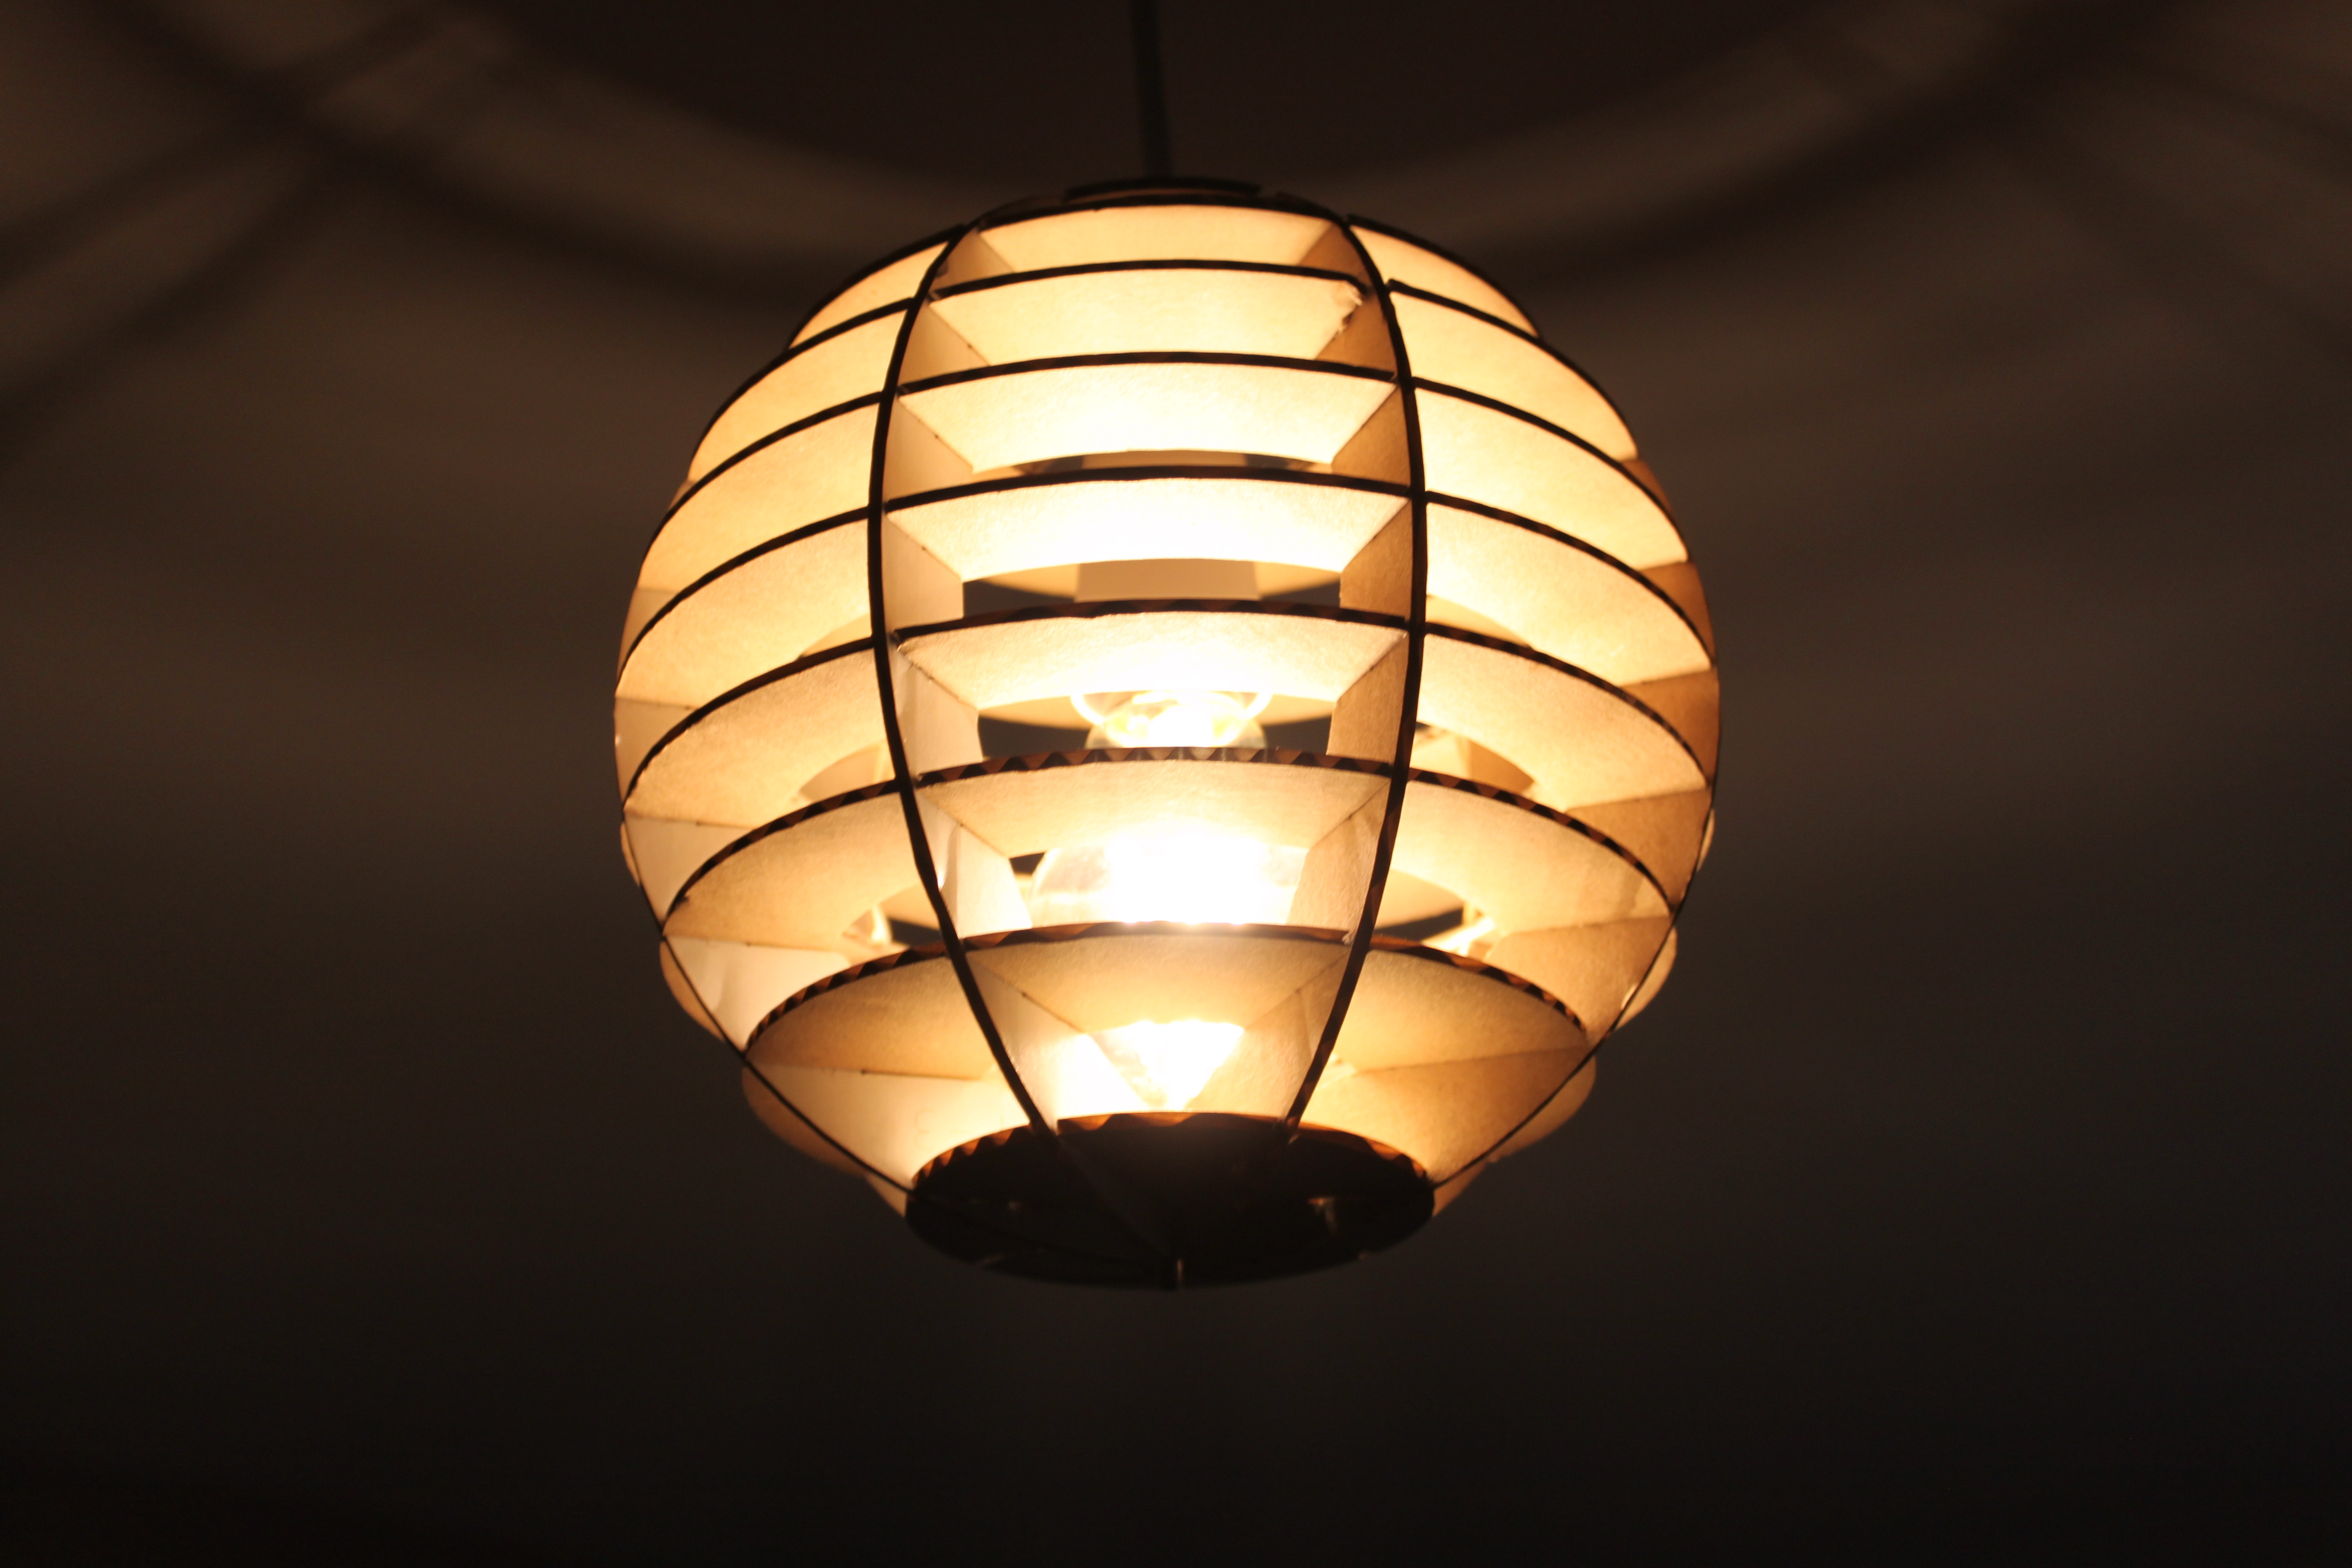
Design Cardboard Lights for Free With Fusion 360
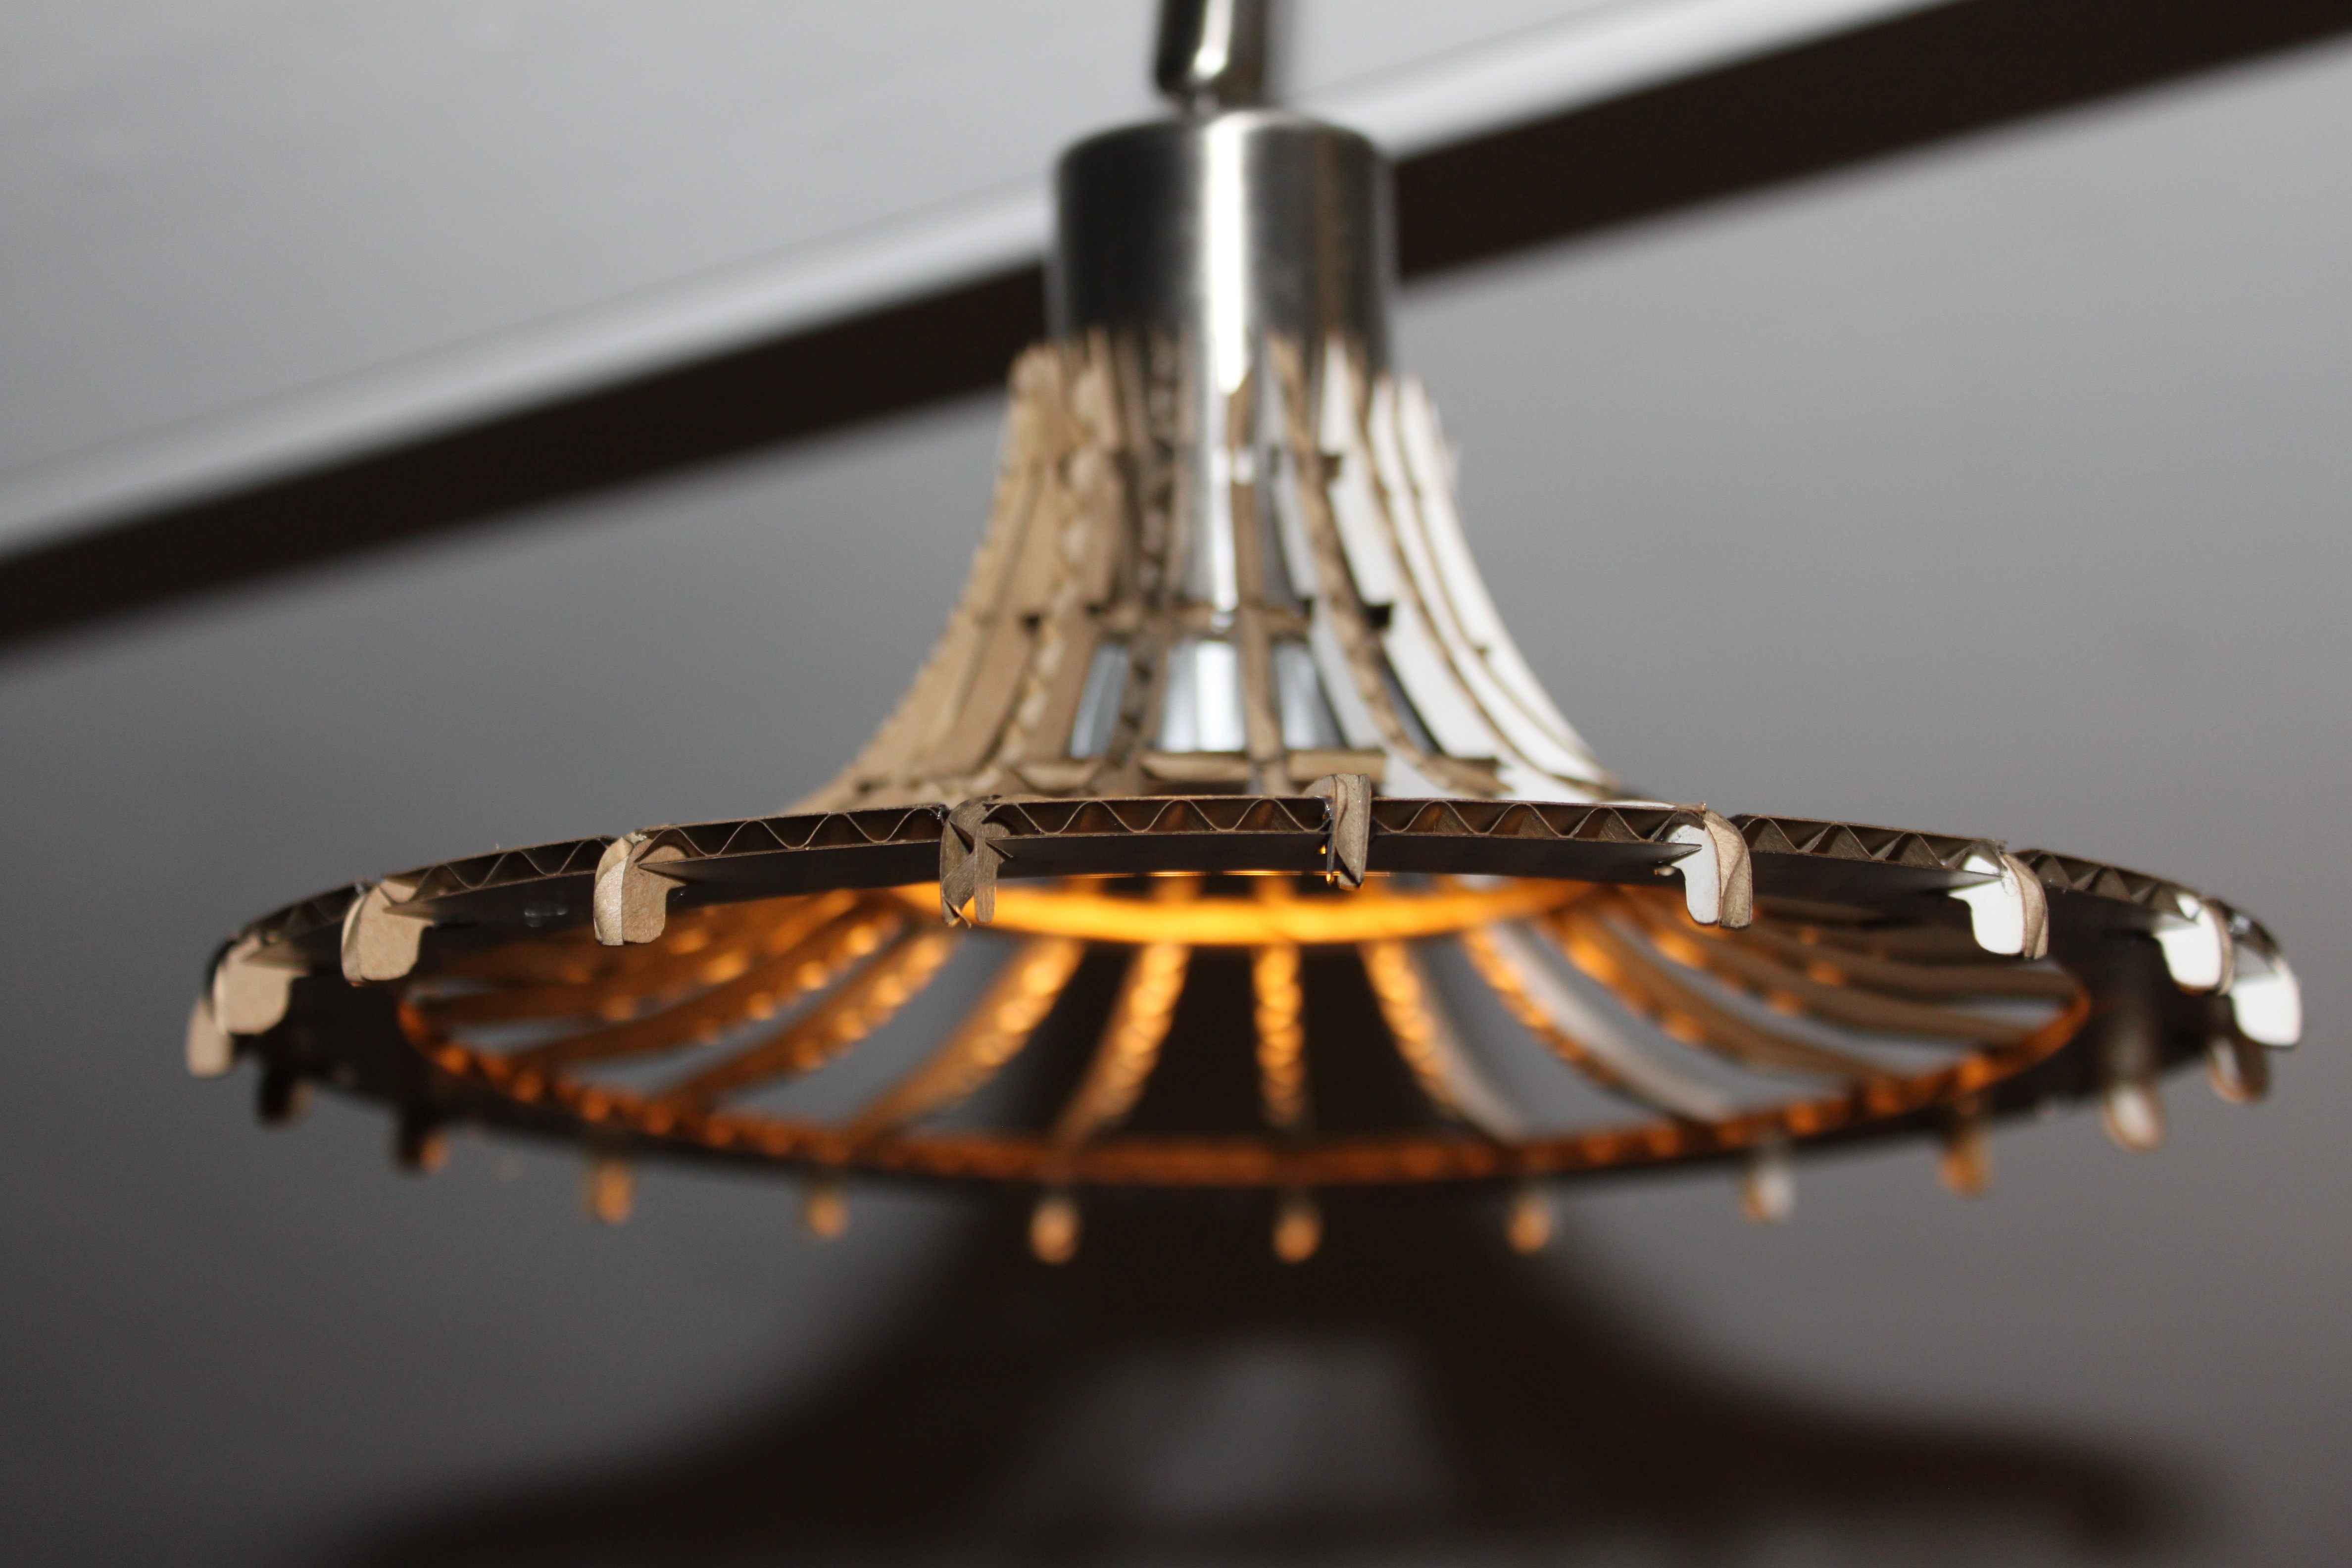
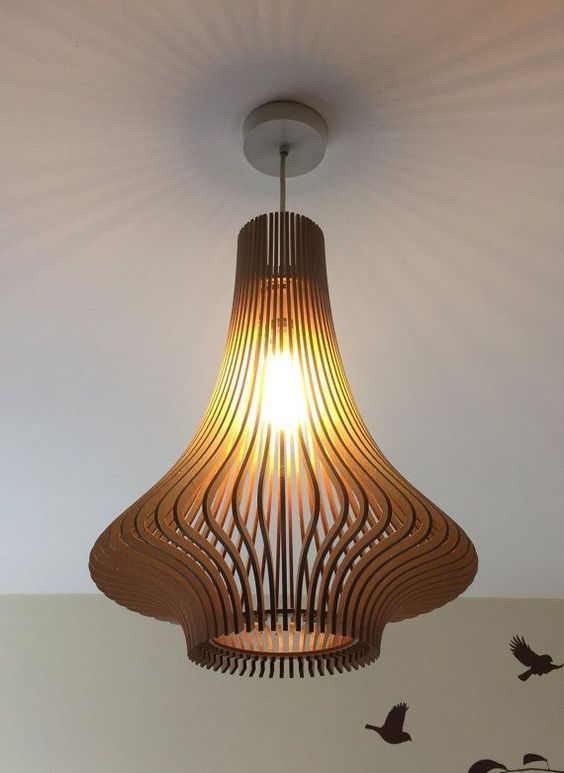
Cardboard is an amazing yet underused material. It's recyclable, renewable, inexpensive and in my opinion beautiful when used to its strengths. This entire project utilises autodesk software that is FREE to hobbyists and students! You will require very little cad experience although the more experienced can take this to the next level. This kind of Eco-friendly, cheap, and elegant design is exactly what the world needs in the current climate crisis we are in. The best thing is that this entire project is FREE! (as long as you can find the cardboard.)
Supplies
All you will need:
- A large sheet of corrugated cardboard
- A fairly powerful laptop/ desktop
- Access to a standard printer (or laser cutter if you can but not necessary)
- A Craft knife (if you don't have a laser cutter
Fusion 360
To download fusion 360 for free click here. This is a brief overview, so if your struggling just search google/ YouTube for how to use the revolve tool and anything else you may be struggling with.
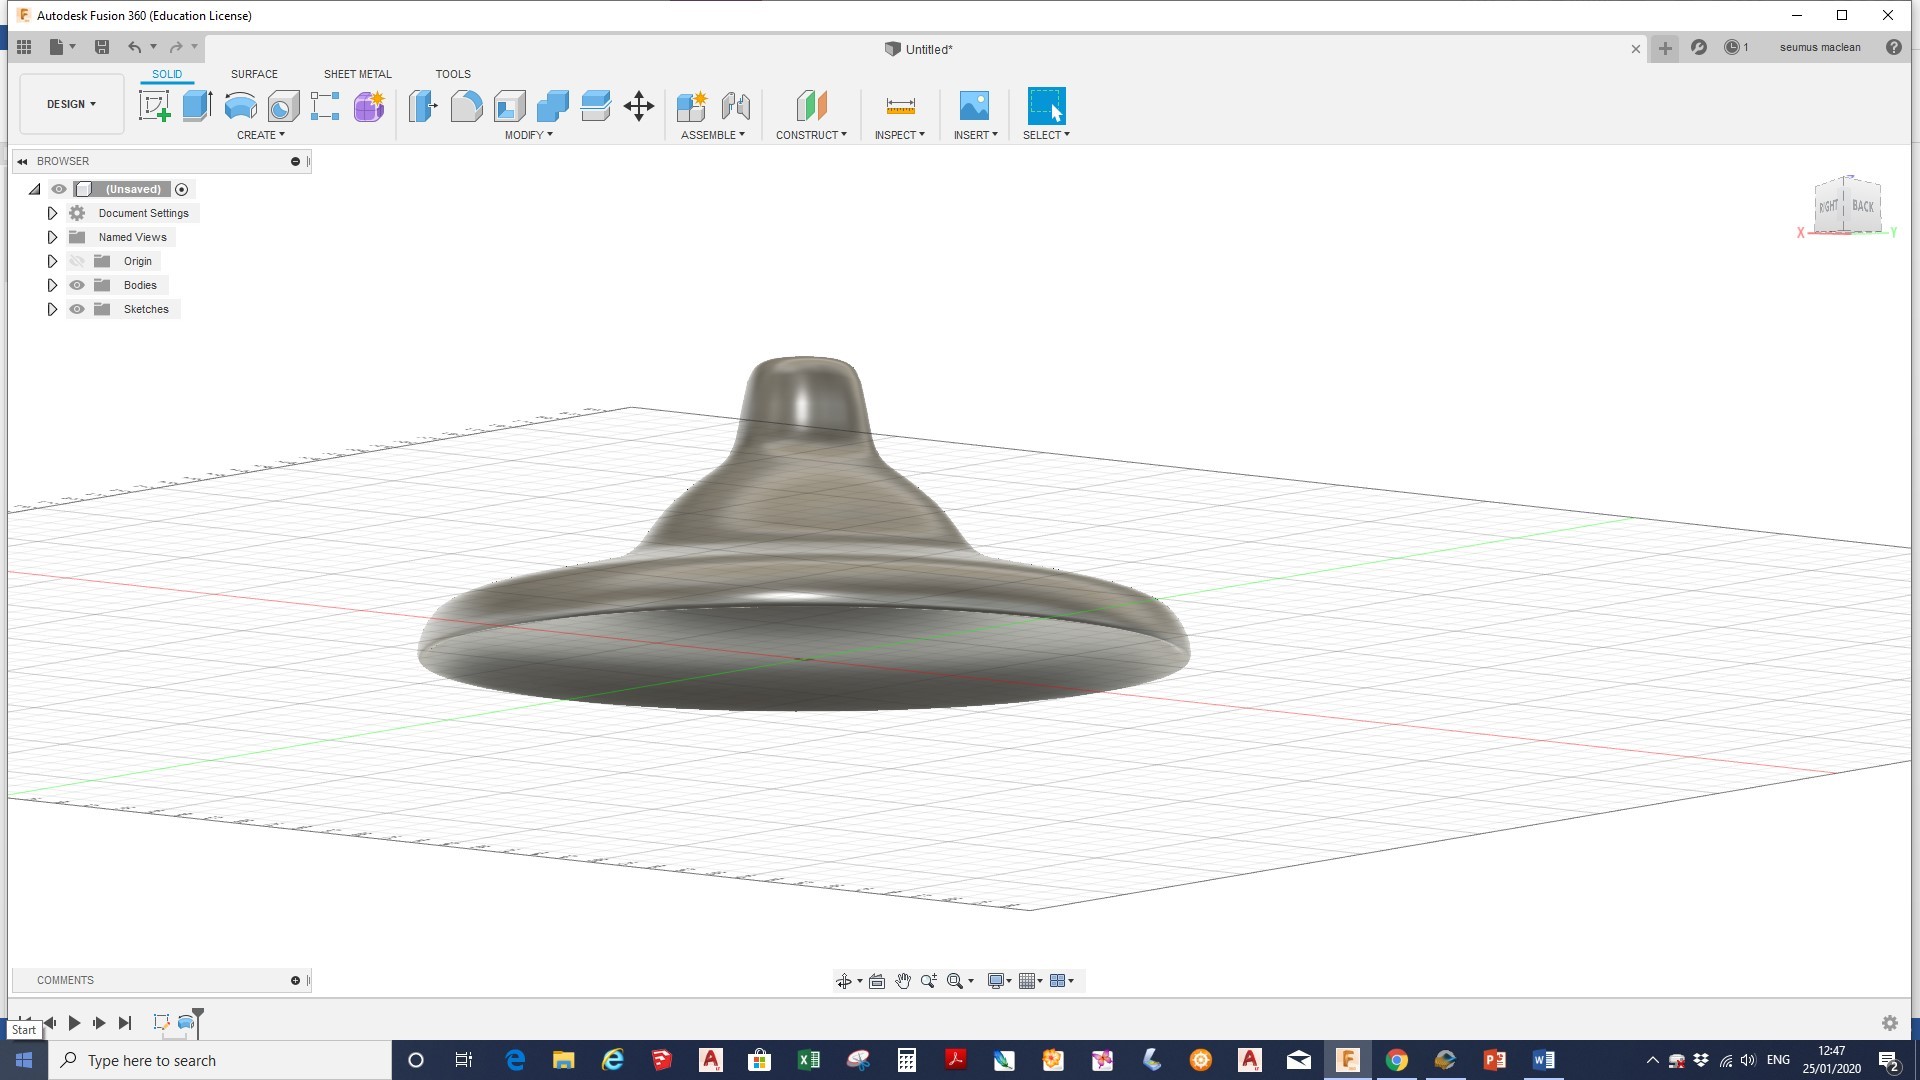
- Work out the basic dimensions you want your light to be.
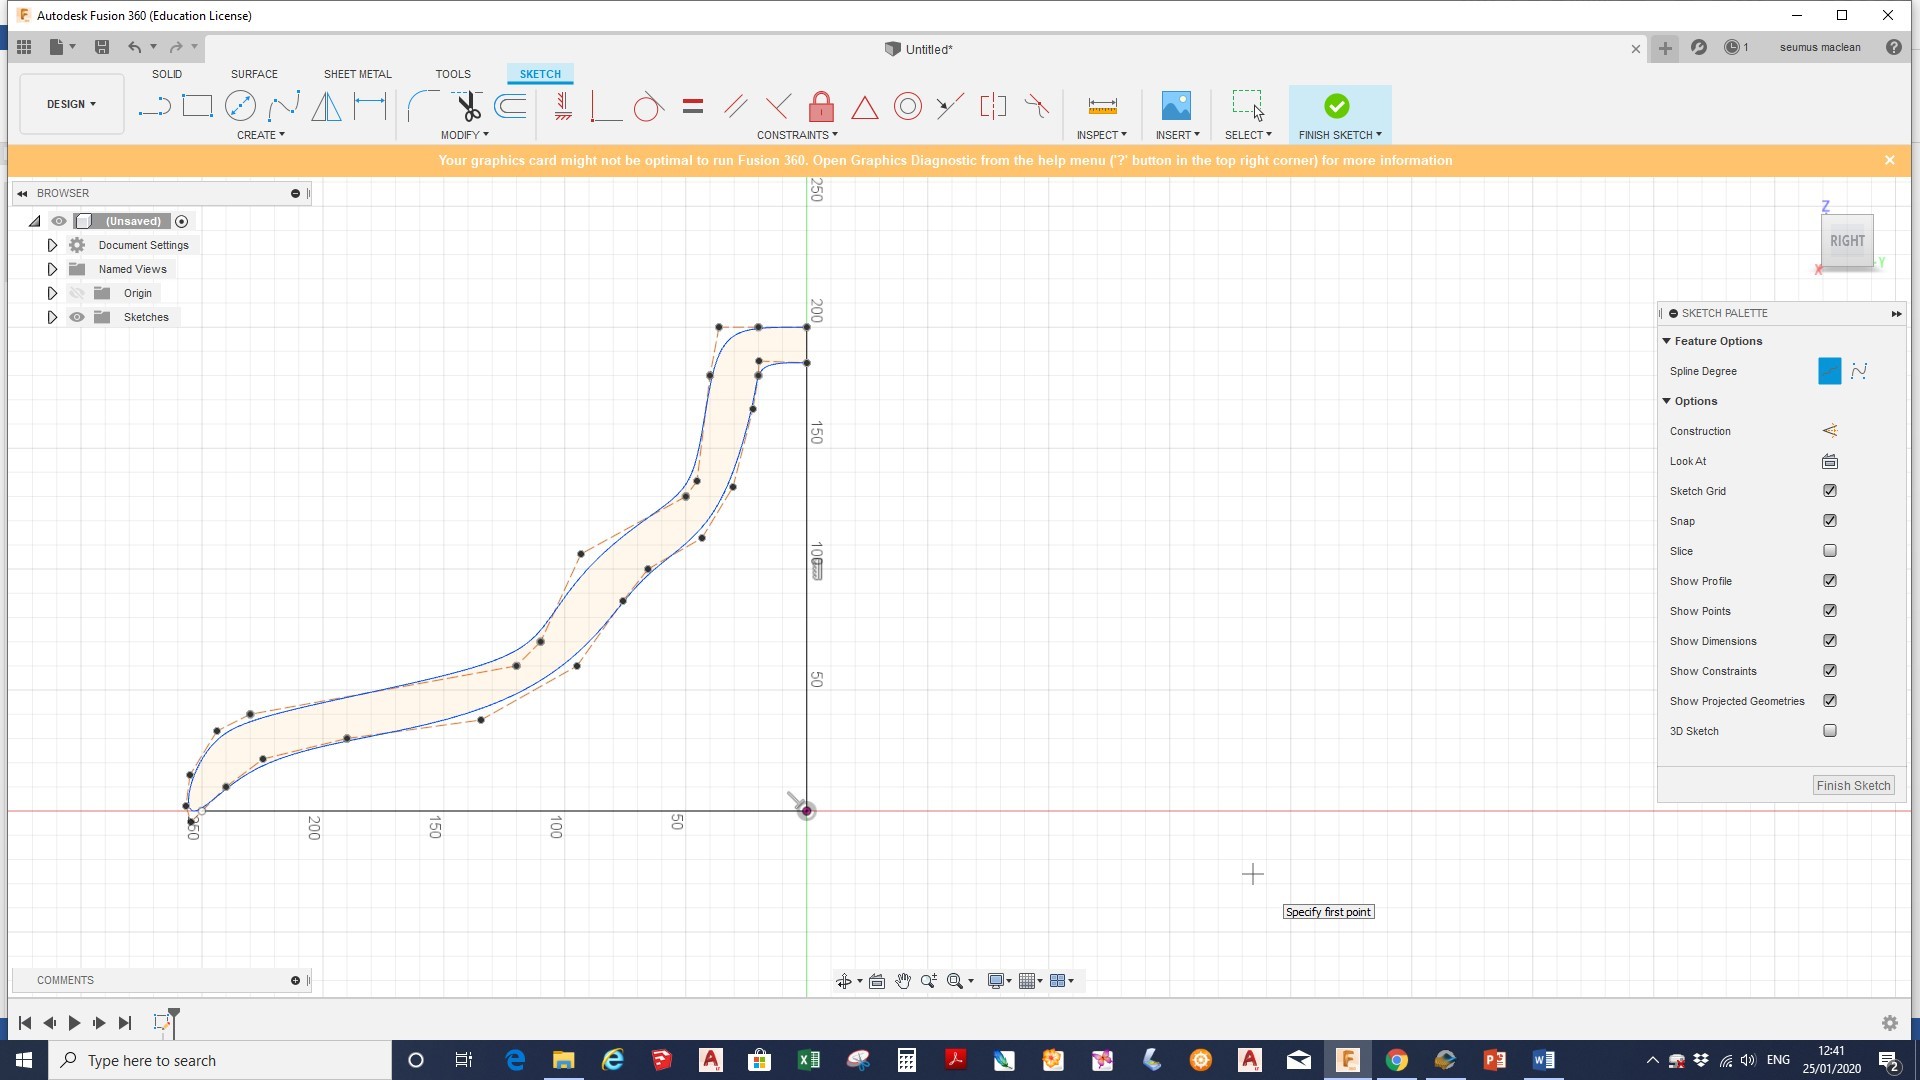
- Start a sketch
- Draw a vertical line the exact height you want your light to be (this is the revolve axis)
- Next use the spline tool to draw a cross sectional curve of what you would like the light to look like. (TIP: Remember to give the wall enough thickness.)
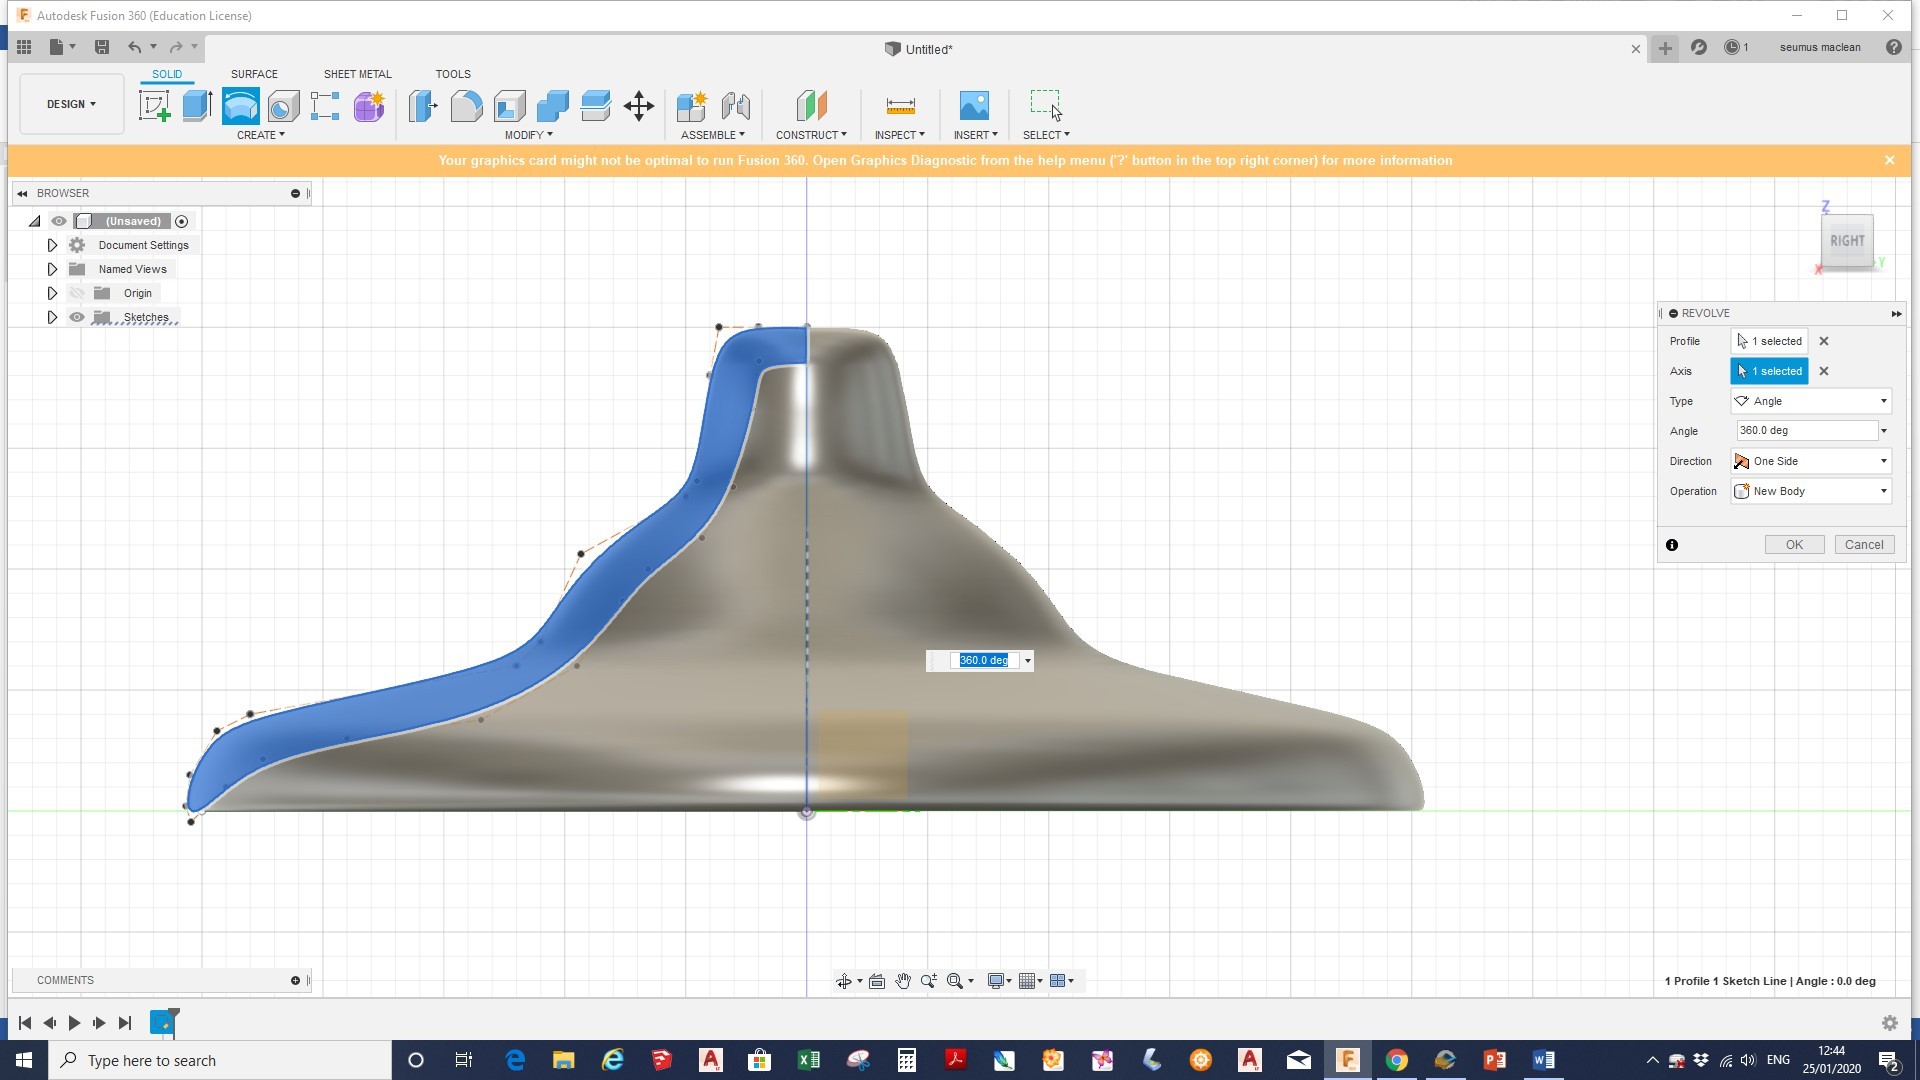
- Exit the sketch and select the revolve tool. Then revolve 360 degrees around the centre axis drawn in step 3.
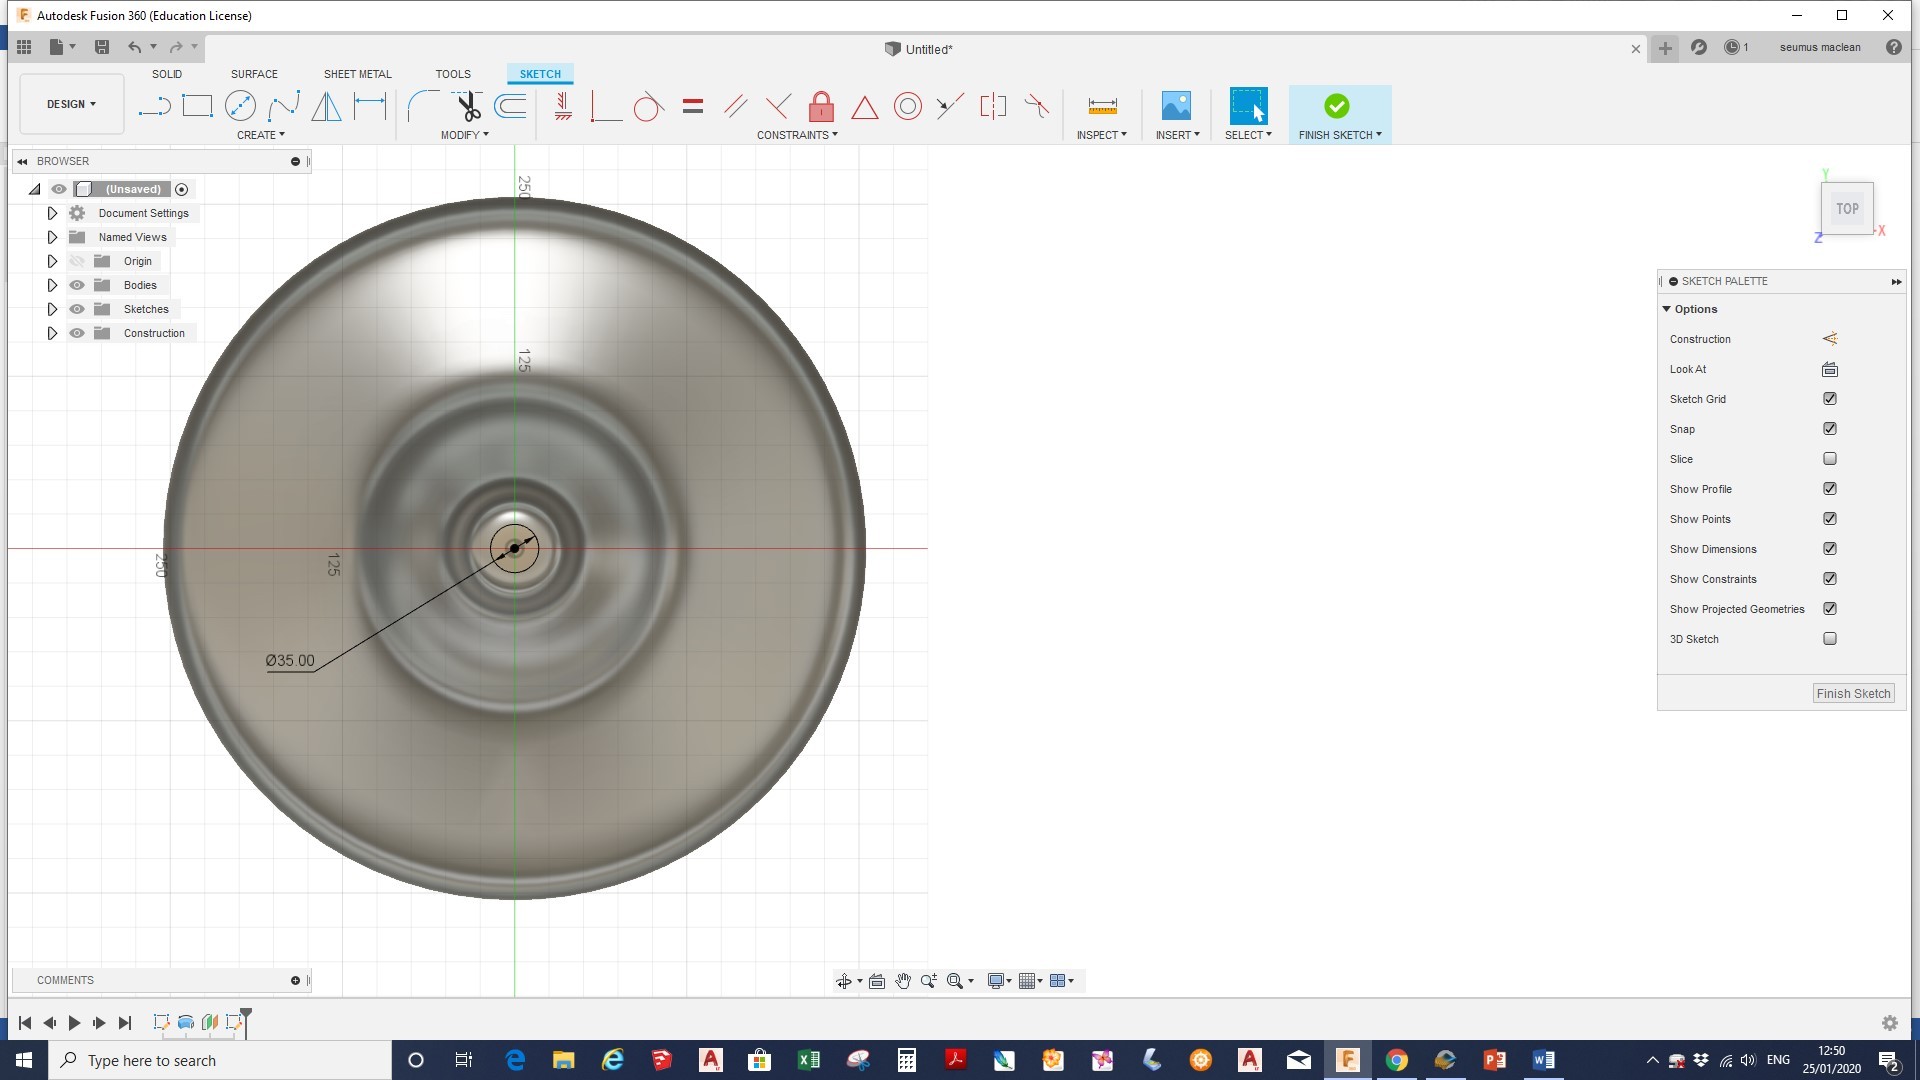
- Now create a work plane above the light and draw a circle with the same diameter as the wire on your chosen light fitting.
- Finally extrude cut the hole as shown above.
- Now just export the file as an .STL file type to your computer.
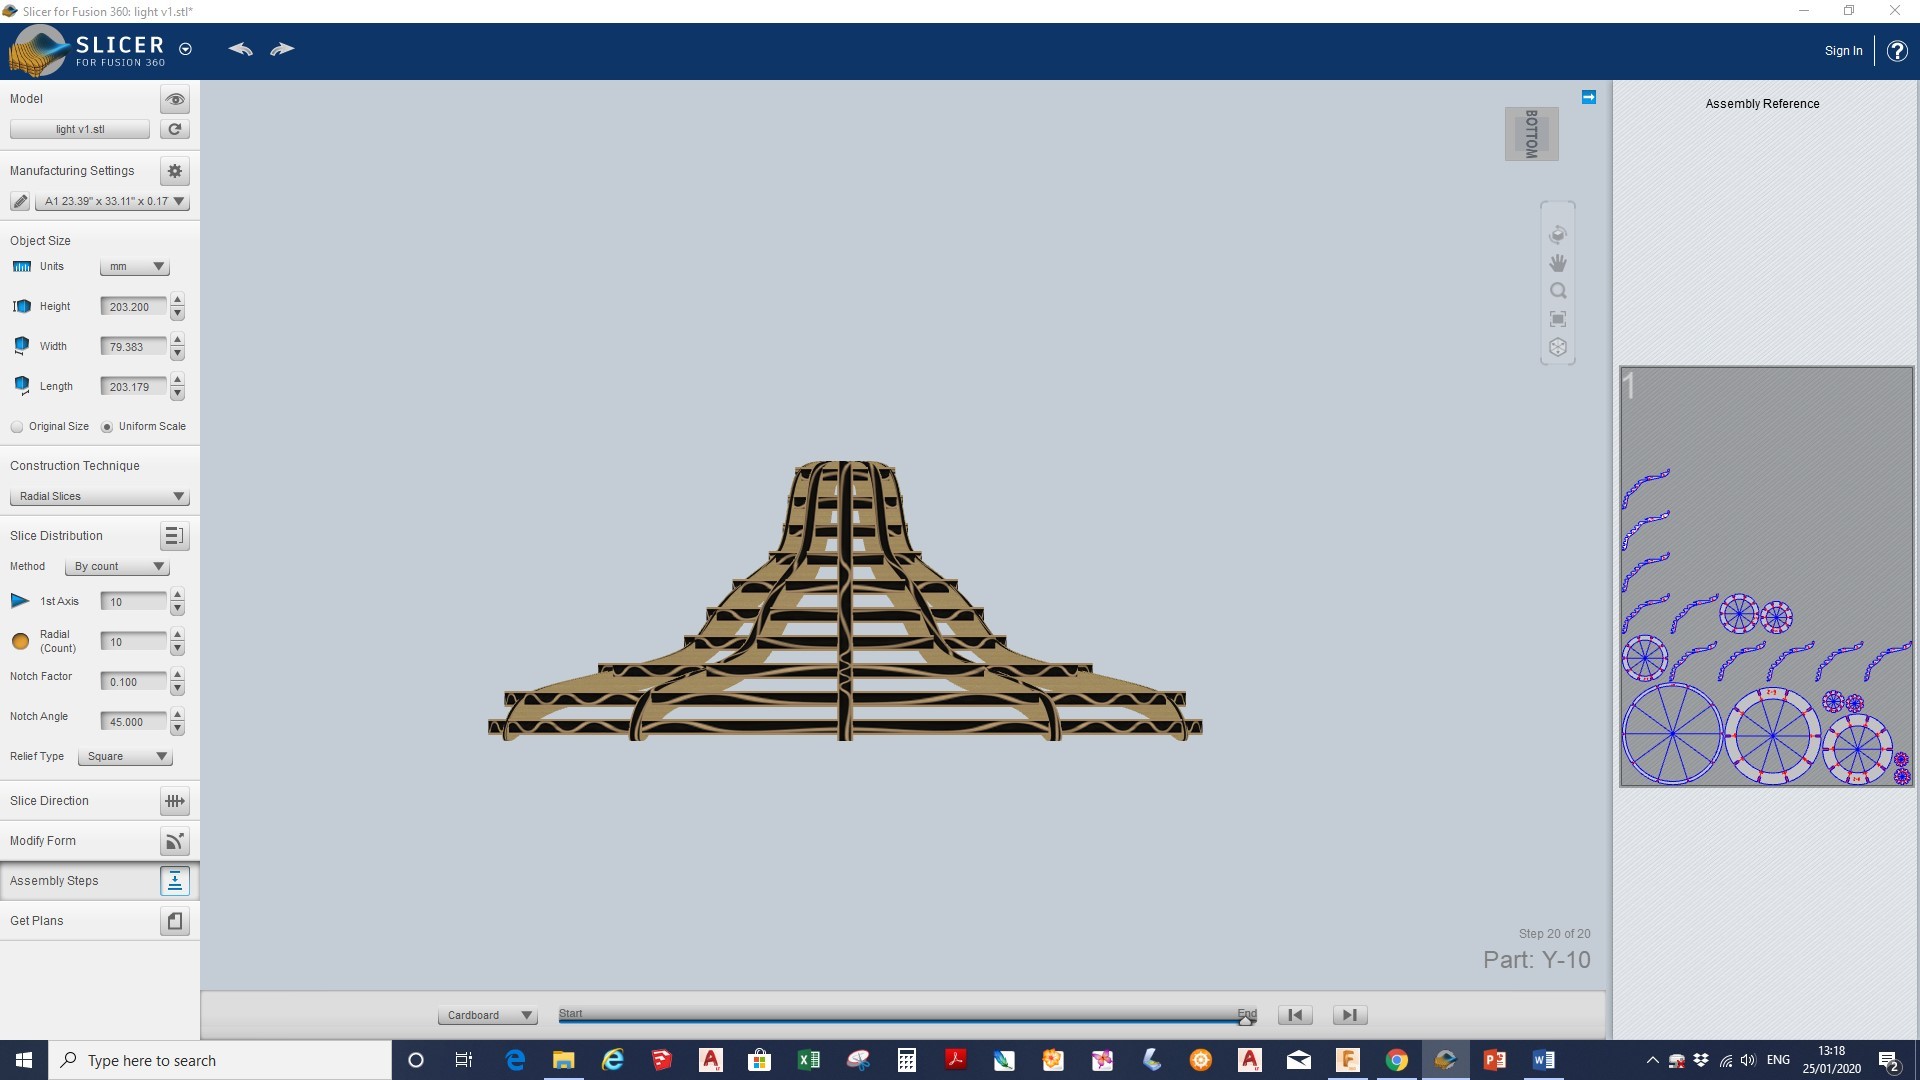
Slicing the Model With Slicer
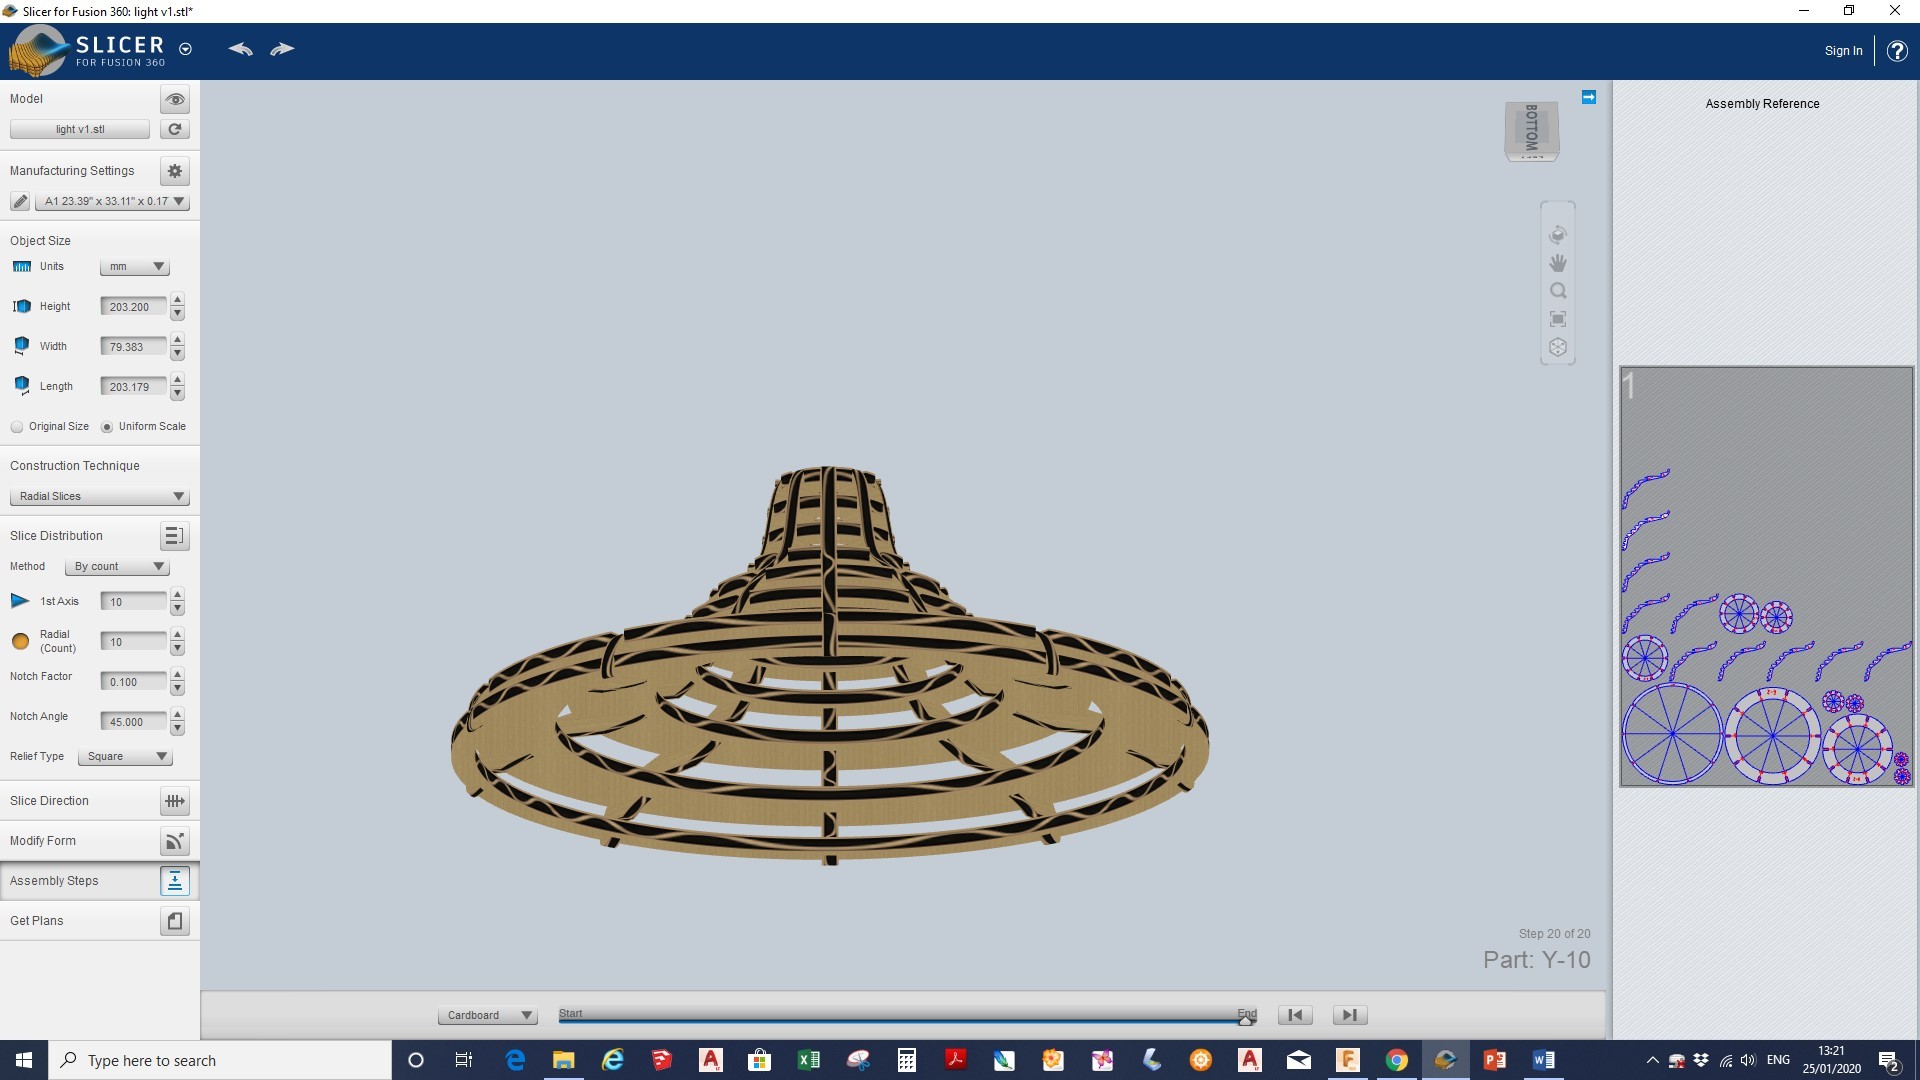
Now you need to download slicer for fusion 360 by clicking here.
- Once on slicer import the STL file.
- change the paper size to what you have available, (in paper if you don't have a laser cutter or cardboard if you do) and change the material thickness to the thickness of your cardboard.(this will change the size of the slots to fit.)
- Now you can experiment with: radial slices (my favourite), interlocking slices, slice direction etc until you are happy with the design.
- Now you are ready to *get plans* in the bottom left corner.
- If you have access to a laser cutter select EPS file. If not select jpg.
Cutting Out (with a Laser Cutter)
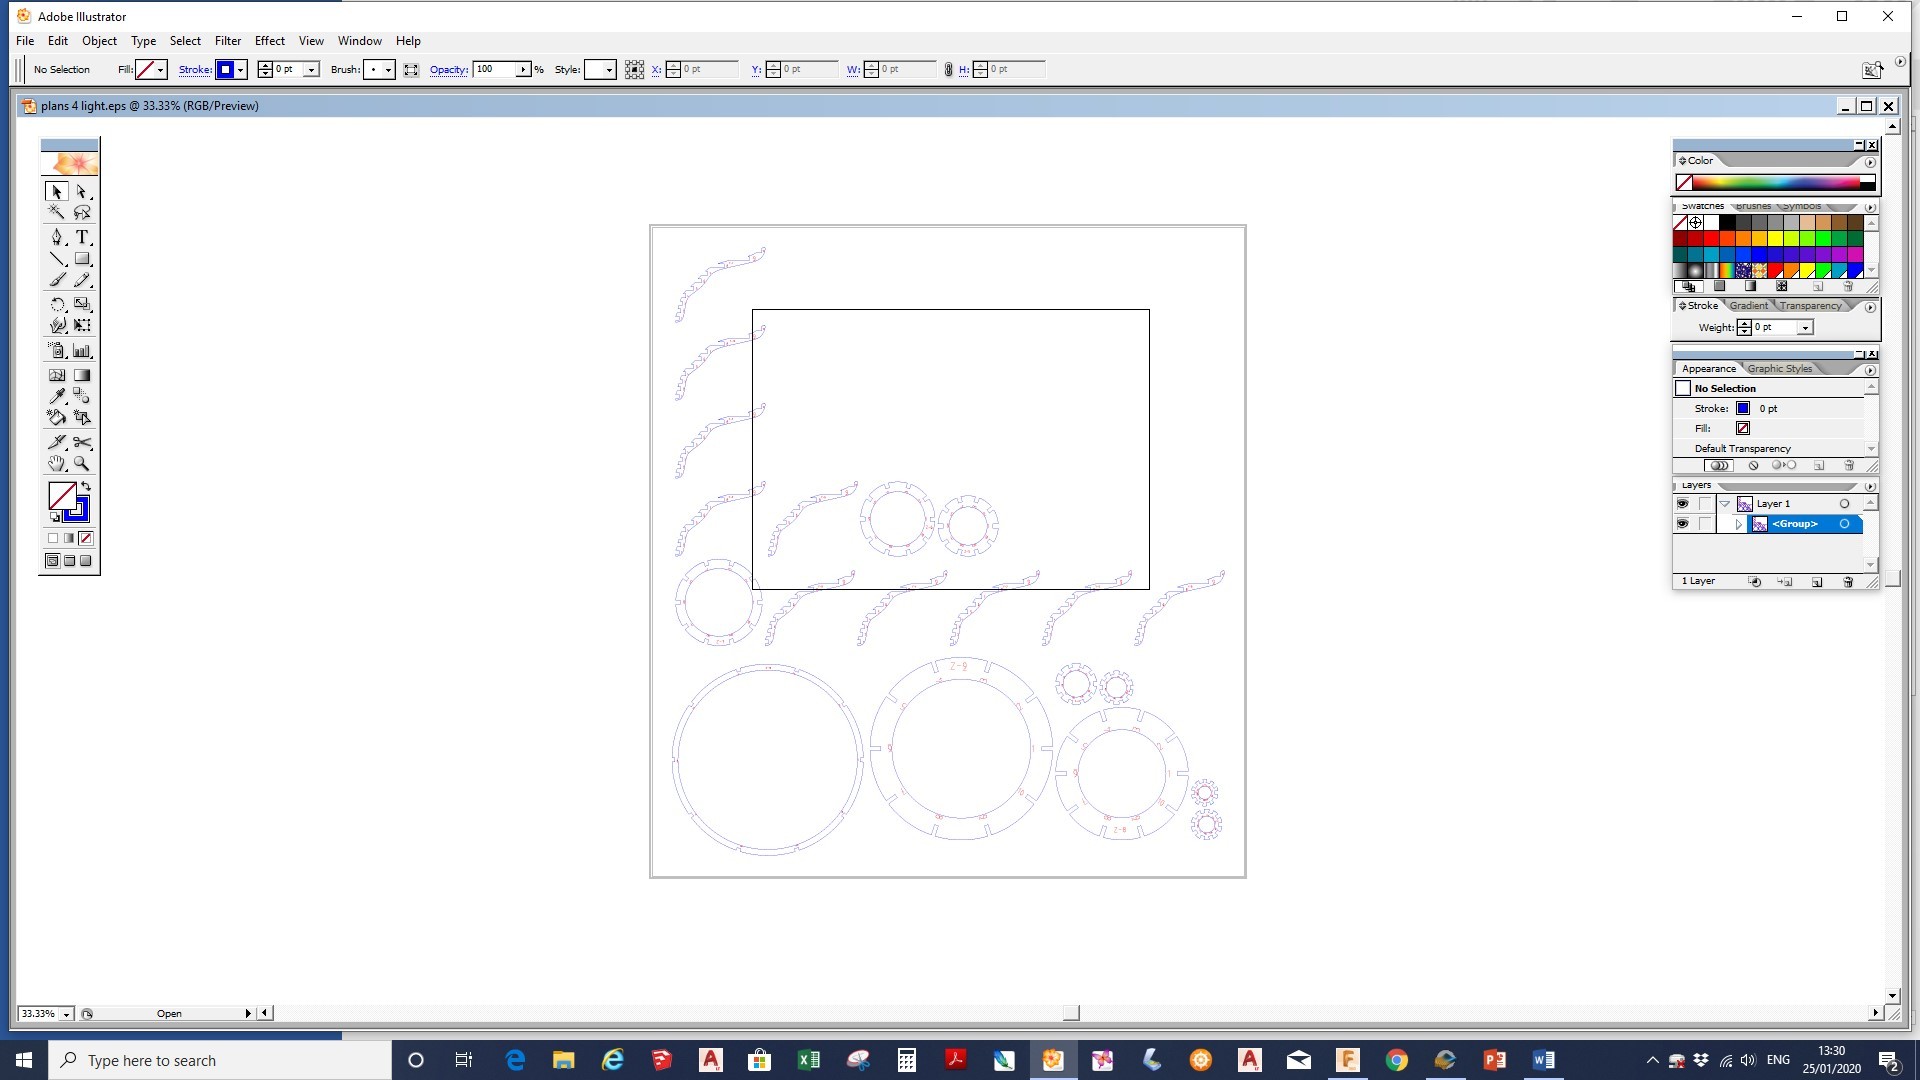
- Open the EPS file in an old and free version of adobe illustrator or a free trial. Or else your own preferred software.
- Change the colour of the lettering (or remove if you wish)
- Select the lettering to engrave and the perimeters to cut.
- Print on the cardboard.
- Now all you have to do is assemble the shade around your existing bulb. If you're struggling you can use the assembly view on slicer to help.
- And there you have it! one elegant, Eco-friendly lampshade that cost you absolutely nothing!
Cutting Out the Pieces (without Laser Cutter)
- Print of the jpg.
- Use the shapes as stencils on the cardboard.
- Cut out the cardboard pieces with a craft knife. Remember to transfer the code on the paper to the cardboard in pencil (these will help you in assembly.)
- Now all you have to do is assemble the shade around your existing bulb. If you're struggling you can use the assembly view on slicer to help.
- And there you have it! one elegant, Eco-friendly lampshade that cost you absolutely nothing!
Experiment

As with all design, the first prototype is never the last. Experiment with different shapes and forms as much as you want, and have fun!
If you liked this instructable please consider voting for me in the make it glow competition, so I can keep providing engineering and design projects like this. :)