Dementia Security System
by MichaelS1596 in Circuits > Raspberry Pi
281 Views, 1 Favorites, 0 Comments
Dementia Security System
I created a dementia security system for my mum...
The system included:
- Alert Pull Chords
- Fall Sensor
- Potential for Bed Pressure pad sensor
- Potential for PIR Motion sensors
The System had the following ways of alerting you to change in situation:
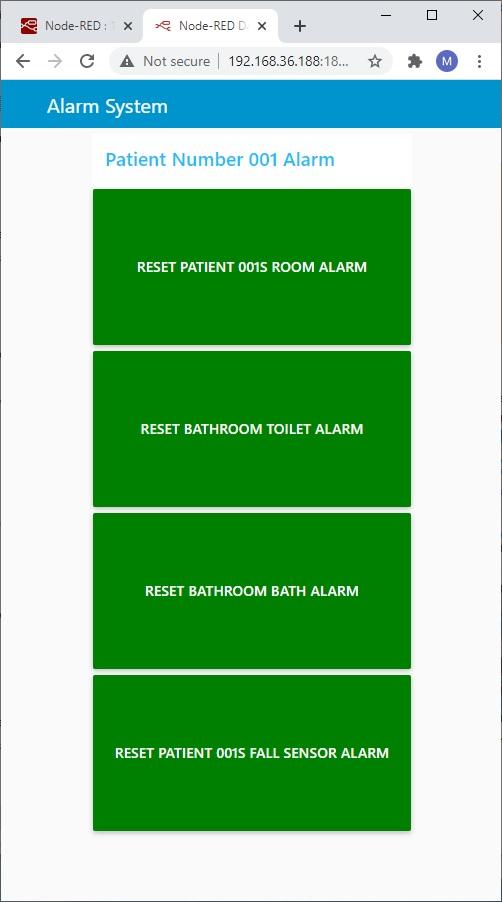
- Tablet mounted on a wall (buttons change colour to show status of various alarm triggers)
- SMS (text messages) relating where the issue has occurred.(Using node-red-contrib-nexmo)
- Phone Calls relating where the issue has occurred.(Using node-red-contrib-nexmo)
- Audible alarms possible.....
Supplies
sb components Raspberry Pi 4 Model B 2GB 2019 model ARM-Cortex-A72 4x 1,50GHz, WLAN-ac, Bluetooth 5, LAN, 4x USB, 2x Micro-HDMI Type C
https://www.amazon.co.uk/gp/product/B081J2N7NP/ref...
CPC Official Raspberry Pi 4 USB-C PSU, UK Black
https://www.amazon.co.uk/gp/product/B07VKF1CK8/ref...
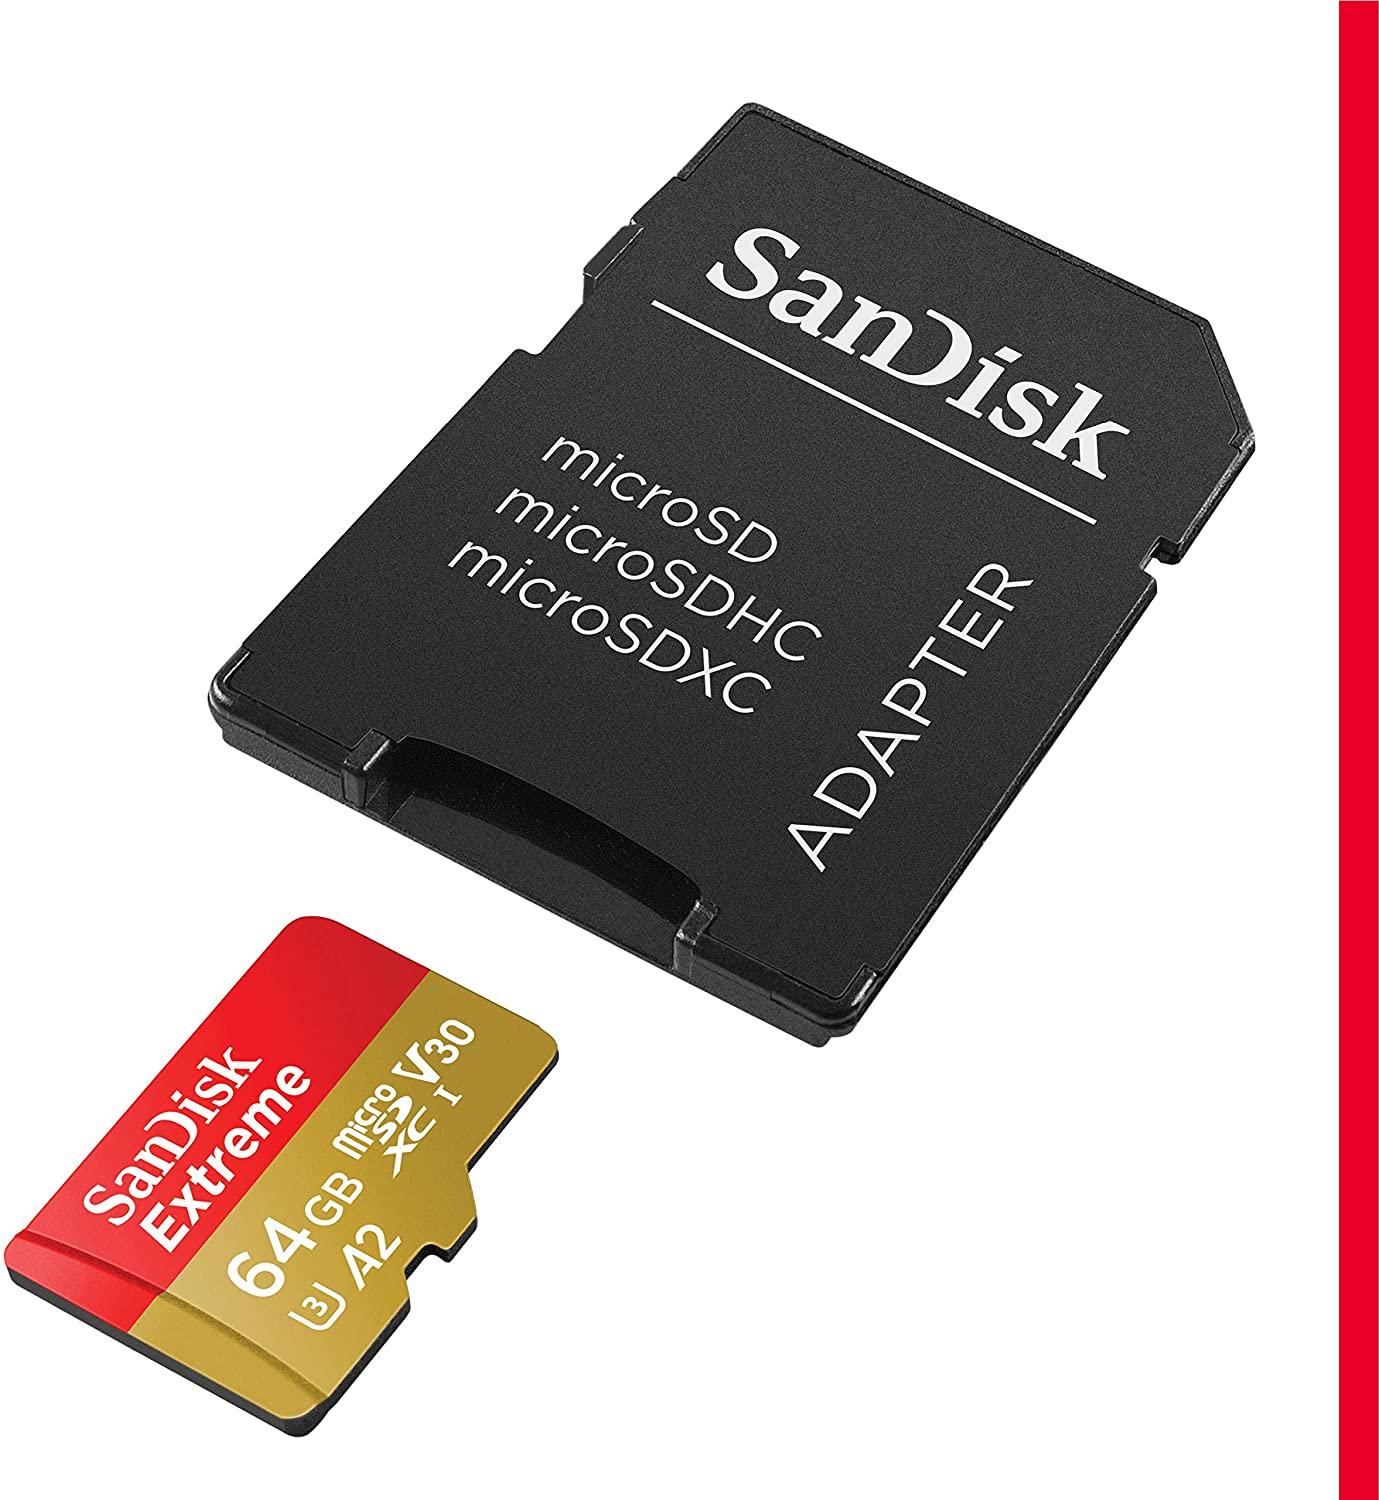
SanDisk Extreme 64 GB microSDXC Memory Card + SD Adapter with A2 App Performance + Rescue Pro Deluxe, Up to 160 MB/s, Class 10, UHS-I, U3, V30, Red/Gold
https://www.amazon.co.uk/gp/product/B07FCMBLV6/ref...
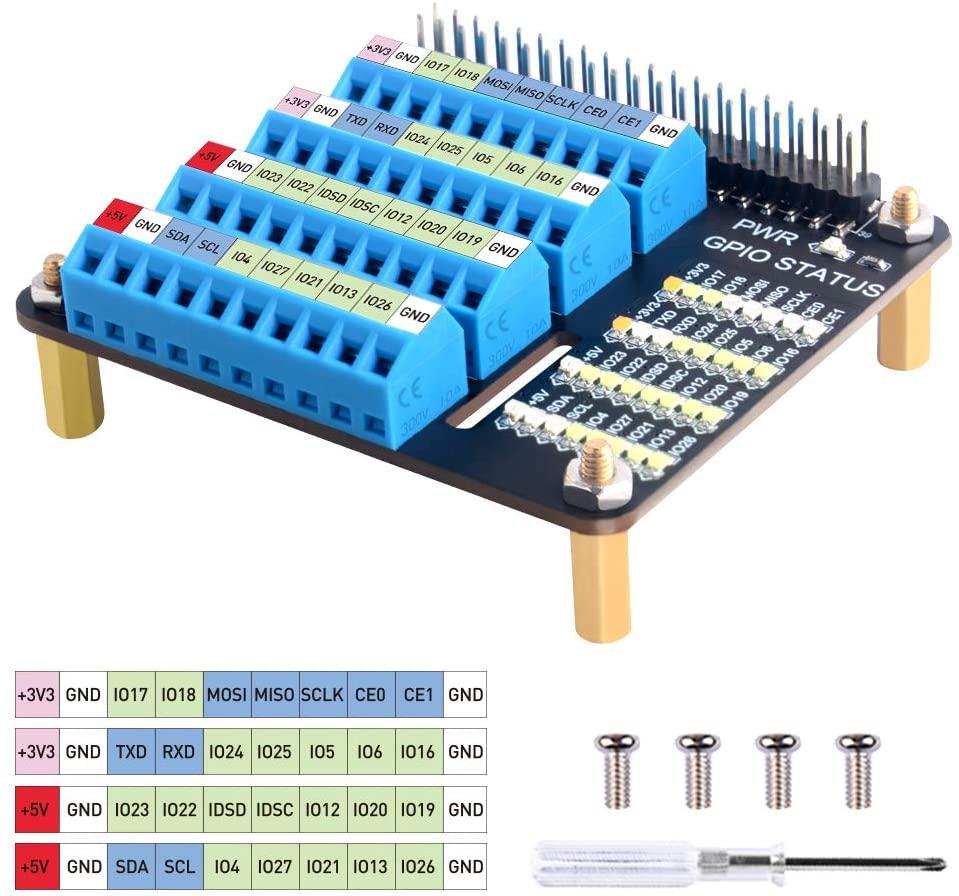
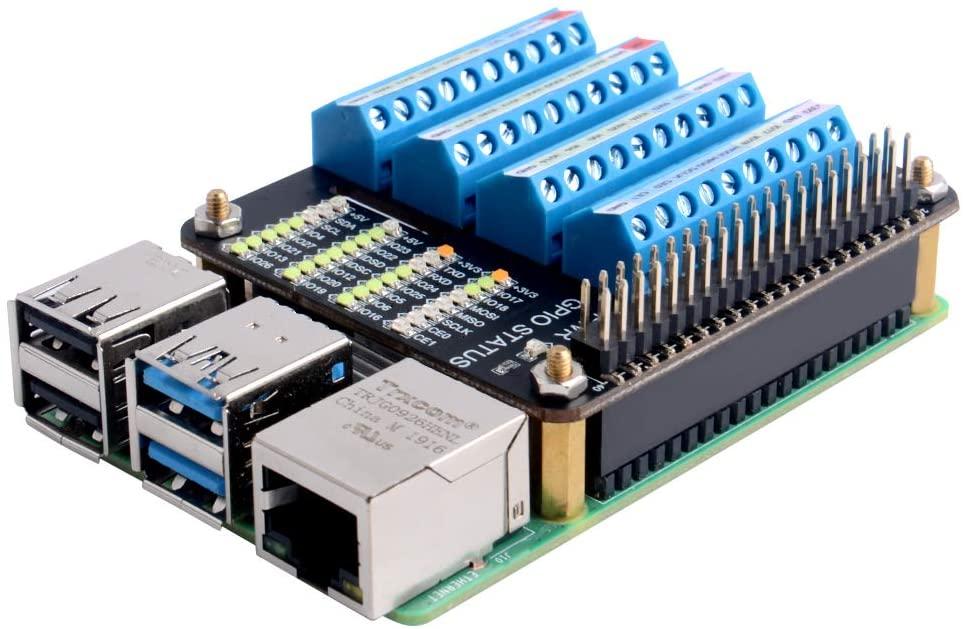
GeeekPi Raspberry Pi 4 GPIO Screw Terminal Block Breakout Module, Raspberry Pi GPIO Expansion Board Breakout for Raspberry Pi 4B/3B+/3B/2B/B+/Pi Zero/Pi Zero W
Setting UP Raspberry PI Memory Card


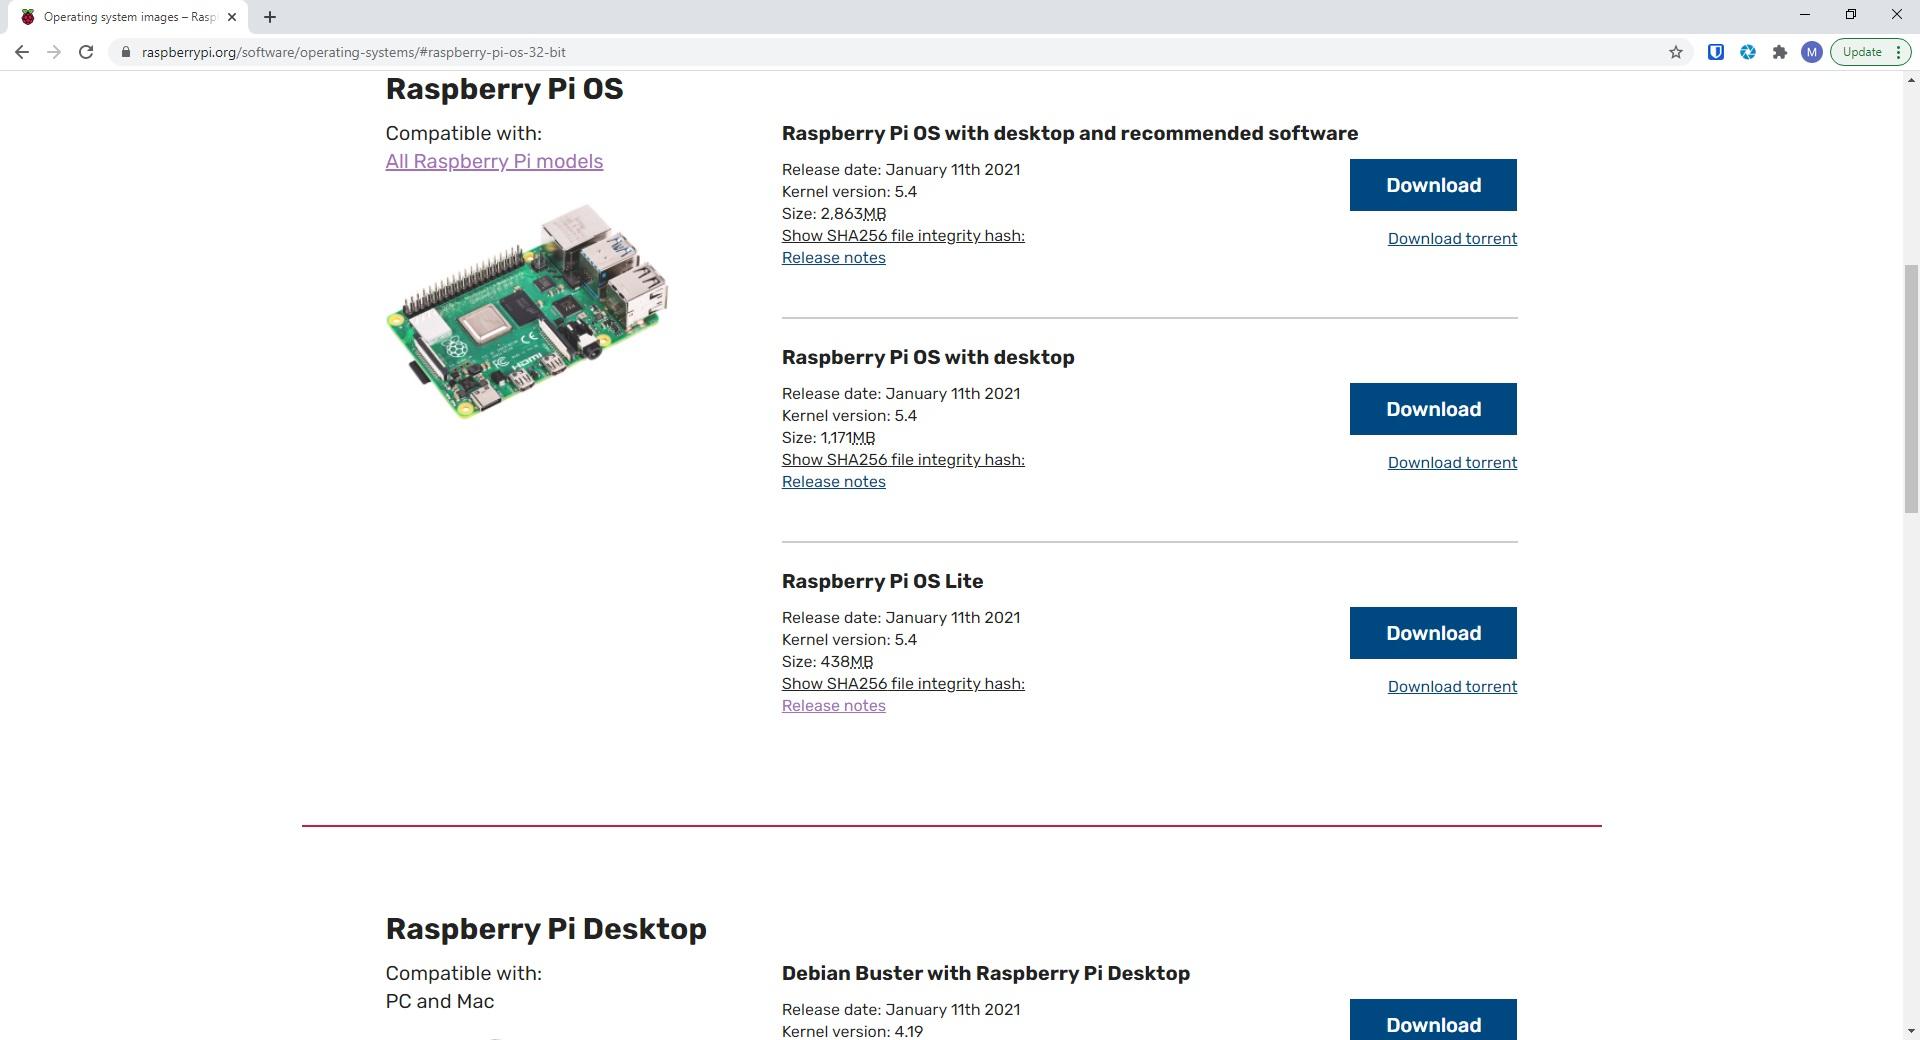
First Download The Raspberry PI OS From:
Selecting Software>Raspberry PI OS
Download the "Raspberry Pi OS Lite"
Unzip the file so that you get the image.... We will be writing this to a MicroSD card soon.
Insert the 64GB MicroSD card into a card reader attached to your PC.
Follow the video bellow:
Setting UP Raspberry PI With IO Hat

GeeekPi Raspberry Pi 4 GPIO Screw Terminal Block Breakout Module, Raspberry Pi GPIO Expansion Board Breakout for Raspberry Pi 4B/3B+/3B/2B/B+/Pi Zero/Pi Zero W
https://www.amazon.co.uk/gp/product/B08GKQMC72/ref...
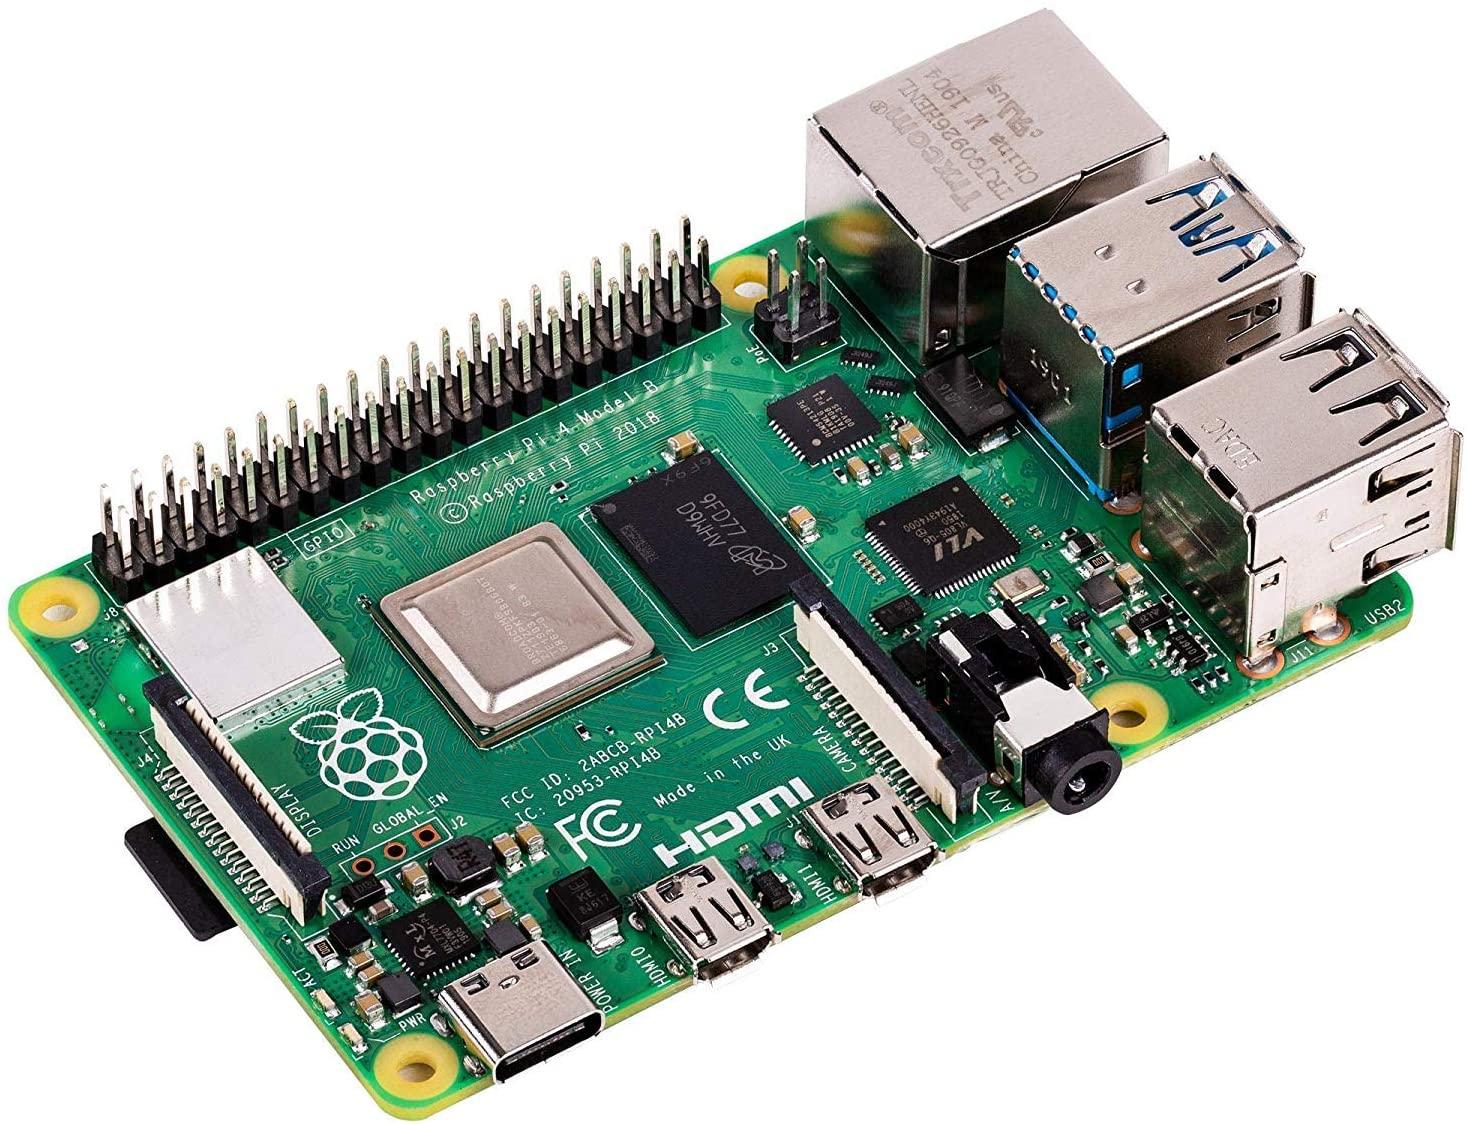
We will be setting this UP on a Raspberry PI 4B
sb components Raspberry Pi 4 Model B 2GB 2019 model ARM-Cortex-A72 4x 1,50GHz, WLAN-ac, Bluetooth 5, LAN, 4x USB, 2x Micro-HDMI Type C
https://www.amazon.co.uk/gp/product/B081J2N7NP/ref...
See Video Below:
Setting UP Raspberry PI Initial Software Setup
The following Commands need to be executed from the Raspberry PI
to login use:
login: pi
password: raspberry
then execute:
sudo apt-get update
followed by:
sudo apt-get upgrade
Typing y for yes if required.....
reboot the PI with:
sudo reboot
then login again and run:
sudo raspi-config
select
System Options > Password
and change the password for the user pi
System Options > Hostname
and give the Raspberry PI a unique hostname
Interfacing Options > SSH
to turn on remote SSH access
Then exit
and reboot the PI again:
sudo reboot
Log back in and then execute:
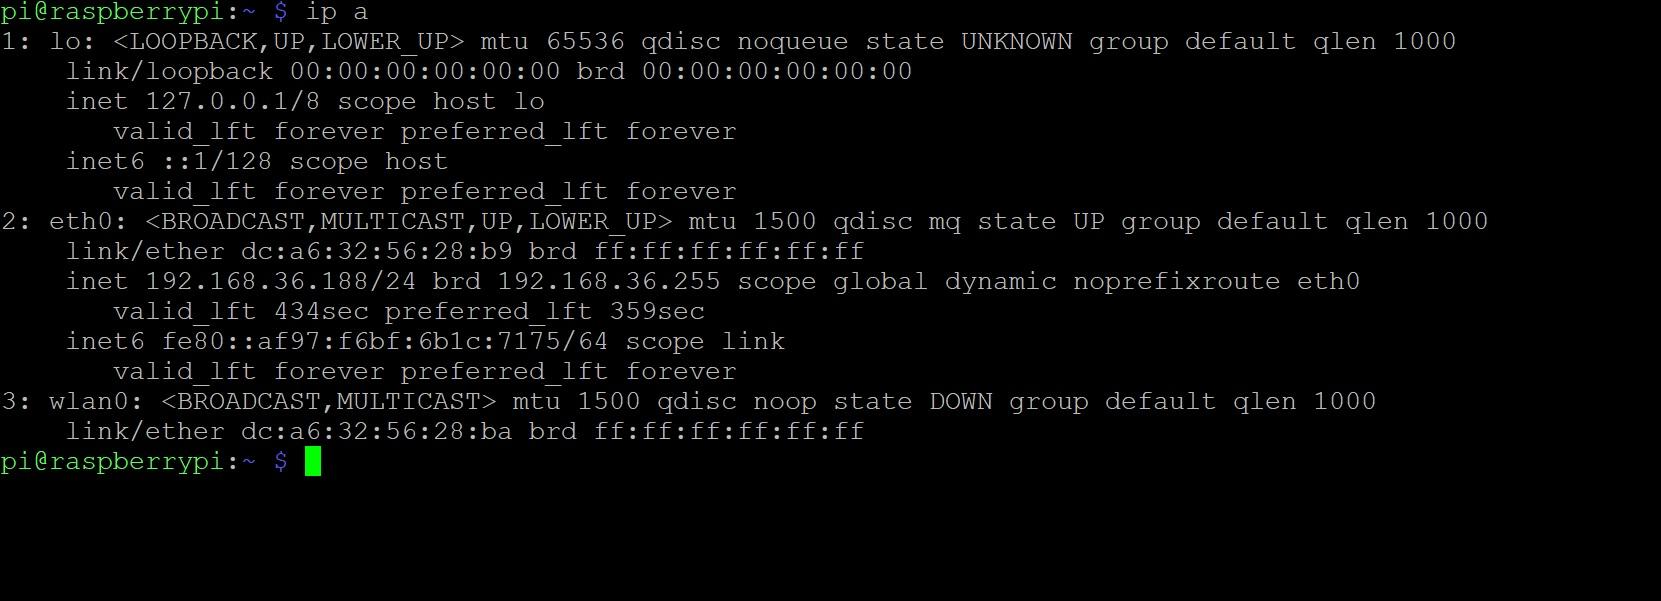
ip a
The output of which should give you the IP address of the network interface eth0
in my case this is 192.168.36.188
note this as we will be using it later
Setting UP Raspberry PI Node-Red Install
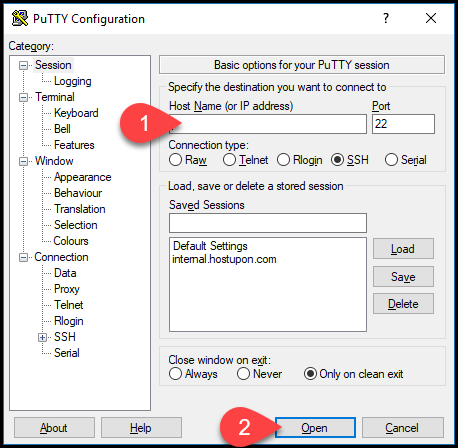
From the Previous Step we checked the IP address of the Raspberry PI on the LAN:
192.168.36.188
We also enabled SSH and changed the default password for the pi account which we are going to use now with PuTTY to access the PI from our PC....
PuTTY can be downloaded from:
Opening the program and filling in the IP address and then follow the video for installing Node-Red:
Setting UP Raspberry PI Node-Red Plugins Import
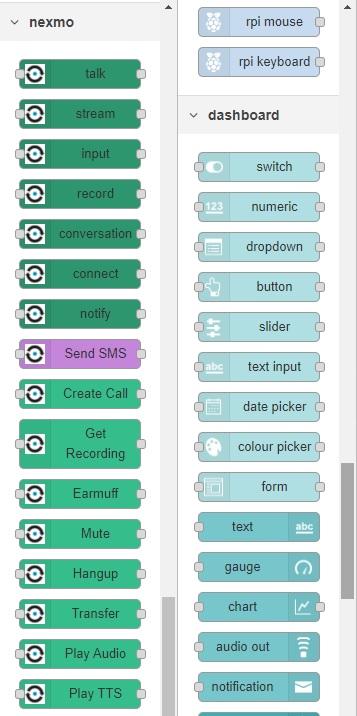
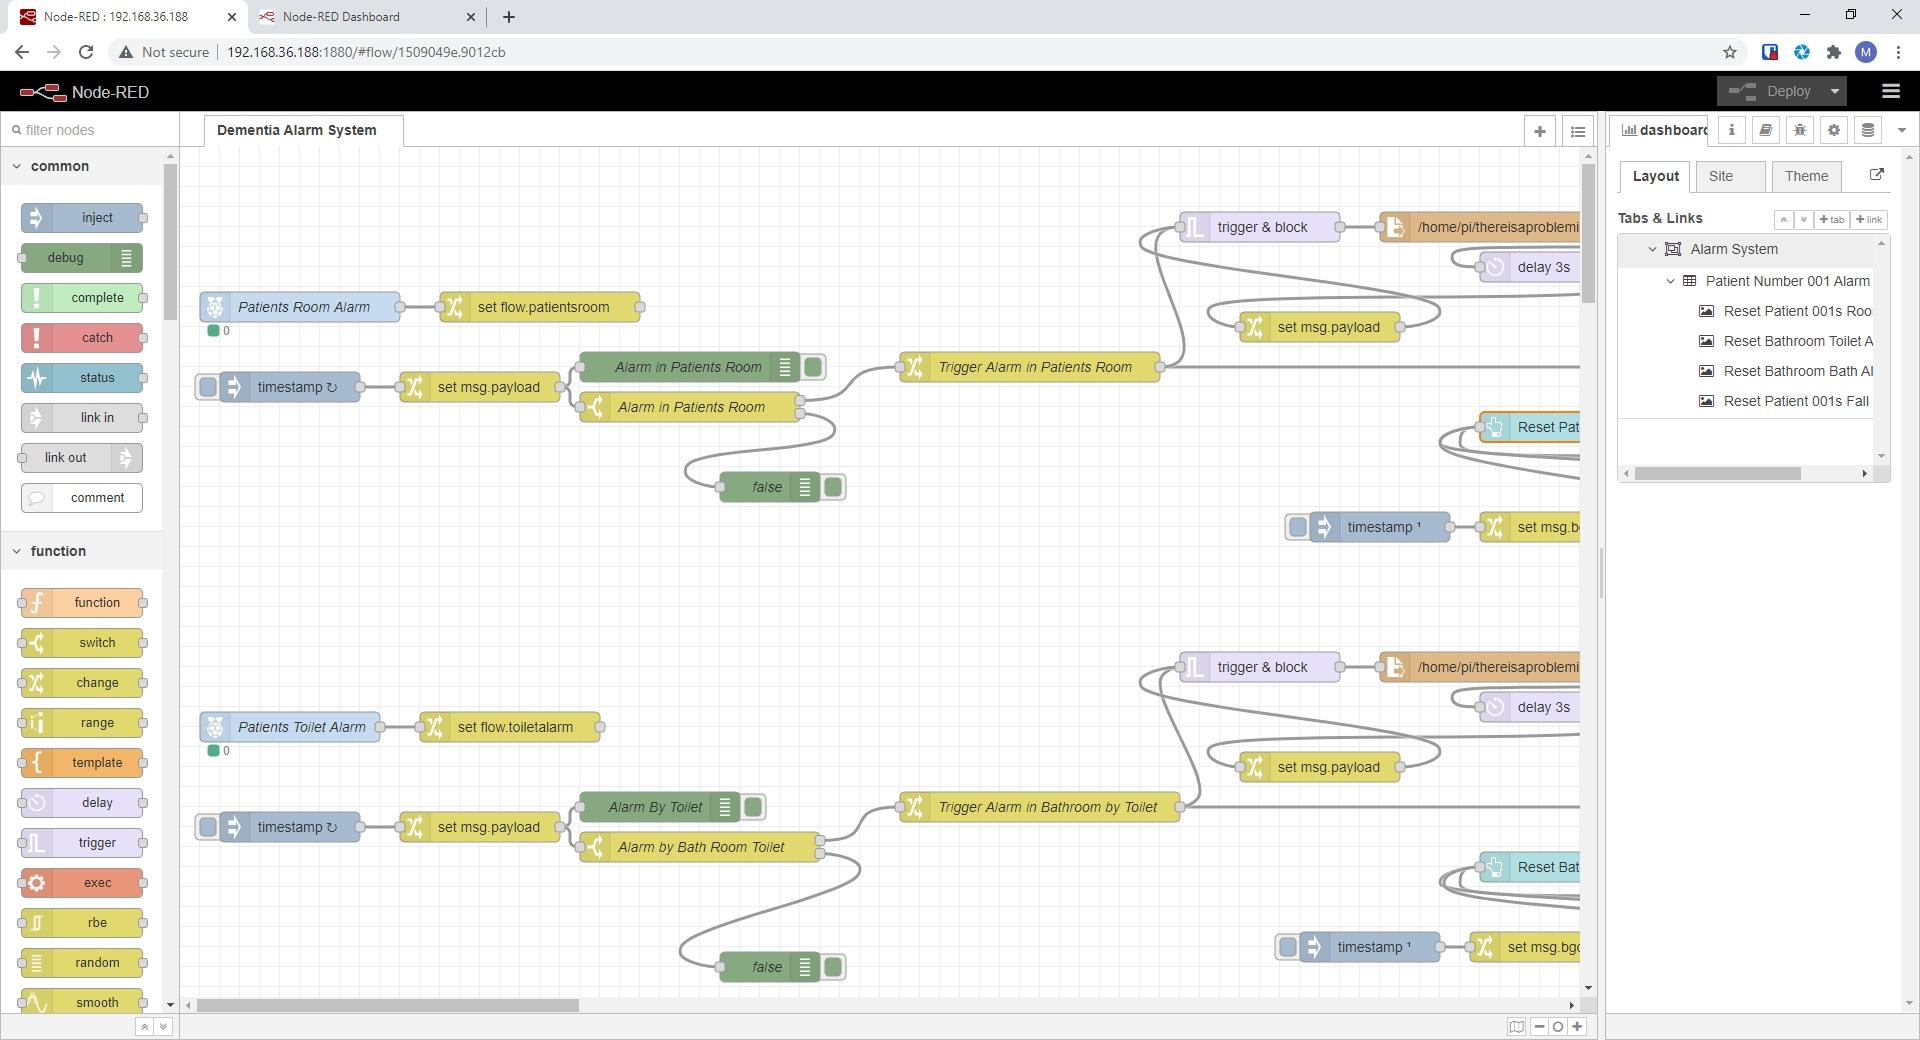
Setting UP Raspberry PI Node-Red Flow Import & Other Files
Setting UP Raspberry PI With Static IP Address
1