Deebo Samuel - 49ers Wide Receiver Drawing
by 23cantu6064 in Design > Art
733 Views, 2 Favorites, 0 Comments
Deebo Samuel - 49ers Wide Receiver Drawing

Tyshun Raequan "Deebo" Samuel plays wide receiver for the National Football League's San Francisco 49ers. This project would demonstrate the fandom I have towards him and the team. This type of project can be done by anyone if they just follow the steps. This project can also be done with any photo you would like. Enjoy!
Supplies
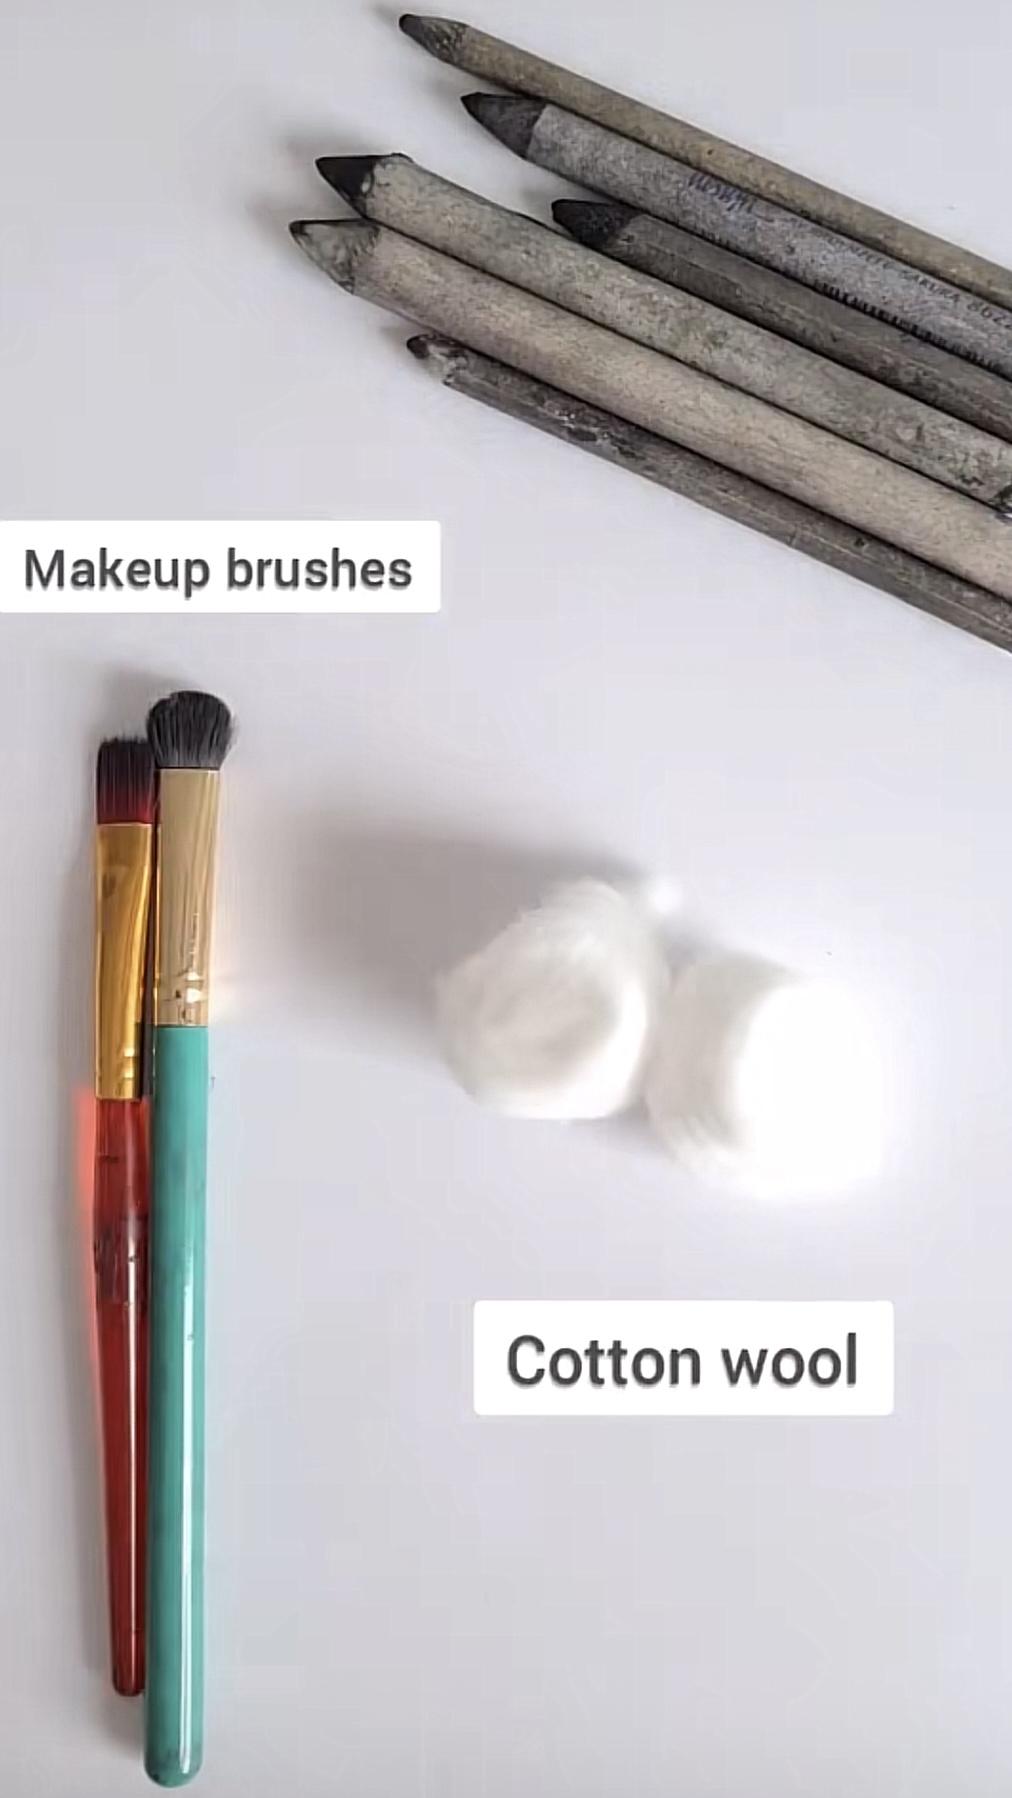
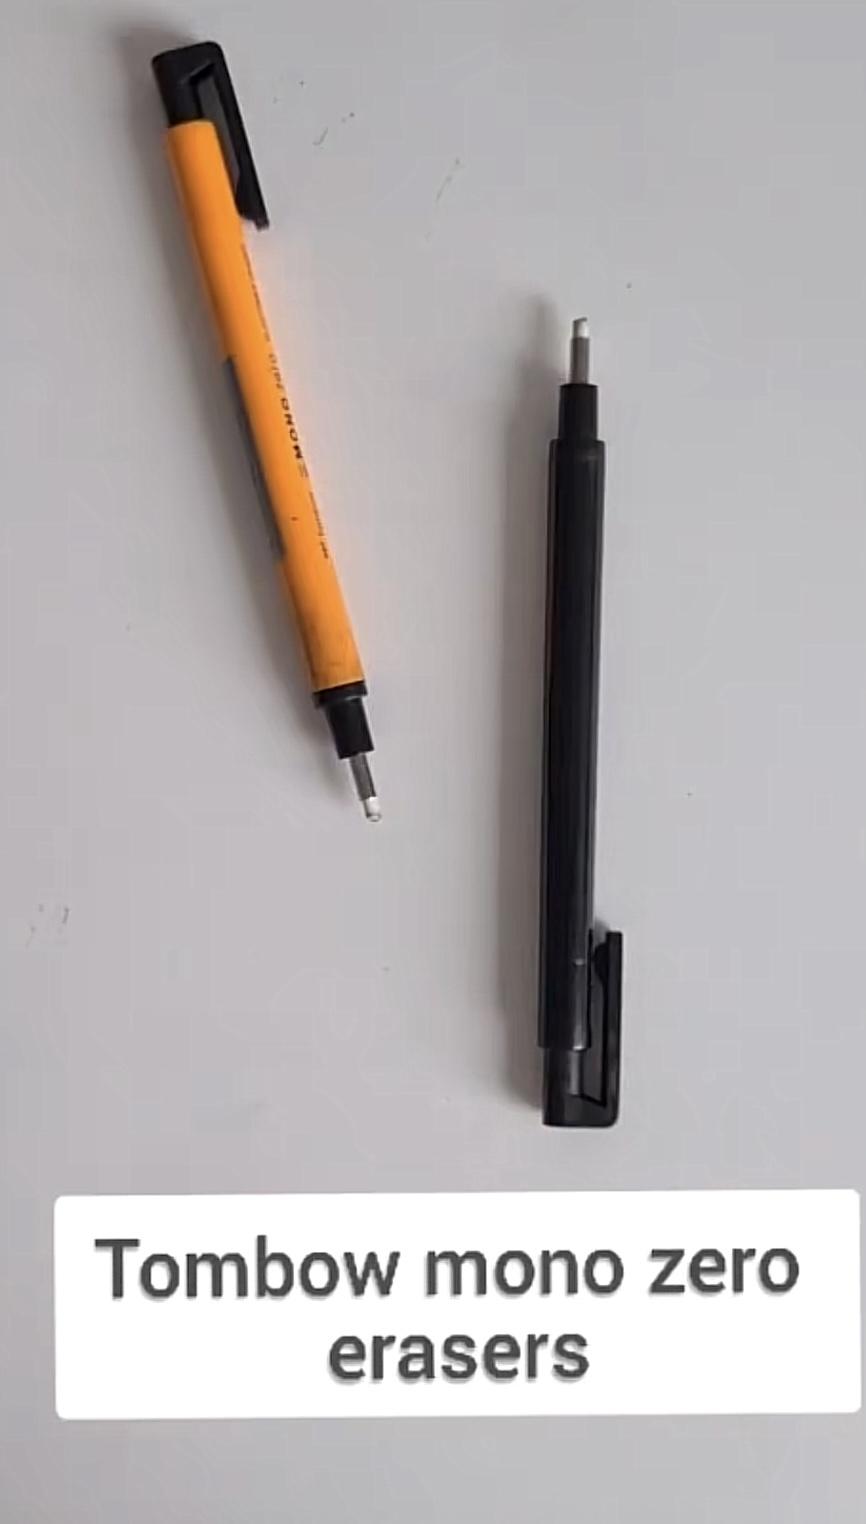
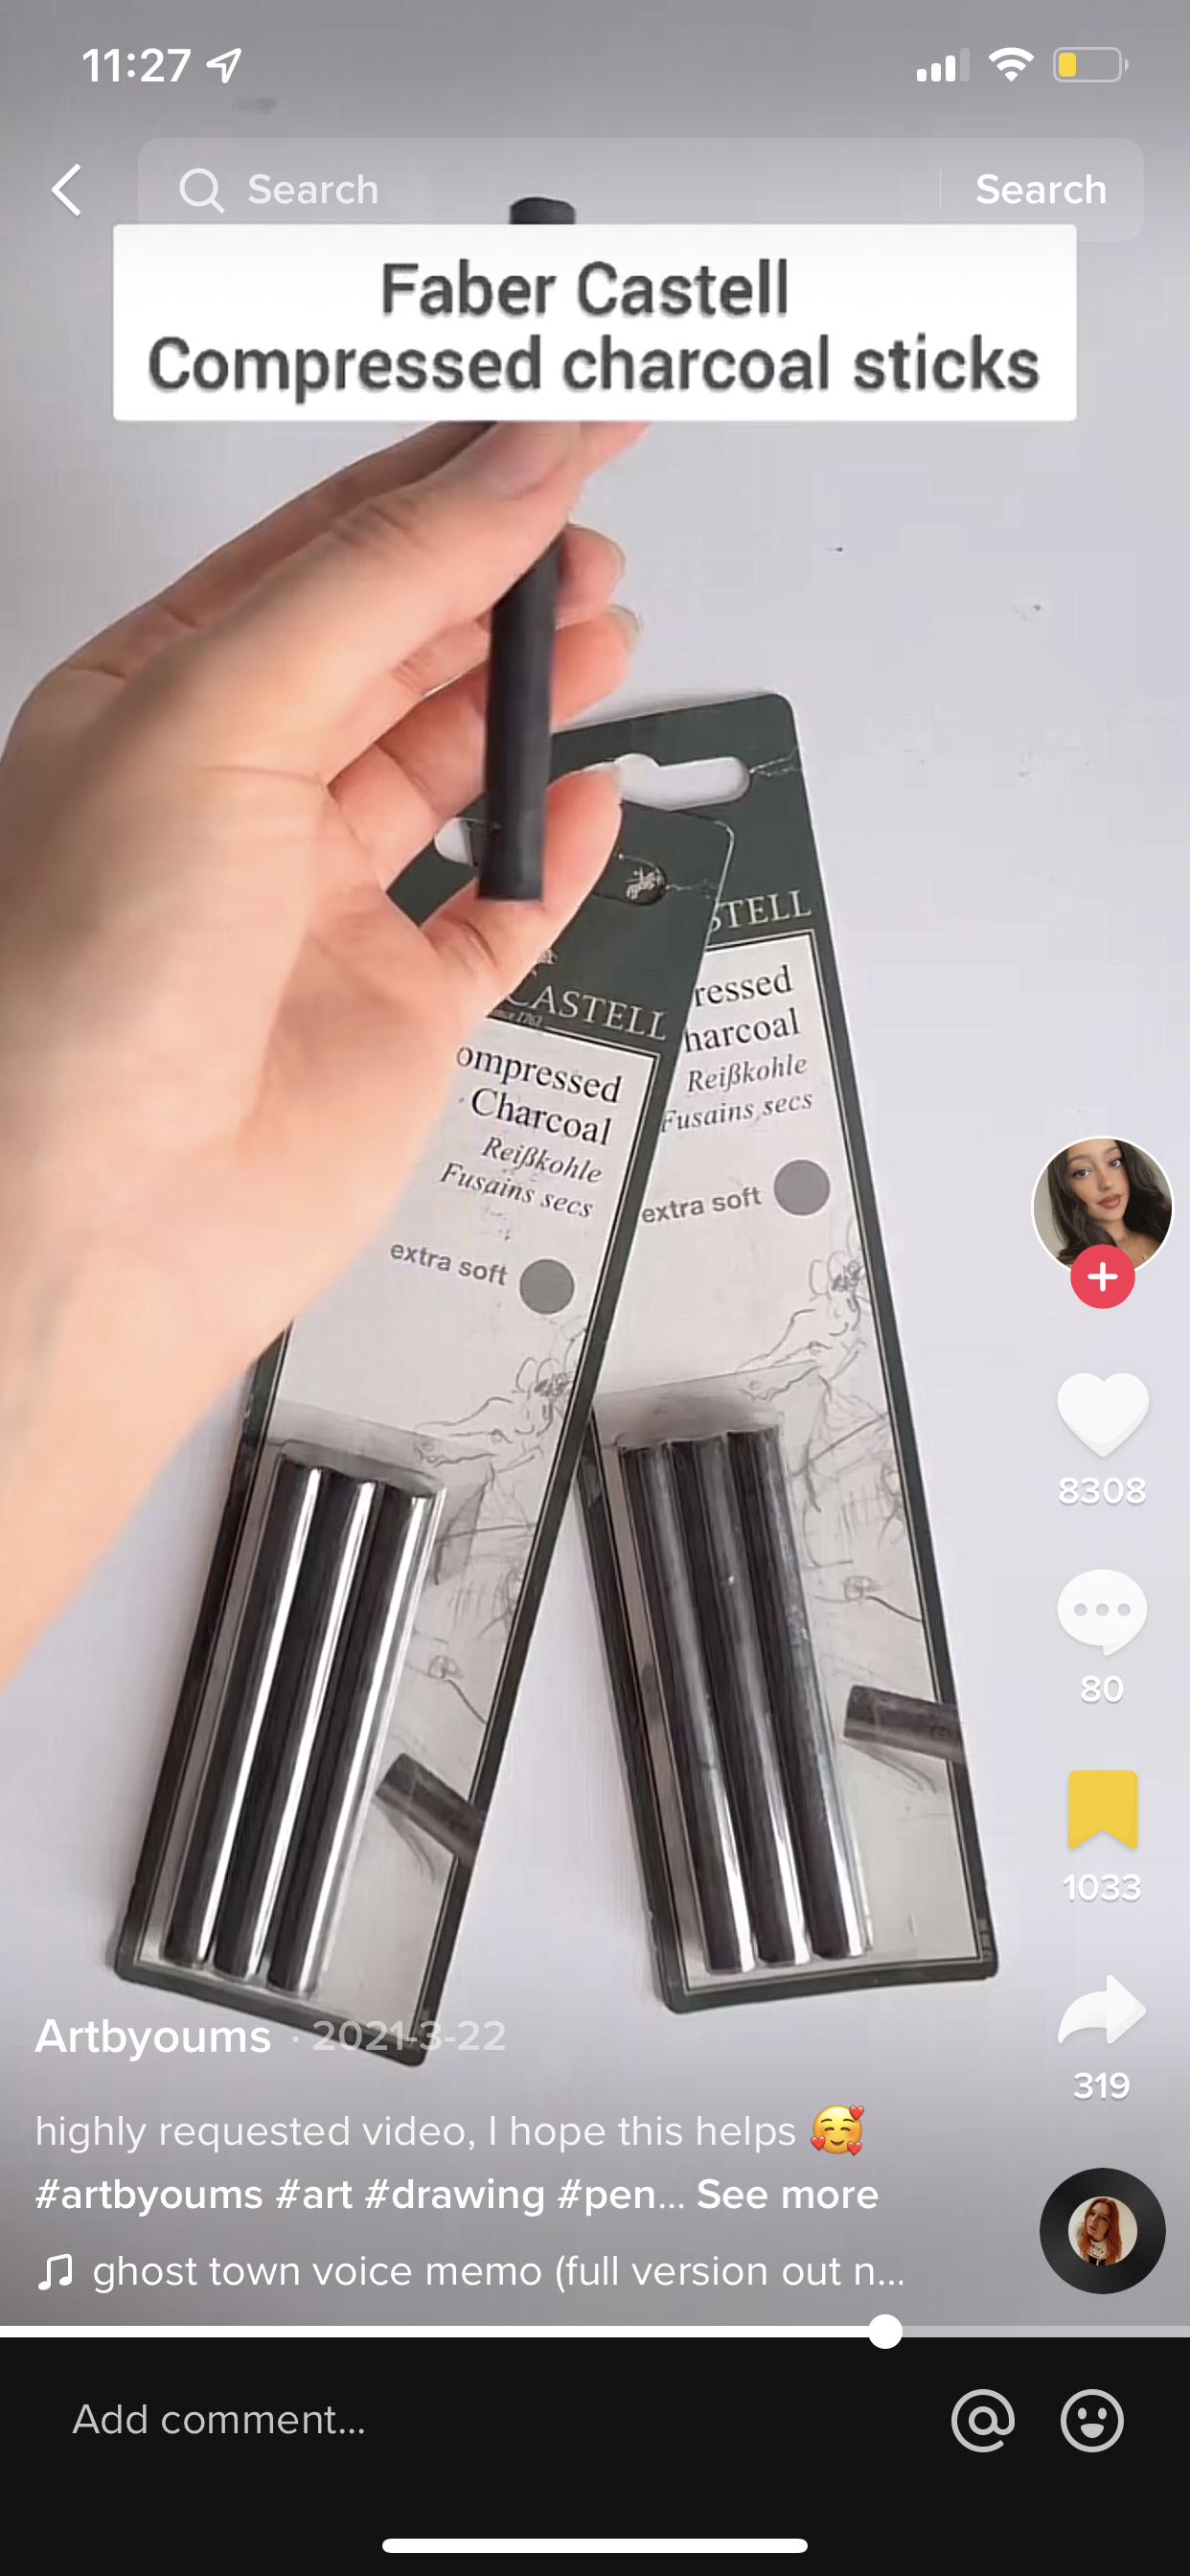
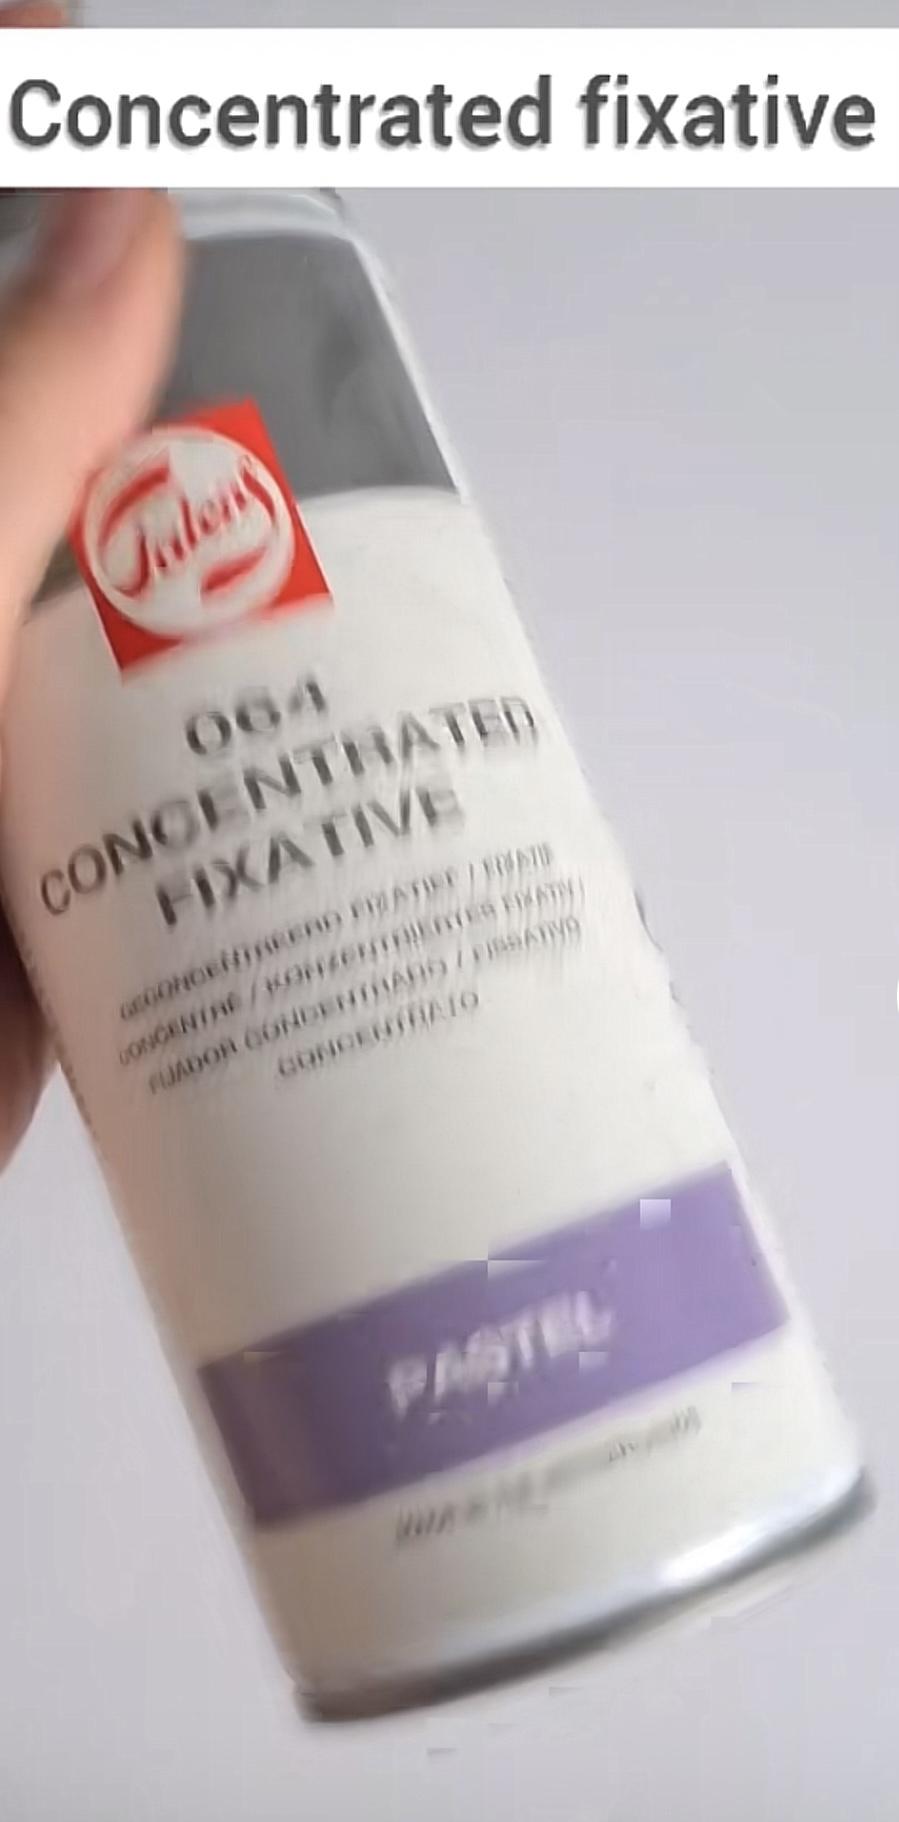
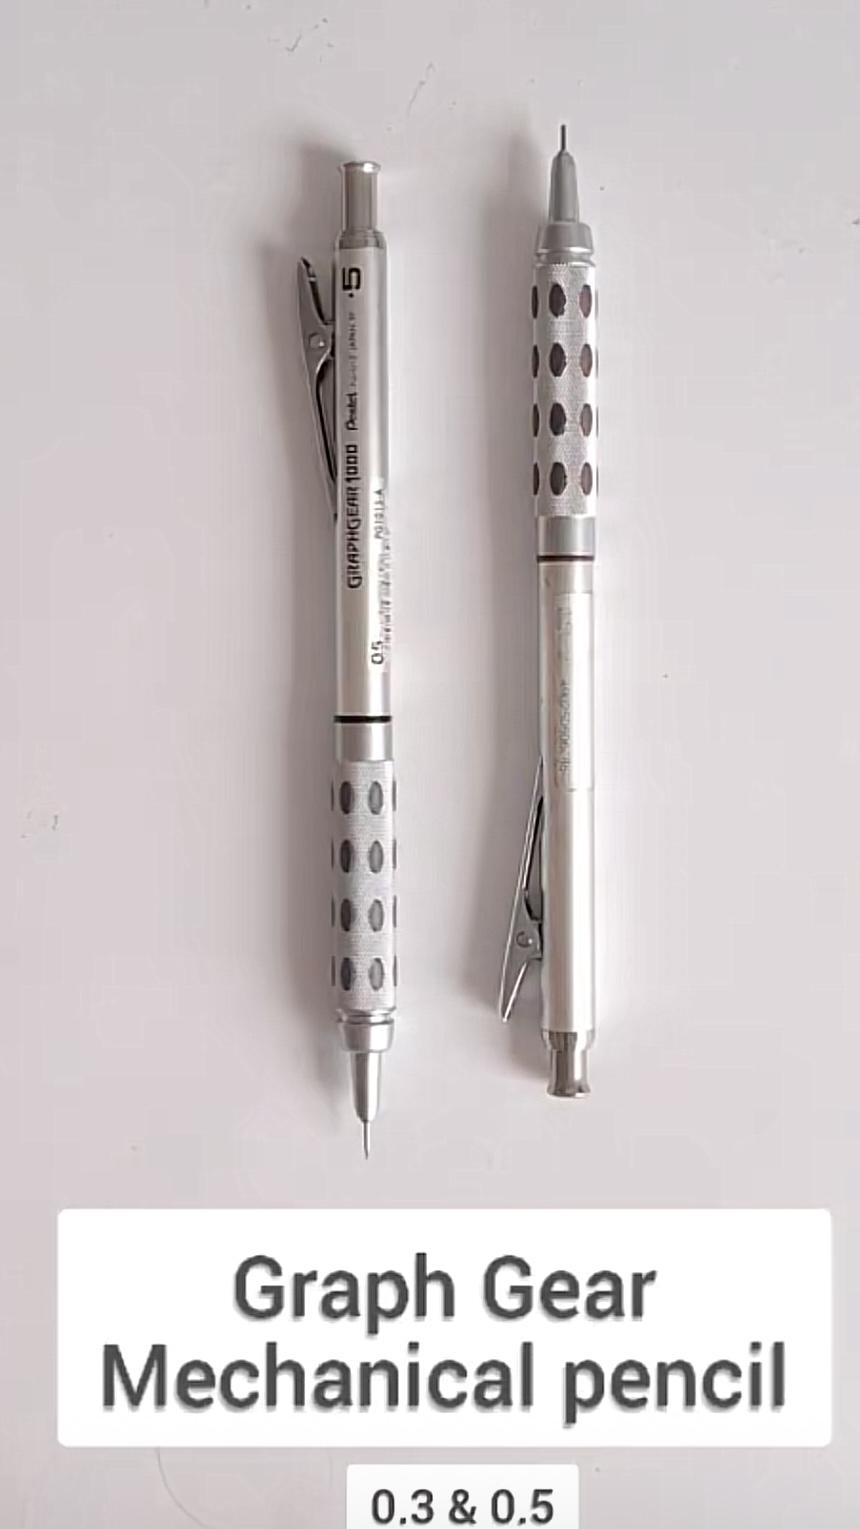
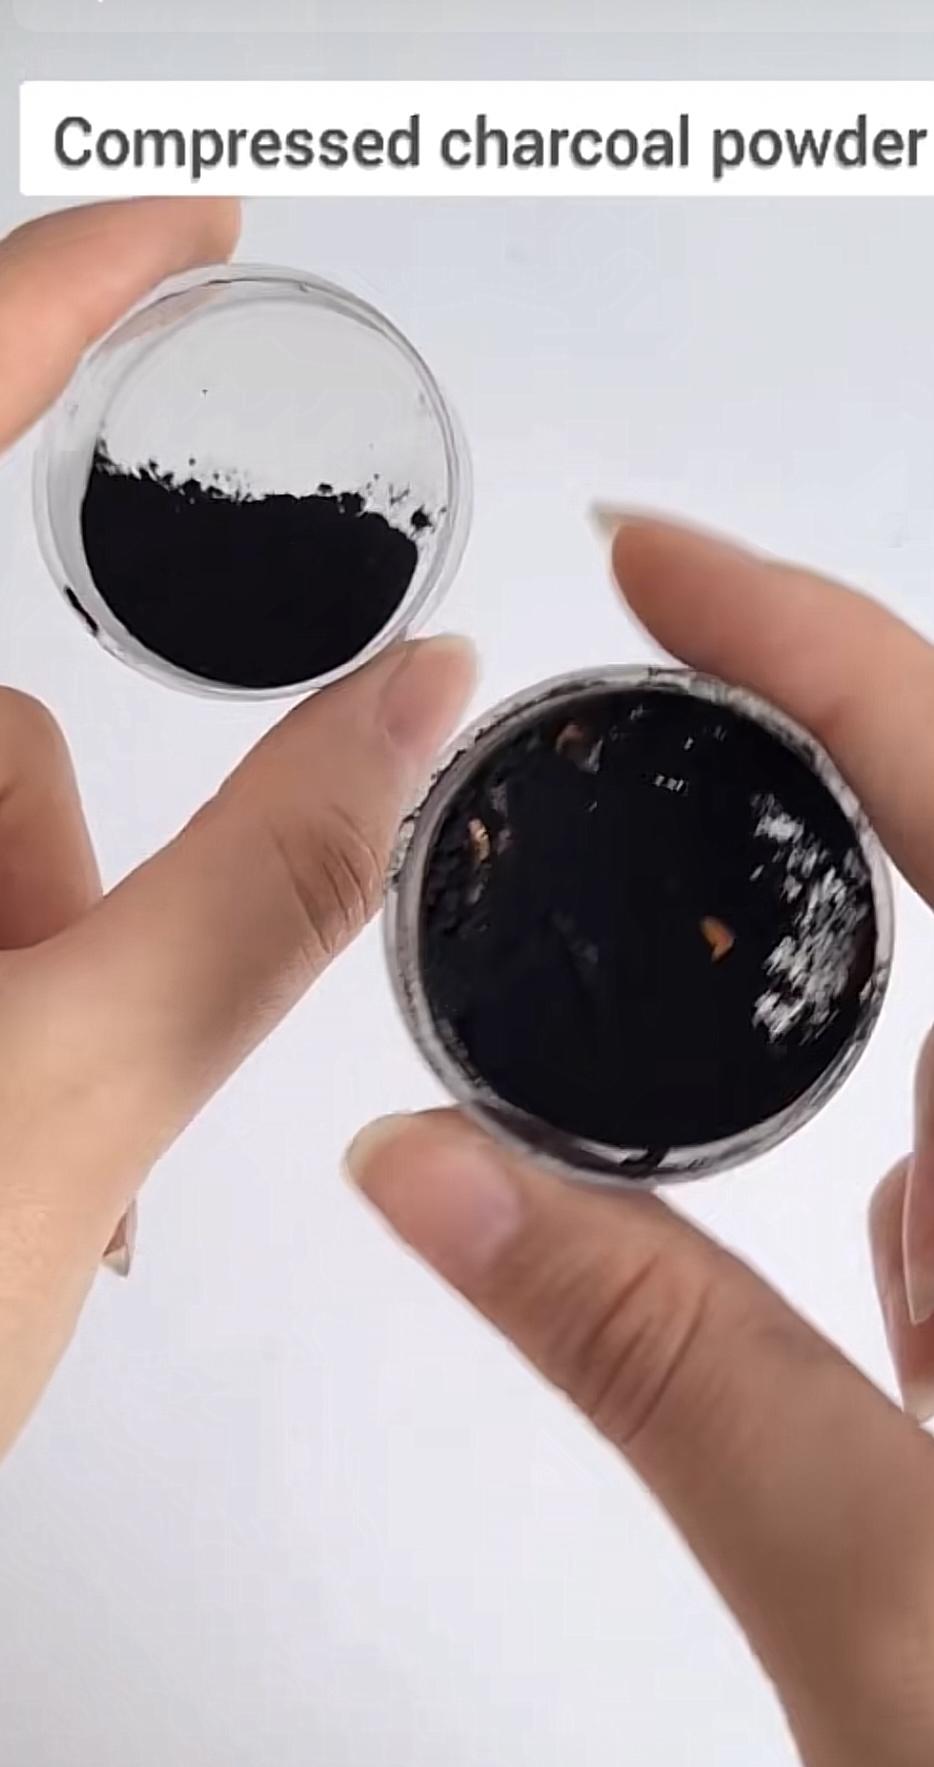
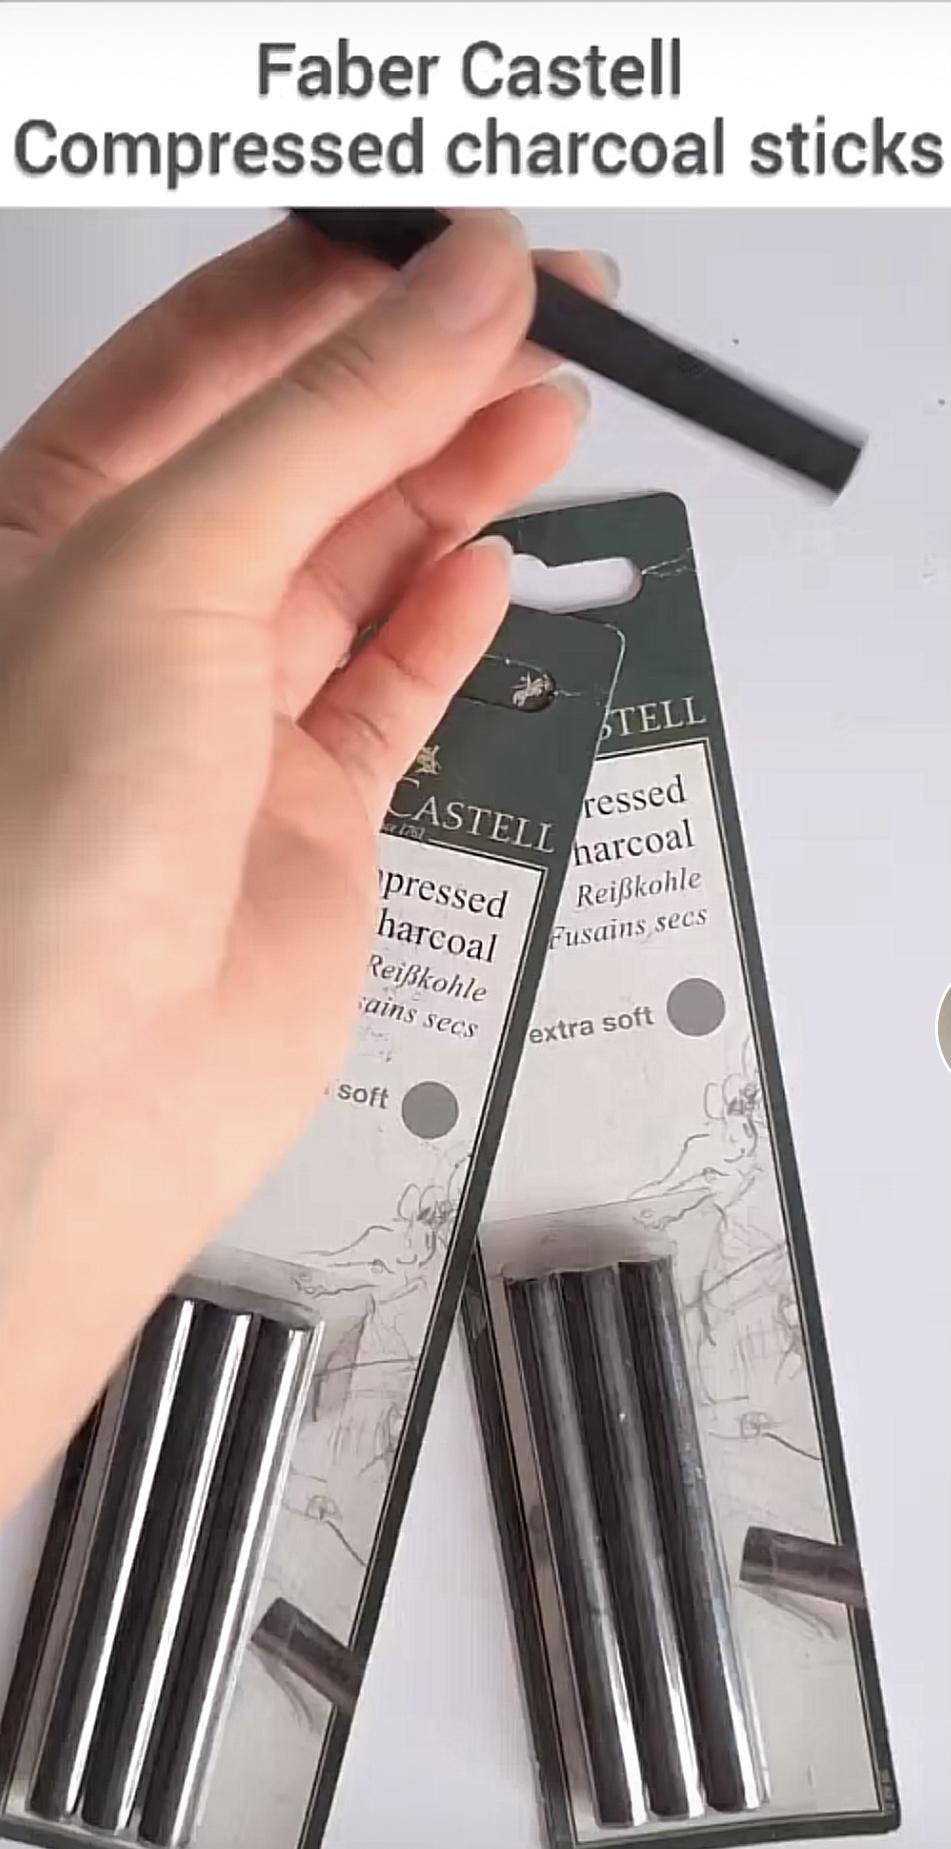
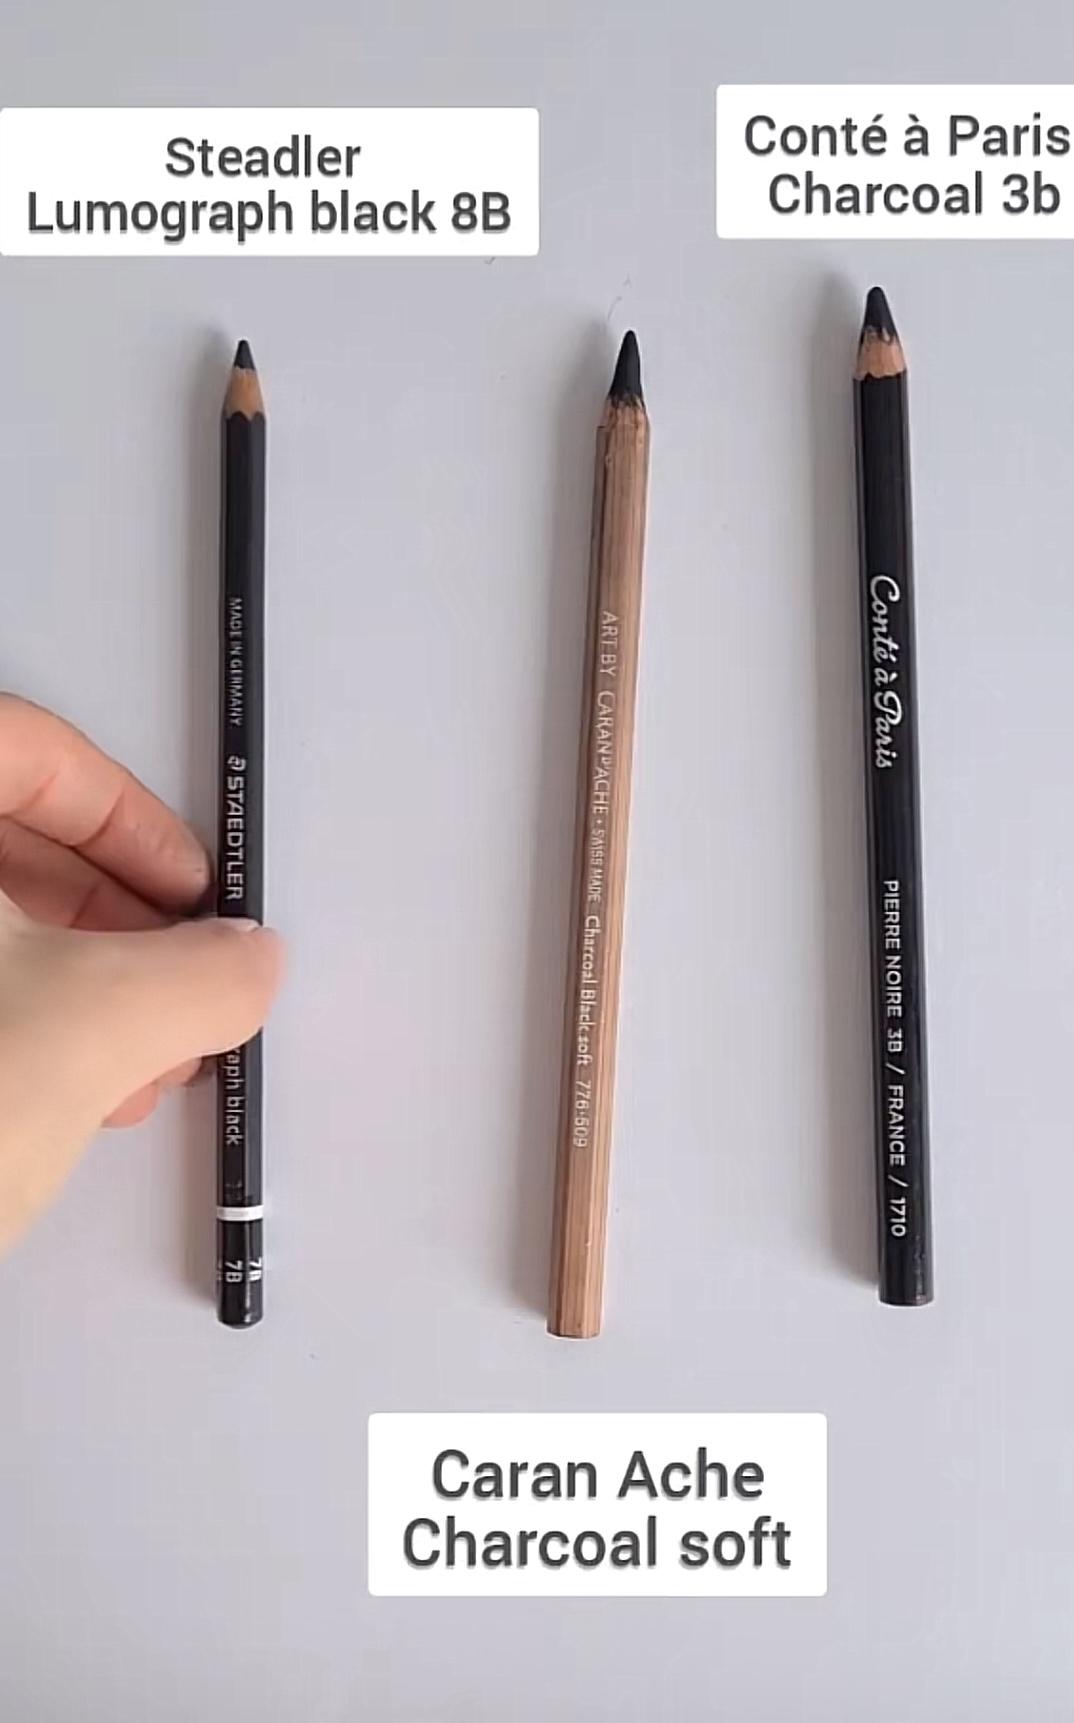
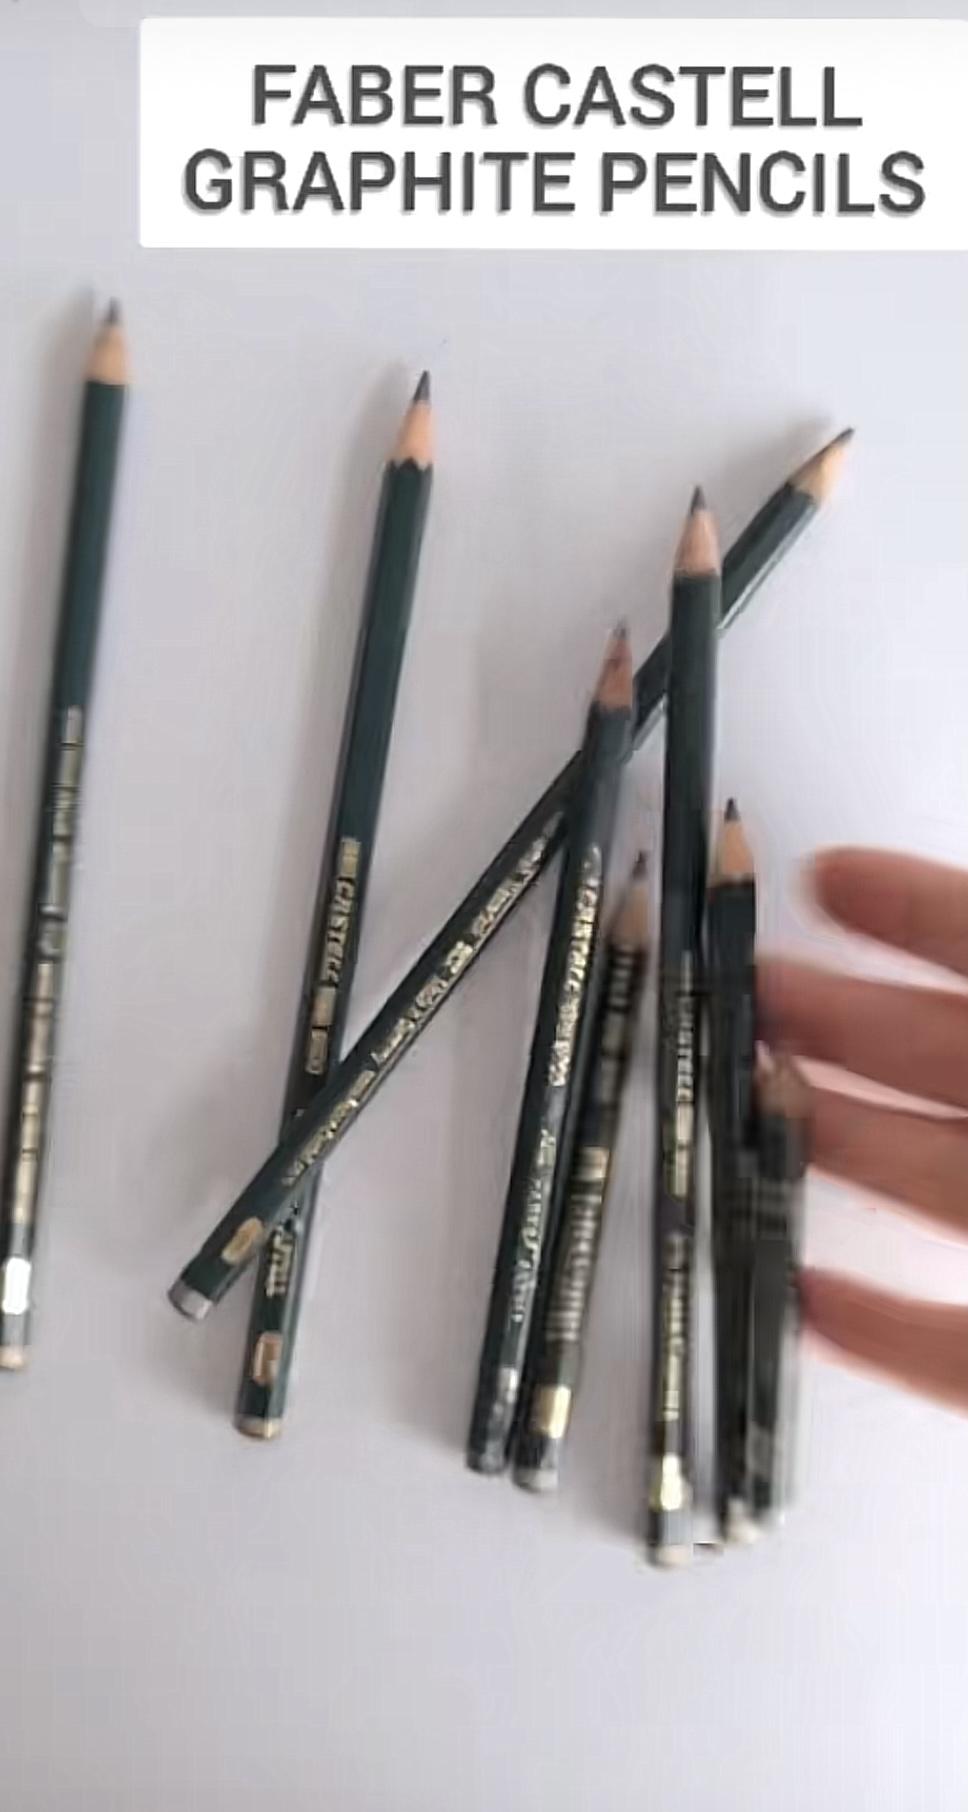
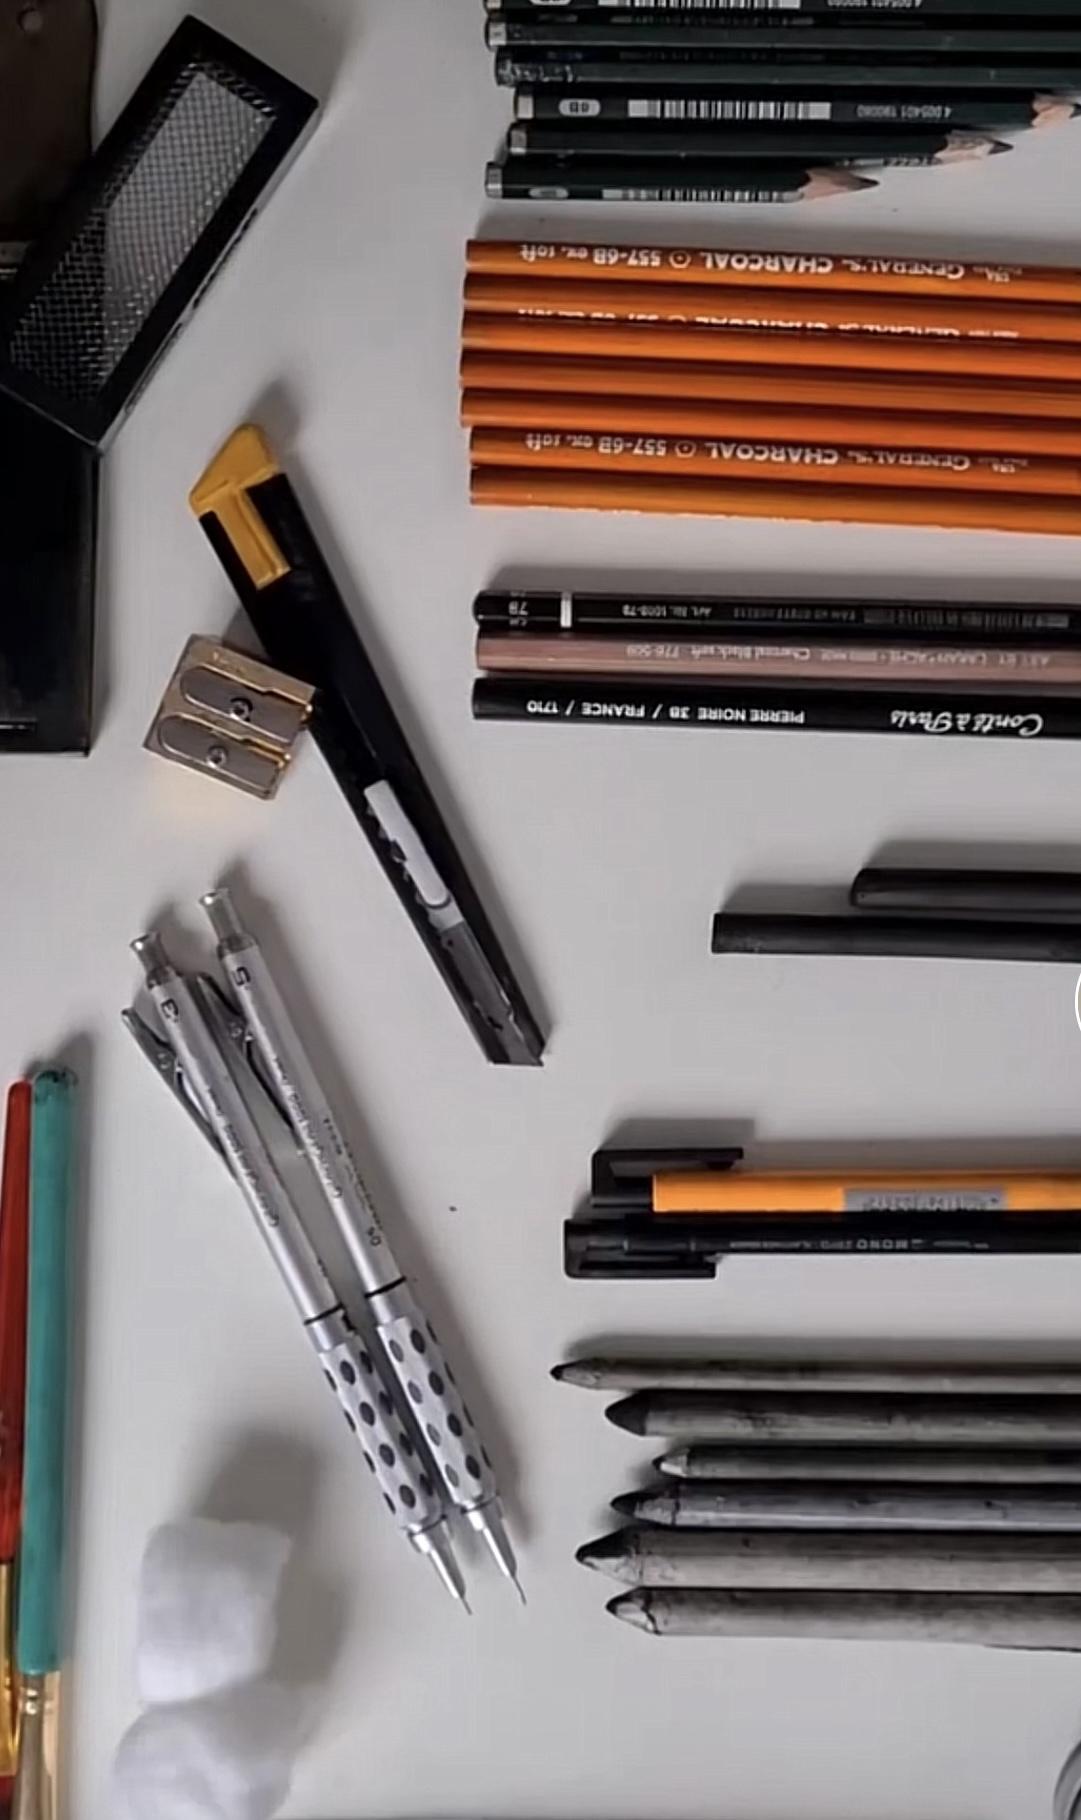
- Shaded pencils
- Plate Bristol paper
- Tombow mono zero erasers
- Blending stumps
- Cotton wool
- Compresses charcoal powder
- ^sharpening tools
- Fiber castell compressed charcoal sticks
- Concentrated fixative
-Black Paint
Outline
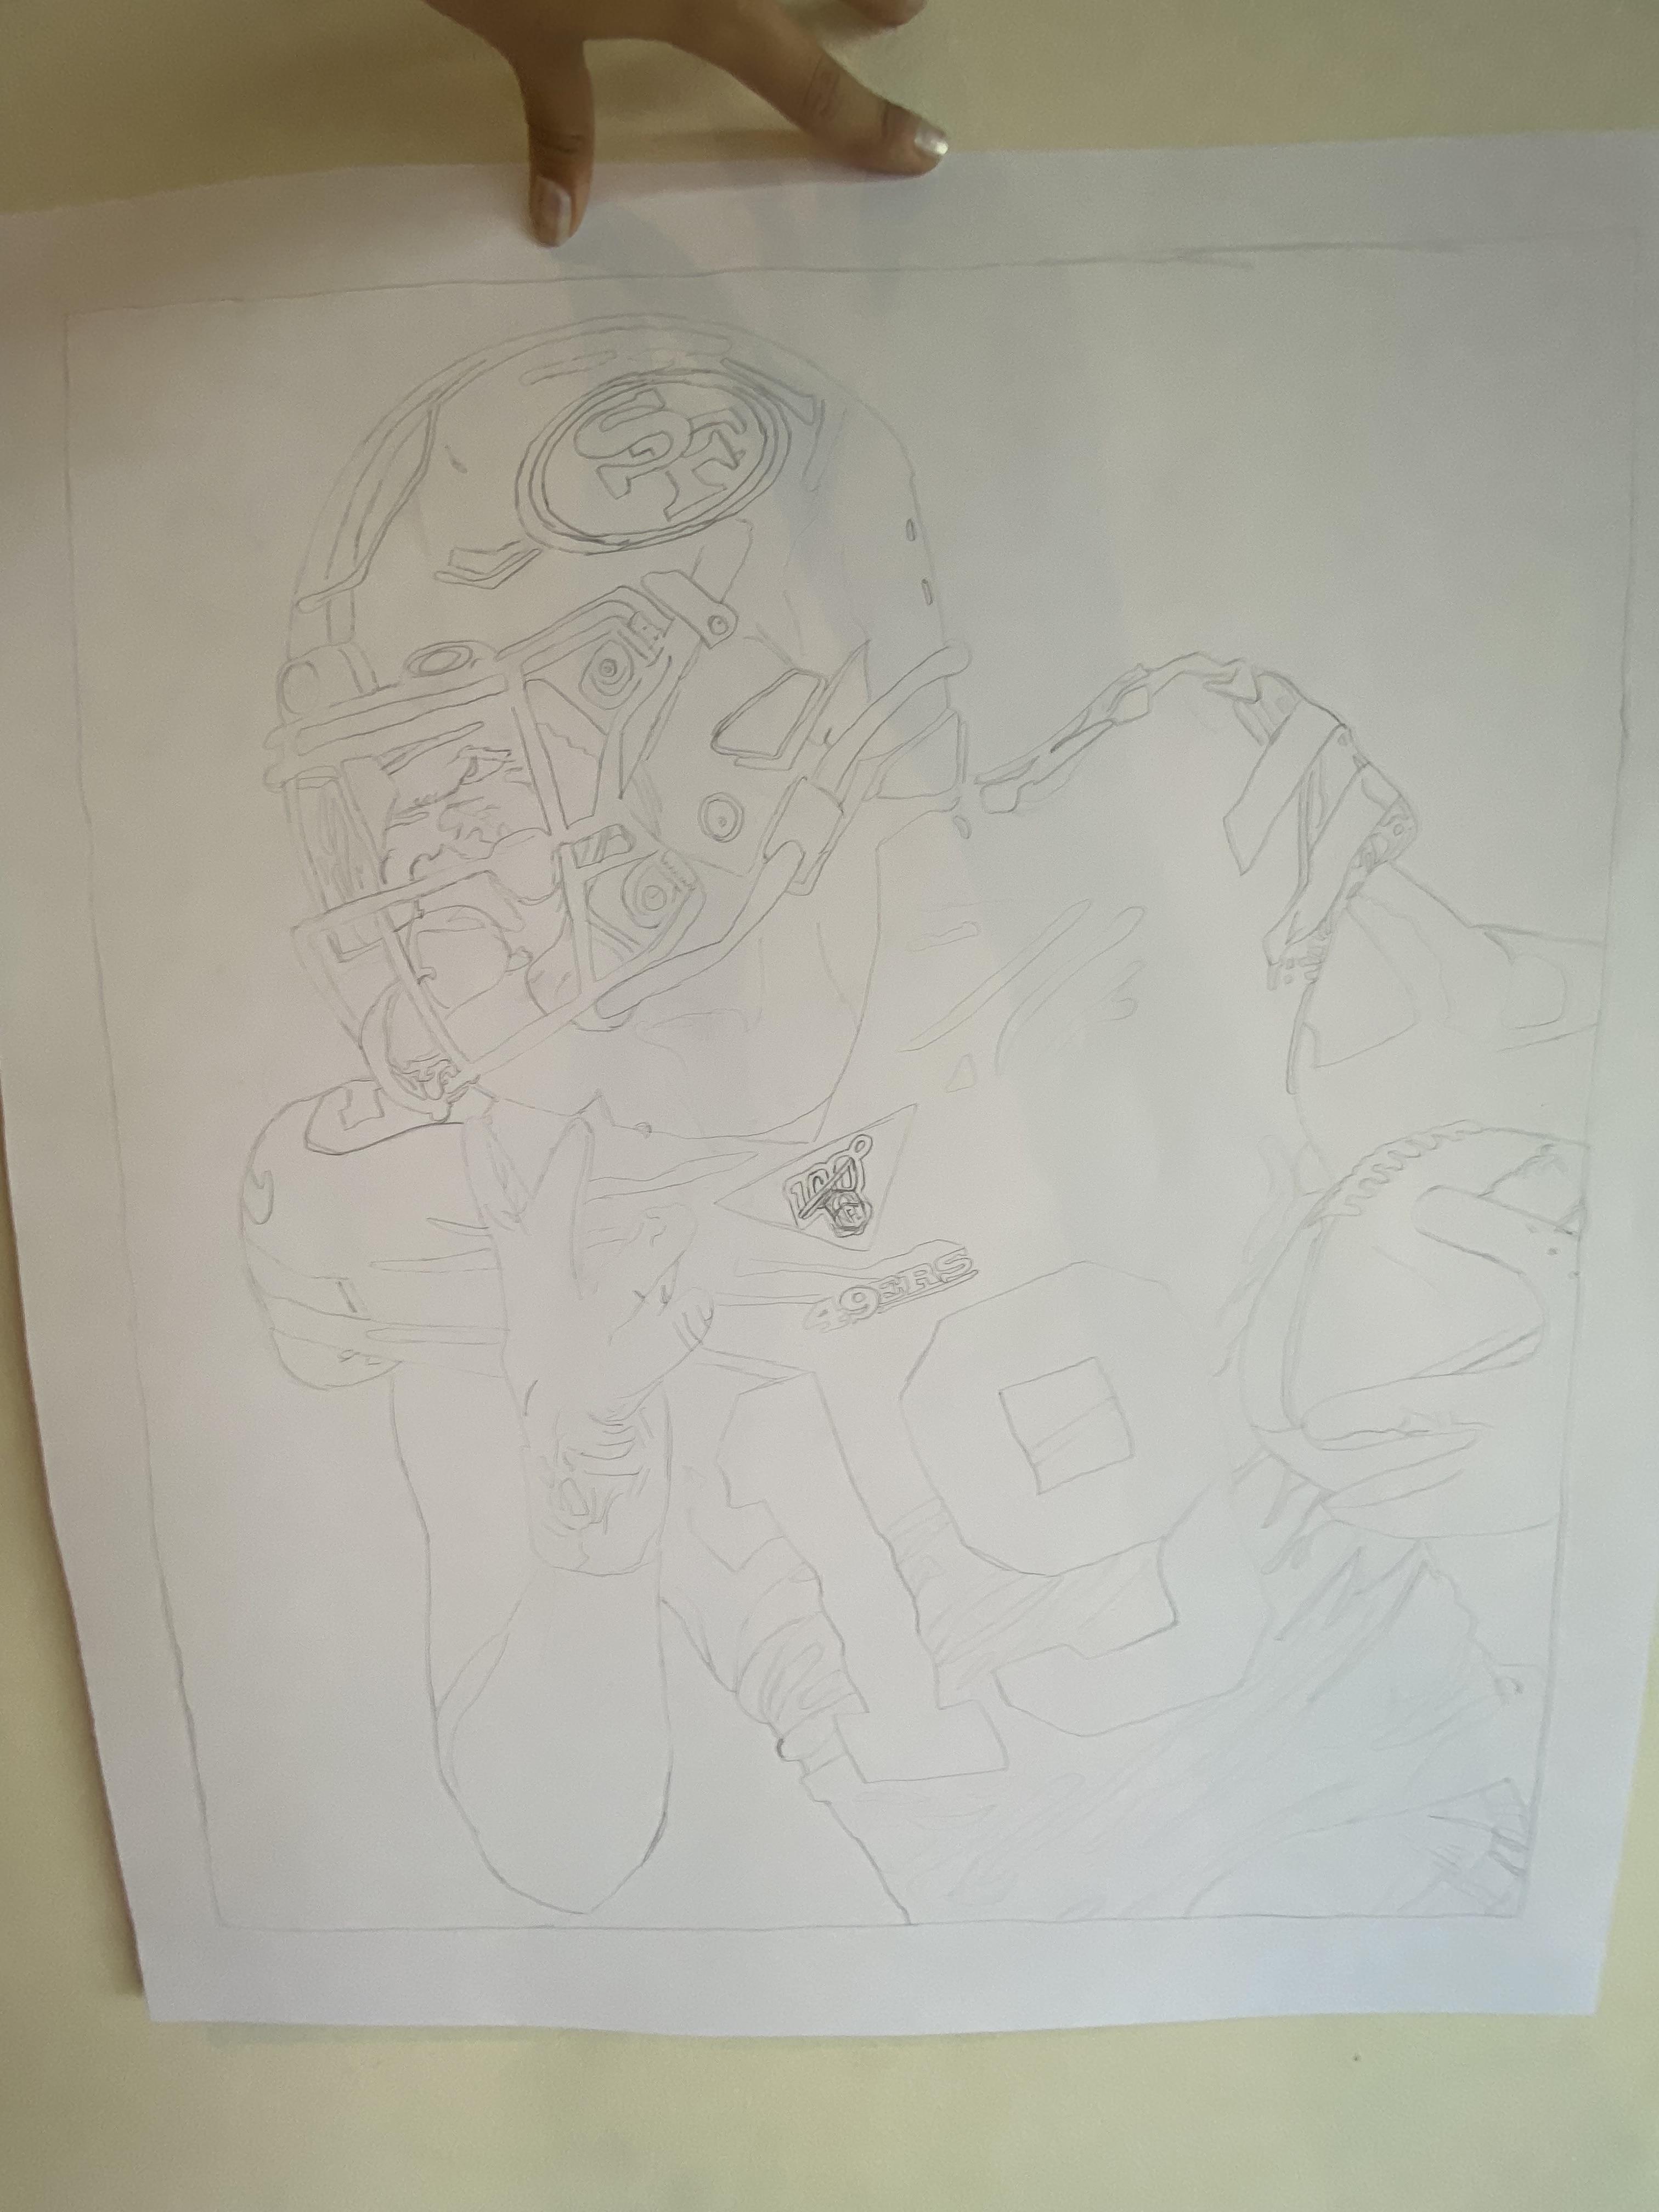
Starting by sketching your outline on paper is the first thing you should do. Try to include as much detail in this outline as you can since it will serve as the framework for the rest of your picture. Use the lightest pencil shade you have (in my case, a 6H of my shaded pencils). This way, when you finish the final drawing the lines won't be as visible.
Shading
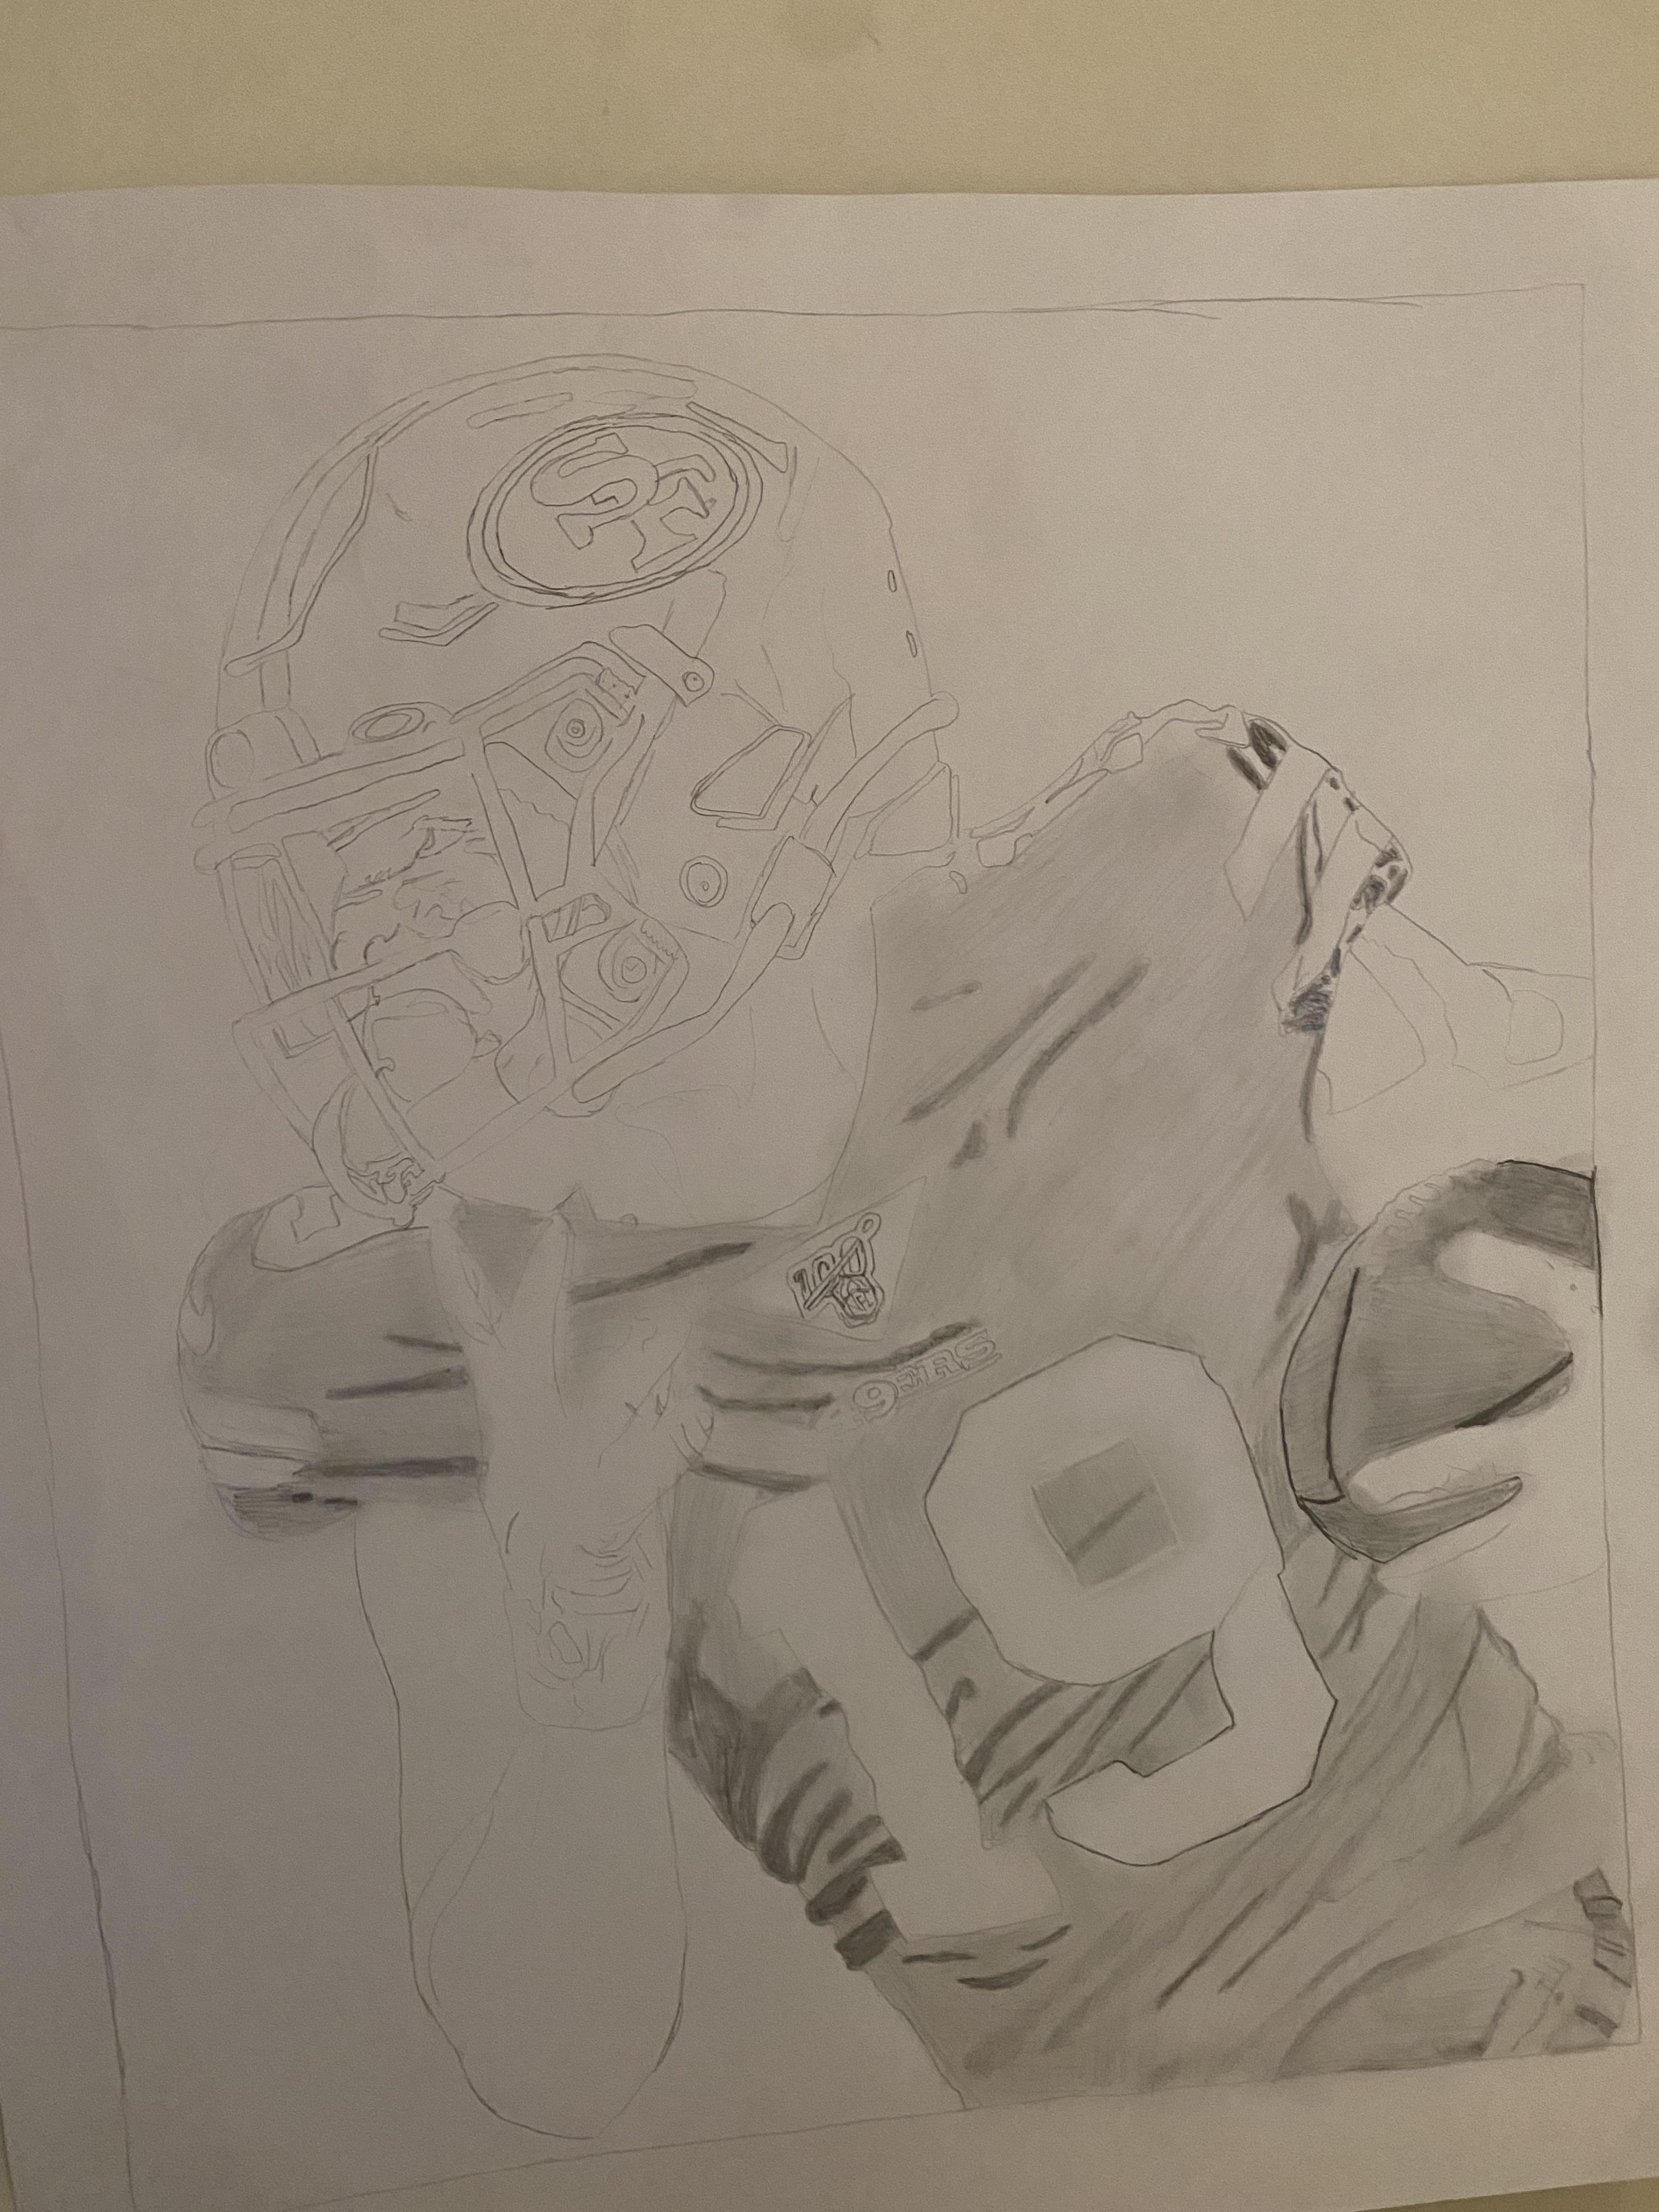
Some tips for your shading proccess;
1- For a simple shading method, begin with hatching. Making a succession of parallel lines to represent shadows in your drawing is known as hatching. You can either space the lines closer together to create darker shadows or wider apart to give the region a brighter appearance. To maintain uniformity, pull hatching lines in one long motion.
- Hatching lines may be vertical, horizontal, or angled.
- To mimic a three-dimensional form, match the angles and curves of objects with the shapes of your line. For instance, use curved lines rather than straight lines to shade a rounded item.
2- To fast shade, use cross-hatching. By adding a second layer of lines moving in the opposite direction from the first, cross-hatching enhances hatch marks. Consider first drawing parallel horizontal lines, then adding vertical lines on top of that. You can quickly darken areas with this shading technique as opposed to conventional hatching.
- To create a densely darkened area on your drawing, draw the cross-hatching lines close together; alternatively, you can stretch them away to create a lighter area.
- To create a lighter shadow, use hatching without adding a second layer.
3- For a smooth appearance, use blending. The most effort and skill are needed to blend your shading properly, which provides you drawing a smooth and realistic finish. To transition between bright and dark values, shade with the side of a soft graphite pencil while exerting more pressure on the paper.
- Art pencils are identified by a number and either the letter B or the letter H on the label, and they range in hardness. The letter B is used to identify soft graphite, while higher numbers indicate softer graphite. The harder the number, the harder it is to utilize hard graphite, which is designated with the letter H. The hardness of a typical number 2 pencil is HB, which is a midpoint between hard and soft graphite.
- Before beginning to shade your drawing, practice shading on basic polygonal shapes like cubes and spheres.
4- Choose the direction in which your light source will be. Where the darkest shadows and the brightest highlights show on your drawing will depend on the direction of your light source. Highlights will appear where your light source is directed, while shadows will be on the side of your light source opposing it.
- To learn how light influences the object you are sketching, work from life or a photograph. If you can, move the lights to experiment with various shadow angles.
- The sections of your drawing that are the lightest will catch the attention of anyone seeing it. Decide the area you want viewers to concentrate on, and make that area the brightest.
5- To start shading, use a pencil and lightly press down on the paper. To achieve the center shade, use a soft pencil with a hardness of 4B or less. To maintain a fluid range of motion, move your arm back and forth rather than your wrist. If you press too hard with your pencil, it will be more difficult to later remove the imprints.
6- Use a pencil and lightly push the paper to begin shading. Use a soft pencil with a hardness of 4B or less to achieve the center shade. Move your arm back and forth instead of your wrist to maintain a smooth range of motion. It will be more challenging to afterwards erase the imprints if you use too much pressure with your pencil.
7- Clear away any sections with obvious highlights. The brightest parts of your designs will be those closest to your light source. To create a seamless transition from light to dark, use your eraser to softly lighten the sections within layers.
- To make regions of solid white stand out, add white pencil or pastel. So that it doesn't become too much, use this carefully.
- Light will reflect differently off of different materials. Metallic-finished items will have a stronger highlight, but matte-finished items would appear duller.
8- If you want a smooth finish, smear your marks with blending stumps and cotton wool. Working from the darkest to the lightest area of your drawing, combine your values. To create seamless changes between various values, use the smudge stick's side.
- Smudge sticks can be bought online or at any art supply store.
- Don't mix values with your finger. In comparison to a smudge stick, your finger offers less control, and with time, the oils from your skin may impact your painting.
9- For a realistic appearance, add drop shadows. If you want your drawing to appear three-dimensional, add a drop shadow to make it appear as though it is in a larger area of space. Your shadow will take on the form of the thing that cast it. Use the side of your pencil to shade in the drop shadow on the surface where you determined it would land. [15]
- To illustrate how your light angle influences the drop shadow, look at a still-life or a photograph.
- The intensity of your light source affects how harsh the edge of your drop shadow is. A harsher edge results from brighter lighting, whereas softer edges result from darker lighting.
Background
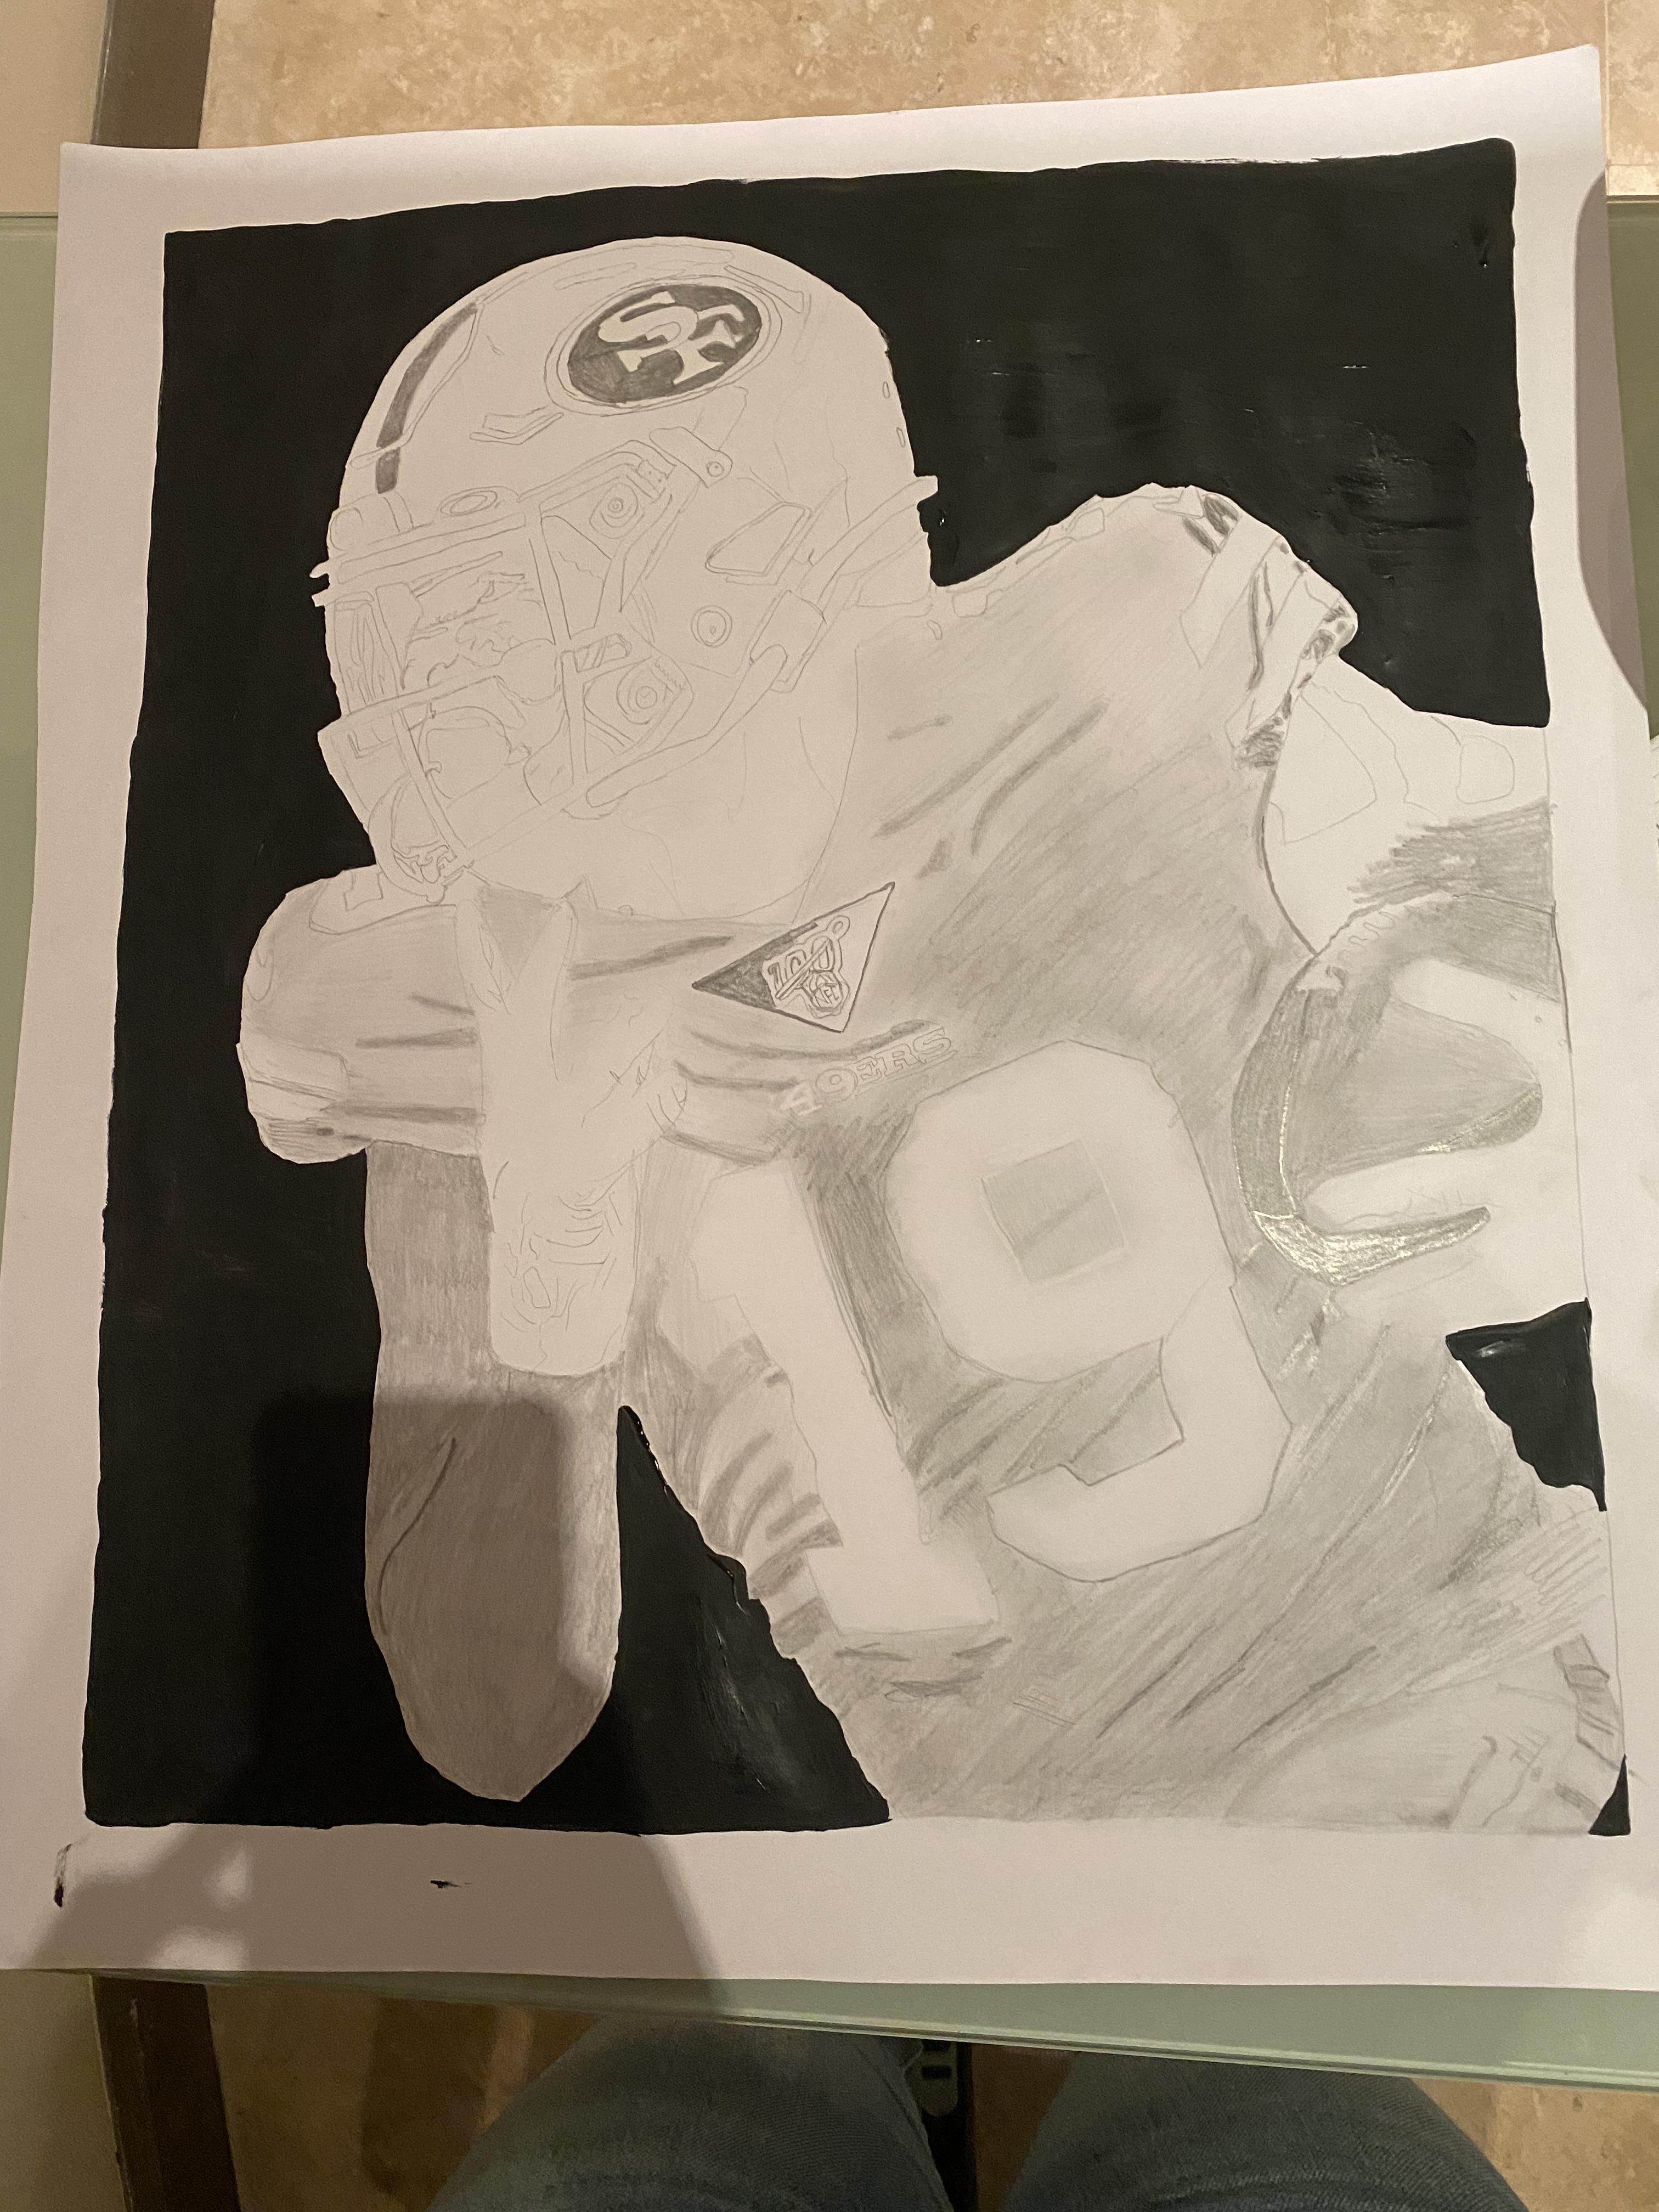
In a work of art, the background is the area that serves to support and accentuate the primary subject matter. It encompasses the elements of the piece and can either be empty negative space or real things and people. Having a black background will give the player more light and focus.
After doing this you can go back and add more layers of shading to your drawing depending on how you want it.