Deck Box From Cereal Box Cardboard for Trading Game Cards Including MTG and Pokemon
by jsteelycr8 in Craft > Cardboard
5522 Views, 33 Favorites, 0 Comments
Deck Box From Cereal Box Cardboard for Trading Game Cards Including MTG and Pokemon

In less than an hour you can have made your very own deck box! While I wouldn’t recommend storing extremely valuable cards in a non-waterproof material such as cardboard, these boxes work wonderfully for your extra cards or less important decks (or organized storage inside a larger waterproof container). Provided are the templates for 60 and 100 card boxes, so you will just need to provide some basics like the cereal boxes, scissors, glue, and time. While in development, it was tricky to get the dimensions right and figure out a lid mechanism that holds closed without tape or velcro, but since I’ve done that tedious work already, I hope you can enjoy your own deck box without quite as much hassle! After learning the simple components, there are infinite ways to customize your boxes. Happy crafting!
Supplies

If you don’t have one of the things listed, don’t worry: I will also explain how to proceed with only a ruler, pencil, scissors, and glue.
- Cereal Boxes!
- Templates (Provided)
- Printer or Pencil
- Scissors
- Ruler
- Tacky Glue
- Rubber Bands
- Clothespins
While I didn’t find exactly what I wanted when looking for existing deck box tutorials, here are a couple worth mentioning up front:
- DanielO89’s “Simple Deck Box” https://www.instructables.com/Simple-Deck-Box/. It yields a similar resemblance of a box, but relies on tape/magnets/velcro to close. I wanted mine to not need anything of the sort.
- Imburton’s “Make Your Own Playing, Trading, Magic Card Deck Boxes” https://www.instructables.com/Make-your-own-playing-trading-magic-card-deck-bo/. It relies on having a deck box to begin with as a stencil- something I lacked. Though, the idea of using packaging from your purchased cards to then stylistically hold them is fabulous (upcycling the original into something more structurally appealing, that is).
Sizing

As I’m sure anybody with even rudimentary prototyping experience already knows: getting the right size for stuff is key… and also often the most painful part. Get it a quarter of an inch off (or far less for more specific builds) and you’re back to the start. The largest time sink of this project was of course, getting the right dimensions. Thankfully, I believe all cards are a standard size in trading card games. Still make sure to check yours are 2.5 inches by 3.5 inches, or 6.35 centimeters by 8.89 centimeters to ensure the templates will work.
The next question is just how many cards you hope to store in this box. 60 or 100 cards? and are they sleeved? I have two templates, one for 60 and one for 100 (single-sleeved), but the thickness and quantity of your cards will determine their snugness in either design. If either doesn’t fit the quantity you were hoping for, I would suggest adjusting the base’s (1) and lid’s (3) width accordingly.
Transferring


For the following tutorial I will be referencing the different parts as 1, 2, and 3 as follows:
1 (base)
2 (side panels)
3 (lid)
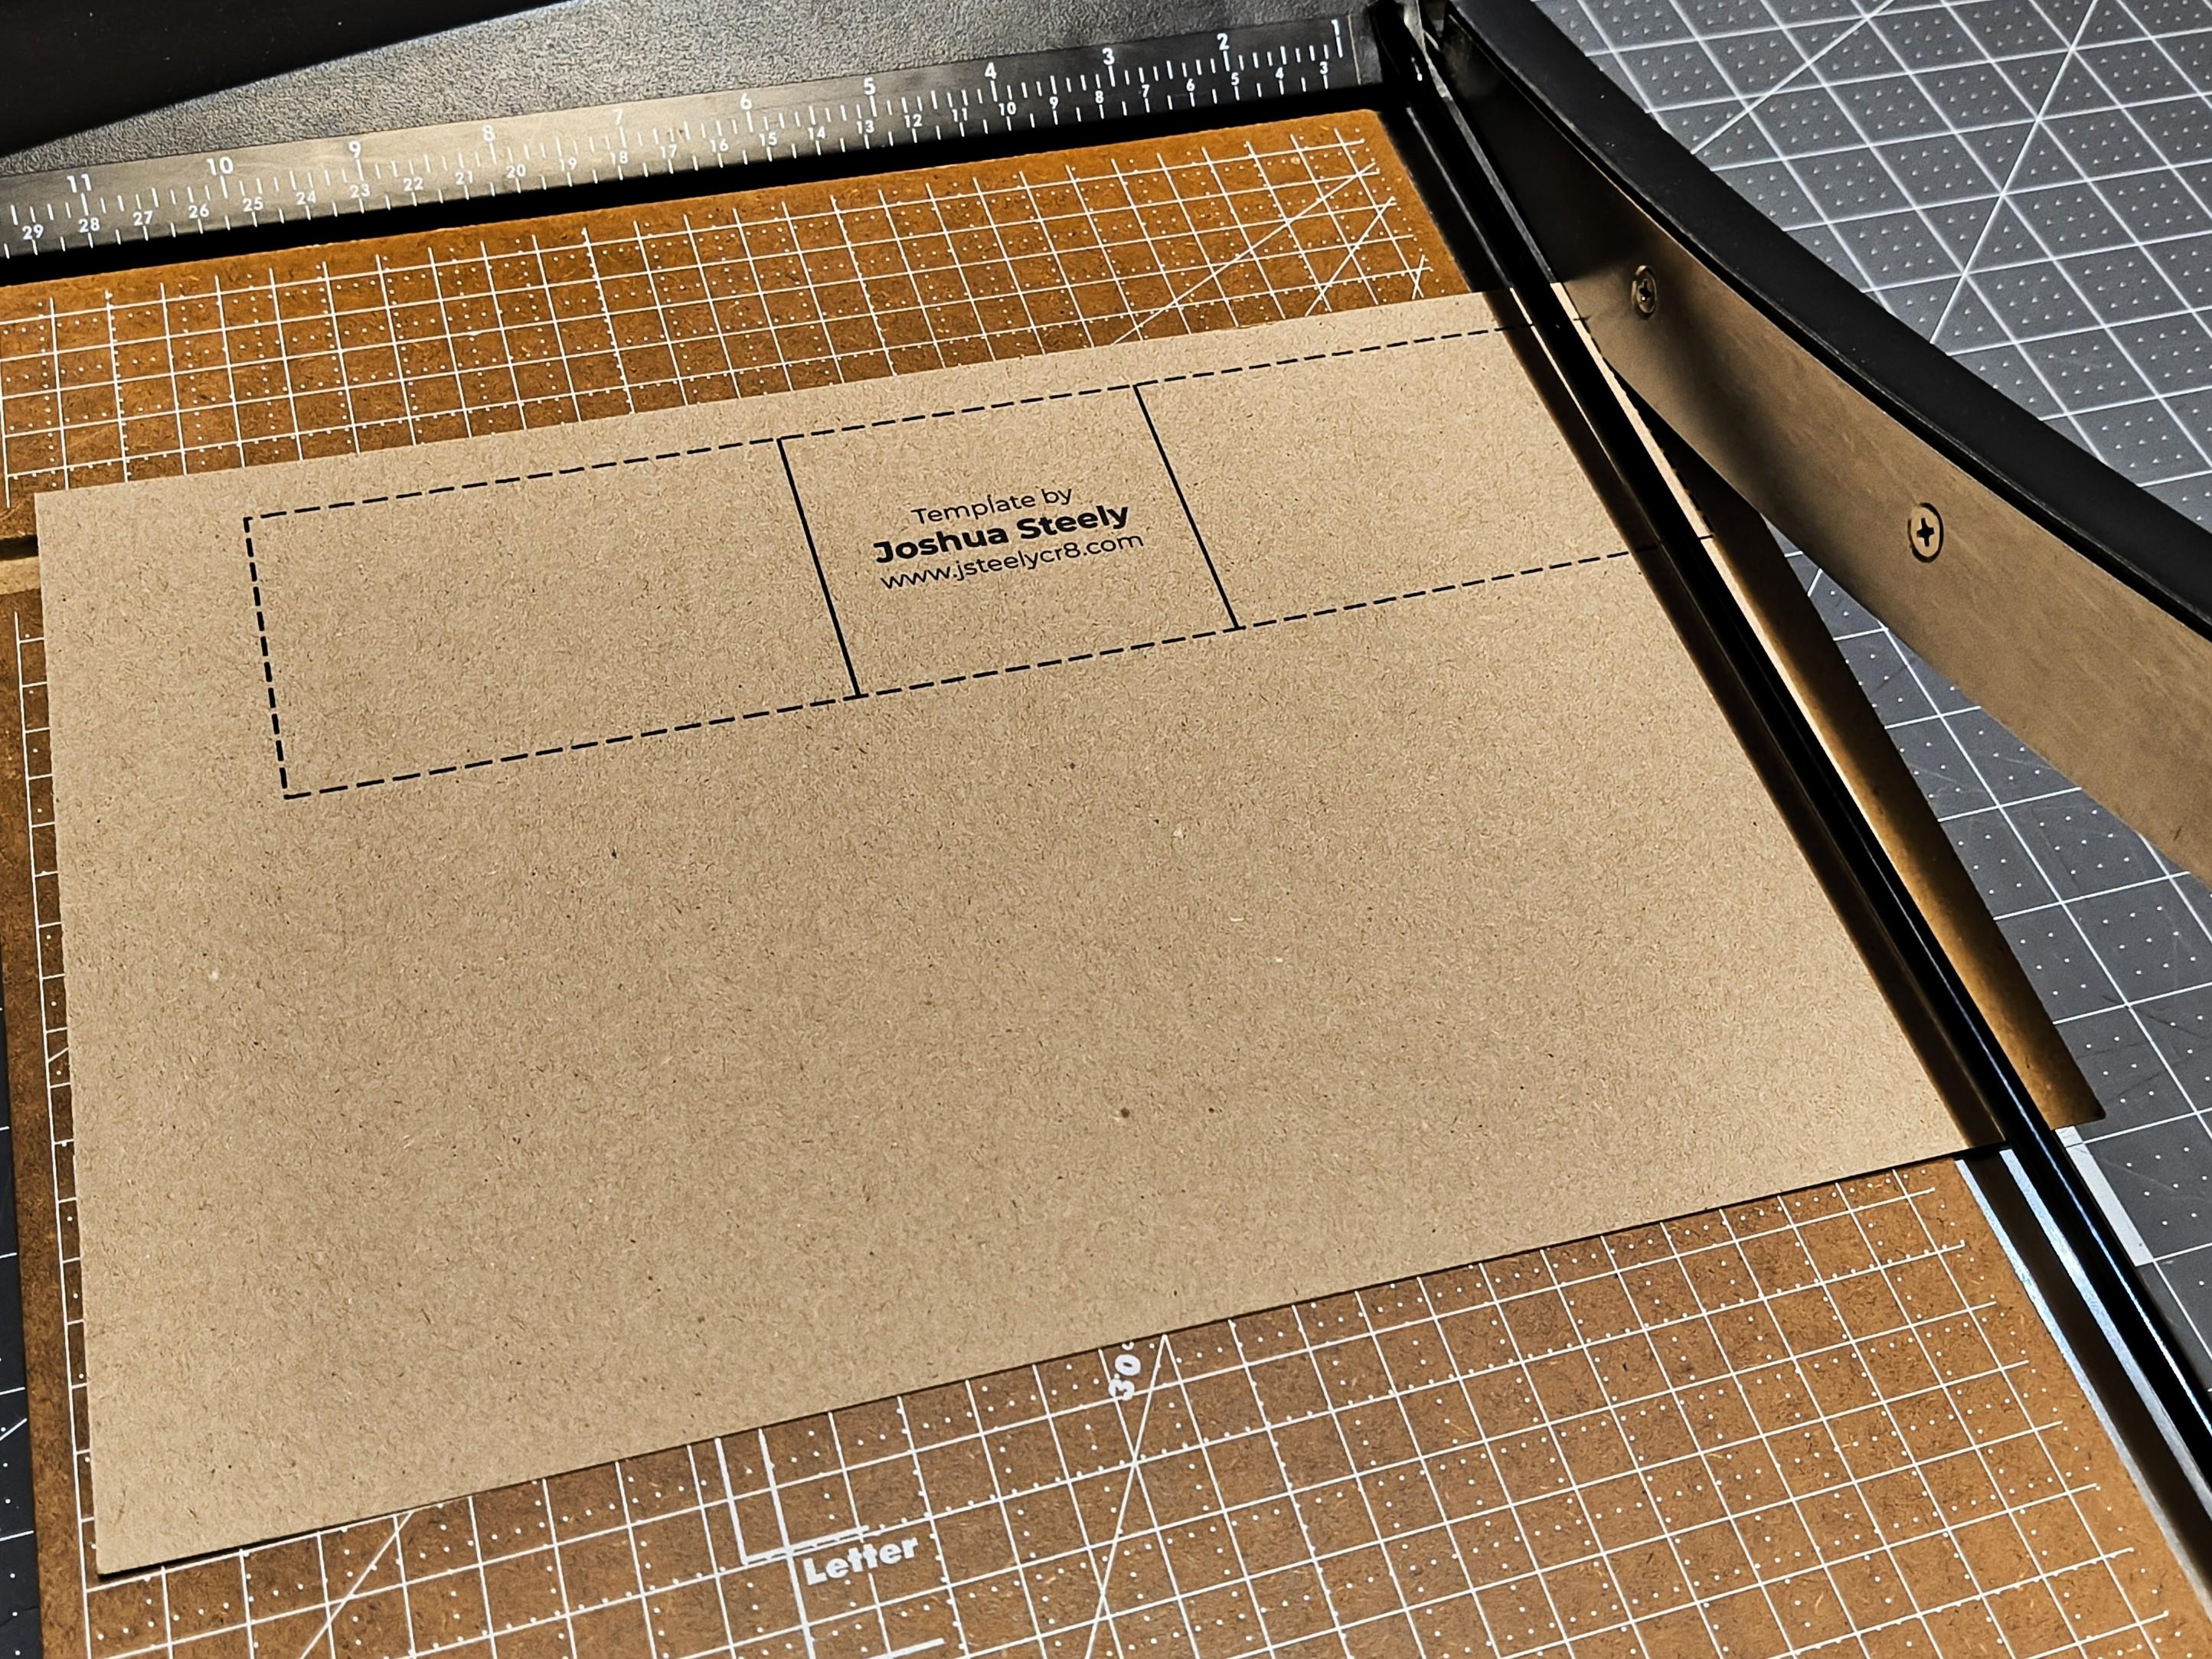
To make my boxes precise and often add logos and/or text more professionally, I print my templates directly onto the brown surface of cereal boxes. I only wish I had found out a simple top-feed printer could do this sooner! Most cereal boxes are less than the standard 8.5” copy paper width, and many are less than the 11” height, so I learned to make sure to align the sheet along the proper edge. When I send my sheets through, the wheels don’t initially grab onto them as they can copy paper–the bending tolerance is a little higher–so I give them a little nudge, and after a couple inches the wheels grab on and take the sheet through the rest of the printer.
Of course, you aren’t feeding the entire cereal box straight through there, you only print on a single smooth “sheet” at a time. I have a particular way I “process” all of my boxes into these sheets, but scissors will work just fine.
If you do not have access to the appropriate printer, you can instead print the templates on paper, cut them out, and trace them. I have done something similar, but having your accuracy off even a little on one of the parts could make the whole thing too loose or snug or ill-fitting in general. Just be aware of the potential for misalignment using this method (otherwise it should work fine)
If you do not have access to any printer (or don’t feel like buying more paper or ink) then I have included a dimensional reference you could then chart with a ruler and pencil onto your cardboard. It will certainly simulate my initial design process (lots of ruler work) but lucky you! you have the right dimensions there already. Just make sure you hold your ruler straight and measure accurately and everything should be just dandy.
Cutting


While cutting may seem self-explanatory, my initial templates did not clarify particularly well which lines to cut. So I’ve since made dashed lines the areas in need of cutting, and solid lines helpful folding references. Whatever way you transferred the templates to the cardboard, you can reference the dotted lines for cutting clarification.
When cutting the straight bits I use my handy-dandy guillotine paper cutter, but scissors are more than alright.
Folding


Of course you can just go at it, but first! I have a few tips. Well, one major tip: fold with a straight edge. Drawing and cutting with a straight edge are common practices, but you’d be impressed with how many amateur crafters settle for freehand-folding. If you’d like to elevate your work with straighter folds, using a straight edge is crucial.
Here I use a ruler as I fold, but a squared (not rounded) table edge works, as well as a squared wooden block, etc.
To then crease the folds, I press firmly along the folded outer edges with the side of my scissors in a swiping motion. There are plenty of other tools you could use (even those specifically made for creasing paper crafts) but my scissors have always been handiest. These creases will help hold your folds as you move on to step 5
Gluing


There are a lot of glues out there! Hot glue has its speed, but if used sparsely the printed side of the cereal box doesn’t hold well, and comes undone. Super glue runs out of my budget, and seems overkill for cereal boxes. Elmer’s and Tacky glues are both PVA glues, but I have found Tacky to hold faster in this application.
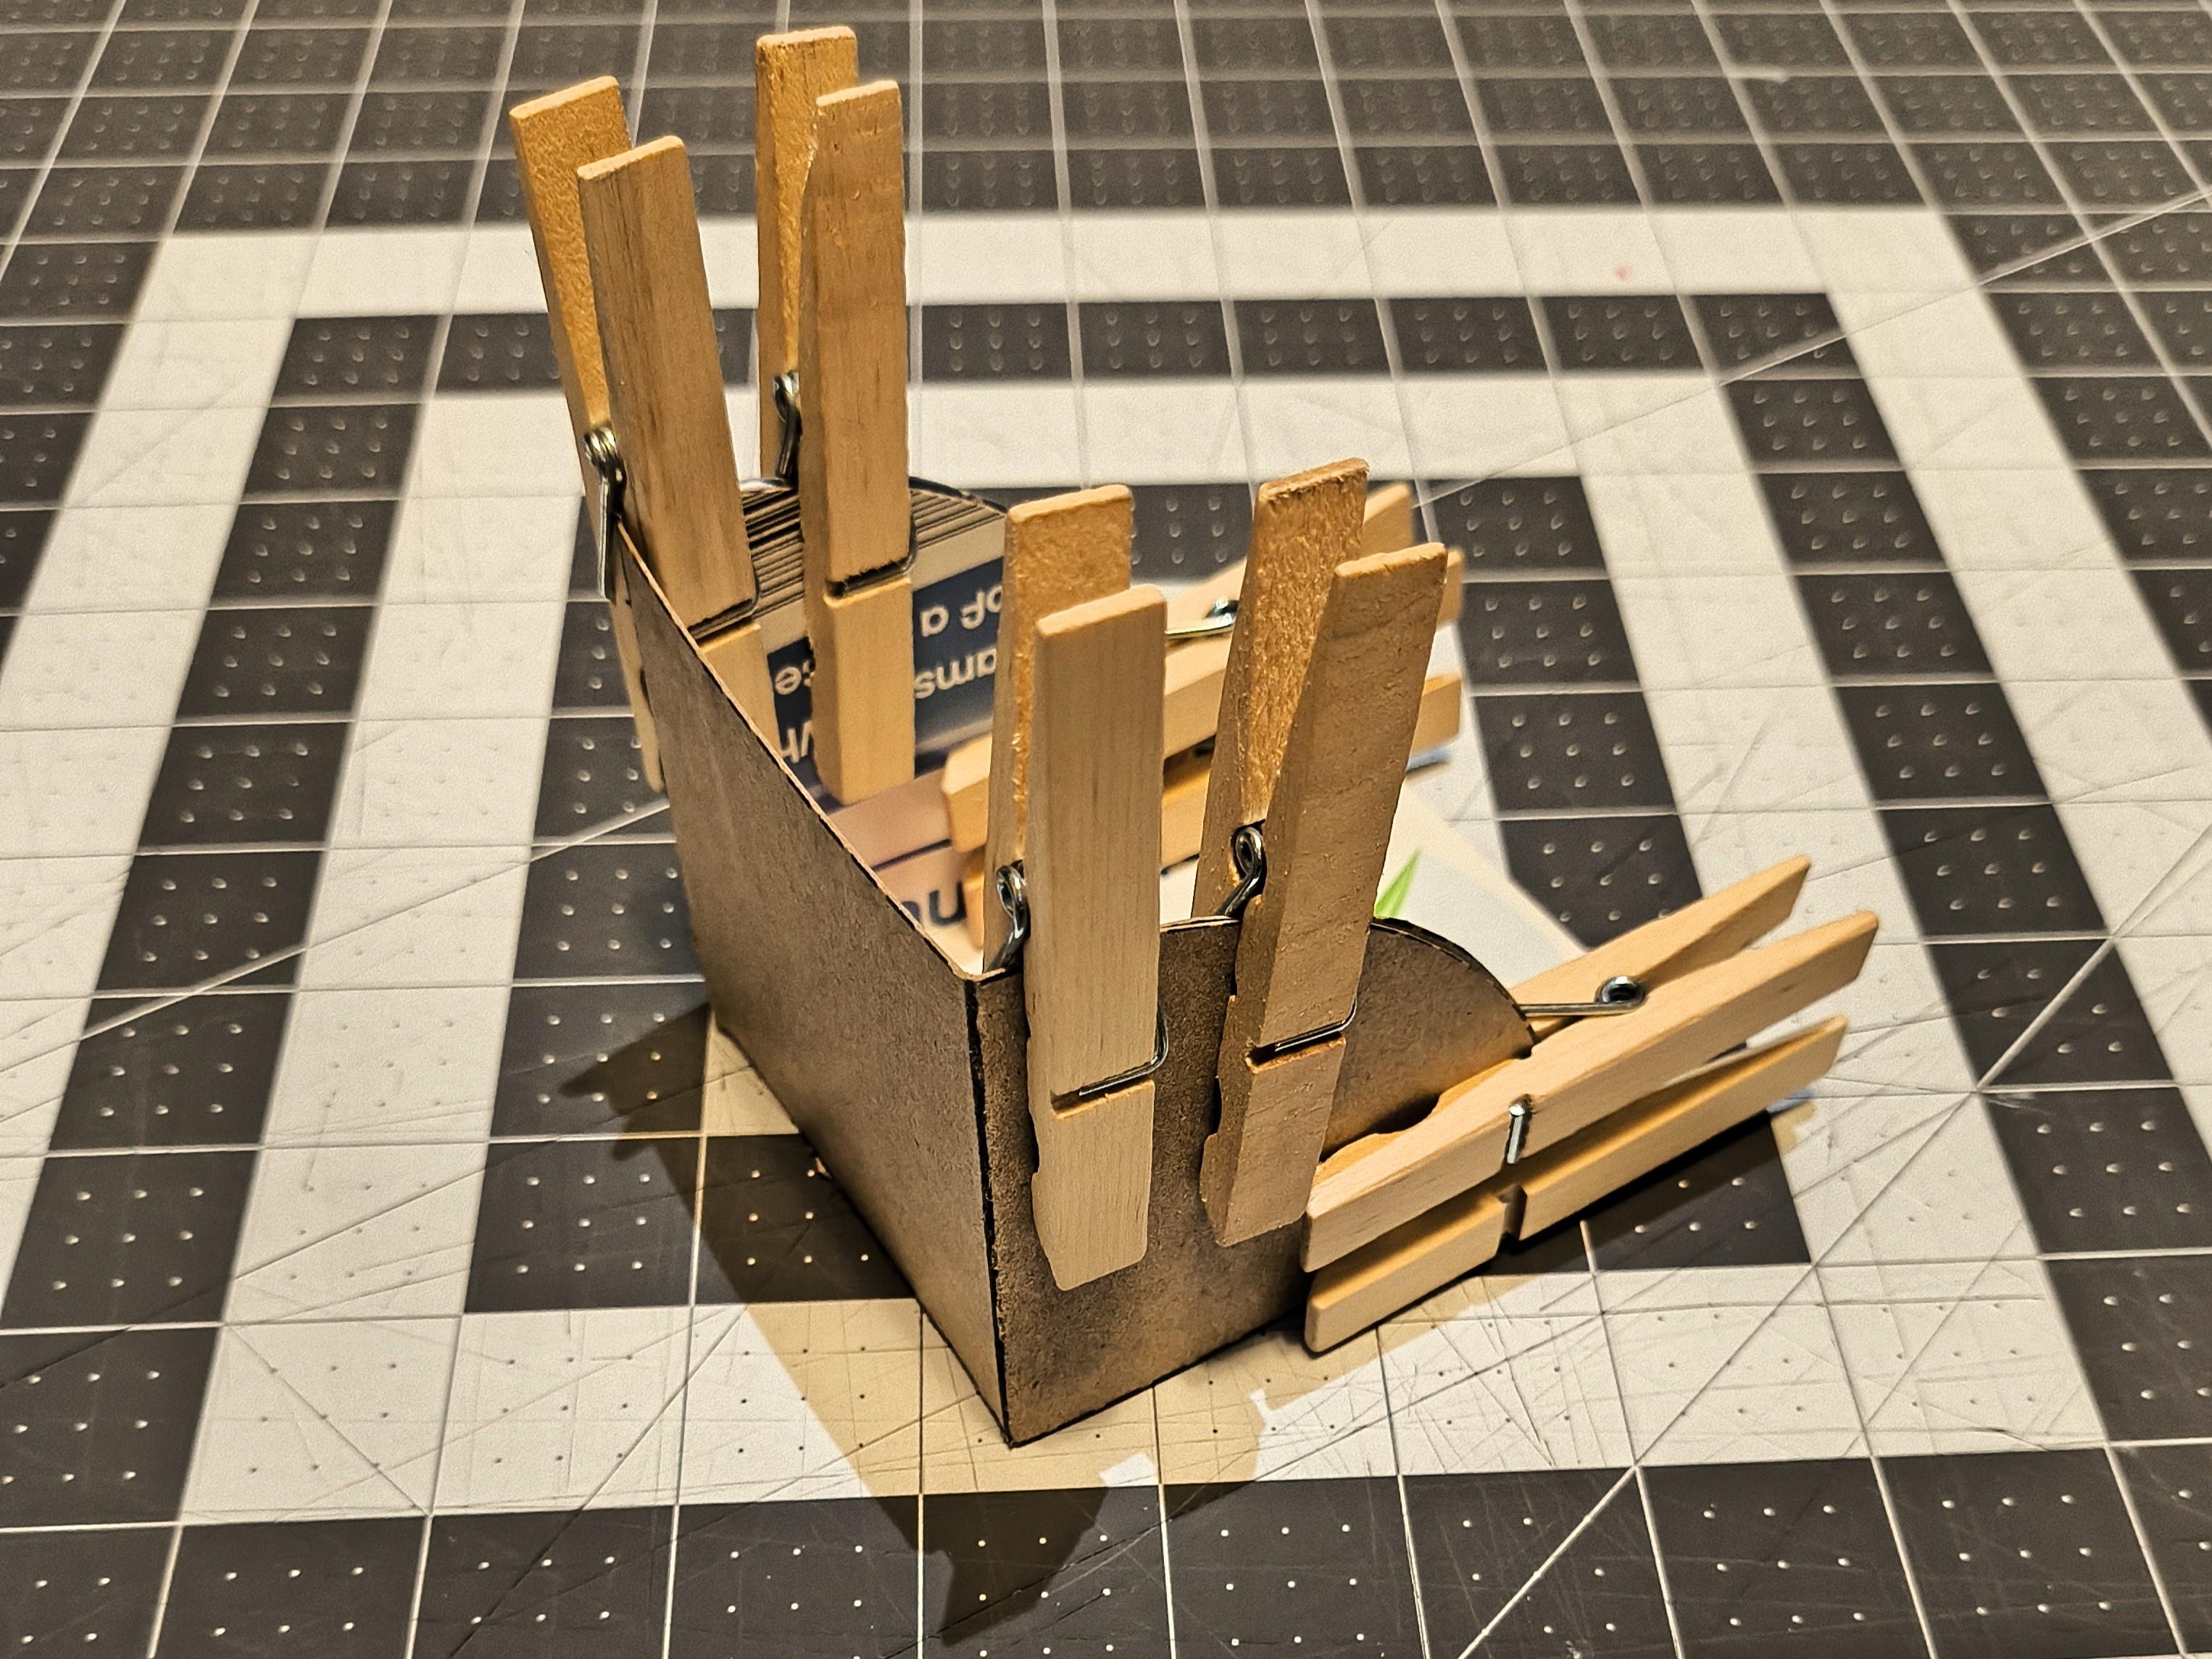
The lid has a better option for which quarter-circle to glue to the other quarter-circle. I could try and explain it in words, but even saying “quarter-circle” starts confusing me, so I have a picture to clarify.
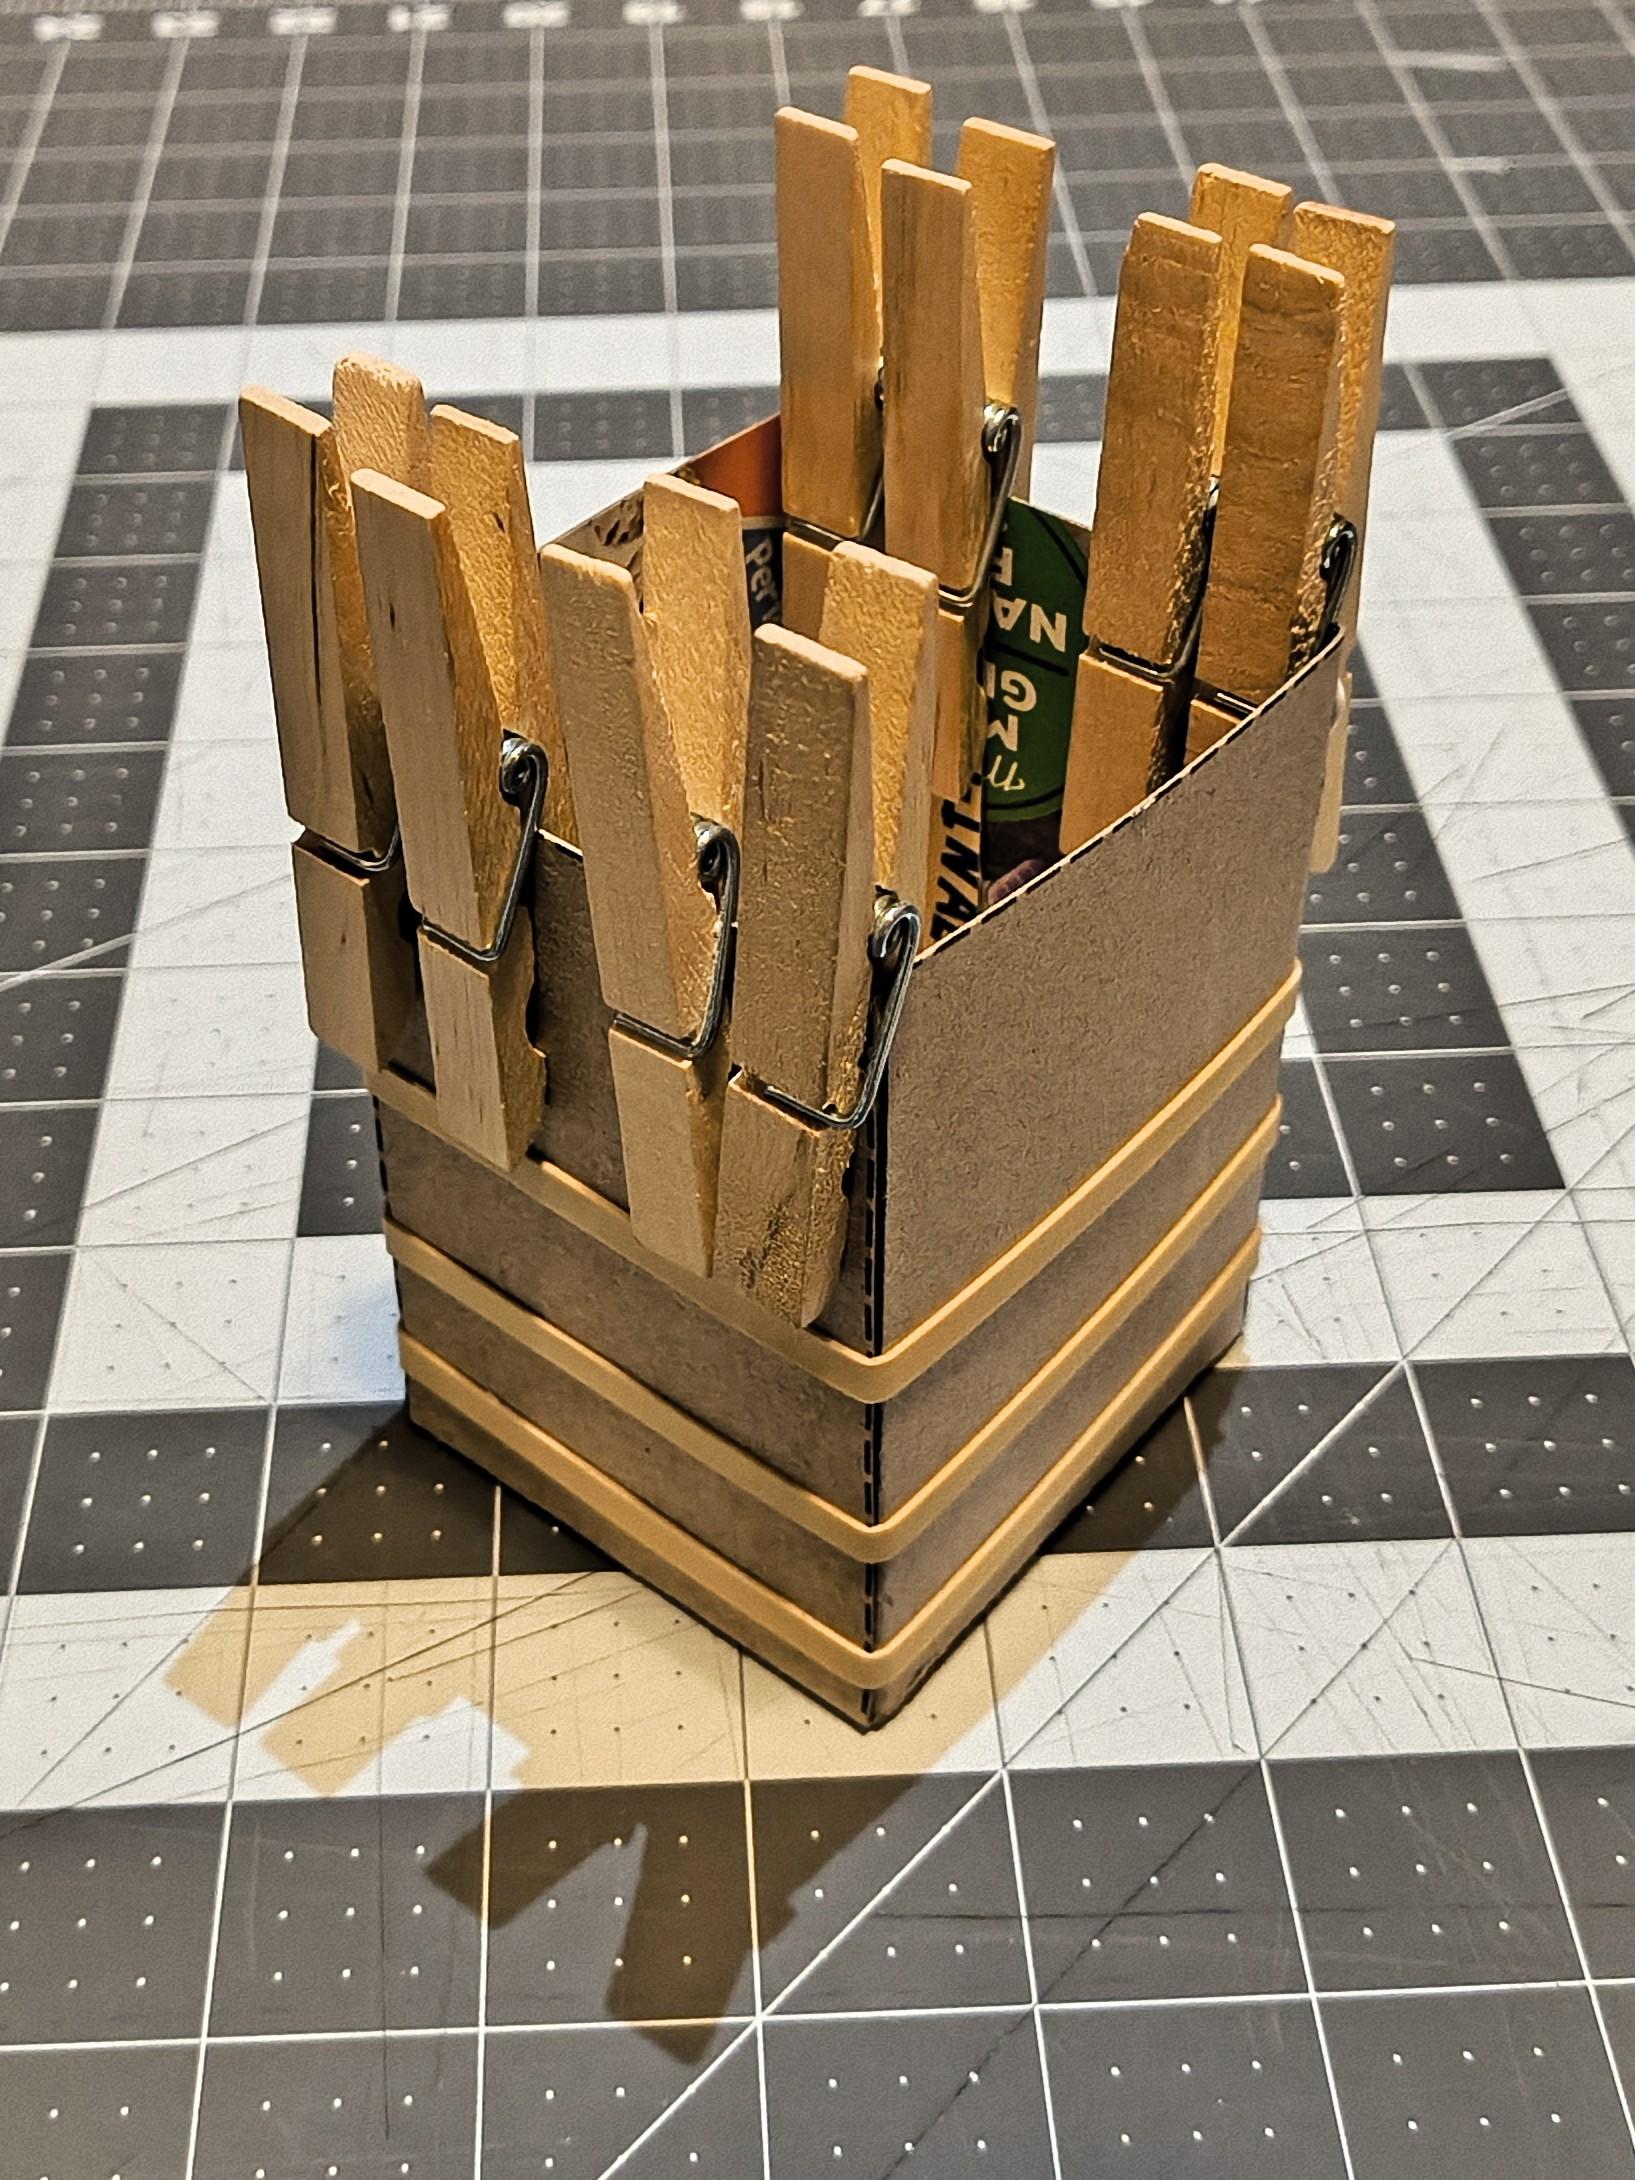
Otherwise, simply glue the base to the side panels’ tabs and then the lid onto the correct side panel. Hold with your hands or clothespins and rubber bands. When I’ve made several boxes in a sitting, it’s certainly faster to use clips and bands. If you are only making one, however, just holding it as it glues should work.
Optional Tip for Tacky Glue: Take some scraps of cardboard and build yourself a stand for the bottle (see last image). Then, when you've used a bit of it, you won't have to swing it around wildly to get glue to come out--the stand will keep it ready for use.
Testing

Once everything is dry, see if your cards fit, if the lid closes, and if you feel like decorating it a bit more or even better: making one for a friend! Sometimes the glue makes the closing hinge look a bit wonky, so I've taken to adding a piece of tape over it, doubling as added strength. (The tape featured is Duct's "Paper" tape, 100% Recyclable)
[Extra] Experimenting
So you know the basics of the deck-box-making process… now how far can you take it? I’ve made dozens of these things for friends and their more serious card endeavors, but one of my “boxes” takes the cake: a full-on pirate ship. (Funnily enough, only after I had made the thing did someone tell me that the box is extracted out of the ship’s deck… which makes it even better.)
Not only would I love to see the clean, practical deck boxes you make, but I’d especially love to see the wild, manic, outrageously over-complicated ones you can think up.
If you’re interested in more insight into my thought process behind this project, I wrote a blog post titled “Downloading a Virus to make a Cardboard Deck Box” prior to this more instructional guide. https://www.jsteelycr8.com/blog/downloading-a-virus-to-make-a-cardboard-deck-box
Of course, feel free to check out my other ideas on there too!